Hello Quilty Friends!
Happy Thursday to you!
Now that August is closing in on us, I bet your summer is even more jam-packed than it was in June. Family vacations, reunions, trips, work, appointments, family, friends, kids, grandkids, etc. and so on. For me, this week has been crazily insane. Too much to do and not enough me.
I have 2 family reunions this weekend – Saturday and Sunday. At least they’re not on the same day. The Saturday reunion is for my Mom’s Mom’s side of the family and we help organize and make everything run smoothly the day of the reunion, so that’s added stuff this week with the prepping and then the reunion itself.
My role is pretty simple, though, I am in charge of the Family Pick a Prize table. I sell the tickets. Family members then drop the tickets into the numbered bags and hope that their ticket will be pulled out to win the item. This is how we raise money for next year’s reunion. It works great and everyone loves it. Plus I get to talk to nearly everyone who comes to the reunion, which is kind of nice, too. Maybe I’ll see you there.
Of course, I also have to plan and bring some kind of dish for the food table. This year I’m going all out – cookies from the store bakery. I just don’t have the time to make something at home this year, especially not with 2 reunions back to back. Yep, I’m taking cookies to both of the reunions. Cheating? Maybe. But low stress? For sure!
My Sunday family reunion is my Dad’s Dad’s family reunion. Luckily, all I have to do is take food – more cookies – and just go and relax. Thank goodness.
Of course, the house must be cleaned in case any relatives from out of town want to stop by for a visit, which usually happens on Saturday evening. Plus all the usual things. Yikes! I’m getting tired just writing about this week. Calgon…..take me away! LOL!
I thinkI’m ready for a winner next?????
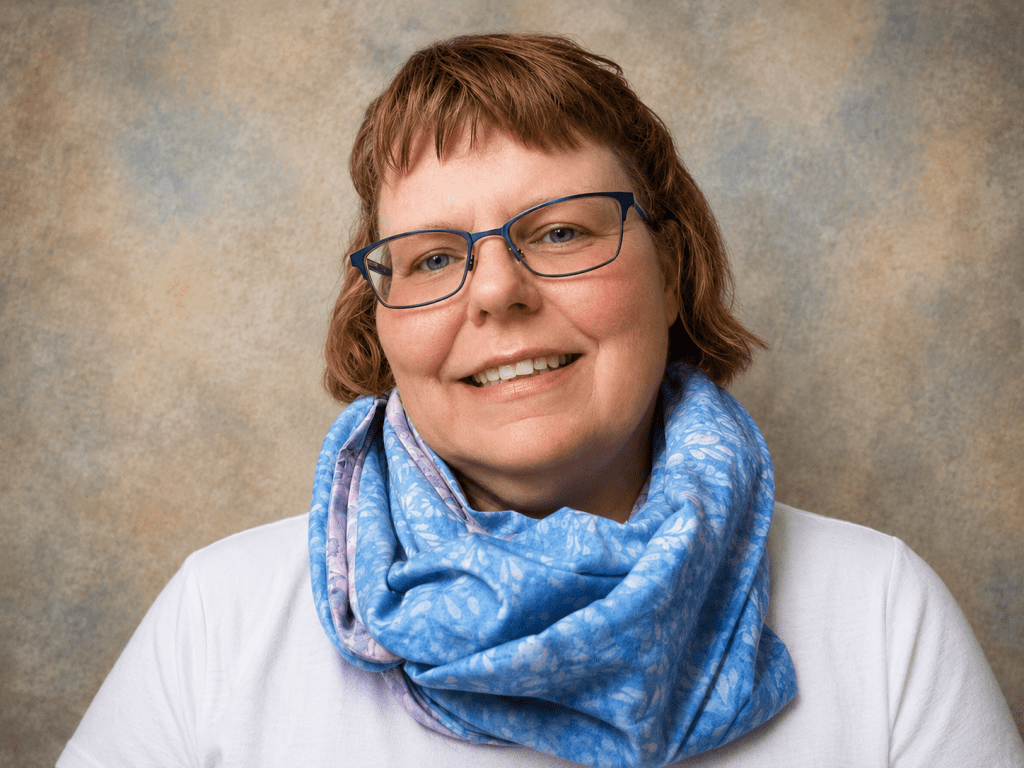
Week 4 Challenge Winner
Let’s all stand up and cheer for our Week 4 Winner –
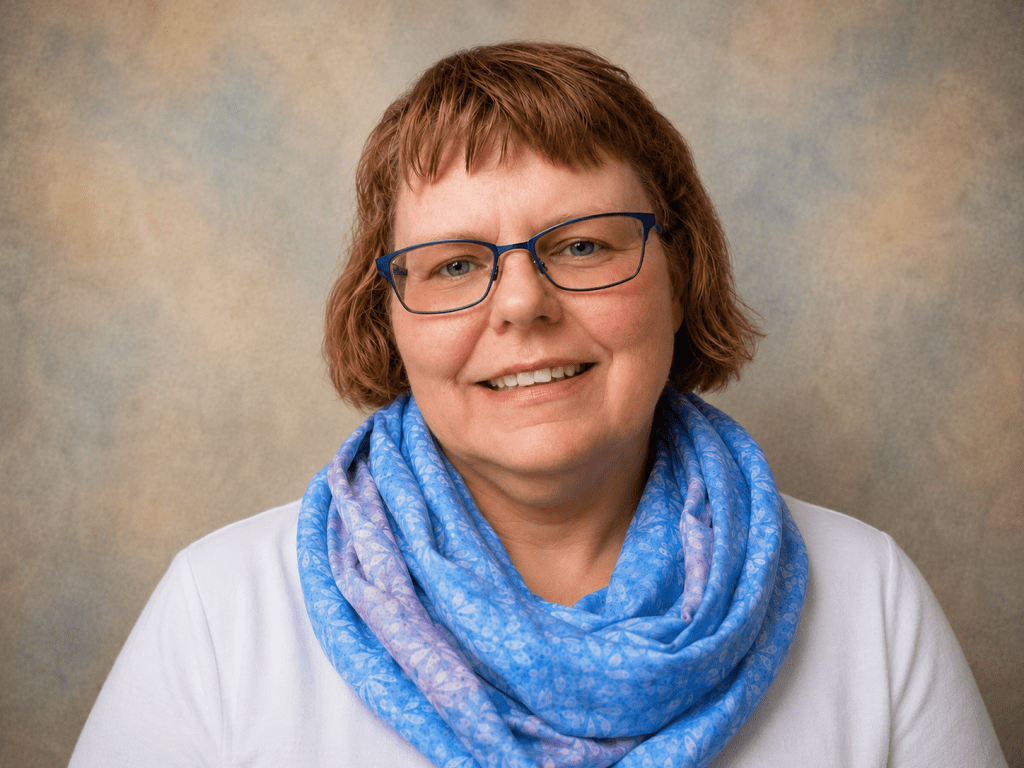
Brenda G. in TX
Woohoo! Yippee! Congrats!
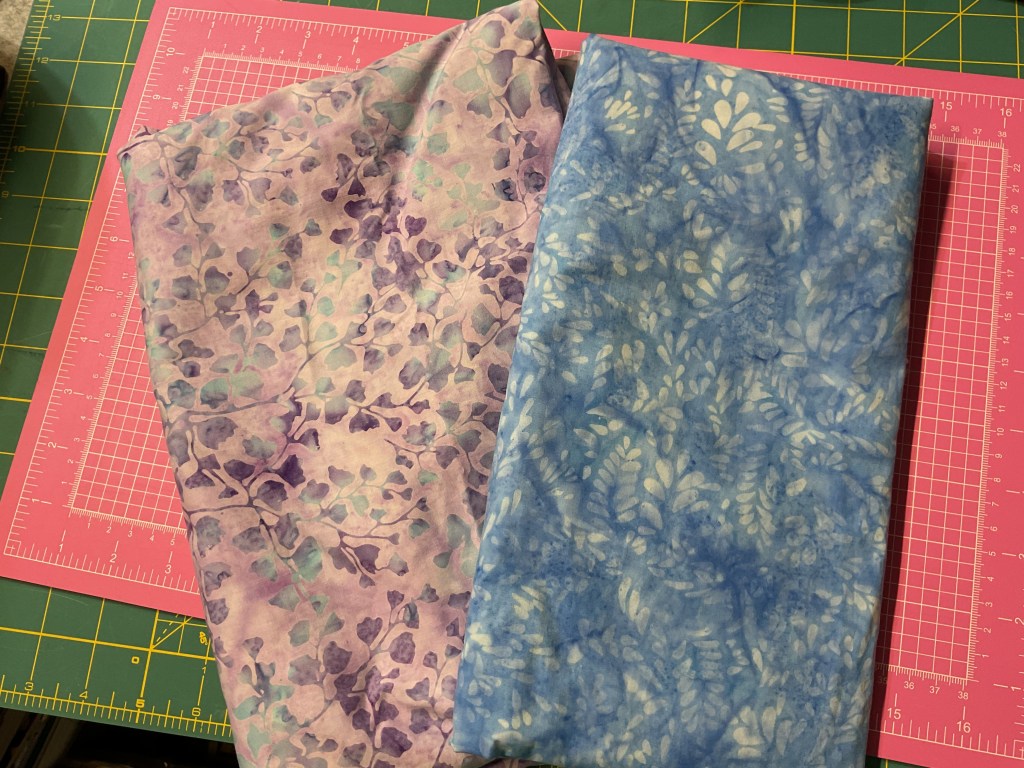
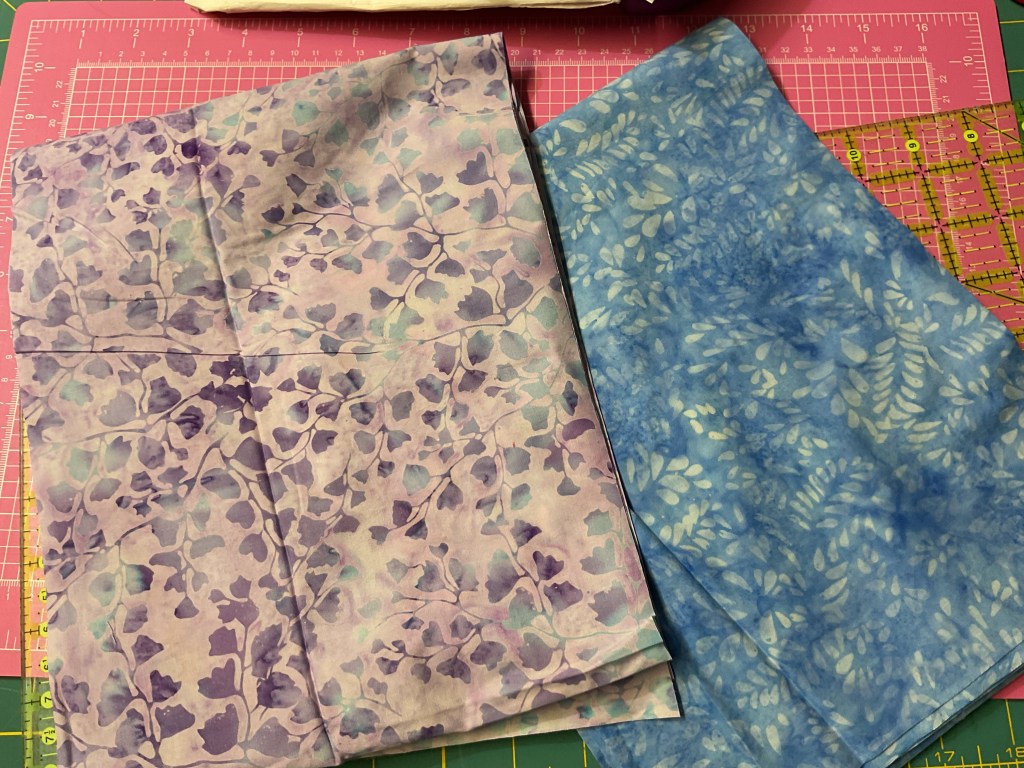
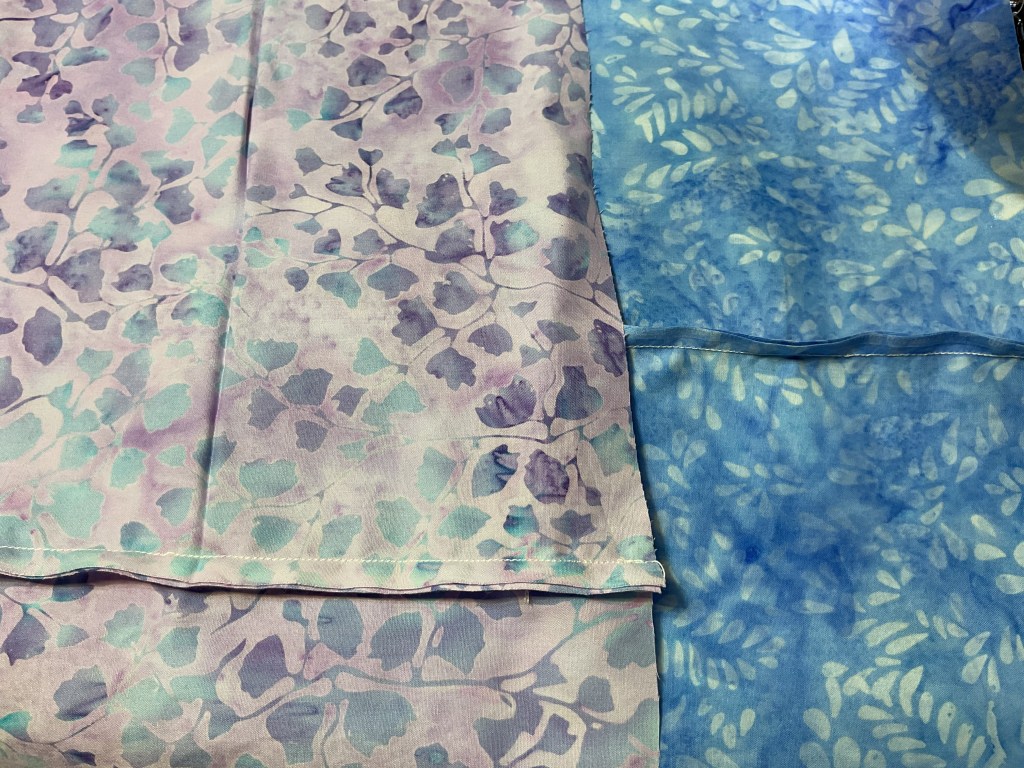
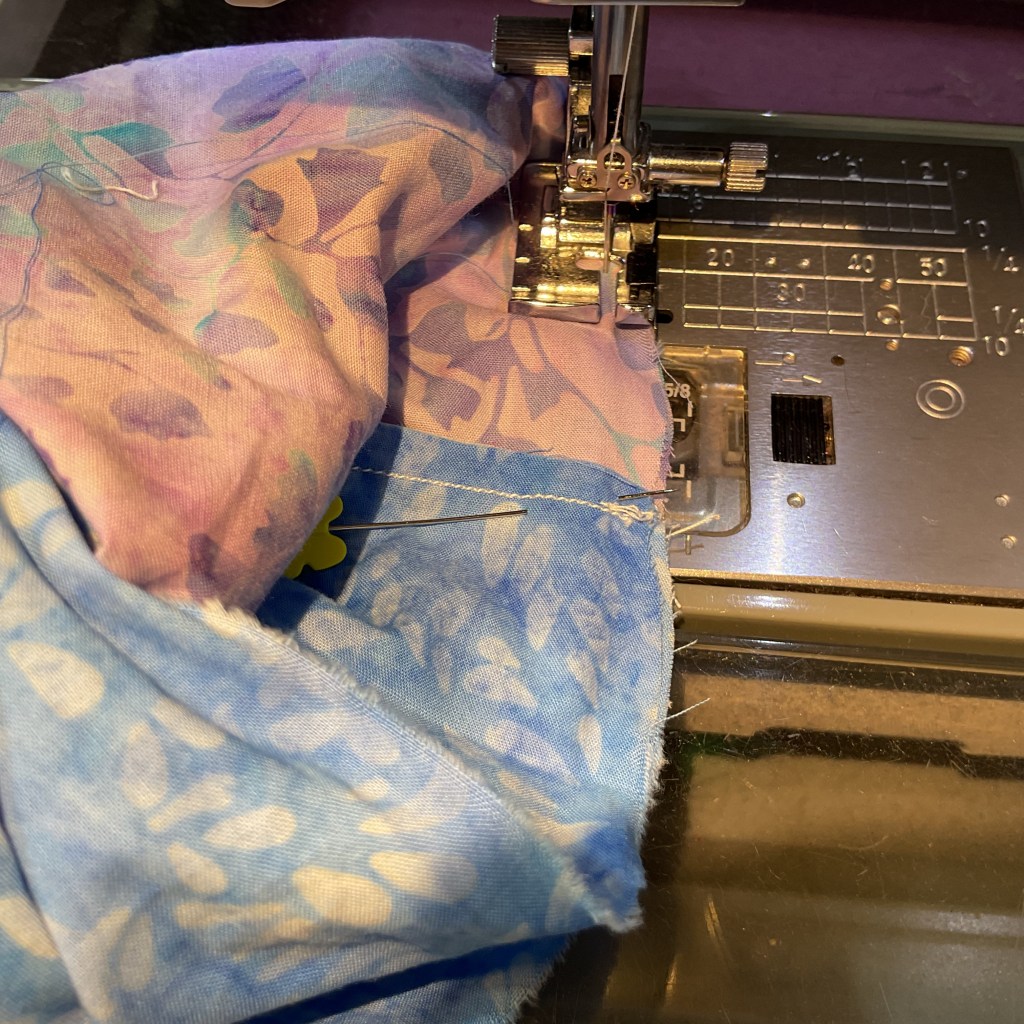
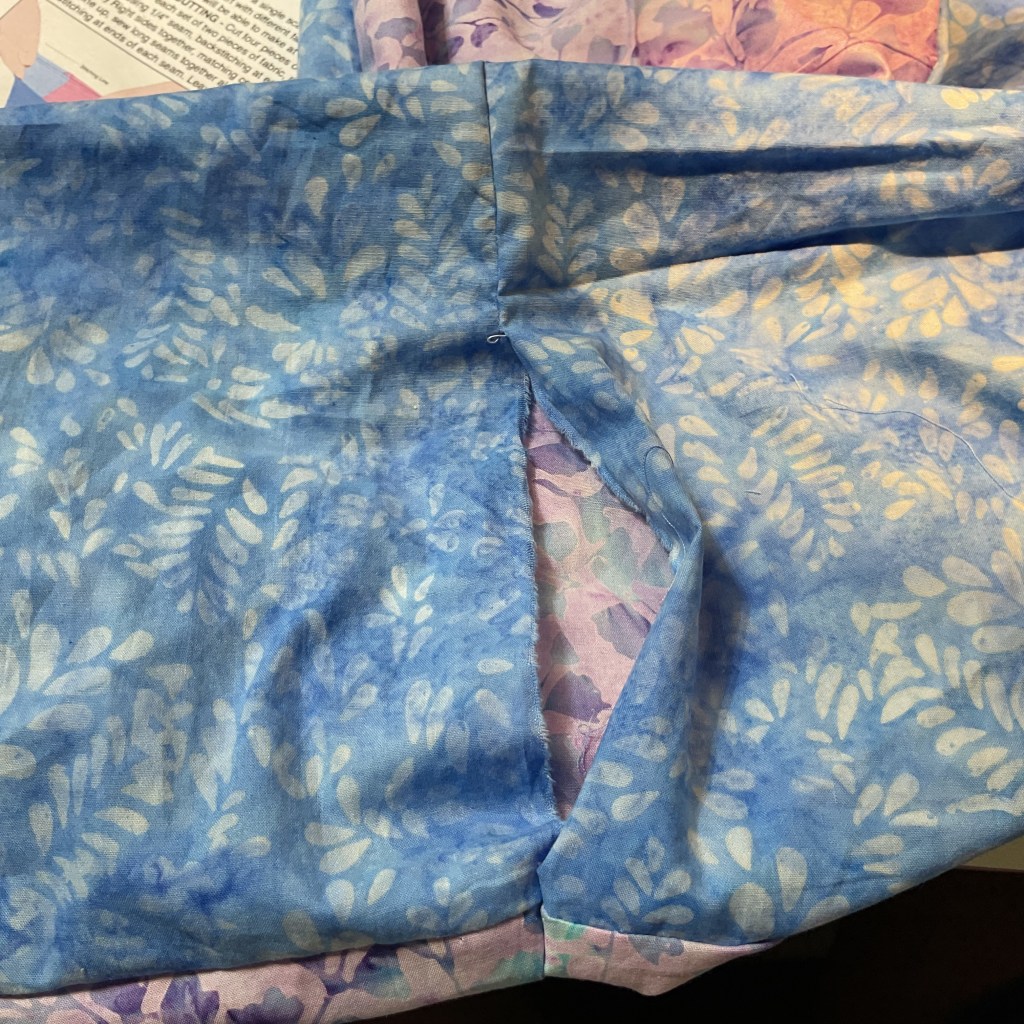
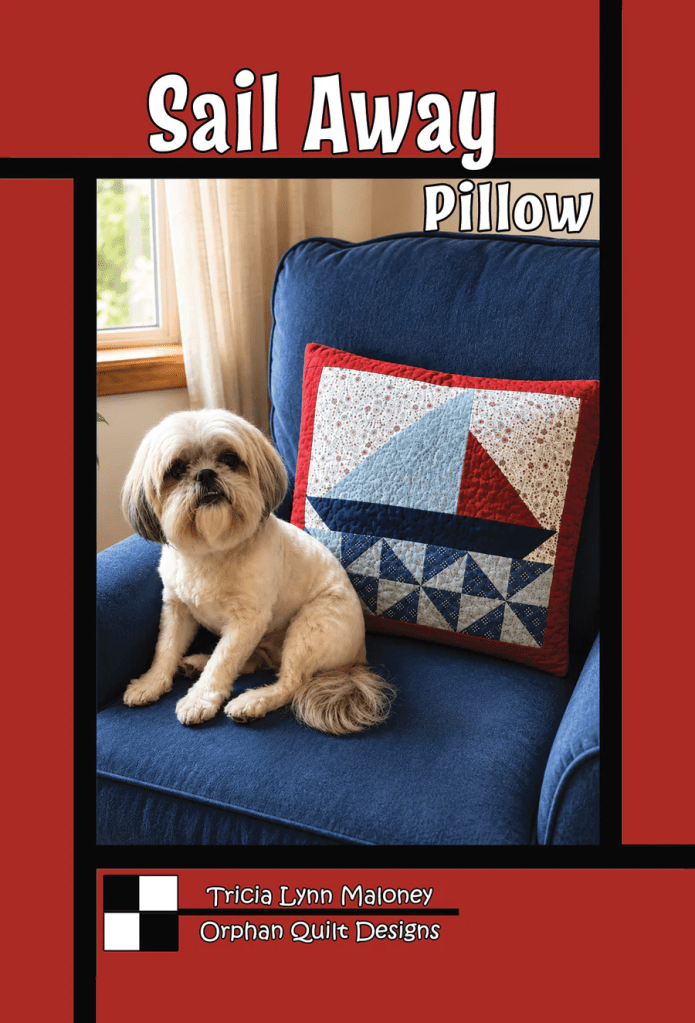
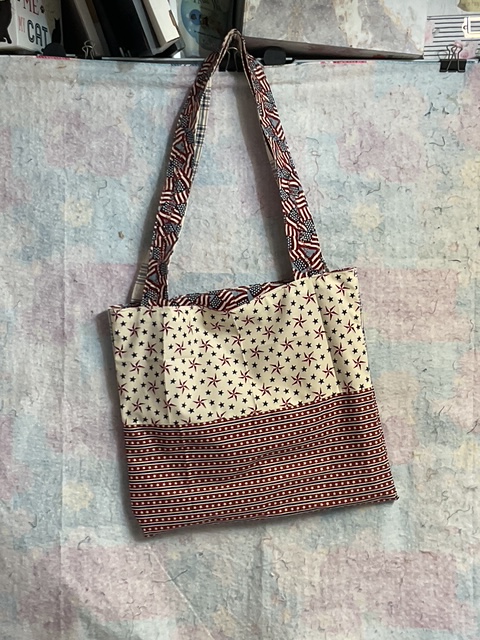
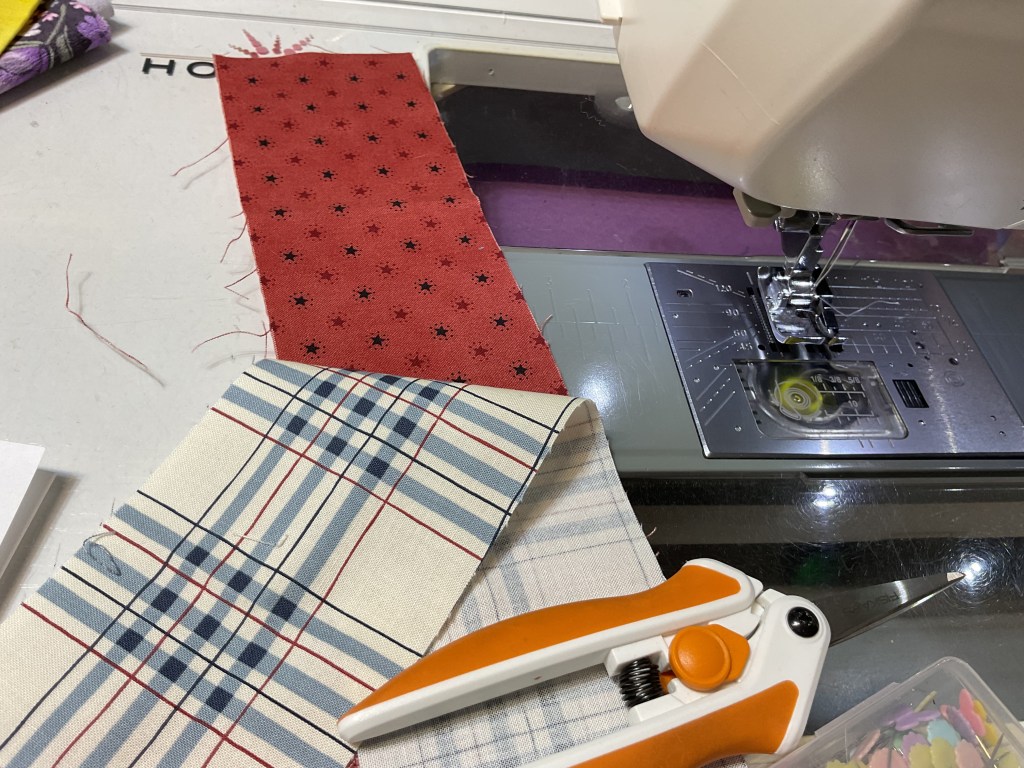
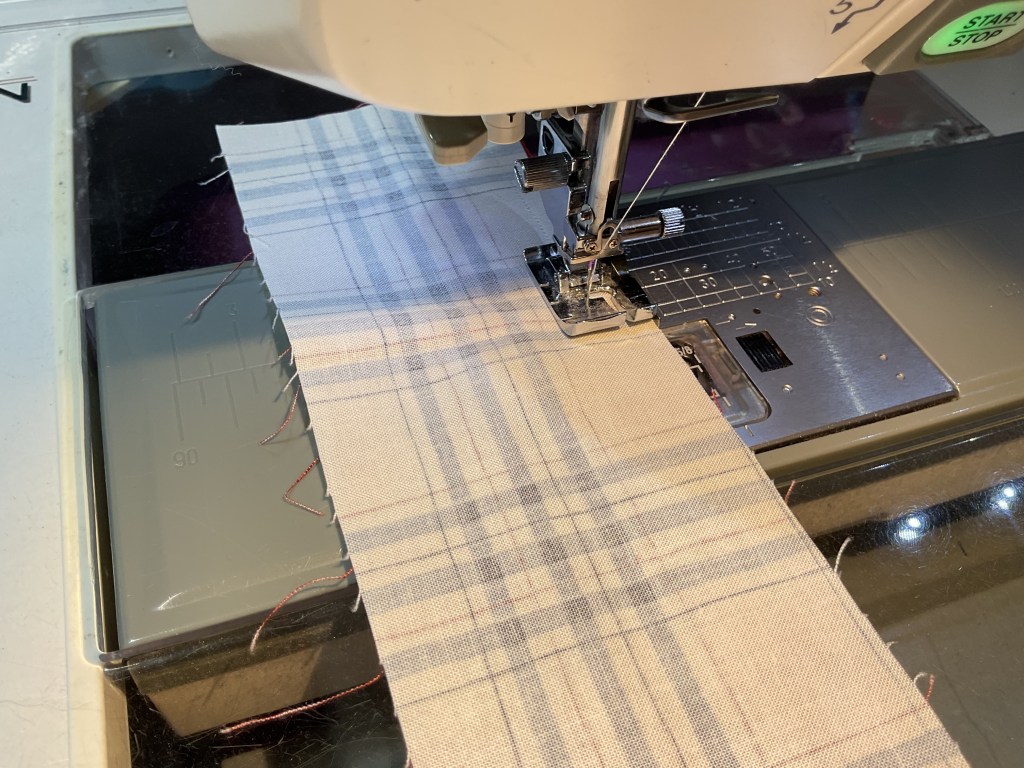
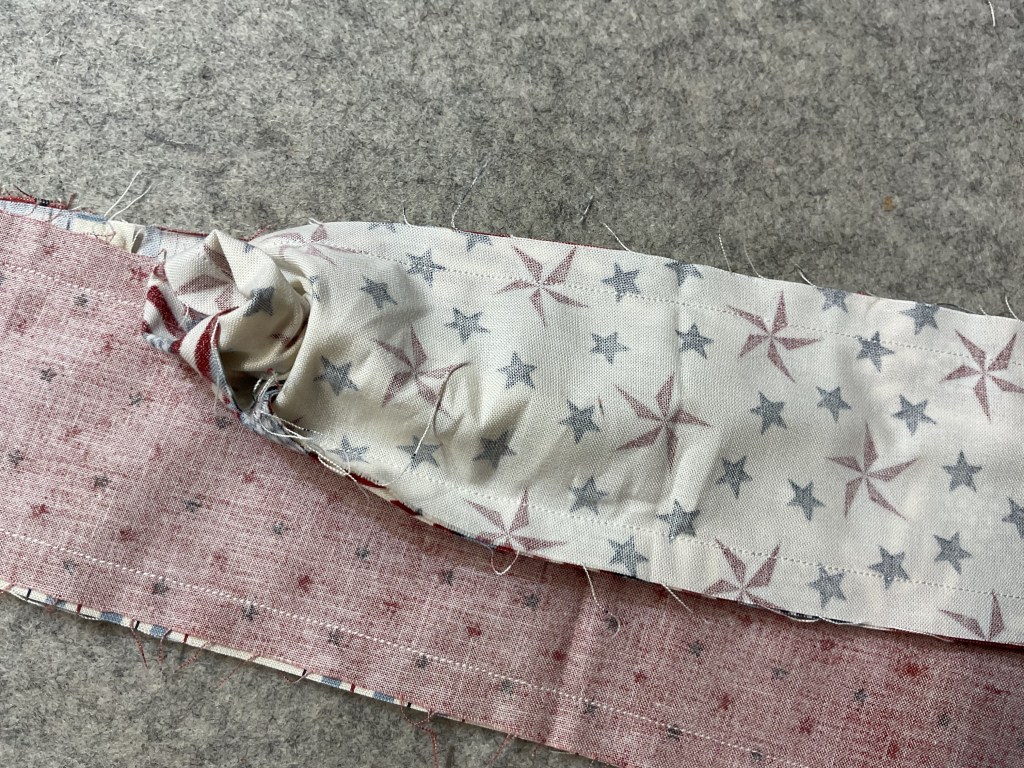
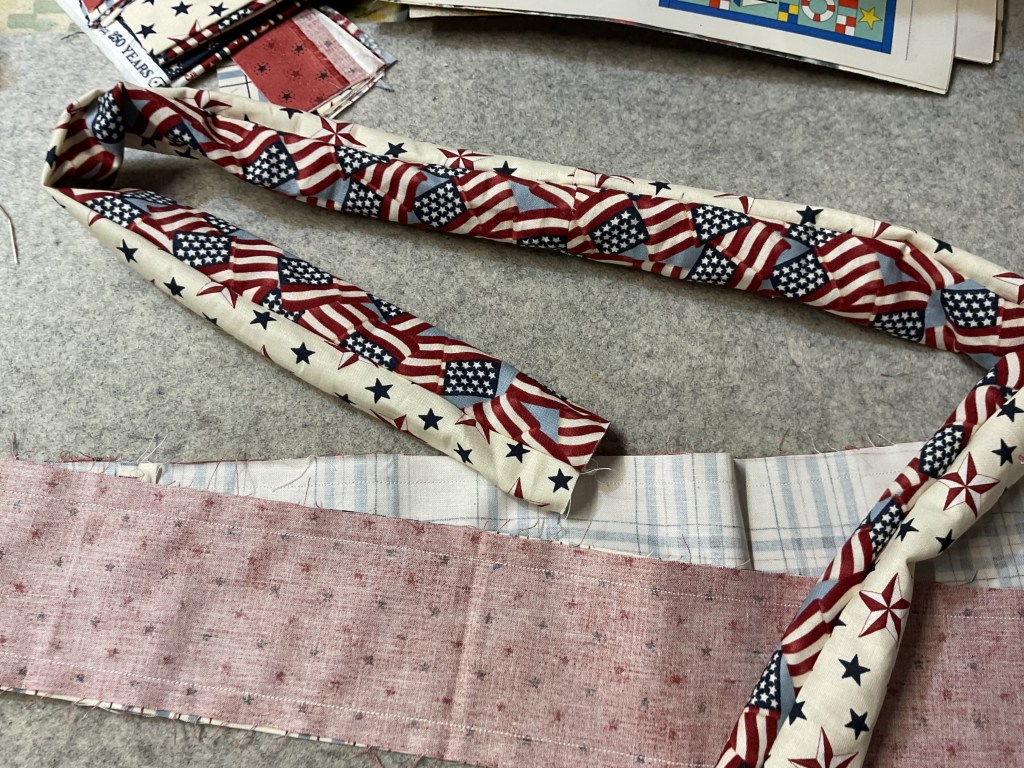
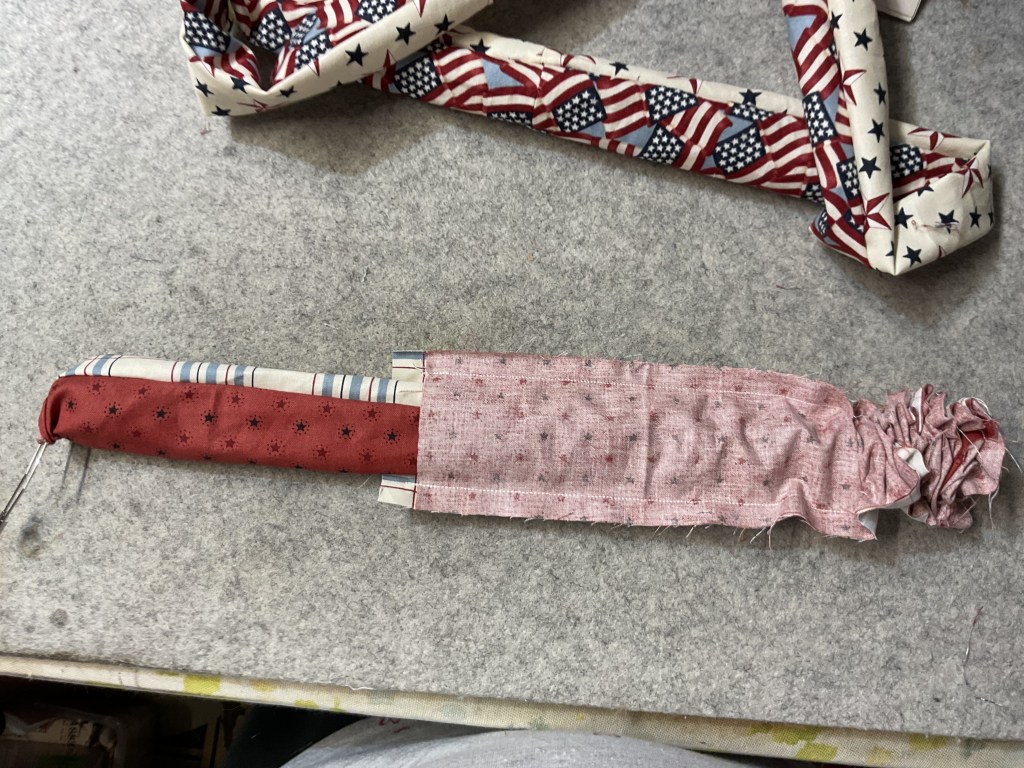
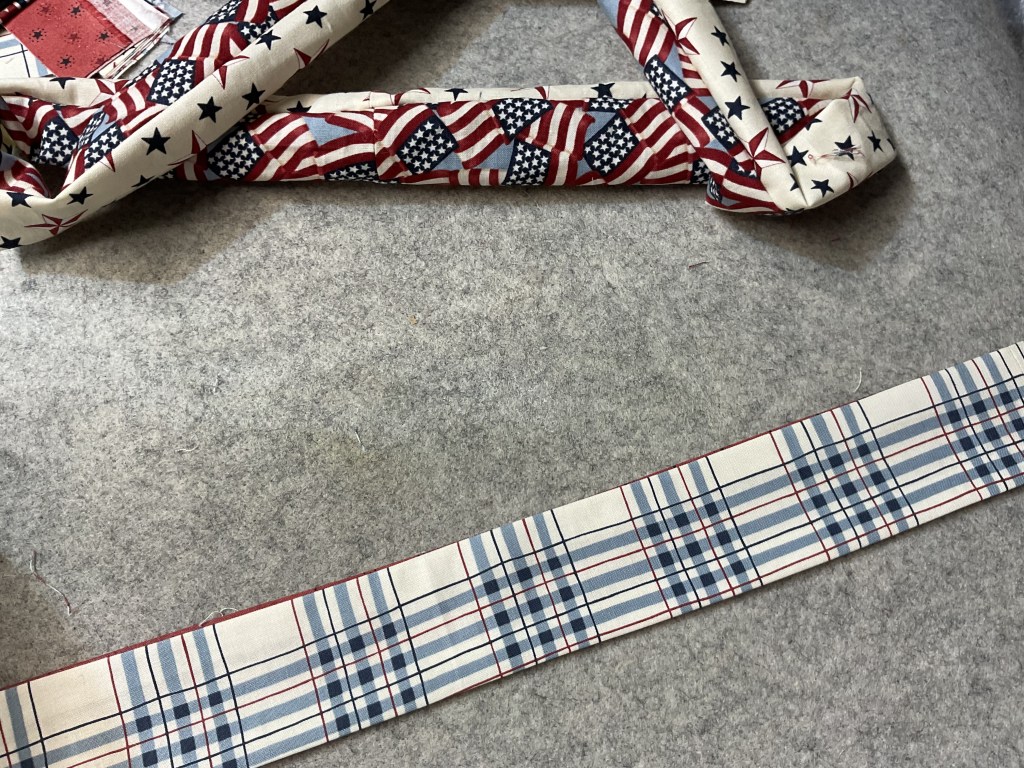
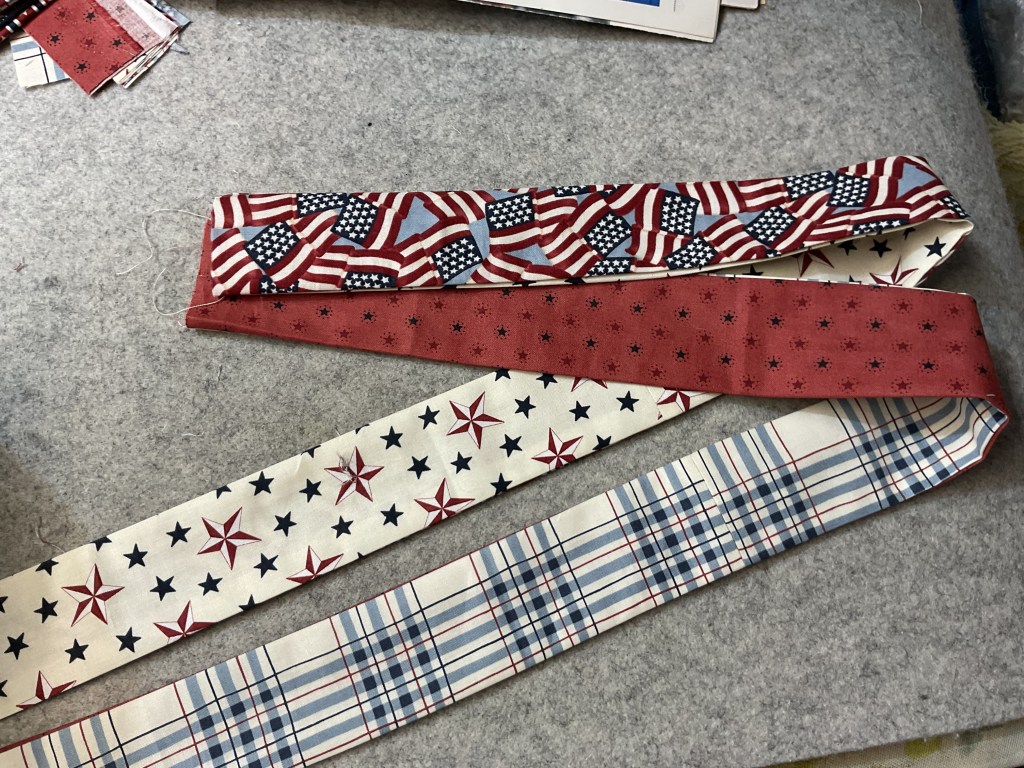
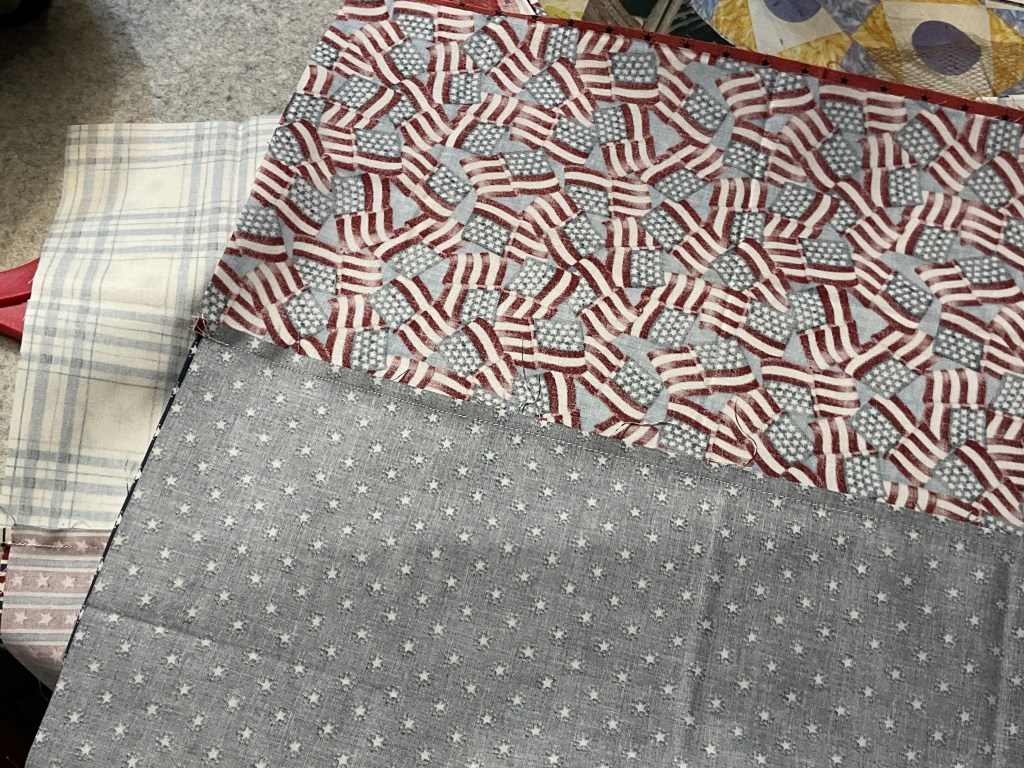
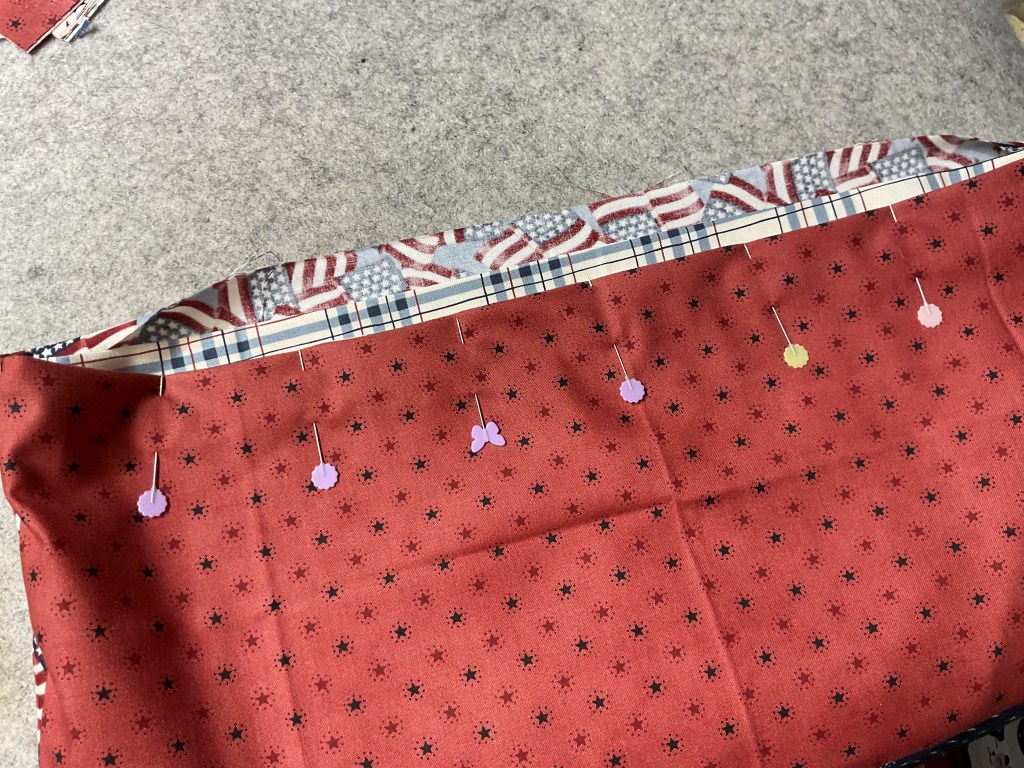
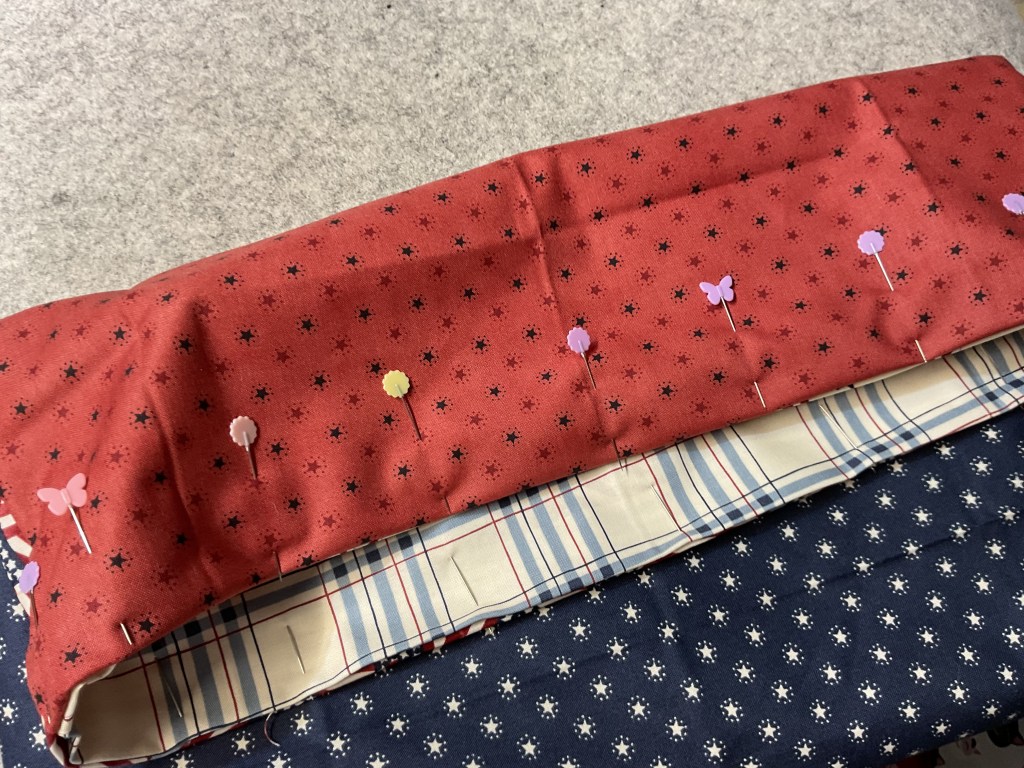
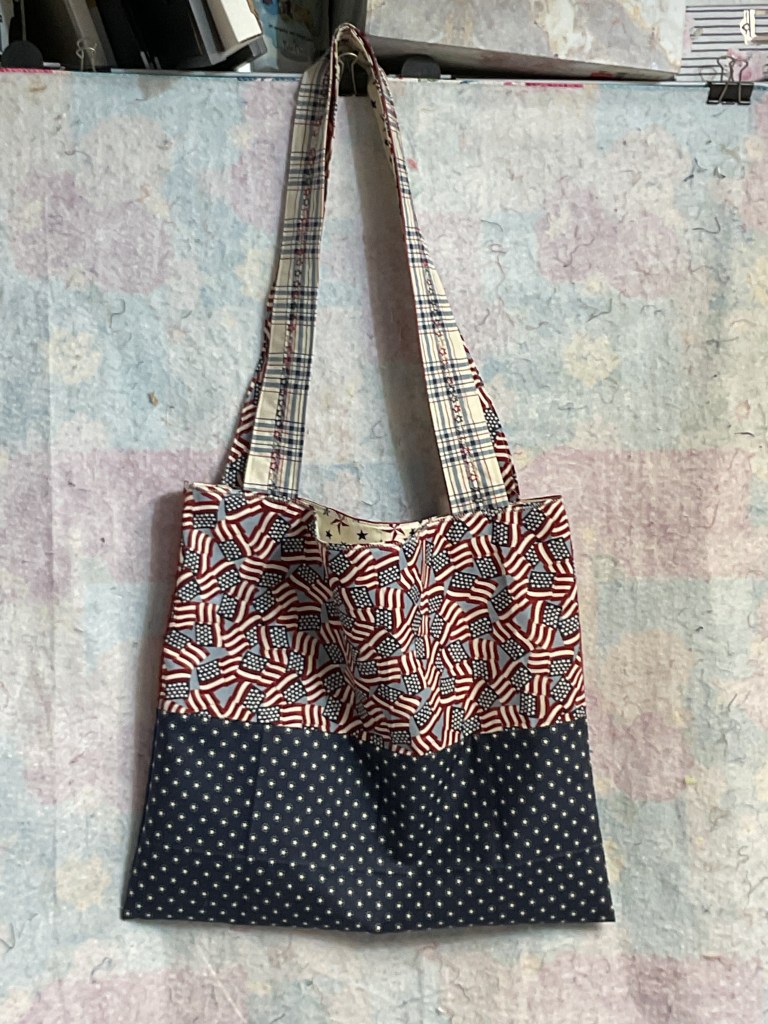
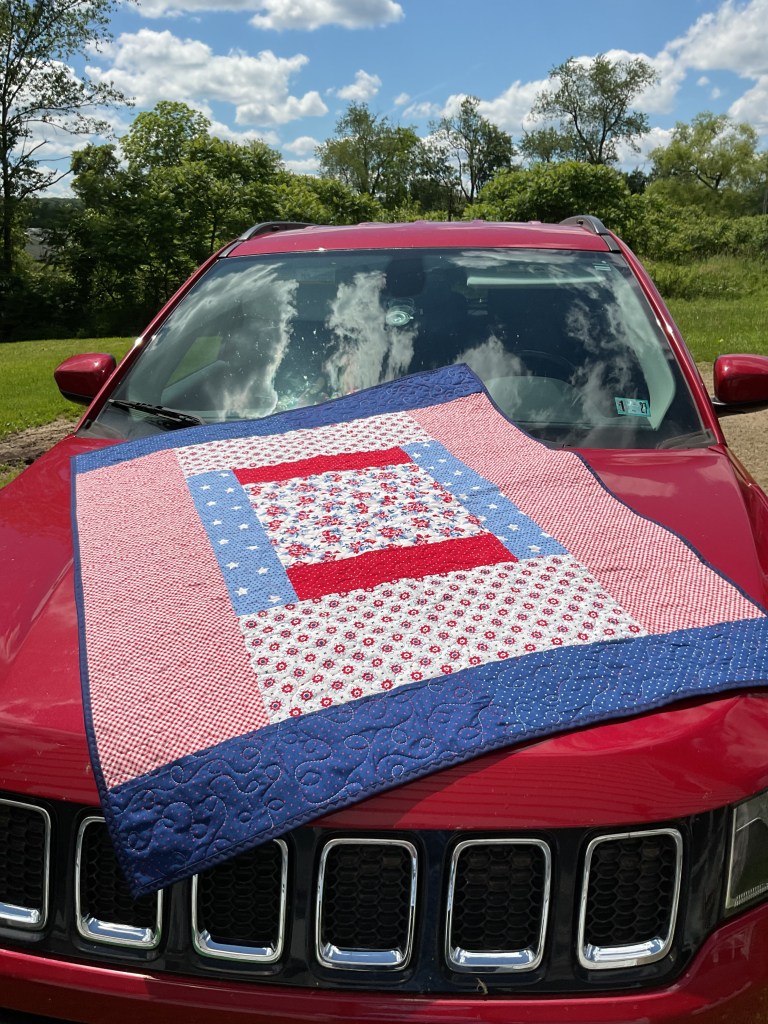
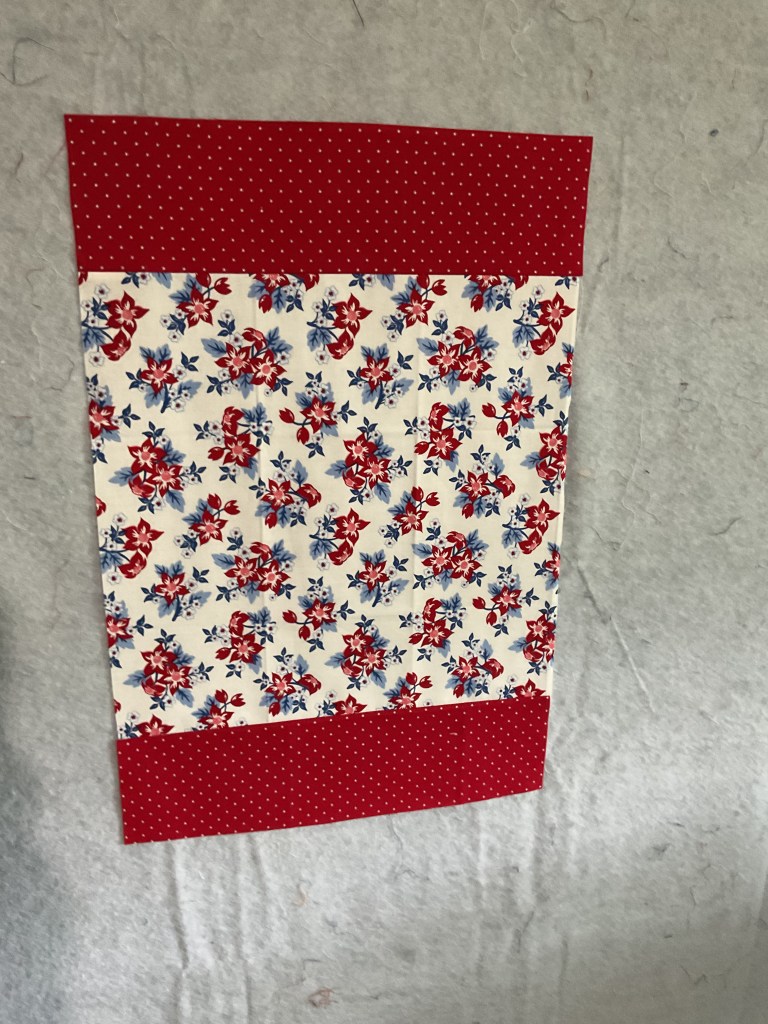
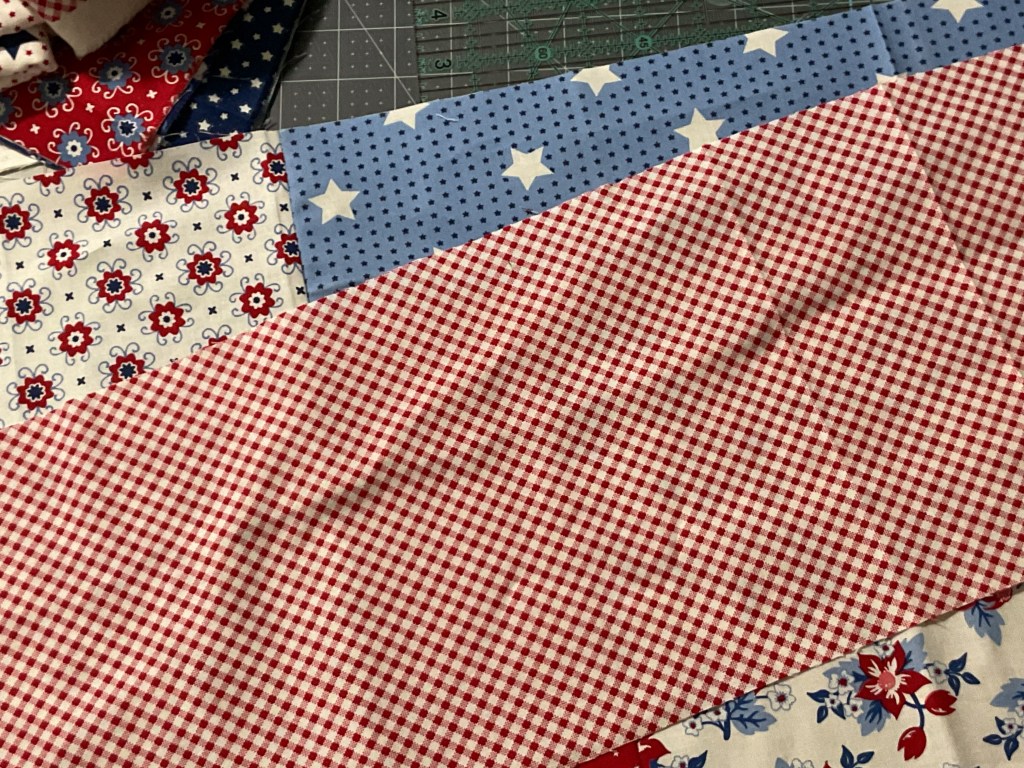
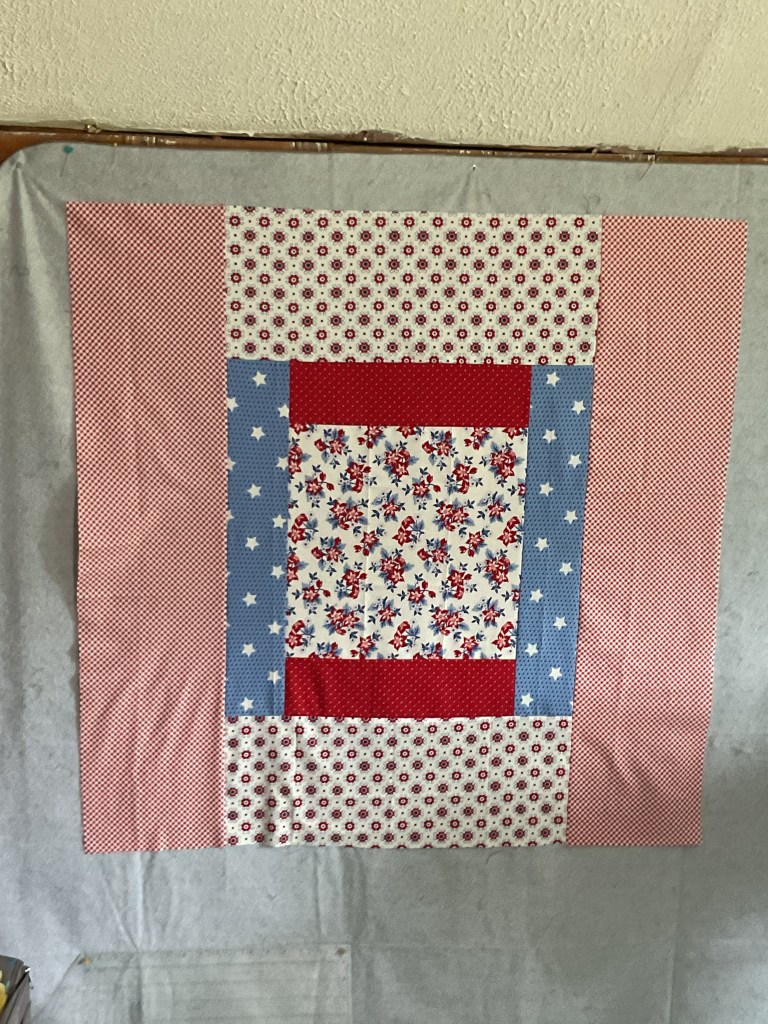
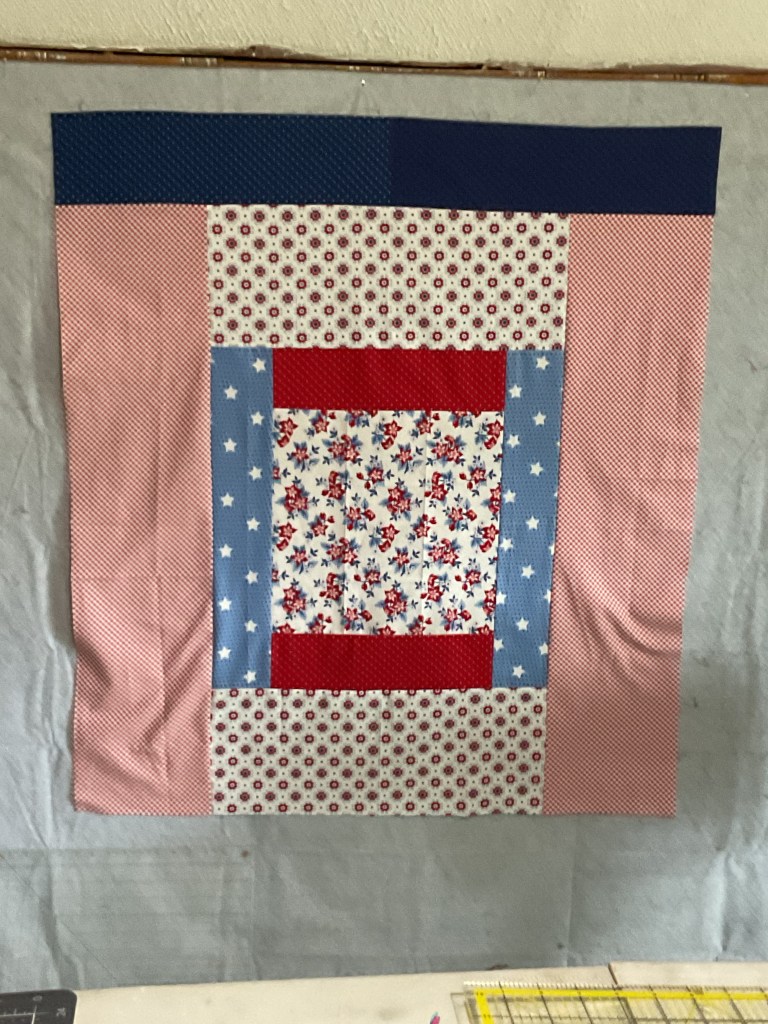
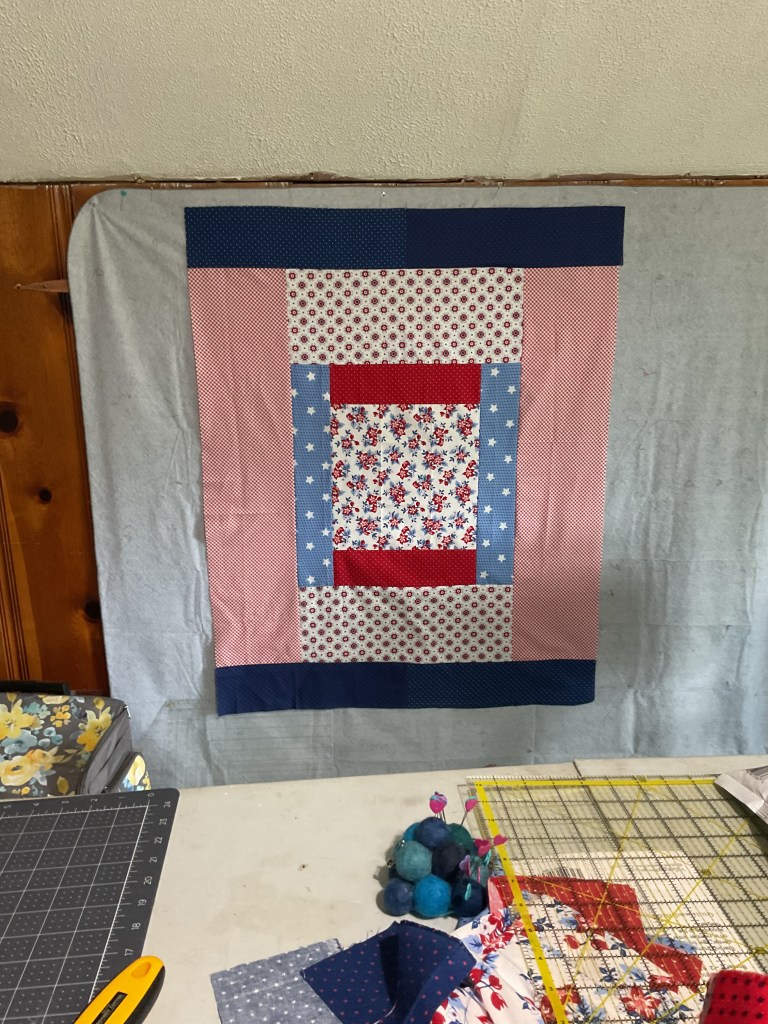
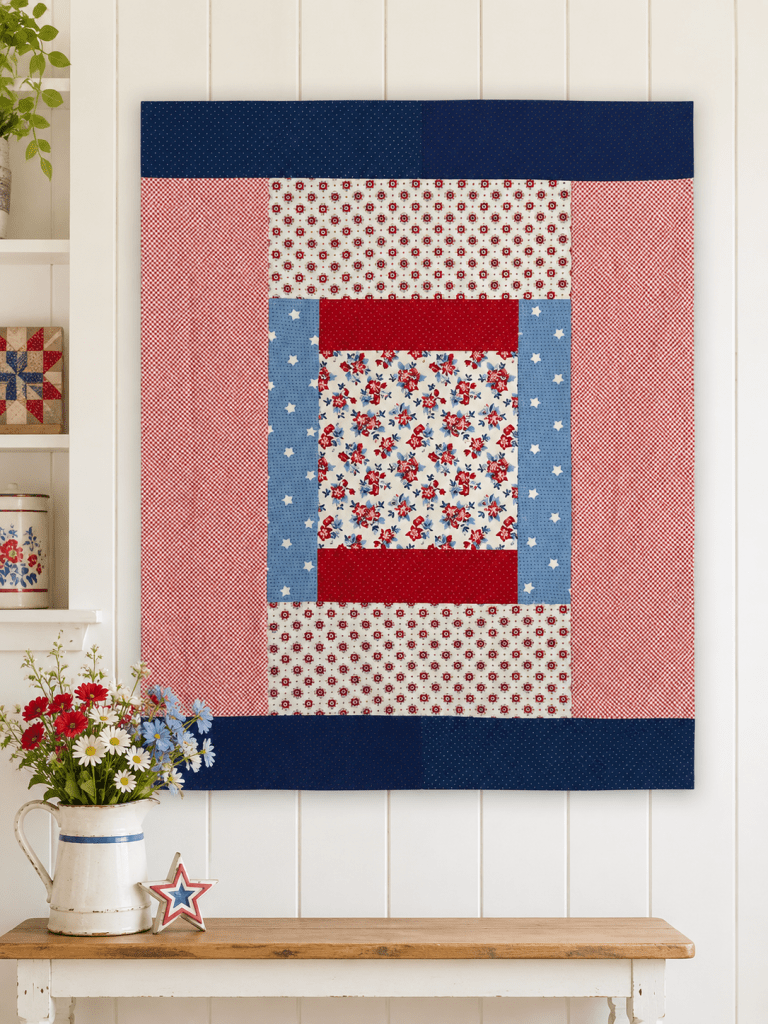
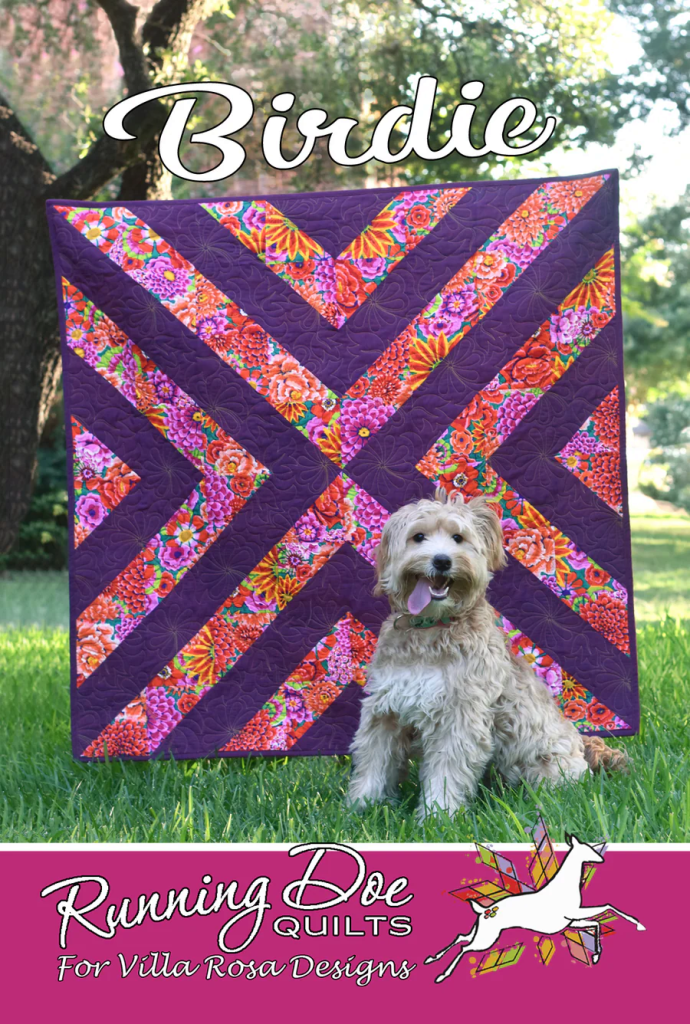
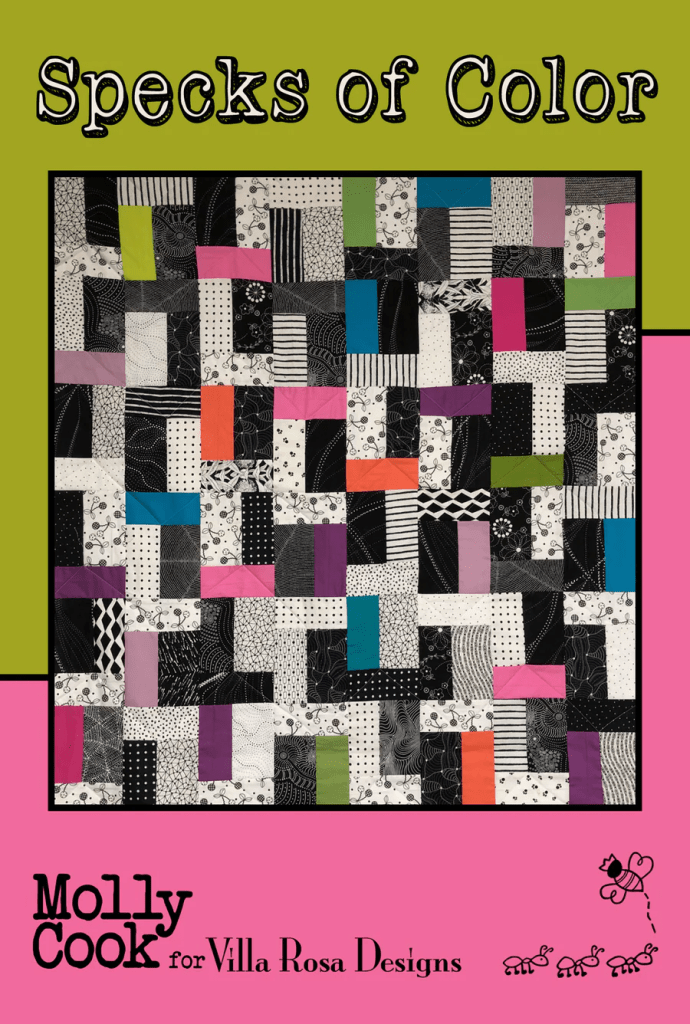
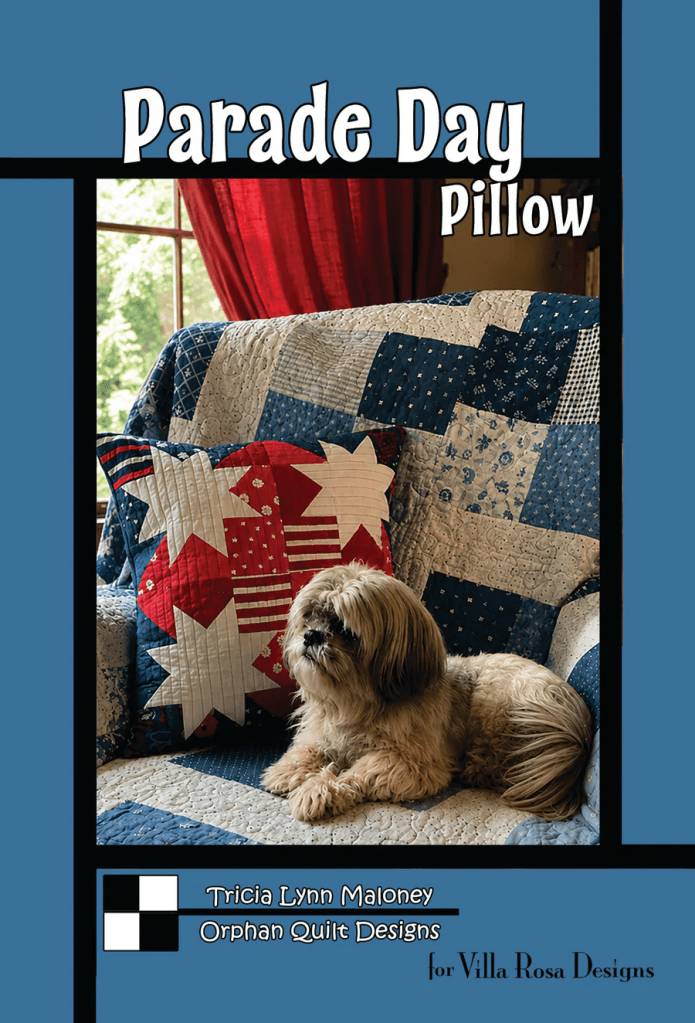
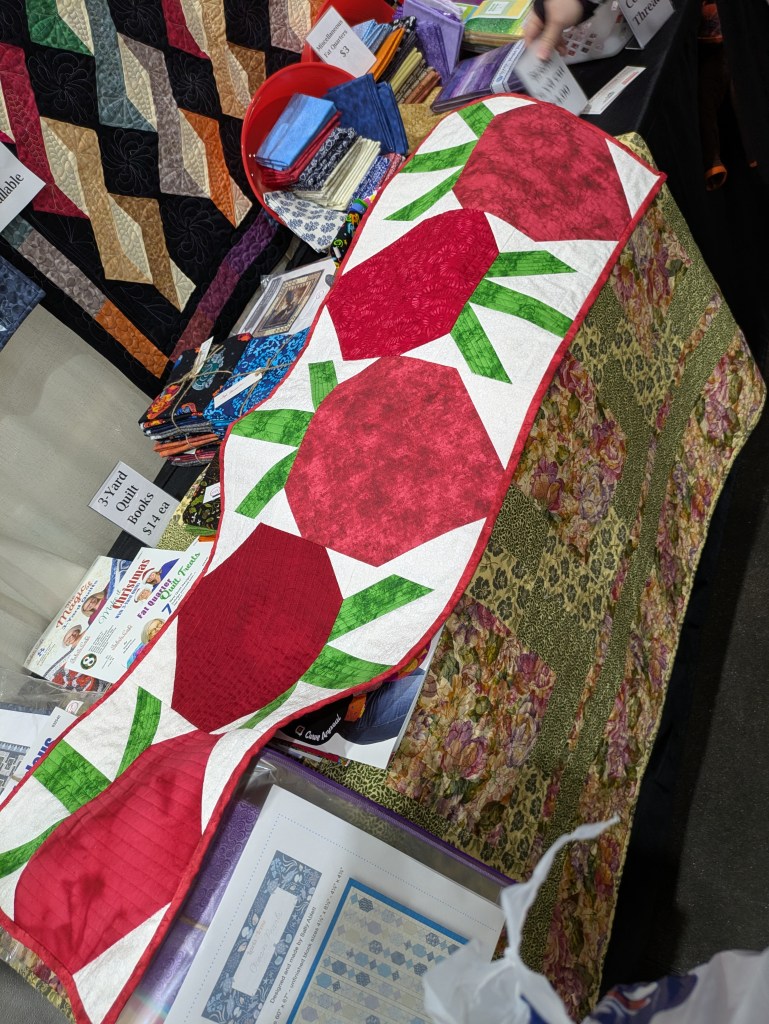
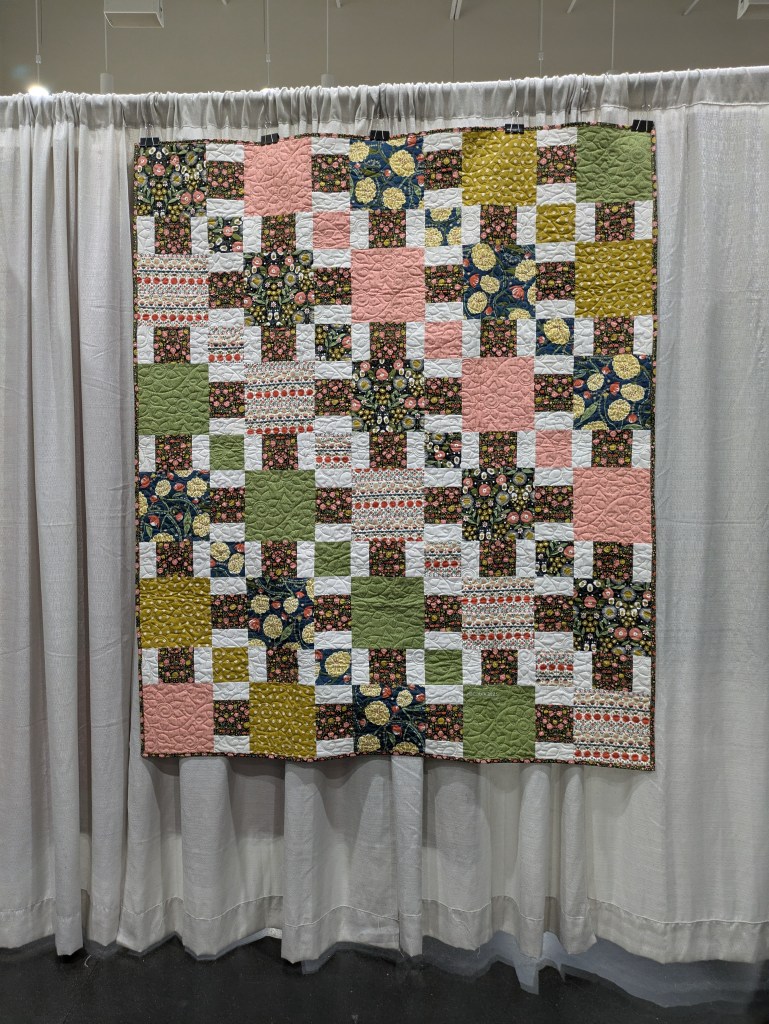
Here’s Brenda’s Week 4 Savannah Jane scarf. What fun fabrics and the colors are sew yummy! Yay you!
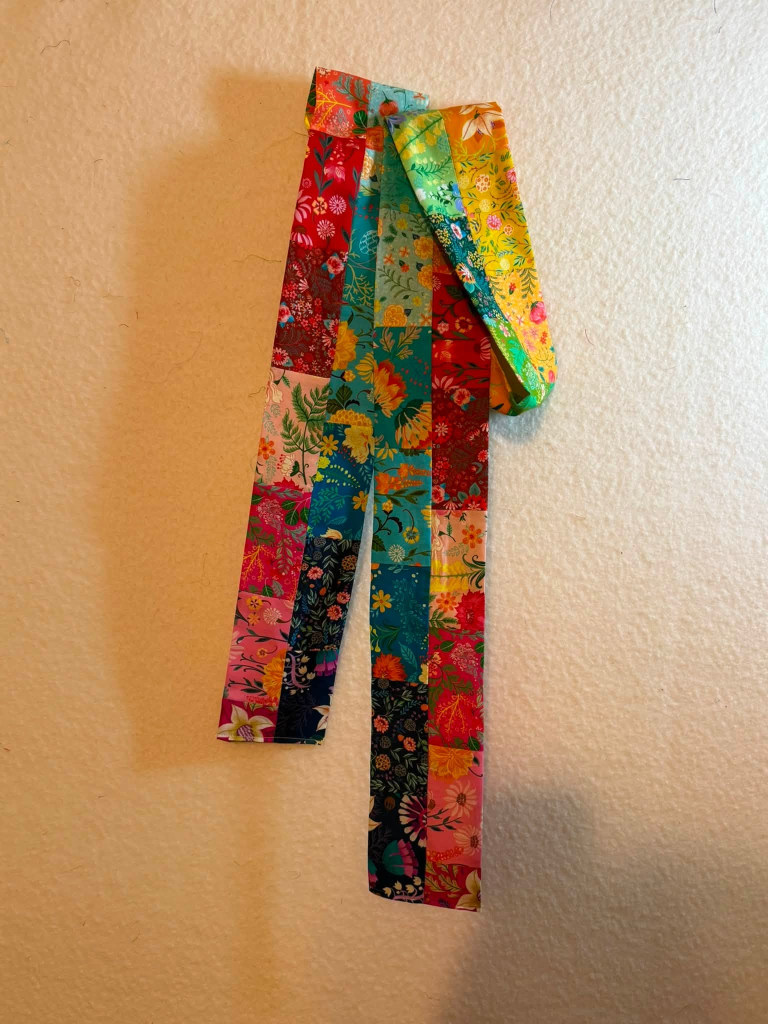
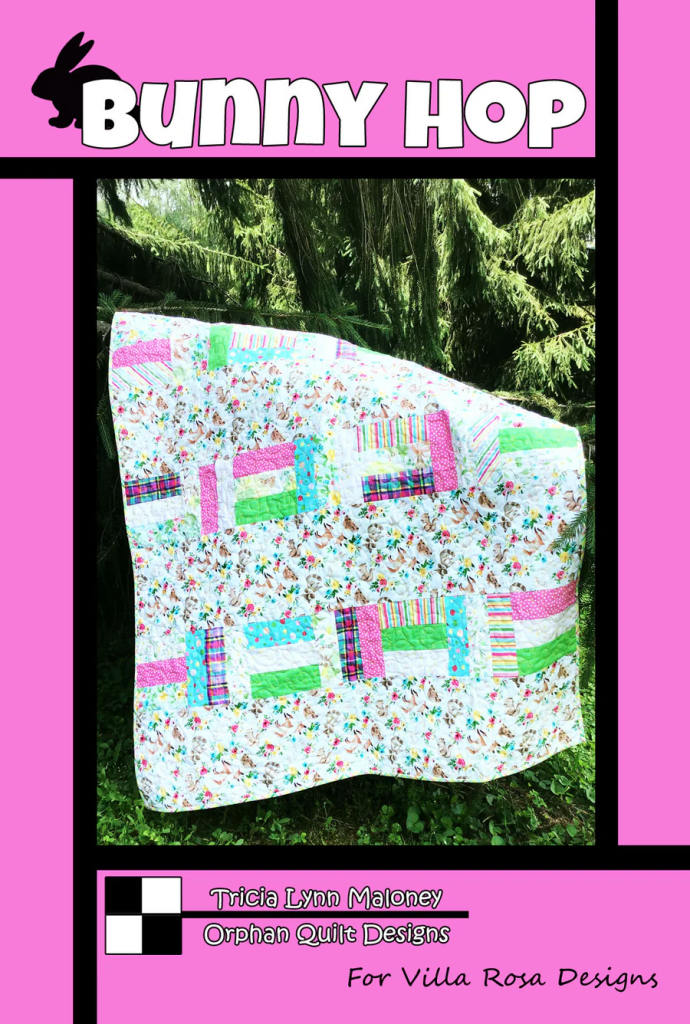
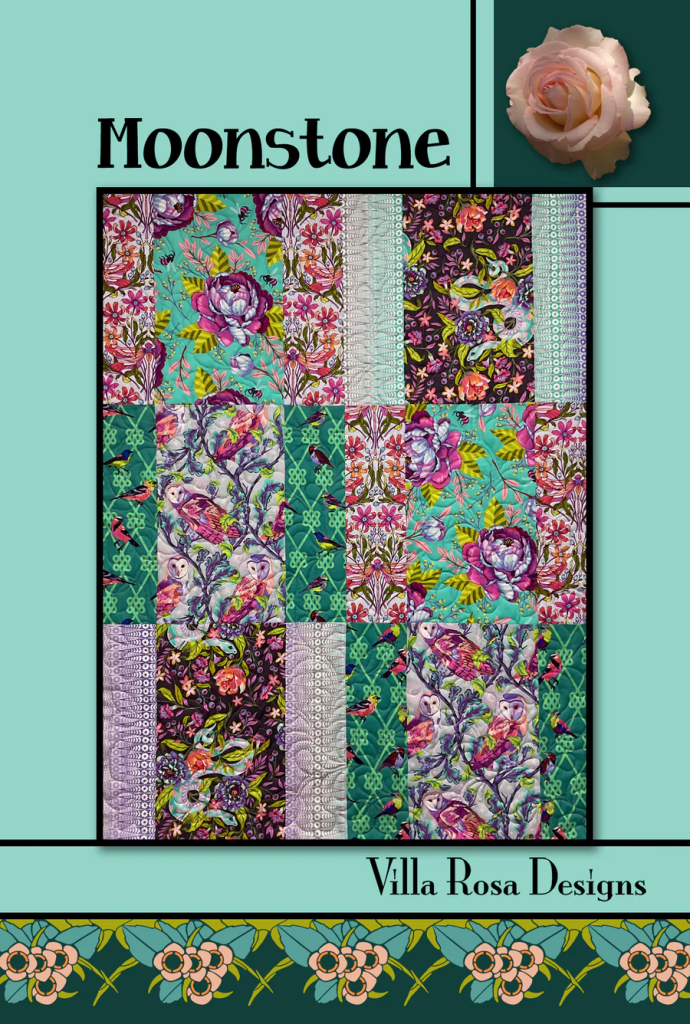
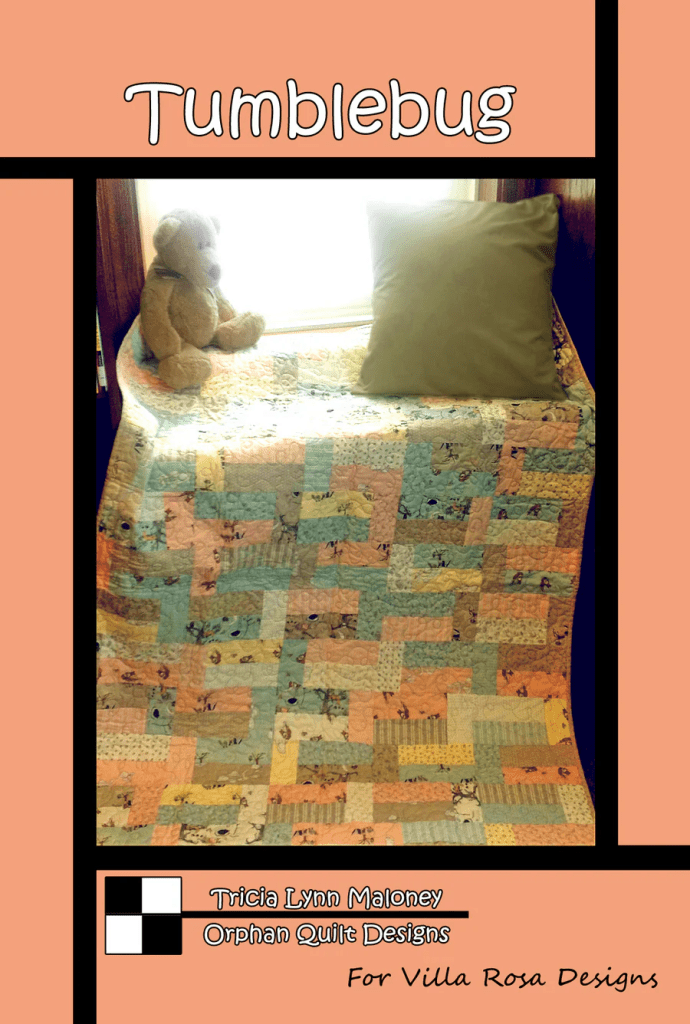
Here’s the Savannah pattern links if you haven’t added it to your pattern collection yet. It’s fast and fun…….it’s Villa Rosa!

Get your digital pattern HERE or print pattern HERE
Next let’s talk about Week 5 of our Challenge!
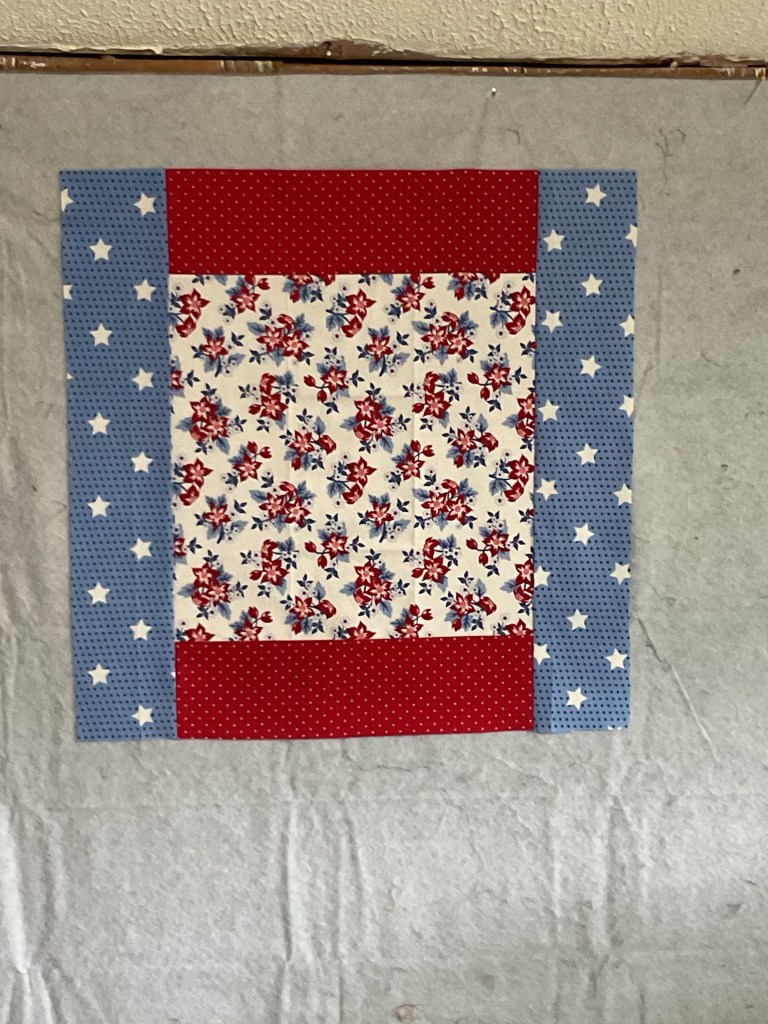
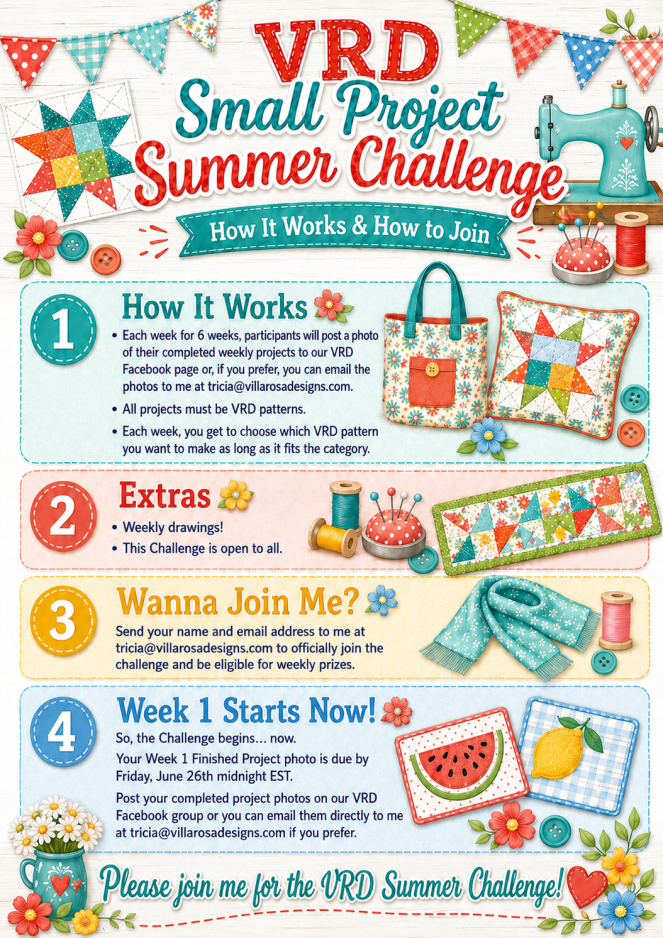
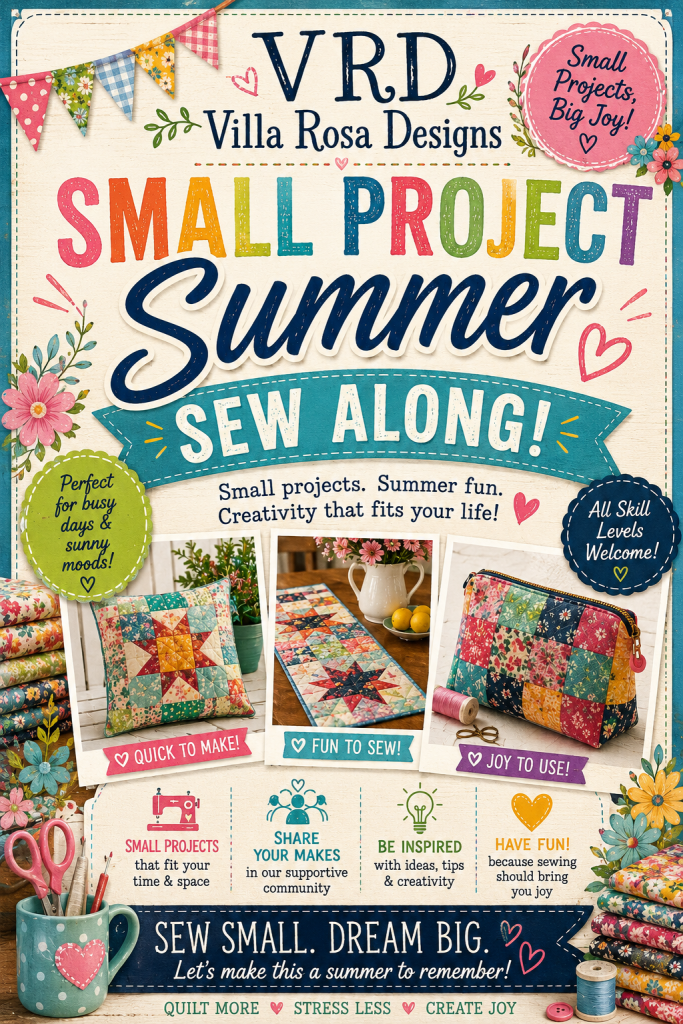
VRD Small Summer Project Challenge Week 5 and My Not-So-Funny Story
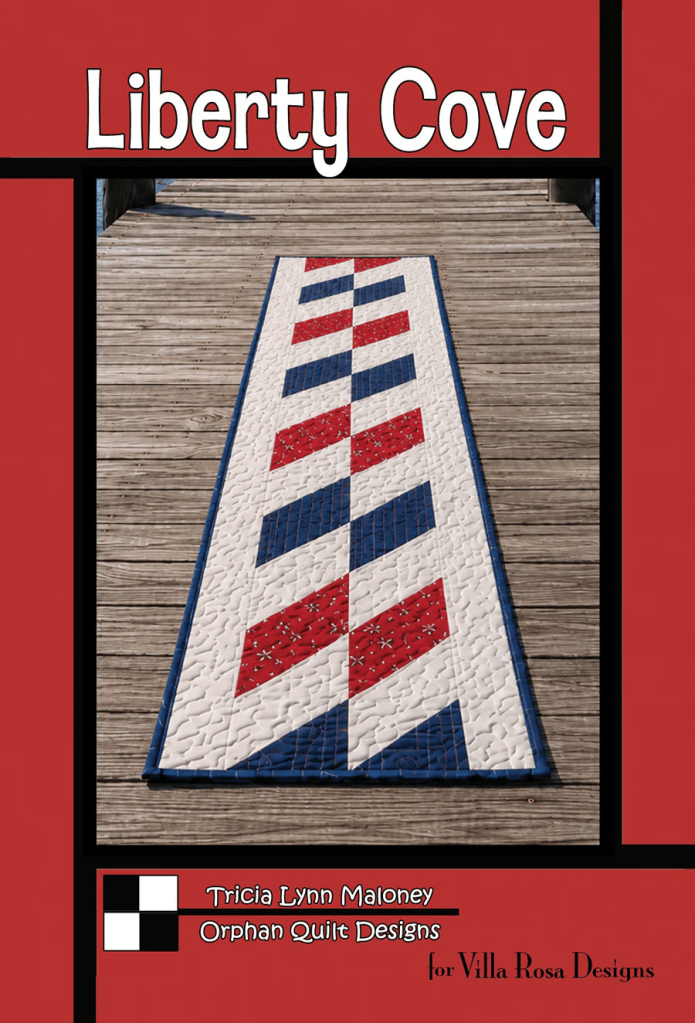
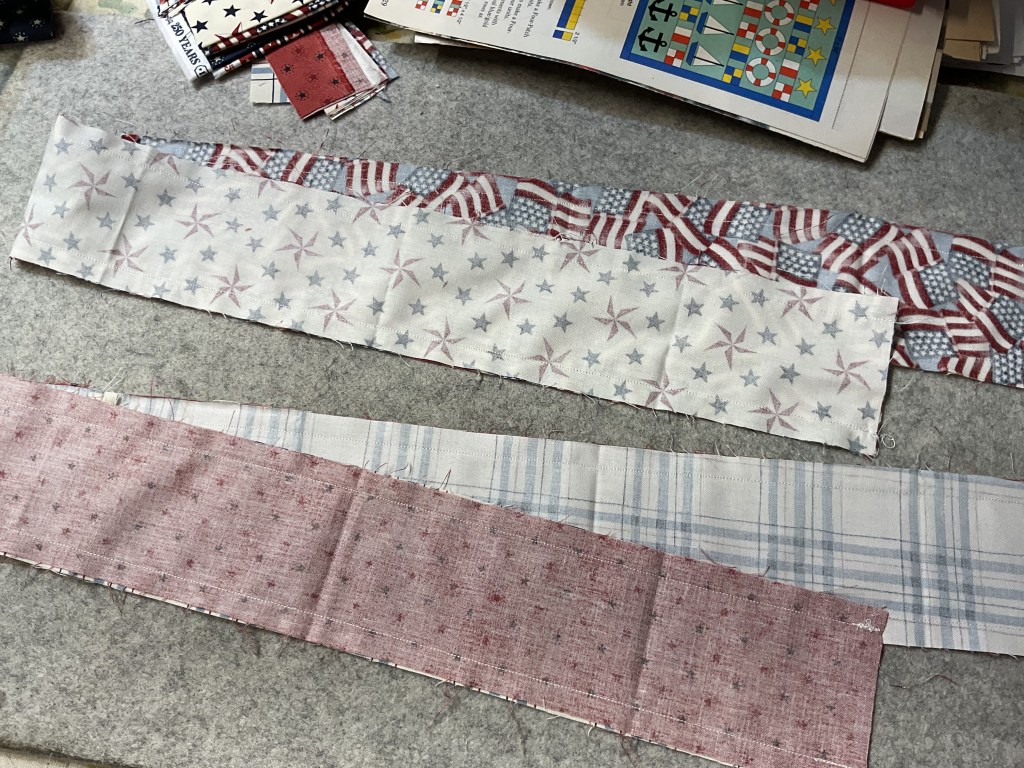
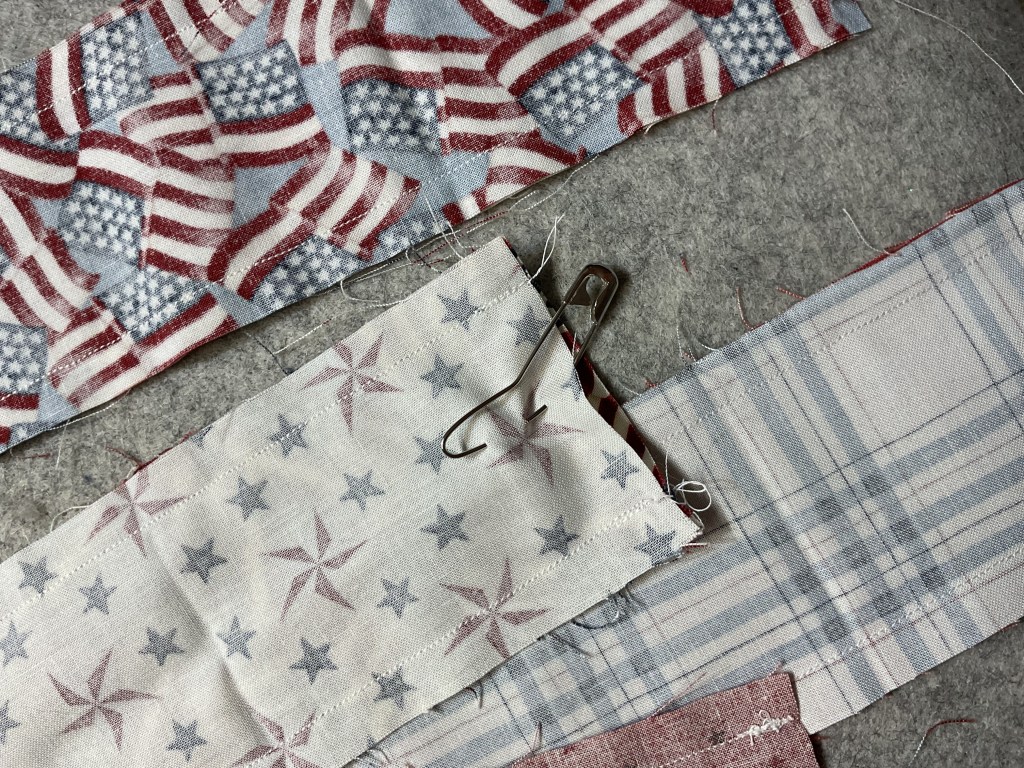
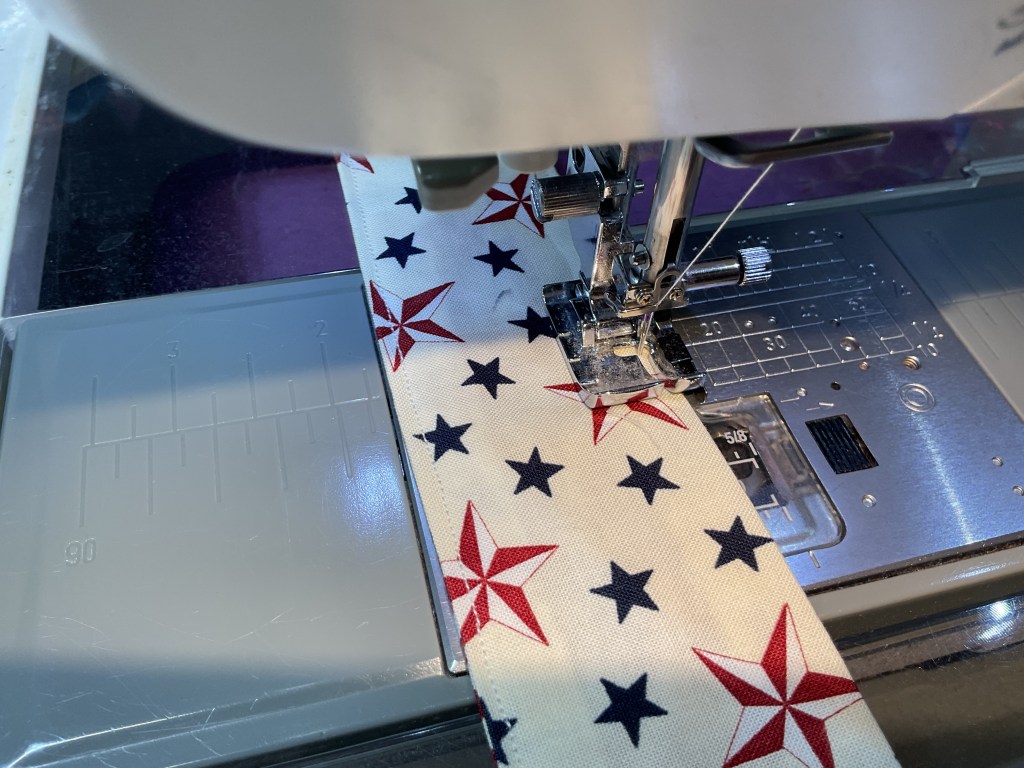
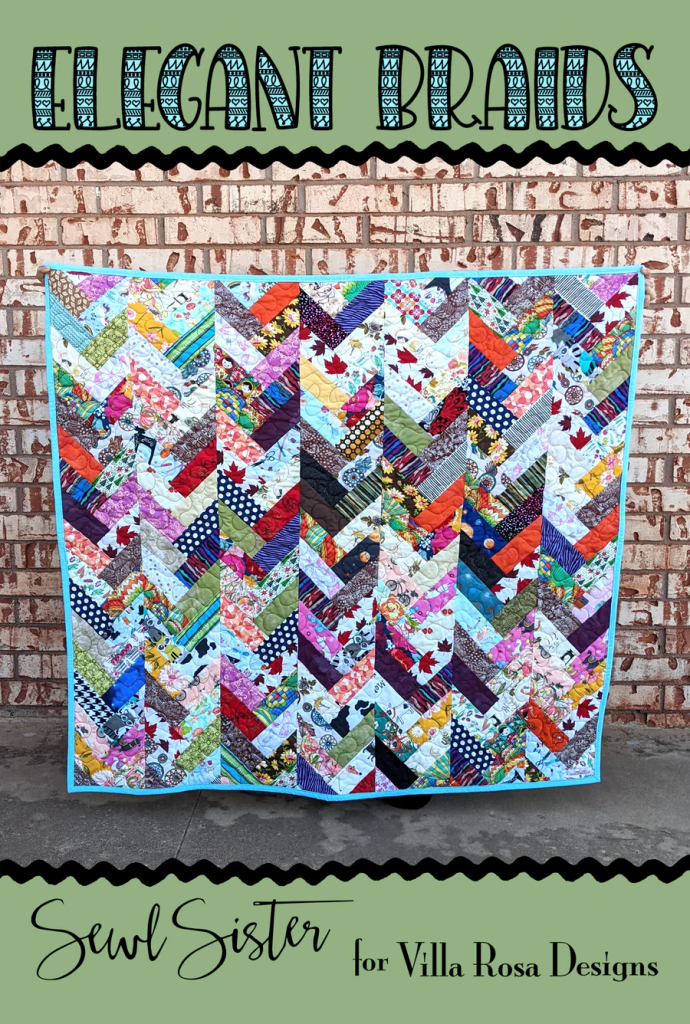
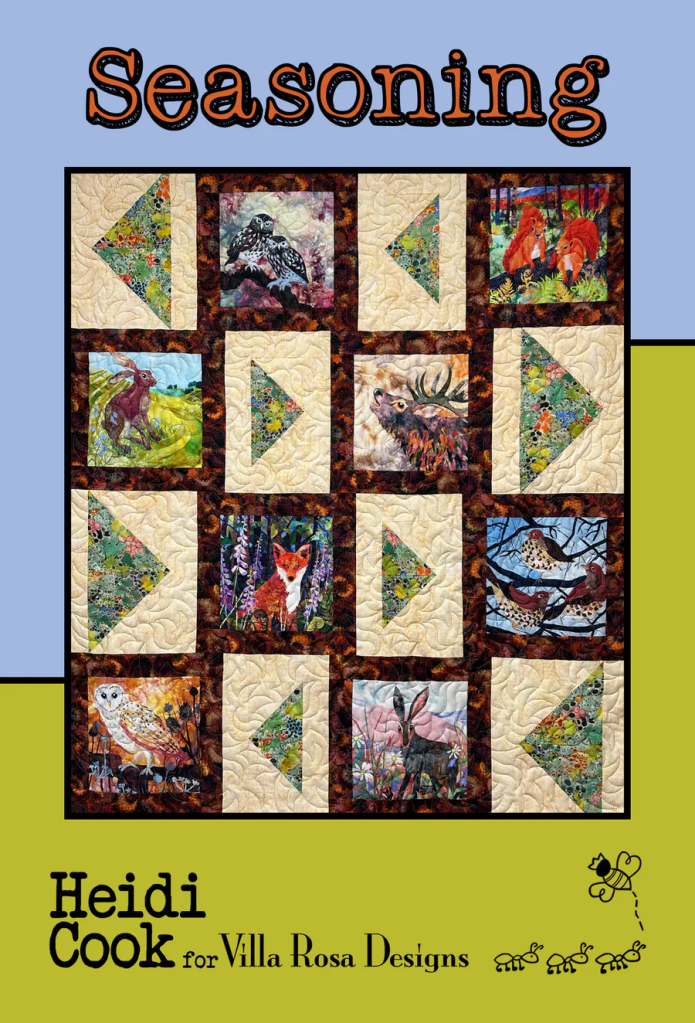
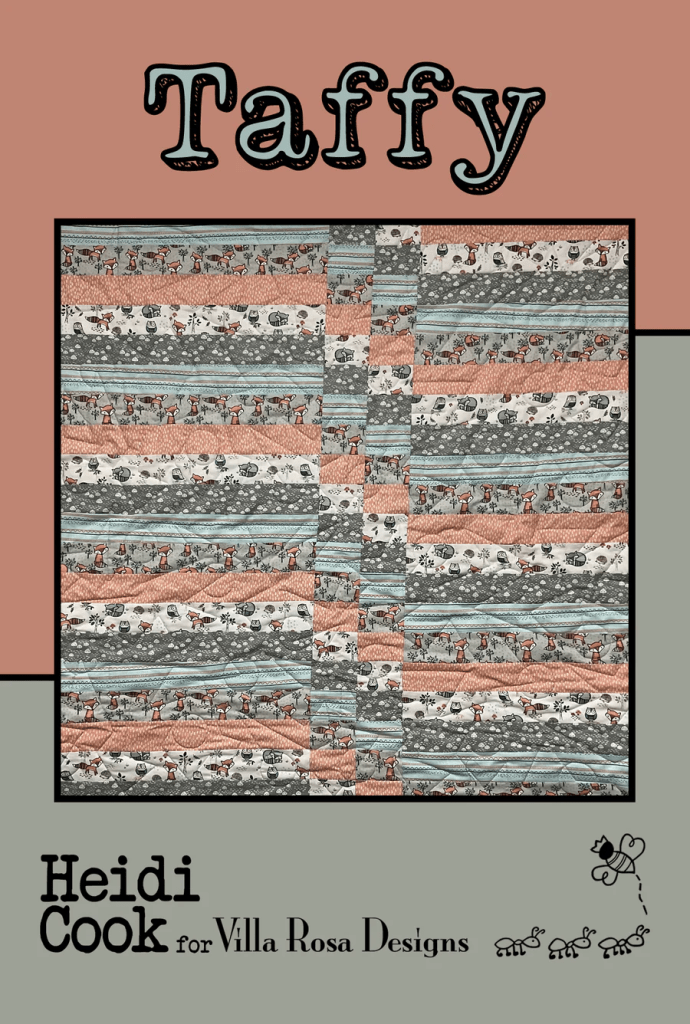
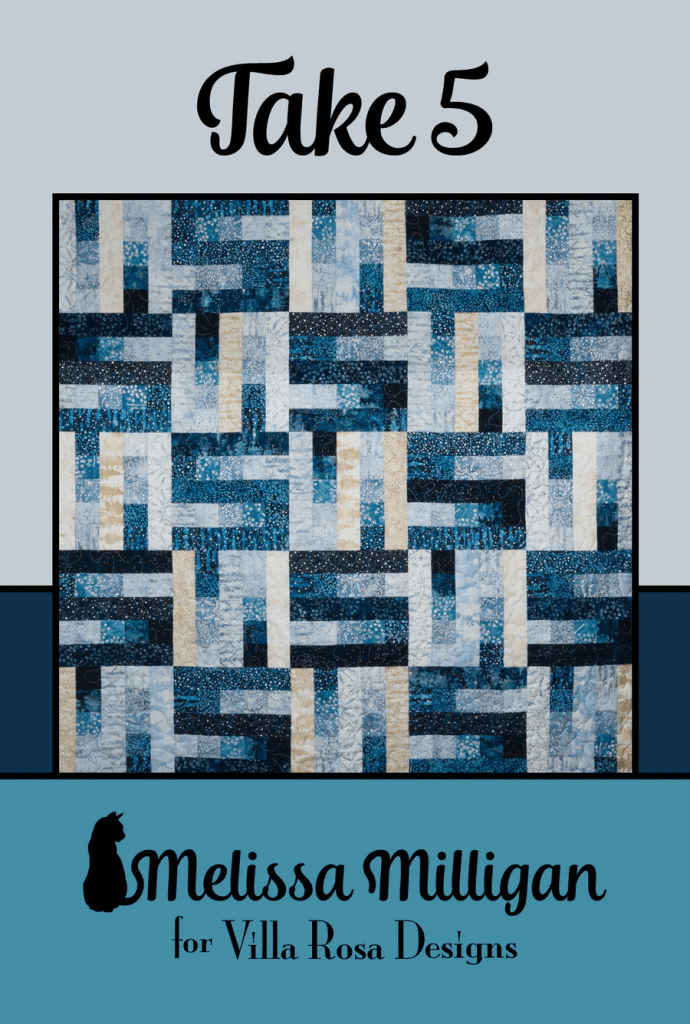
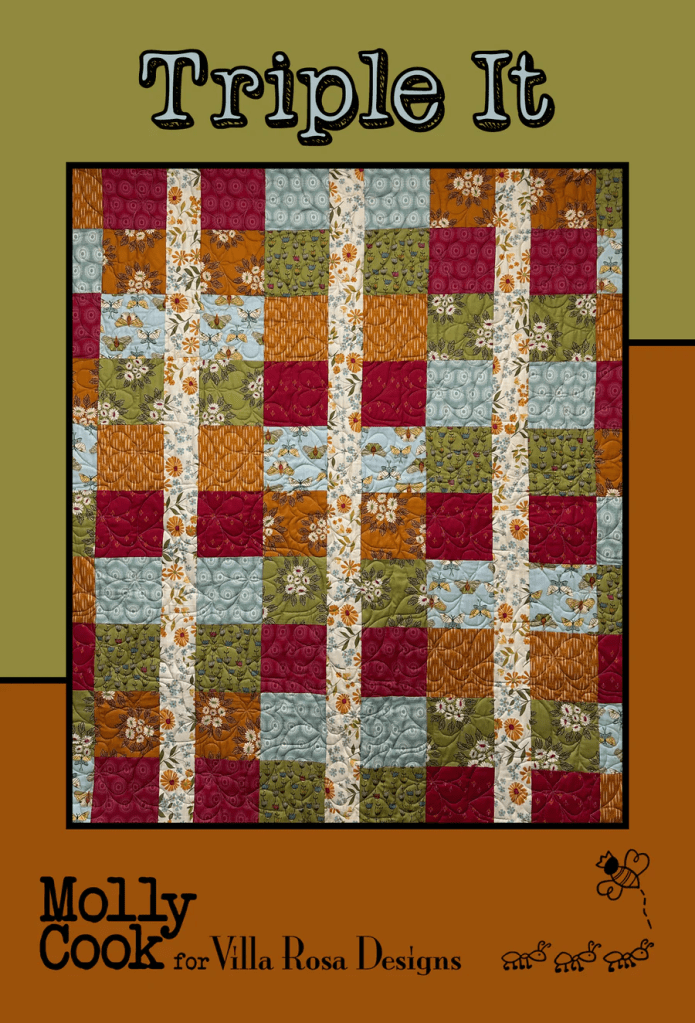
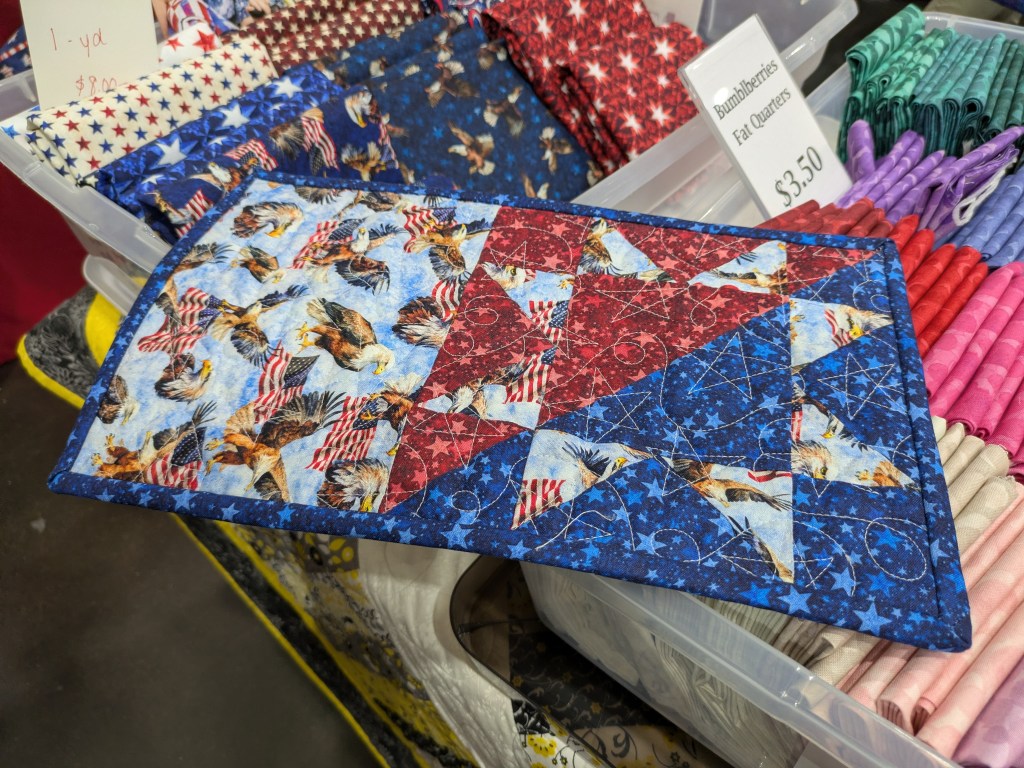
This week’s Challenge is a completed table runner and I personally know for sure that you have A LOT of patterns to choose from. You can check out our VRD Rose Card table runner patterns HERE. Your finished table runner is due by midnight Friday July 24th EST.
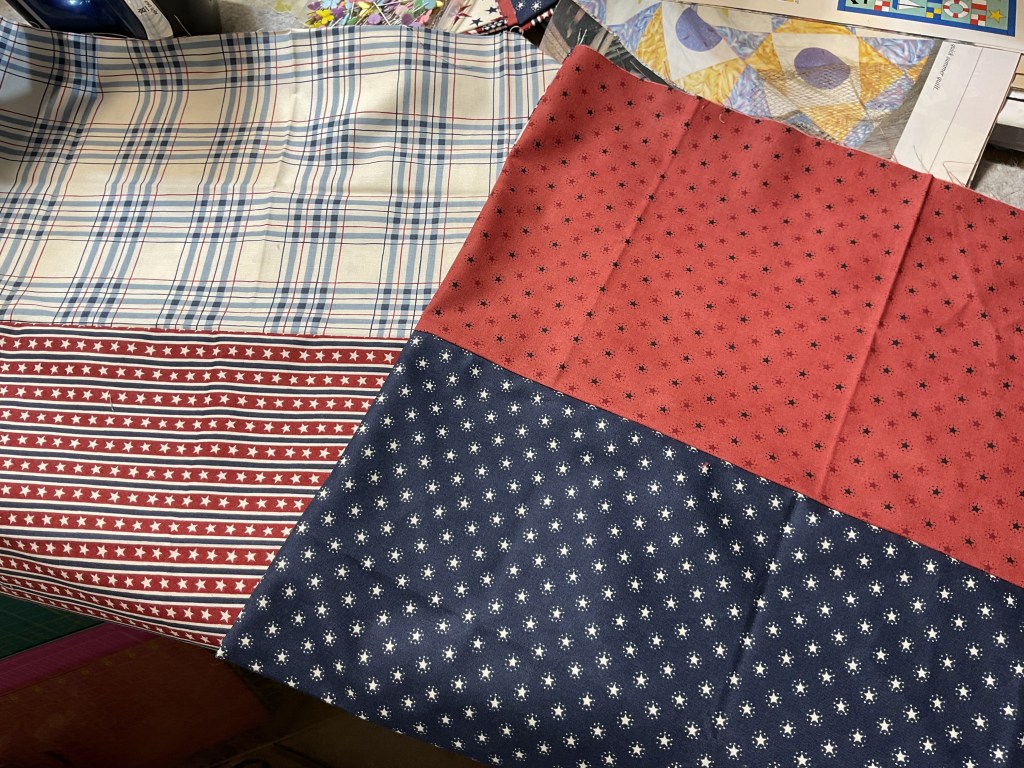
I’ve been checking out the Challenge runners posted on Facebook so far and I must say, they are all really terrific. It never fails to amaze me how different fabrics can totally change the look of a pattern. The arrangement of lights and darks can also change the overall look of a quilt project, too. And don’t forget the quilting – hand or machine – it adds to the uniqueness of each and every project.
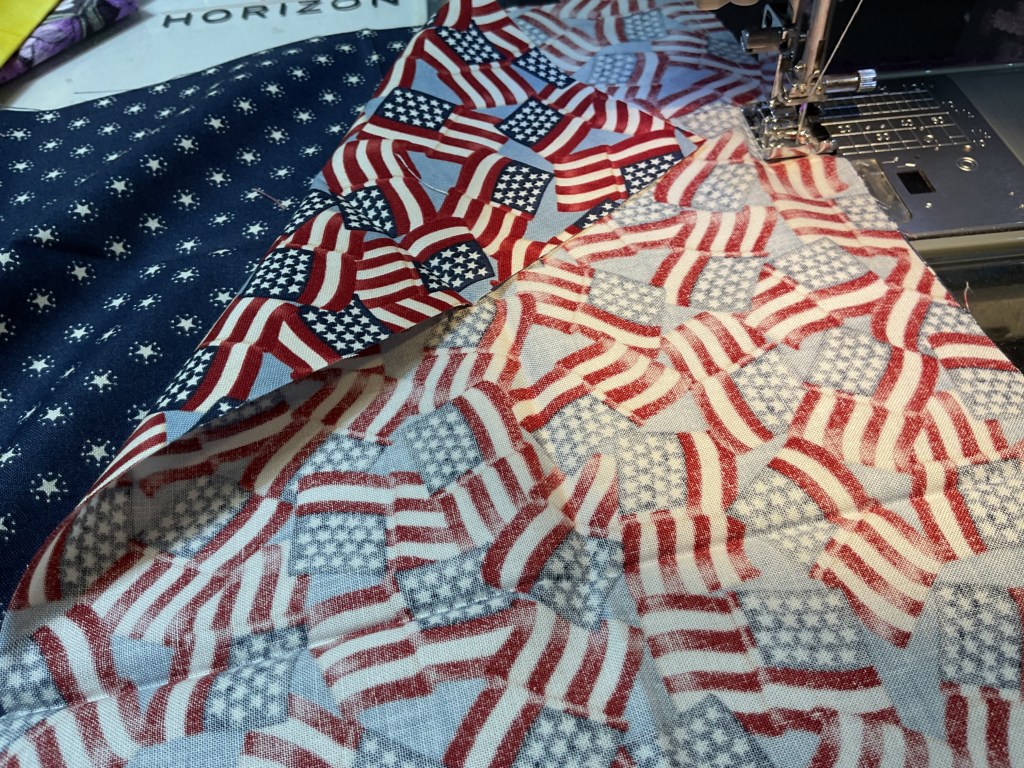
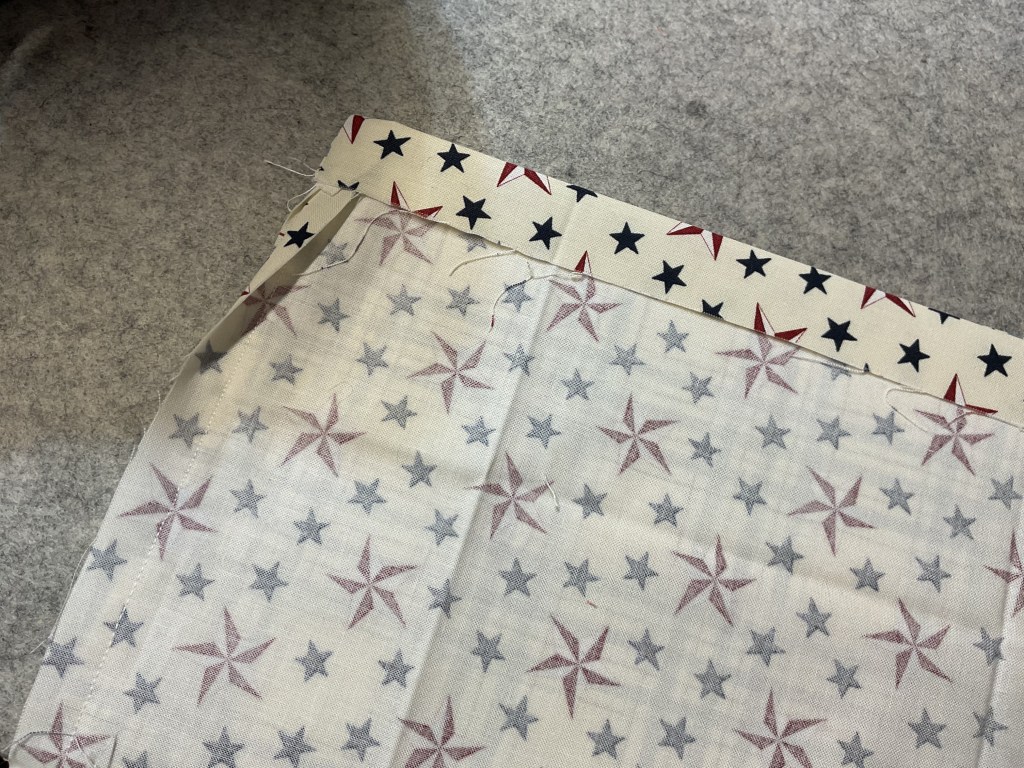
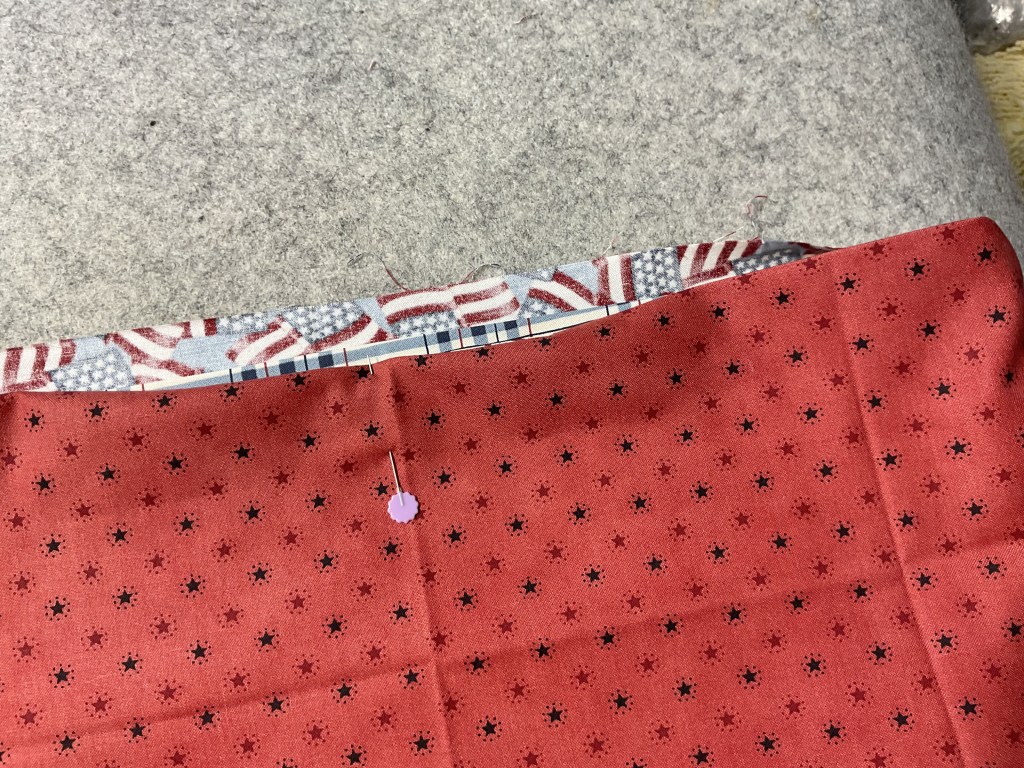
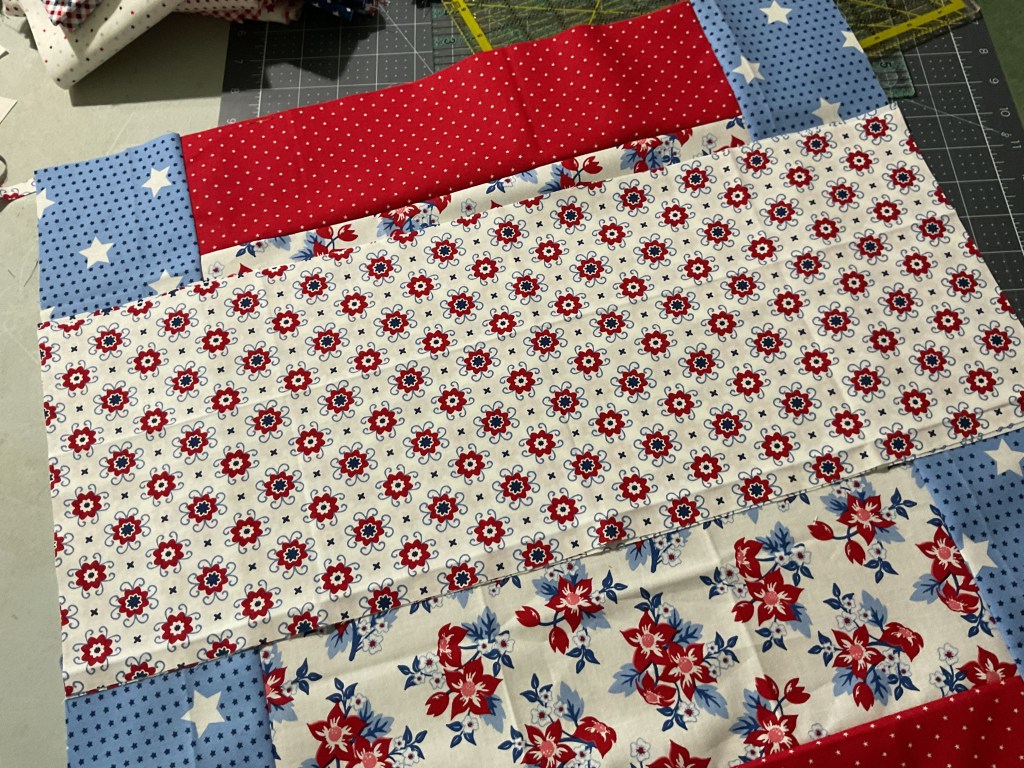
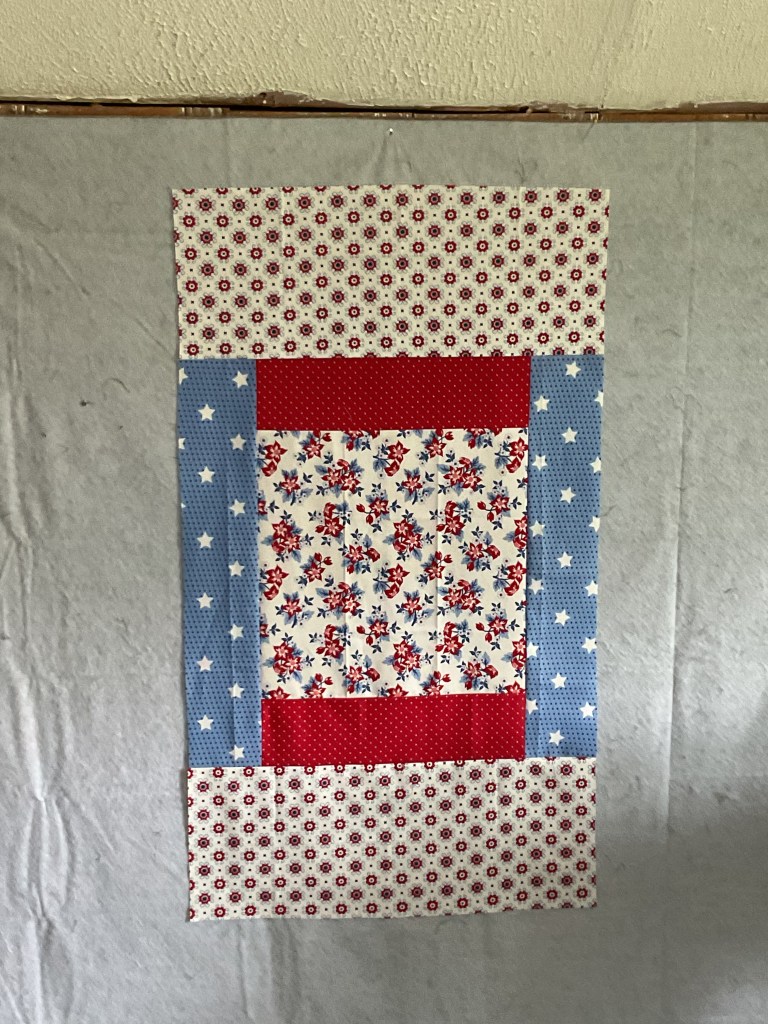
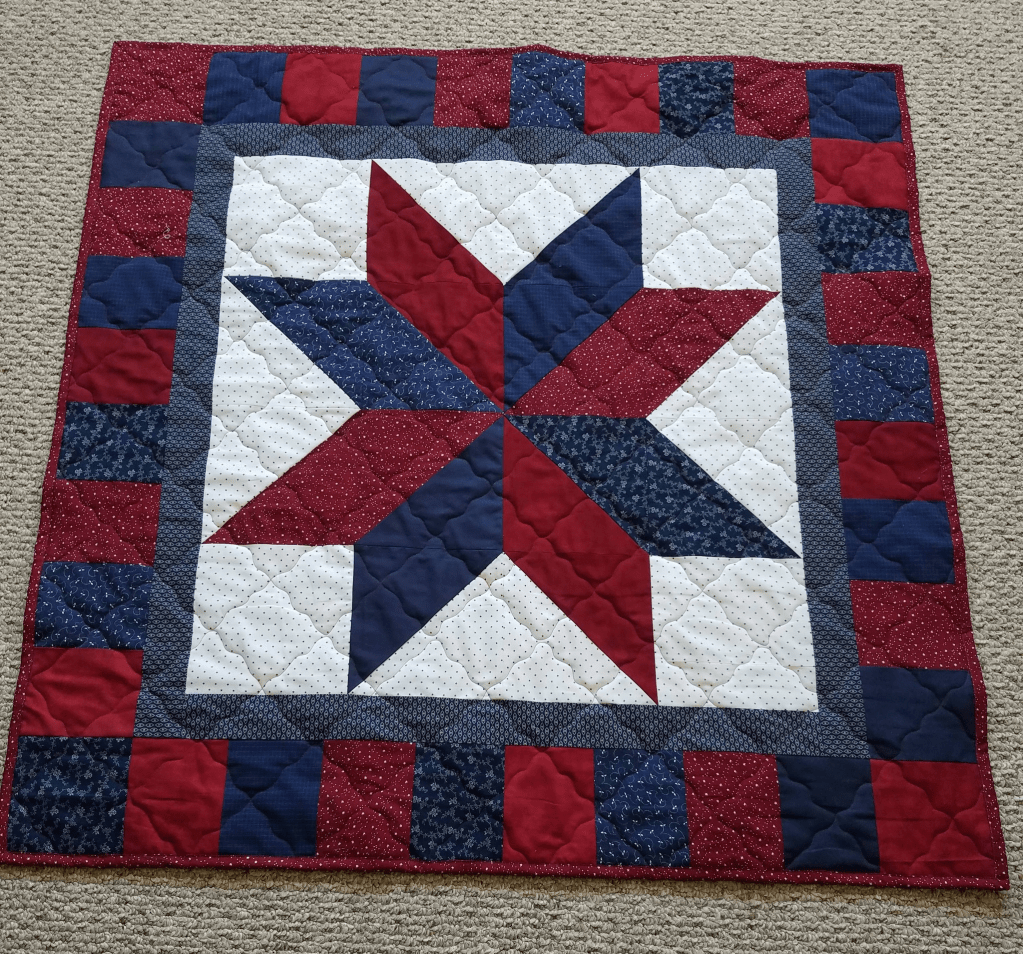
I must apologize again – I did not complete my table runner this week. If I had, I was going to make the Be Square runner and use fall fabrics for a quick autumn runner. Sigh…..it would have been really cute, too. I’m still planning to make it, but just not this week.
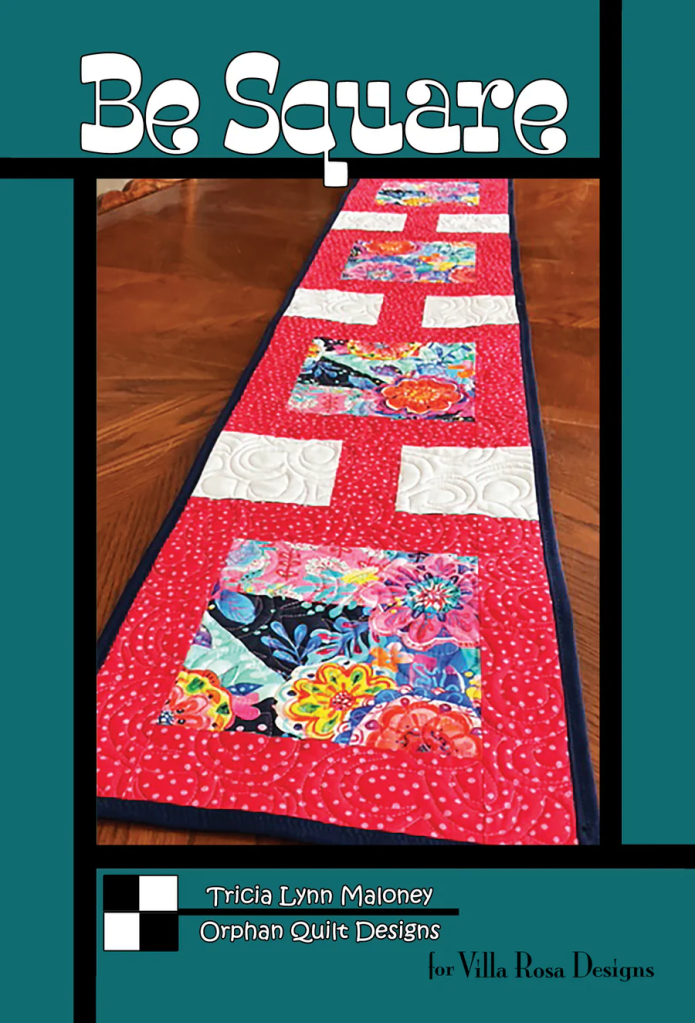
Get your digital pattern HERE or print pattern HERE
Sure, I’ve been totally swamped with family and summer events like all of you, including double family reunions this weekend. But the biggest and best excuse I’ve had for just about everything over the last few months (LOL!) is my health.
I didn’t mention it a couple of weeks ago when I wasn’t able to complete my project, but I have been fighting Lyme disease. I probably contracted it sometime in May, although who really knows for sure? I’m not a hiker and I don’t spend much time in the woods, so the likeliest place was probably my own yard, possibly while walking Bailly, gardening, or simply spending time outside.
My area of Pennsylvania is known for Lyme disease because it is rural, with lots of woods, trees, deer, and other wildlife. It’s probably surprising that I haven’t gotten it sooner, really. So now I’ve joined the ranks of the Lyme afflicted.
The hardest part is that I finished my antibiotics three weeks ago, and I am still experiencing symptoms. What are Lyme symptoms, you might ask? Well, they can be pretty nonspecific and often feel a lot like the flu.
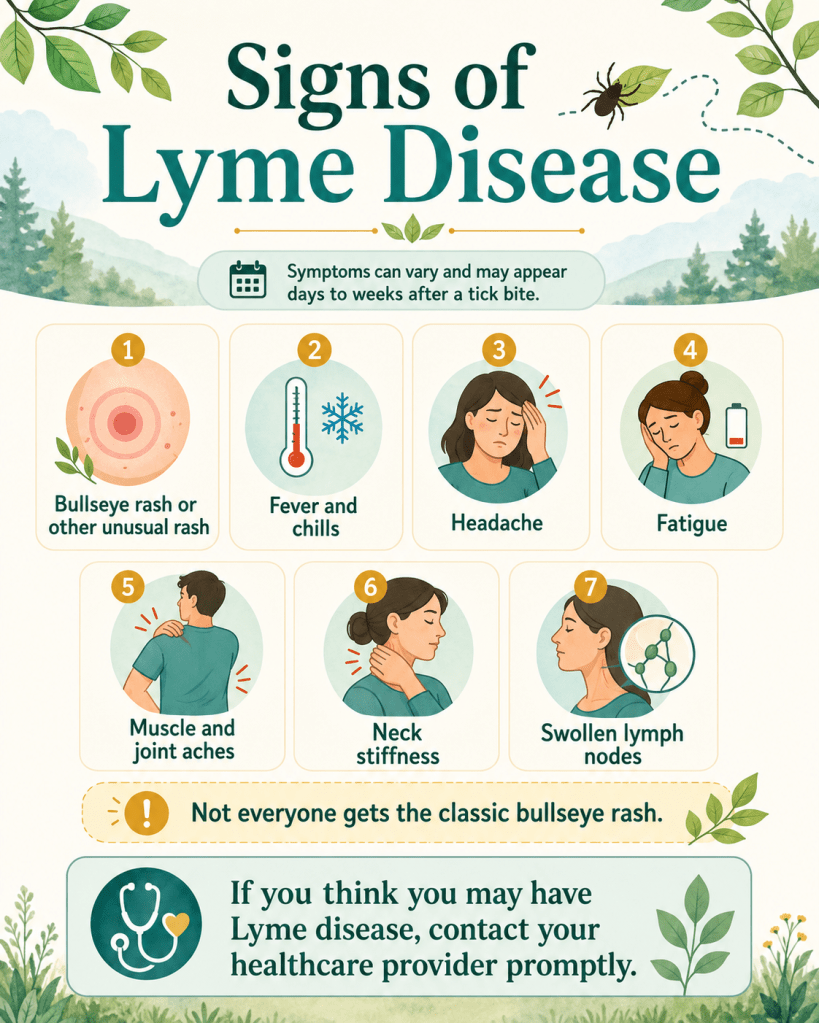
With Lyme disease, you hear all about the classic bullseye rash. Well, guess what? Not everyone gets one. I didn’t. If I had, I probably would have been diagnosed sooner.
Instead, I had a puffy round, very itchy red spot that I honestly thought was a spider bite. I had it for weeks, perhaps even a month, before it began to fade. Then another itchy red spot appeared nearby.
Another spider bite? I wondered.
Some people do not notice a rash at all.
My other symptoms were spread out over several weeks rather than appearing all at once, so I never connected them. Then my friend Mary Lee mentioned that her great-nephew had contracted Lyme disease while camping. Thank goodness she told me about the poor kiddo, because something finally clicked.
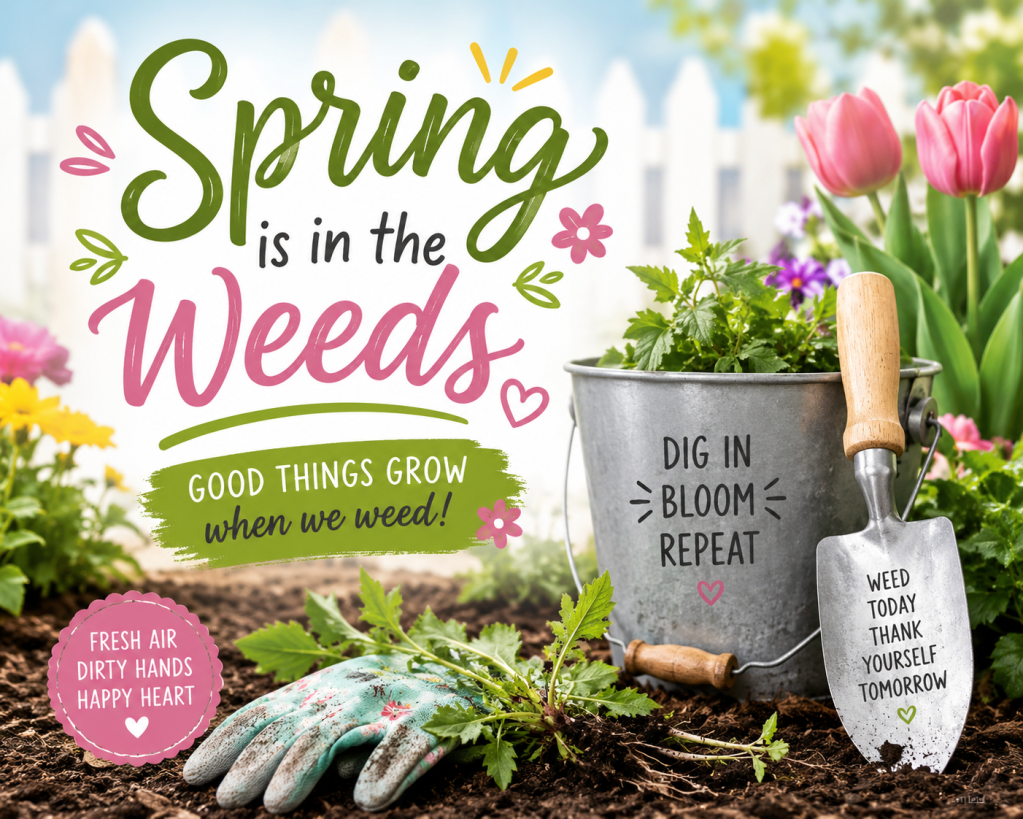
I looked up the symptoms online (see the poster above), and I realized that I had experienced many of them, just not all at the same time. By the last week of June, before my diagnosis and treatment, I was feeling really awful.
Unfortunately, the symptoms didn’t disappear after I finished my antibiotics. Three weeks later, I am still dealing with them.
So what’s next?
I have tests and lab work that need to be completed, and then I’m off to the Infectious Disease office. I don’t know what will happen at that point. For now, the doctors are trying to rule out other possibilities before adding a new diagnosis or treatment.
In the meantime, I’m moving about as fast as a turtle who needs frequent rest breaks. The exhaustion can be overwhelming, and the lack of energy has made it difficult to accomplish everything I need to do. But I’m hanging in there, even if the Challenge host is currently moving at a slightly less-than-challenging speed.
I decided to share my diagnosis for a couple of reasons.
The first is to explain why I wasn’t able to finish another project for the Challenge I’m hosting. I’m certainly not happy about missing it, but right now I simply cannot add anything else to my plate.
The second is that sharing my Lyme journey might help someone else recognize the symptoms and seek medical care sooner.
Lyme is a squirrely disease, and it can look like many other things. Please talk to your healthcare provider if you experience symptoms like those listed above, even if they appear gradually rather than all at once, as mine did.
If it isn’t Lyme, that’s wonderful. But if it is, early diagnosis and appropriate treatment can help prevent more serious problems.
You can find more information about Lyme Disease at the following websites:
CDC (Center for Disease Control)
American Lyme Disease Foundation
Okay, I’m jumping off my podium now. Somebody turn off the microphone and the stage lights. LOL!
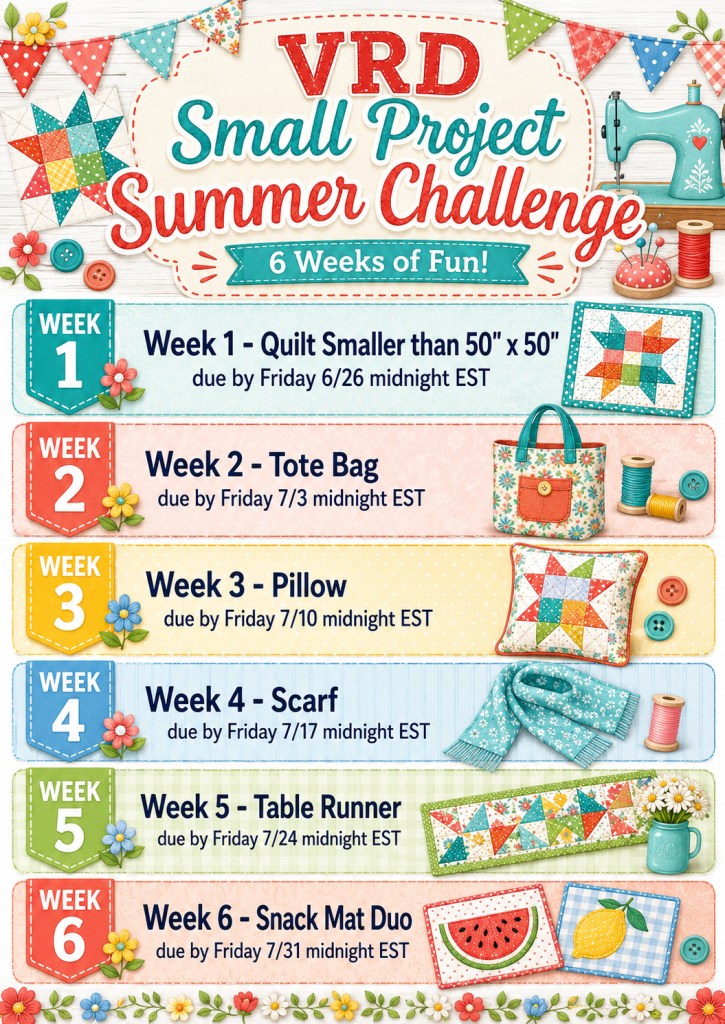
Week 6 of the Challenge
Wow! Week 6? Already? Our Summer Small Project Challenge has gone by so fast – just like summertime.
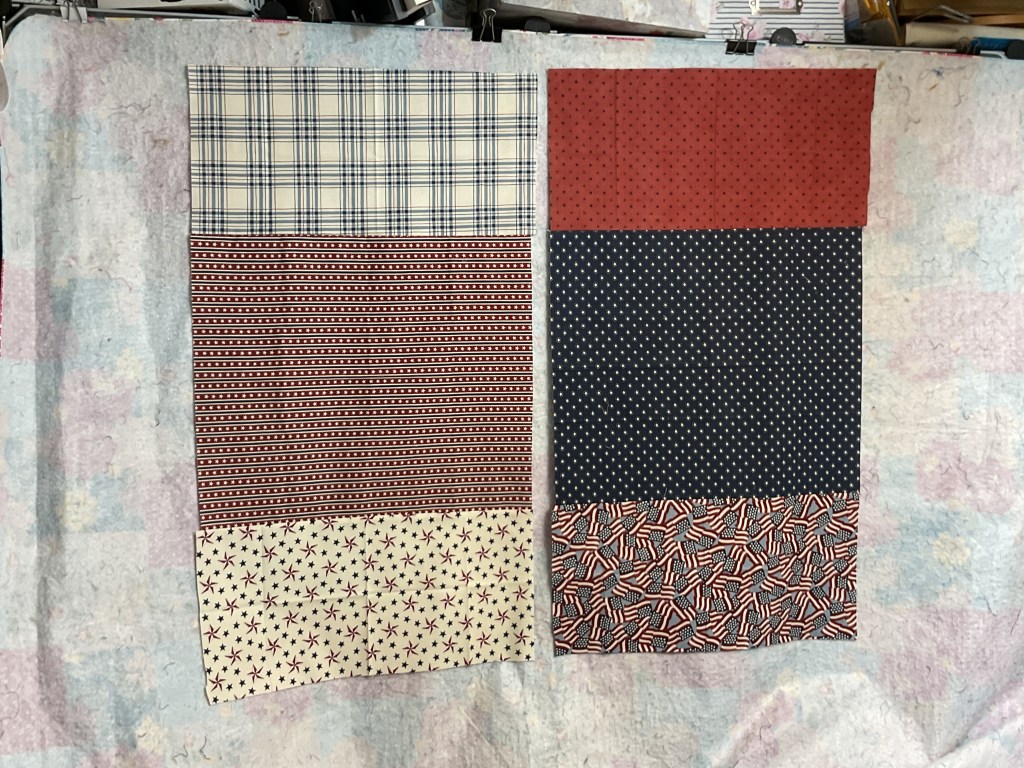
Week 6’s project is a completed set of 2 snack mats (including quilting and binding). There are 12 different seasonal snack mat patterns, so it shouldn’t be too hard to find one you like. Your Week 6 project is due by midnight Friday, July 31st EST.
You can find snack mat Rose Card patterns HERE, but did you know you can get the whole set of 12 patterns?
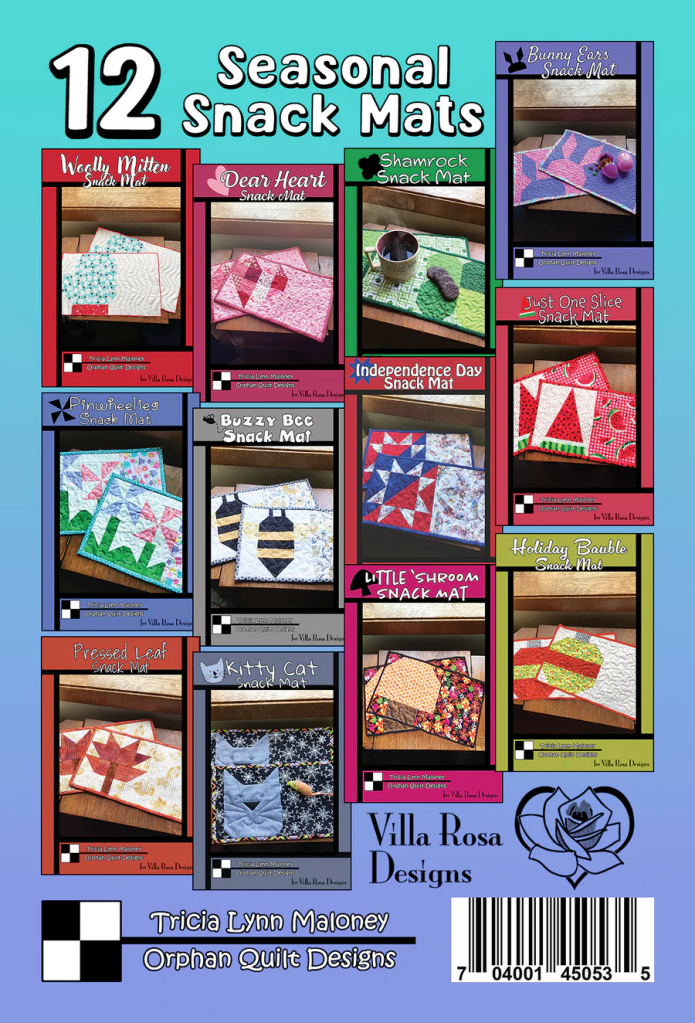
Get your print pattern set HERE
I’m really going to try to make a set for next week because they are really fun to make, but I will have to see how things go between now and then.
Go get your sewing on and have a great week!
Sew. Laugh. Make. Repeat.
Always,
Tricia @ VRD