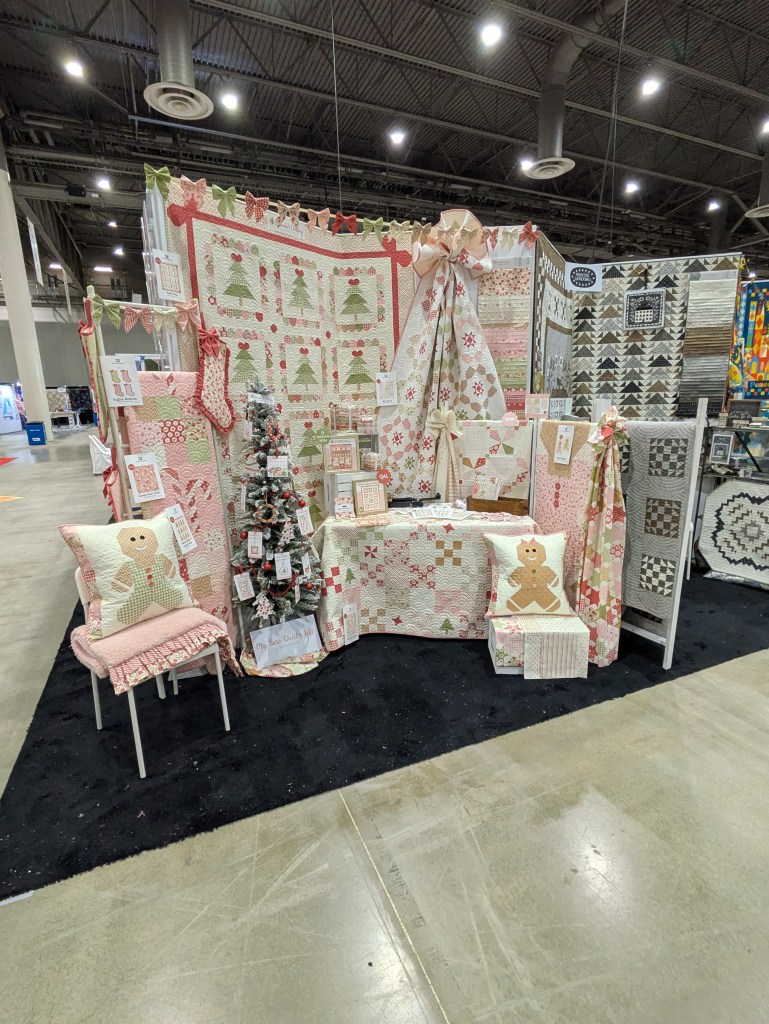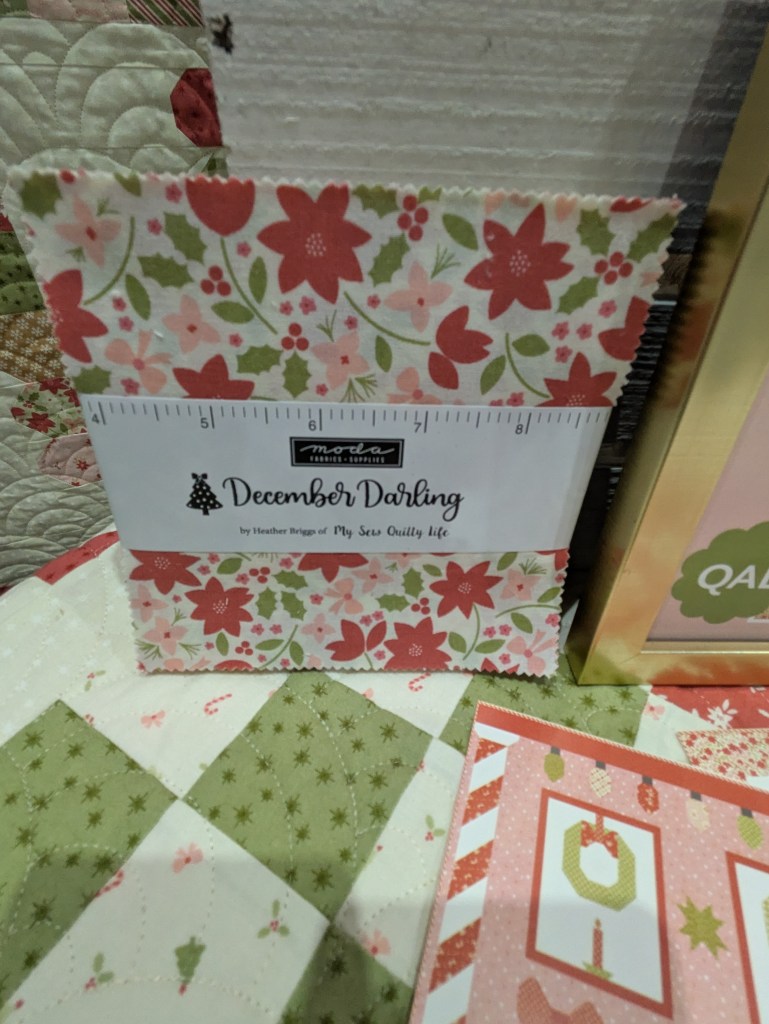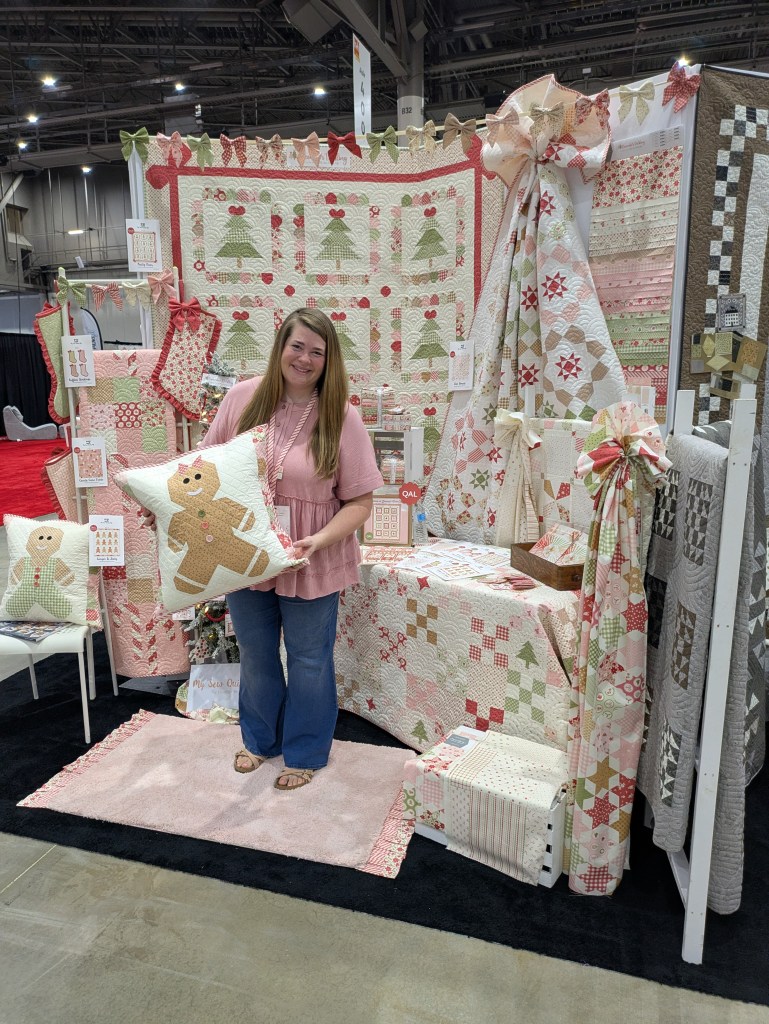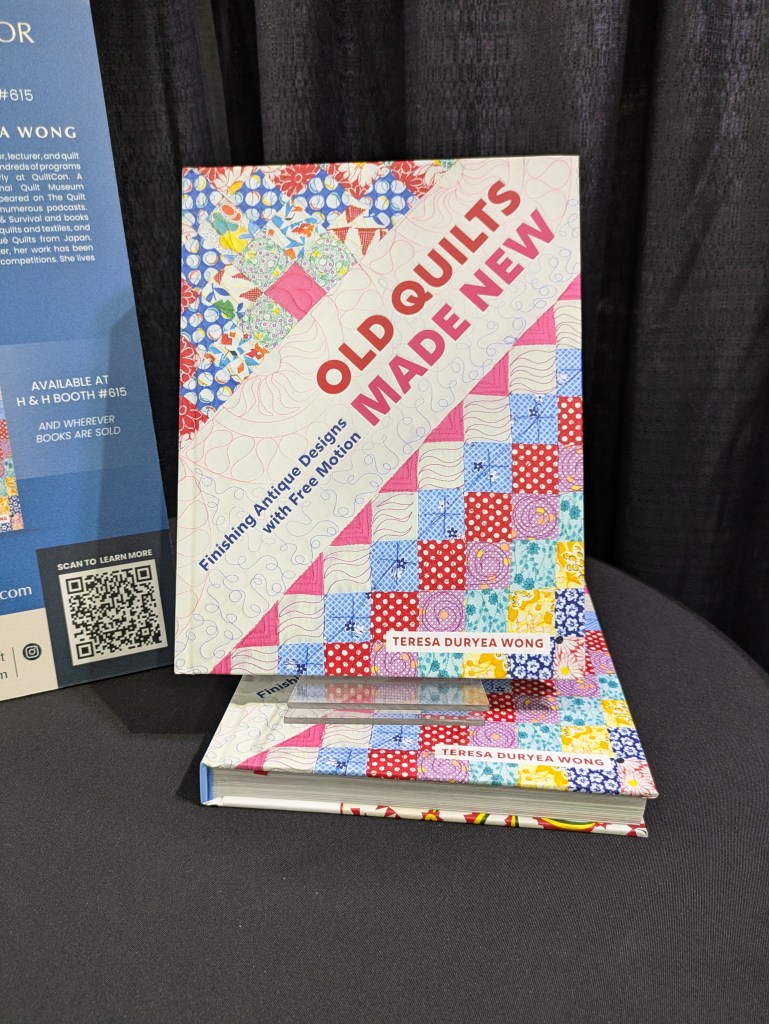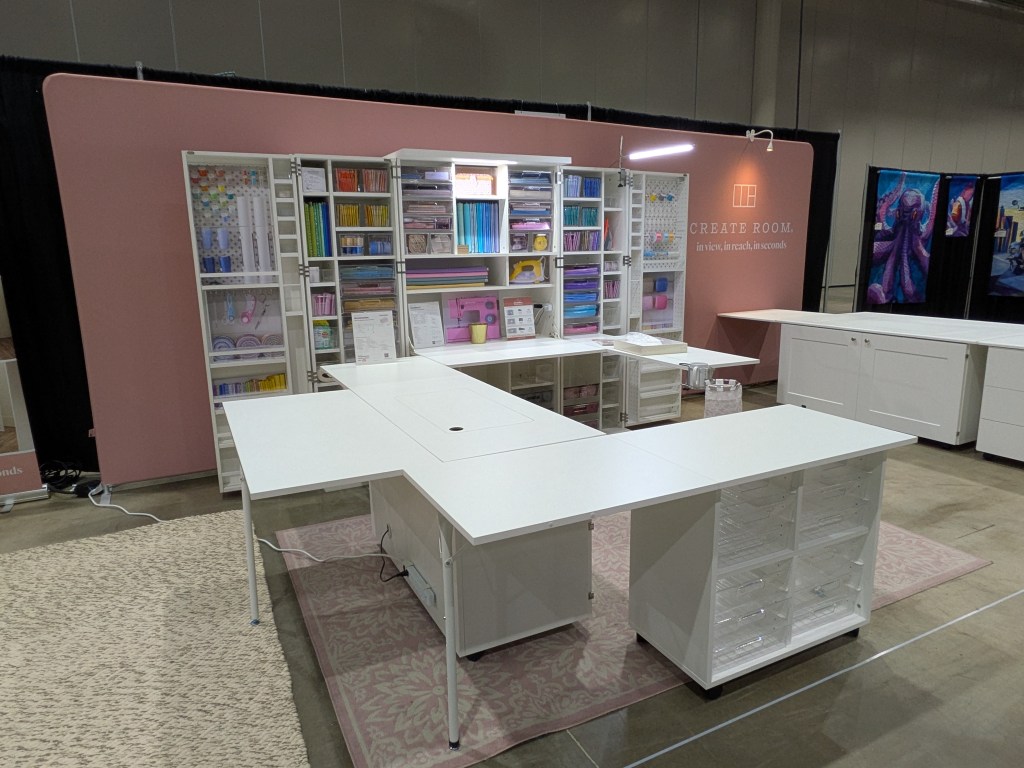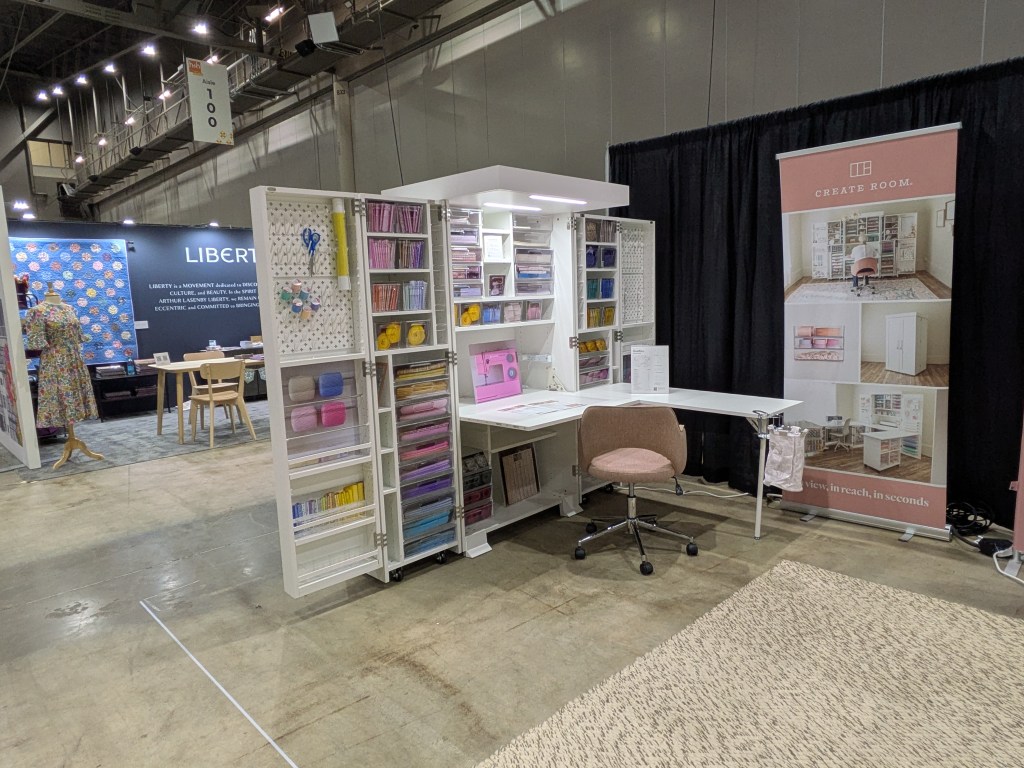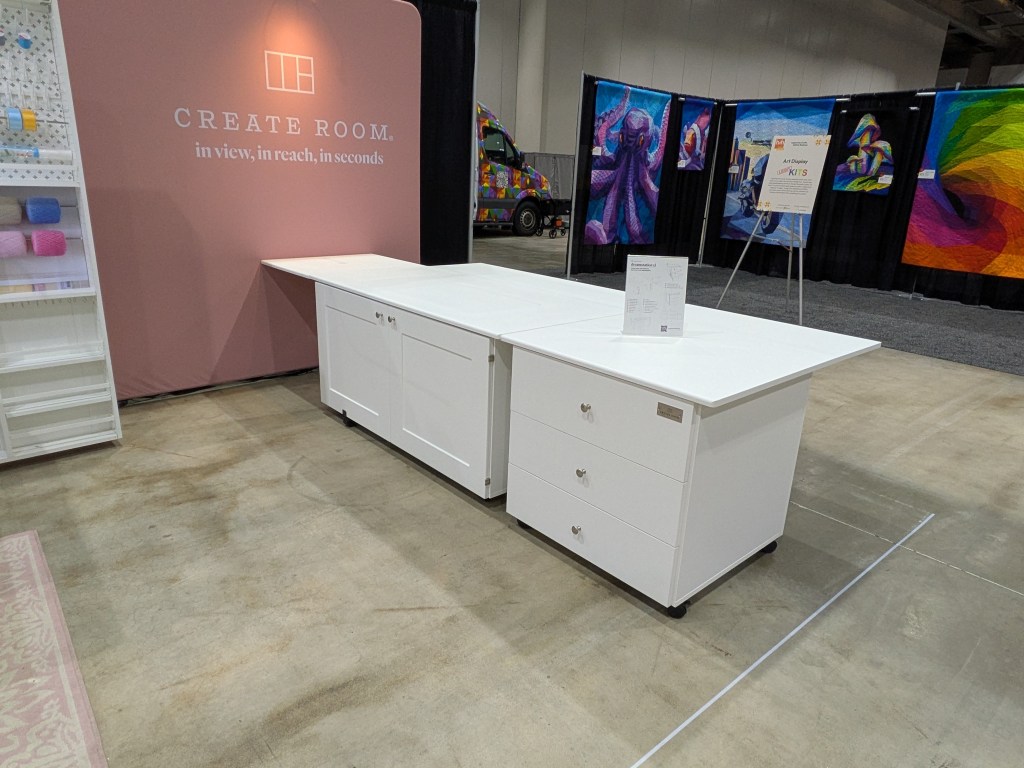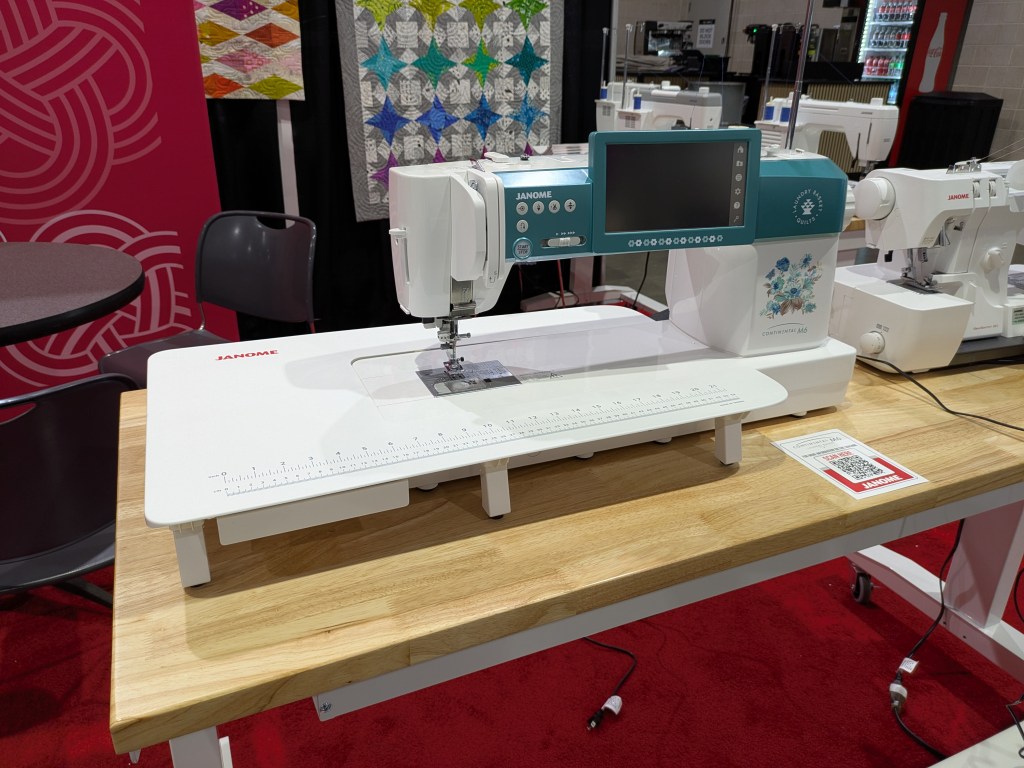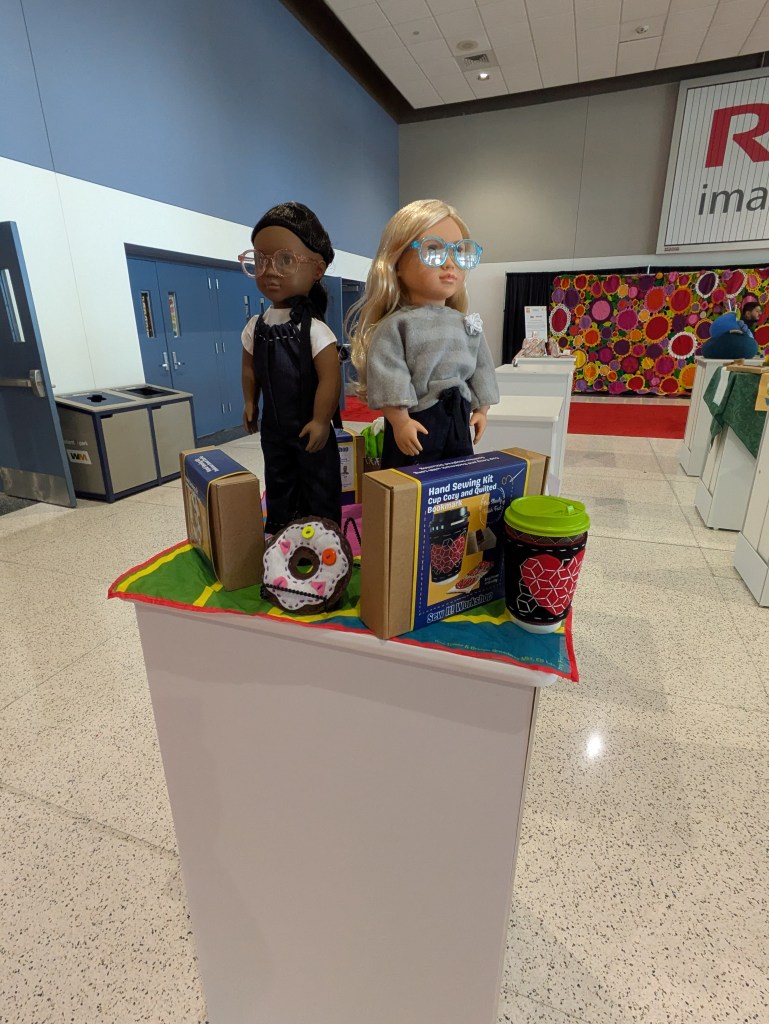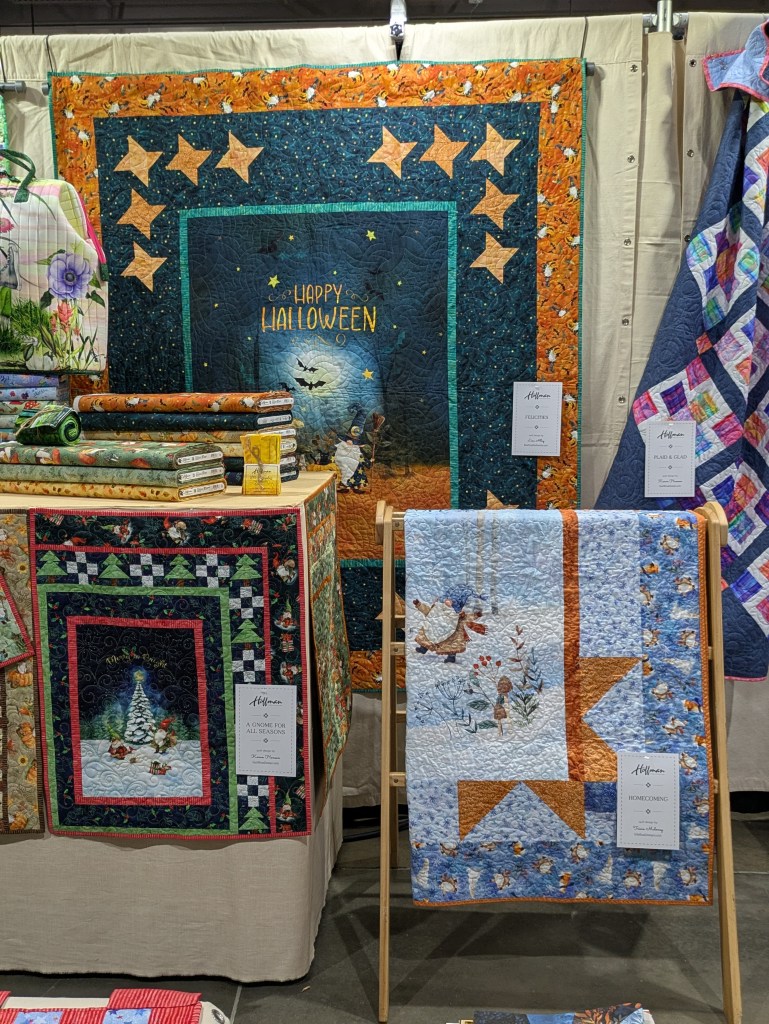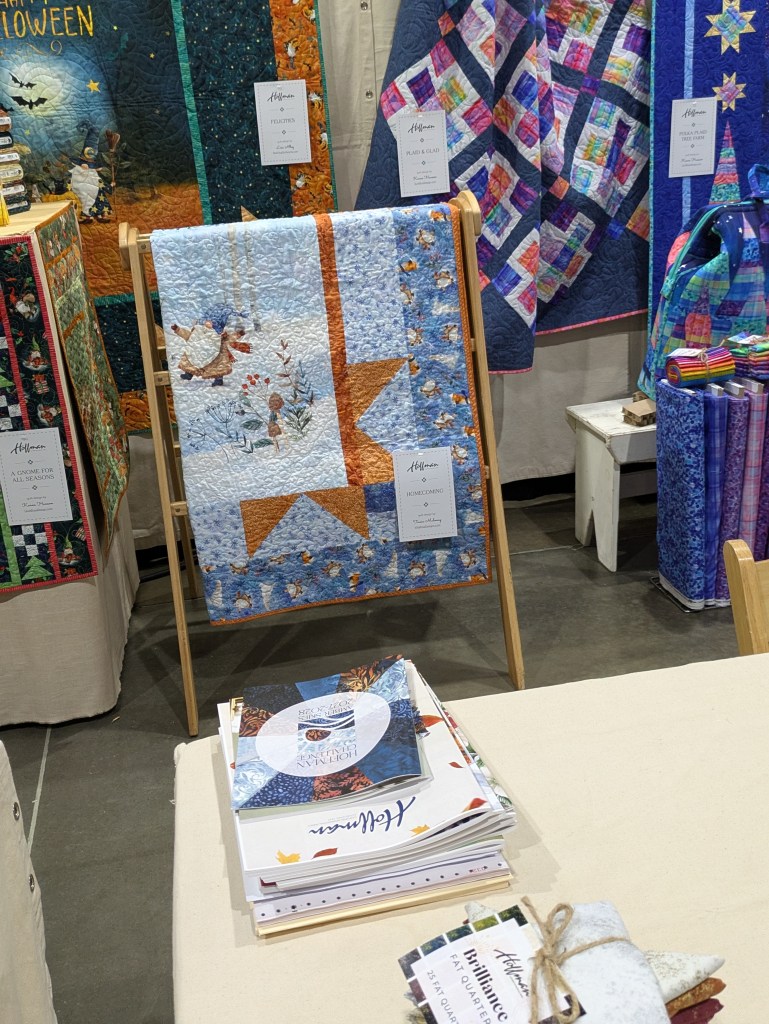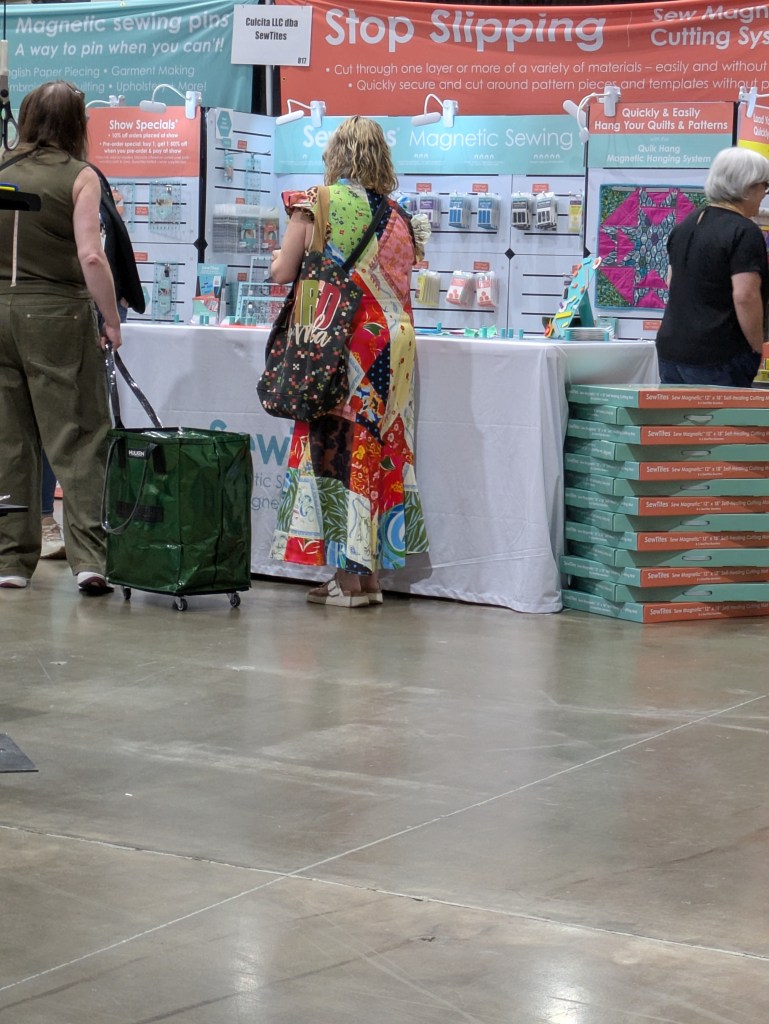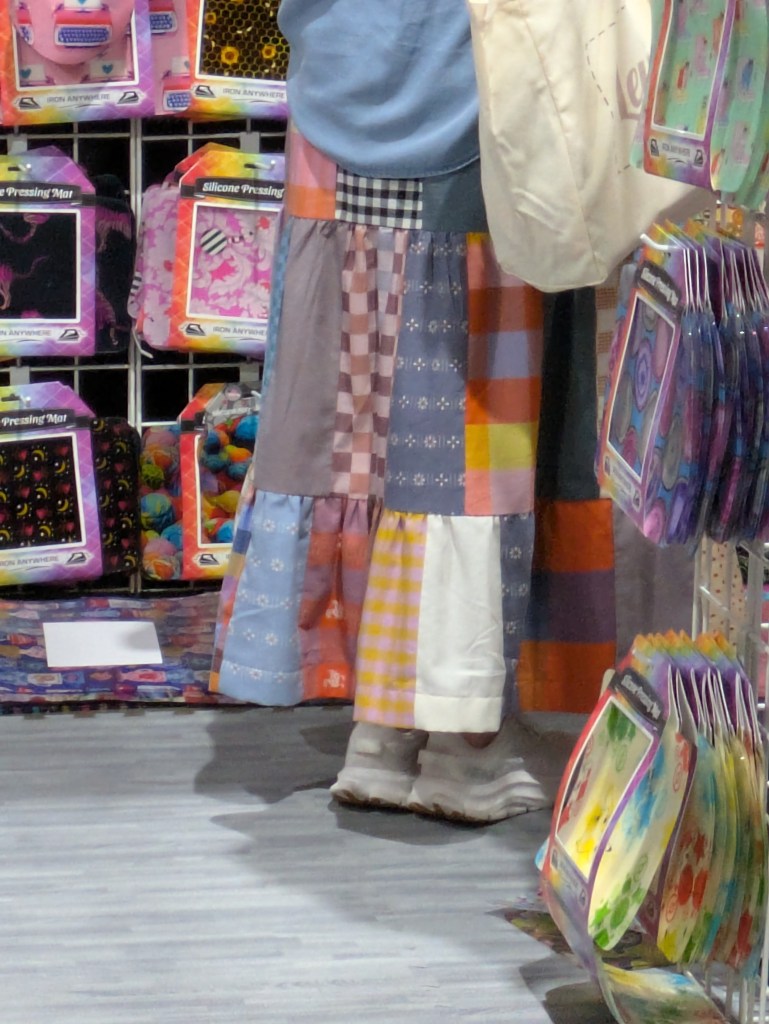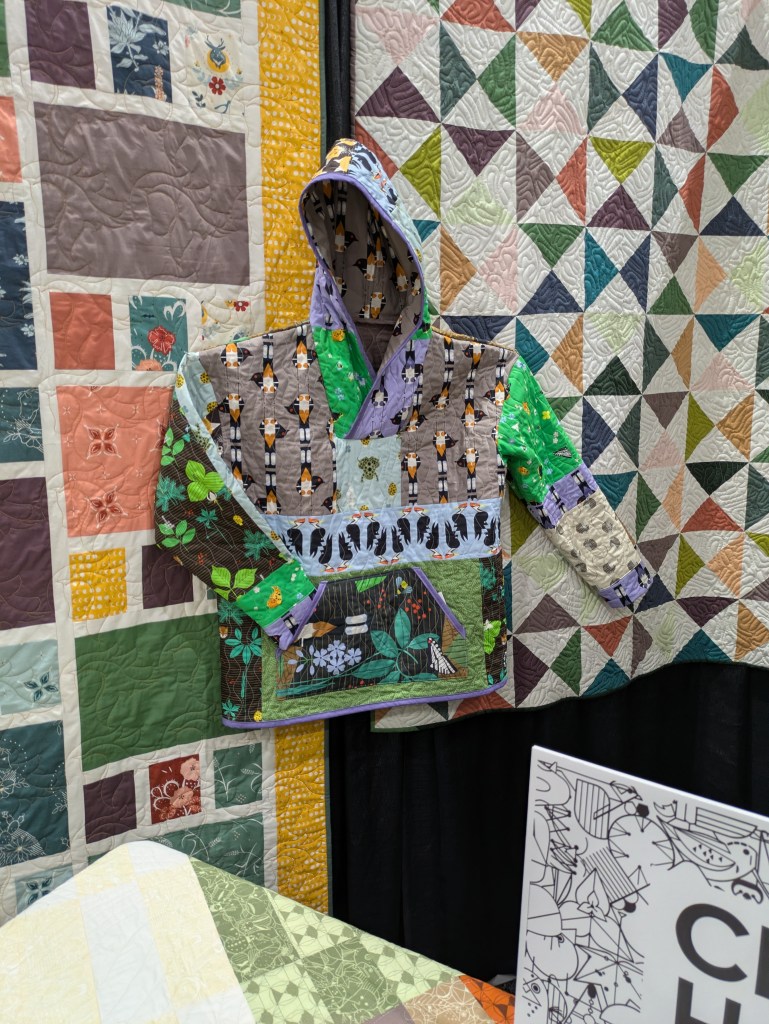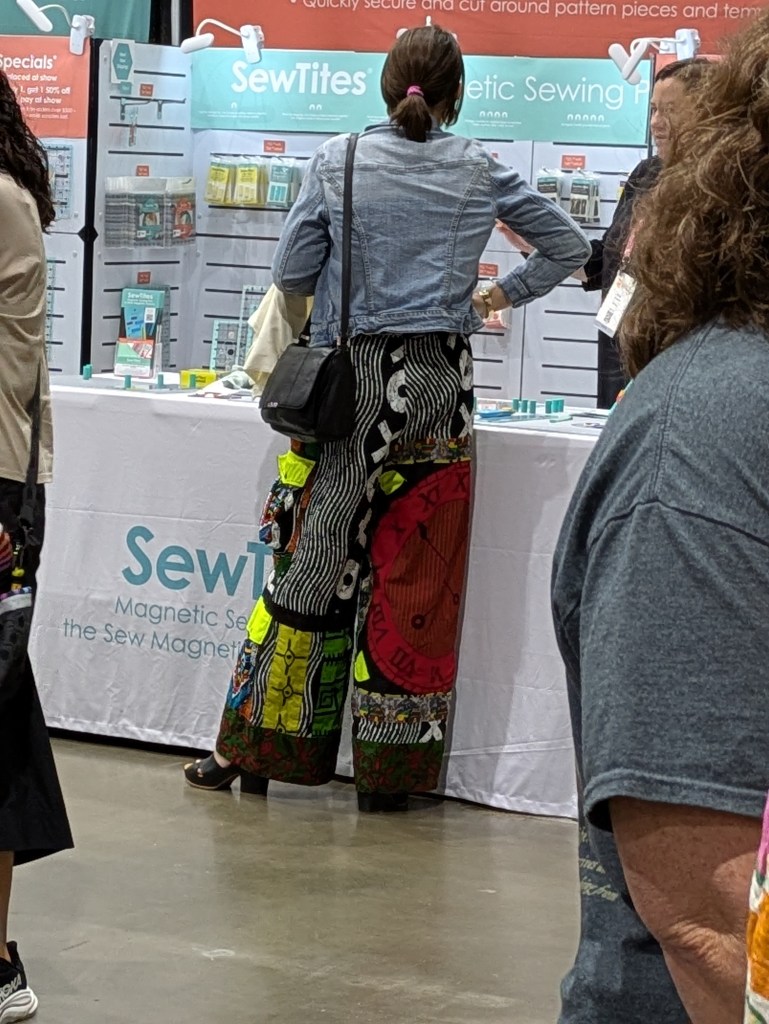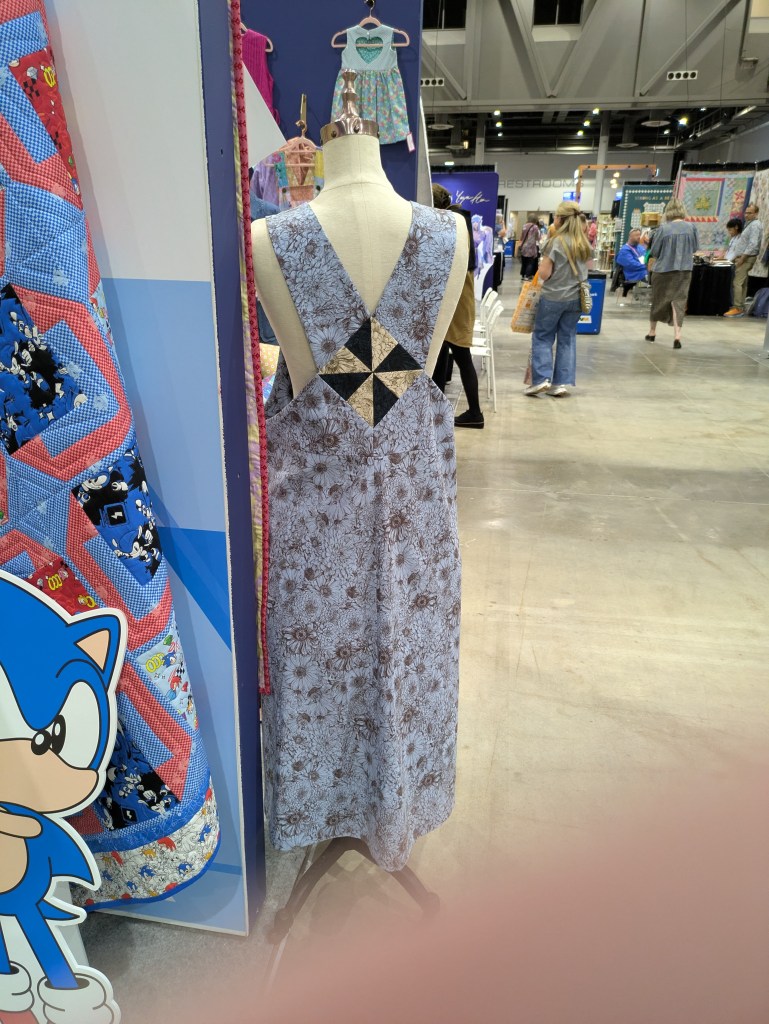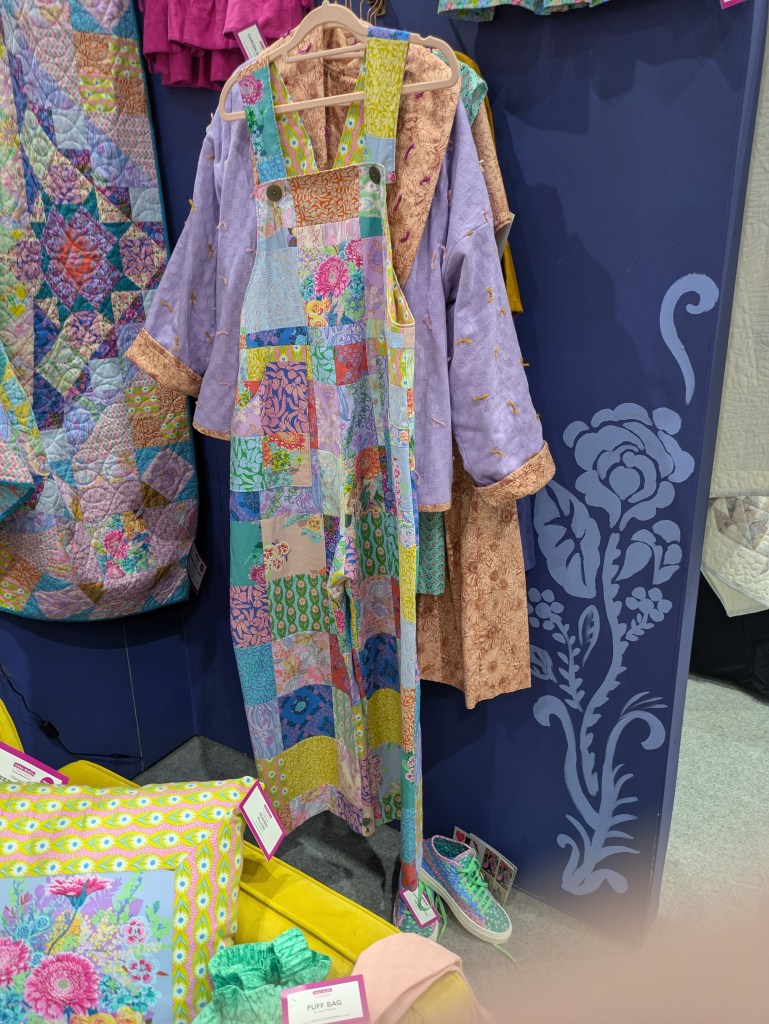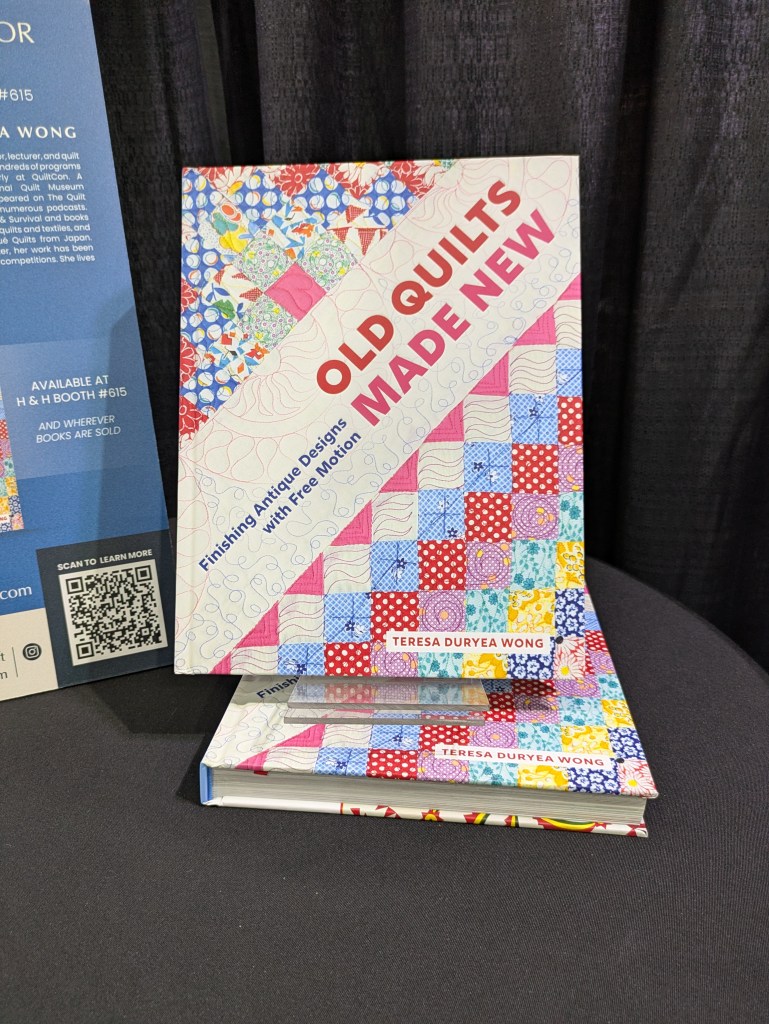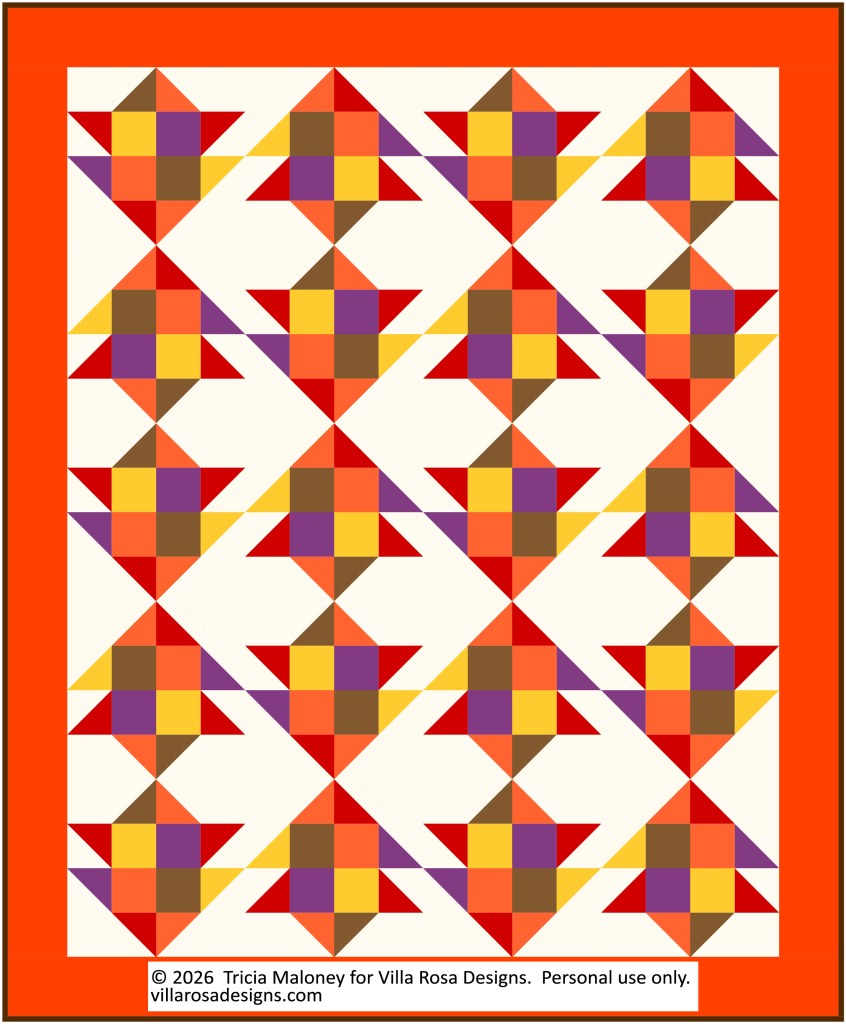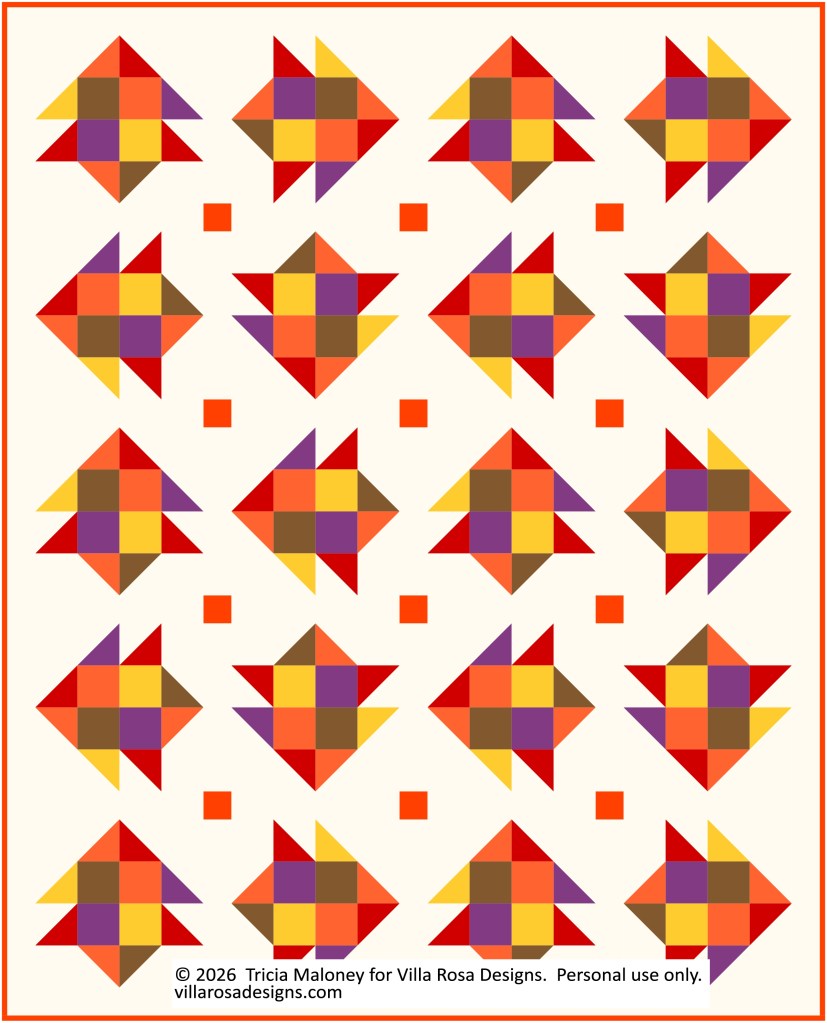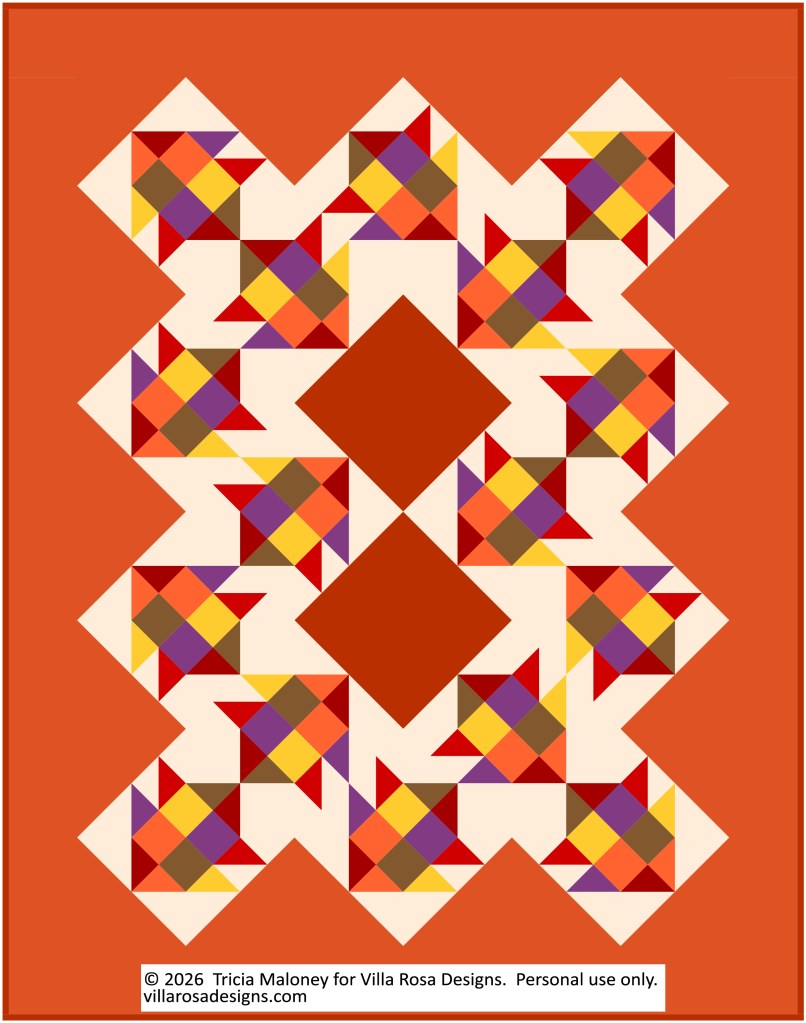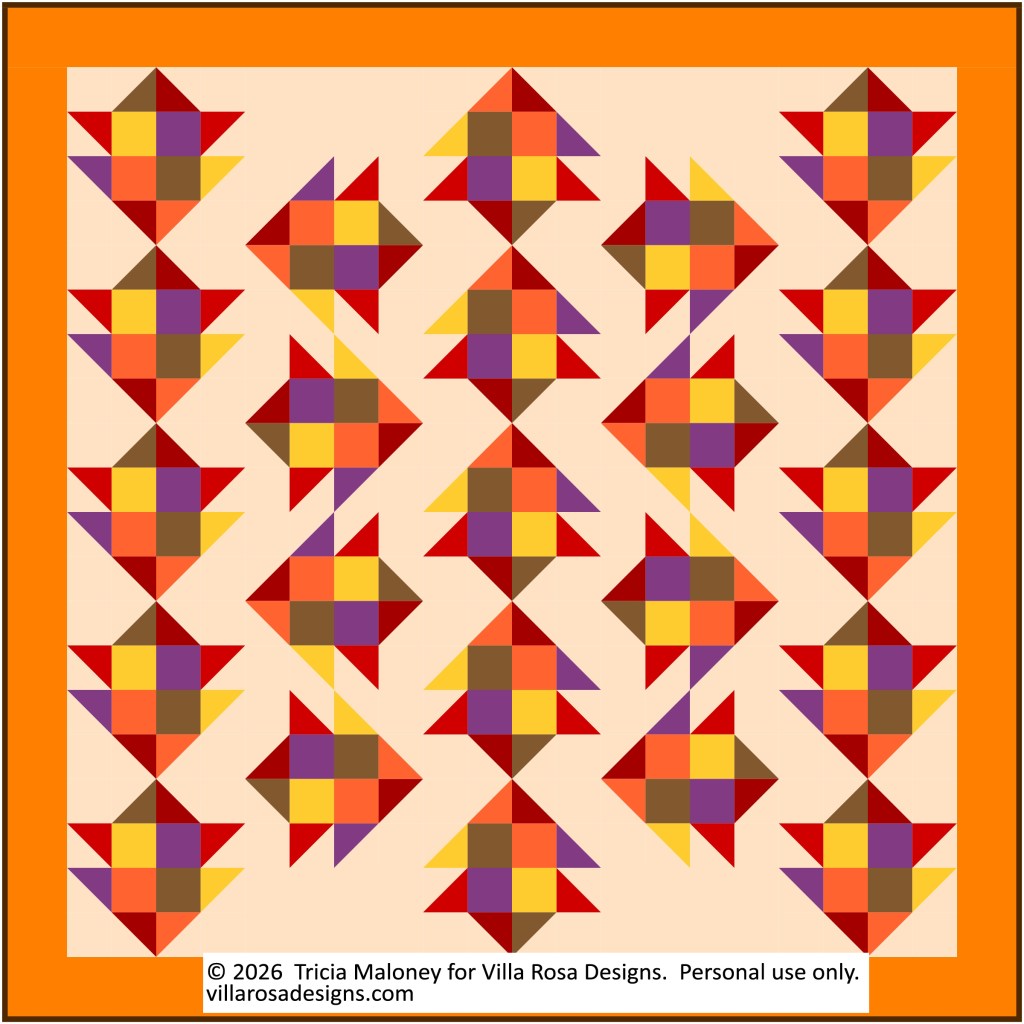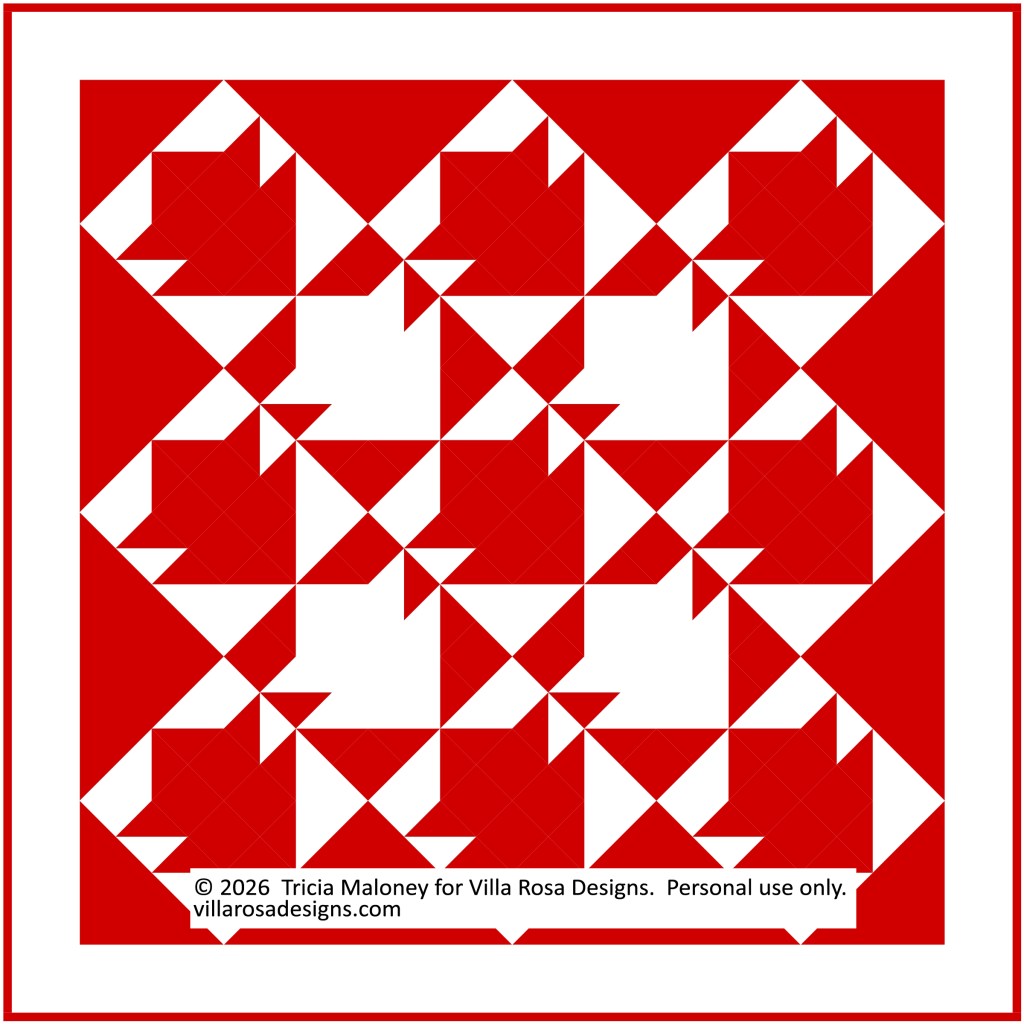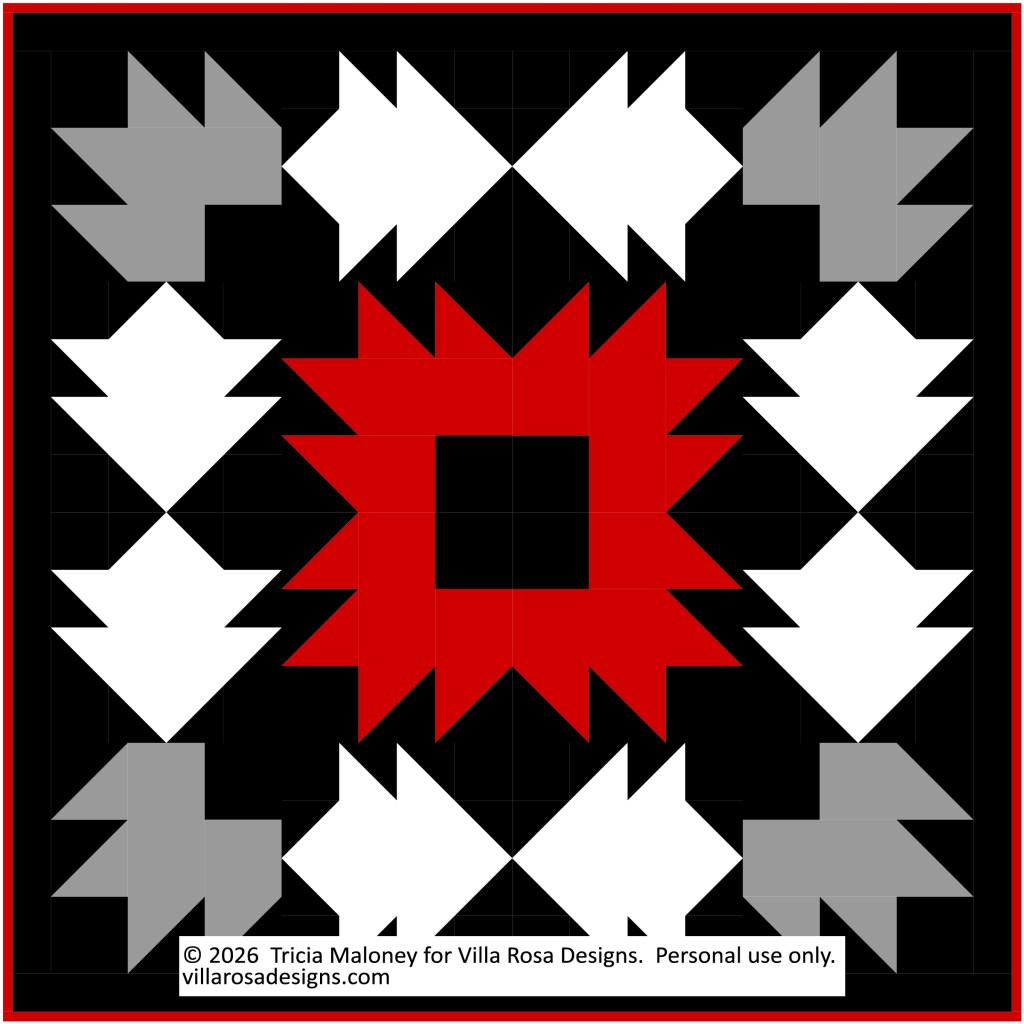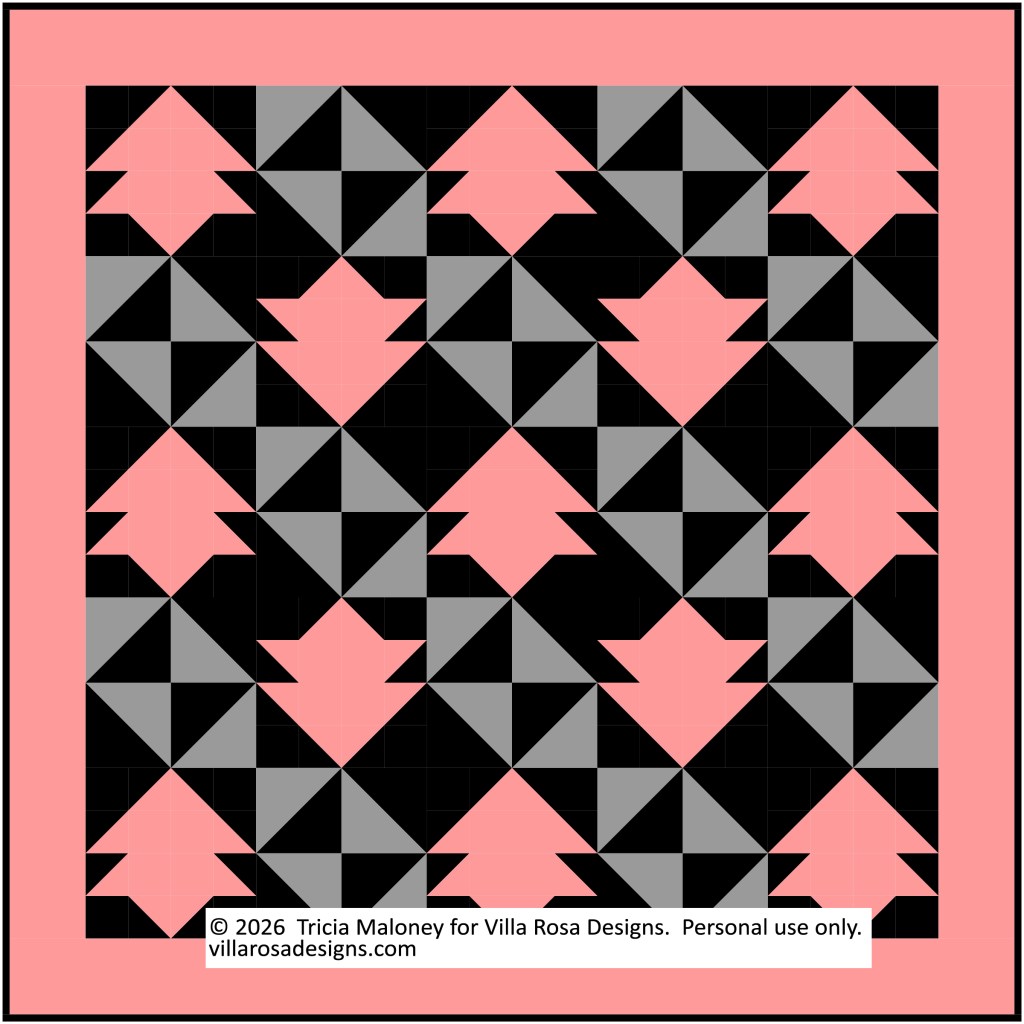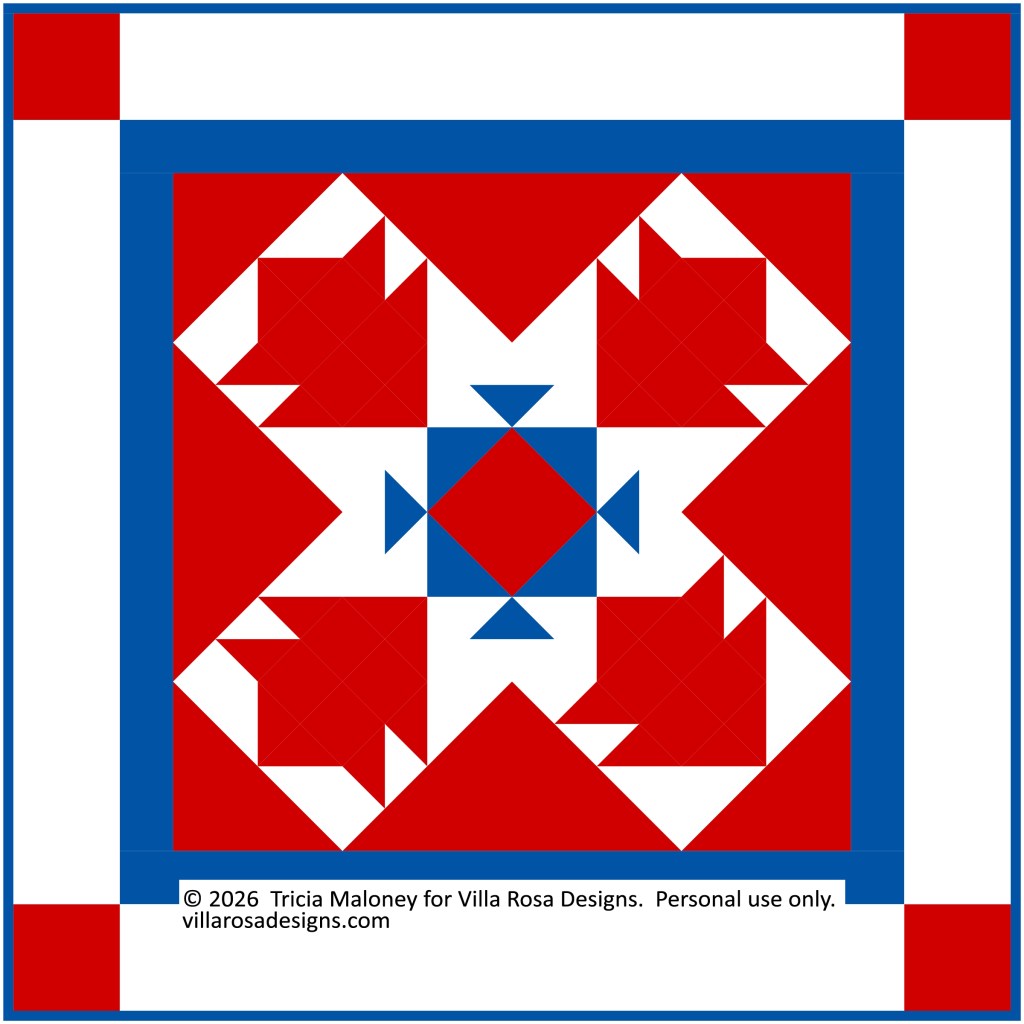
Today’s blog post is coming to you live (well, sorta) from Houston, Texas! I am here for the first H&H Americas Fall Edition here in Texas. VRD will have a booth at the show and I will be helping our Rose Queen, Pat, in the booth. Catherine and Sarah from Running Does Quilts will be here, too. We are located in booth #911. If you are attending the event, I hope you’ll stop by and say howdy.
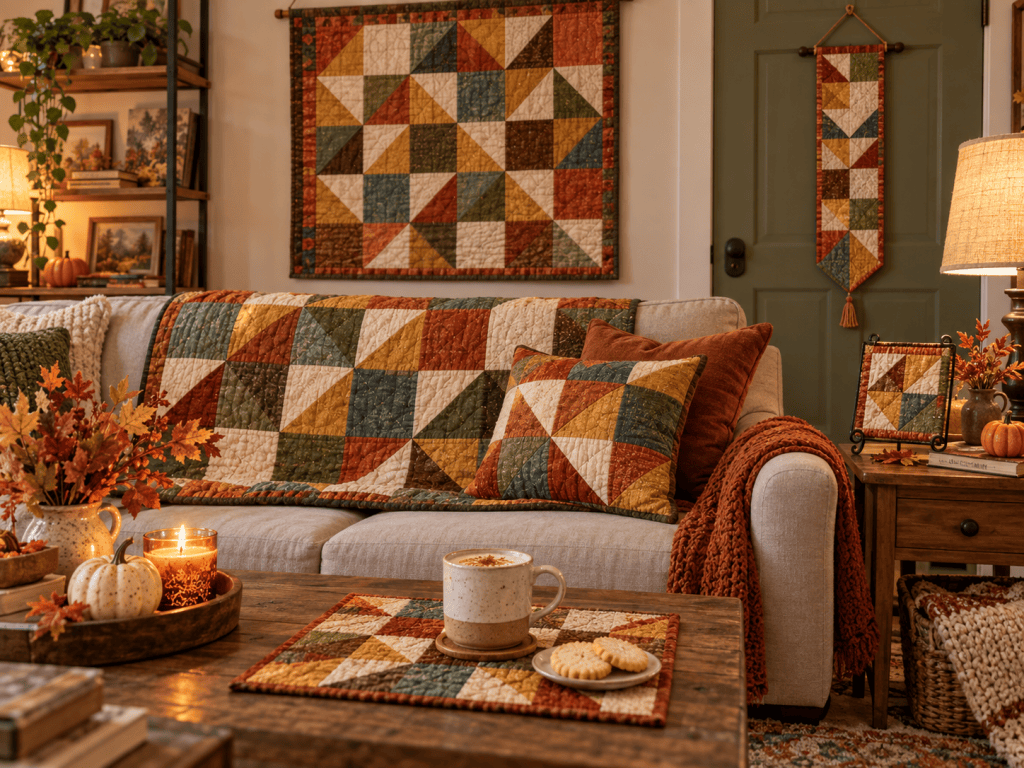
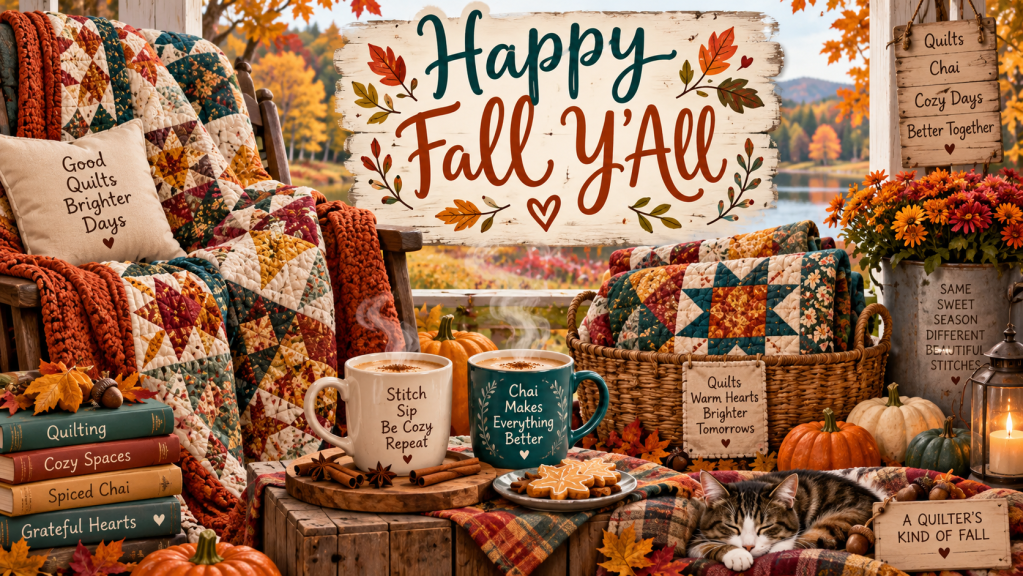
Image created by moi with AI tools
What is H&H Americas, you might ask. Well, it’s a trade show for the craft industry, including quilting, cosplay, and fibre crafts such as knitting, crochet, and wool. H&H has filled the gap left by Quilt Market, which ended last fall after many many years of leading the industry.
H&H has many similar events to Quilt Market jam-packed into 3 days. That includes exhibits, classes and workshops, the show floor, Sample It (a fun shopping experience for shop owners), and more. WHEW! It’s a veritable whirlwind of activity.
So……..here I am in Houston, TX.
Let me tell you about my trip down. My quilty pal Robin rode down with me to the Pittsburgh airport and then drove my cute little red Jeep home (she will drive it back down Saturday to collect me at the airport). Thank you, Robin. 🙂
I spent all of Tuesday traveling because I had a couple hour layover in Nashville, Tennessee. This was the first time I’ve ever been to Tennessee (I guess I can add it to the states I’ve been to now, right?). The Nashville airport was HUGE! It felt like I had to walk miles and miles to get from the gate where my flight from Pittsburgh dropped me off to the gate where I would board the plane to Houston’s Hobby Airport. The good news was that I wasn’t in a hurry as I had a couple hours until take off so I could take my time.
Of course, I grabbed some food and found a nice spot to hunker down for a while. One of my favorite things to do when I am in different places is to people watch. Someday I’m going to put my observations to good use and write some mystery fiction. Sigh……someday.
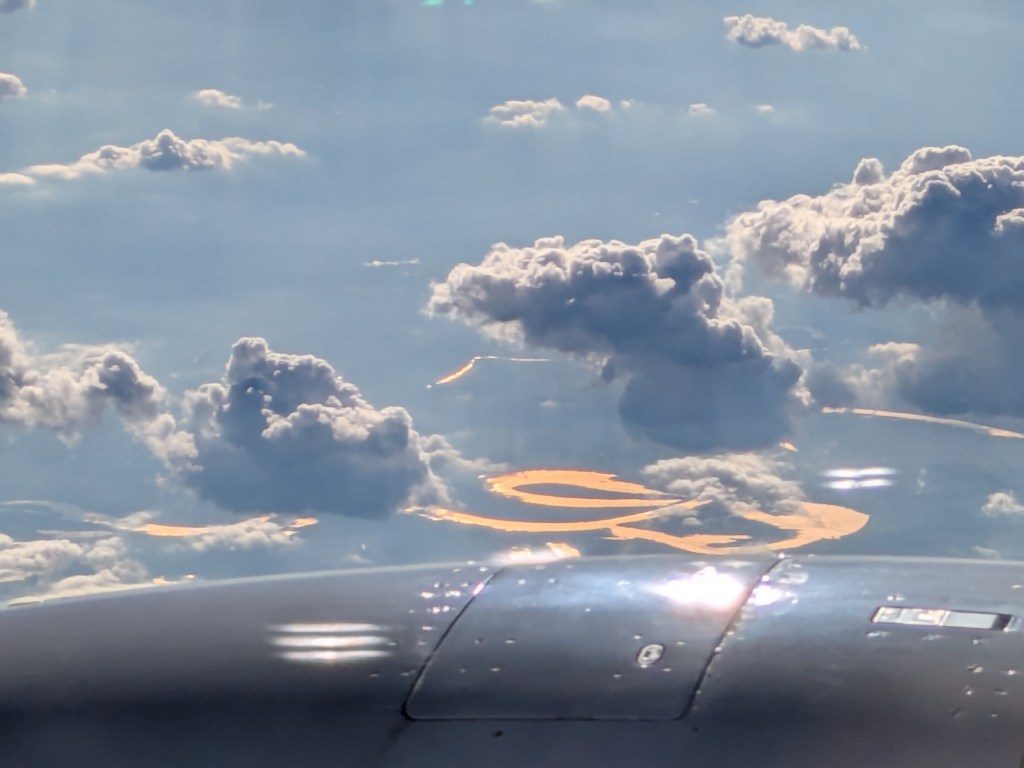
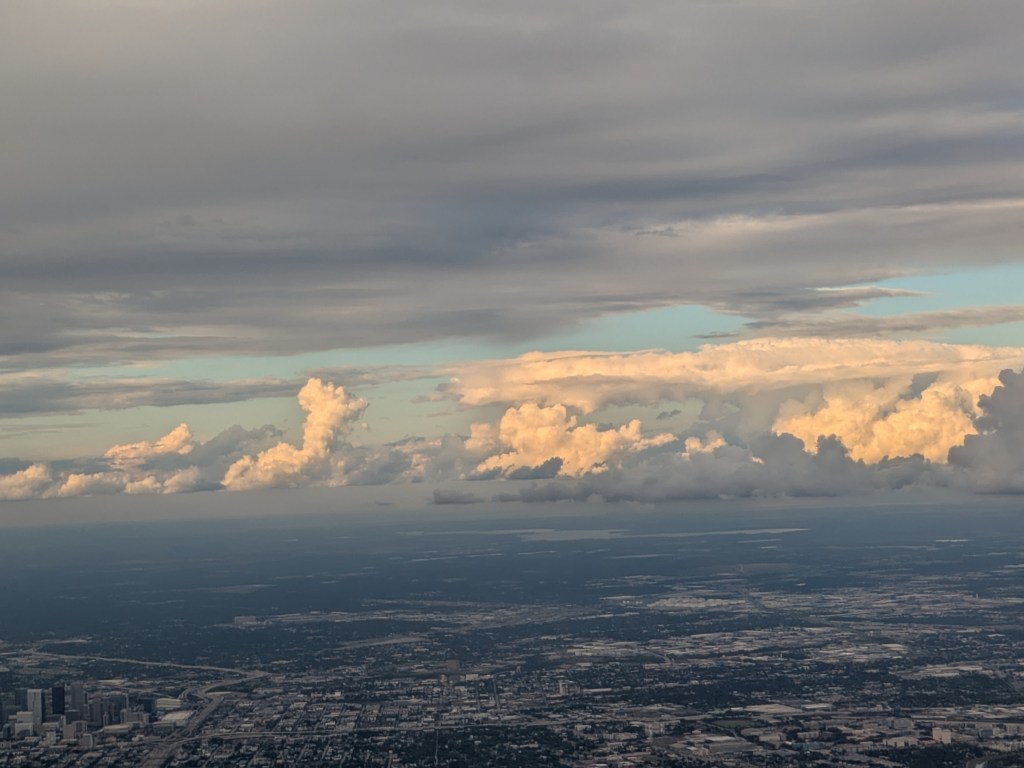
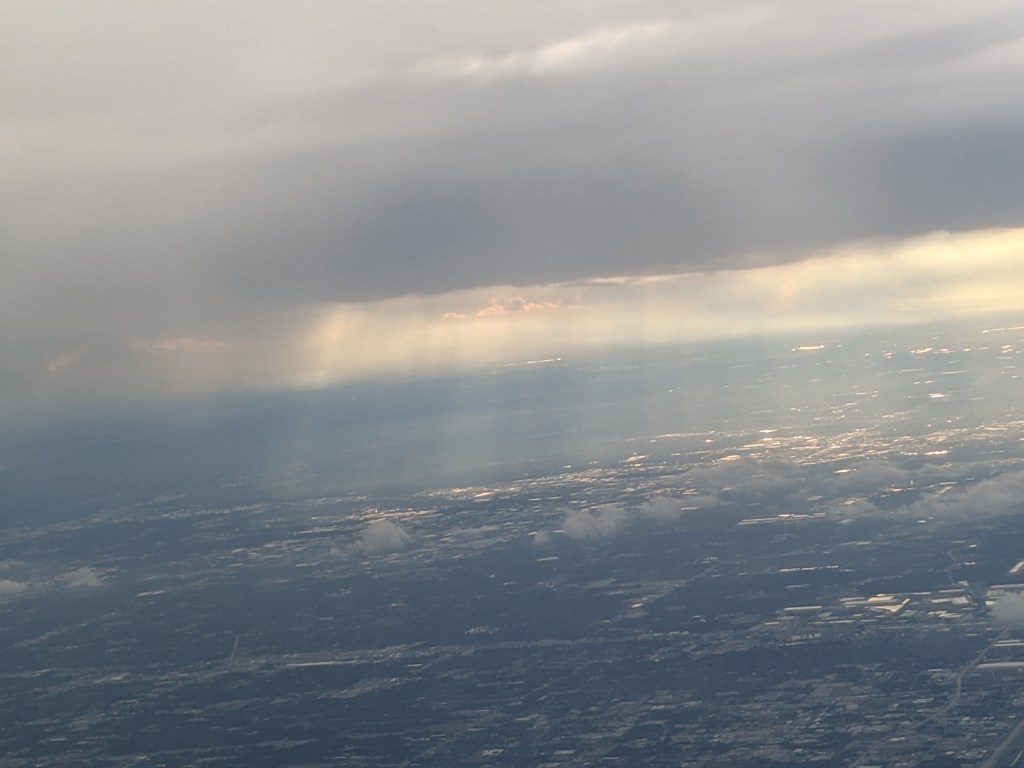
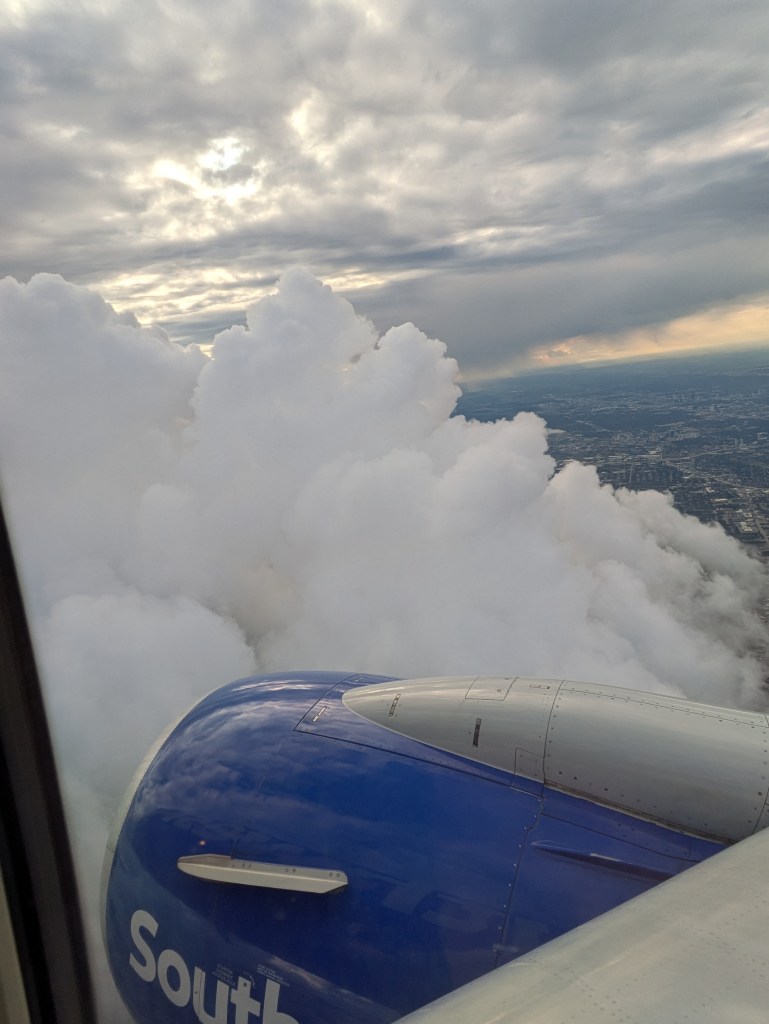
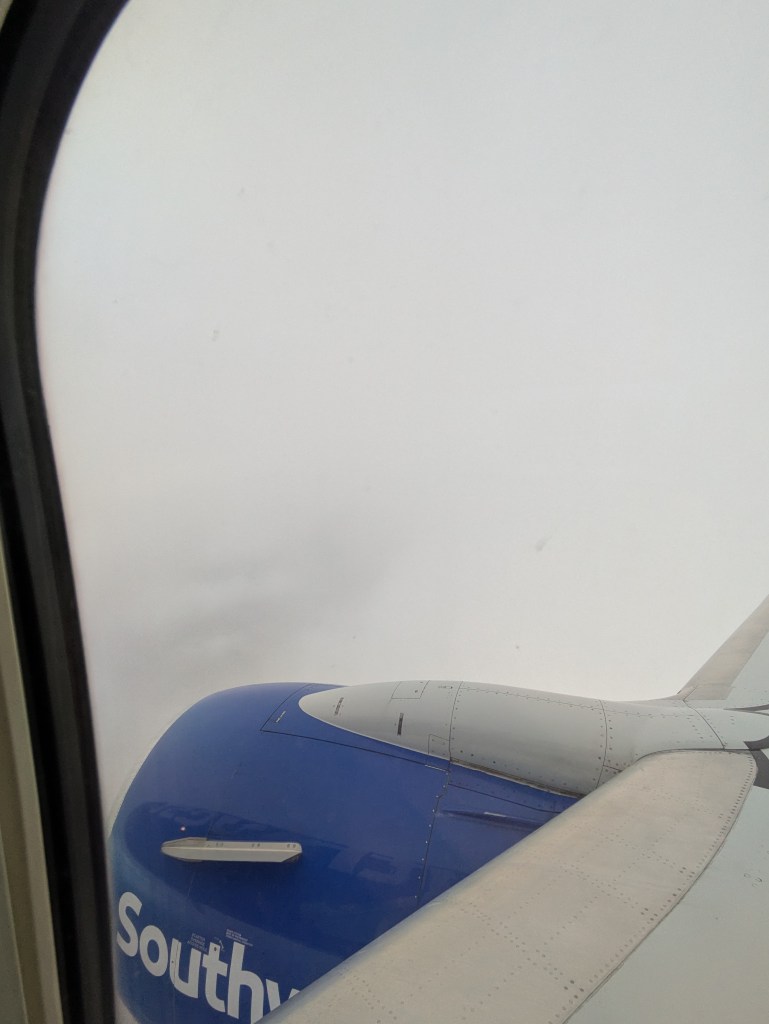
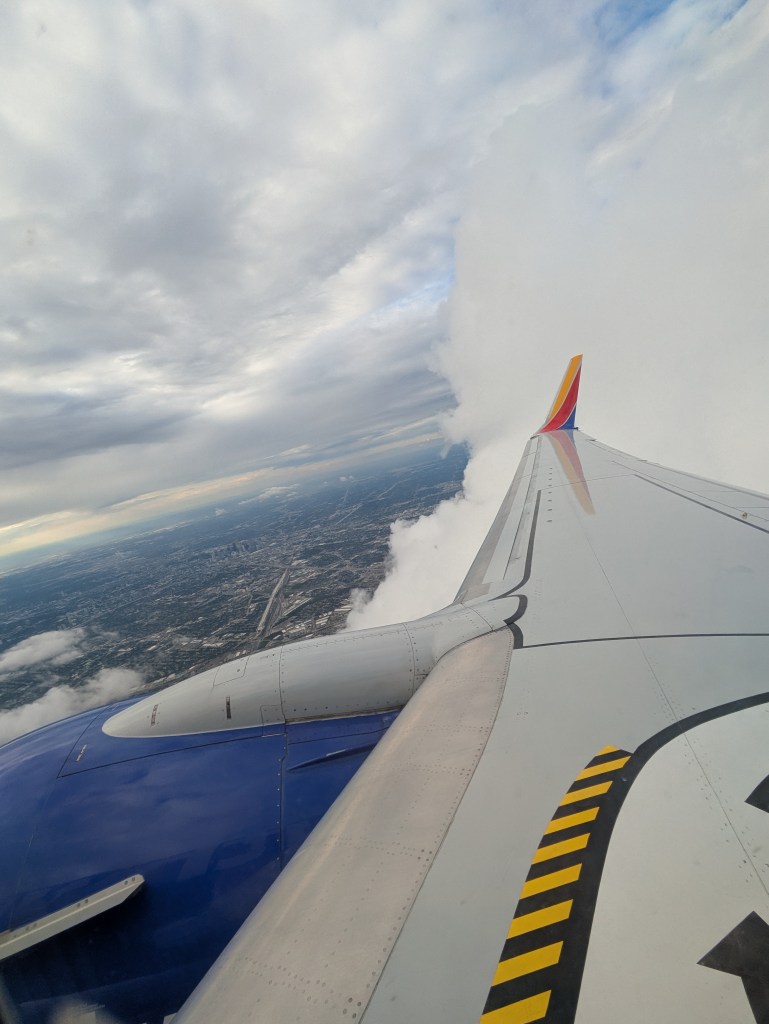
Then it was back into the air for the last leg of my trip. I was pretty exhausted by this point so I just listened to a fun cozy mystery audiobook and watched the clouds out the window. Yep, I love sitting in the window seat and enjoying the view. Which is weird, as I’m not particularly into heights, but there it is. Anyway, I took lots of interesting pictures of the clouds and photos of the ground far far below.
Here are a few of my favorites:
Check out the golden hued river. Isn’t that gorgeous?Here you can see the scattered showers over Houston.
Here is a pretty cool series of flying into, through, and out of big white fluffy clouds.
Pat picked me up in Houston, we grabbed a bite at Whataburger Have you seen their ginormous burgers??? I could only eat half of mine. LOL! Leftovers! I wish we had a Whataburger where I live, but they haven’t made it up to Northwestern Pennsylvania yet. Too bad.
After eating, we stopped at the grocery store and grabbed some breakfast and lunch stuff. Then finally to the house Pay rented. After unloading and putting things away, I collapsed on my bed and that’s where I stayed for quite some time. Wow!
SHHH! I’ll tell you a terrible secret – I am a terrible traveler. I never drink enough water, ever. It’s not like I don’t know that I should and I have every intention of doing so, but somehow chocolate milkshakes and Dr. Pepper are much more appealing and keep me awake and moving. Huh. I will just have to try harder next time. I am also a chronic over-packer. I come by this naturally, of course – I was once a Girl Scout and I like to be prepared for anything and I also inherited it from my Mom. Thanks Mom.
I have a friend named Leslie who has an amazing talent – she can pack for an entire week in a duffle bag. And I’m not talking about a big duffle bag on wheels, just a small to normal sized duffle bag that you sling over your arm. As hard as I try, I just can’t seem to channel Leslie’s skill. I wonder if there is an online class somewhere that teaches you how to pack everything you need for a week in a single bag. Sign me up for that one, please. So I brought my crossbody satchel, my laptop case, and my small suitcase. I do have a little bit of extra space just in case I find some cool stuff to take home with me (you’ll have to stop back next week to see what I found).
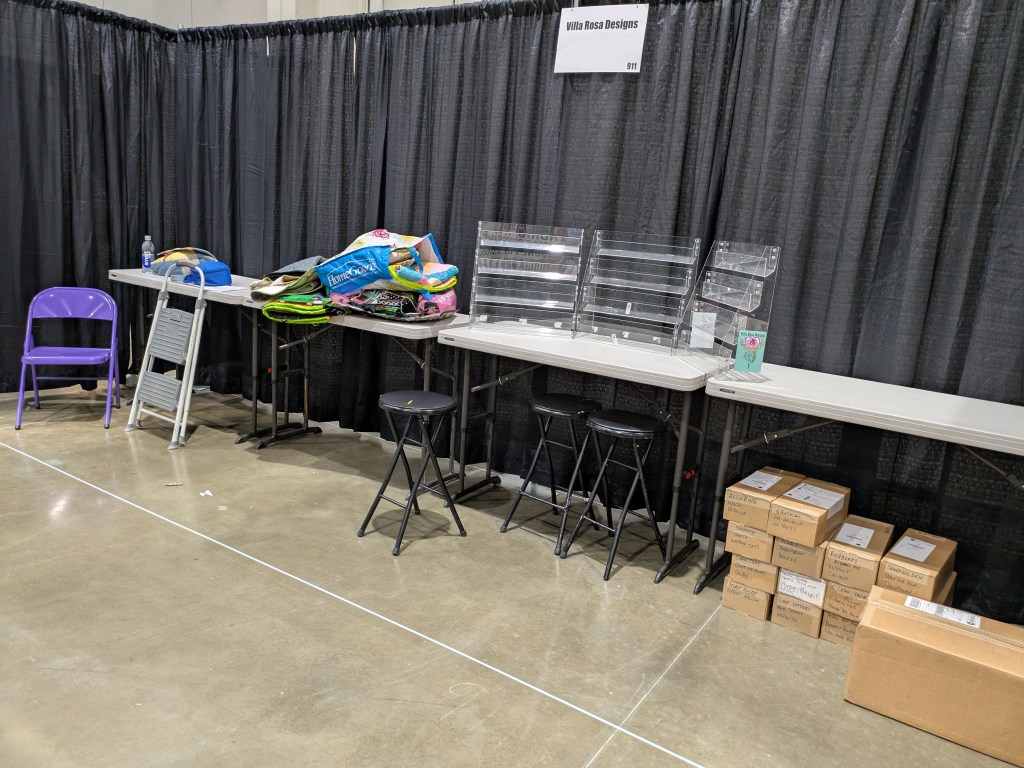
Well, Wednesday is set up day for the VRD booth. First, we found the booth location and went to get our badges. Happily I ran into my pal, Cathey, from Cathey Marie Designs. Of course, she was stuffing her face with chocolate. She did offer to share, bless her. Hopefully, we’ll get a few minutes at some point to catch up.
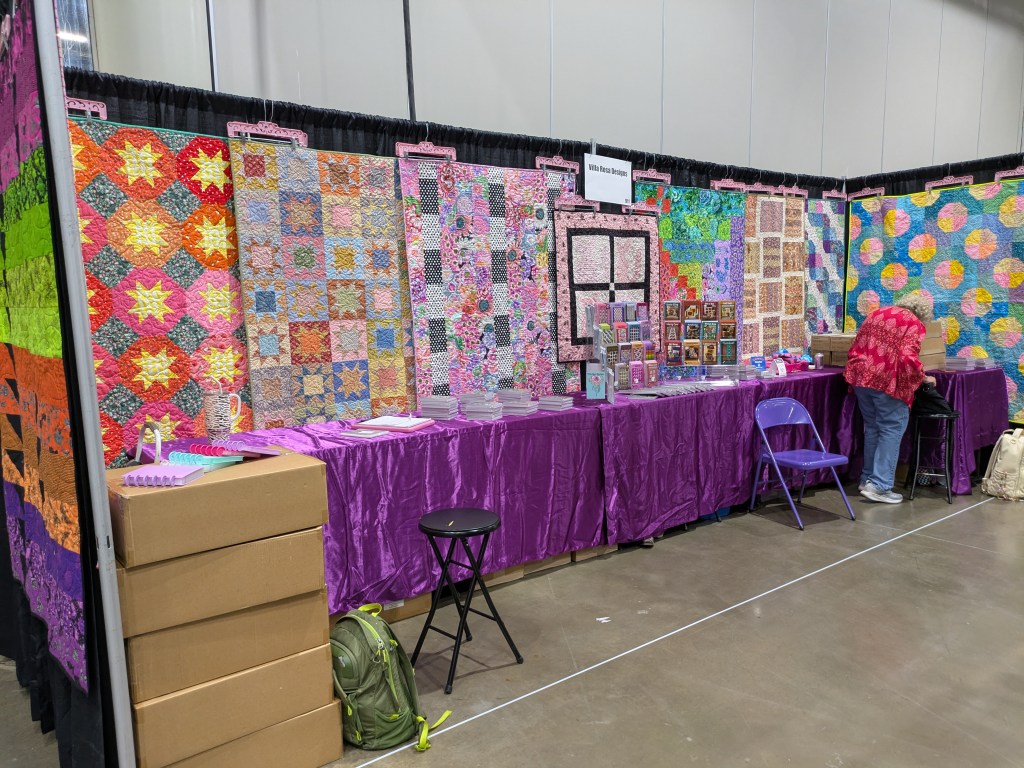
Then it was time to get busy getting the booth ready.
Here is our “before” photo of the booth:
And…….Voila! Here is the “after” photo of the booth.
The show kicks off Wednesday afternoon at 4 PM for a western-themed preview night. Sadly, I didn’t bring any western togs – other than jeans, I don’t have anything western in my wardrobe, even though I live in the wilds of Pennsylvania. LOL!
It was lovely to see all those smiling people stopping by the booth!
With summer behind us and the kiddos back in school, I bet you have big plans for fall! Me, I plan to get caught up from a summer that went totally sideways on me. Yikes! Whew, I am heartily glad that’s behind me now – I am so ready for a fall reset!
As I’ve mentioned 1 or 2 times (or maybe 100?) already, I LOVE fall – haven’t I been talking about it for a while now? LOL! One of my favorite most bestest things about fall is changing out the clothes in my closet as well as my decor from easy breezy summer to warm and cozy autumn. And I know I’m not alone because apparently the decorating world has suddenly discovered quilts. LOL! Quilts and patchwork decor are showing up all over Pinterest, home dec magazines, catalogs, and stores. I think quilts have been sneaking up on the world of decor as part of the new-fangled Cottagecore style. Yeah……we used to call it country or farmhouse, but now it’s Cottagecore. Whatever we call it, quilters have been doing cozy before cozy was cool. And in my humble (never!) opinion, a house just isn’t a home without quilts.
Anyone can use a quilt on a bed, but there are so many other ways to enjoy quilts and use them in our seasonal decorating.
Quilts as Wall Art
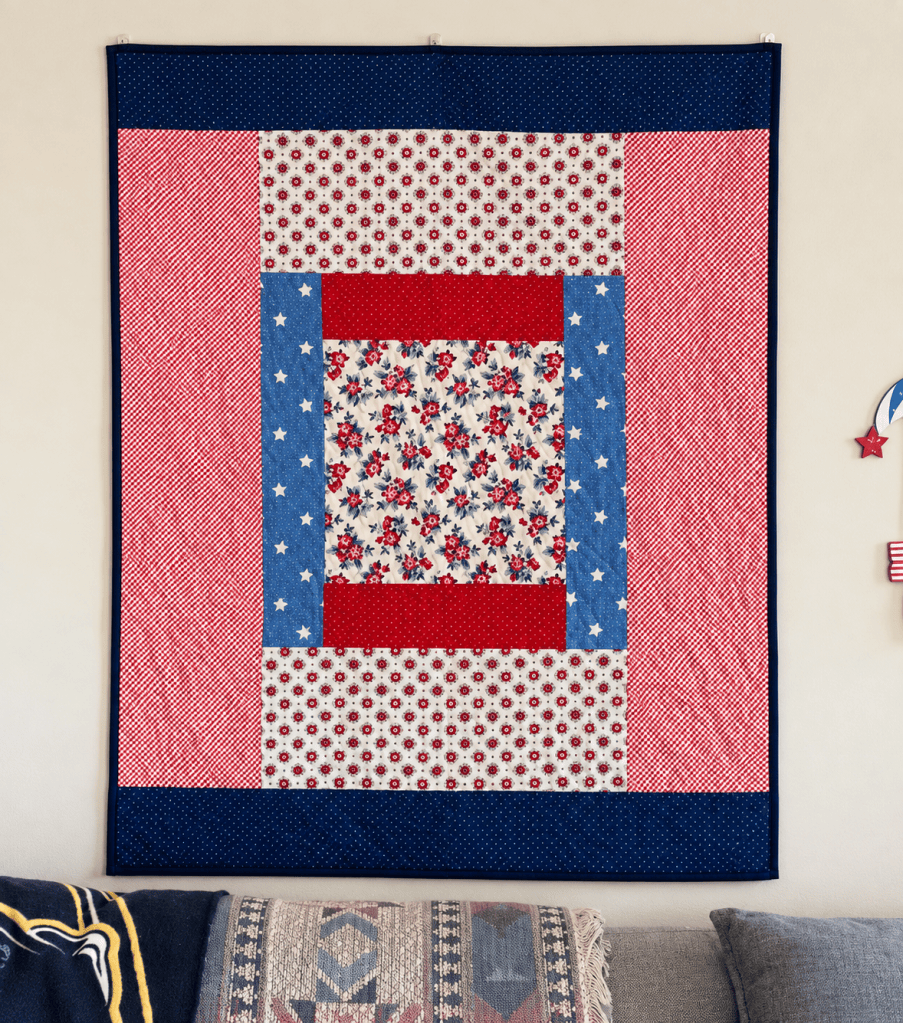
Do you hang quilts on the walls in your home? I do! I have this wonderful big blank wall behind the sofa in the living room and it’s my special place to hang seasonal quilts.
I must admit that I haven’t yet begun changing out my quilts for fall and I probably won’t get to it until the beginning of October. Right now, my red, white, and blue Cabin Fever quilt is still proudly hanging there. You might remember I made this small quilt during our recent Summer Challenge. You can find a tutorial for Cabin Fever HERE.
I plan to put up my Cabin Cozy panel quilt over the sofa for this fall. I think it will be perfect! And the blue in the quilt will look great with the blues that are already in the living room! It will hang down behind the top of the sofa, but that’s okay with me. I definitely don’t go in for perfect, I am all about comfy cozy.
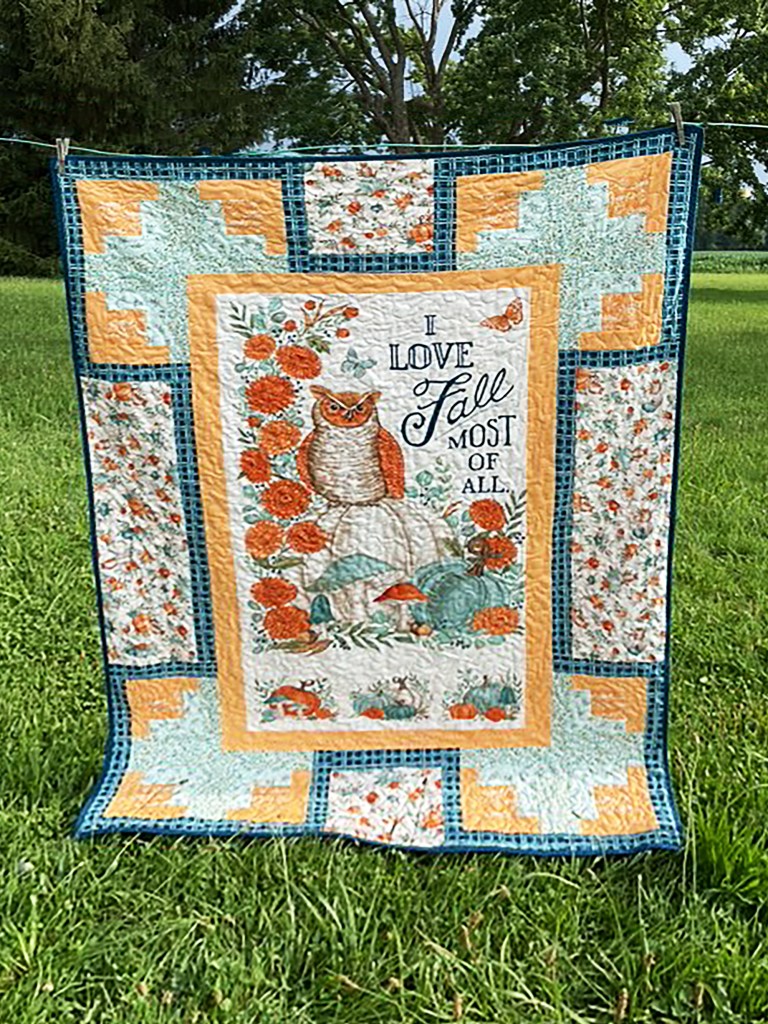
Here’s an outside photo of Cabin Cozy. I just love the Log Cabin blocks in the corners. Seriously, when I think about cozying up for fall, Log Cabin blocks come to mind for sure.
Hanging a quilt on the wall is a lot more than just putting up something pretty, though. It’s about seeing quilts as artwork. Yet, quilts are a special kind of artwork that framed art just can’t compete with – quilts add warmth, softness, and texture to our spaces without even trying. They’re quilts and that’s just what they do. No wonder the decorating world is jumping on the quilt bandwagon. But we quilters have always known that, haven’t we?
The Sofa, Chair, and Bench Treatment
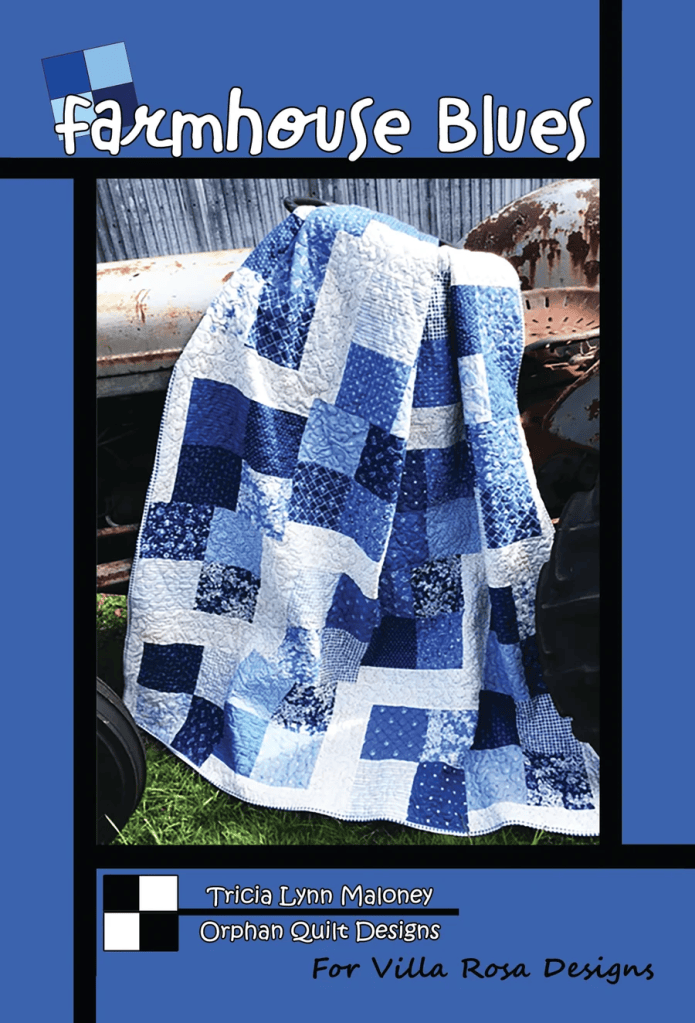
Regardless of the season, there are always quilts on the backs of the furniture in my home. I adore my Farmhouse Blues quilt (mine is the one on the front of the pattern) and it lives permanently on the back of my chair.
Perhaps I should remake it in autumn colors – so my blue and white version gets a break for a while. Swapping quilts out with the seasons is totally one of my favorite decorating techniques – just another tip from me, the Lazy Quilter (this is what my quilty pals call me behind my back……and to my face, too. LOL!).
Maybe something like this? Using solids would really give Farmhouse Blues a whole new identity – more like Farmhouse Chic. Of course, I’d have to back it with fleece for maximum snuggly-ness on cool autumn evenings here in NW PA while I’m curled up reading a good book or watching TV.
Farmhouse Blues in autumn colors
Quilts are also great draped or folded over benches, ottomans, or anything else that stands still long enough for us to toss a quilt over. The cats? The dog? Grandma? Sigh……probably not.
Draping and folding quilts is seriously one of the easiest seasonal reset ideas anyone can do because there is no need to stand on ladders or move furniture around. Simply toss a quilt over a piece of furniture and like magic – poof! – autumn decorating at its finest.
Pillows, Table Runners, and Smaller Quilted Pieces
What naturally goes along with all of those quilts tossed over the furniture and hanging on the walls? Pillows, runners, and little quilts, oh my!
Pillows
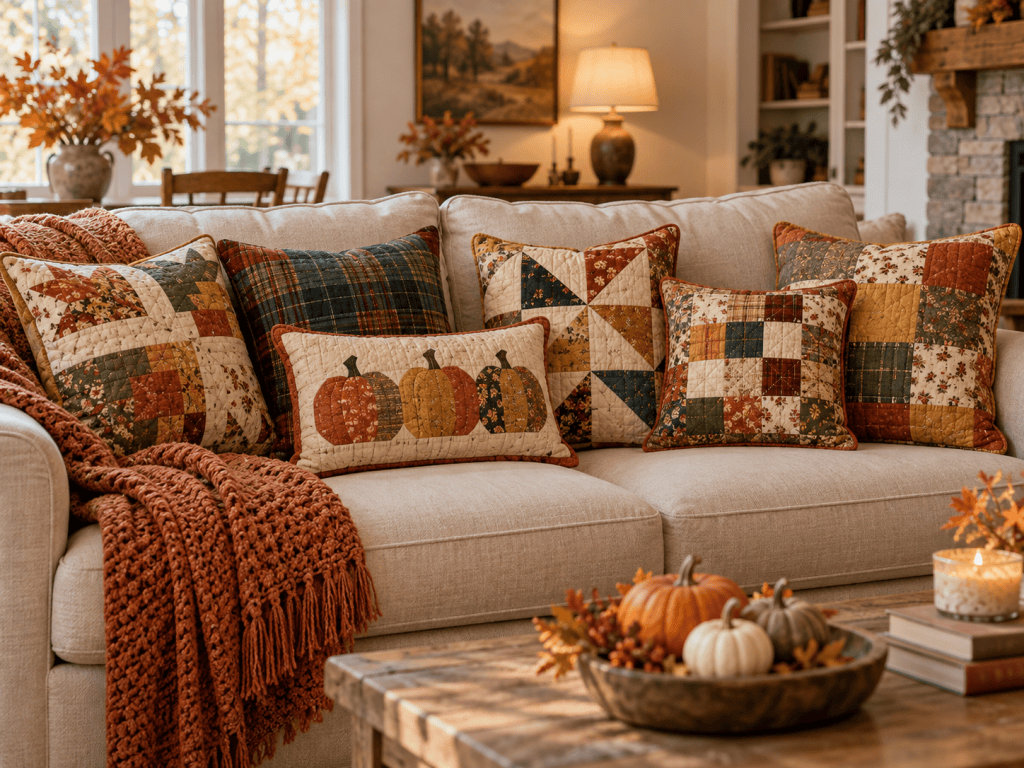
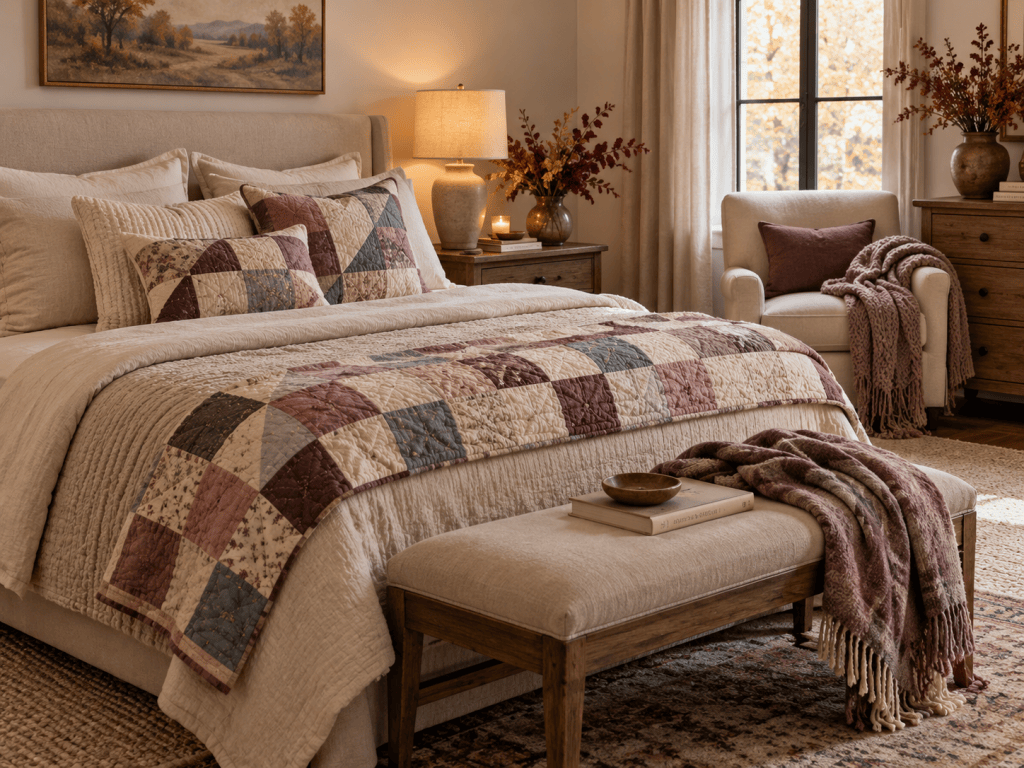
You may have noticed that I’ve really gotten into seasonal throw pillows this year! You can check out my VRD 18″ seasonal pillow patterns HERE. I love that tossing a seasonal pillow onto a sofa or chair adds a nice little seasonal pop. A seasonal pillow can give our space a nice little boost without having to redesign our whole space. A couch full of fall pillows? Priceless!
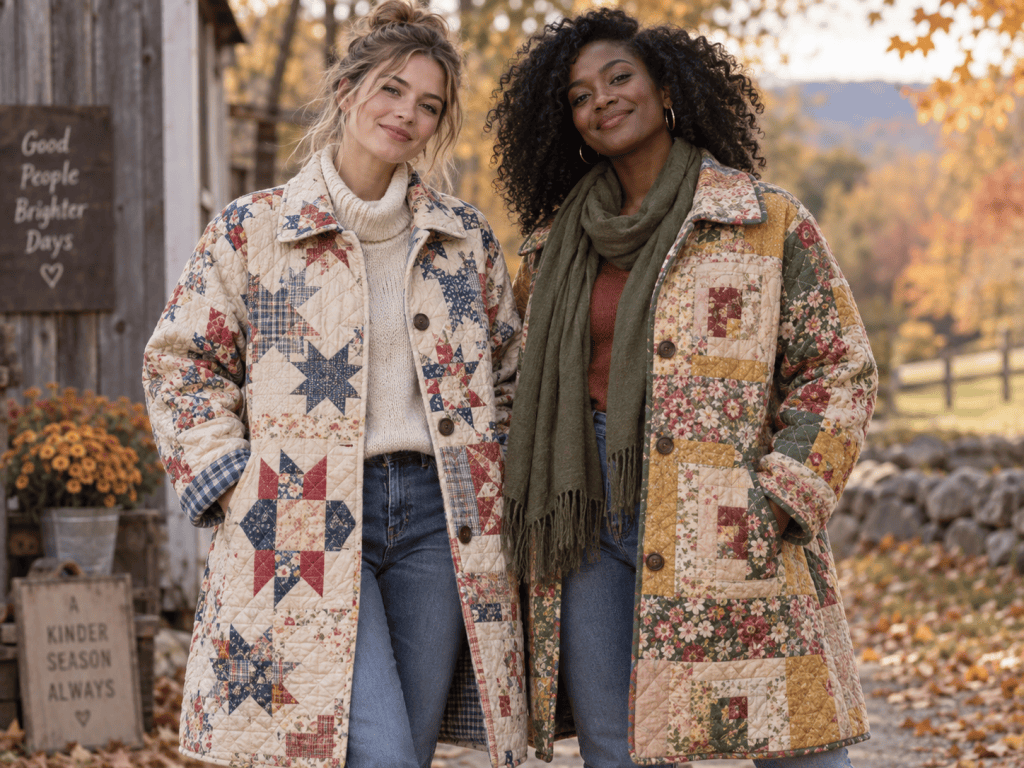
Image created by moi using AI tools
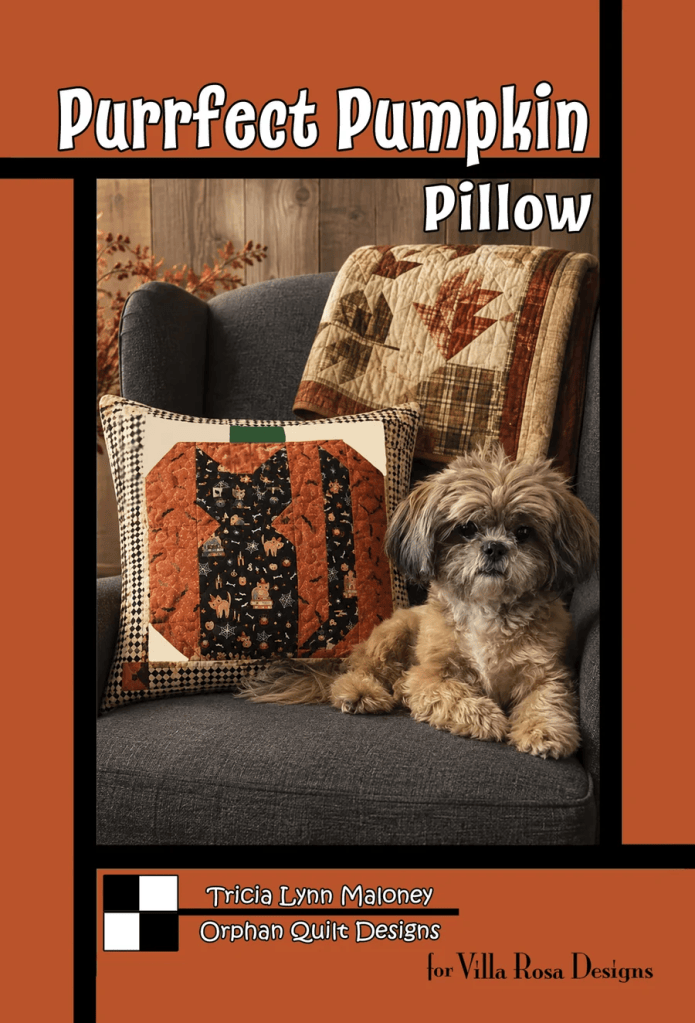
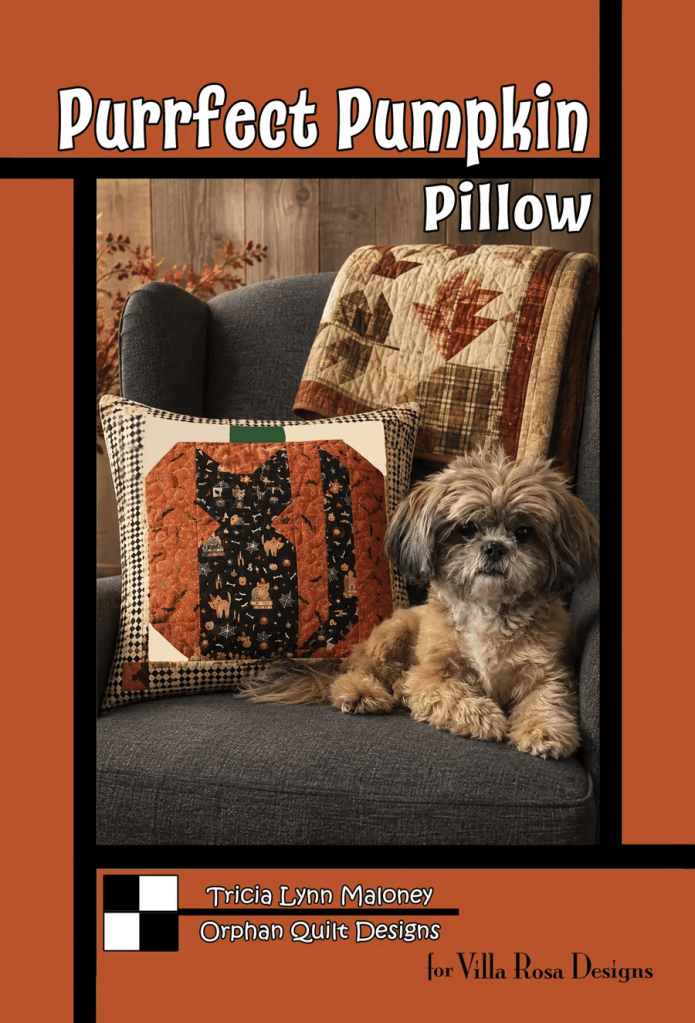
Huh. I wish that was my living room, but right now Purrfect Pumpkin is my only fall decoration in the living room, at least until I get Cabin Cozy up on the wall. I just love this cute pillow – it makes me smile every time I see it right before plopping onto my chair. So, even though I haven’t gotten my fall quilts on the walls and the chairs yet, a simple fall patchwork pillow can totally make a bigger seasonal impact than you might think.
PSST! Don’t you just love Bailly in that photo? I think it’s one of the cutest poses she’s ever done for me. Of course, her fur is really growing out now since her short summer cut and she needs some grooming, but her little expression is just too adorable for words – I think she looks more like a stuffed dog here than a real Shih Tzu. But I assure you, Bailly is a real dog – err, fur girl (I don’t think she considers herself to be a dog at all).
Table Runners
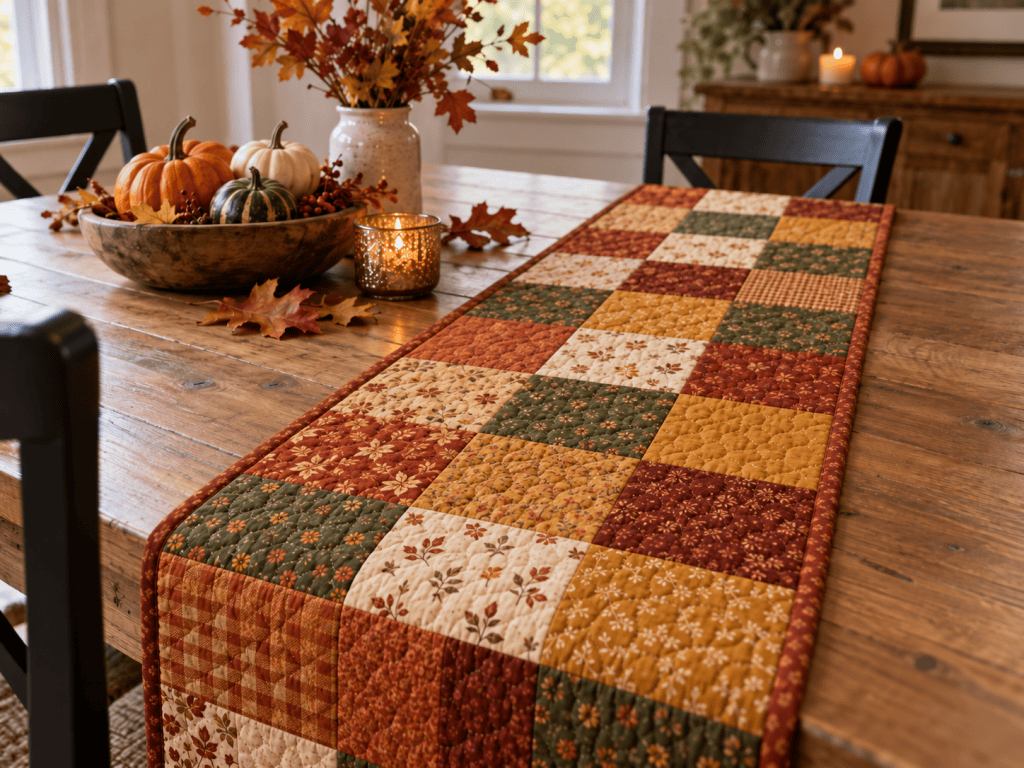
Now don’t get me started on table runners as seasonal decor! I’ve got runners and pillows aplenty for all seasons and holidays, but that never stops me from making new ones, even though I really don’t need any more. But one can never ever have enough seasonal runners.
Image created by moi using AI tools
I swear my house is going to explode someday and seasonal quilts, runners, and pillows will shoot into the sky like Old Faithful! Oh dear.
That being said, table runners are another Lazy Quilter decorating secret because you can change the whole look of your dining area by simply laying a seasonal runner on a clean table. Done and done. Of course, you can add baskets, candles, greenery, leaves, and other decorative items to reinforce the season, but a simple table runner by itself can totally be enough.
I have found, though, that table runners aren’t just for tables. You can drape a runner over the back of a chair or sofa. Use it on your coffee table or side tables. Hang a runner on the wall like a banner. If it’s a particularly long runner, you can use it at the bottom of a bed or even across the pillows for a super fast seasonal touch.
Table runners are amazing superheroes without capes when it comes to seasonal decorating. And if you’re like me, you make lots of runners for all seasons and holidays. What better way to enjoy them than by layering your spaces with your runners? Maybe you made a new runner for your table, but those seasonal runners from previous years – you can totally use them everywhere! Easy peasy decorating. You can check out our VRD table runner patterns HERE.
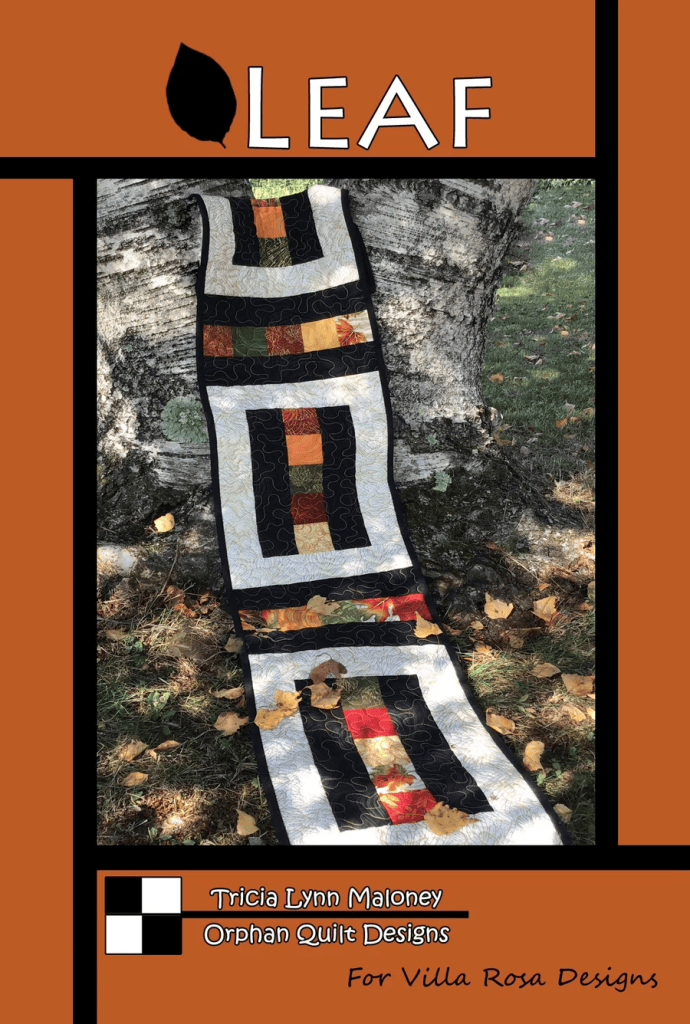
Leaf is definitely one of my favorite fall runners. You can make it in an afternoon (if you have a stash……you probably won’t even need to make a trip to the quilt shop, but then again it’s never a bad idea to stop by your local shop because they might just have the perfect fat quarter….or ten that you can’t live without) and it can easily be lengthened by adding more blocks if needed. PLUS – you could make an extra block and turn it into a matching pillow!
There are lots of other small quilty objects beyond pillows and runners. Table mats (which are usually square or rectangular but not narrow like runners), place mats, snack mats, mug mats, banners, and mini quilts are all fun examples of small quilty projects.
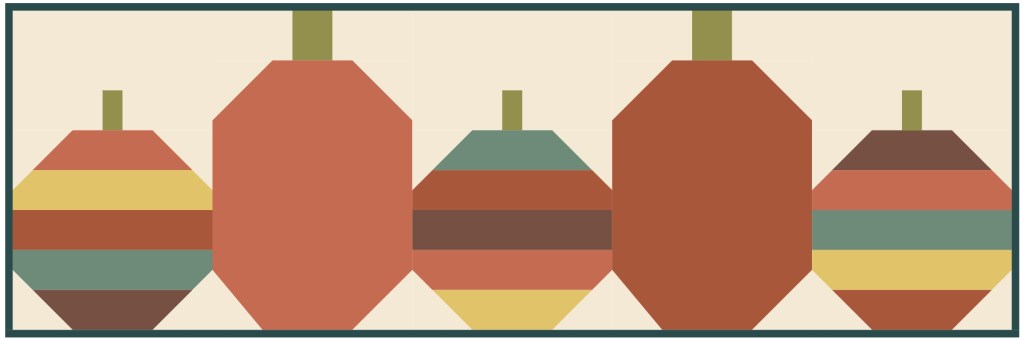
Image created by moi with AI tools
Small quilts are especially fun for seasonal decorating because they are so easy to move around and tuck into unexpected places. A little quilt can sit under a basket or tumble out of a bowl on a table, hang from a peg or drape over a cabinet door, dress up the back of a chair, or add a pop of color to a shelf or hutch. You can even layer a small quilt with other decorations you already have instead of buying anything new.
And because these projects are small, they’re a great way to use up scraps, try a new color combination, or make something seasonal without committing to a full-size quilt. I love that kind of project — quick enough to finish in a reasonable amount of time, but still big enough to make a room feel different. Small quilts may not take up much space, but they can bring a surprising amount of personality to a room.
Let Your Quilt Choose the Colors
One of my favorite things about decorating with quilts is that the quilt itself can do most of the decorating work for you. Instead of trying to dream up an entire color scheme for a room, start with a quilt you love and pull a few colors from it.
Maybe your quilt has rust, teal, gold, and cream. There you go — instant fall palette! Add a pillow or two, a basket, some greenery or leaves, maybe a candle, and suddenly the whole room feels warm and seasonal.
And you definitely do not need everything to match perfectly. In fact, I think rooms are much more interesting when they look collected over time instead of looking like everything came home from the store in one giant matching set.
Of course, this is also another excellent excuse to let a favorite quilt be the star of the room. Not that we quilters actually need another excuse. LOL!
Autumn Doesn’t Have to Be Orange
Now, I love orange as much as the next fall-obsessed person, but autumn decorating doesn’t have to mean pumpkins and bright orange everywhere. It’s more about capturing that cozy fall feeling! If that’s pumpkins for you, then you do pumpkins. But there’s a whole lot more to fall than just pumpkins.
Think about some of the other colors we see in fall — olive green, deep red, mustard, brown, plum, navy, teal, cream, and even dusty pink. I just love looking at all the colors captured in a fall leaf. Depending on the type of tree, you can find pink to orange to red, yellow to orange to brown, purple to brown, and every color in between! A quilt in any of these colors can feel perfectly autumnal without containing a single pumpkin.
That’s definitely one of the things I love most about decorating with quilts. Depending on the colors and fabrics, the whole mood of a room can change just by swapping out the quilt on the wall or the one tossed over the back of a chair.
Image created by moi using AI tools
And because quilts already bring so much color, texture, and personality with them, you really don’t need to add much else. Unless you want to………
Quilts Make a House Feel Like Home
Maybe that’s why the decorating world is suddenly so excited about quilts and patchwork.
Quilts aren’t just pretty things. They add softness, warmth, color, texture, and personality all at the same time. Some quilts remind us of people we love. Some remind us of a special fabric collection, a class, a trip, a challenge, or even just a particular season of our lives. Some can even represent your heritage.
And unlike a lot of home decor, quilts are meant to be used and enjoyed. You can hang them on the wall today, toss them over the sofa tomorrow, and curl up under them when the weather turns cold.
I think that’s why quilts make a home feel so personal. They don’t just decorate a room — they tell a little bit of our story.
Bring on the Quilts!
So maybe the decorating world has finally caught up with us quilters. LOL!
Quilts really are pretty perfect home decor: colorful, cozy, practical, personal, and made to be enjoyed. Hang them on the walls, toss them over furniture, layer them on beds, drape them over benches, or scatter smaller quilted pieces around the house.
And if your house starts looking like quilts are slowly taking over every available surface?
Well…you’re probably doing fall decorating exactly right.
Now I want to know — how do you decorate with quilts in your home?Do you change yours with the seasons, or do you have favorites that stay out all year long?
This week I’ve definitely detected a touch of fall in the air and I really don’t mind at all. It means longer walks with my dog. Open windows instead of air conditioning. Capris and jeans instead of shorts. Warm days and cool nights. Adding a colorful quilt to my bed. Leaves and pumpkins. Warm cider and sweaters.
C’mon in, Fall, I’m ready!
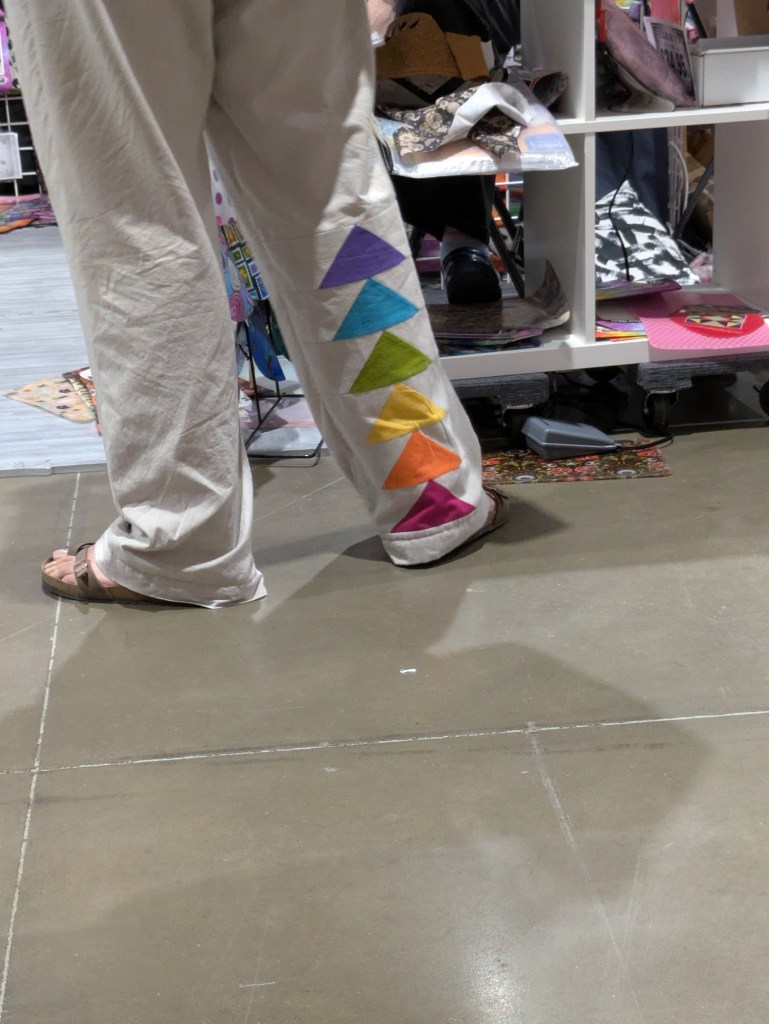
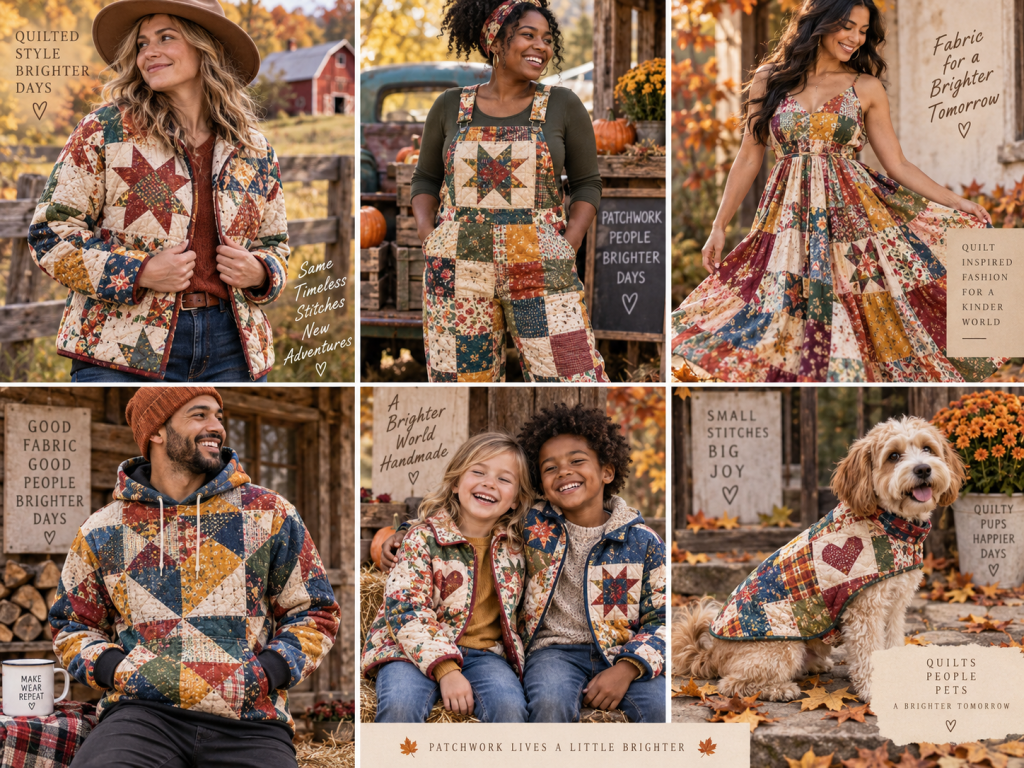
Speaking of the warmth and colors of fall, have you noticed that all of a sudden quilting is trendy in the fashion world? Quilted vests and jackets, tote bags and purses, patches on jeans, and don’t forget the accessories!
This really cracks me up because as quilters, we’ve been adding quilty things to all aspects of our lives for, well, hundreds of years. And now the fashion industry thinks they’ve created something brand new!
Seriously?
How many of you have made quilted bags or totes? Jackets or vests? Patched your jeans? If I had to guess, I’d say probably most of you!
As quilters, we’ve known for a long long time that patchwork and quilting can make something as humble as scraps of fabric into a work of art, a gift for someone special, something to warm you or to decorate your table, and quilts have always provided comfort to those in need. And yes, quilts can even be worn.
image made by moi using AI tools
One trend I’m seeing lately is taking antique and vintage quilts, cutting them up, and then sewing them into coats and jackets. I totally love the idea, but I’m not sure I could chop up a beautiful perfect antique quilt and turn it into a jacket. I must admit the ones I’ve seen online are simply gorgeous. It’s certainly a clever form of recycling and reusing, but I worry about someone chopping up an historically significant quilt.
I don’t have a problem with someone using damaged or common less valuable quilts to make a jacket, other wearables, or crafts – after all, I used to make Christmas stockings out of worn out and damaged quilts (the more patched and tattered, the better for those stockings). However, seeing someone use a special one of a kind priceless quilt would absolutely break my heart as I’m all for preserving our quilting history.
I guess what I’m trying to say is that before anyone chops up an antique quilt to make a jacket or other wearable, please please please take the time to make sure it’s not a special quilt with an important provenance.
I must admit that looking at all of those yummy jackets made out of quilts makes me want to make one, too. So I have decided either I’m going to find a big box store quilt at the thrift store or perhaps use a UFO quilt top that’s been hanging out in my stash for too long. Of course, I’d have to first layer and quilt my UFO before chopping it up and I’m not sure how I feel about that.
Another idea would be to use an Indian Kantha quilt. Kantha quilts are only 2 layers (no batting), are often made from used saris or leftover sari fabrics, and are hand-quilted with hand-stitched edges. Without batting, Kanthas would be less bulky and more flexible as a wearable.
How about that – I now have a plan for making my very own quilt jacket. Of course, I’ll have to decide on a pattern…..
OH MY! I just fell down the Etsy rabbit hole! I typed “Quilt jacket” into search and got tons of different options from patterns to finished objects. I saw coats and jackets, hoodies, overalls, dresses, skirts, shirts, purses and bags, and even a patchwork doggie jacket (Bailly has to have one of those for sure!).
WOW!
Here is the link to all the fun quilted wearables and patterns I was looking at and drooling over, just in case you need a little eye candy inspiration, too:
But wait! Maybe I don’t want to take hours and hours to either find a used quilt or to make one from scratch so I can chop it up and resew it into a jacket. Then what?
Aha! I could buy a finished quilt jacket or wearable. There are lots of sewists out there making these awesome jackets and wearables and selling them on Etsy or other craft sites. Sometimes you even get to choose the actual quilt you want to be made into your very own one of a kind jacket.
There really are lots of fun options out there for people who sew and for those who want the look but don’t want to make it themselves.
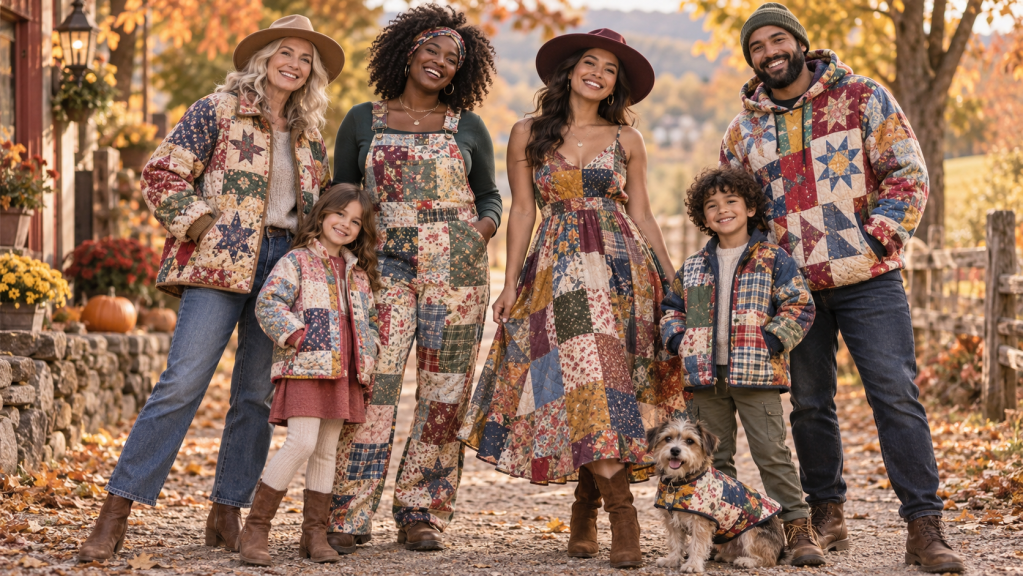
image made by moi using AI tools
Looking at these fun images, I have just now suddenly decided I MUST HAVE A PAIR OF QUILTY OVERALLS! They are absolutely too cute for words. I don’t know if I’d want all 3 layers, though. Maybe just the front and a lining or else the overalls might not move with you when you bend and such.
I wonder what I’d look like in a pair of quilty overalls?
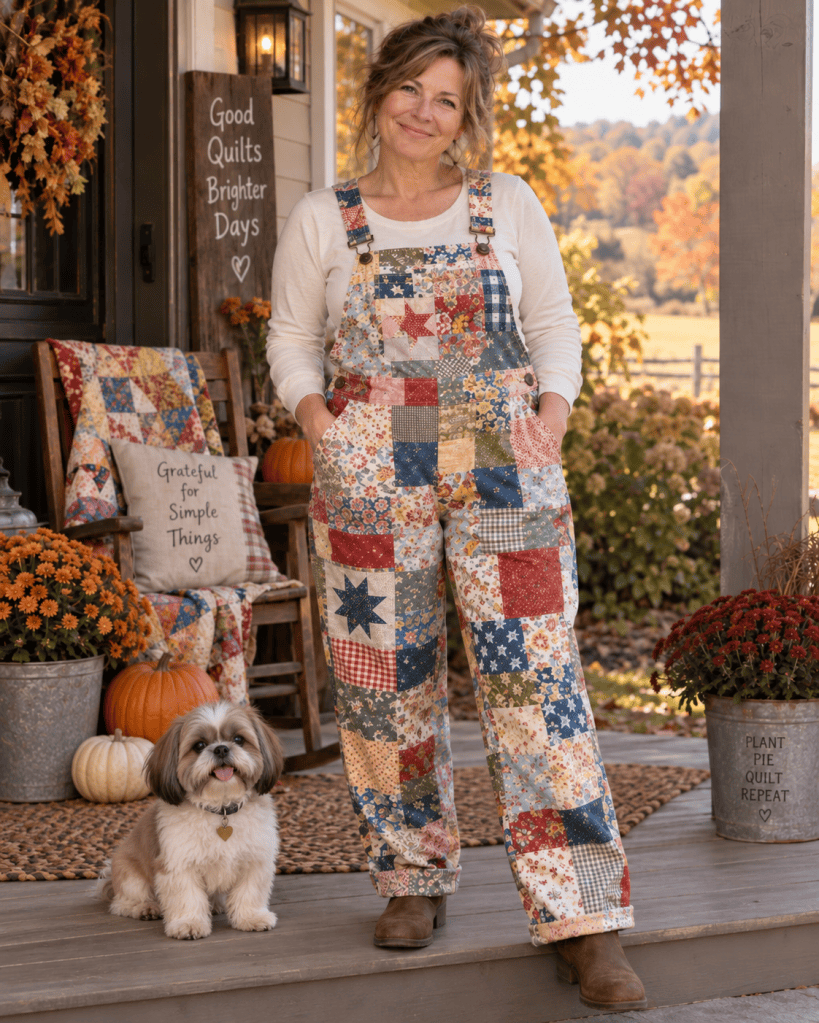
image made by moi using AI tools
Awwww, here I am as a virtual model (I wish I looked that good – LOL!). Now I really really have to get a pair of quilty overalls!
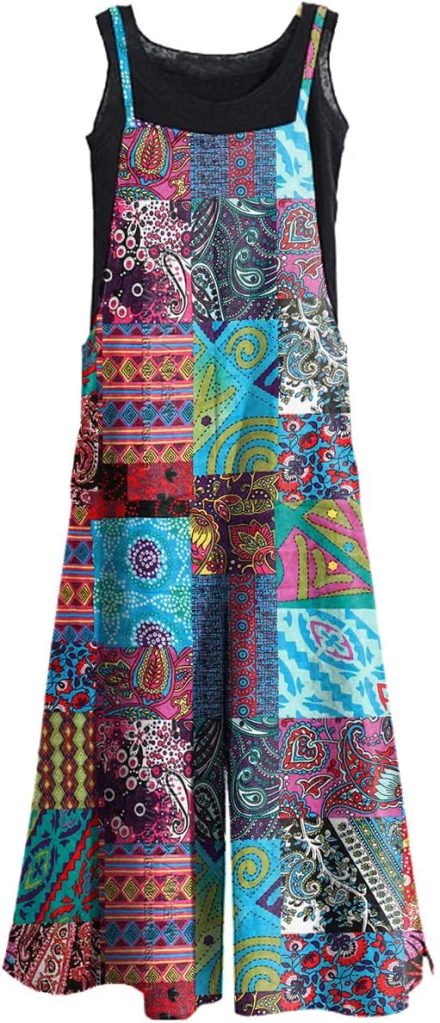
Of course……..I could get some patchwork printed overalls and avoid all the work of putting together a quilt, quilting it, then cutting it up, and sewing it into a pair of overalls. I bet there are loads of cute ones out there.
Look at this pair I found on Amazon! And they are 100% cotton, not polyester. You get that quilty look without the time, effort, or the bulk of actual quilt overalls. They look so light and airy AND come in other prints and colors, too, with sizes from small to 3XL. What fun! They totally remind me of an Indian Kantha, too. Sew cute!!!!
I am definitely going to buy a pair and if I like them, then I’ll probably get a few more pairs just for kicks. They would be great to wear to quilt shows and other events, especially paired with a quilty jacket. Woohoo – look who’s jumping onto the patchwork and quilty style clothing wagon! Yep…..ME!
PSST! I must admit I’m a Lazy Quilter. I used to make purses and bags for myself all the time……until I discovered Vera Bradley bags.
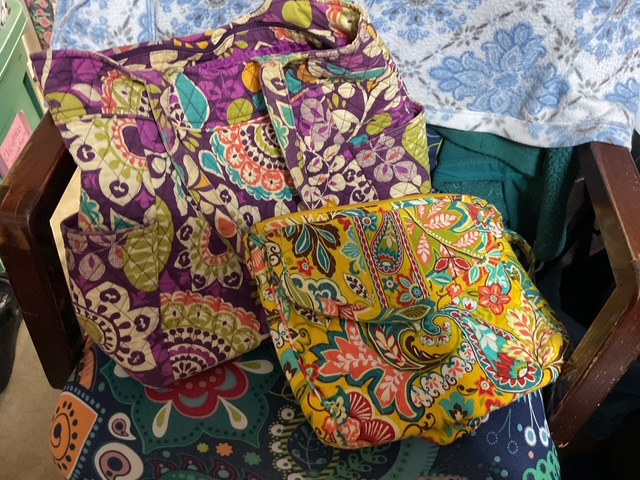
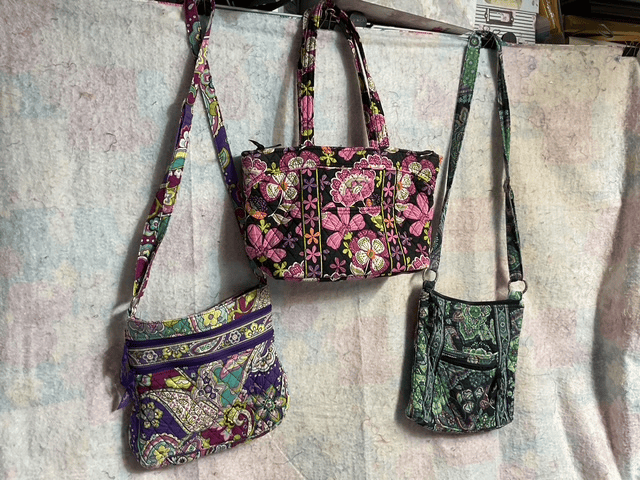
All the colors and designs and options – a bag for every purpose. And you see them everywhere. I began buying them secondhand because I couldn’t buy the fabrics/patterns/supplies for as little as a gently used Vera Bradley bag sells for – not too mention all the time one invests in making a well-made bag. Sigh……so I jumped onto the Vera Bradley bandwagon. Now I have oodles of bags in all different colors and sizes. All purchased secondhand at local thrift shops or even on eBay once or twice. This is one of my easy peasy ways to add color and pattern (and a bit of quilty-ness) to my everyday.
Below you’ll see just a few of the Vera bags that are currently living in my studio. I haven’t even used these ones yet, but I do buy them when I find them and the price is right. Eventually, I will need to let some of my Vera bags go so they stay in circulation.
Speaking of quilty bags and wearables, did you know we actually have some great accessory patterns right here at VRD???
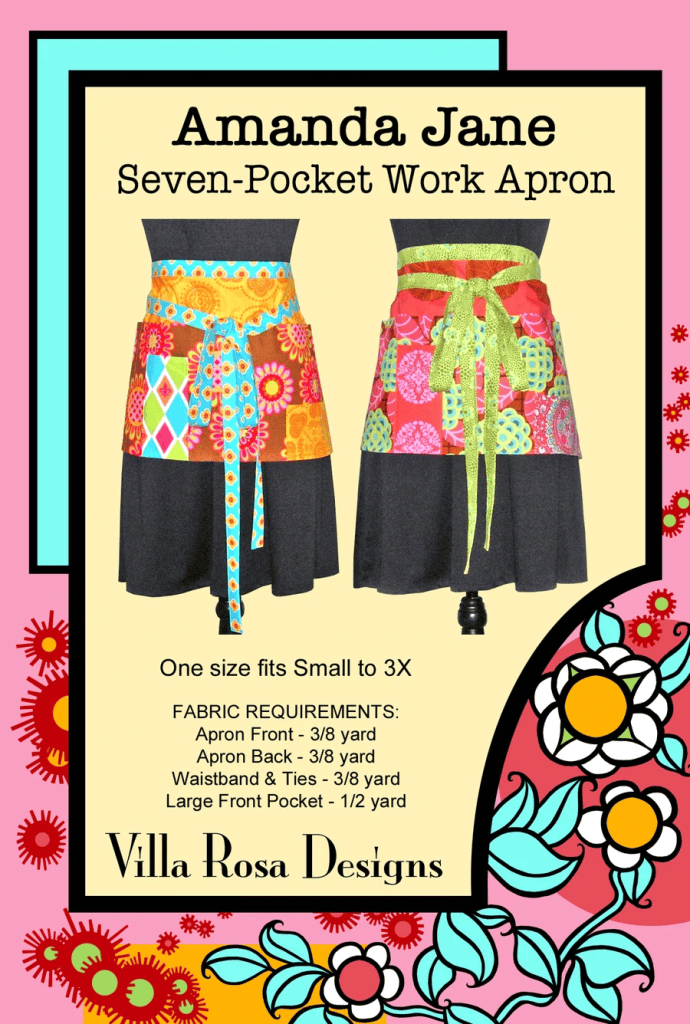
Amanda Jane is a very fun and satisfying apron with 7 – count ’em – 7 pockets! You can really scrap up this apron and add lots of fun fabrics. You could even cut the front of the apron from a piece of patchwork.
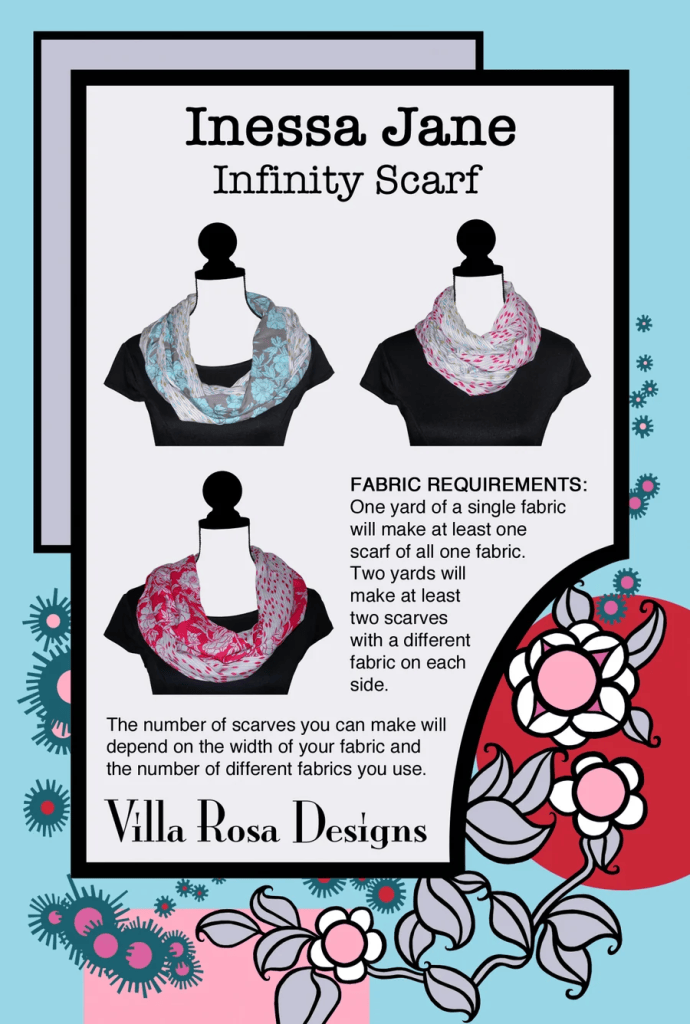
Inessa Jane is a simple-to-sew Infinity scarf. Imagine using pieced strips instead of single fabrics for this scarf? Wouldn’t that be unique and add a real punch to your wardrobe?
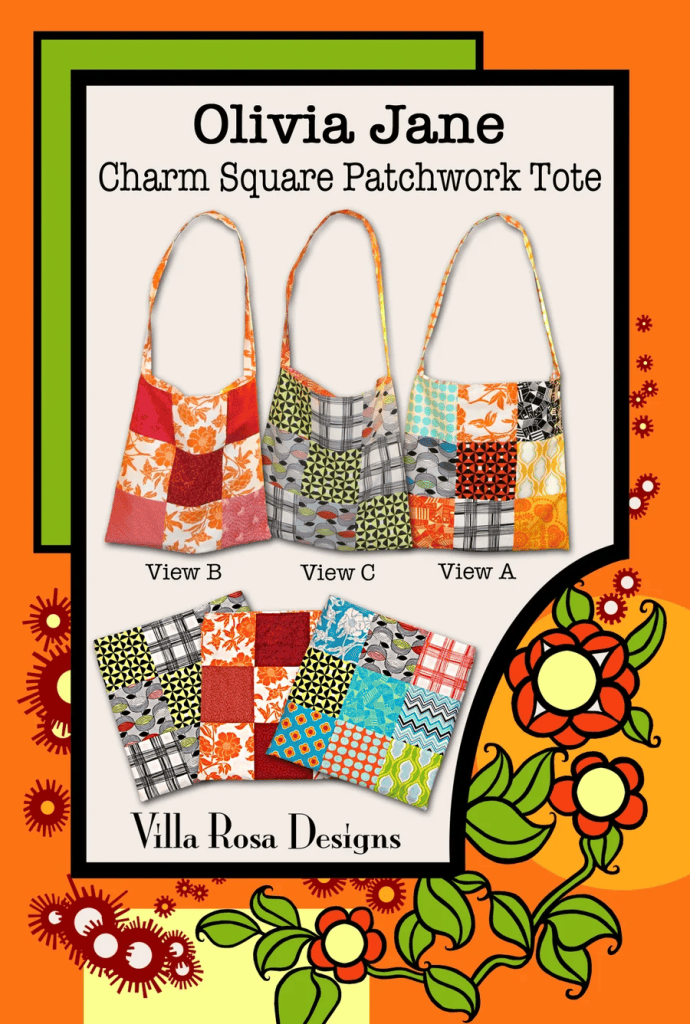
Olivia Jane is a super fun patchwork tote bag. Have extra or leftover quilt blocks? You could use those for the front and back of the tote. Just sayin’……
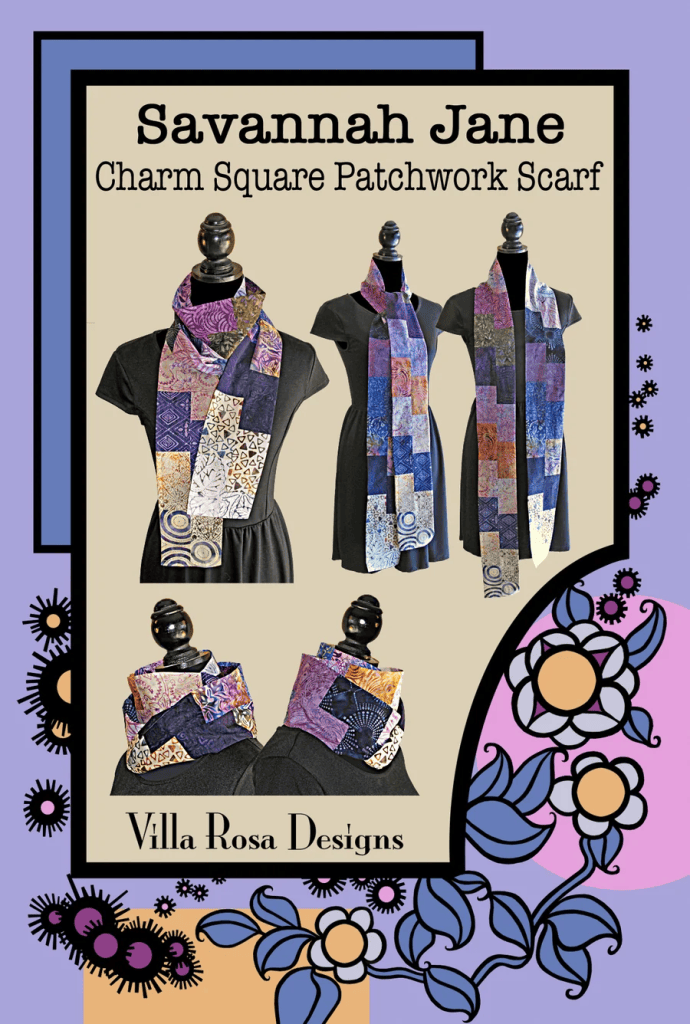
Savannah Jane is a wonderful patchwork scarf. Use your scraps, your stash, or head to the quilt shop for a brand new sparkling pack of 5″ squares. Your scarf……your rules.
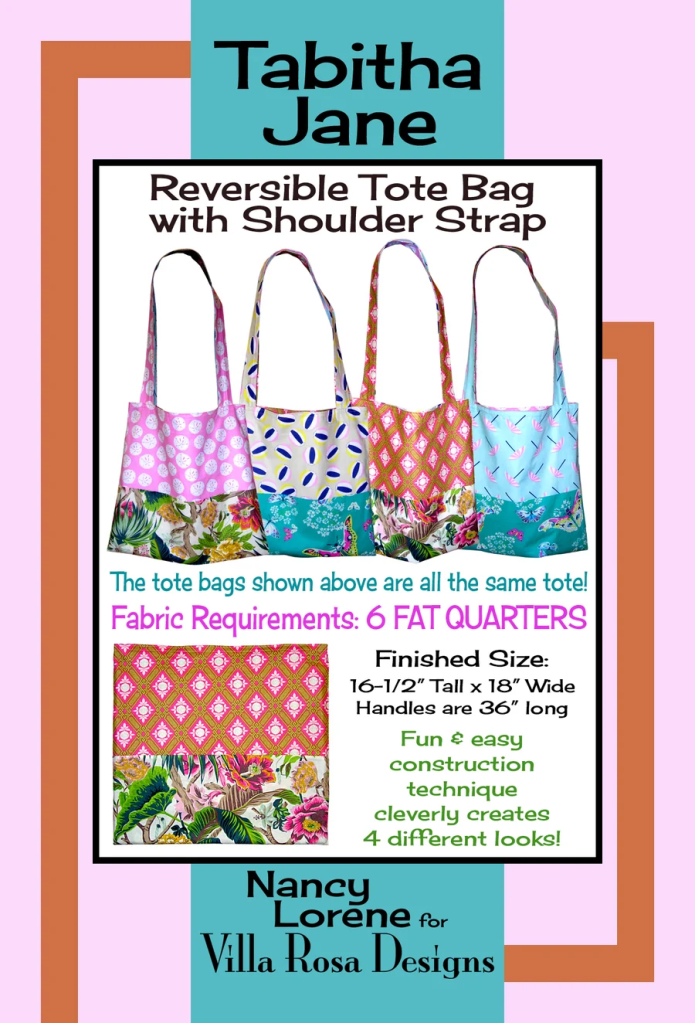
Tabitha Jane is a fab fat quarter tote bag. I know you have fat quarters in your stash. And what about those uber cute bundles that you had to bring home from the quilt shop? This tote bag uses 6 fat quarters so it’s a great option that uses up an entire bundle. Or this is a great reason to dive into your stash and pull out some oldies but goodies (I know you have some of those).
Isn’t it great that quilts don’t have to stay on beds or walls or tables or the back of your couch? You can wear a quilt to the grocery store………to the coffee shop……to the quilt show……
Quilts can go with you everywhere that you go!
Well, that’s it for me today. I’m off to order my new patchwork overalls and maybe check out the latest eBay listings for Vera Bradley bags.
Take care, have a great week, and I’ll see you right back here next week.
I trust you all survived Labor Day weekend? I did! Happily, I had 2 days of sewing with my sewing buddy, Robin (Hi Robin!) – yay! – and I went to Robin’s 2 year old grandson’s birthday party. It was a good weekend.
Today, I’ve got a free fun little scrappy fall leaf block pattern PDF download for you.
This block, which I’ve named Colorful Me Autumn, is adapted from one of the leaves on the throw in the background of my new September Rose Card pattern, Purrfect Pumpkin. You can see the throw on the pattern, below, over on the right side on the top of the chair.
Just the other day, I had a question asking if I had the pattern for the throw. Although I couldn’t reproduce the entire throw, I did adapt one of the blocks for you.
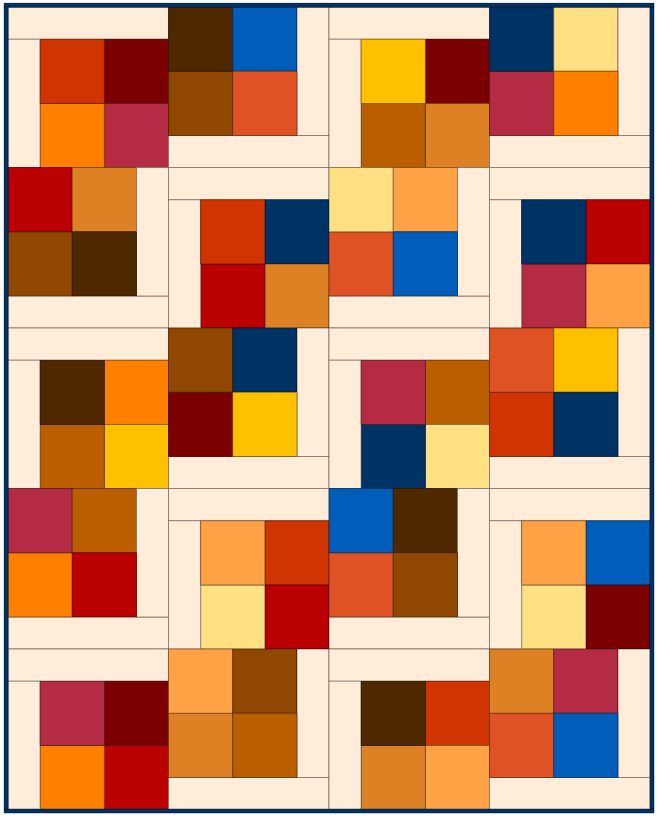
Here’s the Color Me Autumn block. Isn’t it fun??? You can make it totally scrappy so you can raid your own fabric stash OR use a single fabric for each block to make your quilt more organized. The block finishes at a nice 12″ x 12″.
Below is the PDF download with instructions for making the block:
I was originally planning another fun new autumn quilt tutorial, but sadly I ran out of time. Again. So, instead, I came up with a really cool idea that I hope you will enjoy!
Well, there’s no time to lose – let’s dive right into our topic for today – Autumn Colors!
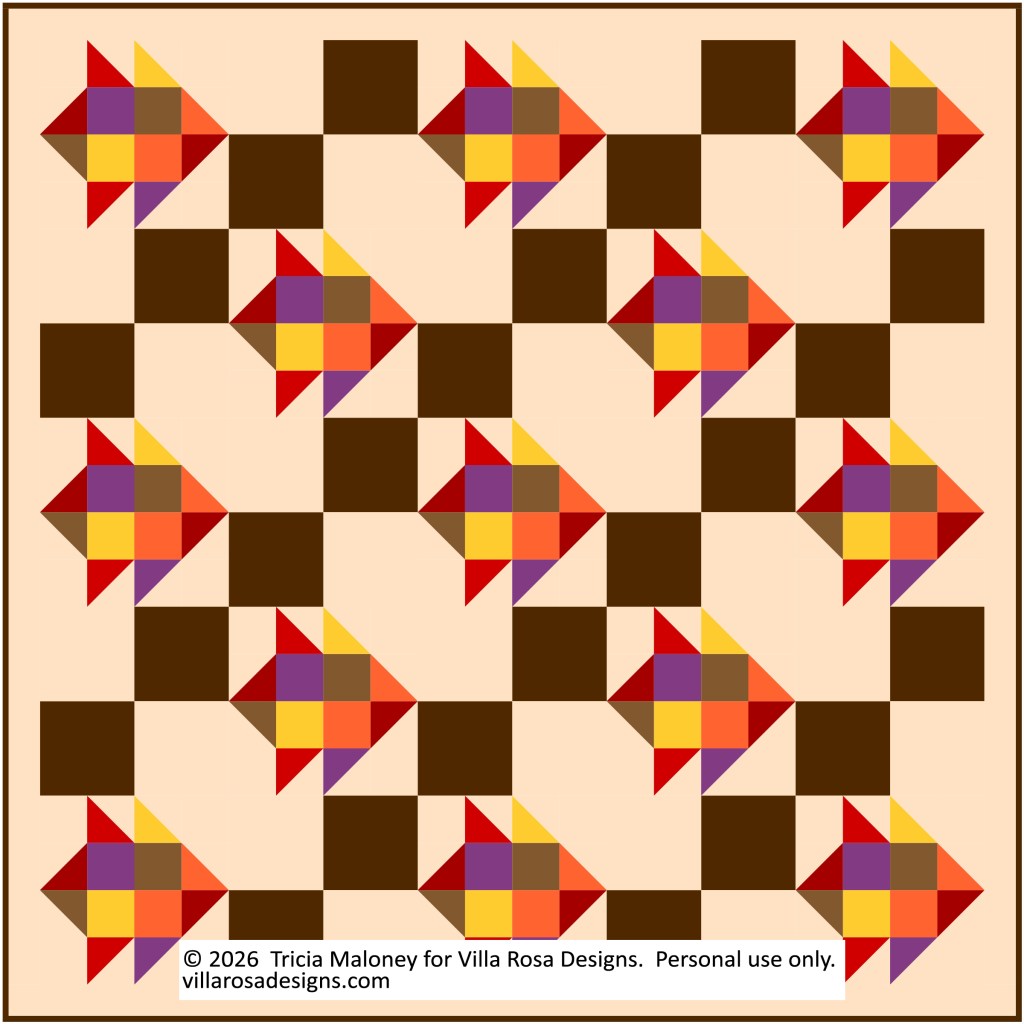
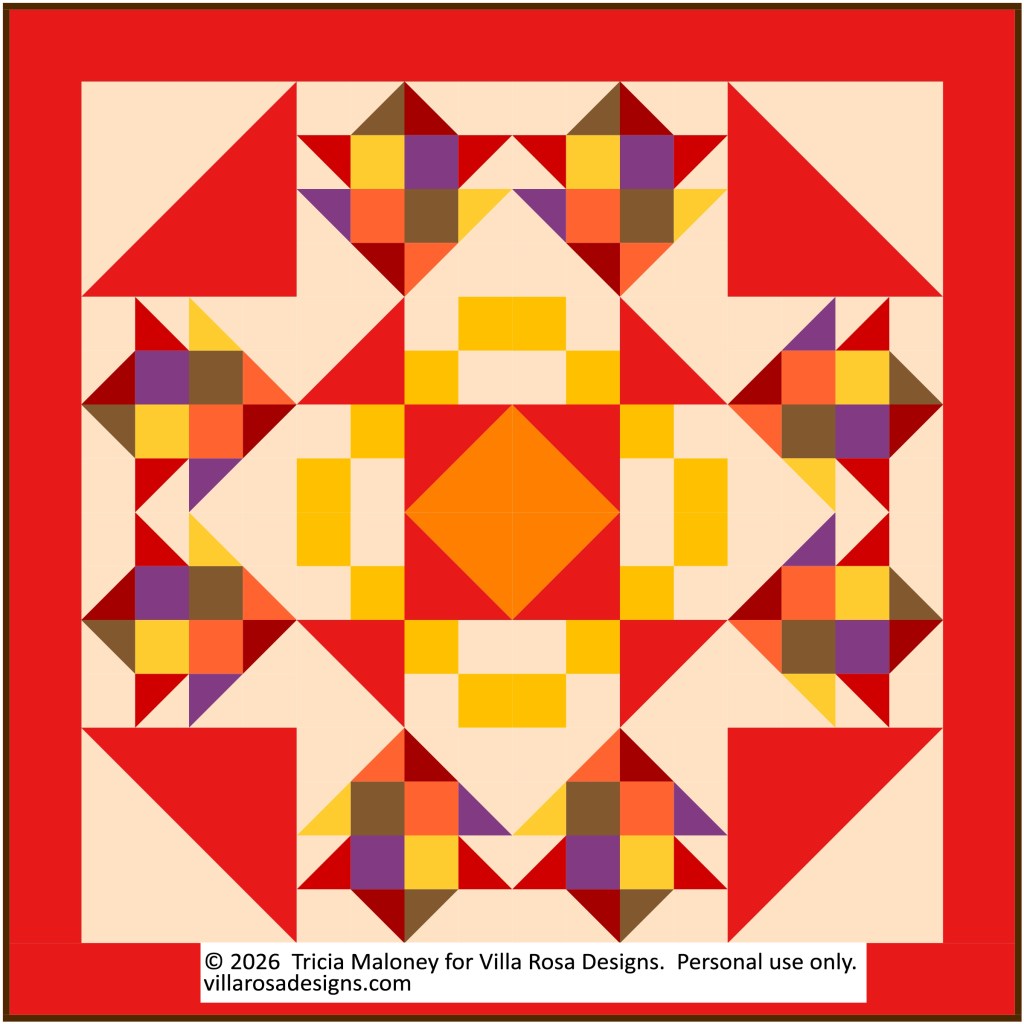
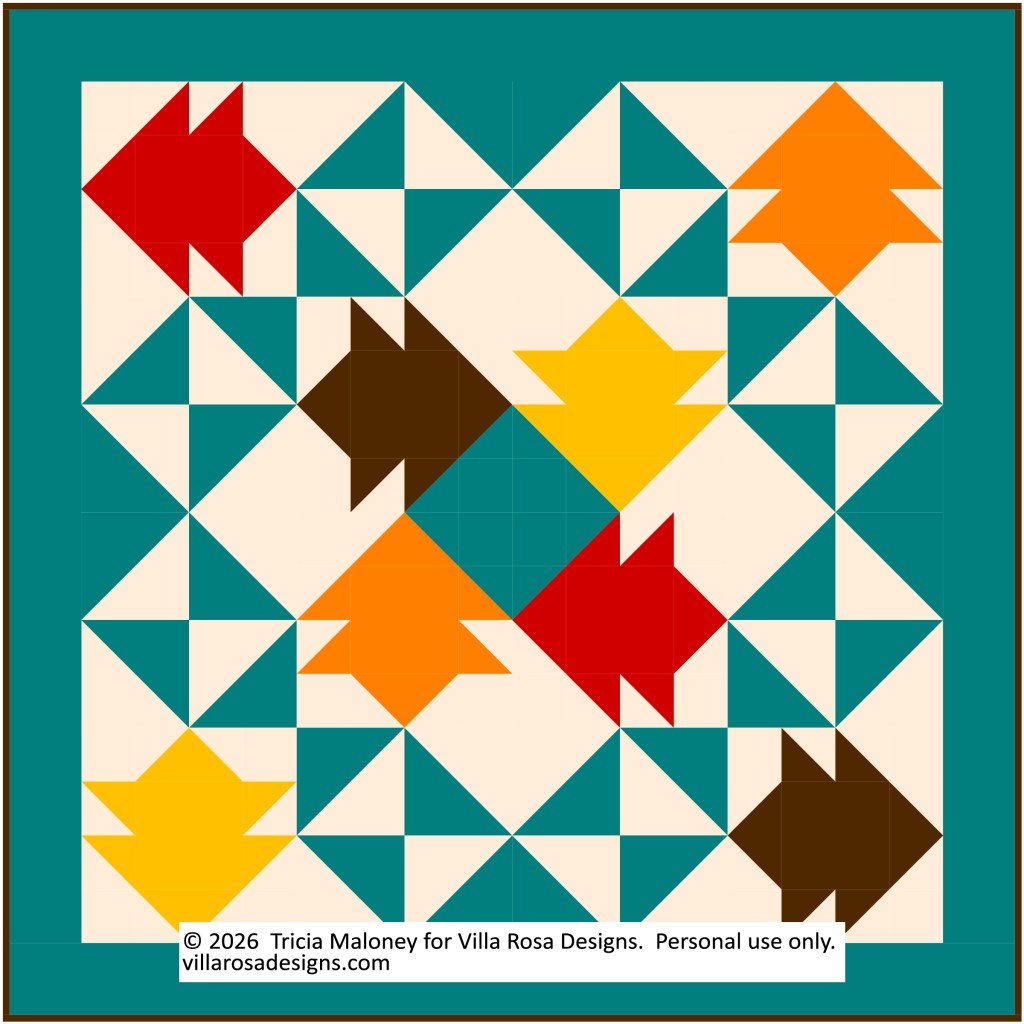
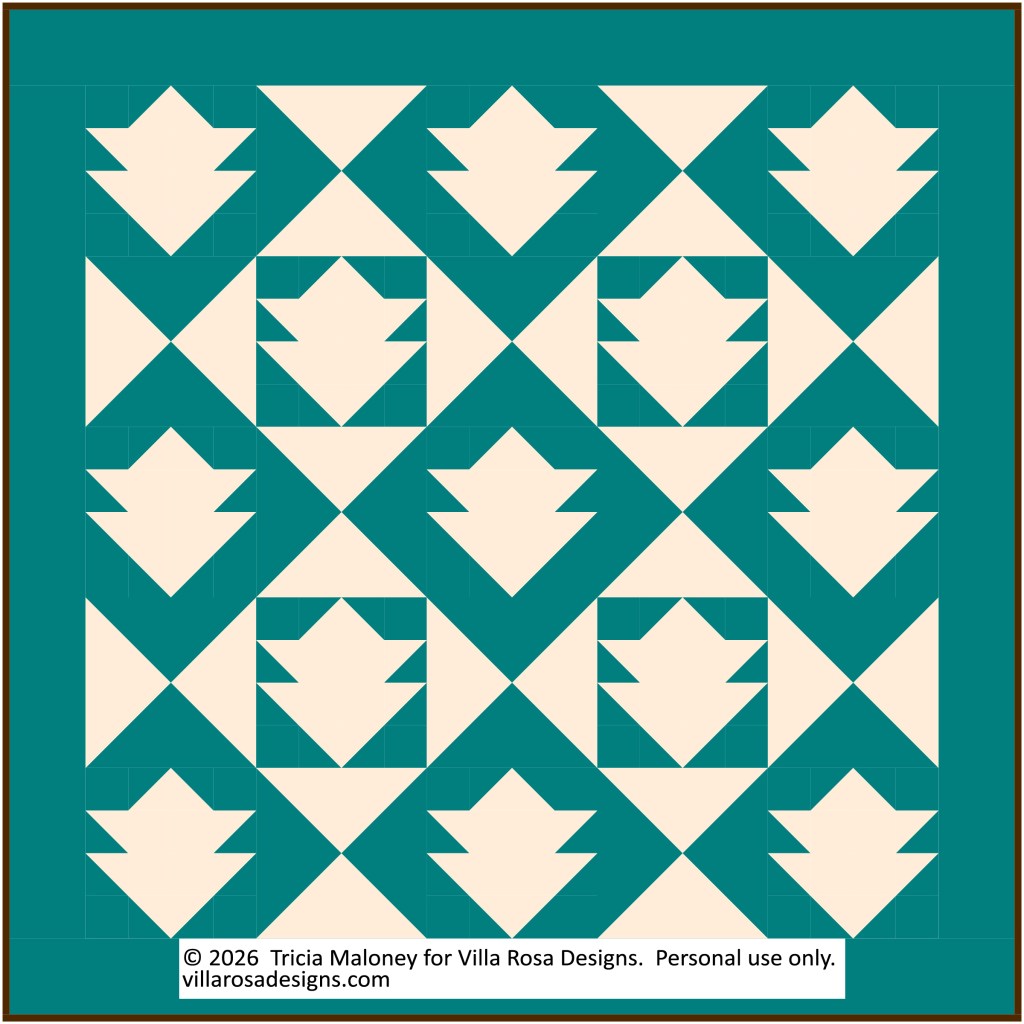
Autumn in Color: 4 Palettes for Quilters
Close your eyes a minute and imagine the colors of autumn/fall. I bet at least one of the colors is orange, right? But orange isn’t the only color we associate with autumn. Reds, golds, browns, greens, and even purples represent autumn/fall. But guess what?? There are literally tons of colors that can evoke that autumn feeling.
With that in mind, today we are going to explore 4 different color palettes that you can use right now for your next autumn quilt project.
Palette #1
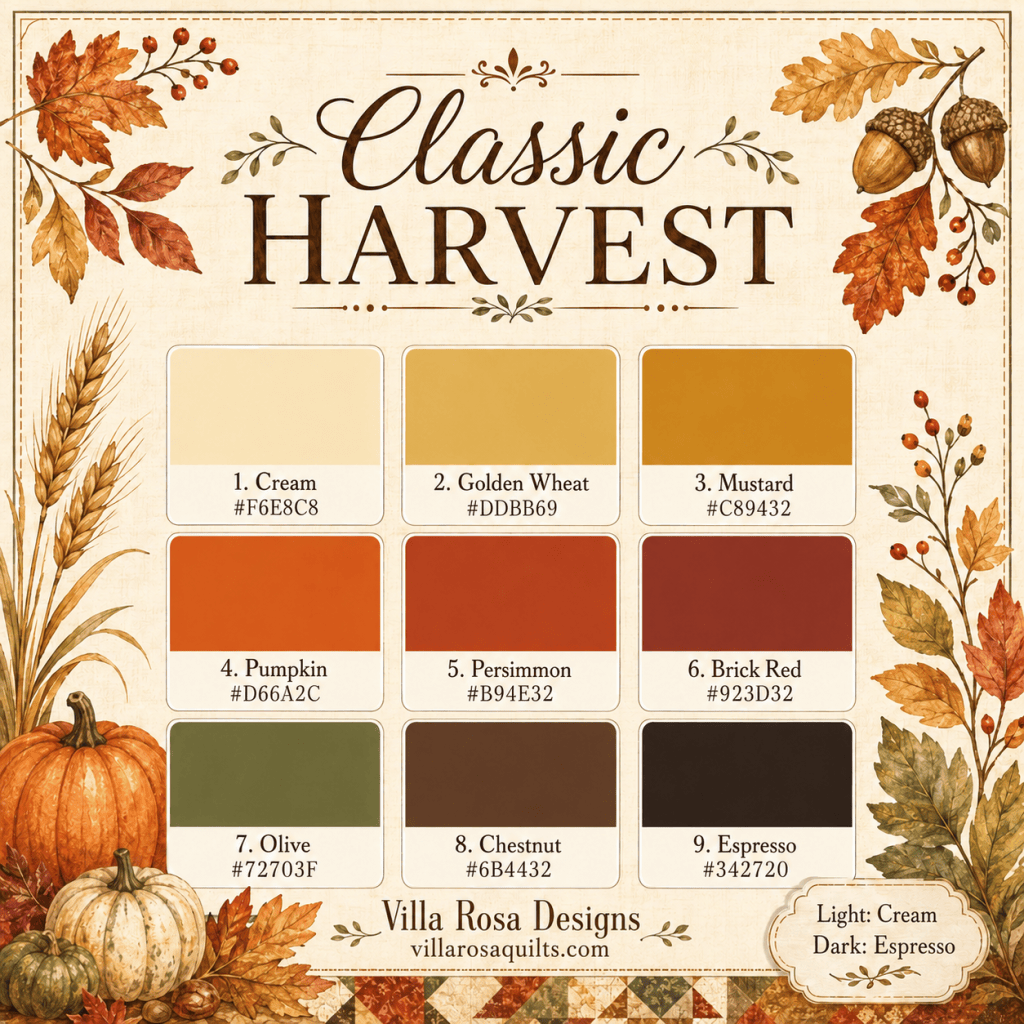
Classic Harvest
These are the colors that we often associate with autumn. Warm, cozy colors that wrap around you like a quilt, a pile of leaves on a warm afternoon right before you jump into them, a hayride with friends, a mug of steaming apple cider at the pumpkin farm. Autumn is more than a season, it’s a feast for your senses – colors to see, scents to smell, textures to touch, yummy things to taste, and sounds galore.
Below is our first palette, Classic Harvest. These colors make me want to wrap up in them, curl up outside on a sunny afternoon, and just watch the leaves drift lazily down from the trees in all their glorious colors.
If you haven’t guessed yet, I LOVE FALL!
PSST! The number/letter combinations under each color name are the hex numbers so you can find these exact colors in your favorite graphics program.
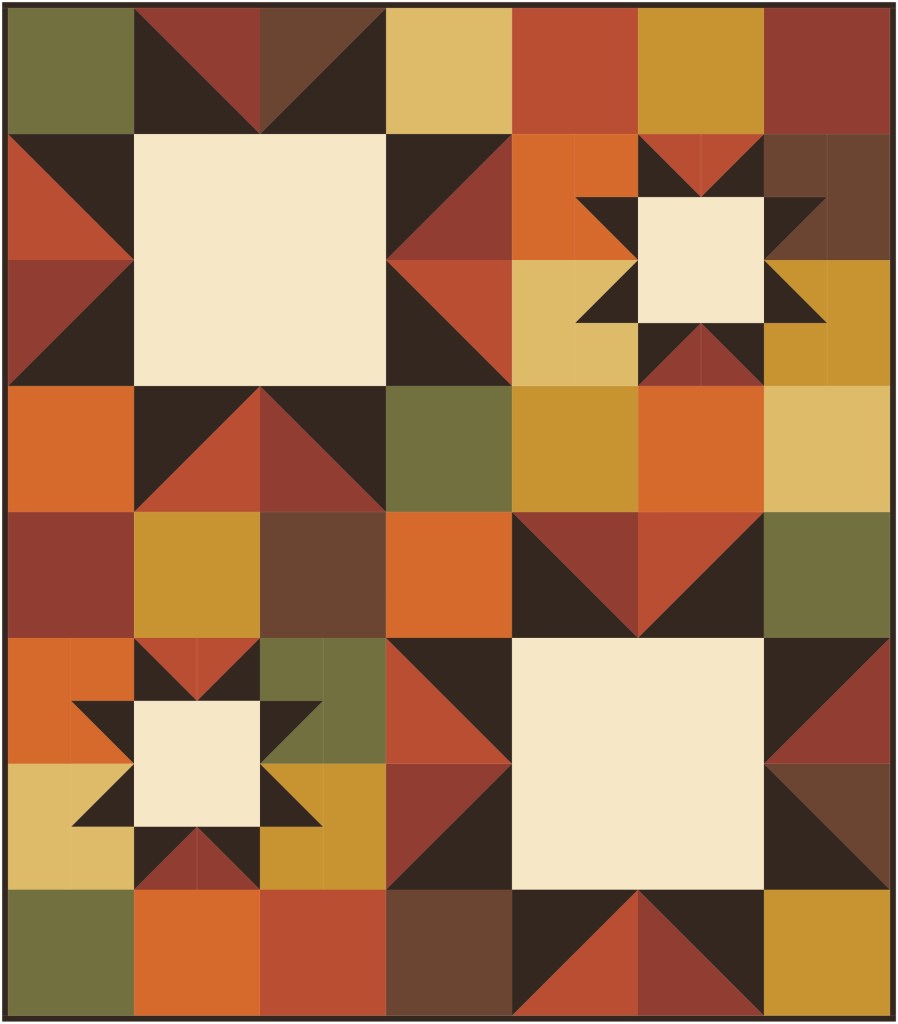
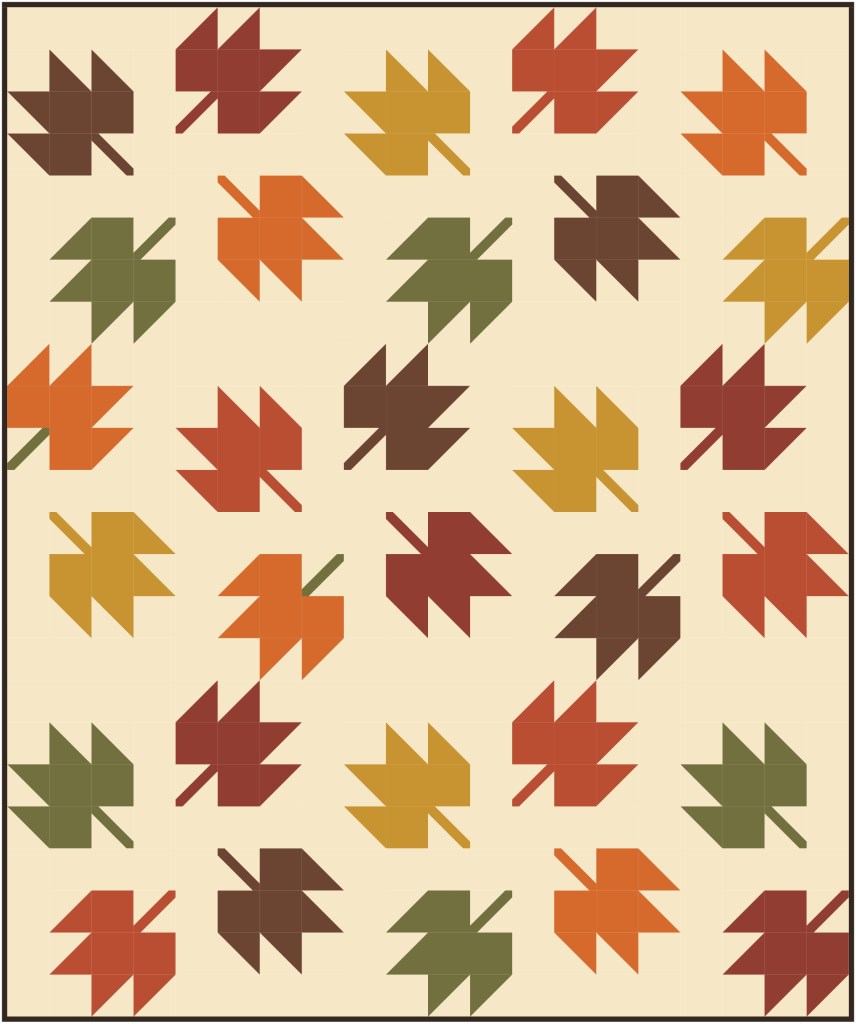
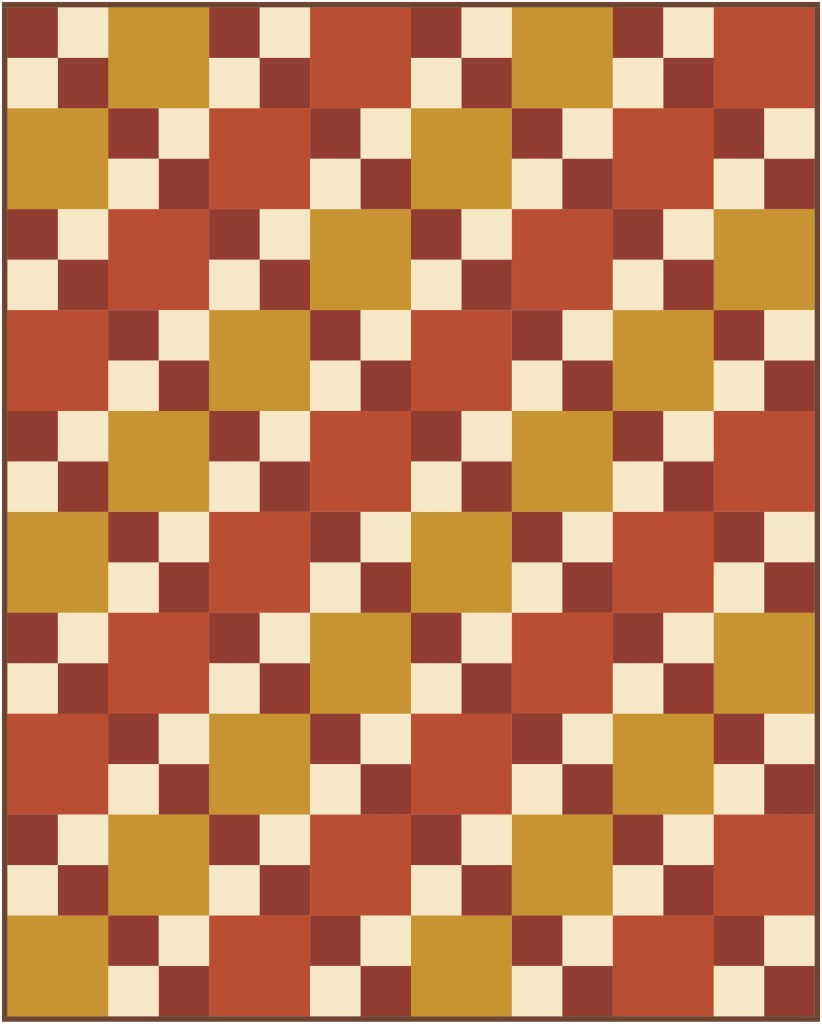
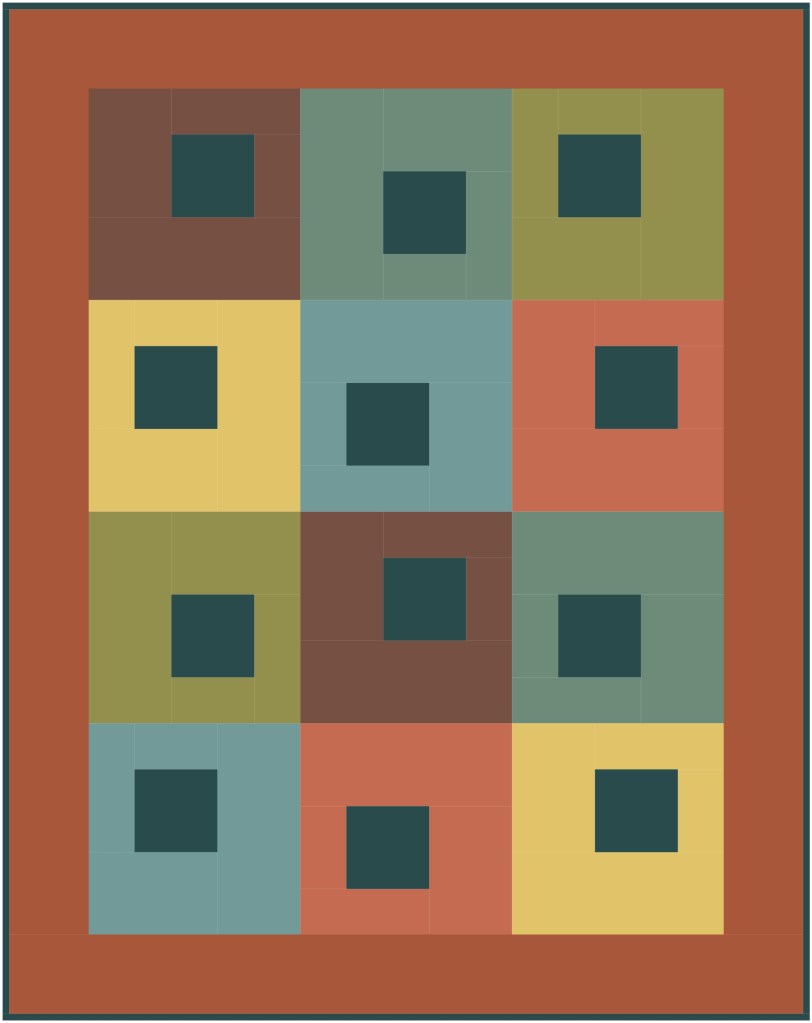
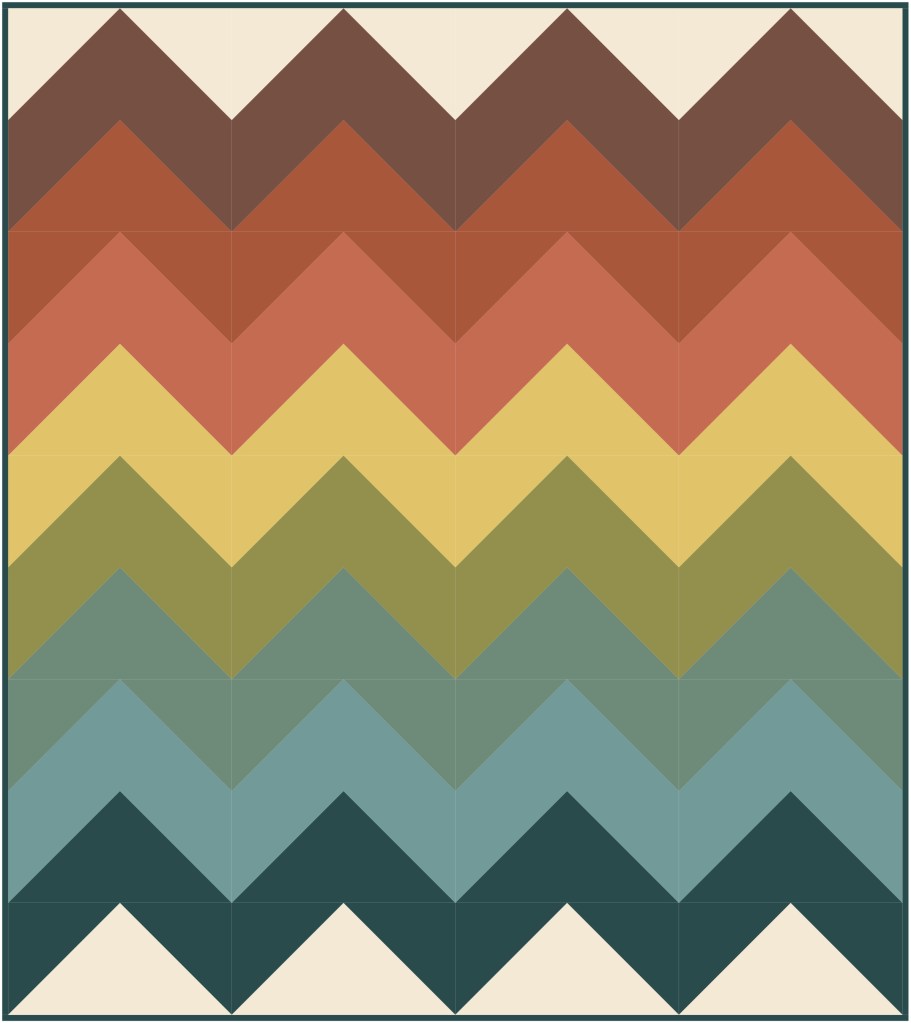
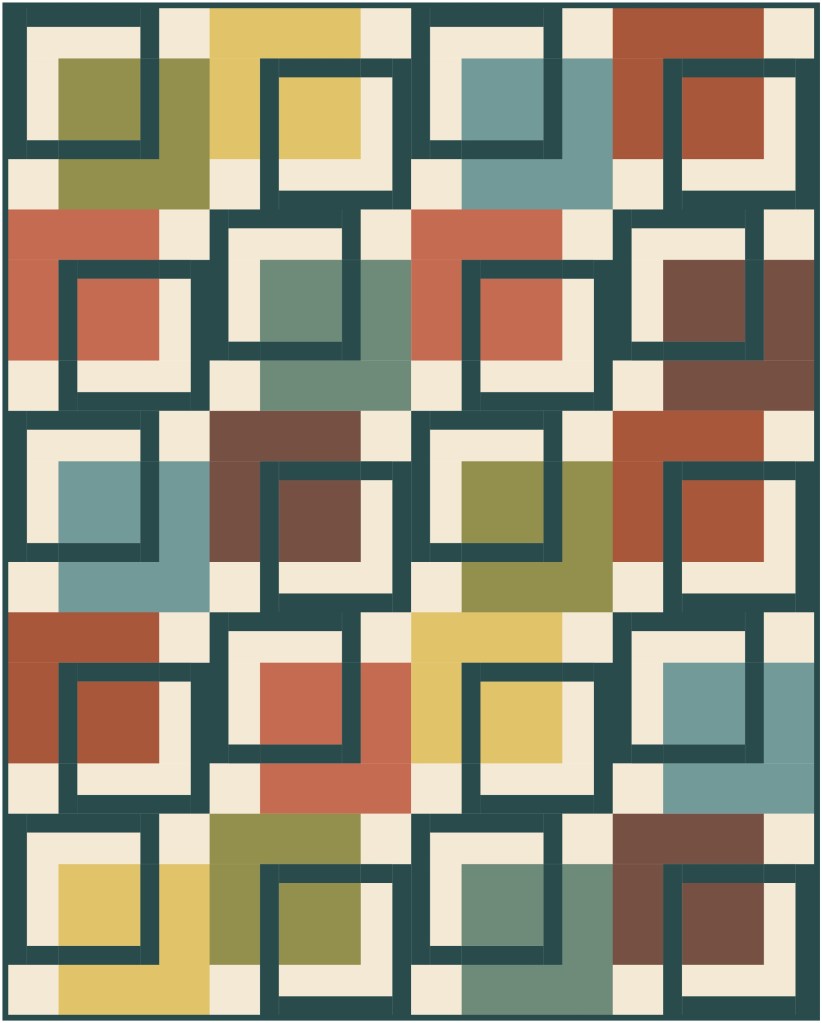
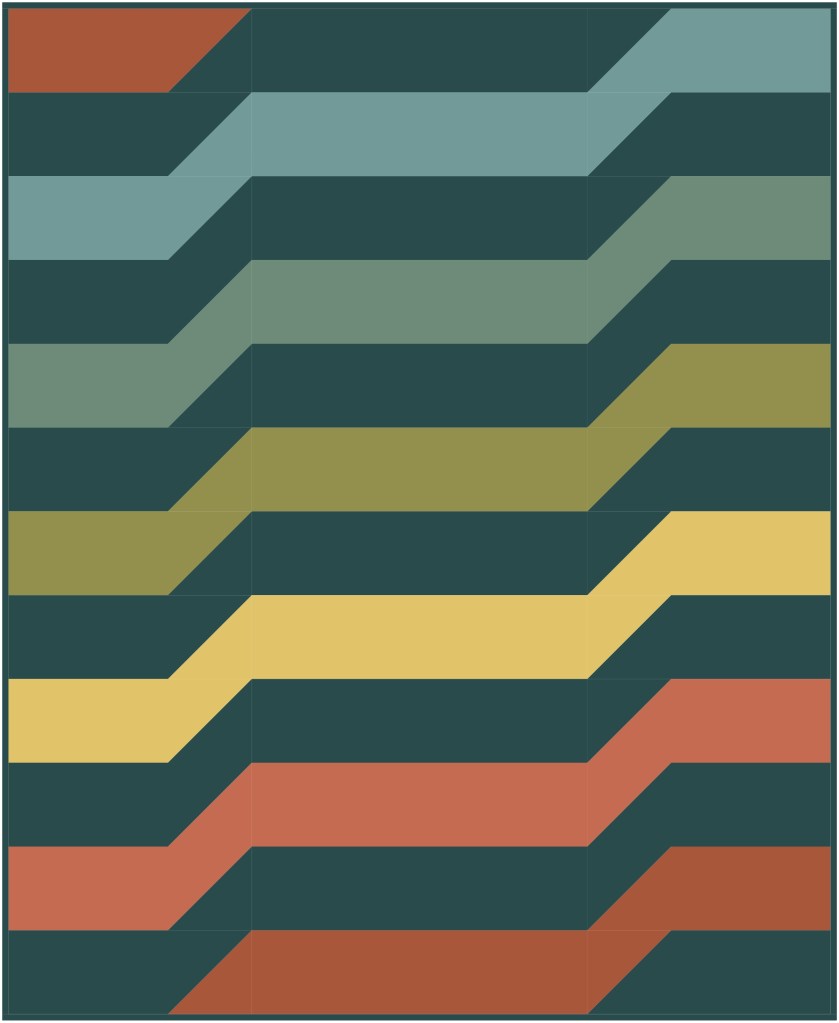
Now we have this gorgeous traditional palette, let’s see what happens when we pair these colors with some great VRD patterns!
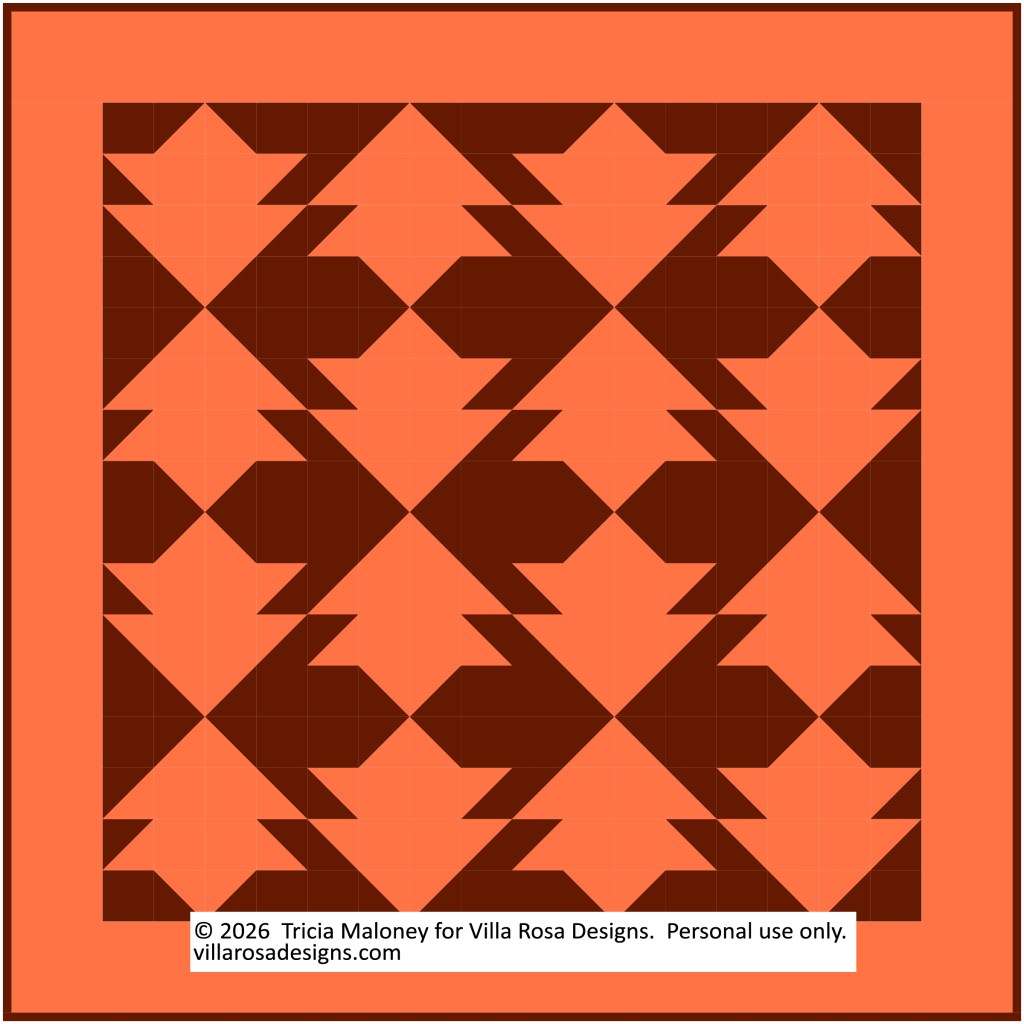
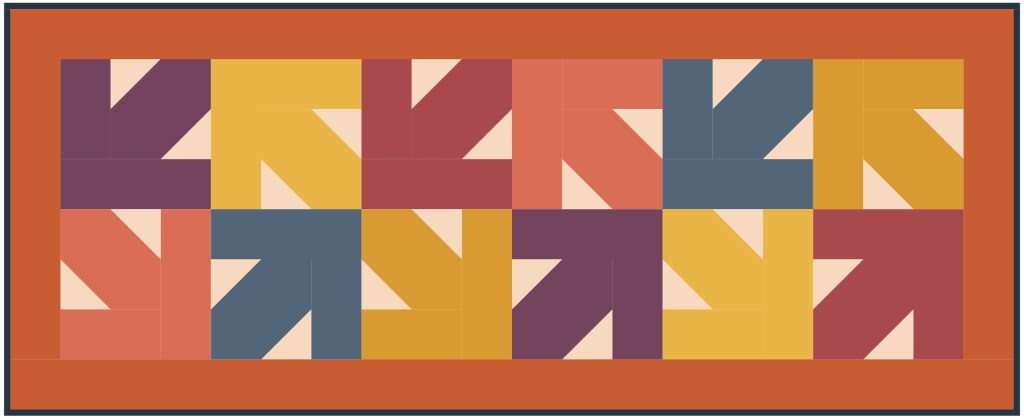
WOW! Aren’t these awesome?!? Which one is your favorite? I must admit I’m leaning towards Dulcie as my favorite in this group because it reminds me of stained glass with a Midcentury Modern (MCM) feel.
This is really fun! Let’s check out the next palette.
Palette #2
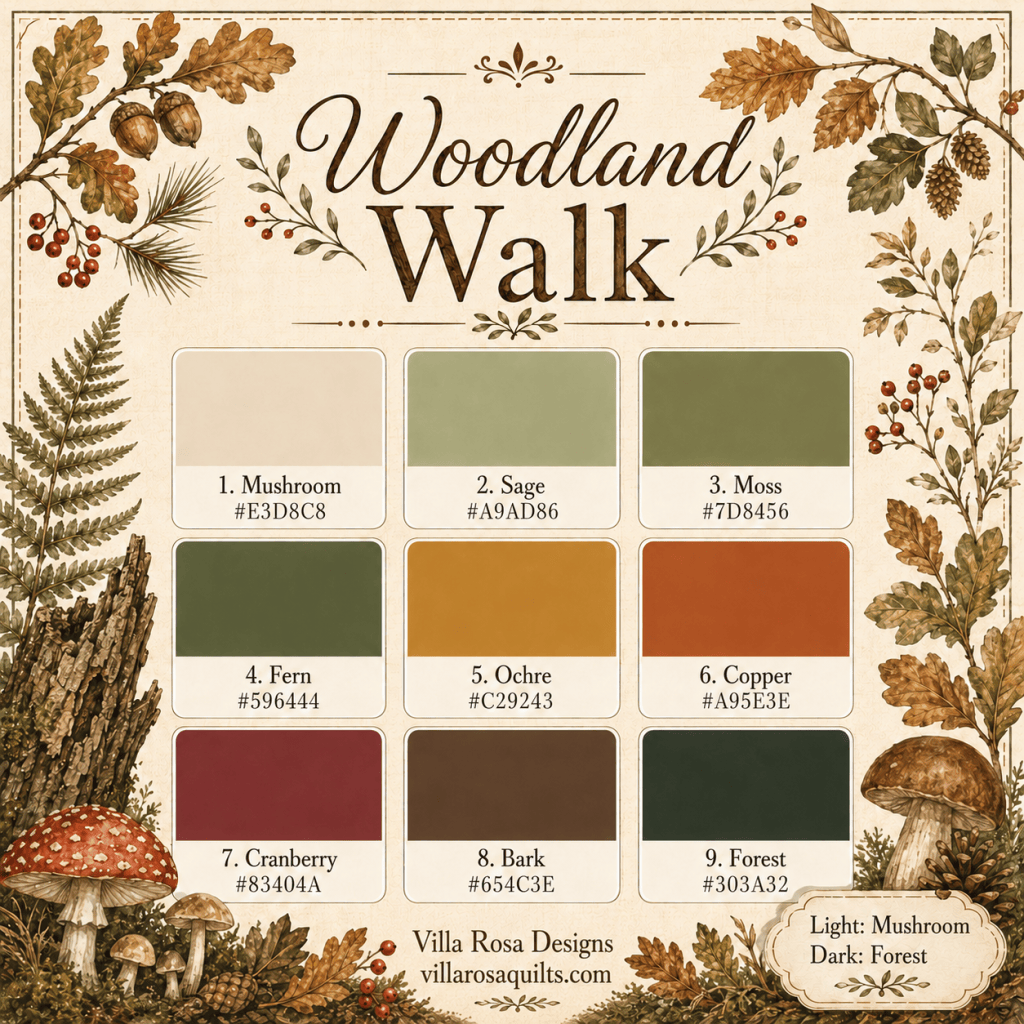
Woodland Walk
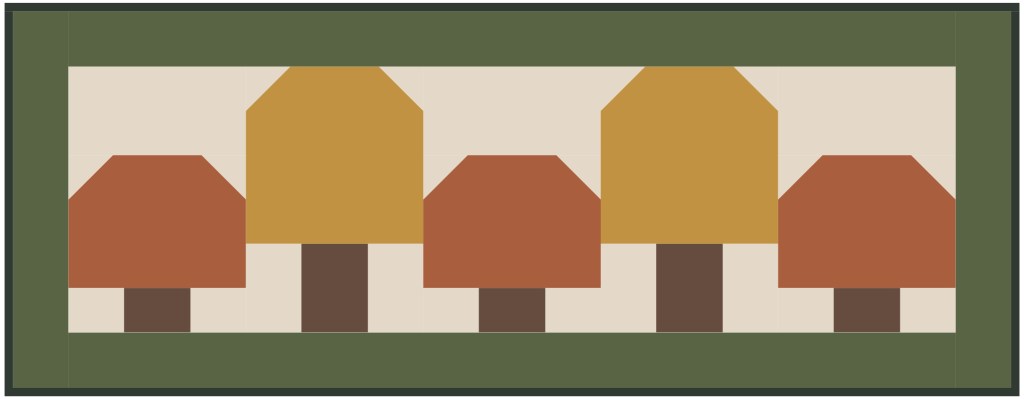
Take a walk in a forest in the autumn. Can you feel the crunching leaves underfoot? Do you see the birds overhead and hear their song? Can you smell that earthy rich smell? Autumn is all around you when you walk in the woods. From little mushrooms poking their heads out of the leaves on the ground to the chattering of squirrels as they hurry to store their nuts for winter.
The colors of our Woodland Walk palette add a slight twist to the traditional autumn palette – they are a a bit earthier and rustic with just a touch of coolness. The dark blue-green really adds a deep richness to Woodland Walk.
PSST! The number/letter combinations under each color name are the hex numbers so you can find these exact colors in your favorite graphics program.
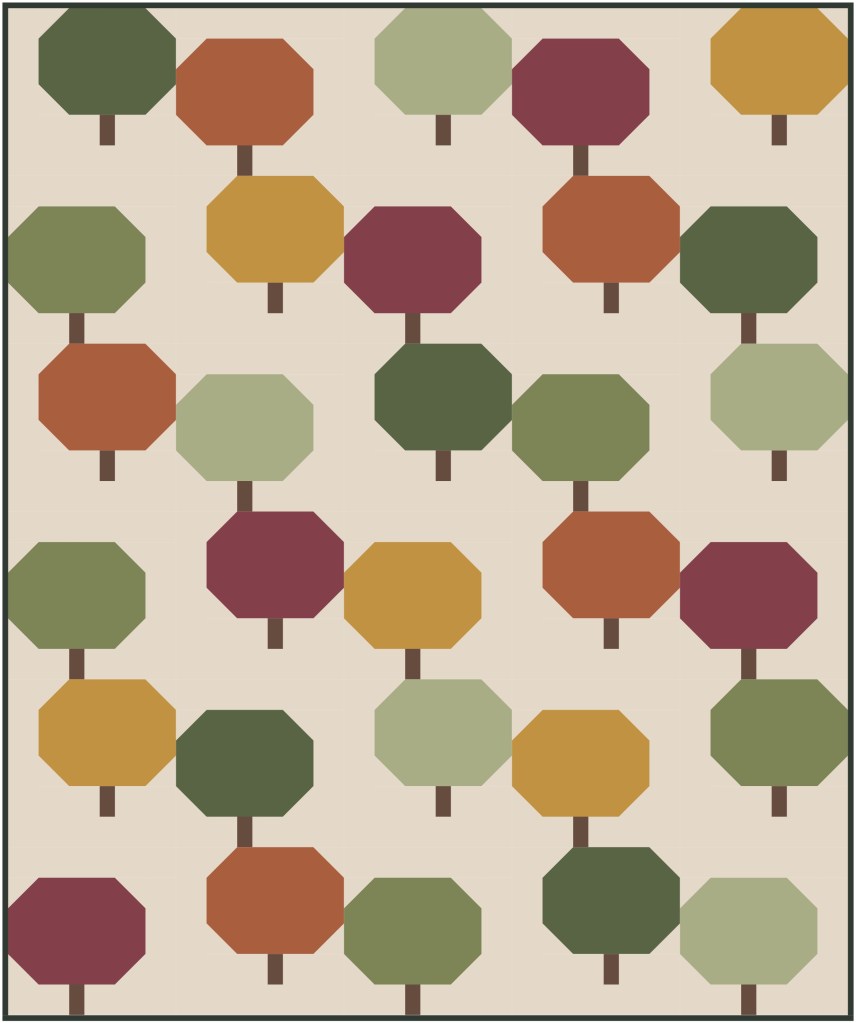
Are you ready for some awesome Woodland Walk quilts???
WOW! What do you think about the Woodland Walk palette in quilts? Don’t you just love it? Which quilt is your favorite in the group of designs? For me, it’s a toss up between Enchanted Forest and Fall Windmills.
Ready for the next palette?
Palette #3
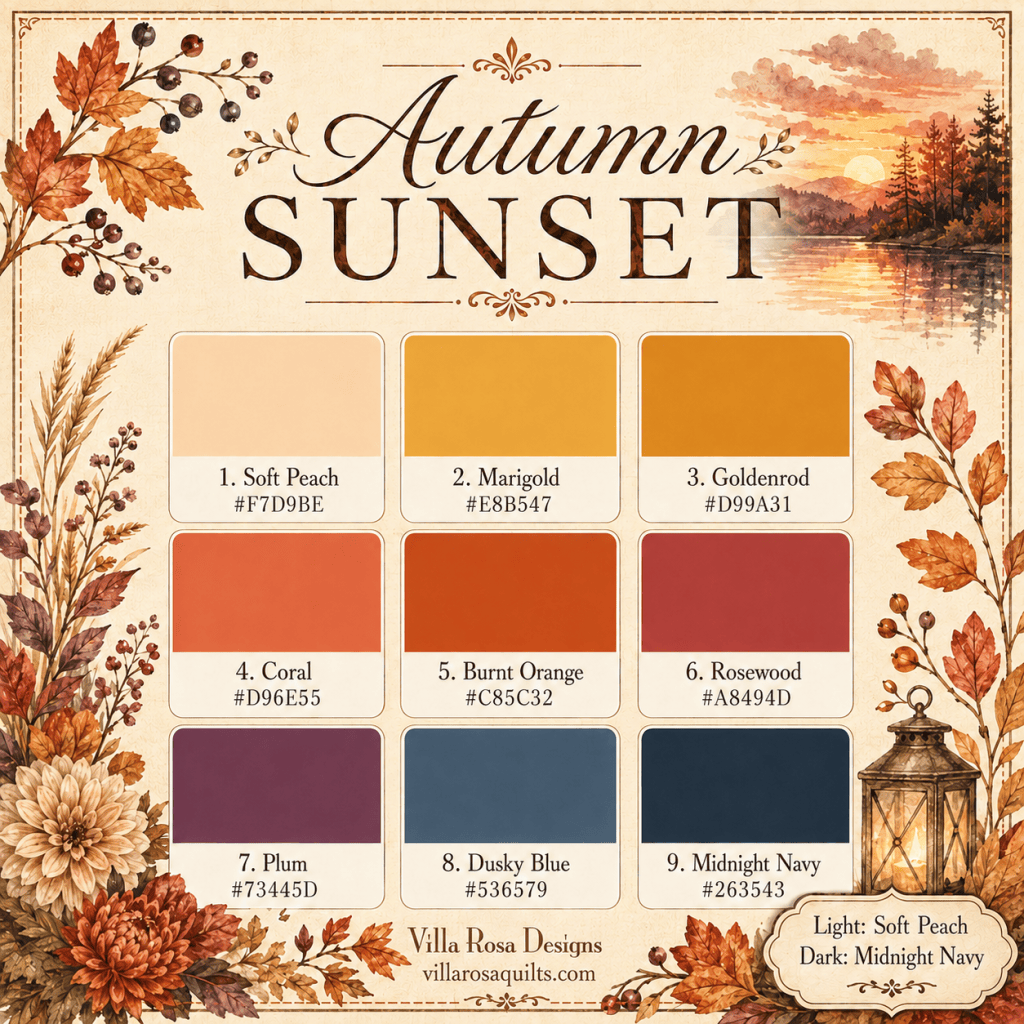
Autumn Sunset
Have you ever noticed that the sunsets in autumn seem to be deeper, richer, and even bolder than any other season? Maybe it’s partly because the leaves are ablaze with color. Or maybe it’s Mother Nature putting on a show to rival the trees.
I love that I can literally step out into my front yard, turn to the left and I’m facing west. I get a front row seat to the sunset show each and every time. I love taking photos of the beautiful sunsets from my little corner of the world. Here’s to autumn and the amazing show Mother Nature puts on.
PSST! The number/letter combinations under each color name are the hex numbers so you can find these exact colors in your favorite graphics program.
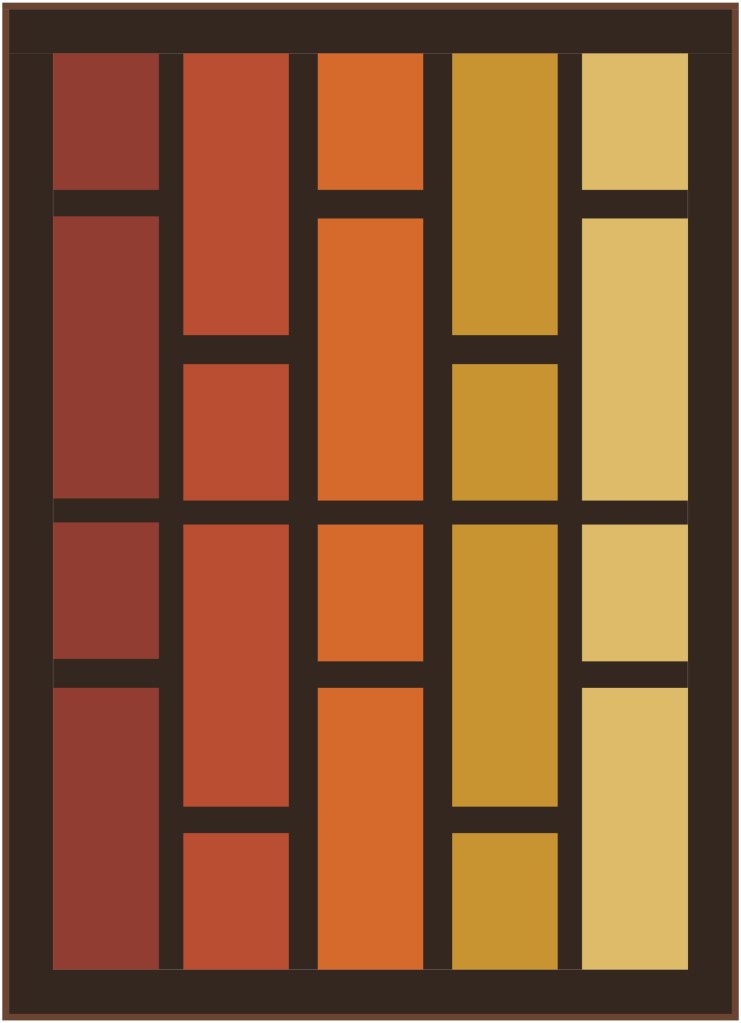
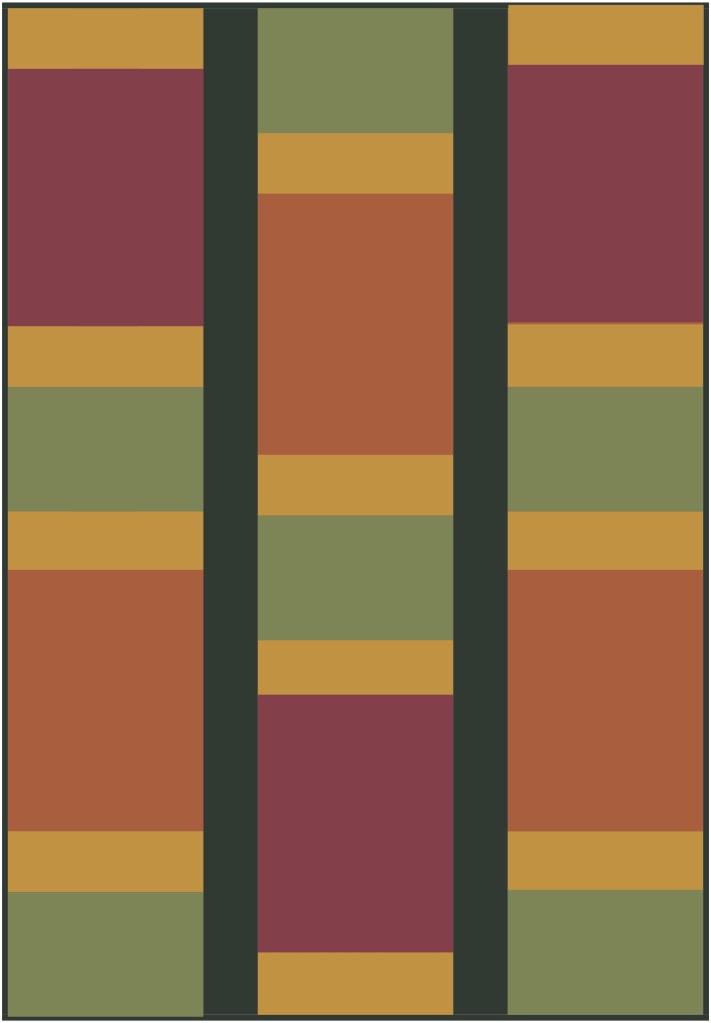
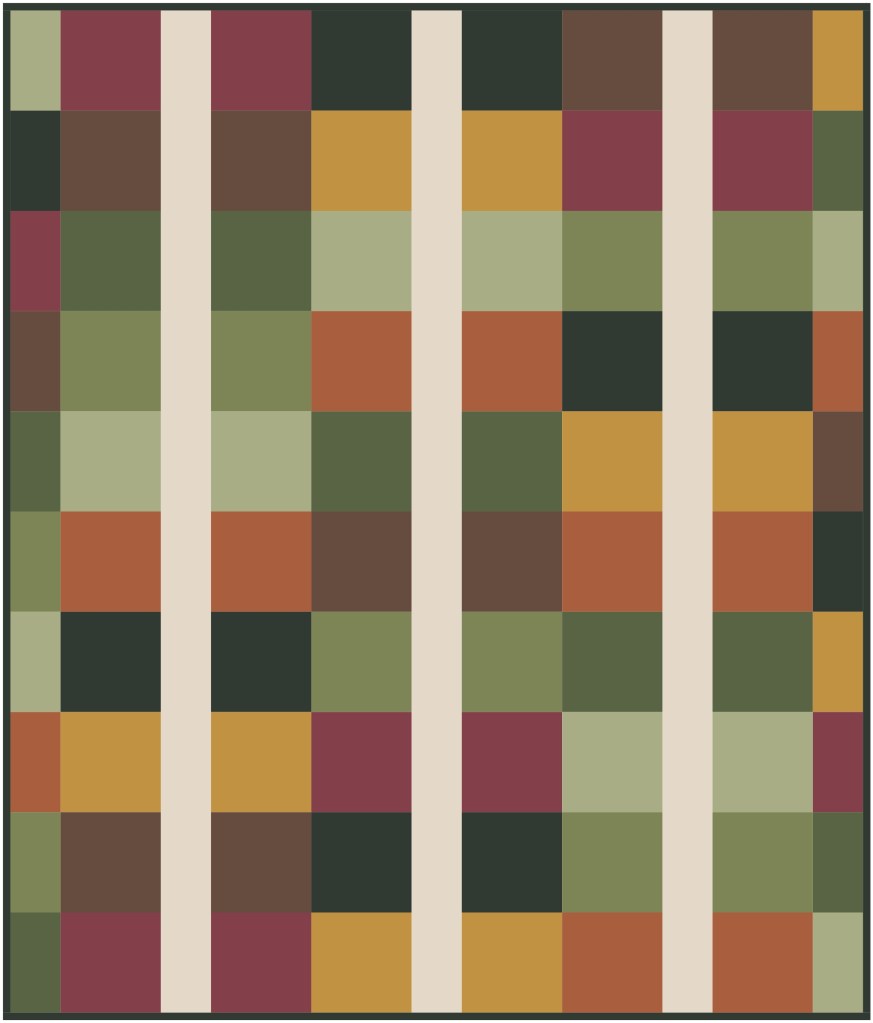
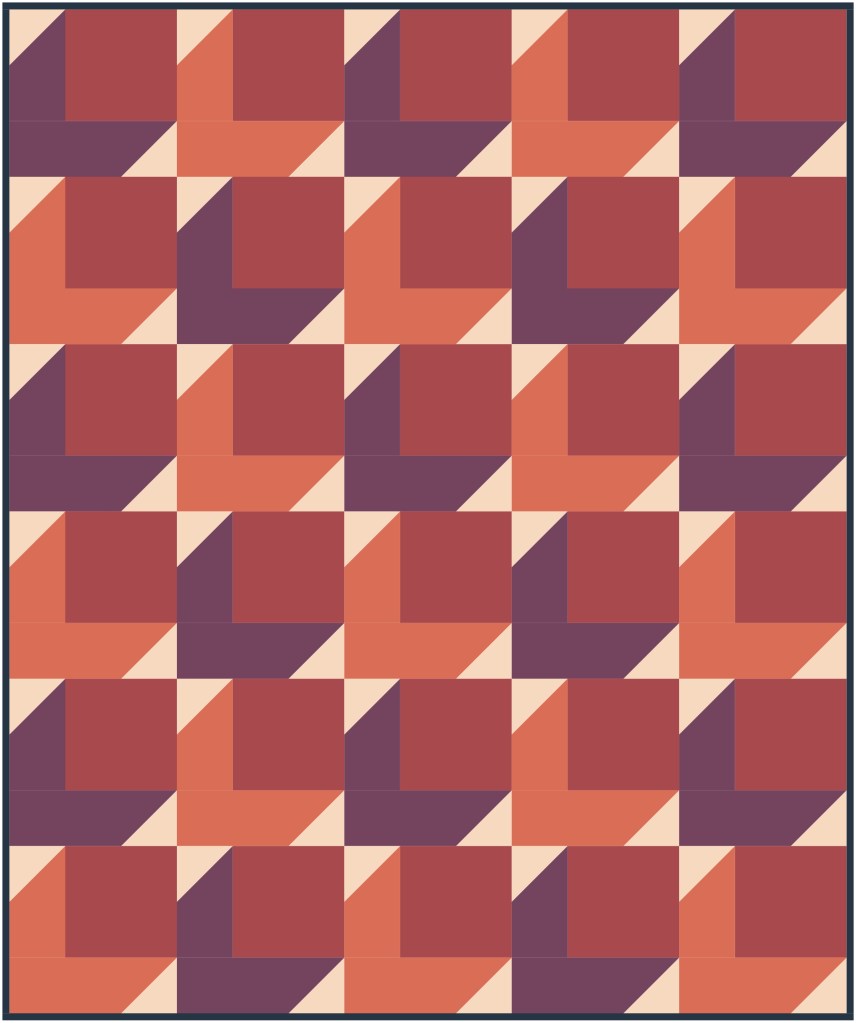
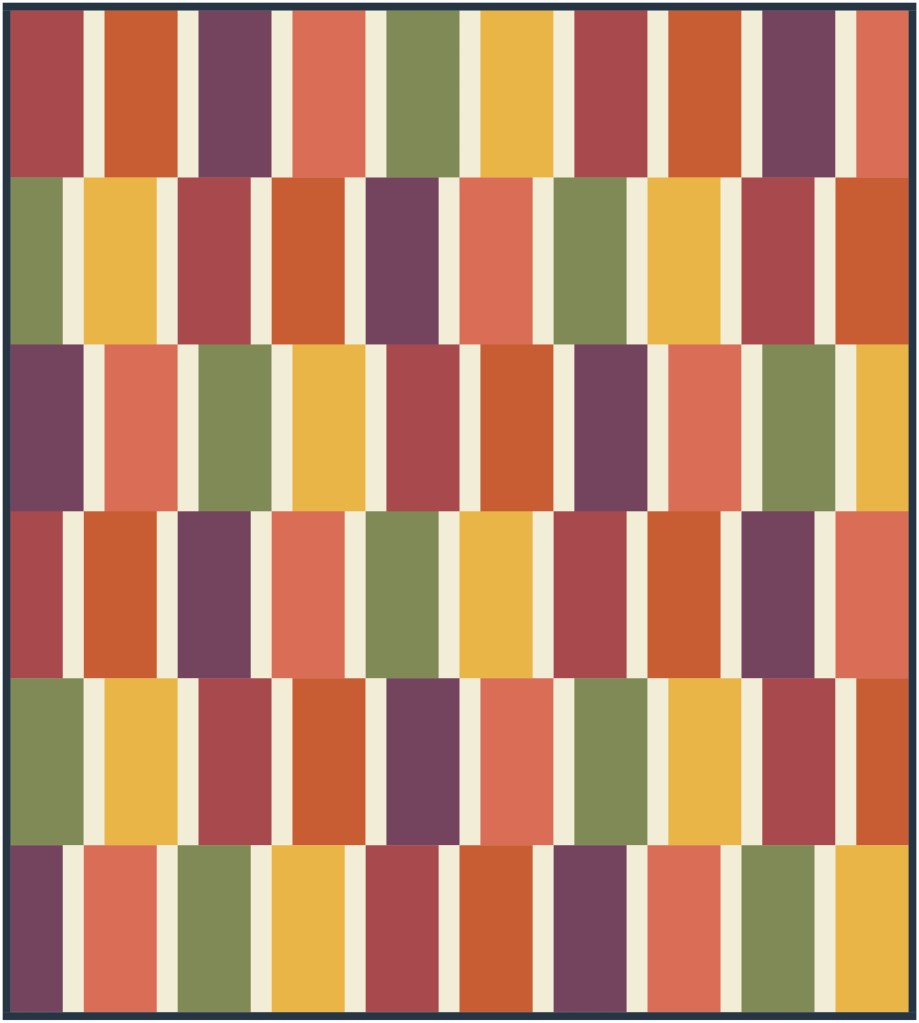
Let’s look at some quilts starring the Autumn Sunset palette!
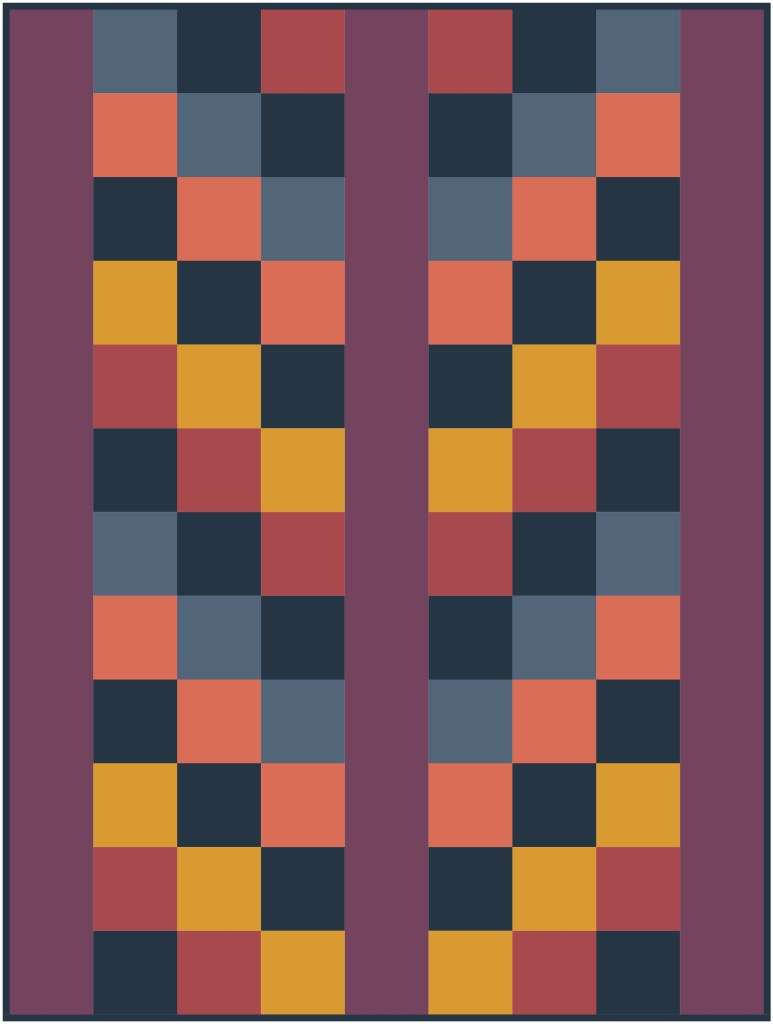
Awesome applesauce! These designs for the Autumn Sunset palette are wonderful and I just love the saturated colors. Which one is your favorite? Mine is Easy Does It…….I adore the little bit of tromp-l’oeil as the vertical strips play with your eyes and the horizontal rows look like different widths! It’s fun and unexpected in such a deceptively-simple quilt design!
Wanna play with one more palette? Me too! This is super fun and I’m getting really inspired. I find exploring these colors in solids instead of prints gives us a chance to really see how the colors interact together.
Okay, here’s our last palette for today.
Palette #4
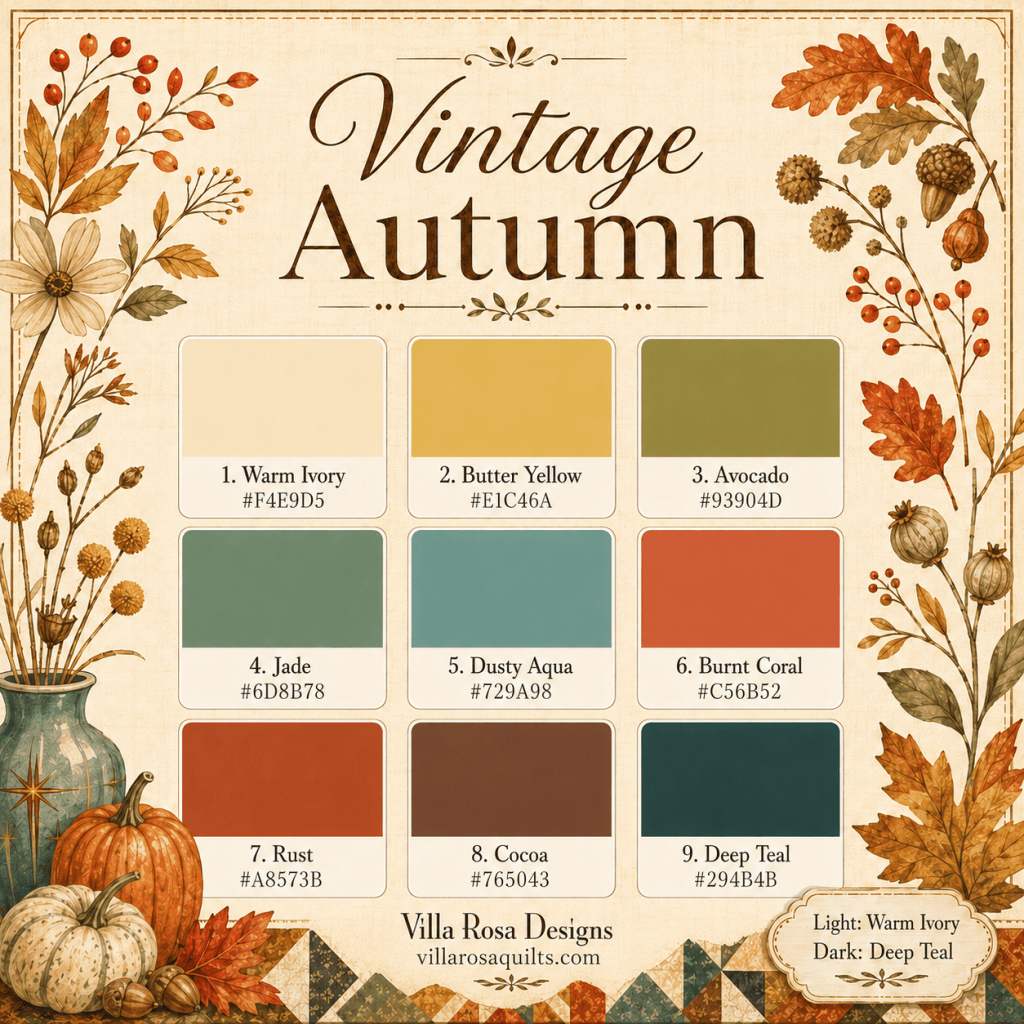
Vintage Autumn
Warm and cozy but with a little bit of MCM excitement. I must admit that I’ve discovered that my design aesthetic falls within the MCM style when it comes to colors and shapes. Have you ever thought about your own style? Do you gravitate to the same colors, season, holiday? Do your friends tell you they can pick out your quilt at a quilt show or display simply based on the colors you use, the style of fabric, or the patterns you chose? I’ve always said I’m really eclectic in my style, but you know what – eclectic is a style.
The colors in Vintage Autumn are a bit timeworn and faded, yet lovely all the same. I can’t wait to create some quilt designs using this palette!
PSST! The number/letter combinations under each color name are the hex numbers so you can find these exact colors in your favorite graphics program.
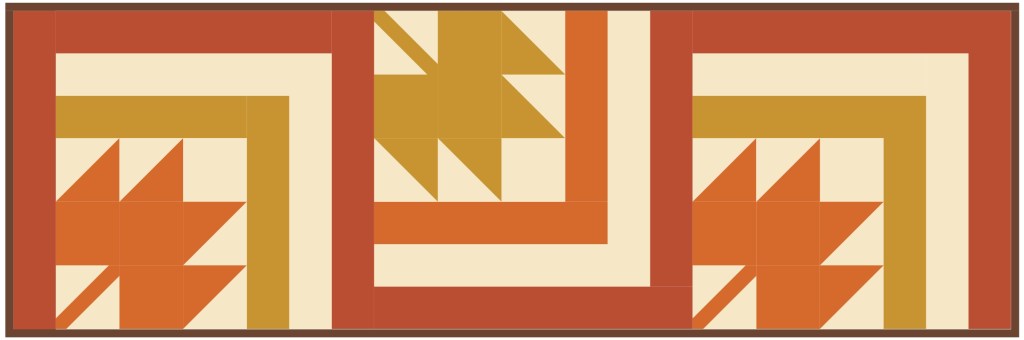
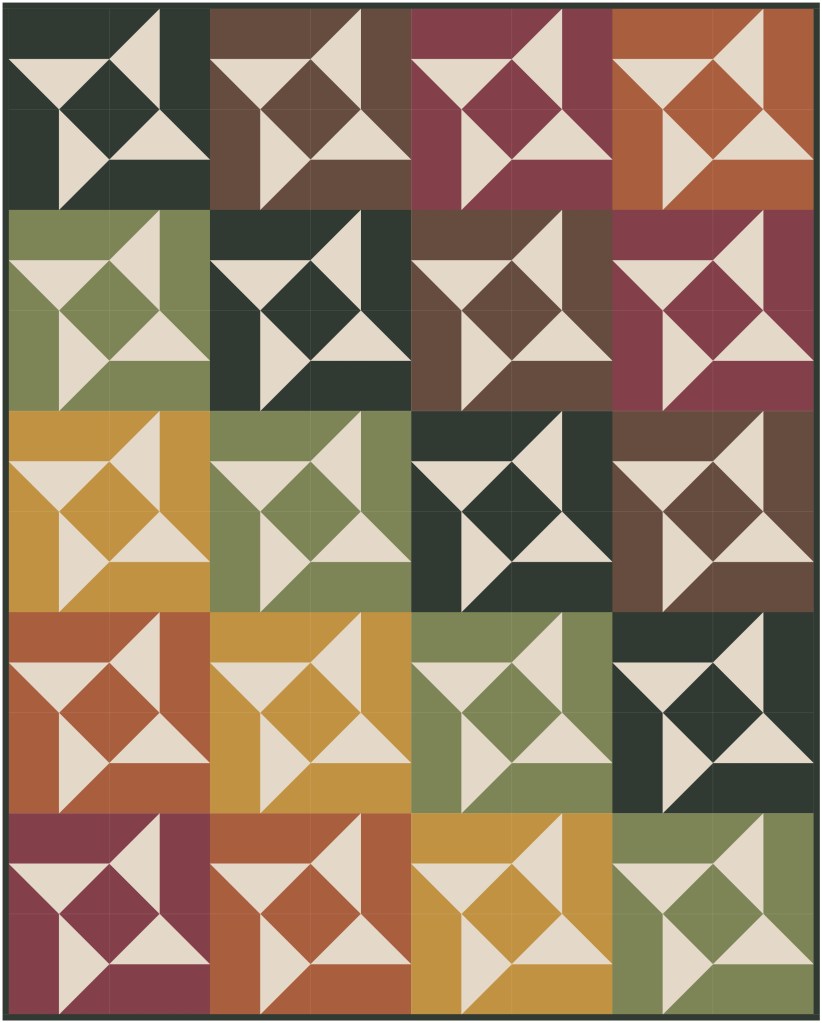
Goody goody! Time to explore quilts created with the colors of Vintage Autumn.
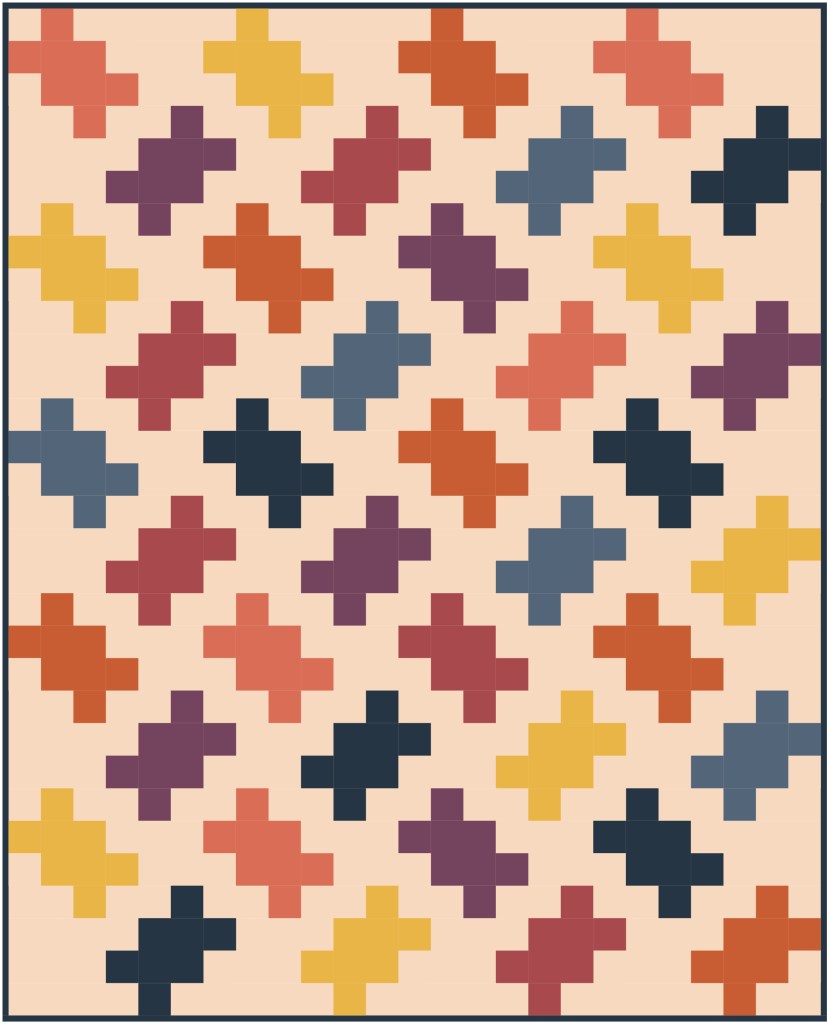
Out of all 4 palettes, Vintage Autumn is the best fit for me and my style. My favorite quilt in this group is a toss up between 2M Junior and Escapade, but all the quilts in this group are fabulous for sure. Which one is you favorite?
This was a really fun exploration of color and I hope you enjoyed the Colors of Autumn paired with VRD quilt patterns. Maybe you were totally inspired by one of the palettes….or perhaps all of them! LOL!
If you were inspired, what are you going to make? And which palette(s) inspired you?
Take care and Happy Quilting. See you right here next week!
The sun is shining and the skies are blue! I can see this wonderful 70’s kind of late August day through the window as I sit here and write this post. If I keep my nose to the grindstone, maybe I can hang out with my dog Bailly on the back porch later. We did that yesterday in the afternoon and she loved it. So did I. She watched the cars go by and I listened to my current audiobook with the birds singing and chirping in the background. It was a lovely break.
Image by moi using AI tools
I hope you get a chance to stop and relax now and then, too. Relaxation is so underrated in our world. It’s perfectly fine to stare off into space for a few minutes to give your brain a little rest. I find that when I am relaxed, I can solve problems that I couldn’t when I was busy doing things. Taking a short break and enjoying nature (and maybe a good book) really seem to boost my creative energy. What do you do to recharge?
Happily, I completed the quilt tutorial I hadn’t quite finished last week.
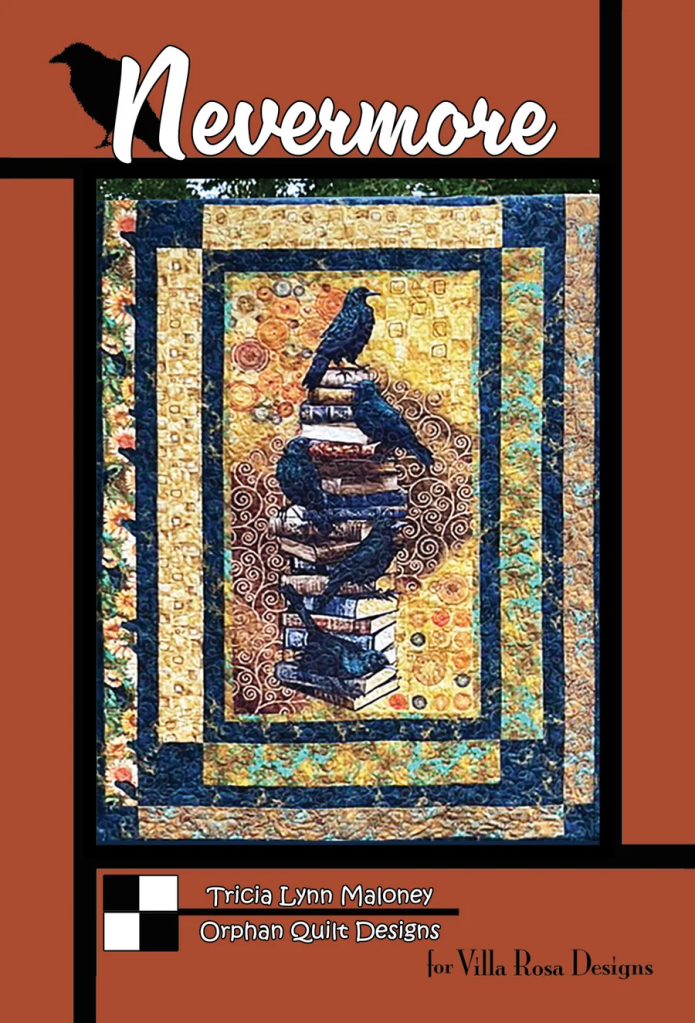
Today we are doing a tutorial for the VRD Rose Card pattern, Nevermore.
I’m excited to make this project because the fabrics are pretty awesome!
VRD Quilt Tutorial Nevermore
Nevermore is a terrific 24″ panel pattern. PSST! Guess what? You can use different-sized panels with this pattern – you just need to adjust your borders to fit your panel. Keep in mind that t’s possible you might need additional fabric. Just something to consider when you are looking for a versatile pattern to showcase your favorite panels. (wink, wink)
Although the panel and companion fabric used in the quilt sample on the front of the pattern reads Autumn and even Halloween (the panel and fabric are from the Crow-Mazing collection by Henry Glass [there are still a few panels available at etsy.com]), ANY style panel and fabrics will work in this pattern. It’s a great project to use a panel along with other fabrics from the same collection. Or scrap it up and shop your stash. Either way, this pattern is sure to be one you will come back to time and again.
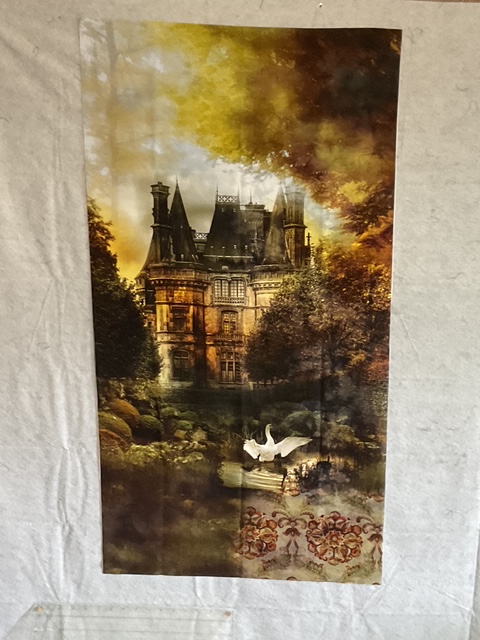
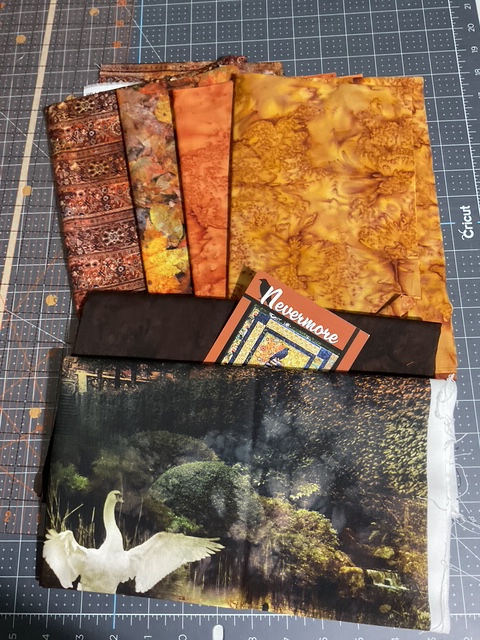
Of course the first thing (after the pattern) we need for making Nevermore is – you guessed it – FABRIC! Today I’m using a moody and mesmerizing collection from our friends over at Hoffman Fabrics called On the Path to Fall. This collection has both digital prints, including multiple panels, paired with Hoffman’s classic batiks.
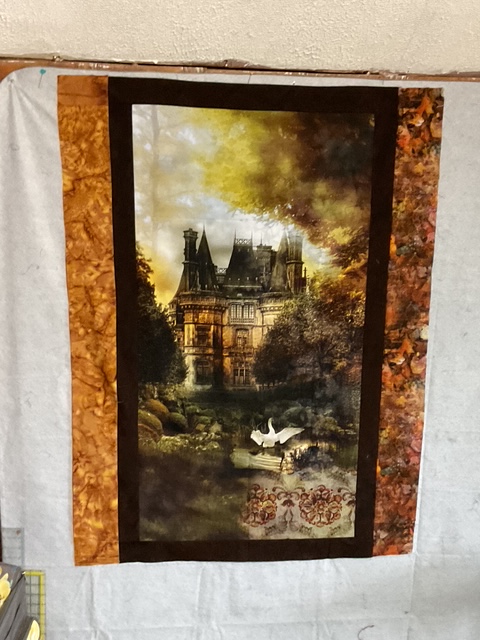
Check out my panel, below! This one is called Nightshade. I just love it! The spooky Victorian house even reminds me of a nearby tall Queen Anne style house in the country up high on a hill overlooking town. Every time I see it, I imagine all sorts of interesting stories that might have happened there. Someday, maybe I’ll feature a house like that (and this panel) in a very fun and kind of spooky cozy mystery (FYI – writing a cozy mystery is so on my bucket list).
Here are all my fabrics for this project, the panel, the digital prints, and the batiks. They are warm and yummy and I can’t wait to put this quilt together with you!
We are now ready to get started! Yay!
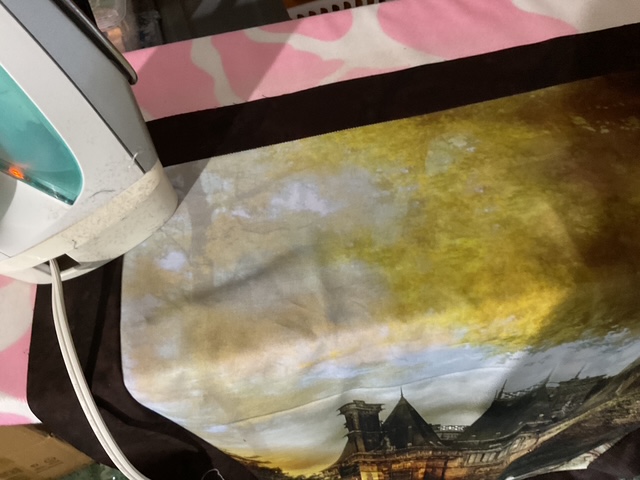
First up is trimming and squaring up the panel. Have you ever noticed that panels are often very crooked and out of square? My pal Mary Lee (Hey You!) taught me to tug on opposite corners to help bring the panel back into square. You can tug on both biases multiple times until you are satisfied with the results. Try it the next time you are growling at a funky panel.
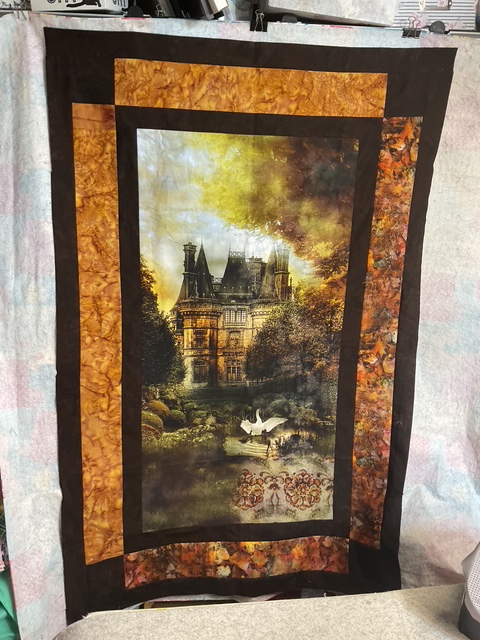
Once I get the panel squared and trimmed to the right size, I’ll cut the narrow border strips and corner squares.
This is one of those projects that I am planning to cut each section as I go instead of cutting everything all at once. You can cut everything all at once if you prefer, but I wouldn’t cut the borders to length yet in case your panel is a little different in size from the pattern.
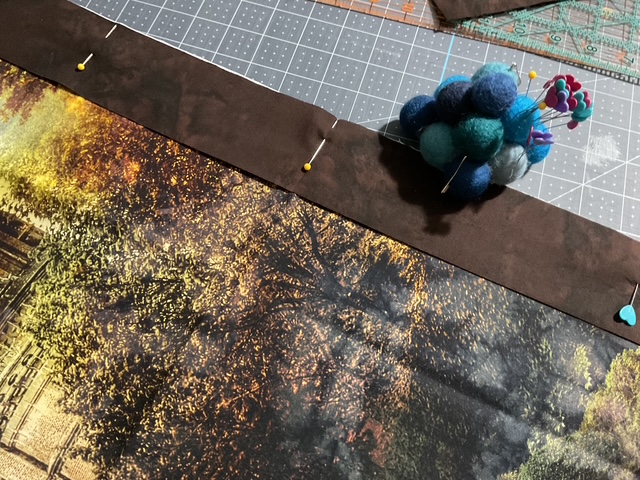
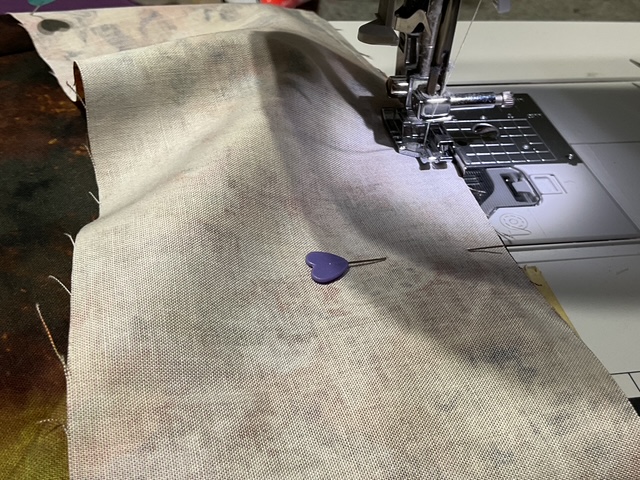
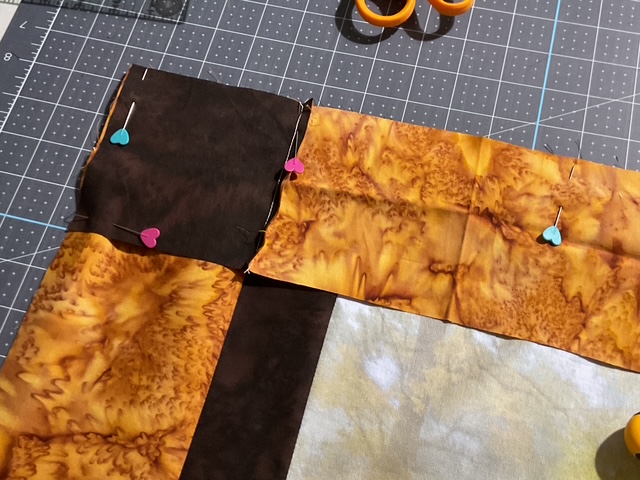
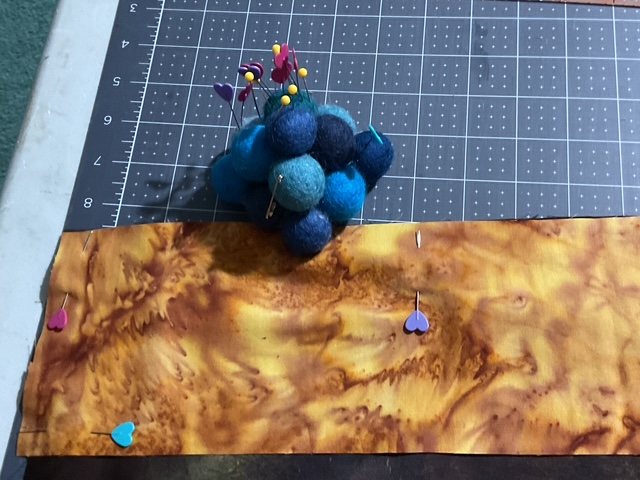
Now that my narrow borders are cut, I’m going to measure and cut the side borders to the right length. Then we’ll pin the strips to the sides of the panel.
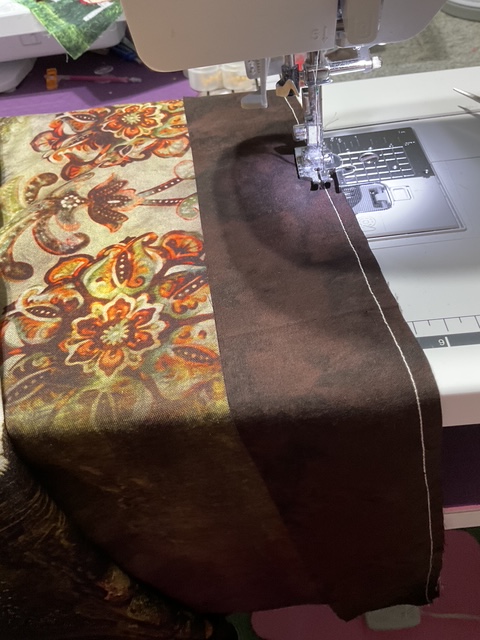
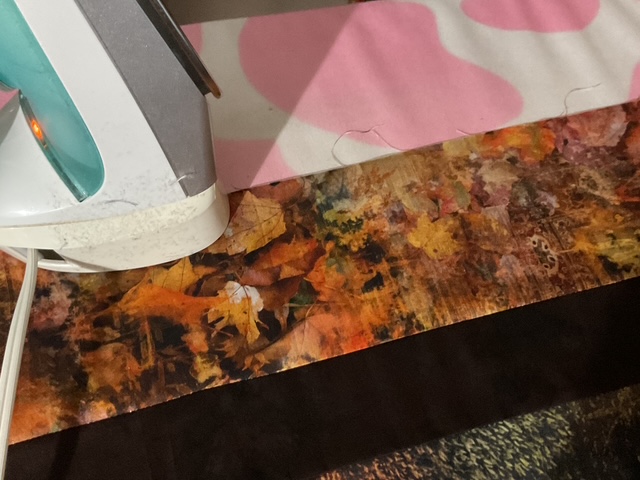
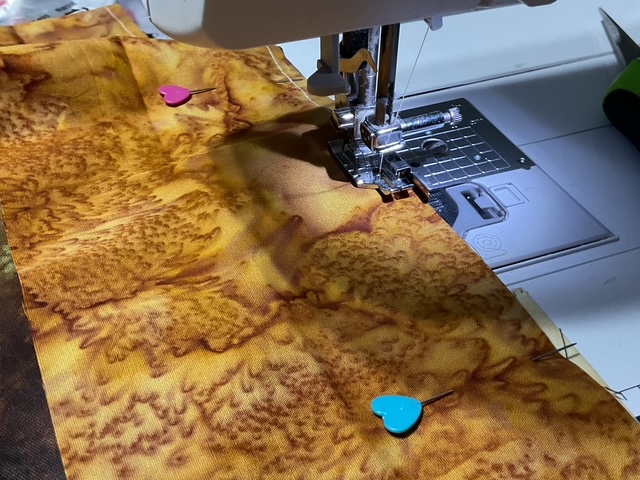
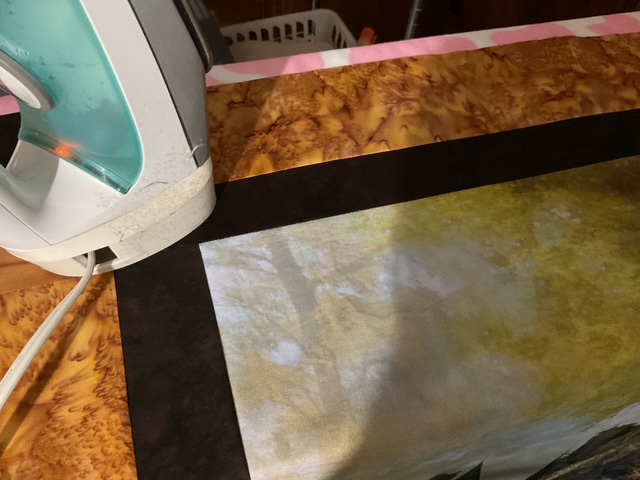
Off to my sewing machine to sew the side borders on before visiting my pal, Mr. Iron, to gently press (NOT iron) them open. I am pressing the seam allowances towards the borders and will do that throughout the quilt top construction.
Once I have the side borders sewn onto the framed panel, I’ll repeat the same process for the top and bottom borders.
Maybe you are wondering what happens if you – whoops – do the top and bottom borders first? They quilt police will knock on your door! Kidding! Seriously, you’ll just have to stick with that method throughout the rest of the quilt – please note, though, that if you do add the top/bottom borders first, all of the border measurements will be different from those on the pattern, so you’ll have to measure your project carefully as you add each border.
Important words to quilt by – Be Consistent!
Okay, the first border is on the panel. Woohoo!
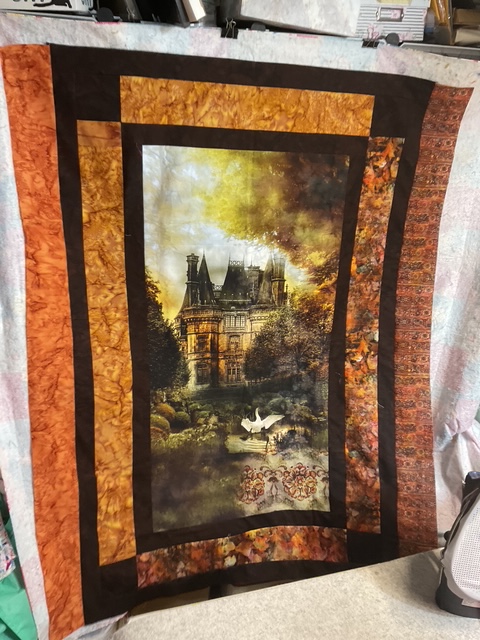
The next border will get a little tricky because we have to keep 2 fabrics organized. The fabric on the left side will also be at the top while the fabric on the right side will also be on the bottom. And we have corner squares to deal with too! Oh bother……..who came up with this pattern anyway????? (guilty…..)
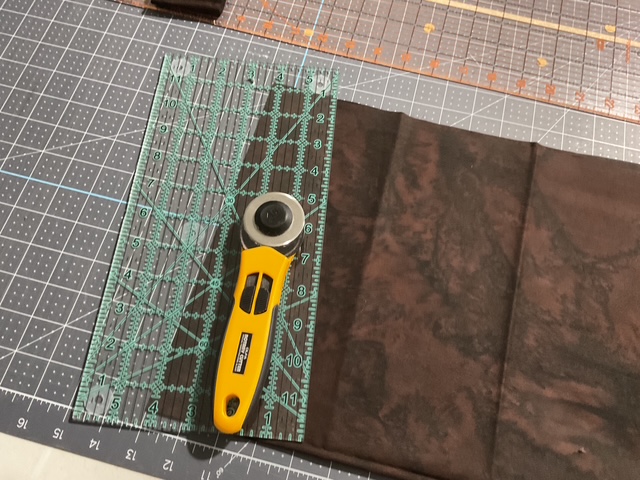
First we’ll cut the 2 different border fabrics into strips. Next let’s trim both the side borders and the top/bottom borders to the correct measurements (even though most patterns include the border lengths to cut, I still prefer measuring my borders to the size of my quilt so I know my borders will fit perfectly).
Wait – you might wonder – why are we cutting the top and bottom borders now instead of after we add the side borders like we for the first narrow border???
Don’t panic – we are cutting the top and bottom borders at the same time as the side borders because we will be adding corner squares to all 4 corners.
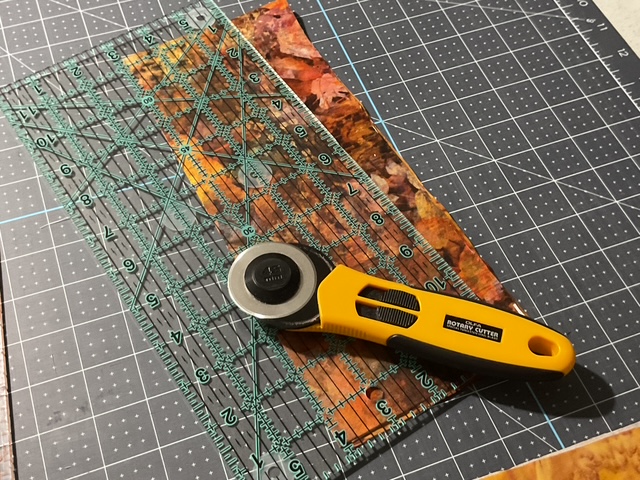
This is my second favorite rotary cutter,the Olfa Quick Change Cutter, you can find it HERE.
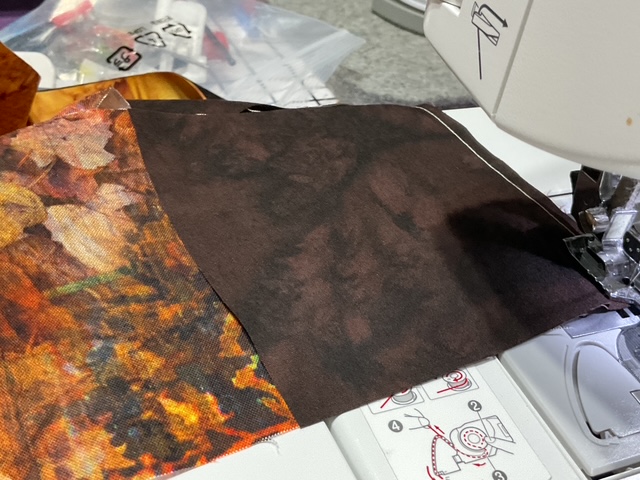
Now that we’ve cut the strips for the second border to the right size, we can pin and sew the border strips to the sides of our framed panel (remember a different fabric goes on each side). A quick stop at Mr. Iron and all of a sudden, the side borders are on. Super duper!
Before we add the top and bottom borders to our framed panel, we need to sew a corner square to each end of our top/bottom border strips. Then we can pin the top and bottom borders to the framed panel. Sew, sew, sew……..press, press, press.
Voila! Our second border is on and we even put the 2 borders in the right places, too. Yay us!
Wow! We are humming right along with Nevermore. Let’s keep moving.
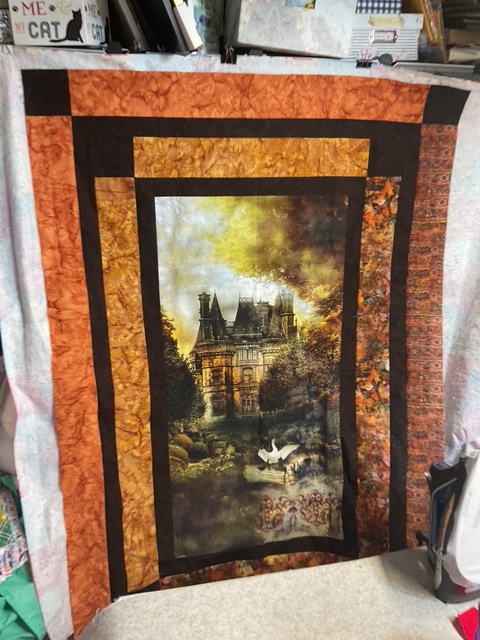
Our third border is the same as our first narrow border (and the same fabric as our cornerstones, too). We are going to repeat the process from before – side borders first then top and bottom borders. Cut, measure, sew, press.
Now we are going to add our 4th and final border. This one is like our 2nd border and it uses 2 fabrics – one for the left side and top and another for the right side and bottom.
Let’s cut and then measure both the sides and the top/bottom border strips, trimming them to the correct size. Then we’ll sew the left and right strips to the sides.
Before adding the top and bottom borders, we need to add the corner squares to the each end of the top/bottom strips. Then we can add these strips to the top and bottom of the quilt. Easy peasy. Just keep your 2 fabrics in the right spots and all will be well.
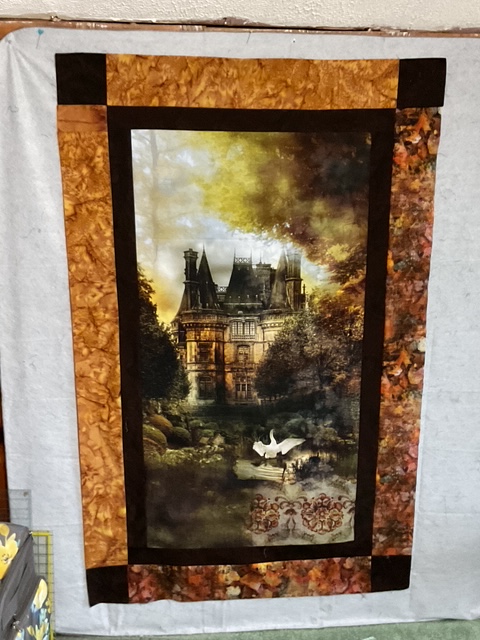
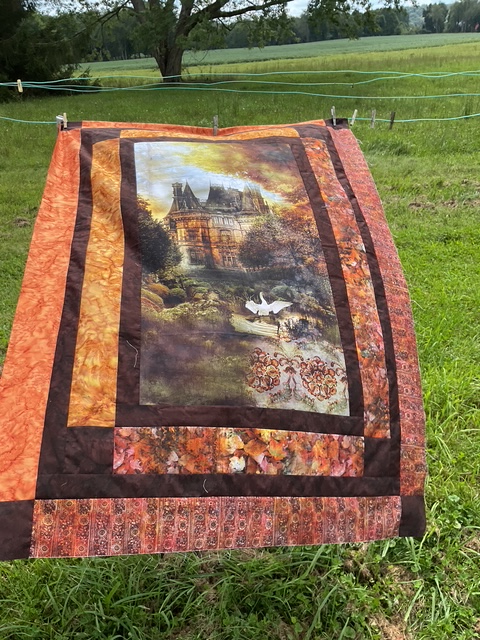
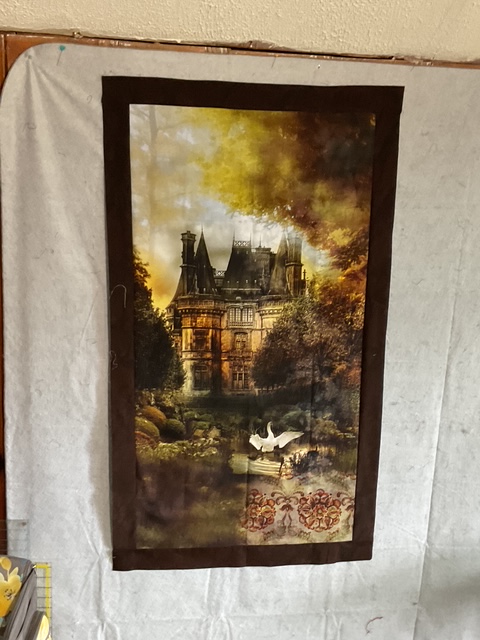
Here is the finished quilt top. Unfortunately, you can’t see the whole thing because my pressing/cutting station is in the way. Rats!
Hang on while I I take the quilt top outside. I’m going to hang it on the clothesline so we can see the whole thing. It’s a little breezy, so I’m crossing my fingers (and my toes which makes it hard to walk – LOL!) that I’ll be able to get a decent photo of the entire top.
AH! There it is! Wow! LOVE IT!
I think it turned out really well and I look forward to finishing it. My plan is to machine quilt and probably do the binding by machine, too. And I never forget my label. But finishing will have to wait a little while until I have time to get it layered with a cozy fleece fabric for the backing (I don’t usually put batting in the middle when I use fleece) and the layers pinned together before I can quilt and bind it. Sigh…….maybe it’ll be finished sometime in the next ten years.
Now off to work on my next blog tutorial!
I am really having fun creating this group of fall quilt tutorials for you here on the blog. I hope you are getting lots of ideas and inspiration for your own autumn quilting adventures.
Stay tuned for next week when I hope to have another tutorial to share!
It’s Thursday again? Already??? Sheesh! Where does the time go? And it’s about a month until autumn. WHOAH!
After a busy summer, I always look forward to fall, when things tend to settle down a little bit for a while and I can get my head back into quilting. The cooler temperatures also make it more comfortable for working with fabric and batting as I am one of those sad sad souls who does not have air conditioning in Mount Cluttermore (AKA my studio). And besides, who wants to sit around when it’s summer outside with a big heavy quilt on your lap as you work on binding??? Definitely not me. Summer is a good time to work on smaller projects that finish quickly (like our recent Small Project Summer Challenge her on the blog). Who really even has time to dive into a big hot and heavy project when it’s in the 90’s anyway and the beach is calling?
I must apologize as I was planning another autumn quilt tutorial, but I didn’t quite get it finished before sitting down to write the blog. Bummer. But no worries, we’ll simply push that tutorial until next week.
As I have fall on my mind, let me show you my favorite autumn VRD Rose Card patterns. Yay! Patterns!
There was a Cidermill right up the road when I was a kid and there was nothing as good as a cup of fresh pressed cider with your favorite donut, especially after the local Halloween parade.
Have you ever Pressed Leaves? I used to do tons of leaves and then I used them for art collages in my pre k classroom years ago. We would always read the book Leaf Man by Lois Ehlert and then we’d make our very own Leaf Man.
Speaking of pumpkins – there are so so many pumpkin foods everywhere in the fall – Pumpkin Pie, roasted pumpkin seeds, pumpkin spice lattes, etc., etc.
Well, I hope you enjoyed this curated collection of autumn VRD Rose Card patterns. Perhaps you found a new-to-you pattern to make this fall. Or perhaps seeing my picks for fall will inspire you to choose a new project to begin – this list is a good place to start. And just a quick reminder — all VRD patterns ship for free.
It was fun going through our 700+ VRD patterns to find just the right patterns to share with you. Happily, many of these patterns sparked memories of my childhood or even something I did last fall. Maybe they will remind you of your fall traditions, too.
See you right here next week for a new VRD quilt tutorial.
Until then, grab as much summer as you can as it’s fading fast in fall –
Sheesh! Another week of August gone. Another one bites the dust…….. And we all have A LOT of summer to do yet. Sigh……So little time and so much to do.
As for my August to-do list from last week – here’s what I’ve done since last Thursday:
I went thrifting with my Mom.
I worked on my latest art/design projects and made some forward strides.
I sat on the back porch with my dog, Bailly, and did nothing for a while…….twice.
Not a bad start to August. Not at all. I just need to get to the other things on my list, too.
How is your August to-do list coming along? I hope you had the satisfaction of getting a few things done on your list, too. If not, you’d better get started.
Small Project Summer Challenge, One Last Time
Time to wrap up our Small Project Summer Challenge.
Let’s congratulate our Week 6 winner –
Charlotte M. in FL
Woohoo! Way to Go! Yay You!
Congrats to all of our Challenge winners. Your prizes will go out shortly.
Speaking of Challenges, our 3rd 6 Quilts in 6 Weeks Finishing Challenge will be here before you know it. I hope everyone will join us in October for this next VRD Blog Challenge.
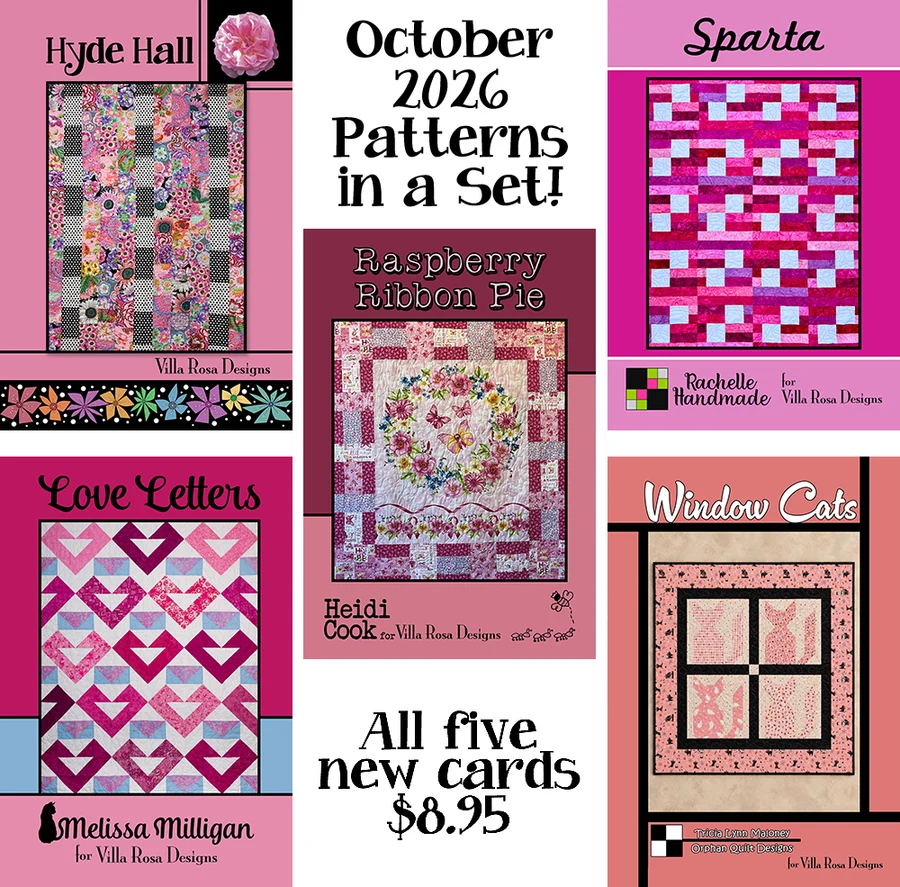
Now let’s take a peak at this month’s new patterns!
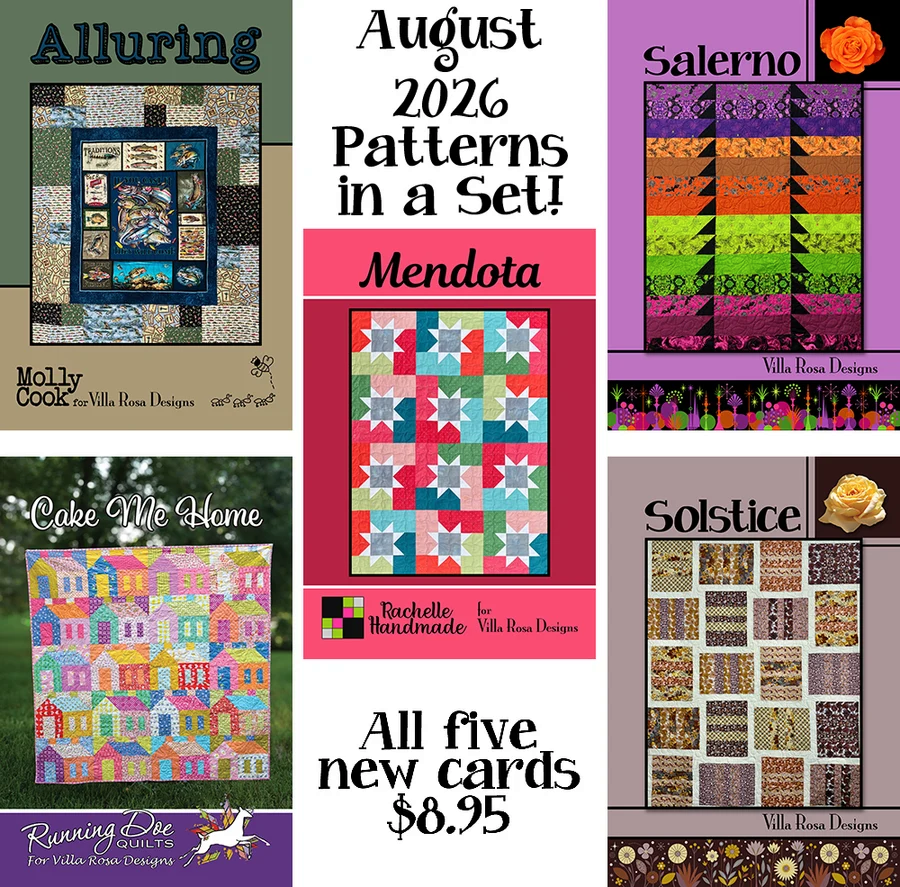
NEW VRD Rose Card Patterns for August
Yay! It’s the Thursday after the first Friday of the month and that means – NEW PATTERNS!!!!
Alluring is Molly’s latest panel quilt pattern. It uses a 36″ wide panel, a selection of coordinating fabrics, and finishes at a nice 56″ x 63″. You can find a kit featuring the same fabrics as the pattern cover HERE or one with Rainbow Iris fabrics HERE.
Cake Me Home is Catherine of Running Doe’s newest pattern. Isn’t it really fun? It is Layer Cake friendly and finishes at 58″ x 57.5″. Sorry, kits are already sold out.
Mendota is Rachelle’s new pattern for this month. It is fat quarter (FQ) friendly and finishes at 41″ x 54″. You can find a kit for Mendota featuring Jewel Depths fabrics HERE.
Salerno is 1 of Pat’s 2 latest patterns for August. It uses FQs or half yards and finishes at 57″ x 70″. You can find a kit with the same fabrics as the pattern cover HERE.
Solstice is Pat’s 2nd quilt design for this month. It is FQ friendly and finishes at 50″ x 62″. No kit available.
But wait – there’s more! We can’t forget this month’s Accessory patterns!
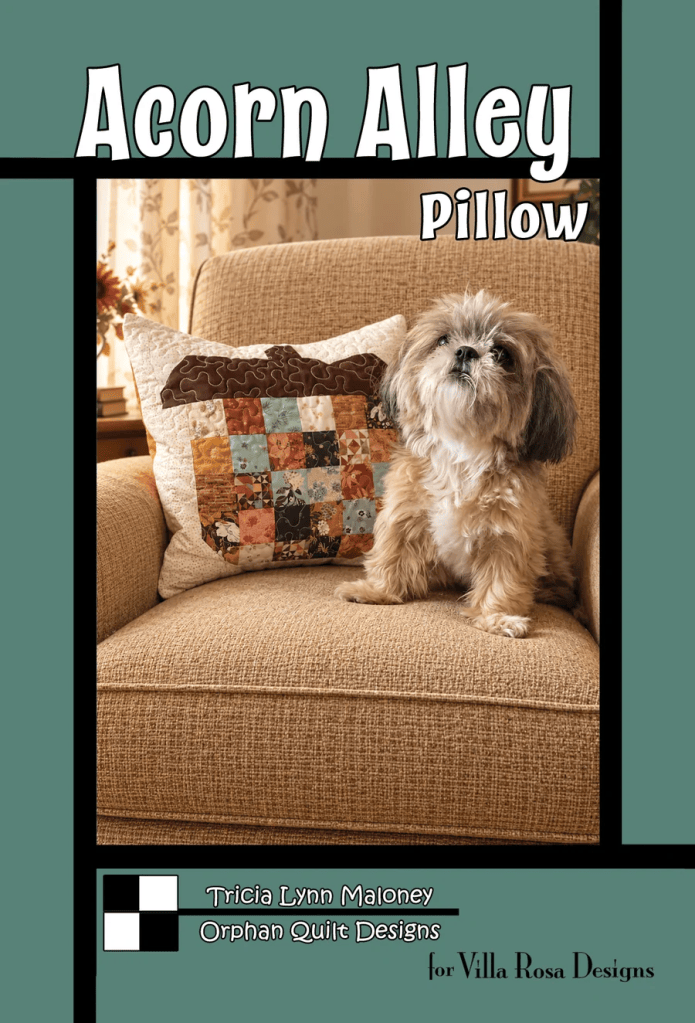
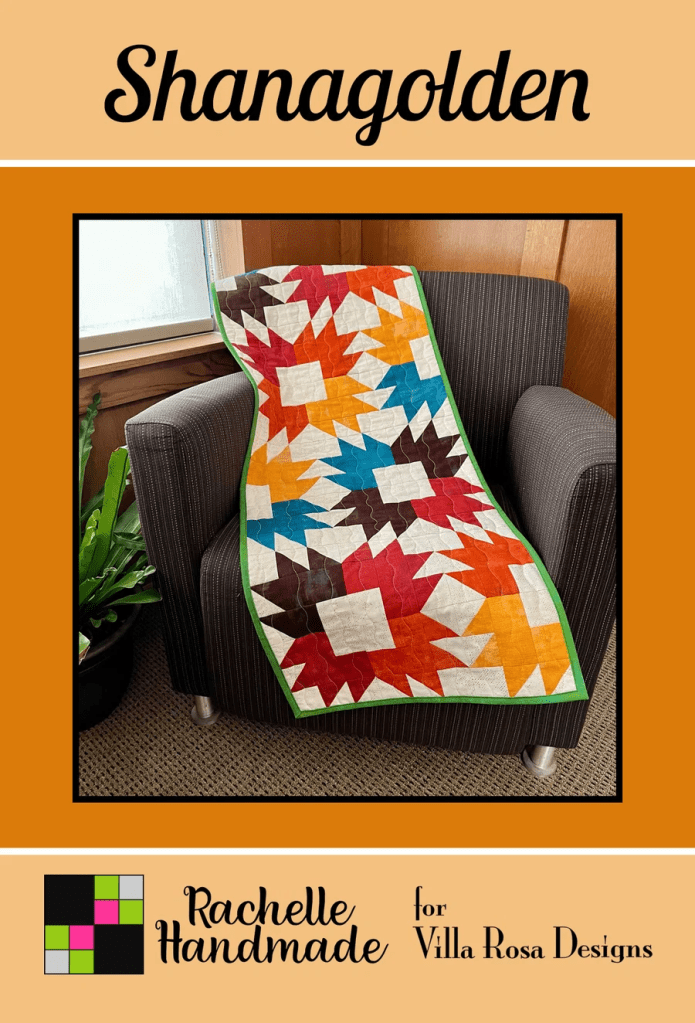
This month’s seasonal pillow pattern is called Leaf Twirl. A perfect pillow for your fall decorating! Don’t you just love the pink leaf????
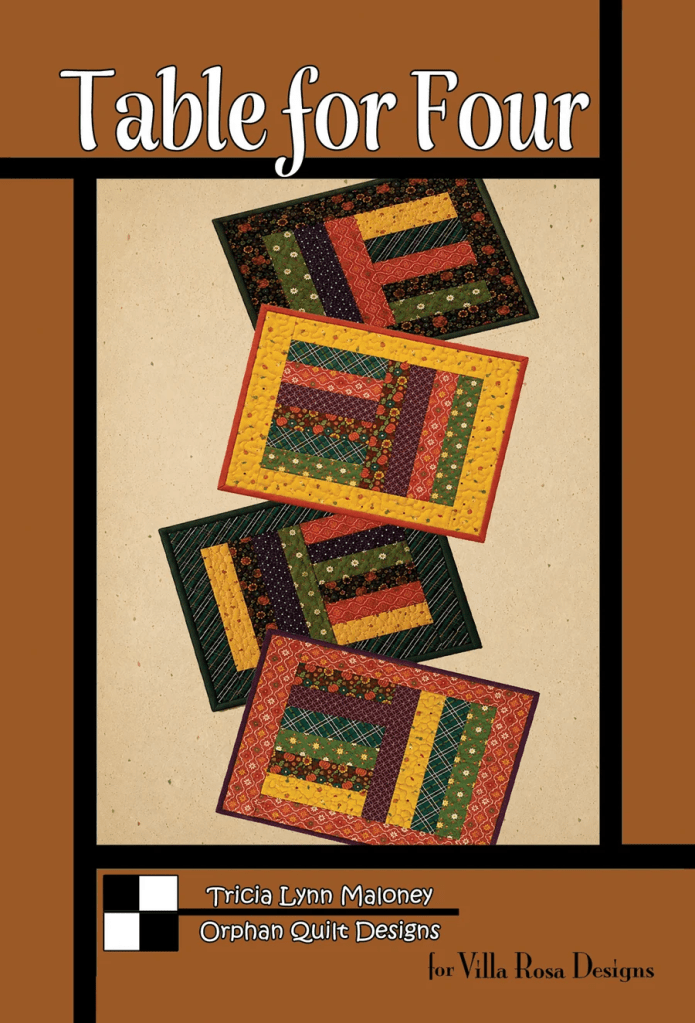
Instead of a fall runner this month, how about a fun new set of FQ friendly place mats, Table for Four? The place mats go together really fast and you can make them in multiples of 4.
Now let’s jump right into this week’s new quilt pattern tutorial.
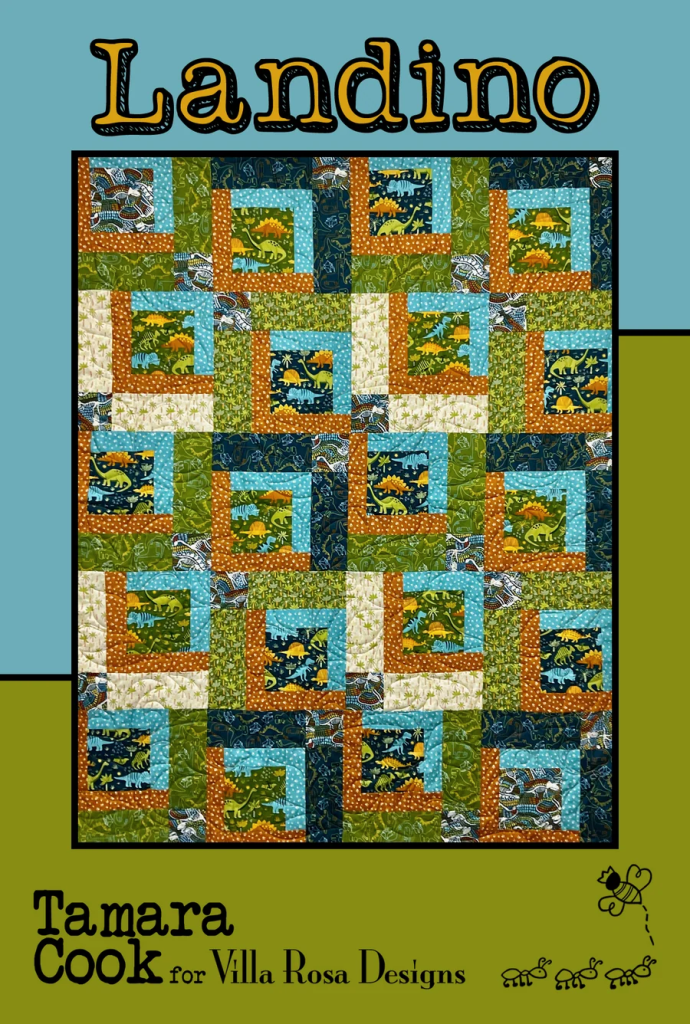
VRD Quilt Tutorial – Landino
Have you ever made Landino? It’s a deceptively simple and very interesting FQ pattern. Landino finishes at 44″ x 55″, which is a nice small sized throw quilt. Want a bigger quilt? It’s easy to add more blocks (and more FQs) or borders to make the quilt the size you want it to be.
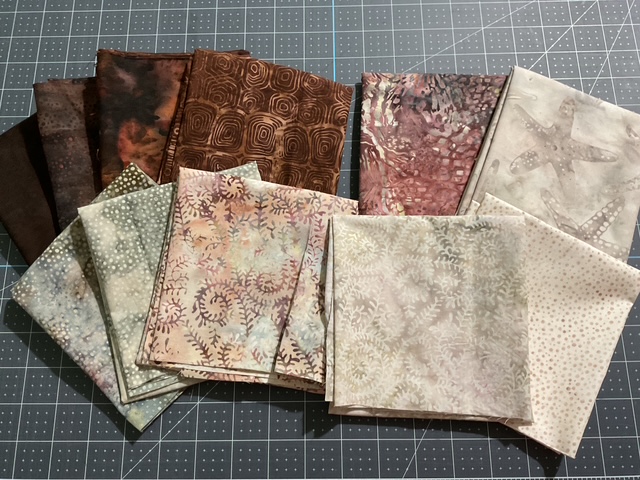
Today I’m using a warm and cozy group of batiks from our friends over at Hoffman Fabrics. I’ve been raiding some of my fall-hued fabric groupings to make some “get ready for fall” projects. Don’t be surprised if you see some of these new fall tops again during our Autumn VRD finishing Challenge coming in October. LOL!
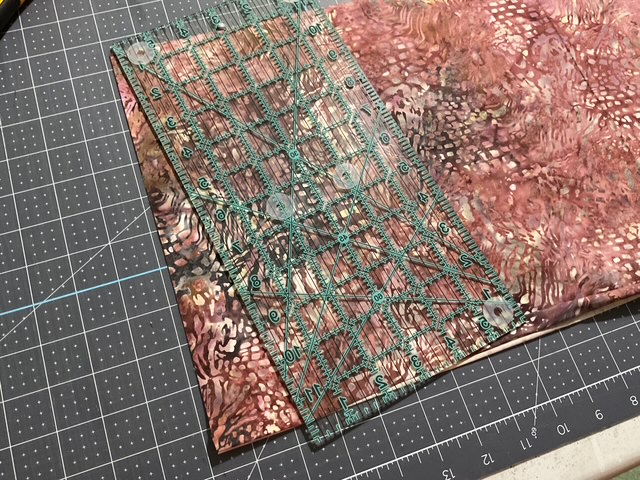
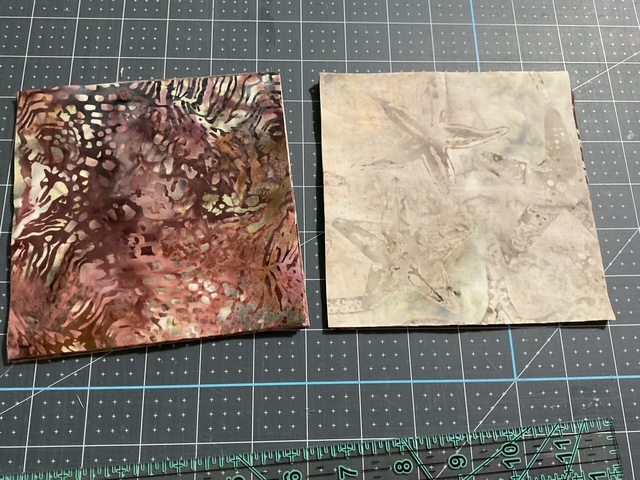
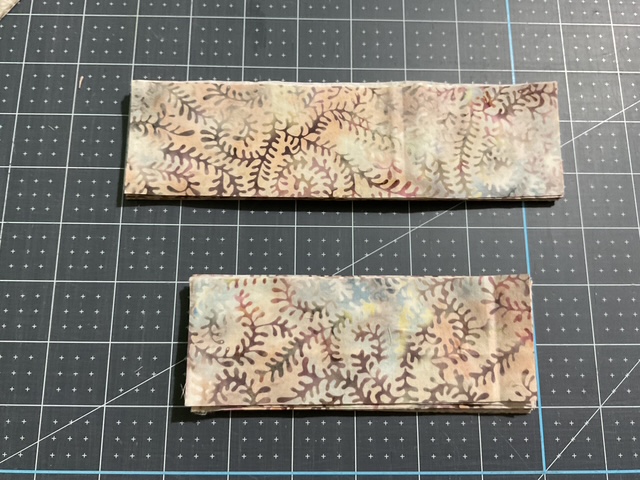
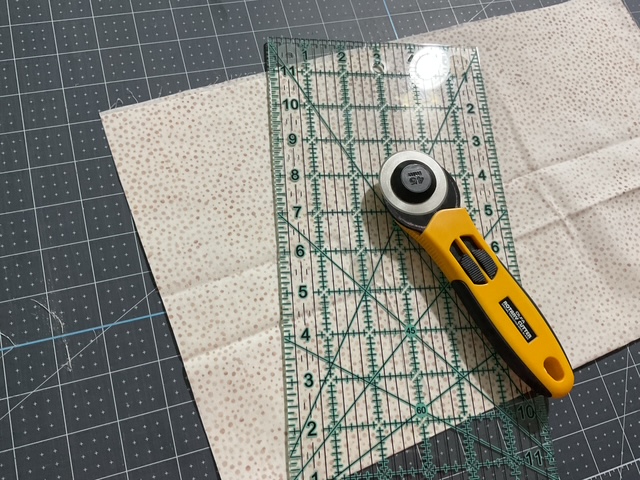
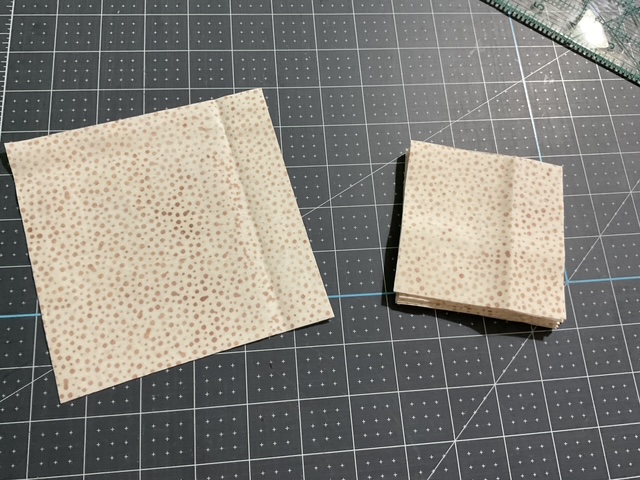
Of course, the first thing we’re going to do is cut out all the pieces we need from our FQs.
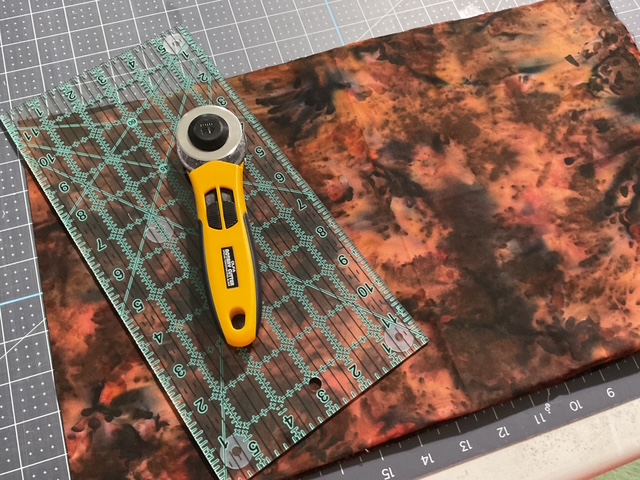
I found I really needed to pay close attention to the cutting for Landino because different fat quarters are for different parts of the quilt blocks. To help keep myself from getting lost, I put a sticky note label on each fabric so I knew which fabric was which.
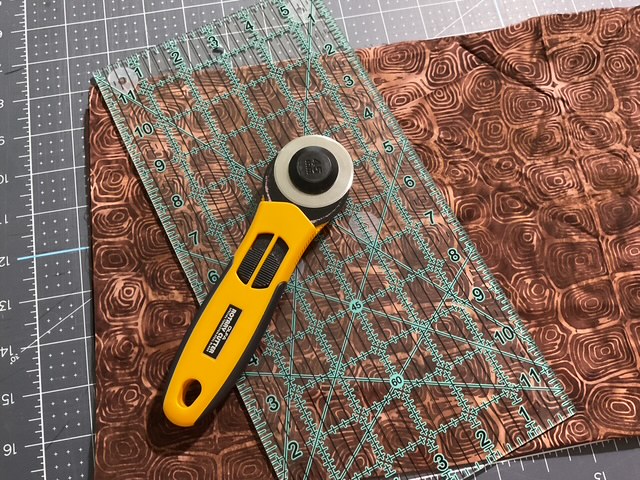
Let’s start cutting.
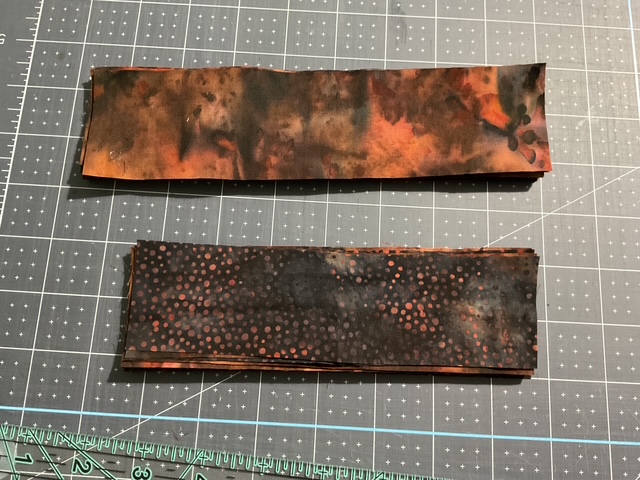
Here are my block centers.
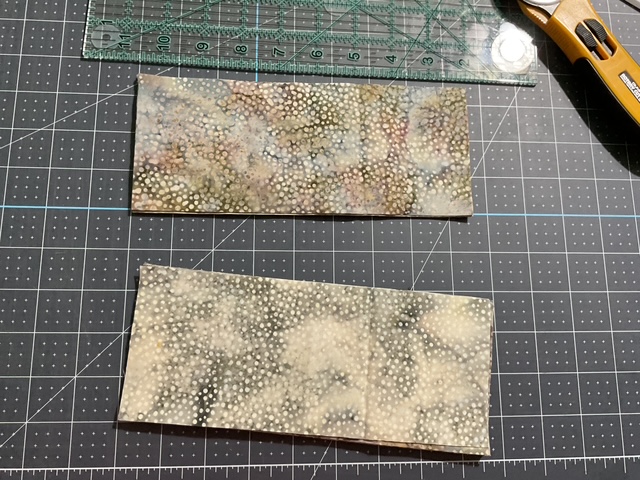
These are my lighter frames.
I chose these for my darker frames.
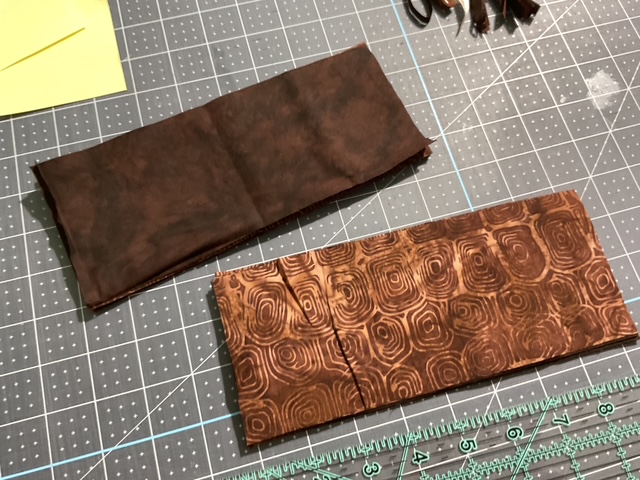
And these 4 fabrics are for my rectangles.
Finally, this fabric is for my corners.
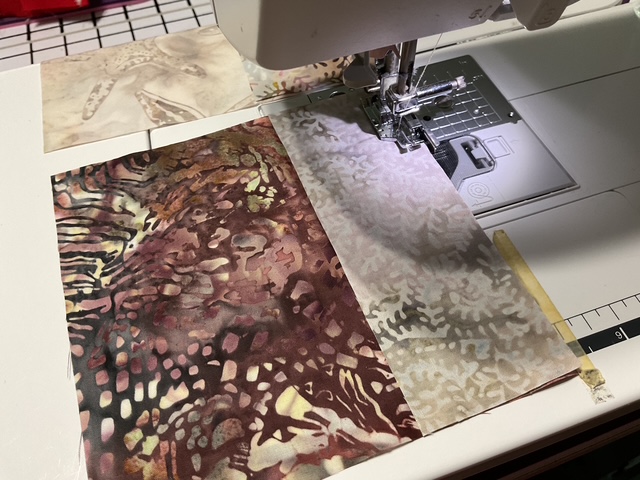
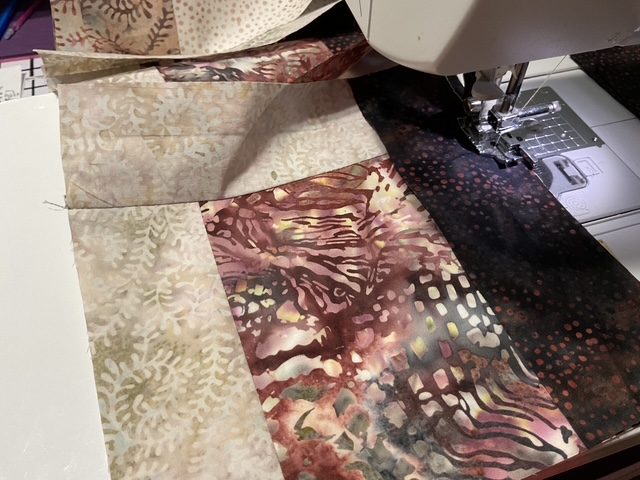
Okay, we’ve got everything cut out now. So next we’re going to sew our frames onto the center squares.
First we’re going to add the lighter frames.
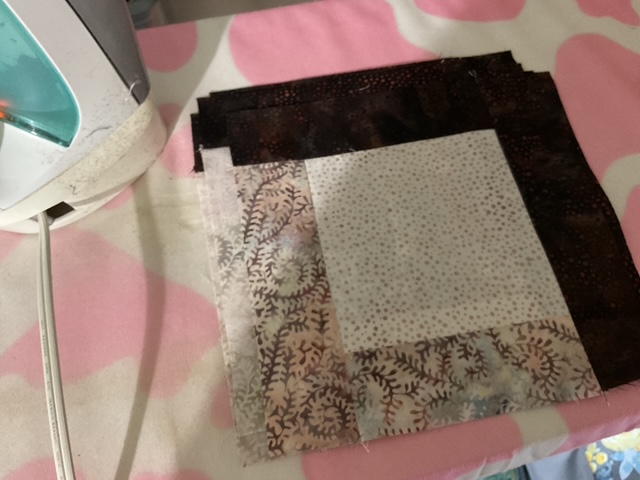
Then we’re going to add the darker frames on the other side.
Hey – did you notice that the Landino blocks are really a Log Cabin variation? And who doesn’t love a Log Cabin block???
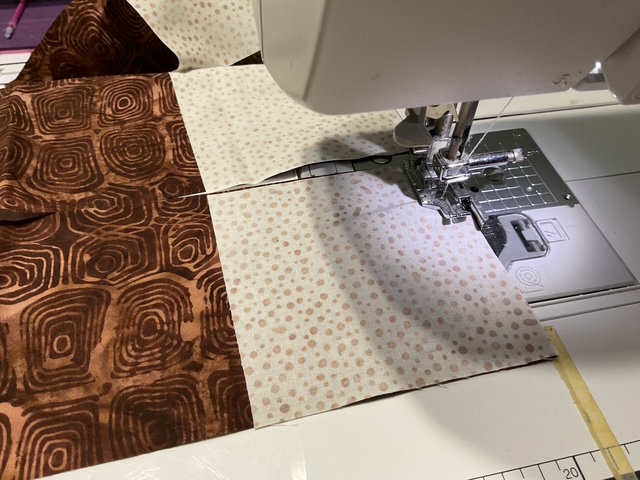
Now that we’ve added frames to all the center squares, things are going to get interesting for our next step – we are going to divide up the framed centers into 4 piles. Then we’re going to sew the rectangles/corners onto each group, using a different rectangle fabric for each pile.
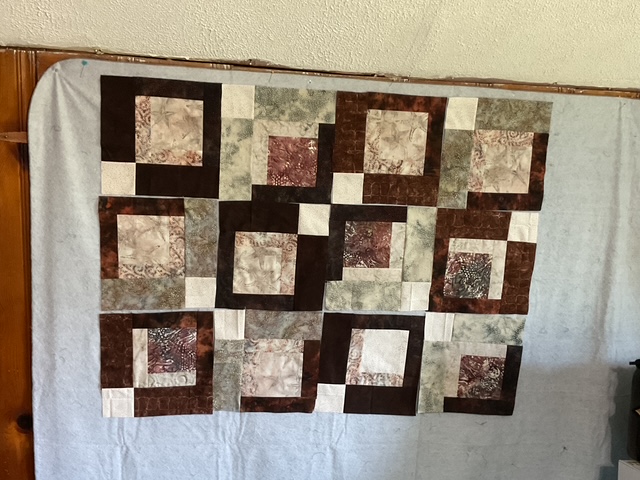
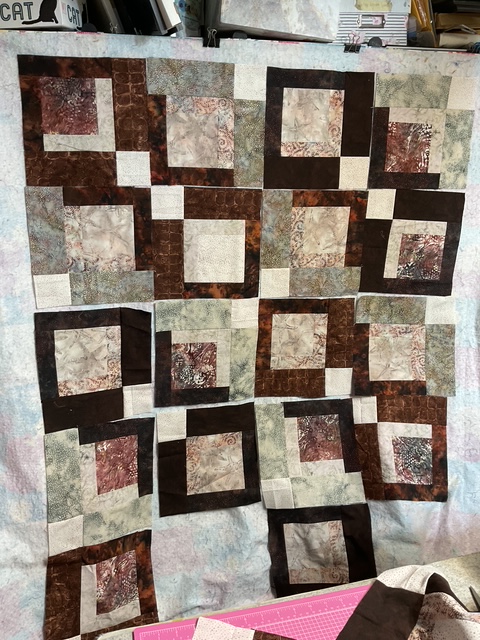
Somehow, I guess I didn’t take any photos for the 4 different completed blocks. Oops, sorry about that. Here is a photo of about half the blocks up on the design wall to give you an idea about what the blocks look like completed.
Huh. Now I’m not sure what I think of my completed blocks. I wish I hadn’t used quite so many dark brown fabrics and had added a few more medium ones instead.
Let’s slap ’em up on the design wall and see what happens.
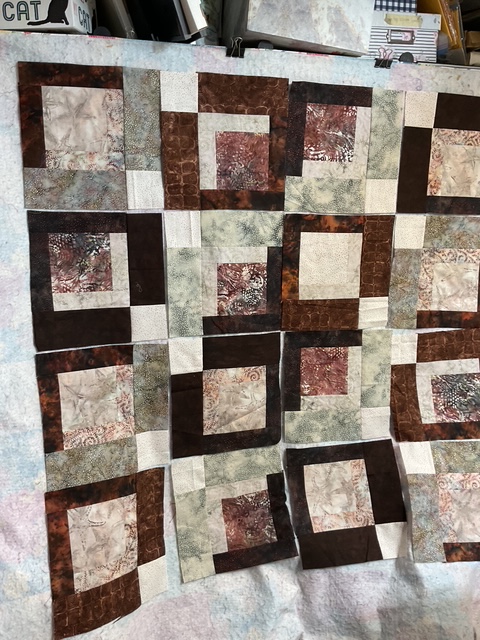
Here are 3 different block arrangements. Hmmm. I’m definitely not wild about any of these options. What do you think?
Now I’m wishing I’d done 2 more blocks with the lighter rectangles instead of the dark rectangles. Yes, I could rip out a few blocks and replace the dark rectangles with the lighter rectangles, but………nope. Let’s keep going, I always love a challenge.
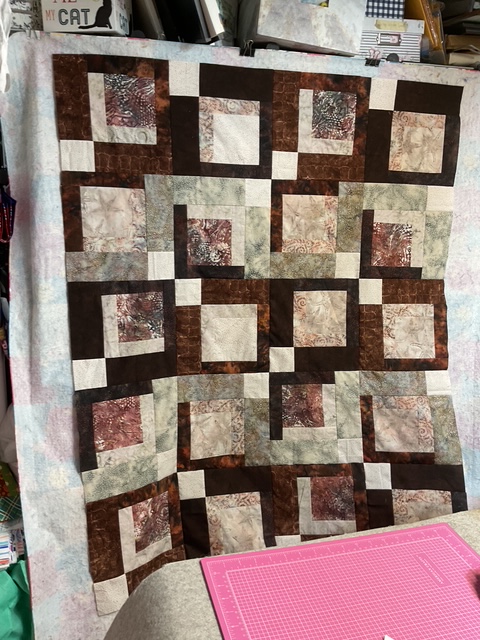
This arrangement (below) is the obvious winner. I’m still not totally loving it, but this one looks better balanced to me than the 3 previous attempts, above. The funny thing to me is that this is the layout shown on the pattern diagram.
Wow! When all else fails, try following the pattern. Hah hah hah! (Me, rolling my eyes.)
Let’s sew the blocks together into rows.
Now the blocks are sewn into rows, I’m going to sew the rows together. Whew! This is the easy part.
VOILA! Here is my completed Landino top.
I can’t get a complete photo of the top in my studio (if you remember I’ve renamed my studio, Mount Cluttermore for very obvious reasons) because my cutting/pressing table is in front of my flannel wall, so I took the top outside so I could take a better photo. Bummer, but it was just too breezy to hang it on the clothesline as I’d planned. So, I spread it out on the grass instead. (We’ve had a lot of rain recently and the grass is so green.)
All right – it actually turned out better than I thought it would. I think the alternating dark and light horizontal rows were definitely the right way to go with this one – all those darker brown fabrics needed the lighter fabrics to break them up.
Next time I make this one, though, I am for sure going to add more medium fabrics instead of just lights and darks.
This quilt top may not be the prettiest one I’ve ever put together, but I still like it. It’s warm and cozy-looking and it taught me (and you) several new things to think about when gathering up fabrics. I may have been quilting for 30 years now, but I still learn new things all the time.
What was the last project you made that taught you the most, even if the project didn’t turn out the way you’d envisioned? Leave a comment and tell me about it.
Well, that’s it for me this week. I’m off to maybe cross a few more things off on my August list before next Thursday. Wish me luck!
Take care and squeeze every last bit out of summer.
Whoah!?! Hard to believe it’s August! YIKES! Right now I feel like I’ve lost the whole summer, so I guess I have A LOT of summer to cram into August, don’t I?
Here are some things I want to do this month:
Go to the Baldwin Reynolds Museum and see the 250th Anniversary Quilt Display
Visit some Quilt Shops with my quilty pals (FART)
Play Mini golf with my Dad
Go bowling!
Thrifting with my Mom
Do some decluttering (yeah – this always needs done)
Make a fun project just because
Keep working on my latest art and design projects (and actually finish a few of the ones I have in progress right now)
Finish my 2nd Feedsack book (this one has been waiting a really long long time)
Read a good book
Just sit on the back porch with my dog and do absolutely nothing
Let’s see if by writing them down, I will get more of them accomplished this month. What’s on your August to-do list?
Small Project Summer Challenge Update
Well, the final numbers are in! All together we participants created 108 completed projects during our 6 week Challenge. WOOHOO! I hope each of you who participated pats yourself on the back for a job well done. Did you find a new favorite small project pattern? How many of you made something for Christmas? Any other thoughts about the Challenge? Please let me know in the comments.
I am still waiting to hear back from our Week 6 winner, so I will have that info for you next week.
I also want to congratulate
Dana S. from TX
as a co-winner for Week 5.
Awesome Applesauce, Dana! Yay you!
Now let’s check out the latest VRD tutorial, Fondue!
VRD Quilt Tutorial – Fondue
I was sifting through my stack of “quilt kits” and came across one for Fondue and I thought this would be a great one for the blog because I know people are already starting to think about autumn.
Fondue is a terrific pattern for 24″ panels along with coordinating fabrics. It finishes at a nice 49″ x 63″ and goes together quickly and easily. Fondue is beginner friendly and it’s flexible – you can add an outer border (or borders) to make your quilt larger if desired.
Of course, the first thing we need to do is gather up our fabrics. Today I’m working with a Hoffman Fabrics collection called Stag & Stone. Deer fabrics aren’t my norm, but I was really drawn to the colors in this collection and I find the deer to be quite elegant. And hey – it never hurts to have a great guy quilt handy for when you might need one. I think panels are a fabulous option for guy quilts because you can find wonderful panels with coordinating fabrics and a lot of guys aren’t necessarily into a quilt with a bunch of fussy pieces.
Here are my fabrics:
Next up, time to cut all my pieces out. I go back and forth between cutting everything out first or cutting as I go. I guess it depends on each project as well as what I’m in the mood for. Which do you prefer?
Depending on the dimensions of your panel, you might need to trim it to the right size for the pattern or even add some spacer strips to make it a little bit bigger if needed.
I needed to trim my panel to the right size. When you do this, you really need to be careful lest you trim off too much. So do your math carefully. You know the old saying – measure twice and cut once? Words to live by!
Have you ever cut too much off your panel? I have and do know what I do? I sew that piece right back on and re-cut the panel correctly. It’s not perfect, but it works.
My fabrics are cut and the panel is the right size, so now I’m going to sew the inner border to the sides of the panel and press the seams towards the border. Then I’m going to sew the borders to the top and bottom. Again, I’ll press the seams towards the border. So far so good.
Now let’s work on the side pieced borders. The borders are quick to sew together because the pieces are so big. Once I get the pieces sewn together, then I’ll press them. I am going to press my seams towards the sashing strips.
One thing I really LOVE about the Fondue pattern is that you can use directional fabric because of the way the pieces for the side borders are cut. This is a great thing because it’s not unusual to have directional companion fabrics for panels.
Let’s sew the side borders onto the framed panel! I like to match the center of the border to the center of the panel and pin. Then I match up the outside edges and pin, including an extra pin at the bottom edge of the border to help keep everything square. This was a little tip given to me by an experienced quilter named Pat when I was a newbie. It really does make a difference in keeping your border strips square instead of ripply.
Finally, I add a few pins in between the middle pin and the outside pins to keep everything lined up. I must admit that I will probably go to quilt jail someday because I tend to sew over my pins instead of removing them……..
Now let’s add the left side border onto the panel. SHEESH! I sewed my border upside down to the left side of the panel. How did I miss that????
Gee whiz!
Well, directional fabric is awesome as long as you sew everything right side up. LOL!
Now to re-sew the left side border on, right side up this time. Silly me. I bet that’s never happened to you before, right?!? LOL!
Now that the trees and animals are no longer standing on their heads, I’m going to press the side borders towards my dark fabric, which is the inner border/sashing fabric.
On to the top and bottom borders….finally. Again, these are quick to stitch together because the pieces are large. After I get them sewn into strips, I’m going to press the seams towards the dark sashing pieces. Easy peasy.
Next I’m going to pin the top border to the top of the panel. Again, I will match my centers and outside corners, adding that extra pin to keep things square. That extra pin is like magic!
Then on to the sewing machine to stitch the top border to panel. After that, I need to press my top border seam towards the dark inner border/sashing fabric.
All right! The bottom border is next!
WHEW! Here is the completed Fondue top.
I took a chance and ran outside to see if I could get a decent photo, but it was a bit breezy, it was lightly raining, and there was still a rumble of thunder in the air. So, I kind of high-tailed it back inside instead of waiting for the perfect shot. Oh well. What can you do – Pennsylvania weather can sometimes be a little unpredictable.
I really like how this quilt turned out! The colors are really very soft and meditative. And it went together easily, except for me flipping the left border upside down. LOL! I totally recommend you try the Fondue pattern to showcase your favorite 24″ panels!
Well, that’s it for me today. Have a wonderful week and I hope you get the chance to cross a few things off your August list.
Hard to believe it’s Week 6 of our Small Project Summer Challenge already. Wow – it went fast! But what a fun and busy 6 weeks of super little projects – small quilts, tote bags, pillows, scarves, table runners, and snack mats.
Let’s take a look at the numbers – We had a total of 43 people sign up and 24 of them participated, which is more than 50% participation. For a sewing challenge in the middle of everyone’s busy summer, I think that is pretty incredible! Although the Week 6 deadline hasn’t happened yet as of this blog post, so far we have already made over 100 projects together in 6 weeks!
Yay us!
I’ll have the exact total for you next week once we complete Week 6.
I want to thank everyone for participating. These Challenges have really added a whole ‘nother layer to the VRD blog. I love how instead of me just writing something and you reading it, we can interact and connect with each other even though we are spread all over the USA and beyond.
I never really understood how that connection could happen on an online blog, but with the Challenges we’ve been doing here, now I do. I have been getting to know many of you simply based on the fabrics and projects you choose, your comments on the blog and on the FB page. I especially love that you comment on each other’s projects t00. We are a community of quilters and sewists!
I think it’s time to celebrate our Week 5 Winner!
Week 5 Winner
Raise your glass in toast to ……….
Donna P. in Florida
Congrats! Yay you! Awesome Applesauce!
Here is Donna’s Belle Amie table runner for Week 5 –
Donna’s runner turned out really cute and I just couldn’t help but giggle when I saw the backing of her runner! Ape fabric is definitely something I’ve never seen before – how fun!
I didn’t want another week of the Challenge to pass without me participating, so I made the Dear Heart Snack Mat duo. They were fun and I think they turned out really cute!
I used leftover fabric from my Cabin Fever quilt from Week 1 of our Challenge (you can see the tutorial for Cabin Fever HERE). I just love being able to find a project to use fabrics leftover from another project, don’t you??? And someday, when we use up all our leftovers, then we can buy more fabric……..
Wait! Nope! Whoever said we had to use up what we had before going to the quilt shop, hmmm??? LOL!
I just have to share this funny little story about making my Dear Heart Snack Mats. I knew I wanted to hand-stitch the binding on these l’il cuties, so I took them along to an eye doctor appointment. While waiting to be called back, I almost finished one of then. Then I finished the first one while waiting for the doc (I’m sure you all know how much waiting we do at appointments) and I began the second one. I needed my eyes dilated for this appointment, but I didn’t let that slow me down – well, not completely anyway. I kept right on stitching as my vision got blurrier and blurrier. Yes, I can thread a needle with dilated pupils – quite a talent I think. And I can stitch binding down too, although it goes a lot slower than when I can actually see what I am doing. LOL! I was bound and determined to get my snack mats completed before the blog post launched. WIN WIN – both snack mats almost got finished during the appointment (I finished the rest later in the day once my eyes weren’t wonky) and the appointment went well.
Even though our Small Project Summer Challenge is coming to an end, we aren’t finished challenging ourselves yet!
This fall, we’ll be jumping back into our Six Quilts in Six Weeks Challenge. Yes, you read that right: six quilts in six weeks!
Before anyone starts hyperventilating into a stack of fat quarters, let me remind you that our Fall Six Quilts in 6 Weeks will be all about finishing 6 UFOs or WIPs. Hey – if you’re one of those people who doesn’t have any unfinished projects I think this is totally a myth, though), then you can make a new project each week for the Challenge.
The Challenge is all about setting aside a little time to sew, finishing some projects, cheering each other on, and having fun along the way. After seeing more than 100 small projects come together this summer, I cannot wait to see what we finish this fall!
I’ll share all the details soon, so start thinking about which quilts might be waiting patiently in your sewing room to become your next finished projects.
I hope you’ll join me!
August
In the meantime, what should we do for August after the Small Project Summer Challenge ends?
I’m thinking some new tutorials would be nice, but that would depend on how things go for me in the next month. Please feel free to share your ideas in the comments or you can email them to me directly at tricia@villarosadesigns.com.
Well, that’s it for me this week.
Take care and enjoy summer because like most fleeting things, it ends far too soon.