Hello Quilty Friends!
Happy Thursday to you!
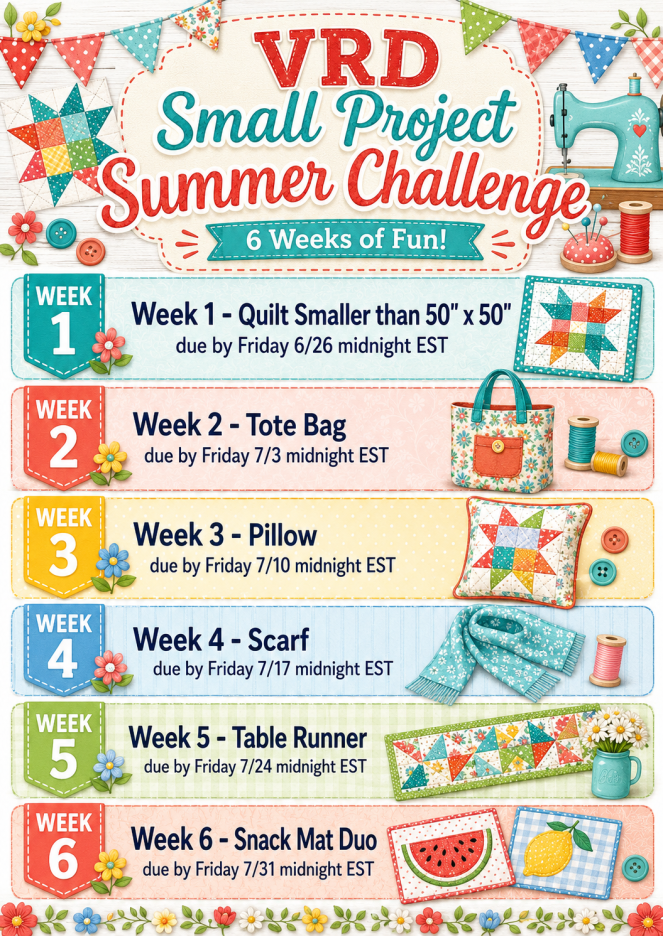
Are you getting ready for our Small Project Summer Challenge? The first project is a quilt 50″ x 50″ or smaller and is due Friday, June 26th by midnight EST. Here’s all the info for you in case you missed it last week or on our VRD Facebook page:
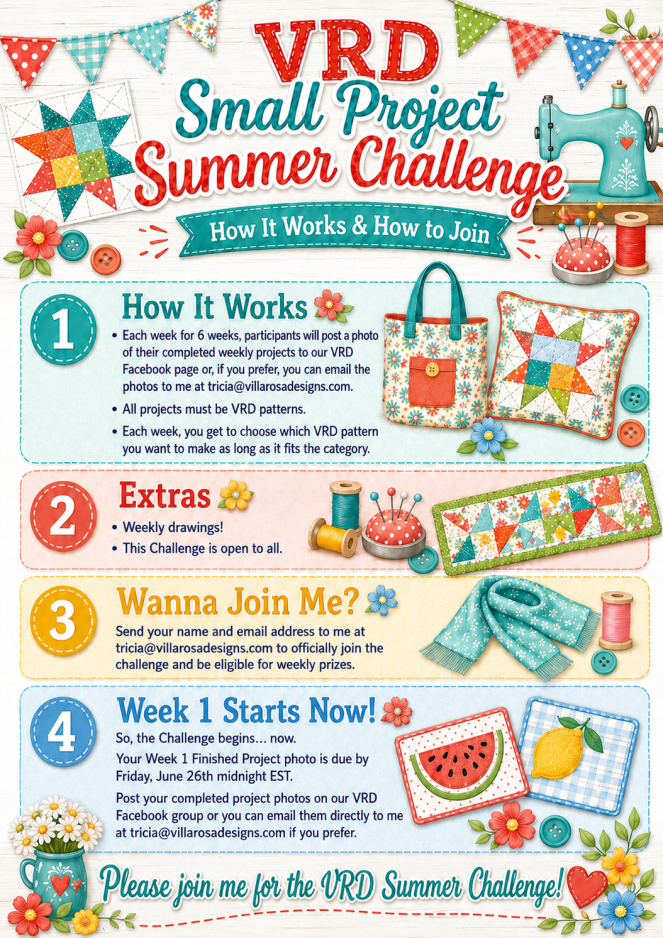
And here’s the schedule for the Challenge:
I had some questions about the Challenge, so I thought I’d share them with you in case you were wondering the same thing. 🙂
- Do the projects have to be completed? Yes, the projects need to be fully completed (quilts need to be quilted and bound) and a photo uploaded to our VRD Facebook Page or you can email photos to me at tricia@villarosadesigns.com by the week’s deadline midnight EST.
- Can I change/alter a pattern? Absolutely! As long as you are using a VRD pattern, you are welcome to change the size of the project, number of blocks, size of blocks, etc.
- Can the pillow be a pillow sham or cover? Yep, I believe most if not all of our VRD pillow patterns are for pillow covers.
- Do I have to do all 6 weekly challenges? Nope, you can do as many of the 6 weekly challenges as you are able. You will be entered in the weekly prize drawings that you create a project for. Easy peasy.
- Can I make projects ahead or can I only make one each week? I have no problem if you work ahead when you have time (hey……that’s how I roll, too). Just remember to upload your weekly project photo to the FB group or send it to me via email by each week’s deadline.
- Is there a separate FB group for the Small Project Summer Challenge? Nope, I have found it a lot more efficient if I stick with the VRD Facebook page that way everyone can see our Challenge projects and they’ll wish they signed up if they didn’t. Personally, I love all the inspiration I get from seeing everyone’s projects (wink, wink).
If you have a question I haven’t answered yet, just email me at tricia@villarosadesigns.com.
Our Week 1 Challenge, due June 26th by midnight EST, is a quilt under 50″ x 50″. Yes, it does need to be quilted and bound. When I set this size for the project, I was totally thinking wall quilts or table quilts (NOT runners). If your project ends up a bit wider/longer than 50″, that’s okay – I’m not that fussy. 🙂
There are quite a few smaller quilts hiding in our VRD Rose Card pattern catalog, so i thought I share them with you. And besides, it’s been a while since I created a curated pattern list.
Curated List of Small Quilts under 50″ x 50″
In addition to the 50″ x 50″ or smaller patterns below, here’s a few other suggestions for you: 1. Make larger VRD patterns smaller by making less blocks or making the blocks a smaller size. 2. You could expand a table runner, pillow cover, or other small project if desired.
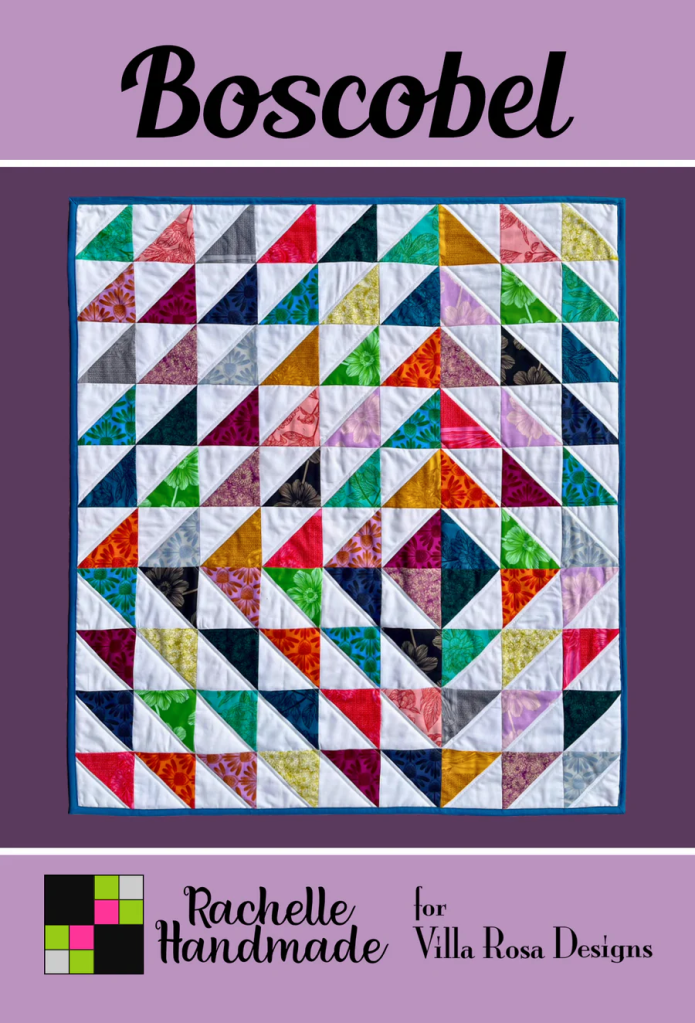
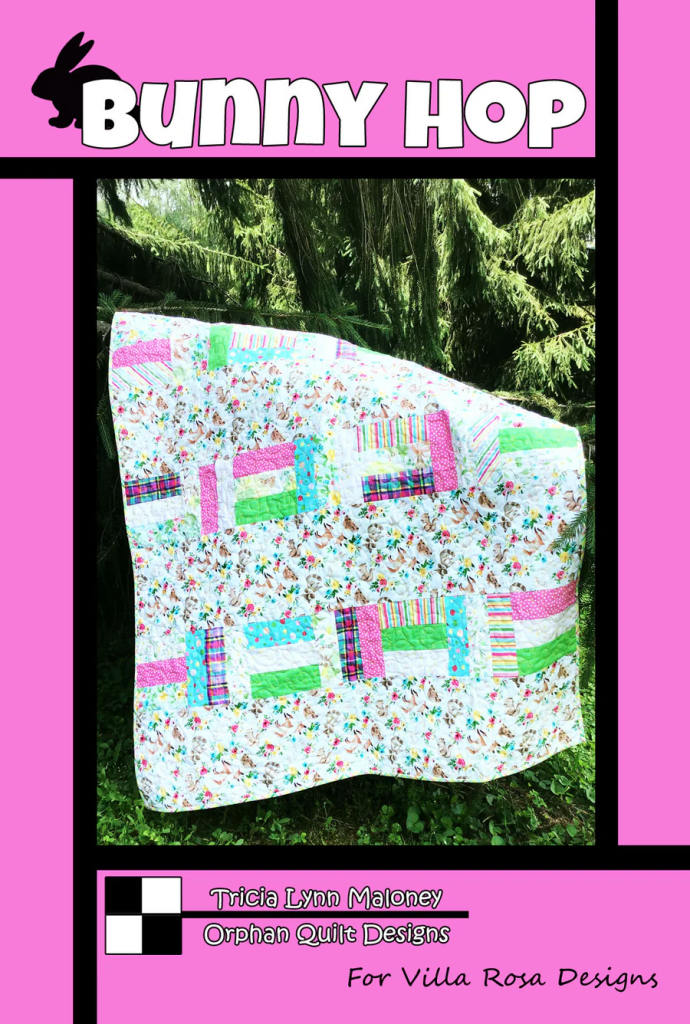
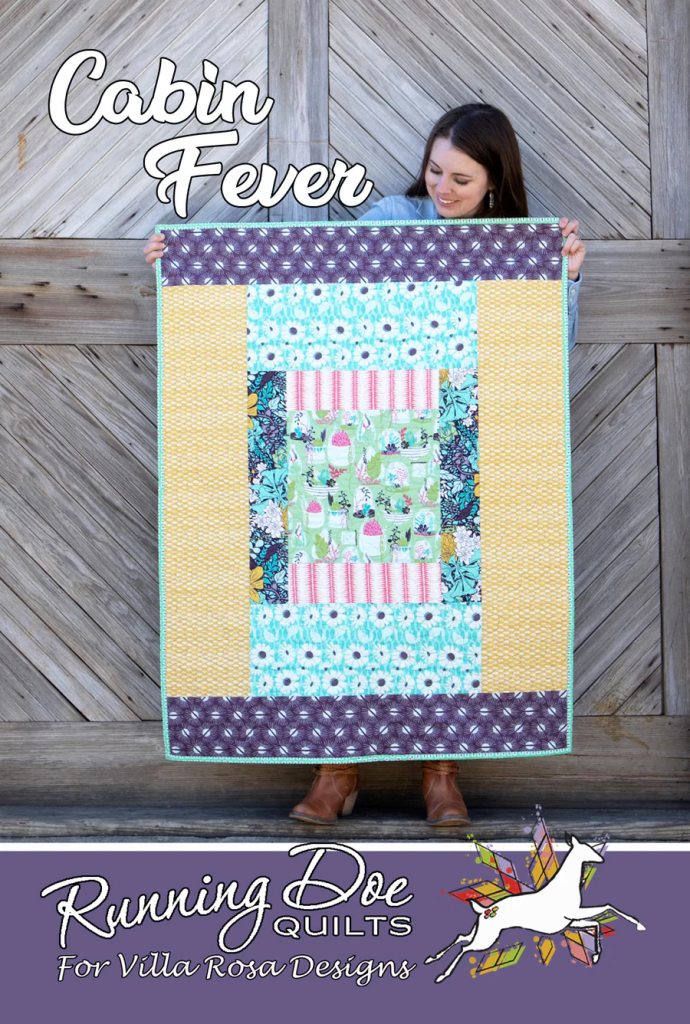
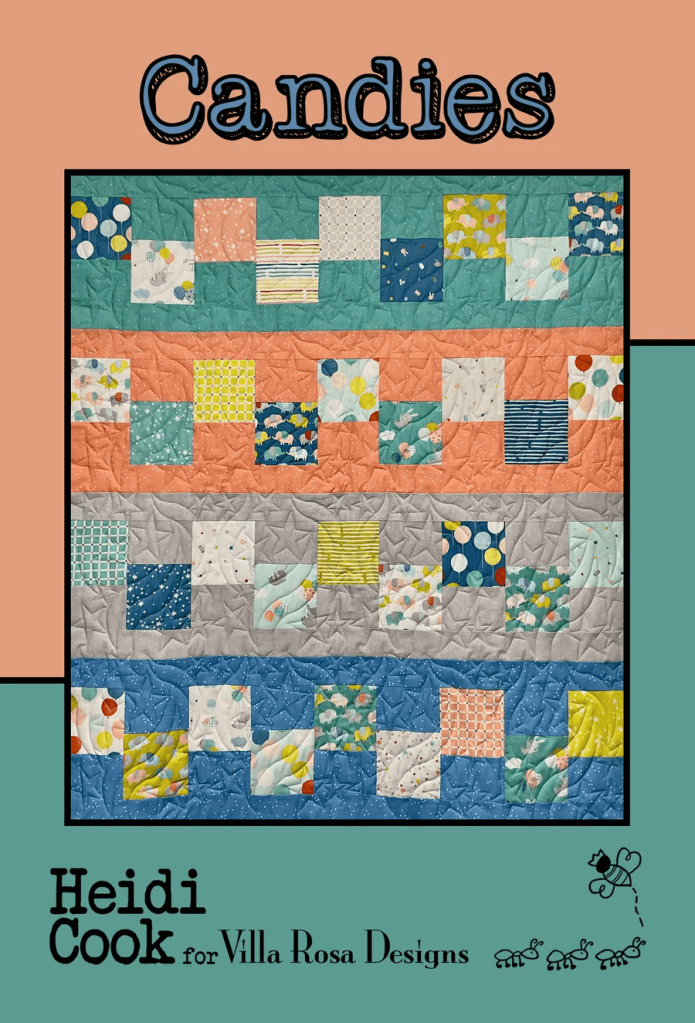
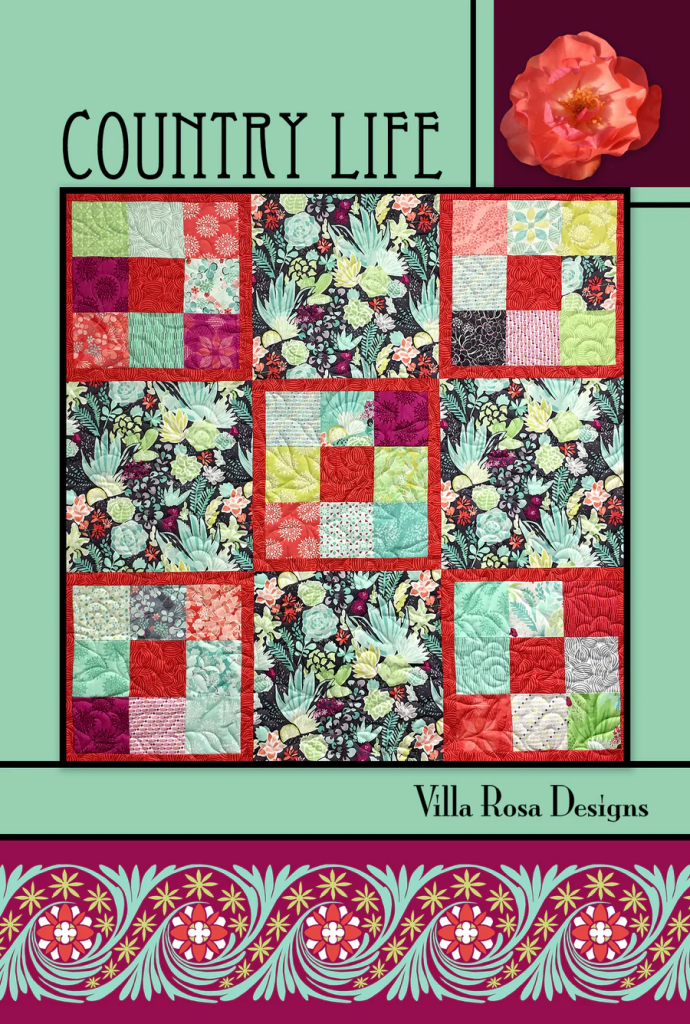
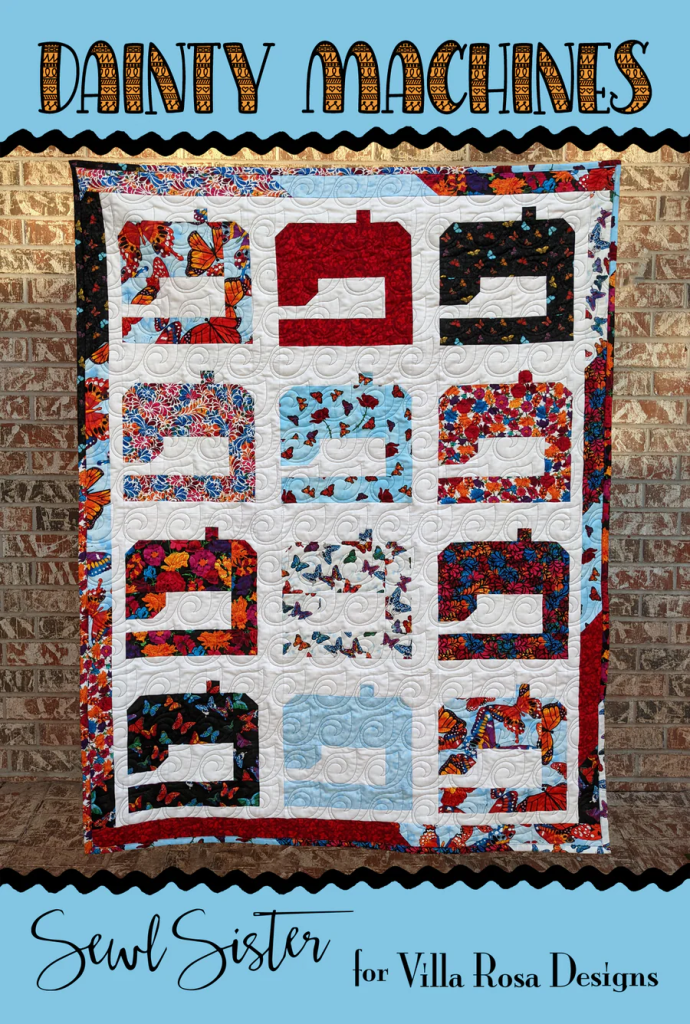
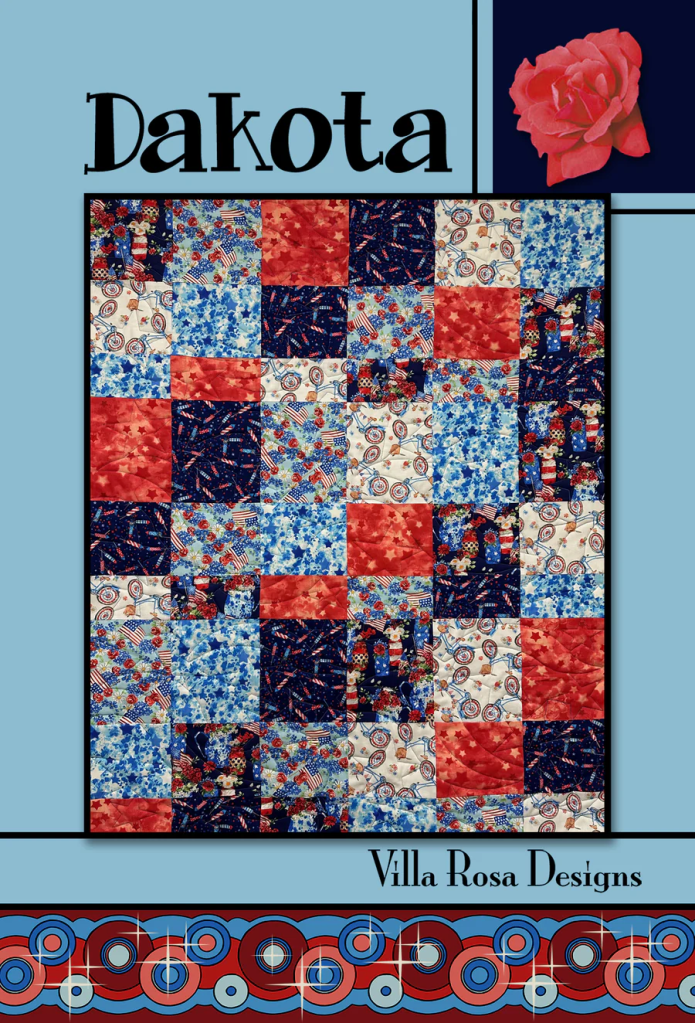
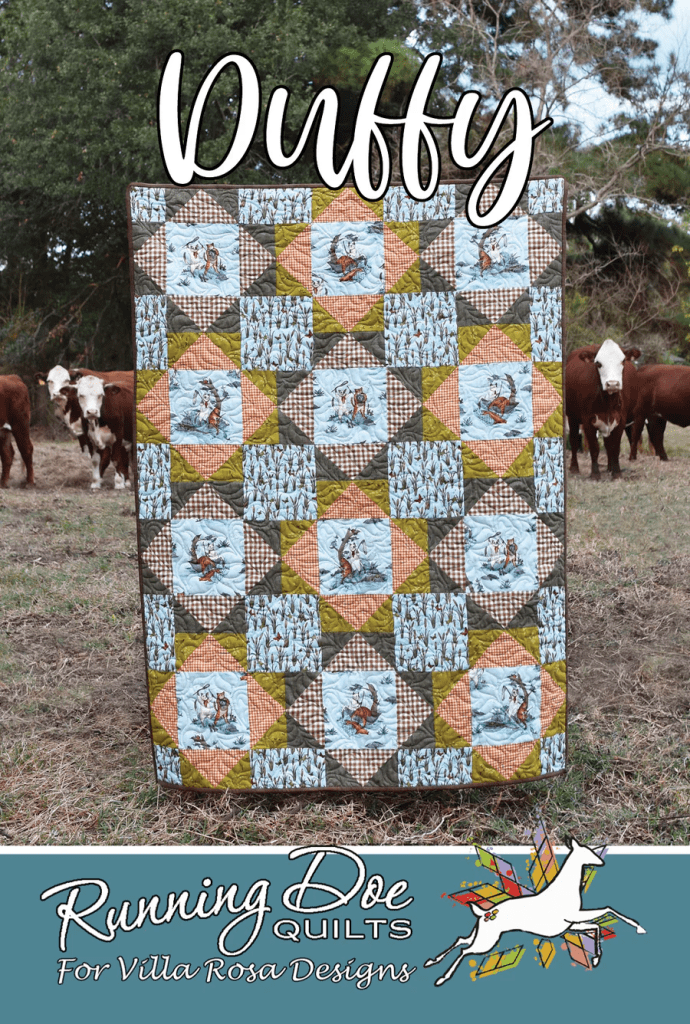
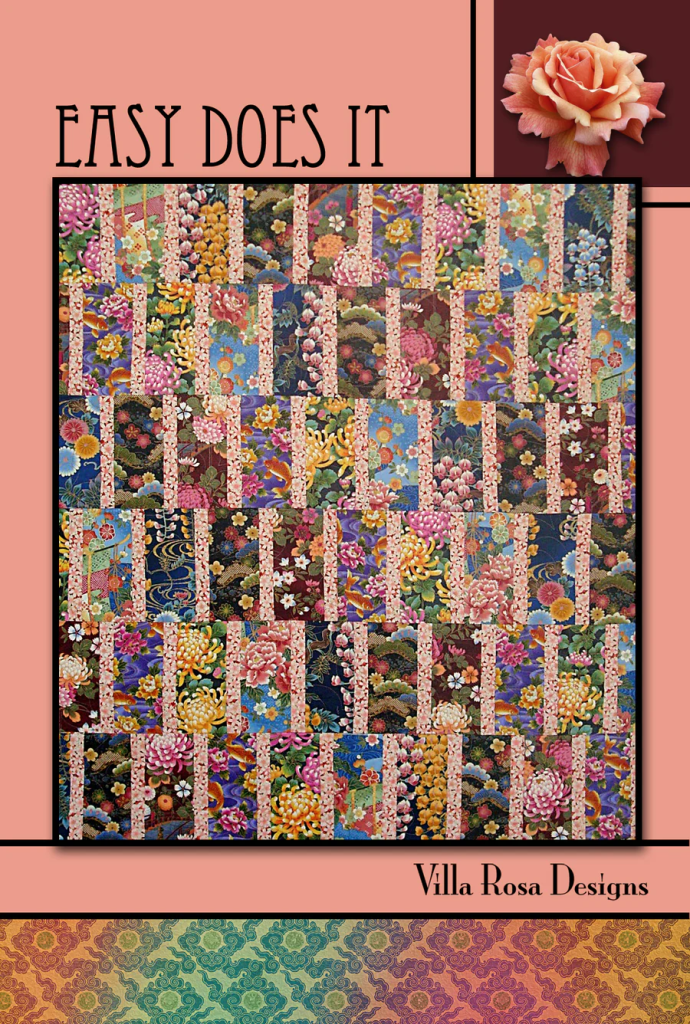
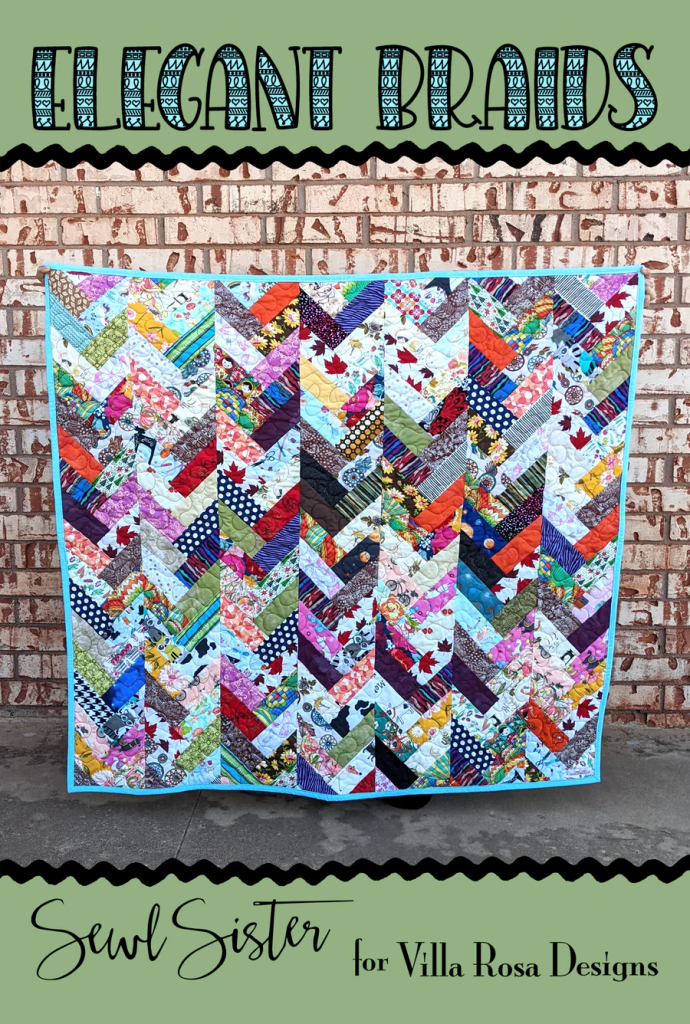
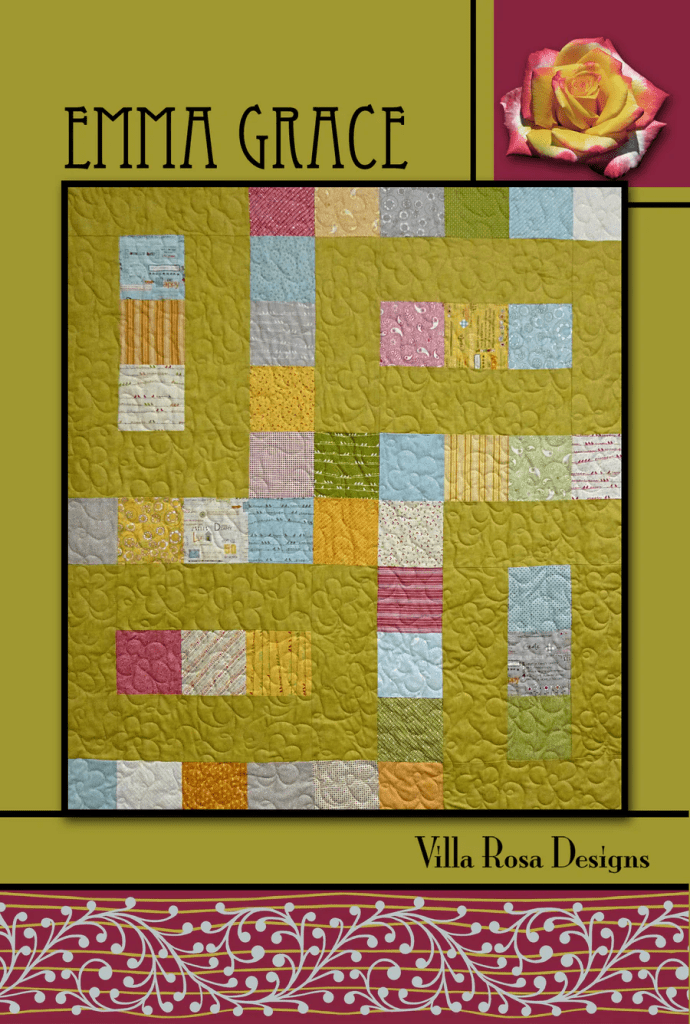
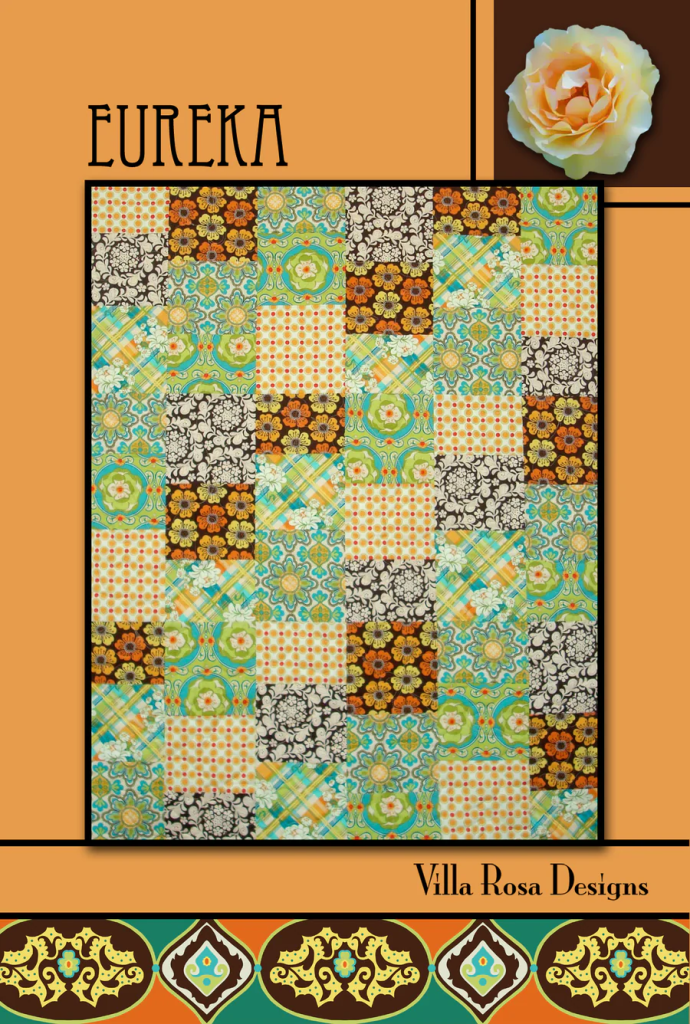
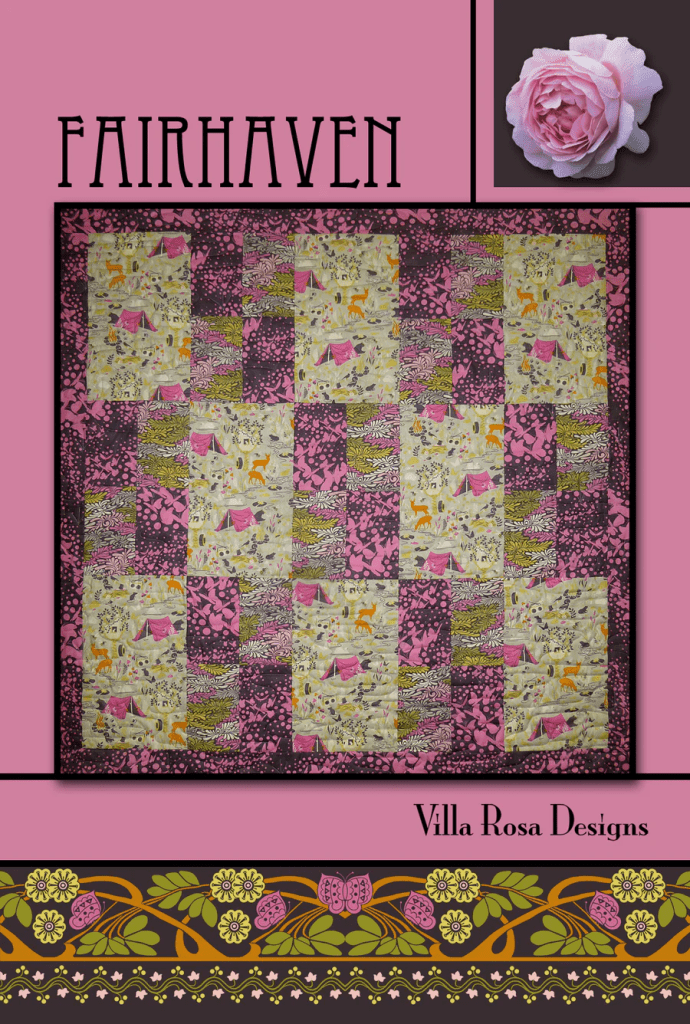
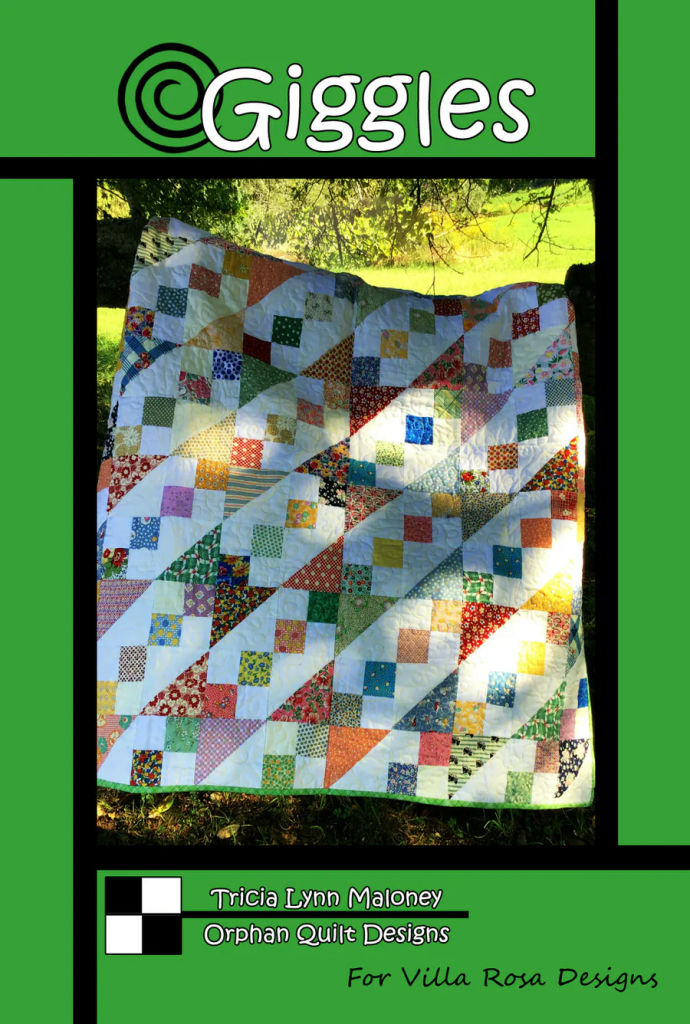
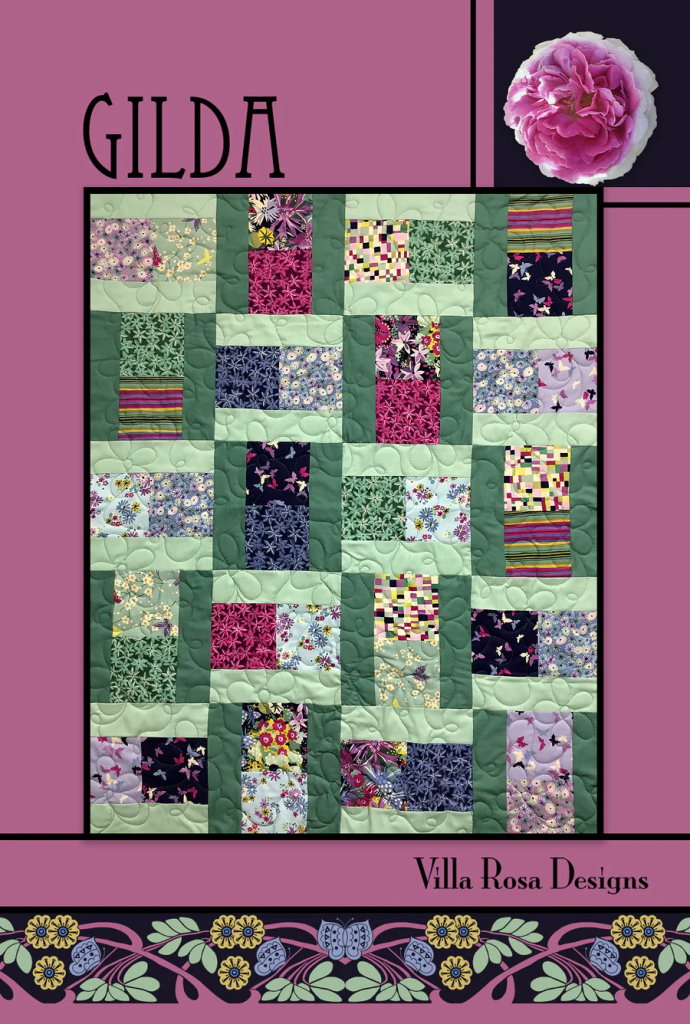
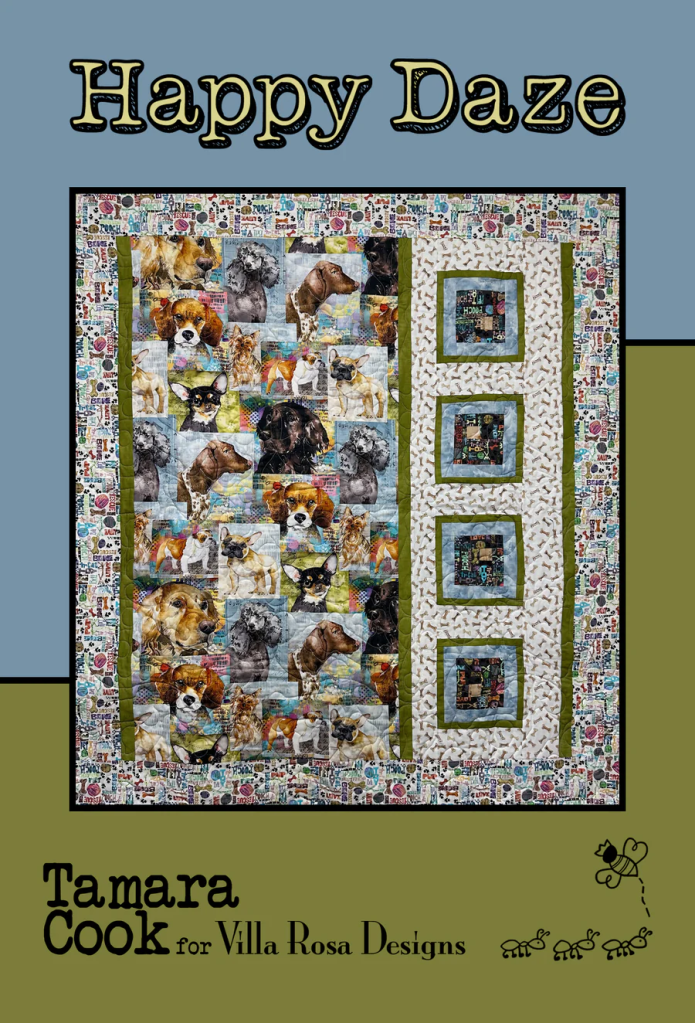
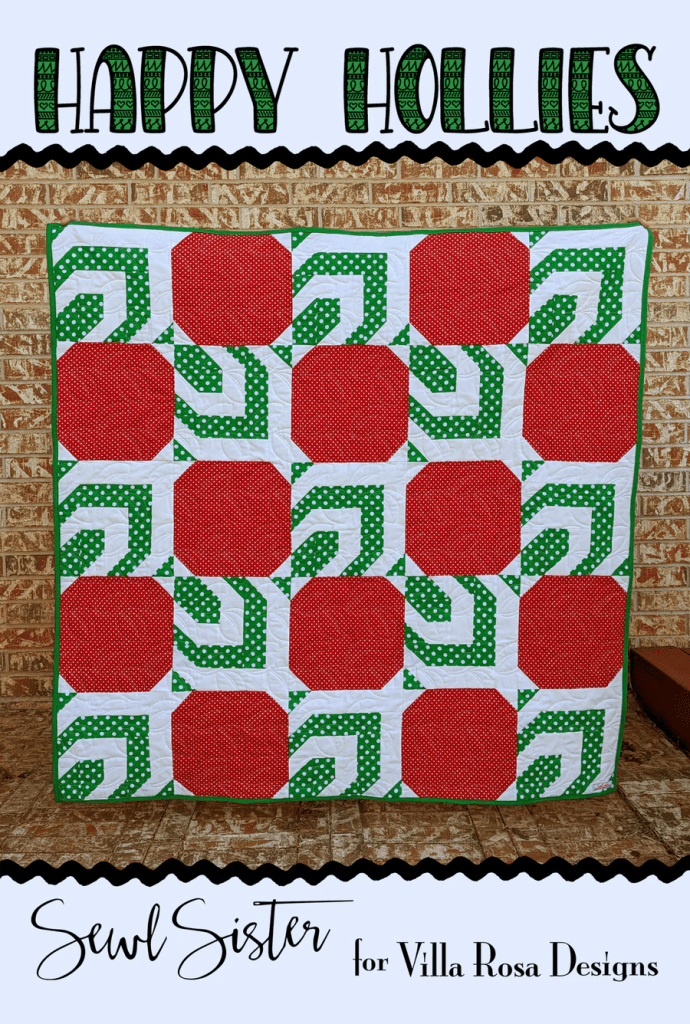
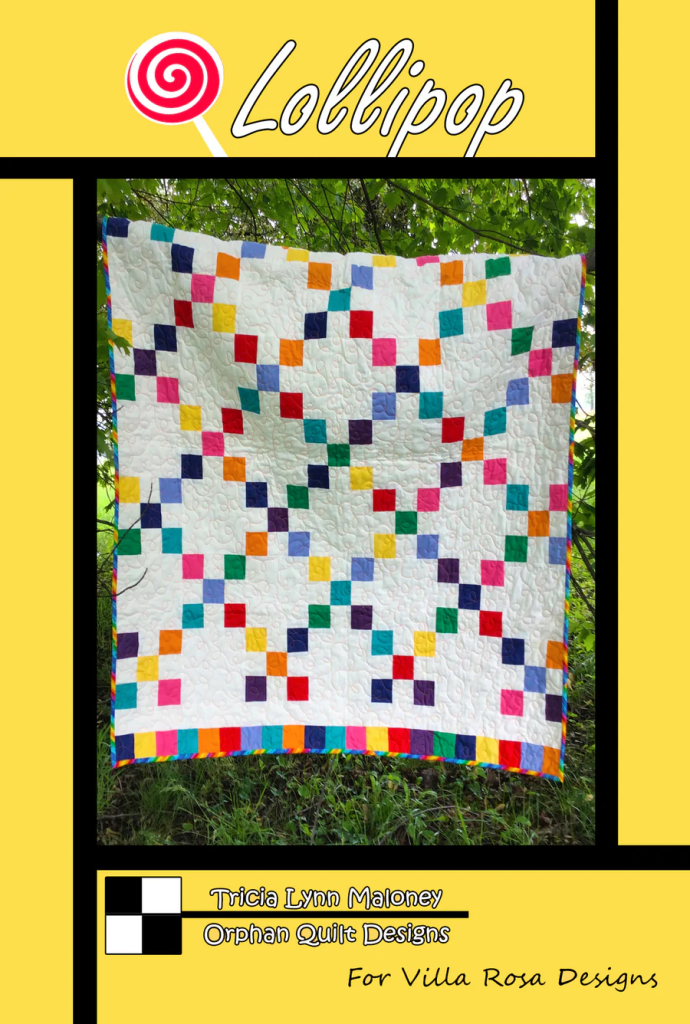
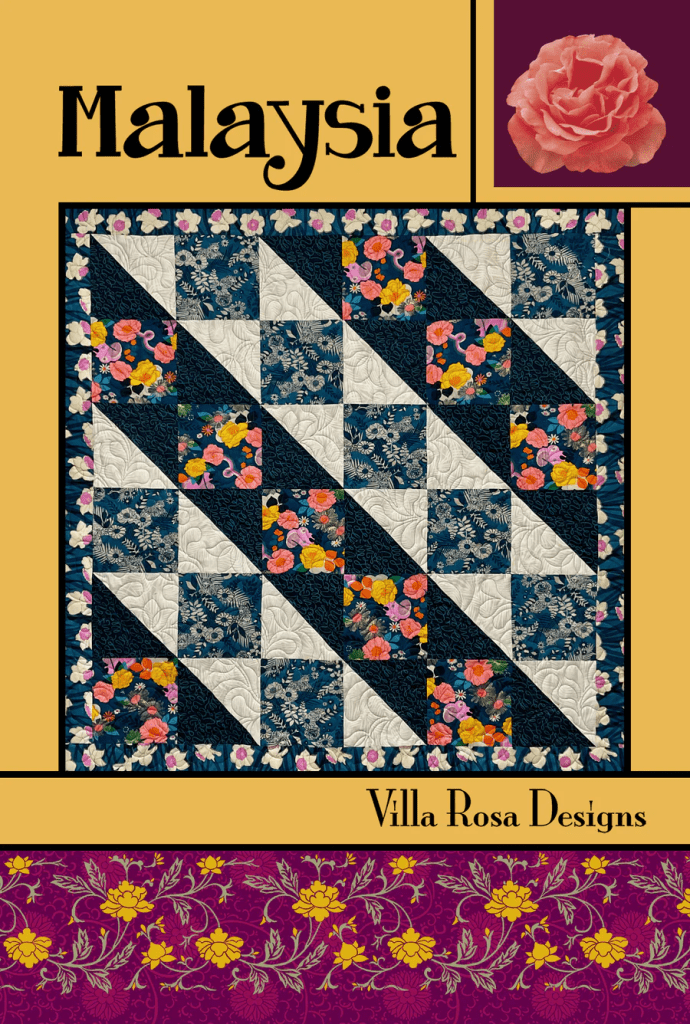
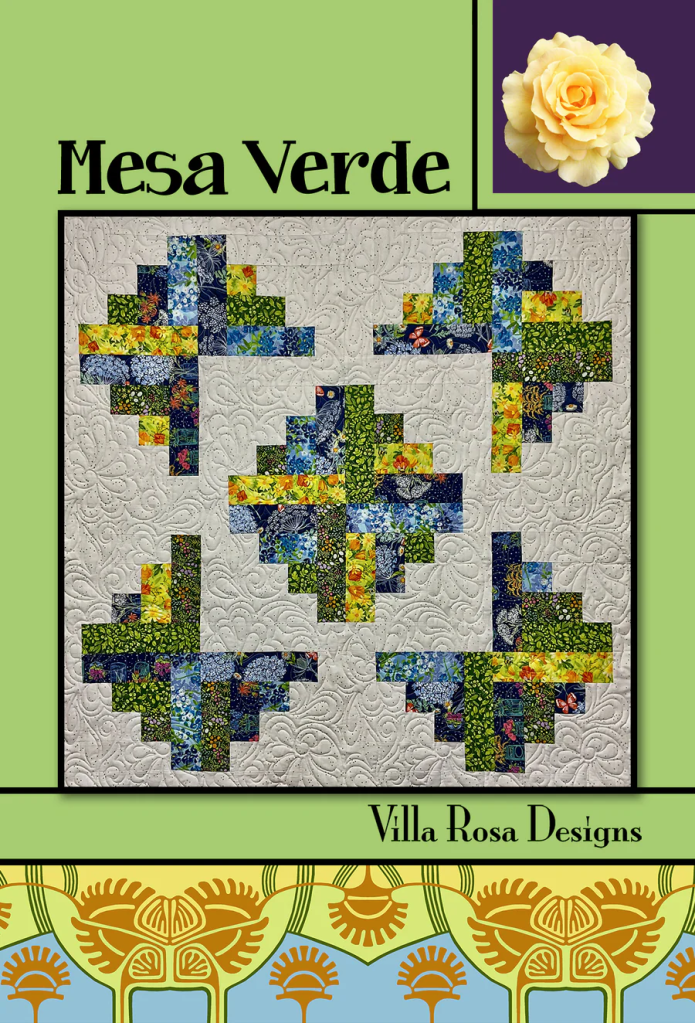
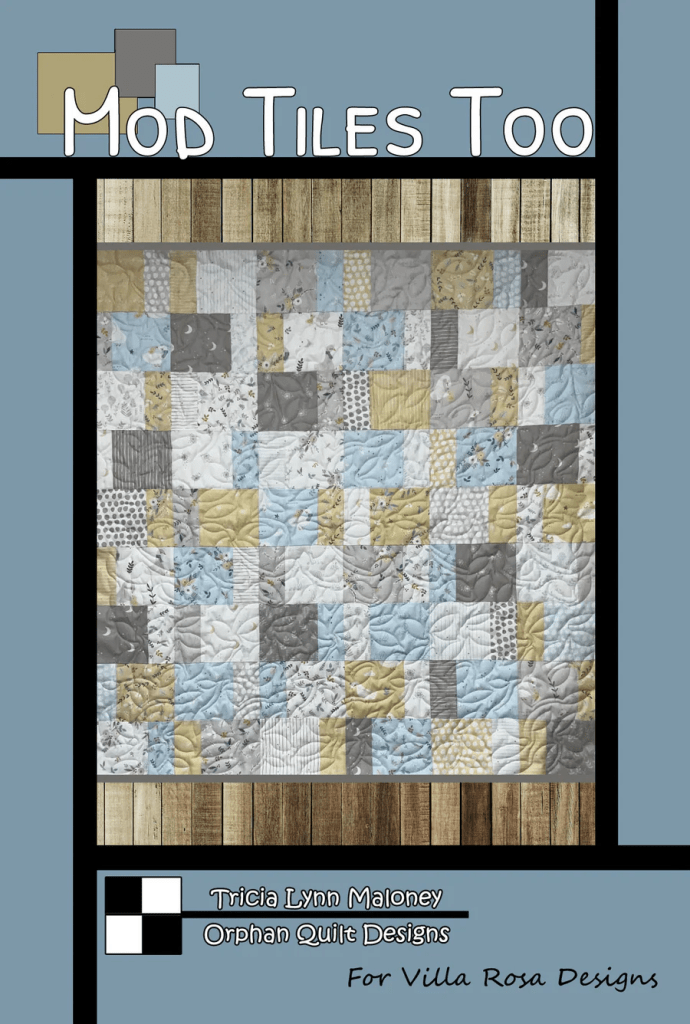
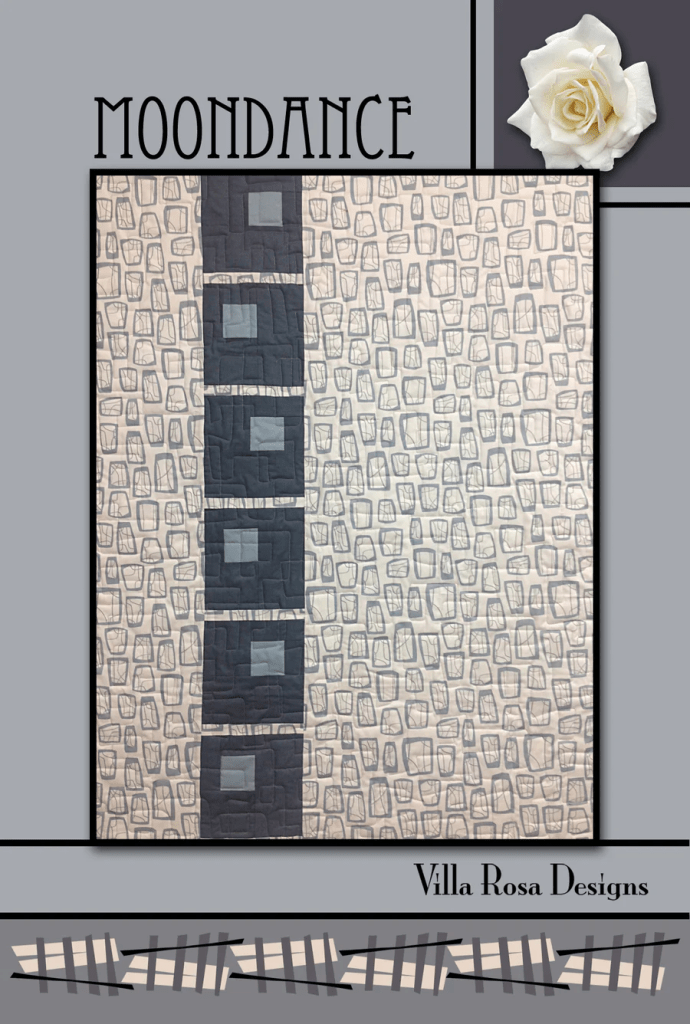
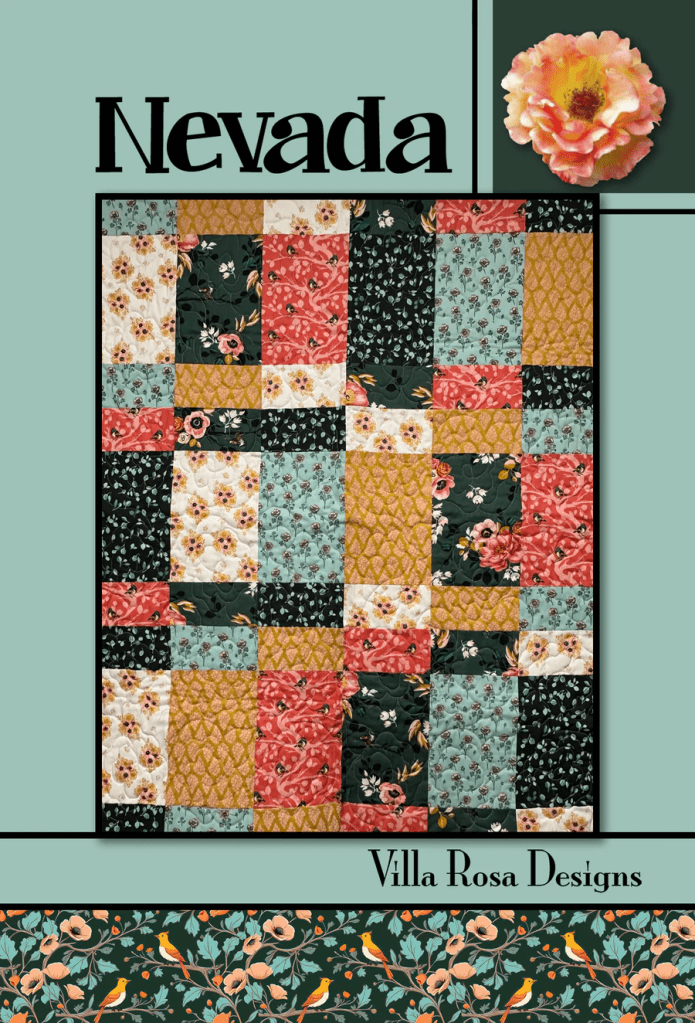
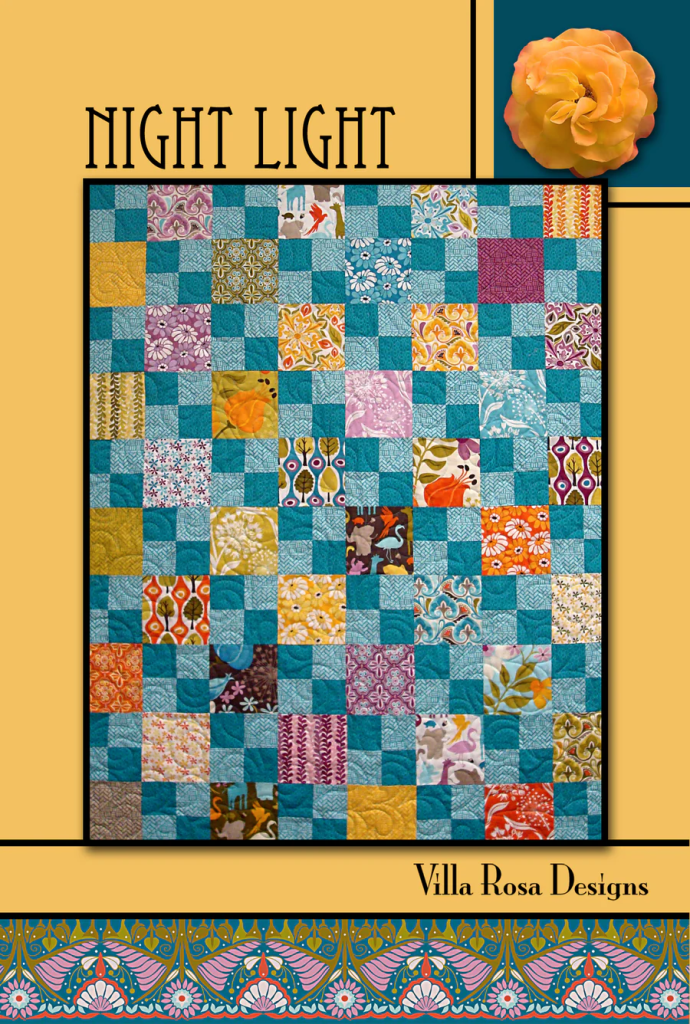
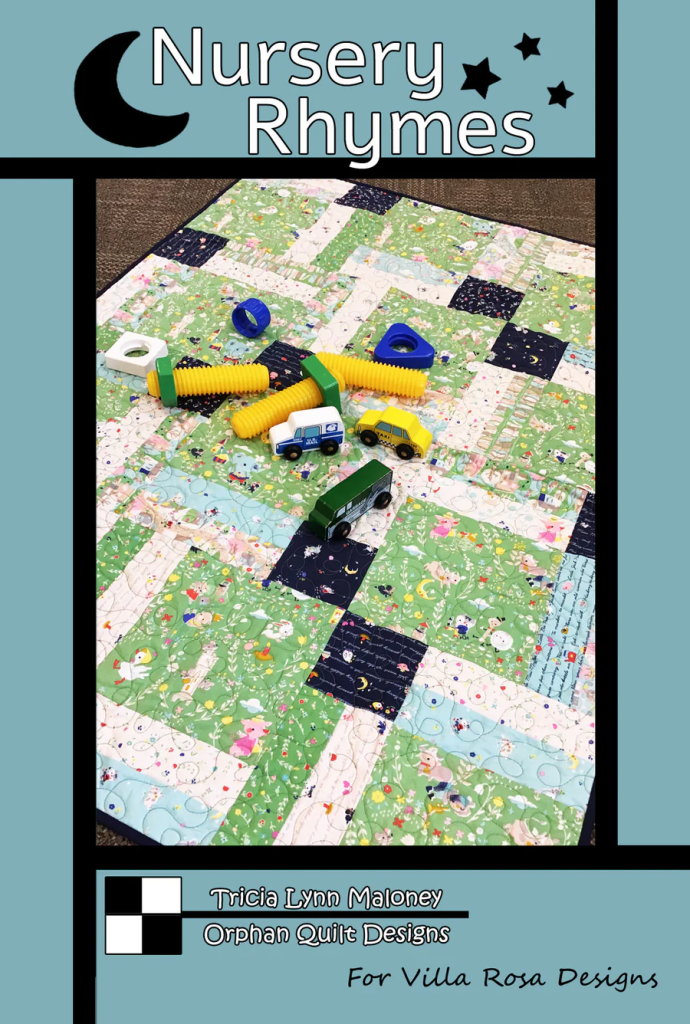
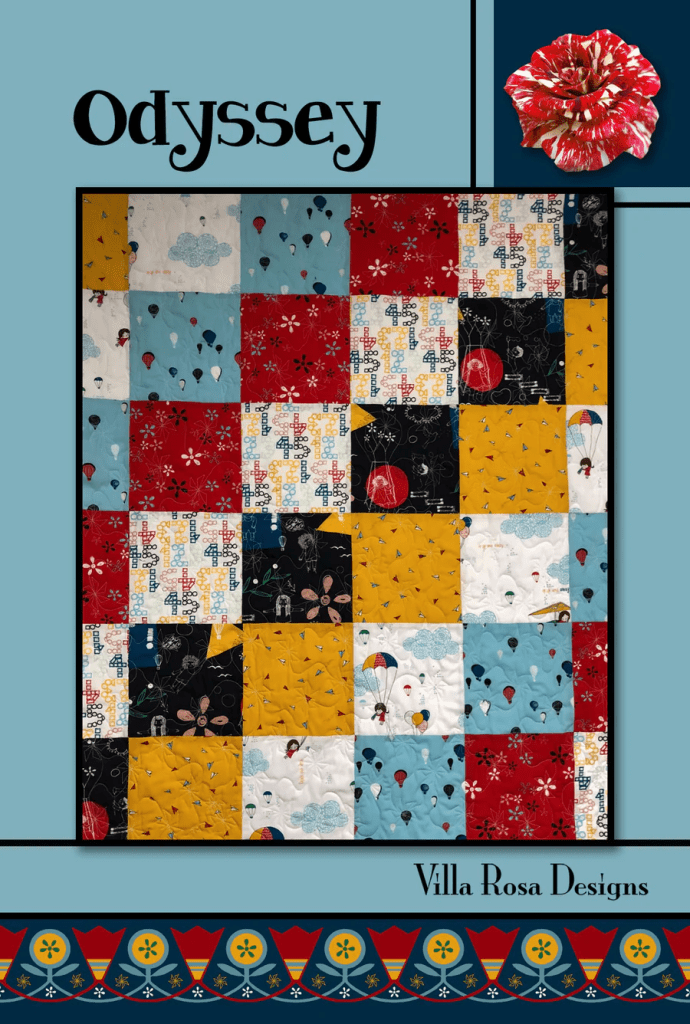
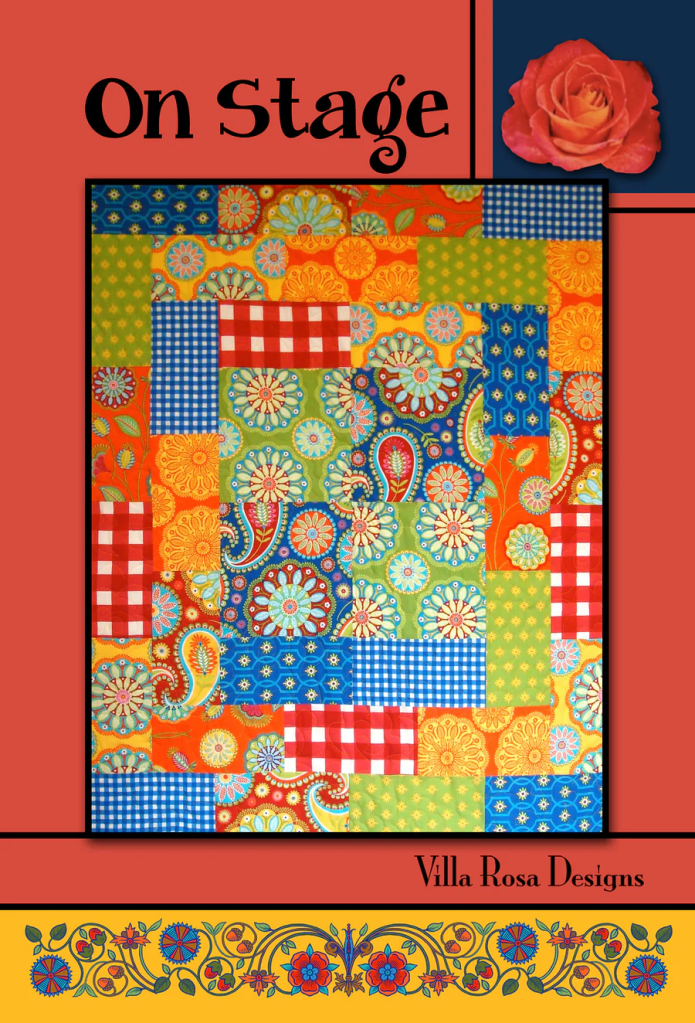
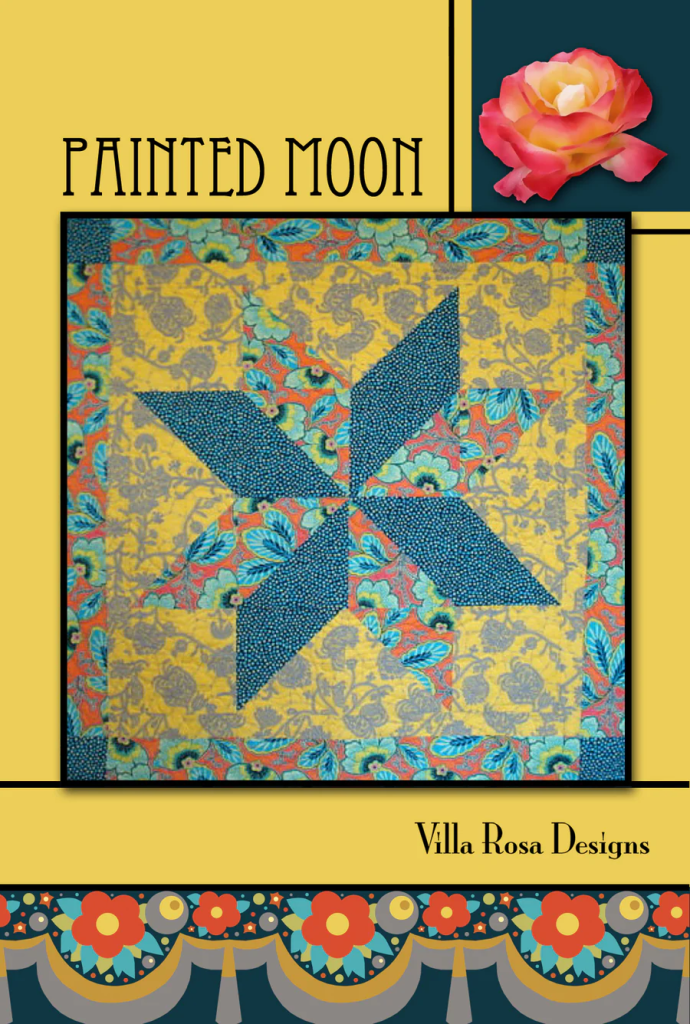
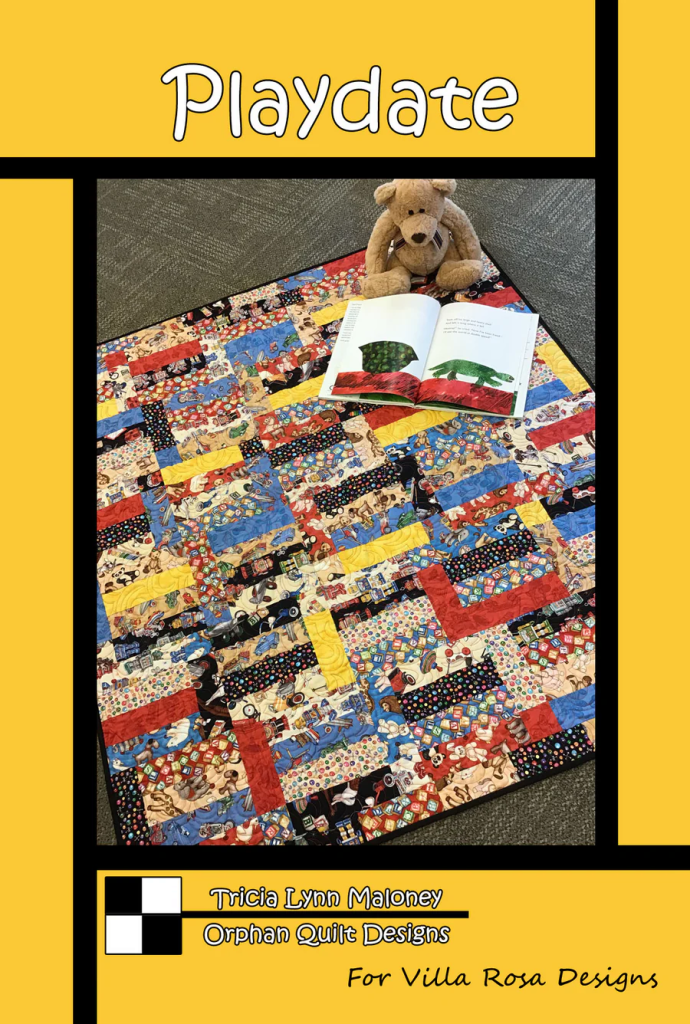
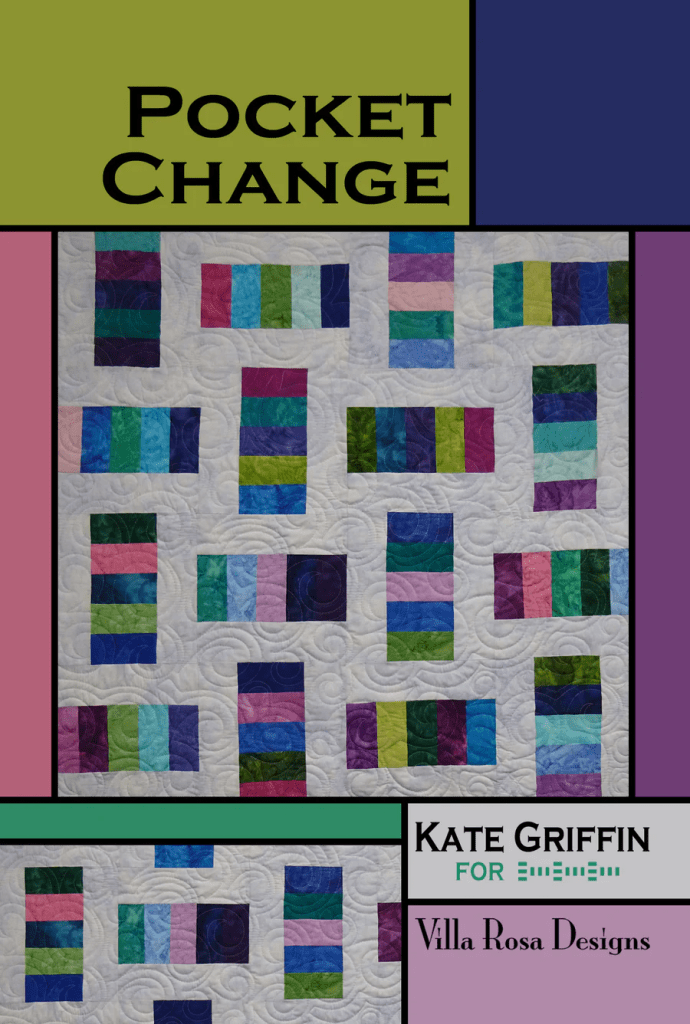
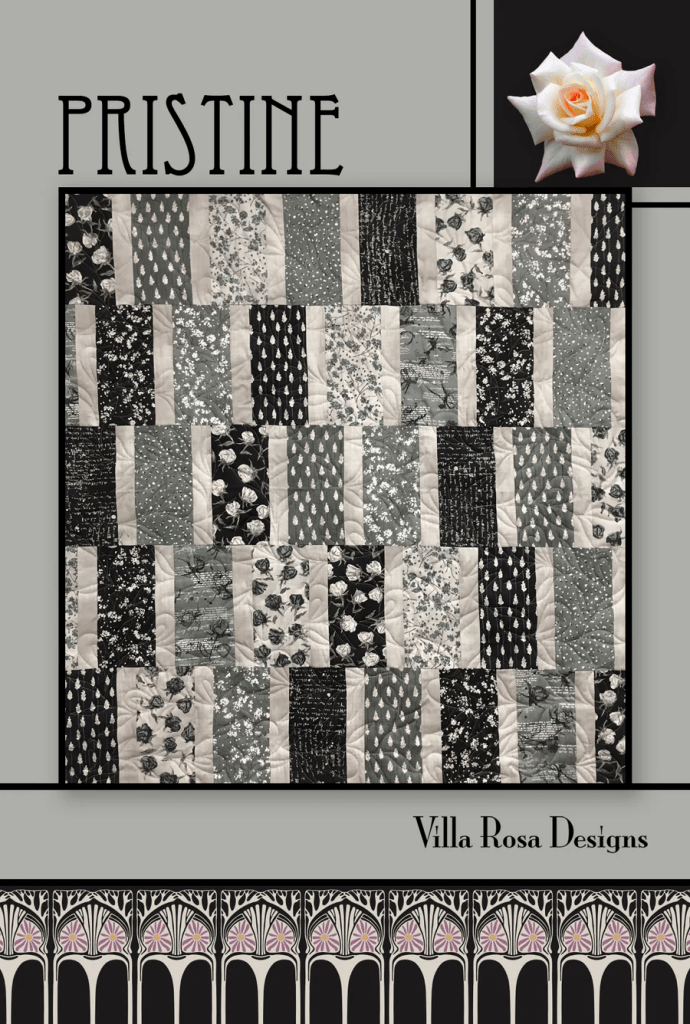
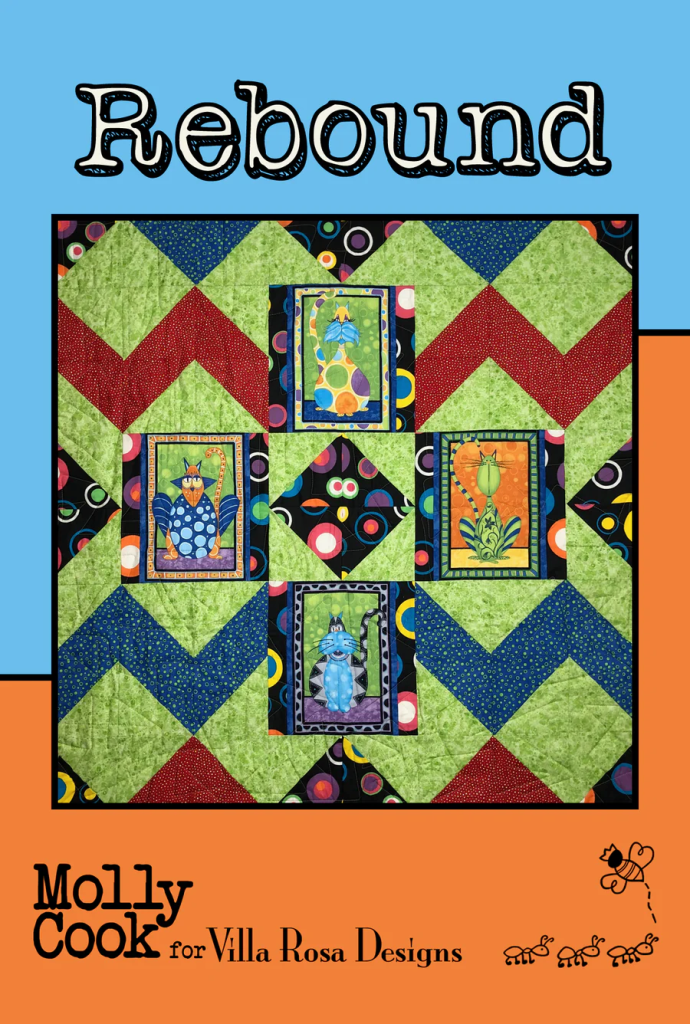
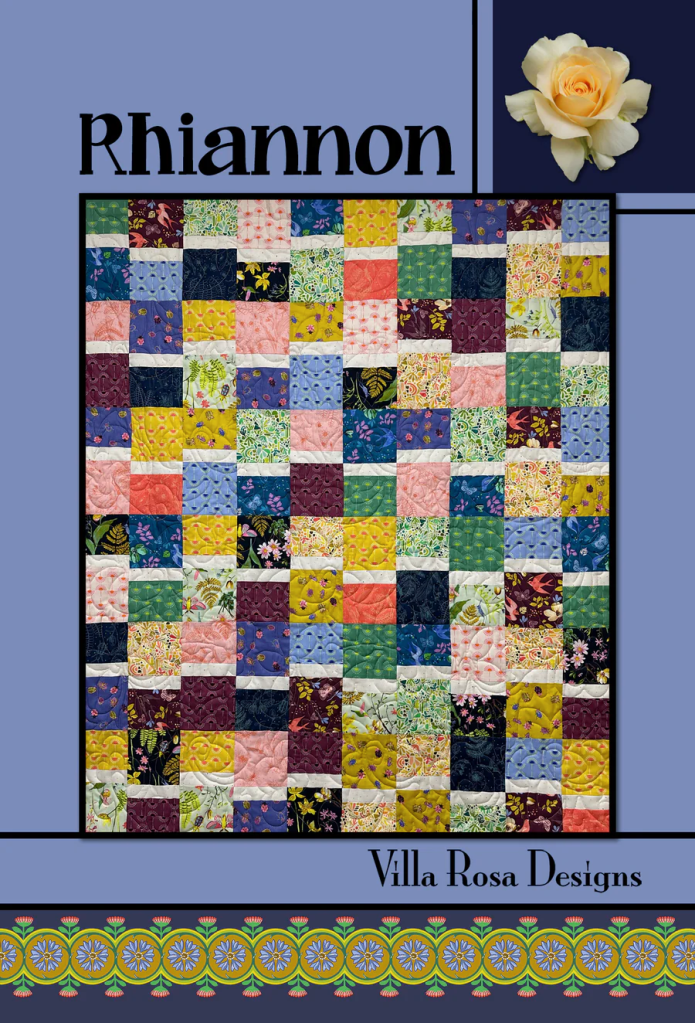
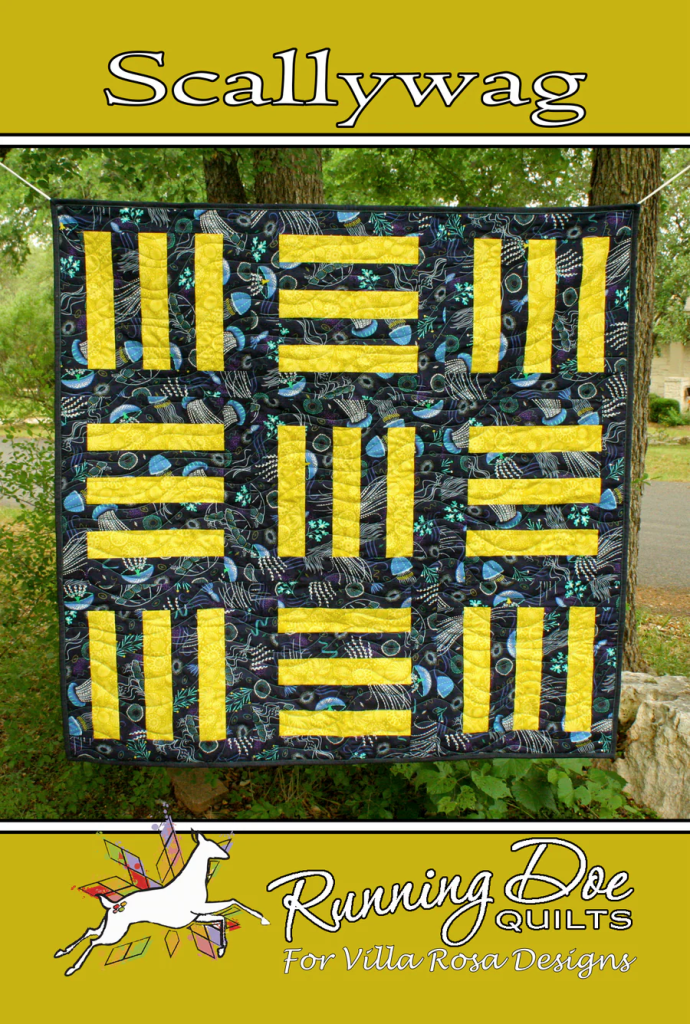
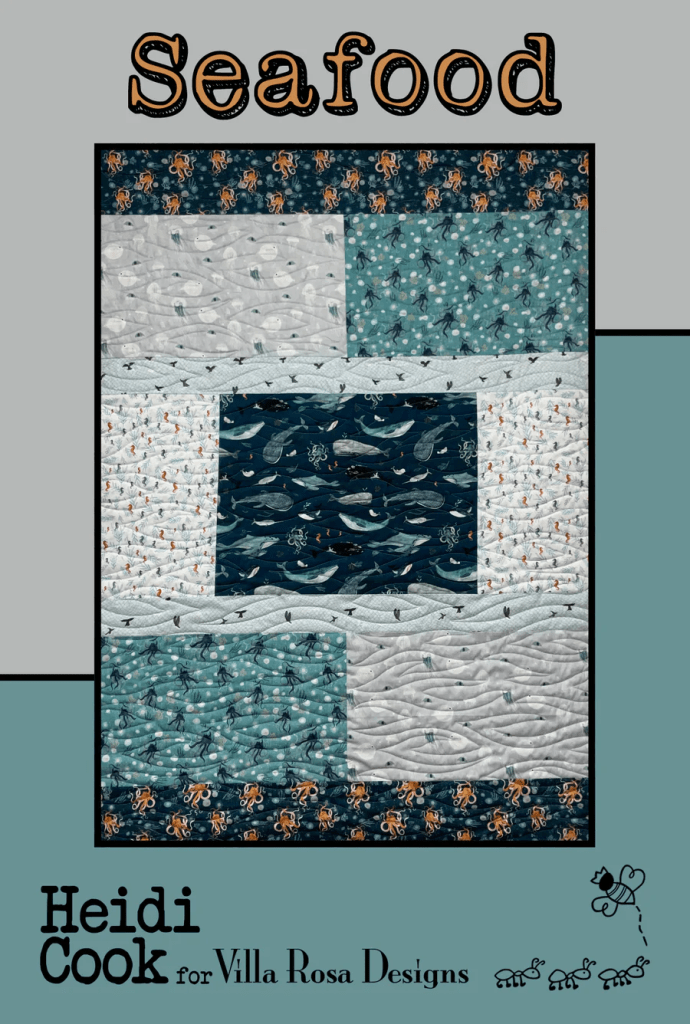
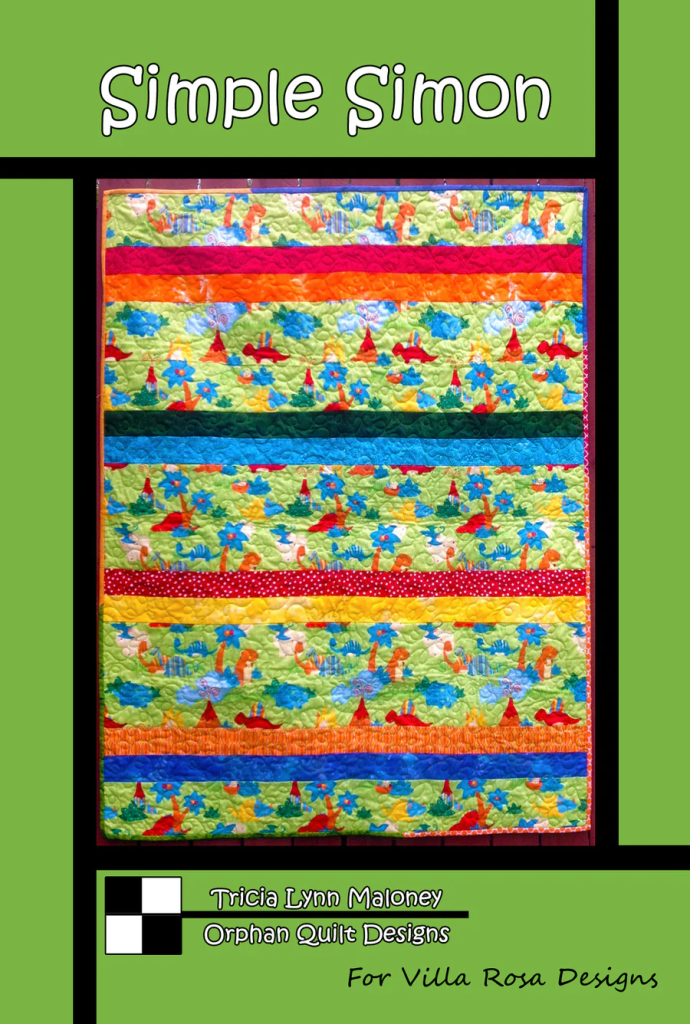
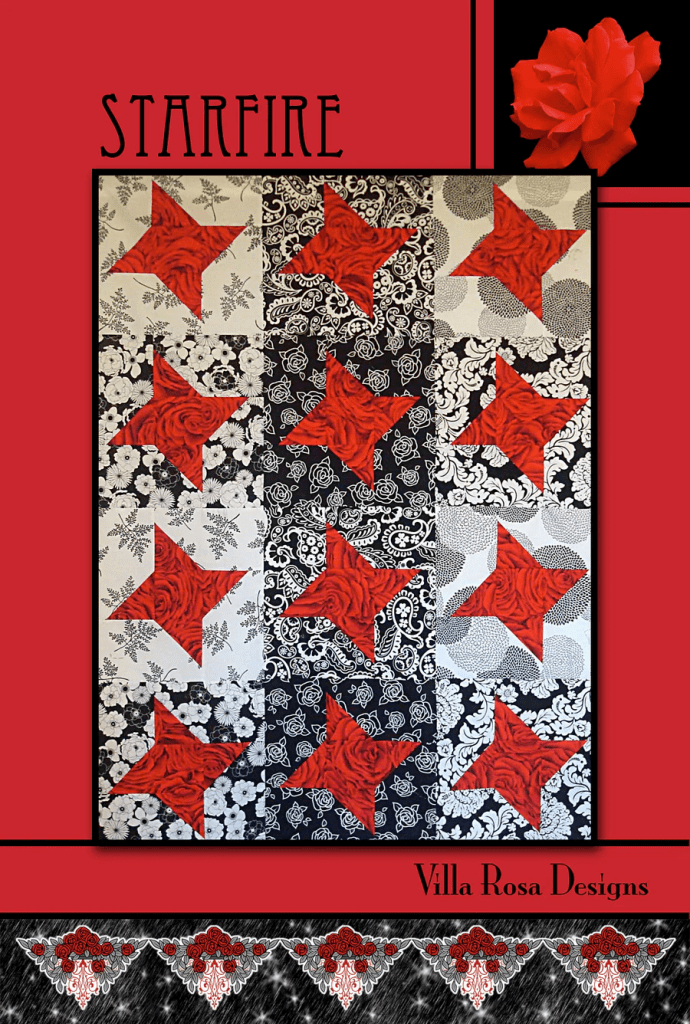
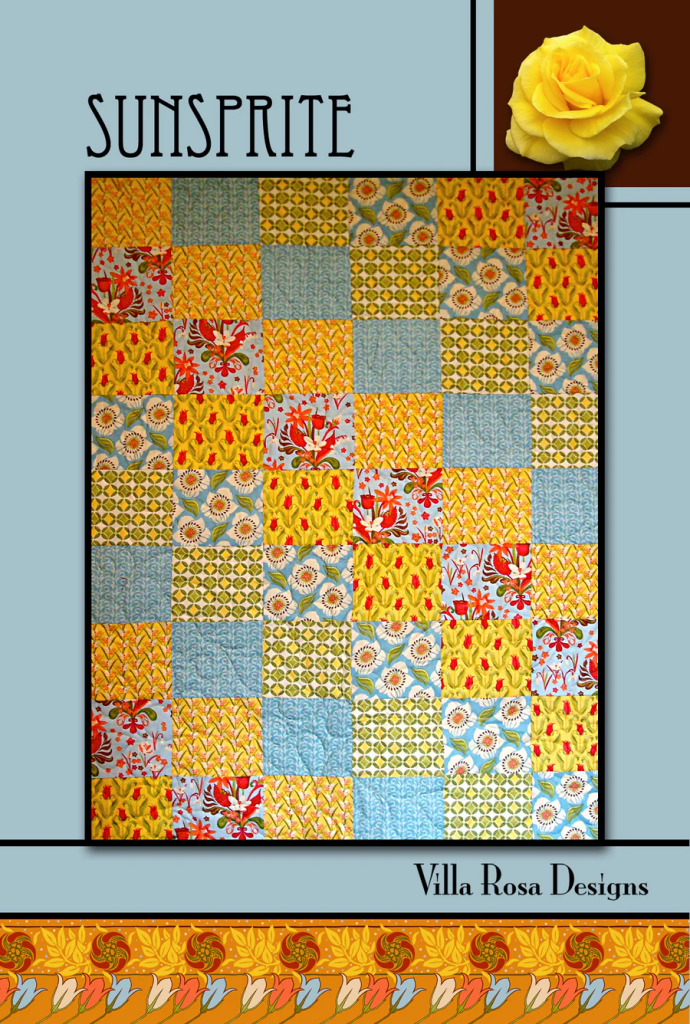
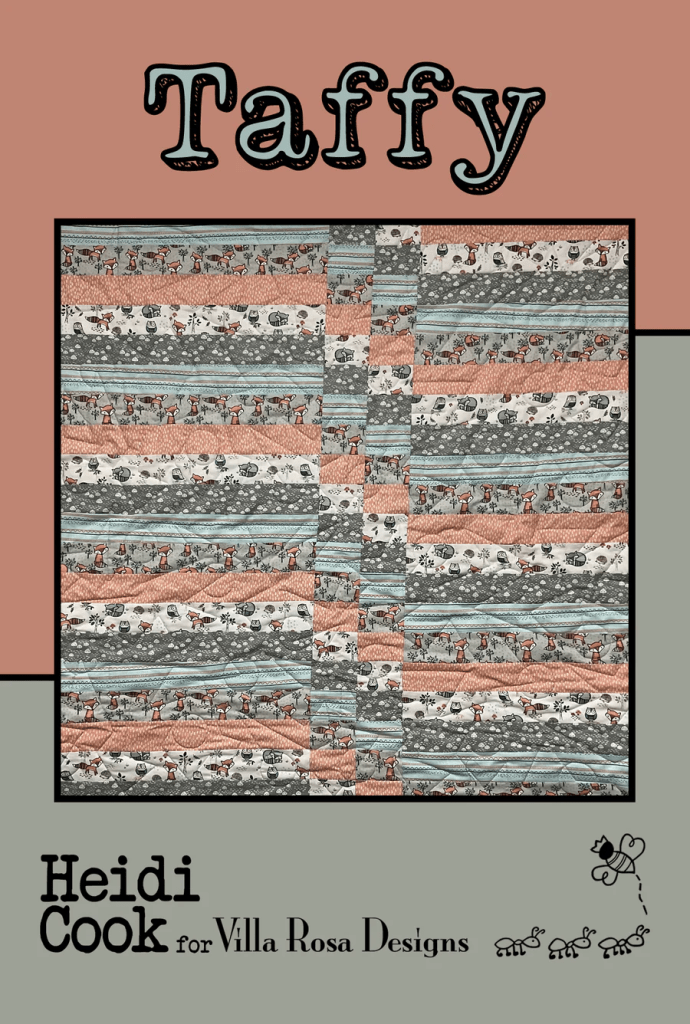
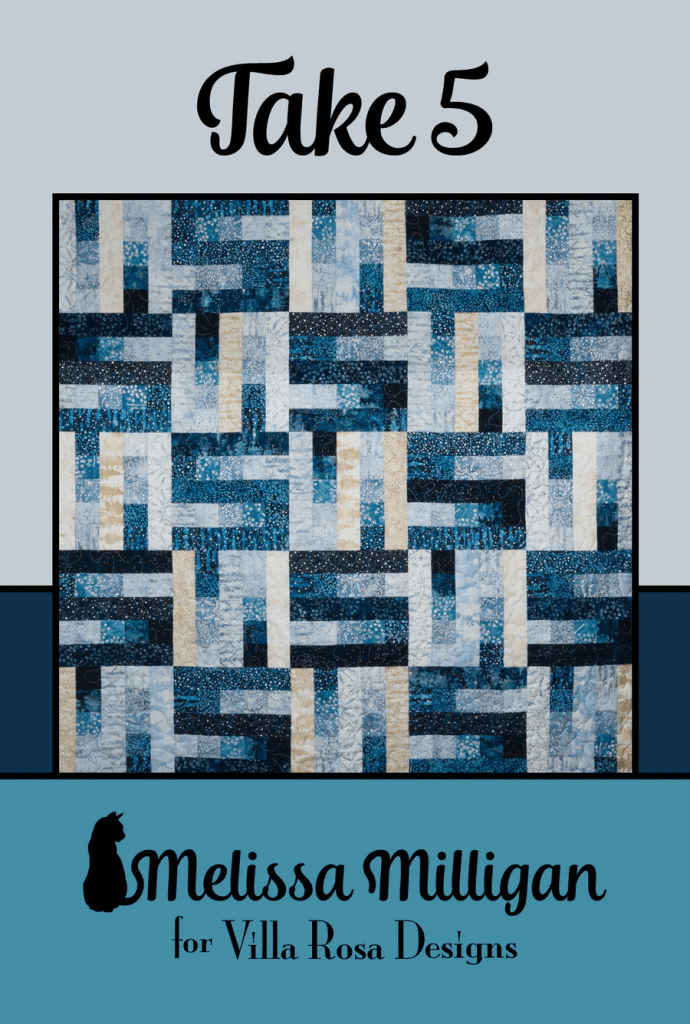
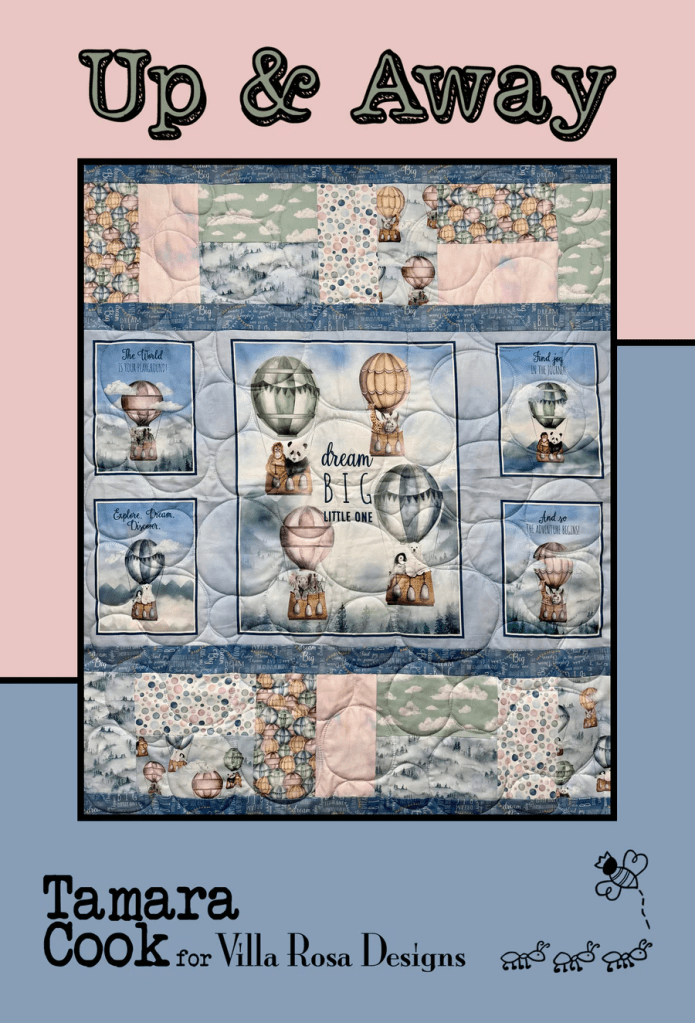
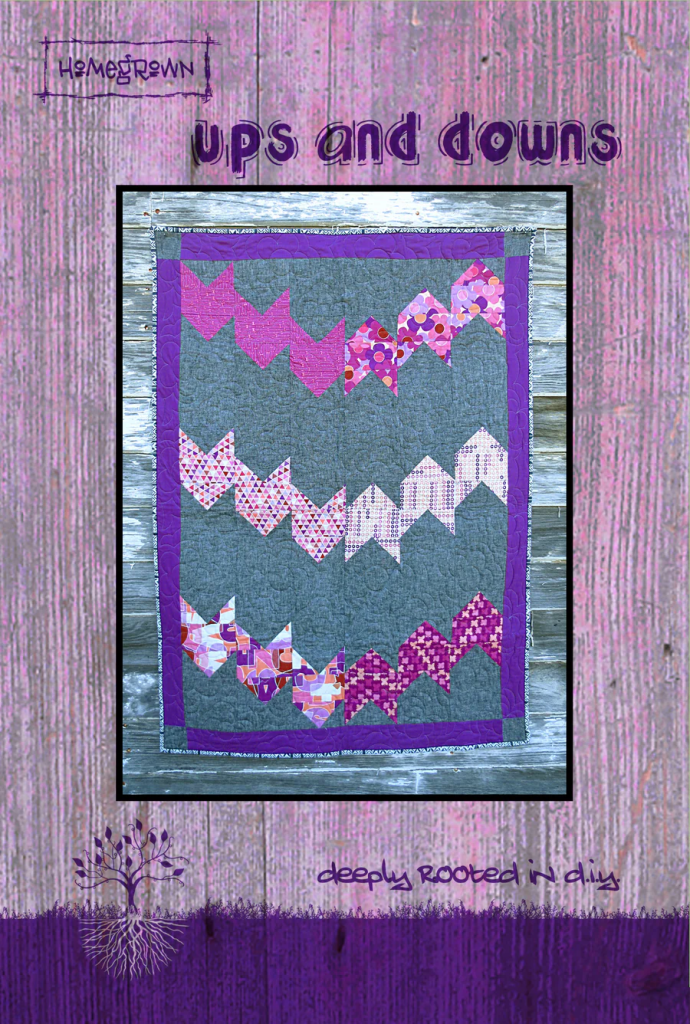
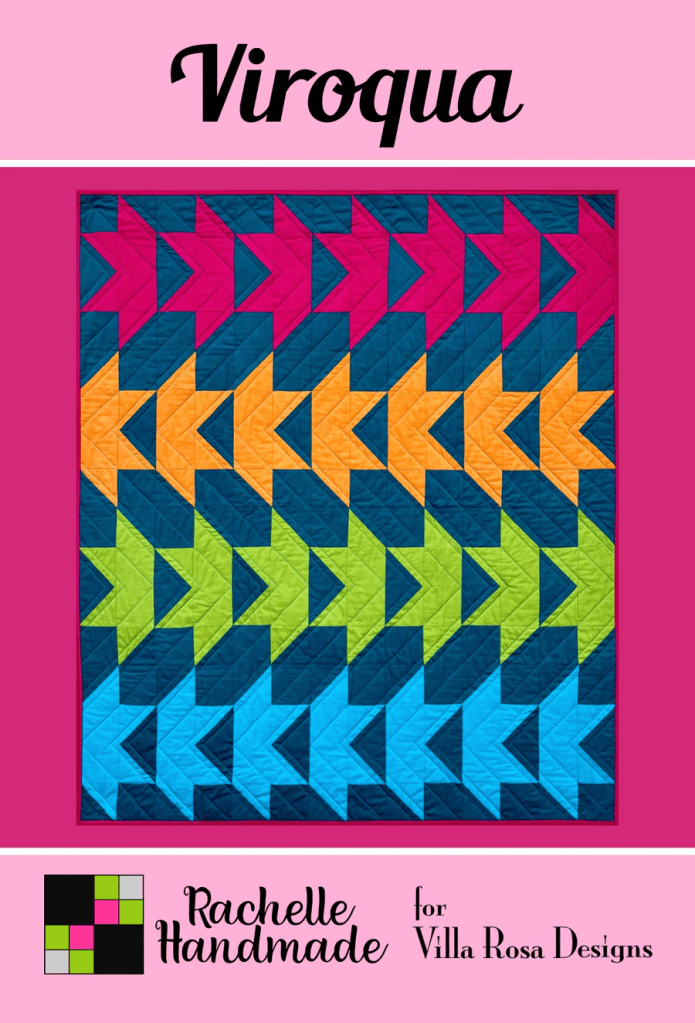
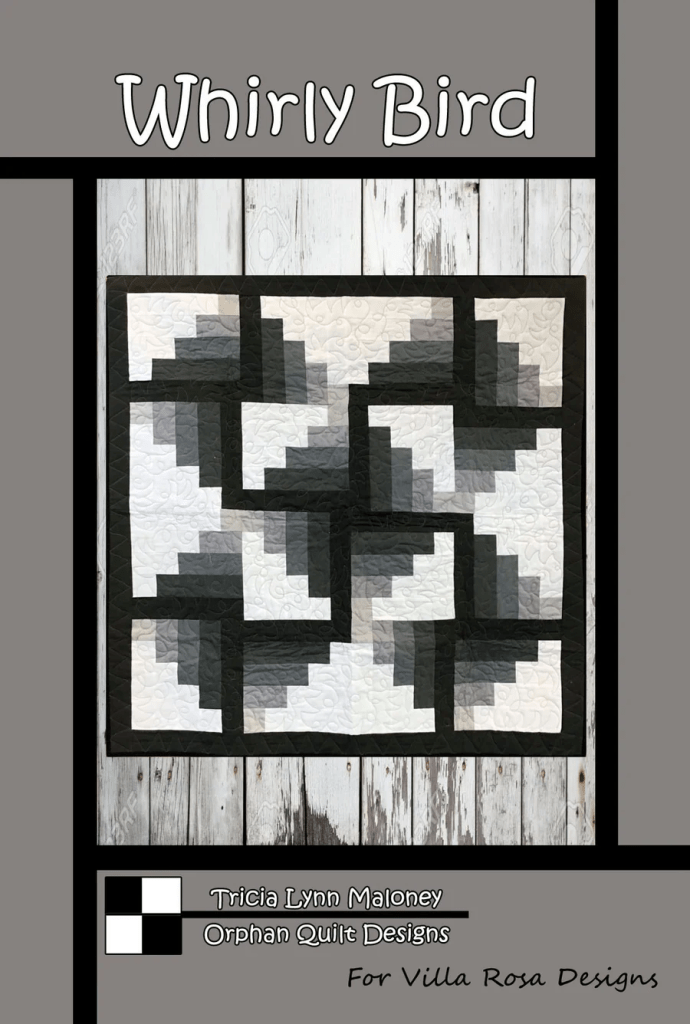
Now let’s check out some great smaller VRD patterns! I’ve included links to both the digital and print versions of the patterns for your convenience. Remember, print patterns always ship for free, regardless of how many you purchase.
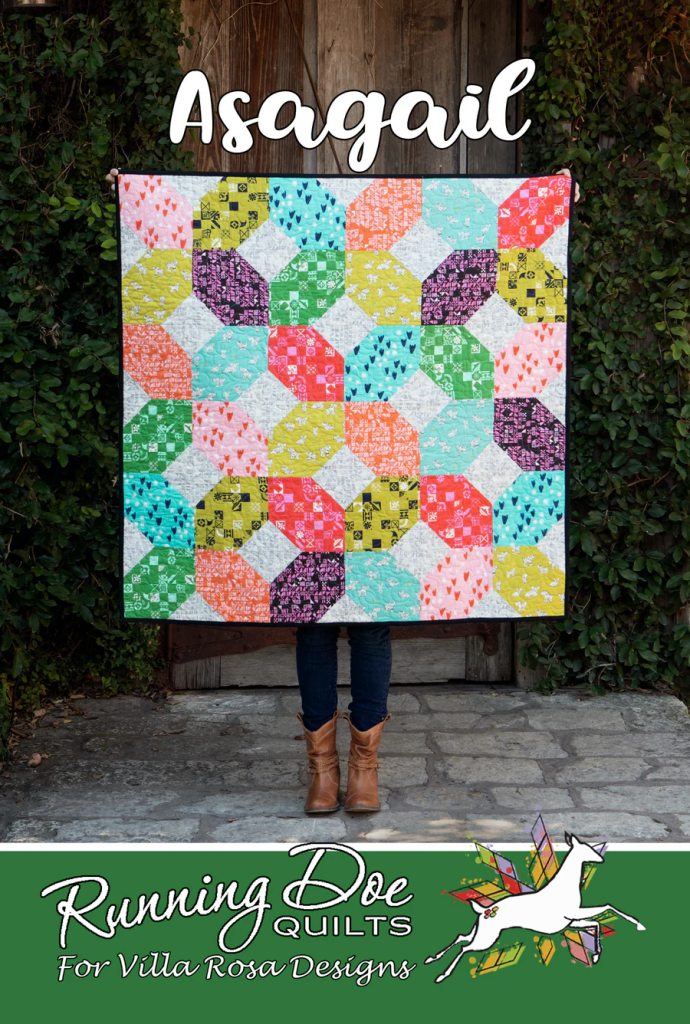
Digital pattern HERE or Print pattern HERE
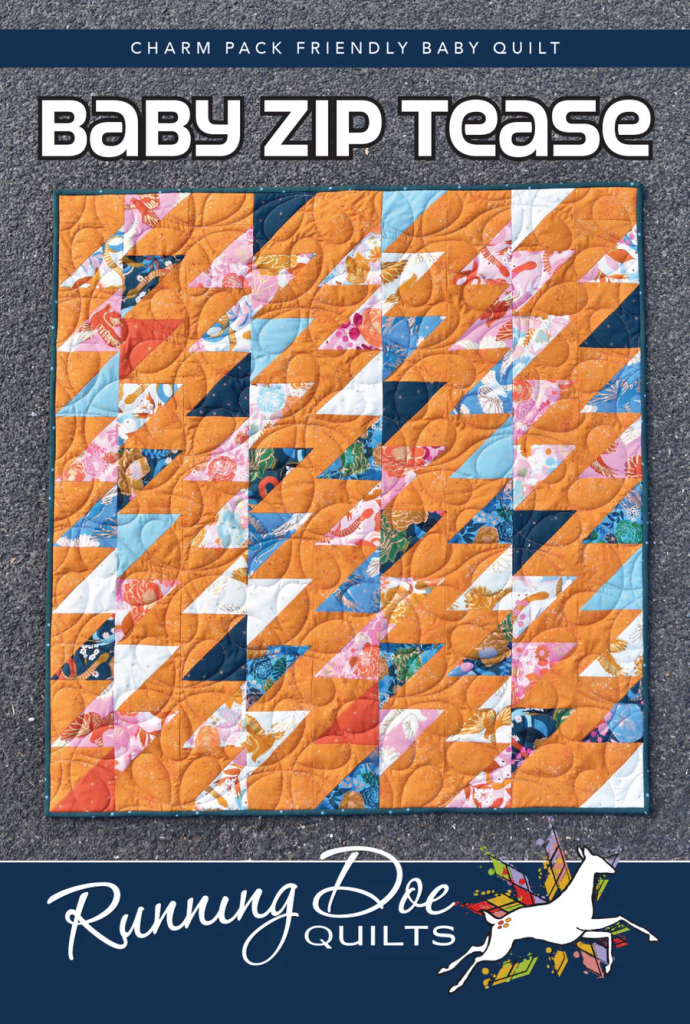
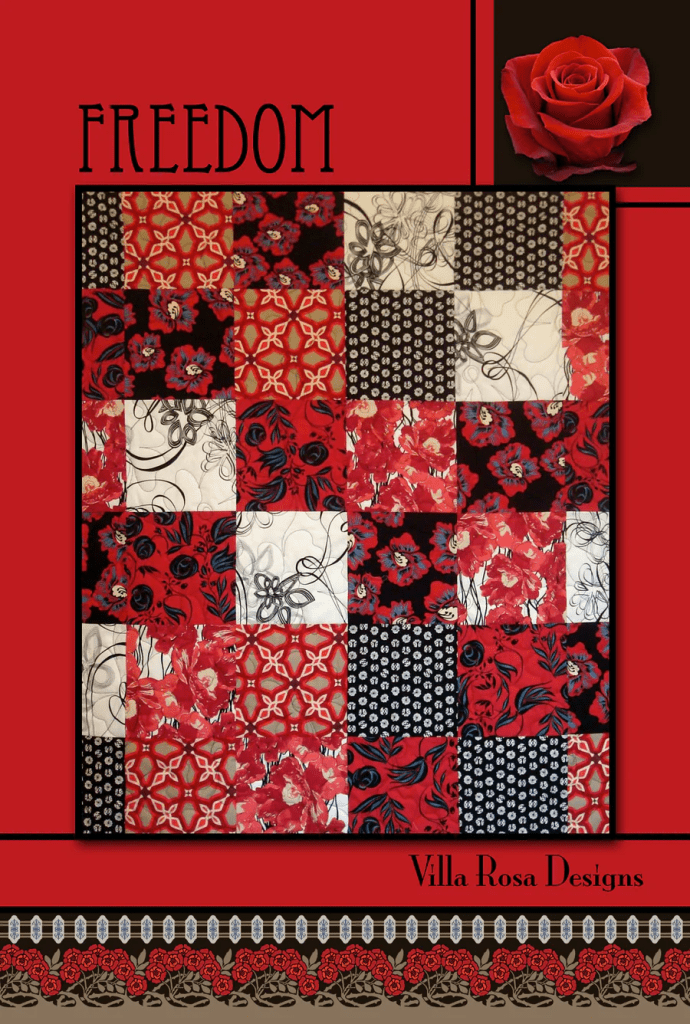
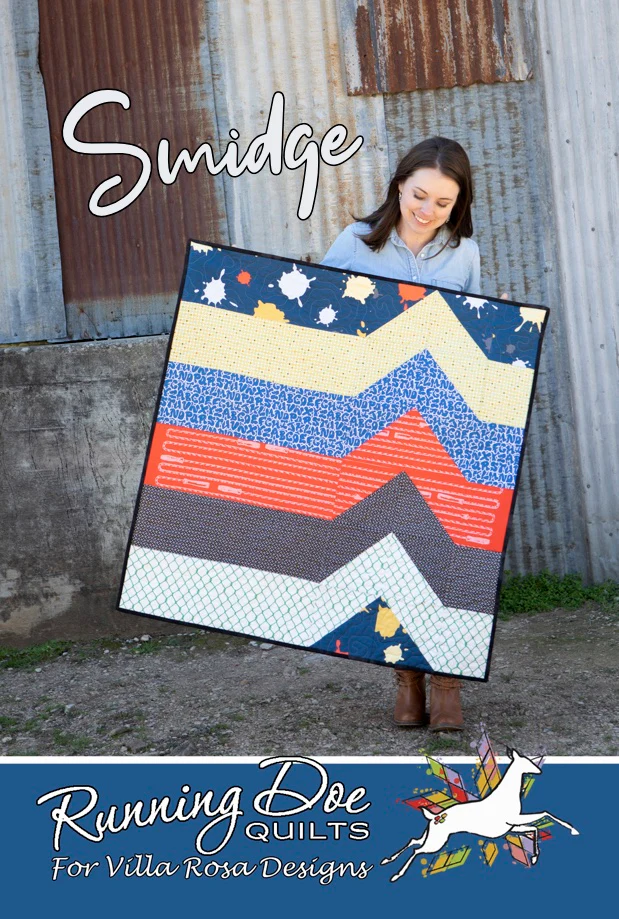
Digital Pattern HERE or Print Pattern HERE
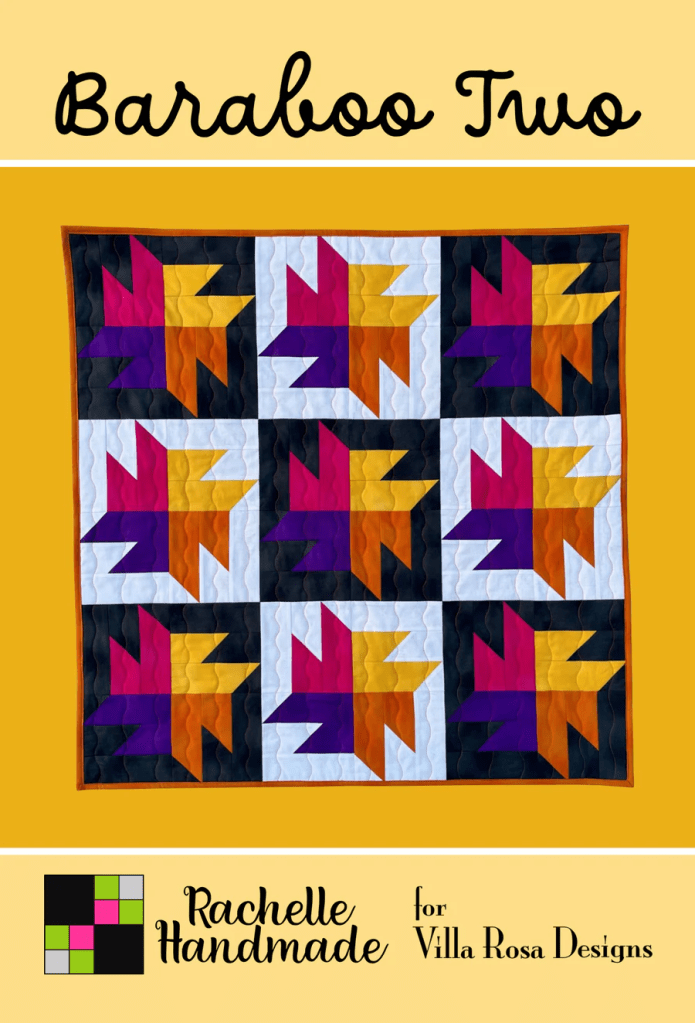
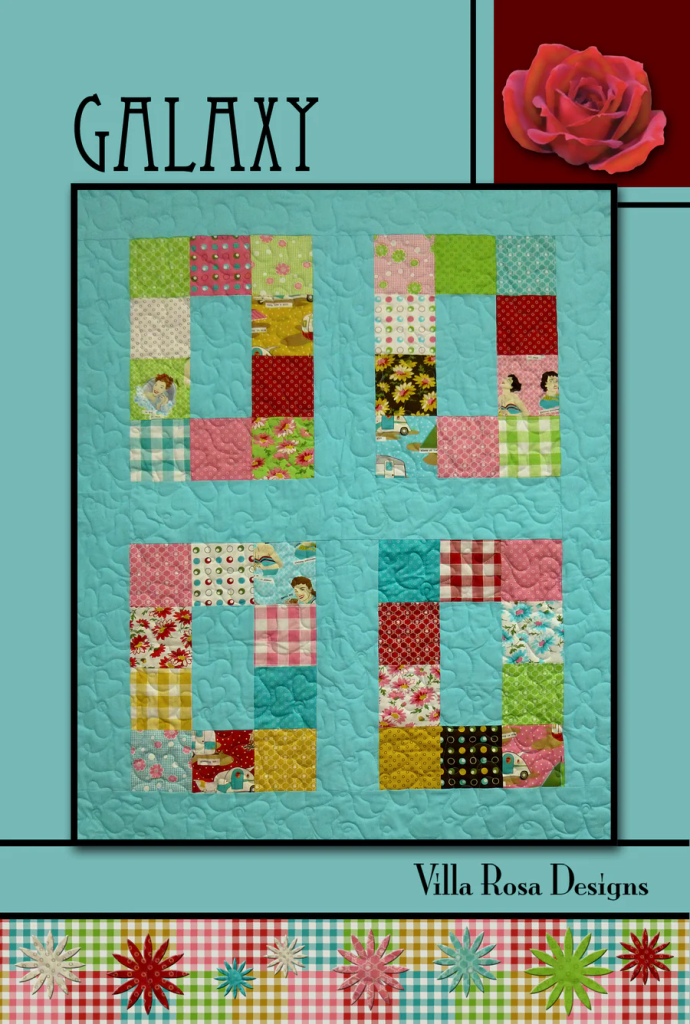
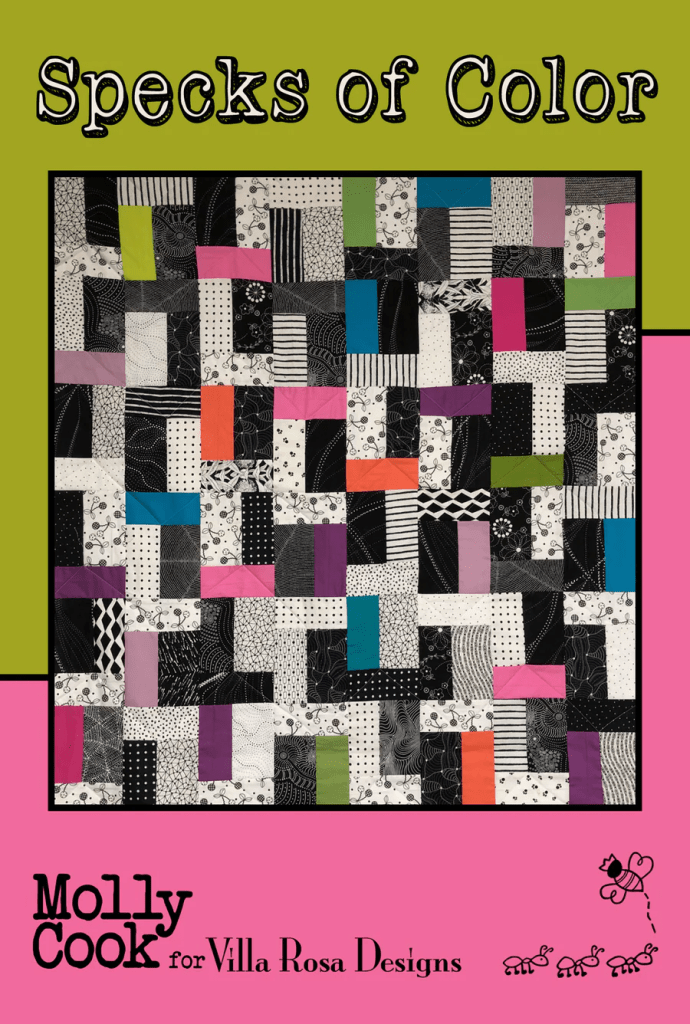
Digital Pattern HERE or Print Pattern HERE
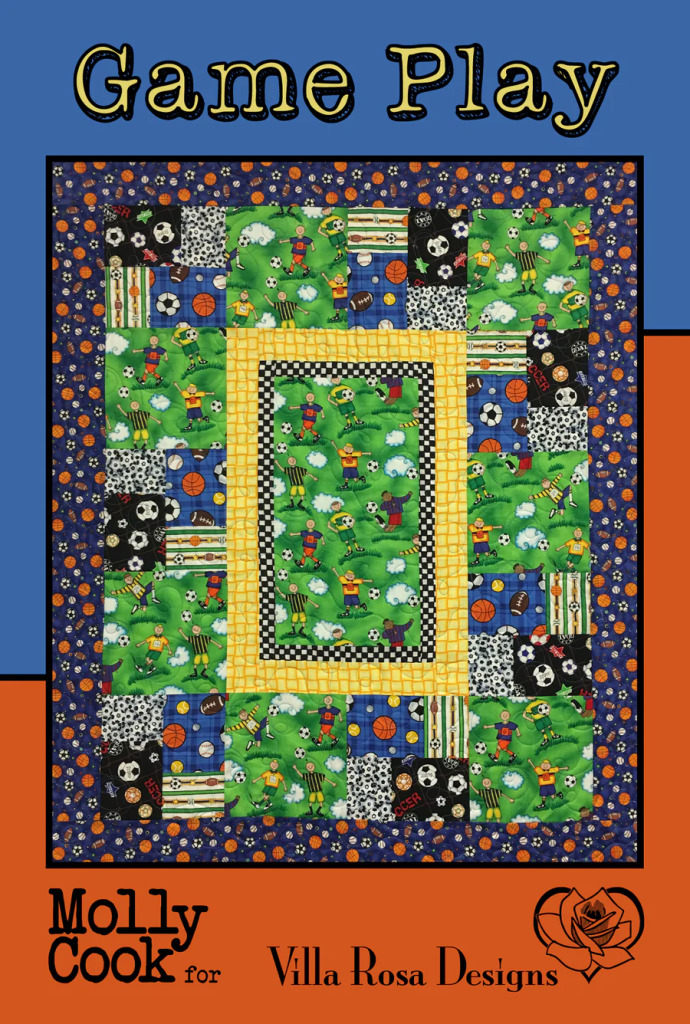
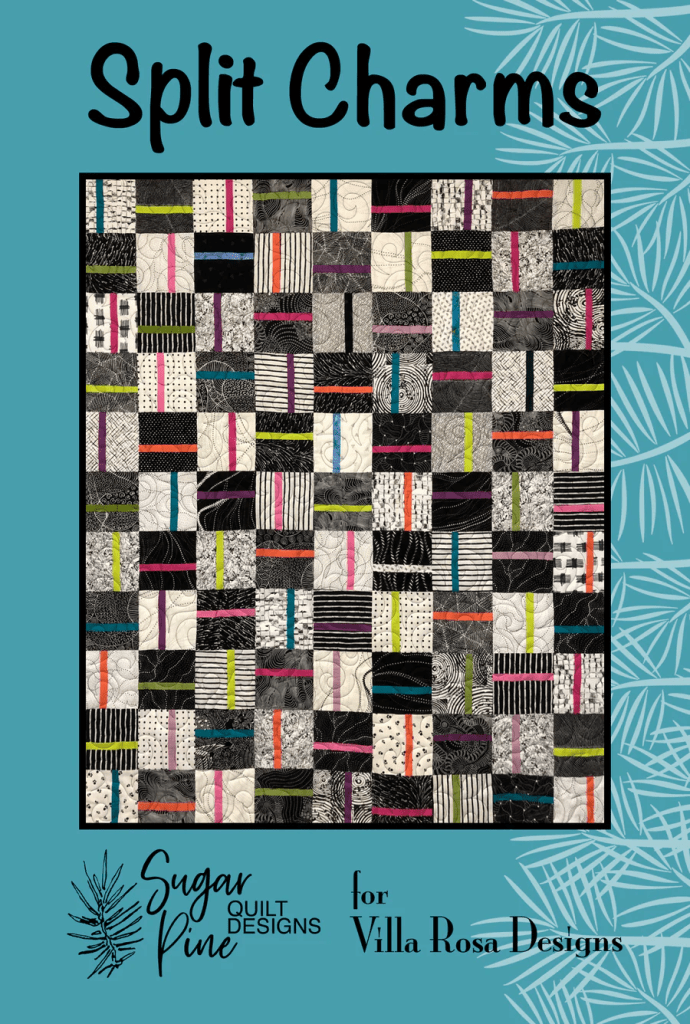
Digital Pattern HERE or Print Pattern HERE
Digital Pattern HERE or Print Pattern HERE
Digital Pattern HERE or Print Pattern HERE
Digital Pattern HERE or Print Pattern HERE
Digital Pattern HERE or Print Pattern HERE
Digital Pattern HERE or Print Pattern HERE
Digital Pattern HERE or Print Pattern HERE
Digital Pattern HERE or Print Pattern HERE

Digital Pattern HERE or Print Pattern HERE
Digital Pattern HERE or Print Pattern HERE
Digital Pattern HERE or Print Pattern HERE
Digital Pattern HERE or Print Pattern HERE

Digital Pattern HERE or Print Pattern HERE
Digital Pattern HERE or Print Pattern HERE
Digital Pattern HERE or Print Pattern HERE
Digital Pattern HERE or Print Pattern HERE
Digital Pattern HERE or Print Pattern HERE
Digital Pattern HERE or Print Pattern HERE

Digital Pattern HERE or Print Pattern HERE
Digital Pattern HERE or Print Pattern HERE
Digital Pattern HERE or Print Pattern HERE
Digital Pattern HERE or Print Pattern HERE
Digital Pattern HERE or Print Pattern HERE
Digital Pattern HERE or Print Pattern HERE
Digital Pattern HERE or Print Pattern HERE
Digital Pattern HERE or Print Pattern HERE
Digital pattern HERE or Print Pattern HERE
Digital Pattern HERE or Print Pattern HERE
Digital Pattern HERE or Print Pattern HERE
Digital Pattern HERE or Print Pattern HERE
Digital Pattern HERE or Print Pattern HERE
Digital Pattern HERE or Print Pattern HERE
Digital Pattern HERE or Print Pattern HERE
Digital Pattern HERE or Print Pattern HERE
Digital Pattern HERE or Print Pattern HERE
Digital Pattern HERE or Print Pattern HERE
Digital Pattern HERE or Print Pattern HERE
Digital Pattern HERE or Print Pattern HERE
Digital Pattern HERE or Print Pattern HERE
Digital Pattern HERE or Print Pattern HERE
Digital Pattern HERE or Print Pattern HERE
Digital Pattern HERE or Print Pattern HERE
Digital Pattern HERE or Print Pattern HERE
Digital Pattern HERE or Print Pattern HERE
Digital Pattern HERE or Print Pattern HERE
Digital Pattern HERE or Print Pattern HERE
Digital Pattern HERE or Print Pattern HERE
Digital Pattern HERE or Print Pattern HERE
Digital Pattern HERE or Print Pattern HERE
Digital Pattern HERE or Print Pattern HERE
Digital Pattern HERE or Print Pattern HERE
Digital Pattern HERE or Print Pattern HERE
Digital Pattern HERE or Print Pattern HERE
Digital Pattern HERE or Print Pattern HERE
Digital Pattern HERE or Print Pattern HERE
Digital Pattern HERE or Print Pattern HERE
Digital Pattern HERE or Print Pattern HERE
Digital Pattern HERE or Print Pattern HERE
Digital Pattern HERE or Print Pattern HERE
Digital Pattern HERE or Print Pattern HERE
Digital Pattern HERE or Print Pattern HERE
Digital Pattern HERE or Print Pattern HERE
Digital Pattern HERE or Print Pattern HERE
Digital Pattern HERE or Print Pattern HERE
Digital Pattern HERE or Print Pattern HERE
Digital Pattern HERE or Print Pattern HERE
Digital Pattern HERE or Print Pattern HERE
Digital Pattern HERE or Print Pattern HERE
Digital Pattern HERE or Print Pattern HERE
Digital Pattern HERE or Print Pattern HERE
Digital pattern HERE or Print Pattern HERE
Digital Pattern HERE or Print Pattern HERE
Digital Pattern HERE or Print Pattern HERE
Digital Pattern HERE or Print Pattern HERE
Digital Pattern HERE or Print Pattern HERE
Well, that’s it, folks! What an amazing collection of small quilts 50″ x 50″ or smaller. I knew we had a lot, but this is even more than I remembered!
I sincerely hope you made it all the way through the patterns, because there are some really awesome patterns. I bet you added some new-to-you ones to your “want to make” list. I know I did.
That’s a wrap! Next week I’ll show off my first project and I can’t wait to see what all of you participants are making for Week 1 of the Small Project Summer Challenge here on the VRD blog.
Until next week!
Sew. Laugh. Make. Repeat.
Always,
Tricia @ VRD