
Hello Quilty Friends!
Happy Thursday to you!
I hope you had a chance to read our first post in a multi-part series called “Basic Quilting Skills for Beginners.” Last week’s post was all about the quilter’s 1/4″ seam allowance. Did you miss it? You can find it HERE. This week we’re going to talk about the Basics of Rotary Cutting.
First, let’s talk a little about the history of rotary cutting — YES! There is a history of rotary cutting (there is a history of everything, if you’re interested enough to find it). The rotary cutter was invented in 1979. Originally it was used in the garment industry, but once quilters saw its potential to speed up cutting and increase accuracy, they stole it and by the early 1980’s. the rotary cutter was all the rage. Before the rotary cutter, quilters made templates for each piece of a quilt, traced around the shape over and over, and then cut the shapes out using scissors. With rotary cutters came acrylic rulers and templates and of course self-healing cutting mats.

Rotary Cutting Tools
When I first started quilting back in 1996, I started with a beginner’s quilting set which included an 18″ x 24″ mat, a 45mm rotary cutter, and a 6″ x 24″ acrylic ruler. These tools worked great for me until I started working part-time in a quilt shop and had the opportunity to try out different cutters and rulers. When I discovered the yellow Olfa ergonomic cutter, below, I was in love (believe it or not, but this is actually my original Olfa and I’ve been using it for around 20 years)!
Keep in mind you might need to try out different rotary cutters until you find the one that fits you and is the most comfortable. What works for a right-handed quilter might not be the best choice for a lefty and vice versa. You want it to be comfortable because you’ll be spending a lot of quality time with your rotary cutter (and don’t forget, you will need to change your rotary cutting blade regularly, just like your sewing machine needle).

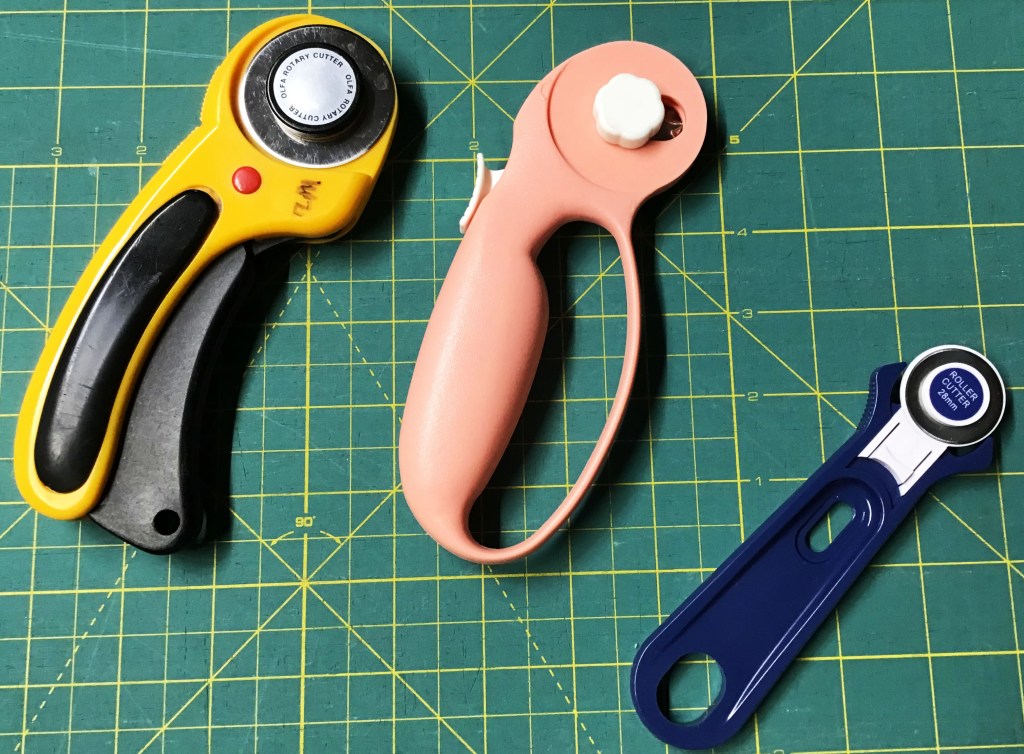
These basic tools worked for me for a quite a while, but over time as my skills grew, I began adding more rulers. And I upgraded to a larger mat — I really like my 24″ x 36″, which fits the top of my antique Hoosier cabinet bottom beautifully (and the storage is outstanding, of course). I also have a rotating mat as well as some smaller mats for working with smaller cutting projects or projects on the go. Even though I’ve tried out lots of different tools and made some changes, I’m still just as in love with my Olfa cutter (above, left) as I was the first time I used it.
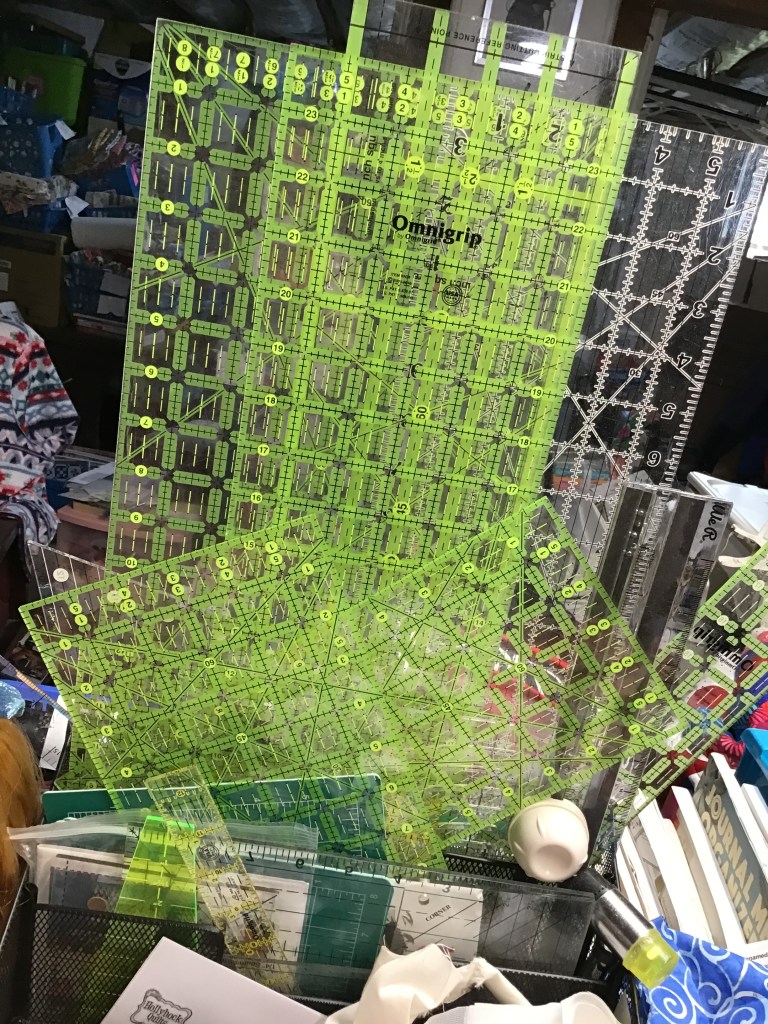
Nowadays there are so many ruler choices. Two of my favorites are the 6″ x 12″ ruler and the 12 1/2″ square ruler. A 6″ x 12″ ruler is a great companion to the 6″ x 24″ because sometimes you just don’t want to mess with that full 24″ length, especially if you’re working in a tight space or cutting small pieces. The 12 1/2″ ruler just makes sense — it will square up blocks and cut squares up to 12 1/2″ square.
As you go along and your skills increase, you’ll probably add lots of rulers and acrylic templates, too. Some of those rulers will do a lot of different things (why they can’t do the dishes, though, is beyond me….) while others will do one thing and do it well.
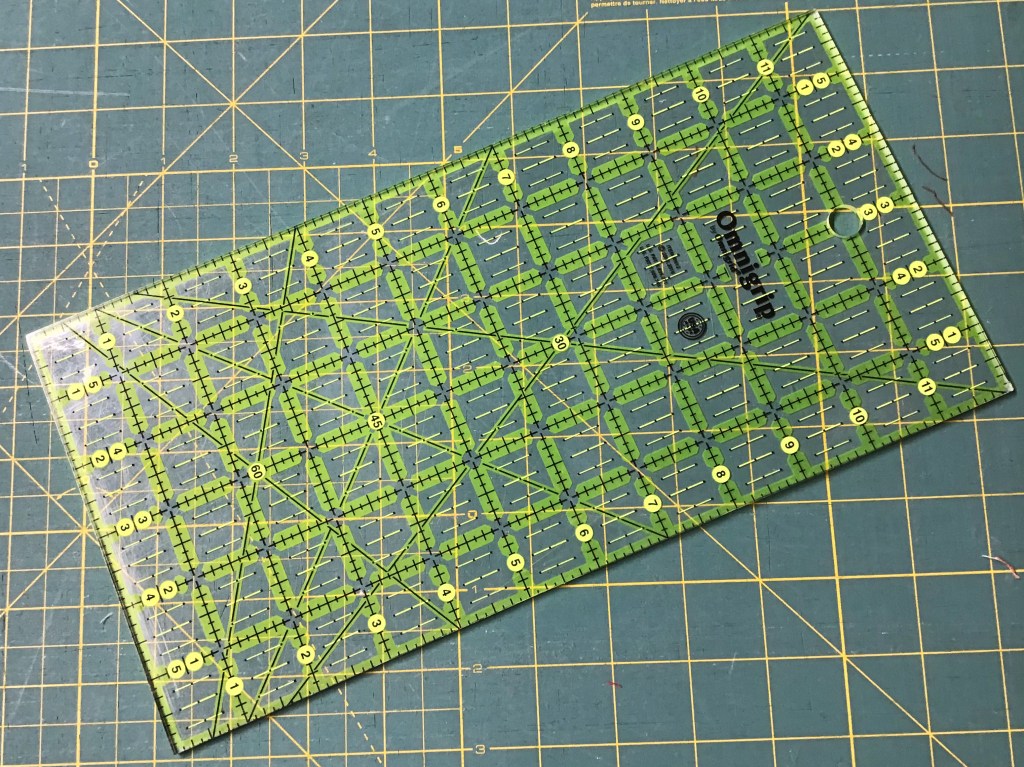

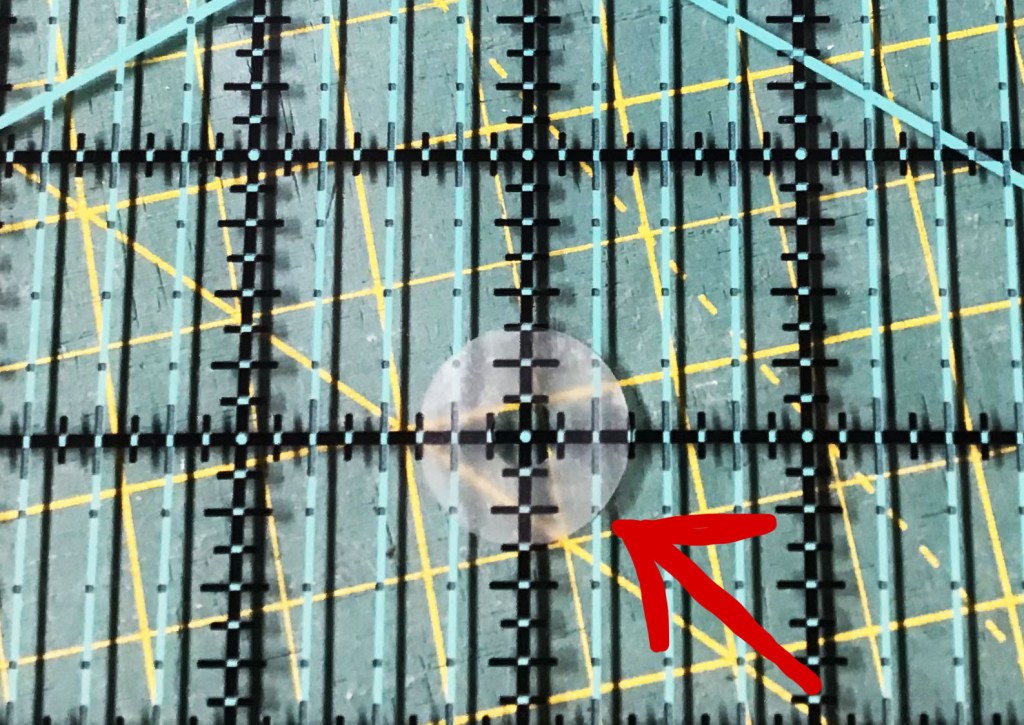
There are lots of different companies out there making rulers today. Keep in mind, though, that not all rulers are created equal. Measurements might be slightly different between different manufacturers. The markings of one ruler might be easier to see on light fabrics while another might show up better on dark fabrics. Some rulers have textured bottoms so they don’t slide while others are as slippery as a Slip and Slide (you might need to add some textured dots to the back of a slippery ruler to help hold it in place while you cut — see the third photo, above). You will need to try different rulers to find the ones you like the best. And once you find a manufacturer you like, stick with that one.
Rule of Thumb: Finish a project with the same ruler(s) you started the project with.
Why? Because as I stated earlier, not all rulers are created equal. Switching rulers midstream could affect the accuracy of your project. Imagine this — you’re making a quilt that has thirty-five 12″ (finished) blocks with 5 blocks across by 7 blocks down. You cut out part of the quilt with one ruler and then switch to a different ruler made by a different manufacturer and you keep cutting out your squares and triangles. Then you go to sew them together and suddenly not everything fits together exactly right — you’re cutting off some triangle points while others are perfect. You check your 1/4″ seam allowance. Huh…..that’s not it. Then you check a few of your cut pieces. Depending on which ruler you are using ( the first one, the second one, or even an altogether different ruler), your pieces might be exactly the right size, too big, or too small. You can see how this snowball is rolling downhill and getting bigger and bigger, can’t you?
Here’s our beautiful quilt, which won’t be so beautiful if we don’t figure out what is happening and find a way to fix it ASAP. If you keep plowing ahead without figuring things out, your blocks might end up being different sizes, which will then make it hard to sew the blocks together into rows and the rows together into the finished quilt top. If your blocks are only 1/8″ different, that will add up across and down your quilt. By the time you sew all the rows together, your quilt is off across the width by 5/8″, which is more than a half inch while the length is now off by 7/8″, which is nearly an inch! And if you’re adding borders — well, I don’t even want to think about how those borders might stand up and wave back at you….
Accuracy……Accuracy…..Accuracy.
Consistency…….Consistency………Consistency.
There is so much to remember when you are a beginner! But I promise you, if you take the time to learn the basics, they will become part of you. Like the Force.
How do you actually cut with a rotary cutter???
Since I am not physically by your side to guide you in rotary cutting skills, I am not going to try to teach you how to actually cut with your rotary cutter. Instead, I will give you some tips that I have learned over the years.
- If you are new to rotary cutting and do not have an experienced quilter to help you learn how to use it, sign up for a class on rotary cutting. Maybe it’s at your local quilt shop or maybe it’s online. But sign up and learn how to be safe and how to cut accurately.
- KEEP YOUR FINGERS OUT OF THE WAY OF THE BLADE! This means, you have to pay attention to what you are doing. ALWAYS. Keep your fingers of your non-cutting hand back away from the edge of the ruler as you cut. There are rulers out there with special raised edges to keep your fingers safe. There are special gloves you can get to put on your non cutting hand to keep your hand safe. Use them if needed, there is no shame in keeping yourself safe. Ask my Mom about rotary cutting safety and she’ll tell you how she spent Mother’s Day one year in the emergency room with me when I had a bit of a rotary cutting accident……Don’t worry, I was okay……
- DO NOT GET DISTRACTED WHEN YOU ARE HOLDING A ROTARY CUTTER IN YOUR HAND. Do not look up to watch an exciting part of the TV program or movie. In fact, it’s safer not to have the distraction of the TV while you are cutting. Ignore the telephone or dings and pings that tells you there is a new email or text message or whatever.
- If you get a drop of blood on your fabric, spit on the spot and rub it. Spit and rub. Trust me. The blood will come out. Gross, I know, but it works. Your saliva will break down your blood on fabric. Your saliva will not break down someone else’s blood, though, only your own.
- If you do cut yourself, apply pressure to the wound. Hold the wound above the level of your heart. Seek medical help immediately if needed.
- Hold your rotary cutter straight up and down on the cutting mat and snug up against the edge of your ruler. Press down with enough force to move the blade, but keep it upright.
- If you are pressing too hard and your cuts are not clean, it’s probably time to change your rotary blade.
- Always keep extra blades on hand — store them safely. You never know when you will need to change your blade — they nick easily.
- Change your blade regularly — a dull blade is more dangerous. If you are struggling to get through the layers cleanly, you might slip and cut yourself.
- Dispose of your blades responsibly — do not just throw them in the trash. You could wrap it in cardboard and tape it up before throwing it away. You could use a large pill bottle or small container to collect used blades as well as broken and bent pins. It will take you a long time to fill it up. Then you can find a safe place to discard it.
- Keep children and pets away when you are using your rotary cutter. Store your rotary cutter away from children and pets.
- Keep the blade locked or in the down position when you are not using it.
- DO NOT lay your rotary cutter down with the blade open or exposed, always close or cover your blade when you lay it down. An unattended exposed blade is an accident waiting to happen.
- I find that I cut more easily and more accurately when I am standing versus when I am sitting.
- Always cut on a rotary cutting mat. Otherwise, whatever you are cutting on top of will be damaged and most likely ruined.
- If your table is too low for comfortable rotary cutting, raise it up on bed risers, PVC pipes, or whatever works safely.
I know this post is just the tip of the iceberg concerning the basics of rotary cutting. There is an entire body of information out there, you just have to look for it. Check out your favorite quilting books and magazines, your local quilt shops and quilt guilds/organizations, as well as online tutorials, blogs, posts, videos, and more.
Next week, we will talk about Pressing Techniques and the new September Rose Cards. So, stay tuned.
May the Force — the Rotary Cutting Force, that is — be with you.
Until next Thursday —
Sew. Laugh. Repeat.
Always,
Tricia @VRD

Thanks for sharing this informative post! Rotary cutting is such a crucial skill for beginner quilters. I’ve found that using Rotary slitter cutters makes the process much easier and more precise. It’s definitely a game-changer for anyone starting out in quilting. Looking forward to more tips like these!
LikeLike
Hi there, glad you enjoyed the rotary cutting tips. For more beginner tips and tricks, please check out the other posts in the Basic Quilting Skills for Beginners series.
LikeLike
My mom sliced a chunk of the tip of one of here fingers when she was cutting one day. So yes always safety first. Mom being a farmer just put a bandaged on it but here fingers is fine. Just missing a slice of the tip.
LikeLike
I did the same thing one time — on Mother’s Day too! My Mom spend the day at the ER with me, luckily it was only the fleshy tip of my finger. Things ended up okay for me, though. Yep, safety first!
LikeLike