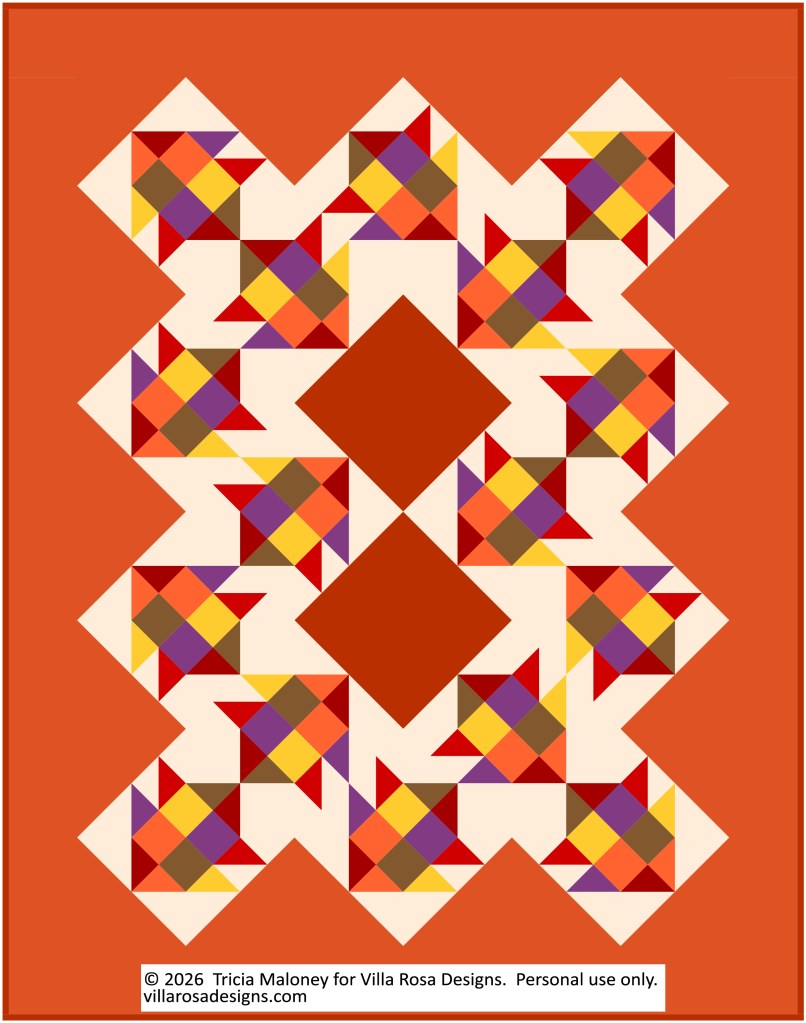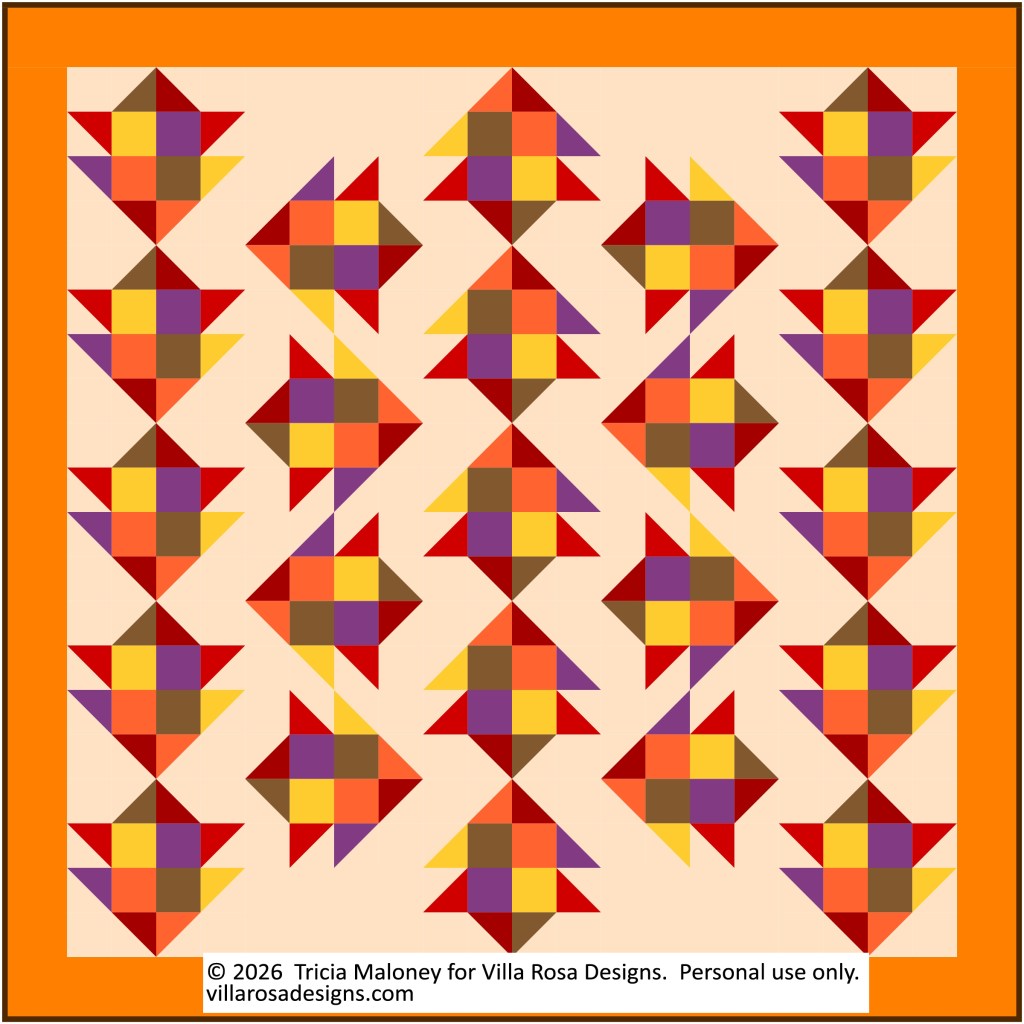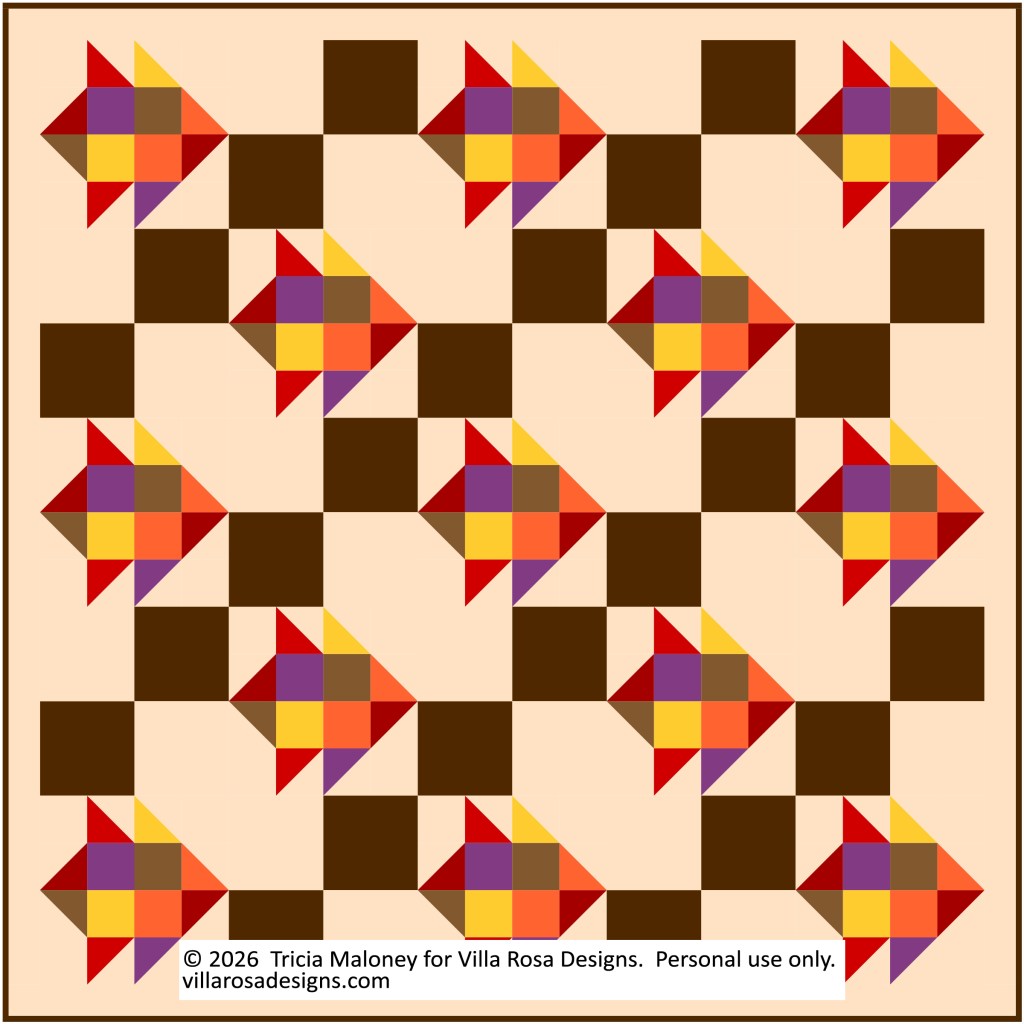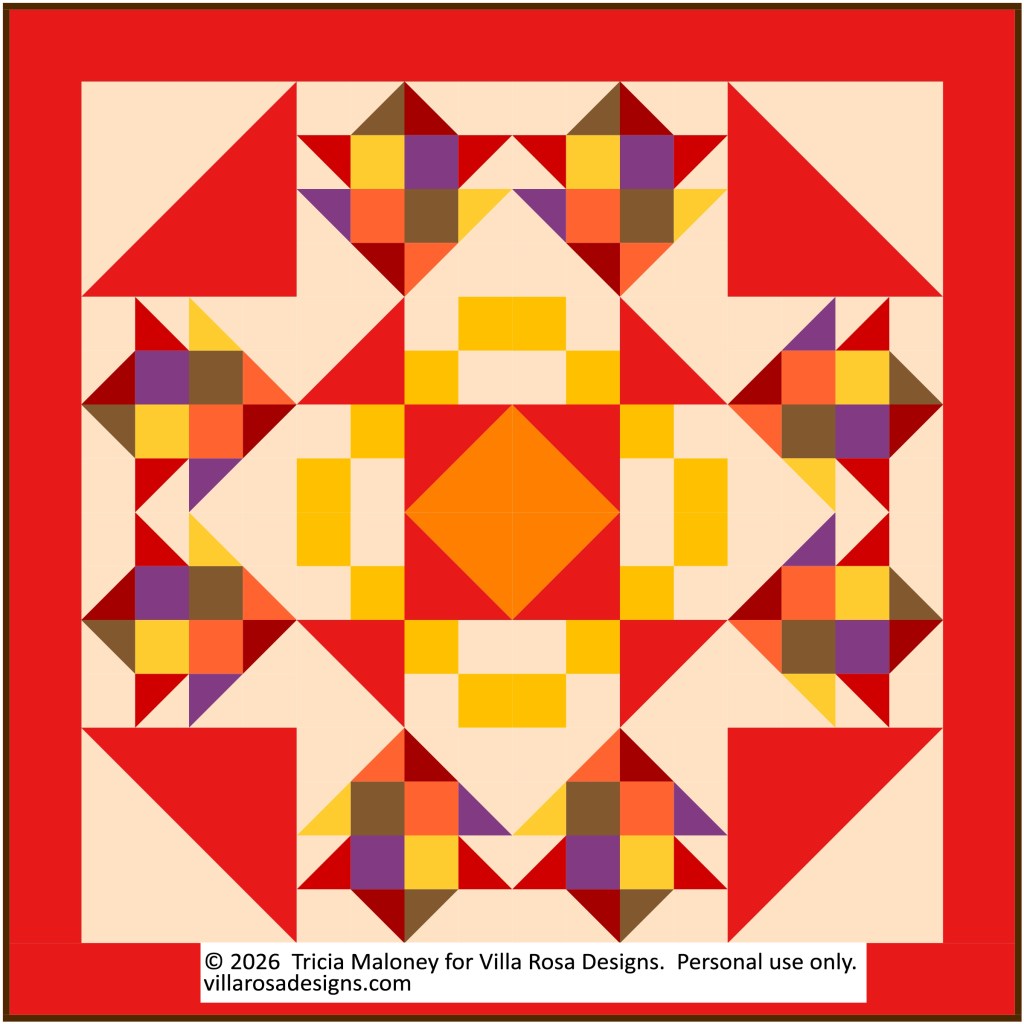
I trust you all survived Labor Day weekend? I did! Happily, I had 2 days of sewing with my sewing buddy, Robin (Hi Robin!) – yay! – and I went to Robin’s 2 year old grandson’s birthday party. It was a good weekend.
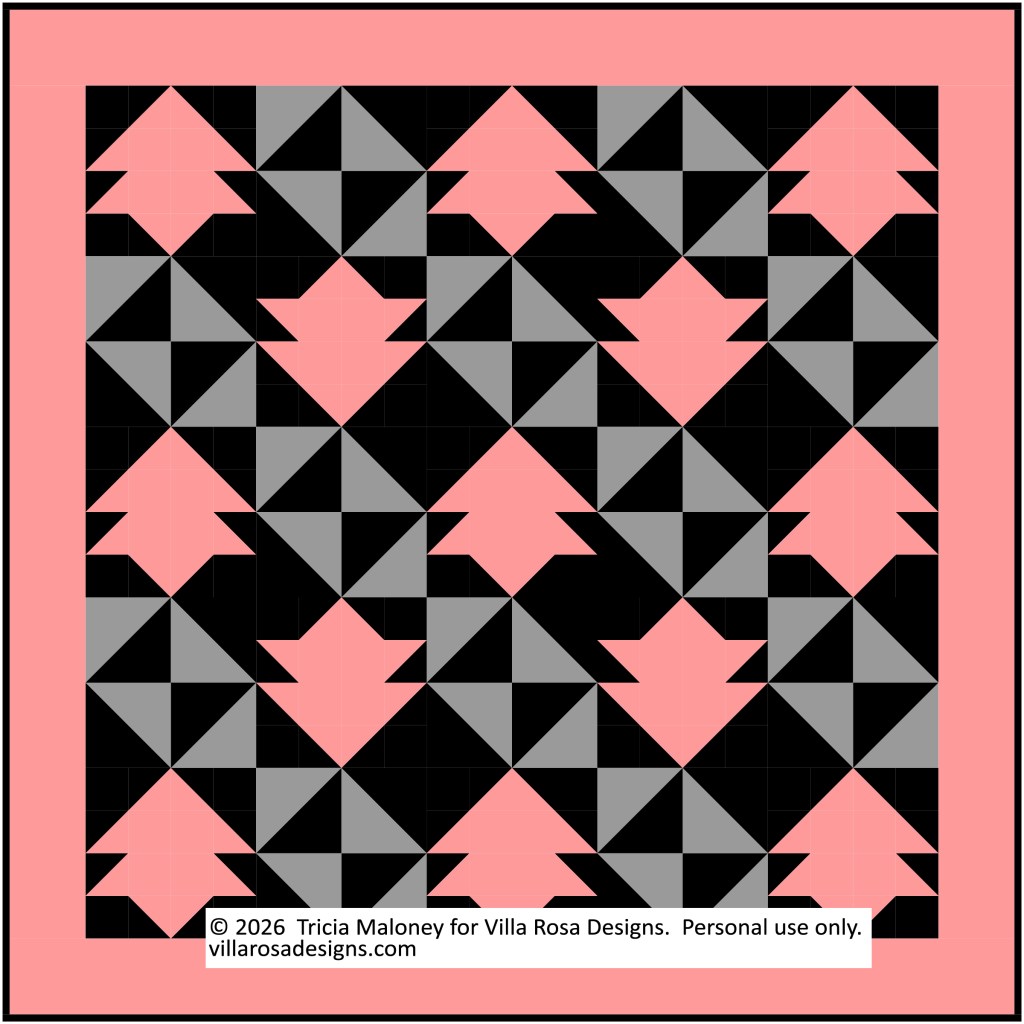
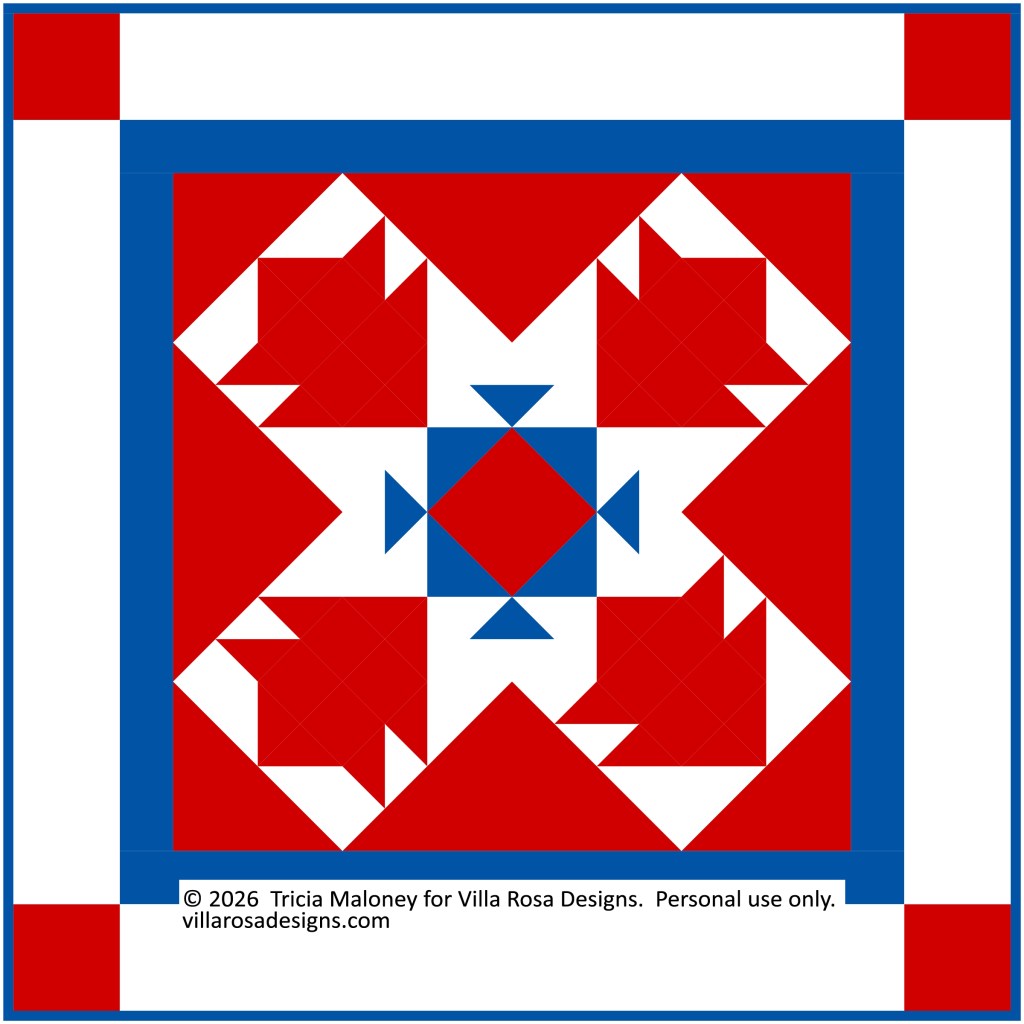
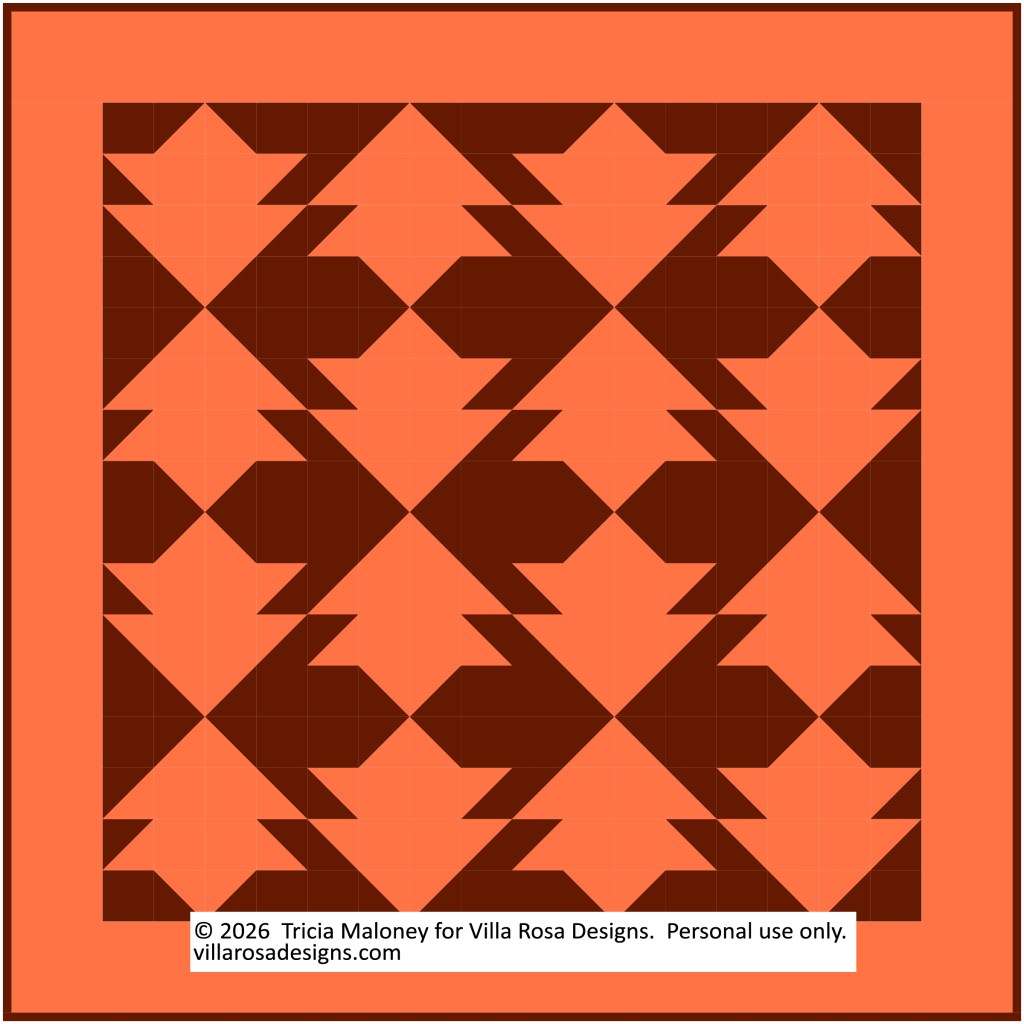
Today, I’ve got a free fun little scrappy fall leaf block pattern PDF download for you.
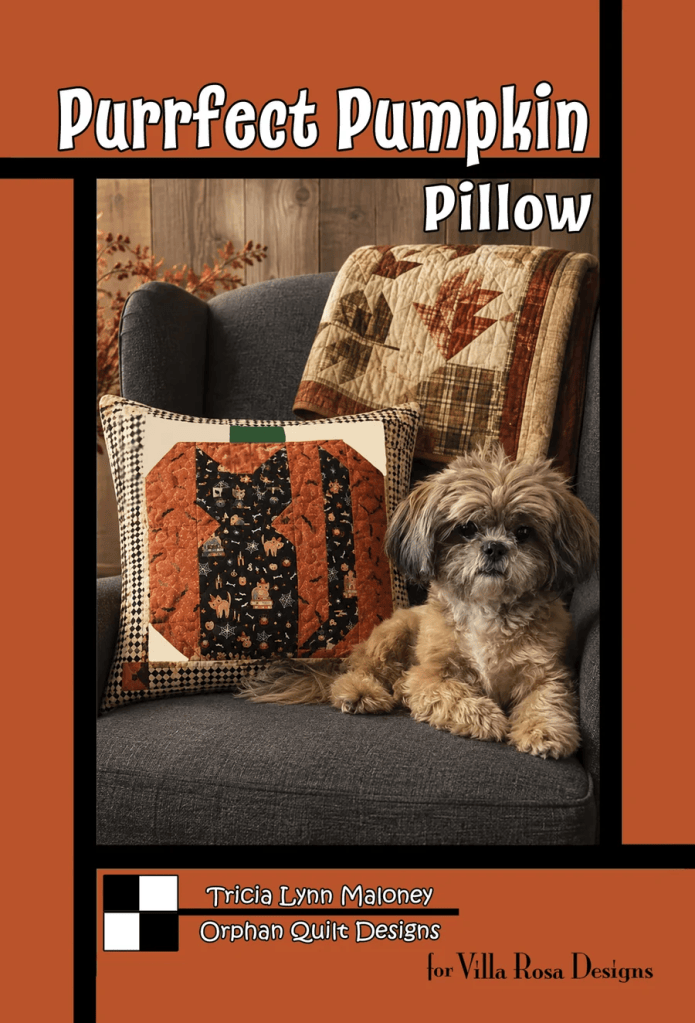
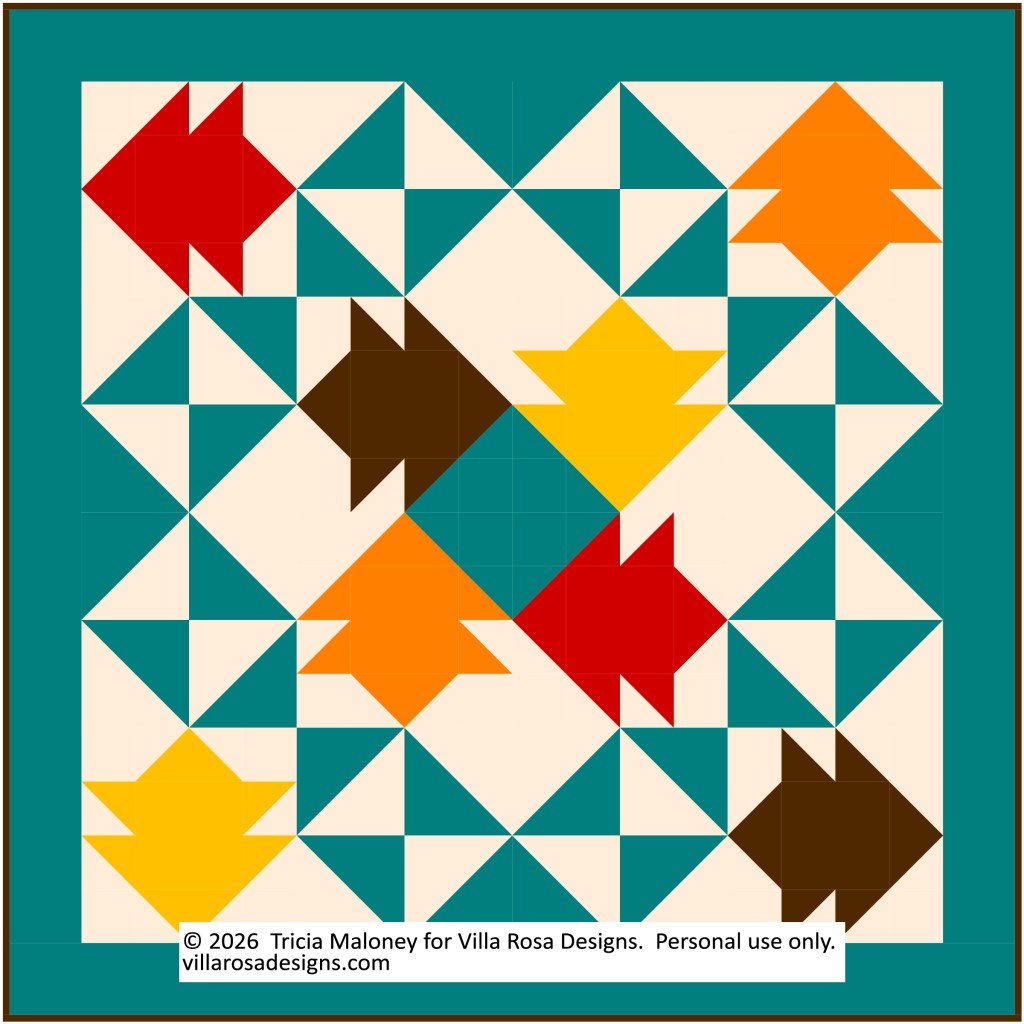
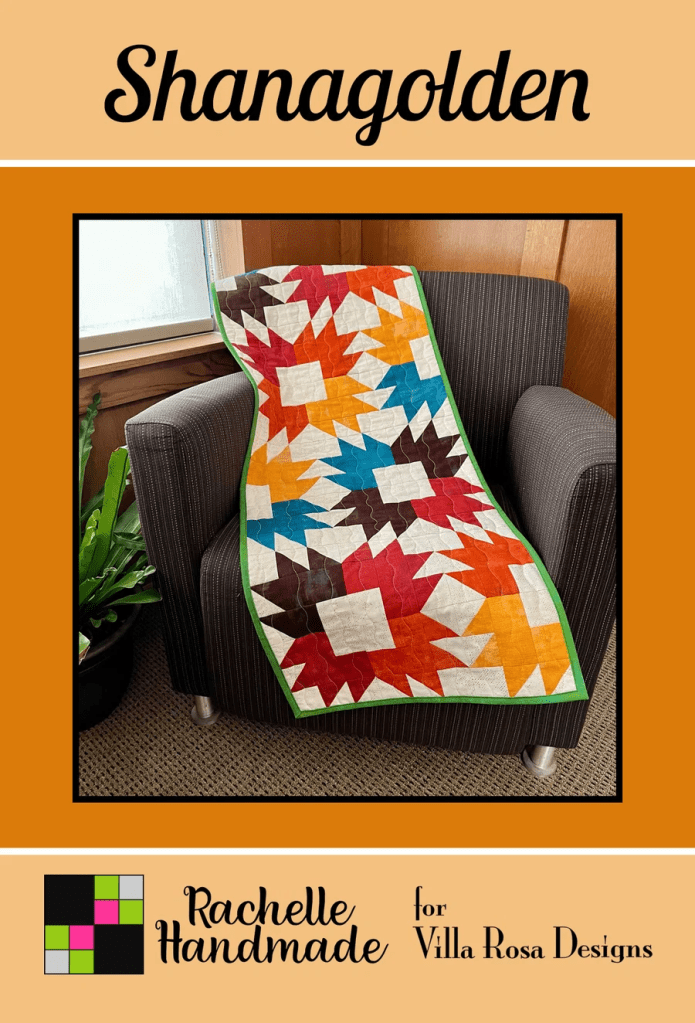
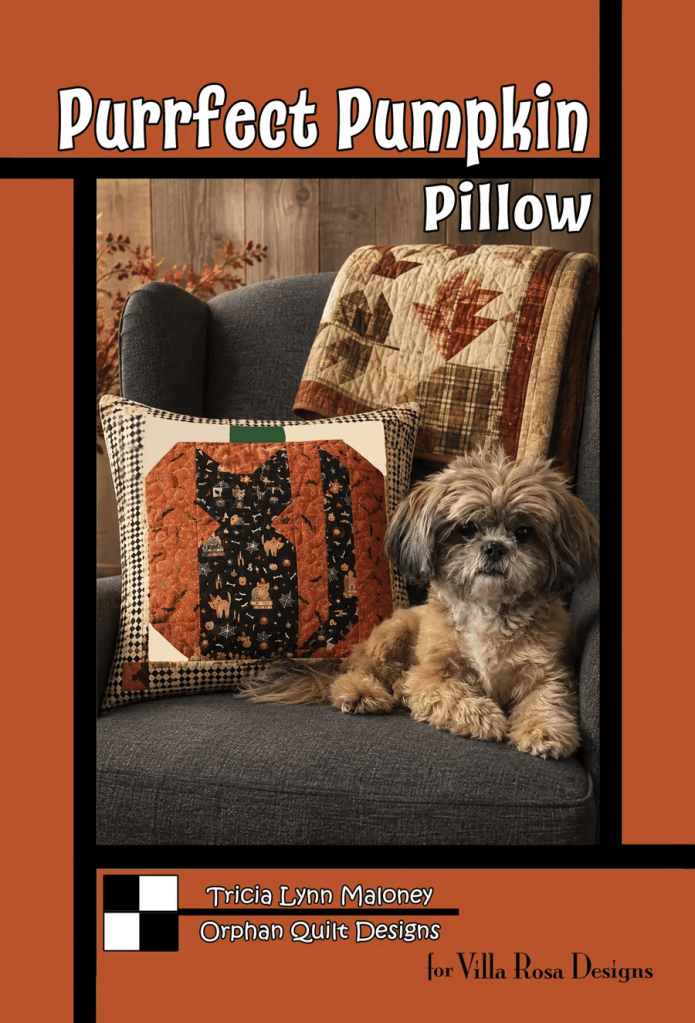
This block, which I’ve named Colorful Me Autumn, is adapted from one of the leaves on the throw in the background of my new September Rose Card pattern, Purrfect Pumpkin. You can see the throw on the pattern, below, over on the right side on the top of the chair.
Just the other day, I had a question asking if I had the pattern for the throw. Although I couldn’t reproduce the entire throw, I did adapt one of the blocks for you.
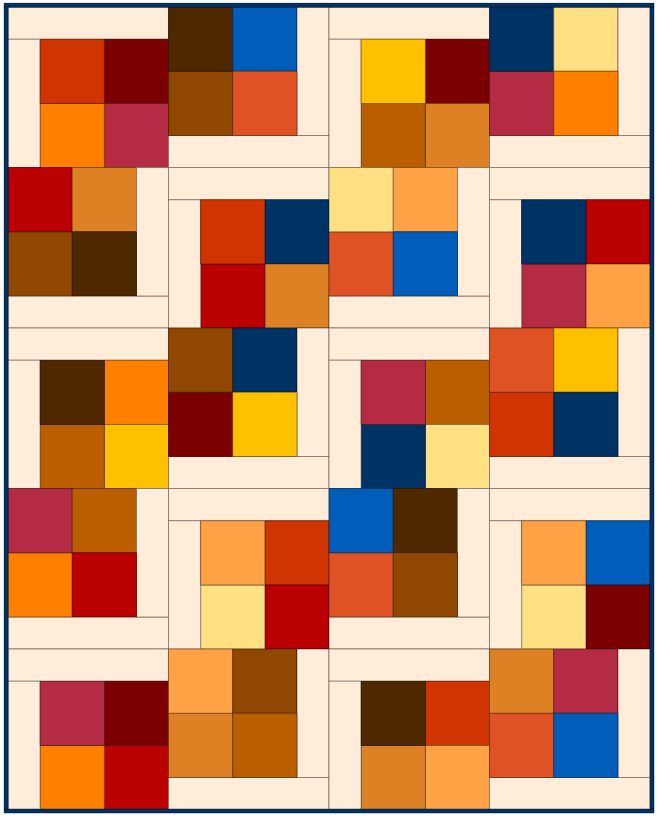
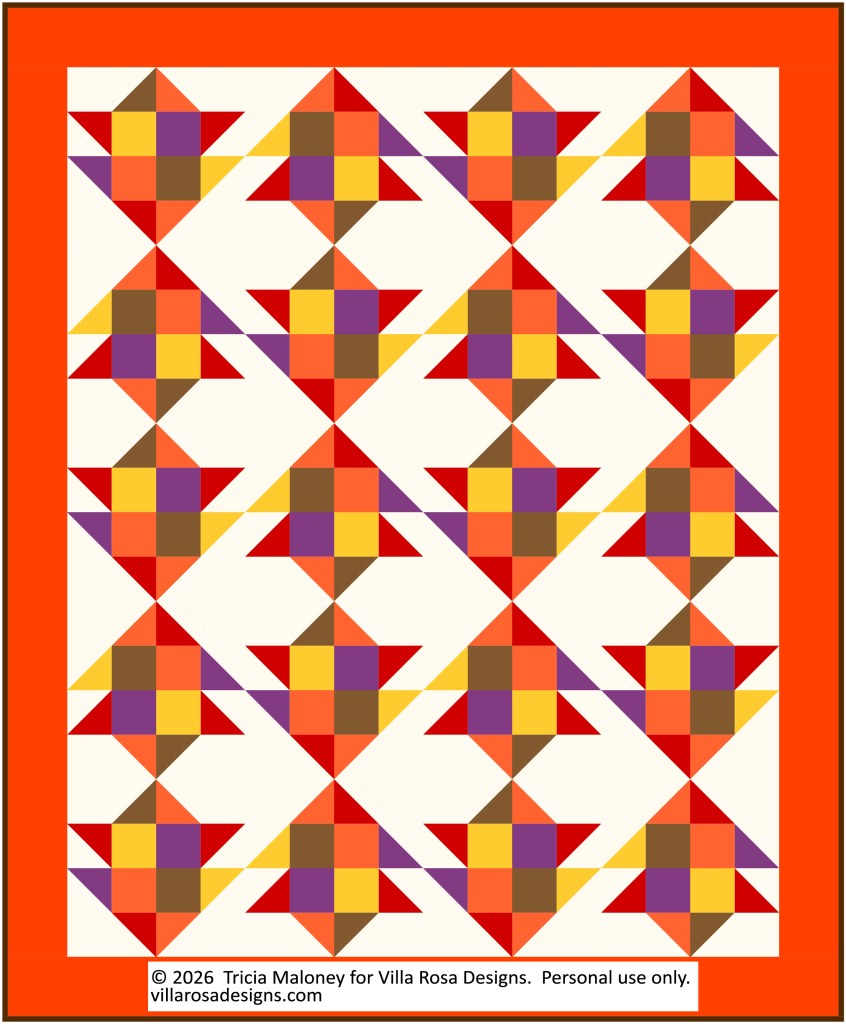
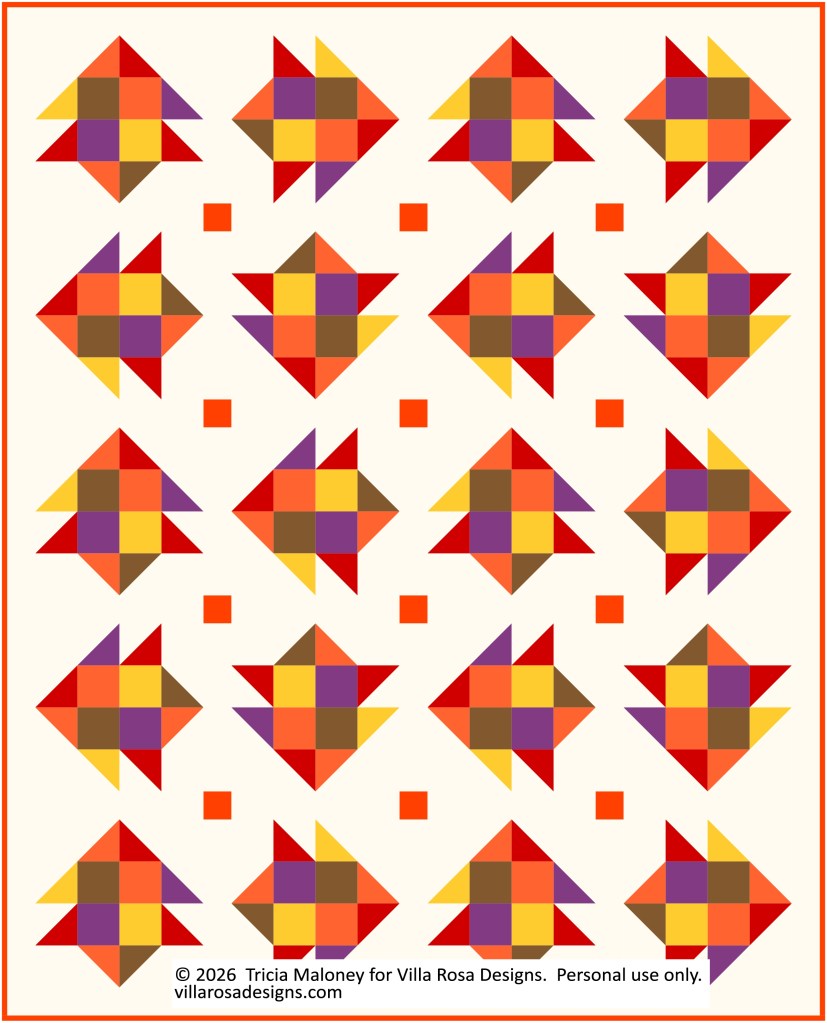
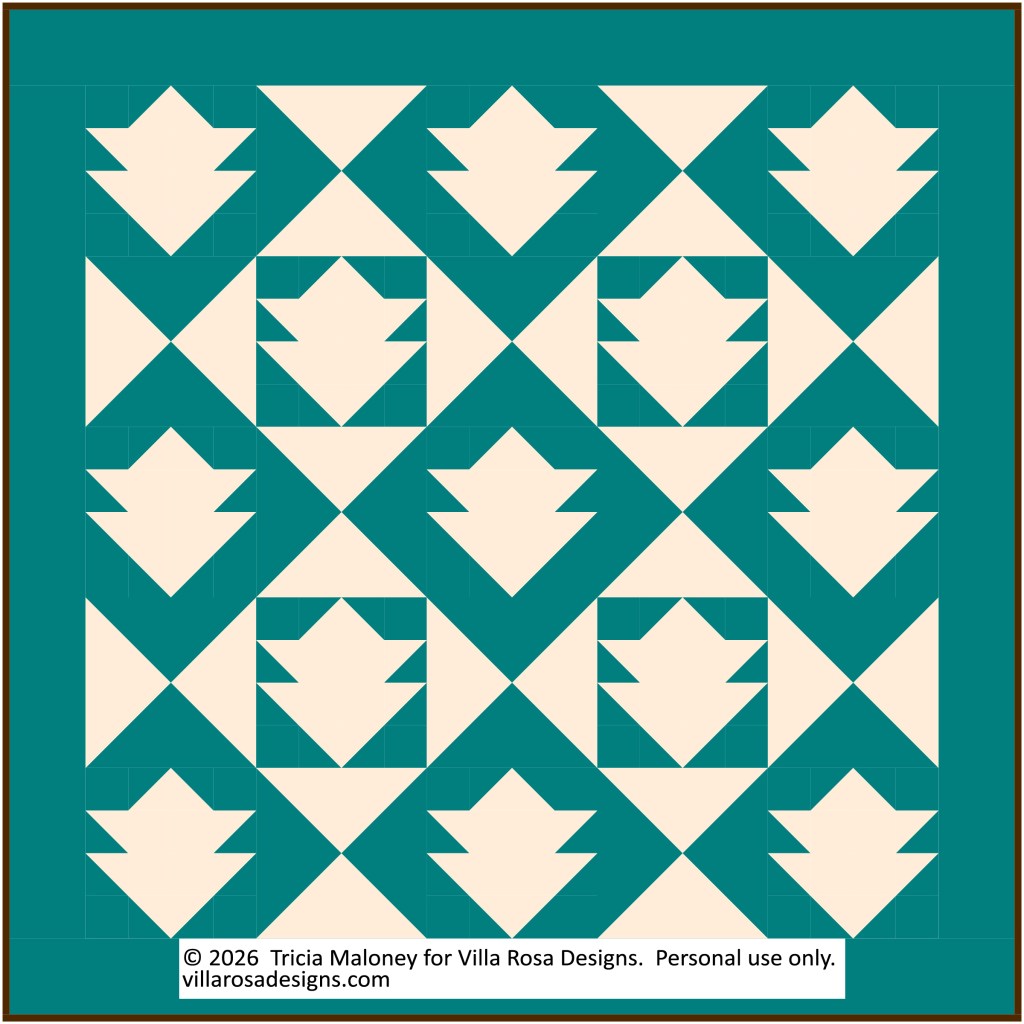
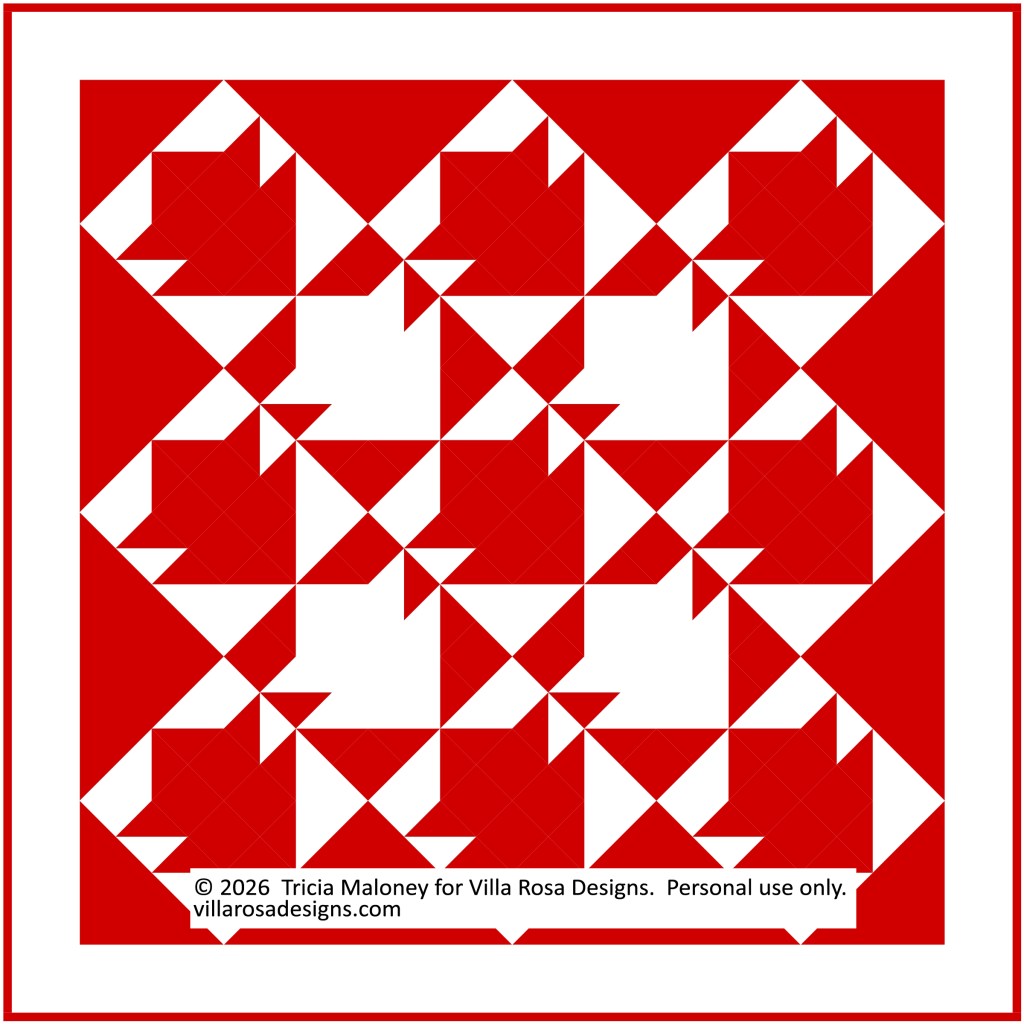
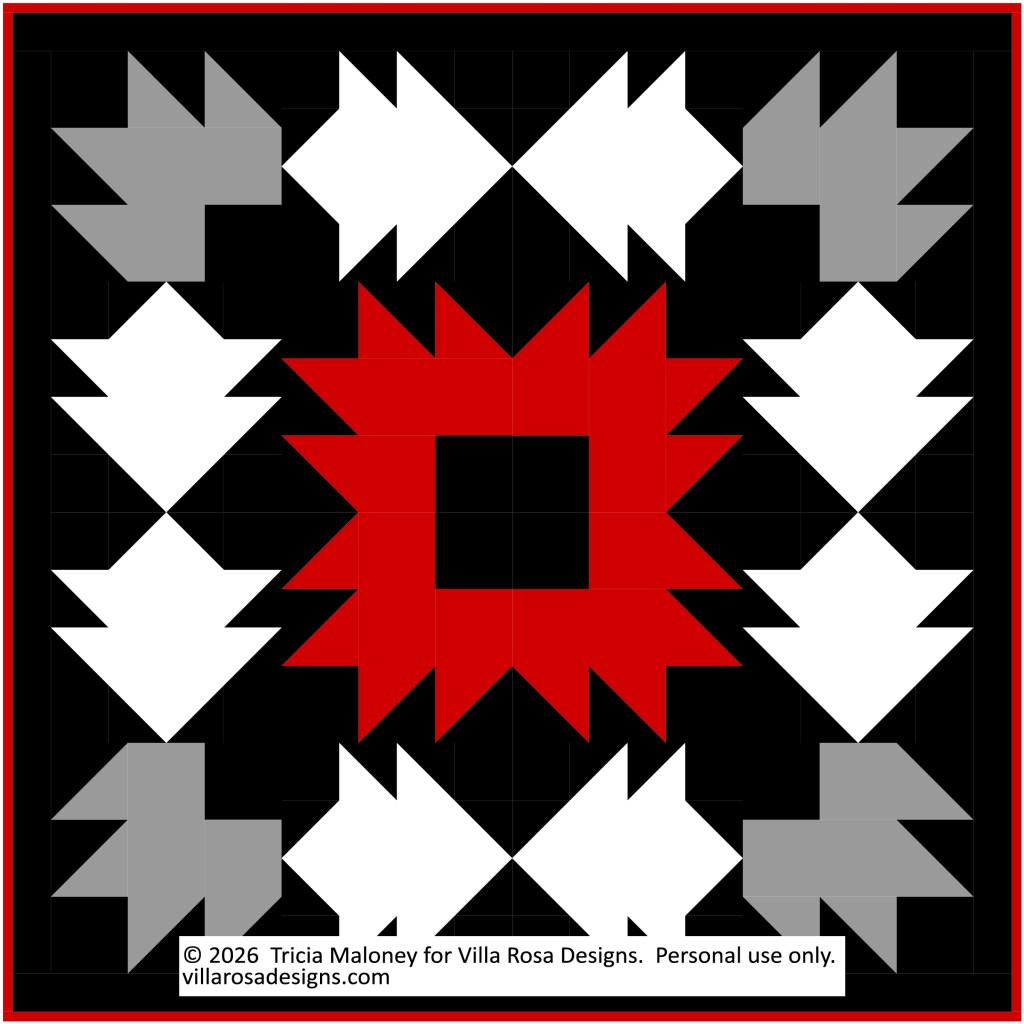
Here’s the Color Me Autumn block. Isn’t it fun??? You can make it totally scrappy so you can raid your own fabric stash OR use a single fabric for each block to make your quilt more organized. The block finishes at a nice 12″ x 12″.
Below is the PDF download with instructions for making the block:
It’s Thursday again? Already??? Sheesh! Where does the time go? And it’s about a month until autumn. WHOAH!
After a busy summer, I always look forward to fall, when things tend to settle down a little bit for a while and I can get my head back into quilting. The cooler temperatures also make it more comfortable for working with fabric and batting as I am one of those sad sad souls who does not have air conditioning in Mount Cluttermore (AKA my studio). And besides, who wants to sit around when it’s summer outside with a big heavy quilt on your lap as you work on binding??? Definitely not me. Summer is a good time to work on smaller projects that finish quickly (like our recent Small Project Summer Challenge her on the blog). Who really even has time to dive into a big hot and heavy project when it’s in the 90’s anyway and the beach is calling?
I must apologize as I was planning another autumn quilt tutorial, but I didn’t quite get it finished before sitting down to write the blog. Bummer. But no worries, we’ll simply push that tutorial until next week.
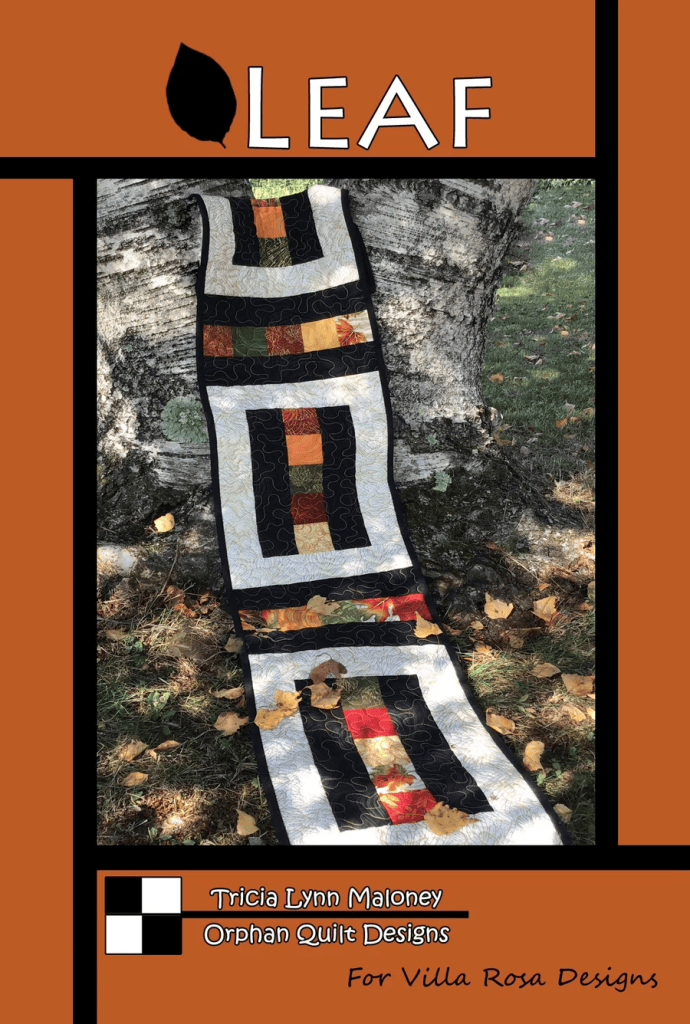
As I have fall on my mind, let me show you my favorite autumn VRD Rose Card patterns. Yay! Patterns!
There was a Cidermill right up the road when I was a kid and there was nothing as good as a cup of fresh pressed cider with your favorite donut, especially after the local Halloween parade.
Have you ever Pressed Leaves? I used to do tons of leaves and then I used them for art collages in my pre k classroom years ago. We would always read the book Leaf Man by Lois Ehlert and then we’d make our very own Leaf Man.
Speaking of pumpkins – there are so so many pumpkin foods everywhere in the fall – Pumpkin Pie, roasted pumpkin seeds, pumpkin spice lattes, etc., etc.
Well, I hope you enjoyed this curated collection of autumn VRD Rose Card patterns. Perhaps you found a new-to-you pattern to make this fall. Or perhaps seeing my picks for fall will inspire you to choose a new project to begin – this list is a good place to start. And just a quick reminder — all VRD patterns ship for free.
It was fun going through our 700+ VRD patterns to find just the right patterns to share with you. Happily, many of these patterns sparked memories of my childhood or even something I did last fall. Maybe they will remind you of your fall traditions, too.

See you right here next week for a new VRD quilt tutorial.
Until then, grab as much summer as you can as it’s fading fast in fall –
Sheesh! Another week of August gone. Another one bites the dust…….. And we all have A LOT of summer to do yet. Sigh……So little time and so much to do.
As for my August to-do list from last week – here’s what I’ve done since last Thursday:
I went thrifting with my Mom.
I worked on my latest art/design projects and made some forward strides.
I sat on the back porch with my dog, Bailly, and did nothing for a while…….twice.
Not a bad start to August. Not at all. I just need to get to the other things on my list, too.
How is your August to-do list coming along? I hope you had the satisfaction of getting a few things done on your list, too. If not, you’d better get started.
Small Project Summer Challenge, One Last Time
Time to wrap up our Small Project Summer Challenge.
Let’s congratulate our Week 6 winner –
Charlotte M. in FL
Woohoo! Way to Go! Yay You!
Congrats to all of our Challenge winners. Your prizes will go out shortly.
Speaking of Challenges, our 3rd 6 Quilts in 6 Weeks Finishing Challenge will be here before you know it. I hope everyone will join us in October for this next VRD Blog Challenge.
Now let’s take a peak at this month’s new patterns!
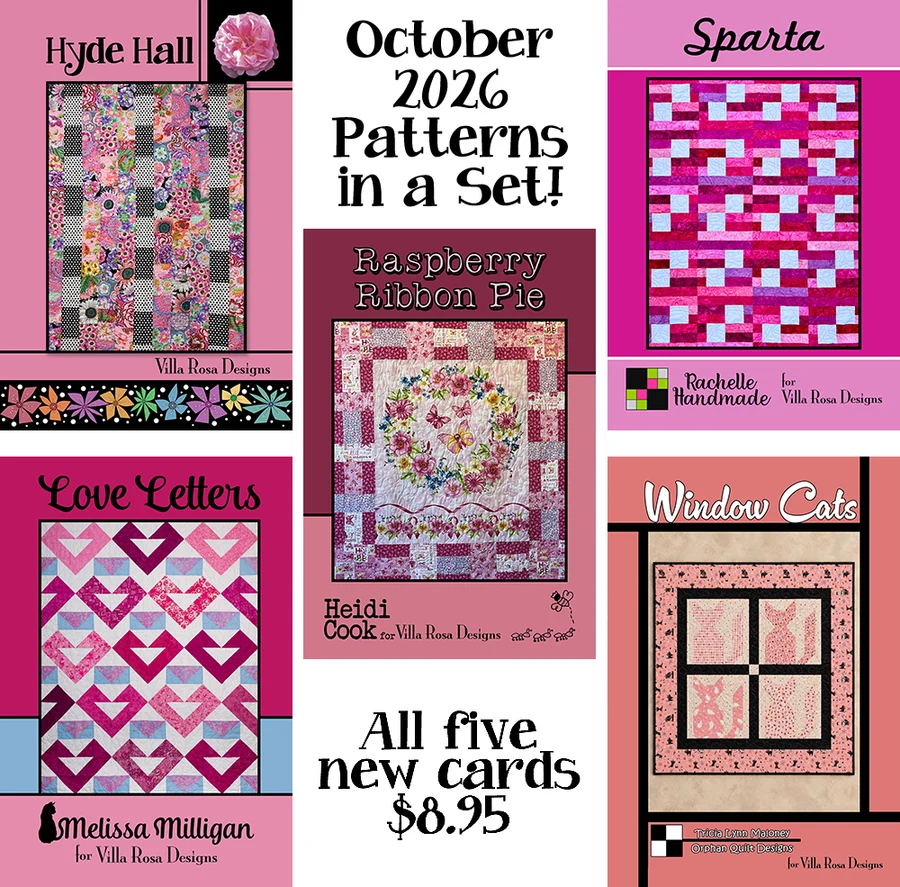
NEW VRD Rose Card Patterns for August
Yay! It’s the Thursday after the first Friday of the month and that means – NEW PATTERNS!!!!
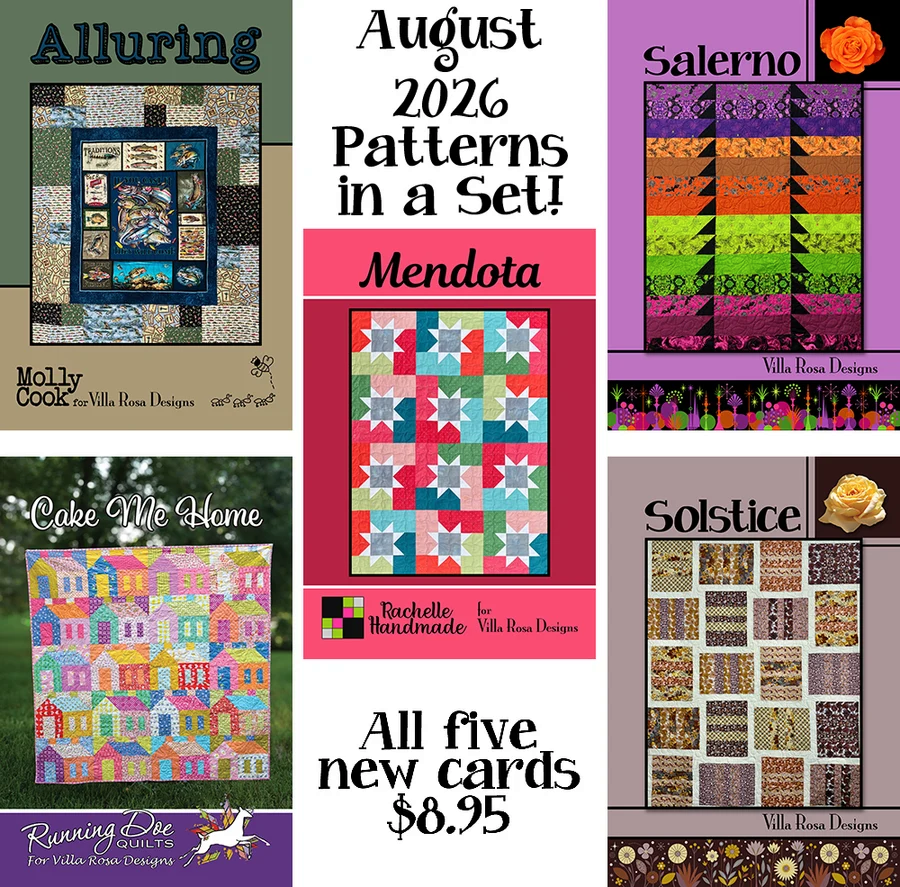
Alluring is Molly’s latest panel quilt pattern. It uses a 36″ wide panel, a selection of coordinating fabrics, and finishes at a nice 56″ x 63″. You can find a kit featuring the same fabrics as the pattern cover HERE or one with Rainbow Iris fabrics HERE.
Cake Me Home is Catherine of Running Doe’s newest pattern. Isn’t it really fun? It is Layer Cake friendly and finishes at 58″ x 57.5″. Sorry, kits are already sold out.
Mendota is Rachelle’s new pattern for this month. It is fat quarter (FQ) friendly and finishes at 41″ x 54″. You can find a kit for Mendota featuring Jewel Depths fabrics HERE.
Salerno is 1 of Pat’s 2 latest patterns for August. It uses FQs or half yards and finishes at 57″ x 70″. You can find a kit with the same fabrics as the pattern cover HERE.
Solstice is Pat’s 2nd quilt design for this month. It is FQ friendly and finishes at 50″ x 62″. No kit available.
But wait – there’s more! We can’t forget this month’s Accessory patterns!
This month’s seasonal pillow pattern is called Leaf Twirl. A perfect pillow for your fall decorating! Don’t you just love the pink leaf????
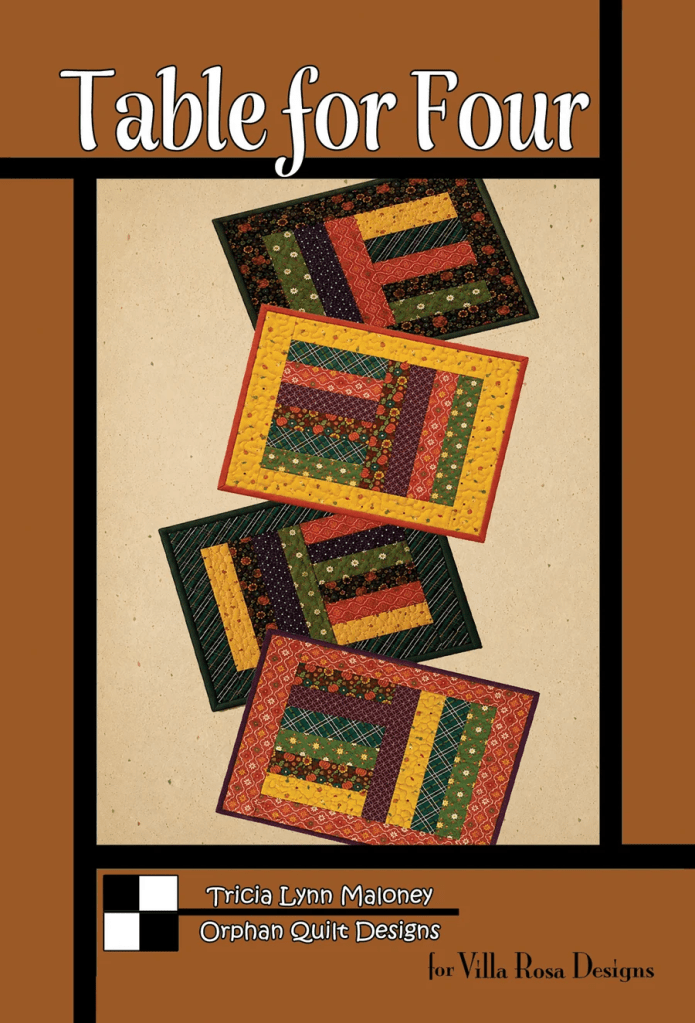
Instead of a fall runner this month, how about a fun new set of FQ friendly place mats, Table for Four? The place mats go together really fast and you can make them in multiples of 4.
Now let’s jump right into this week’s new quilt pattern tutorial.
VRD Quilt Tutorial – Landino
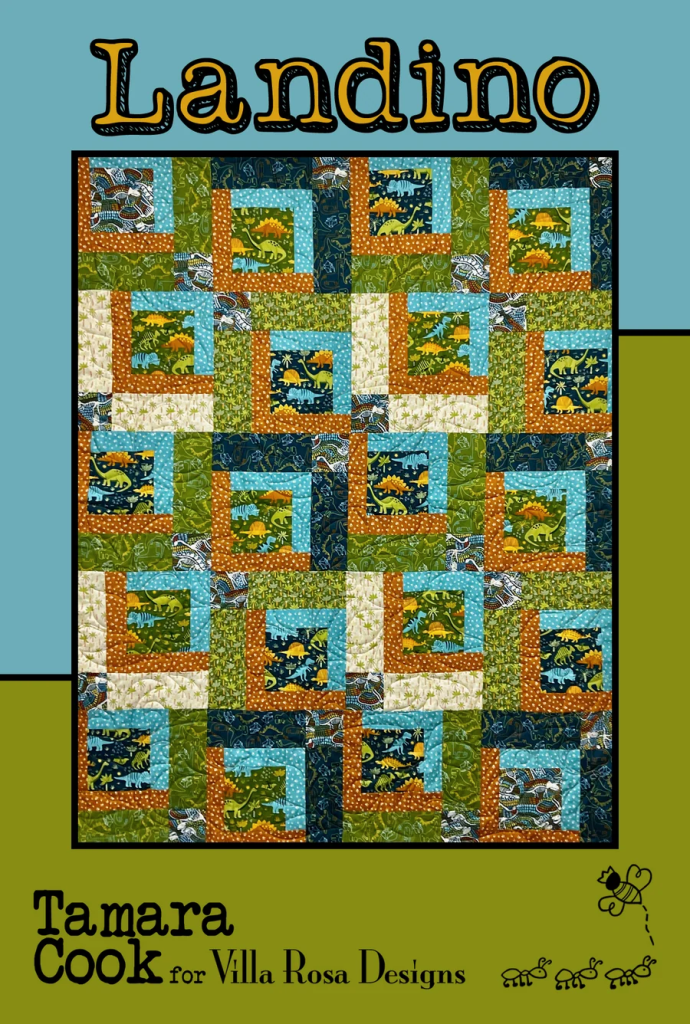
Have you ever made Landino? It’s a deceptively simple and very interesting FQ pattern. Landino finishes at 44″ x 55″, which is a nice small sized throw quilt. Want a bigger quilt? It’s easy to add more blocks (and more FQs) or borders to make the quilt the size you want it to be.
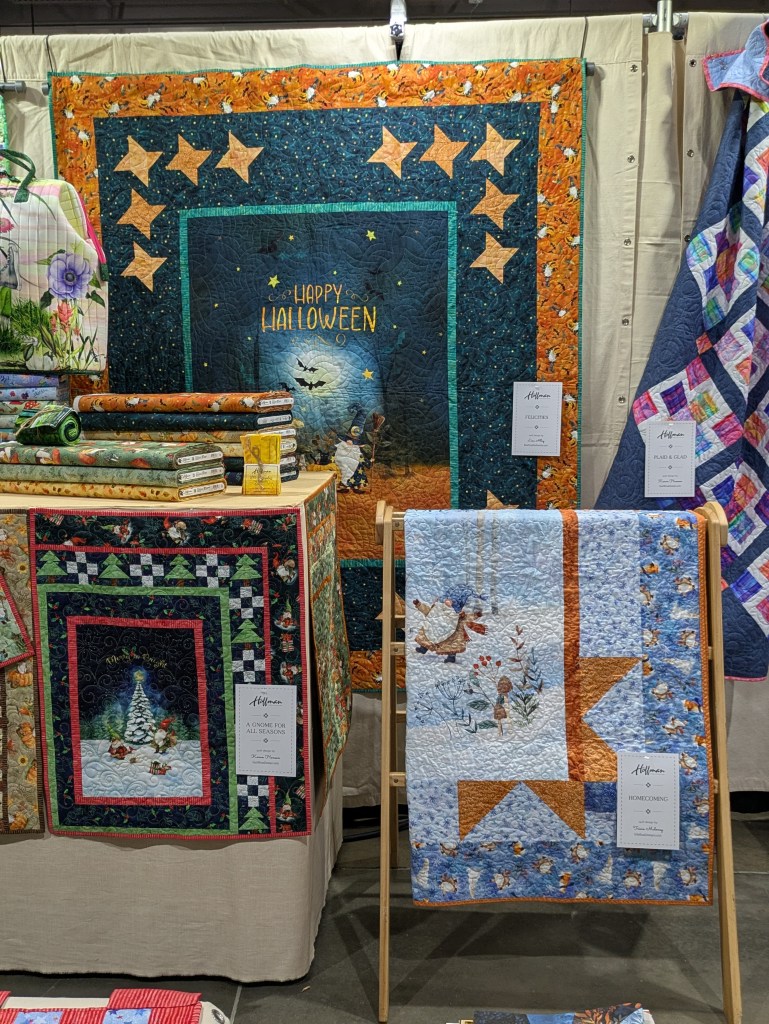
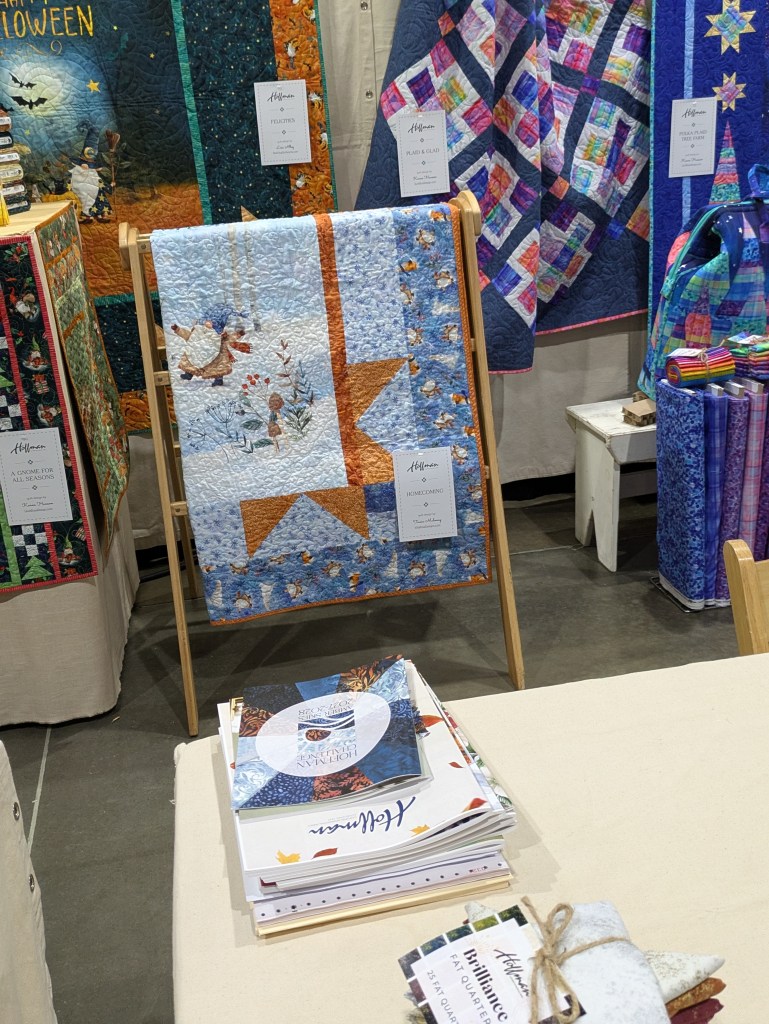
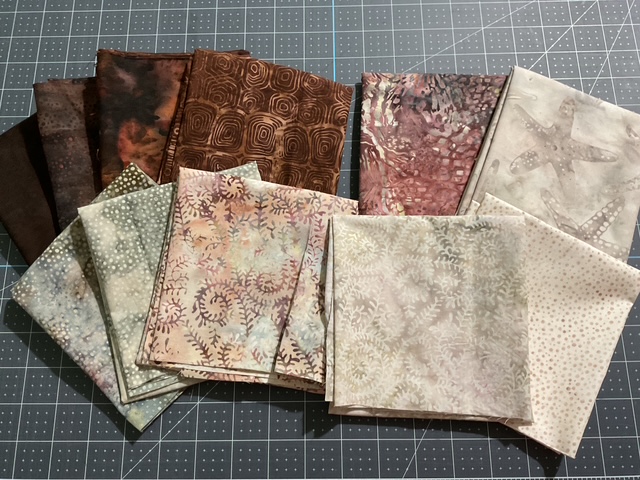
Today I’m using a warm and cozy group of batiks from our friends over at Hoffman Fabrics. I’ve been raiding some of my fall-hued fabric groupings to make some “get ready for fall” projects. Don’t be surprised if you see some of these new fall tops again during our Autumn VRD finishing Challenge coming in October. LOL!
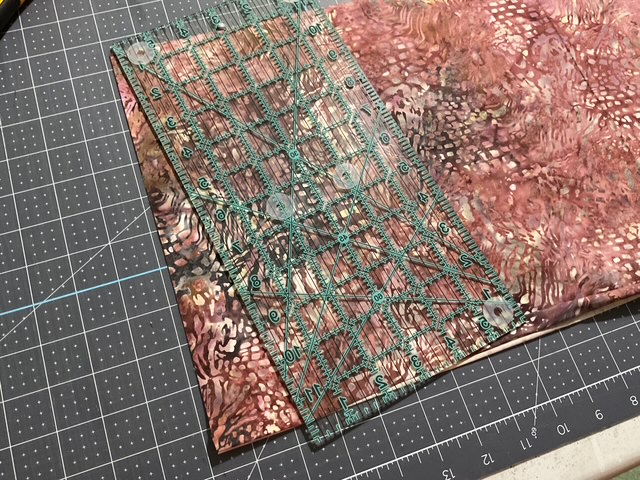
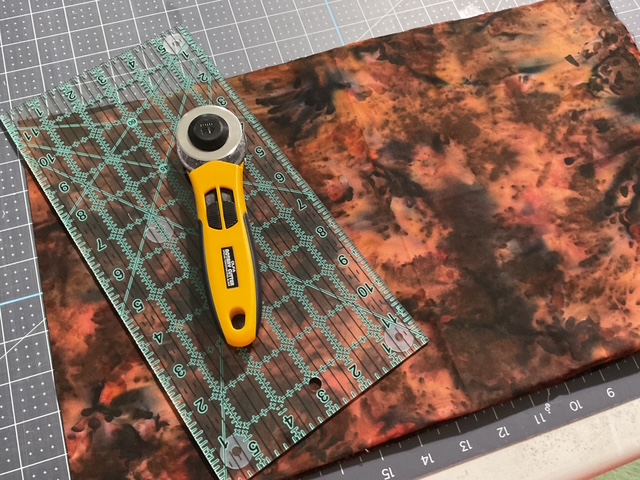
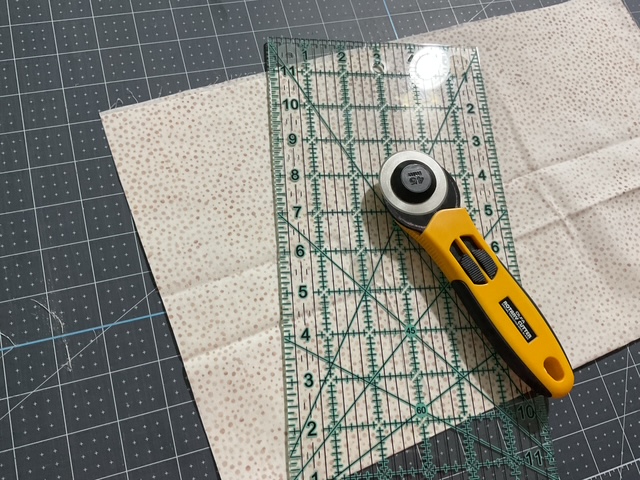
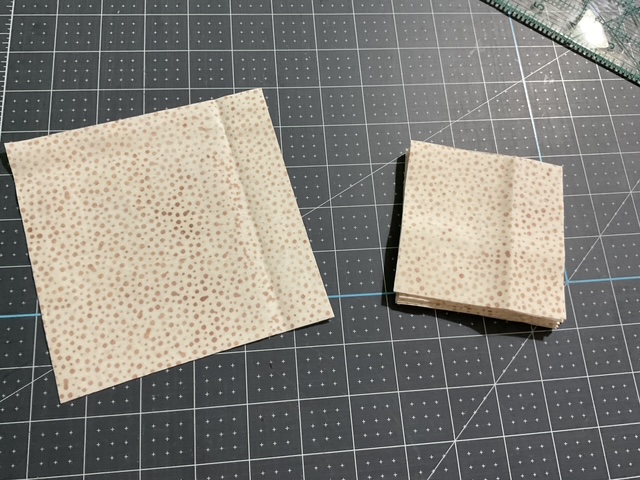
Of course, the first thing we’re going to do is cut out all the pieces we need from our FQs.
I found I really needed to pay close attention to the cutting for Landino because different fat quarters are for different parts of the quilt blocks. To help keep myself from getting lost, I put a sticky note label on each fabric so I knew which fabric was which.
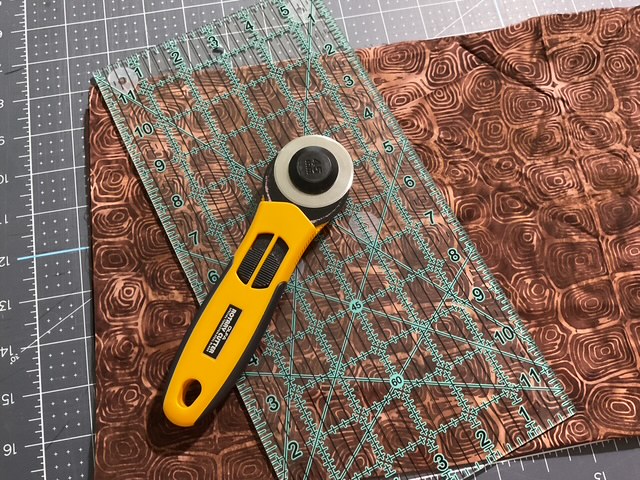
Let’s start cutting.
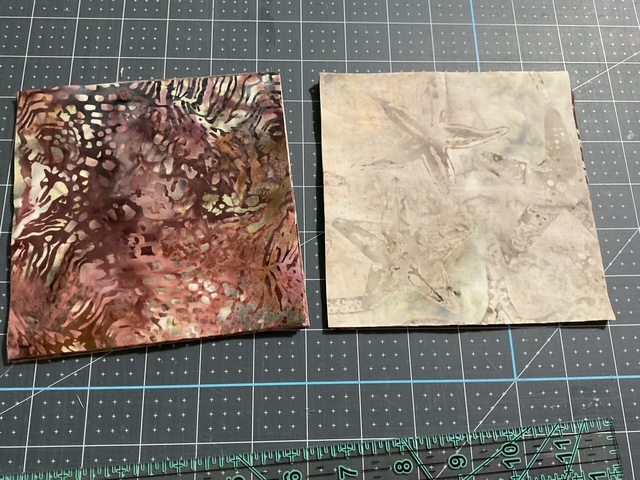
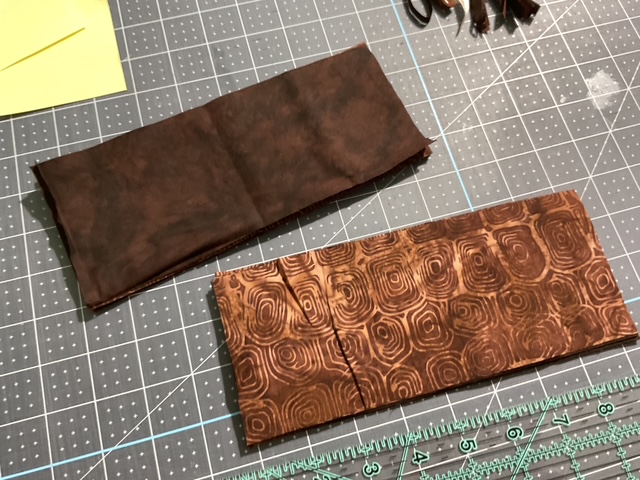
Here are my block centers.
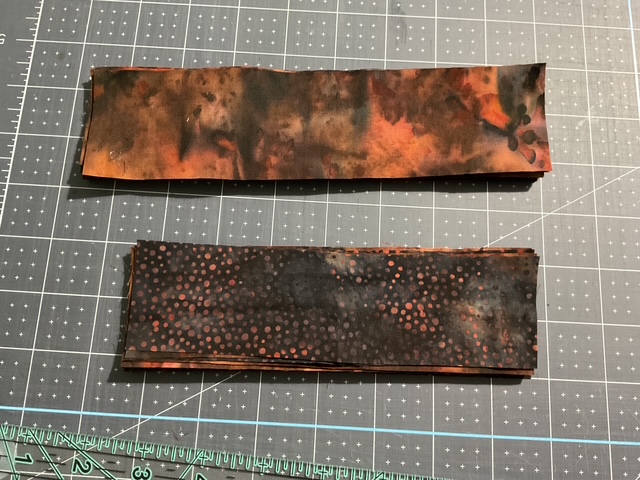
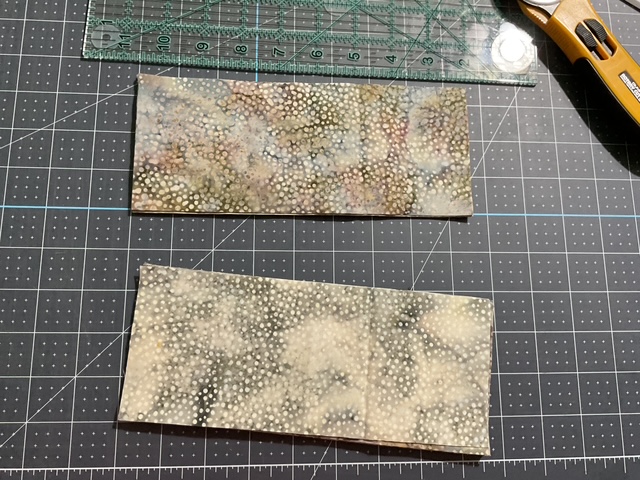
These are my lighter frames.
I chose these for my darker frames.
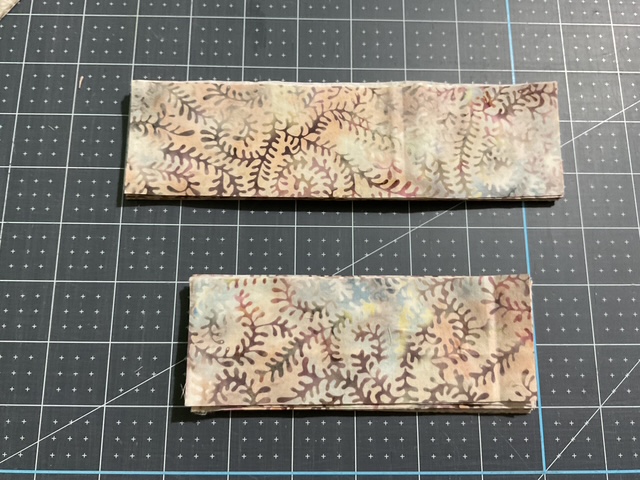
And these 4 fabrics are for my rectangles.
Finally, this fabric is for my corners.
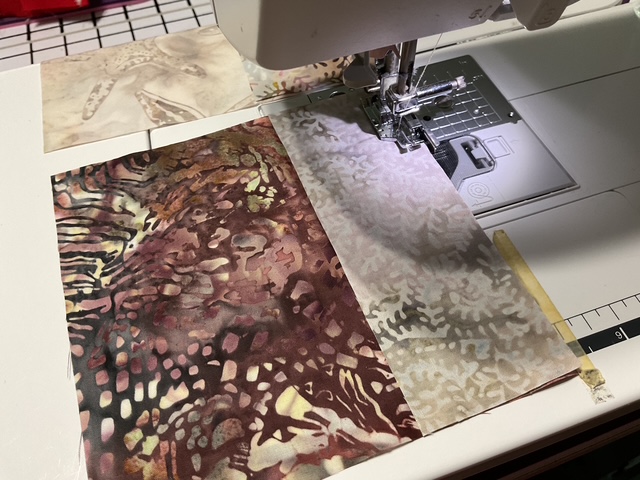
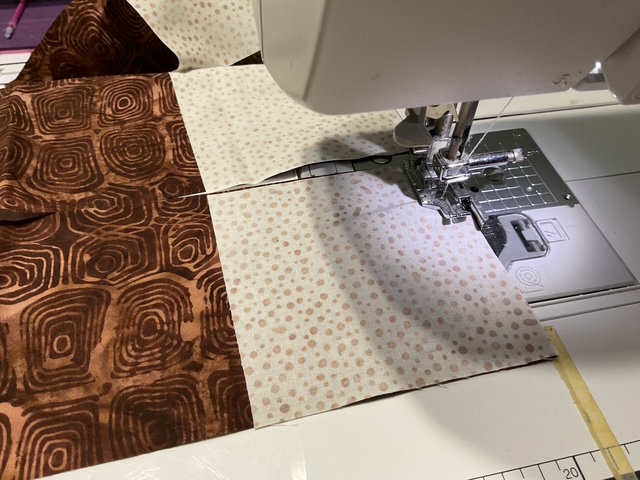
Okay, we’ve got everything cut out now. So next we’re going to sew our frames onto the center squares.
First we’re going to add the lighter frames.
Then we’re going to add the darker frames on the other side.
Hey – did you notice that the Landino blocks are really a Log Cabin variation? And who doesn’t love a Log Cabin block???
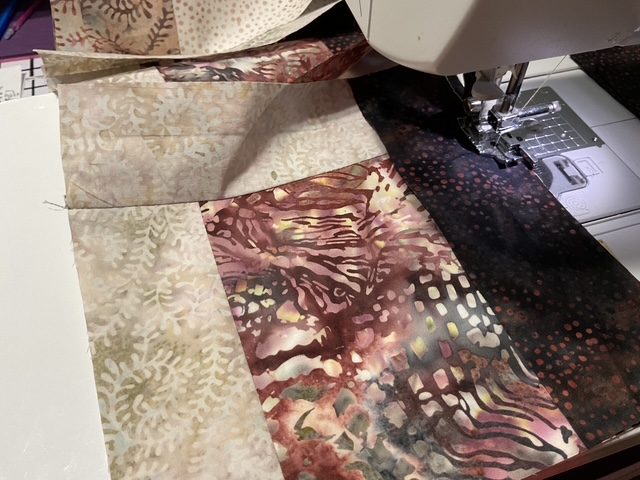
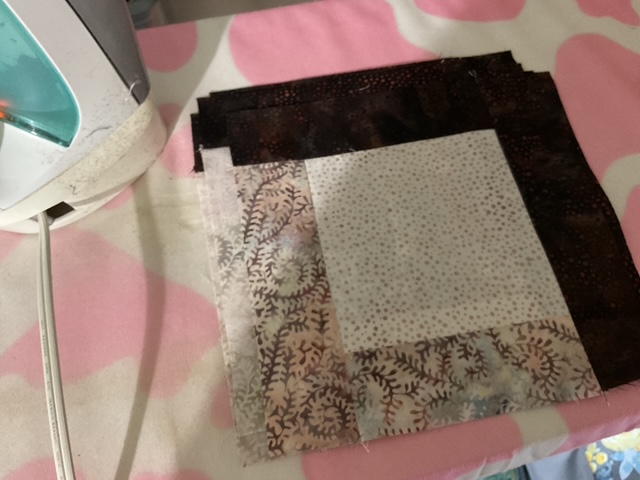
Now that we’ve added frames to all the center squares, things are going to get interesting for our next step – we are going to divide up the framed centers into 4 piles. Then we’re going to sew the rectangles/corners onto each group, using a different rectangle fabric for each pile.
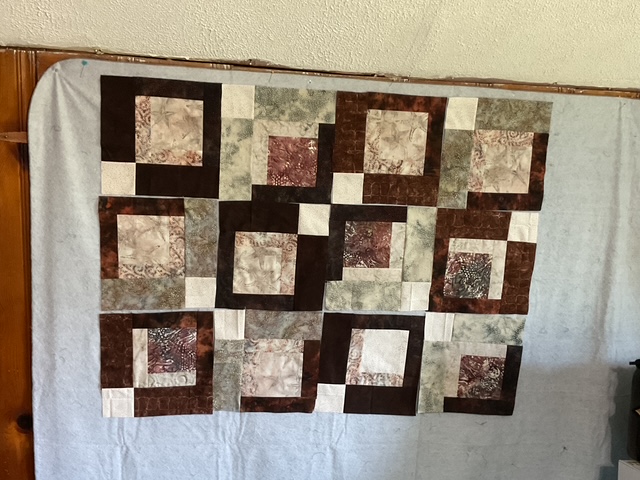
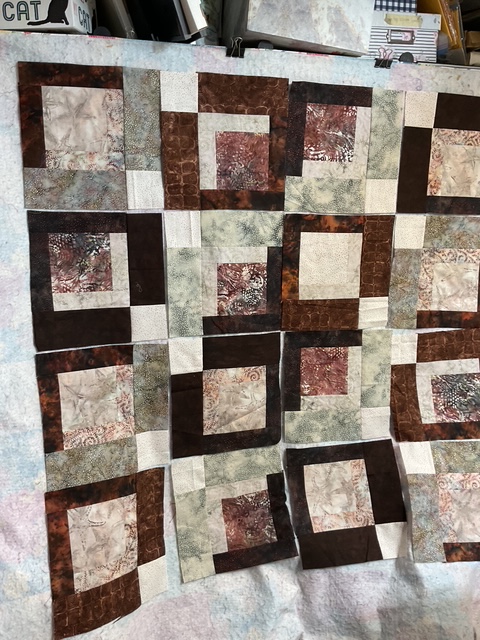
Somehow, I guess I didn’t take any photos for the 4 different completed blocks. Oops, sorry about that. Here is a photo of about half the blocks up on the design wall to give you an idea about what the blocks look like completed.
Huh. Now I’m not sure what I think of my completed blocks. I wish I hadn’t used quite so many dark brown fabrics and had added a few more medium ones instead.
Let’s slap ’em up on the design wall and see what happens.
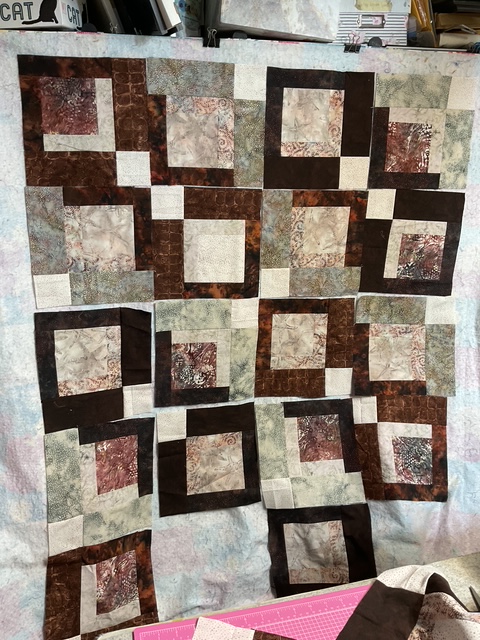
Here are 3 different block arrangements. Hmmm. I’m definitely not wild about any of these options. What do you think?
Now I’m wishing I’d done 2 more blocks with the lighter rectangles instead of the dark rectangles. Yes, I could rip out a few blocks and replace the dark rectangles with the lighter rectangles, but………nope. Let’s keep going, I always love a challenge.
This arrangement (below) is the obvious winner. I’m still not totally loving it, but this one looks better balanced to me than the 3 previous attempts, above. The funny thing to me is that this is the layout shown on the pattern diagram.
Wow! When all else fails, try following the pattern. Hah hah hah! (Me, rolling my eyes.)
Let’s sew the blocks together into rows.
Now the blocks are sewn into rows, I’m going to sew the rows together. Whew! This is the easy part.
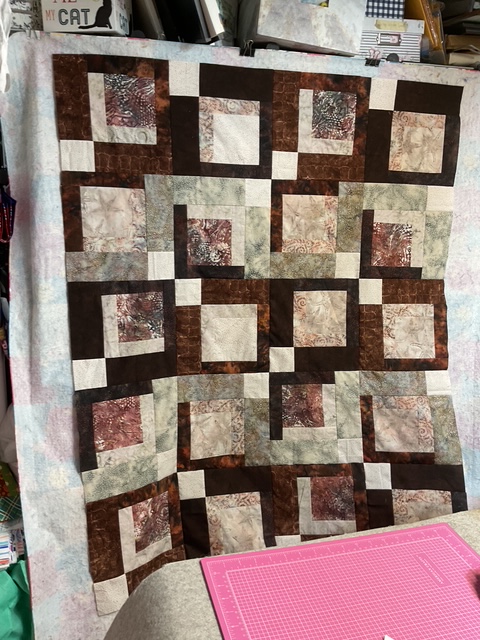
VOILA! Here is my completed Landino top.
I can’t get a complete photo of the top in my studio (if you remember I’ve renamed my studio, Mount Cluttermore for very obvious reasons) because my cutting/pressing table is in front of my flannel wall, so I took the top outside so I could take a better photo. Bummer, but it was just too breezy to hang it on the clothesline as I’d planned. So, I spread it out on the grass instead. (We’ve had a lot of rain recently and the grass is so green.)
All right – it actually turned out better than I thought it would. I think the alternating dark and light horizontal rows were definitely the right way to go with this one – all those darker brown fabrics needed the lighter fabrics to break them up.
Next time I make this one, though, I am for sure going to add more medium fabrics instead of just lights and darks.
This quilt top may not be the prettiest one I’ve ever put together, but I still like it. It’s warm and cozy-looking and it taught me (and you) several new things to think about when gathering up fabrics. I may have been quilting for 30 years now, but I still learn new things all the time.
What was the last project you made that taught you the most, even if the project didn’t turn out the way you’d envisioned? Leave a comment and tell me about it.
Well, that’s it for me this week. I’m off to maybe cross a few more things off on my August list before next Thursday. Wish me luck!
Take care and squeeze every last bit out of summer.
Whoah!?! Hard to believe it’s August! YIKES! Right now I feel like I’ve lost the whole summer, so I guess I have A LOT of summer to cram into August, don’t I?
Here are some things I want to do this month:
Go to the Baldwin Reynolds Museum and see the 250th Anniversary Quilt Display
Visit some Quilt Shops with my quilty pals (FART)
Play Mini golf with my Dad
Go bowling!
Thrifting with my Mom
Do some decluttering (yeah – this always needs done)
Make a fun project just because
Keep working on my latest art and design projects (and actually finish a few of the ones I have in progress right now)
Finish my 2nd Feedsack book (this one has been waiting a really long long time)
Read a good book
Just sit on the back porch with my dog and do absolutely nothing
Let’s see if by writing them down, I will get more of them accomplished this month. What’s on your August to-do list?
Small Project Summer Challenge Update
Well, the final numbers are in! All together we participants created 108 completed projects during our 6 week Challenge. WOOHOO! I hope each of you who participated pats yourself on the back for a job well done. Did you find a new favorite small project pattern? How many of you made something for Christmas? Any other thoughts about the Challenge? Please let me know in the comments.
I am still waiting to hear back from our Week 6 winner, so I will have that info for you next week.
I also want to congratulate
Dana S. from TX
as a co-winner for Week 5.
Awesome Applesauce, Dana! Yay you!
Now let’s check out the latest VRD tutorial, Fondue!
VRD Quilt Tutorial – Fondue
I was sifting through my stack of “quilt kits” and came across one for Fondue and I thought this would be a great one for the blog because I know people are already starting to think about autumn.
Fondue is a terrific pattern for 24″ panels along with coordinating fabrics. It finishes at a nice 49″ x 63″ and goes together quickly and easily. Fondue is beginner friendly and it’s flexible – you can add an outer border (or borders) to make your quilt larger if desired.
Of course, the first thing we need to do is gather up our fabrics. Today I’m working with a Hoffman Fabrics collection called Stag & Stone. Deer fabrics aren’t my norm, but I was really drawn to the colors in this collection and I find the deer to be quite elegant. And hey – it never hurts to have a great guy quilt handy for when you might need one. I think panels are a fabulous option for guy quilts because you can find wonderful panels with coordinating fabrics and a lot of guys aren’t necessarily into a quilt with a bunch of fussy pieces.
Here are my fabrics:
Next up, time to cut all my pieces out. I go back and forth between cutting everything out first or cutting as I go. I guess it depends on each project as well as what I’m in the mood for. Which do you prefer?
Depending on the dimensions of your panel, you might need to trim it to the right size for the pattern or even add some spacer strips to make it a little bit bigger if needed.
I needed to trim my panel to the right size. When you do this, you really need to be careful lest you trim off too much. So do your math carefully. You know the old saying – measure twice and cut once? Words to live by!
Have you ever cut too much off your panel? I have and do know what I do? I sew that piece right back on and re-cut the panel correctly. It’s not perfect, but it works.
My fabrics are cut and the panel is the right size, so now I’m going to sew the inner border to the sides of the panel and press the seams towards the border. Then I’m going to sew the borders to the top and bottom. Again, I’ll press the seams towards the border. So far so good.
Now let’s work on the side pieced borders. The borders are quick to sew together because the pieces are so big. Once I get the pieces sewn together, then I’ll press them. I am going to press my seams towards the sashing strips.
One thing I really LOVE about the Fondue pattern is that you can use directional fabric because of the way the pieces for the side borders are cut. This is a great thing because it’s not unusual to have directional companion fabrics for panels.
Let’s sew the side borders onto the framed panel! I like to match the center of the border to the center of the panel and pin. Then I match up the outside edges and pin, including an extra pin at the bottom edge of the border to help keep everything square. This was a little tip given to me by an experienced quilter named Pat when I was a newbie. It really does make a difference in keeping your border strips square instead of ripply.
Finally, I add a few pins in between the middle pin and the outside pins to keep everything lined up. I must admit that I will probably go to quilt jail someday because I tend to sew over my pins instead of removing them……..
Now let’s add the left side border onto the panel. SHEESH! I sewed my border upside down to the left side of the panel. How did I miss that????
Gee whiz!
Well, directional fabric is awesome as long as you sew everything right side up. LOL!
Now to re-sew the left side border on, right side up this time. Silly me. I bet that’s never happened to you before, right?!? LOL!
Now that the trees and animals are no longer standing on their heads, I’m going to press the side borders towards my dark fabric, which is the inner border/sashing fabric.
On to the top and bottom borders….finally. Again, these are quick to stitch together because the pieces are large. After I get them sewn into strips, I’m going to press the seams towards the dark sashing pieces. Easy peasy.
Next I’m going to pin the top border to the top of the panel. Again, I will match my centers and outside corners, adding that extra pin to keep things square. That extra pin is like magic!
Then on to the sewing machine to stitch the top border to panel. After that, I need to press my top border seam towards the dark inner border/sashing fabric.
All right! The bottom border is next!
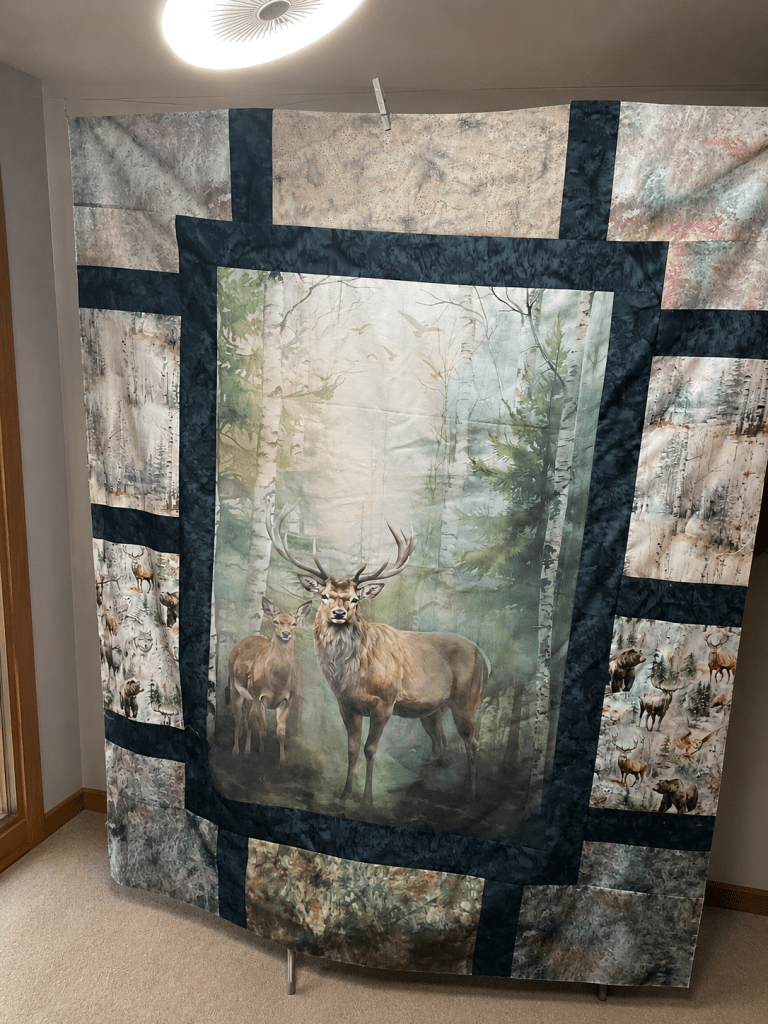
WHEW! Here is the completed Fondue top.
I took a chance and ran outside to see if I could get a decent photo, but it was a bit breezy, it was lightly raining, and there was still a rumble of thunder in the air. So, I kind of high-tailed it back inside instead of waiting for the perfect shot. Oh well. What can you do – Pennsylvania weather can sometimes be a little unpredictable.
I really like how this quilt turned out! The colors are really very soft and meditative. And it went together easily, except for me flipping the left border upside down. LOL! I totally recommend you try the Fondue pattern to showcase your favorite 24″ panels!
Well, that’s it for me today. Have a wonderful week and I hope you get the chance to cross a few things off your August list.
Hard to believe it’s Week 6 of our Small Project Summer Challenge already. Wow – it went fast! But what a fun and busy 6 weeks of super little projects – small quilts, tote bags, pillows, scarves, table runners, and snack mats.
Let’s take a look at the numbers – We had a total of 43 people sign up and 24 of them participated, which is more than 50% participation. For a sewing challenge in the middle of everyone’s busy summer, I think that is pretty incredible! Although the Week 6 deadline hasn’t happened yet as of this blog post, so far we have already made over 100 projects together in 6 weeks!
Yay us!
I’ll have the exact total for you next week once we complete Week 6.
I want to thank everyone for participating. These Challenges have really added a whole ‘nother layer to the VRD blog. I love how instead of me just writing something and you reading it, we can interact and connect with each other even though we are spread all over the USA and beyond.
I never really understood how that connection could happen on an online blog, but with the Challenges we’ve been doing here, now I do. I have been getting to know many of you simply based on the fabrics and projects you choose, your comments on the blog and on the FB page. I especially love that you comment on each other’s projects t00. We are a community of quilters and sewists!
I think it’s time to celebrate our Week 5 Winner!
Week 5 Winner
Raise your glass in toast to ……….
Donna P. in Florida
Congrats! Yay you! Awesome Applesauce!
Here is Donna’s Belle Amie table runner for Week 5 –
Donna’s runner turned out really cute and I just couldn’t help but giggle when I saw the backing of her runner! Ape fabric is definitely something I’ve never seen before – how fun!
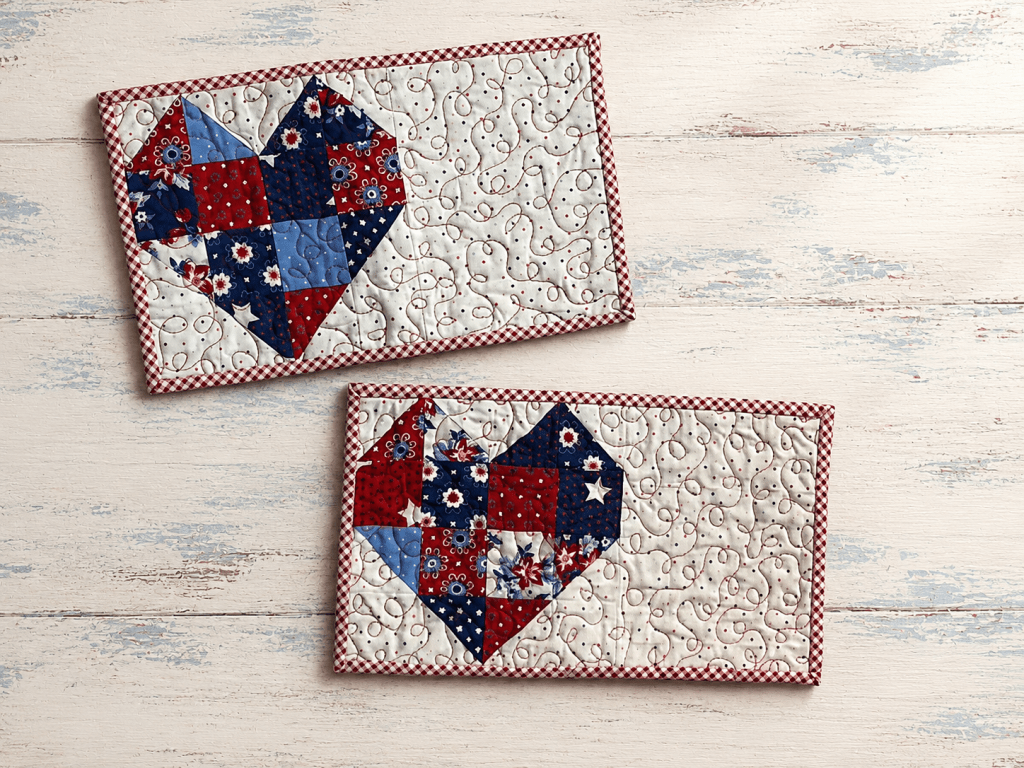
I didn’t want another week of the Challenge to pass without me participating, so I made the Dear Heart Snack Mat duo. They were fun and I think they turned out really cute!
I used leftover fabric from my Cabin Fever quilt from Week 1 of our Challenge (you can see the tutorial for Cabin Fever HERE). I just love being able to find a project to use fabrics leftover from another project, don’t you??? And someday, when we use up all our leftovers, then we can buy more fabric……..
Wait! Nope! Whoever said we had to use up what we had before going to the quilt shop, hmmm??? LOL!
I just have to share this funny little story about making my Dear Heart Snack Mats. I knew I wanted to hand-stitch the binding on these l’il cuties, so I took them along to an eye doctor appointment. While waiting to be called back, I almost finished one of then. Then I finished the first one while waiting for the doc (I’m sure you all know how much waiting we do at appointments) and I began the second one. I needed my eyes dilated for this appointment, but I didn’t let that slow me down – well, not completely anyway. I kept right on stitching as my vision got blurrier and blurrier. Yes, I can thread a needle with dilated pupils – quite a talent I think. And I can stitch binding down too, although it goes a lot slower than when I can actually see what I am doing. LOL! I was bound and determined to get my snack mats completed before the blog post launched. WIN WIN – both snack mats almost got finished during the appointment (I finished the rest later in the day once my eyes weren’t wonky) and the appointment went well.
Even though our Small Project Summer Challenge is coming to an end, we aren’t finished challenging ourselves yet!
This fall, we’ll be jumping back into our Six Quilts in Six Weeks Challenge. Yes, you read that right: six quilts in six weeks!
Before anyone starts hyperventilating into a stack of fat quarters, let me remind you that our Fall Six Quilts in 6 Weeks will be all about finishing 6 UFOs or WIPs. Hey – if you’re one of those people who doesn’t have any unfinished projects I think this is totally a myth, though), then you can make a new project each week for the Challenge.
The Challenge is all about setting aside a little time to sew, finishing some projects, cheering each other on, and having fun along the way. After seeing more than 100 small projects come together this summer, I cannot wait to see what we finish this fall!
I’ll share all the details soon, so start thinking about which quilts might be waiting patiently in your sewing room to become your next finished projects.
I hope you’ll join me!
August
In the meantime, what should we do for August after the Small Project Summer Challenge ends?
I’m thinking some new tutorials would be nice, but that would depend on how things go for me in the next month. Please feel free to share your ideas in the comments or you can email them to me directly at tricia@villarosadesigns.com.
Well, that’s it for me this week.
Take care and enjoy summer because like most fleeting things, it ends far too soon.
Now that August is closing in on us, I bet your summer is even more jam-packed than it was in June. Family vacations, reunions, trips, work, appointments, family, friends, kids, grandkids, etc. and so on. For me, this week has been crazily insane. Too much to do and not enough me.
I have 2 family reunions this weekend – Saturday and Sunday. At least they’re not on the same day. The Saturday reunion is for my Mom’s Mom’s side of the family and we help organize and make everything run smoothly the day of the reunion, so that’s added stuff this week with the prepping and then the reunion itself.
My role is pretty simple, though, I am in charge of the Family Pick a Prize table. I sell the tickets. Family members then drop the tickets into the numbered bags and hope that their ticket will be pulled out to win the item. This is how we raise money for next year’s reunion. It works great and everyone loves it. Plus I get to talk to nearly everyone who comes to the reunion, which is kind of nice, too. Maybe I’ll see you there.
Of course, I also have to plan and bring some kind of dish for the food table. This year I’m going all out – cookies from the store bakery. I just don’t have the time to make something at home this year, especially not with 2 reunions back to back. Yep, I’m taking cookies to both of the reunions. Cheating? Maybe. But low stress? For sure!
My Sunday family reunion is my Dad’s Dad’s family reunion. Luckily, all I have to do is take food – more cookies – and just go and relax. Thank goodness.
Of course, the house must be cleaned in case any relatives from out of town want to stop by for a visit, which usually happens on Saturday evening. Plus all the usual things. Yikes! I’m getting tired just writing about this week. Calgon…..take me away! LOL!
I thinkI’m ready for a winner next?????
Week 4 Challenge Winner
Let’s all stand up and cheer for our Week 4 Winner –
Brenda G. in TX
Woohoo! Yippee!Congrats!
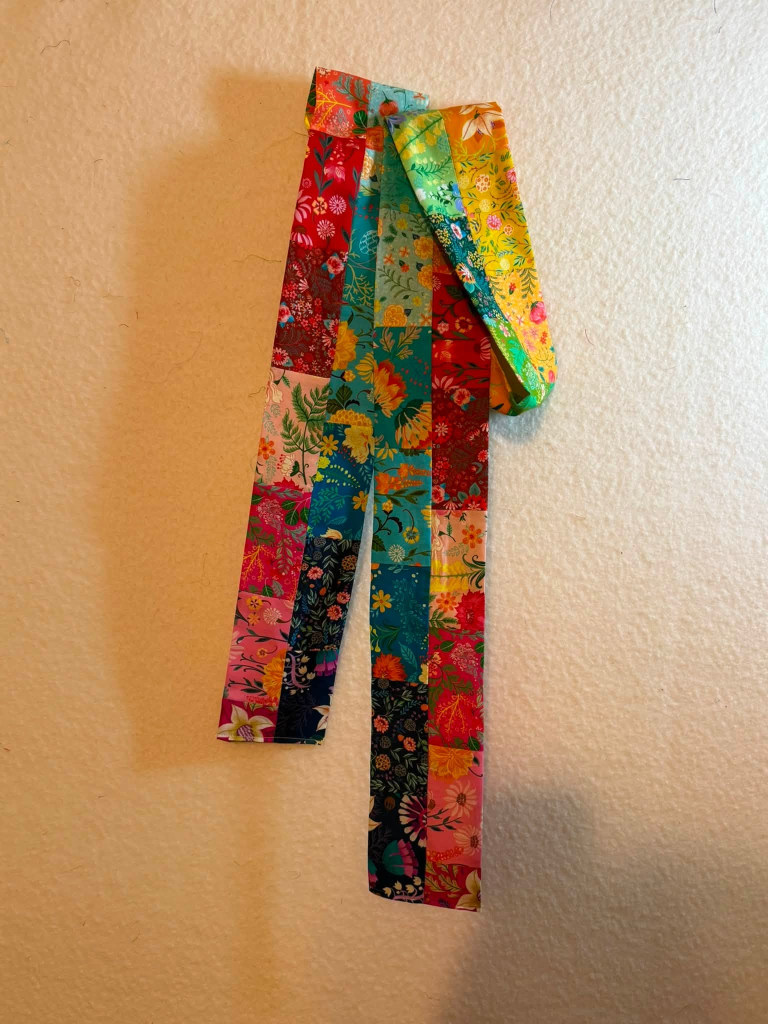
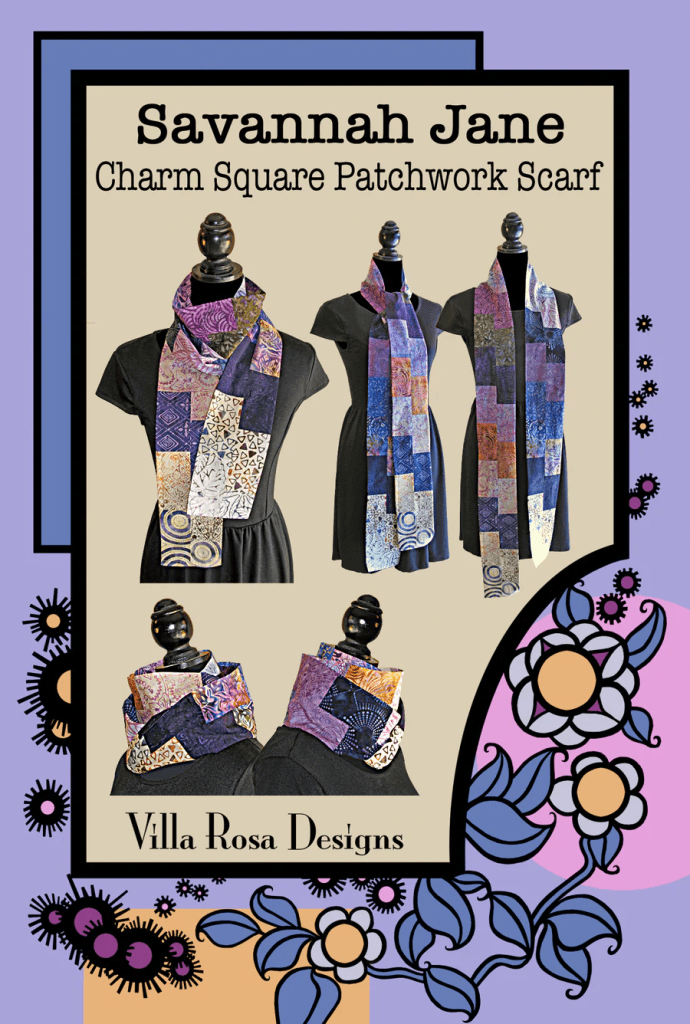
Here’s Brenda’s Week 4 Savannah Jane scarf. What fun fabrics and the colors are sew yummy! Yay you!
Here’s the Savannah pattern links if you haven’t added it to your pattern collection yet. It’s fast and fun…….it’s Villa Rosa!
VRD Small Summer Project Challenge Week 5and My Not-So-Funny Story
This week’s Challenge is a completed table runner and I personally know for sure that you have A LOT of patterns to choose from. You can check out our VRD Rose Card table runner patterns HERE. Your finished table runner is due by midnight Friday July 24th EST.
I’ve been checking out the Challenge runners posted on Facebook so far and I must say, they are all really terrific. It never fails to amaze me how different fabrics can totally change the look of a pattern. The arrangement of lights and darks can also change the overall look of a quilt project, too. And don’t forget the quilting – hand or machine – it adds to the uniqueness of each and every project.
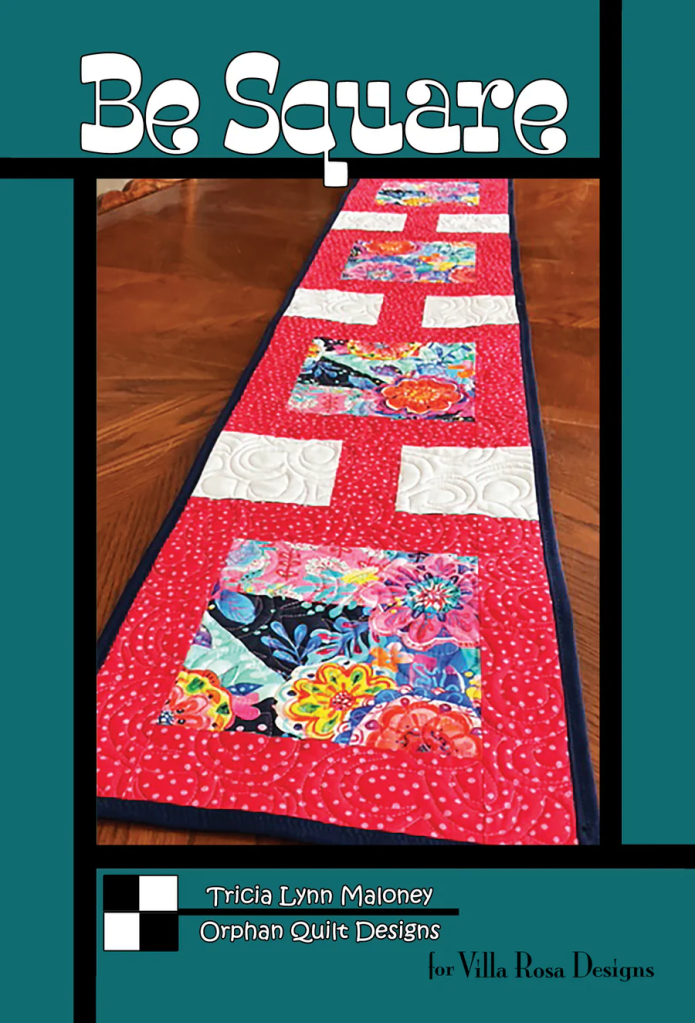
I must apologize again – I did not complete my table runner this week. If I had, I was going to make the Be Square runner and use fall fabrics for a quick autumn runner. Sigh…..it would have been really cute, too. I’m still planning to make it, but just not this week.
Sure, I’ve been totally swamped with family and summer events like all of you, including double family reunions this weekend. But the biggest and best excuse I’ve had for just about everything over the last few months (LOL!) is my health.
I didn’t mention it a couple of weeks ago when I wasn’t able to complete my project, but I have been fighting Lyme disease. I probably contracted it sometime in May, although who really knows for sure? I’m not a hiker and I don’t spend much time in the woods, so the likeliest place was probably my own yard, possibly while walking Bailly, gardening, or simply spending time outside.
My area of Pennsylvania is known for Lyme disease because it is rural, with lots of woods, trees, deer, and other wildlife. It’s probably surprising that I haven’t gotten it sooner, really. So now I’ve joined the ranks of the Lyme afflicted.
The hardest part is that I finished my antibiotics three weeks ago, and I am still experiencing symptoms. What are Lyme symptoms, you might ask? Well, they can be pretty nonspecific and often feel a lot like the flu.
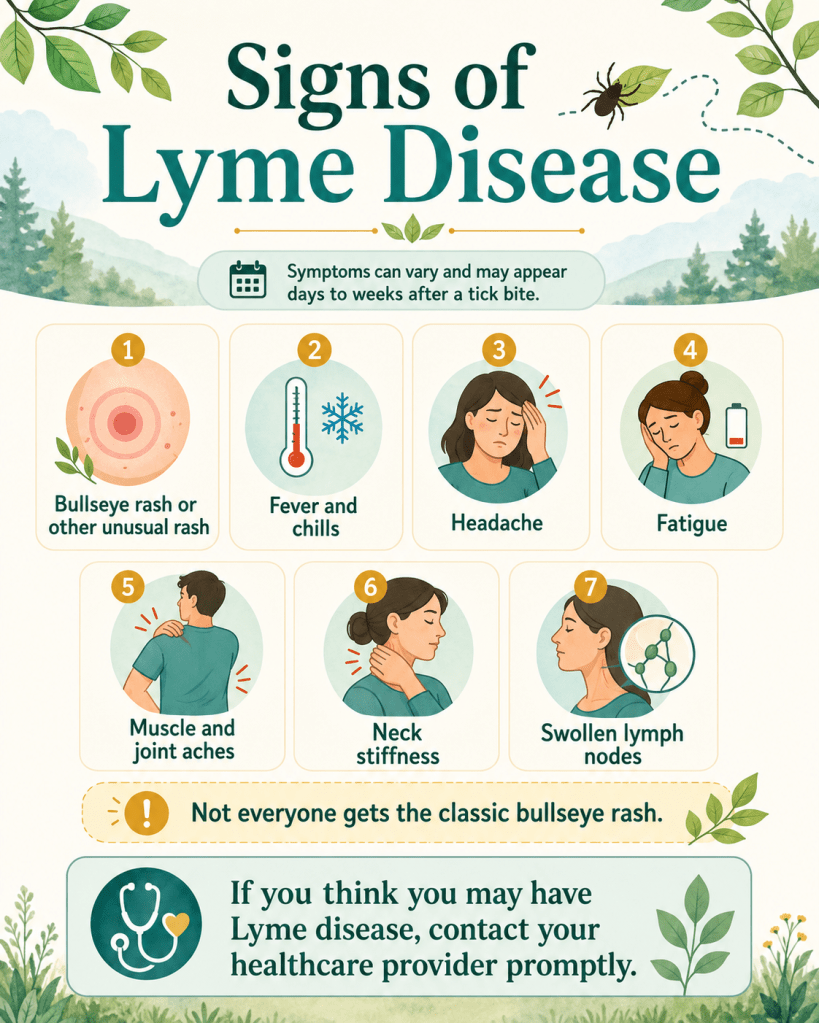
With Lyme disease, you hear all about the classic bullseye rash. Well, guess what? Not everyone gets one. I didn’t. If I had, I probably would have been diagnosed sooner.
Instead, I had a puffy round, very itchy red spot that I honestly thought was a spider bite. I had it for weeks, perhaps even a month, before it began to fade. Then another itchy red spot appeared nearby.
Another spider bite? I wondered.
Some people do not notice a rash at all.
My other symptoms were spread out over several weeks rather than appearing all at once, so I never connected them. Then my friend Mary Lee mentioned that her great-nephew had contracted Lyme disease while camping. Thank goodness she told me about the poor kiddo, because something finally clicked.
I looked up the symptoms online (see the poster above), and I realized that I had experienced many of them, just not all at the same time. By the last week of June, before my diagnosis and treatment, I was feeling really awful.
Unfortunately, the symptoms didn’t disappear after I finished my antibiotics. Three weeks later, I am still dealing with them.
So what’s next?
I have tests and lab work that need to be completed, and then I’m off to the Infectious Disease office. I don’t know what will happen at that point. For now, the doctors are trying to rule out other possibilities before adding a new diagnosis or treatment.
In the meantime, I’m moving about as fast as a turtle who needs frequent rest breaks. The exhaustion can be overwhelming, and the lack of energy has made it difficult to accomplish everything I need to do. But I’m hanging in there, even if the Challenge host is currently moving at a slightly less-than-challenging speed.
I decided to share my diagnosis for a couple of reasons.
The first is to explain why I wasn’t able to finish another project for the Challenge I’m hosting. I’m certainly not happy about missing it, but right now I simply cannot add anything else to my plate.
The second is that sharing my Lyme journey might help someone else recognize the symptoms and seek medical care sooner.
Lyme is a squirrely disease, and it can look like many other things. Please talk to your healthcare provider if you experience symptoms like those listed above, even if they appear gradually rather than all at once, as mine did.
If it isn’t Lyme, that’s wonderful. But if it is, early diagnosis and appropriate treatment can help prevent more serious problems.
You can find more information about Lyme Disease at the following websites:
Okay, I’m jumping off my podium now. Somebody turn off the microphone and the stage lights. LOL!
Week 6 of the Challenge
Wow! Week 6? Already? Our Summer Small Project Challenge has gone by so fast – just like summertime.
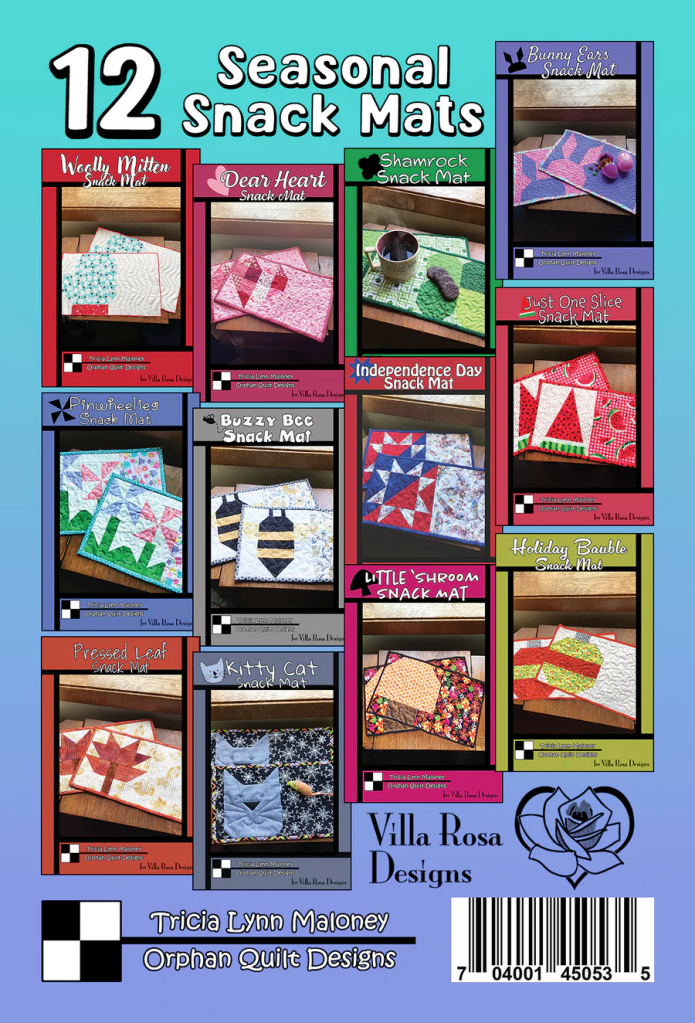
Week 6’s project is a completed set of 2 snack mats (including quilting and binding). There are 12 different seasonal snack mat patterns, so it shouldn’t be too hard to find one you like. Your Week 6 project is due by midnight Friday, July 31st EST.
You can find snack mat Rose Card patterns HERE, but did you know you can get the whole set of 12 patterns?
I hope all of you are having an amazing summer filled with family, fun, sun, and maybe a little bit of quilting and sewing, too! For me, the quilting and sewing has come in little fits and spurts, but never fear – I am still getting my creative groove on very regularly. Which is a good thing because I tend to get cranky when I haven’t spent time doing creative things for a while. Are you like this too?
We are now finishing Week 4 of our Small Project Summer Challenge and I’m thrilled to say that participation has been right around 50%. That is really terrific. I wasn’t sure what people would think of our smaller projects, but folks seem to be having fun and enjoying them. I’ve had many lovely comments about how fun the projects are and if it hadn’t been for the challenge, participants might not ever have tried making a particular small project. I’m hoping that next summer, we can do this again and my fingers are crossed that we’ll have even more small project options for you. My question for everyone is:
What kind of small projects would you like to see as VRD Rose Card patterns?
Please keep in mind that our space is limited for instructions, so each project has to fit on the back of a 4″ x 6″ postcard. This is not always an easy task and sometimes we have to get creative with our allotted space, which may even include several revisions. But somehow, we always figure it out in the end. It’s definitely a special skill to write a complete project pattern on the back of a postcard along with appropriate diagrams. Big high-five to all of our VRD designers for their creativity and problem-solving skills! Yay you!
Before we get started on our Week 4 Challenge, we can’t forget our Week 3 drawing winner!
Week 3 Winner
Big giant ovation for our Week 3 Winner!
Toss some confetti!
Where are those cheerleaders at?
Oh well…..
Congrats to…..
Pat C. of NY
Yay Pat! Well done! Kudos!
Here’s Pat’s version of Louisa Jane:
She made it for her granddaughter and the pillowcase doubles as a bag to carry toys and stuffed animals to Grandma’s house! What a wonderful idea, Pat!
Should you choose to accept the Week 4 scarf challenge, your scarf is due by midnight Friday, July 17th EST.
This blog post will self destruct in 5 seconds……no, not really. I just wanted to write that. LOL!
Do you wanna see my scarf for this week???
Here it is…….I made the Inessa Jane infinity scarf. And here I am modeling it.
I’ve never really worn a lot of scarves except for in the winter here in chilly NW PA, but…..I might reconsider. This scarf turned out great and I think the colors of these Hoffman batiks are so pretty. And funny enough, my blue frames look great with the scarf. LOL!
I thought a tutorial for Inessa Jane would also be nice…….
VRD Inessa Jane Tutorial
Of course, choosing fabrics is pretty much always our first step (and maybe a favorite, too). I picked two coordinating but different batiks for the scarf so it could be worn with the blue side out, the lavender side out, or folded so you could see both sides. Lots of fun options. You could use a single fabric too.
Now I’ll have to learn how to wrap and fold my Inessa Jane Infinity Scarf. You can check out a fun video HERE for 10 different ways to wear your infinity scarf!
Next I cut my batik strips for the scarf. You can make your scarf longer by adding additional strips, just remember to increase the number of strips for both fabrics.
Off I went to my sewing machine to sew each fabric’s long strips together end to end.
Throughout the project, I back-stitched at the beginning and end of my seams so they didn’t have a chance to unravel while I handled and manipulated the scarf during the sewing process..
Next I layered the long strips of my 2 batiks together with right sides together (batiks are the same on both sides, so I had to watch to make sure that the seam sides were my “wrong sides”) and I stitched down both long sides of my scarf. I matched my seams and nestled them together.
The fun part is next – turning the scarf right sides out. Such a weird feeling thing to do, but pretty cool, too.
Now it’s time for the tricky part. I matched up the rights sides of the short scarf ends with the help of a few pins and carefully stitched around the scarf width as far as I could go. I also made sure to line up my seams and nestle them together again.
Once I sewed as far as I could, I back-stitched and stopped. There were maybe 4 inches or so left unsewn.
So, my final step was to slip-stitch the opening closed by hand. Boy, I learned something very important during this step – I’m not that great at slip-stitching especially really late at night. LOL! But I finished it. It wasn’t completely horrible but it did pucker a little bit. Oh well…..
Ta da! Here is my finished scarf….again! Pretty cool. I think I’ll make some more of these and play with different ways to wear them.
Next week is Week 5 of our VRD Small Project Summer Challenge and our project is a finished table runner due by midnight Friday July 24th EST.
See you then! Don’t forget to take a moment and smell the roses. summer is going fast.
I hope you are all set to enjoy the celebration this weekend for the 250th Birthday of the United States of America. I’m looking forward to the fireworks and all the different events going on.
Of course right now the weather is looking rainy, but I have hopes it will clear up and be a gorgeous weekend for everyone. We’re having a heatwave right now with temperatures in the mid 90’s. I am not a hot weather girl at all, so I will stay in the air conditioning and ride out the heat. Just hand me a bowl of ice cream – something with chocolate – and I’ll be happy as a clam. And cool. LOL!
We are wrapping up Week 2 of our Small Project Summer Challenge this week – our project is a VRD Tote bag. Here’s the info and schedule in case you need it.
Now let’s revisit Week 1 with a winner!
Week 1 Winner
Yay! It’s time to announce our first Small Project Summer Challenge winner!
Toss the confetti!
Cue the band!
And our Week 1 winner is………….
Susan L. from WV
Congrats, Susan!
Susan made a fun dog lover’s version of Fairhaven. This one really makes me smile because of all the canine fabrics. A fun fast make!
Guess what? Susan already donated her Fairhaven quilt to Project Linus!
Project Linus has been giving handmade blankets and quilts to kids since 1995. And in 31 years, they’ve given over 10 million blankets to children. WHOAH! You can find additional information or how to get involved on the Project Linus website HERE.
Our Week 2 Challenge this week is for a VRD tote bag. Your tote bag project is due Friday, July 3rd by midnight EST.
We have 2 different VRD tote bag patterns or you could adapt a different VRD pattern into a tote bag. What a fun idea! I hadn’t thought of that until one of the participants asked me about it. Thanks for the great idea!
So……..my tote bag this week is Tabitha Jane. Have you made this one yet? It’s totally reversible, which means you get 4 looks with one tote bag. That’s uber cool, right?
So here’s my red, white, and blue version of Tabitha Jane!
Like I said: 1 tote bag – 4 different looks! I can’t decide which side I like the best. Which one do you like?
It was really quick, perhaps 2 or 3 hours (including photography on my end) to make this super useful and fun tote. Tabitha Jane would be a great tote for yourself or for someone else! I can’t wait to make a few more, maybe one for each season? Did I mention it’s made out of fat quarters???
I also created a tutorial for you for Tabitha Jane. Now you’ve totally got to make one of these!
VRD Tutorial Tabitha Jane
Probably the hardest thing about this pattern is choosing your 6 FQs! Of course, you can absolutely make more than one of these totes so you can can choose 6, 12, 18….or more FQs. LOL!
I settled on these 6 patriotic FQs from Deb Strain’s America 250 Years collection by Moda Fabrics. What a surprise – I’m making red, white, and blue projects for the Summer Challenge. Ha ha!
Next up is cutting. I layered my FQs together so I only had to cut once. Do likewise if you feel comfortable, but cutting 1 layer at a time is perfectly okay too.
Now to cut the other 2 FQs. And with that, the cutting is finished. Wow! That was quick!
We’re going to make our straps first. Here are my 4 fabrics for my straps.
To make the straps, the first thing to do is stitch the smaller strips together to make 4 long strips. I chose to sew matching strips together, but you can totally scrap this up if you want to. You do you.
After I stitch my strips together, I’m going to press the seams open.
Next I am going to layer 2 strap strips right sides together (RST) and sew down both long edges to make my 2 straps.
Oh goody (not really)….Time to turn both straps right side out (RSO). This is one of my least favorite things to do when sewing bags. Usually I fold my strips in half and then in half again to avoid having to turn things RSO. But these straps are pretty wide, so here goes……
I am using a large safety pin (Yup, one of my quilt basting pins) to turn my strips RSO. The pin gives me something to hold onto as I turn the strap.
Now I need to press my straps flat.
I’m going to sew close to both sides of each strap. This is for 2 reasons – 1st because it will keep the straps flat and 2nd because the stitching will help stabilize the straps as we did not add any interfacing or batting.
I’m also going to add more stitching down the middle of each strap for even more stabilization. And I’m going to use one of the zillion special stitches on my sewing machine to make it fun. I chose this cute star and decided to use variegated thread.
After I finished the straps, though, I wish I had used a solid navy blue thread instead of the variegated because the stars would have shown up better. Oh well…….
Time to work on the body of the tote now. I’m going to sew the smaller rectangles to the top and bottom of the large rectangles to make 2 bags. The finished bag doesn’t have any interfacing or batting, so if you want to add any to make your bag sturdier, now would be the time to add it. But I’m going to continue without adding any stabilizer for this one.
When I make a project for the first time, I like to follow the directions pretty close so I understand how it all goes together. Then if/when I make another one, I might choose to make changes or adapt the pattern.
I’m going to fold each bag body section in half with RST so the top and bottom edges match. Then I’m going to sew down both sides of the tote for both pieces. When you turn them RSO, don’t forget to push out the corners and give the bags a press.
All that is left is to assemble the bag parts and the straps.
If desired, you can fold under the tops of the bags as the next step before placing one bag inside the other with wrong sides together, but I prefer doing the top seam allowance after 1 bag is already inside the other bag because I find I can get the top seams lined up better.
I’m going to turn one of the bags inside out again and place it inside the other bag (which is RSO) so that the wrong sides are facing towards each other. Smooth the bags out and line up the side seams.
I like to work with one bag at a time as I fold and press the seam allowance to the wrong side of the bag. Next I’ll match the top edges as I fold the 2nd bag seam allowance towards the wrong side and press. I pin generously to keep the bag tops lined up.
Before I sew the top of the bag, though, I need to insert my straps and pin them. I used my ruler when I pinned the straps between the 2 bags so that everything would be neat and square.
The last thing to do is to sew around the top of the bag close to the edge. I then zigzagged around the top of the bag to give the straps a little more support. Apparently, I forgot to take a few photos of this step. LOL! Sorry about that.
Anyway, here is my finished bag (again). All 4 sides.
What a super fun tote bag! Hmmmmm……..I’m thinking these would make great “gift bags” for Christmas. A gift within a gift.
Small Project Summer Challenge Week 3 Next Week
Next week for Week 3 of our Small Project Summer Challenge, we’ll be making pillows/pillow covers. We have some really fun VRD options for you! You can find both digital and print pillow patterns HERE.
Garden Wishes
Parade Day
Spring Blooms
Good Luck
Dot to Dot
Happy Hearts
Belinda Jane
Louisa Jane
Your pillow project is due by midnight July 10th EST.
Are you ready for our Small Project Summer Challenge? I know I am! I can’t wait to see what everyone is making for Week 1 – a quilt under 50″ square. I’ll be checking Facebook out eagerly to see everyone’s projects, so make sure you get a photo of your completed Week 1 project onto the VRD Facebook page before Friday, June 26th midnight EST. Or you can email me your photo at tricia@villarosadesigns.com.
So far I have 34 folks signed up for our Summer Challenge. I am thrilled and welcome each and every one of you with a great big hug! A BIG high-five to those of you who already participated in one of the 6 Quilts in 6 Weeks Challenges…and a super special welcome to those of you signing up for a VRD Challenge for the first time. Be prepared to laugh a lot and be inspired by everyone’s projects for the next 6 weeks. Not only are you creating some fun small projects that make great gifts for yourself or someone else on your gift giving list, each week that you complete the weekly challenge, your name goes into a random weekly drawing. Prizes will be shipped after the Challenge is over.
Wanna see my Week 1 Project???
Tricia’s Summer Challenge Week 1 Make
I’ve always wanted to make Cabin Fever by Running Doe Quilts for VRD. Log Cabin quilts are some of my many favs so when I hatched the Summer Challenge, I just knew I had to make Cabin Fever……finally.
And since it’s summertime as well as the 250th birthday of the USA, I simply had to use patriotic fabrics, of course. LOL!
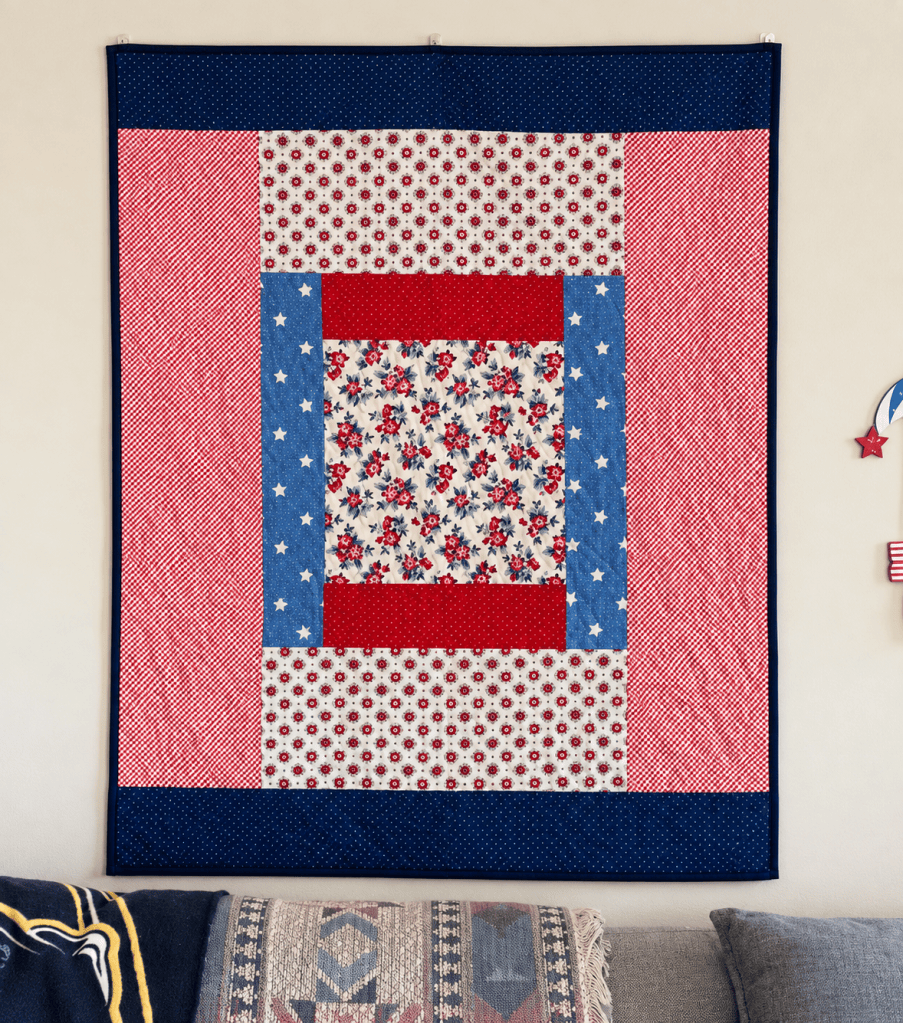
Sooooooo, here’s my Patriotic Cabin Fever!
I think it turned out really cute and I plan to hang it in the living room over the sofa just as soon as I get a chance to do it.
And here’s a fun photo I just had to take on my cute little red Jeep Compass. It was a perfect day with the gorgeous summer sky and fluffy clouds, about 75 degrees. And all the green in the background. Welcome to NW PA!
I used a 100% cotton variegated red, white, and blue Aurifil thread to quilt it in my usual loopy design. The binding is a navy blue solid and I machine stitched it on. I think I’ve finally gotten the hang of that now – it saves me so much time these days, although I still like the look of hand-stitched binding better.
You might notice that my blue strips at the top and bottom are actually 2 similar blue prints sewn together in the center of the strip. I was using a collection of fat quarters and a couple pieces of coordinating yardage to make my Cabin Fever quilt. I didn’t plan out the fabric very well and then I ended up not having enough of 1 blue fabric to use for the top and bottom, so I improvised. I ended up piecing 2 very similar fabrics to make the strips long enough for the top and bottom of the quilt. But, you know what? I think it turned out pretty well and it looks intentional, not random.
How about a tutorial for Cabin Fever?
VRD Cabin Fever Quilt Tutorial
I started with a leftover collection of Moda Star Spangled FQs plus a few coordinates as you can see here. But my blue FQs weren’t complete as I’d used some of them in another porject.
I started with the center square. I cut my pieces as I sewed, do likewise of you want. Or you can cut everything out at once before you begin sewing. You could even cut multiple quilts out at once.
I chose this really pretty light floral print for the center because I didn’t want it to be a quilt that necessarily screamed patriotic, but I wanted my quilt to be patriotic. Does this make any sense at all?
Then I sewed the red strips to the top and bottom of my floral square.
Time to cut and add the side strips next.
Next up are top and bottom strips. You’ll notice that the strips get wider for each top/bottom or sides round. I think that’s part of the magic in this pattern. Going bigger means less strips and less piecing to get to the desired size which translates into a faster project. Yay!
Side strips again. This quilt is coming together really fast!
Last, but not least are the final top/bottom strips. This is where I ran into trouble. LOL! I wanted dark blue at the top and bottom, but I didn’t have enough of a single fabric. So, I improvised by piecing 2 similar fabrics together for the top/bottom strips. I took a few extra minutes to line up the center seams so they matched and looked intentional. And I flipped the bottom strip so the same fabric wasn’t on the same side. I think it turned out pretty well in the end.
Voila! The finished quilt top!
I hope you’ll give this fast and fun small quilt a try sometime. It really is a great summer make. It is a super wall quilt (I’ll show you when I actually get it up on the wall) or a wonderful table quilt – perhaps for a summer picnic – or as a lovely quick baby quilt. Use your stash or use it as an excuse to go shopping at your local quilt shop.
Next week for Week 2 of our Summer Challenge is a TOTE BAG. We have 2 different VRD tote bag patterns to chose from: Olivia Jane or Tabitha Jane. Olivia Jane uses 5″ Charm squares while Tabitha Jane uses FQs.
Here’s a fun tutorial for Olivia Jane where I show you some of the adaptations you can add to your Olivia Jane tote.
Are you getting ready for our Small Project Summer Challenge? The first project is a quilt 50″ x 50″ or smaller and is due Friday, June 26th by midnight EST. Here’s all the info for you in case you missed it last week or on our VRD Facebook page:
And here’s the schedule for the Challenge:
I had some questions about the Challenge, so I thought I’d share them with you in case you were wondering the same thing. 🙂
Do the projects have to be completed? Yes, the projects need to be fully completed (quilts need to be quilted and bound) and a photo uploaded to our VRD Facebook Page or you can email photos to me at tricia@villarosadesigns.com by the week’s deadline midnight EST.
Can I change/alter a pattern? Absolutely! As long as you are using a VRD pattern, you are welcome to change the size of the project, number of blocks, size of blocks, etc.
Can the pillow be a pillow sham or cover? Yep, I believe most if not all of our VRD pillow patterns are for pillow covers.
Do I have to do all 6 weekly challenges? Nope, you can do as many of the 6 weekly challenges as you are able. You will be entered in the weekly prize drawings that you create a project for. Easy peasy.
Can I make projects ahead or can I only make one each week? I have no problem if you work ahead when you have time (hey……that’s how I roll, too). Just remember to upload your weekly project photo to the FB group or send it to me via email by each week’s deadline.
Is there a separate FB group for the Small Project Summer Challenge? Nope, I have found it a lot more efficient if I stick with the VRD Facebook page that way everyone can see our Challenge projects and they’ll wish they signed up if they didn’t. Personally, I love all the inspiration I get from seeing everyone’s projects (wink, wink).
Our Week 1 Challenge, due June 26th by midnight EST, is a quilt under 50″ x 50″. Yes, it does need to be quilted and bound. When I set this size for the project, I was totally thinking wall quilts or table quilts (NOT runners). If your project ends up a bit wider/longer than 50″, that’s okay – I’m not that fussy. 🙂
There are quite a few smaller quilts hiding in our VRD Rose Card pattern catalog, so i thought I share them with you. And besides, it’s been a while since I created a curated pattern list.
Curated List of Small Quilts under 50″ x 50″
In addition to the 50″ x 50″ or smaller patterns below, here’s a few other suggestions for you: 1. Make larger VRD patterns smaller by making less blocks or making the blocks a smaller size. 2. You could expand a table runner, pillow cover, or other small project if desired.
Now let’s check out some great smaller VRD patterns! I’ve included links to both the digital and print versions of the patterns for your convenience. Remember, print patterns always ship for free, regardless of how many you purchase.
Well, that’s it, folks! What an amazing collection of small quilts 50″ x 50″ or smaller. I knew we had a lot, but this is even more than I remembered!
I sincerely hope you made it all the way through the patterns, because there are some really awesome patterns. I bet you added some new-to-you ones to your “want to make” list. I know I did.
That’s a wrap! Next week I’ll show off my first project and I can’t wait to see what all of you participants are making for Week 1 of the Small Project Summer Challenge here on the VRD blog.