
Hello Quilty Friends!
Happy Thursday to you!
Are you ready for our Small Project Summer Challenge? I know I am! I can’t wait to see what everyone is making for Week 1 – a quilt under 50″ square. I’ll be checking Facebook out eagerly to see everyone’s projects, so make sure you get a photo of your completed Week 1 project onto the VRD Facebook page before Friday, June 26th midnight EST. Or you can email me your photo at tricia@villarosadesigns.com.
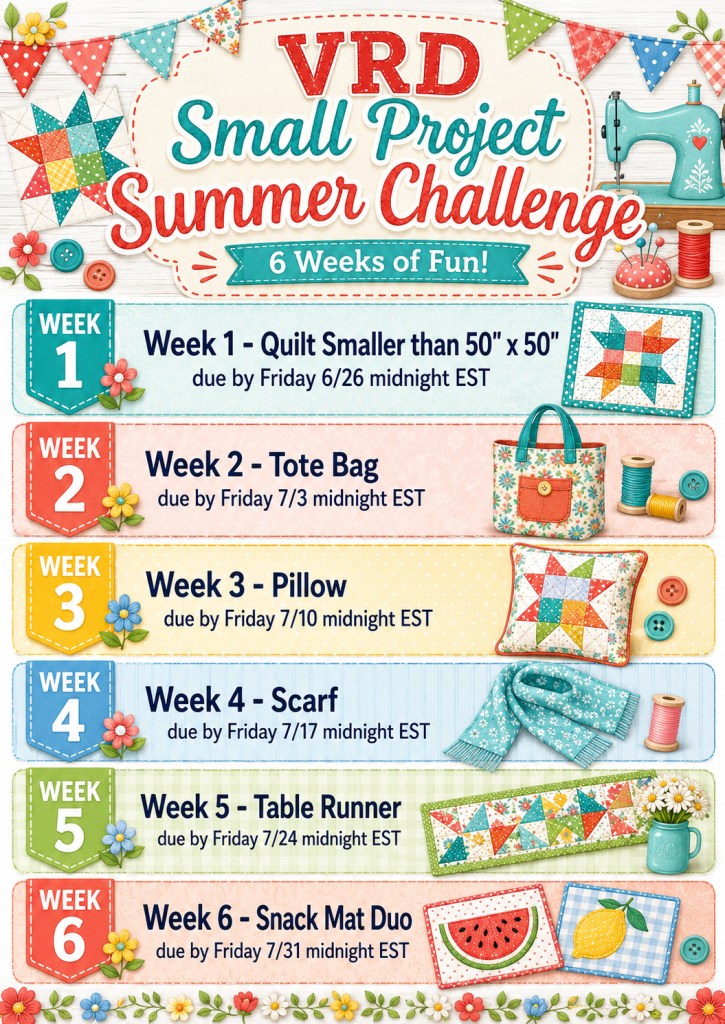
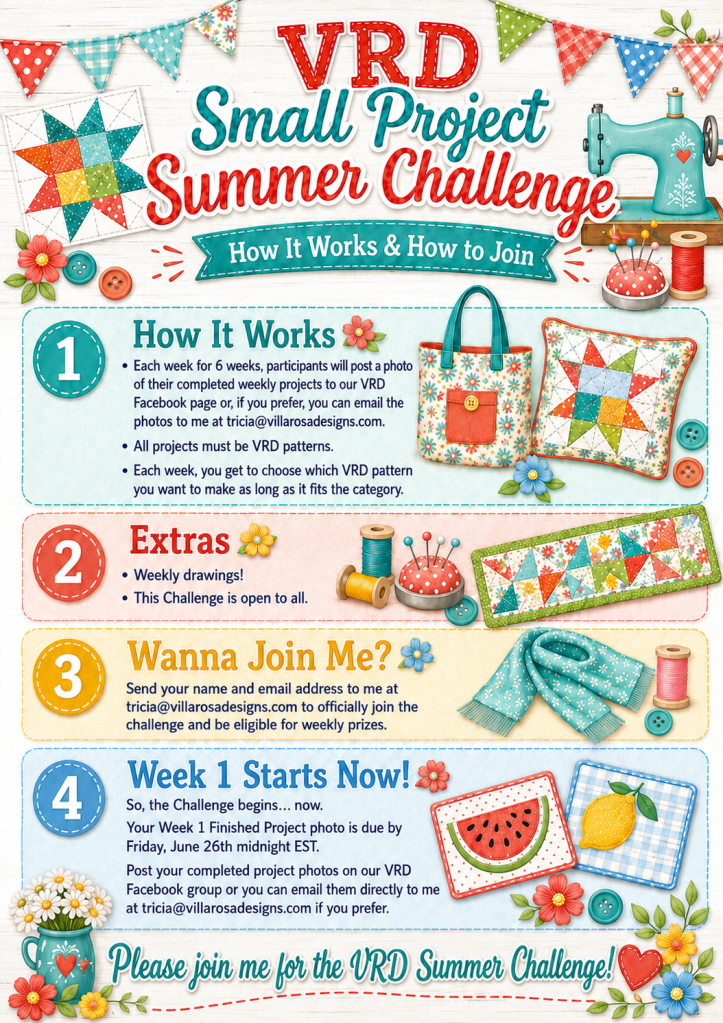
So far I have 34 folks signed up for our Summer Challenge. I am thrilled and welcome each and every one of you with a great big hug! A BIG high-five to those of you who already participated in one of the 6 Quilts in 6 Weeks Challenges…and a super special welcome to those of you signing up for a VRD Challenge for the first time. Be prepared to laugh a lot and be inspired by everyone’s projects for the next 6 weeks. Not only are you creating some fun small projects that make great gifts for yourself or someone else on your gift giving list, each week that you complete the weekly challenge, your name goes into a random weekly drawing. Prizes will be shipped after the Challenge is over.
Wanna see my Week 1 Project???
Tricia’s Summer Challenge Week 1 Make
I’ve always wanted to make Cabin Fever by Running Doe Quilts for VRD. Log Cabin quilts are some of my many favs so when I hatched the Summer Challenge, I just knew I had to make Cabin Fever……finally.

Get your digital pattern HERE or your print pattern HERE
And since it’s summertime as well as the 250th birthday of the USA, I simply had to use patriotic fabrics, of course. LOL!
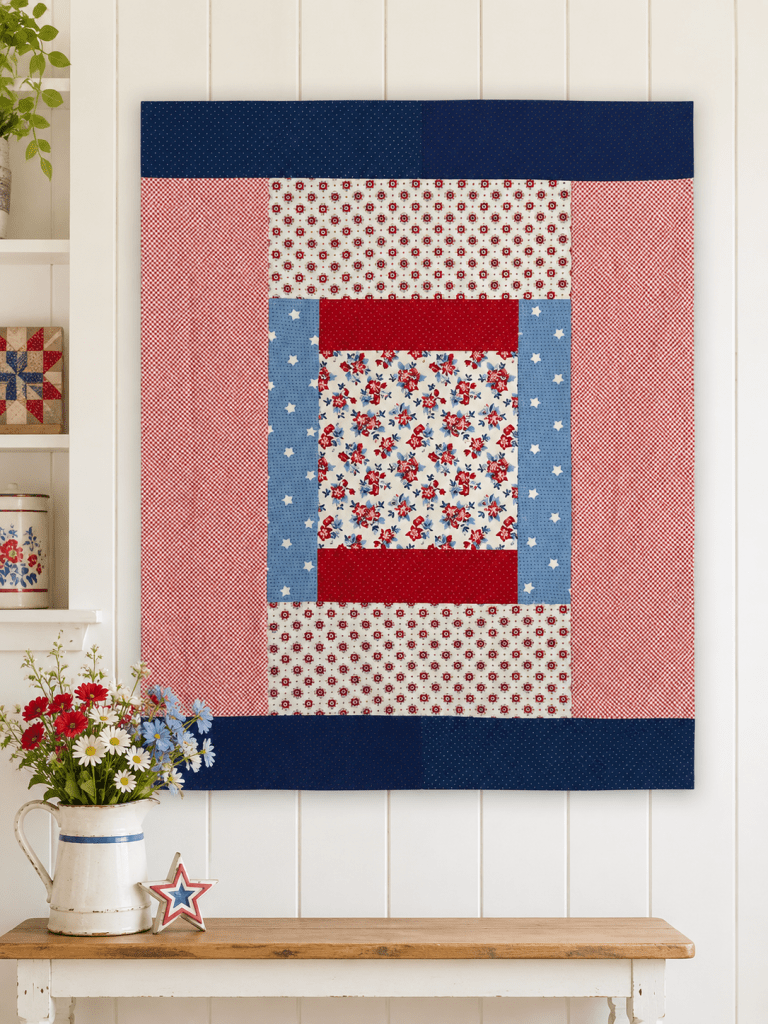
Sooooooo, here’s my Patriotic Cabin Fever!
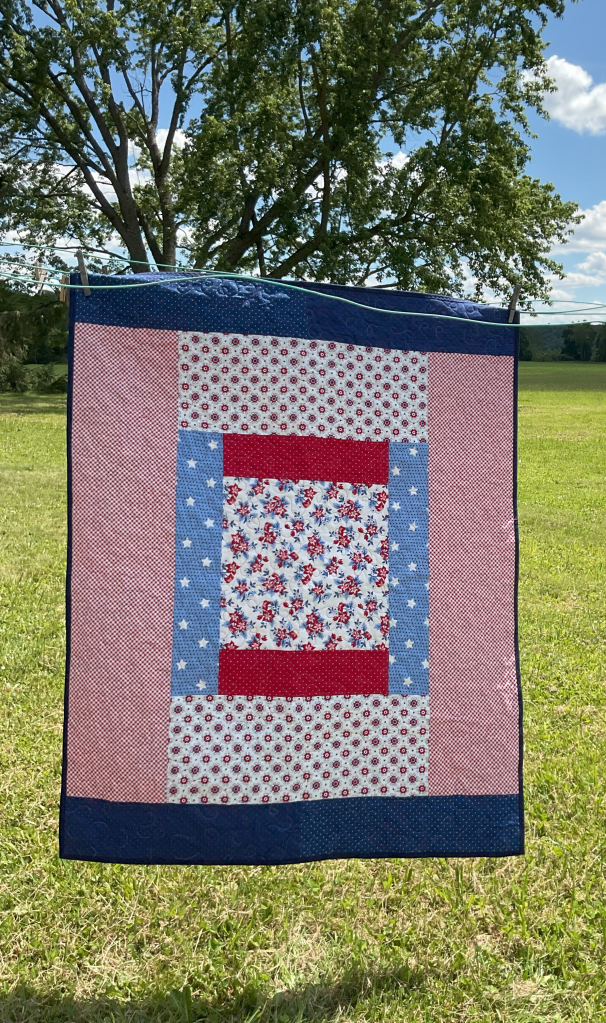
I think it turned out really cute and I plan to hang it in the living room over the sofa just as soon as I get a chance to do it.
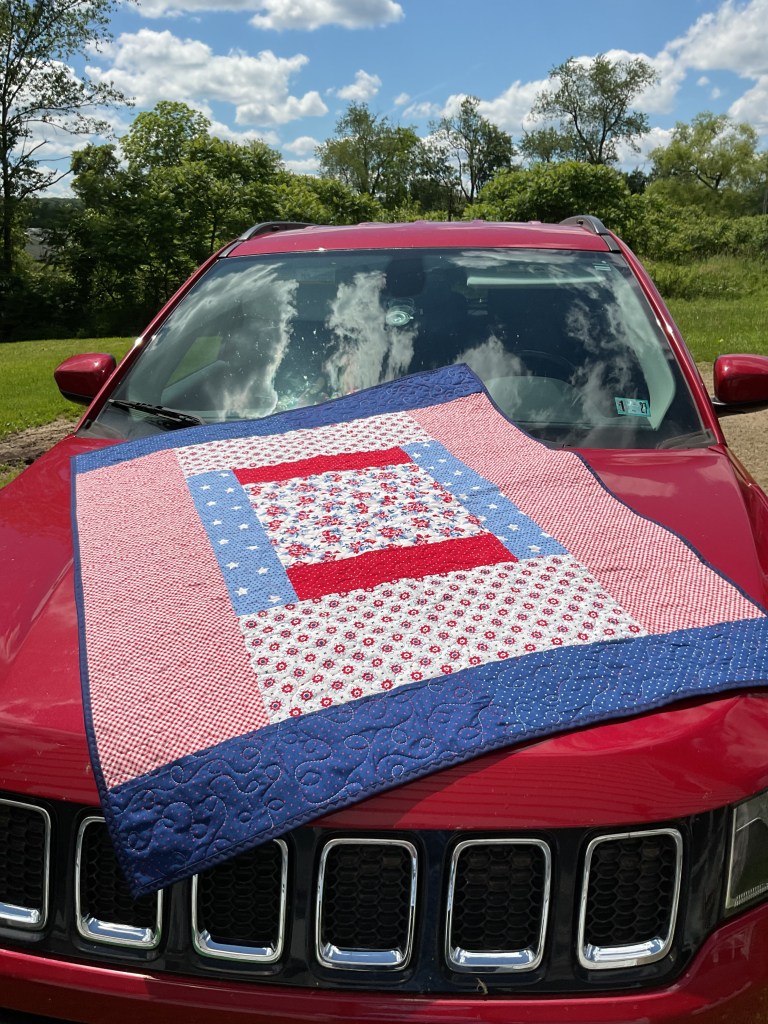
And here’s a fun photo I just had to take on my cute little red Jeep Compass. It was a perfect day with the gorgeous summer sky and fluffy clouds, about 75 degrees. And all the green in the background. Welcome to NW PA!
I used a 100% cotton variegated red, white, and blue Aurifil thread to quilt it in my usual loopy design. The binding is a navy blue solid and I machine stitched it on. I think I’ve finally gotten the hang of that now – it saves me so much time these days, although I still like the look of hand-stitched binding better.
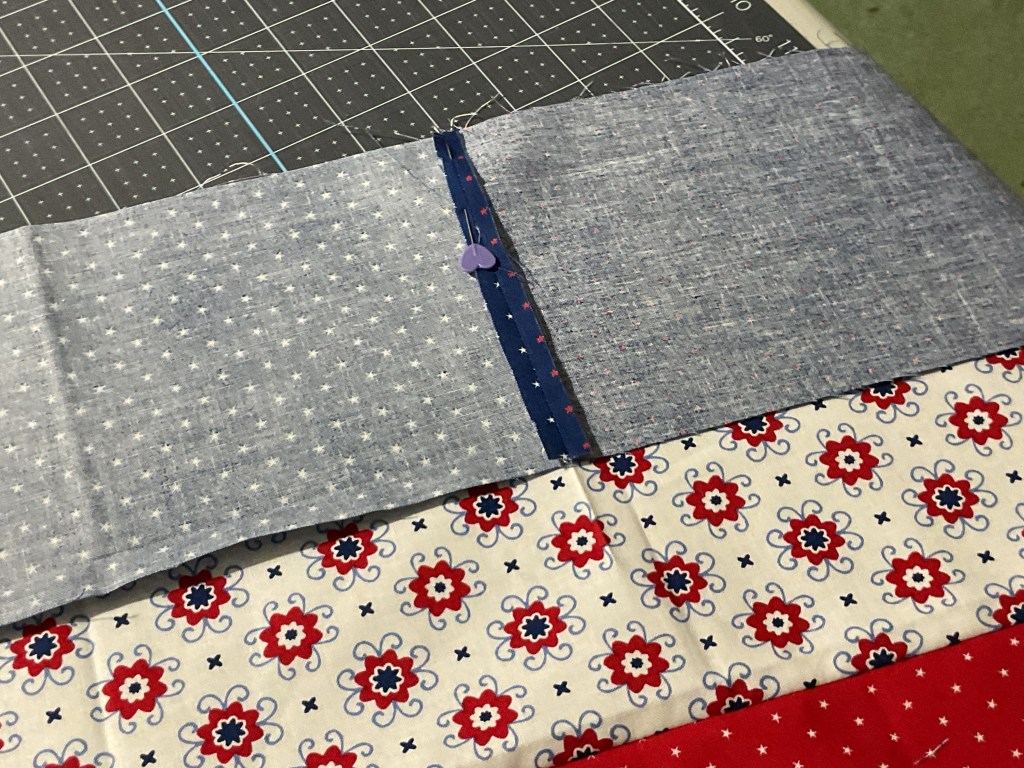
You might notice that my blue strips at the top and bottom are actually 2 similar blue prints sewn together in the center of the strip. I was using a collection of fat quarters and a couple pieces of coordinating yardage to make my Cabin Fever quilt. I didn’t plan out the fabric very well and then I ended up not having enough of 1 blue fabric to use for the top and bottom, so I improvised. I ended up piecing 2 very similar fabrics to make the strips long enough for the top and bottom of the quilt. But, you know what? I think it turned out pretty well and it looks intentional, not random.
How about a tutorial for Cabin Fever?
VRD Cabin Fever Quilt Tutorial
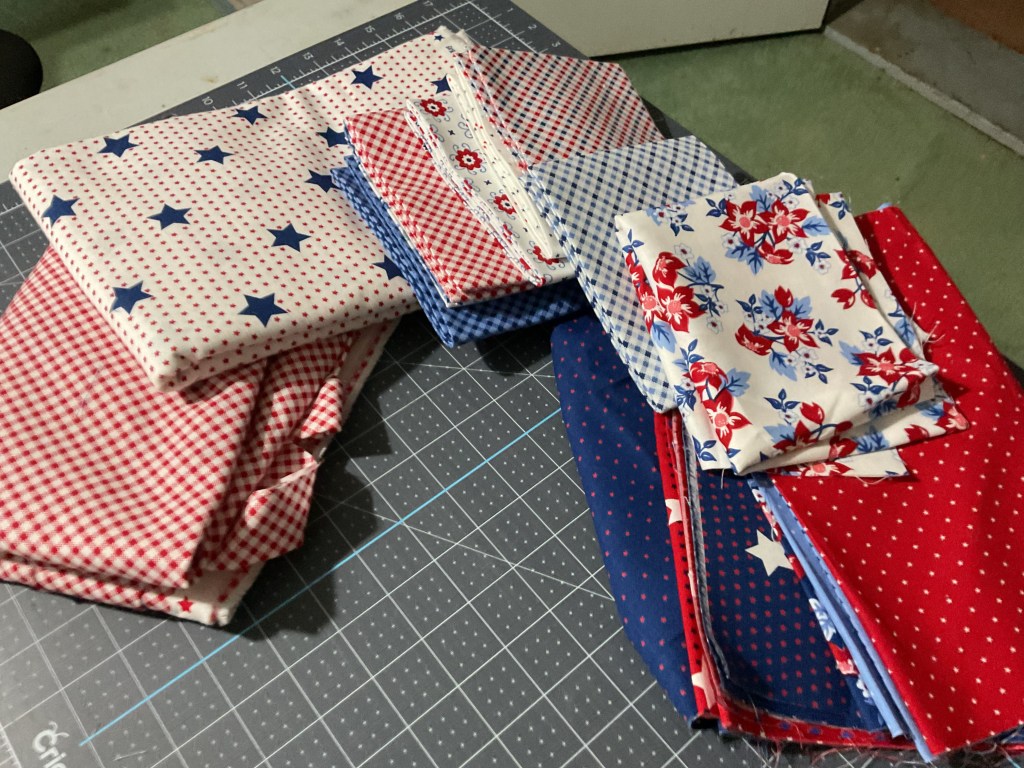
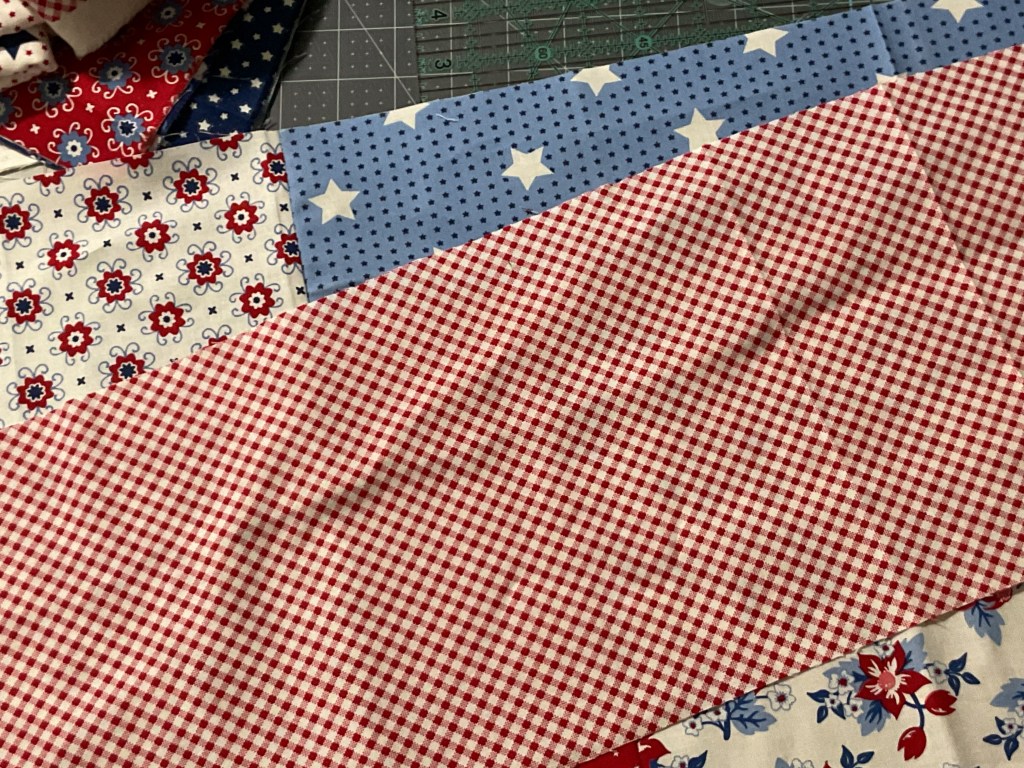
I started with a leftover collection of Moda Star Spangled FQs plus a few coordinates as you can see here. But my blue FQs weren’t complete as I’d used some of them in another porject.
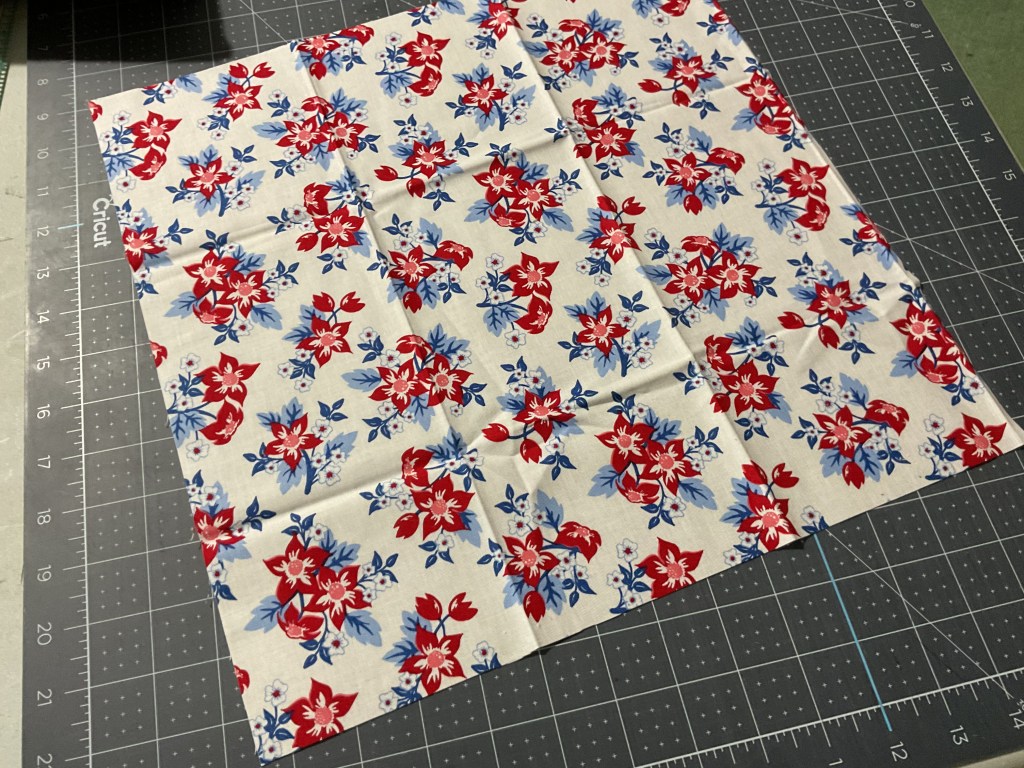
I started with the center square. I cut my pieces as I sewed, do likewise of you want. Or you can cut everything out at once before you begin sewing. You could even cut multiple quilts out at once.
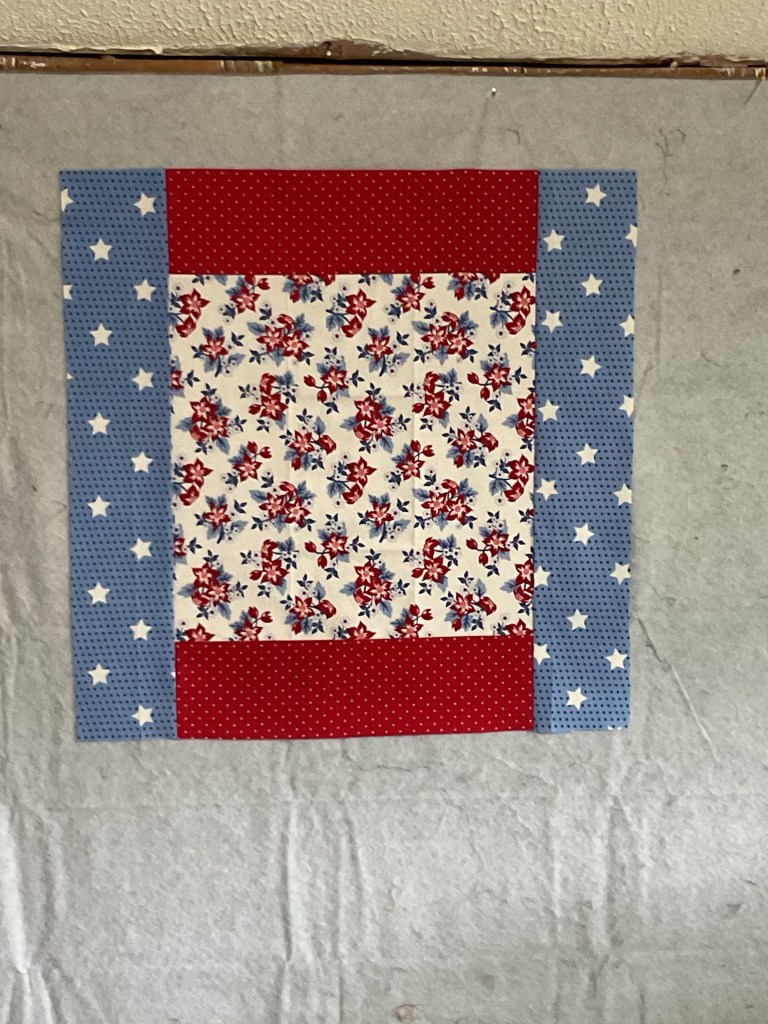
I chose this really pretty light floral print for the center because I didn’t want it to be a quilt that necessarily screamed patriotic, but I wanted my quilt to be patriotic. Does this make any sense at all?
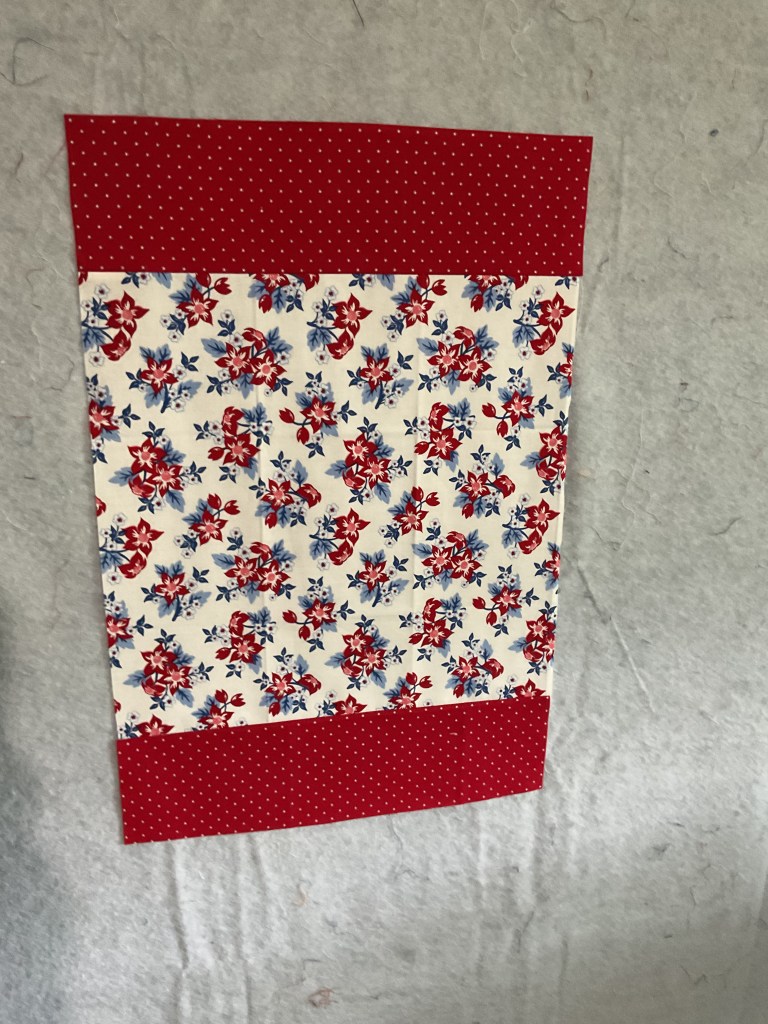
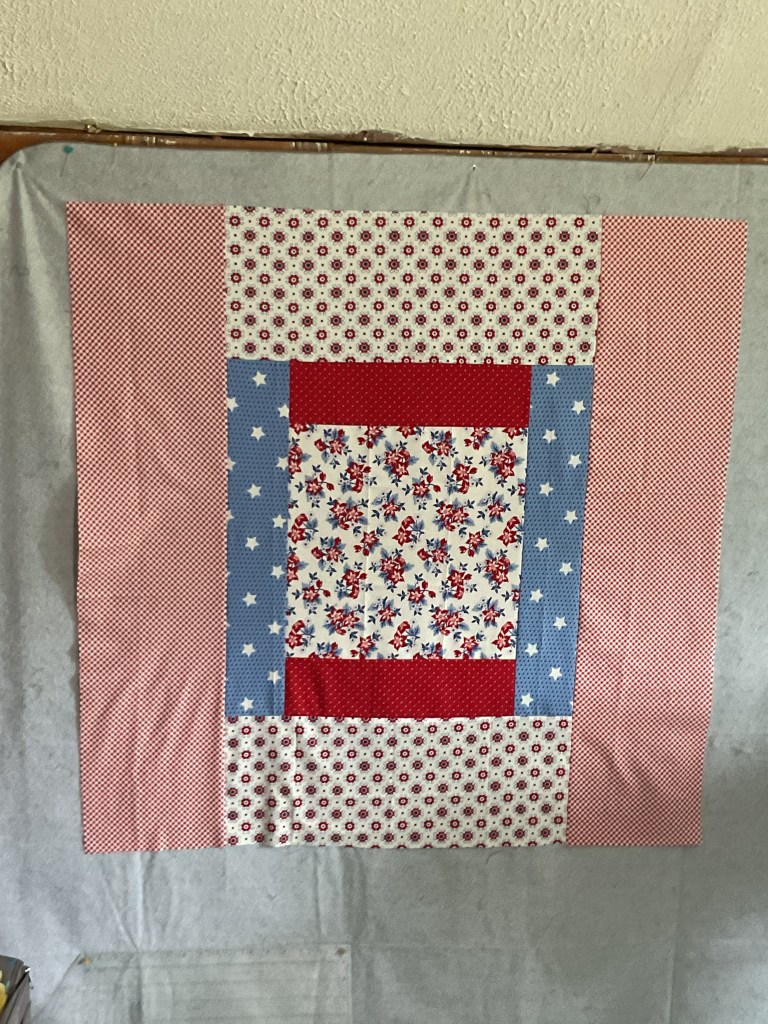
Then I sewed the red strips to the top and bottom of my floral square.
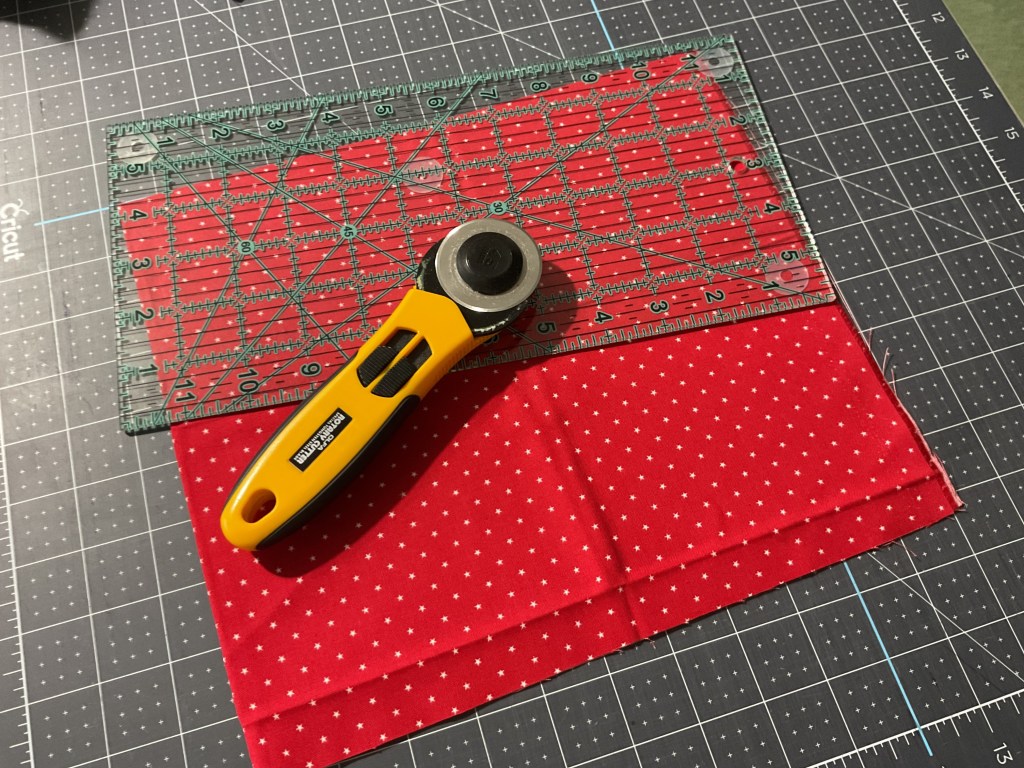
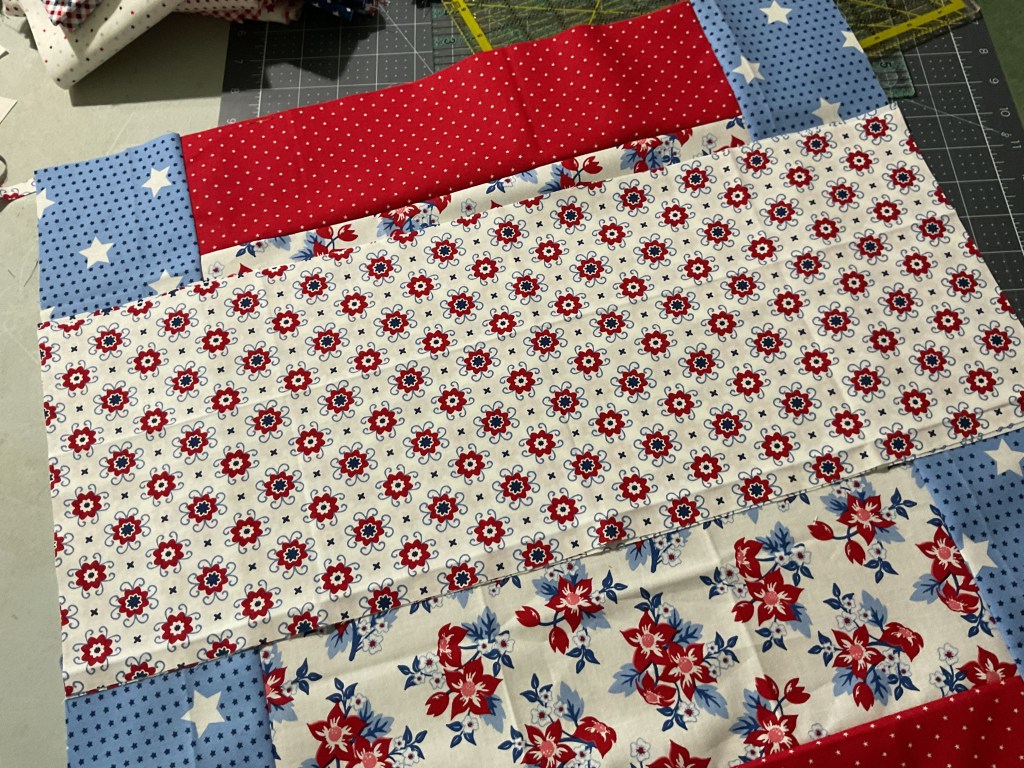
Time to cut and add the side strips next.

Next up are top and bottom strips. You’ll notice that the strips get wider for each top/bottom or sides round. I think that’s part of the magic in this pattern. Going bigger means less strips and less piecing to get to the desired size which translates into a faster project. Yay!
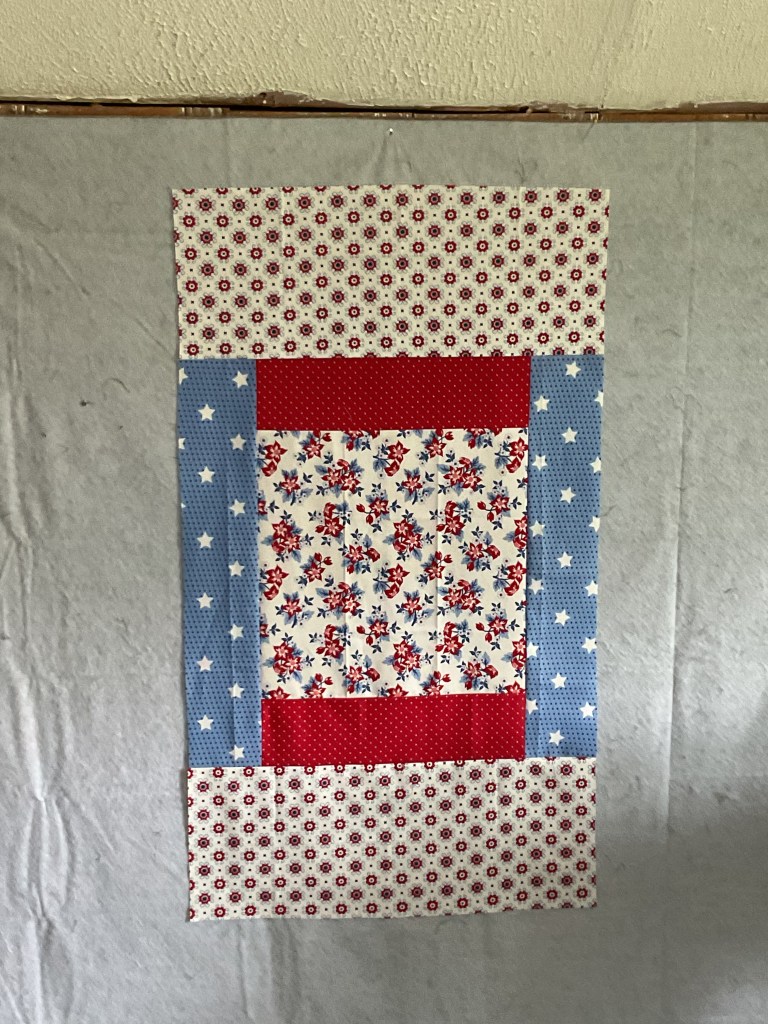
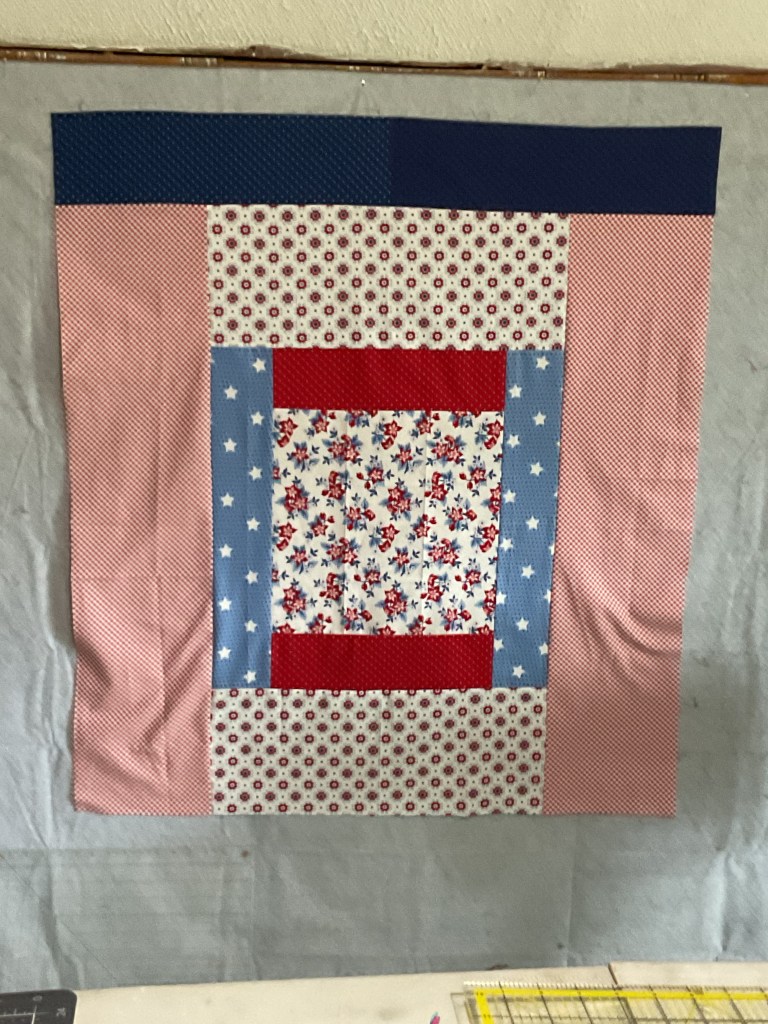
Side strips again. This quilt is coming together really fast!
Last, but not least are the final top/bottom strips. This is where I ran into trouble. LOL! I wanted dark blue at the top and bottom, but I didn’t have enough of a single fabric. So, I improvised by piecing 2 similar fabrics together for the top/bottom strips. I took a few extra minutes to line up the center seams so they matched and looked intentional. And I flipped the bottom strip so the same fabric wasn’t on the same side. I think it turned out pretty well in the end.
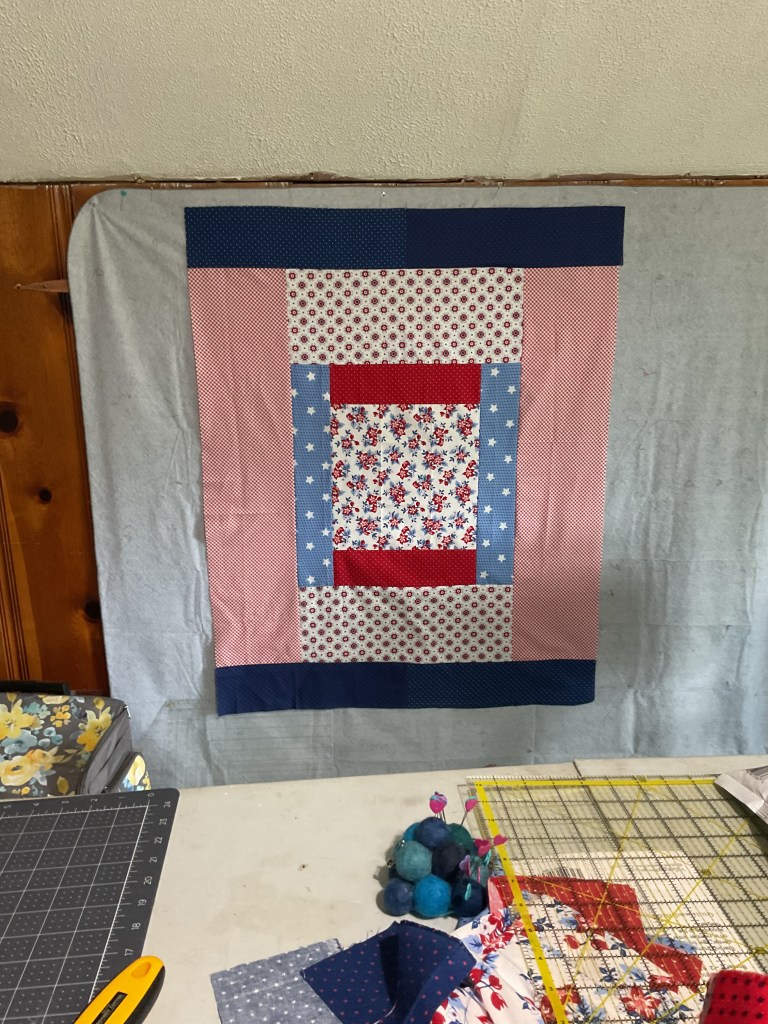
Voila! The finished quilt top!
I hope you’ll give this fast and fun small quilt a try sometime. It really is a great summer make. It is a super wall quilt (I’ll show you when I actually get it up on the wall) or a wonderful table quilt – perhaps for a summer picnic – or as a lovely quick baby quilt. Use your stash or use it as an excuse to go shopping at your local quilt shop.
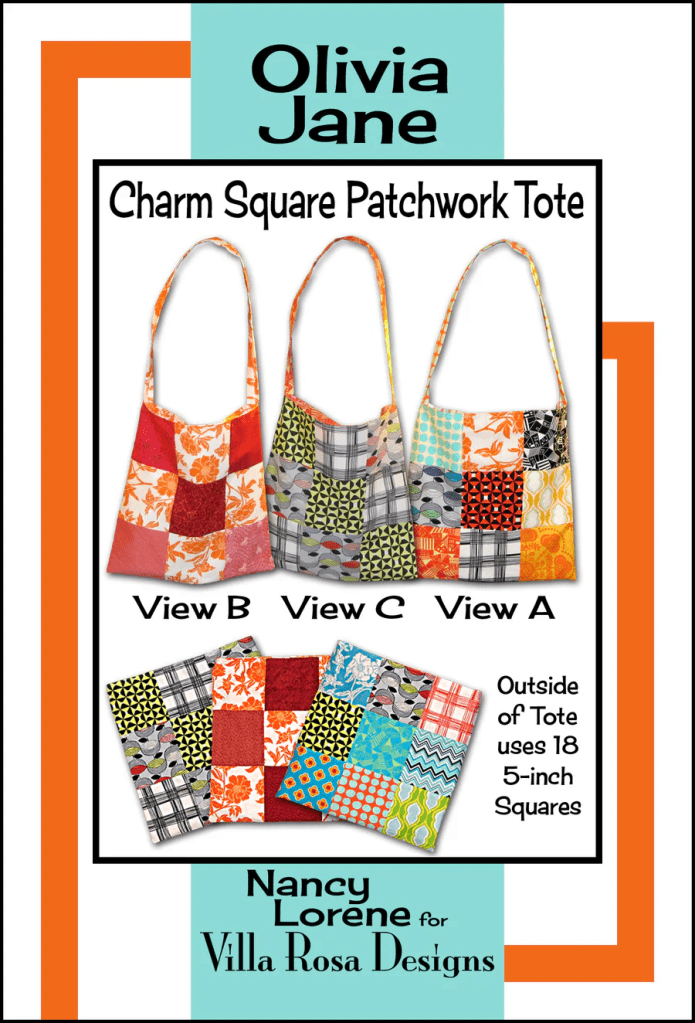
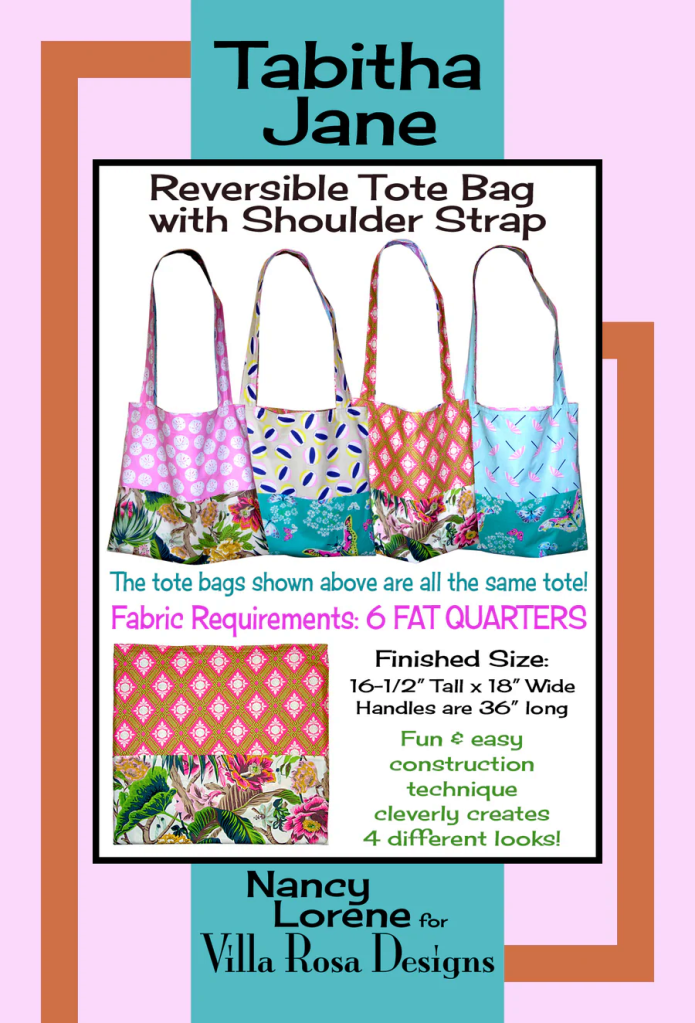
Next week for Week 2 of our Summer Challenge is a TOTE BAG. We have 2 different VRD tote bag patterns to chose from: Olivia Jane or Tabitha Jane. Olivia Jane uses 5″ Charm squares while Tabitha Jane uses FQs.
Here’s a fun tutorial for Olivia Jane where I show you some of the adaptations you can add to your Olivia Jane tote.
Get your digital pattern HERE or your print pattern HERE
Get your digital pattern HERE or your print pattern HERE
Well, that’s it for me this week!
Enjoy your Small Project Summer Challenge sewing and I’ll see you next week right here!
Sew. Laugh. Repeat.
Always,
Tricia @ VRD
