Hello Quilty Friends!
Happy Thursday to you!
It’s OFFICIAL! Throw the confetti! Toot your party horns! YEAH!
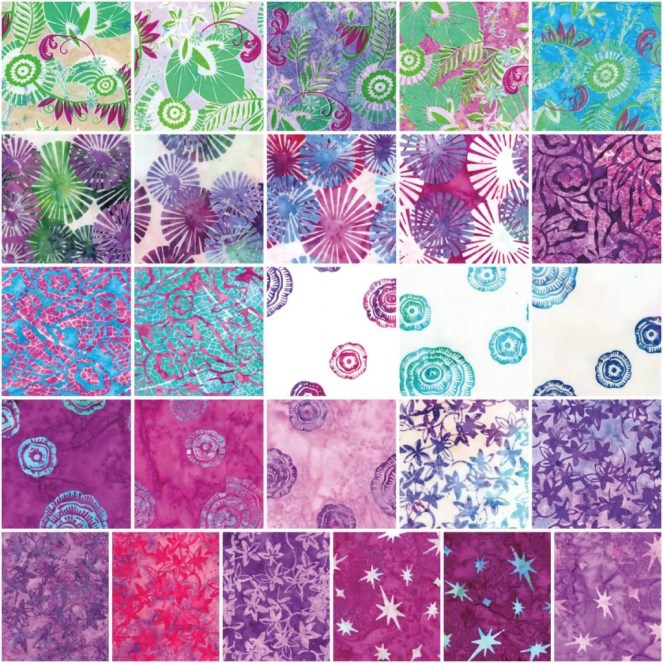
Pat’s NEW fabric collection for Riley Blake Designs, BEDAZZLED!, is finally here and we are all SEW excited!
To celebrate Pat’s new fabric collection, I’m sharing another great tutorial with you this week – 2M Junior.
Next week, we’ll dive right back into the Free Motion Quilting Series, I promise.
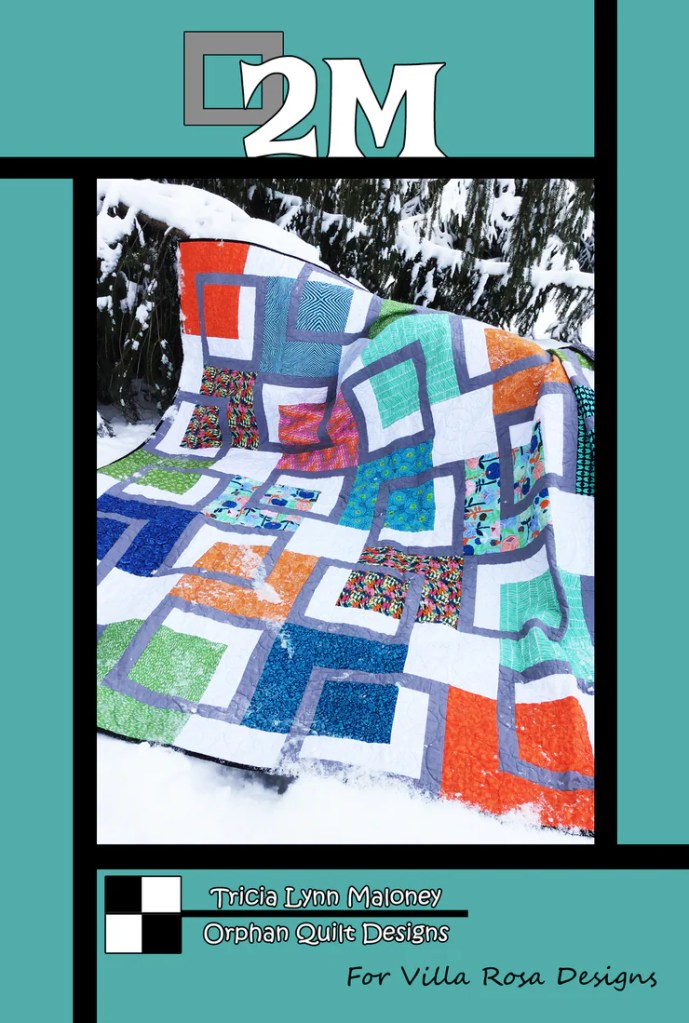
VRD 2M Junior Quilt Tutorial
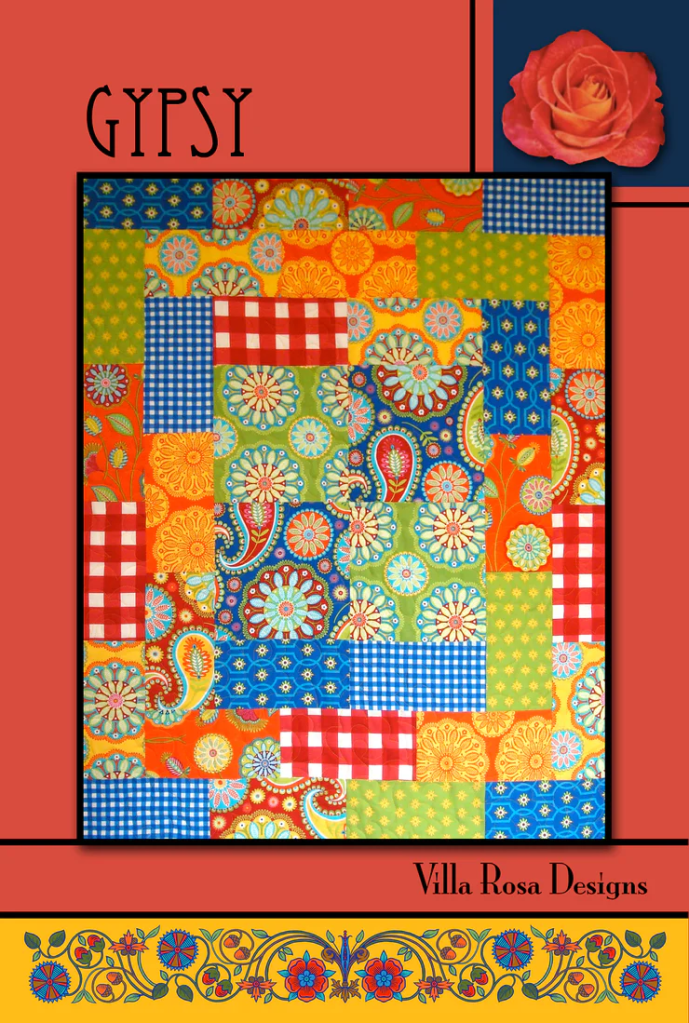
2M Junior is the little brother of 2M. Junior has the same block, only it’s a bit smaller so the quilt finishes as a throw quilt instead of a big bed-sized quilt like big brother 2M. It also uses a different block configuration, which gives it its own personality.
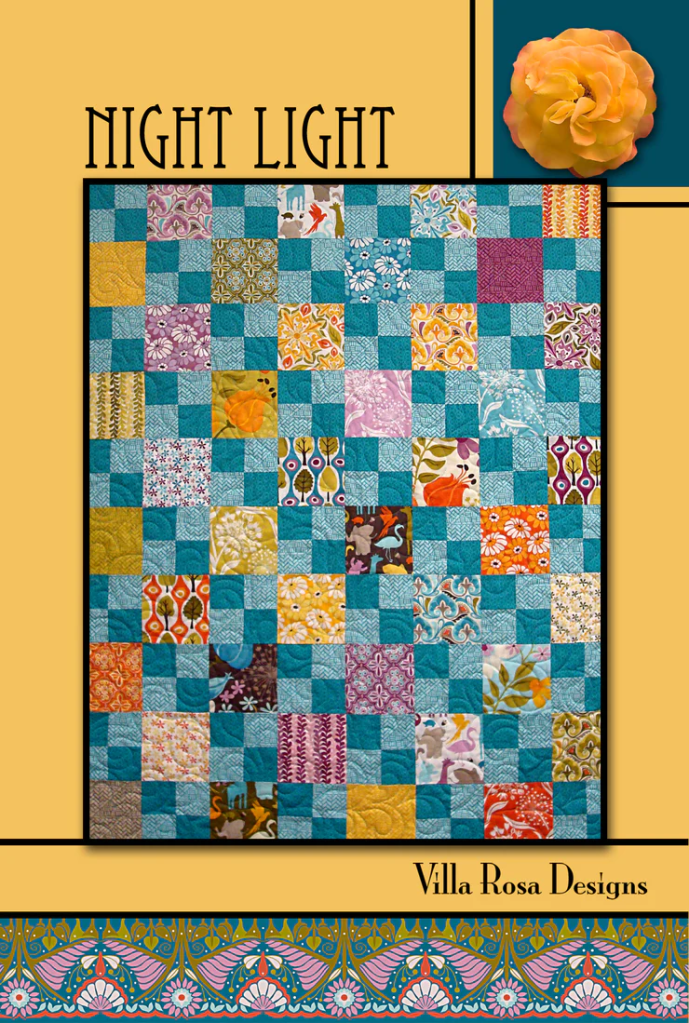
For the pattern cover quilt, I actually used samples of Bedazzled! and, boy, does it sparkle. And I mean that both figuratively and literally – don’t forget that Bedazzled! features glitter and glam. OHHHHH, SHINY!


Get your digital Junior HERE or print Junior HERE
I’m happy to say we have some kits made up for 2M Junior featuring Bedazzled! You can get your Bedazzled! 2M Junior kit HERE.
OH! I can’t forget big brother 2M, can I?
You can get your digital 2M pattern HERE or your print 2M pattern HERE
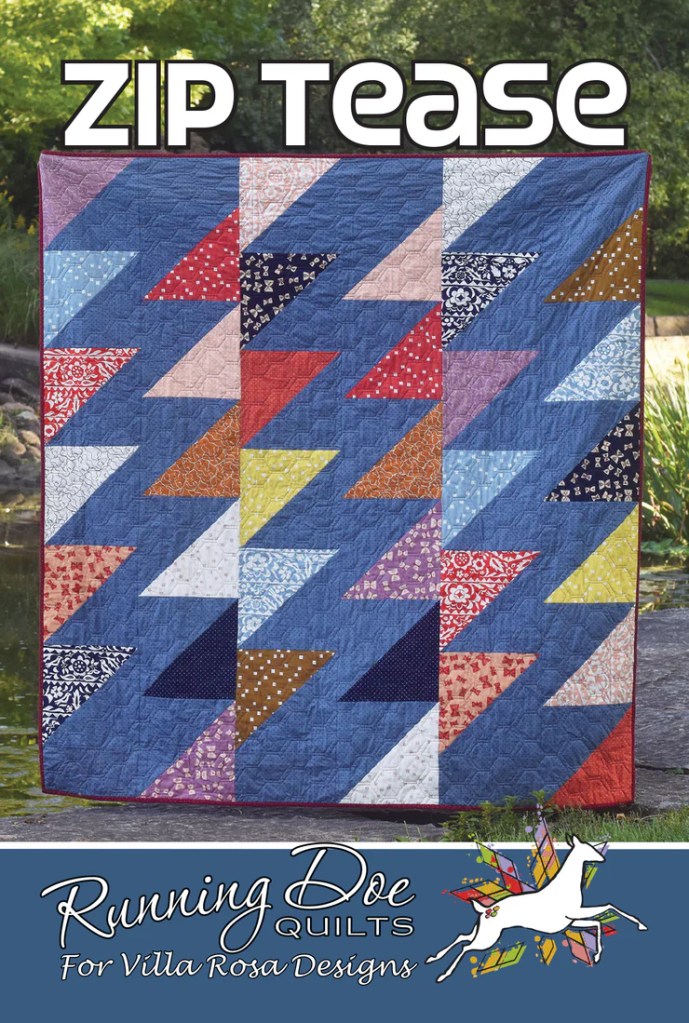
If you enjoyed the Baby Zip Tease tutorial last week also featuring Pat’s Bedazzled! collection, we now have kits for it, too. You can get your Baby Zip Tease kit HERE.

All right, back to our previously scheduled programming….2M Junior. Tehehe….
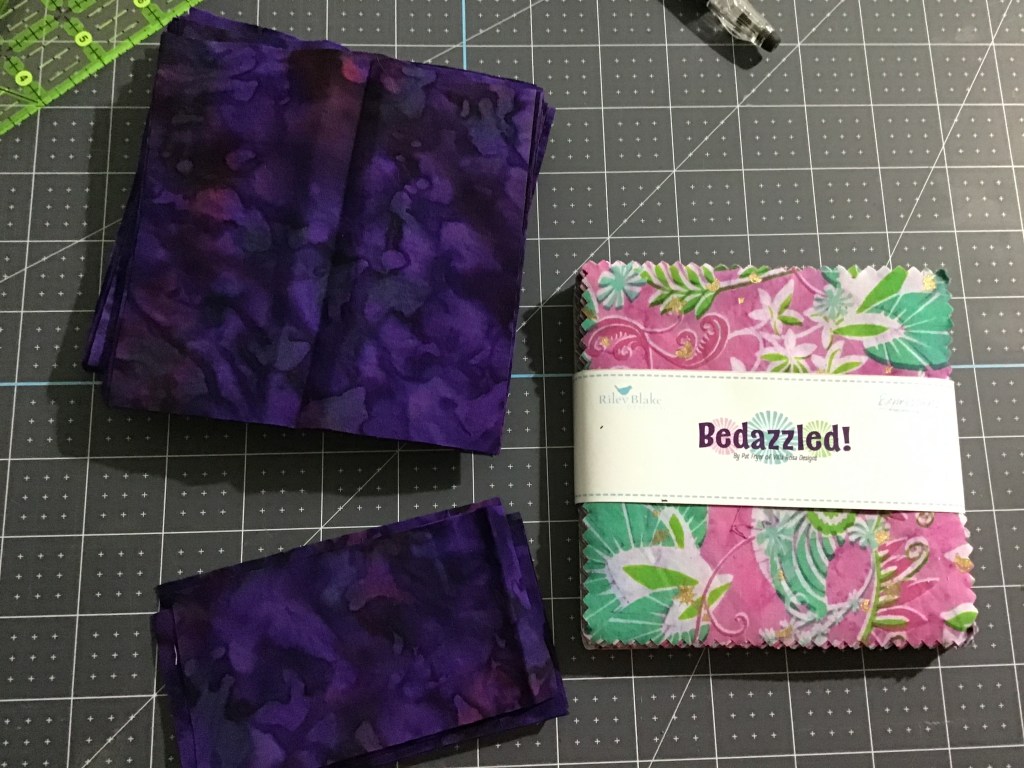
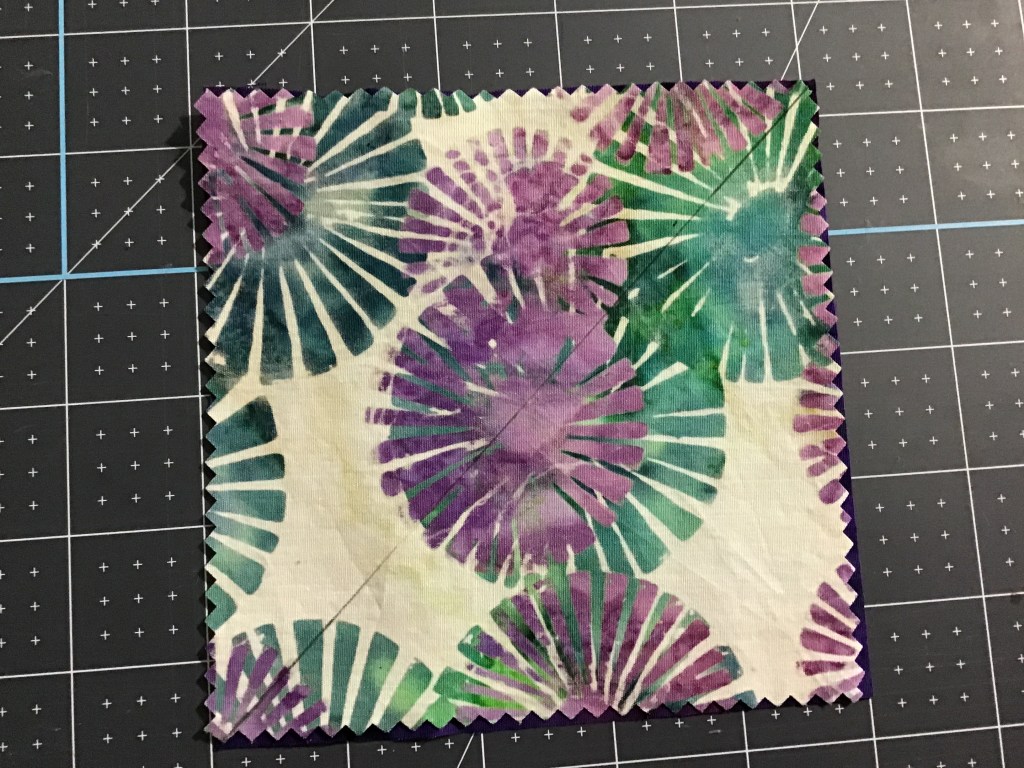
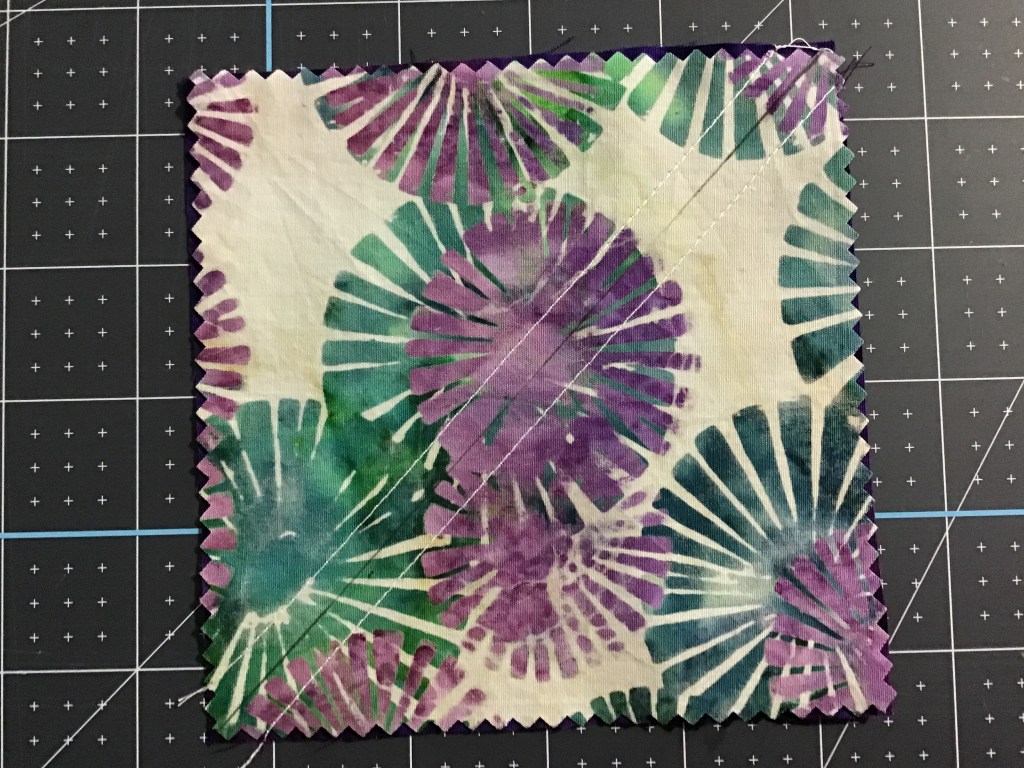
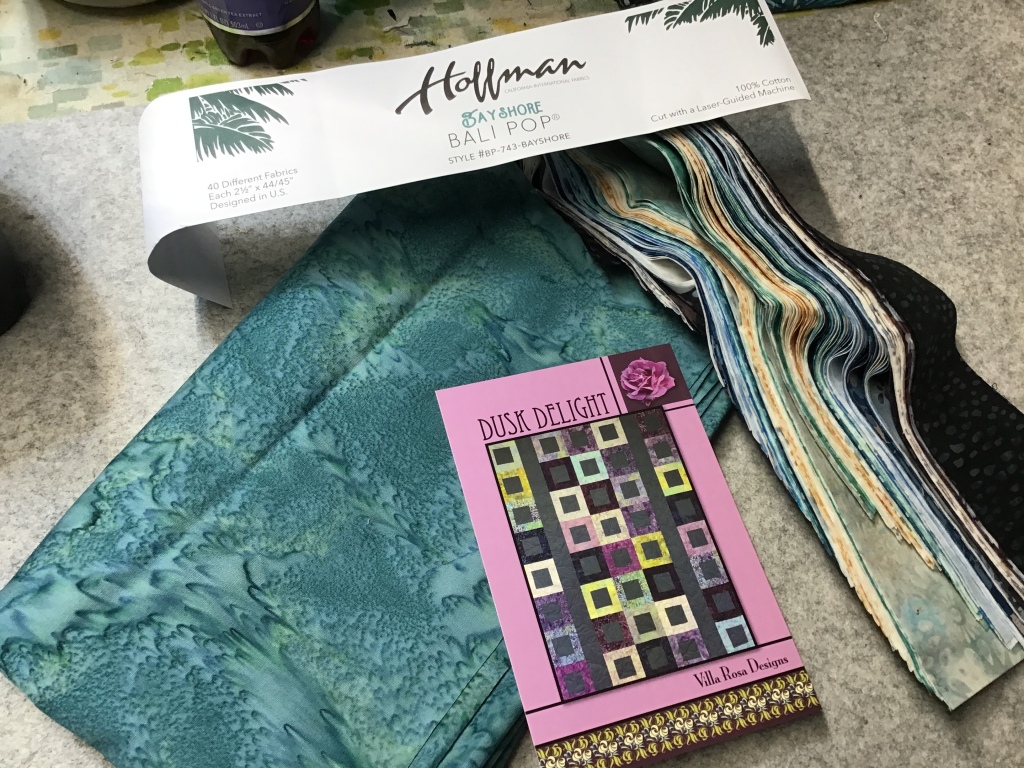
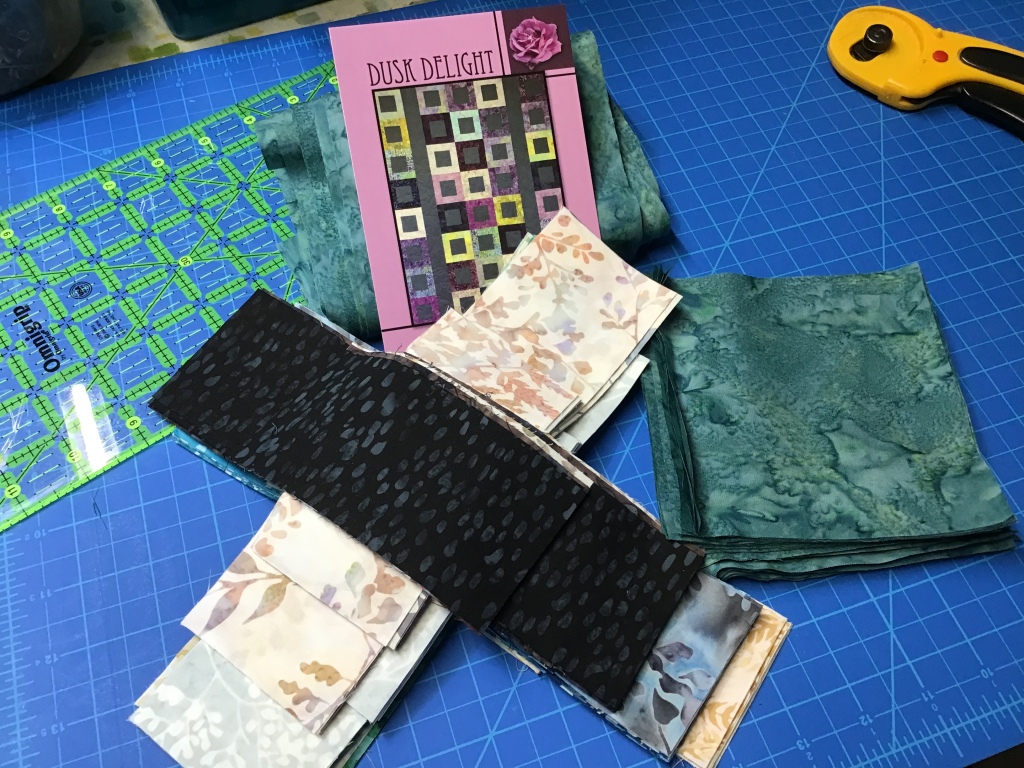
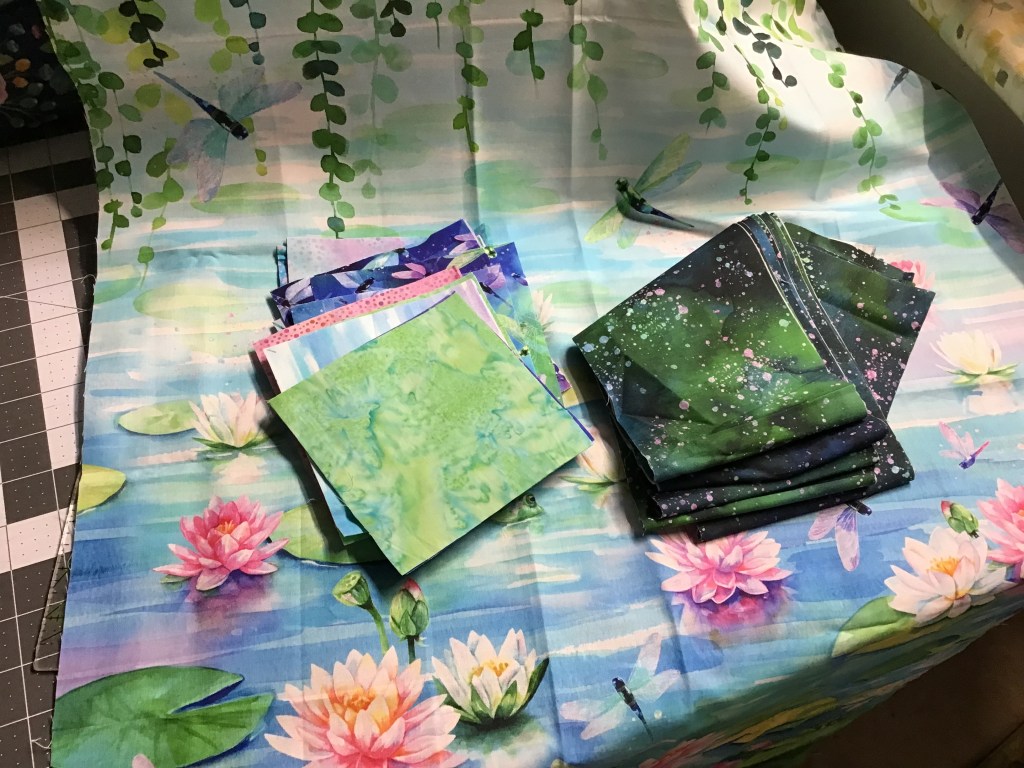
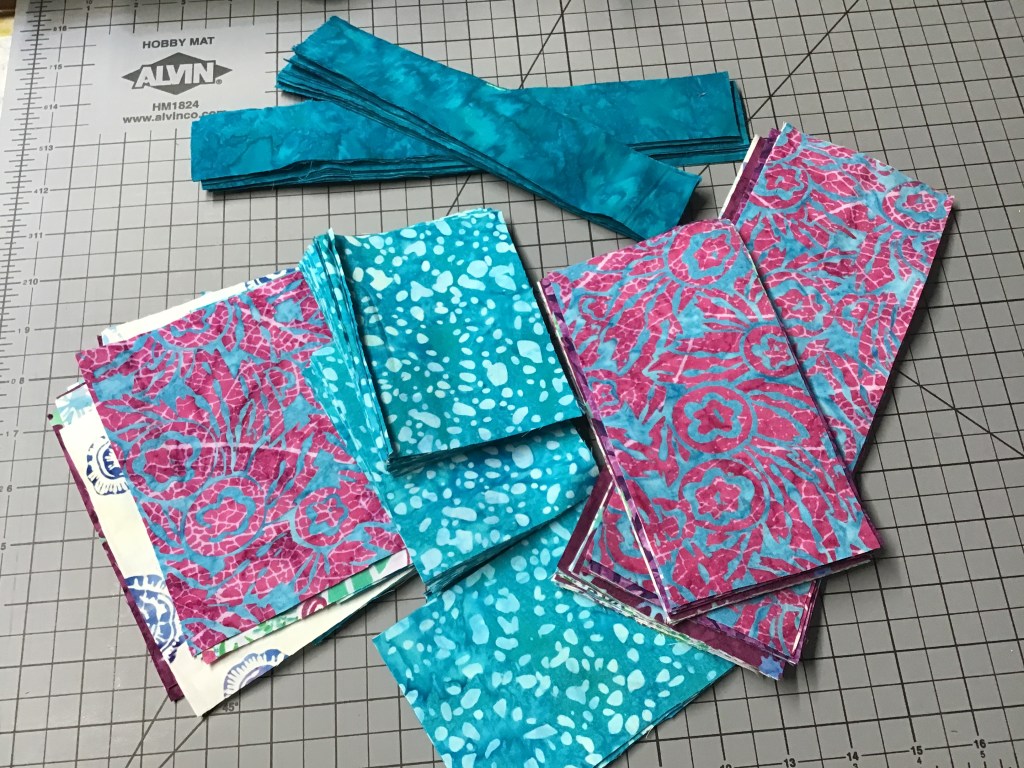
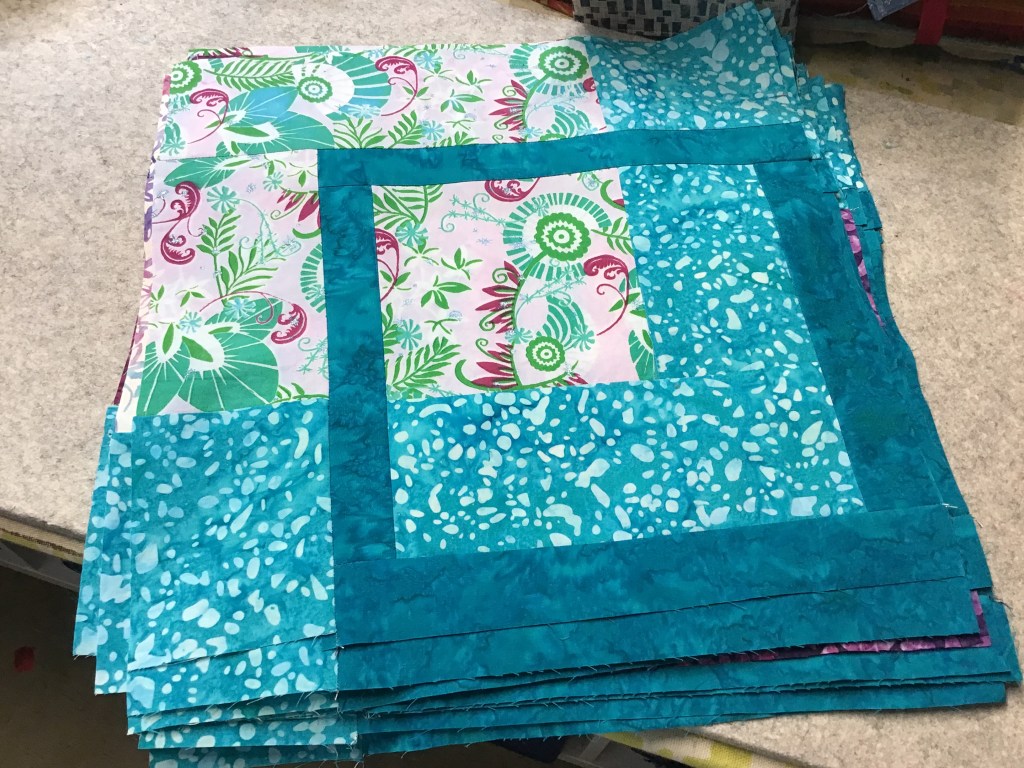
First thing we always do is gather up our fabrics for the project. The 2 teal batiks are from Riley Blake’s Expressions basics. And the fat quarters are, of course, from Pat’s Bedazzled! collection. Simply scrumptious, aren’t they???

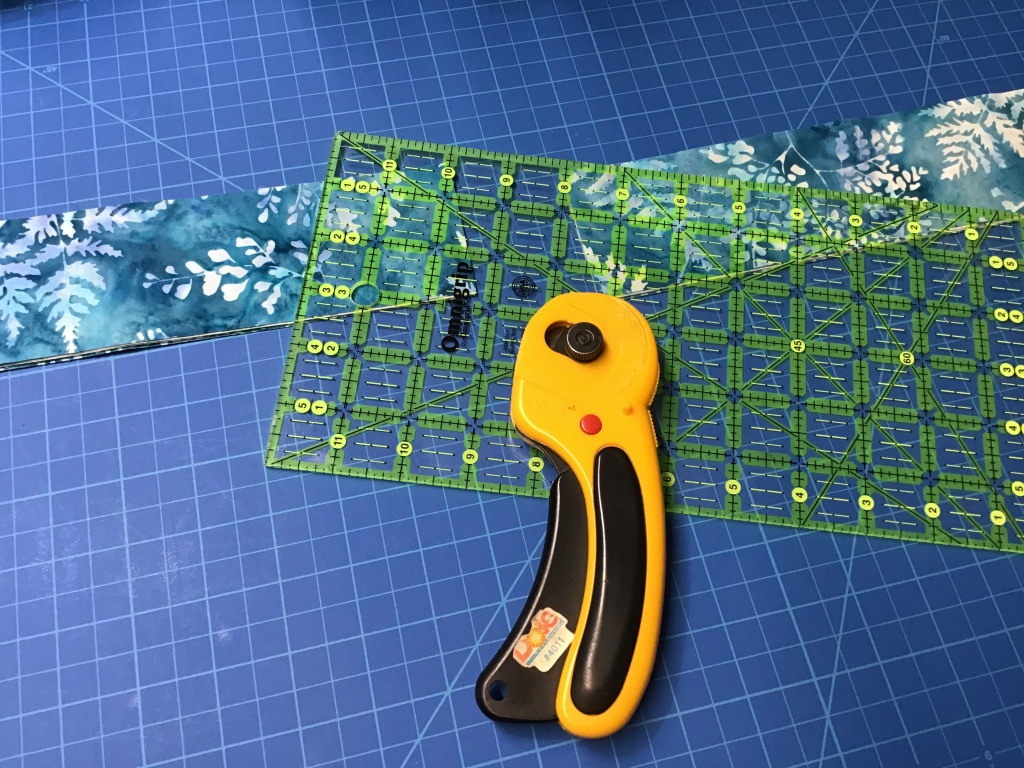
Once I’ve gathered up my fabrics, I like to cut all the pieces out for the quilt before I begin sewing. Do you do that or do you cut your pieces as you go?
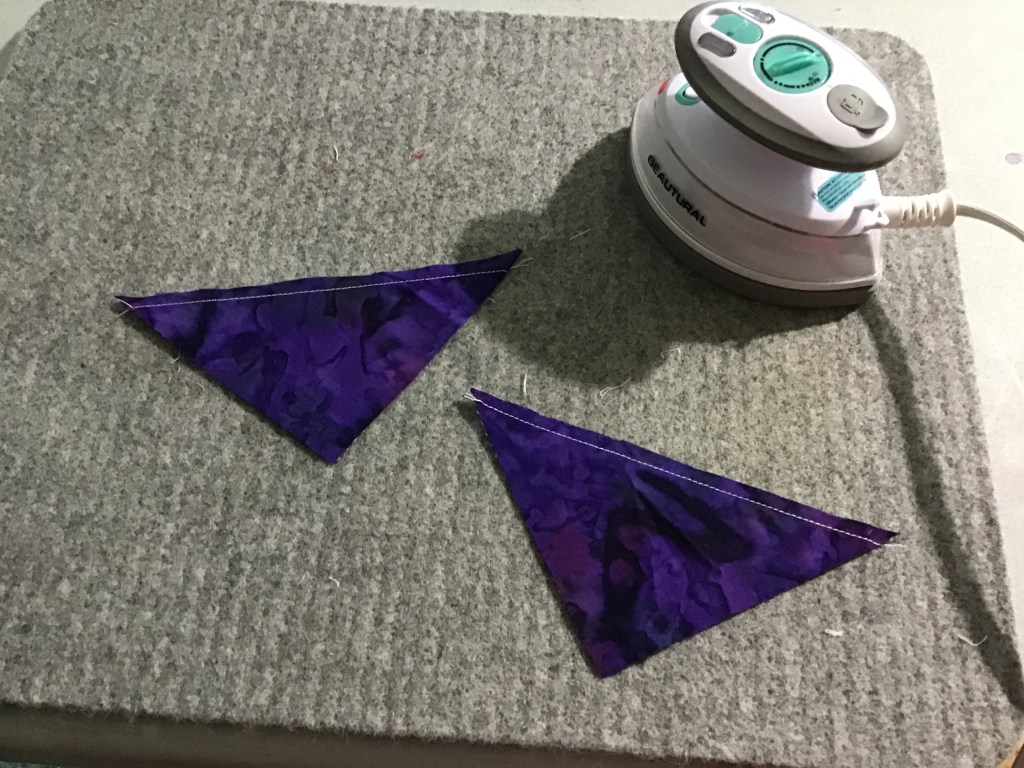
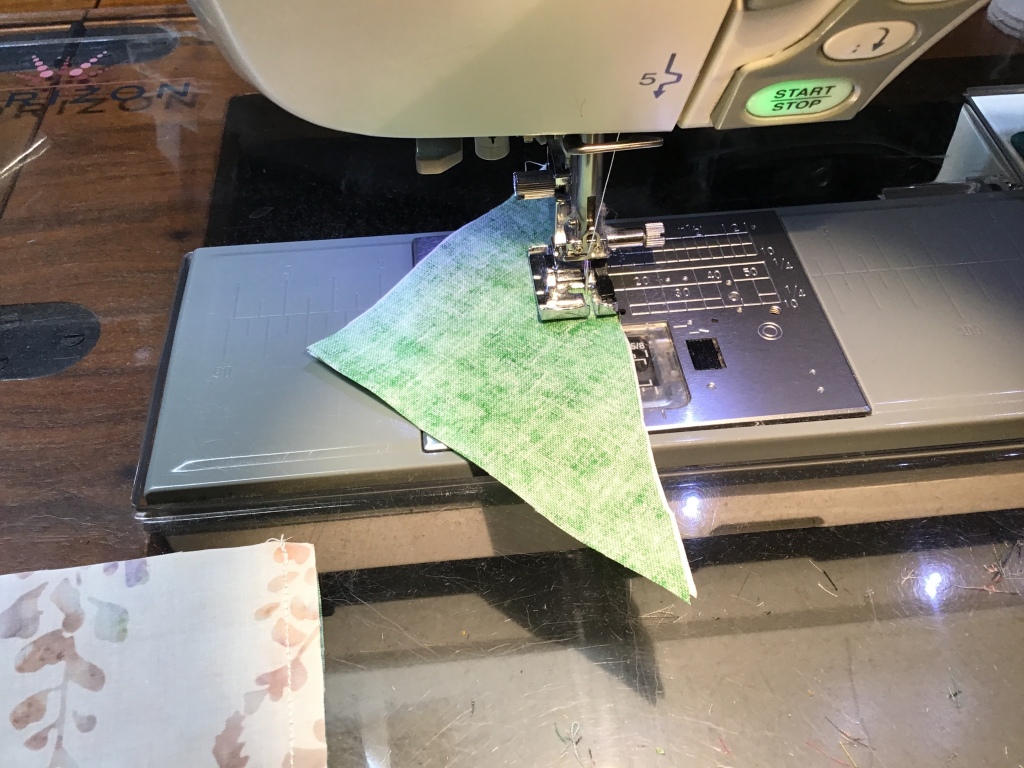
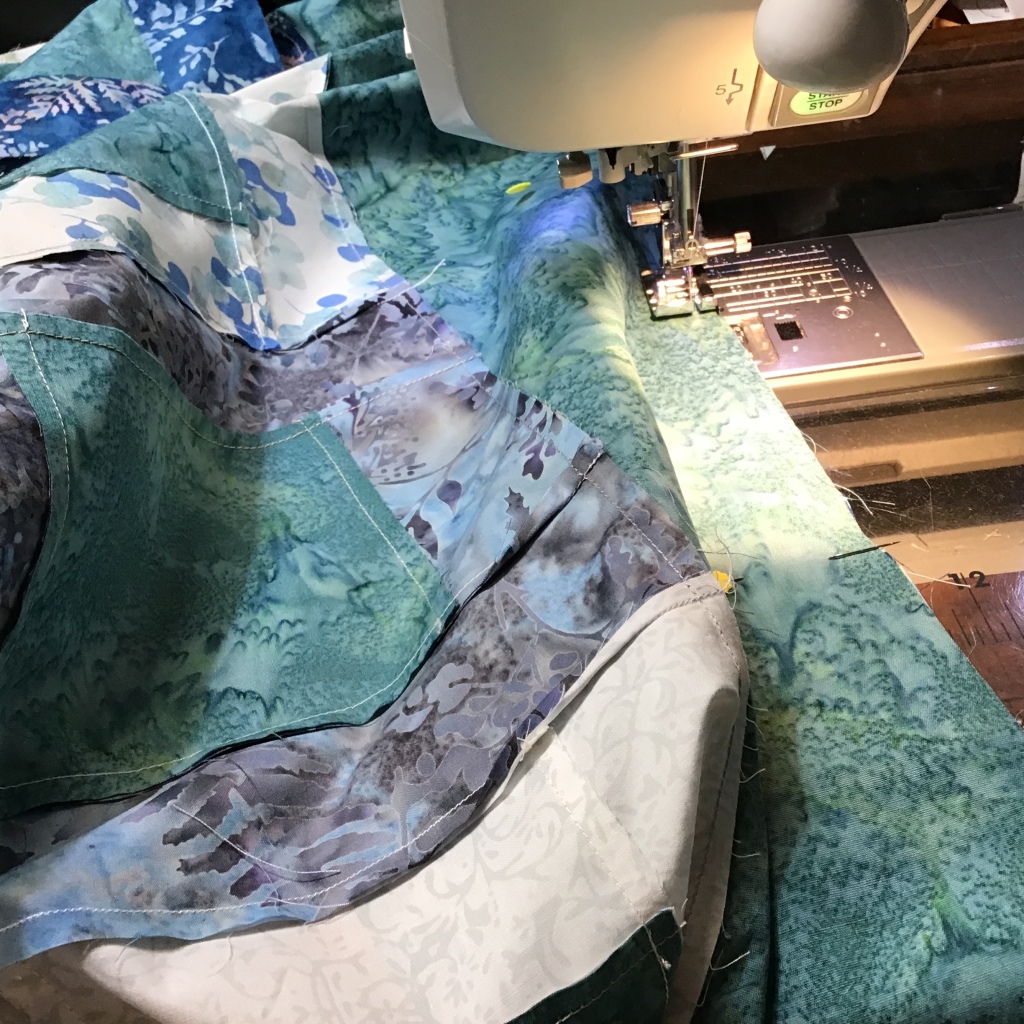
Okay, now we’re ready to sew!
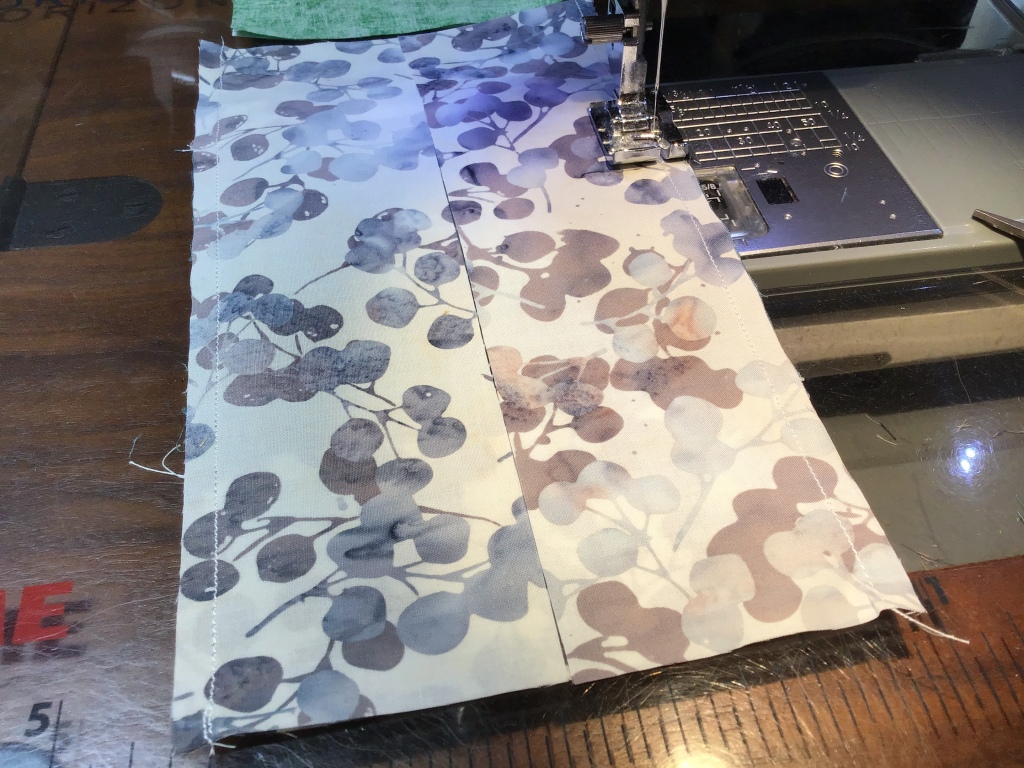
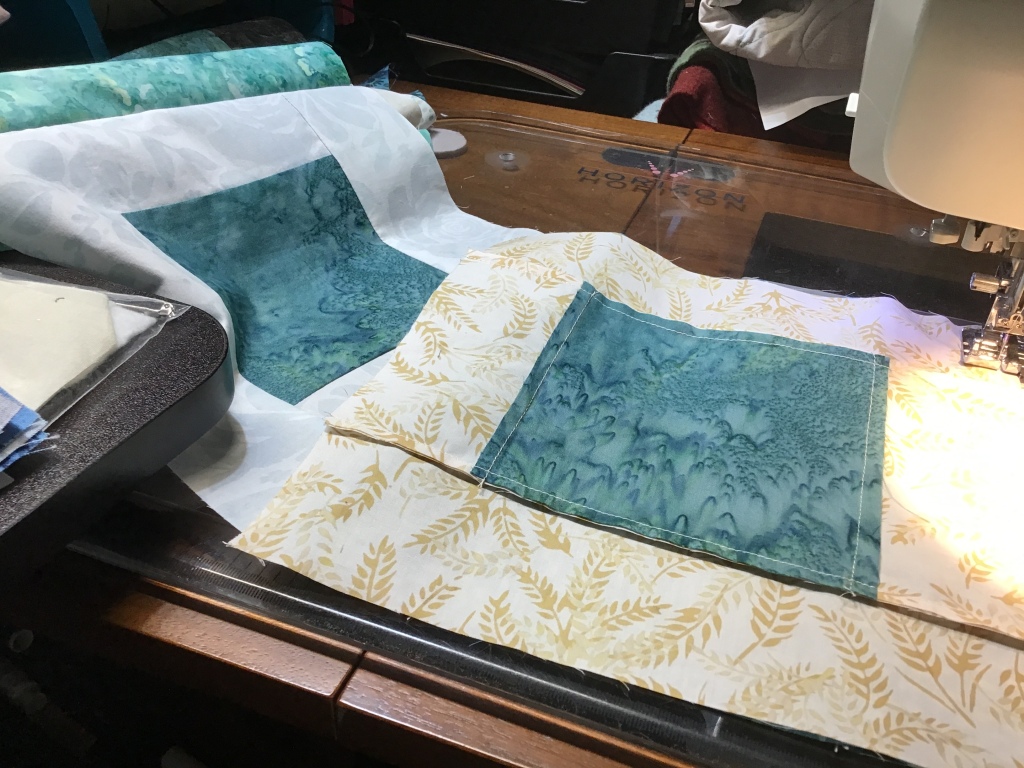
Let’s add a background rectangle to the left side of a block center.

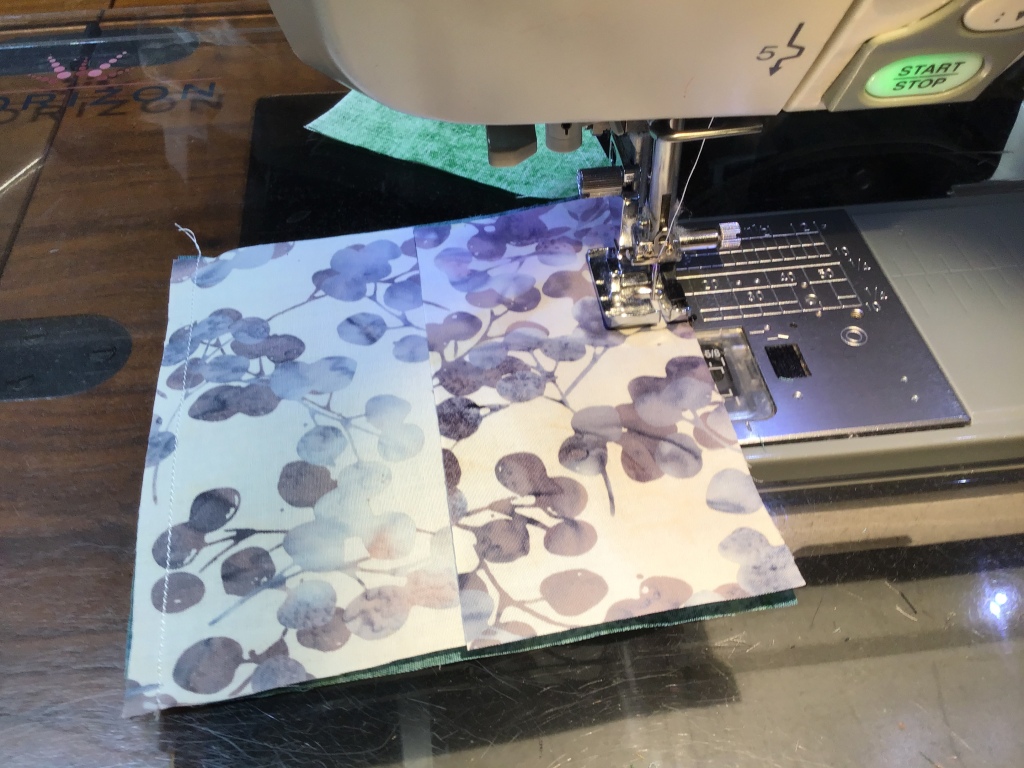
Next we need to sew a background rectangle to the top of the unit.

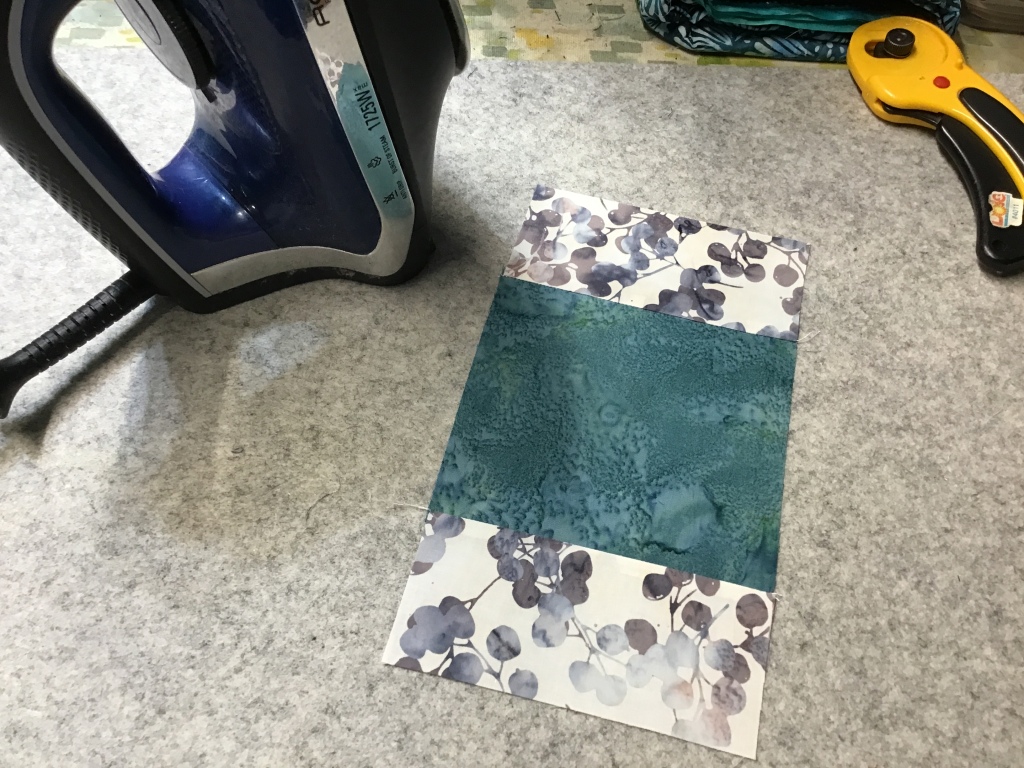
Then we’re going to sew accent strips to the sides and then to the top and bottom of the unit.
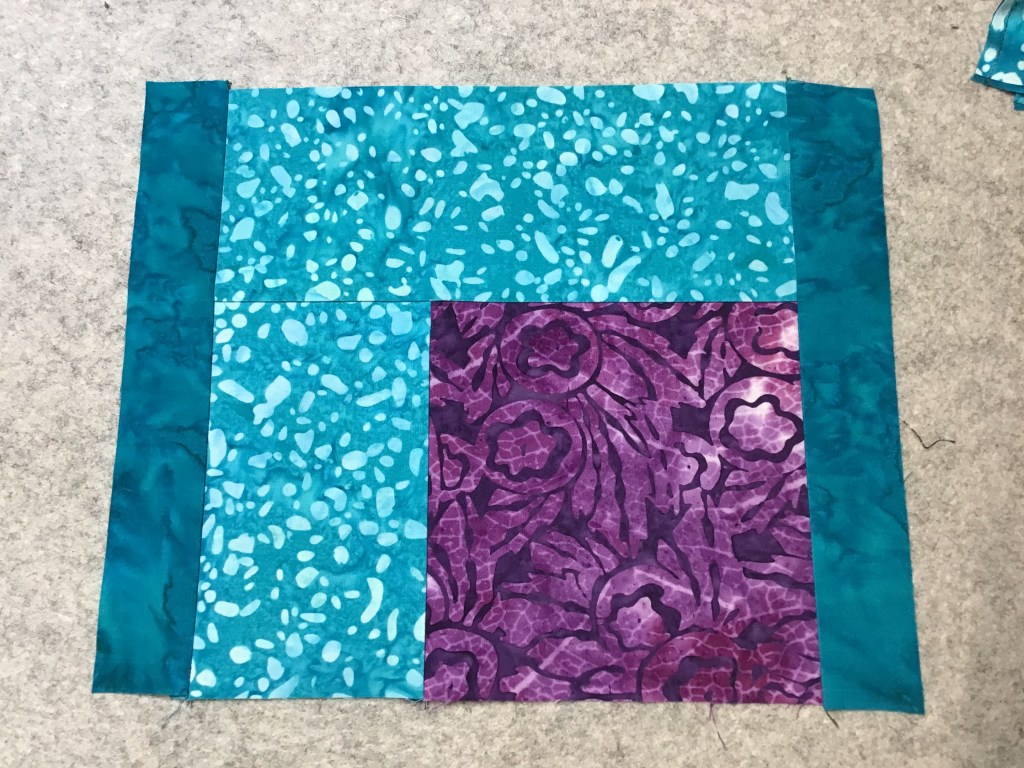
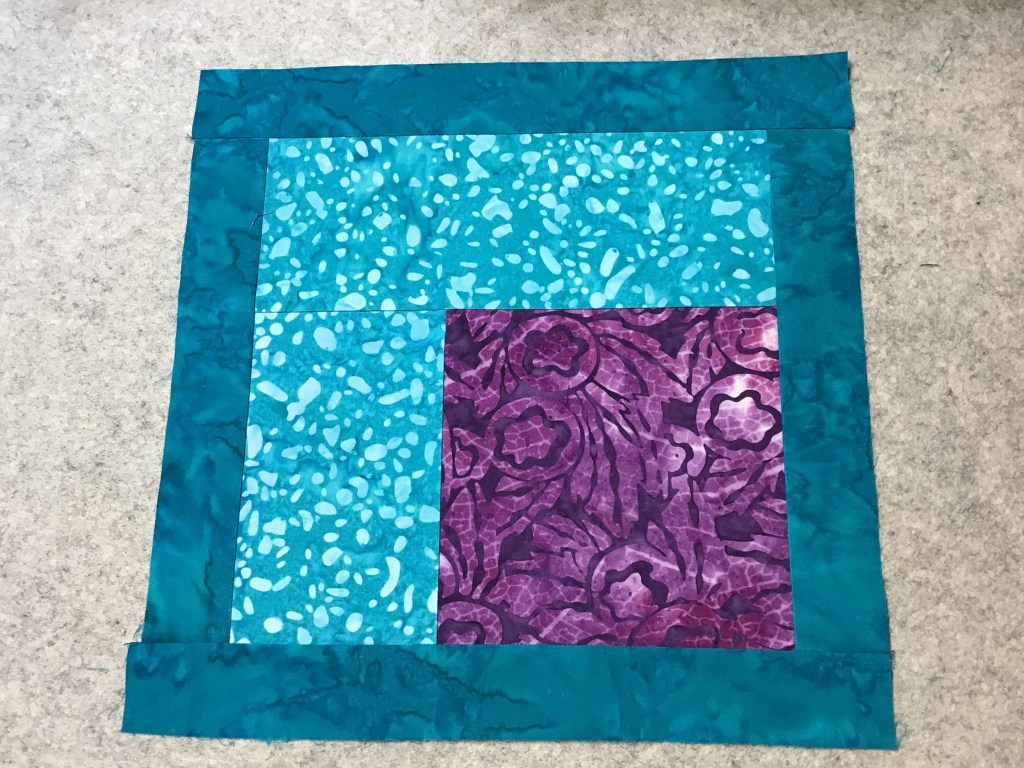
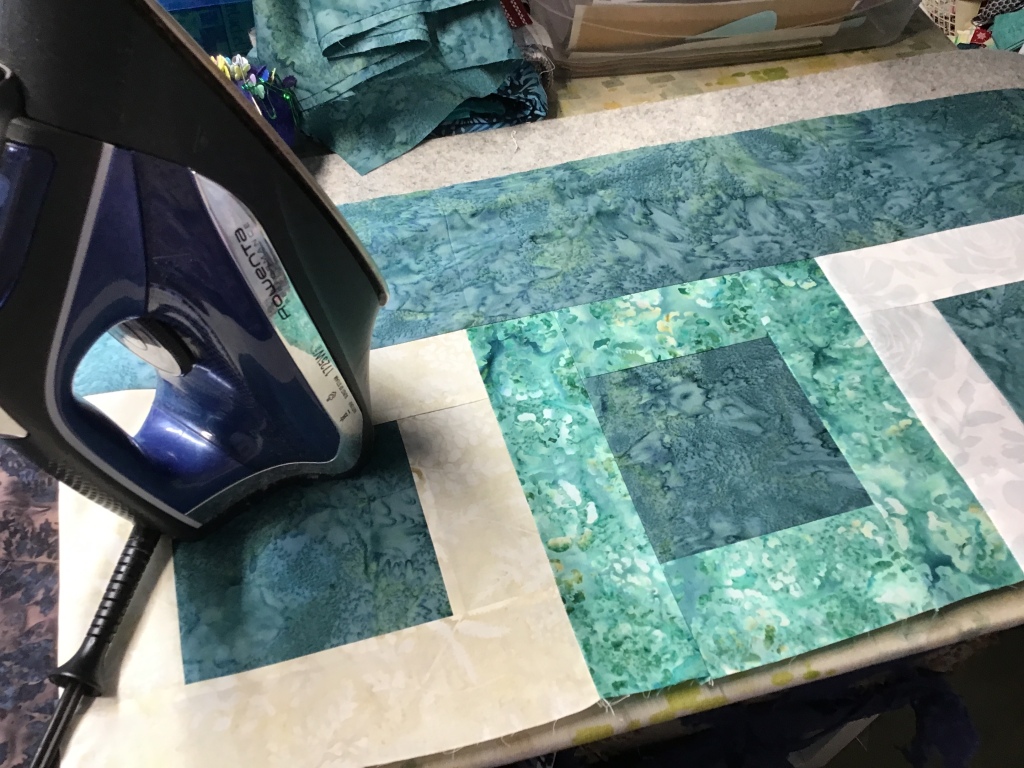
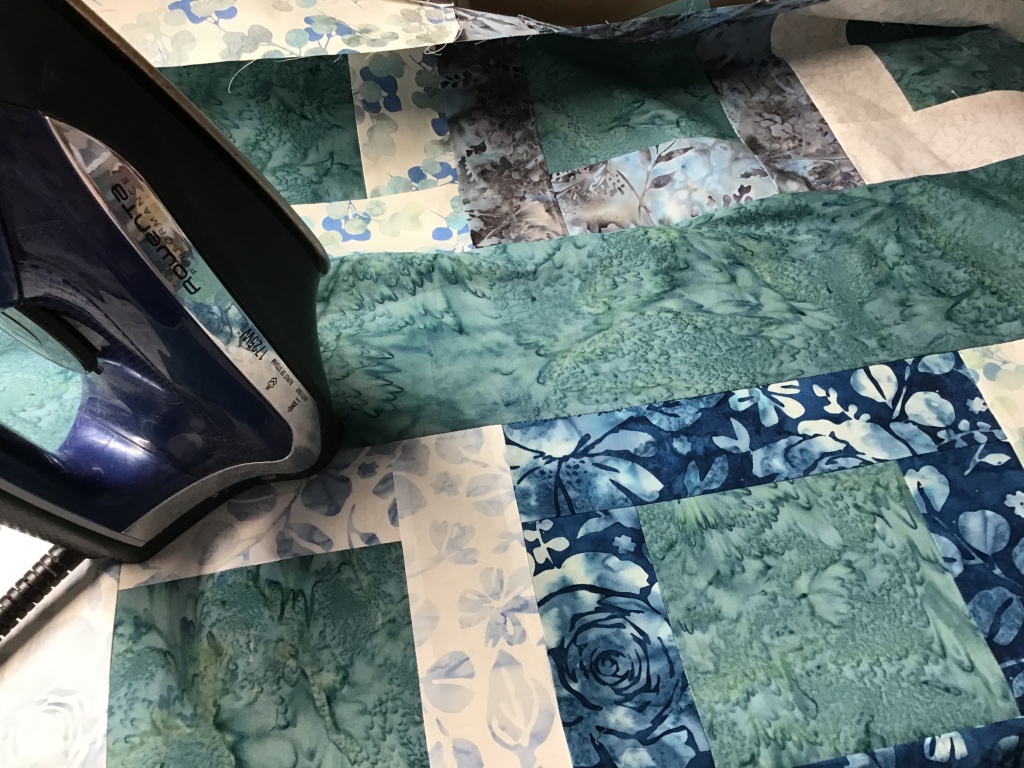
Now we are going to sew a background rectangle to the smaller block center rectangle and sew it to the bottom of the unit.


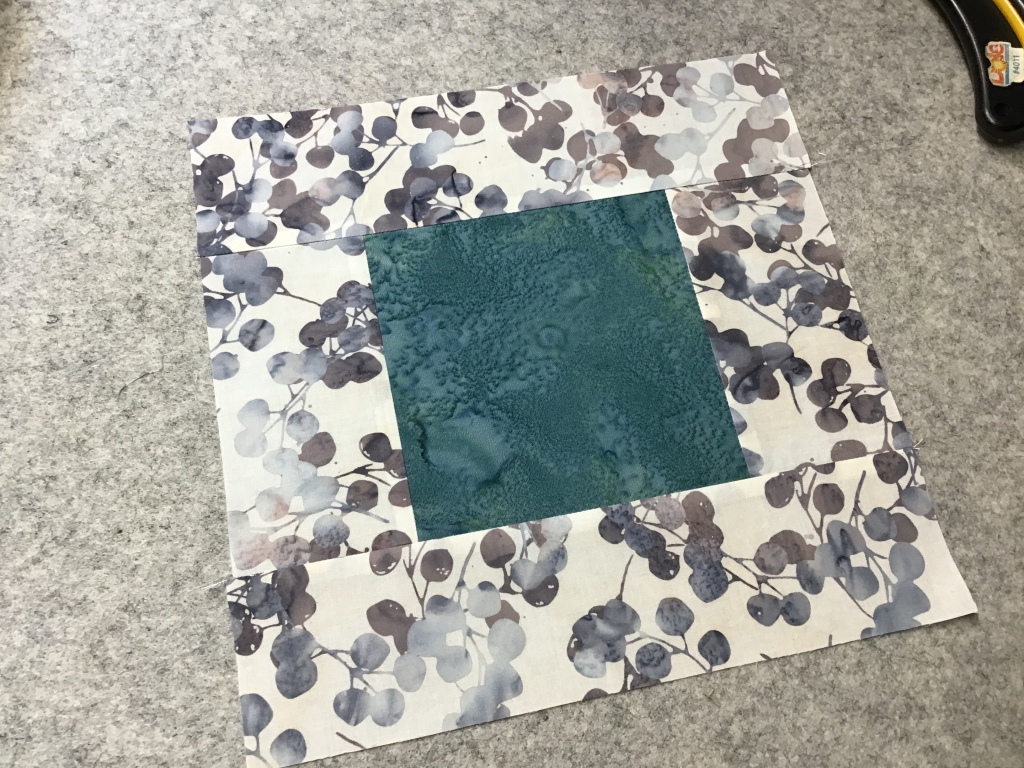
The next step is to sew another background rectangle to the longer block center rectangle and then sew it to the right side of the block. Our first block is done!


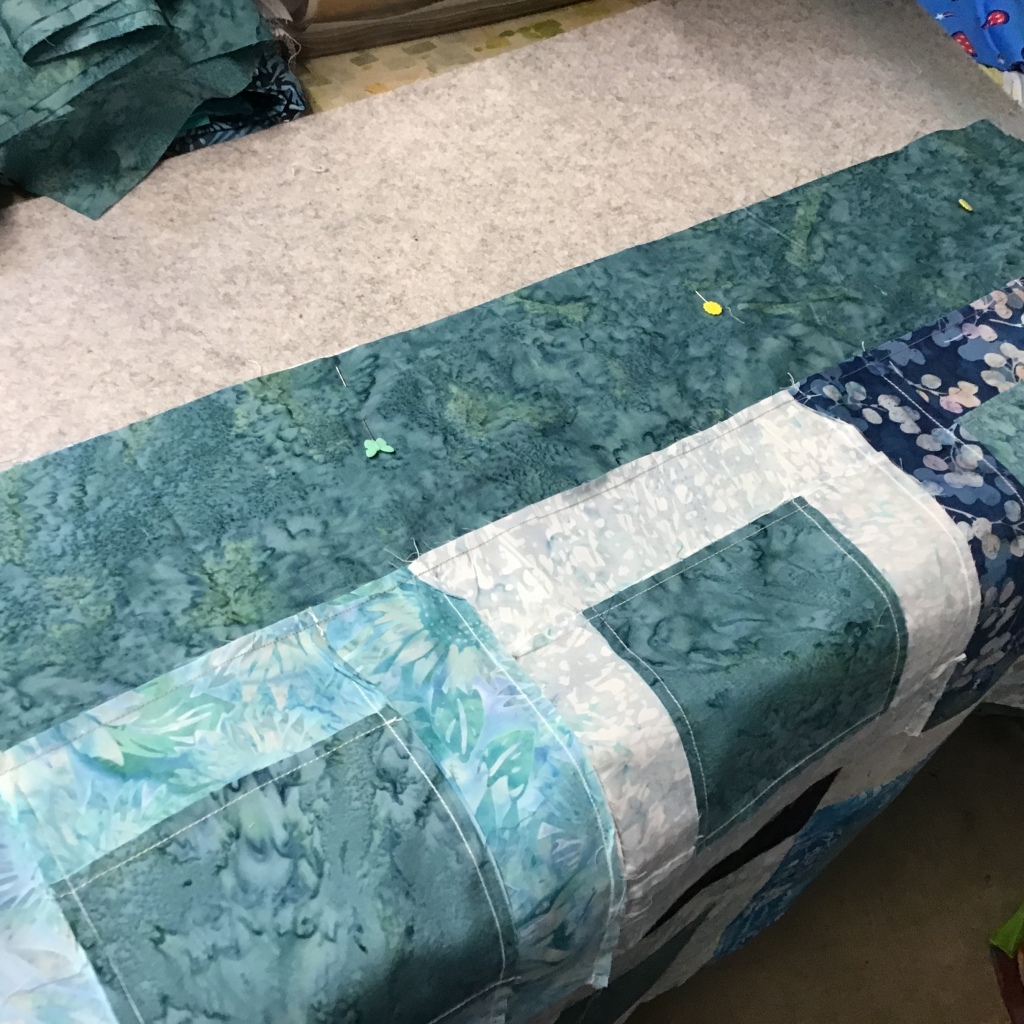
Easy Piezy, right? Now repeat to make the rest of the quilt blocks.
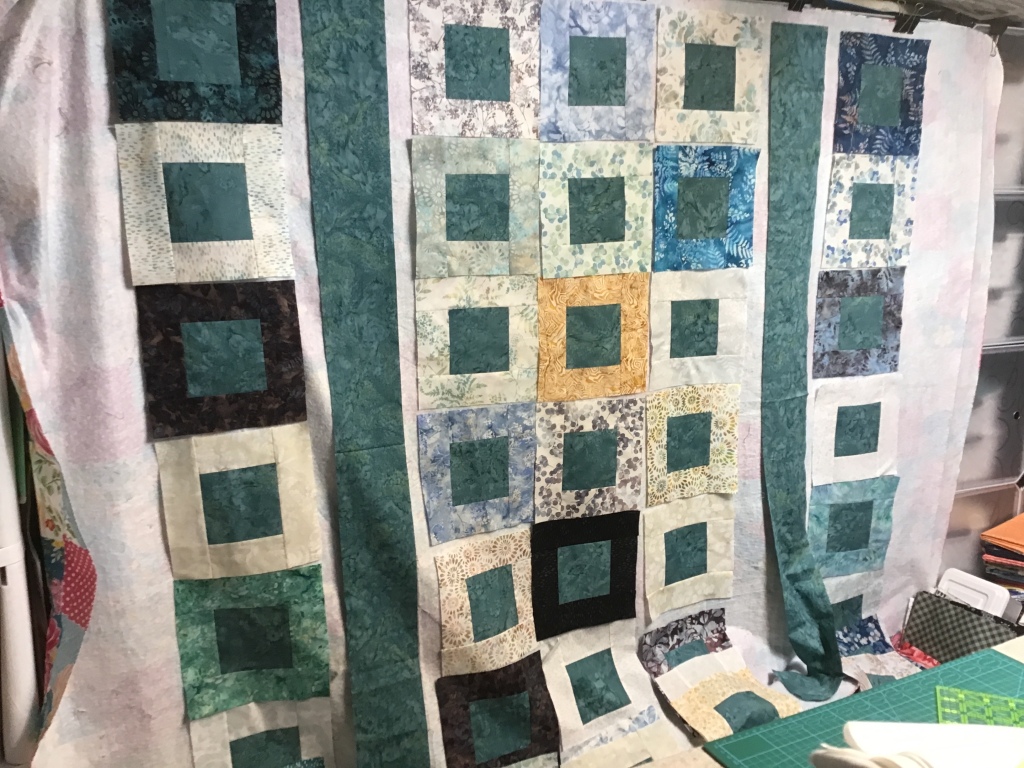
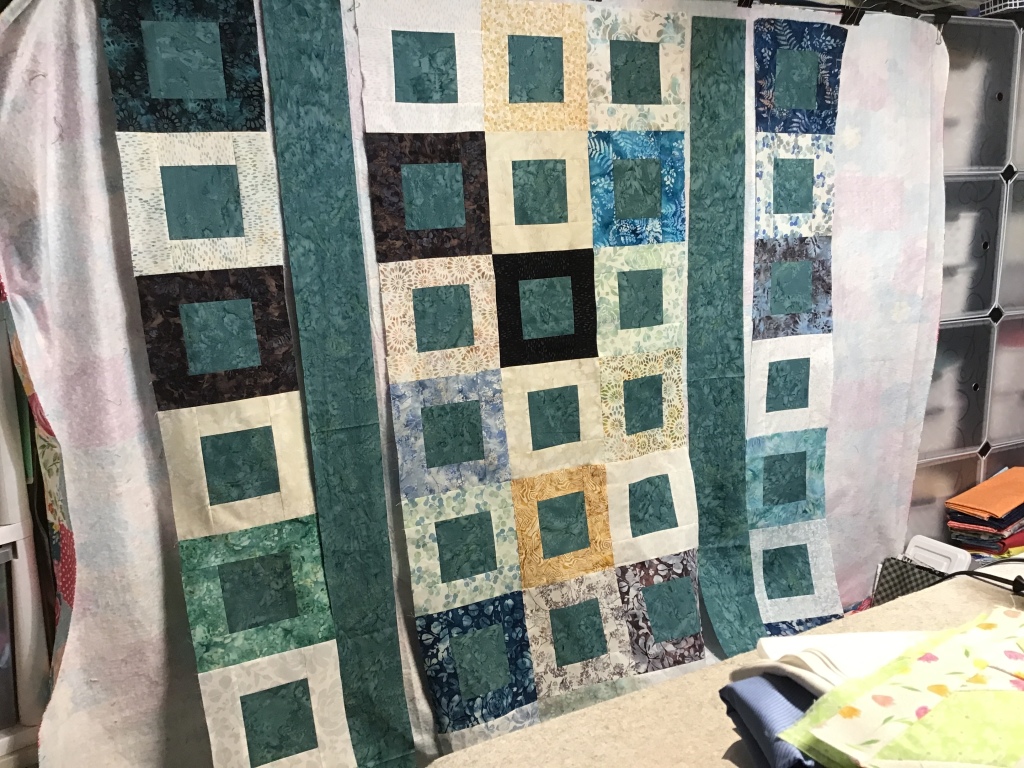
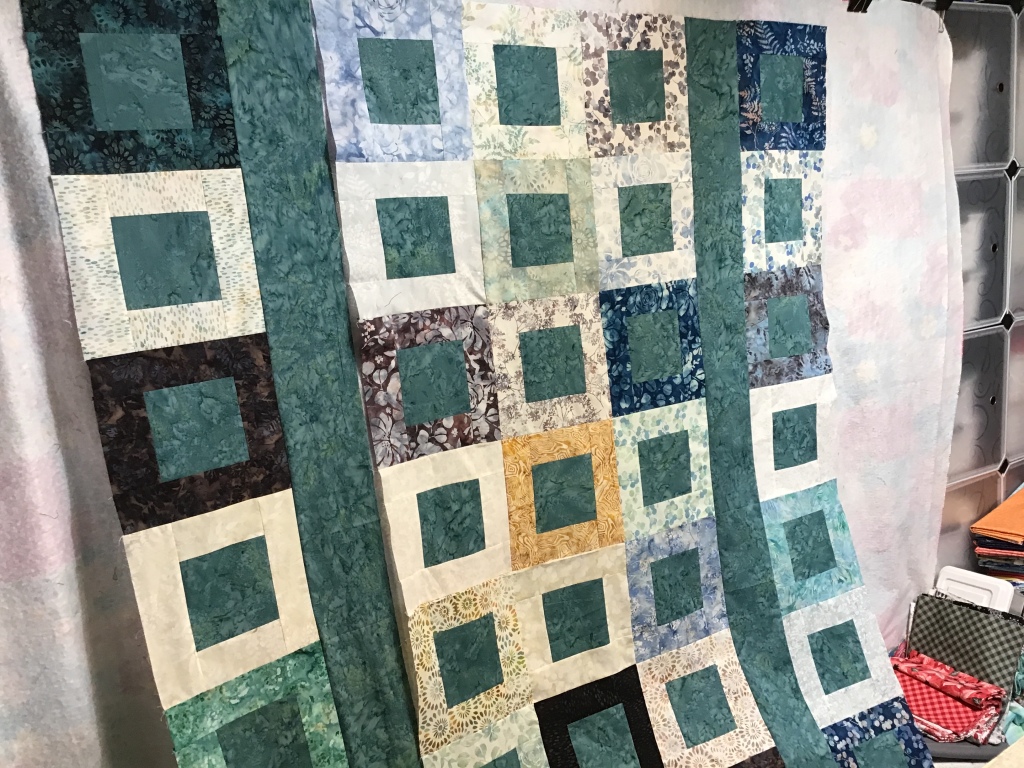
We’re going to lay out the blocks and move them around until we’re happy with how things look.
Warning – sometimes this step takes longer than actually making the quilt top (especially if it’s a VRD Rose Card pattern – they’re fast and fun, you know!). Yikes!
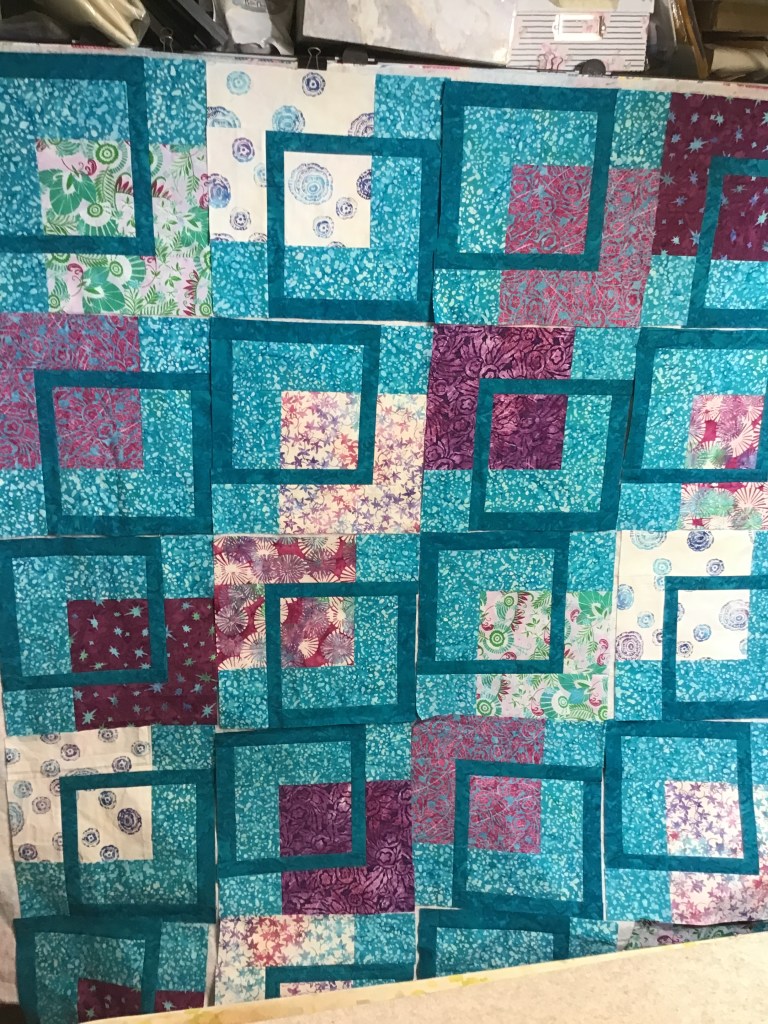
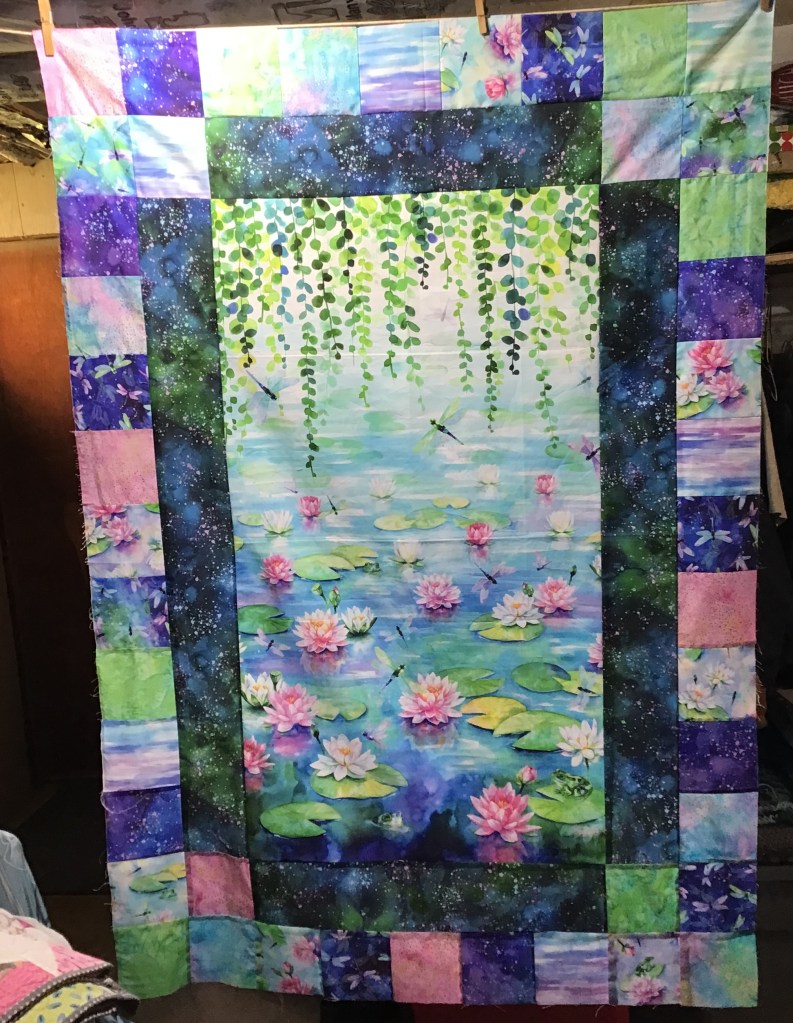
Okay, I like how the fabrics are distributed around the quilt now, so I’m going with this arrangement. Don’t you just love how the squares and boxes tumble down the quilt?
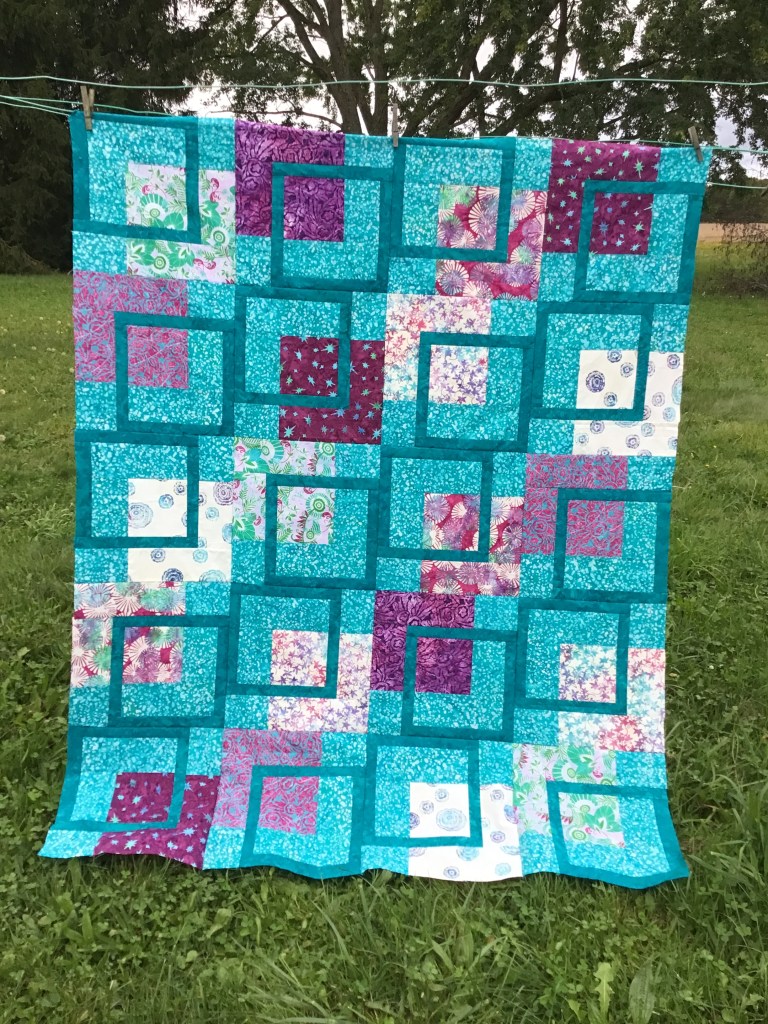
Hurry! Let’s sew the blocks together and then sew the rows together before any furry helpers make an appearance and rearrange the blocks when I blink.
And – guess what????? No borders on this one! Yippee!
It is my humble opinion that not all quilts need borders. What are your thoughts on borders?

Here’s another photo of the 2M Junior quilt top. Yummy, yummy, yummy!
Now the top is finished, it’s time to layer it with batting and backing (or fleece for a cozy back). Quilt it. And please, don’t forget your quilt label! DONE!
Need a little help with batting, backing, and layering everything together? VRD to the rescue! Check out this post from our Basic Quilting Skills for Beginners series, Basic Quilting Skills for Beginners: Batting, Backing, and Preparing a Quilt for Quilting. You can find all the lessons in the Beginner series over to the right of the blog, under the Blog Topics Heading or down further as a heading with the lessons listed below.
Once everything is layered together, then it’s time to quilt! Yay! And we are right in the middle of a new series for 2025 — Free Motion Quilting. Lucky You!
We interrupted the series for a couple weeks to celebrate Pat’s new collection with a few new tutorials, but next week, we’ll be moving on to Lesson 3 in the FMQ series.
If you missed the first couple FMQ lessons, you can find them below:
You can also find the different series we’ve done over on the right side of the blog, farther down, each under its own heading. Have fun checking them out!
Bedazzled! Update
Since last week’s post, we’ve added some more fun Bedazzled stuff to the shop (physical and online). Here’s the 411 –
Fat Quarter and Half Yard Bundles!
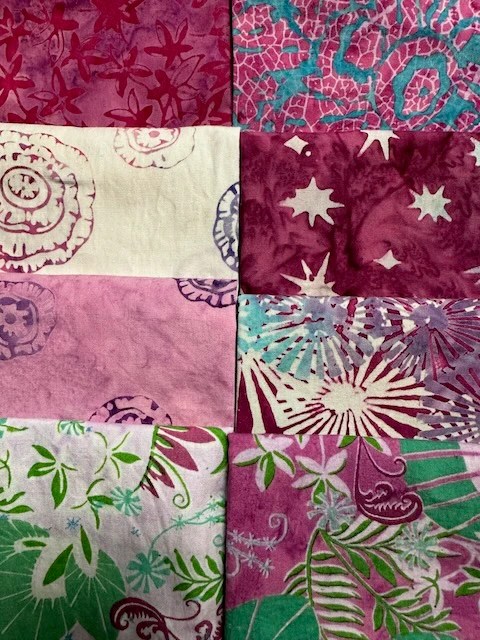
This group of 9 is called Lilac Mint
9 Fat Quarters HERE or 9 Half Yards HERE
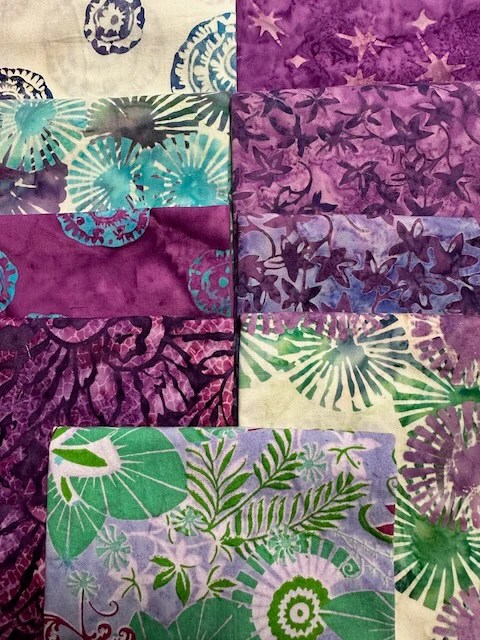
This group of 8 is called Prismatic Bliss
8 fat quarters HERE or 8 half yards HERE

This group of 9 is called Stardust Splash
9 fat quarters HERE or 9 half yards HERE
BUT WAIT! There’s MORE!
We do have a few more kits available besides 2M Junior and Baby Zip Tease.

San Julian (light) kit HERE

San Julian (black) kit HERE
And here’s the San Julian Rose Card pattern. Please note that the pattern comes in each kit, so you don’t need to order it separately. I’m adding the links below, though, in case someone needs it by itself.

Get your digital San Julian pattern HERE or your print San Julian pattern HERE
You can find all the precuts, yardage, fat quarter bundles, kits, and the exclusive Bedazzled! Rose Card storage tin HERE.
And this is the Bedazzled Rose Card pattern that inspired the whole Bedazzled! collection.

Get the digital Bedazzled pattern HERE or the print Bedazzled pattern HERE
Whew! That was a lot today, wasn’t it? Thanks for celebrating Pat’s new fabric collection, Bedazzled!, with us here on the blog. I can’t wait to see your new Bedazzled! quilts on the VRD Facebook page soon.
Well, that’s it for me today. Remember, next week we’re jumping back into our Free Motion Quilting series.
Until then –
Sew. Laugh. Repeat.
Always,
Tricia @ VRD