Hello Quilty Friends!
Happy Thursday to you!
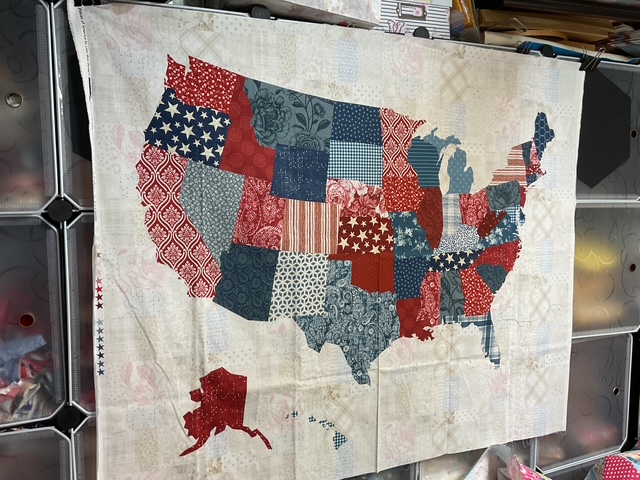
I hope everyone enjoyed the past holiday week end. Did you do anything special? I did get to see some great fireworks – both on TV and in person. Yay! There really was a lot of very interesting content on TV for the 250th Celebration – I even learned the history of American blue jeans. LOL! I hope that the 250 celebrations aren’t over, though, and we get to enjoy more throughout the year.
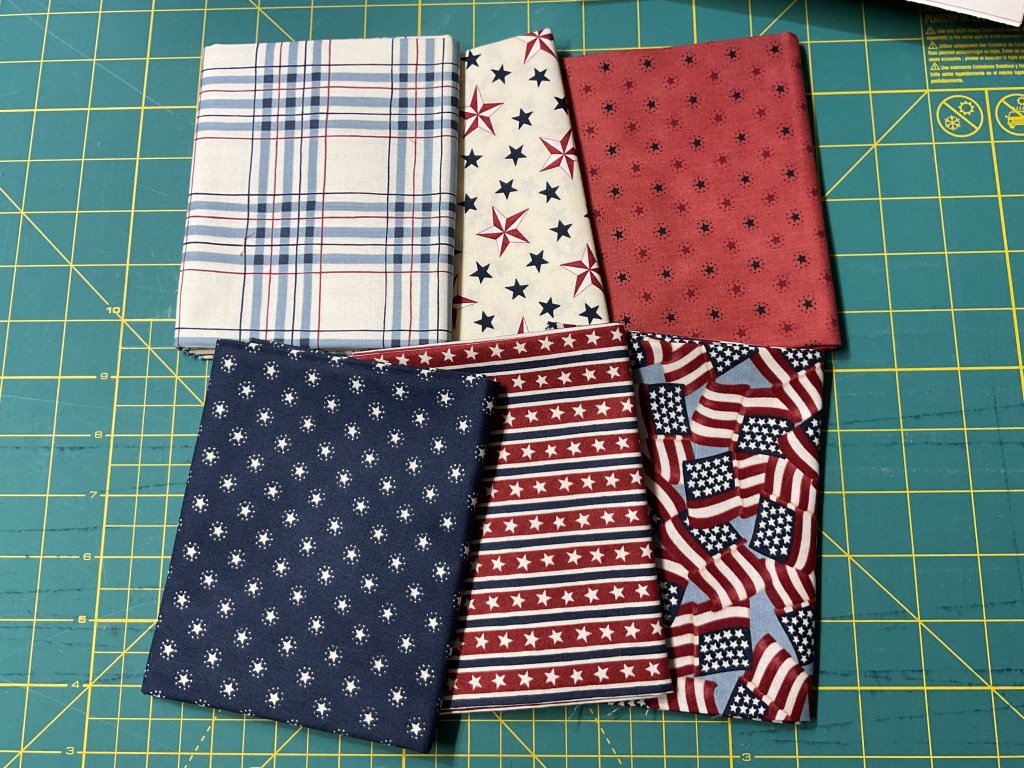
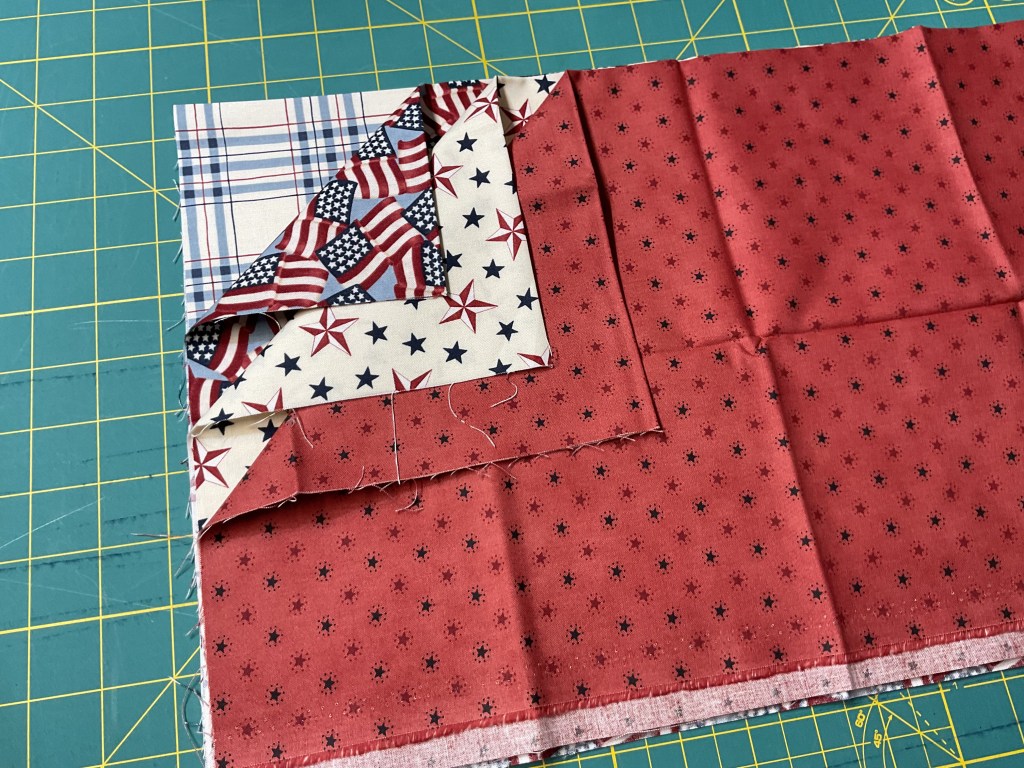
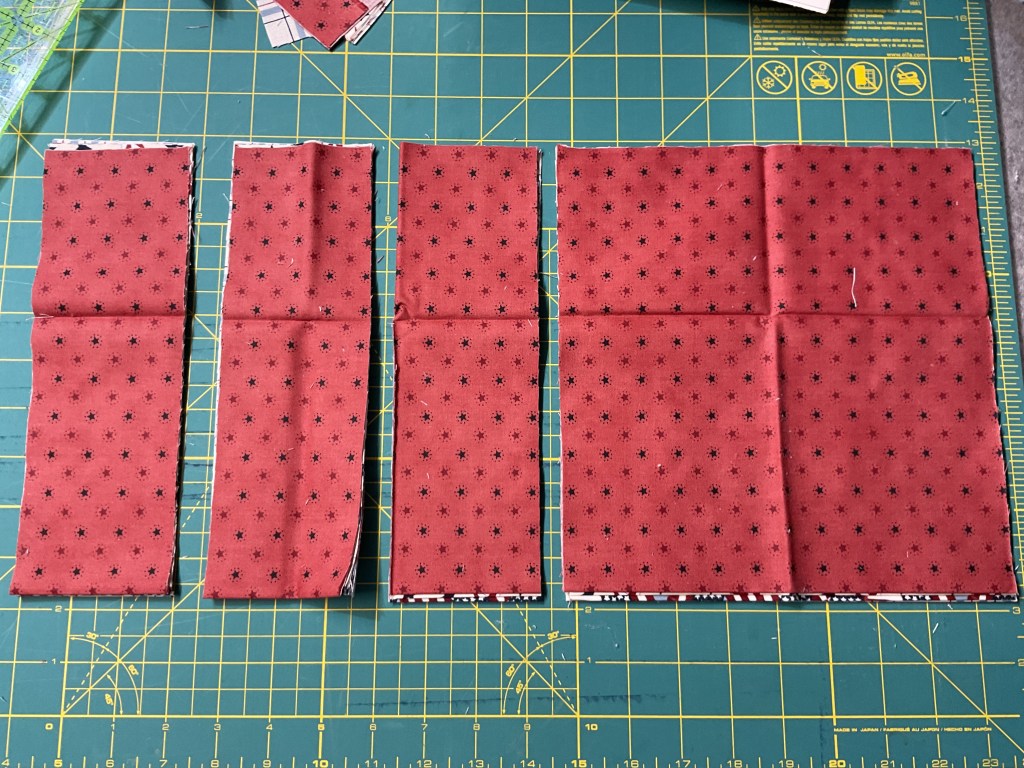
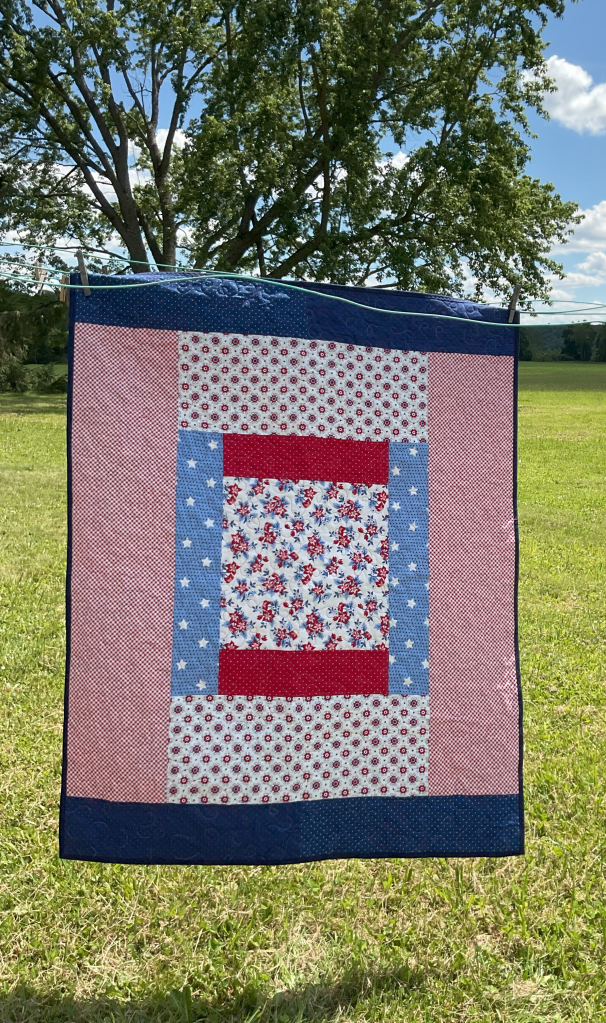
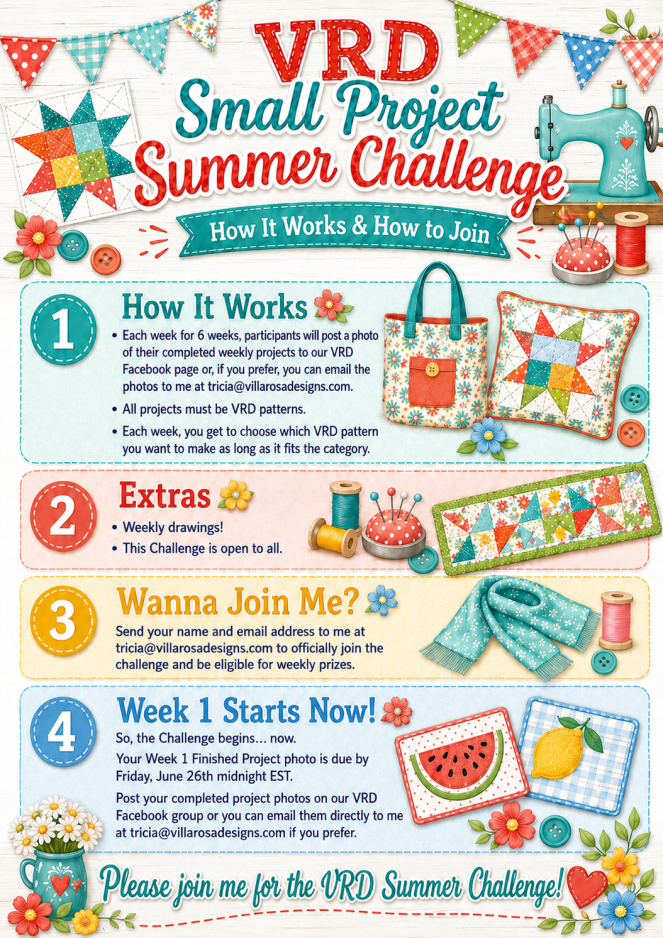
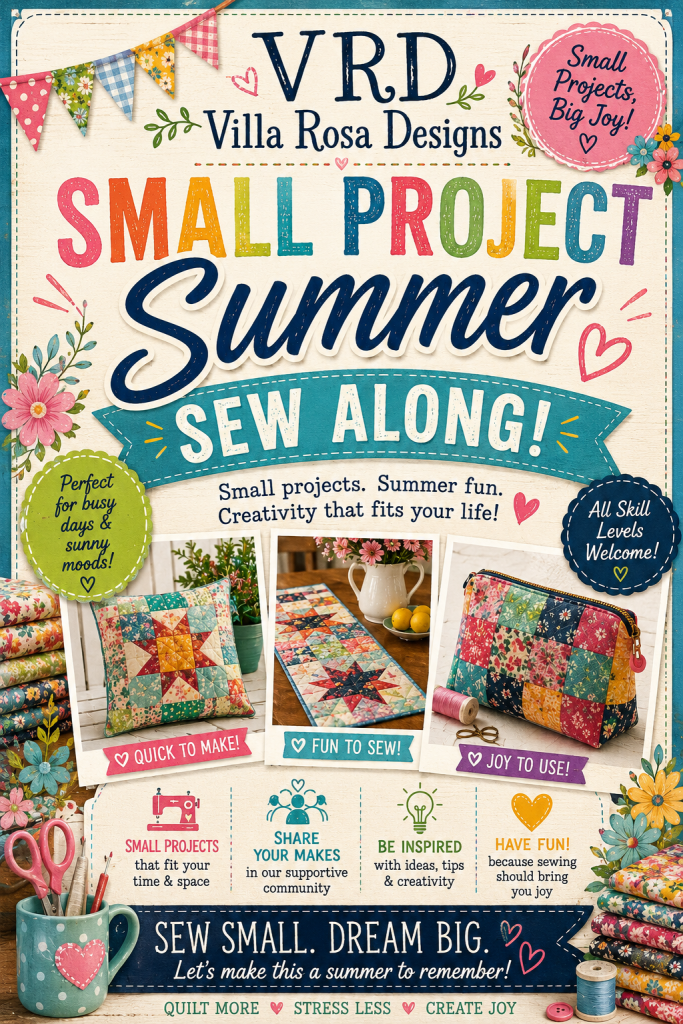
This is our 3rd week of the VRD Small Project Summer Challenge and the Challenge is a VRD pillow (pillow cover). Pillows are due by midnight, Friday July 10th EST.
There are many more pattern options for the pillows than for the tote bags last week, for sure. And I’ve been having fun checking out everyone’s projects, so keep ’em coming. I just love love love seeing how everyone adapts patterns and changes things up to work for you and your needs.
If you aren’t checking out the VRD Facebook page, you are missing A LOT of wonderful inspiration and ideas. It’s also a great place to connect with other VRD quilters and sewists. You can share projects, support each other, and even ask questions. It’s such a good place to visit!

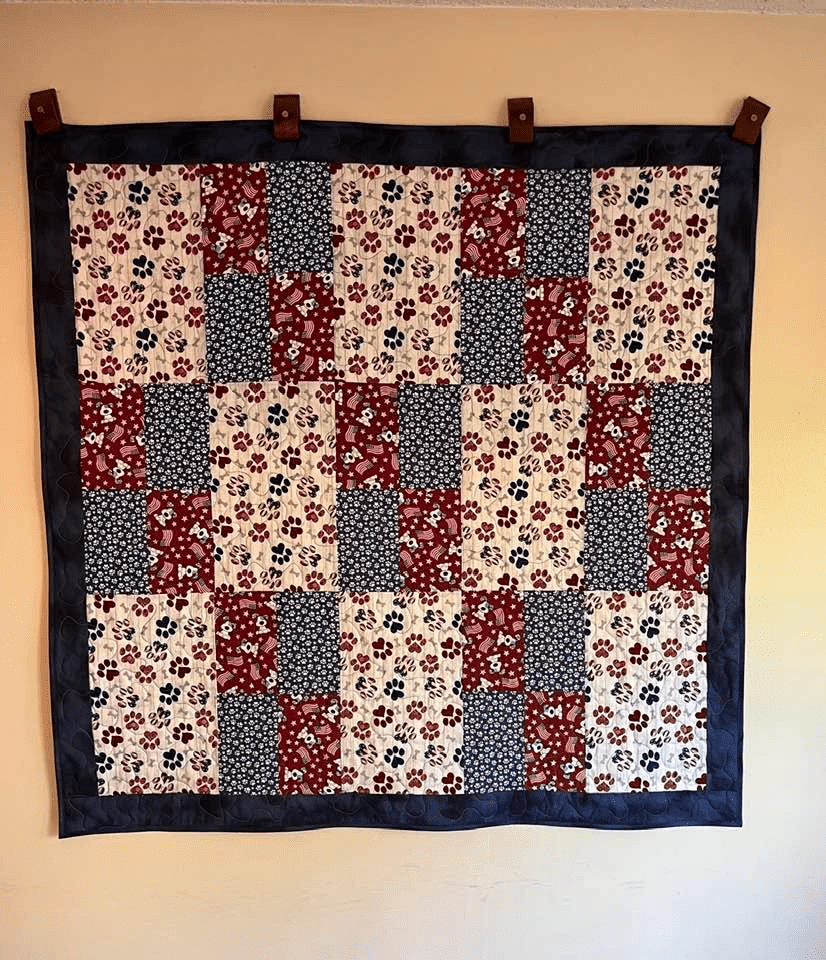
I really hope everyone is having fun with the projects. One of the many ideas behind this Challenge was that I wanted to share some of our other projects because VRD isn’t just quilts. And I can’t believe the Challenge is half over now. Golly! Time really flies!
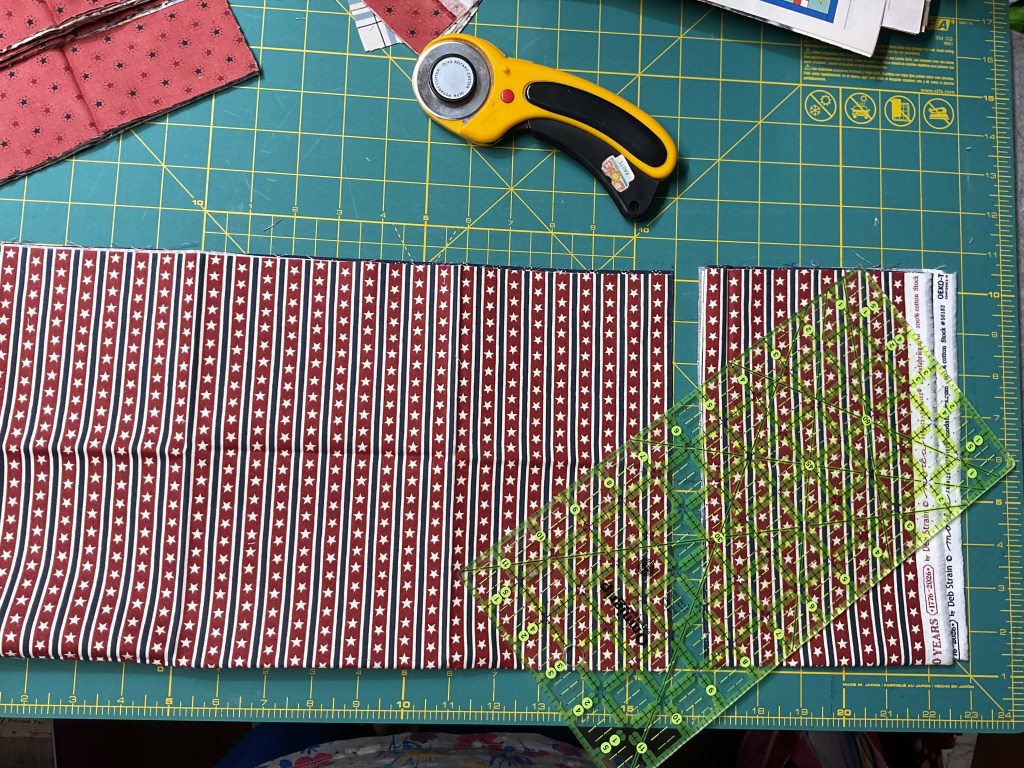
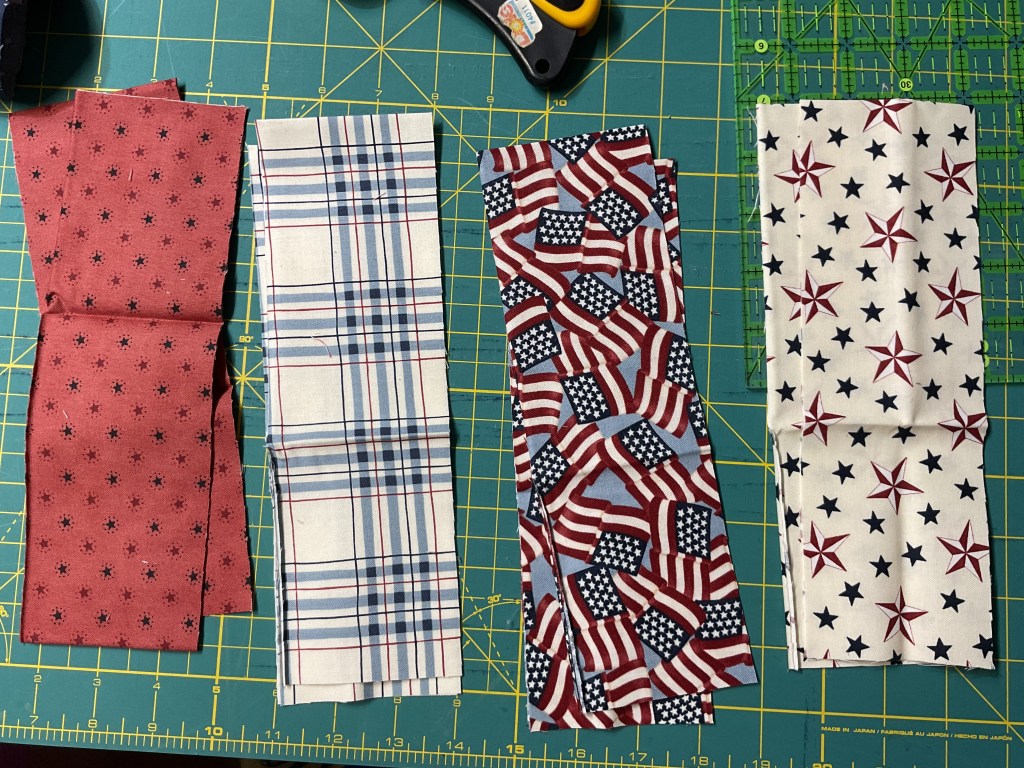
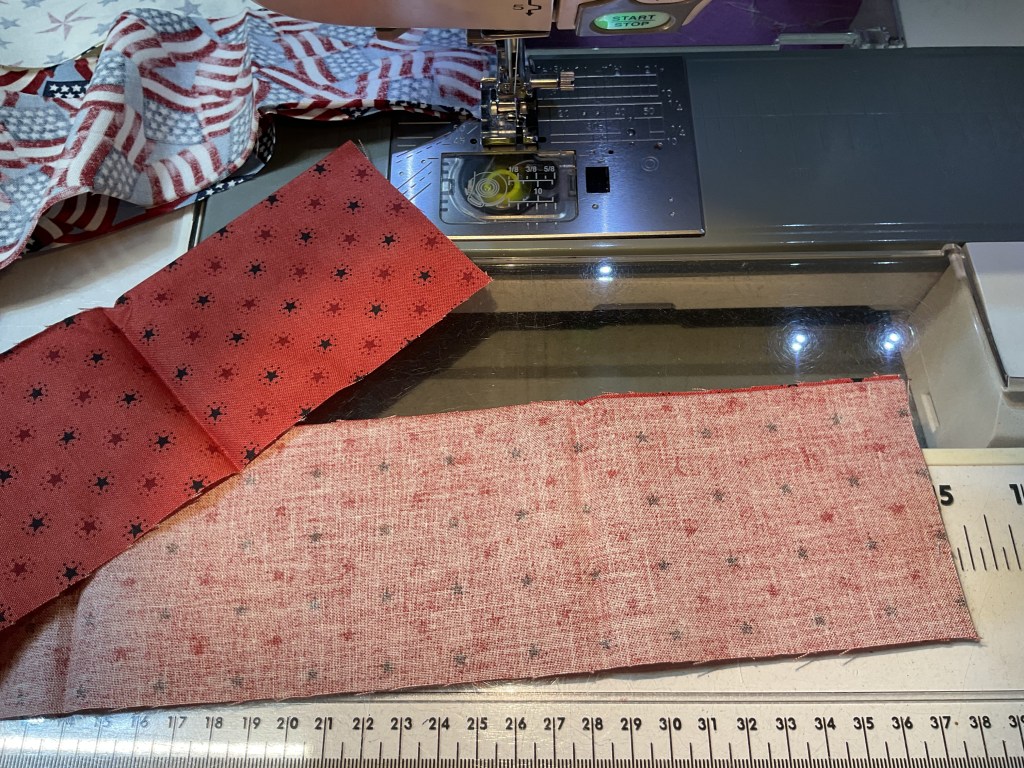
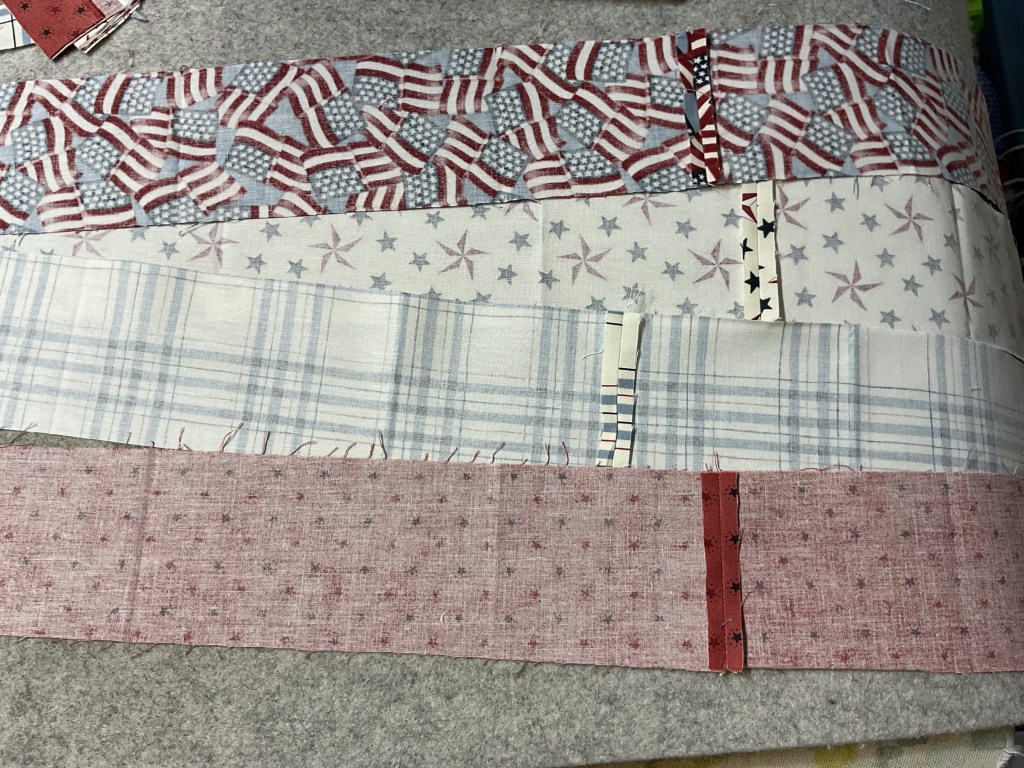
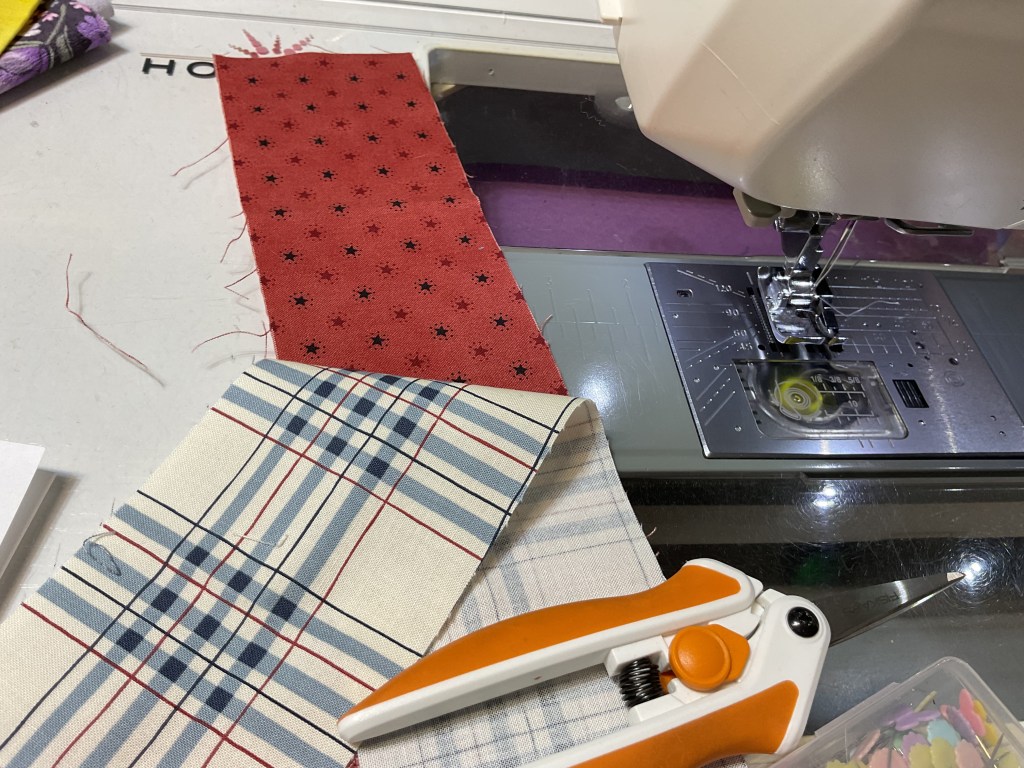
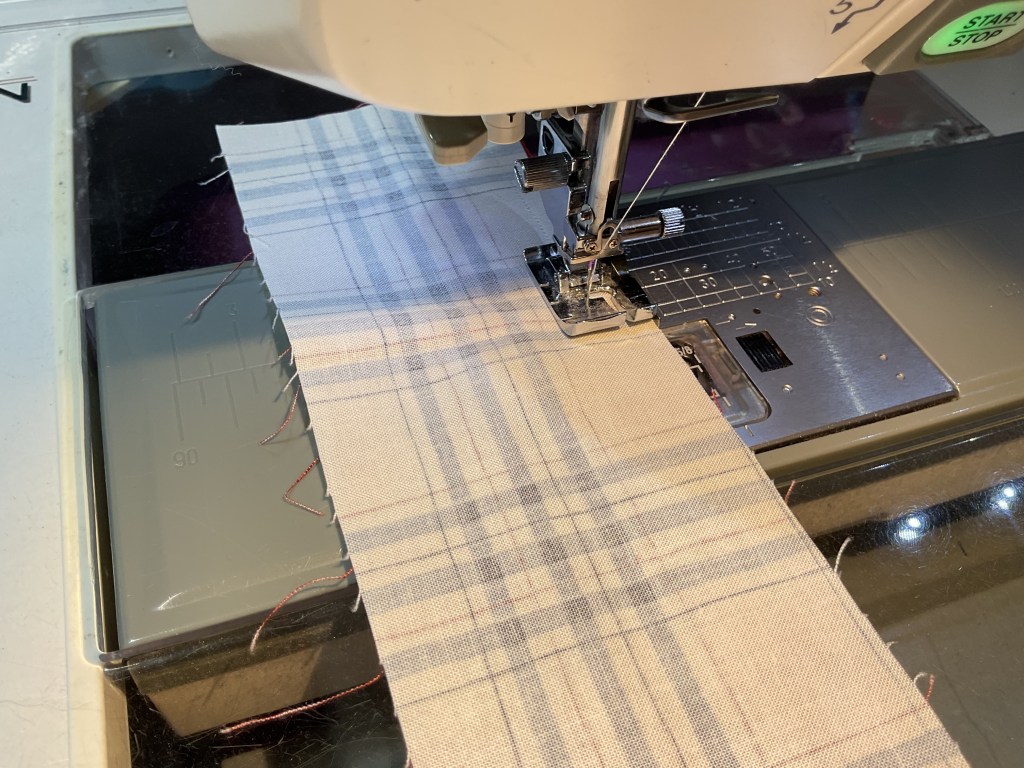
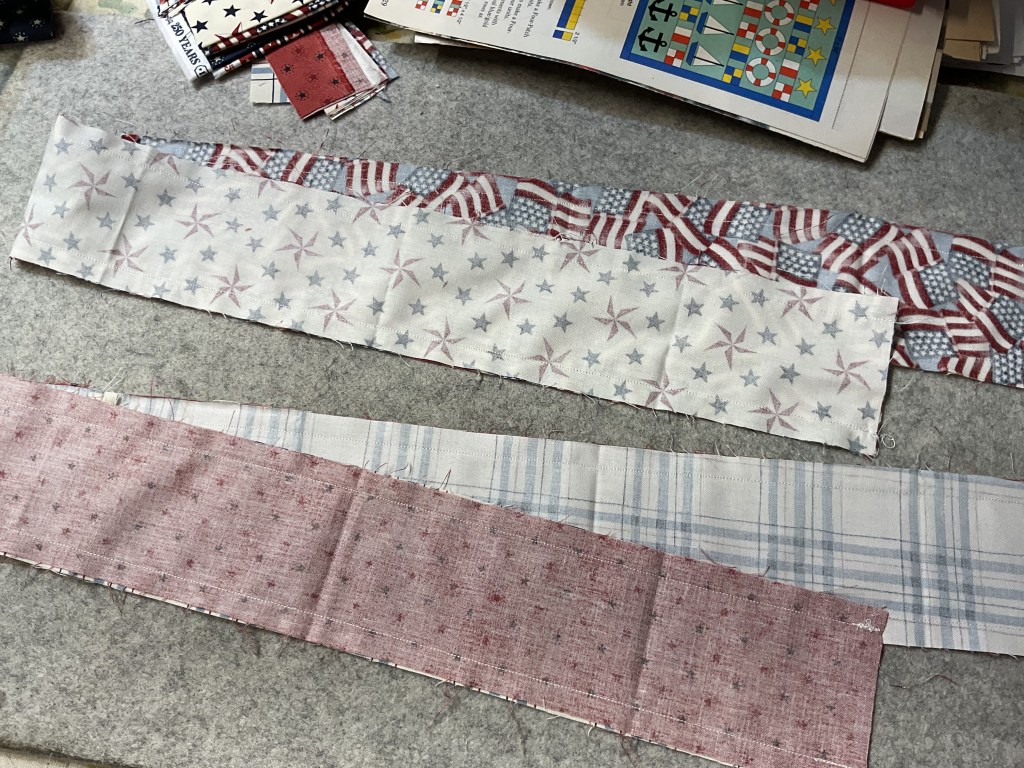
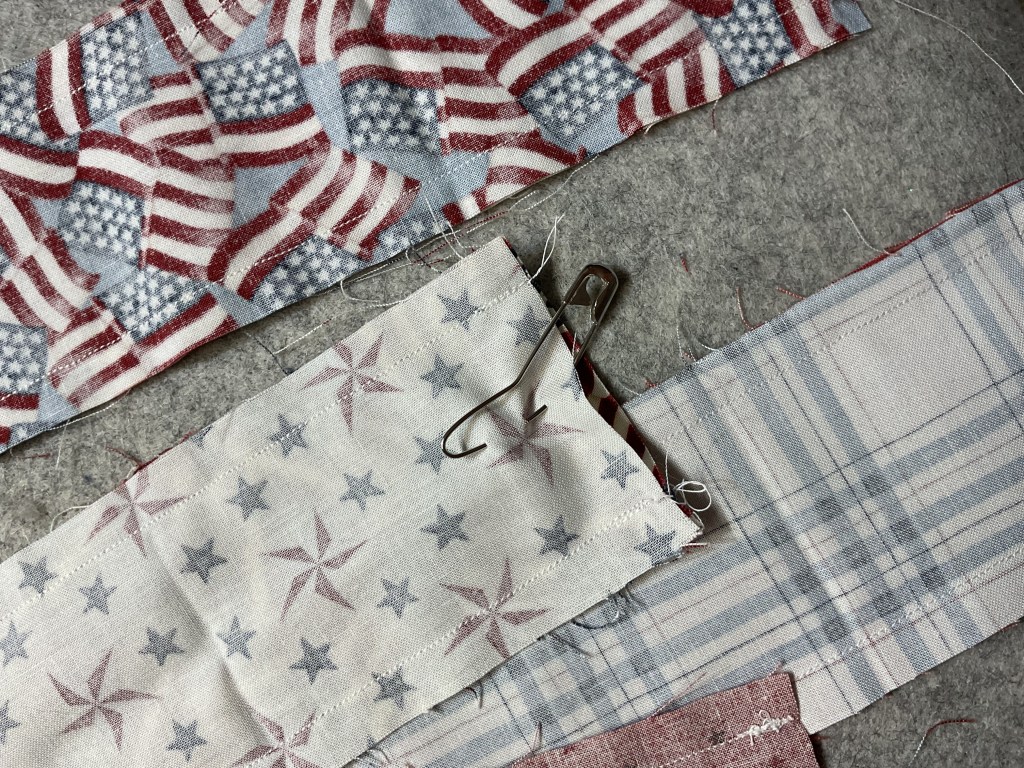
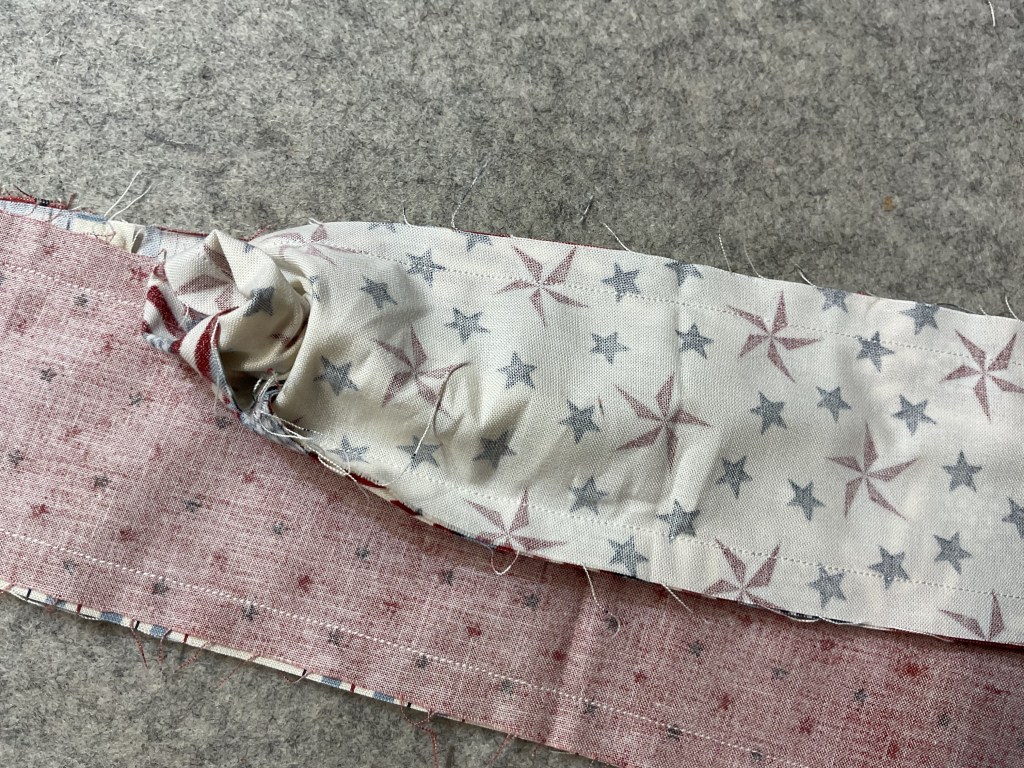
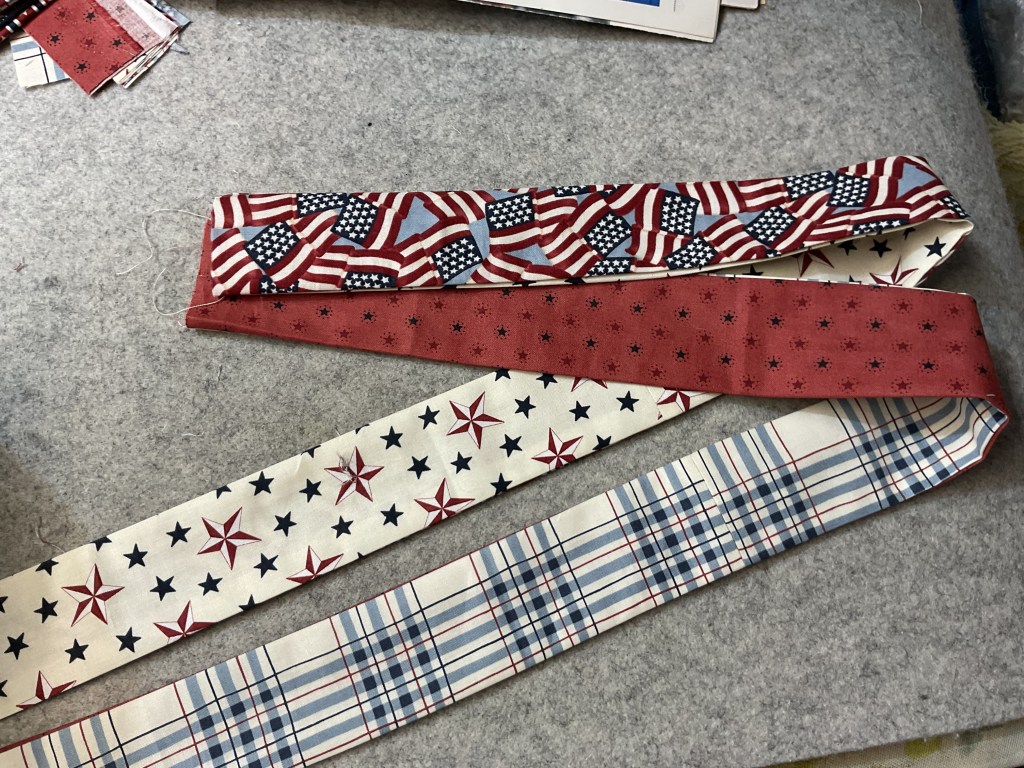
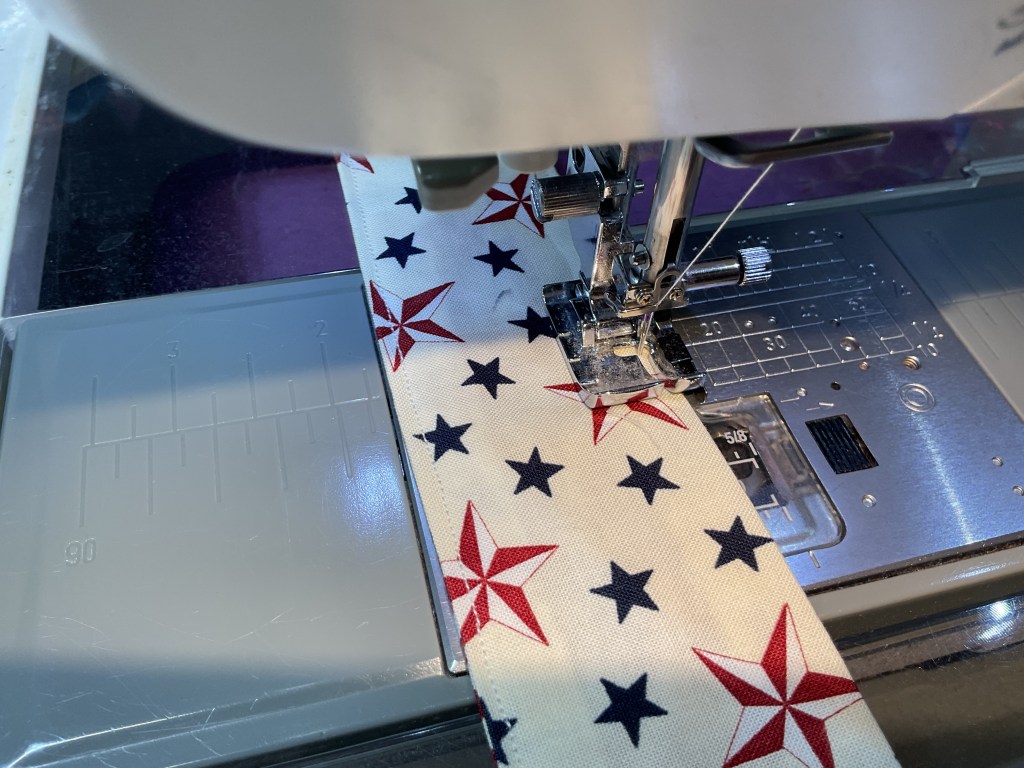
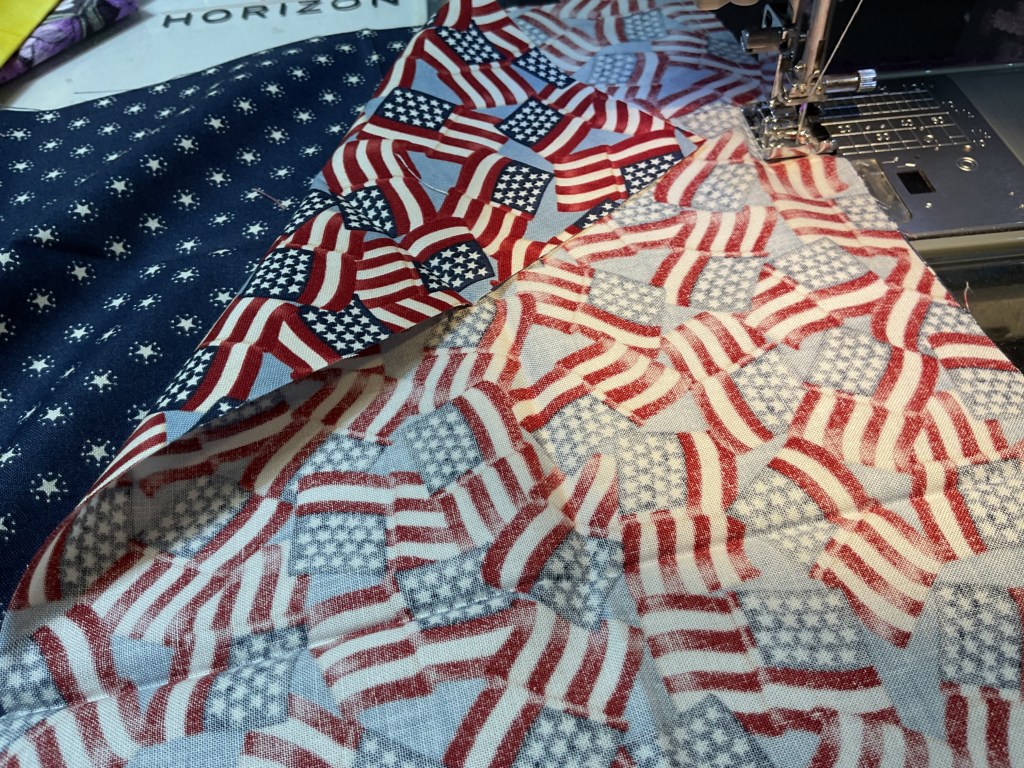
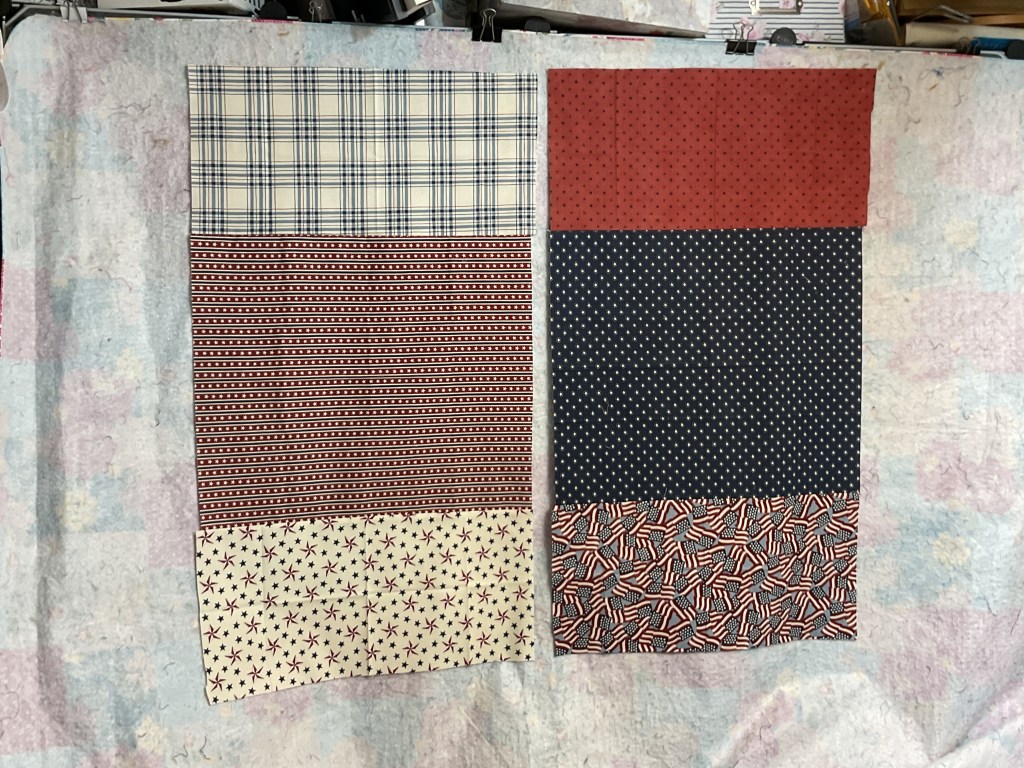
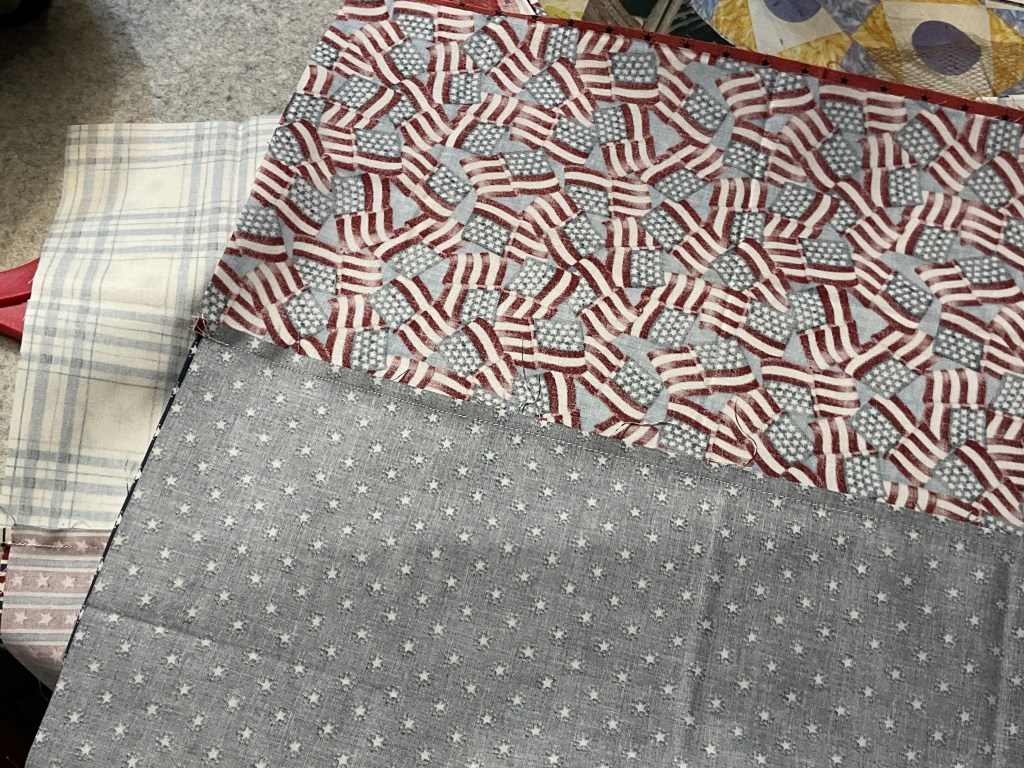
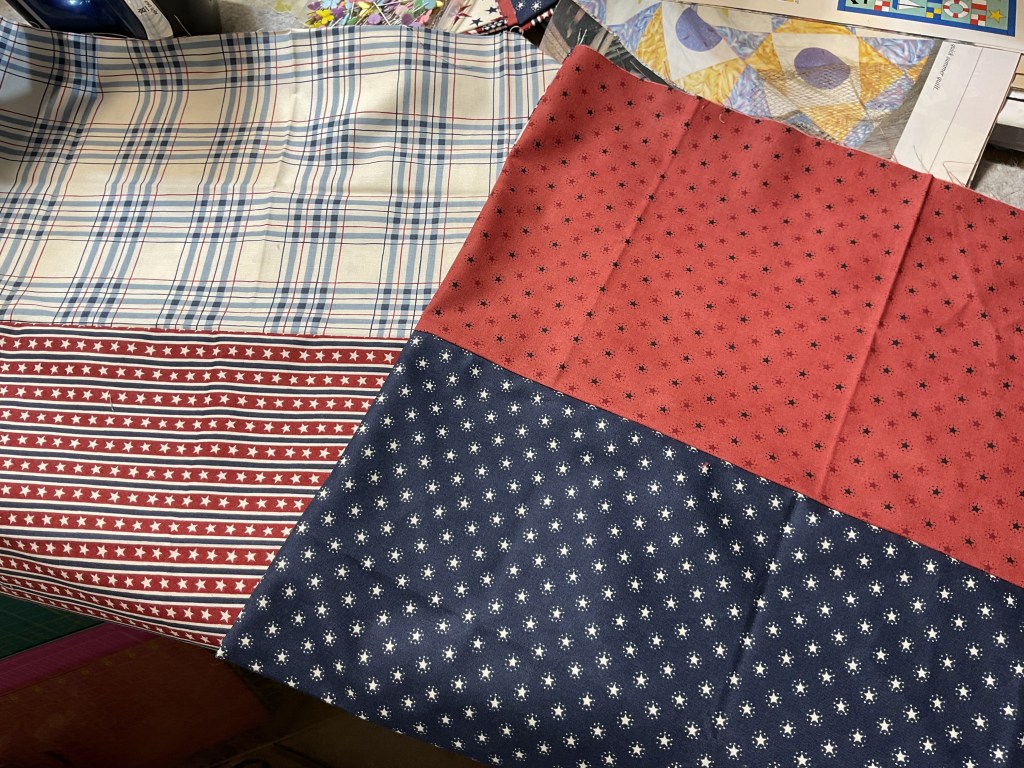
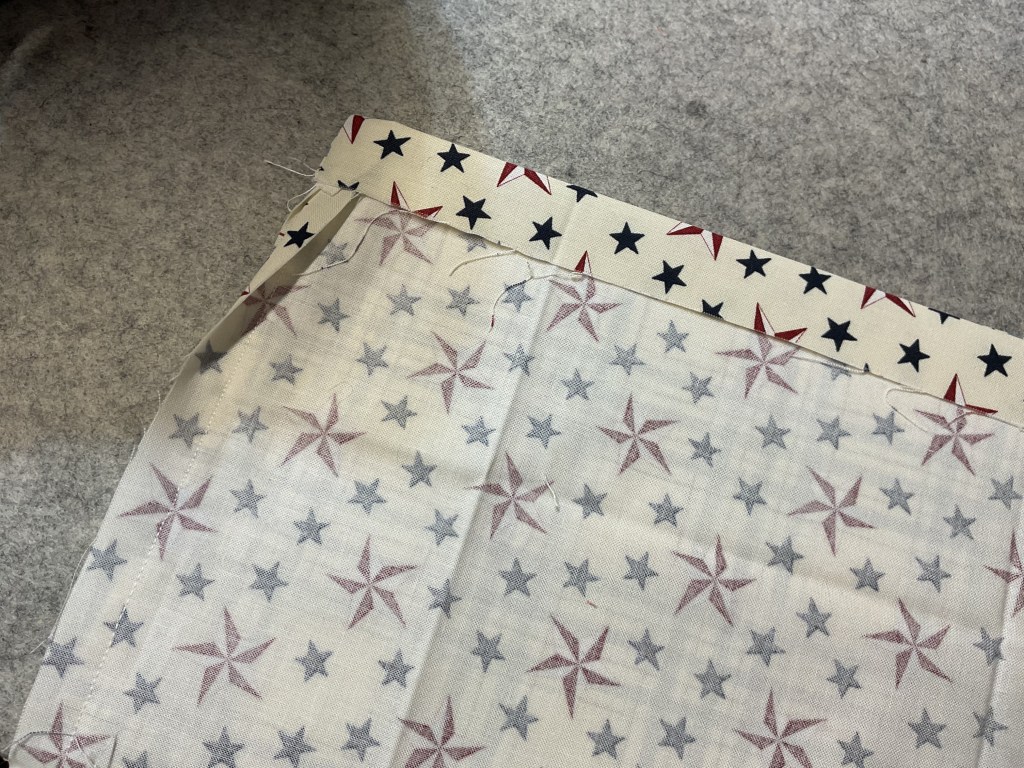
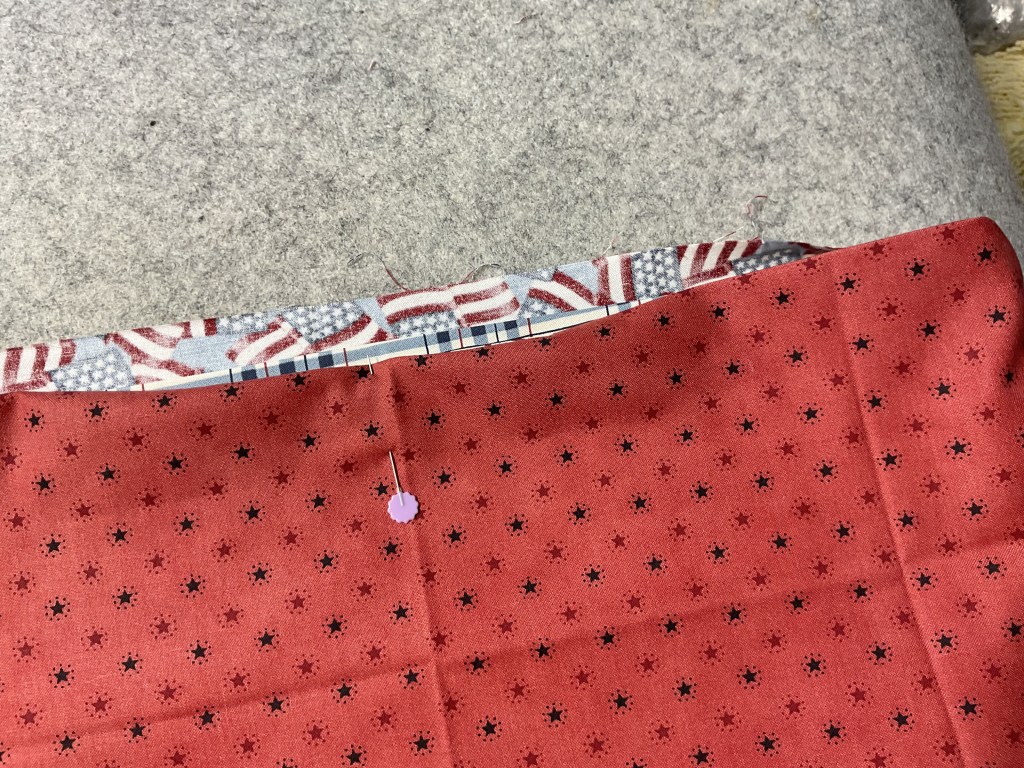
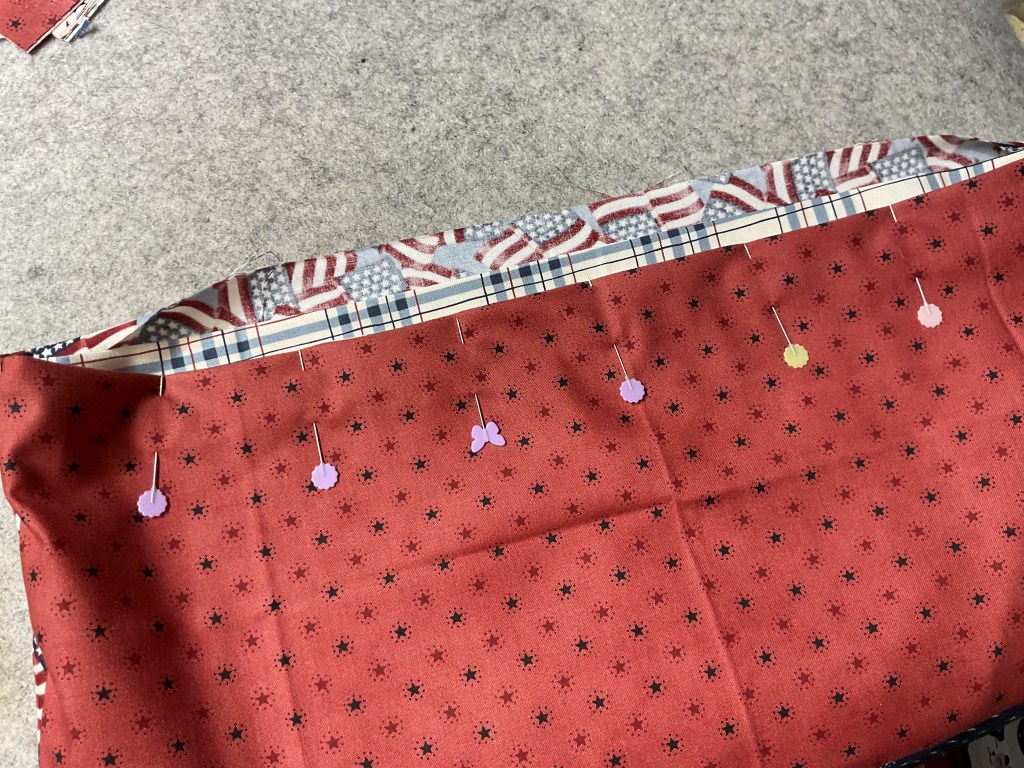
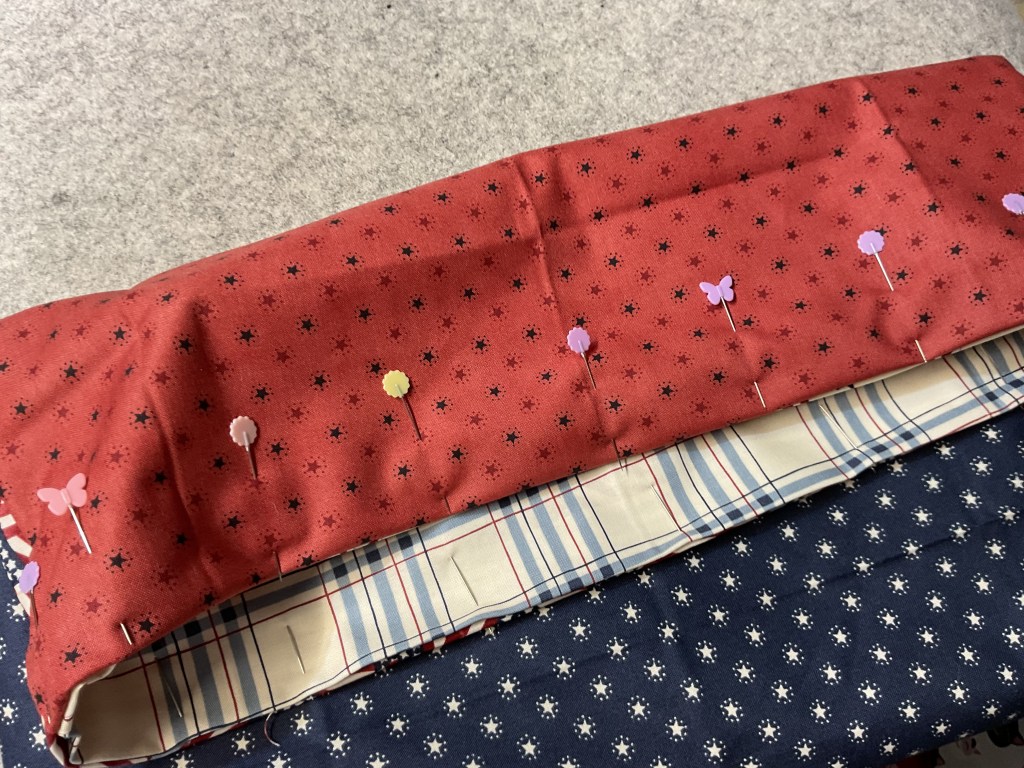
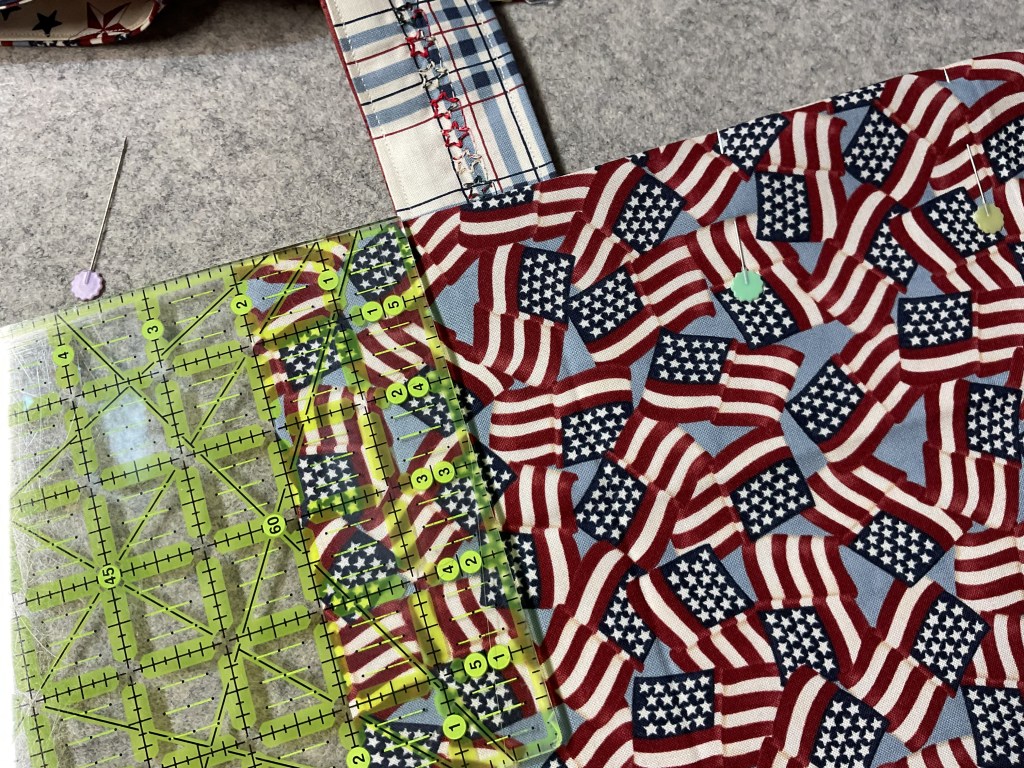
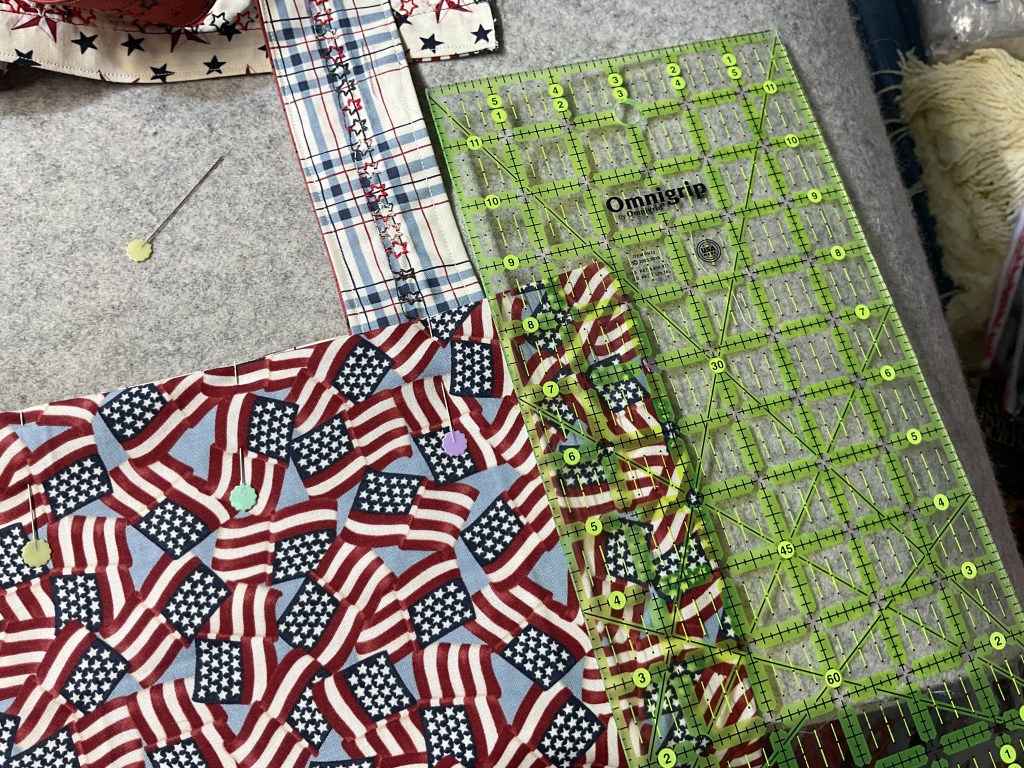
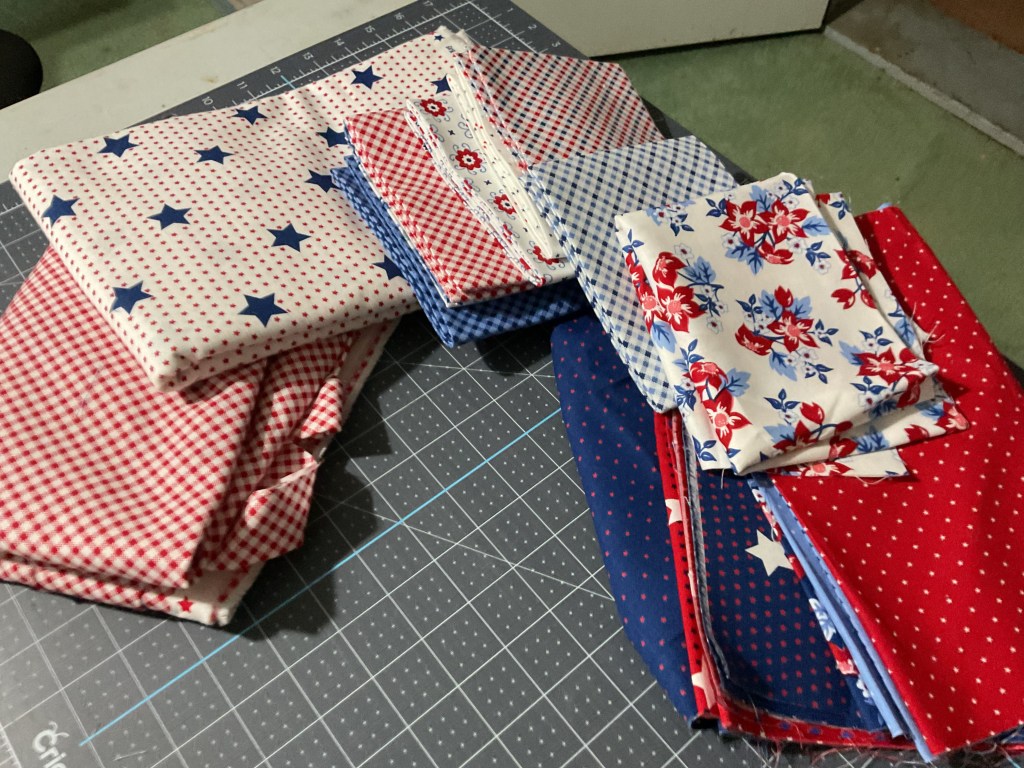
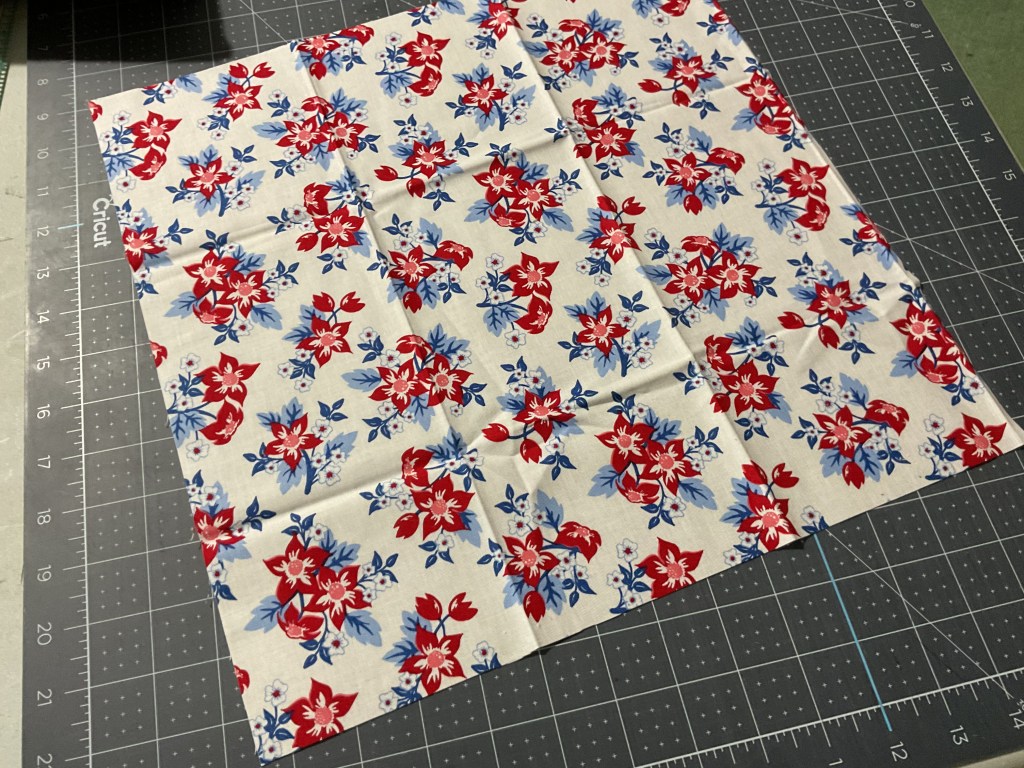
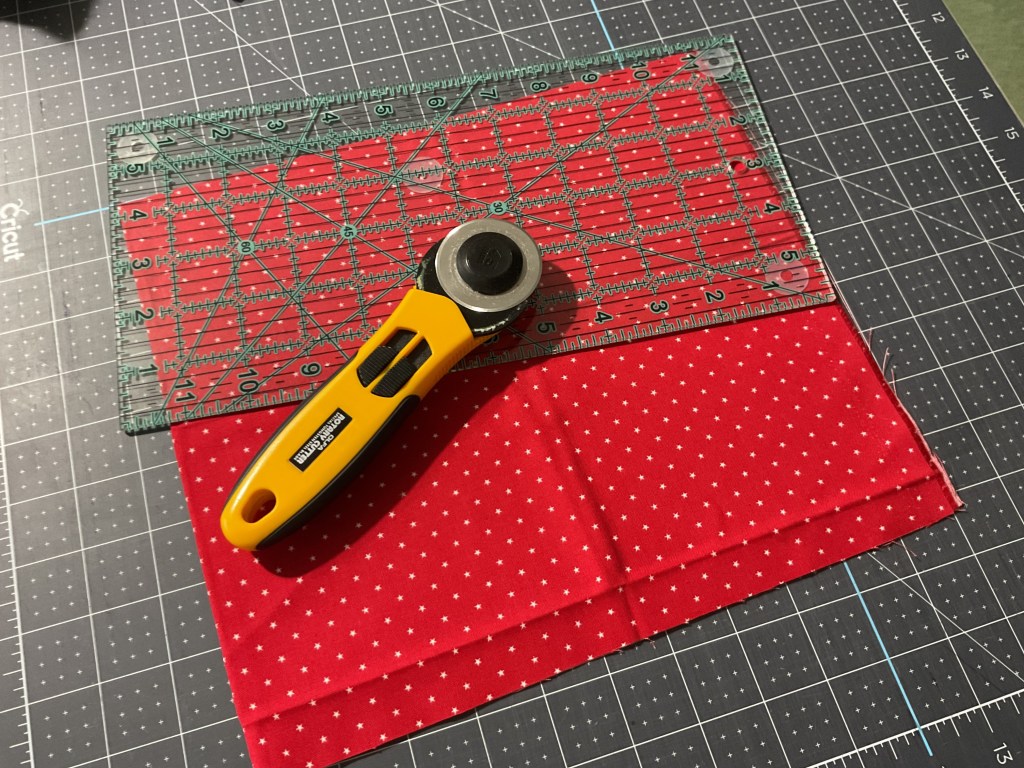
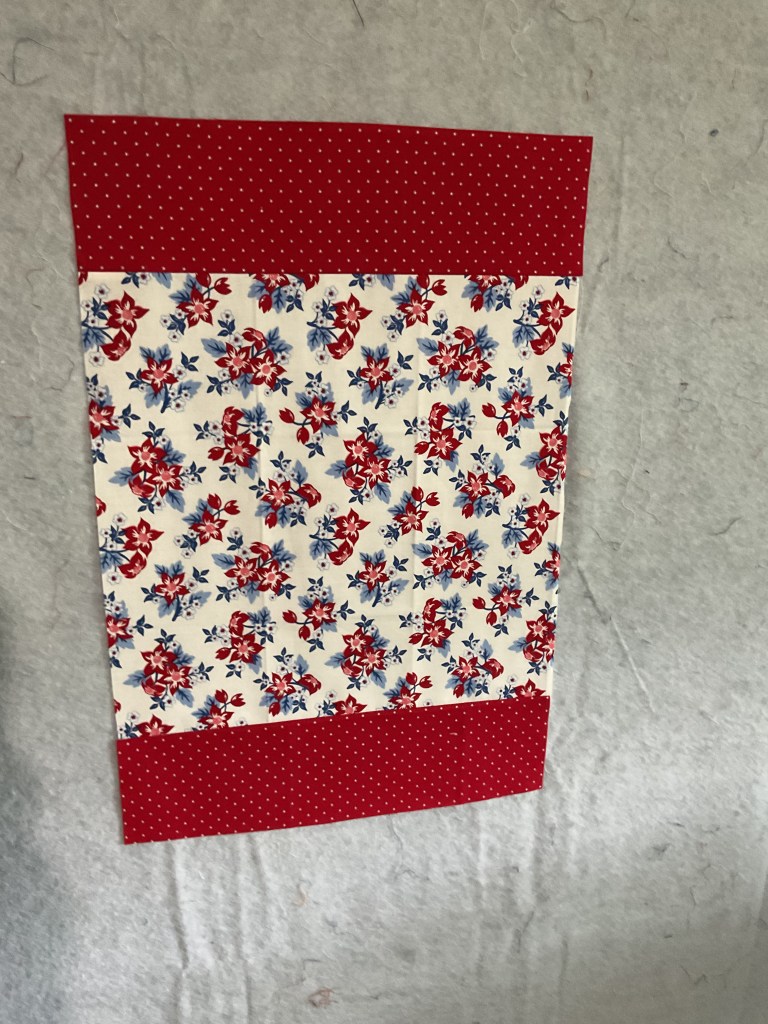
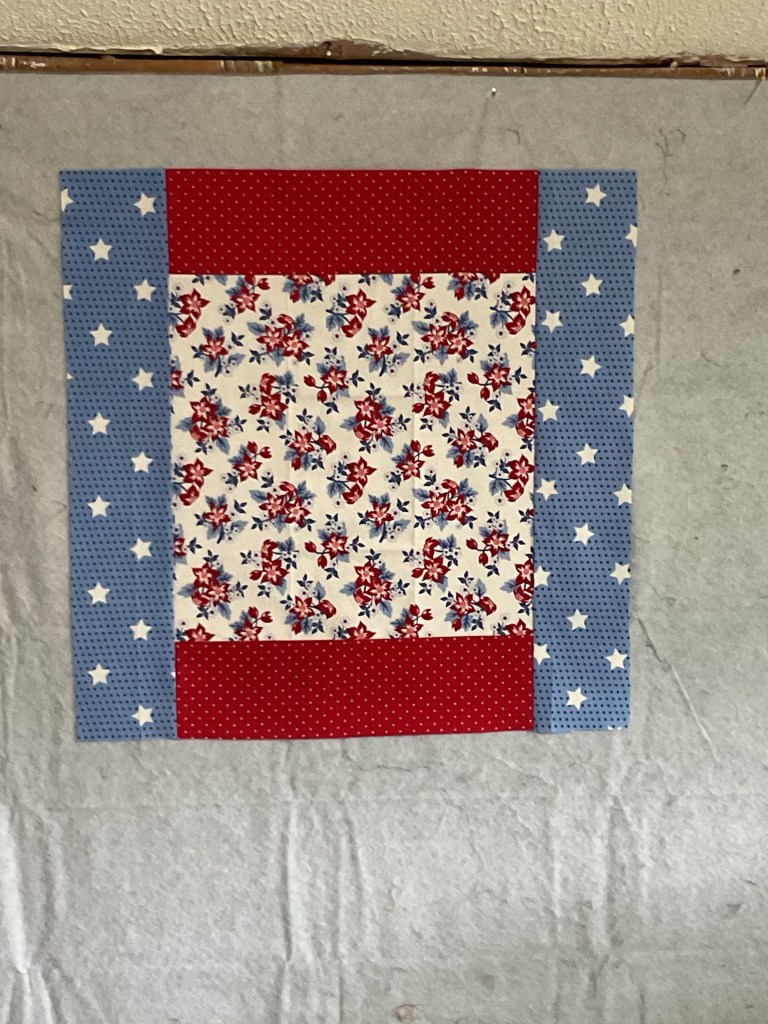
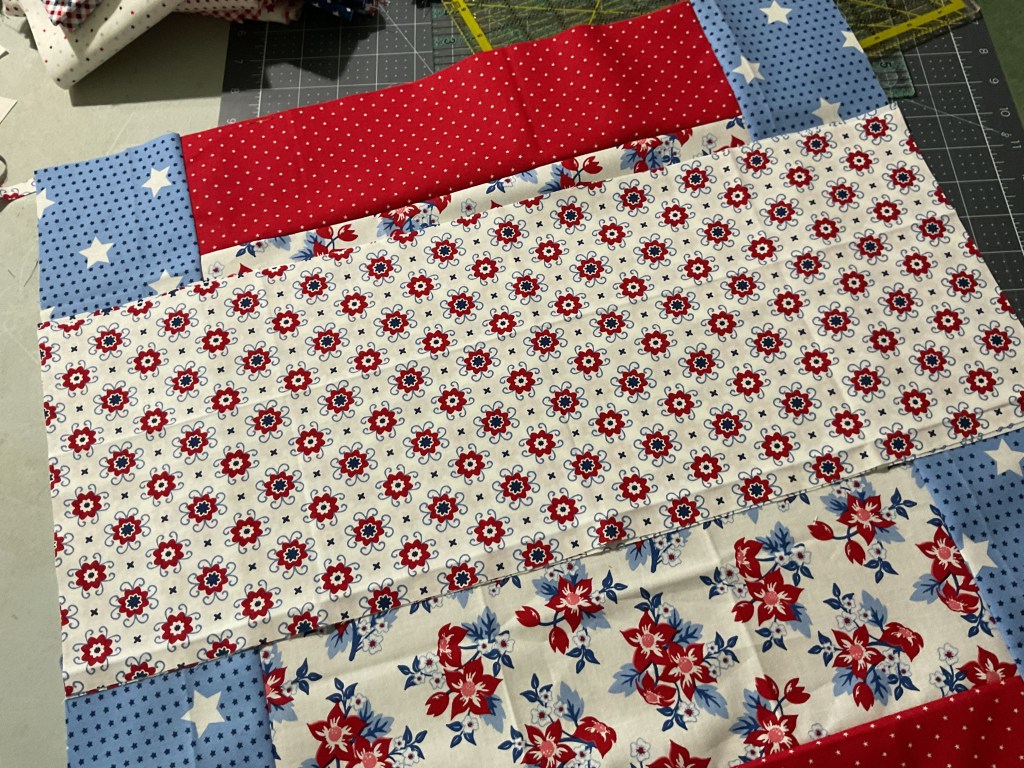
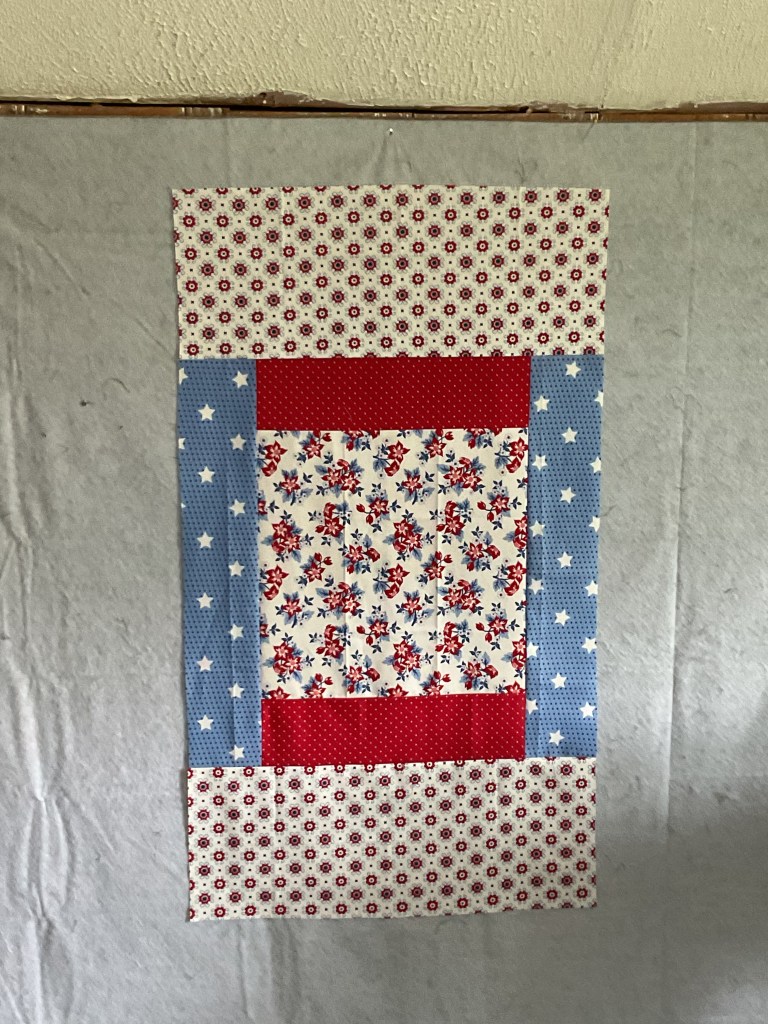
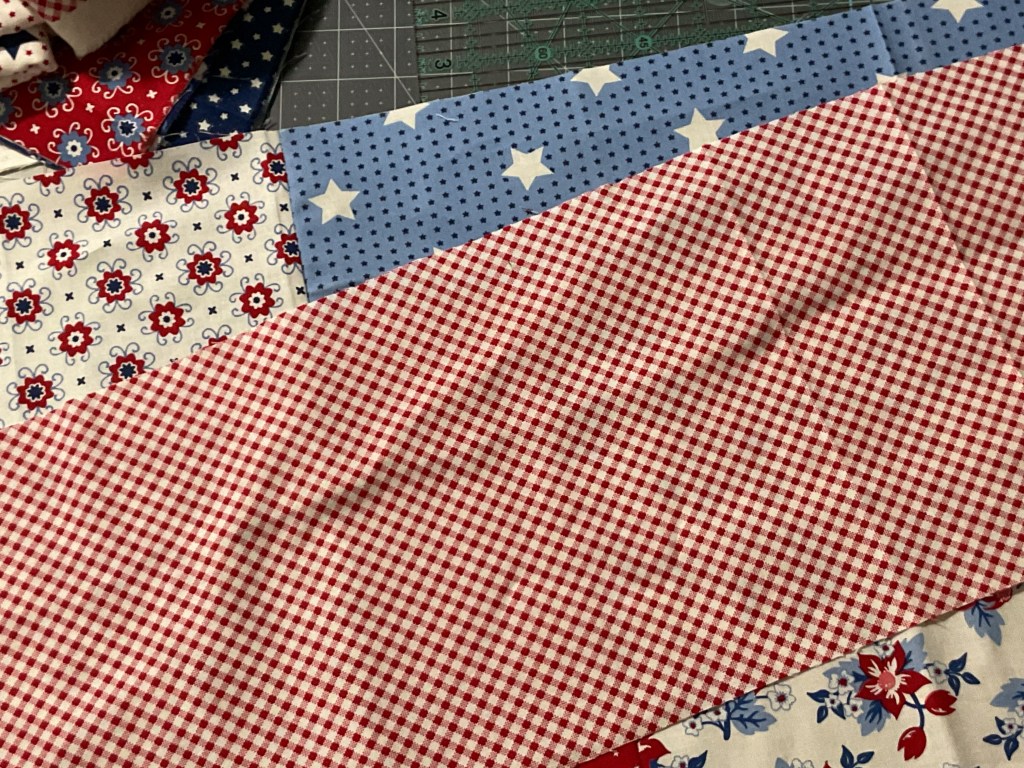
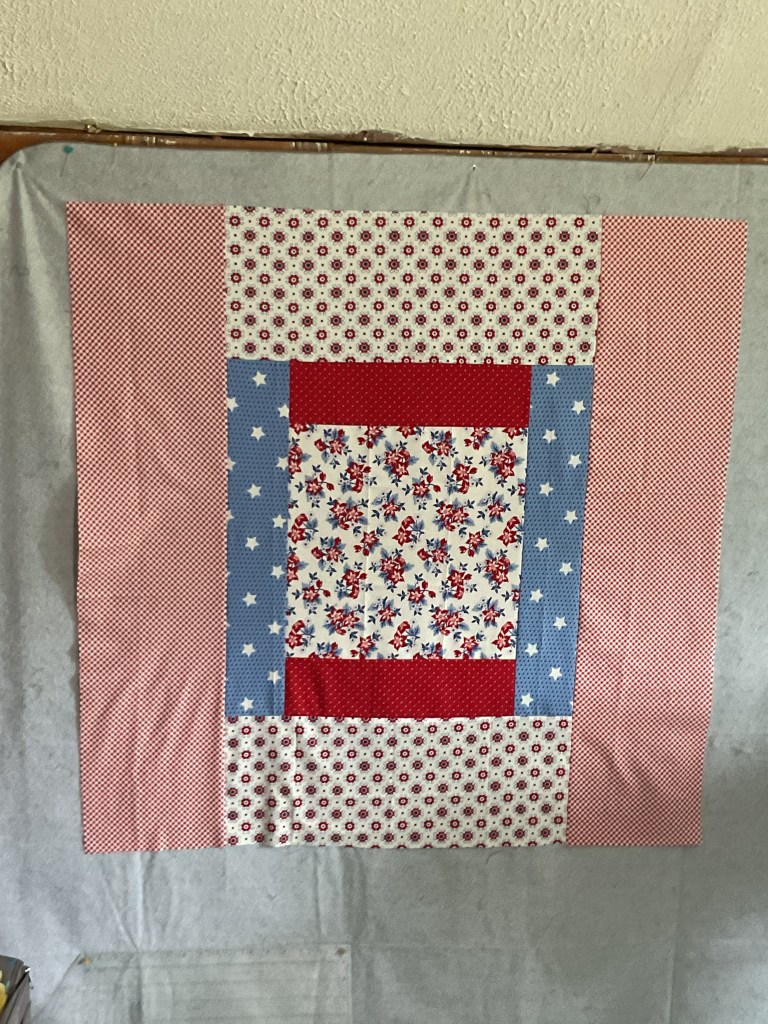
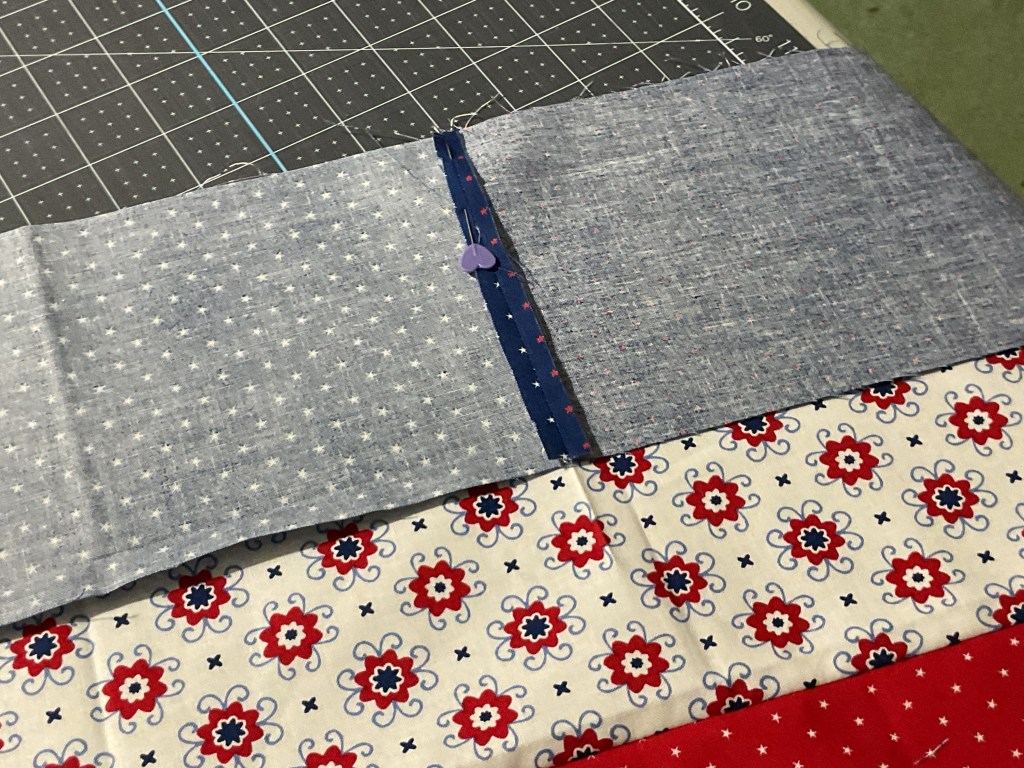
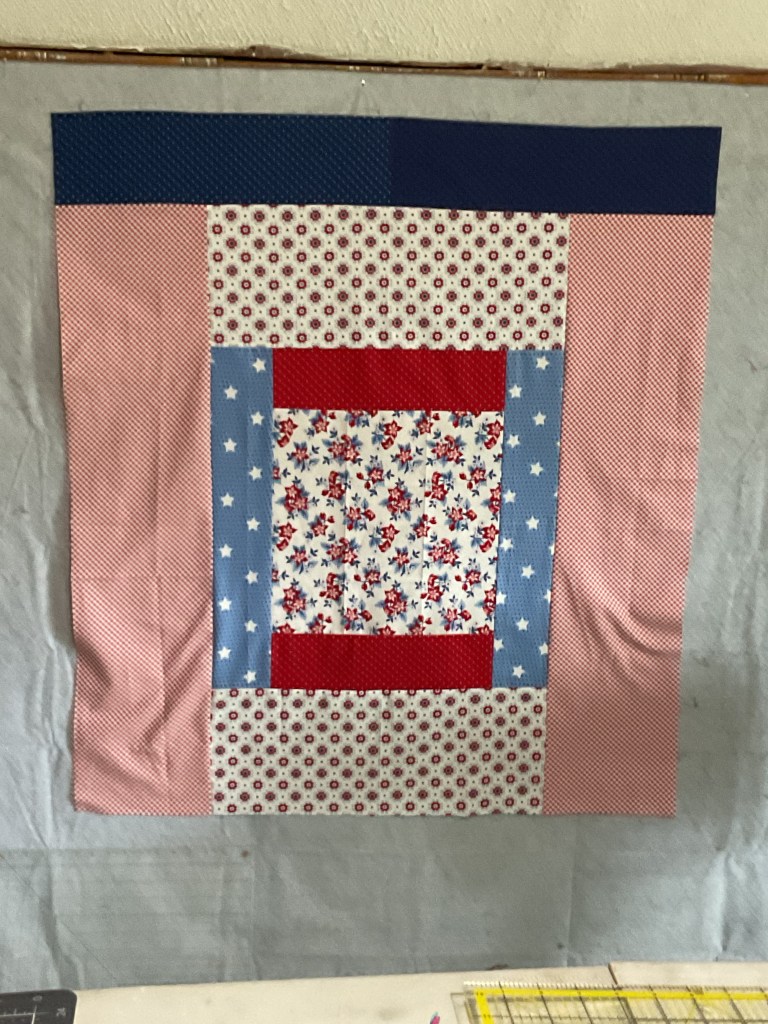
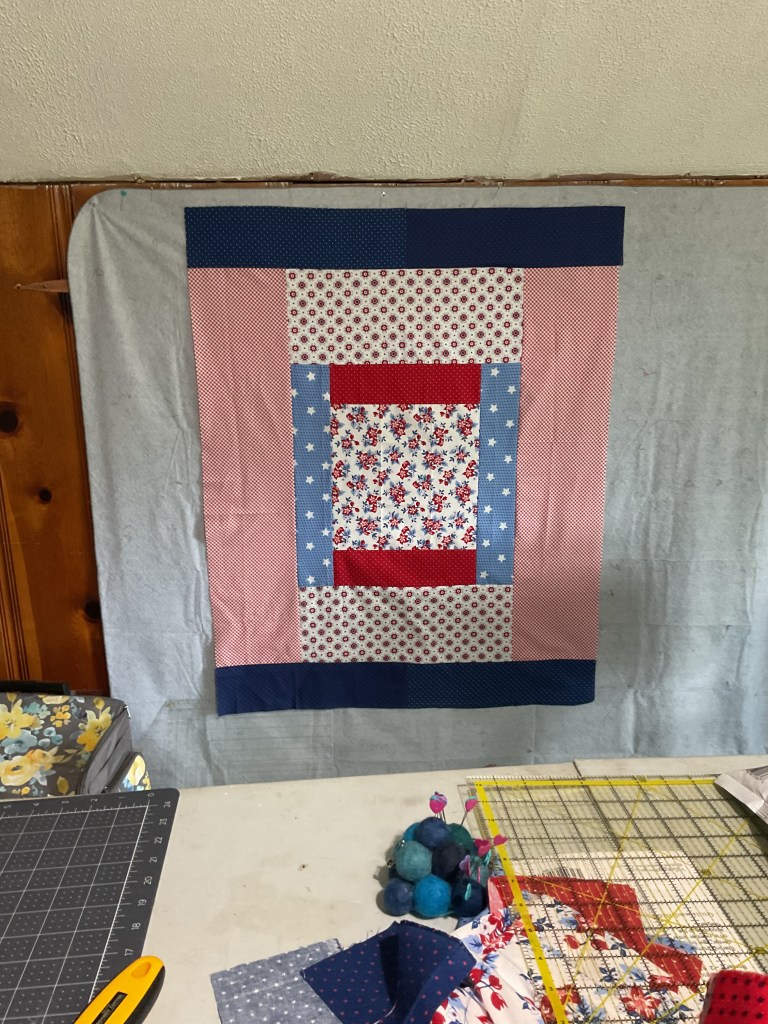
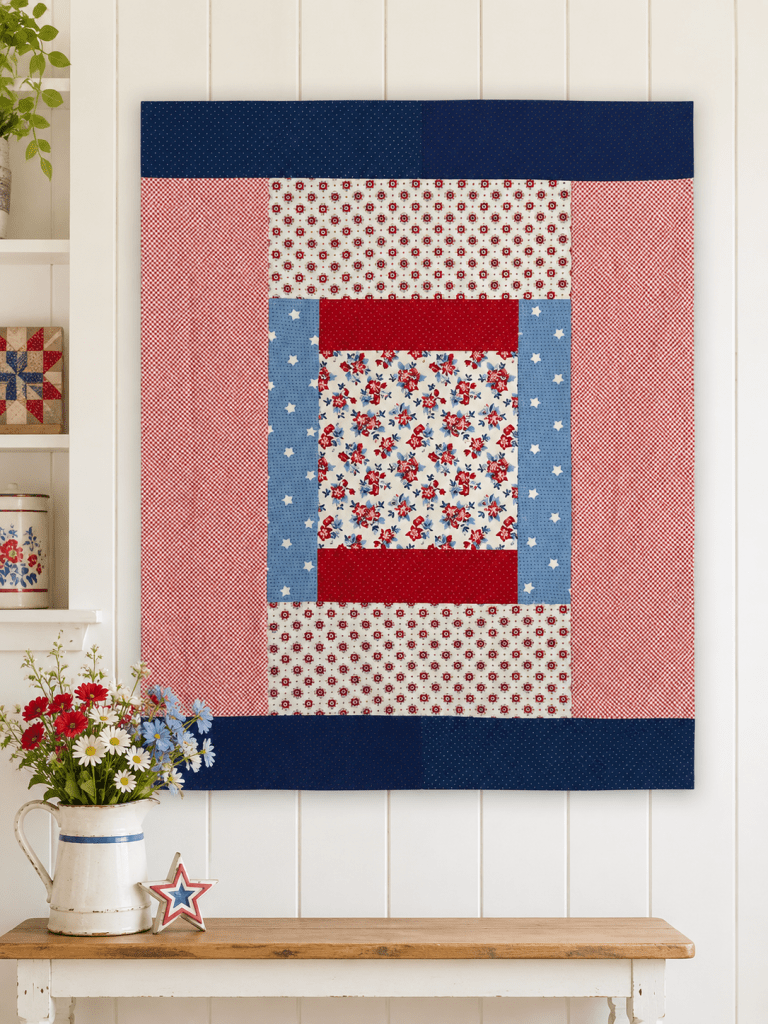
Now, I must be honest with everyone … this week’s challenge pillow for me is still a work in progress. I’ve been under the weather recently, so my sewing machine has been getting more rest than exercise. Me, too.
The good news is – I know many of you are stitching right along through the weekly Challenges and creating some wonderful projects for yourself or for someone else. Some of you are also working on the Challenge projects with others – how awesome is that??? Sigh…..sometimes creativity means giving ourselves a little grace, particularly when we don’t feel well. Here’s to next week’s project.
And now it’s time to celebrate – yeah!
Week 2 Winner
Let’s give our Week 2 winner a big high five!
Congrats to…….
Kim C. in Washington
Woohoo! Way to go!
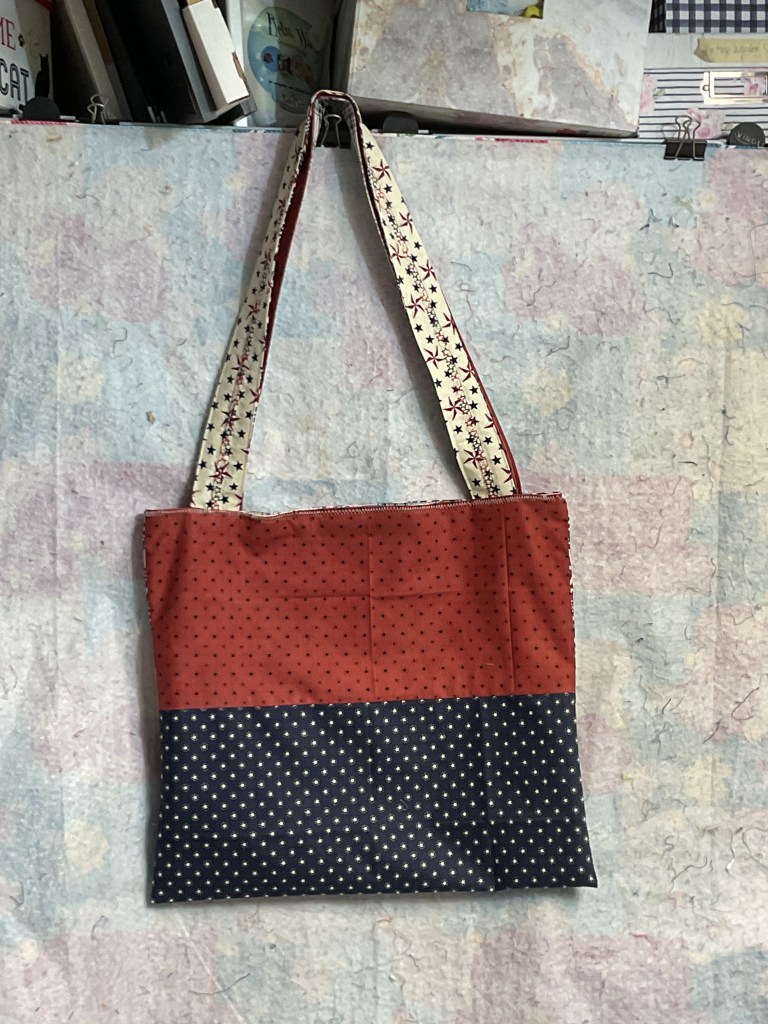
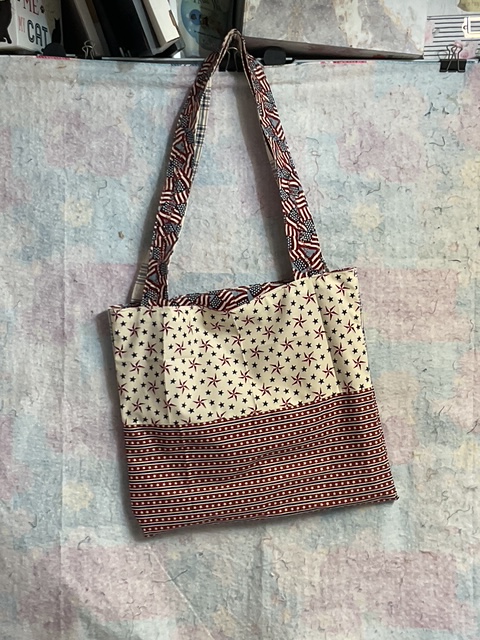
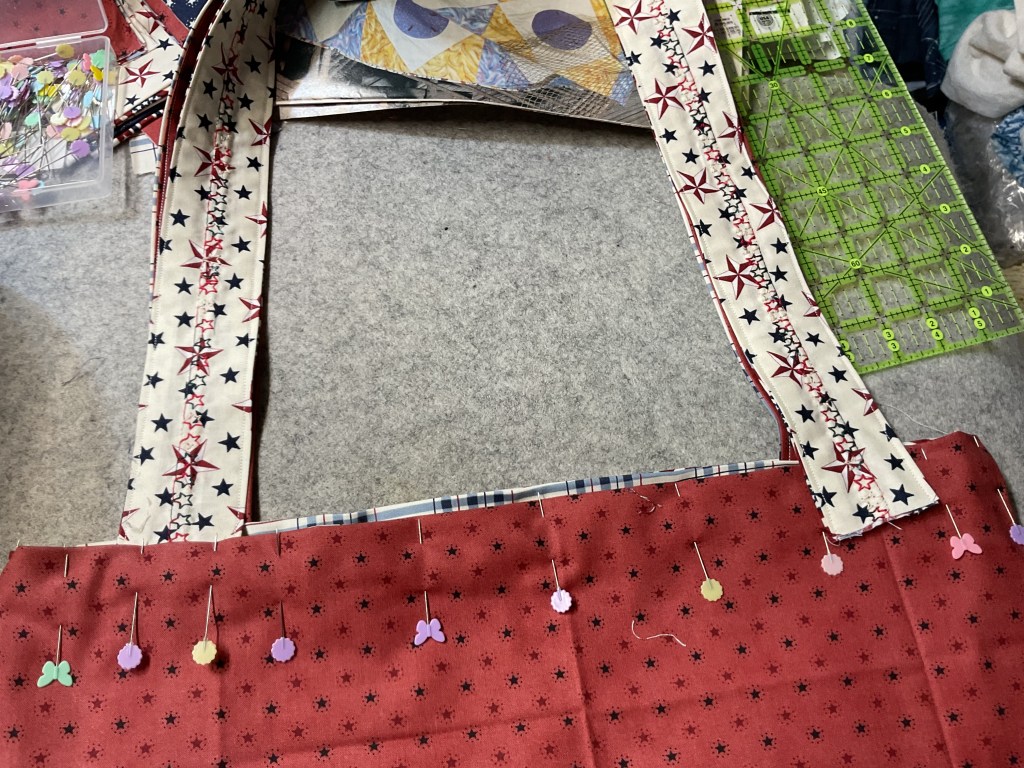
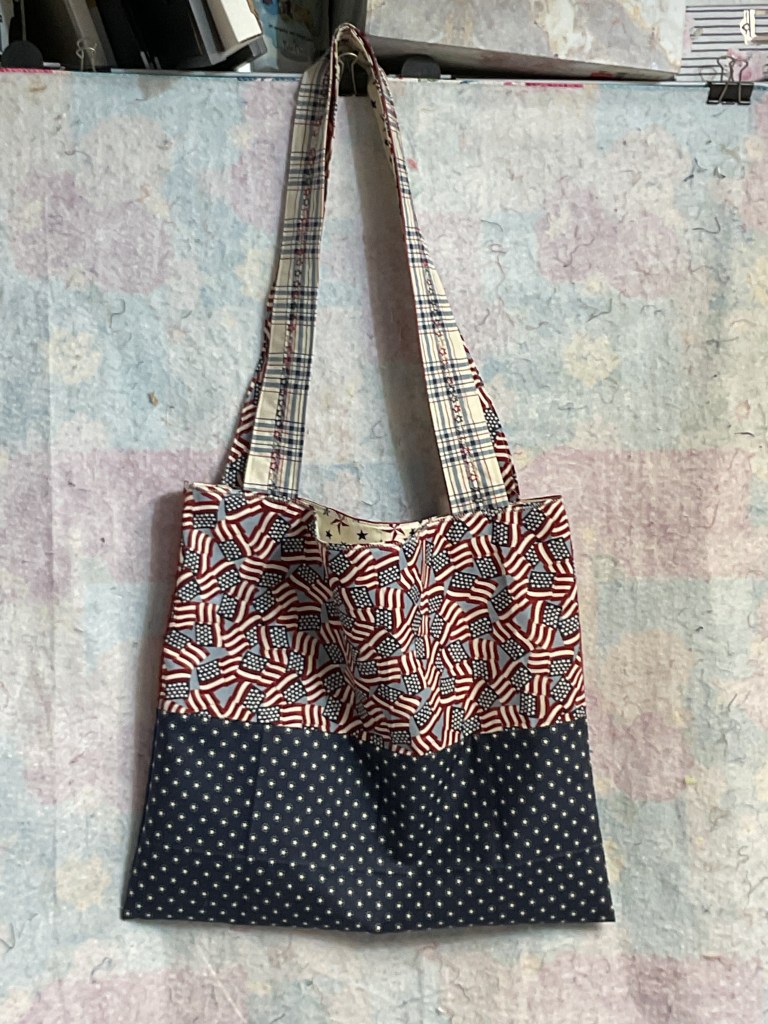
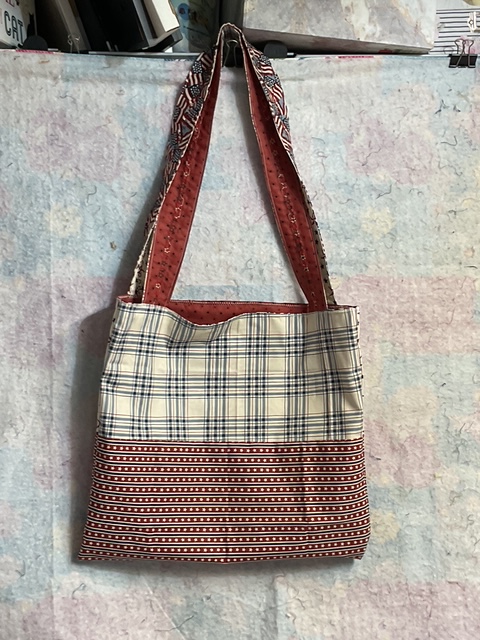
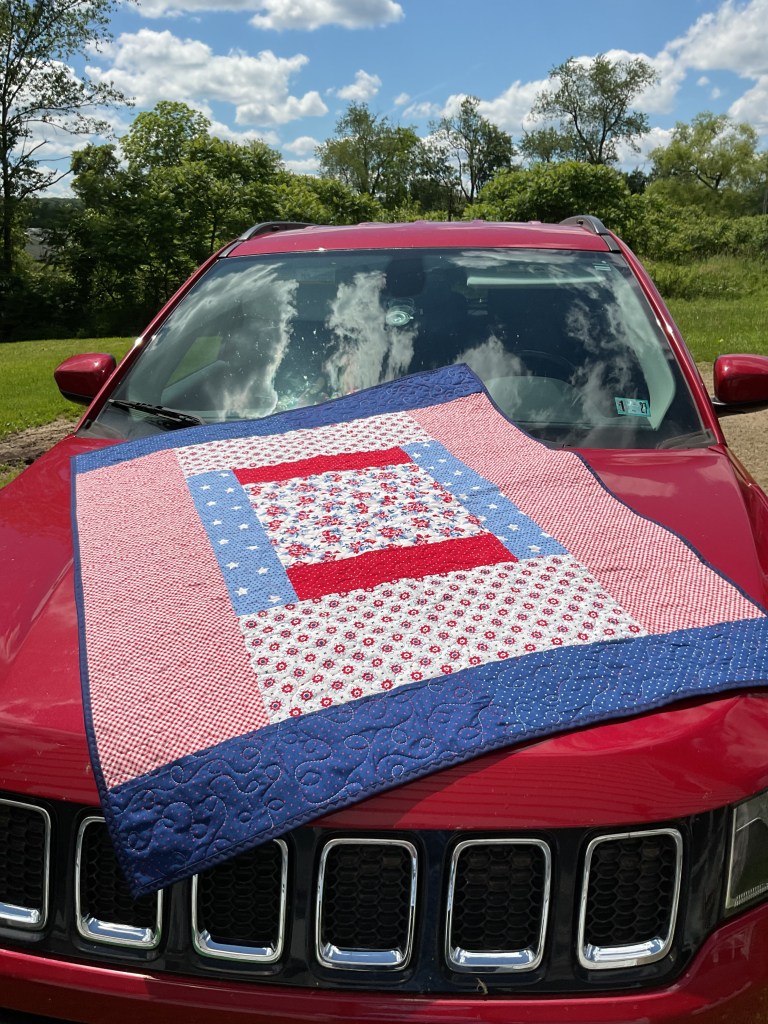
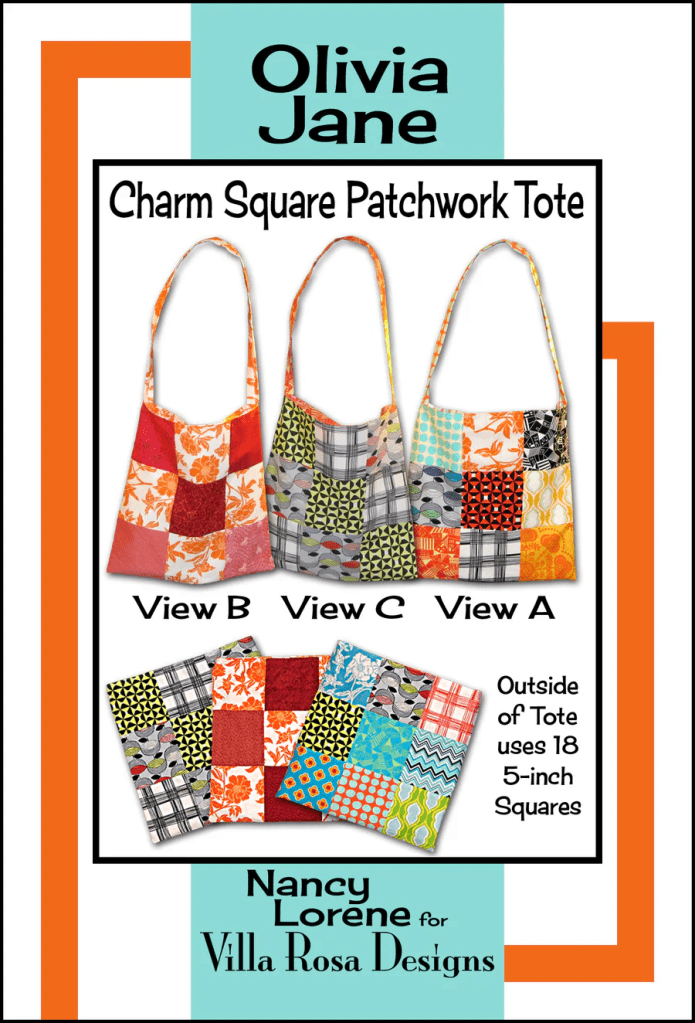
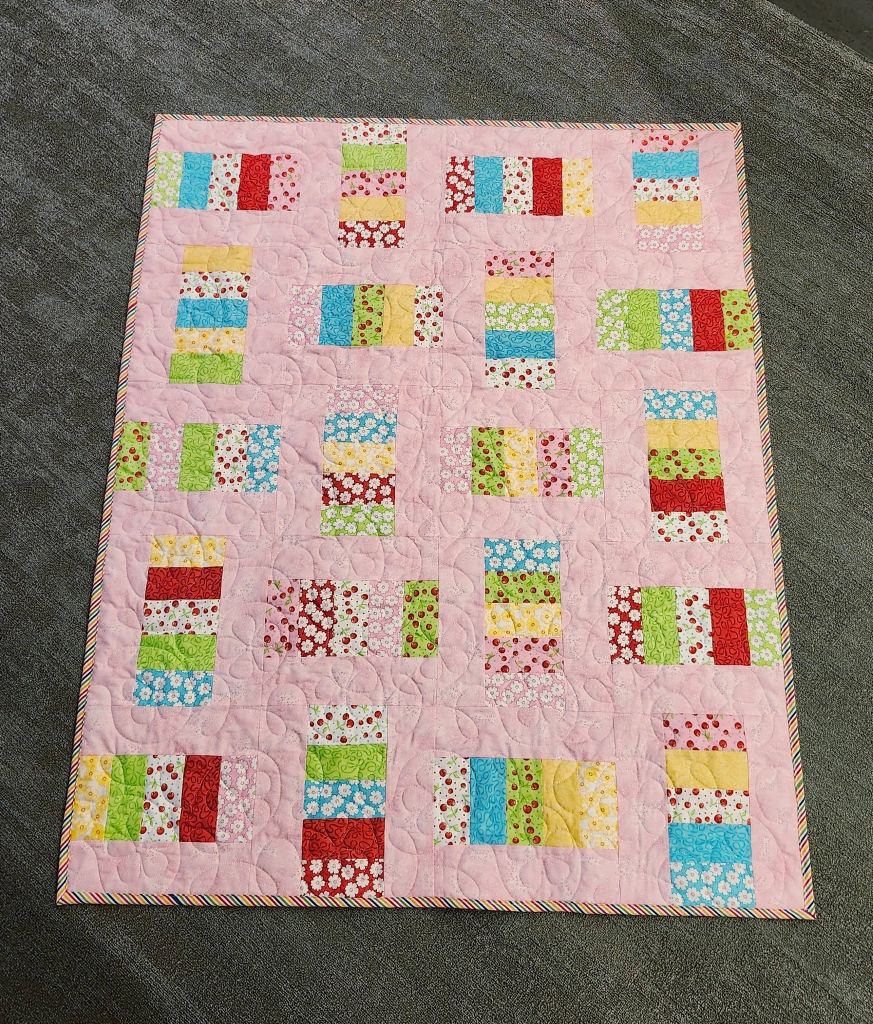
Here is Kim’s finished Tote Bag, Olivia Jane. Kim added another row, lined her bag/handle, and boxed the corners. And her tote turned out adorable with her fresh fabrics. It makes me want to make another tote right now!
Yay Kim!

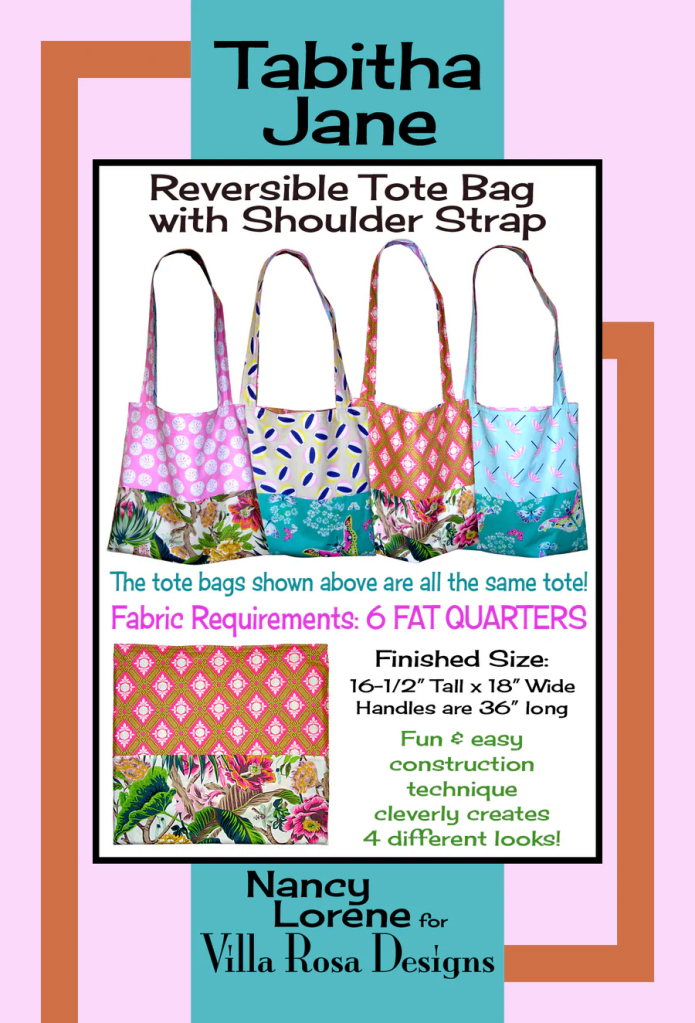
Olivia Jane is a charm square friendly pattern or use your stash! And it’s simple to add pockets or batting/interfacing, quilt the layers together, box the corners, make it larger, etc. It’s a go-to pattern for sure!
You can stop over HERE to see a tutorial about some of the things you can adapt/add to the pattern.
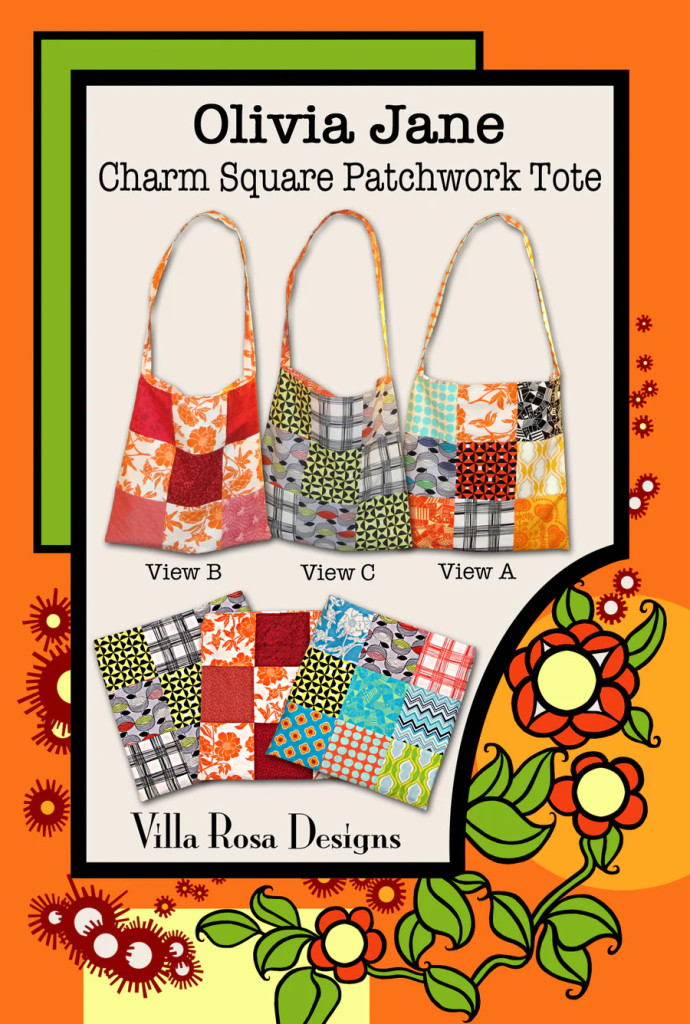
Get your digital pattern HERE or your print pattern HERE
Now let’s take a look at new patterns – who doesn’t love that???
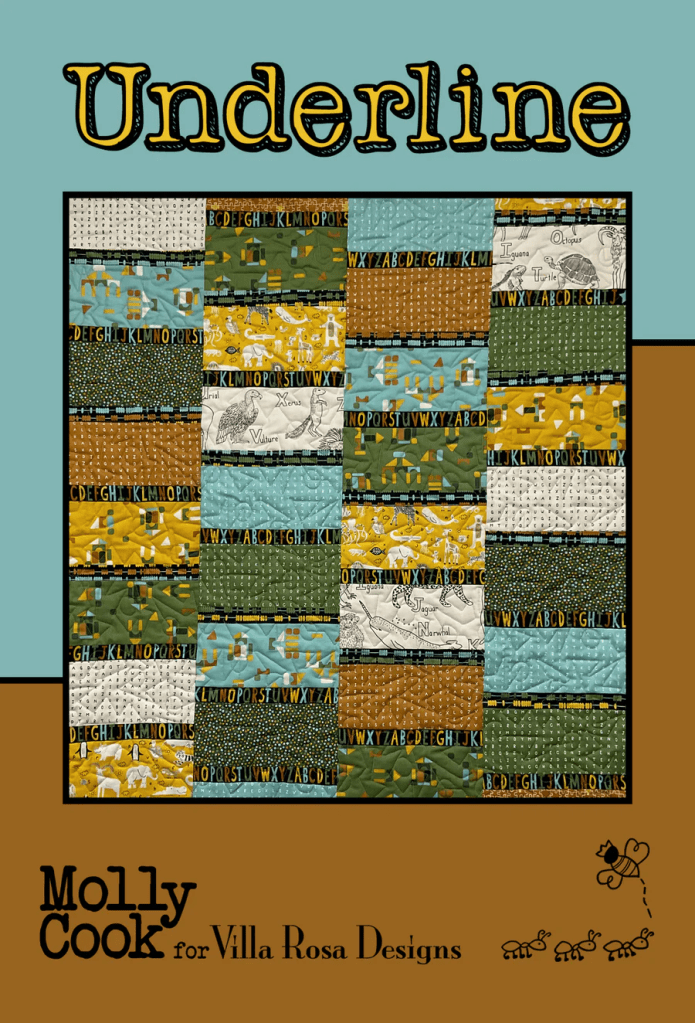
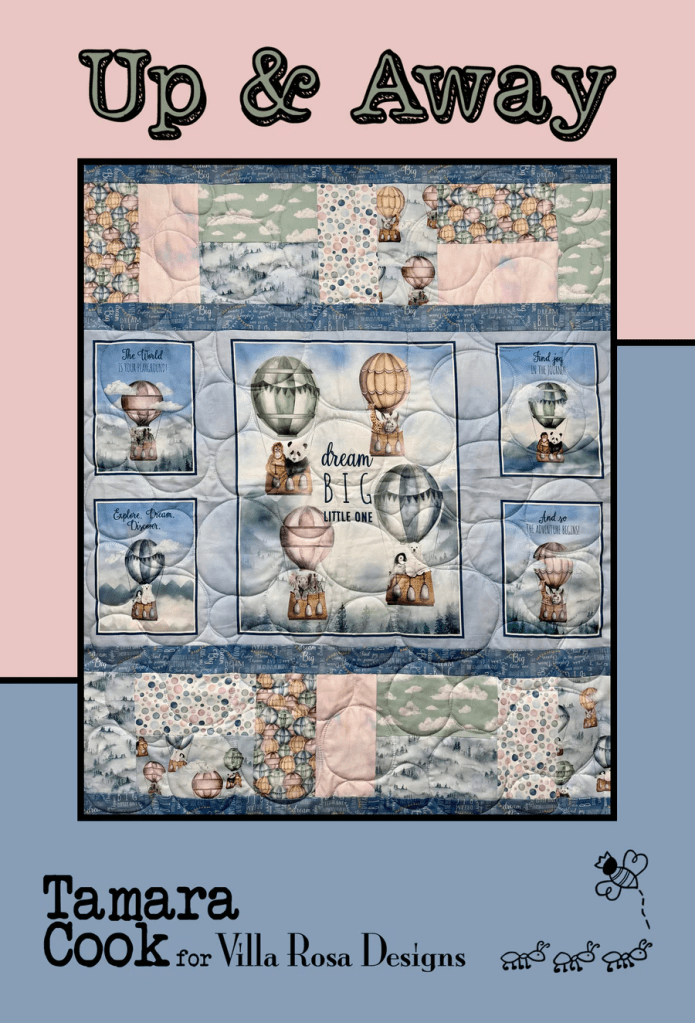
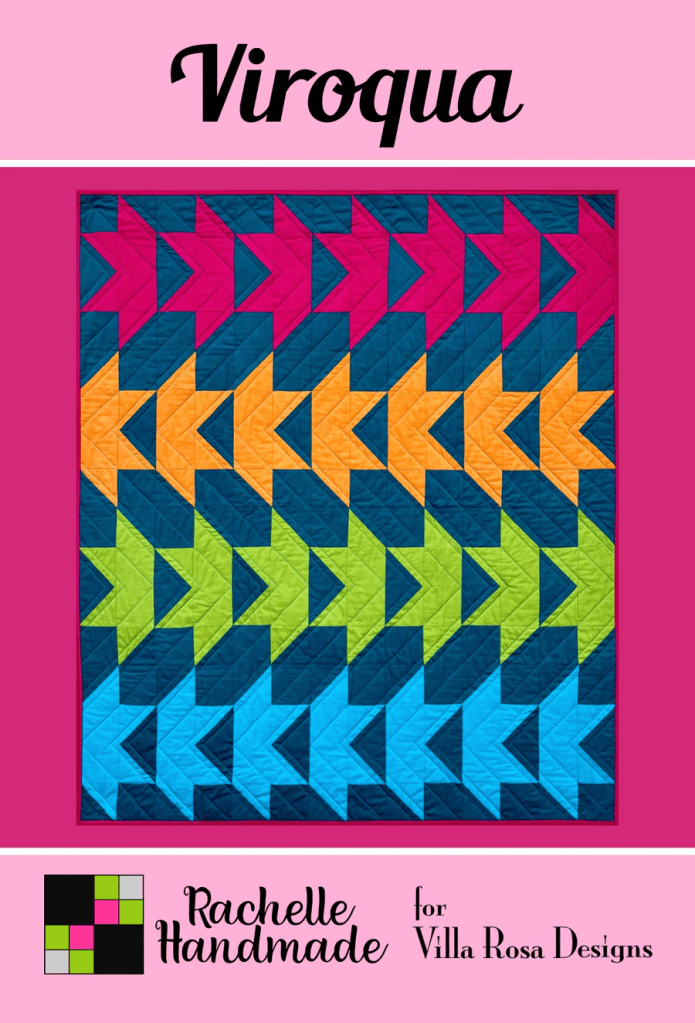
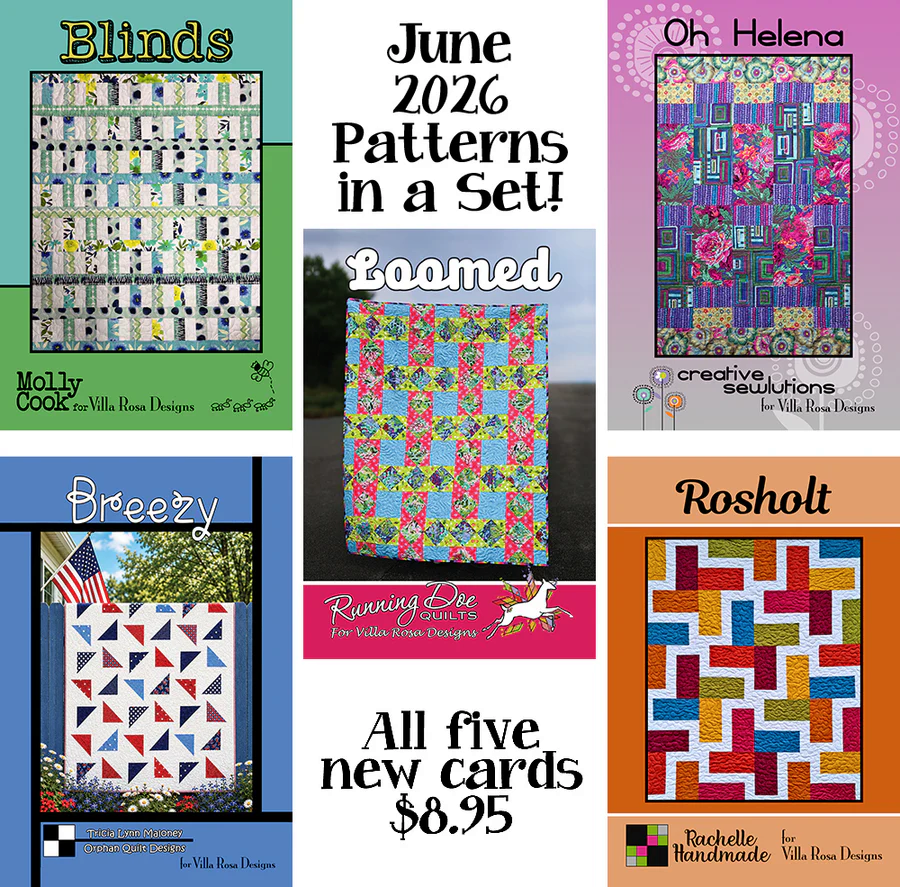
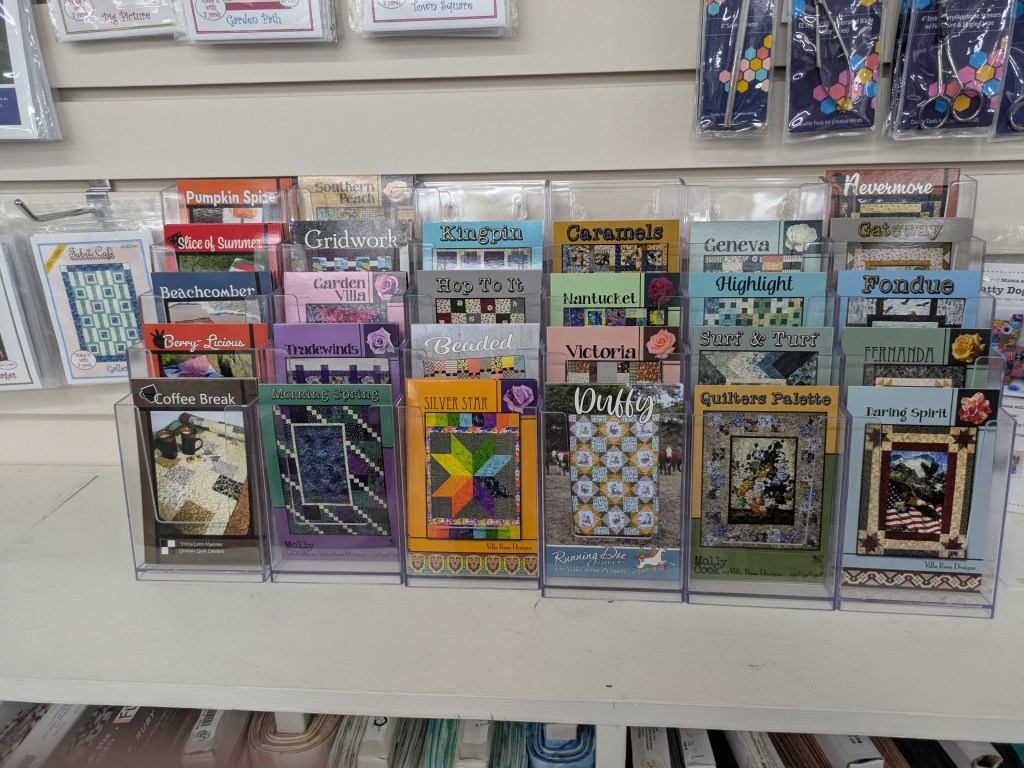
NEW VRD Quilt Patterns for July
Yay! It’s the Thursday after the first Friday of July and that means NEW PATTERNS!
Let’s check ’em, out!
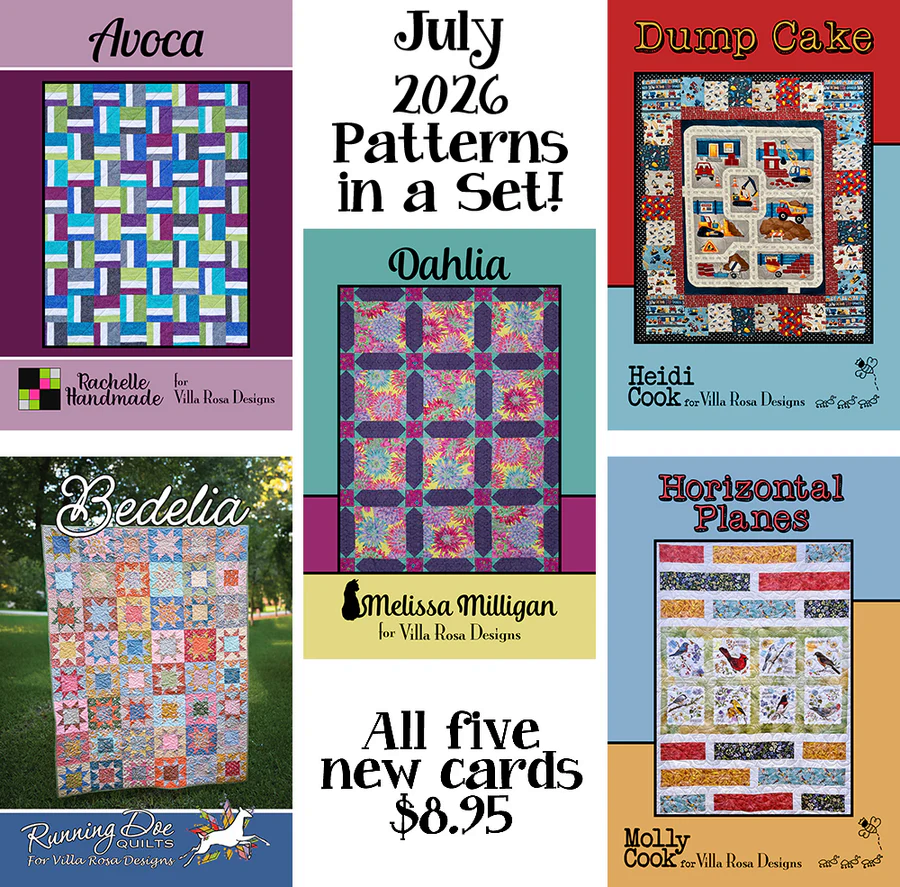
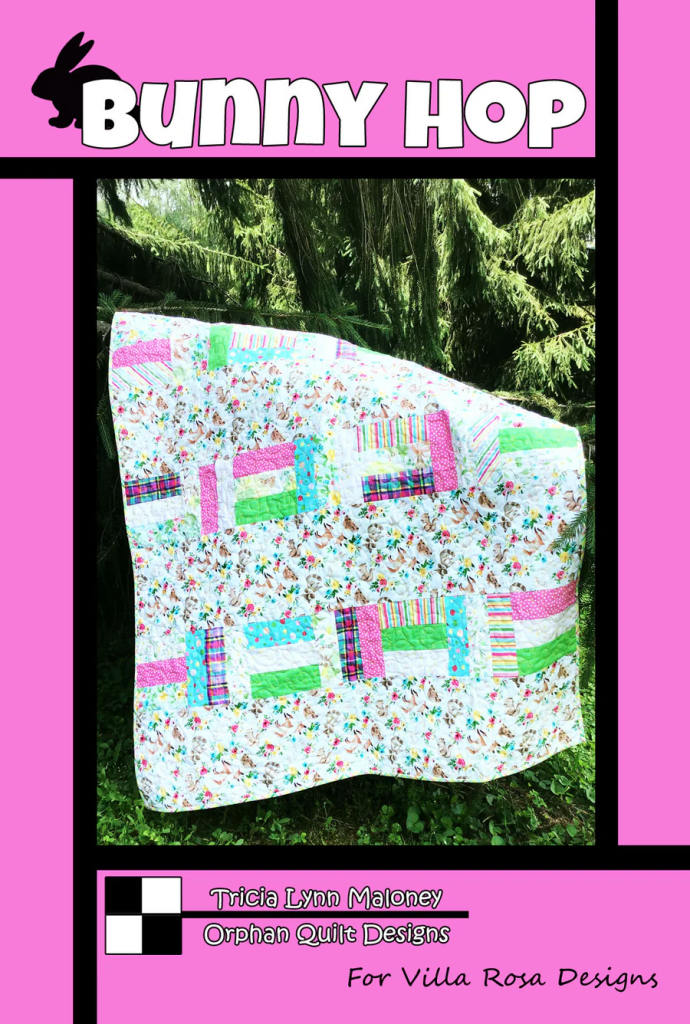
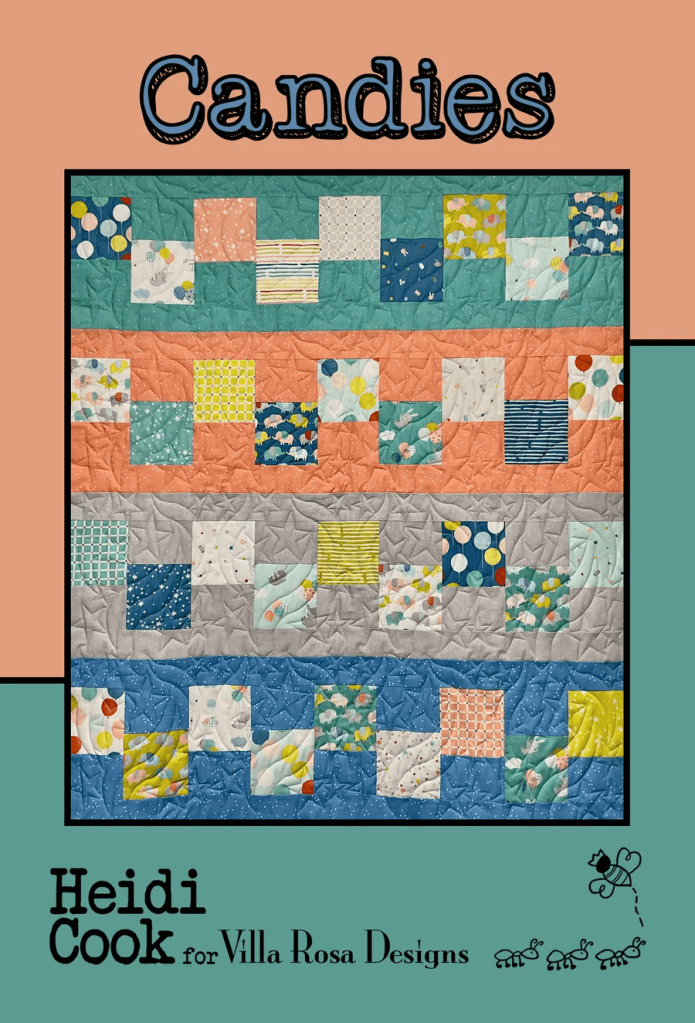
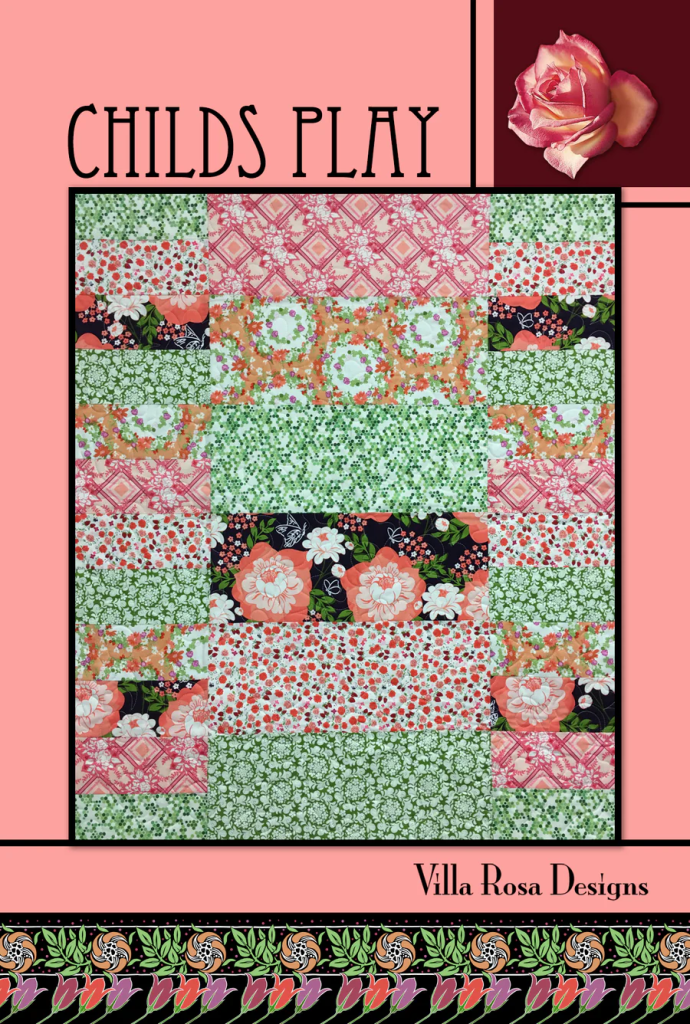
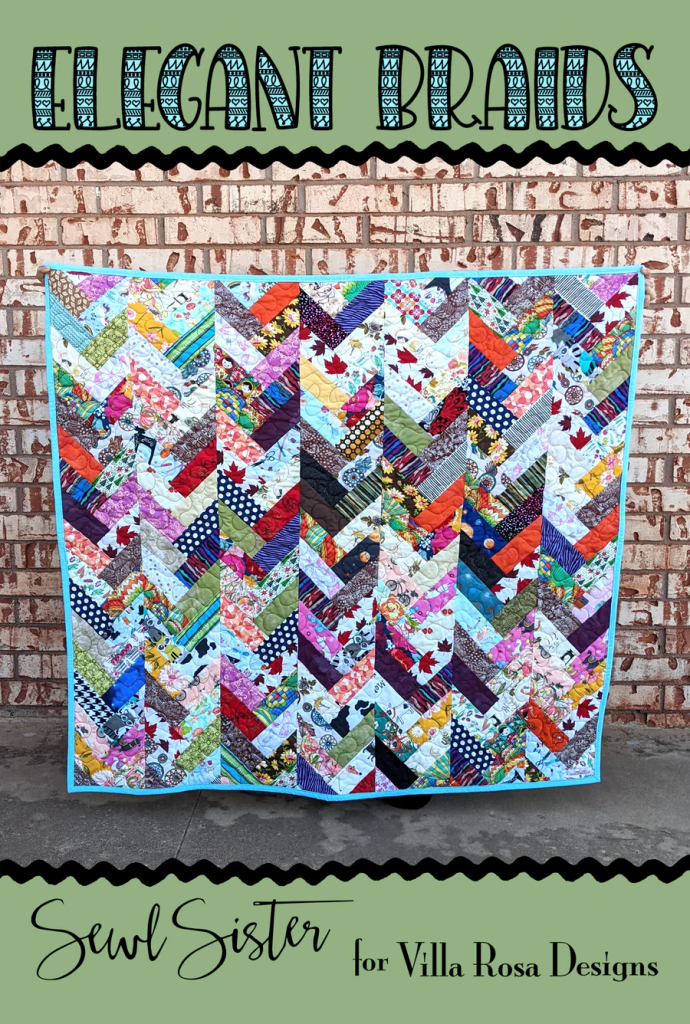
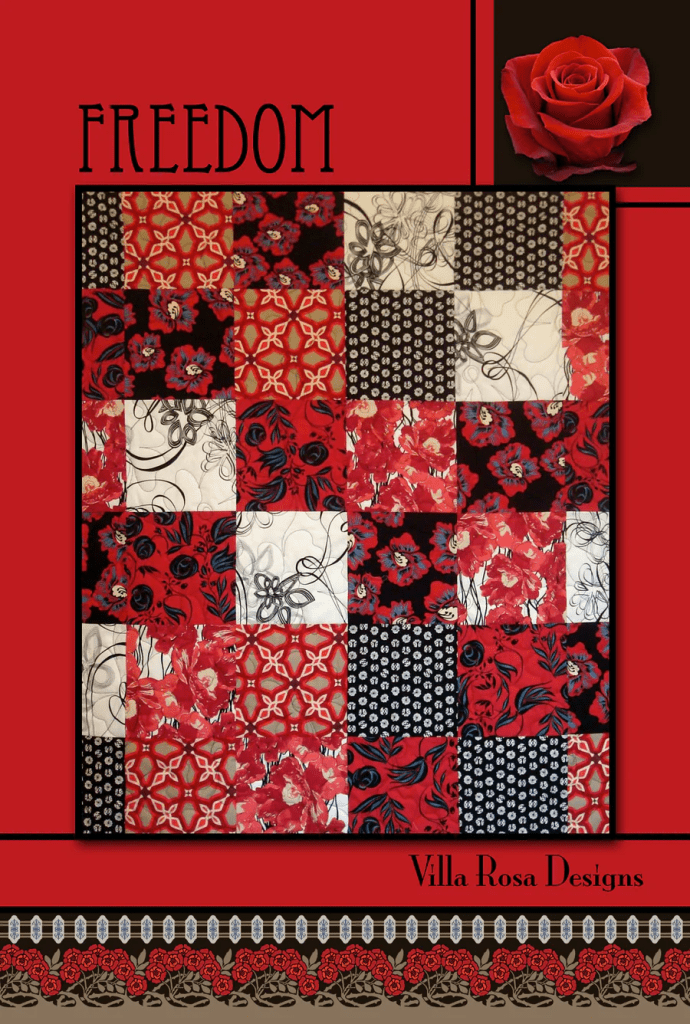
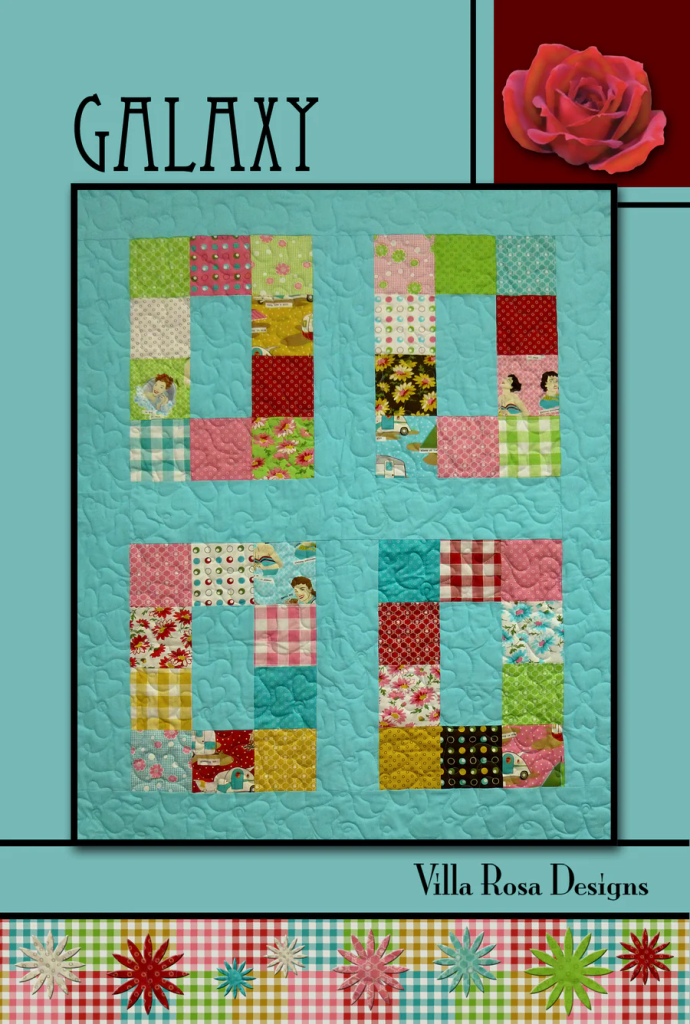
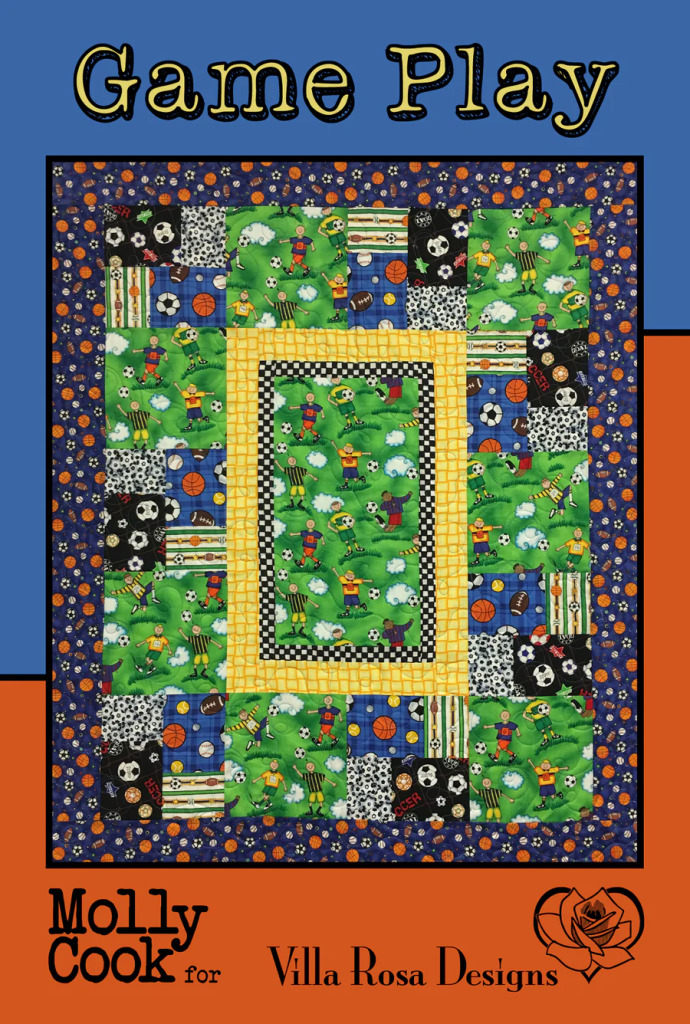
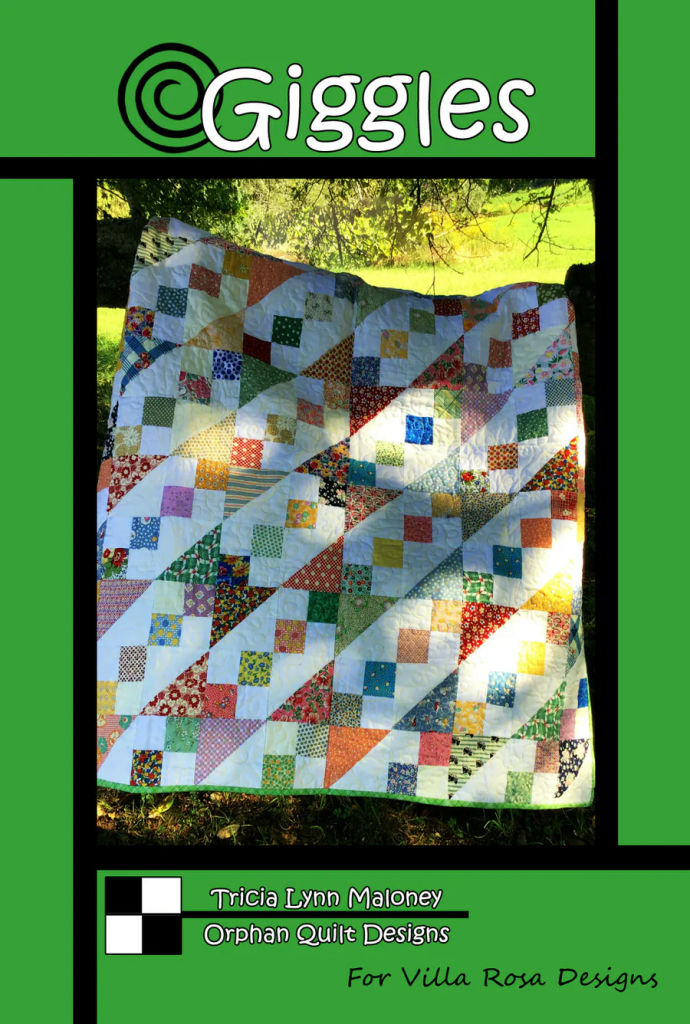
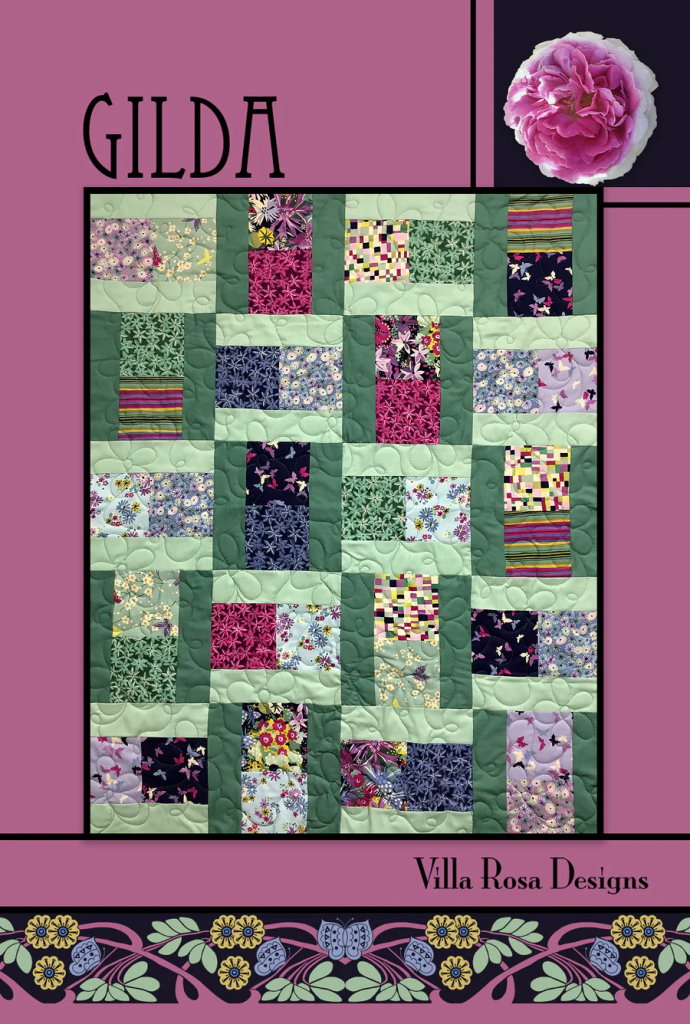
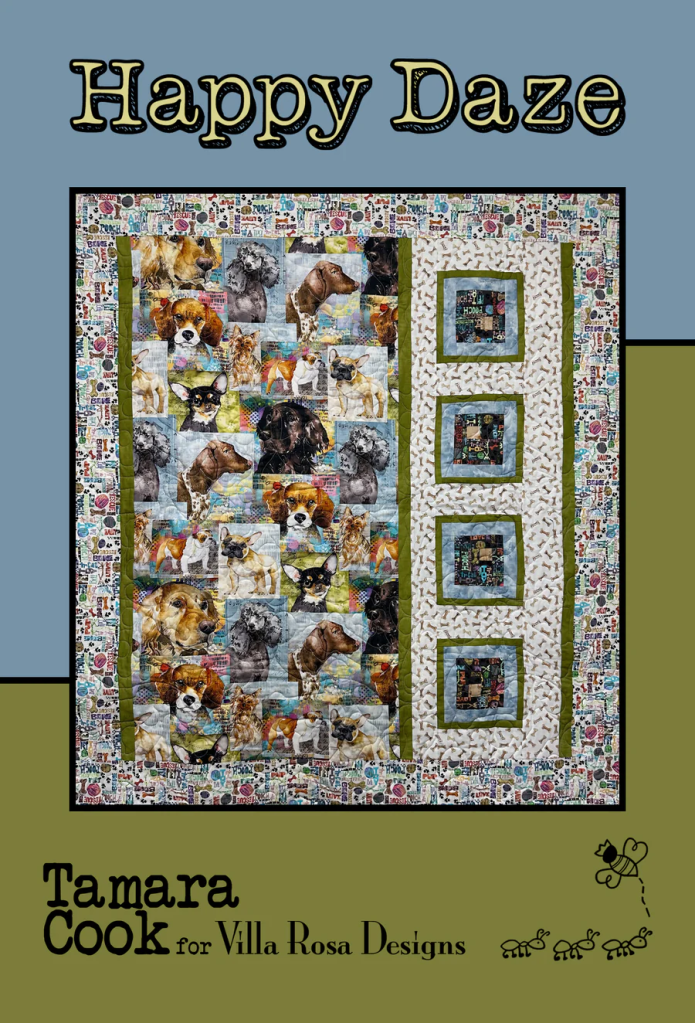
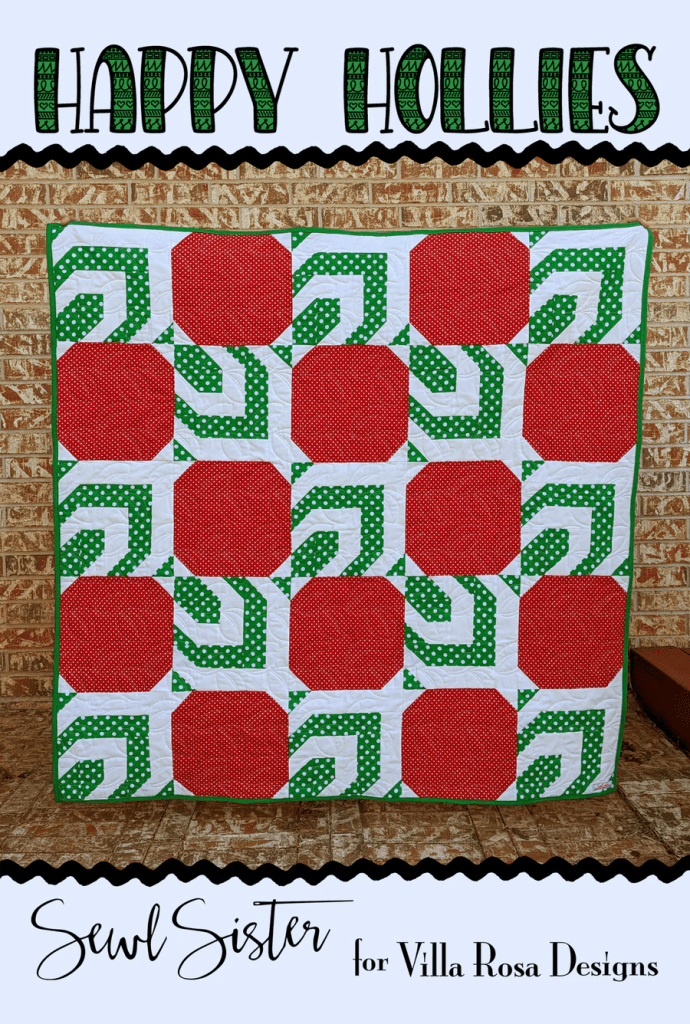
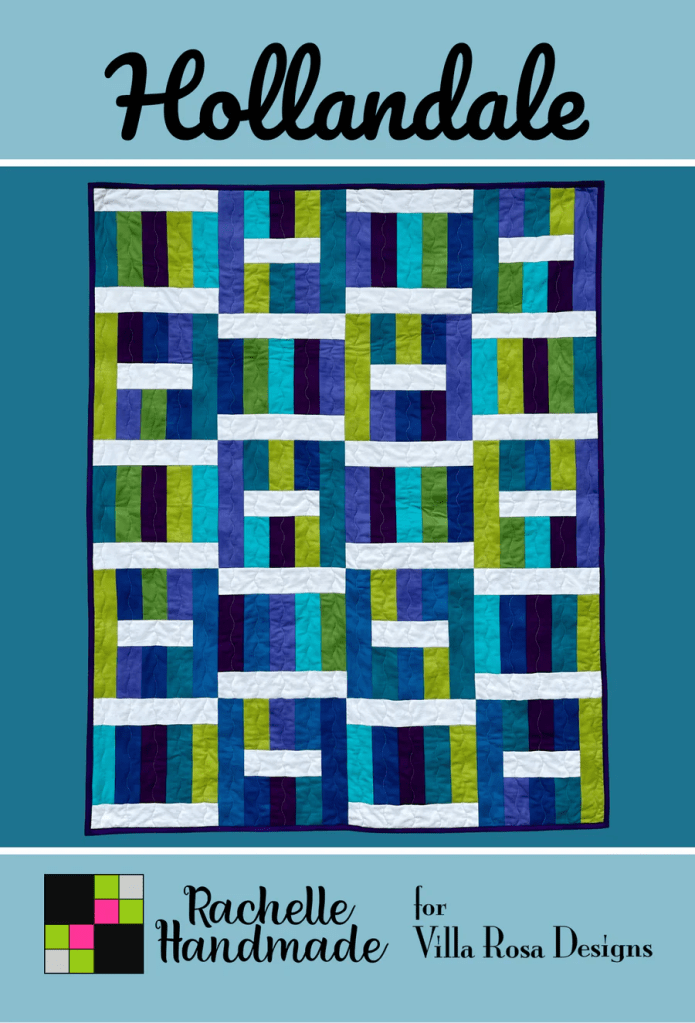
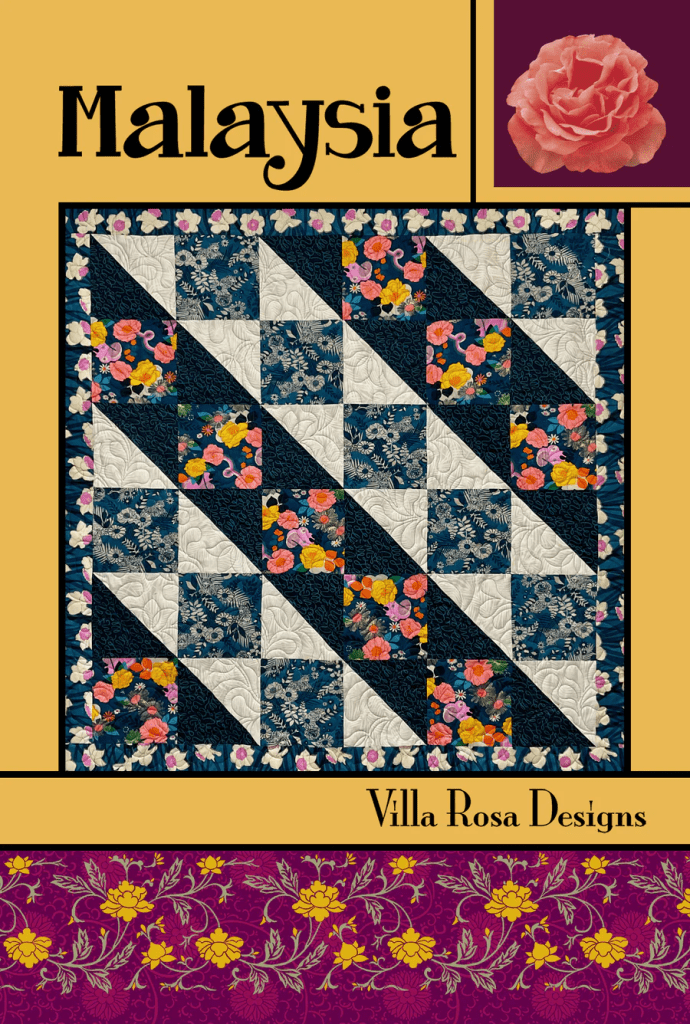
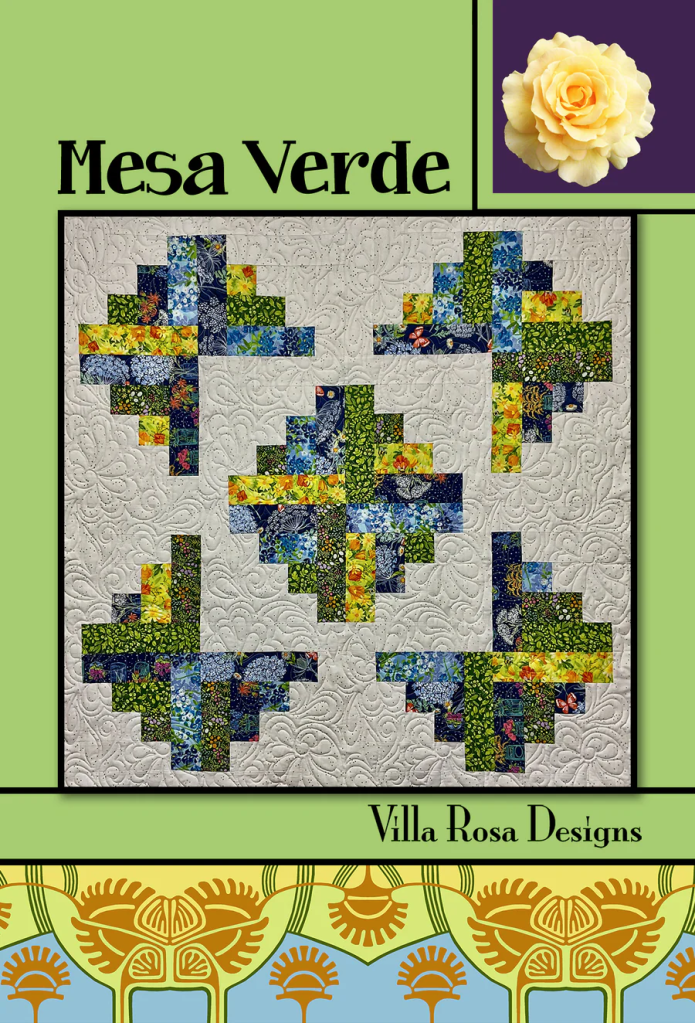
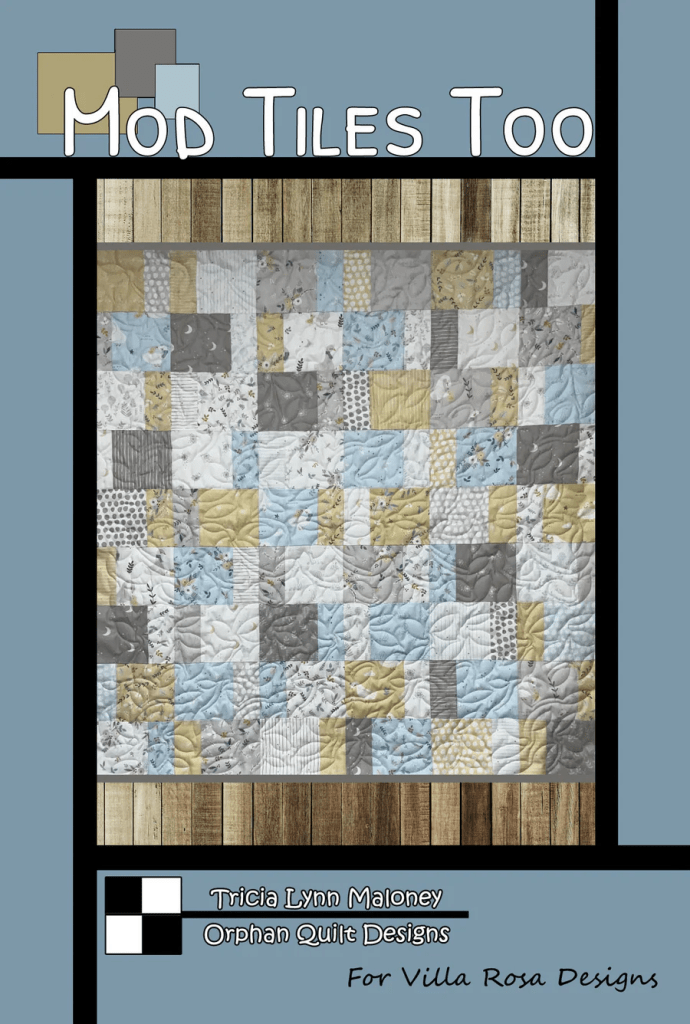
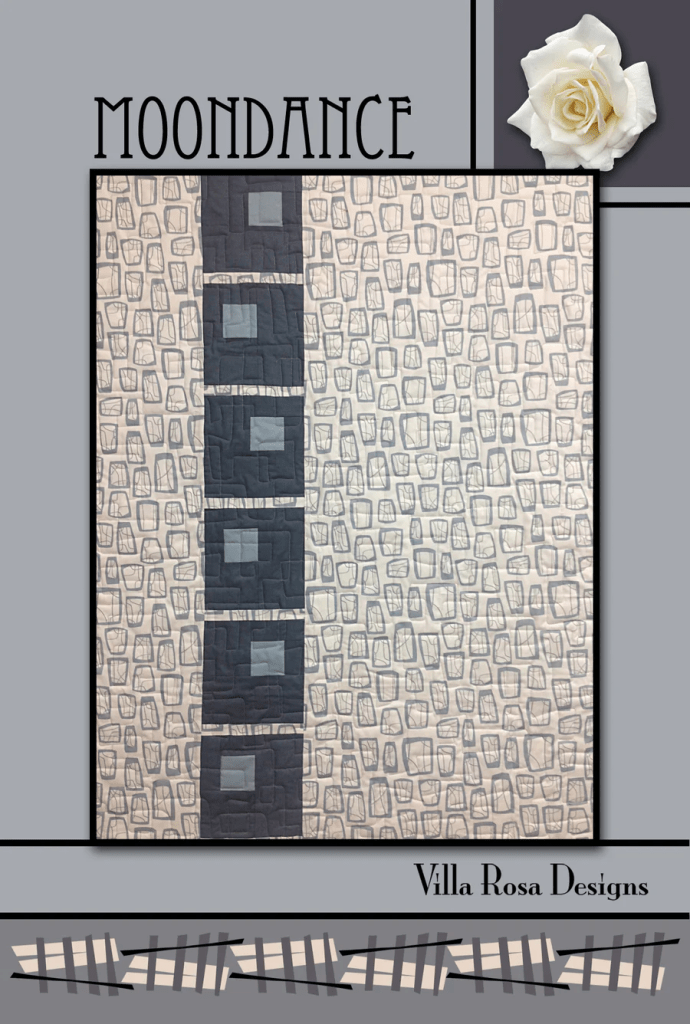
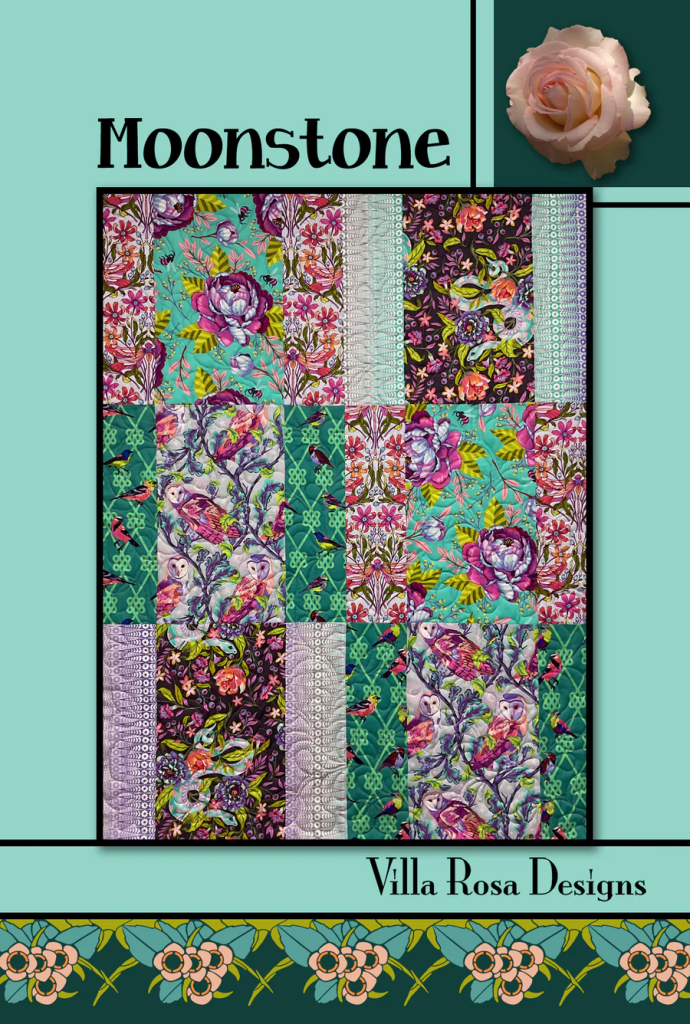
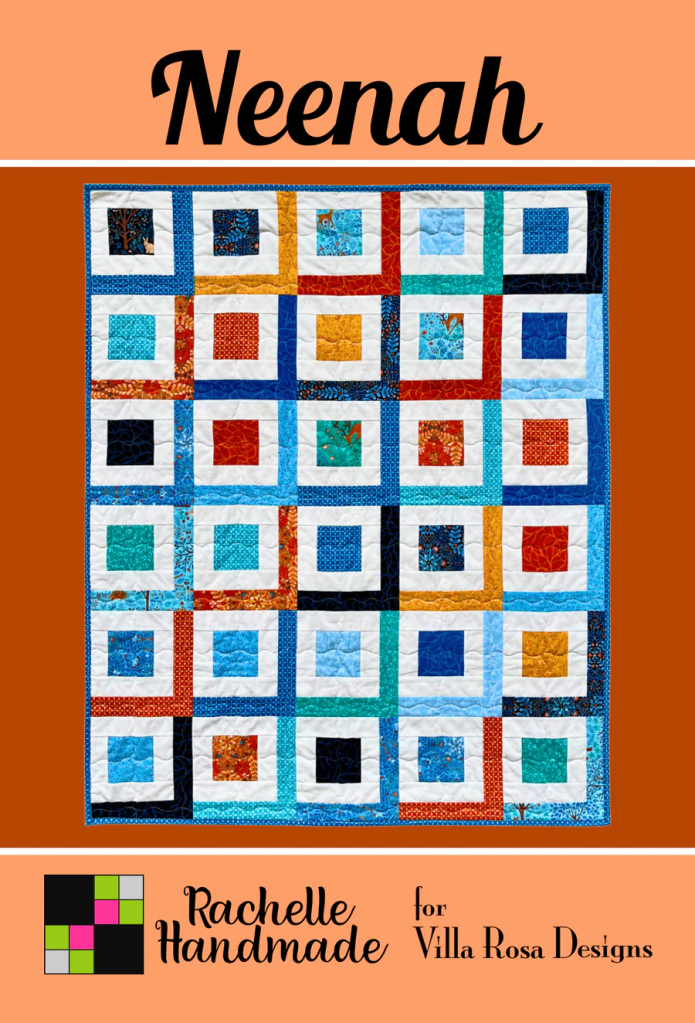
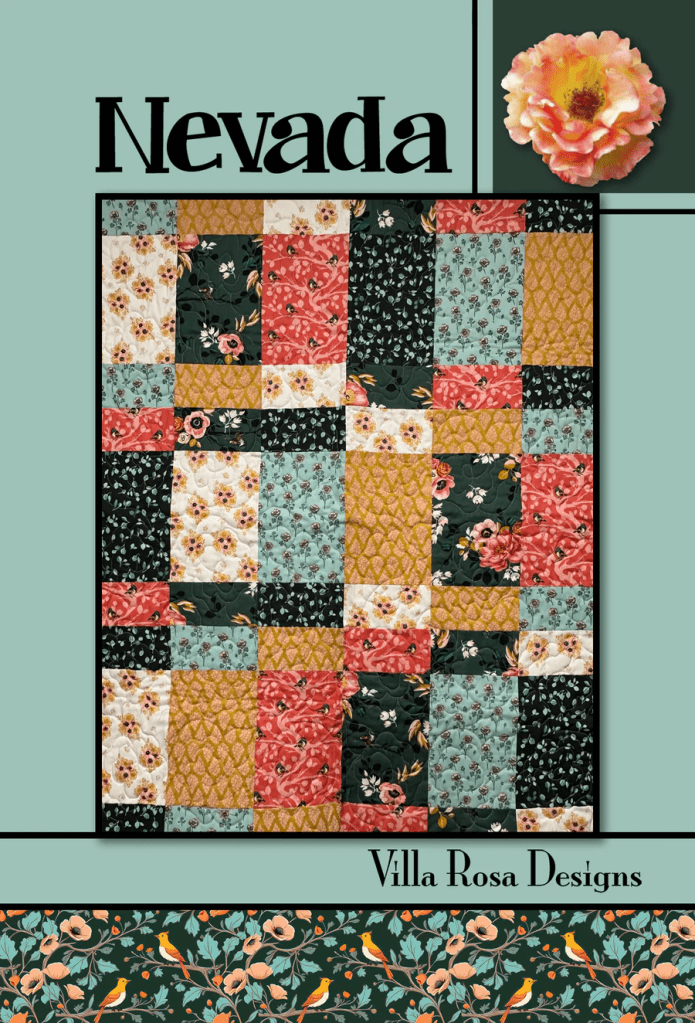
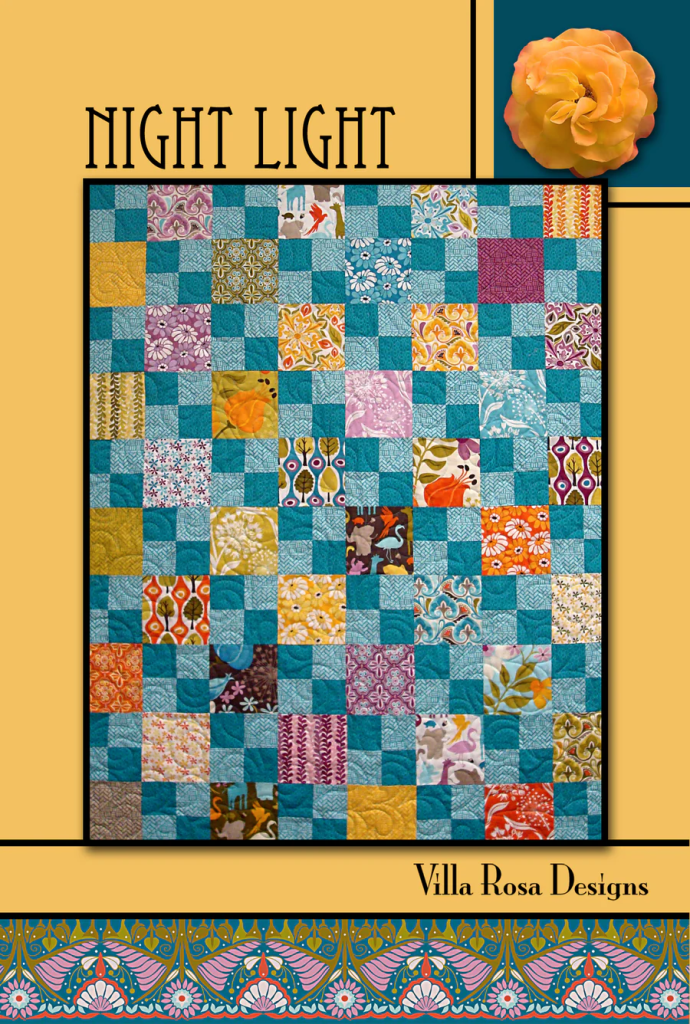
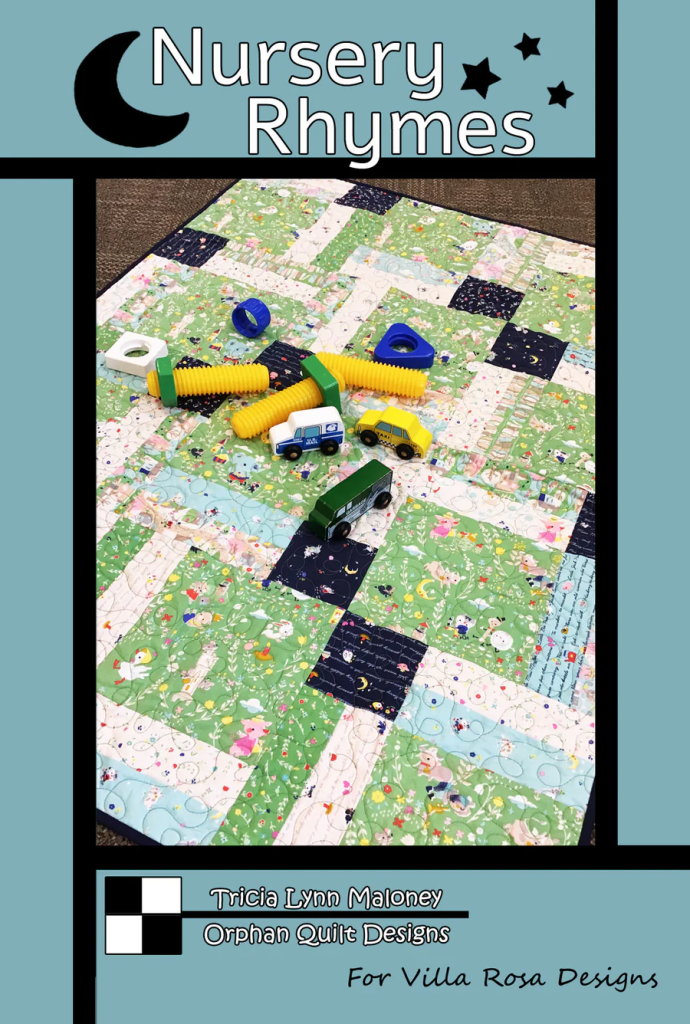
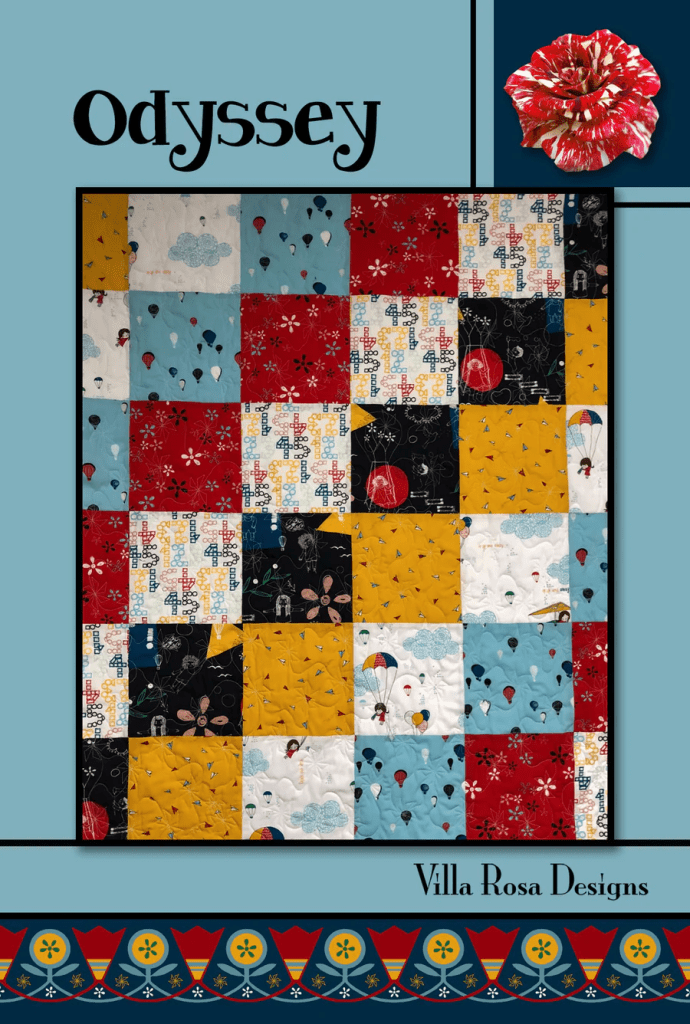
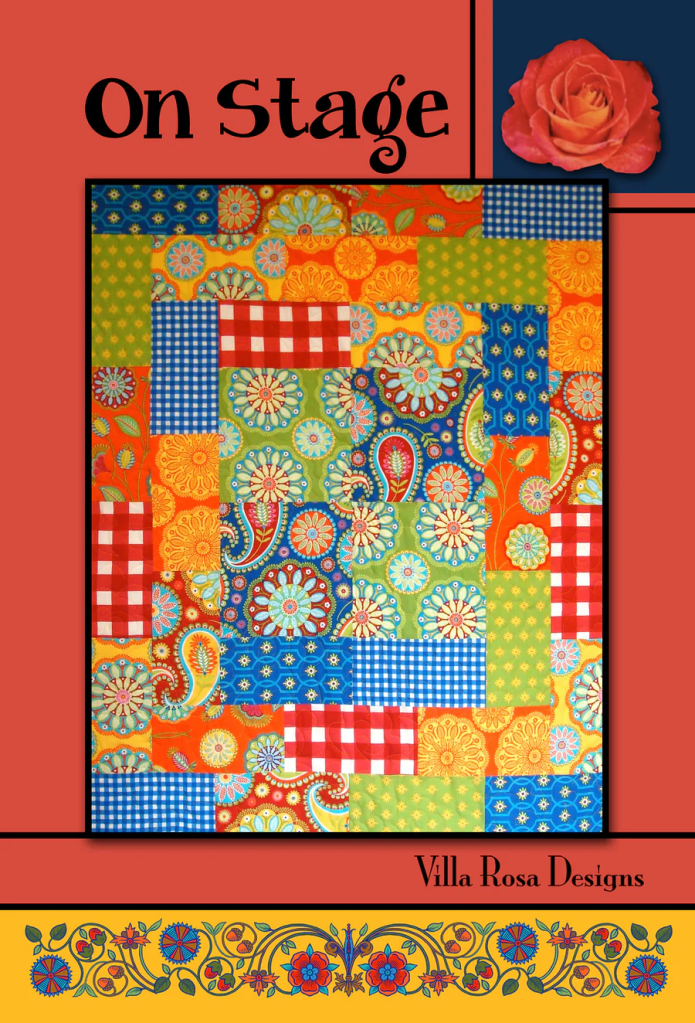
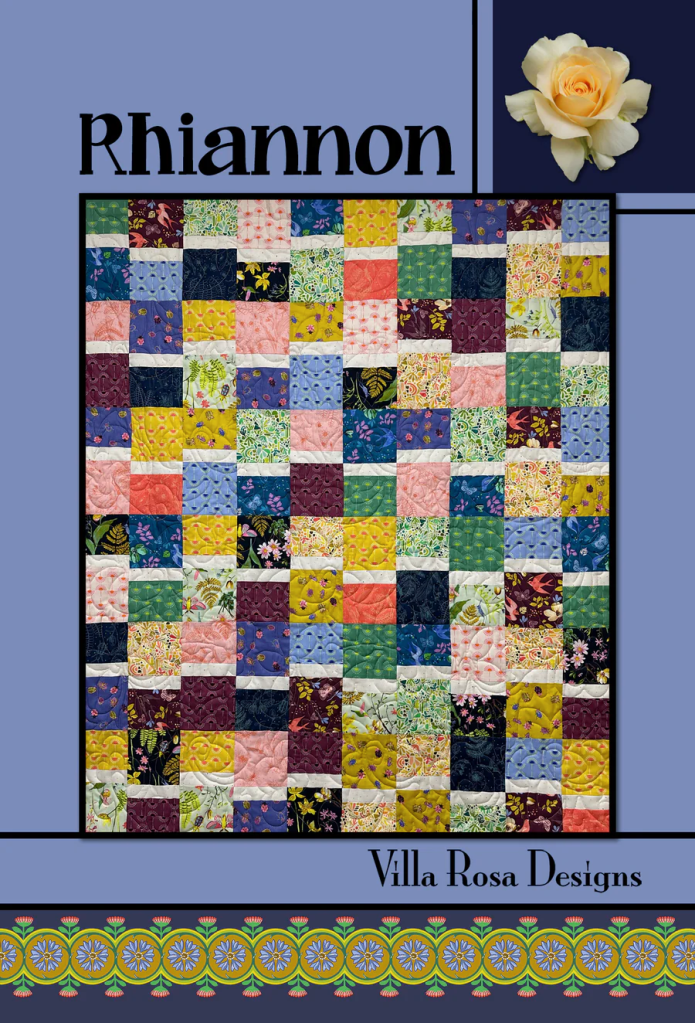
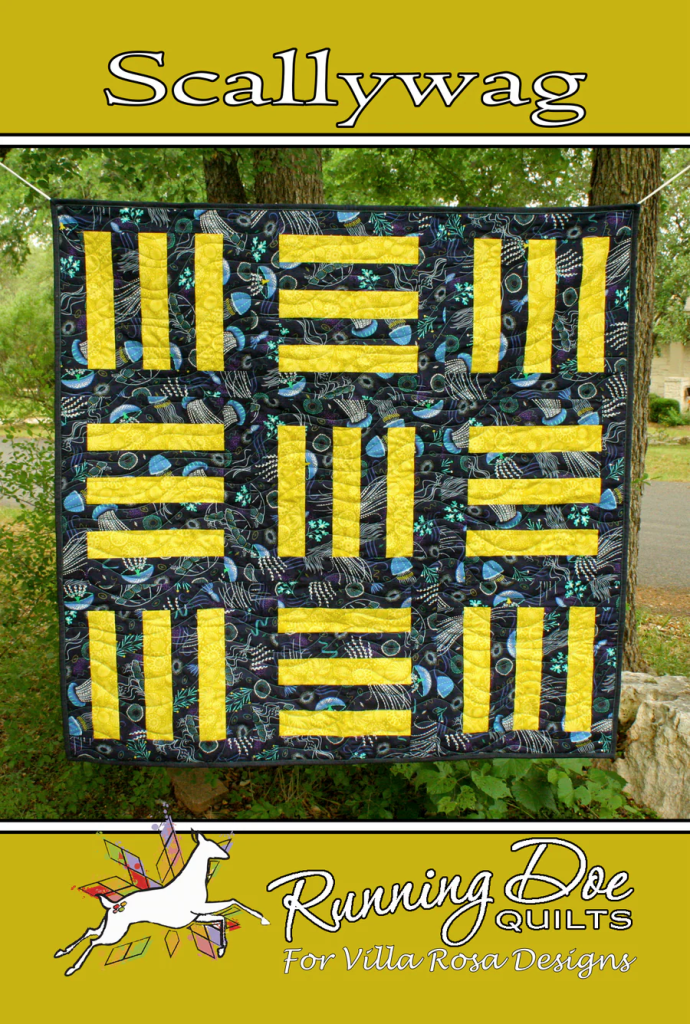
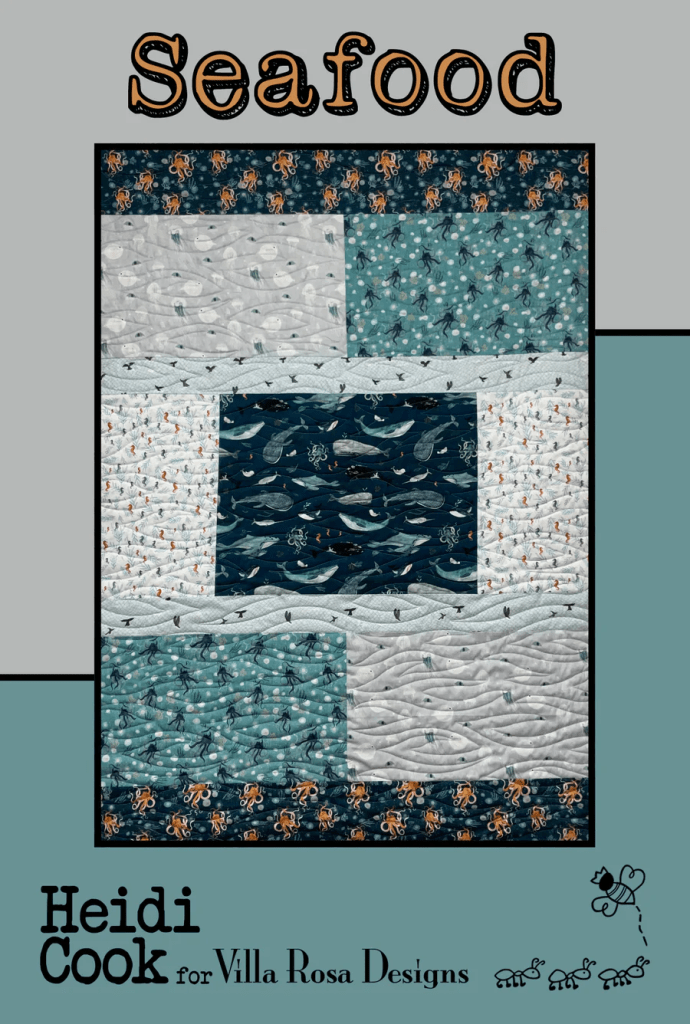
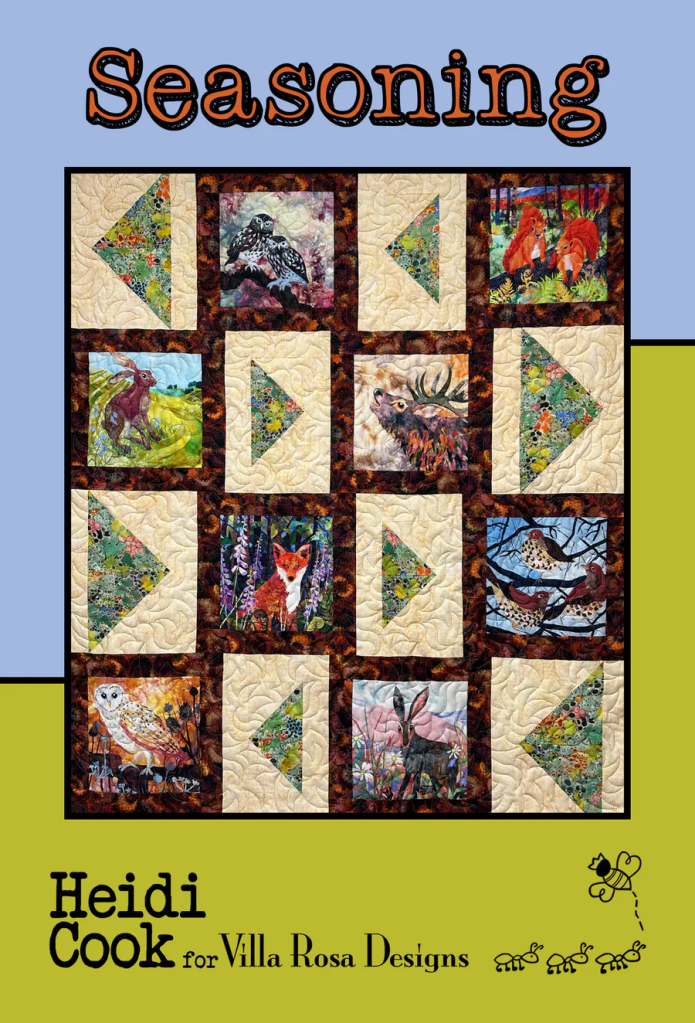
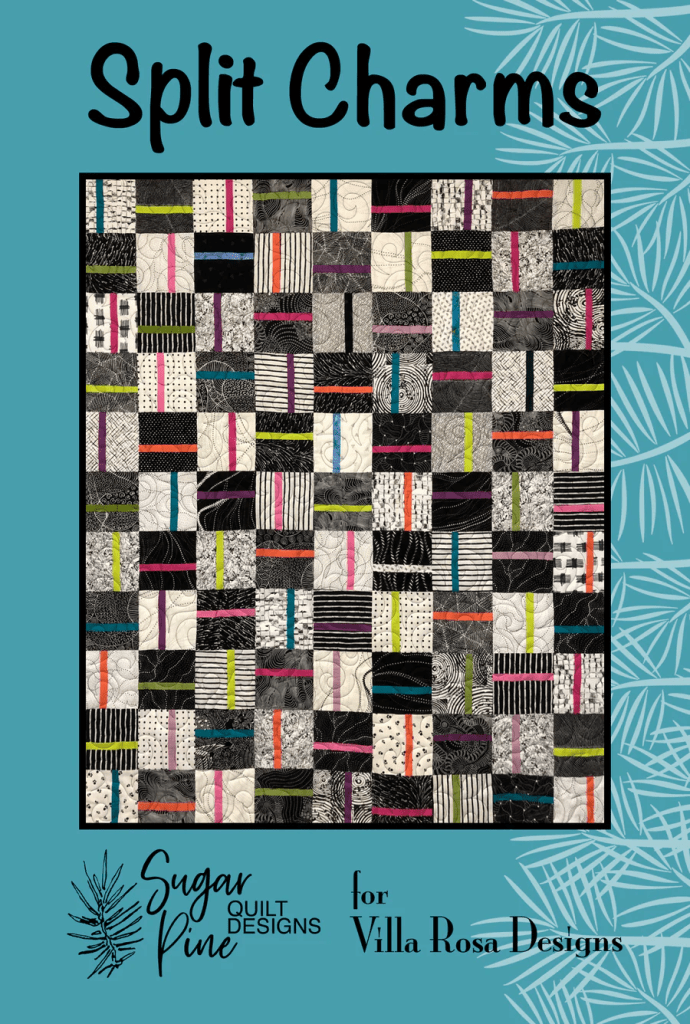
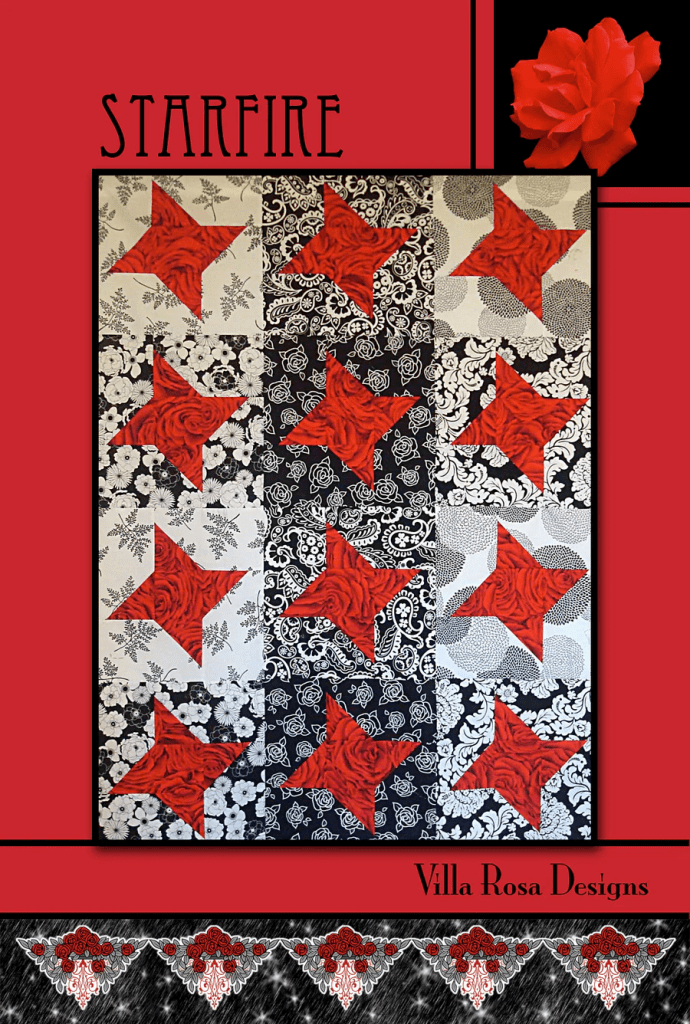
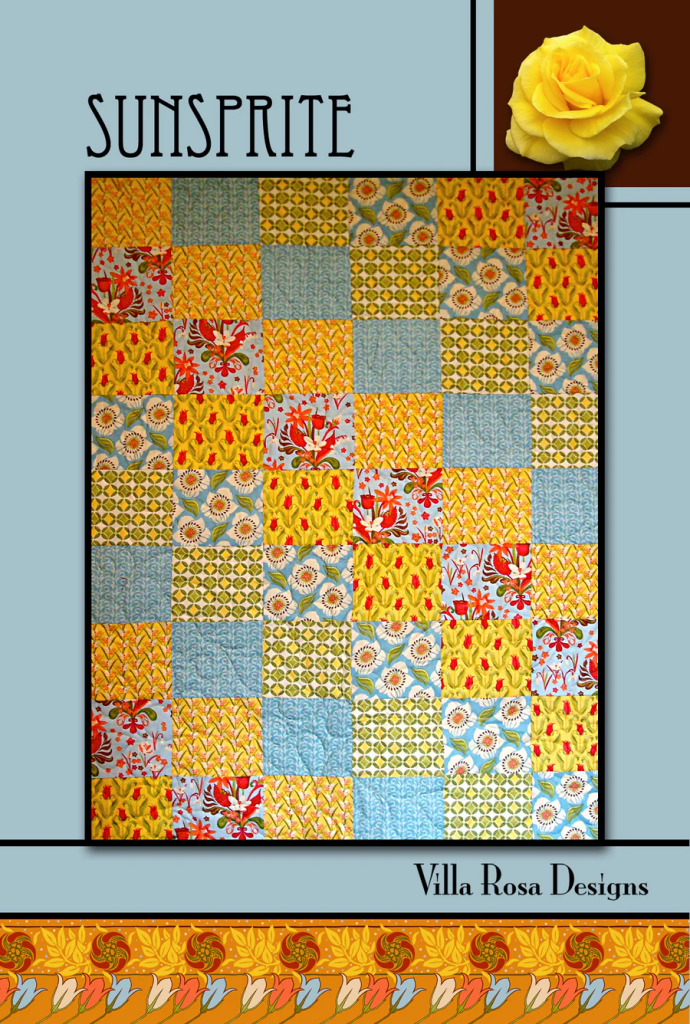
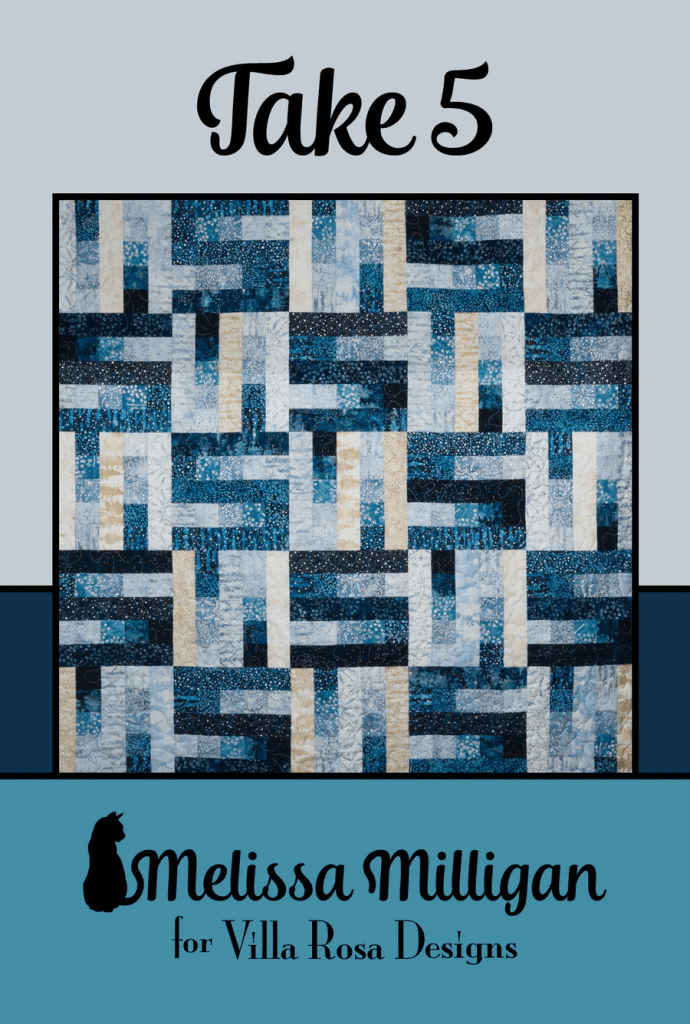
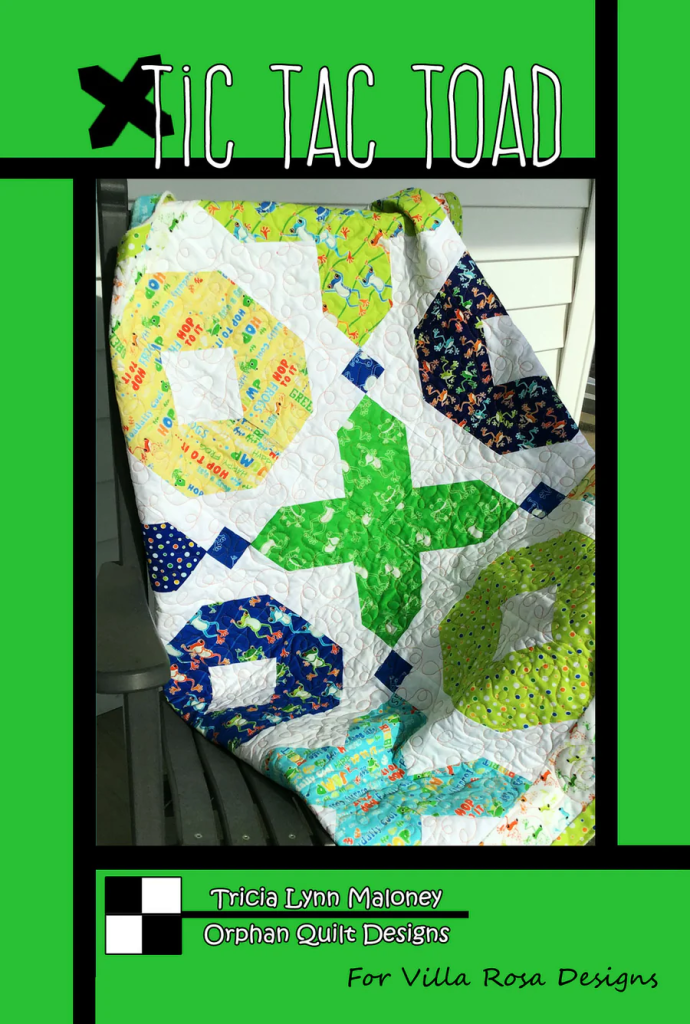
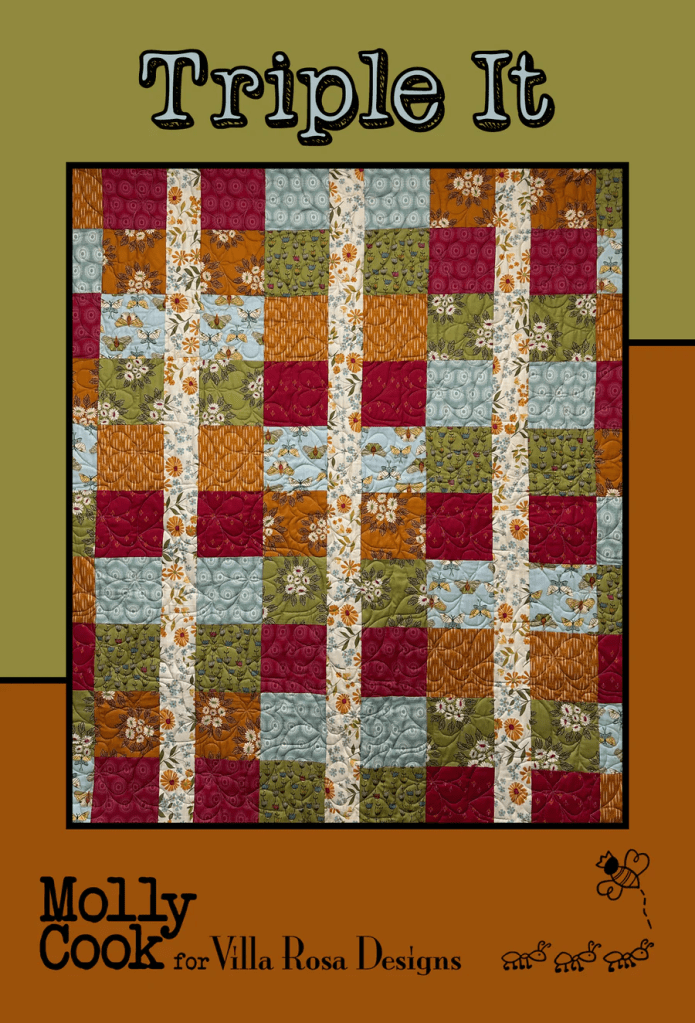
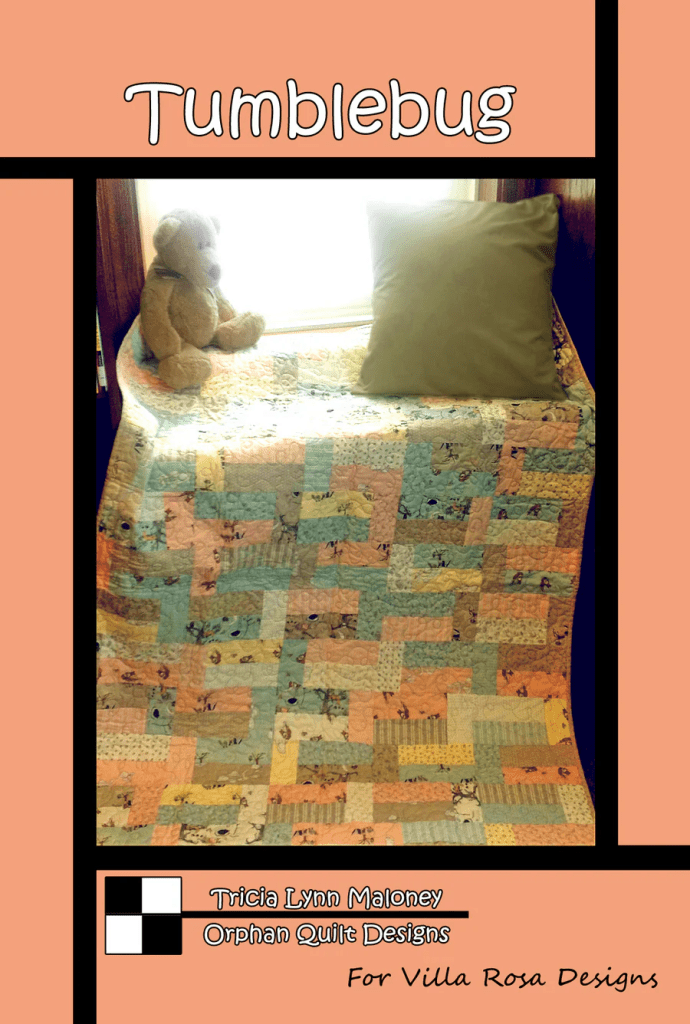
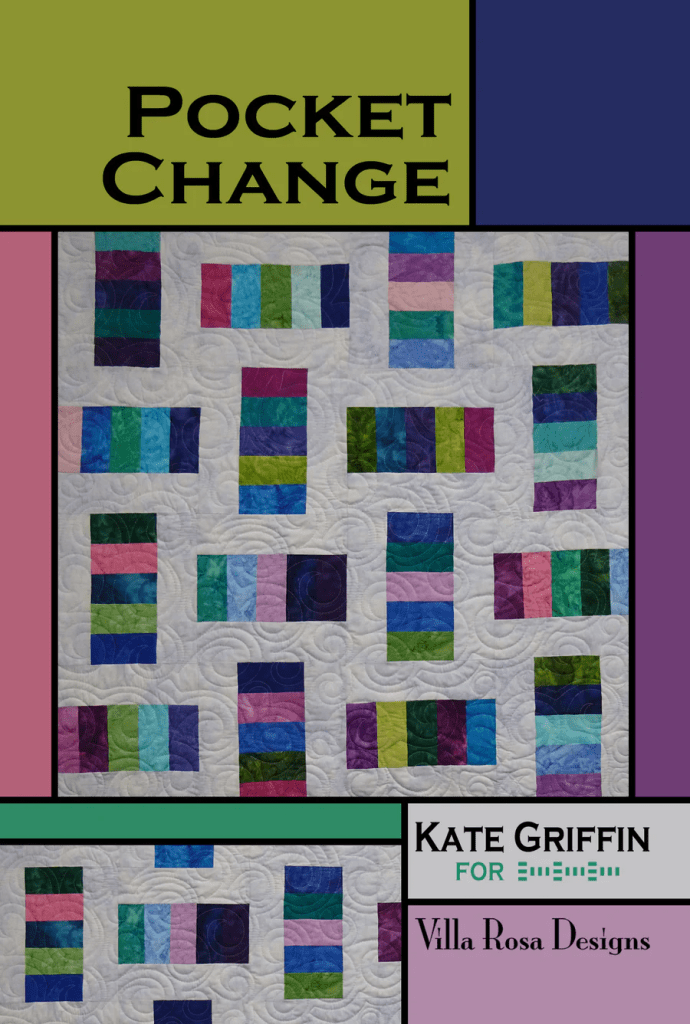
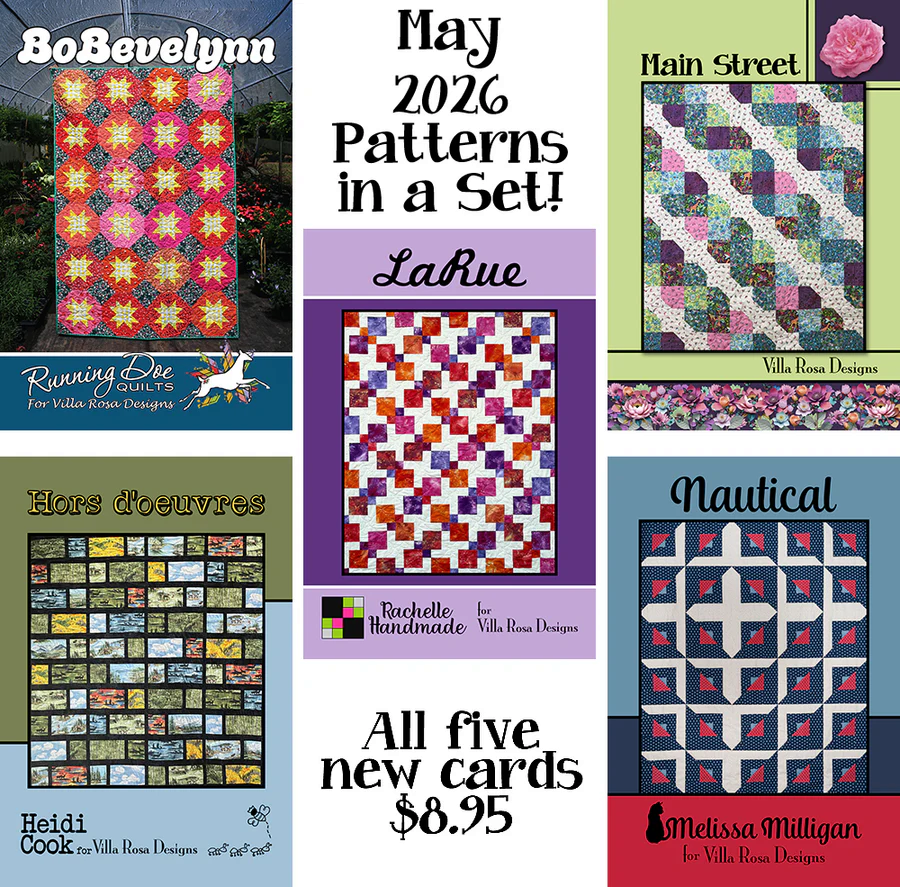
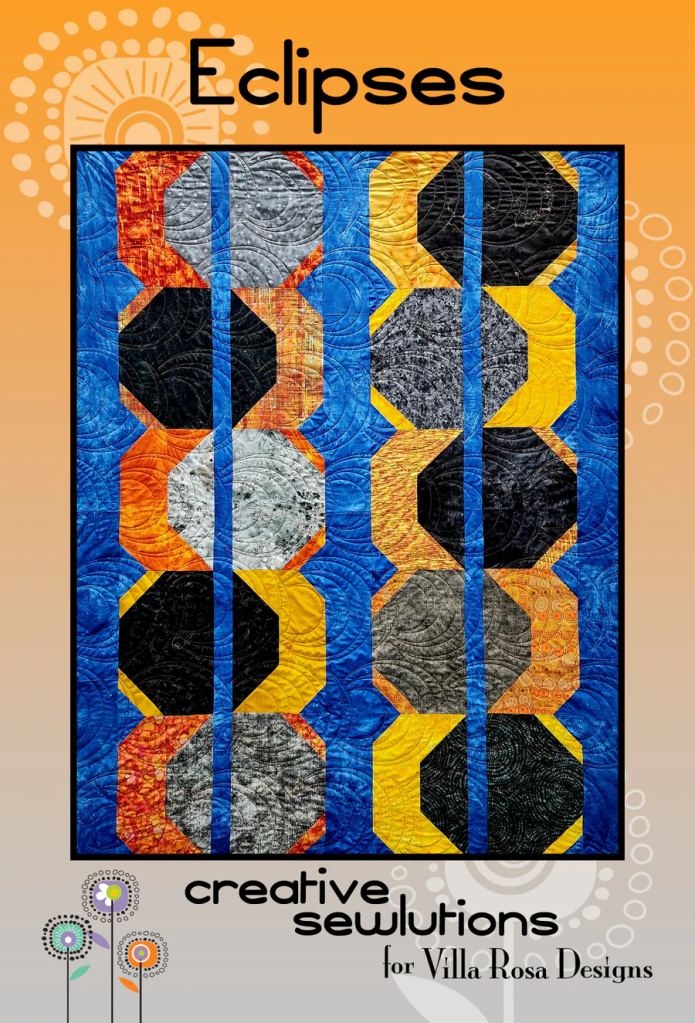
Get the set of 5 HERE
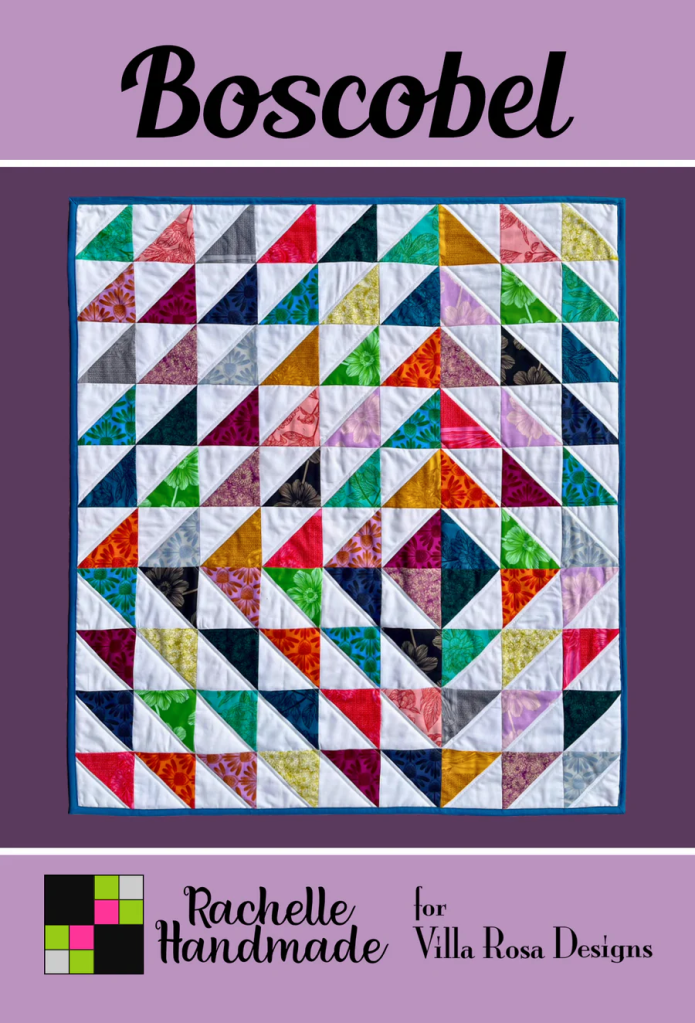
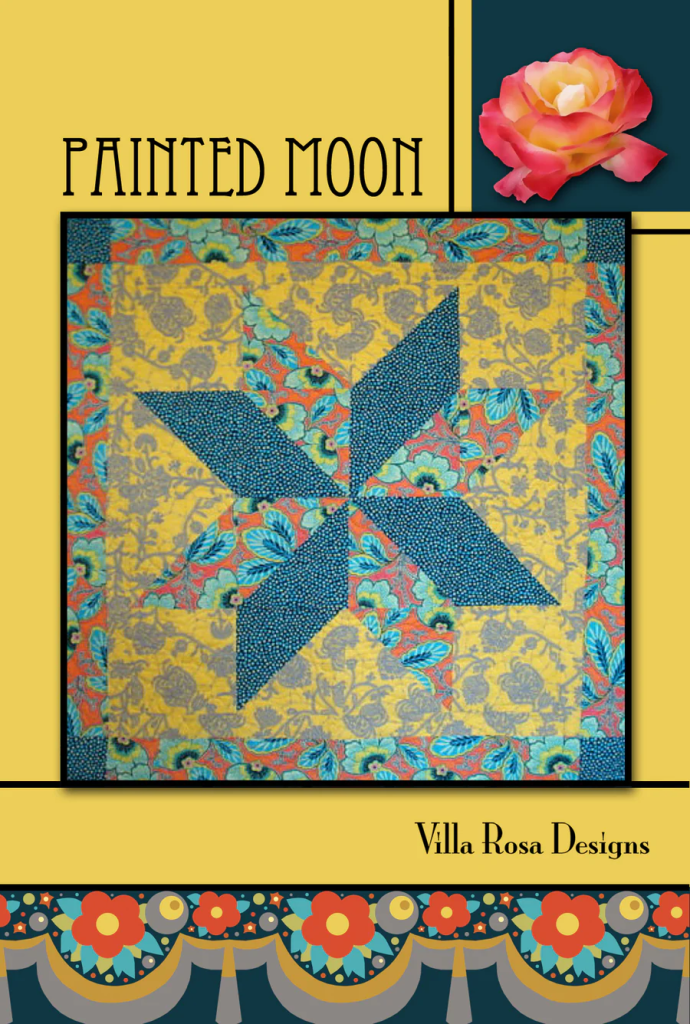
Avoca is Rachelle’s newest pattern. It’s FQ friendly and you can find a kit featuring Pat’s Kalinda fabric HERE.
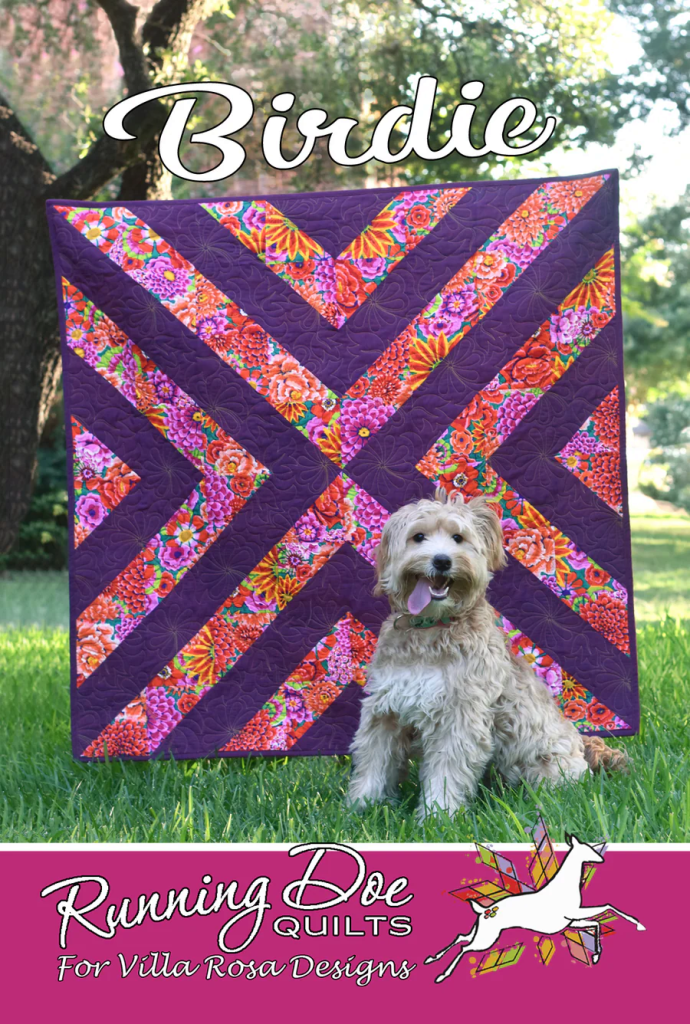
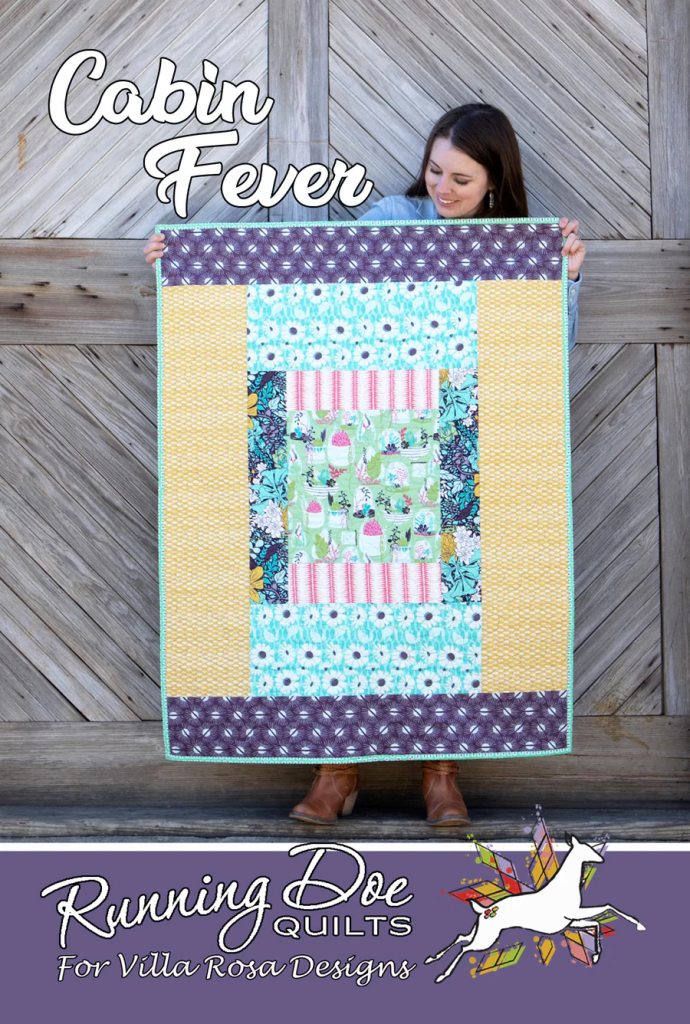
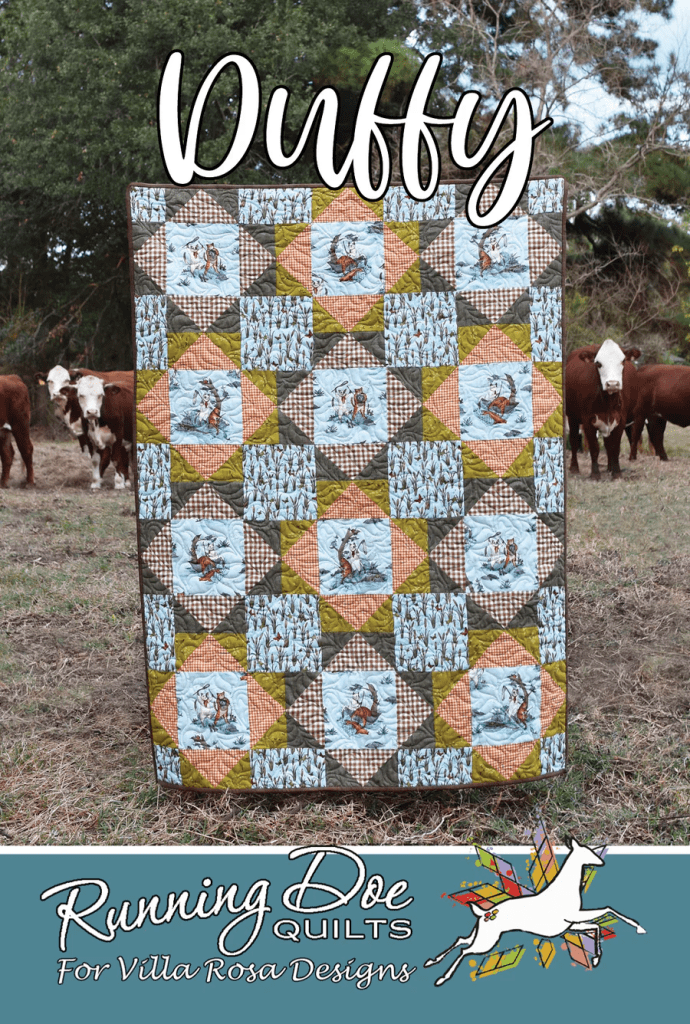
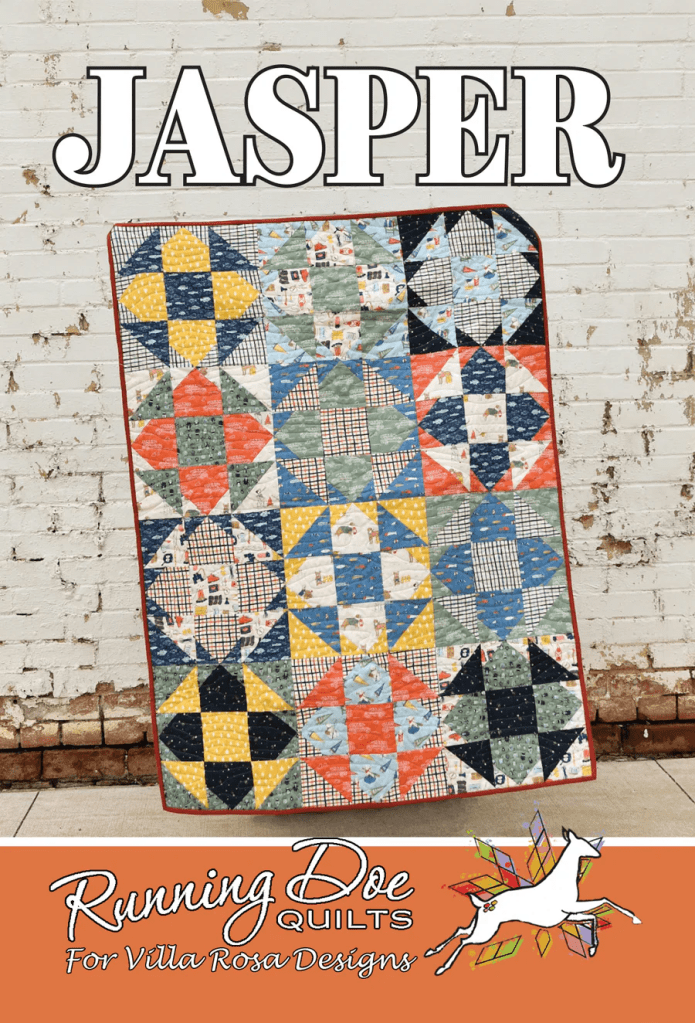
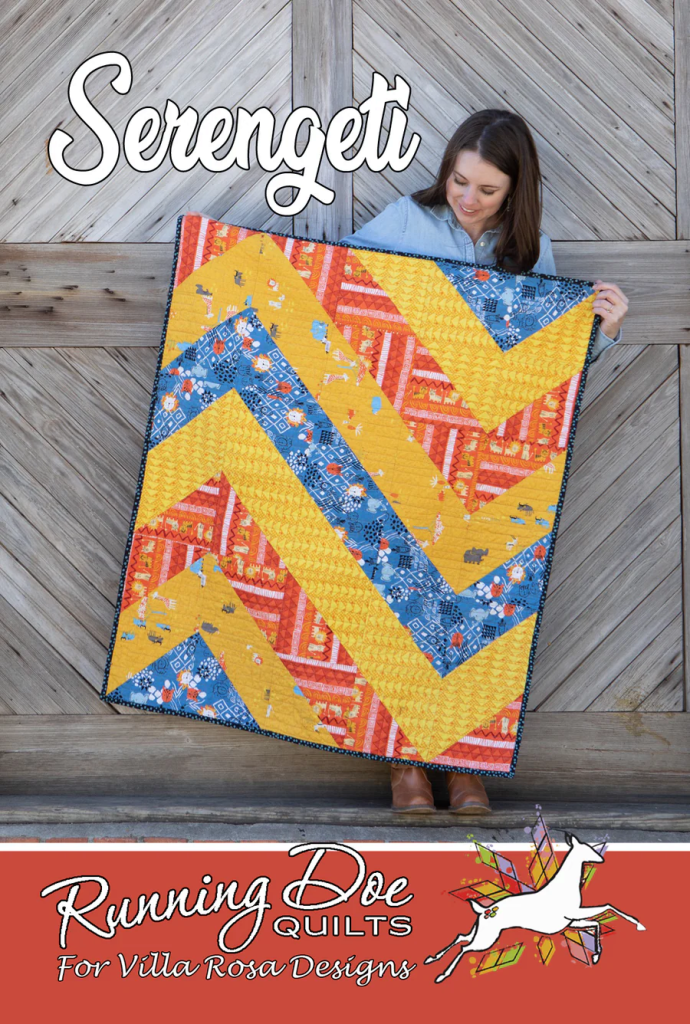
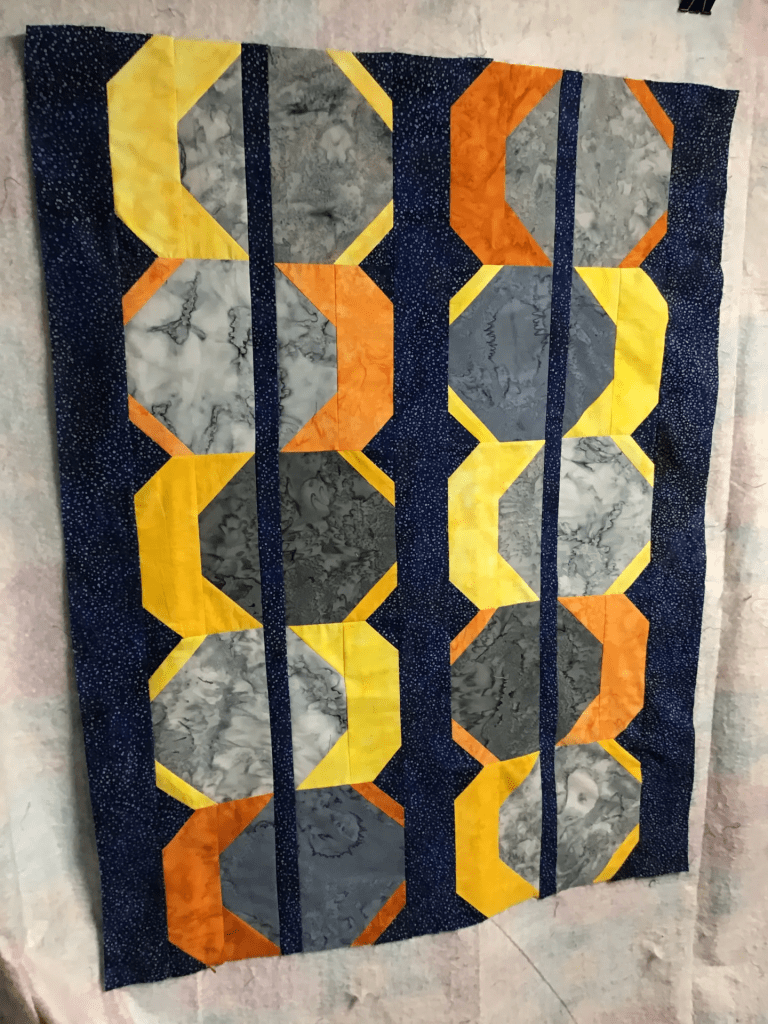
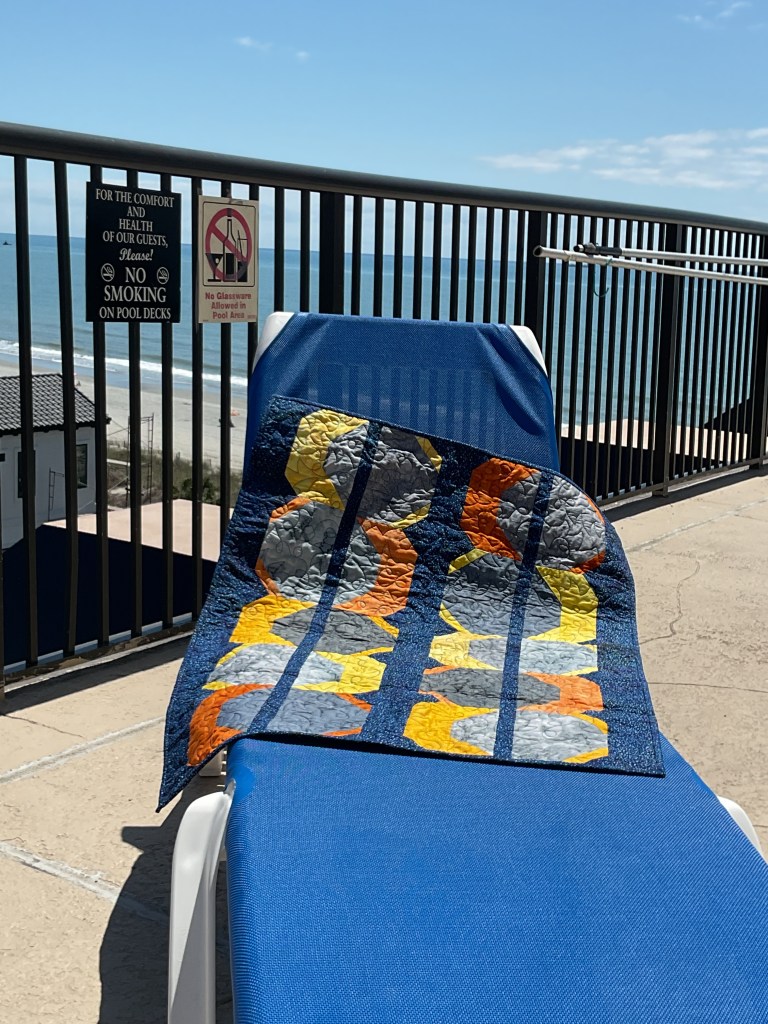
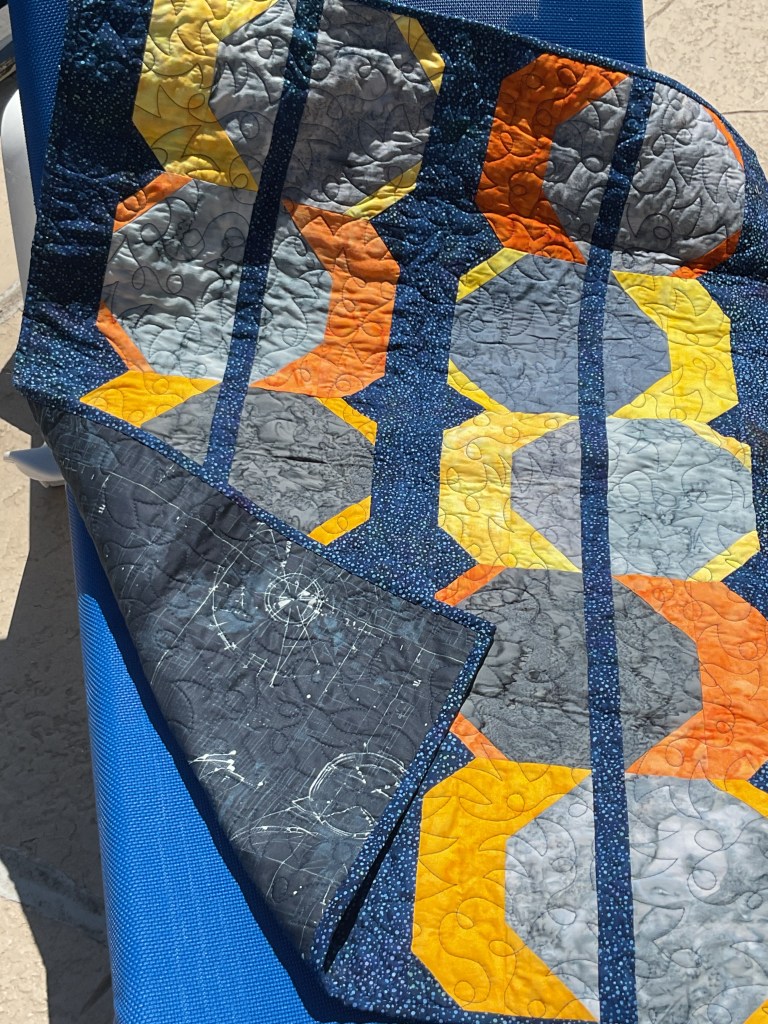
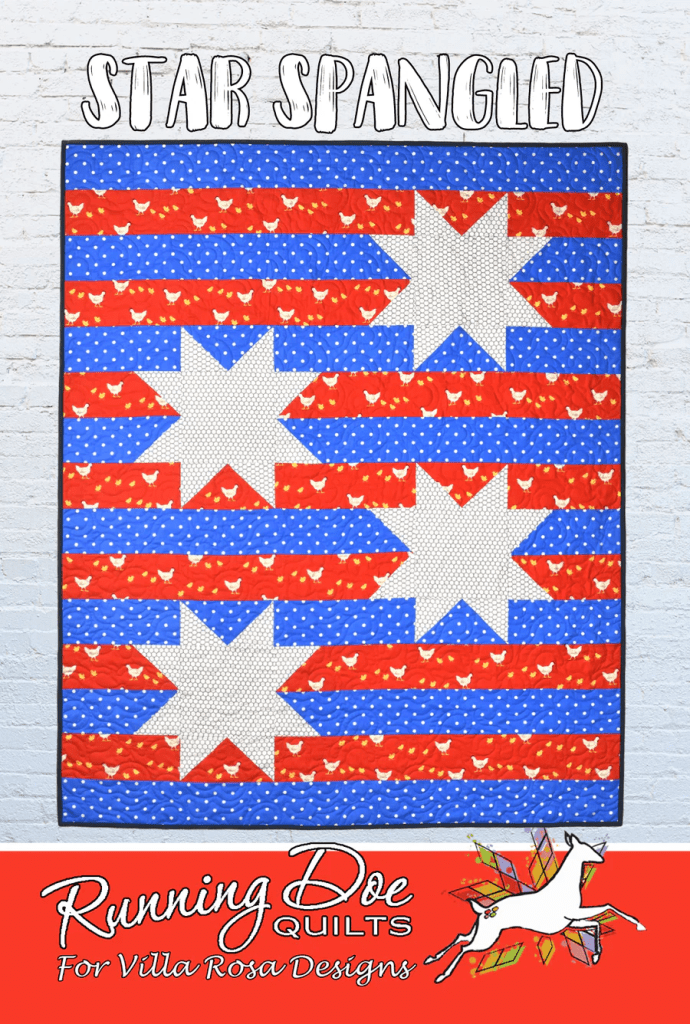
Bedelia is Catherine’s (Running Doe Quilts) latest star design. It’s also FQ friendly and you can find a kit featuring Tilda fabric HERE.
Dahlia is Melissa’s July pattern. This pattern is super for showcasing you large print fabrics – you know, the ones you don’t want to chop up. You can find a kit featuring the Night Garden collection HERE.
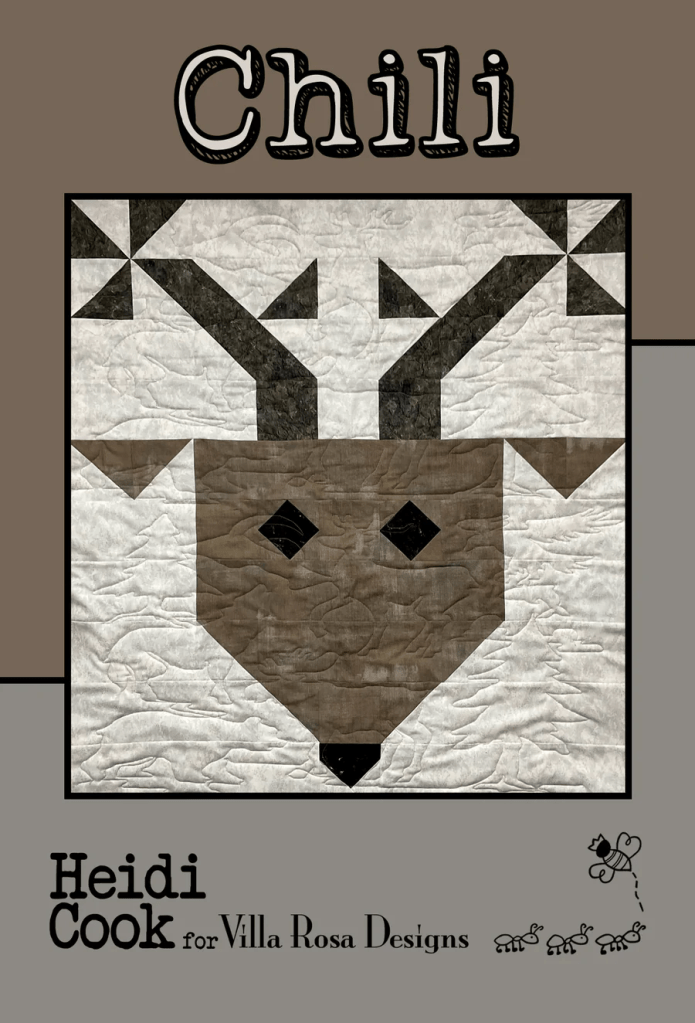
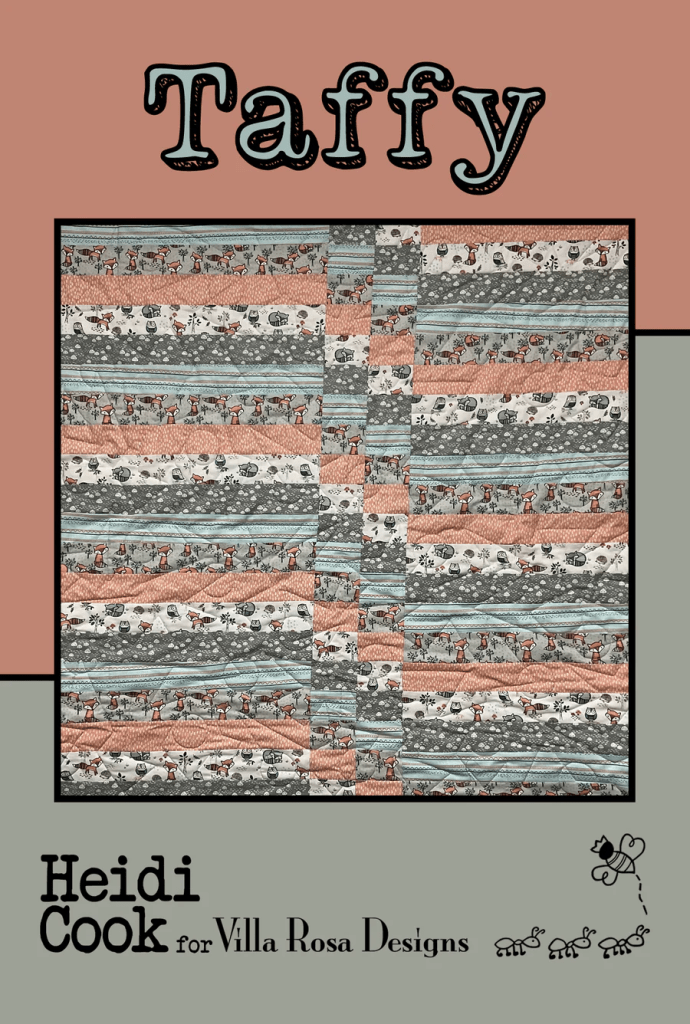
Dump Cake is Heidi’s latest pattern and it features a 36″ x 44″ panel. You can find a kit for Dump Cake HERE with the same fabrics as you see on the front of the pattern.
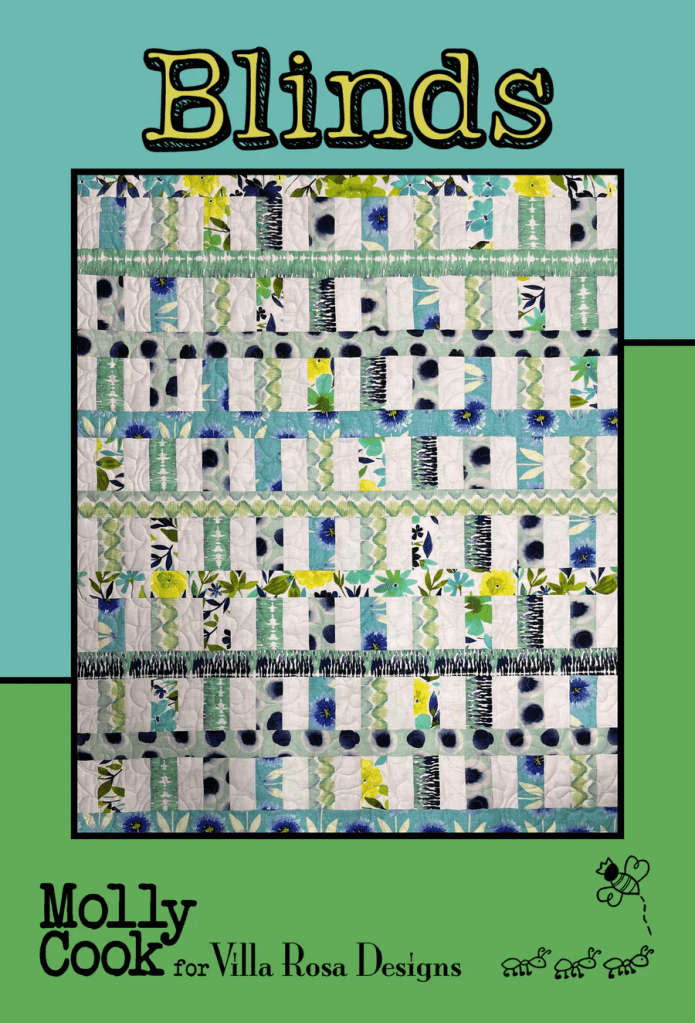
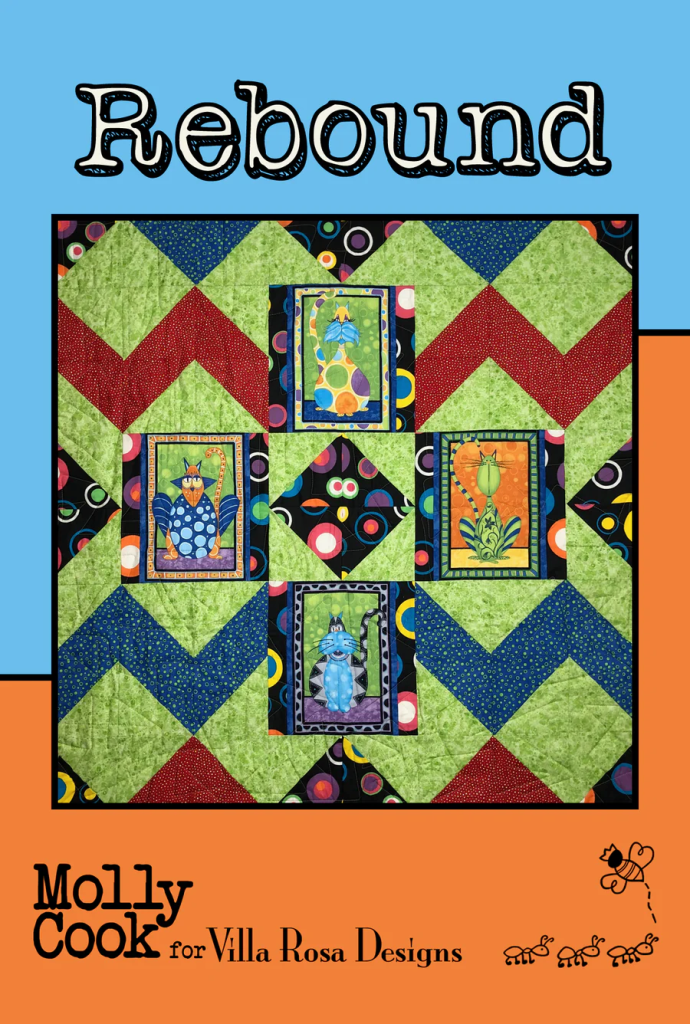
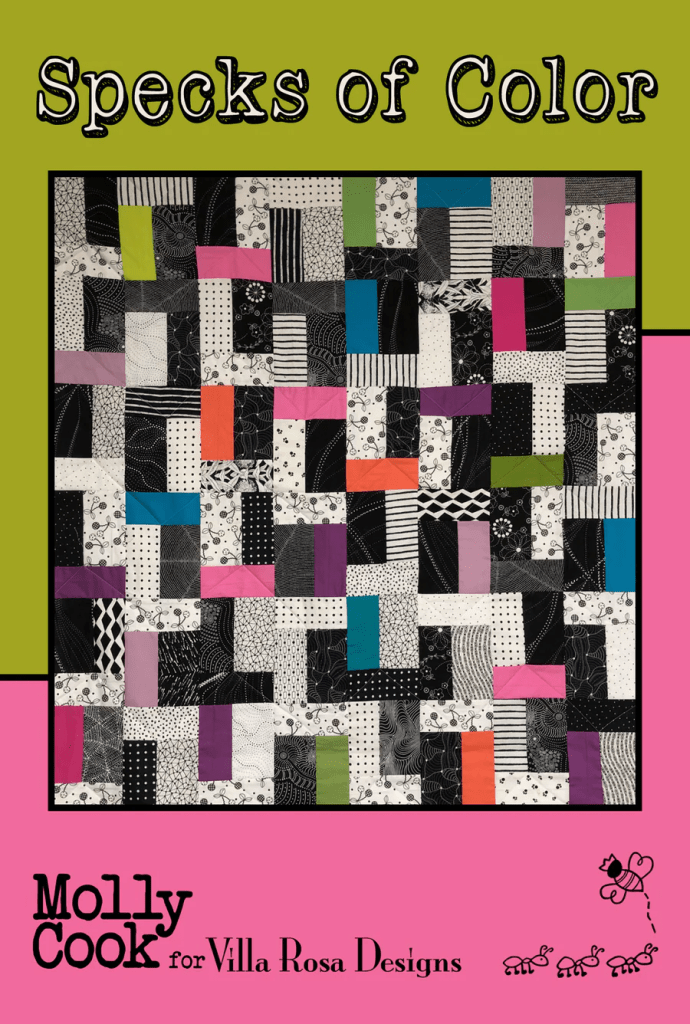
Horizontal Planes is Molly’s newest design and it also features a panel – a 44″ x 24″ horizontal panel this time. You can find a kit with the same fabrics as you see on the front of the pattern HERE or one with Chickadee Christmas HERE.
But wait…….of course, there’s more. This is VRD!
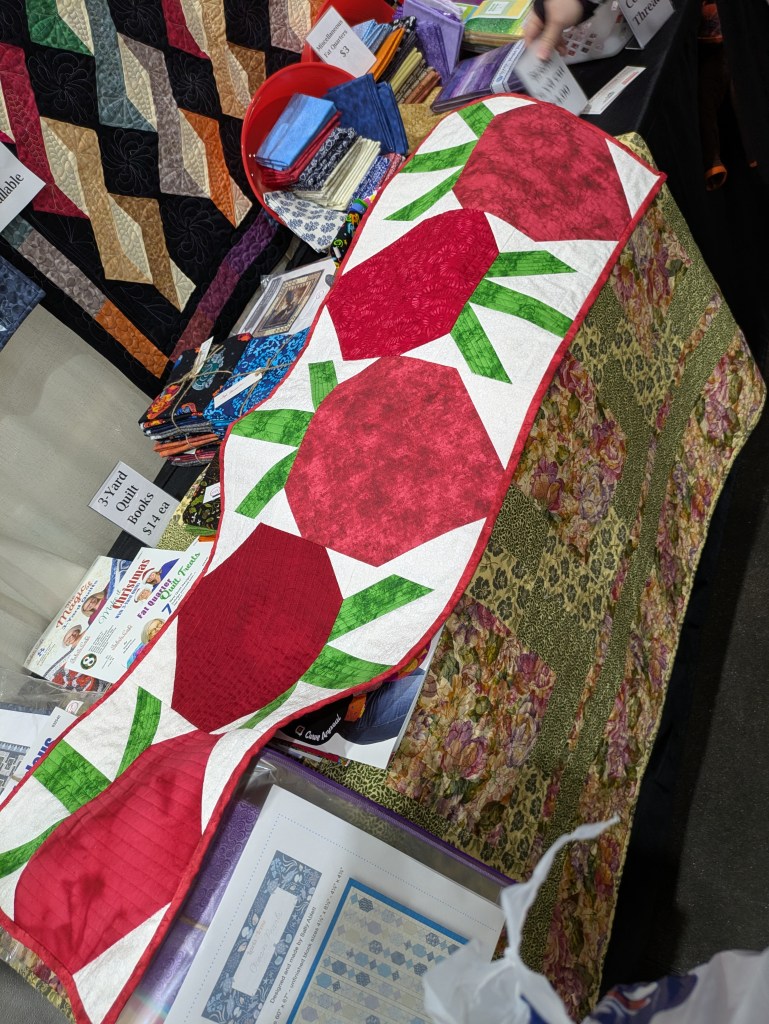
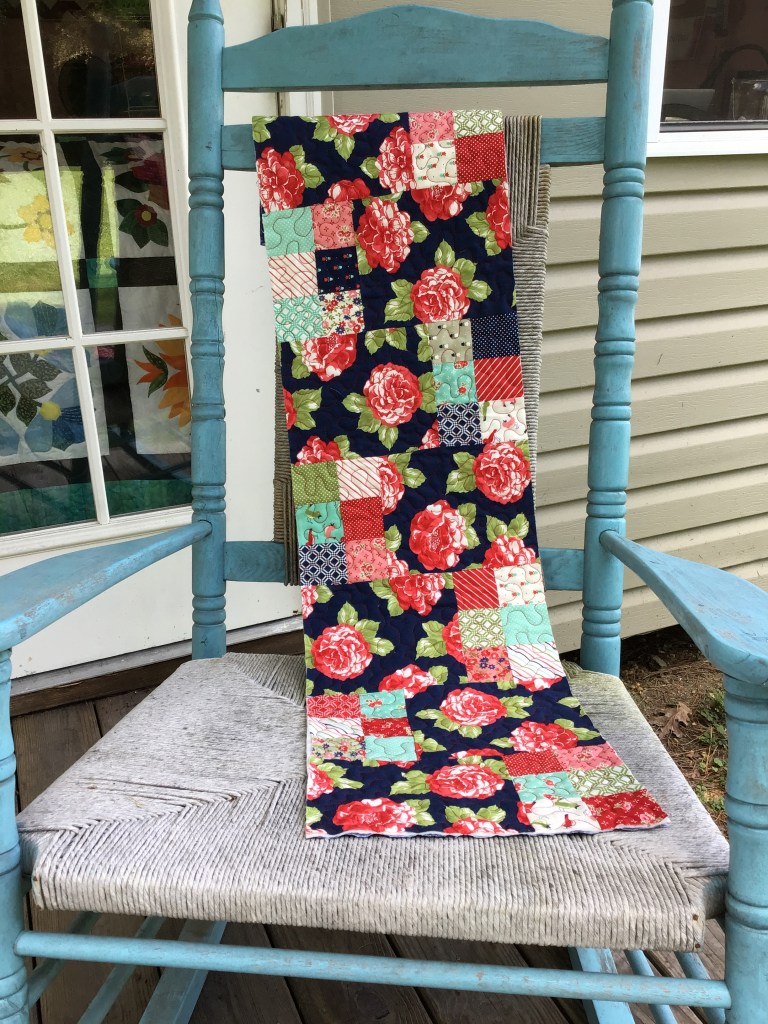
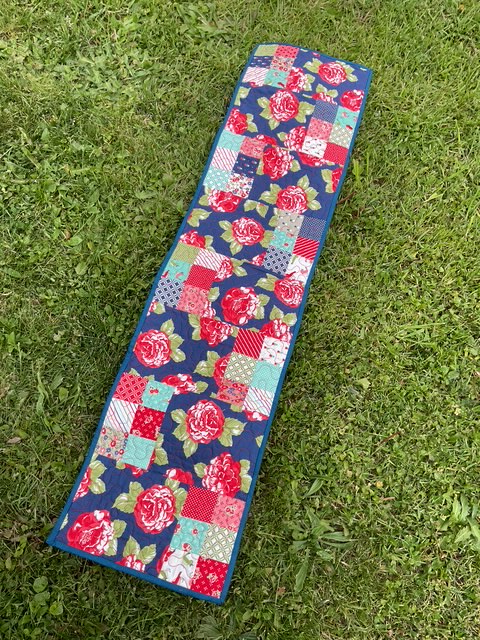
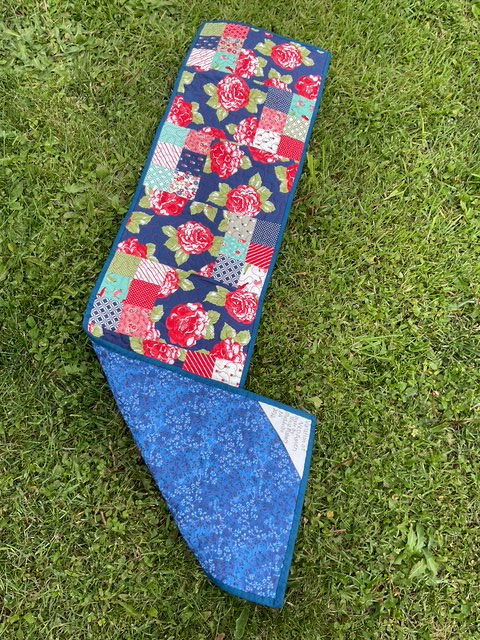
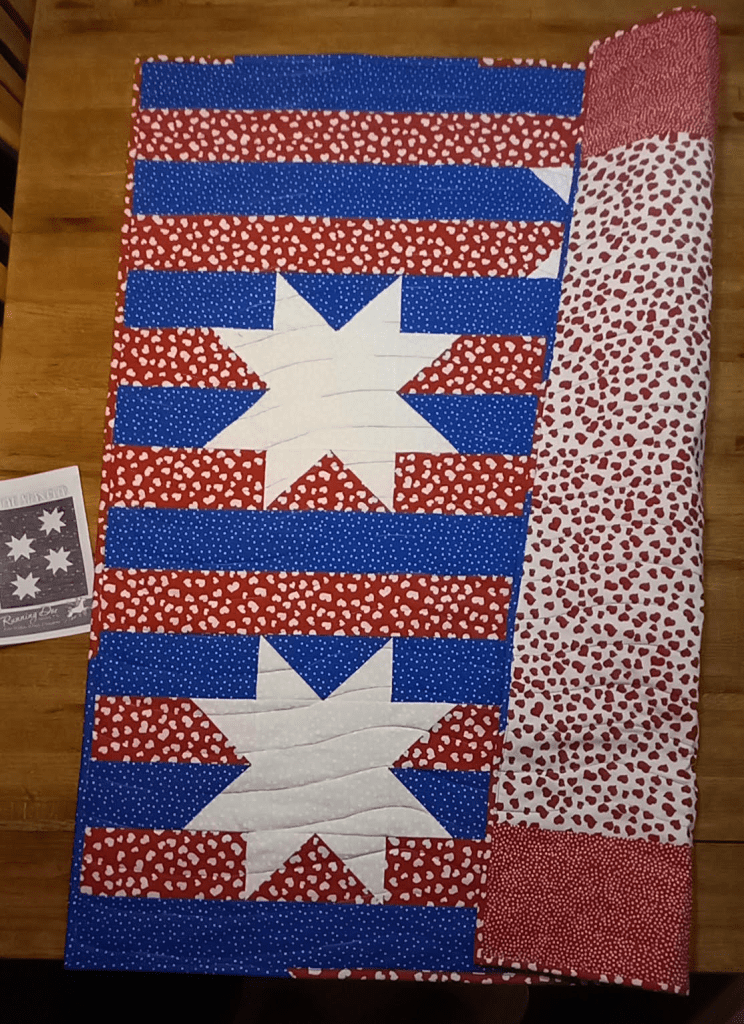
July’s table runner is called Liberty Cove and it’s perfect for your late summer events and excursions. The lake…….the beach……..your own backyard.
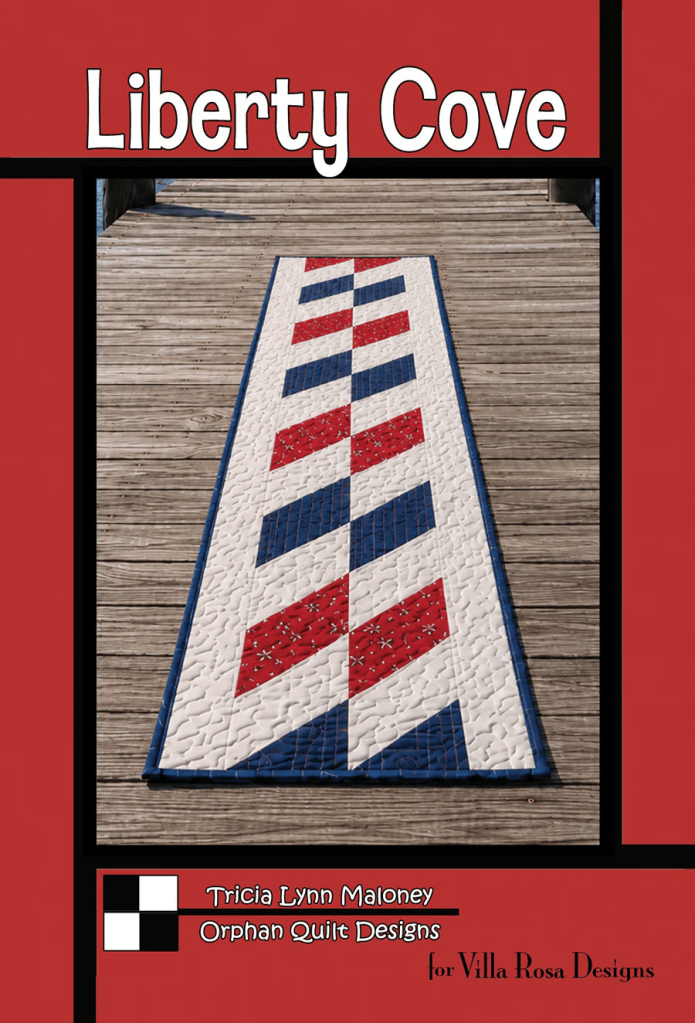
Get your digital pattern HERE or your print pattern HERE
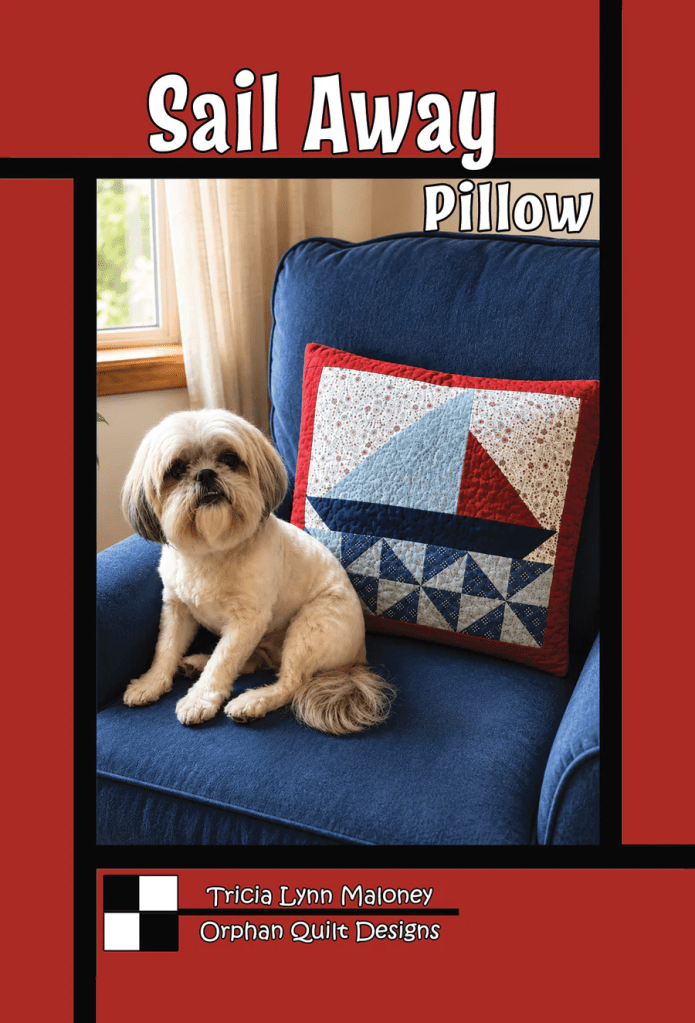
And we can’t forget our July Pillow pattern!
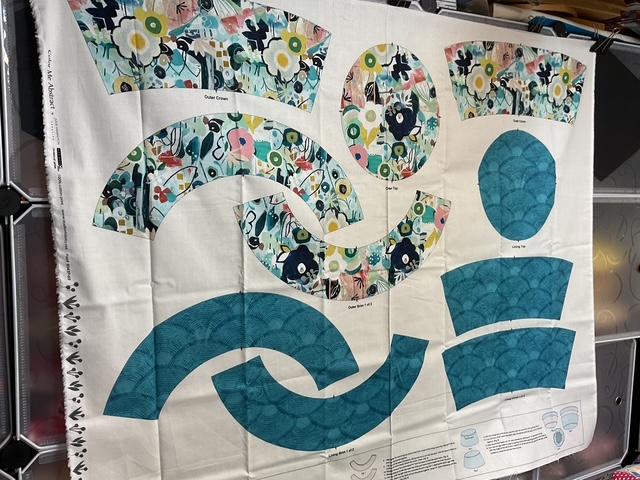
Here’s Sail Away, perfect for your summer celebrations or even a quiet evening curled up in your favorite chair with a good book.
Get your digital pattern HERE or your print pattern HERE
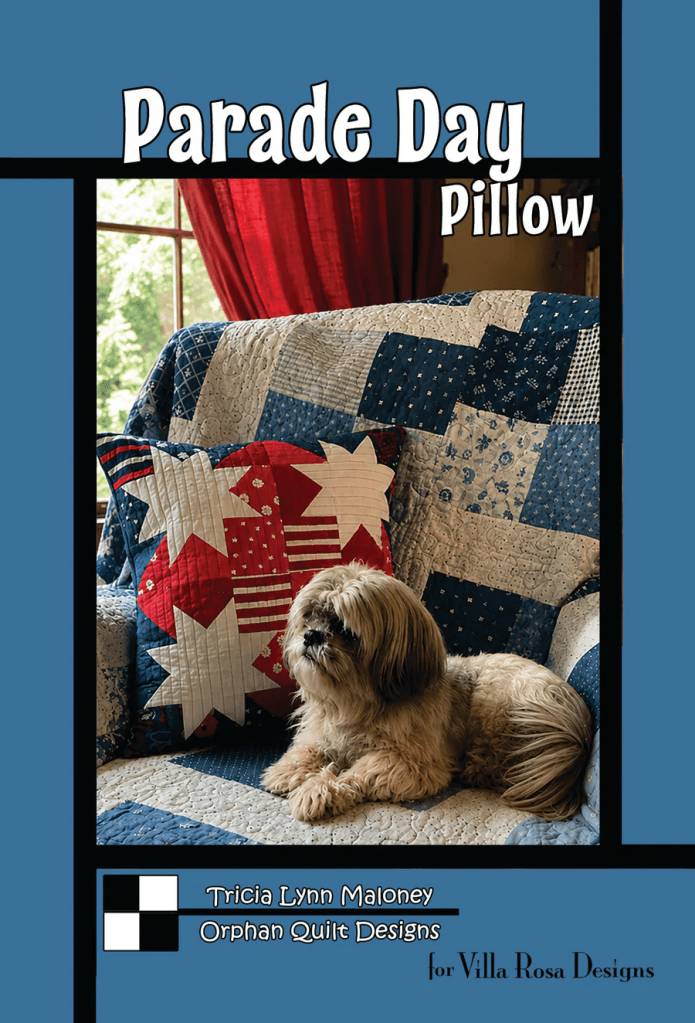
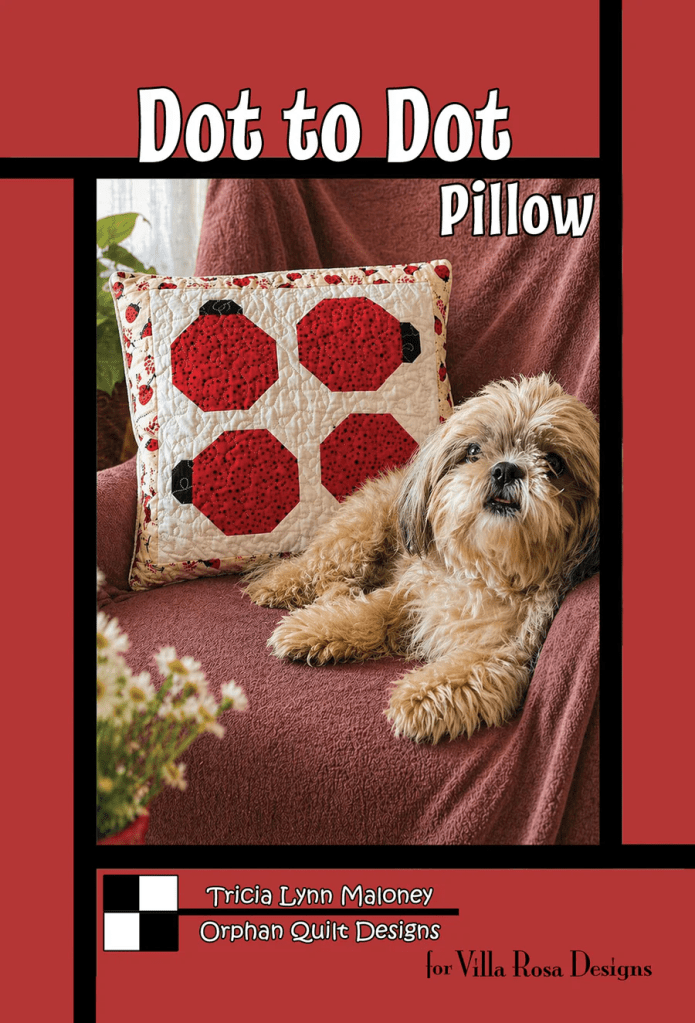
Yes, Queen Bailly finally got her summer haircut. I wish she’d let me put her hair up in a topknot with a pretty bow, but she’s just not that kind of gal. Instead, the hair on her head is usually standing on end! LOL!
You’ll notice how much lighter she is with her hair cut short than in June’s Parade Day pillow when her hair was longer. She really is a magical little Shih Tzu with mysterious hair color changing skills. When she was a baby, her hair was really really dark, then it kept lightening as she got older and now with it cut short, she almost looks blond – we practically have the same color hair now.
I wonder which pattern you are going to make first! Me, I was going to make a second Sail Away pillow so I have a set for the sofa………at least that was the plan for Week 3 of the Challenge. Oh well……life happens.
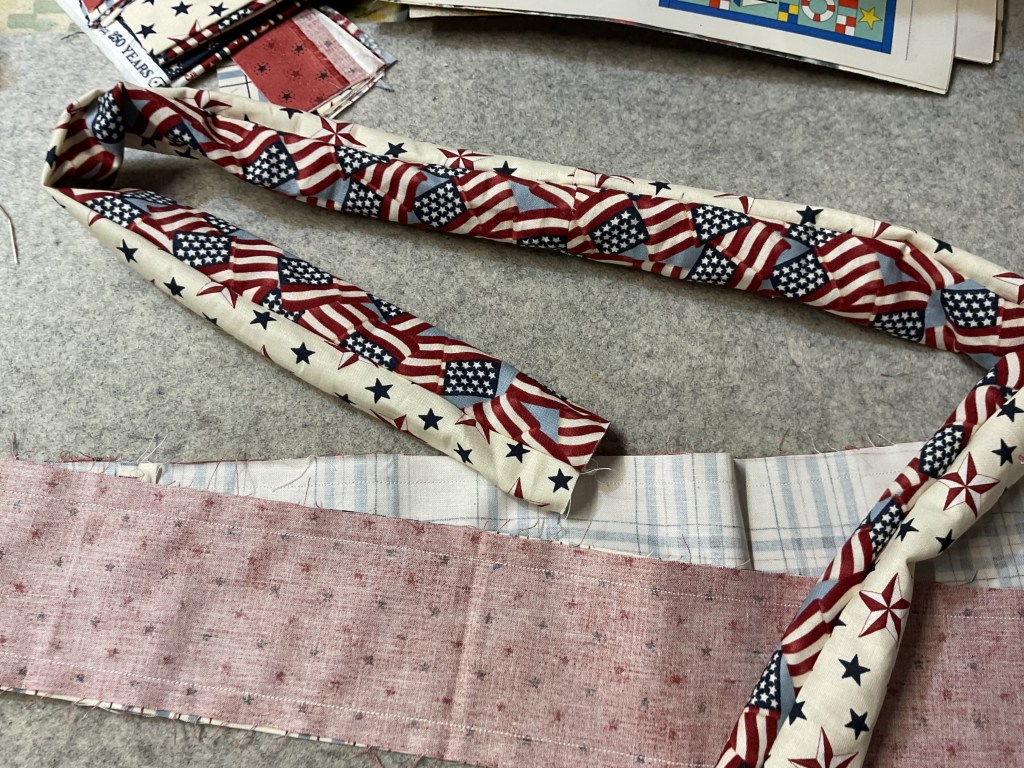
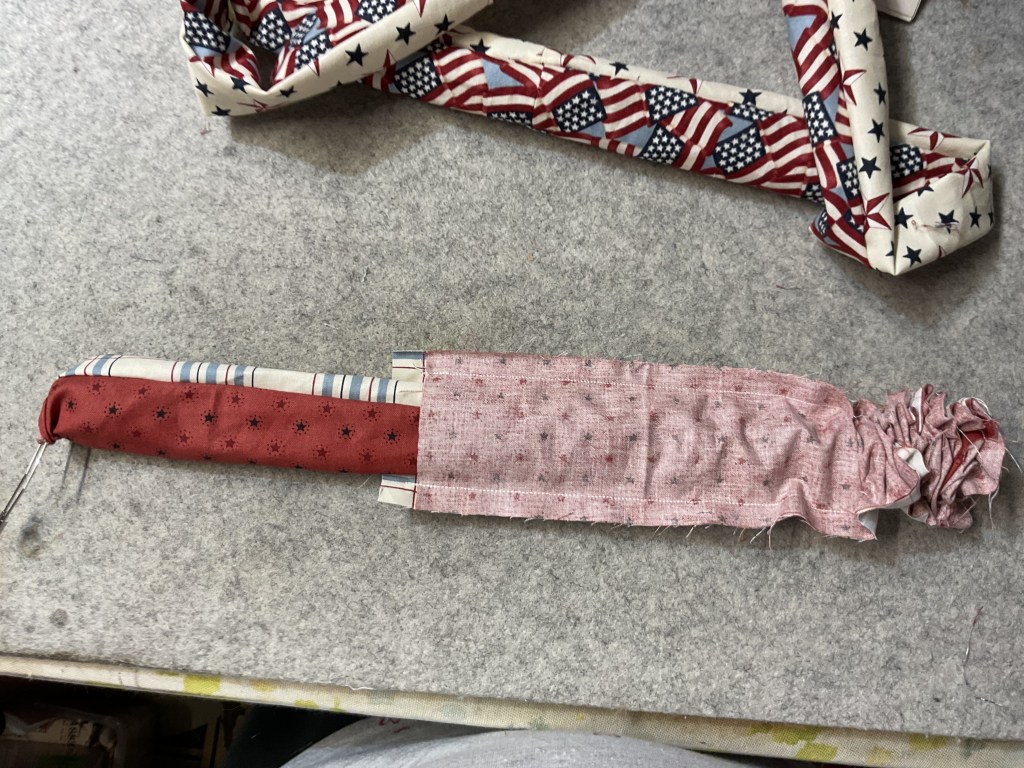
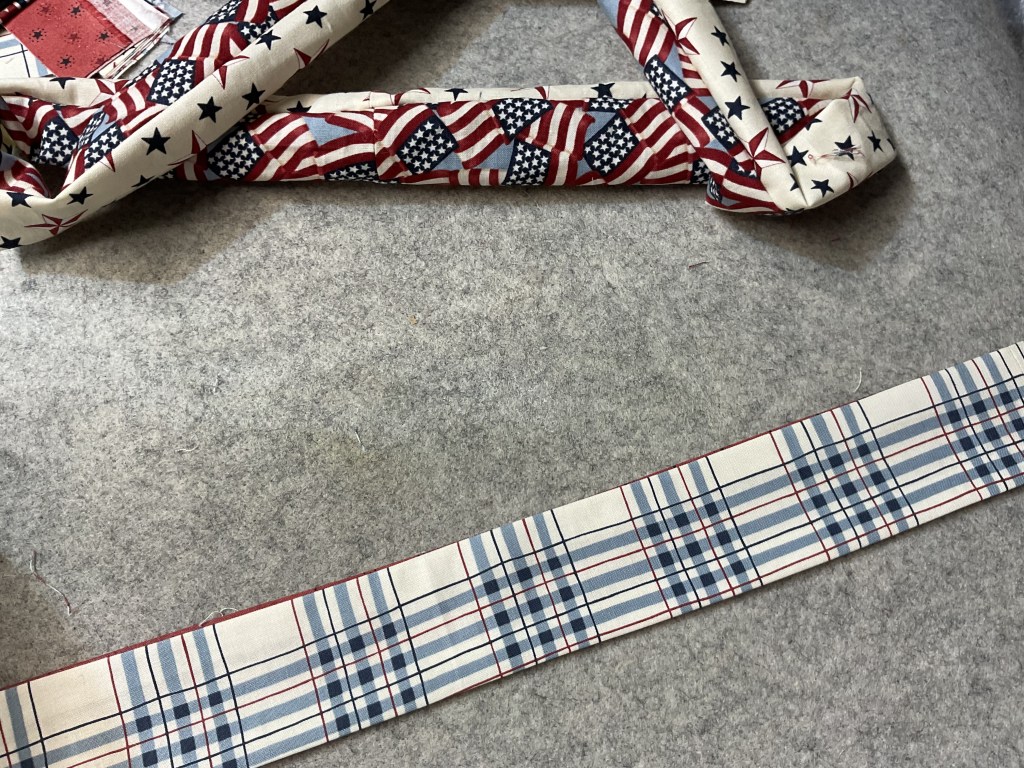
Week 4 of the VRD Small Project Summer Challenge
Looking ahead to next week, Week 4, our project is a VRD scarf which is due by midnight Friday July 17th EST. VRD has 2 different scarf patterns to choose from:
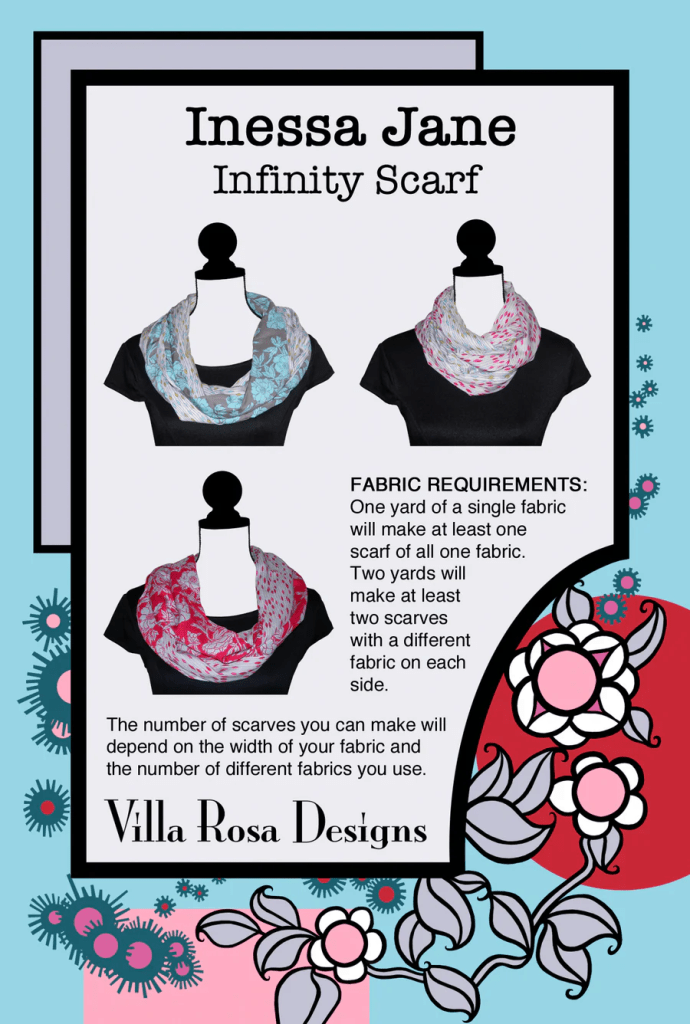
Get your digital pattern HERE or print pattern HERE
OR
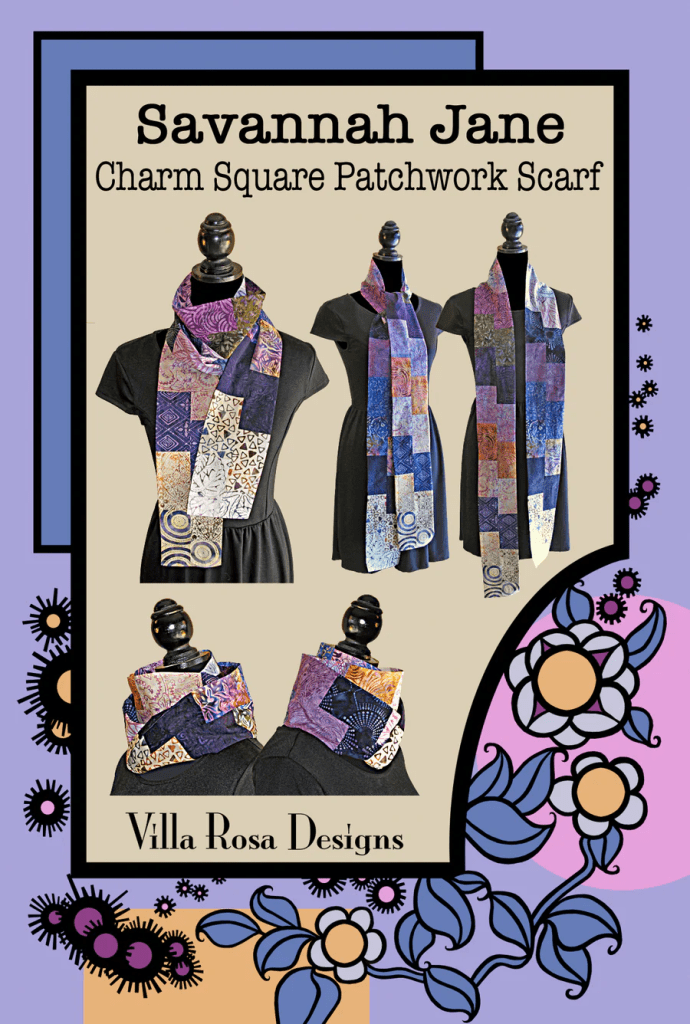
Get your digital pattern HERE or your print pattern HERE
You can find a super fast and fun tutorial for Savannah Jane HERE.
I also have a third option for you if you are feeling adventurous……………………………………how about turning a VRD table runner into a scarf??? Some of the runners are pretty narrow or would be if you remove the border. Just an idea for you to explore…….
Stay cool and enjoy your summer!
Until next week!
Sew. Laugh. Make. Repeat.
Always,
Tricia @ VRD