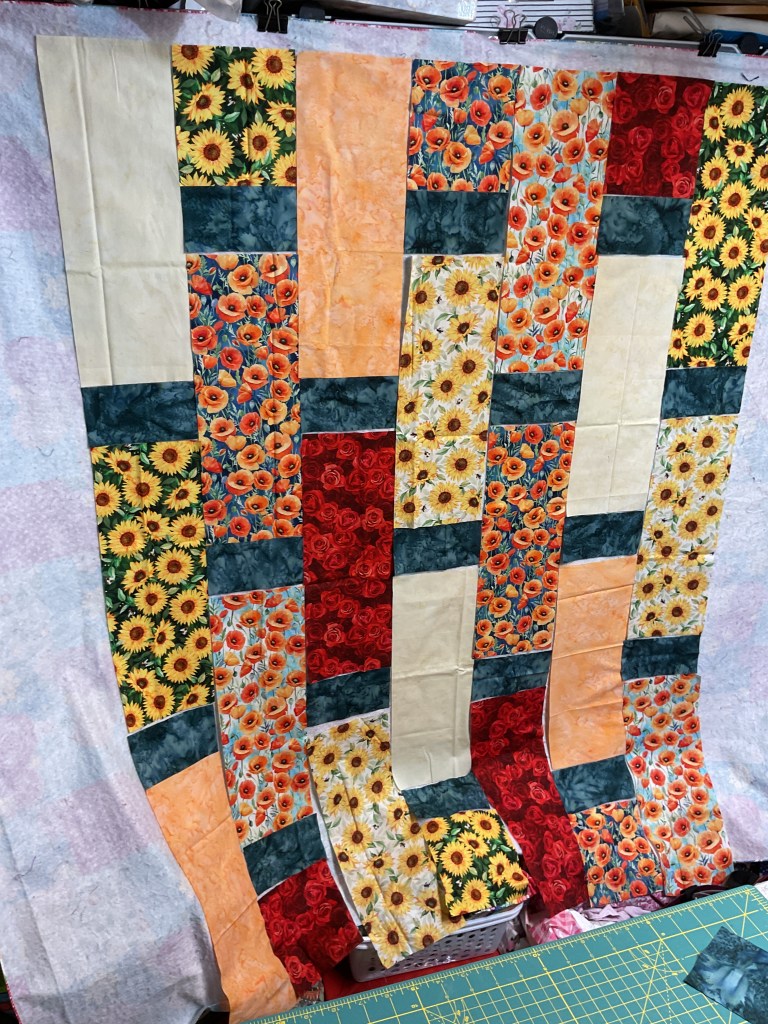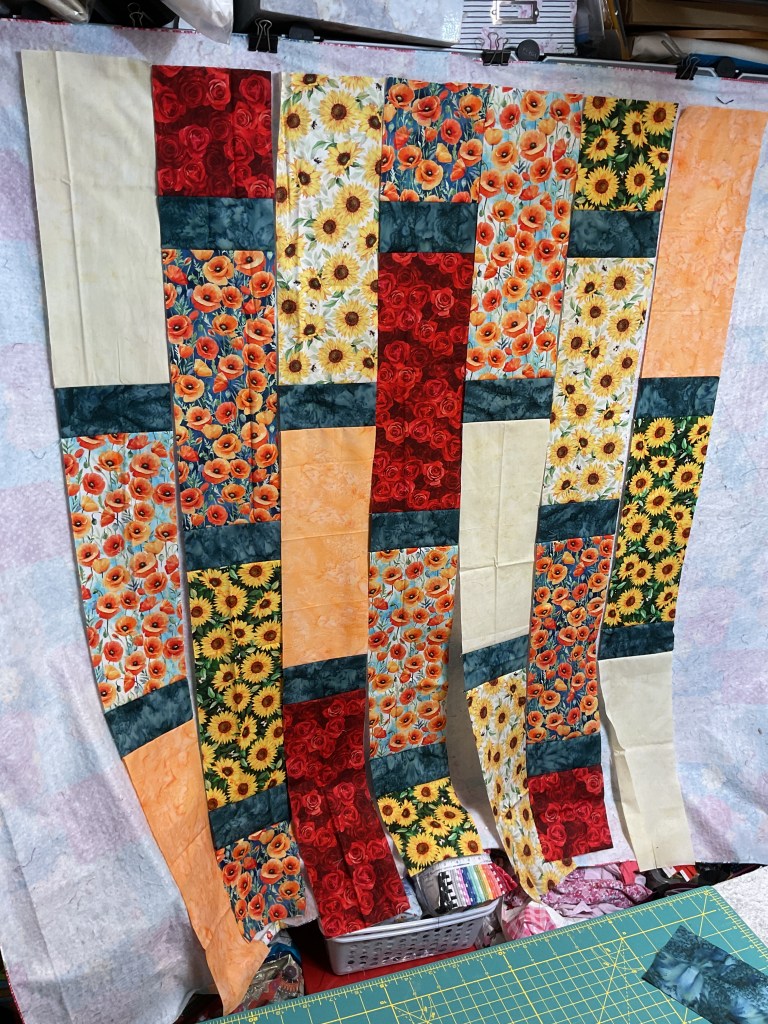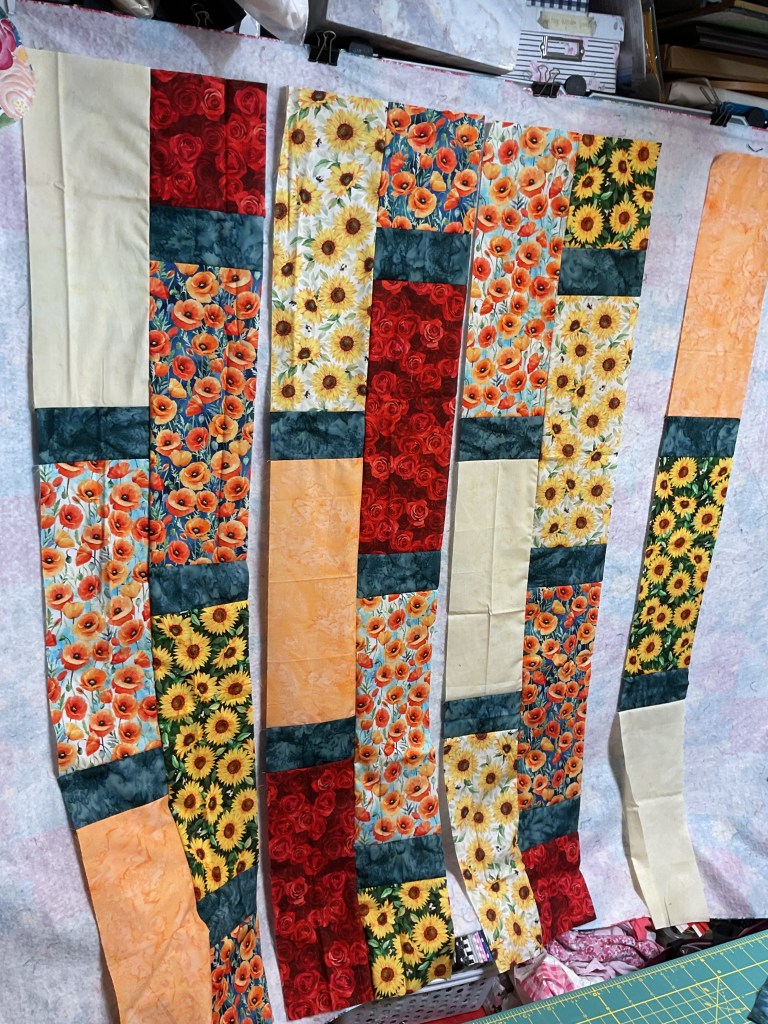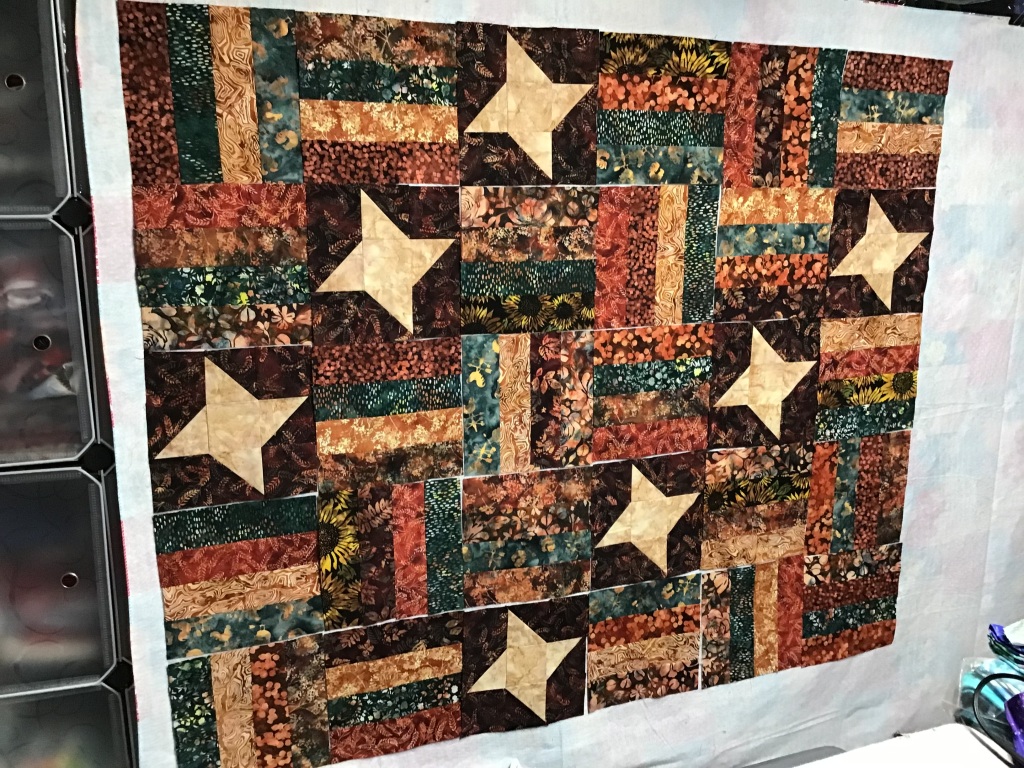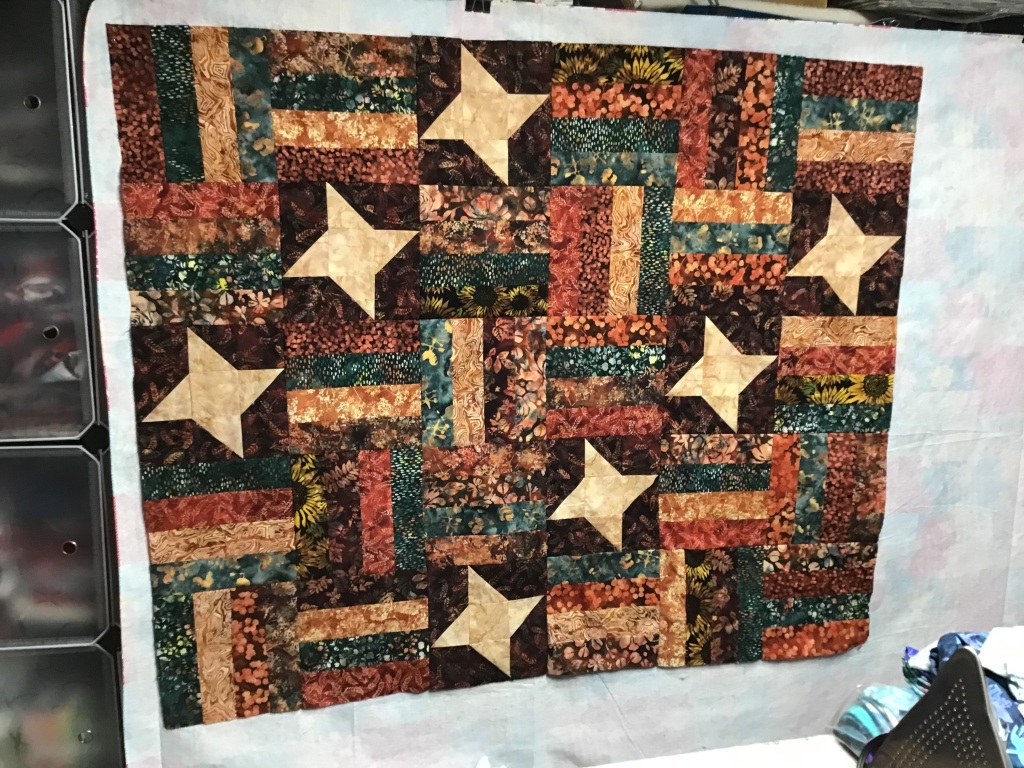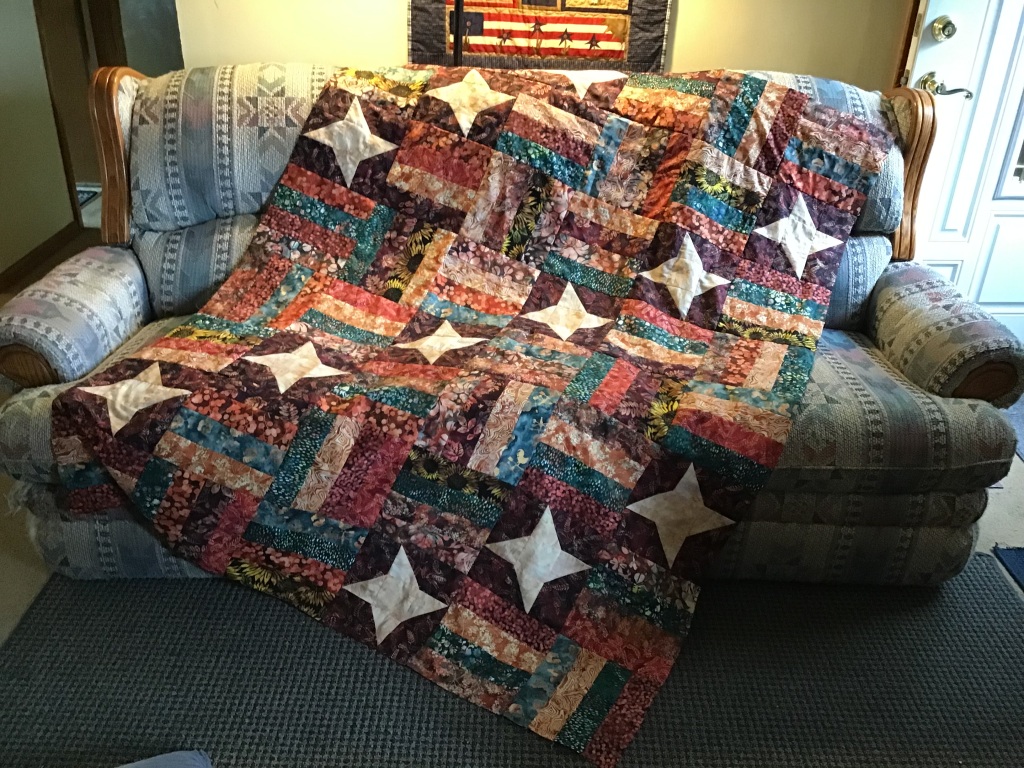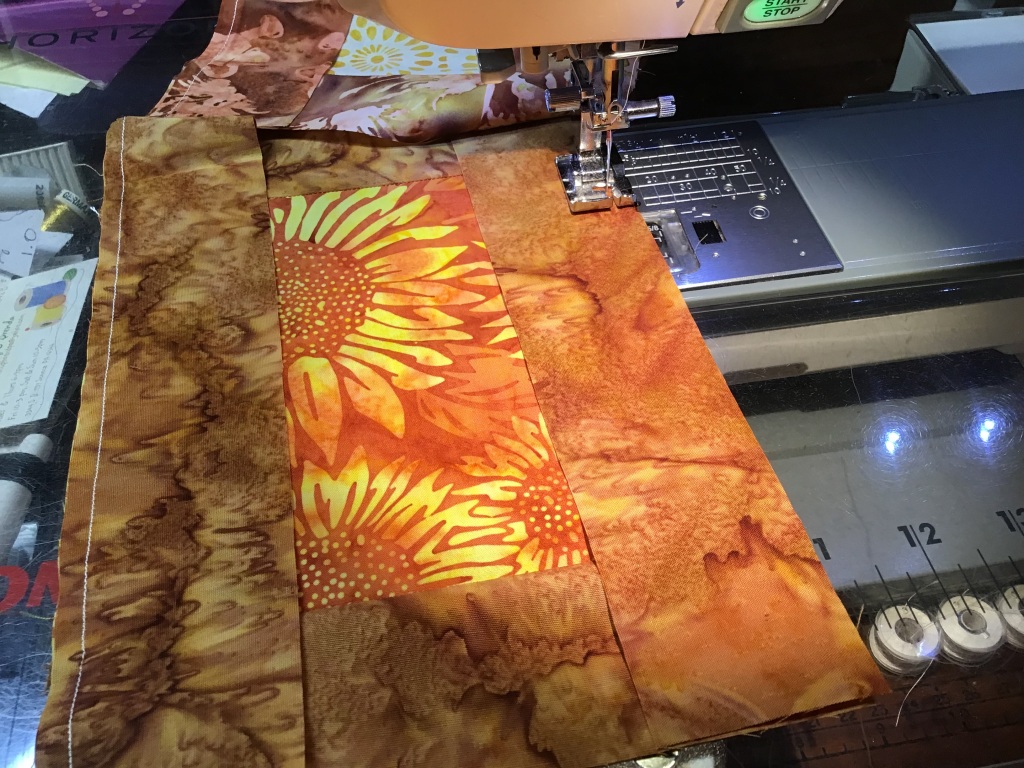
This week we’re all about wrapping up our totally AWESOMESpring Edition 6 Quilts in 6 Weeks Challenge. If you missed the Challenge or the timing wasn’t right for you to participate this time, never fear – I am planning to do it again this Fall. We all need motivation to get stuff done, don’t we? And I can’t think of any better motivation than doing it together.
Let’s take a look at Challenge stats.
6 Quilts in 6 Weeks Challenge Final Stats
By the end of the Challenge, I had 70 people signed up to participate in the Challenge. WOWZER!
Of the 70 folks who signed up, 37 people participated in at least 1 week of the Challenge making at least 1 finished quilt. That’s a 53% participation rate, which is totally fantastic! What a great turn out for our Challenge.
And I know you’re all wondering how many quilts we completed in 6 weeks, right?!? Well, keep wondering for a minute because I want to build a little suspense for that answer yet. (Tehehe.)
Next let’s congratulate our Week 6 Winner!
6 Quilts in 6 Weeks Week 6 Winner
It’s time to announce our Week 6 winner!
Norma K from WI
HOORAY!
Way to go, Norma!
Congratulations!
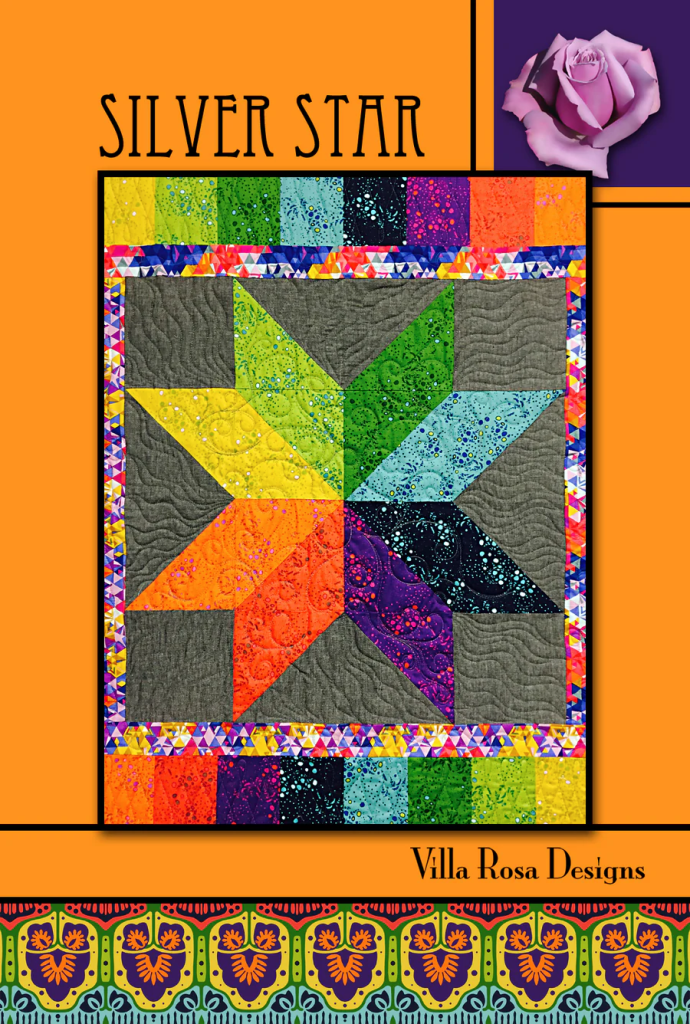
Here is Norma’s Week 6 finish – Silver Star. Isn’t it super? Just perfect for the upcoming 250th birthday celebration in the US this summer.
As you can see, Norma carried the pieced square border the whole way around the center star instead of only at the top and bottom. Great finish, Norma!
Next up is the winner of our Best Guess Contest. Whose best guess was the closest to the actual number of quilts finished in 6 weeks?
Total Number of Quilts Completedand Our Best Guess Winner
Guesses were all over the place, but at the end of our 6 Quilts in 6 Weeks Challenge, only one guess came close to the actual number. Very close actually.
First, the total number of quilts completed for the 6 in 6 Challenge was an astonishing
162 FINISHED QUILTS!
Wow! Isn’t that amazing? I’ll say it again –
162 FINISHED QUILTS!
Our closest guess was 157.
Congratulations!
Cyndi S in FL
YIPPEE!
And we have 1 more winner to wrap up our Challenge.
6 Quilts in 6 Weeks Finishers’ Circle
I want to congratulate ALL of the folks who completed the entire Challenge – there were 14 (15 with me, but I don’t count. LOL!). Which ends up being 20% of all the sign ups who actually finished a quilt every week for 6 weeks. Whoa!
I added one more drawing for these 14 finishers because completing a quilt a week for 6 weeks is a real commitment and I want to celebrate that. Actually I want to shout it from the rooftops, but I’m thinking that might not be so safe…….
Some folks completed UFOs while others created brand new from start to finish quilts. Remember, to be eligible for the weekly drawings projects had to be completely finished – quilting, binding and all.
Drum Roll please…………..
Our Finishers’ Circle winner is
Regina S in MO
Yay you!
Congrats!
Now it’s time to celebrate all the wonderful quilts that were completed during the challenge. Some were made for loved ones, some were made just because, while others will find their way to charitable organizations.
162 quilts in 6 weeks.
I really enjoyed seeing the VRD Facebook page (and my email) light up with so many quilts every week. And it was exciting to see other folks getting inspired to complete their own projects even though they might not have actually signed up for the Challenge. I also saw participants fueled by the momentum and continuing to finish UFOs after the Challenge ended.
162 quilts in 6 weeks.
All I can say now at the end of the Challenge is THANK YOU. Thank you for quilting along with me. Thank you for your encouragement and your support. And thank you for all the amazing inspiration. I have now added oodles of new VRD patterns to my Make List. I bet you did too. It’s a good thing we’re going to do the Challenge again in the Fall.
KEEP THOSE QUILTS COMING!
6 Quilts in 6 Weeks Challenge Sponsors
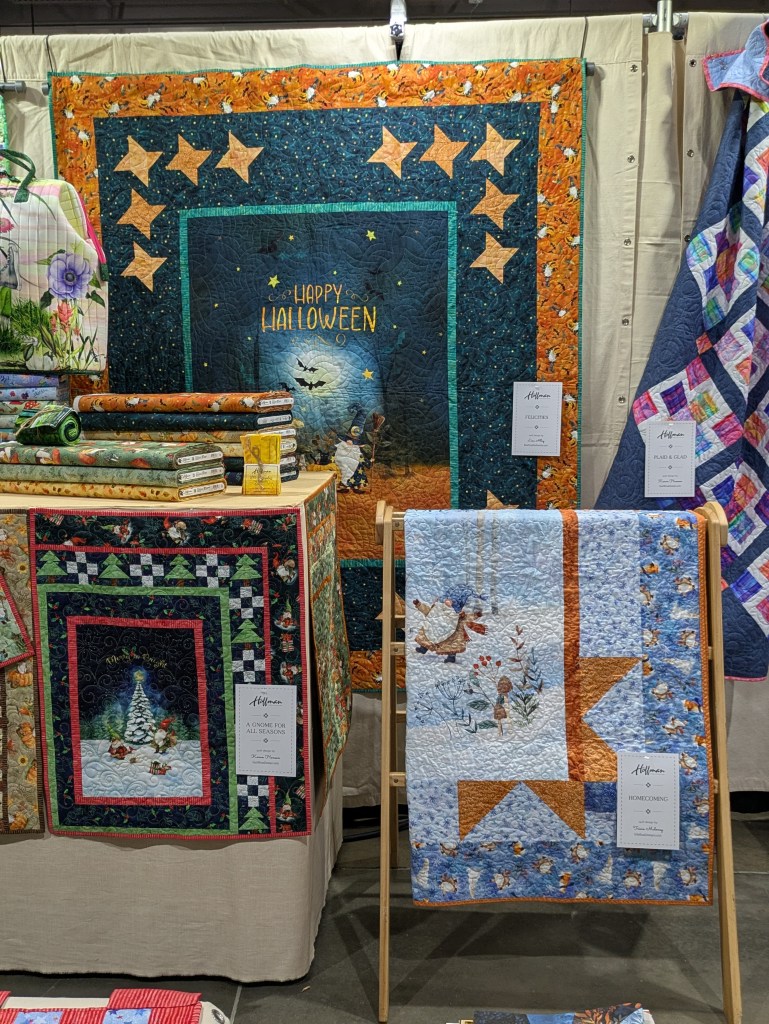
I want to do a special SHOUT OUT to Hoffman Fabrics and Riley Blake Designs who are sponsoring the prizes for the Challenge. Thanks SEW much for partnering with us for this awesome Challenge!
What’s Next???
I’m thinking it’s going to be hard to come up with a new idea to follow our very successful Challenge. So I thought I’d ask you – what would you like to see on the blog this summer?
I was possibly thinking perhaps a Fun Summer Sew Along, but then I wasn’t sure what exactly to make for the sew along. What do you think?
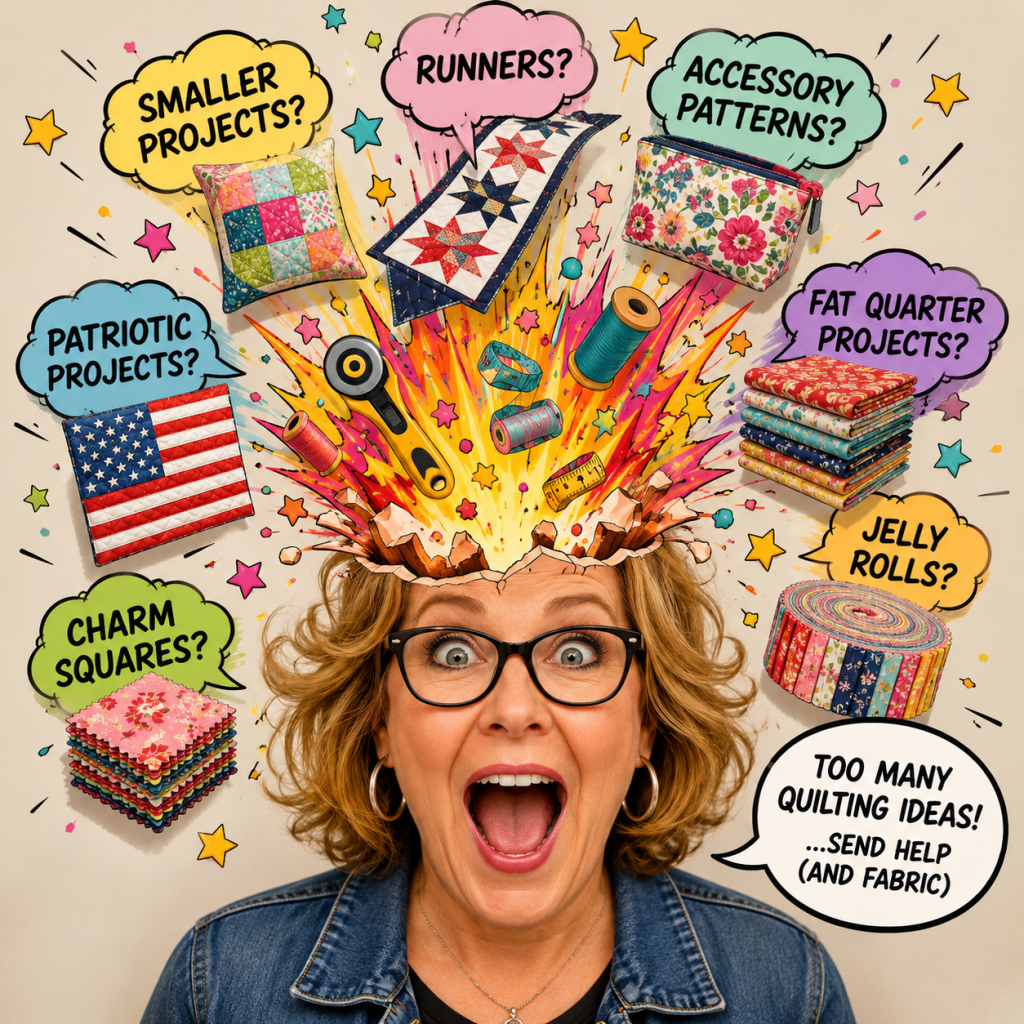
Yeah…..this is me. Every day! LOL!
Smaller projects? Runners? Accessory patterns? Patriotic projects? Fat quarter projects? Charm Squares? Jelly Rolls? Whew! Do we want to do a project a week or a project a month? Sigh…….too many choices.
So I thought I’d ask for your help. I am open to your thoughts and ideas, so please leave a comment and tell me what you’d like to do this summer on the blog.
I hope you’ve gotten the chance to watch some of the Paralympics this week. I have, and the athletes are so so inspiring. I’ve never seen anyone work harder than they do. I am truly at a loss of words to describe how I feel watching and cheering the athletes on.
In honor of all Olympic and Paralympic athletes, today I’m doing a tutorial for Arctic Flame, which I really felt embodies the whole Winter Olympic theme. So stay tuned after the NEW patterns for the tutorial.
OH! Before I forget, I want to say HI to all of our new subscribers. We’re glad to have you aboard the VRD ship. I’m Tricia, your Cruise Director.
Now, let’s cue the marching band and let the balloons fly to celebrate the new March VRD patterns!
NEW March VRD Quilt Patterns
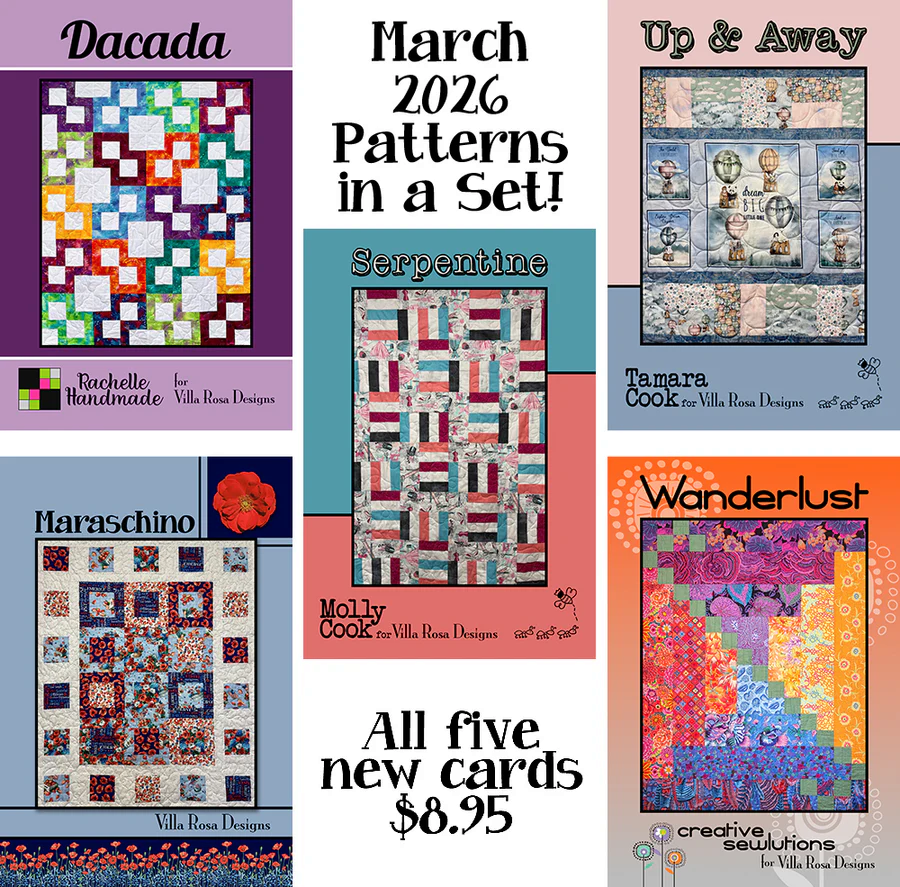
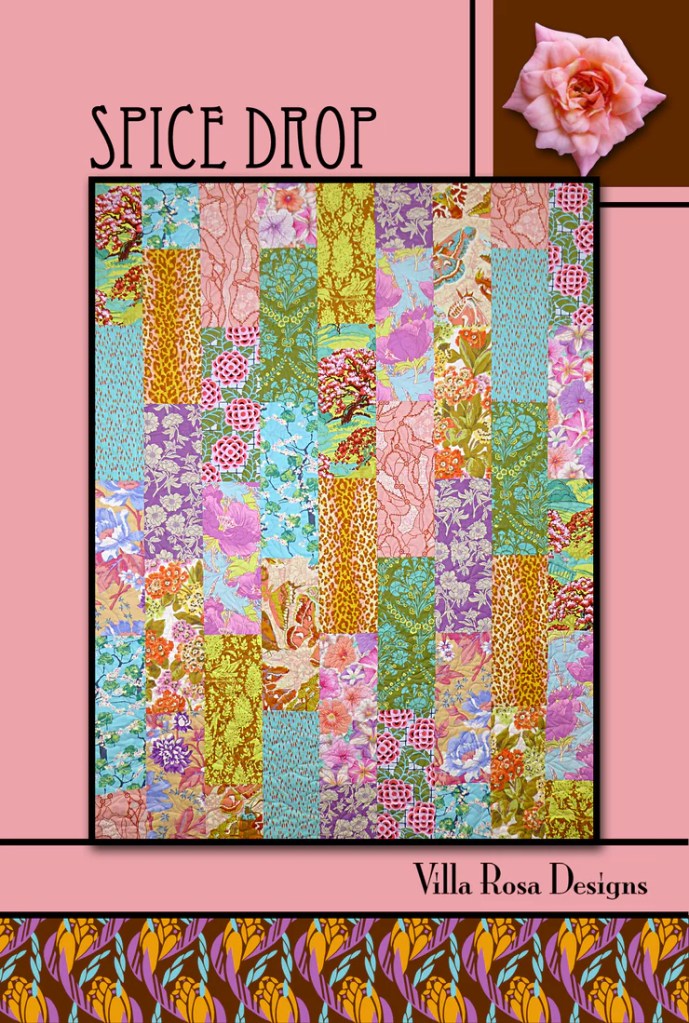
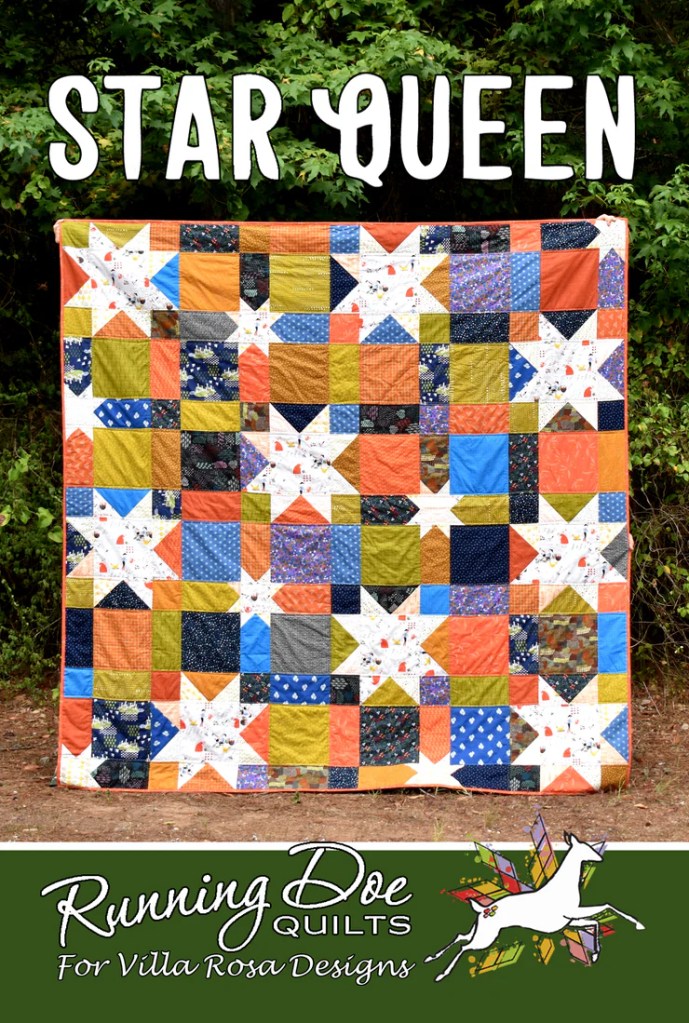
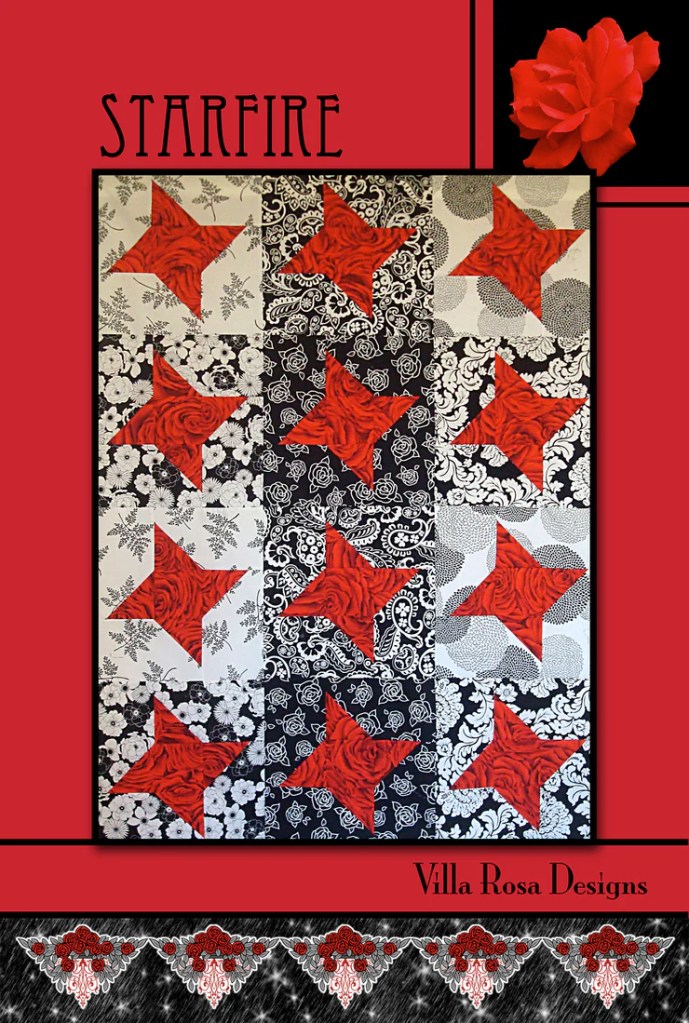
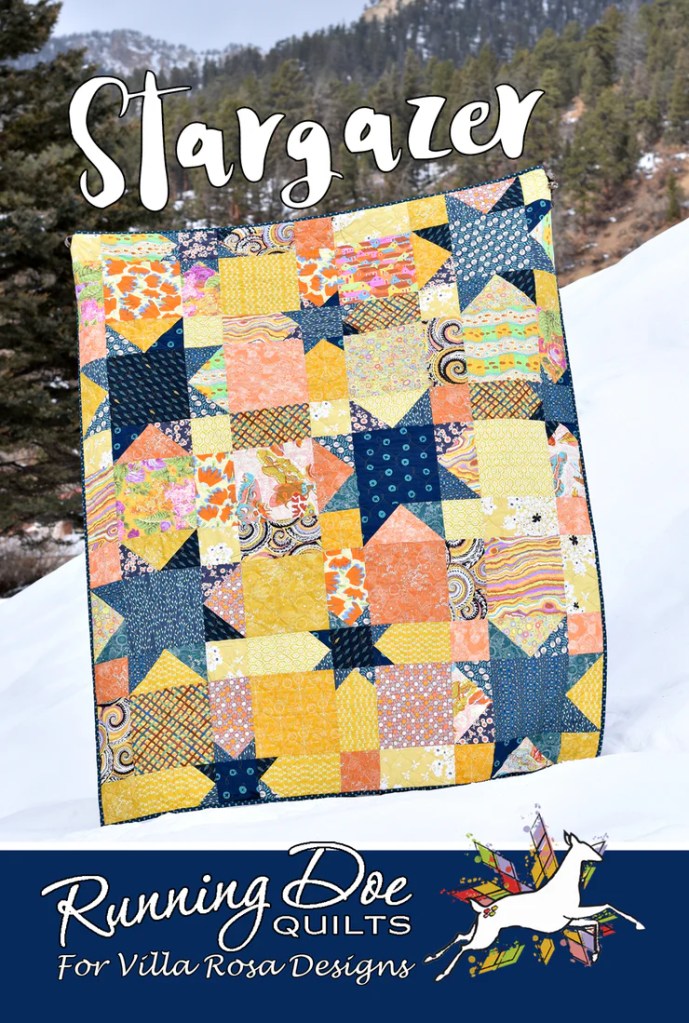
Hard to believe another month of 2026 has passed and it’s time for another collection of new patterns. I think you’re going to LOVE this month’s patterns. When I saw all of them, I was really amazed by the creativity of our designers. They are bright, bold, visual, and fun.
Dang! I’m not sure which one I want to make first.
Argh! Guess I’ll just have to add ’em to my mile long list that just keeps getting longer. I don’t think I’ll ever reach the end of the list, though.
Dacada is Rachelle’s latest modern design and it almost leaps off the pattern. I wonder what it would look like with black or navy background instead of white? It finishes at 48″ x 60″ and is fat quarter friendly. You can find a kit featuring Bold in Bloom batiks HERE.
Serpentine by Molly is a fast and super fun strippy quilt that you can make in a wink. I love that you can use a favorite novelty fabric in her pattern. It finishes at 40″ x 60″ and uses yardage. You can find a kit featuring the same fabrics (Dressmaker) that Molly used HERE or a kit using batik fabrics HERE.
Up & Away is Tamara’s new pattern and it is as sweet as can be. It features a horizontal panel – 23″ and up so it gives you lots of options. With a 23″ panel, it finishes at 41″ x 49″, which is a lovely size for a baby quilt. Using a 36″ panel, the size would be approximately 41″ x 61″ which would be a small throw quilt. You can find a kit with the same fabrics Tamara used (Let’s Go on an Adventure) HERE.
Maraschino is Pat’s March pattern and it couldn’t be more fun. It finishes at 45″ x 54″ and uses fat quarters and a little bit of yardage. You can find a kit with the same fabrics Pat used (Red, White, and Sweet) HERE.
Wanderlust is Creative Sewlutions’s latest modern design. It finishes at 49″ x 63″ and uses yardage. I’m itching to make this one out of my stash with an awesome pop of color.
But wait – we’re not done yet!
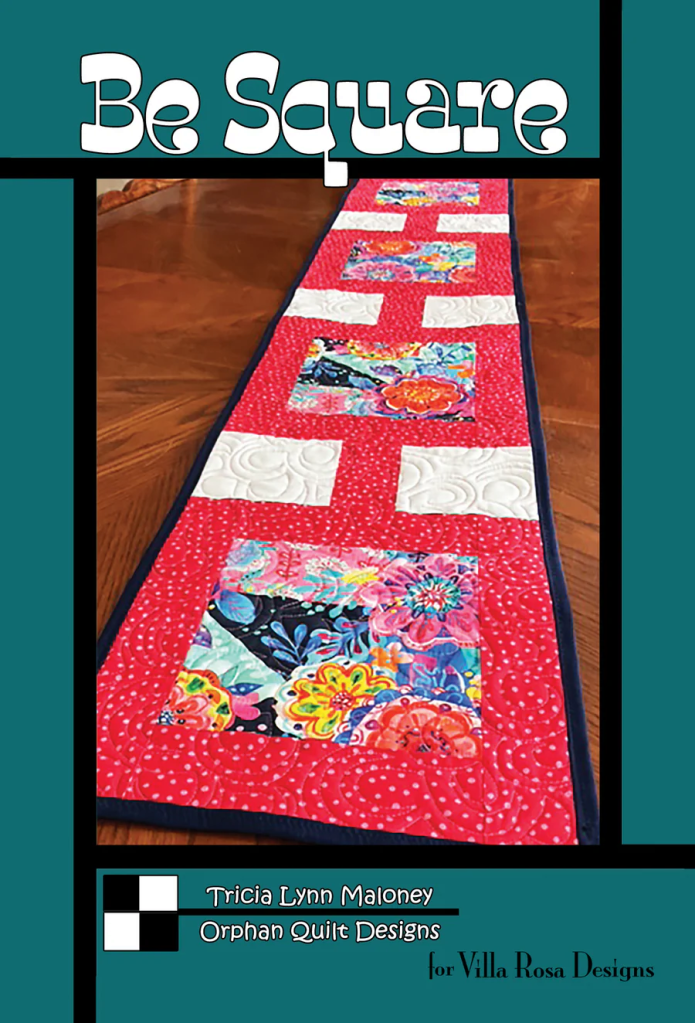
Here’s my March Table Runner, Be Square. The center blocks are great for using your favorite fun novelty fabrics, printed panel squares, or even stray quilt blocks. It’s a very versatile design. And it goes together really fast.
Get the digital pattern HERE or the print pattern HERE.
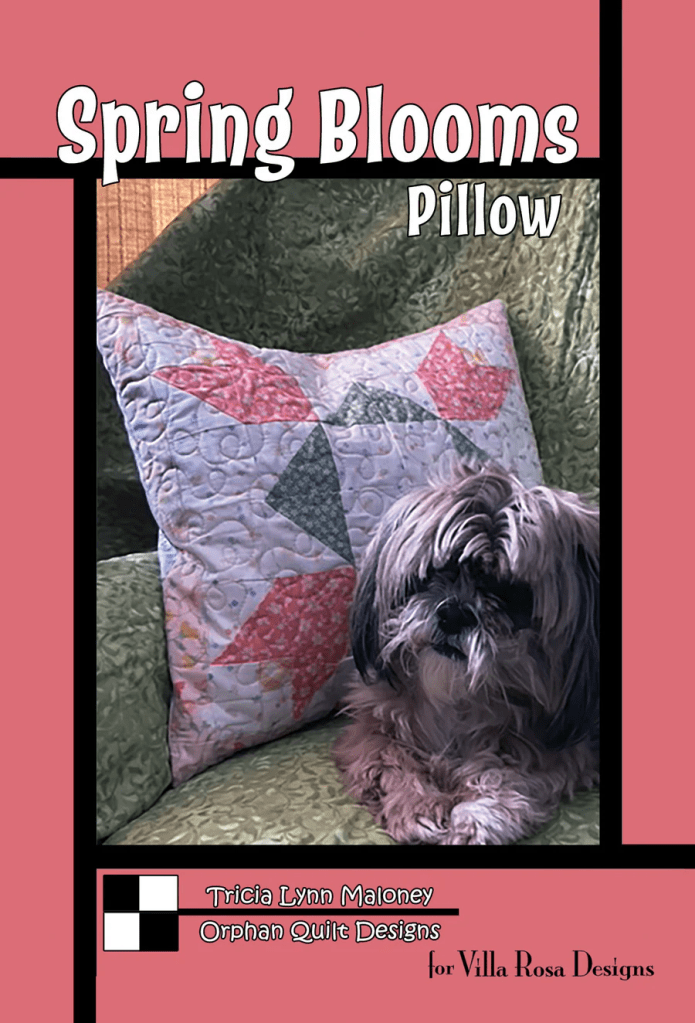
And last, but certainly not least, is the third Pillow pattern in the 2026 Seasonal Pillow Series. It’s called Spring Blooms. This pillow design would look great in so many different color combinations! What would your favorite combination be?
Guess what? My Mom claimed this pillow for herself even before it was finished! Moms can be like that sometimes…….LOL!
And a star is born! My cute little Shih Tzu girl, Bailly, is always happy to pose for me. Isn’t she a cutie?
Get your digital pattern HERE or your Print pattern HERE.
3 Aunts Quilt Shop is doing a Block of the Month with the Pillow series this year and you can find the new Spring Blooms kits below:
They still have some kit options available for Happy Hearts (Jan) and Good Luck (Feb) available HERE if you haven’t made yours yet.
All right! What an awesome collection of patterns for March! Which one are you going to make first?
Now let’s dive right into our tutorial for today – Arctic Flame.
VRD Arctic Flame Quilt Tutorial
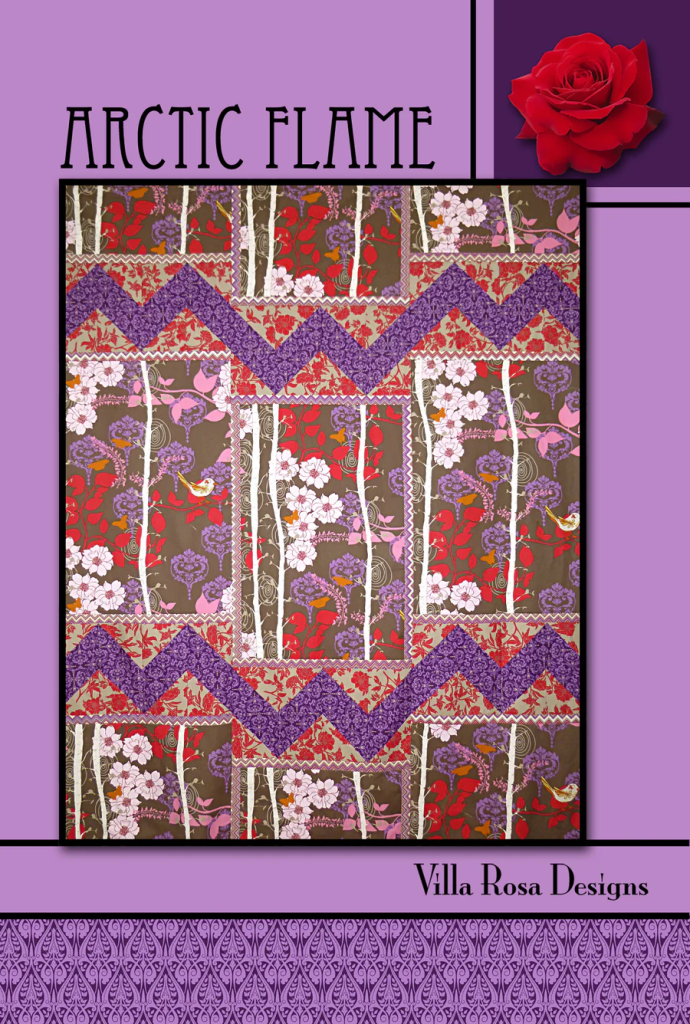
Are you familiar with the Arctic Flame pattern? It’s an oldie but definitely a goodie! This is one of Pat’s clever designs.
I’ve always wanted to make Arctic Flame, but for some reason I thought it looked kind of daunting and…I just didn’t. So, I keep coming back to it and then telling myself “someday.” Have you ever felt that way about a pattern?
Well, someday has finally come. I chose to do the Arctic Flame tutorial today in celebration of the 2026 Winter Olympic Games. The pattern name just sung for me and seemed to embody the spirit of the games. And I had just the perfect fabrics to use – wait ’til you see them!
Get your Digital pattern HERE or your Print pattern HERE
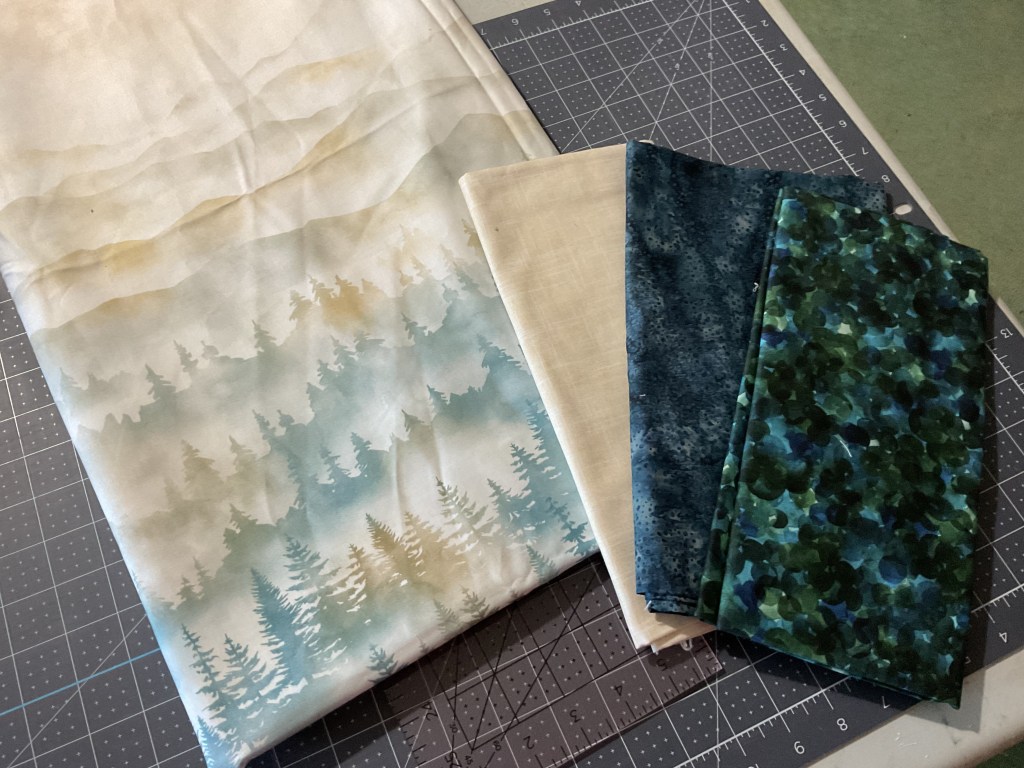
1. Time to gather up our fabrics. The fabrics I’m using today are from an older Hoffman digital collection called Starry Nights. I’ve had these fabrics hanging out for a while and now they’re ready to shine! Just wait until you see what I’ve got planned for the mountain and trees running yardage print.
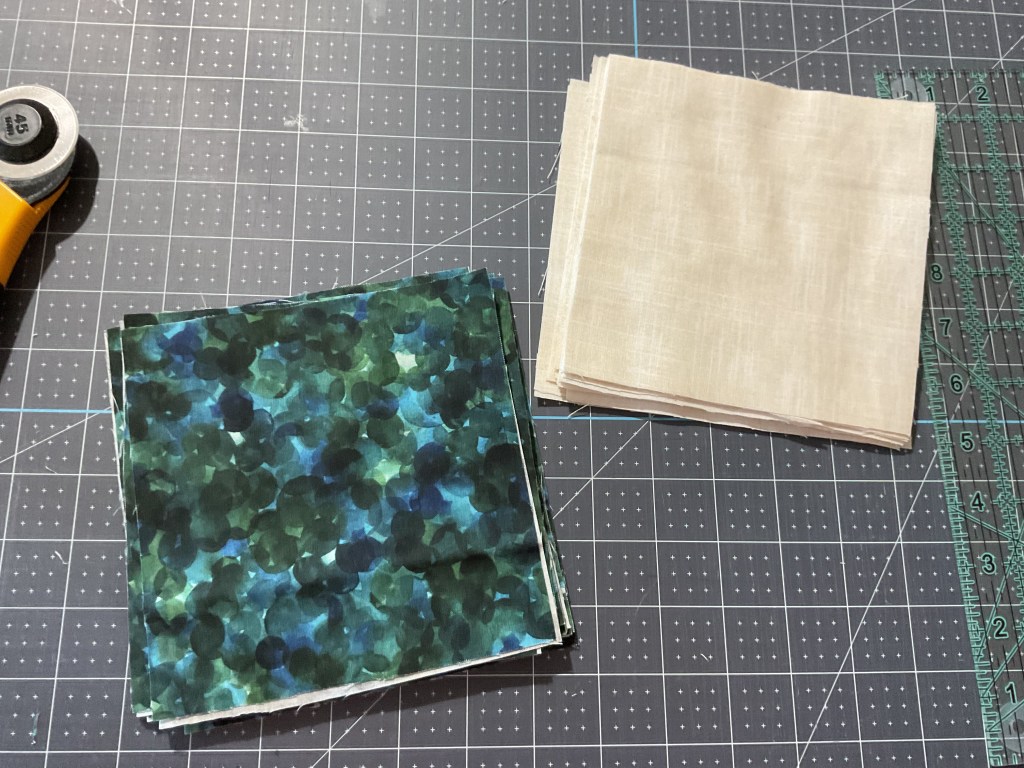
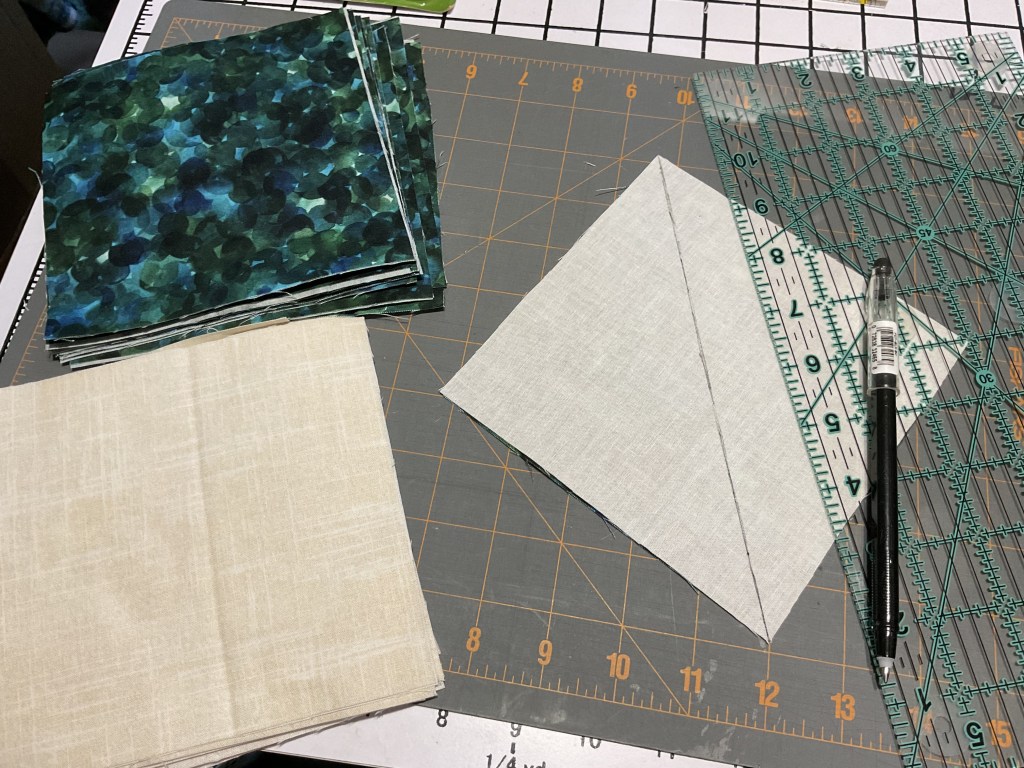
2. Next up we’re cutting our light and dark fabrics into squares. Easy peasy.
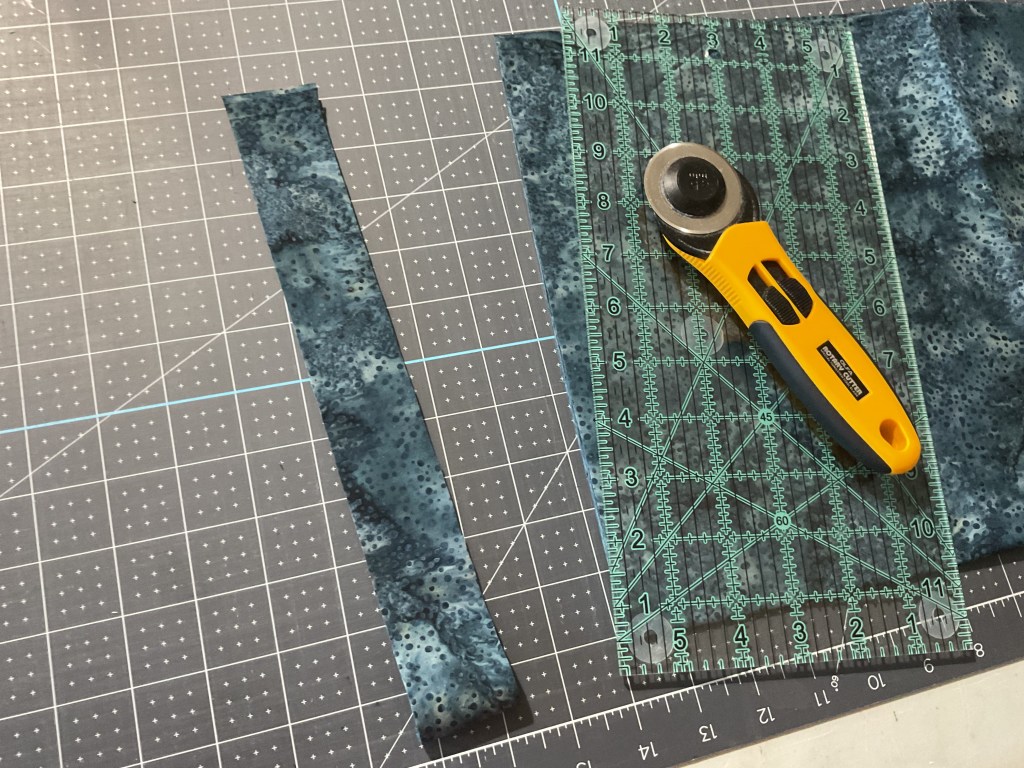
3. Another easy one – cutting the strips for the sashing. Please note that my binding will be the same fabric as the sashing which will give the quilt a wonderful finish (that is when I quilt and bind it in 2099). Do likewise if you want – just make sure you have enough fabric for both.
4. Now for the piece de resistance – the mountains and trees theme fabric. Oh my goodness! I’m almost afraid to cut into it.
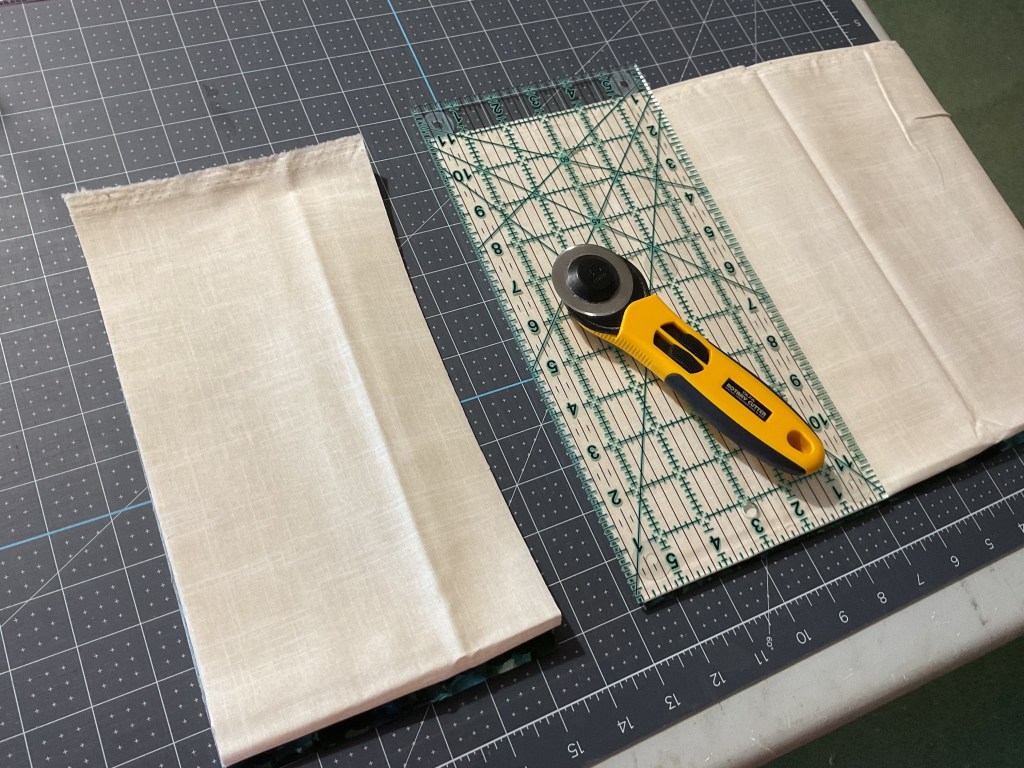
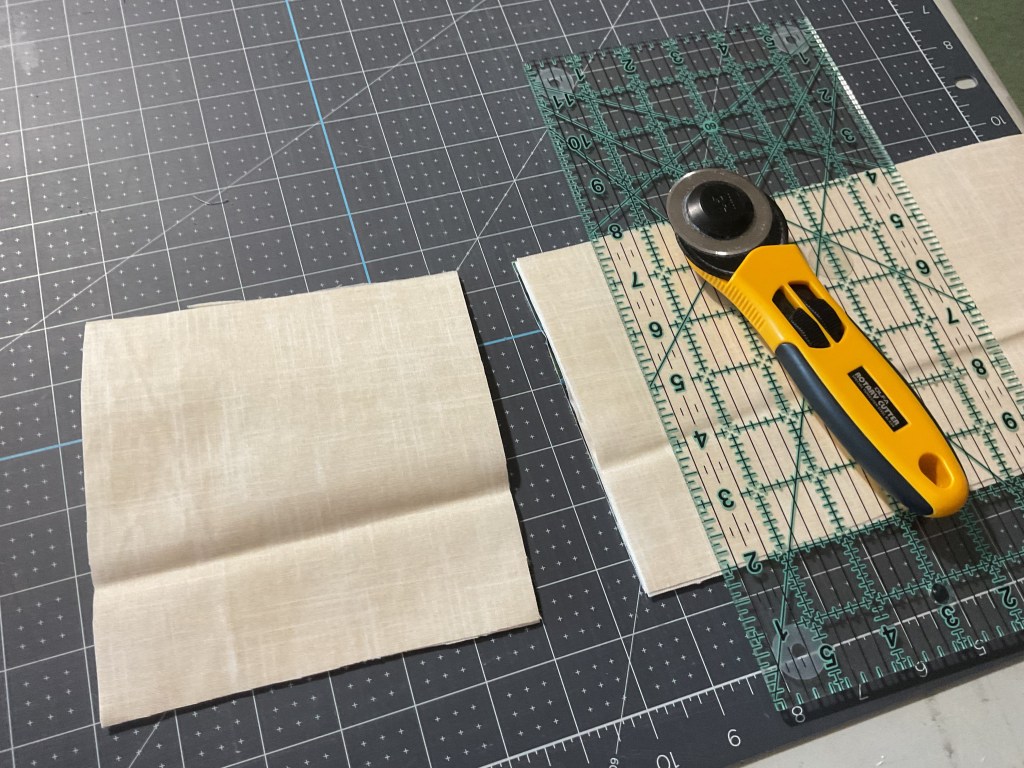
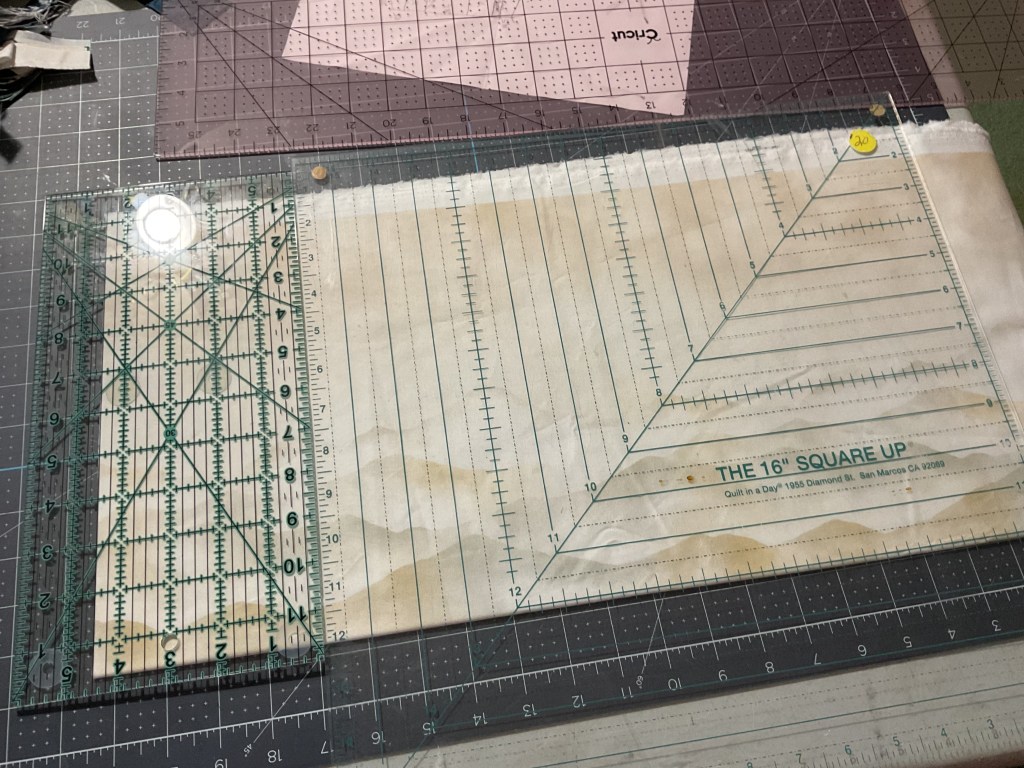
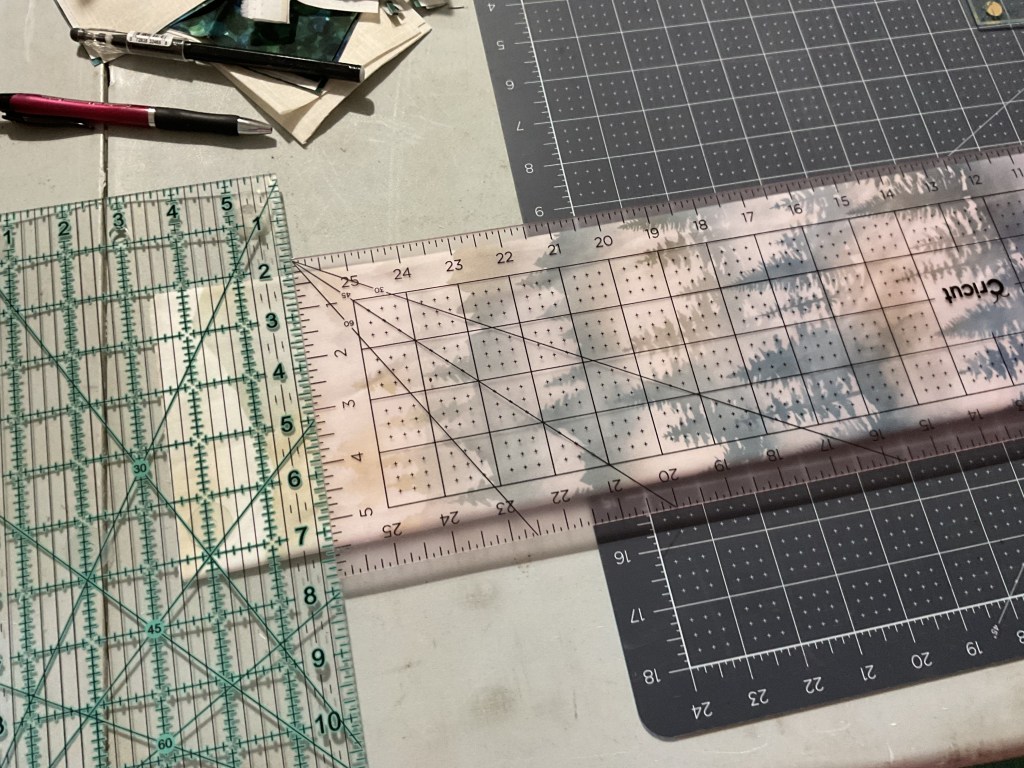
Do you have issues when trying to cut large pieces of fabric for a pattern? Well, let me tell you a little trick that I use – I use 2 rulers end to end to create the right size because I don’t have any gigantic quilt rulers to work with.
In the photo on the left, I’m using a 15″ square paired with my favorite 6″ x 12″ ruler to get the correct fabric width.
In the right photo, I’m using a 6″ x 26″ and my 6″ x 12″ ruler again to get the correct length.
PSST! I really do try to use the same manufacturer when using multiple rulers for a project so the measurements will more likely be the same, but sometimes you just have to do the best you can with what you have available. And I’m definitely taking the time to triple check my math before cutting.
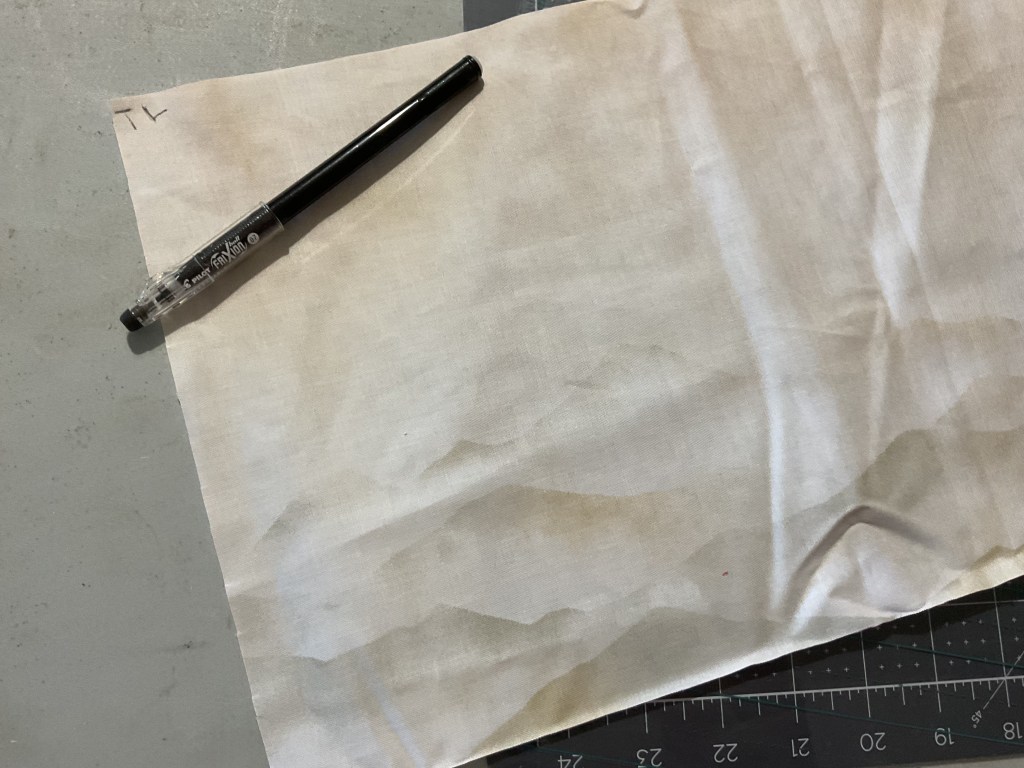
In the bottom photo, I used my Frixion pen to mark which section the cut piece was so I didn’t get the pieces mixed up. I used TL for top left, TC for top center, TR for top right and so on.
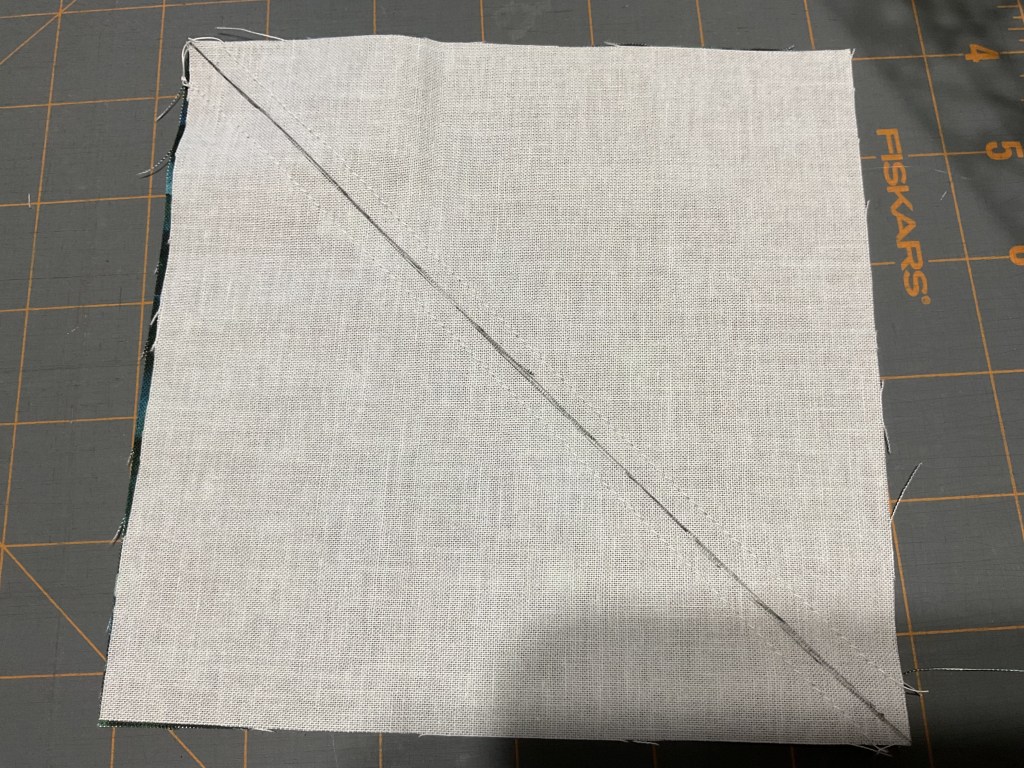
5. Okay, we’re going to make some Half Square Triangles (HSTs) with our light and dark squares. Oops! I’m just rereading the instructions on the pattern and I realized I did the tutorial slightly different. Let me explain – the pattern calls for you to cut the squares on one diagonal and then sew dark and light triangles together to make HSTs.
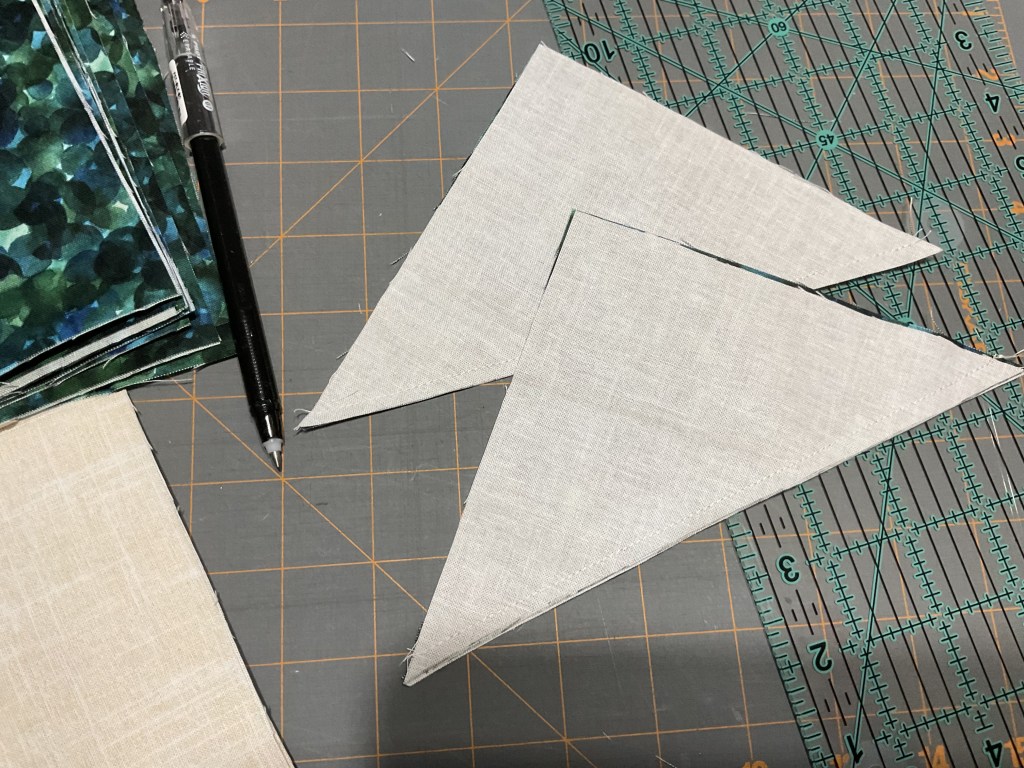
My usual method, shown here, gets the same results, but is slightly different. I layer my light and dark squares RST and draw a diagonal line with my Frixion pen. Then I sew 1/4″ away from both sides of the line. Finally I cut on the line to make my 2 HSTs.
Same results, but I have found making HSTs this way eliminates sewing on the bias which can make the units stretch or do other funky things.
You do you, though – whichever method works the best for you.
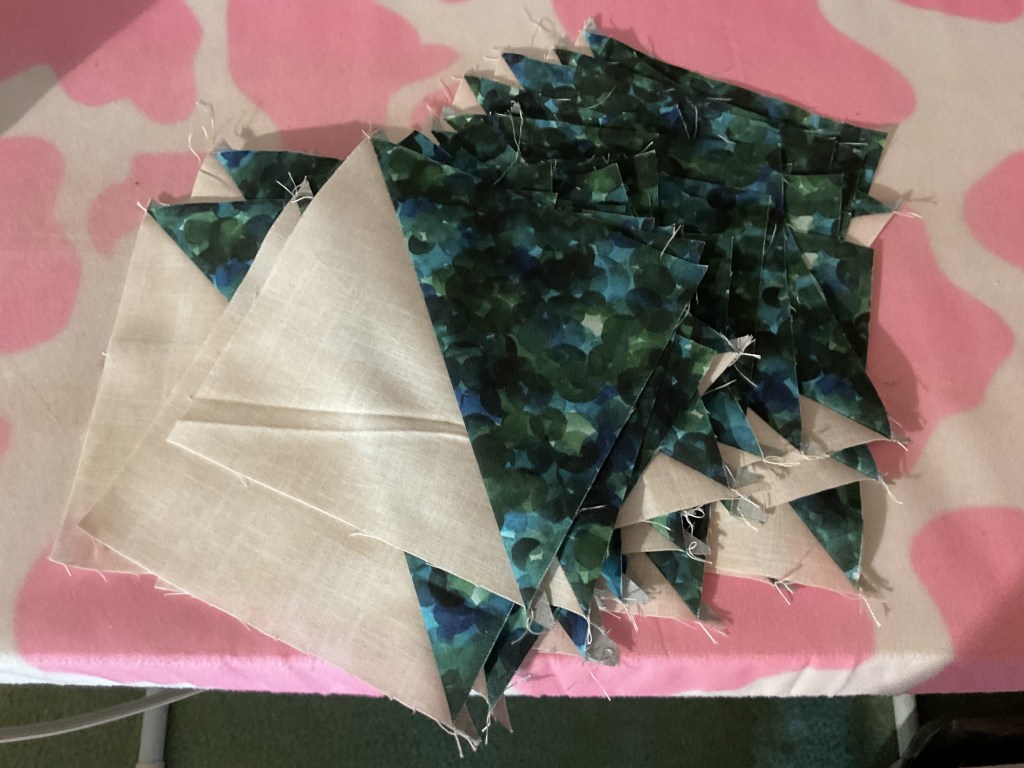
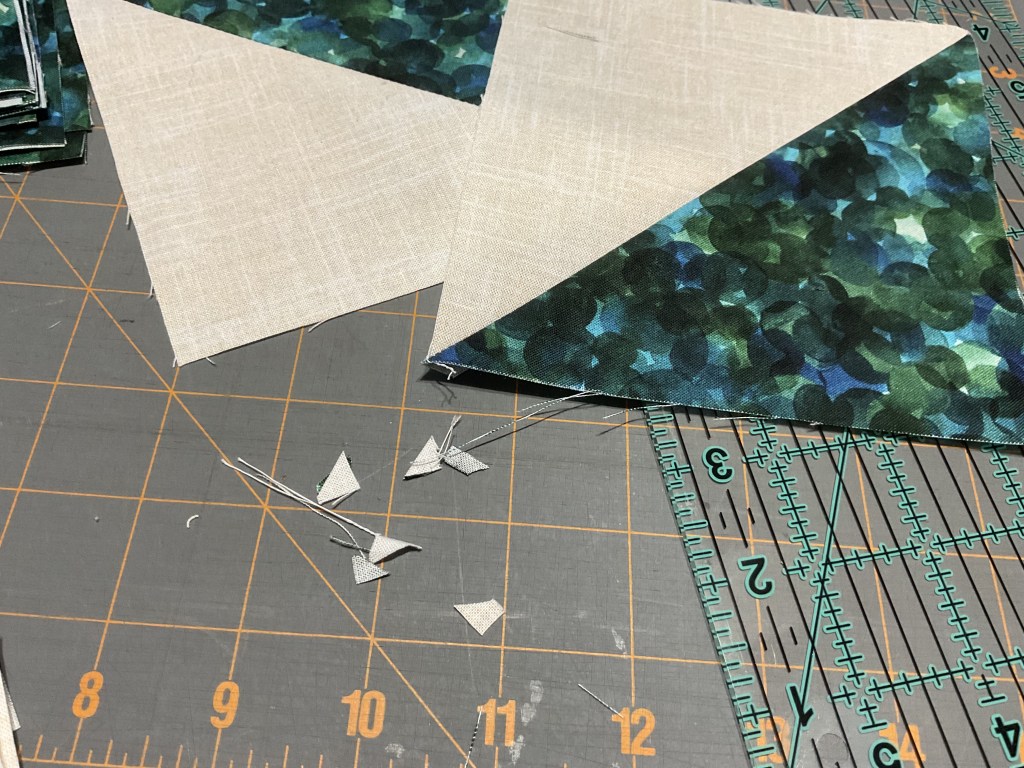
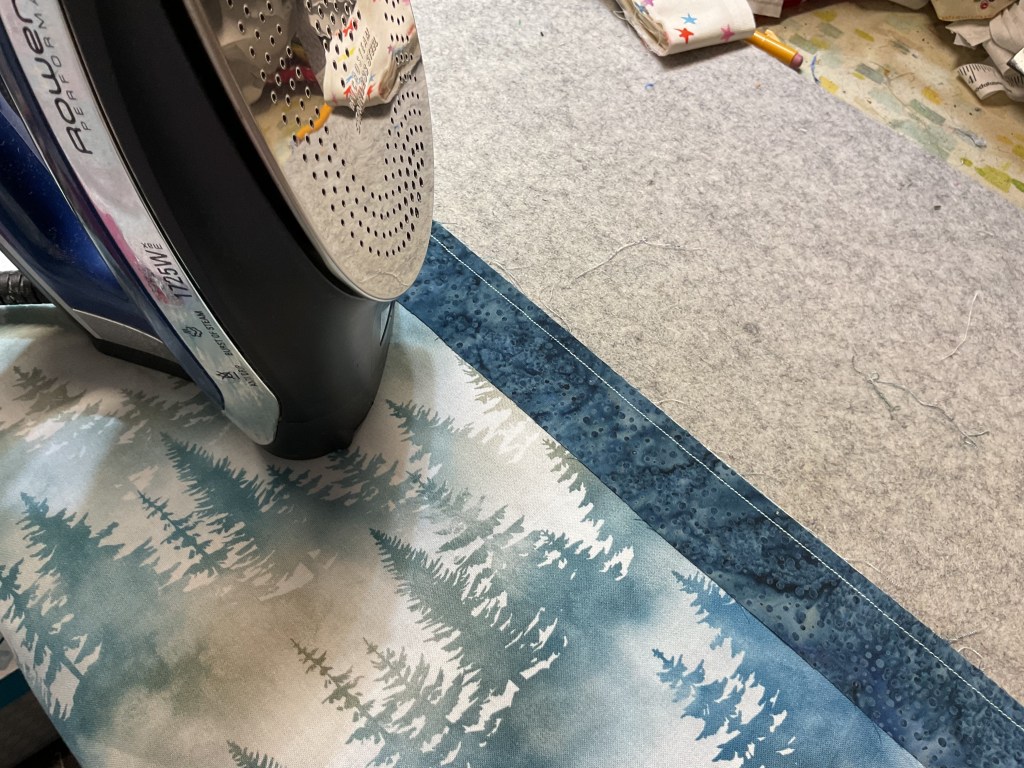
6. We’re off to the iron now to press all of the HSTs open. Looking ahead at how we’re going to assemble the HSTs, I am going to err on the side of caution and press half my blocks to the dark and half to the light. Don’t forget to cut off all those little annoying ears after you are done pressing.
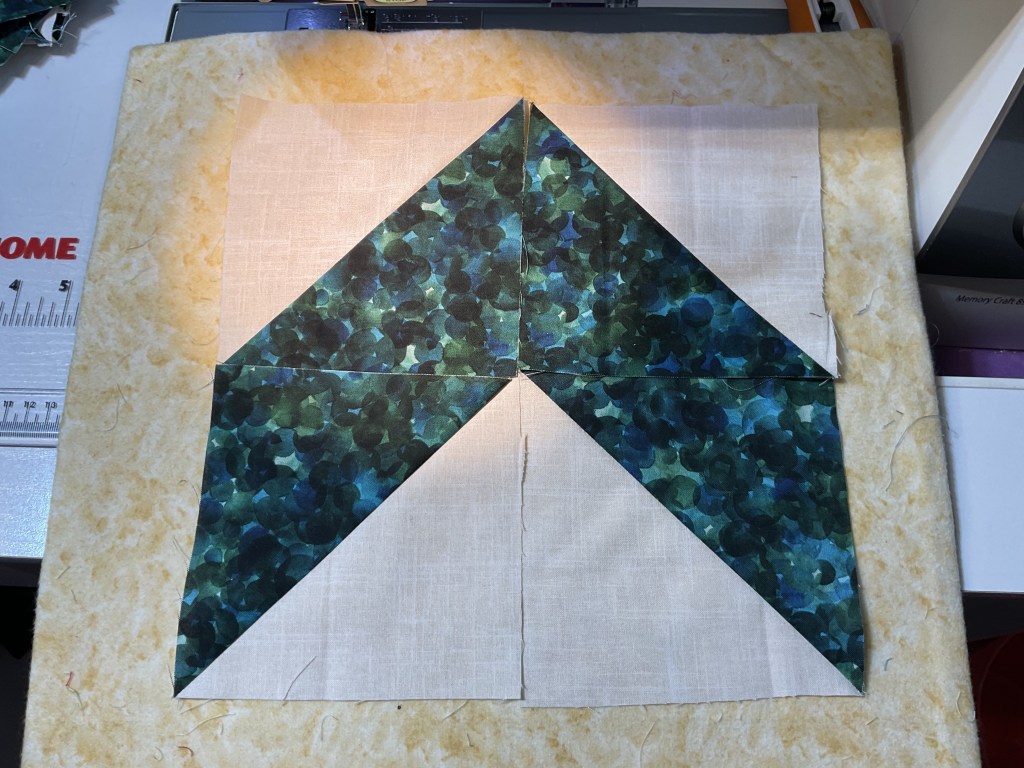
7. Now let’s sew those HSTs together into larger units of 4 HSTs. Having the seams pressed to both light and dark is going to make this a lot easier than if they were all pressed to the dark (which is what I normally do). I laid one of the units out on one of my small flannel boards so I wouldn’t get confused while sewing them together (Hey! Wanna make your own small flannel board? Check out this tutorial!)
8. Now that we know how to assemble the larger units, let’s sew them together, following the layout on the flannel board above. First, I’m going to sew the top 2 HSTs together. Second, sew the bottom pair together. Third, sew the top pair to the bottom pair. I often skip pressing until the end when I’m putting together a block or unit, but please press each step if you need to. Because I pressed the HST seams to both the right and the left, it’s a snap to nestle my seams to achieve good crisp points.
9. Now that the 4 HST units are sewn and pressed, we are going to sew 2 of those units together into a big 8 HST unit. This was really a lot easier to put together so far than I thought it would be. Yay!
10. Next step is to sew the sashing strips on according to the pattern. I am definitely pressing all of my sashing strips to the dark side (Huh….and it’s not even May 4th yet).
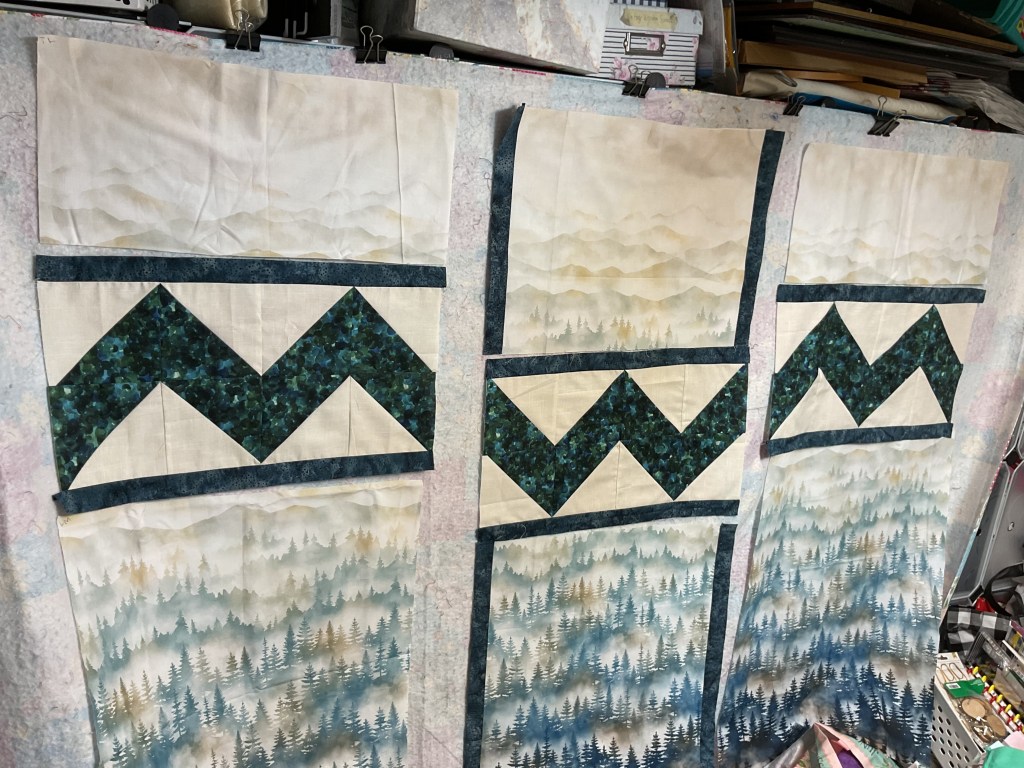
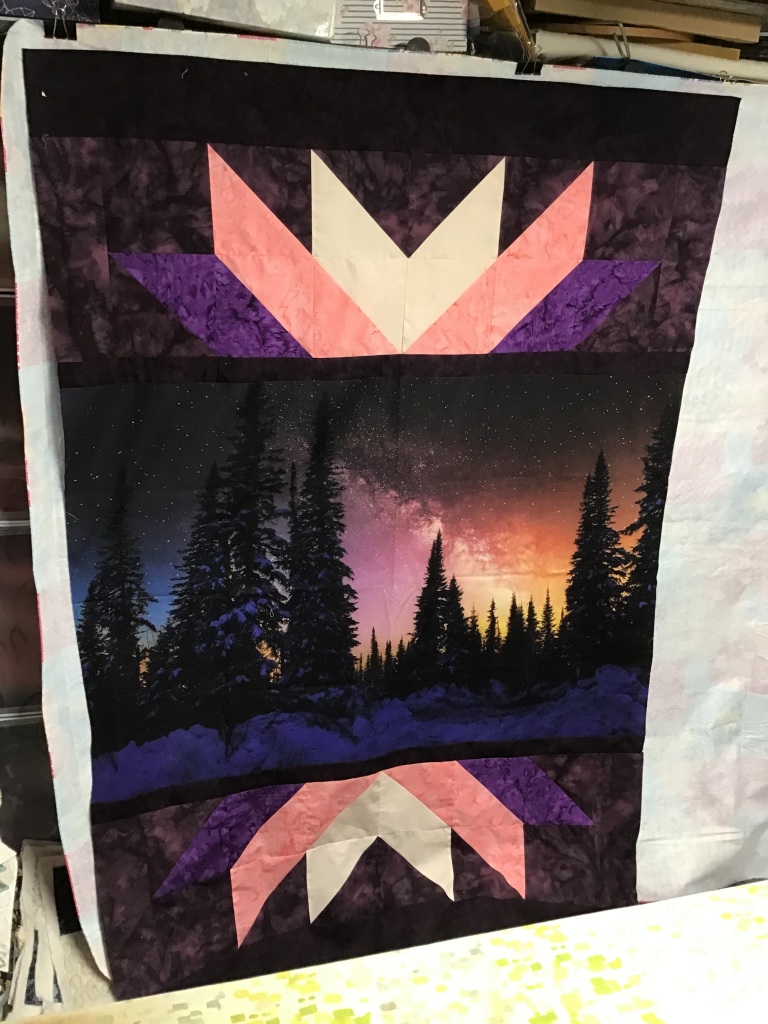
11. Now it’s time to lay everything out on my design wall before I can sew the sections together. WHEW! This is where I’m really glad I wrote fabric positions in the corners earlier so I don’t get the large pieces mixed up.
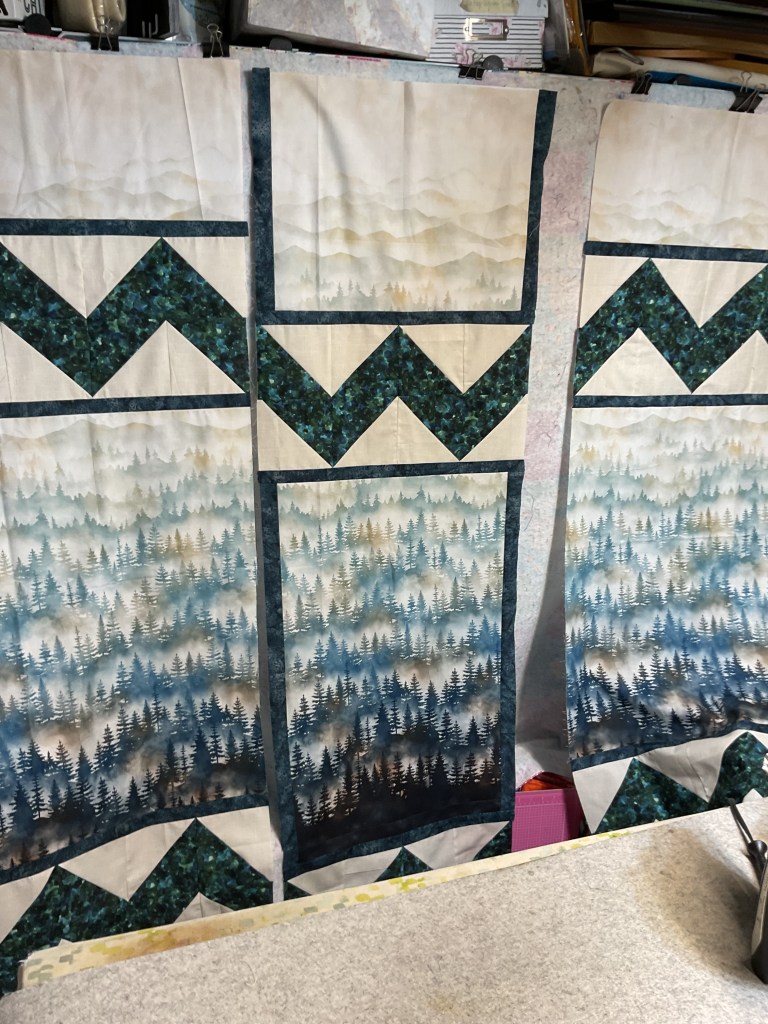
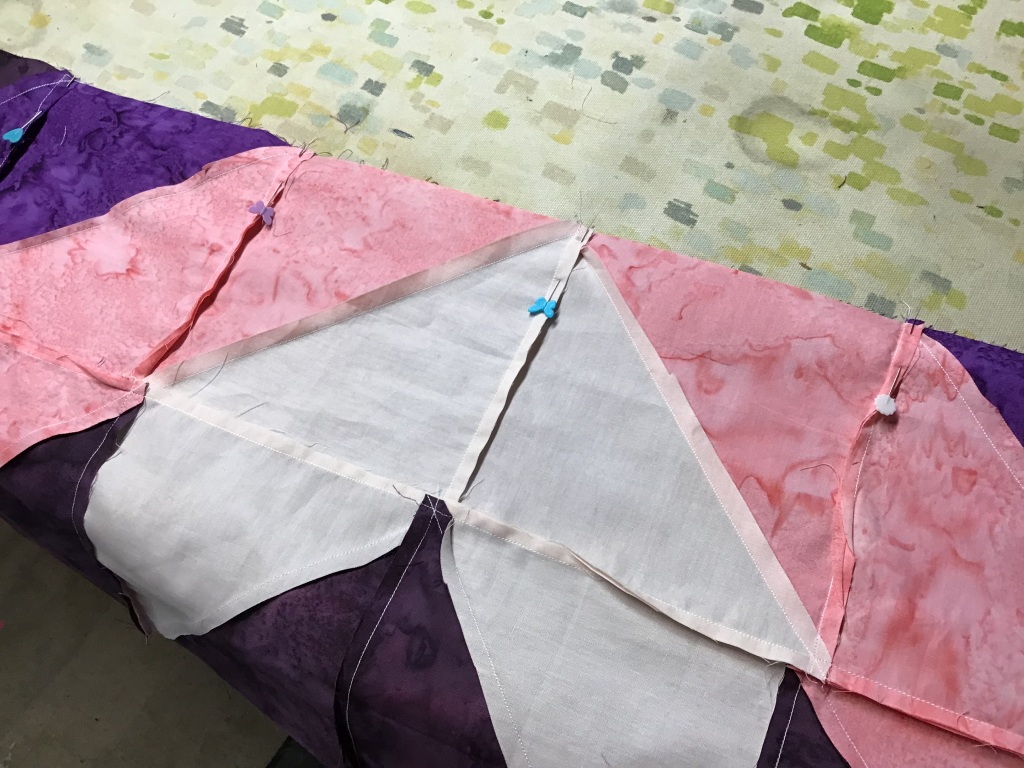
12. I need to sew all the pieces in each section together before I can sew the 3 vertical sections together. OH NO! I ran into a little unexpected problem with the bottom of my quilt –
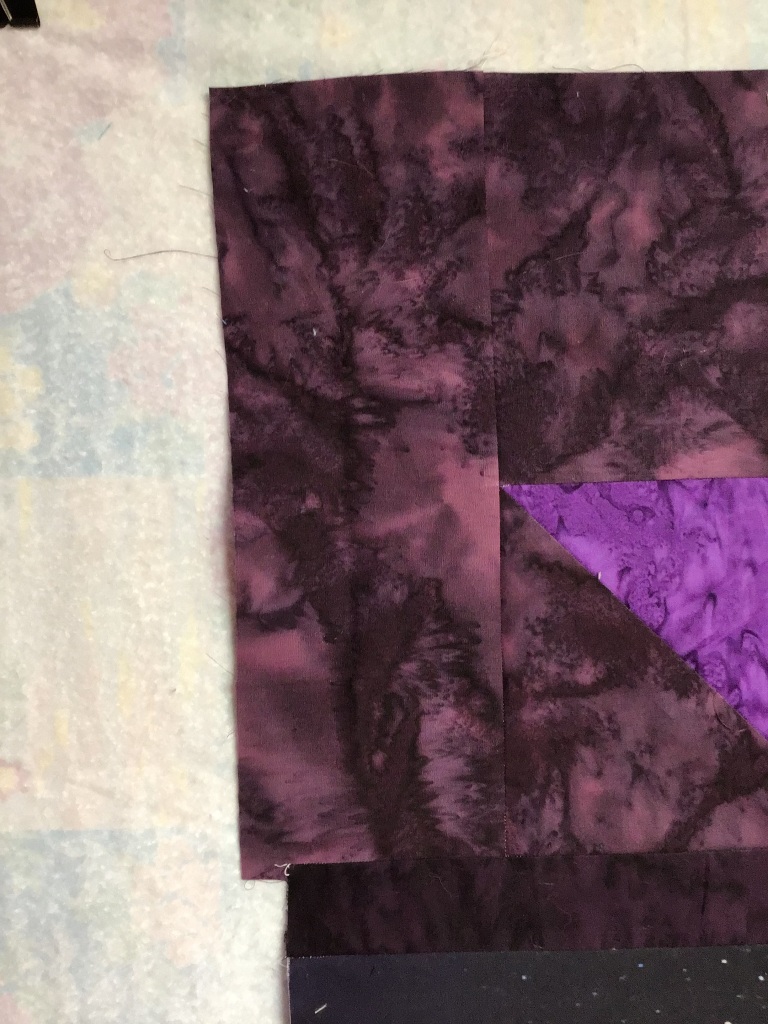
I LITERALLY RAN OUT OF THE TREES/MOUNTAINS FABRIC. Because I wanted to arrange it vertically instead of cut random or scrappy. It’s an out of print fabric and no longer available and I have to complete the top now. Ugh! What’s a quilter to do? Improvise, of course.
Sadly, I can’t show you my solution yet because the quilt is too long and is hiding behind my cutting and pressing station. You’ll have to wait until the end when I show the entire quilt.
13. Now I’m going to sew the 3 vertical sections together. And suddenly the quilt came together like magic! I have no idea why I felt intimidated by it for so long. Silly me.
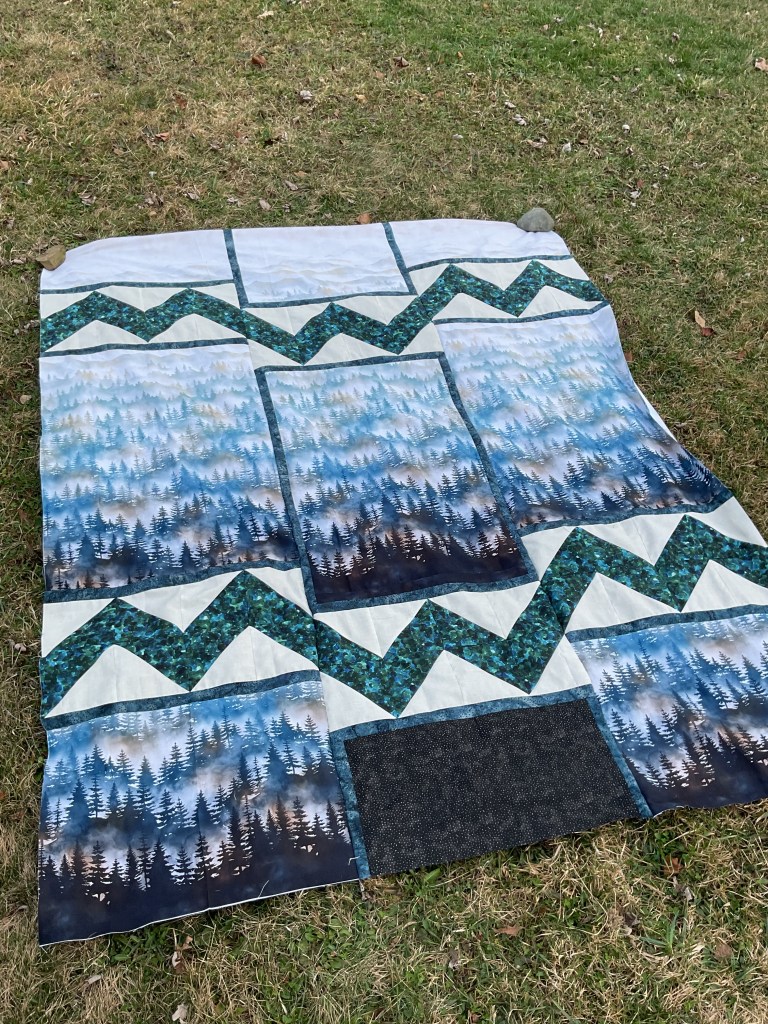
I really love how the sashing frames the center sections – it’s almost like looking out a window at the Alps in Italy, isn’t it?
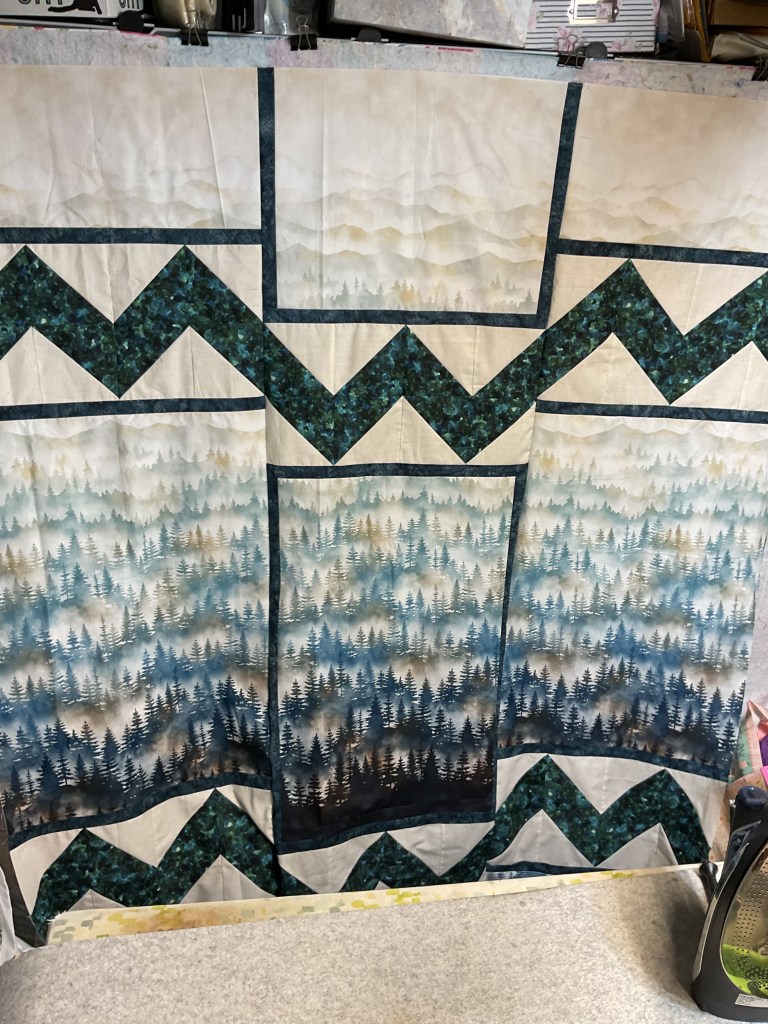
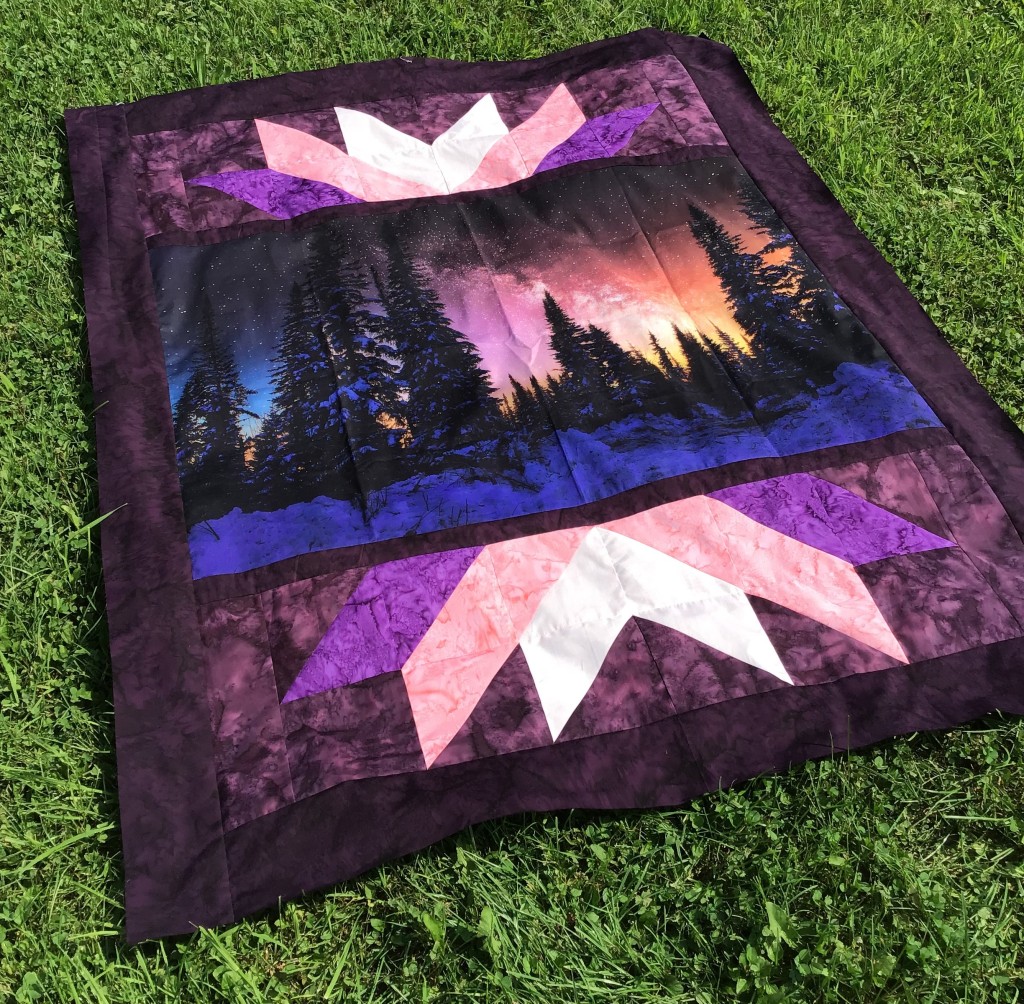
14. And here’s the completed Arctic Flame quilt top. Please forgive the rocks anchoring the corners of the quilt top, but it’s a typical windy March day here in northwestern Pennsylvania.
Can you see my solution for running out of the trees/mountain print? The bottom center piece. I found a dark mottled fabric in my stash to place there. It works, doesn’t it? It really does. As the bottom of the center middle section is dark, like it’s fading into the shadows, the dark mottled fabric continues the shadow idea. What are your thoughts on my design decision? Have you ever run into a similar situation when you ran out of fabric and had to improvise? What did you do?
I really love how Arctic Flame came together and how the HST sections now mimic the mountains in the digital trees/mountain fabric by our friends over at Hoffman’s.
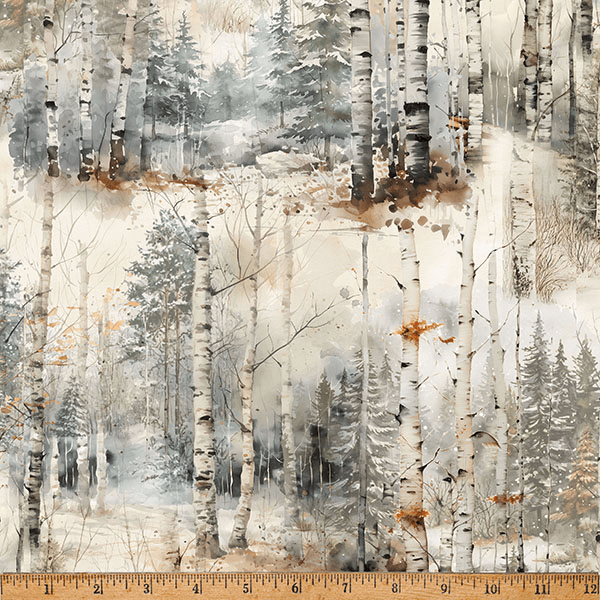
Hoffman’s sometimes creates landscape running yardage for their digital collections. Here is a great one from the current Stag and Stone collection:
Wouldn’t this print be gorgeous in the Arctic Flame pattern? What would you choose for the light and dark fabrics for the HSTs and the sashing?
Who knows? Maybe Arctic Flame will be your next quilt project.
As the Winter Olympics and Paralympics draw to a close, so does our Olympic celebration here on the blog. Stay tuned next week to see what mischief I’m cooking up for you next.
I hope you are spending the day with those you love in a safe place, especially if you are in the path of a wicked snowstorm, as I am here in NW PA. They’re saying anywhere from 6-19 inches of snow. But the real problem is the fierce wind that just won’t stop. The power has already blinked off 3 times while I’ve been writing this post, so I’m going to wrap it up and cross my fingers that I can launch it before we lose the power again. Please forgive me if you find any typos as I’m going to skip my usual final edit and read through today.
I hope you’re back to enjoy Part 2 of my Curated Holiday Themed List of Rose Card Quilt Patterns. I have included the links for both the the digital and the print patterns. Print patterns always ship free in the US, and for our International friends, please consider our digital versions which will come right to your inbox.
6 Quilts in 6 Weeks – One Last Thank You
Prizes for our Weeks 4-6 winners will be in the mail shortly, so enjoy your quilty surprises sponsored by our good friends over at Hoffman Fabrics. Thanks so much, Hoffman!
Now please enjoy this parade of patterns while you nosh on leftover turkey and mashed potatoes. And don’t forget the pie…..
Curated Holiday Themed List of Rose Card Quilt Patterns
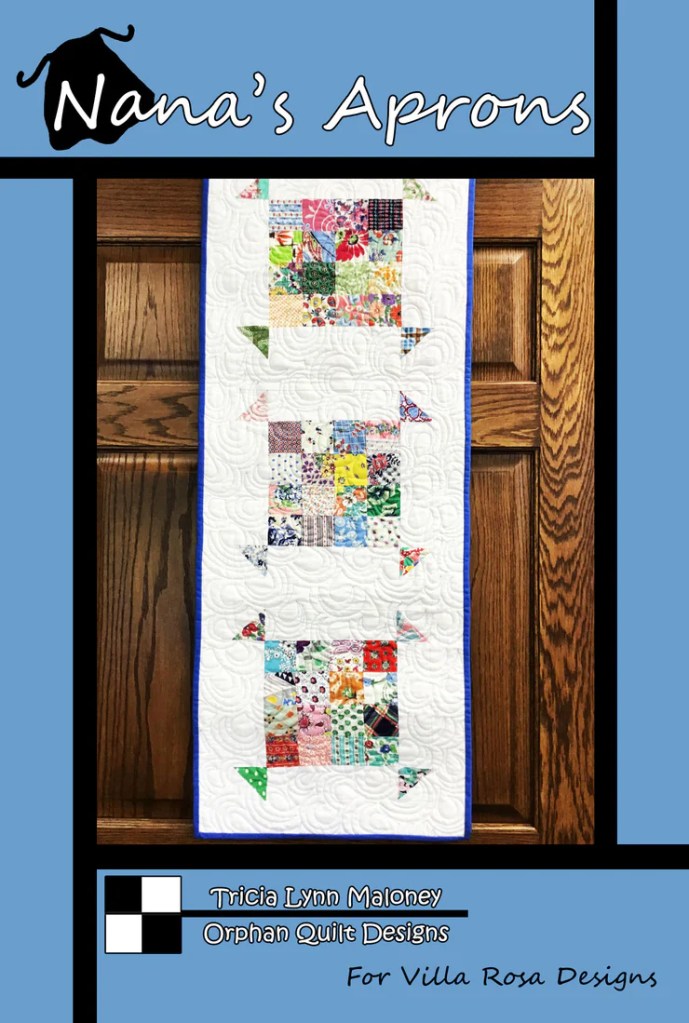
Nana’s Aprons – Memories of baking cookies with Nana.
Raspberry Cream – When I was a kid, I would actually take a little bite out of each chocolate in my Mom’s box of chocolates until I found the ones I liked.
And that, folks, is the end of my Curated Holiday VRD Rose Card List. I hope you enjoyed it and perhaps discovered some new-to-you patterns.
Holiday Gift Idea #2
Last week, I started a Holiday Gift Idea series – one for each week until Christmas. The idea could be for yourself, someone else, or even something to make.
As most of you know our VRD Rose Queen, Pat Fryer, is in the process of relocating to Tyler, Texas where our VRD designer, Catherine of Running Doe Quilts, is opening a new quilt shop called Rose City Quilting, which will be the new Texas home of Running Doe Quilts and Villa Rosa Designs.
After our super fun Let’s Design a Quilt series (if you missed it, please check out the right side bar on the blog to find all of the links for the series) wrapped up last week, I promised a new group of tutorials to jump-start your autumn quilting.
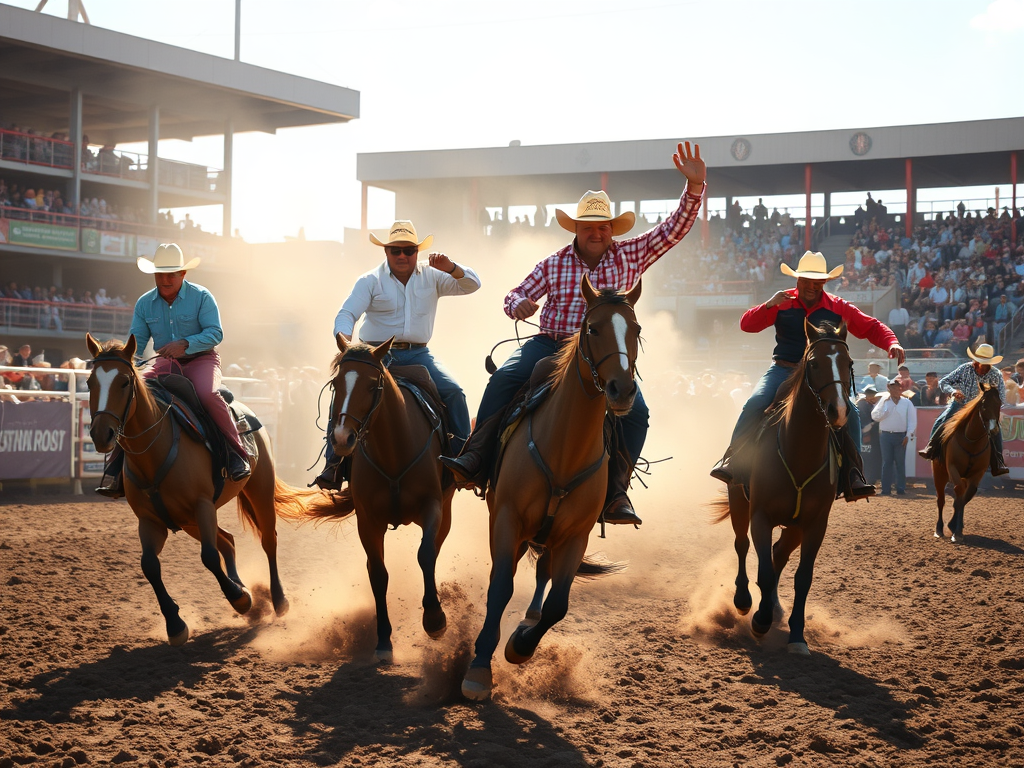
You know how this time of the year is filled with local fairs and such right before the kiddos go back to school? Well, this week we’re off to the rodeo! Yippee!
Have you ever been to a rodeo? I have a vague memory of going when I was a kid. My Grandma (my Dad’s mom) was always crazy about horses and always had at least a couple on the farm (my Grandpa always had his cows). I spent a lot of time on the farm as a kid as my grandparents’ farm was just down the road from our house. I have lots of good memories on the farm from when I was a kid. Baby animals were probably my favorite. Of course, running through the fields at midnight in the summer chasing down stray cows or horses was always fun, too. Good times.
Let’s slap our cowgirl (or cowboy) hats on our heads, put on our boots, and get started!
VRD Tea With Mara Quilt Tutorial
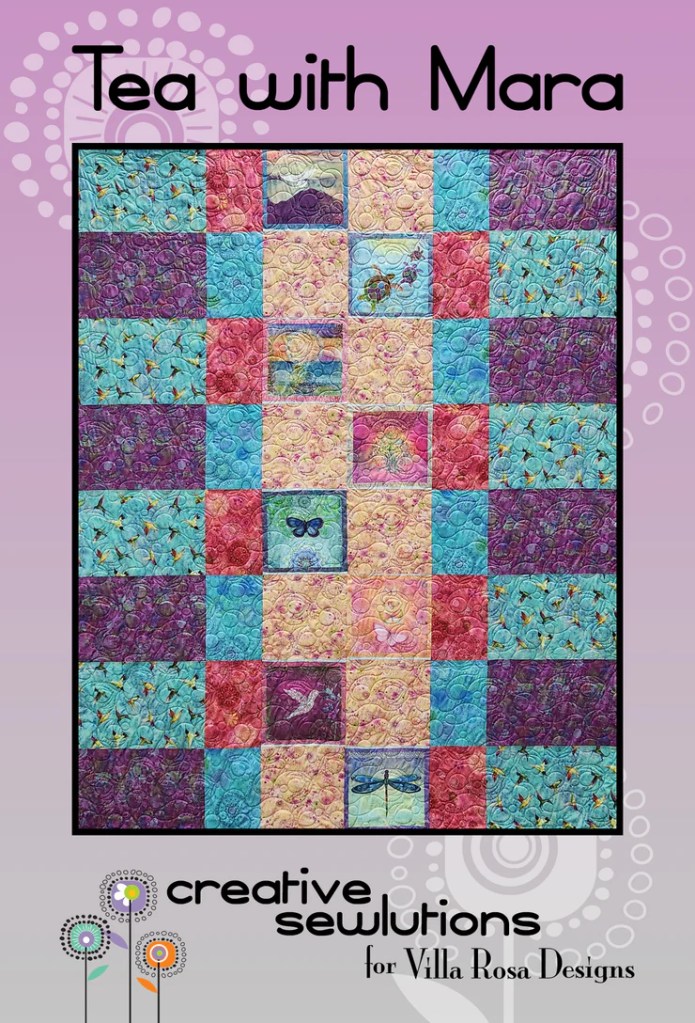
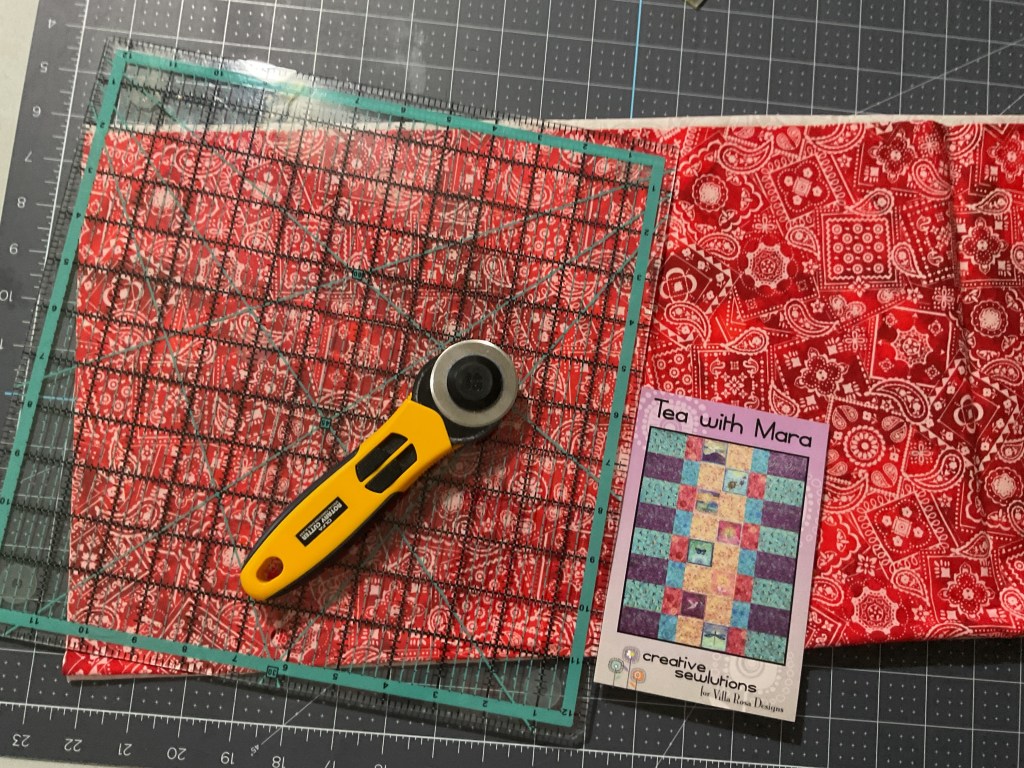
Tea With Mara is designed by Deanne of Creative Sewlutions, one of our talented VRD designers. This quilt finishes at a generous 58″ x 72″ and it can handle those large prints we are so loathe to chop up. Use printed panel squares……or not down the center. Sew many options……..sew little time!
PSST! Don’t forget, patterns always ship free, so grab a few more while you’re perusing the VRD patterns at the online shop.
For today’s tutorial, I’m using fabric from our friends over at Hoffman. It’s a digital-printed collection called Rodeo Dreams. When I saw this collection, I loved it! Maybe because it brought back fun memories from my childhood? So I’m letting you know right now that you’ll be seeing a couple more tutorials featuring Rodeo Dreams.
Just a quick word of caution when using digitally-printed fabrics – start with a brand new needle because if your needle is dull, you run the risk of damaging the fabric and we certainly don’t want to do that.
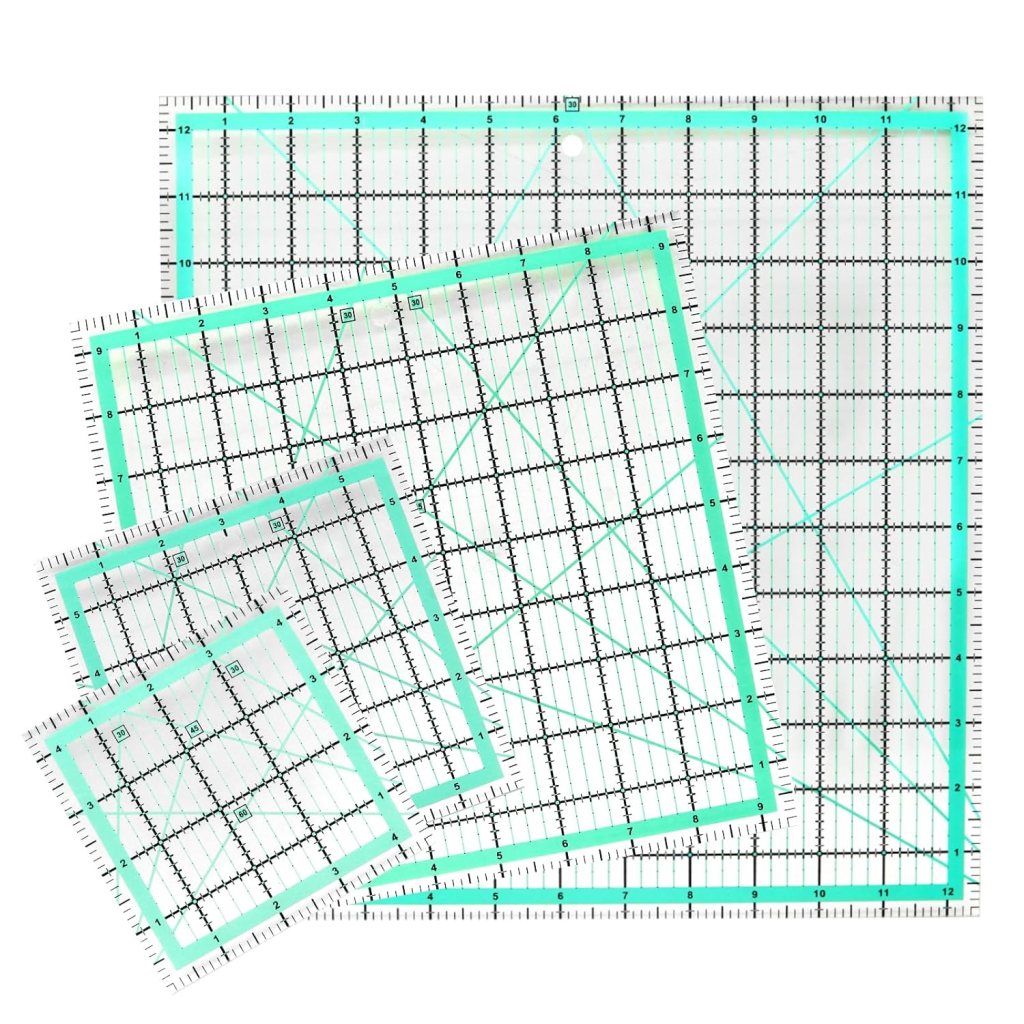
The first fabric I’m going to cut is the running yardage of the rodeo vignettes. I’m very glad I have a ruler the same size as the required block size in the pattern so I can fussy cut the squares easily and accurately.
Having the right sized ruler makes it a lot easier to fussy cut these vignettes than trying to cut strips and then cutting the strips into squares. This type of fabric makes strips and squares kind of tricky because the vignettes aren’t all the same size nor do they line up in a perfect grid.
Love quilting rulers! Boy, they do make quilting so much easier, faster, and more accurate.
Mostly, I rely on my 6×24 and 6×12 rulers for cutting, but it’s always a great idea to have a collection of square rulers in the most common sizes, which are not only good for fussy cutting, but also for squaring up blocks.
The only problem with fussy cutting is that your fabric will look like Swiss cheese when you get all done! LOL! Check mine out below. I can still fussy cut more pieces out of the fabric, but there is definitely more waste doing it this way than cutting strips into squares. Just something to think about if you’ve never fussy cut before.
Now I’m finished making Swiss cheese, it’s time to cut the rest of my fabrics. Loving this red bandana print – it looks like the real thing (digitally printed, of course)!
Here are all my fabrics cut and ready to sew.
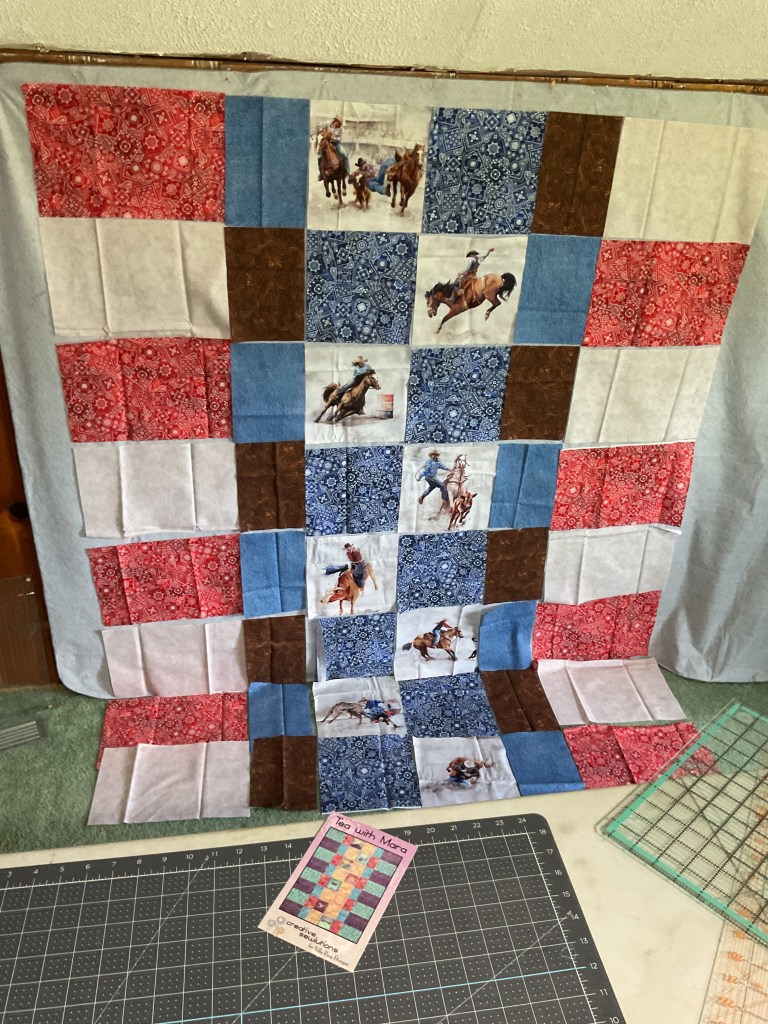
But before I start sewing, I’m going to lay out all of the pieces on my flannel wall. I want to make sure I like the placement of the rodeo vignettes before I commit to their positions permanently.
I really like the nice big pieces in this quilt, even if I have to layer pieces on the floor because the quilt is going to be longer than my flannel wall. It’s going together surprisingly fast, though.
Of course, you don’t have to fussy cut your fabrics like I did – you could use any fabric you wanted for the center squares. Or you could even scrap this quilt up and use some of your stash. Such a versatile pattern – I could totally picture this quilt in a great collection of fall or harvest fabrics! Hmmmmmmmm….
You could even add a 6″ finished border, which would make the quilt a big 70″ x 84″!
Now I’ve got all my pieces up on the flannel wall. I switched a couple of the rodeo vignettes around, but other than that, I think it’s ready to sew. I like how it looks.
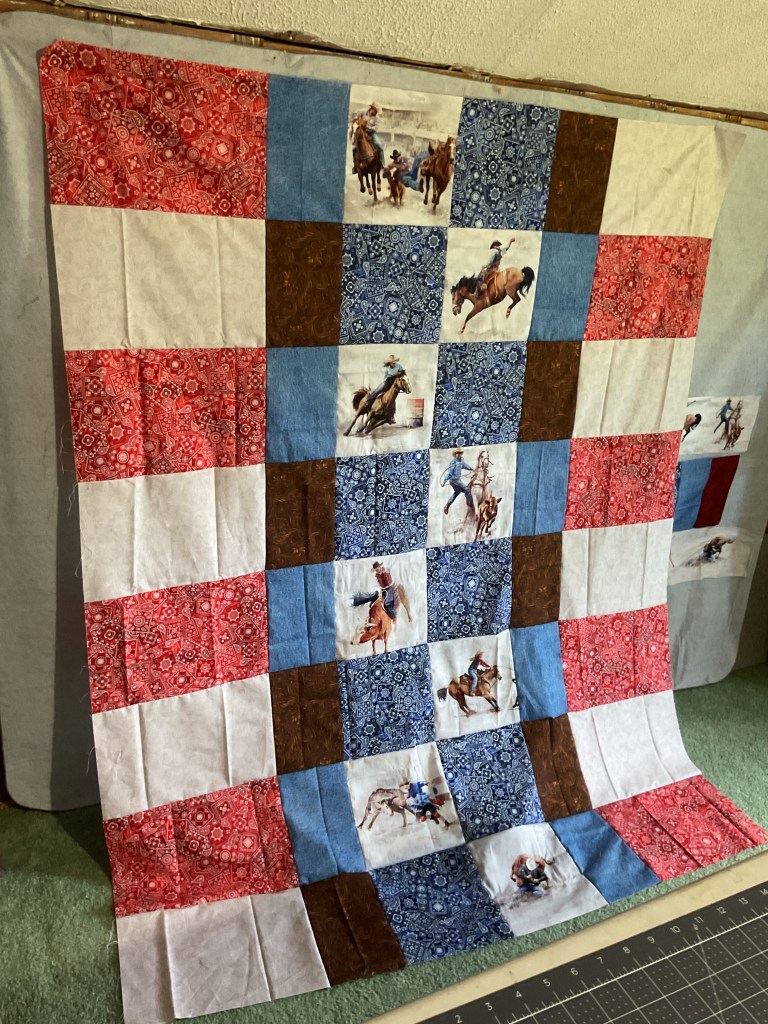
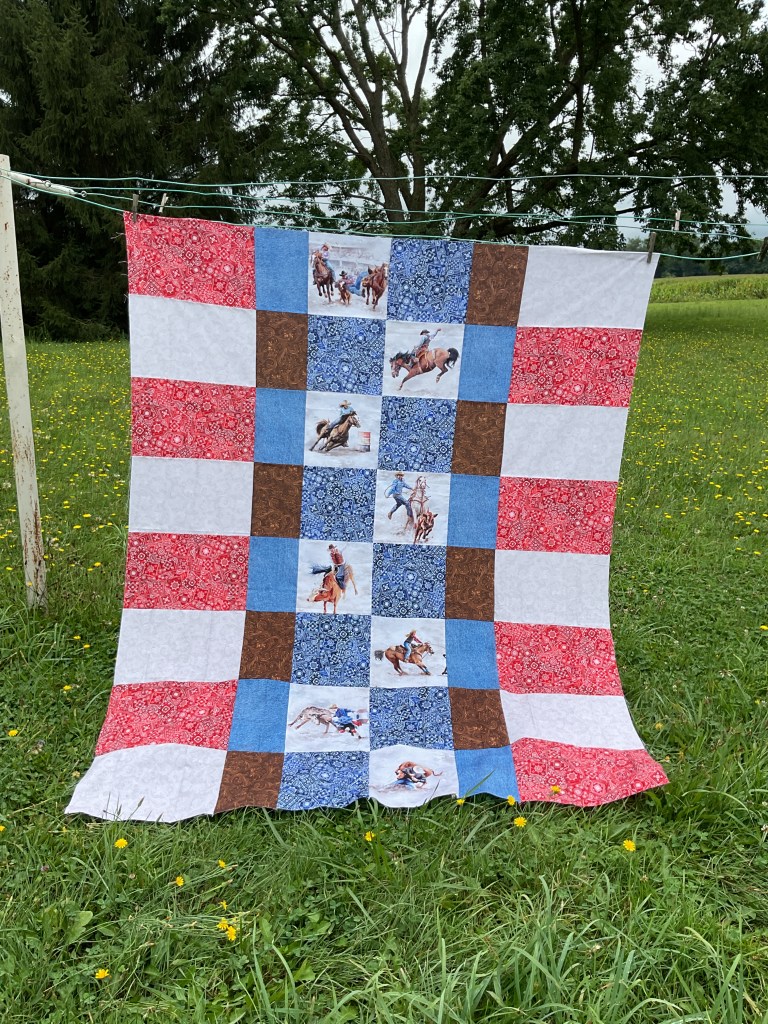
Yippee-ki-yi-yay! Let’s sew this little dogie together! I really like how the fabrics alternate in placement from side to side – it definitely helps to keep your eyes moving around the quilt. The red and blue bandana fabrics really make this quilt in addition to the rodeo vignette squares. LOVE IT!
And here it is outside on the clothesline. All I need is a horse or 2 grazing in the backyard, right? I’ll be binding this quilt with the dark blue batik you see in the fabric and pattern photo way up at the beginning of this tutorial. I think it will frame the quilt nicely.
Now to get this quilt top layered, quilted, bound, and labeled…….some day, anyway. Right now I’m going to add it to my teetering pile of flimsies and UFOs. I’m hoping to make a good-sized dent in that pile this fall and winter. It’s just been way too hot this summer to machine quilt and do binding.
Here’s to autumn with its warm days and cool nights. And the brilliant colors of the season…. I can’t wait!
WHEW! If you’re like me, you are having a heatwave right now. 90’s every day. It even hit 100 on the thermometer on Monday! YIKES! I’m sooooo not ready for these temps. It’s like we went straight from 50’s to 90’s in a couple weeks.
90’s are definitely not normal for this time of year here in northwestern Pennsylvania. AND we have high humidity to go with the heat which makes me want to just melt into a puddle on the ground every time I have to step outside. I literally had to scramble on Sunday to get the window AC units in, but we’re all good now. I just don’t want to go outside anymore.
I’m melting into a puddle………!!!!
Luckily my dungeon studio is still cool enough (sadly, it is not air conditioned) to work in comfortably. I have several fans on to keep the air moving, but when the heat finally infiltrates my space, it’ll get quite uncomfortable. That usually isn’t until August and September, though, but we’ll see what summer brings this year. Northwestern Pennsylvania is an interesting place to live – record amounts of snow and cold in the winter, a wet and cold spring, then – POOF! – record high temps in June. Only the strong survive……..
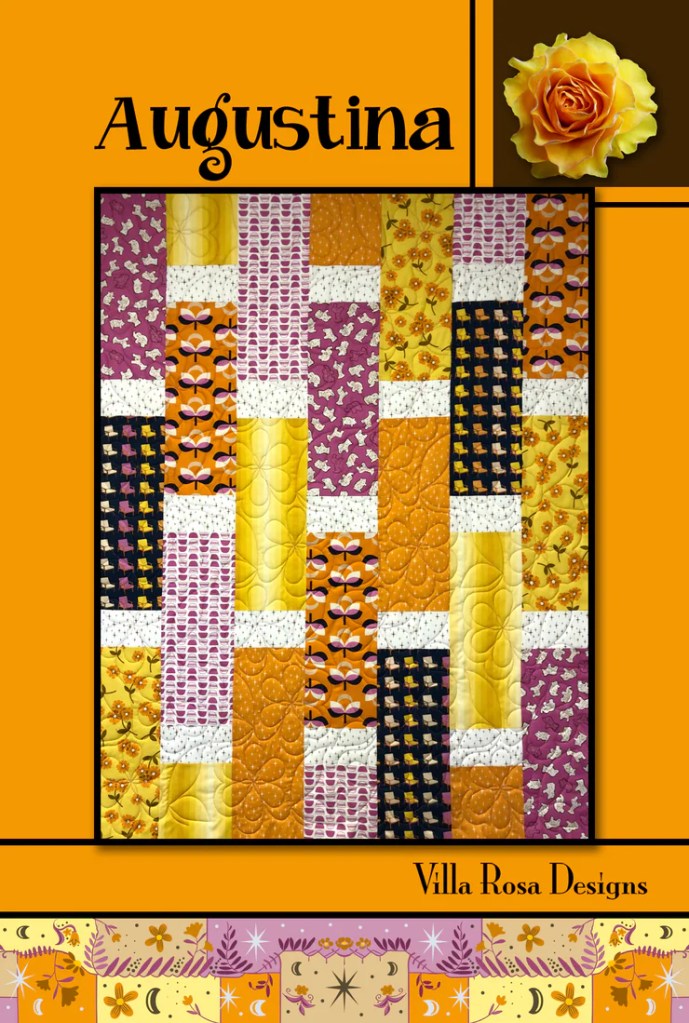
I finally got a little quality time with my sewing machine this week so I decided to put together a new tutorial for you. Augustina is a such great project for summer!
Of course Augustina is fast and fun – it’s a VRD pattern, but it’s also not so big that you feel like you’re wrestling an alligator while your body is dripping with sweat. I promise you, this quilt really is quick – I made the top in a couple hours and that included both cutting and photographing my step-outs for the tutorial. It’s a very satisfying afternoon project.
VRD Augustina Quilt Tutorial
Augustina is a great sized quilt for a small throw or a juvenile quilt. And this is a pattern you are going to turn to over and over again for a beautiful quilt with little effort, yet it looks like a million bucks (sorry, it’s late and I couldn’t think of another phrase to use). So don’t forget to get your own Augustina pattern if you don’t have it yet.
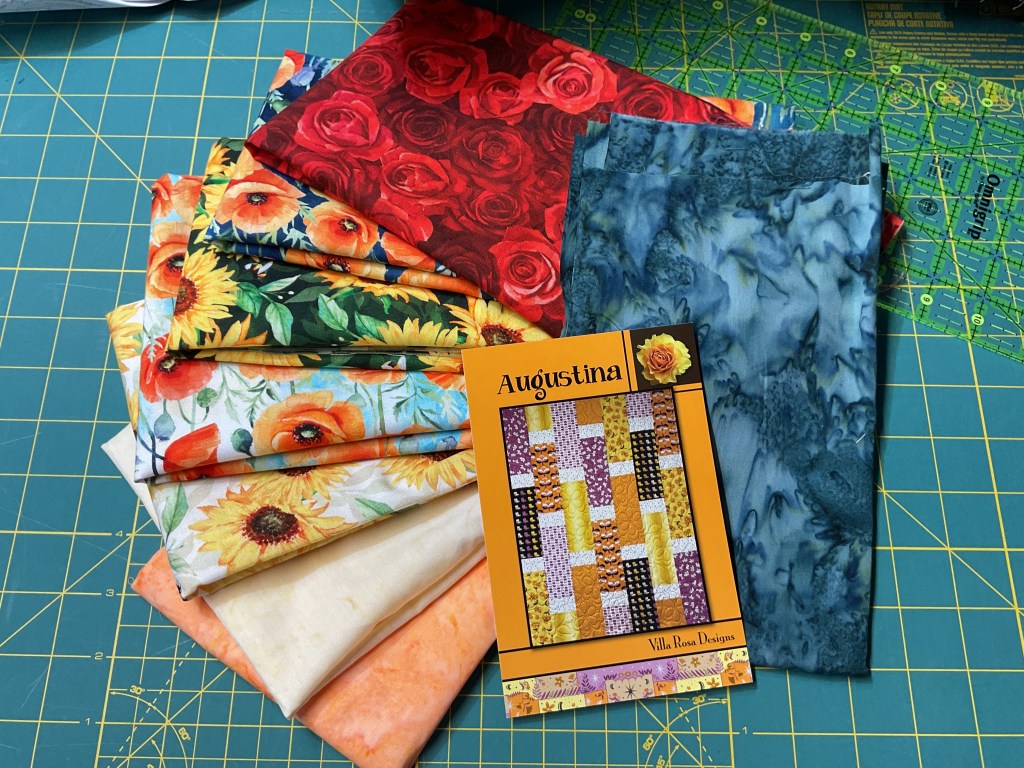
The first thing we need to do, of course, is round up our fabrics. Augustina is a fat quarter project, so you can march right over to your stash and find some coordinating fat quarters or you can use this project as an excuse to visit your local quilt shop to buy new fabric. Yeah, I know, we quilters really don’t need an excuse, but it is handy to have one anyway, isn’t it?
For this tutorial, I am using Flower Shoppe fabrics from our quilty friends over at Hoffman Fabrics. The flower fabrics are all amazing Hoffman digital prints – have you seen these in person yet? The colors are so bright and clear – I feel like I could pick these flowers right off the fabric. We’ve paired a few Hoffman batiks to balance out the gorgeous flower prints.
Please remember when using digital prints, that they do not react exactly the same as regular quilting cottons. Always start with a new needle in your machine so you are not pulling threads when sewing as well as a new rotary cutting blade so you are cutting cleanly through the fabric instead of sawing at it, which can damage the fibers.
Next up…..cutting.
SHHHHH! The secret of this quilt is that the pieces are big. Big pieces mean you don’t have to spend loads of time cutting little squares, rectangles, or triangles. Big pieces are a huge time saver! Big pieces also mean you can use bigger prints (when you use big prints in small pieces, the design gets all chopped up and you tend to lose what you loved about the print to begin with). Yay! Let’s GO BIG!
In the photos, below, we’re cutting our accent fabric into strips and then into rectangles.
Below, we’re cutting our FQs into strips and then into 2 different sized rectangles.
VIOLA! Cutting done. Easy peasy. Here’s all the pieces we need to make Augustina.
Before we can sew Augustina together, we have to lay out our fabrics. I’m going to put them up on my handy dandy flannel board which consists of a flannel-backed table cloth clamped to the tops of my fabric storage unit doors. As I’ve mentioned before, this idea came from my pal, Mary Lee. Kudos to you, Mary Lee! It’s a great option if you don’t have a spare wall to put up a more permanent quilt wall solution. I can simply take it down when I need access to my yardage stash. I’ve actually had this tablecloth for years now, so it’s even an economical option.
Hmmm……I think I need to move some fabrics around.
After several switcharoos, I think I’m happy with the layout now.
Let’s sew!
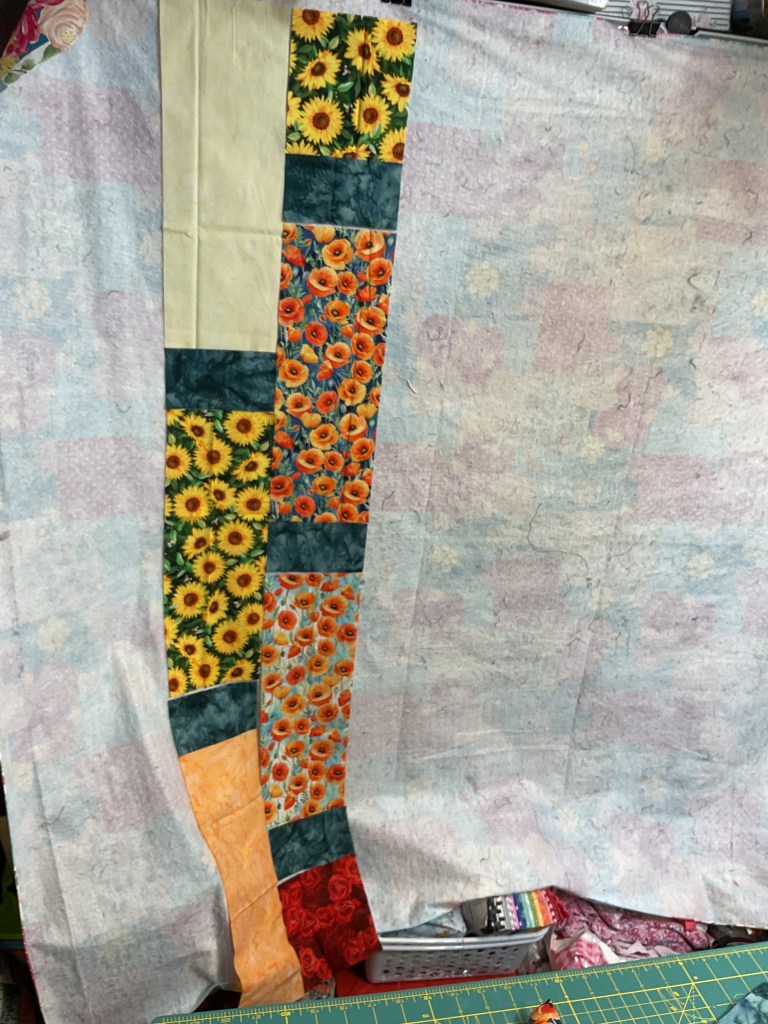
This quilt is sewn together in vertical rows. I took my time, only taking one vertical row off of my board at a time. I worked from the top down to sew the pieces together. It doesn’t matter whether you sew your strips top down or bottom up, just be consistent with all of your rows or else you might get your fabrics out of kilter.
Okay, all the fabrics are now sewn into vertical rows.
Now I’m going to sew the vertical rows together into pairs. As this quilt has an odd number of rows, the last row will have to hang out all by itself for a while.
Next, I’m going to sew the first 2 pairs together into a foursome. Then I’ll sew the third pair and the last row together into a trio.
One last seam to sew the 2 sections together and the Augustina top will be finished. Fast as can be! There isn’t a lot of matching seams, but you do want to make sure your accent pieces are relatively even-looking across the quilt.
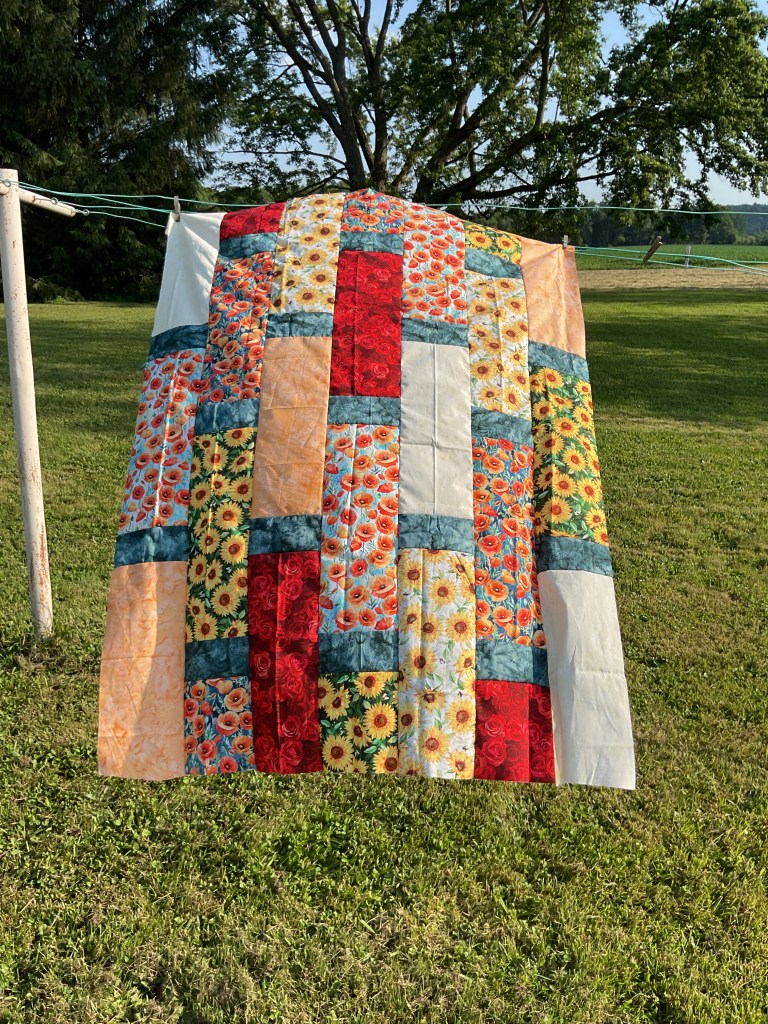
And here it is! Our completed Augustina quilt top.
Although it was hot, I decided to take Augustina outside for a glamour photo. Sigh…….it was a little breezy out and I couldn’t get a photo with it hanging nicely for you. Bummer. But I do love how it looks surrounded by all the green – the flowers look like they are about to burst right off the quilt! That’s digital fabric for you – the number of colors that can be printed on fabric is phenomenal and creates stunning designs.
And that’s it! Finito! Next I need to layer, quilt, and bind it…….someday, anyway.
If you’re looking for another great summer quilt pattern, check out the Jubilee tutorial from a few weeks ago. It’s also a super go-to project.
That’s it for me today, gotta go have me some summer……..in the air conditioning. LOL!
Hello Autumn! Here it is — the season I’ve been waiting for all year. I don’t really know what it is about autumn, though, that inspires me so much. The colors? The sounds? The smells? Warm days and cool nights? Sweaters and fuzzy socks? Hot tea and a little snack in the afternoon? Huh! I think it’s all of the above!
Image bymoi
Many of you already know that Villa Rosa Designs partners with other companies in the quilt industry. You can see our quilting partners on the far right side of the blog (just click on the company to be directed to their website). Perhaps you’re wondering how that all came about? Well, the easiest and quickest answer to that question is that our wonderful fast and fun VRD Rose Card patterns pair beautifully with pretty much any fabric collection and we have patterns for just about any fabric cut or style. Rose Card patterns also provide a terrific way to feature and showcase new fabric collections because VRD patterns really are all about the fabrics, not fussy cutting or piecing. Yay, Rose Card patterns — you rock ! Want to check out our entire catalog of 650+ Rose Card patterns? Print Patterns HERE or Digital Patterns HERE
One of the really FUN things I get to do is work closely with fabric companies to match our patterns to their collections. If you’ve visited any fabric company websites recently to check out their newest fabric collections, you might have seen some of our Rose Card patterns hanging out there. How cool is that???
Hoffman California International Fabrics is one of the companies that we partner with. It’s really fun playing with digital fabrics in their new collections paired with our VRD Rose Card patterns. You know how a lot of quilters make quilts in their heads while others make quilts with fabric? I get to make quilts on a computer screen with digital files! Neat-o!
Did you know that Hoffman has been in business since 1924? Wowzer! That’s 100 YEARS!!! Imagine all the amazing fabrics they have produced in 100 years! It’s positively mind-boggling!
Let’s all sing Happy Birthday to Hoffman. On the count of 3 — 1…….2…..3! Sing! Happy Birthday to you…………..
SPeaking of Hoffman, I LOVE using yummy Hoffman batiks and stunning digitally-printed fabrics for blog tutorials. One of my all-time favorite tutorials is Hillside Charm featuring the Wading with Water Lilies collection from a couple years ago. Do you have a favorite tutorial? If so, which one?
You can find the Hillside Charm print and digital patterns HERE. There are some pretty cool kits available too!
If you missed the Hillside Charm tutorial, you can find it HERE.
PSST! We still have a few Wading with Waterlilies fabrics at the VRD shop, including a couple panels! You can find them HERE.
I certainly hope everyone is in the mood for a little Fall inspiration today because I’m going to share some with you whether you’re ready or not! LOL! I’m really excited to share Hoffman’s Fall 2024 Project Catalog with you. It is literally HOT OF THE PRESS! I just saw it the other day and I totally knew I had to share it with you. Yep, it’s that good!
Take your time and enjoy flipping through the catalog. I guarantee you will find A LOT of inspiration here. Pay special attention to our VRD patterns in the catalog because you might just see some of them in the future as blog tutorials. Just sayin’………
I hope you enjoyed the catalog. Stay tuned for lots of exciting things coming soon, including new blog tutorials. Who doesn’t love tutorials???
I hope you are all getting some sewing and quilting tucked in around your busy fall schedule. I don’t know about you, but if I don’t get regular access to my sewing machine, I get — well, grumpy. I am not kidding. I have found over the years that if I don’t get time to devote to my creative endeavors, I become out of sorts — you can ask my family. LOL! So when I get short-tempered, the best cure is sewing and quilting, even if it’s only a half hour here or twenty minutes there, I absolutely have to have time to be creative.
So I must say that using the excuse of creating a series of fall quilt tutorials with all these glorious Hoffman batik fabric collections, I am feeding my creative soul AND at the same time, I have rekindled my interest in getting back into quilting after basically taking the summer off. Of course, the next part of my making a quilt top or two a week, is to actually get them layered, quilted, bound, labeled — FINISHED. I have started this process by going to my local quilt shop, Homespun Treasures, to pin three of the recent quilts, and now they are ready for machine quilting. I use the tables in the classroom to layer my quilts and maybe I check out the new fabrics while I’m there….
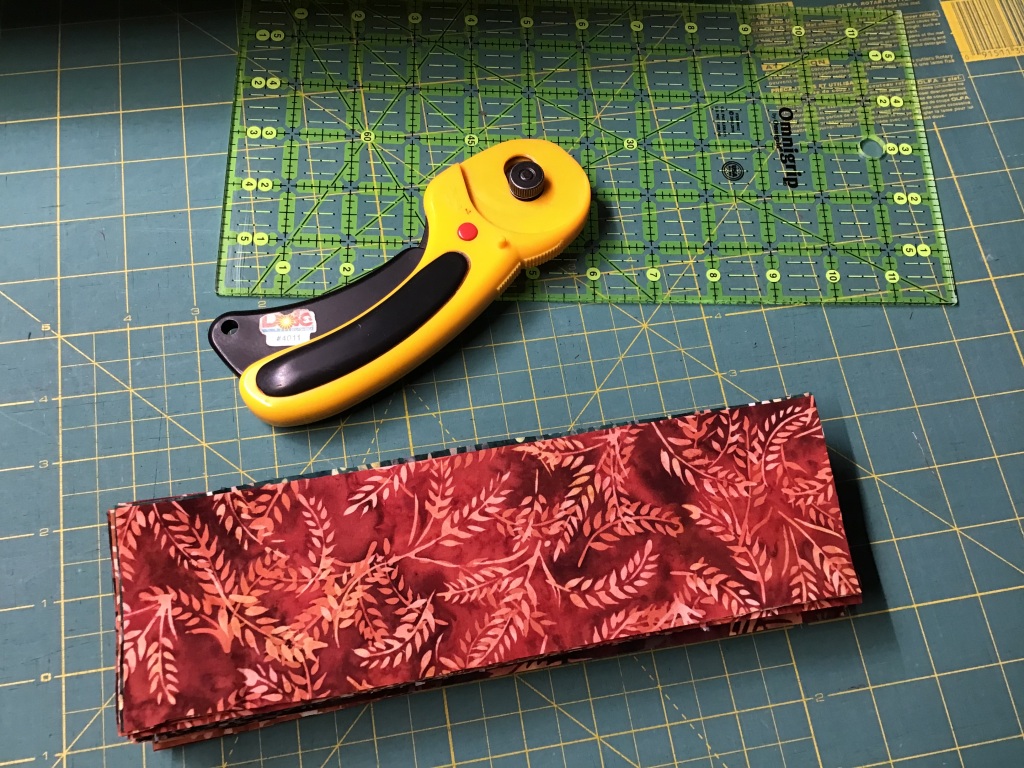
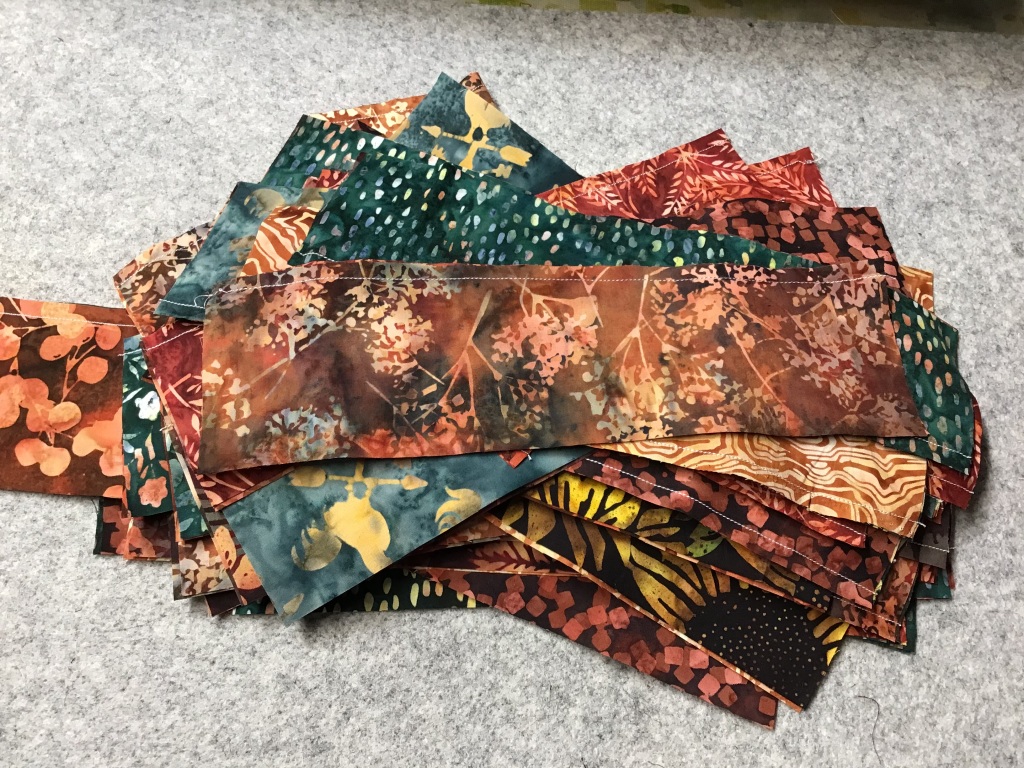
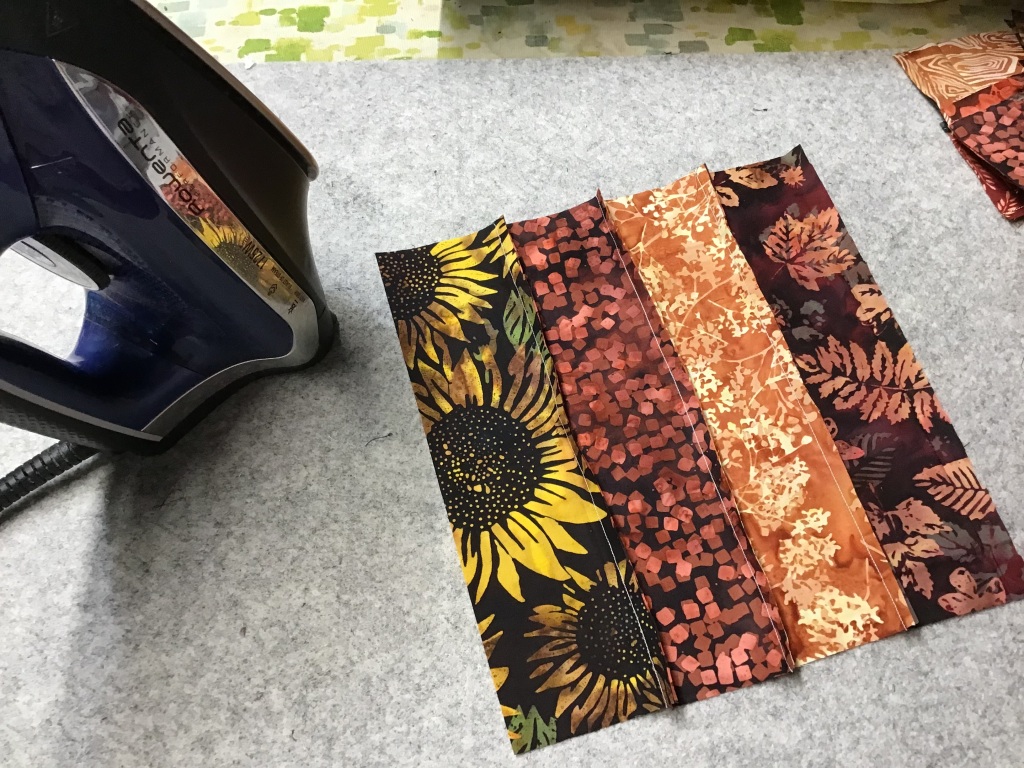
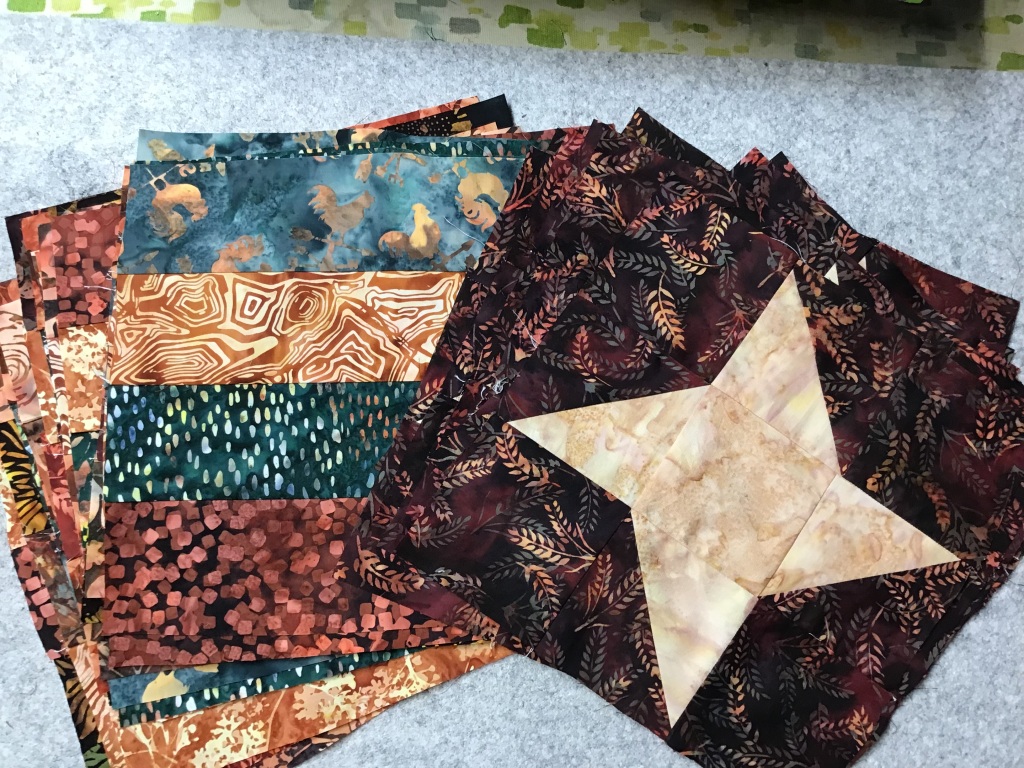
But first, I have another Villa Rosa Designs Rose Card quilt tutorial, Beatrice, for you!
VRD Beatrice Quilt Tutorial
Ever since Beatrice came out earlier this year, I’ve been eager to make it. I love that it pairs two classic blocks — a Rail Fence and a Friendship Star (which is really a Nine Patch block in disguise) — together. You can check out our Rail Fence post and Nine Patch post, which are part of our Quilt Block Basics series, for more block fun and inspiration.
I also love how the Friendship Star blocks are arranged in diagonal rows cascading through woven Rail Fence blocks in a less-than-typical arrangement. Beatrice finishes at a generous 54″ x 72,” which is a very nice-sized throw quilt.
Let’s take a look at the gorgeous Hoffman Bali Batik collection, Homestead, I am using for my Beatrice quilt. Ask for it at your favorite quilt shop or online retailer!
Isn’t this collection delicious? I added an 1895 Watercolor batik as my star fabric — can you find it?? (Hint: it’s the lightest fabric….)
Ready? Set. Go! Let’s get started on Beatrice!
1. We’re going to cut all of our fabrics before we start to sew. Do you do that or do you cut your pieces out as you sew? Or do you make a sample block before you cut everything out? For my VRD quilts, I feel totally comfortable just jumping in — no need to make a sample block to make sure everything fits together properly because I know that everything will fit together perfectly. Just another thing I love about our Rose Card patterns.
2. Now let’s sew some Friendship Star blocks! The first thing we need to do is make some Half Square Triangles (HSTs) for the star points. When I first started quilting, I did not enjoy making HSTs, but the more I made them (so many quilt patterns use HSTs!), the more I found I actually liked them. Of course, the more I made them, the more accurate my HSTs became, too.
Layer your squares right sides together (RST). Draw a diagonal line from corner to corner. Sew 1/4″ away from both sides of your drawn line. Cut on the drawn line to make 2 HSTs. Press the blocks open. And don’t forget to trim off your little dog ears at the corners (this will help the accuracy of your piecing — trust me).
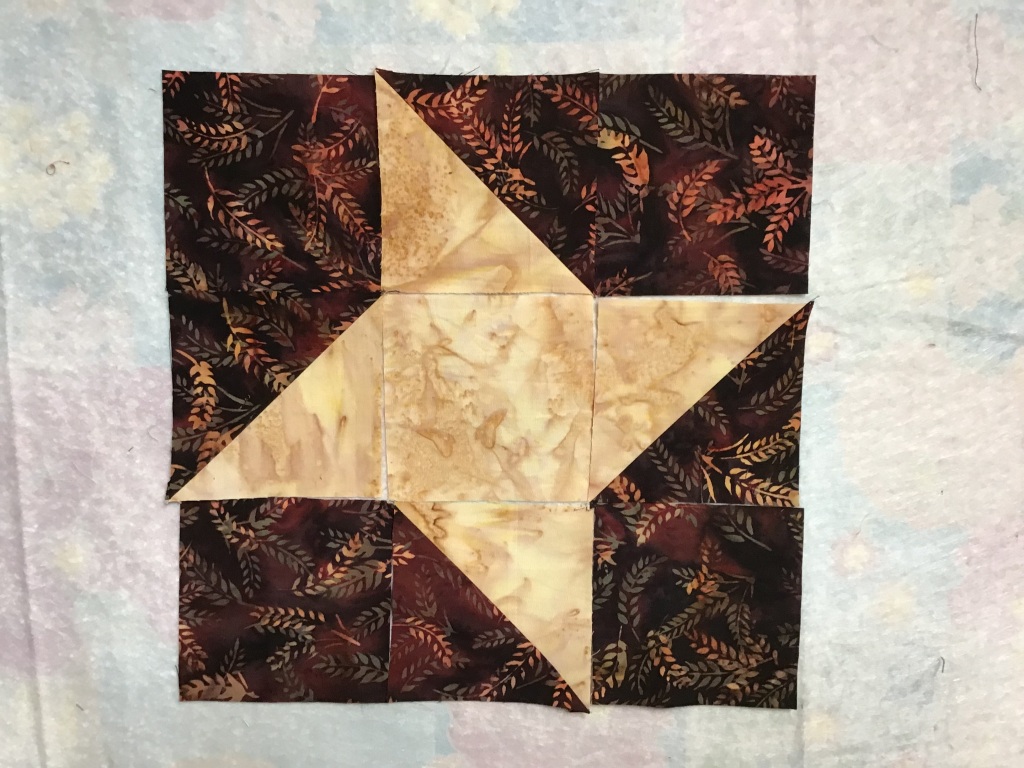
3. Next we’re going to lay out a Friendship Star block, which is a Nine Patch block with HSTs. That way, we know how the block should look. With Friendship Star blocks, it’s easy to turn the HSTs the wrong way, which makes for some wonky stars. I actually kept this block layout up on my flannel wall so I could use it as my reference as I sewed the blocks together.
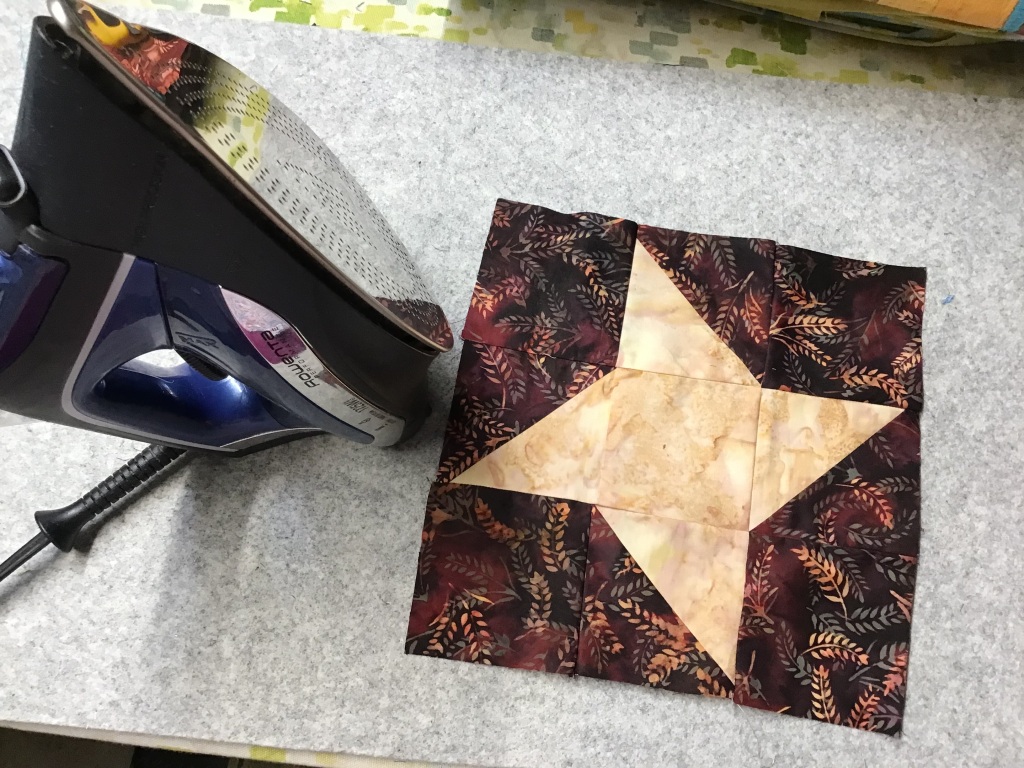
4. Time to sew the blocks together. I am happy to say, I only stitched one block wrong, which of course meant that I had to unsew it and then sew it back together the right way. Mea culpa. Press your blocks. Stars done — yay!
5. Moving right along — let’s make some Rail Fence blocks. Now, the pattern walks you through sewing strip sets together and then sub-cutting the strip sets into the units for the Rail Fence blocks.
I prefer cutting my fabrics before sewing them together. I used to do the strip set method, but I always had a problem keeping my strips straight — mine would bow like a rainbow. This, of course, affected the accuracy of my piecing. This frustration is what led me to determining what the (unfinished) length of the unit would be and then cutting all my pieces before sewing the units. The easiest way to figure out the length is to look at the size of the unit you’re cutting out of the strip sets — usually that measurement is what you need.
Here are my rectangles ready to sew together into Rail Fence blocks.
6. Time to sew the Rail Fence blocks together. First, I sew the rectangles into pairs, then I sew the pairs into quads. Another thing I like better about sewing the rectangles together versus strip piecing is that I get a lot more variety in my blocks. After all the blocks are pieced, go ahead and press them. Rail Fence blocks done. Yippee!
7. All the blocks are finished!
8. Boy, am I glad that I have my handy dandy flannel backed table cloth already clipped up on my fabric storage cubes because the next step is to lay out the blocks according to the diagram on the pattern. Whoever discovered that fabric sticks to flannel was a genius! Thank you, thank you!
This quilt is big and I can’t get the entire thing arranged on my flannel wall so I will have to divide the quilt into sections and then sew the sections together. While the blocks are up in the first larger section, I moved a few things around so that the fabrics are well-distributed throughout and not concentrated in any one area.
I will say that these fabrics from the Homestead collection definitely make a gorgeous quilt! It just looks so warm and inviting, like a cup of hot apple cider. Where’s my doughnut??? Boston creme, if you please….
9. I sewed the blocks into rows and then I sewed the rows together into the top section of the quilt.
10. I folded the top section in half and moved it to the top of my flannel wall to make room at the bottom the last rows. That way, I will still be able to move blocks around in the bottom rows if needed. Next I sewed the blocks into rows and the rows into the bottom section. Finally I sewed the bottom section to the top section.
11. Here is my Beatrice quilt top, or flimsy. Yay! I am very happy with how it turned out. It is simply beautiful!
While I was sewing Beatrice together, I kept wondering how it would look in patriotic colors (the quilt diagram on the back of the pattern is done in red, white, and blue). But for this quilt to be large enough to be a Quilts of Valor quilt, you would have to add a border or another column of blocks because it’s not quite wide enough.
Adding a 4″ finished border all the way around would make the quilt 62″ x 80″ which is a wonderful size for a QOF quilt as well as a twin-sized quilt. You would need about 1 1/4 yards fabric for the border (cut strips 4 1/2″ wide) and a total of 5/8 yard for the binding for this larger size.
Who knows, maybe Beatrice will be my next QOF quilt project to make and donate. You’ll have to check back later to see if it is. LOL!
I look forward to seeing your Beatrice quilts! You can post them on our VRD Facebook page. Hope to see you there!
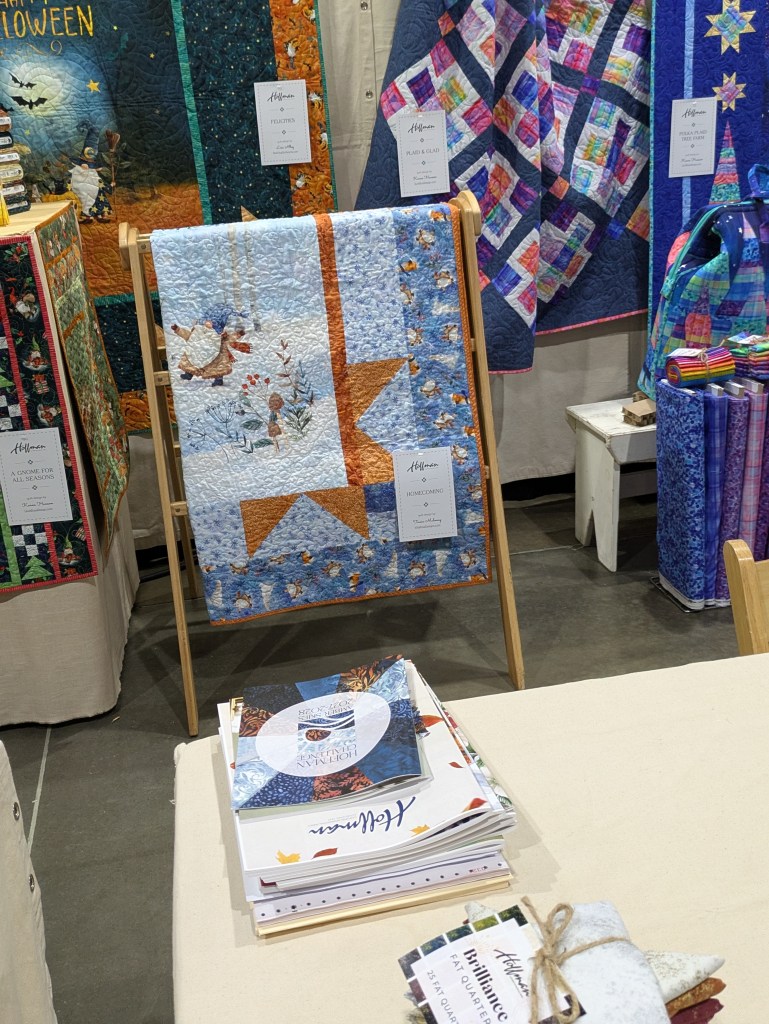
Speaking of Hoffman Fabrics, the new Fall 2024 catalogs have just come out. Check out the Project Book, filled with loads of inspiration and Villa Rosa Design Rose Card patterns featuring the latest Hoffman collections. Truly, a feast for the eyes. Ask at your favorite quilt shop or online retailer for the patterns, fabrics, or maybe even kits. ENJOY!
Yep, I am still in my fall quilt-making zone. Which is not a big surprise really because for the last couple weeks, here in NW PA, we’ve been having very fall-like weather. Today is quite cool with a high temperature only in the 60s and it feels really really chilly. Usually, August is in the 80s and even 90s occasionally. You know the “dog days” of summer? So the 60s is kind of a shock to the system. Our nights have even dipped down into the 40s a couple times. Just chalk it up to the ever-changing world of weird weather, I guess.
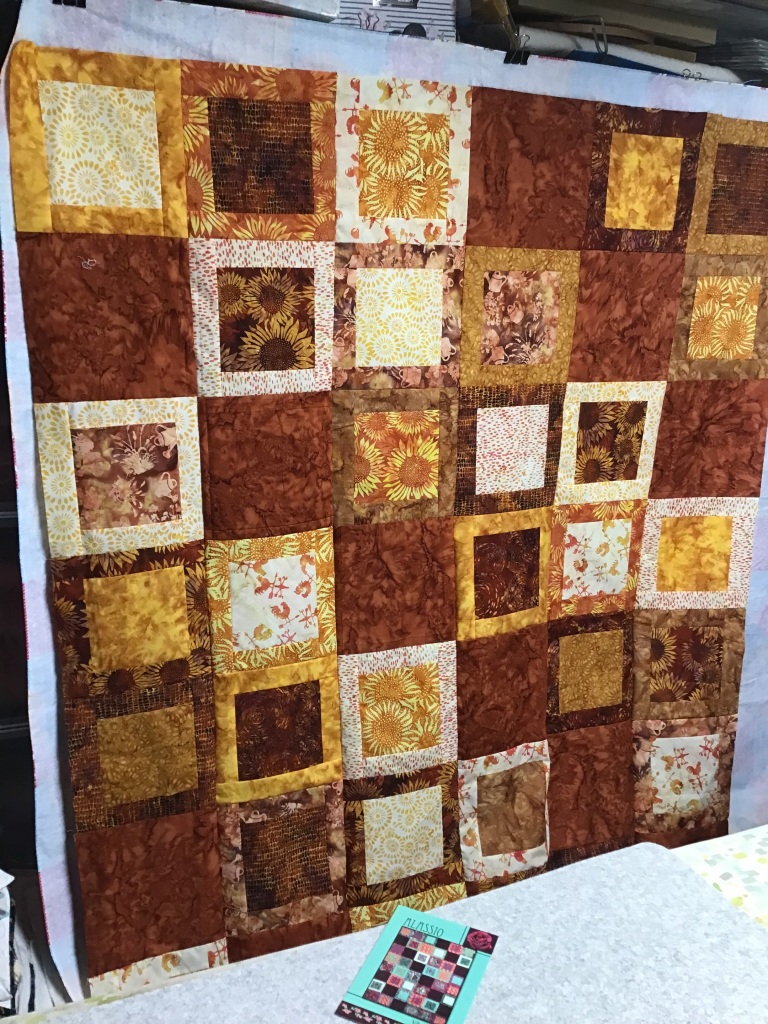
So in honor of our early autumn weather in August, I am going to show you how to make anther great Villa Rosa Designs Rose Card pattern, Alassio. Do you really have to use a fall-themed fabric collection like I am doing? Nope, not at all. This pattern will work beautifully with any fabric collection!
Alassio is a super fast quilt to put together and it finishes at a great size of 54″ x 72″! It uses fat quarters and a background fabric. What could be simpler?
I put my Alassio quilt top together in about 5 hours — all in one day — and that included the step by step photos for this tutorial. It goes together so quickly — you’ll be amazed and very happy, especially if you need a quilt in a hurry.
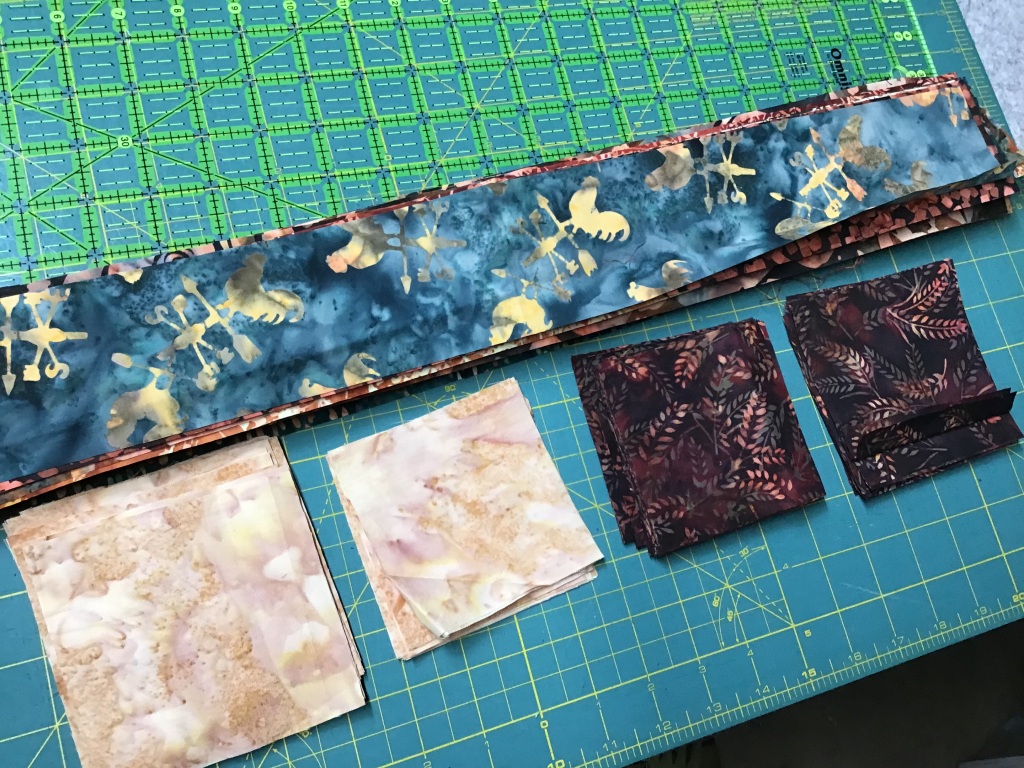
2. Next up is cutting the pieces for our framed blocks from our fat quarters. I like to stack my fabrics and cut 3 or 4 at a time. Do likewise if you want, but it’s perfectly fine to cut them one at a time, too.
3. Moving right along, let’s mix and match our fabrics so each square will have a different fabric frame around it. And after that’s done, we’ll sew matching shorter strips to opposite sides of the squares.
4. Now we need to press our blocks so far before we add the long strips on the other sides of the center squares. I don’t normally do a lot of pressing when I’m making blocks but I do think pressing these blocks as you go results in crisper seams and better blocks.
5. Okay, now we’re ready to sew the long strips on the opposite sides of the center squares. Make sure the long strips match the strips you’ve already sewn onto the squares.
The again, who says your strips have to match — just sayin’…….
6. Head over to your iron again and press those blocks one more time — now our blocks done. That was fast, wasn’t it?
7. I just clipped my flannel-backed tablecloth up on my fabric storage cubes, which is my new design wall. I have to hang it sideways because it’s too long to hang up and down. And because this quilt is so big, I’m going to need to lay it out sideways, too. Fingers crossed that the tablecloth is long enough (or wide enough because it’s hung sideways) to lay out all the blocks.
How do you lay out your blocks before sewing them together? When I first started quilting, I used to lay my blocks out a cement floor. Yikes! Then for a really long time, I laid them out on a queen sized bed, which accommodated most of the quilts I made and saved some stress on my knees and my back. Now I have my very own portable design wall, otherwise known as a flannel-backed tablecloth. And it works great!
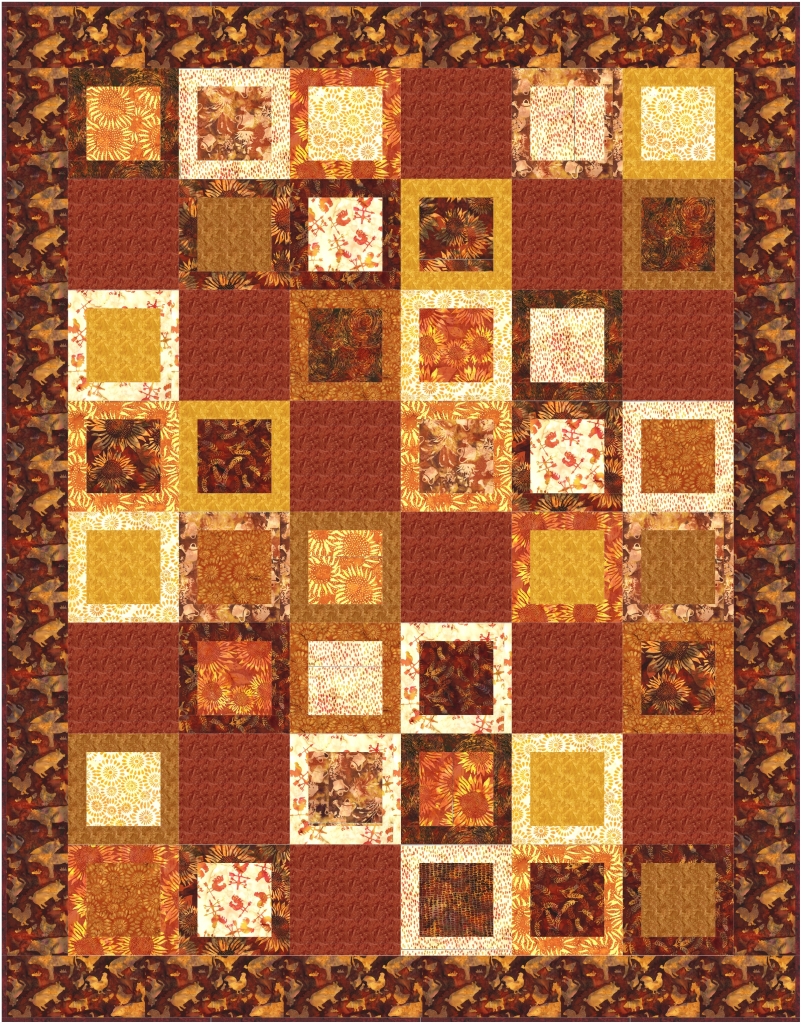
So, while we’re laying out the blocks according to the quilt diagram on the back of the pattern, go ahead and move the blocks around so fabrics and colors are well-distributed throughout the entire quilt.
Then once we’re satisfied with our layouts (yay — all the blocks fit on the flannel tablecloth!), it’s time to sew them into rows. Then we will sew the rows together. Quilt top done! Easy piezy!
I am so pleased with how my Alassio top turned out! I can’t wait to get it layered with pretty autumn-themed fleece, machine quilted, bound, and labeled so I can start enjoying it right away!
Alassio finishes faster because it doesn’t have a border, but if you want to make the quilt larger, you could add a border. It would look kind of like this:
This version of Alassio features a 4 1/2″ finished border. With this border, Alassio would finish at 64″ x 82″, which fits a twin bed or makes a nice big comfy throw.
To make Alassio with the border, you need 1 1/4 yds for the border (cut 8 strips that are 5″ x WOF) and a total of 5/8 yard (cut 8 strips that are 21/2″ x WOF) for binding.
Isn’t this a great quilt? Bet you can’t make just one!
Today is a kind of blah day — raining off and on, overcast, and grey — not what I’d call a typical summer day at all. It’s been looking more fall-like here in NW PA. In fact, I was looking at one of the maple trees in the back yard yesterday and I actually saw the leaves starting to change on ends of several branches. As much I hate to see summer going, I do love autumn. What’s your favorite season?
As I’ve mentioned before, I get fall fabrics on my brain this time of year! Then I can’t wait to start making fall quilts. What better day than a dreary one to share an awesome FALL tutorial with you? And you can’t get more fall than October Sky!
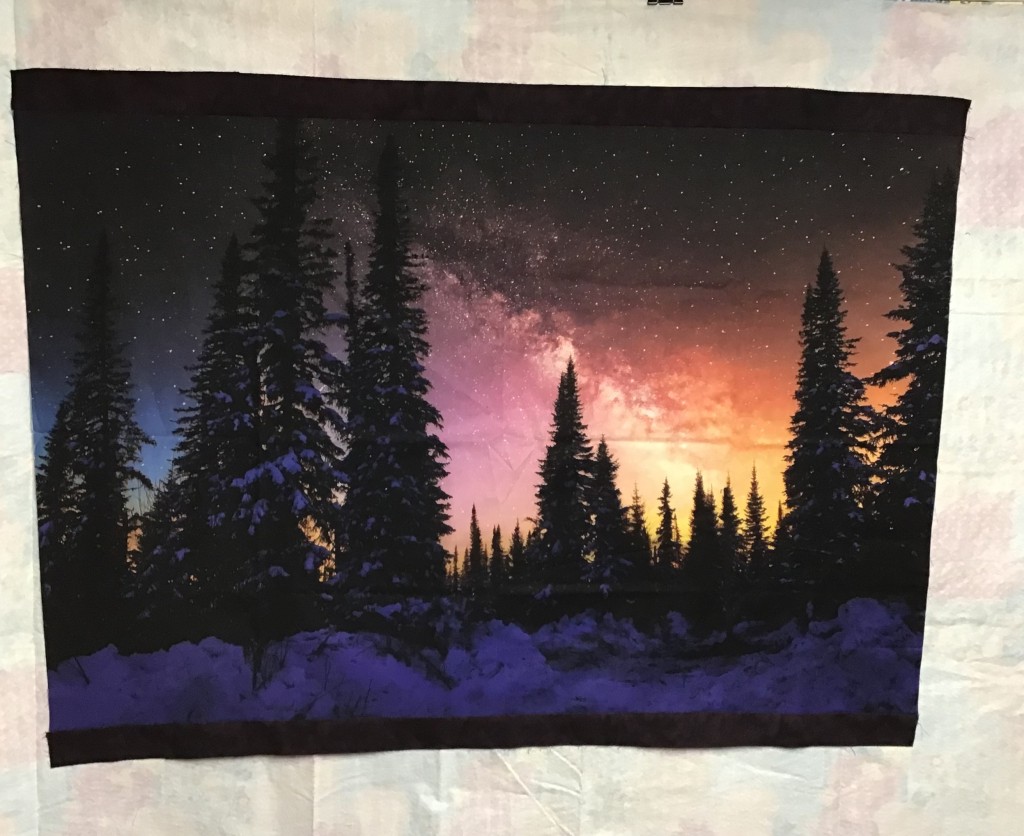
Don’t let the name of the pattern fool you — you can use any kind of horizontal panel — any one your little hear desires. I’m not using actual fall fabrics for this quilt, but to me, it still feels like a fall quilt. I think it’s the jewel-tone colors. Take a look at these yummy fabrics from Hoffman California Fabrics, one of our quilting partners. The digital panel is called Nightshade and the fabrics are coordinating 1895 Watercolors batiks. Simply scrumptious!
Let’s get started!
1. Trim the selvages off your panel. Horizontal panels can vary slightly so it doesn’t hurt to do a quick measurement of your panel, then you’ll know how it compares to the pattern. You don’t really need these numbers right now, but if your panel is not as wide as the pattern, you will need to make a small adjustment a bit later in the construction process.
2. Cut your border strips for the top and bottom of the panel and sew them on.
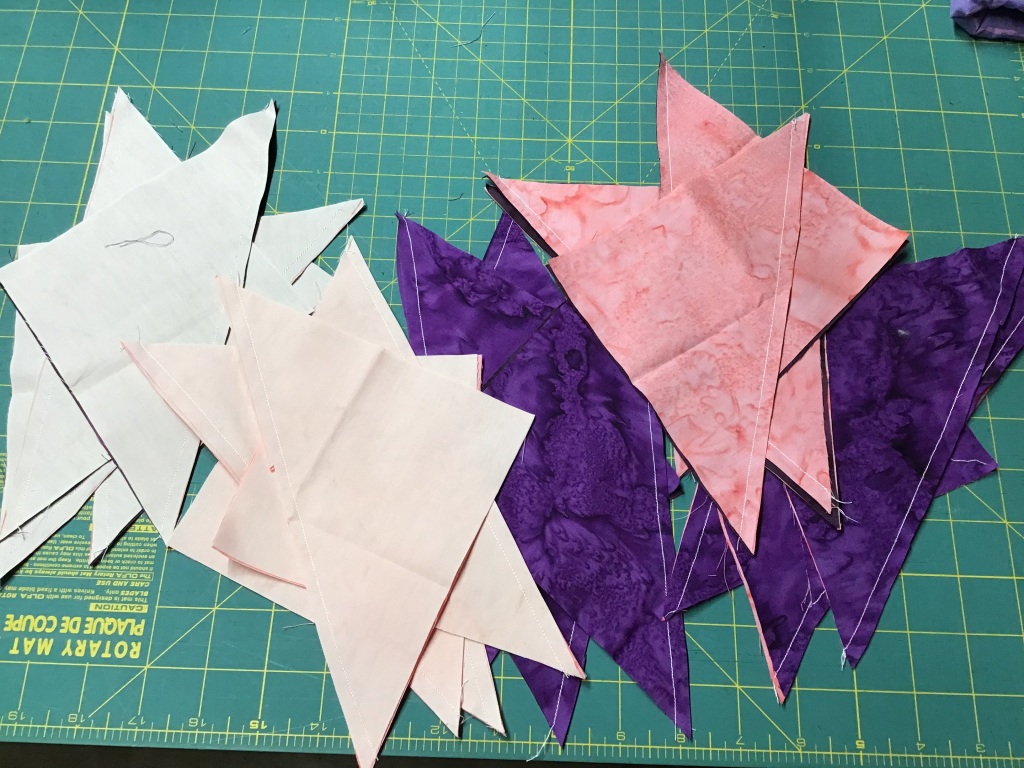
3. Now we are going to cut out the squares for the pieced sections at the top and bottom of the panel. I just love these 1895 Watercolors batiks — they go with everything. The dark plum in front is my background.
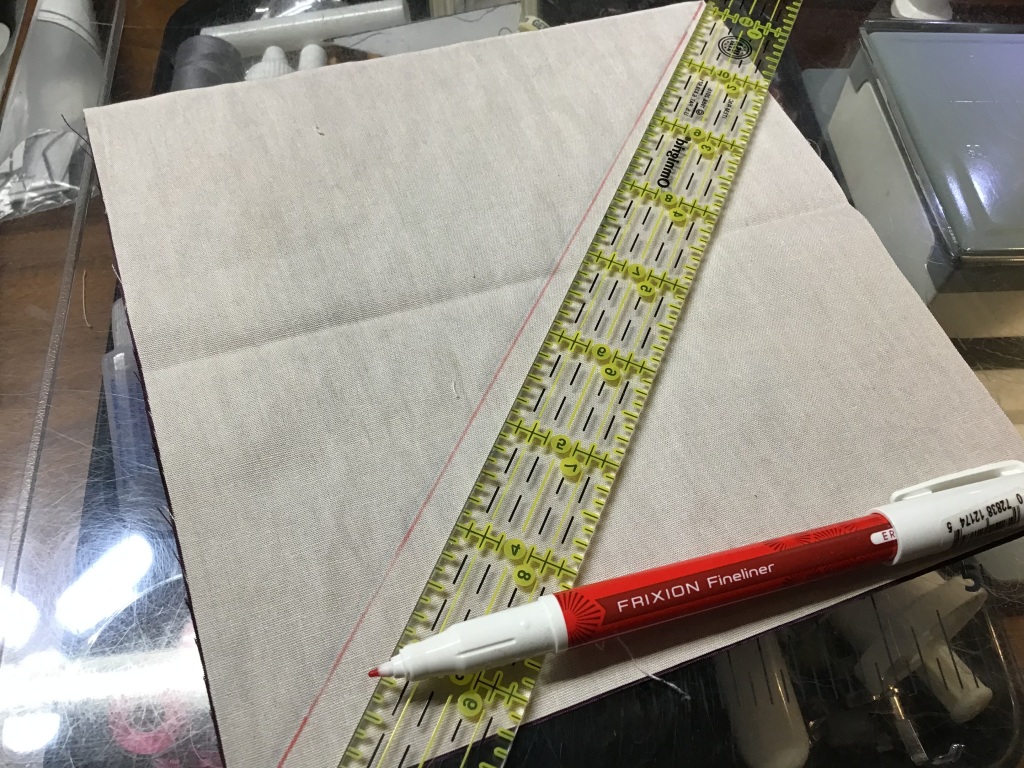
4. Time to make some Half Square Triangles, or HSTs. Layer 2 squares right sides together, drawn a diagonal line from corner to opposite corner. Sew 1/4″ away from both sides of the drawn line. Cut apart on the drawn line and press open.
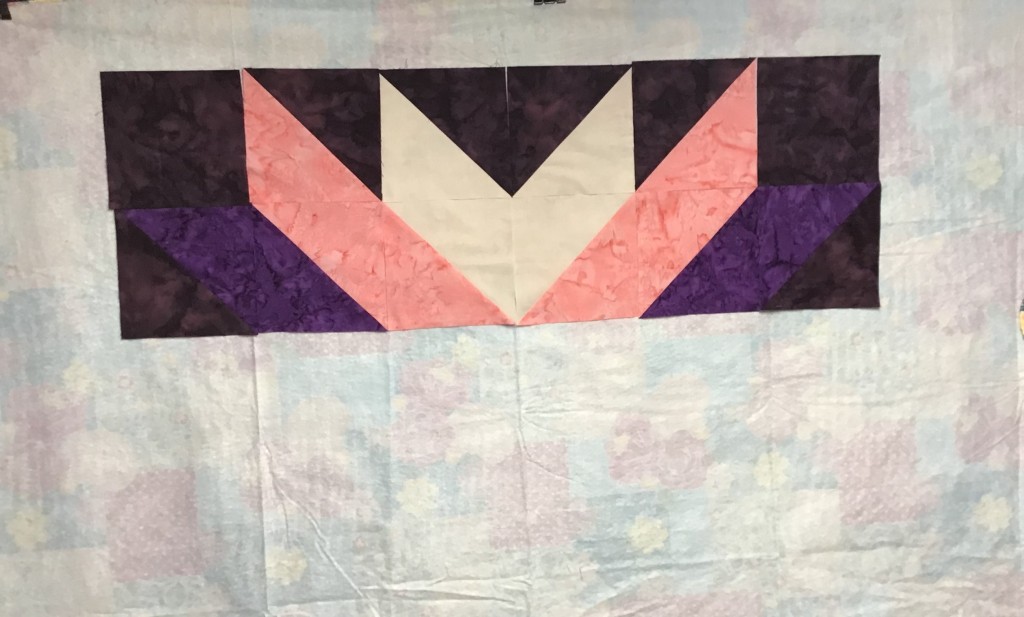
5. Having a flannel board — or in my case, the back of a flannel tablecloth clipped to my wall cube unit — to arrange the HSTs makes getting the arrangement right the first time much easier to accomplish.
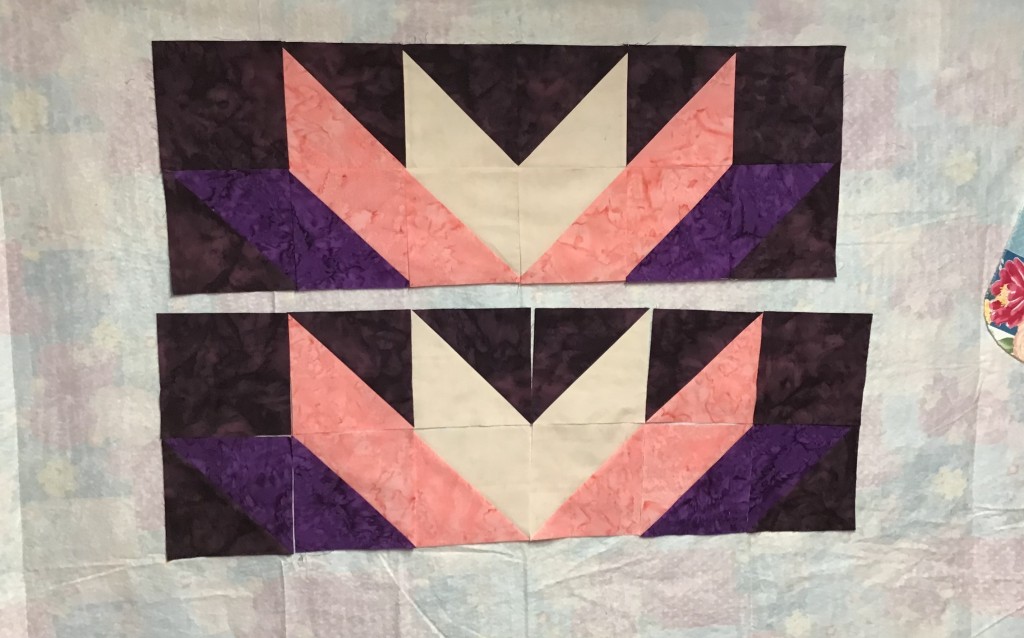
6. Sew the HSTs together. Make 2 identical pieced sections. You will be flipping one upside down to sew t the bottom of the panel. It makes an interesting design even without the panel in the middle though, doesn’t it?
7. Refer back to your panel measurements. If your panel is not as wide as the panel measurement in the pattern, you may need to add a little extra width to the side background rectangles. To be on the safe side, I added an extra 1″ or so to the side rectangles just to make sure my pieced sections would be wide enough because my panel wasn’t quite the same size as the one listed in the pattern.
It’s okay if the side rectangles make the pieced sections a little wider than the panel — you can trim and square things up in a later step.
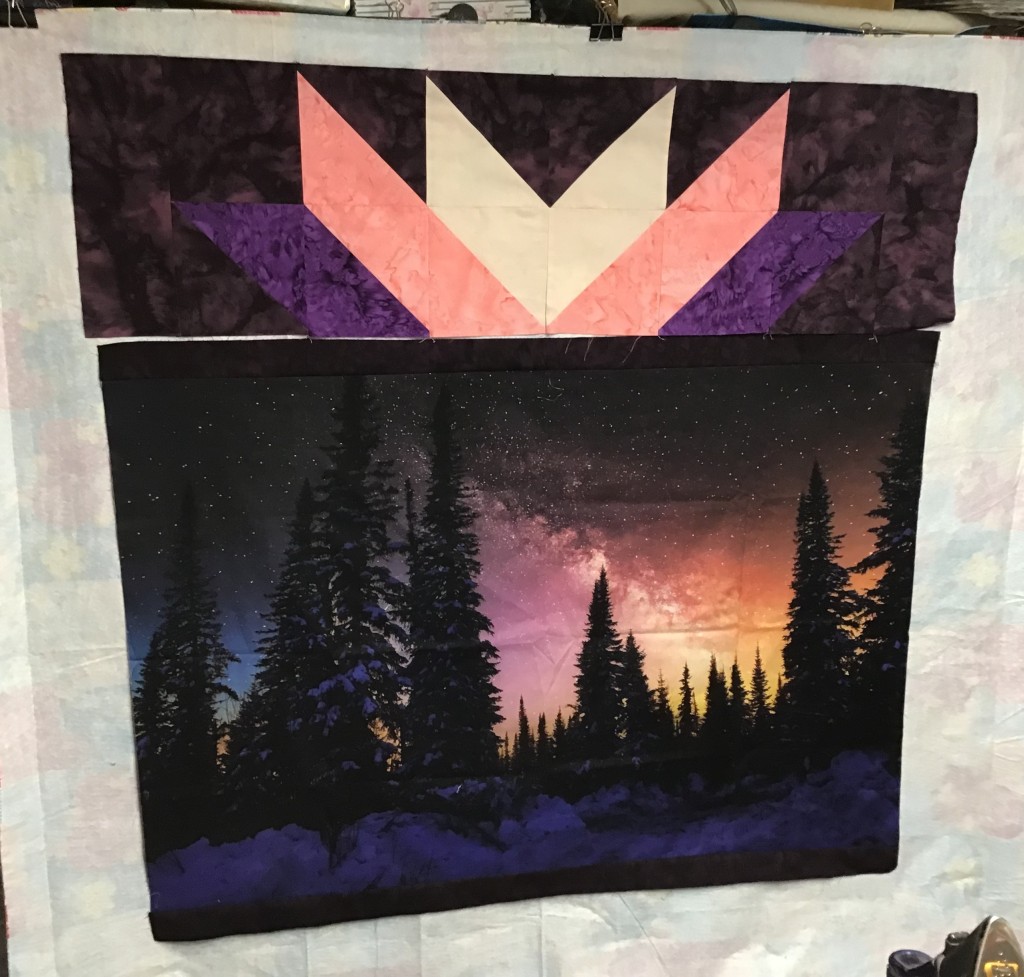
8. The most important part of this step is to find the centers of both the pieced sections and the panel. Then match those centers up before sewing because nobody wants off-center sunbursts! LOL!
Once you’re happy with your placement (I used pins to keep everything lined up just right), sew the pieced sections onto the panel. Lookin’ good!
9. Now it’s time to trim and square up the sides of the pieced sections. Ahhh! Much better!
10. Time to add top and bottom borders. I actually increased the width of my borders a couple inches to make the quilt just a little bit bigger as a throw. Do the same if you’d like. Just keep in mind, you might need more fabric if you increase the width of your borders.
11. Ready to add those side borders now? You will need to piece those side borders to make them long enough. VOILA! The top is done!
Since I couldn’t get the breeze to cooperate with me, I took another photo of the October Sky out flat. Gorgeous, isn’t it? The colors are so rich and yummy.
12. The next steps will be layering, quilting, binding, and labeling the quilt. And then….another VRD quilt DONE!
I hope you enjoyed this tutorial! I’d love to see your October Sky quilts — you can post them on our Facebook page HERE or drop me an email if you’d like. And there will be more fun VRD tutorials coming, so stay tuned!
I thought it would be fun to share with you some behind-the-scenes VRD stuff. I know I’ve mentioned our quilting partners before and you can see a list of our partners along the right side of the blog along with links. Today I thought it would be cool to show you some of the projects we’ve been doing with our partners.
Hoffman California Fabrics
We’ve been working with Hoffman for a while now and I’m excited to share a recent Hoffman catalog where you can find some of our Villa Rosa Designs Rose Card patterns featured. Check out Addison and Bee’s Knees on page 18 and Beaded and Cross Stitched on page 21, all in the CongoBay collection by designer McKenna Ryan.
And you can visit Hoffman fabrics HERE. Check out the fabrics in the CongoBay collection HERE.
The new Fall catalogs will be coming soon, so stay tuned. Don’t forget to ask for Hoffman Fabrics at your local quilt shop.
FreeSpirit
We’re working on a new and exciting project with FreeSpirit! And I’m thrilled to say it’s available at your local quilt shops right now! Here are the 4 VRD patterns featured with the Tim Holtz Abandoned Spark Pack. This Spark Pack includes a set of 10 fat quarters and you can use any of the 4 VRD patterns with the Spark Pack. How cool is that???
Here’s the vido showing the quilts and talking about Spark Packs.
You can get all 4 quilt patterns for $7.50 HERE and can shop our VRD Tim Holtz fabrics HERE.
You can visit FreeSpirit Fabrics HERE and get to know Tim Holtz and his collections HERE.
Keepsake Quilting
We’ve been working with Keepsake Quilting, to pair their fabric collections with our Rose Card patterns to make great kits. You can check out their current catalog to see our Fernanda pattern paired with the Hocus Pocus collection to create an awesome Halloween quilt kit on page 11.
Recently, we’ve been pairing some of the new Blank Quilting fabric collections with our Rose Card patterns. What a lot of fun it is working closely with fabric companies to use our patterns to make their fabrics shine. Or maybe it’s using their new fabric collections to make our patterns shine? I think it’s a little of each. LOL! Anyway you look at it, it’s a win-win for everyone!
Check out these awesome quilts featuring fabric collections from Blank Quilting.
You can check out Blank Quilting’s Whimsy Daisical 2 fabrics HERE or visit the Blank Quilting website for more info HERE.
Studio E
Studio E is a fairly new quilting partner and we’re really glad to be working together! Like with Blank Quilting, we’ve been pairing some of our patterns with their new collections. Check out these awesome quilts!
You can check out all the great Studio E fabrics HERE.
Benartex
We’ve been working with Benartex this year and it’s been really fun matching up our patterns to their fabrics. Here are some of our collaborative designs:
And please don’t forget to ask for these wonderful fabrics at your local quilt shop as well as our Villa Rosa Designs Rose Cards. Support your local quilt shops! If you don’t ask, you local shop owner doesn’t know, so ask away!