Hello Quilty Friends!
Happy Thursday to you!
Happy 250th birthday to America!

I hope you are all set to enjoy the celebration this weekend for the 250th Birthday of the United States of America. I’m looking forward to the fireworks and all the different events going on.
Of course right now the weather is looking rainy, but I have hopes it will clear up and be a gorgeous weekend for everyone. We’re having a heatwave right now with temperatures in the mid 90’s. I am not a hot weather girl at all, so I will stay in the air conditioning and ride out the heat. Just hand me a bowl of ice cream – something with chocolate – and I’ll be happy as a clam. And cool. LOL!
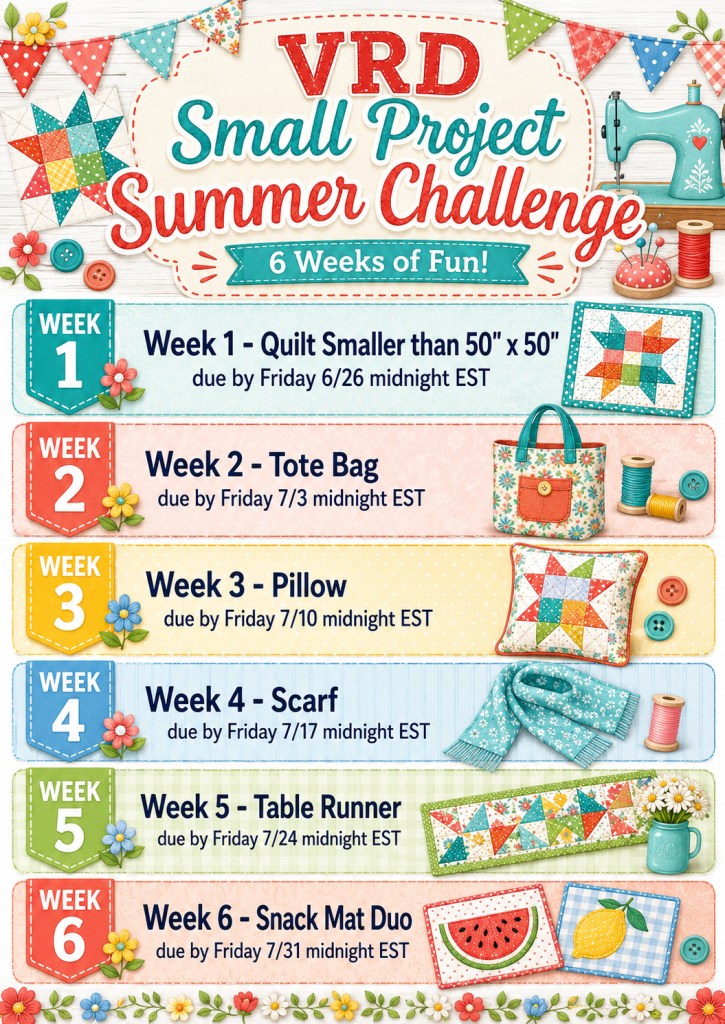
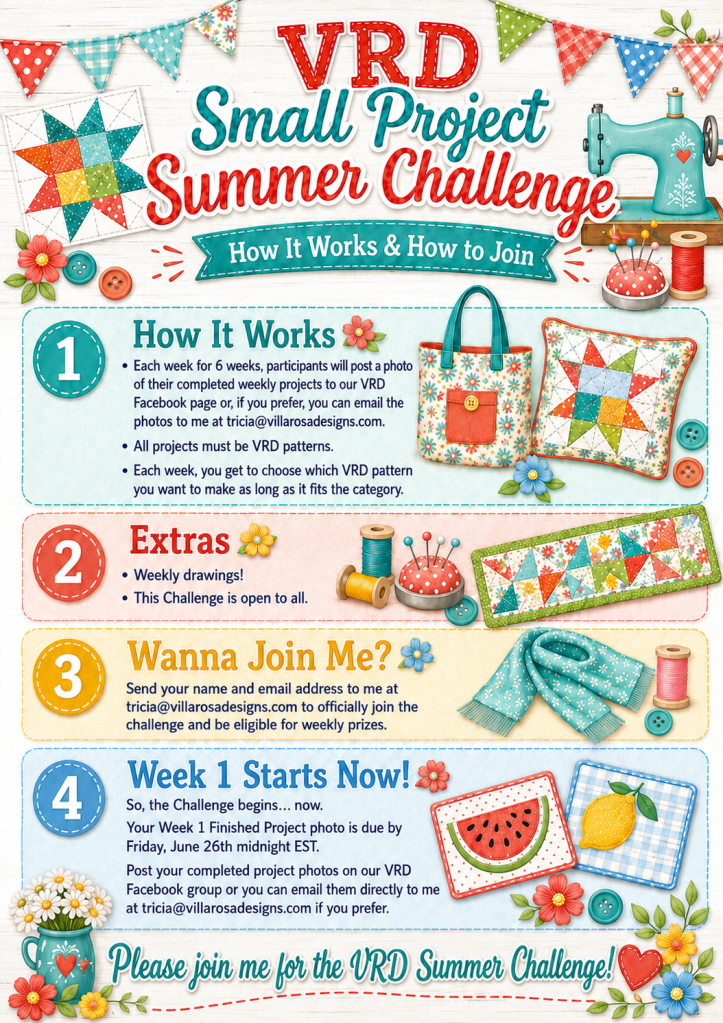
We are wrapping up Week 2 of our Small Project Summer Challenge this week – our project is a VRD Tote bag. Here’s the info and schedule in case you need it.
Now let’s revisit Week 1 with a winner!
Week 1 Winner
Yay! It’s time to announce our first Small Project Summer Challenge winner!
Toss the confetti!
Cue the band!
And our Week 1 winner is………….
Susan L. from WV
Congrats, Susan!
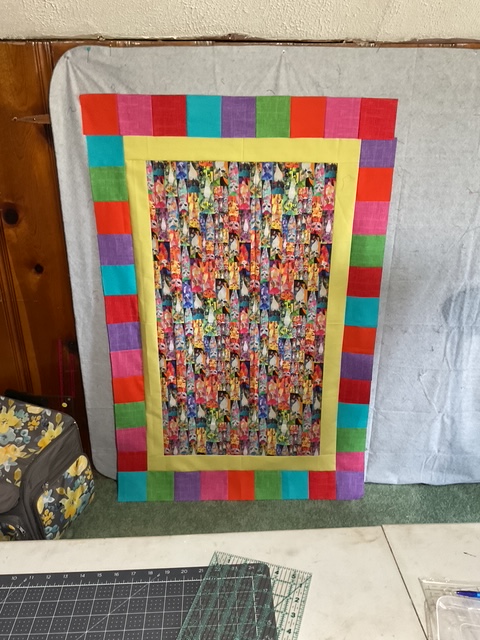
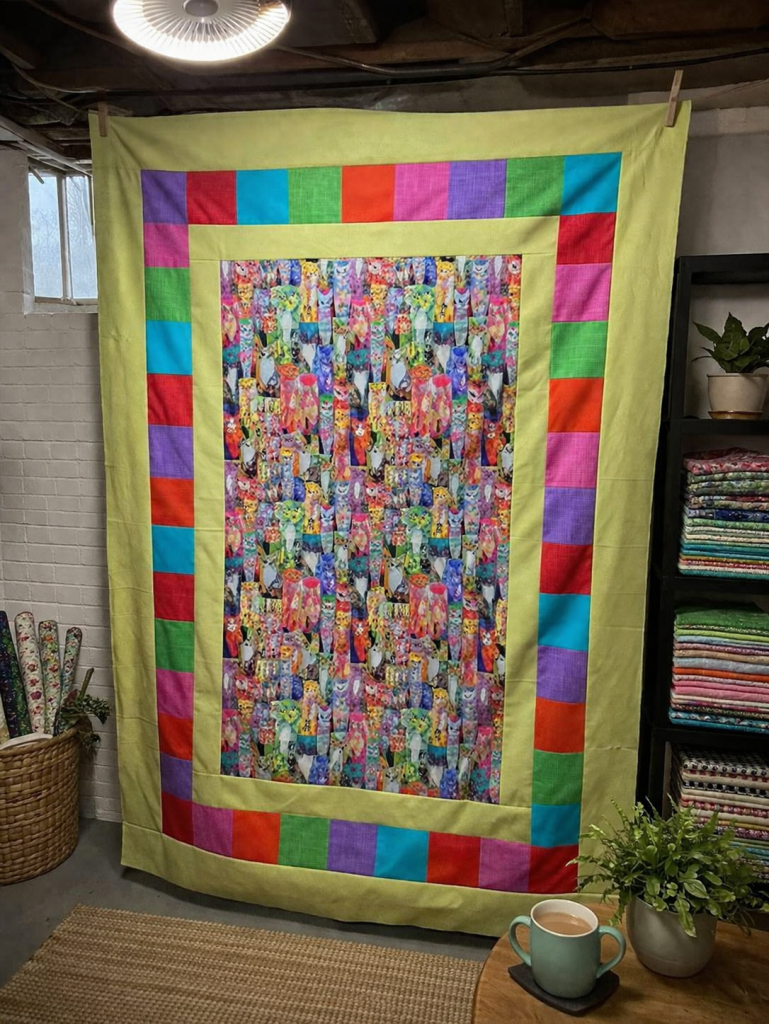
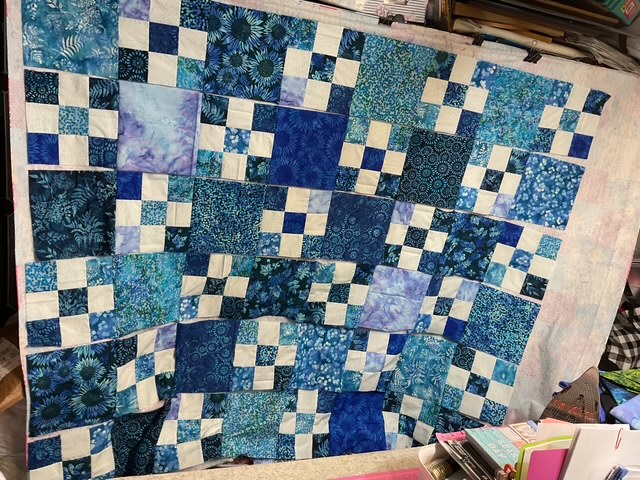
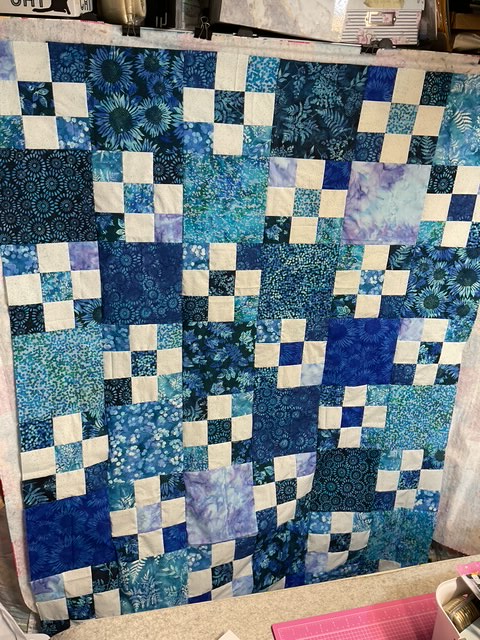
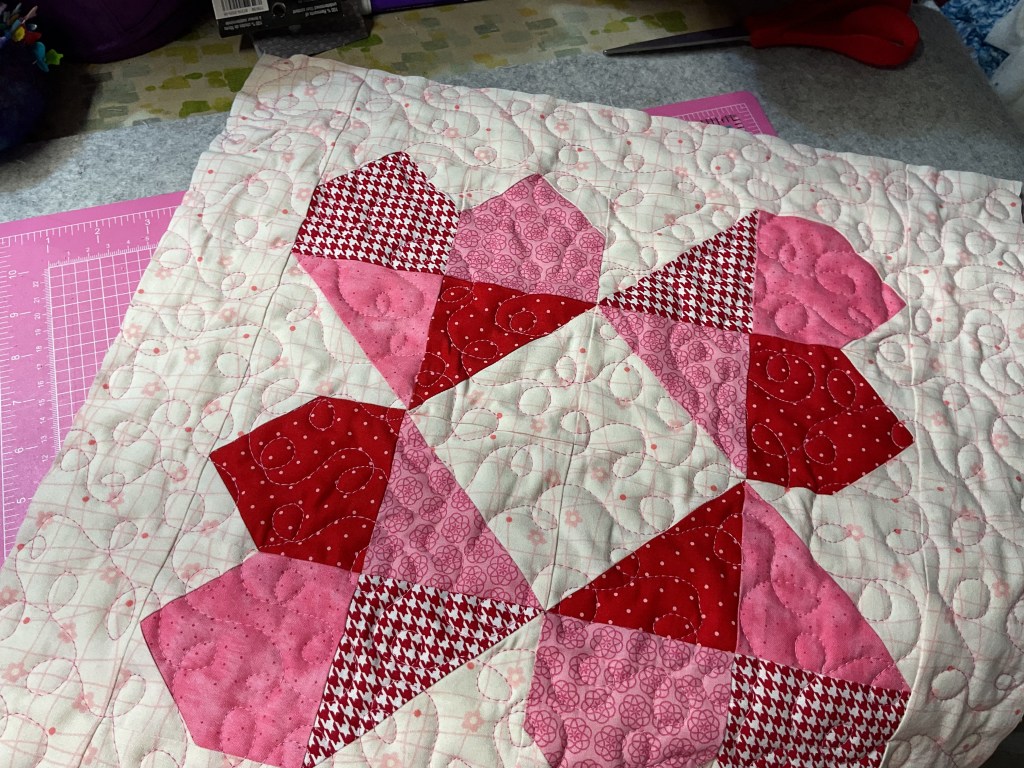
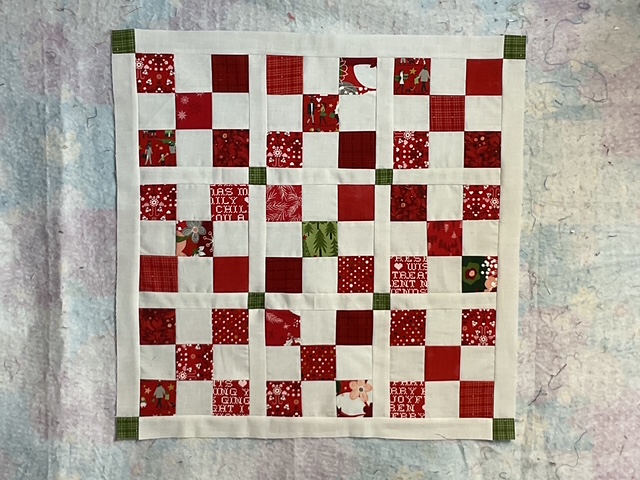
Susan made a fun dog lover’s version of Fairhaven. This one really makes me smile because of all the canine fabrics. A fun fast make!
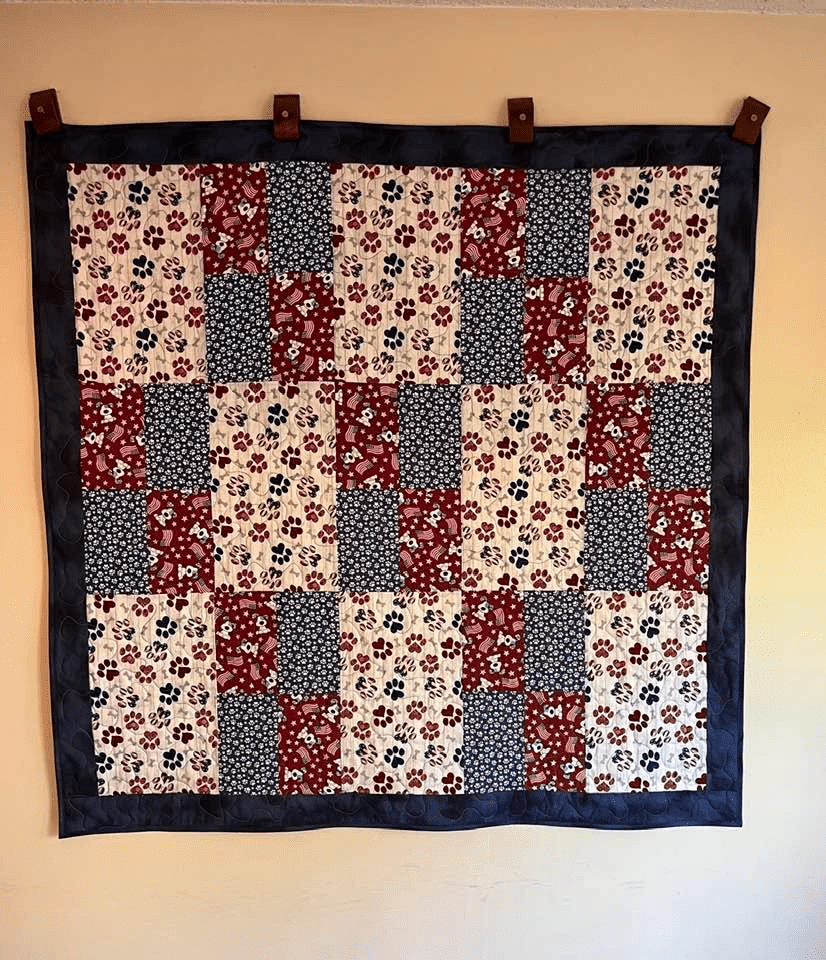
Guess what? Susan already donated her Fairhaven quilt to Project Linus!
Project Linus has been giving handmade blankets and quilts to kids since 1995. And in 31 years, they’ve given over 10 million blankets to children. WHOAH! You can find additional information or how to get involved on the Project Linus website HERE.
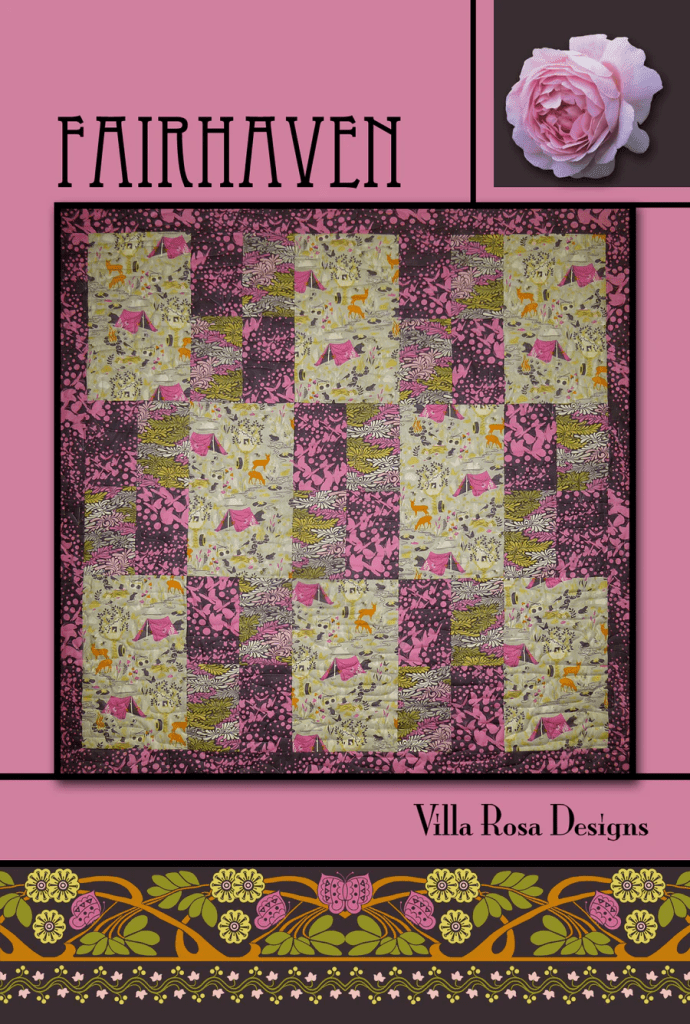
Get your digital pattern HERE or your print pattern HERE
VRD Small Project Summer Challenge Week 2
Our Week 2 Challenge this week is for a VRD tote bag. Your tote bag project is due Friday, July 3rd by midnight EST.
We have 2 different VRD tote bag patterns or you could adapt a different VRD pattern into a tote bag. What a fun idea! I hadn’t thought of that until one of the participants asked me about it. Thanks for the great idea!
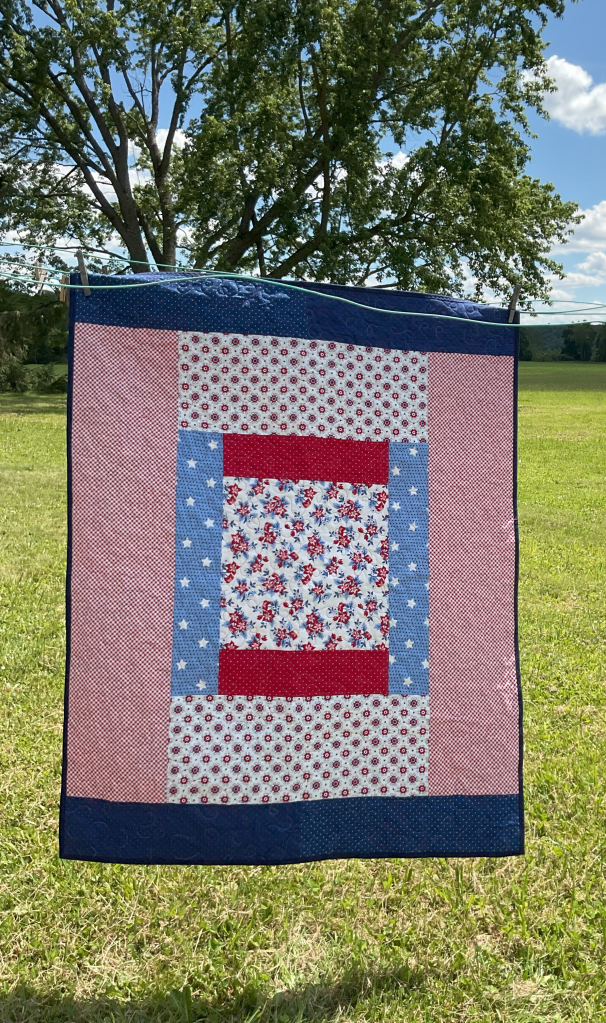
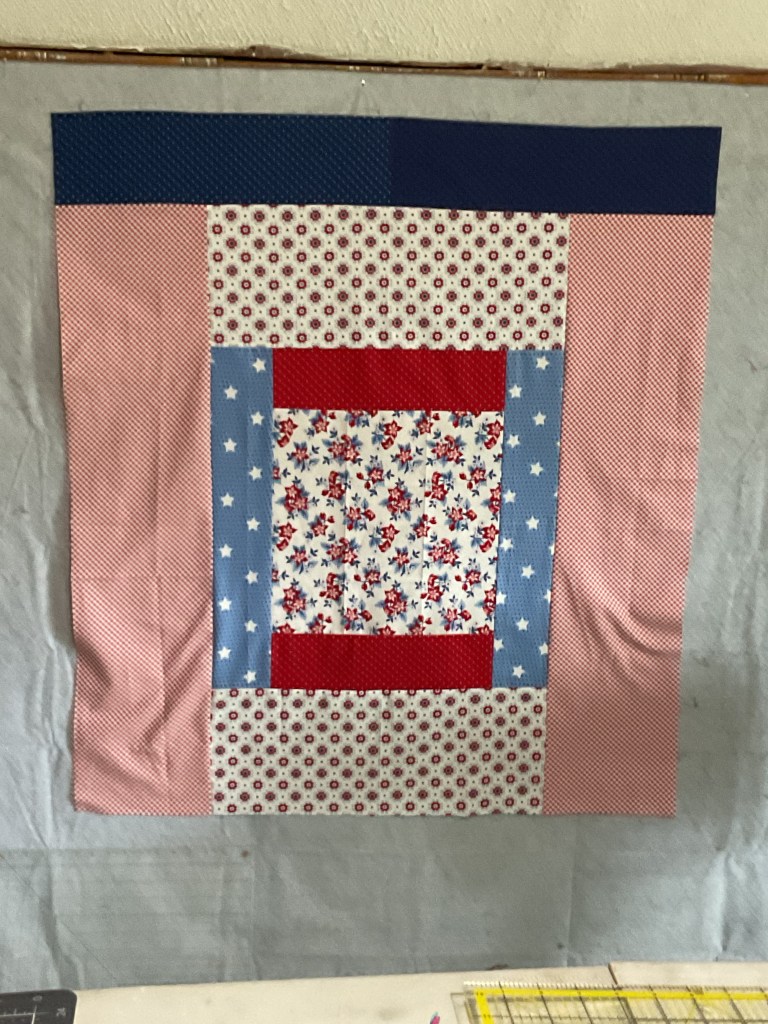
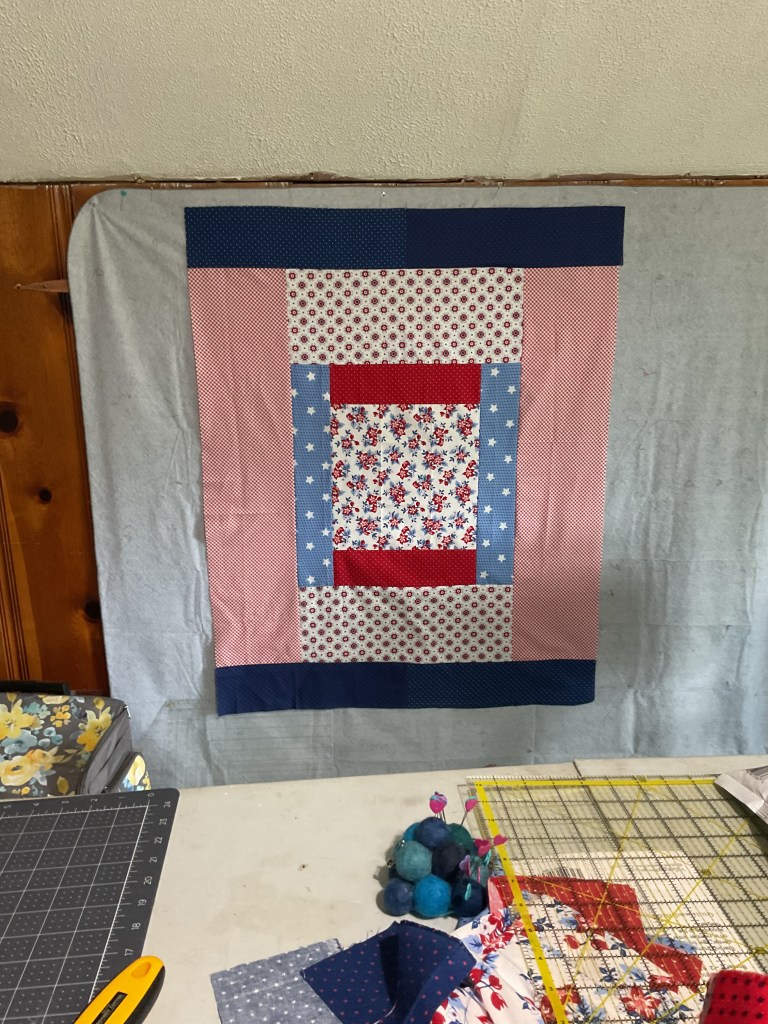
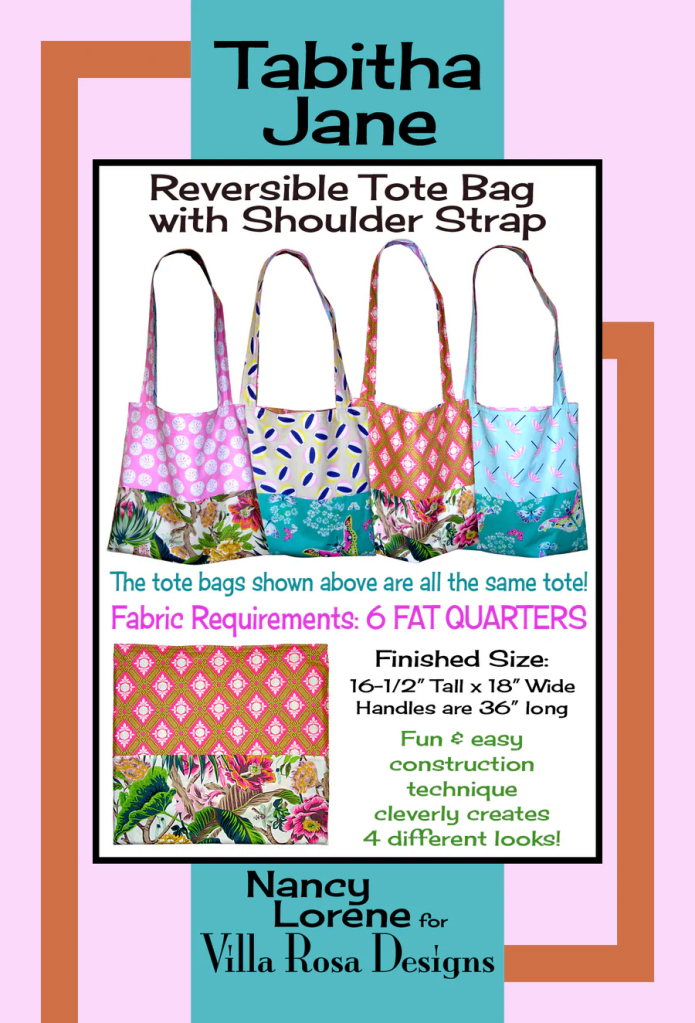
So……..my tote bag this week is Tabitha Jane. Have you made this one yet? It’s totally reversible, which means you get 4 looks with one tote bag. That’s uber cool, right?
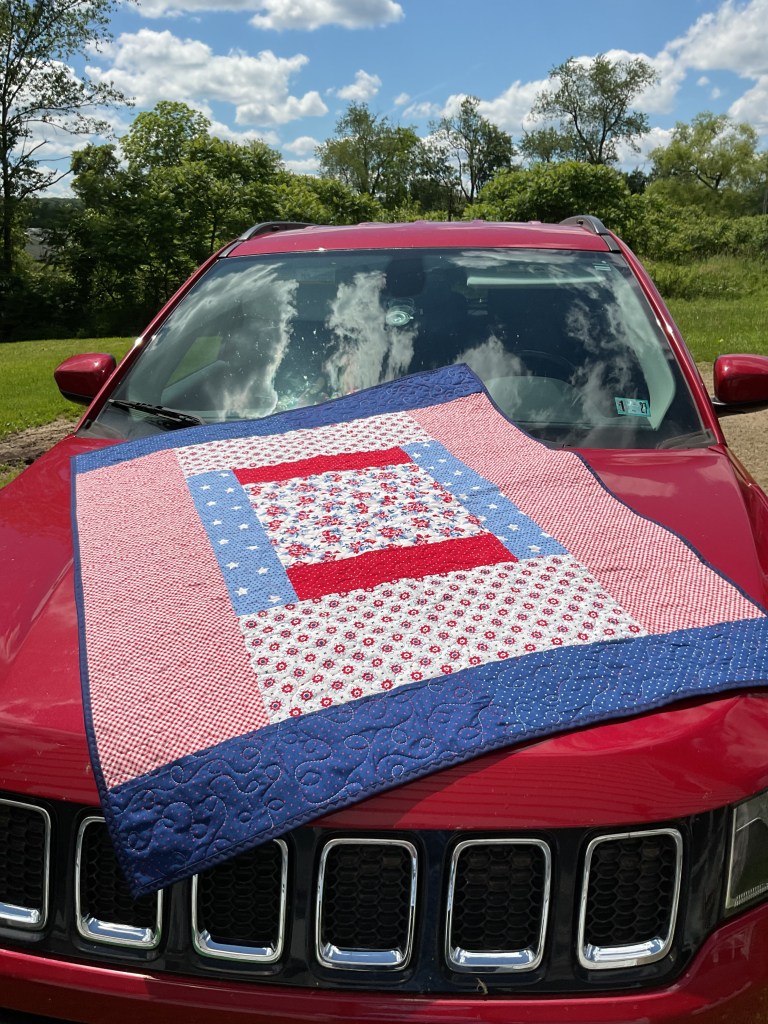
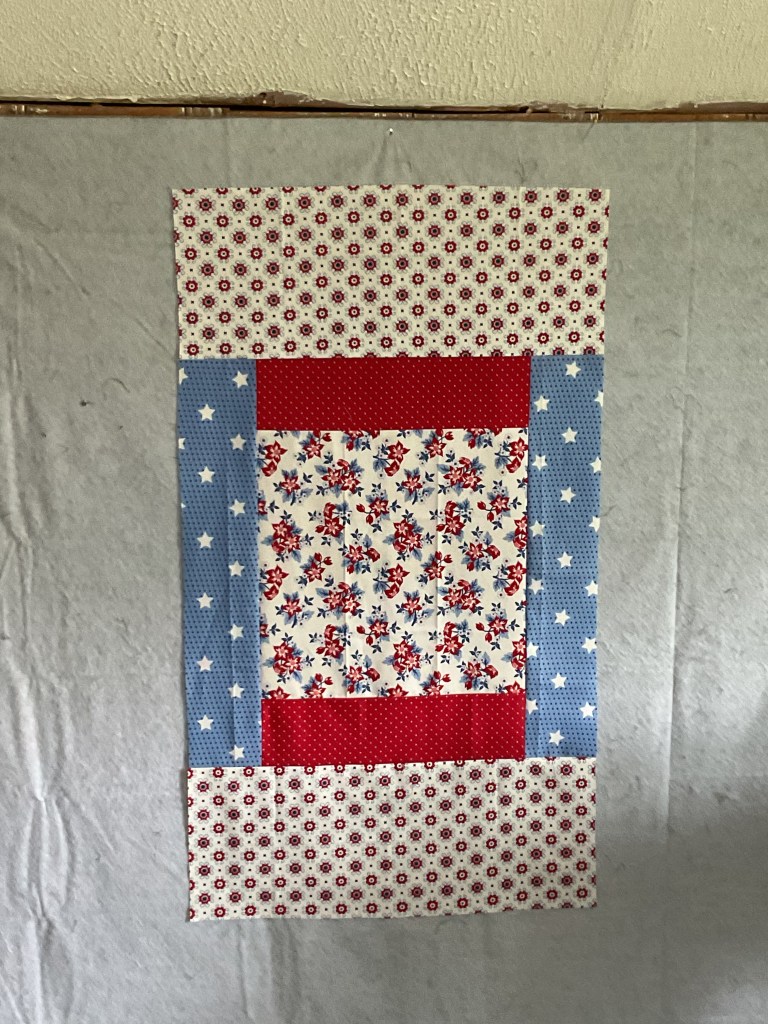
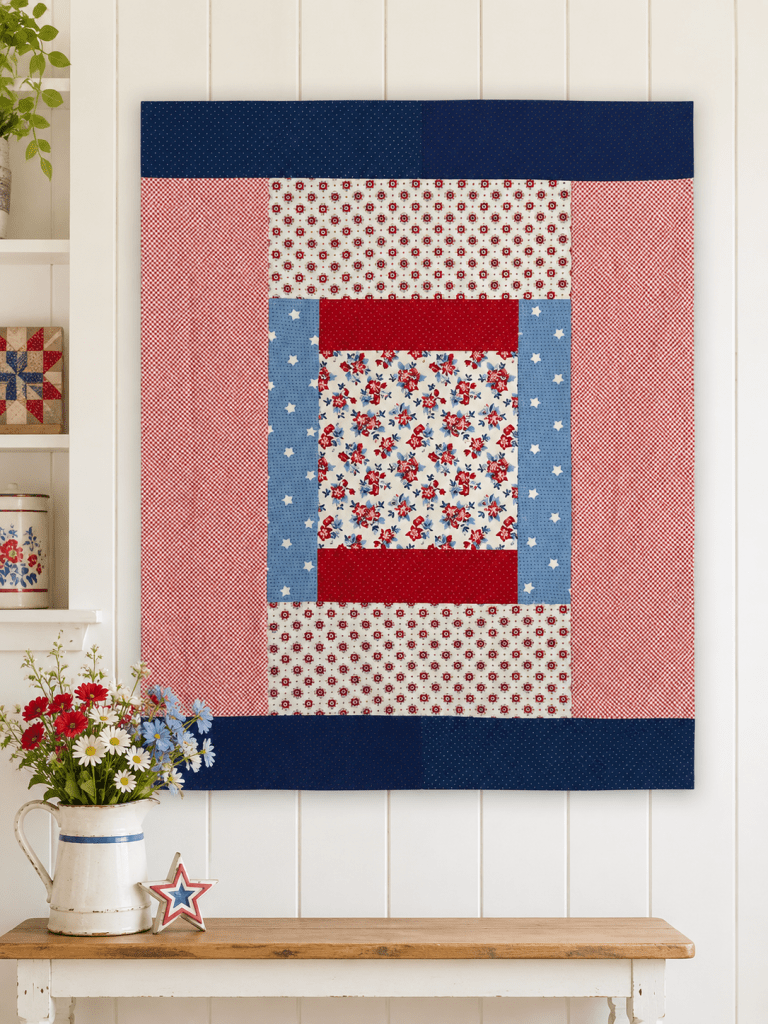
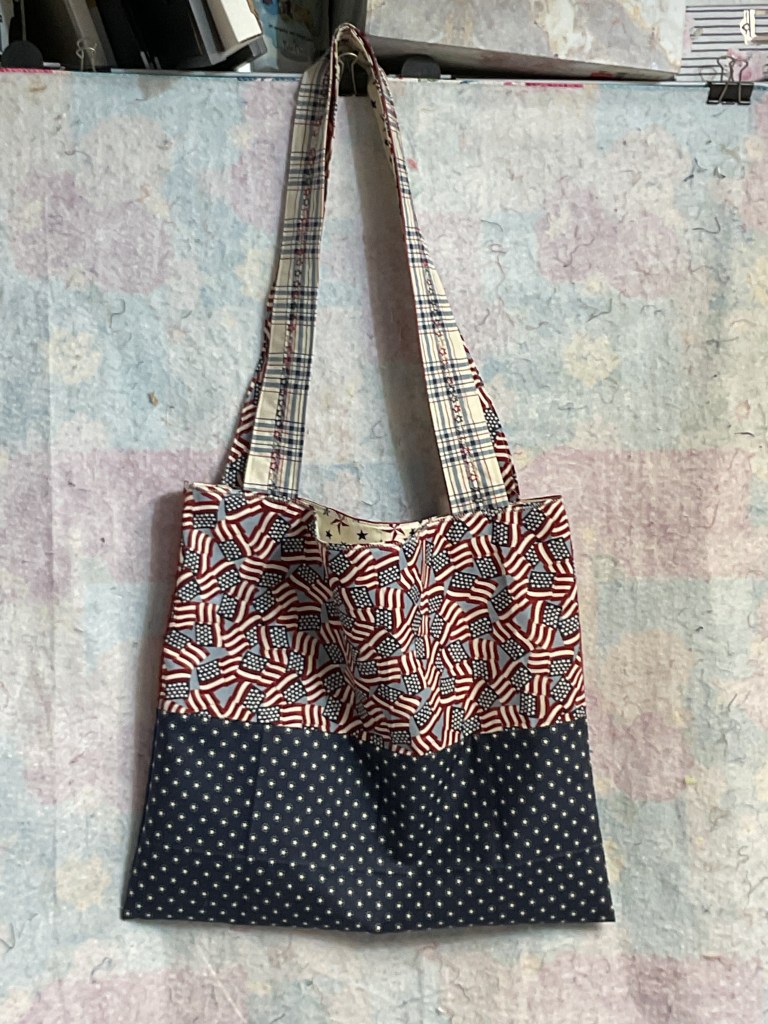
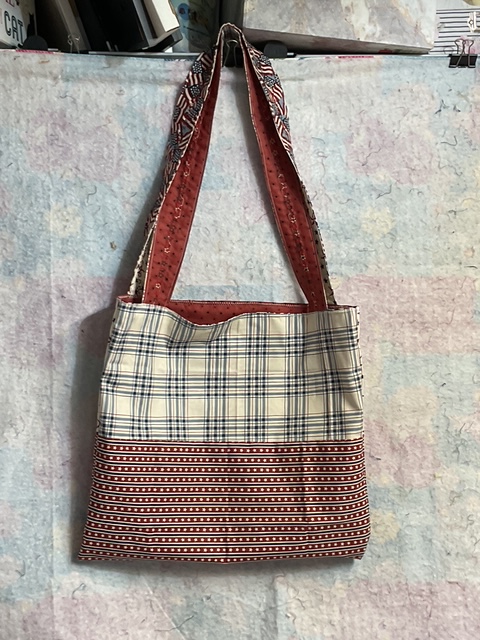
So here’s my red, white, and blue version of Tabitha Jane!
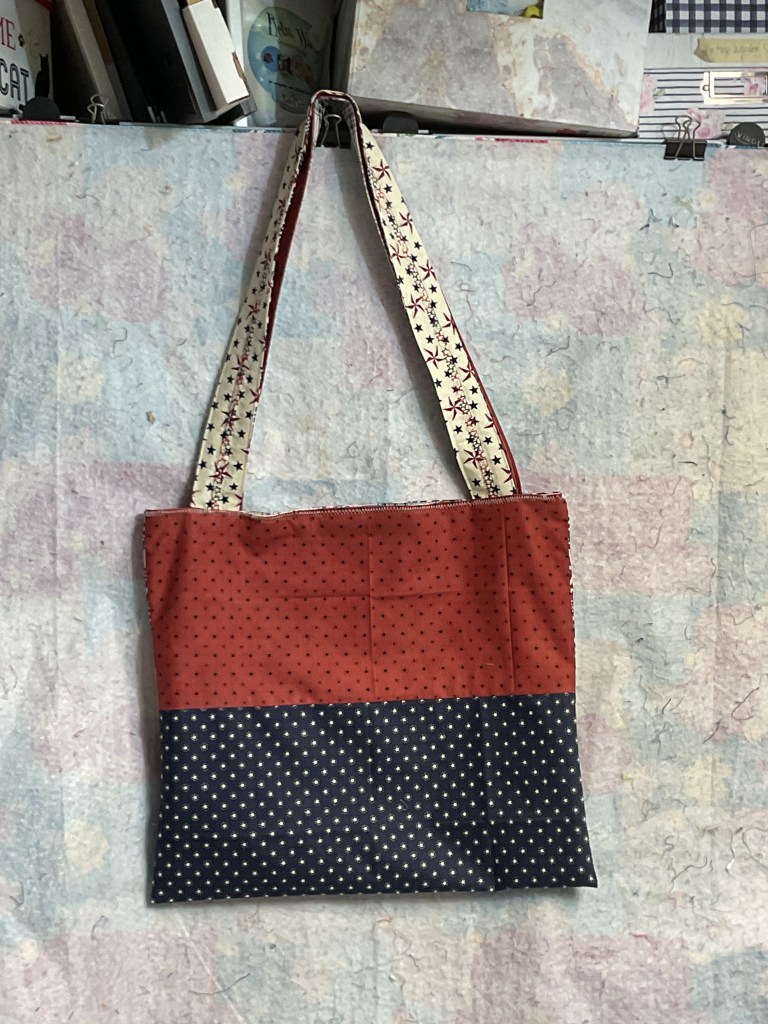

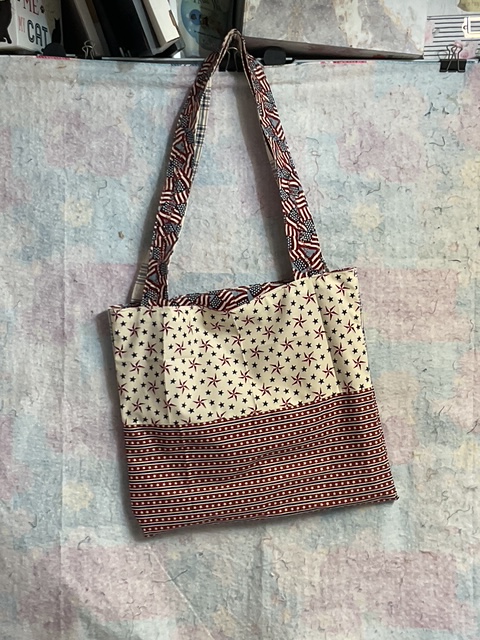

Like I said: 1 tote bag – 4 different looks! I can’t decide which side I like the best. Which one do you like?
It was really quick, perhaps 2 or 3 hours (including photography on my end) to make this super useful and fun tote. Tabitha Jane would be a great tote for yourself or for someone else! I can’t wait to make a few more, maybe one for each season? Did I mention it’s made out of fat quarters???
Get your digital pattern HERE or your print pattern HERE
I also created a tutorial for you for Tabitha Jane. Now you’ve totally got to make one of these!
VRD Tutorial Tabitha Jane
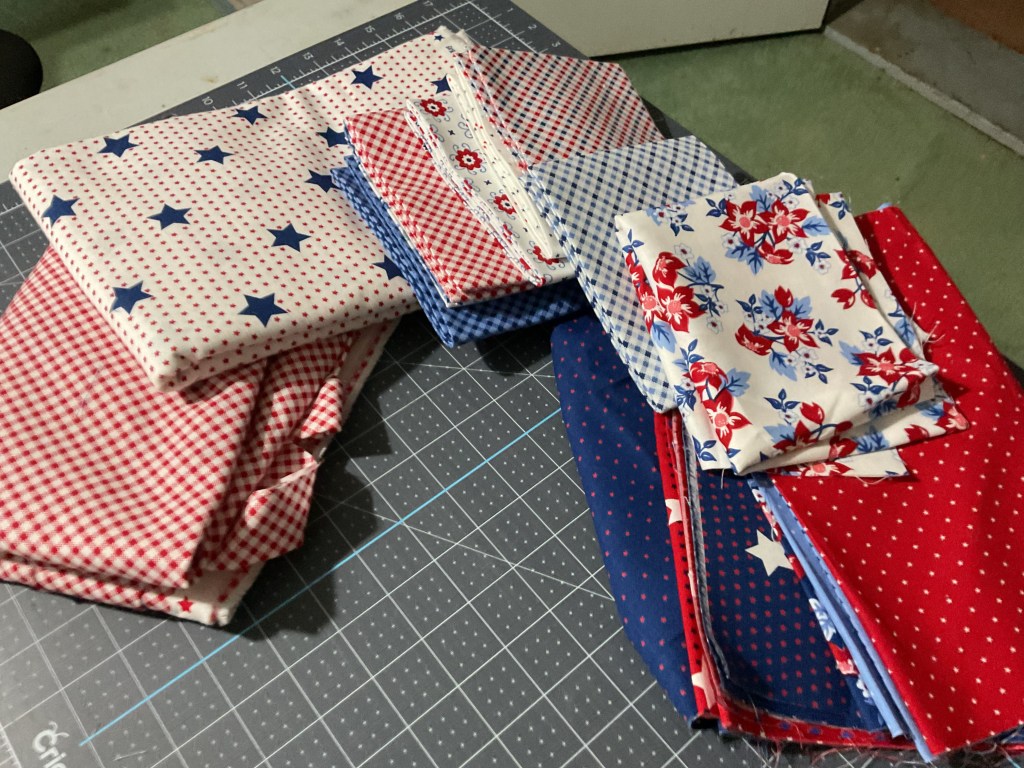
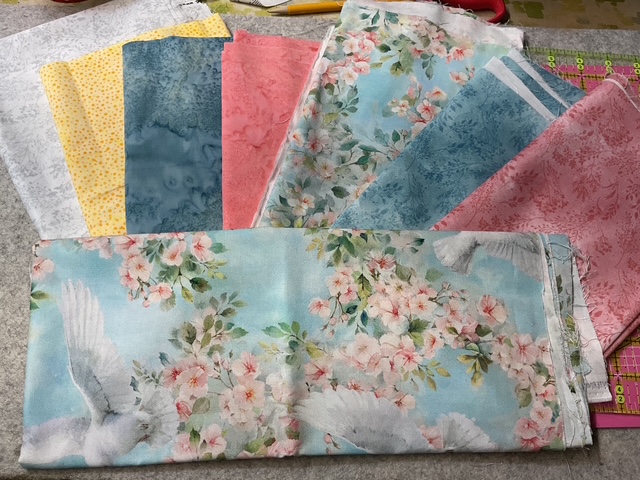
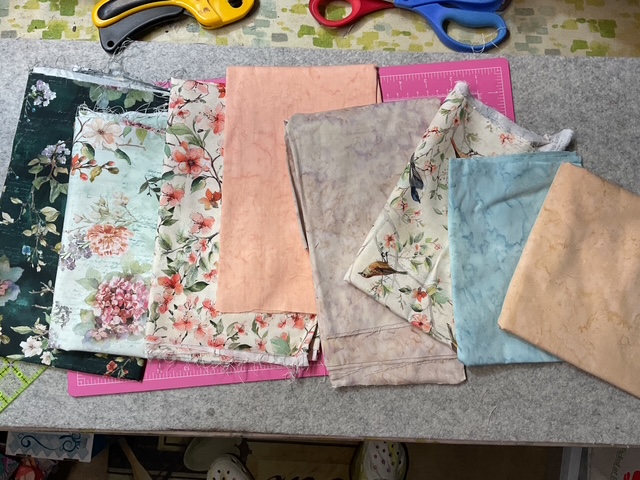
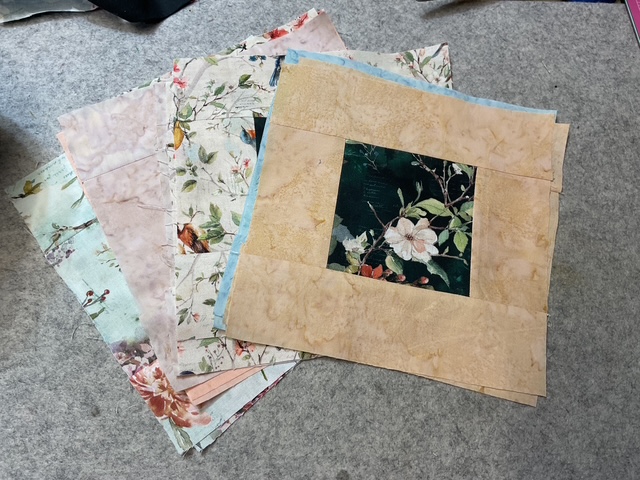
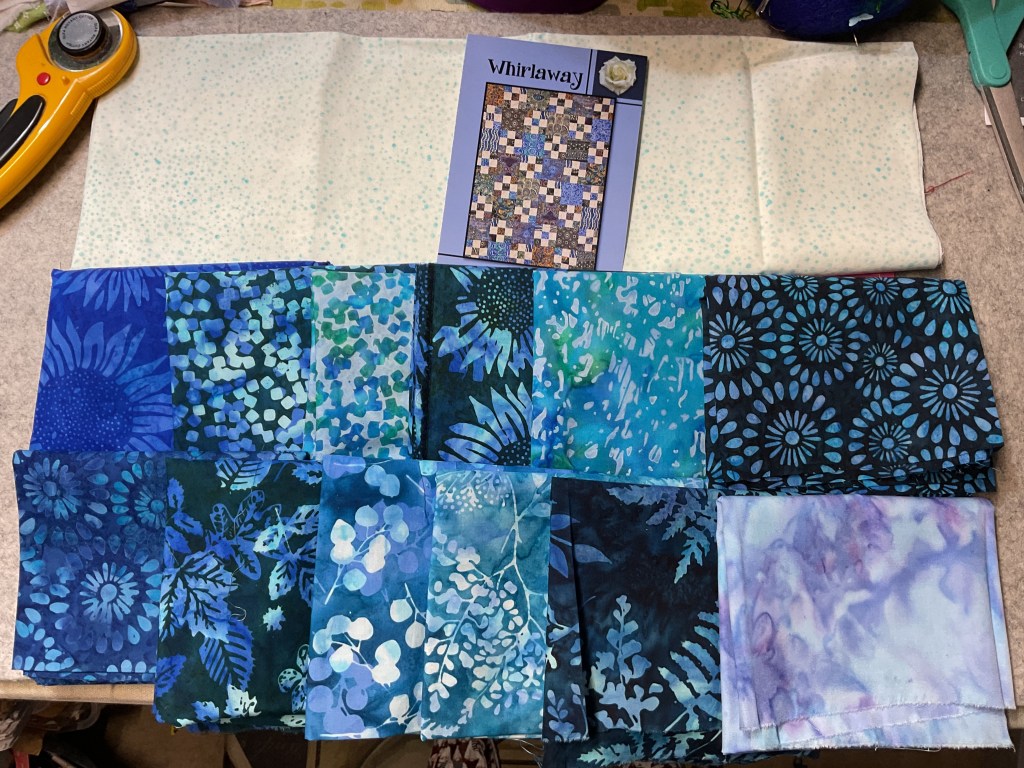
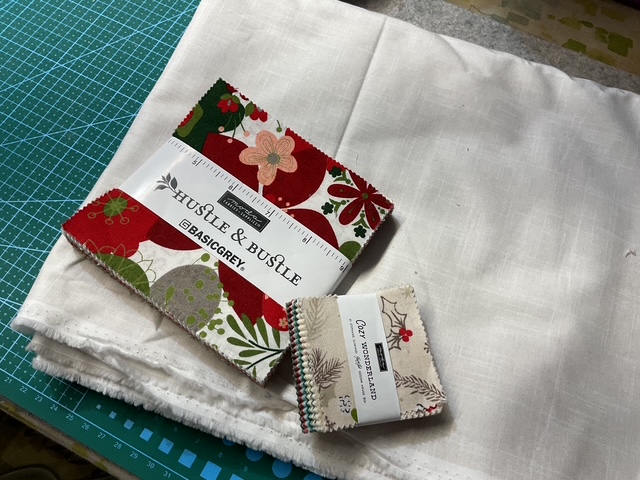
Probably the hardest thing about this pattern is choosing your 6 FQs! Of course, you can absolutely make more than one of these totes so you can can choose 6, 12, 18….or more FQs. LOL!
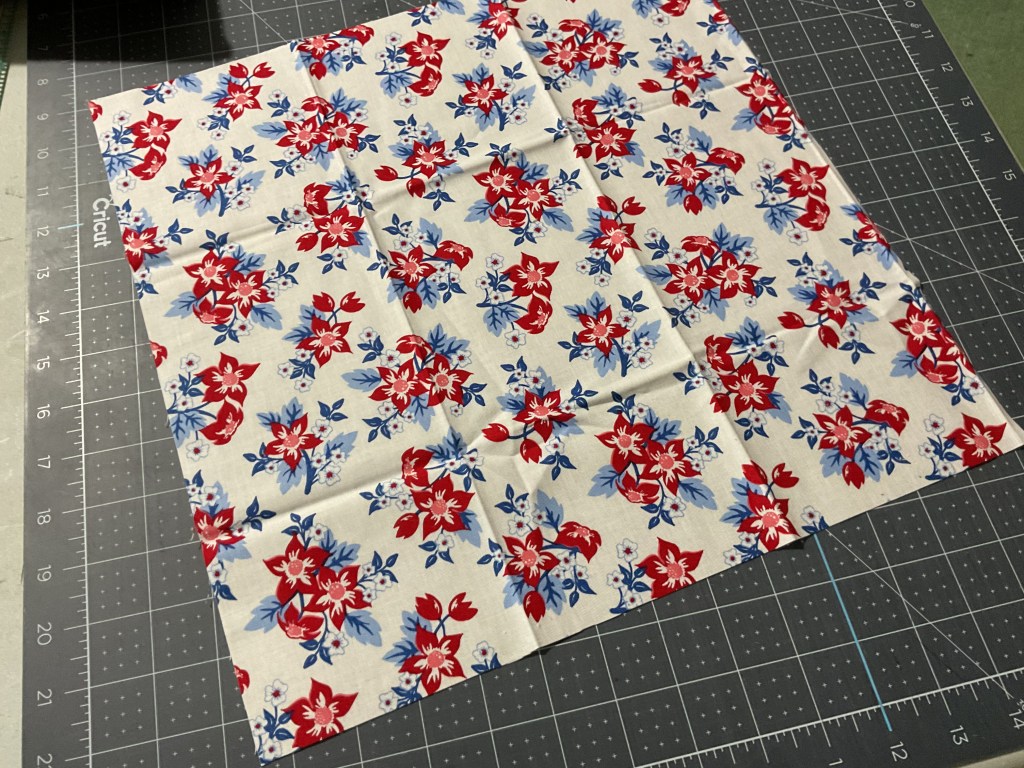
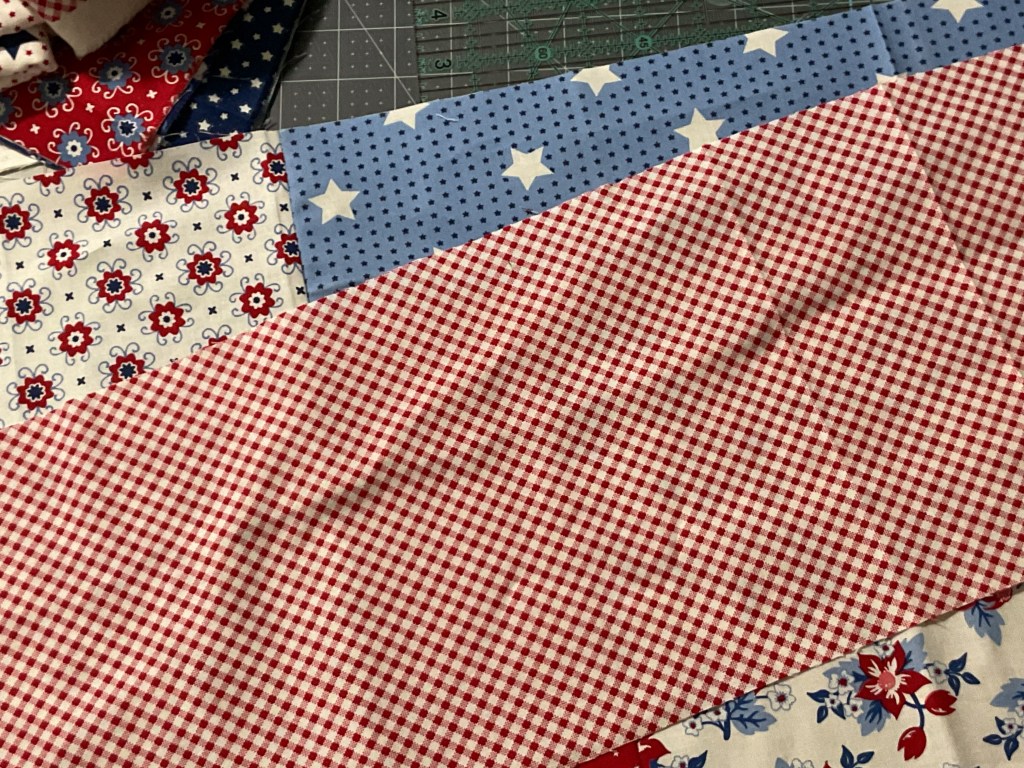
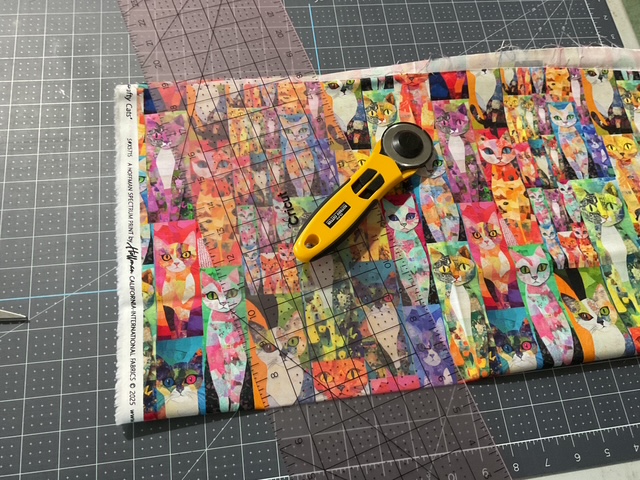
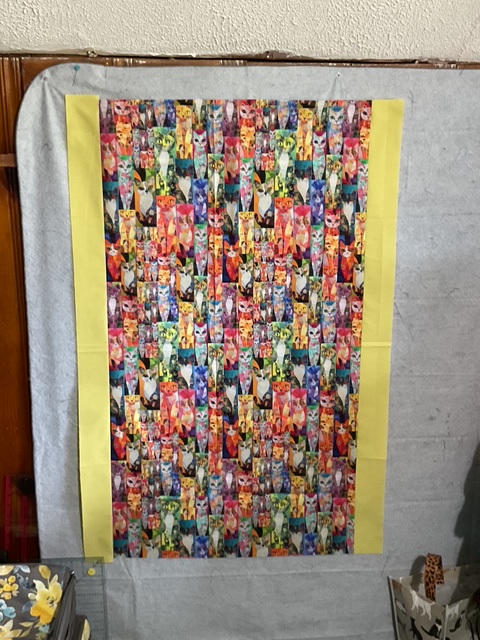
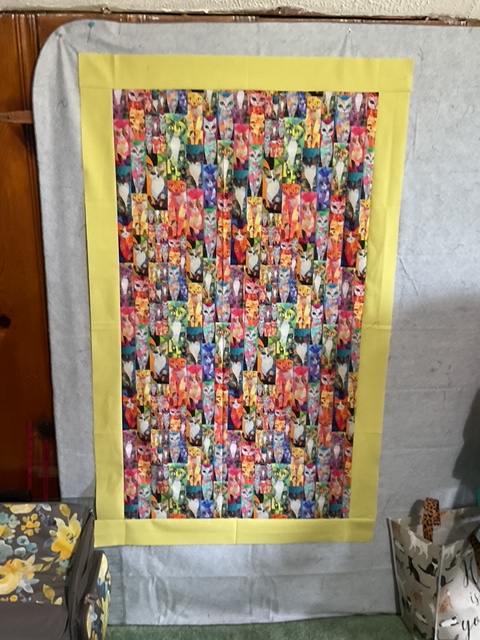
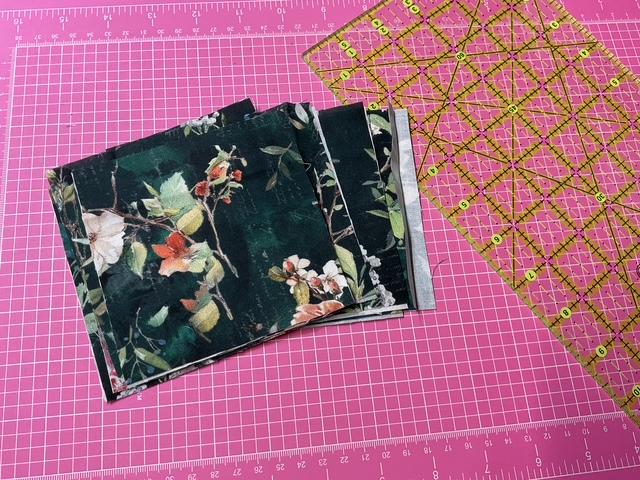
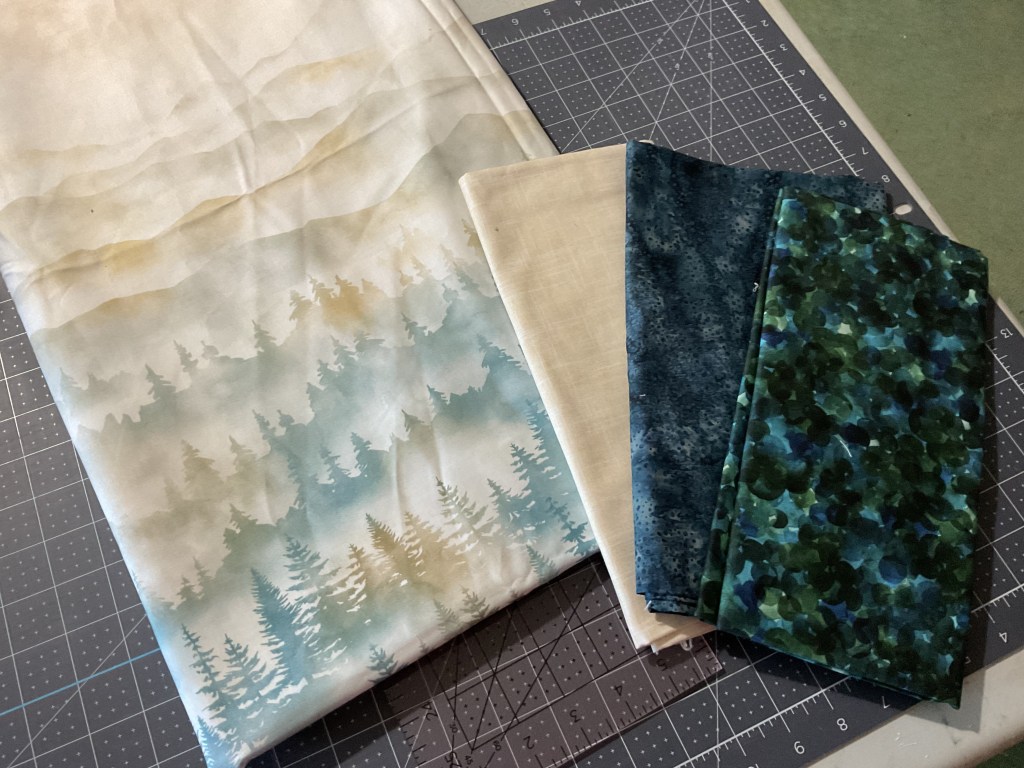
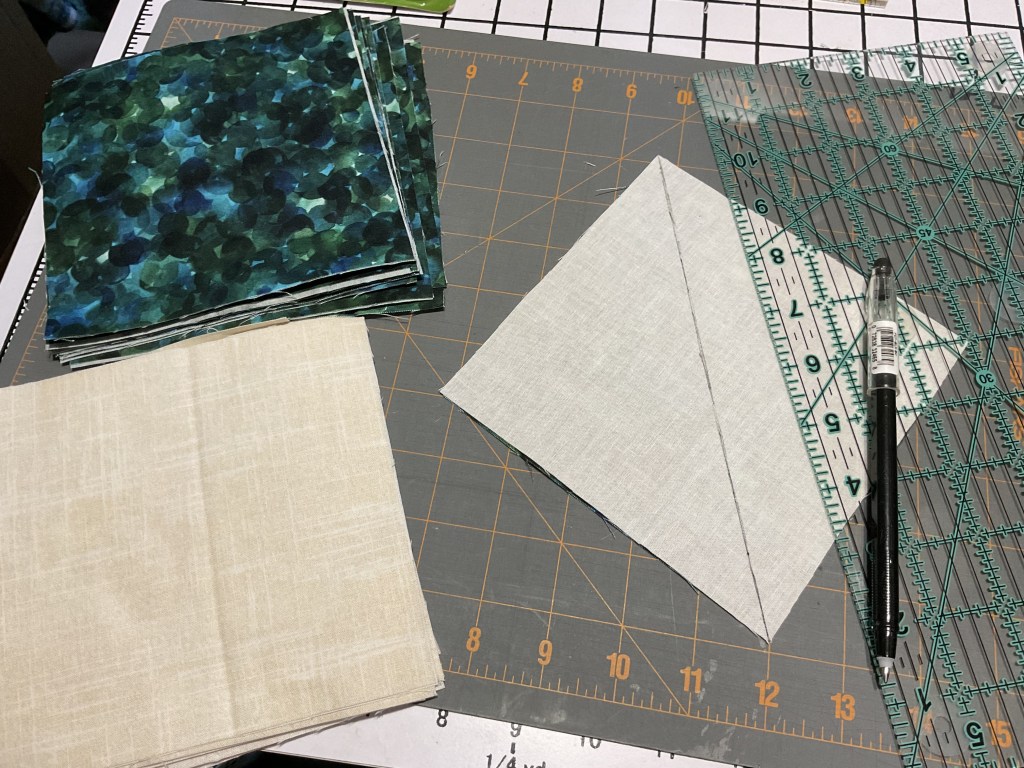
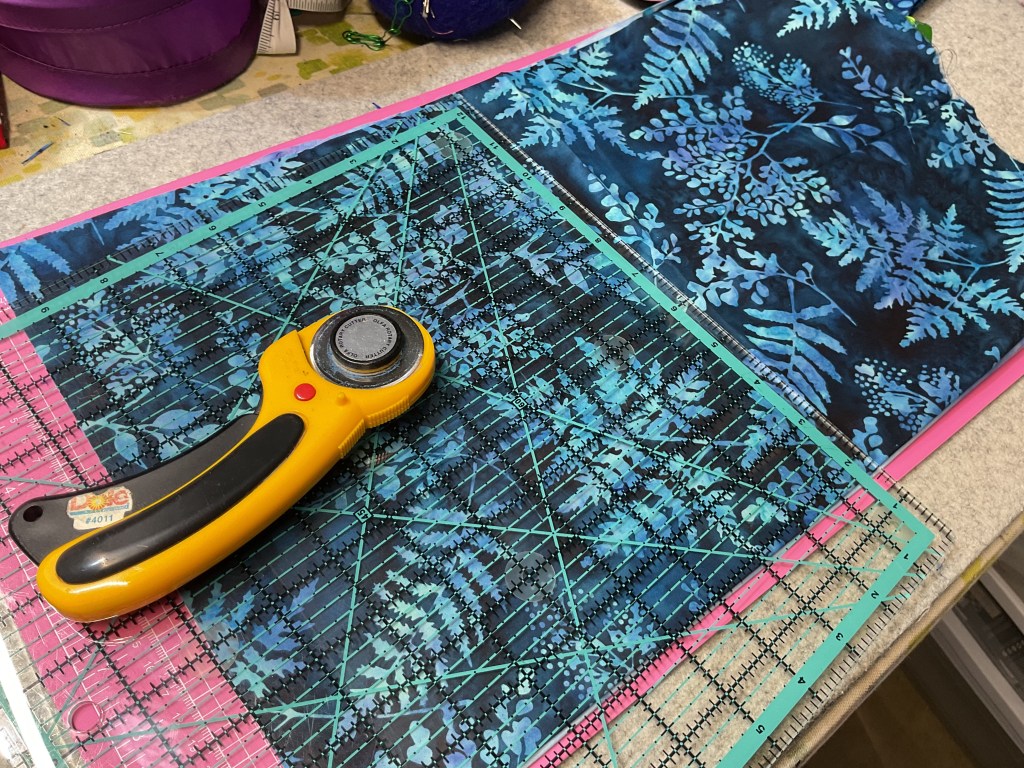
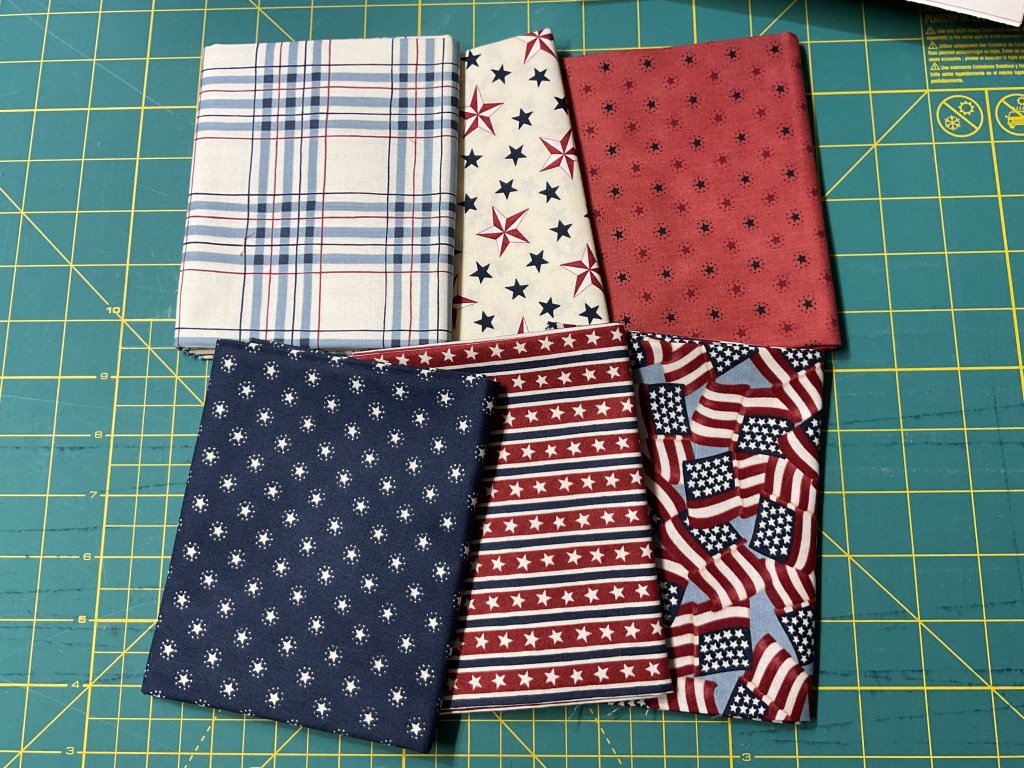
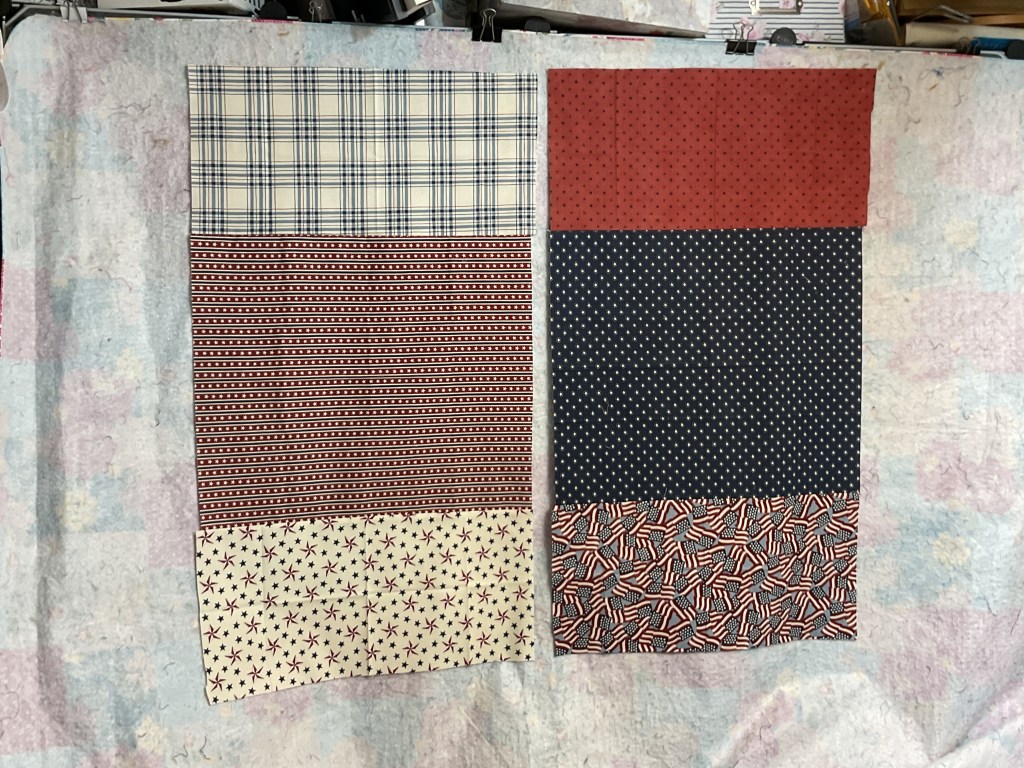
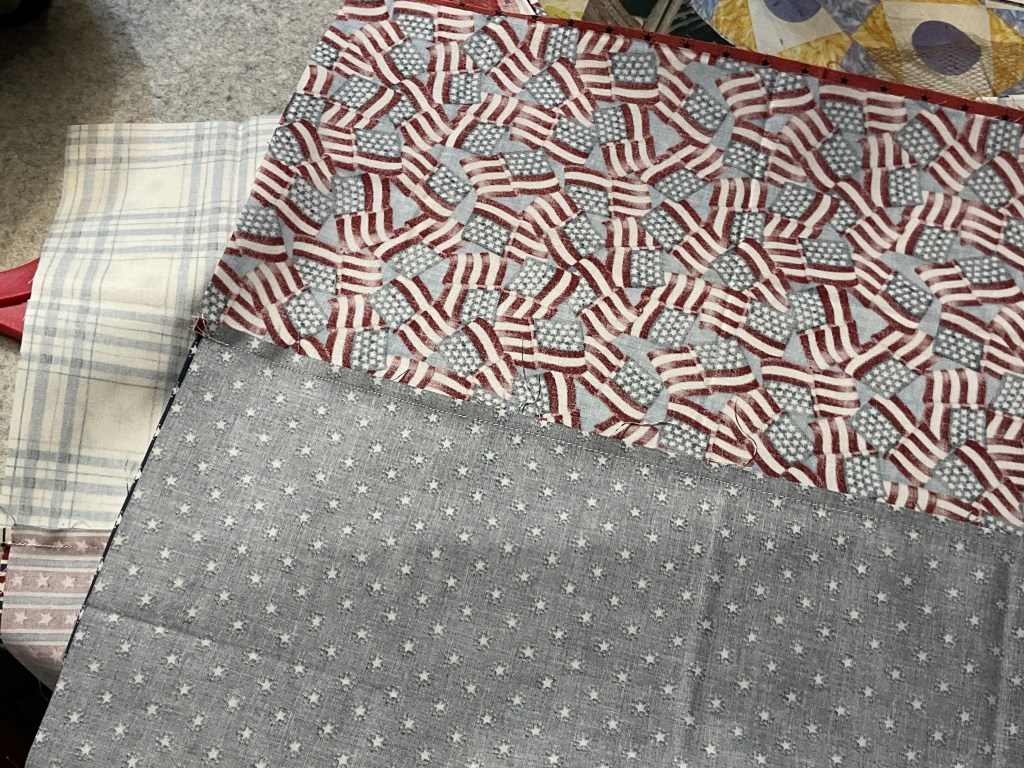
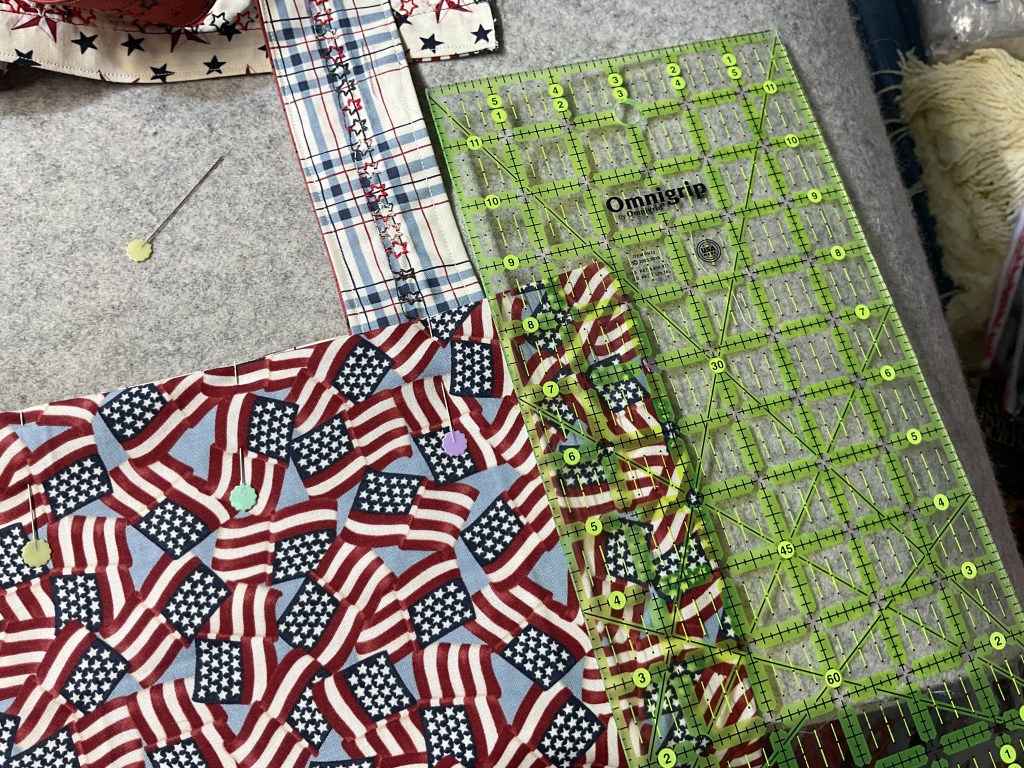
I settled on these 6 patriotic FQs from Deb Strain’s America 250 Years collection by Moda Fabrics. What a surprise – I’m making red, white, and blue projects for the Summer Challenge. Ha ha!
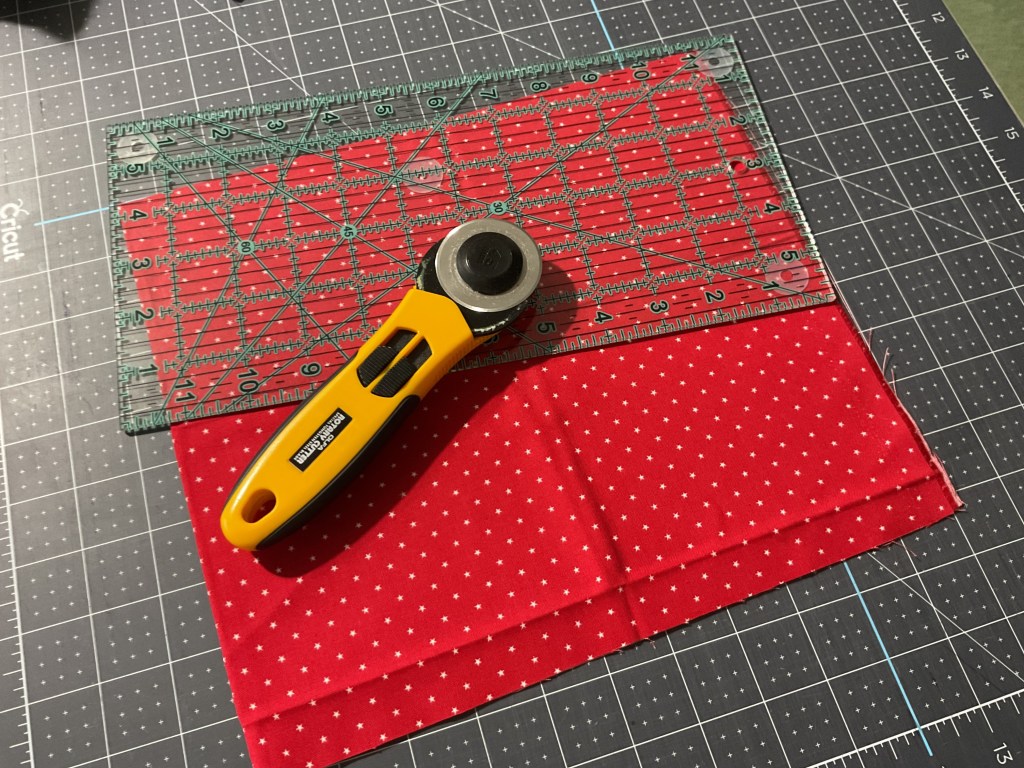
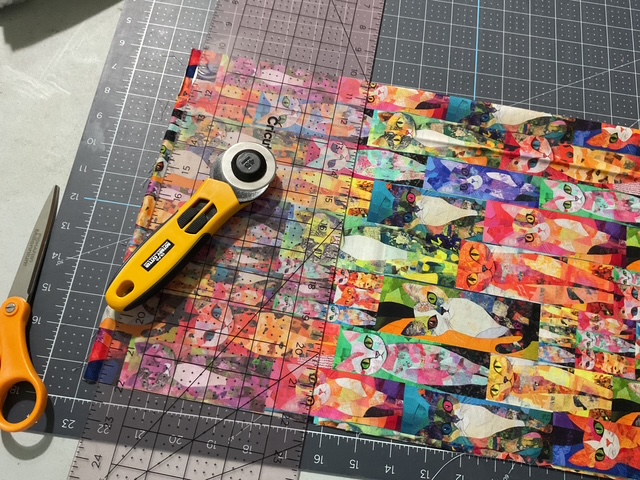
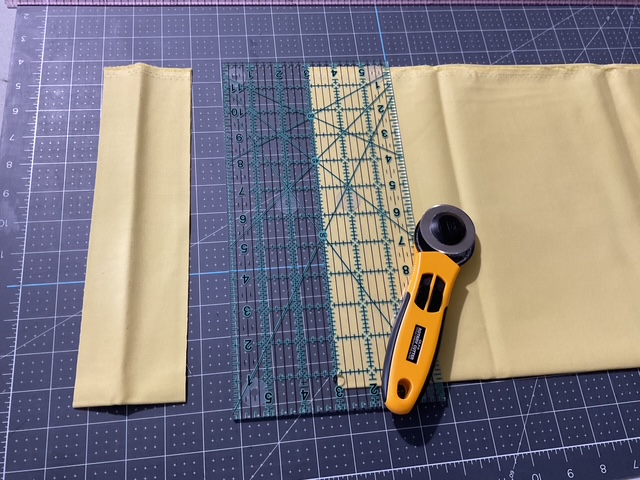
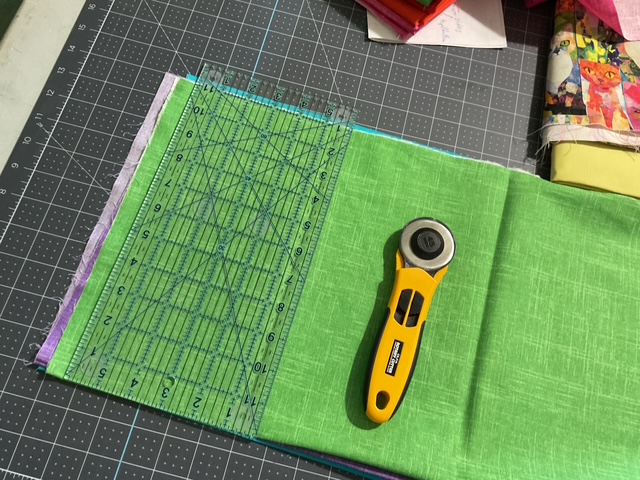
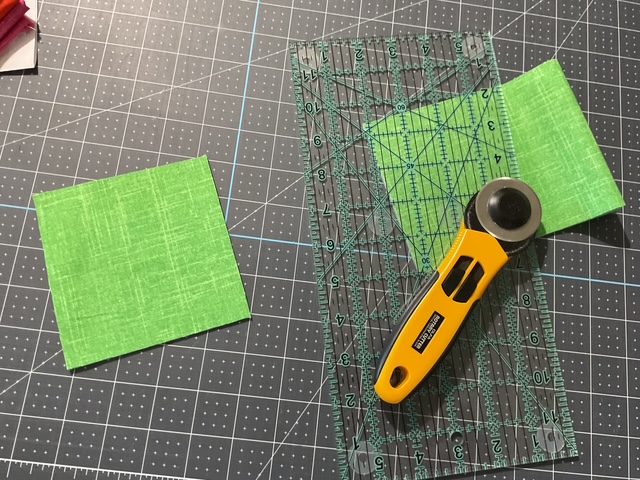
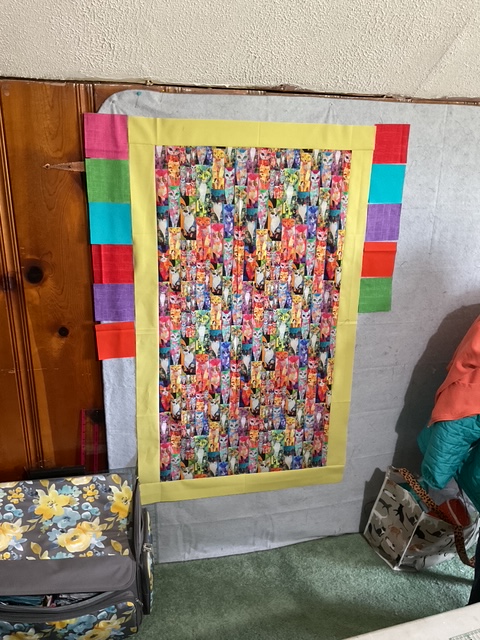
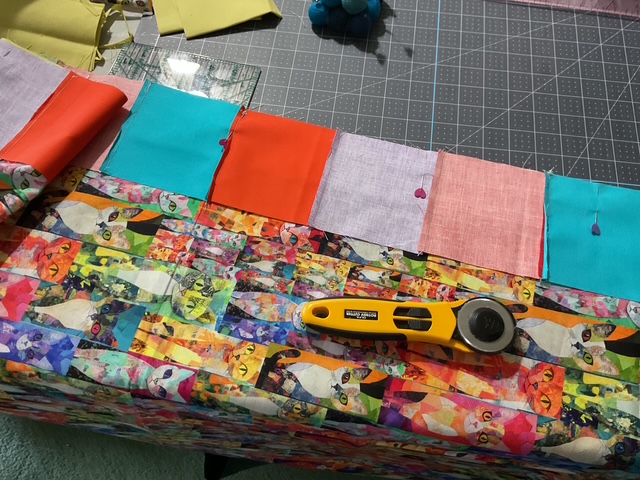
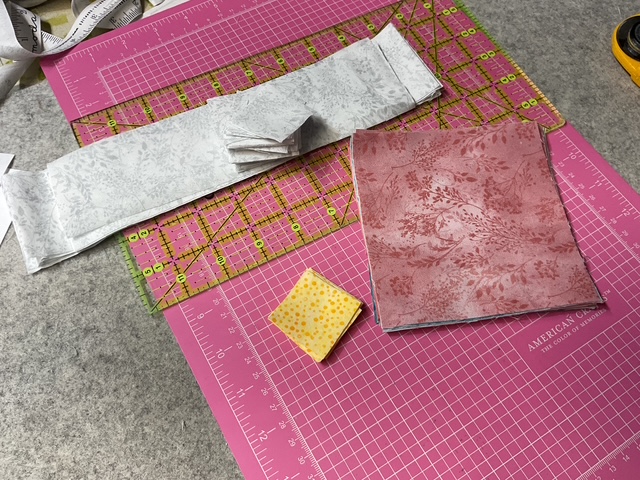
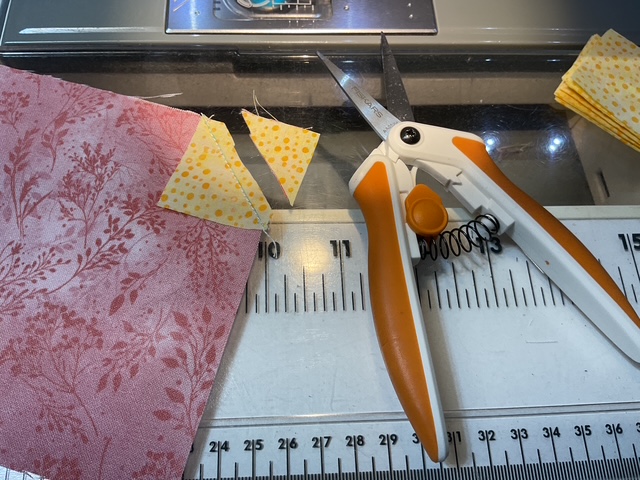
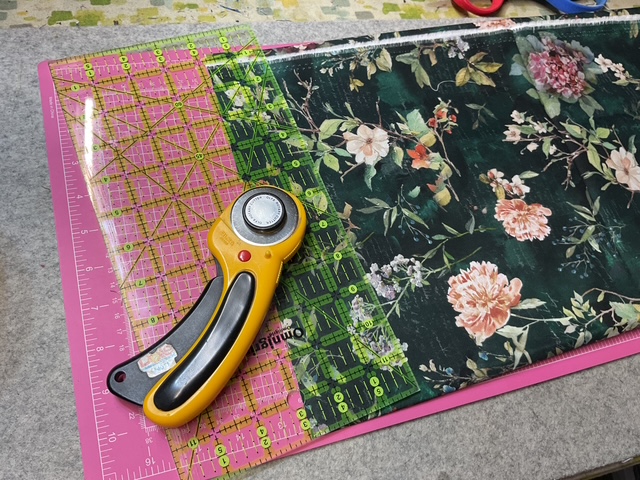
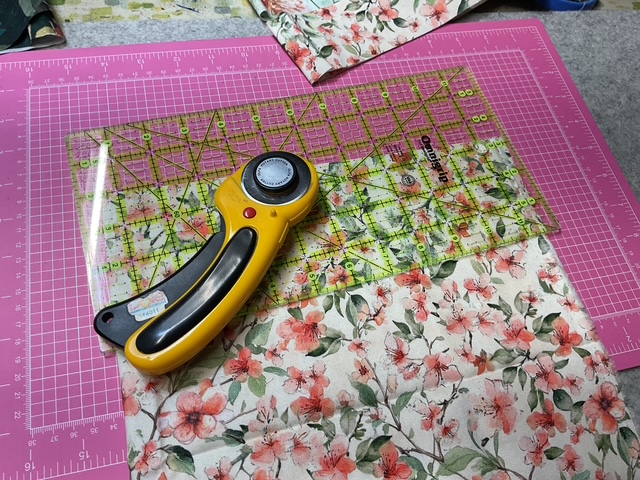
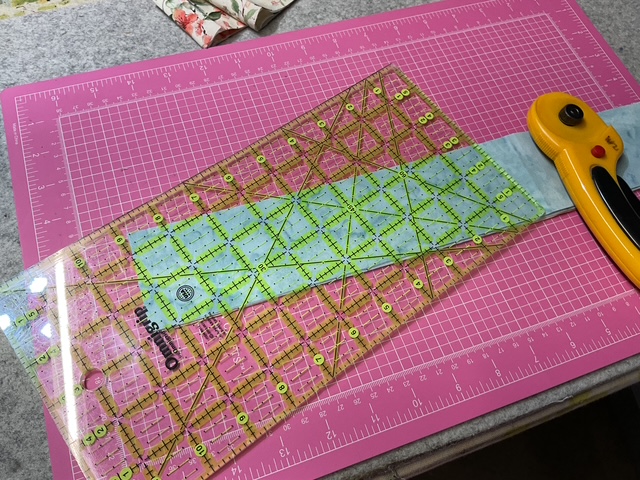
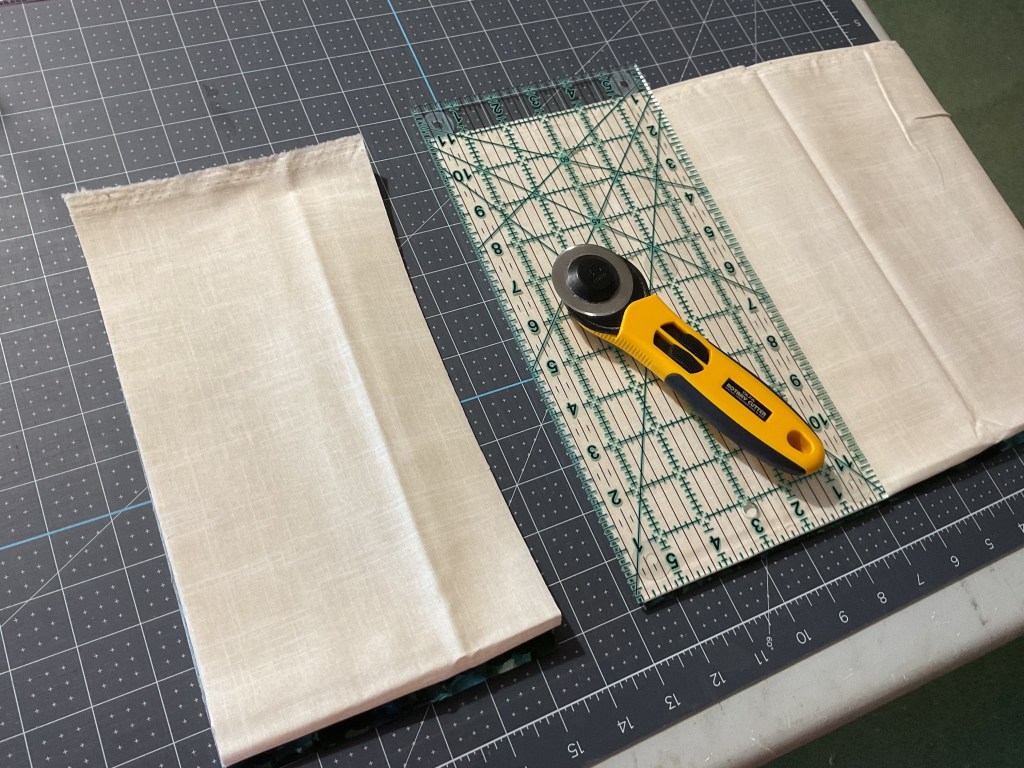
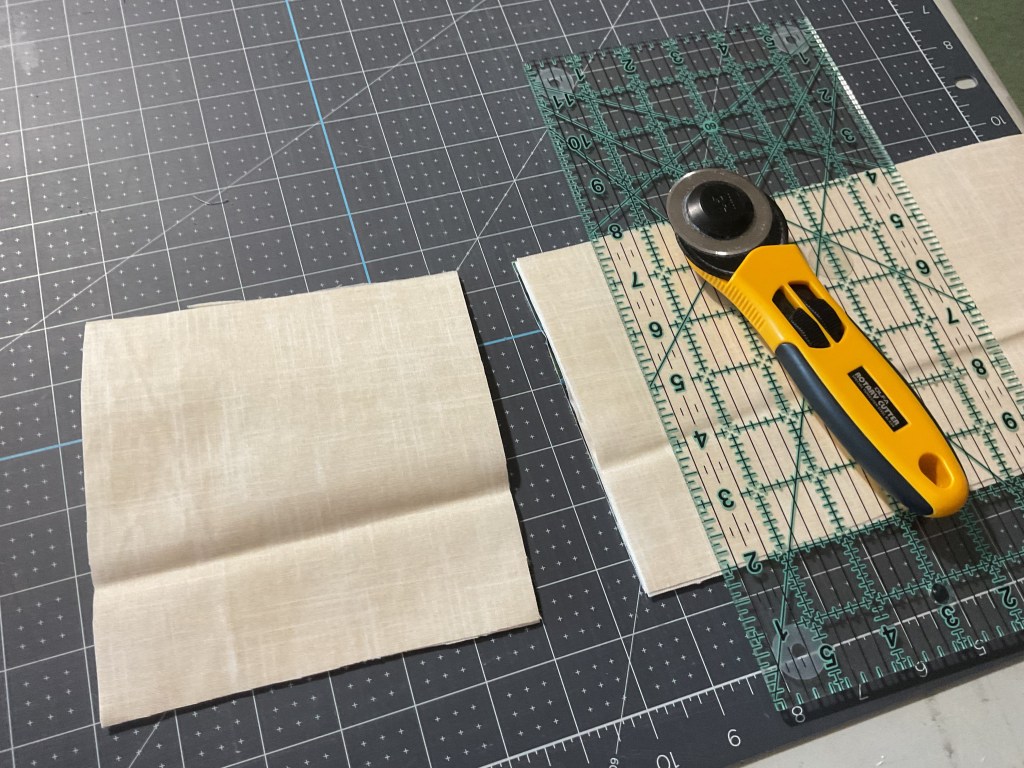
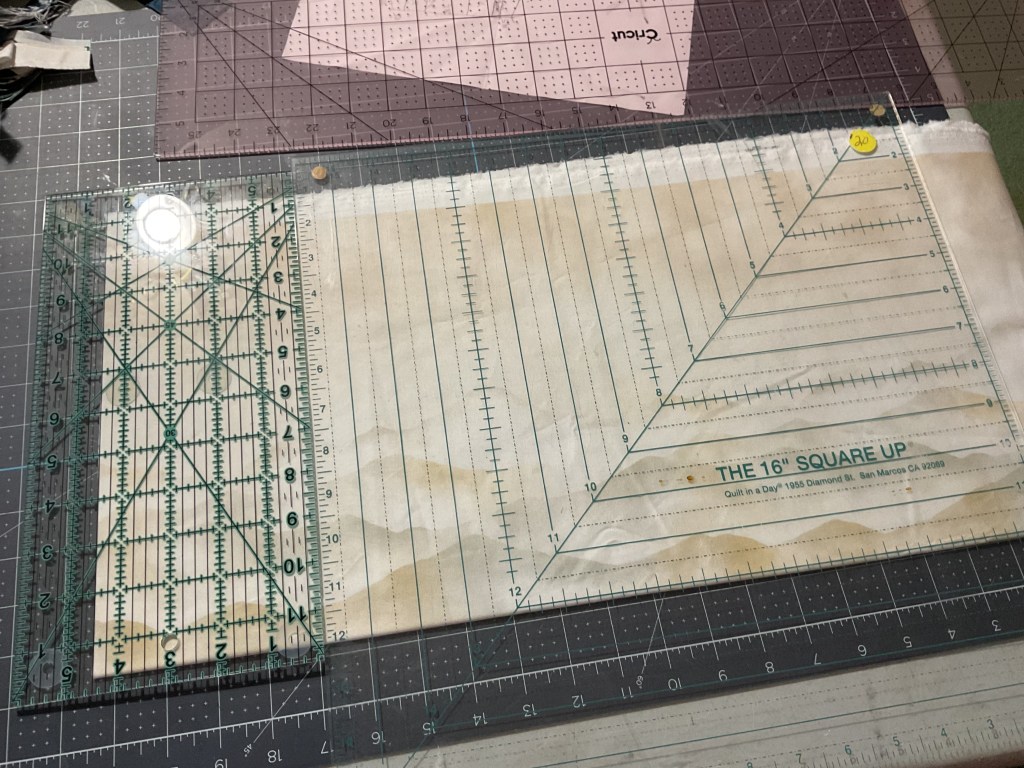
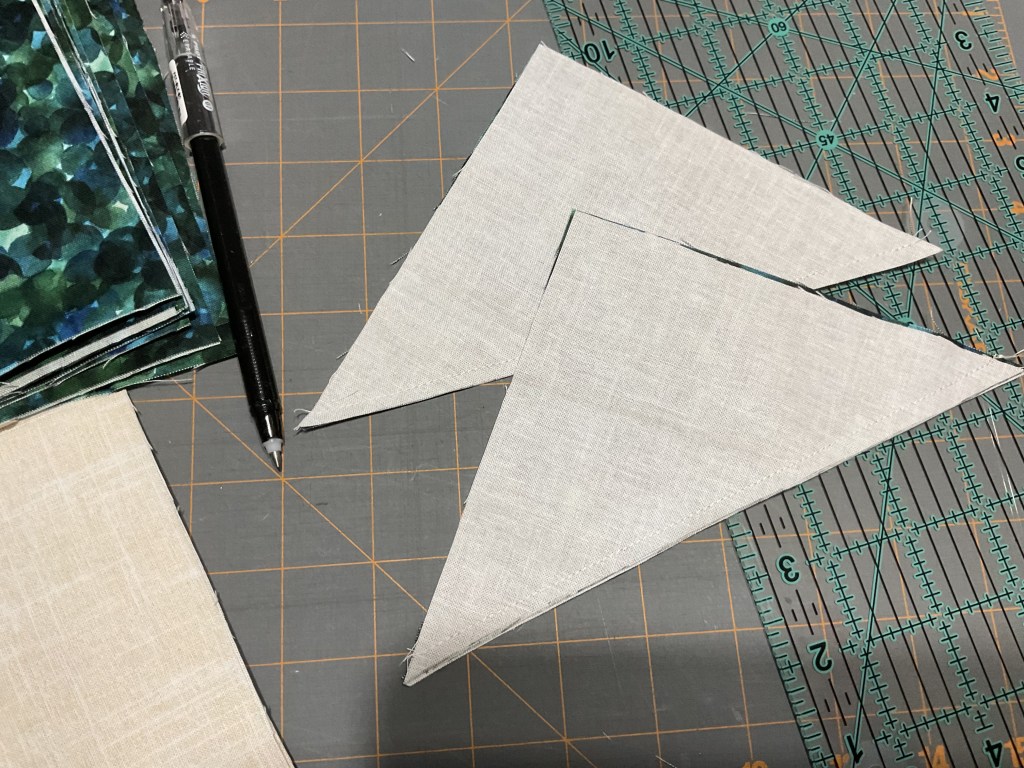
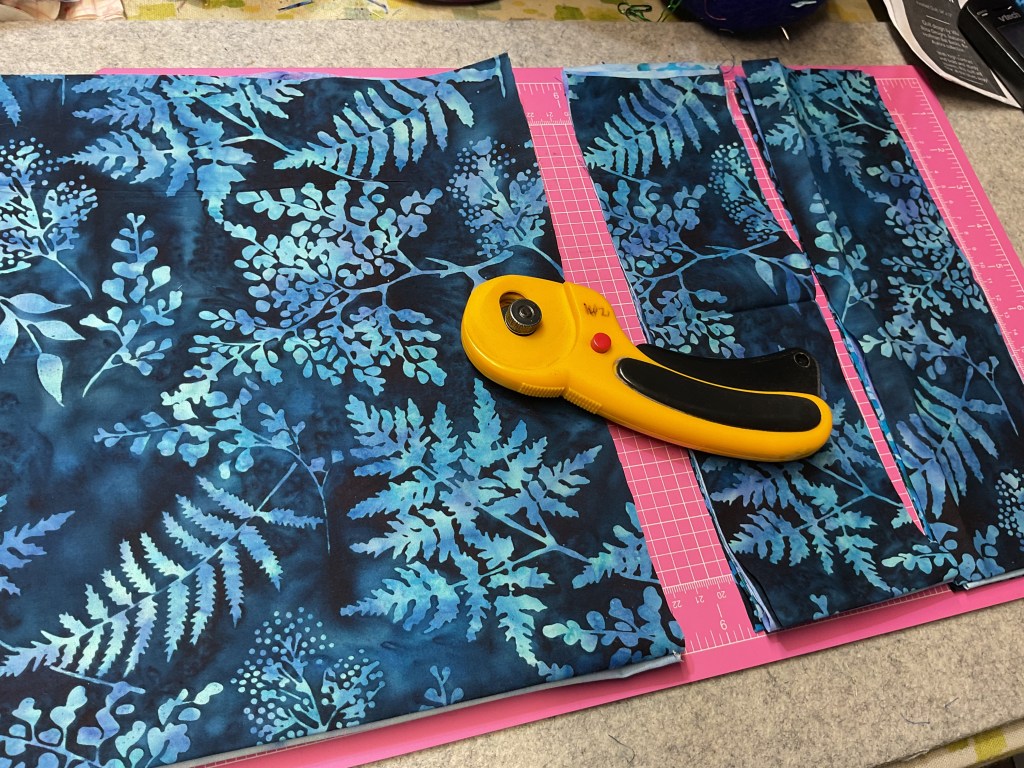
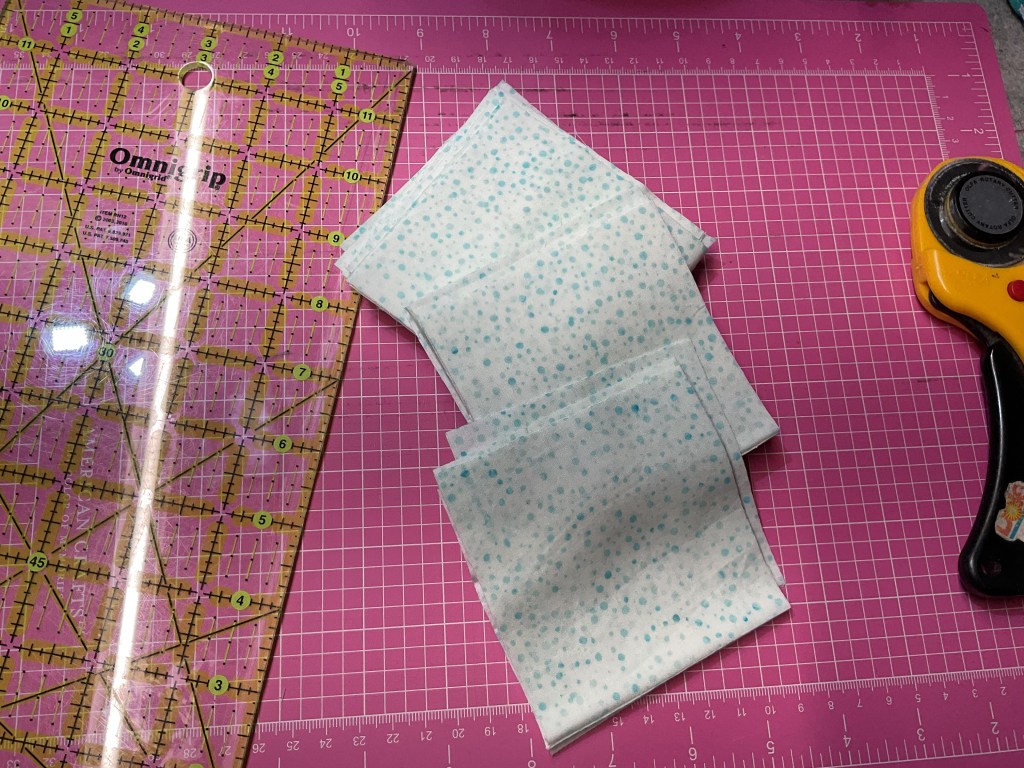
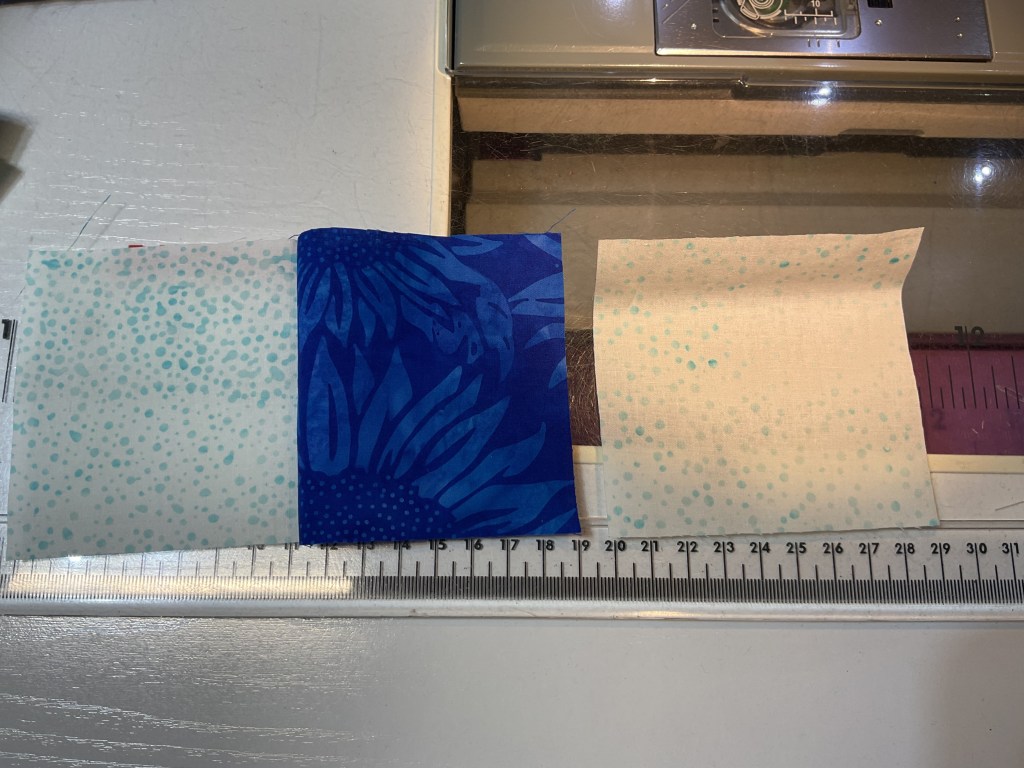
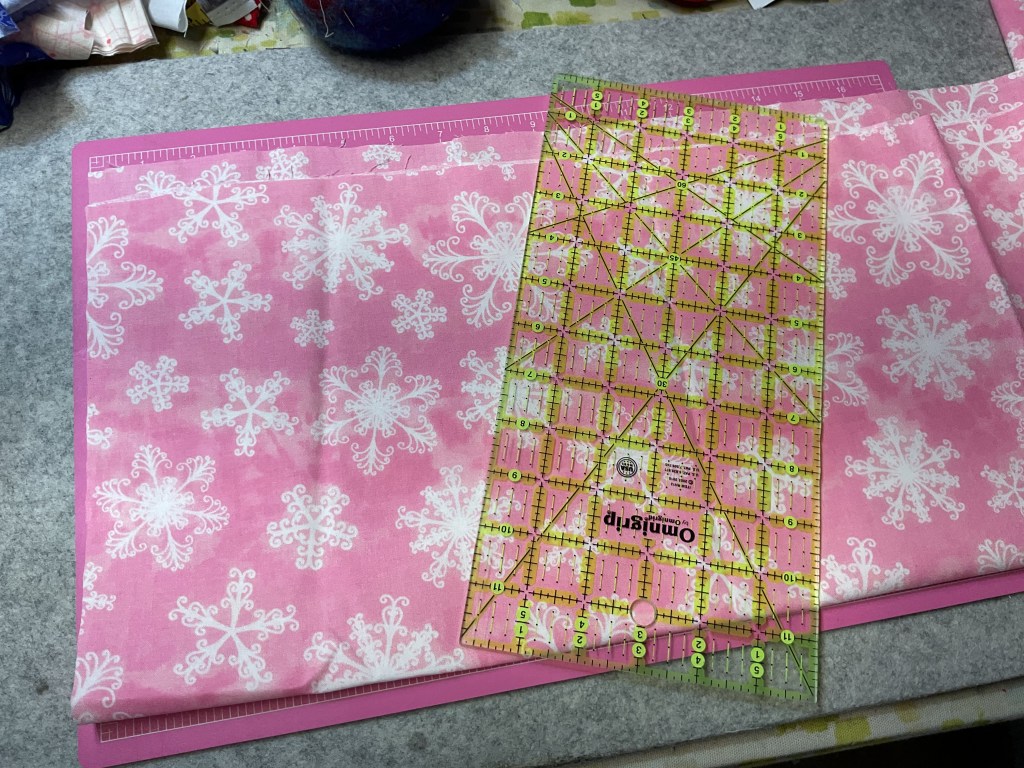
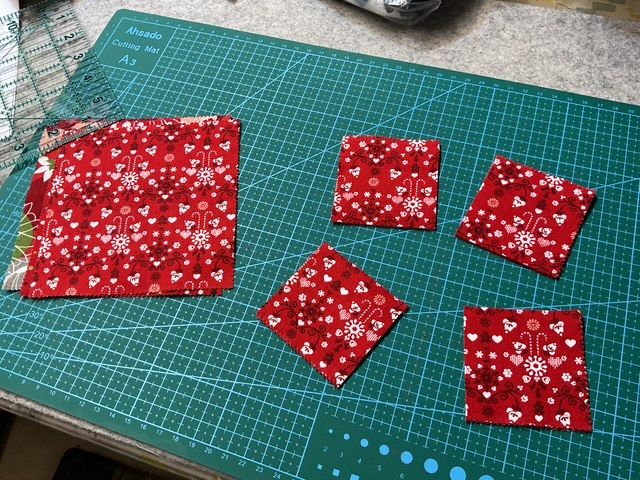
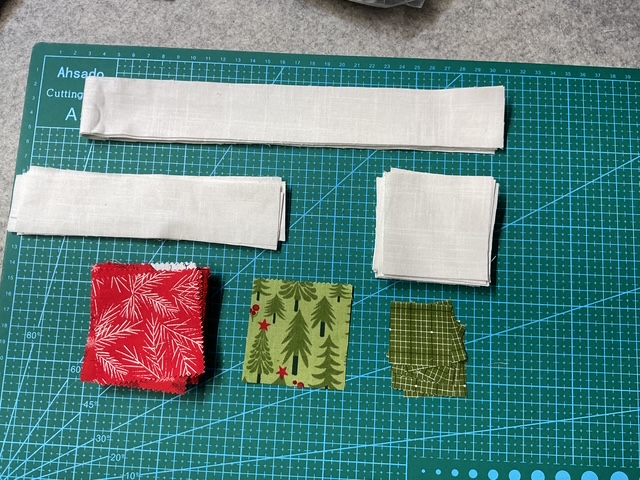
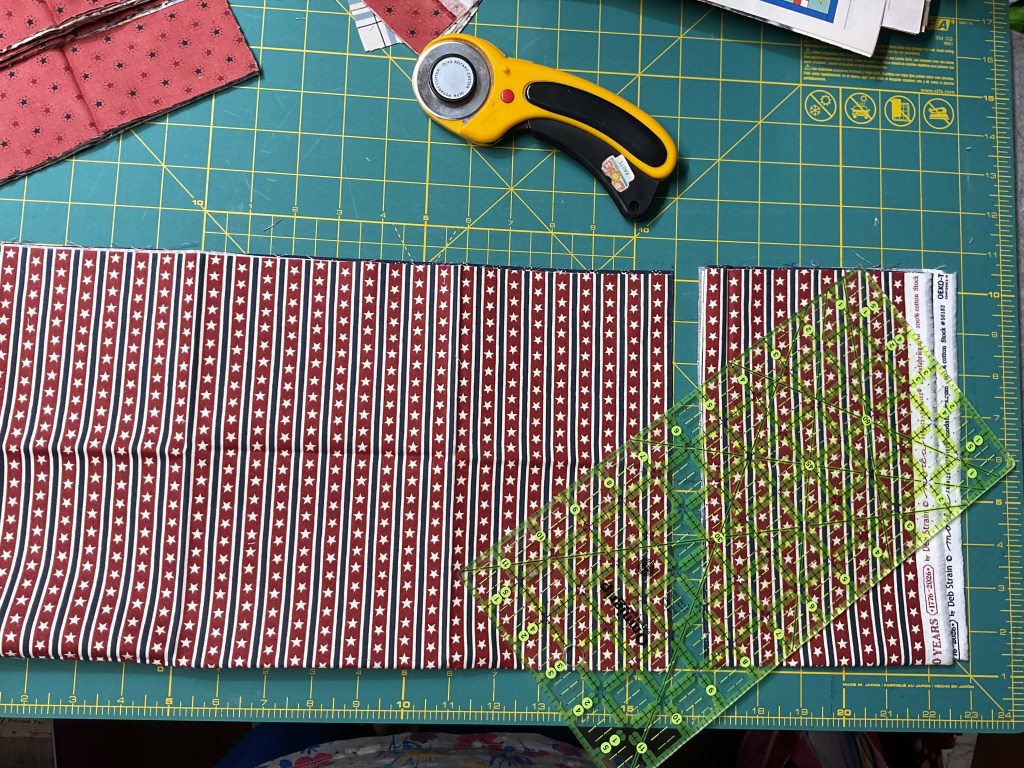
Next up is cutting. I layered my FQs together so I only had to cut once. Do likewise if you feel comfortable, but cutting 1 layer at a time is perfectly okay too.
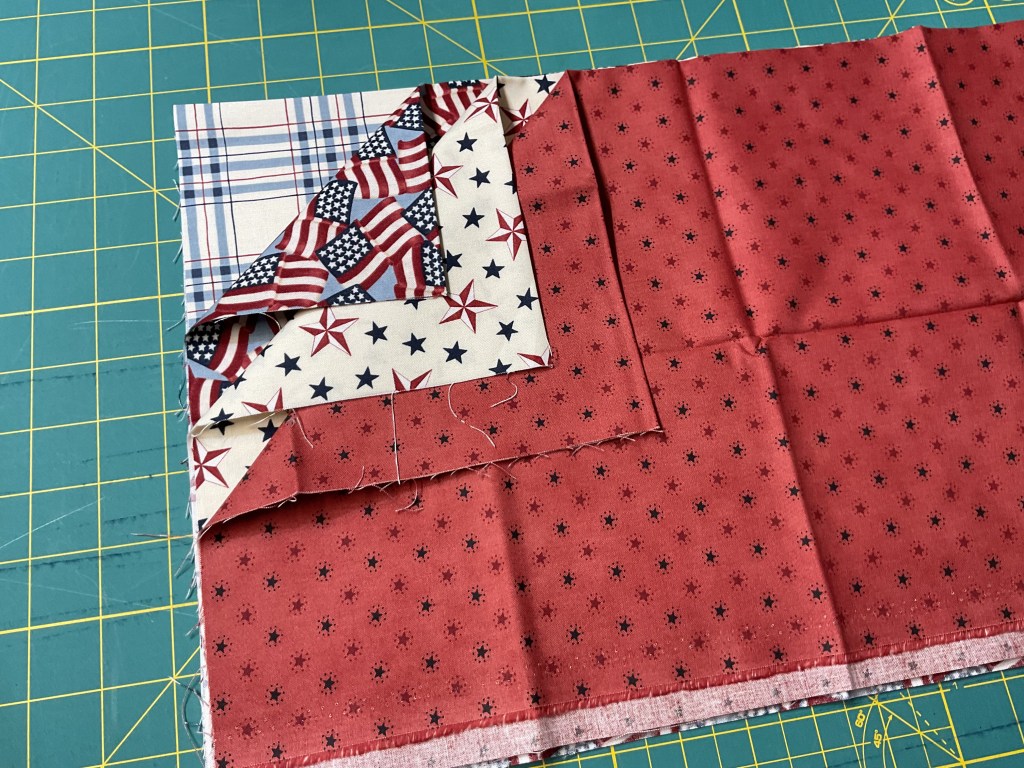
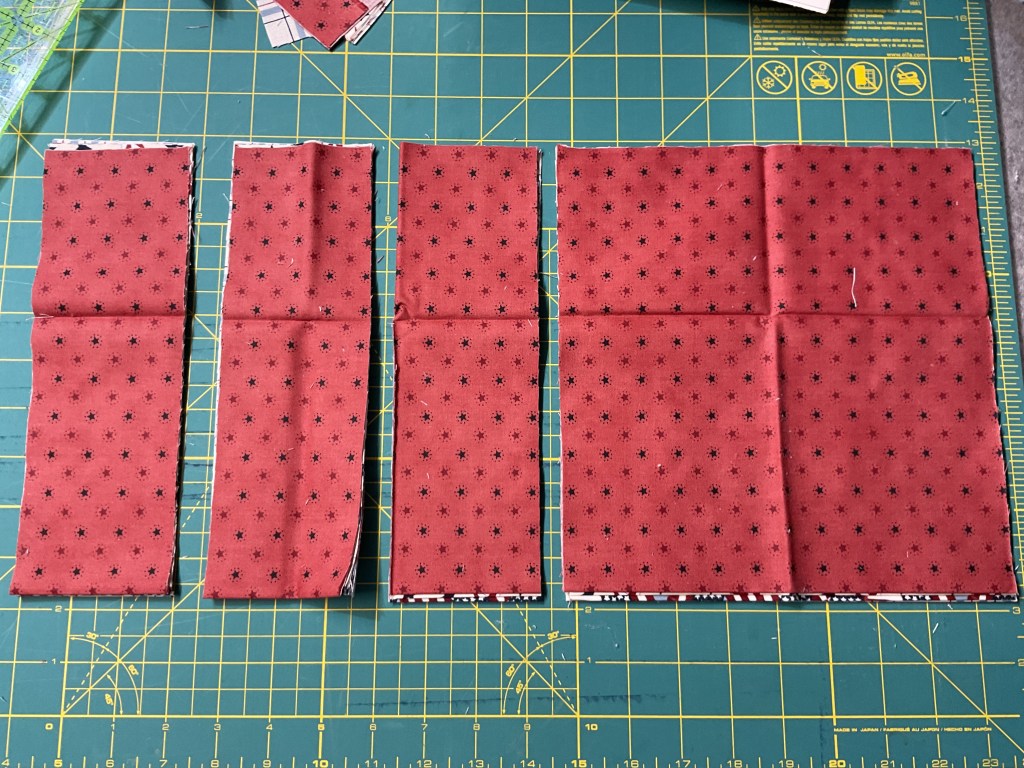
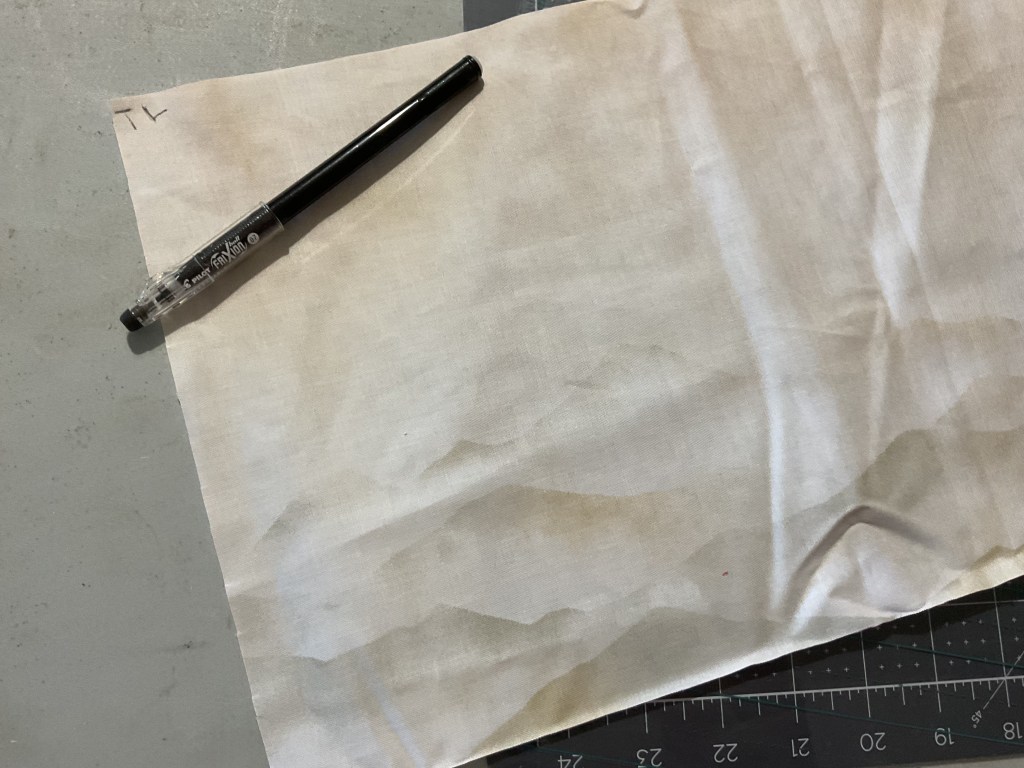
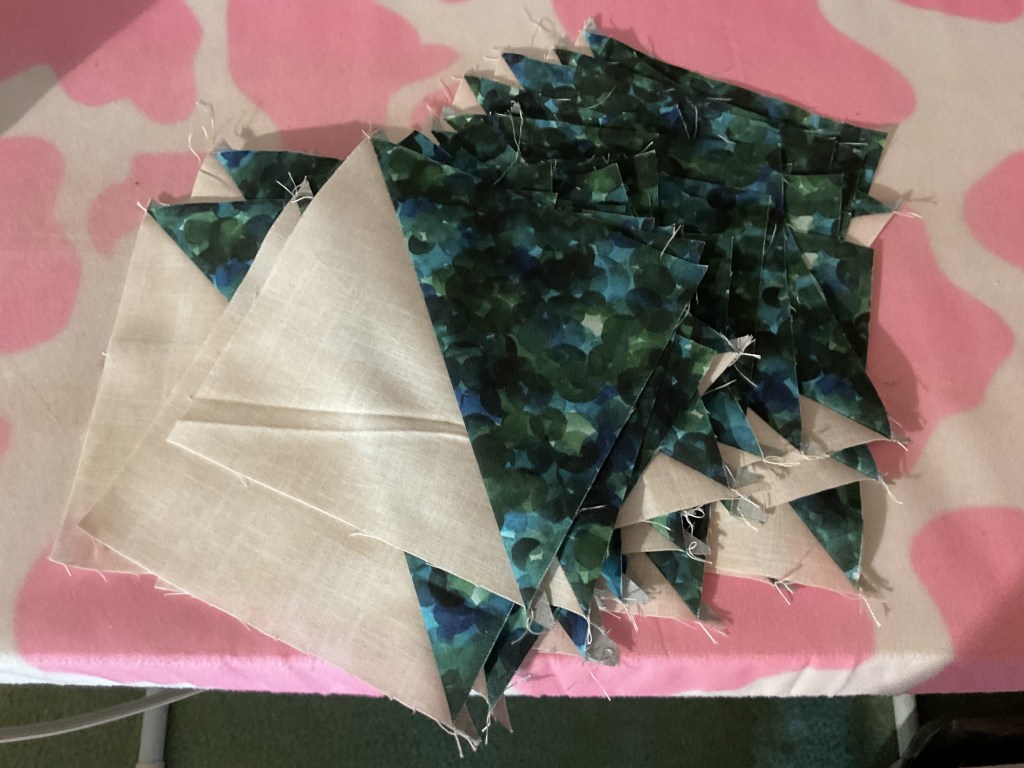
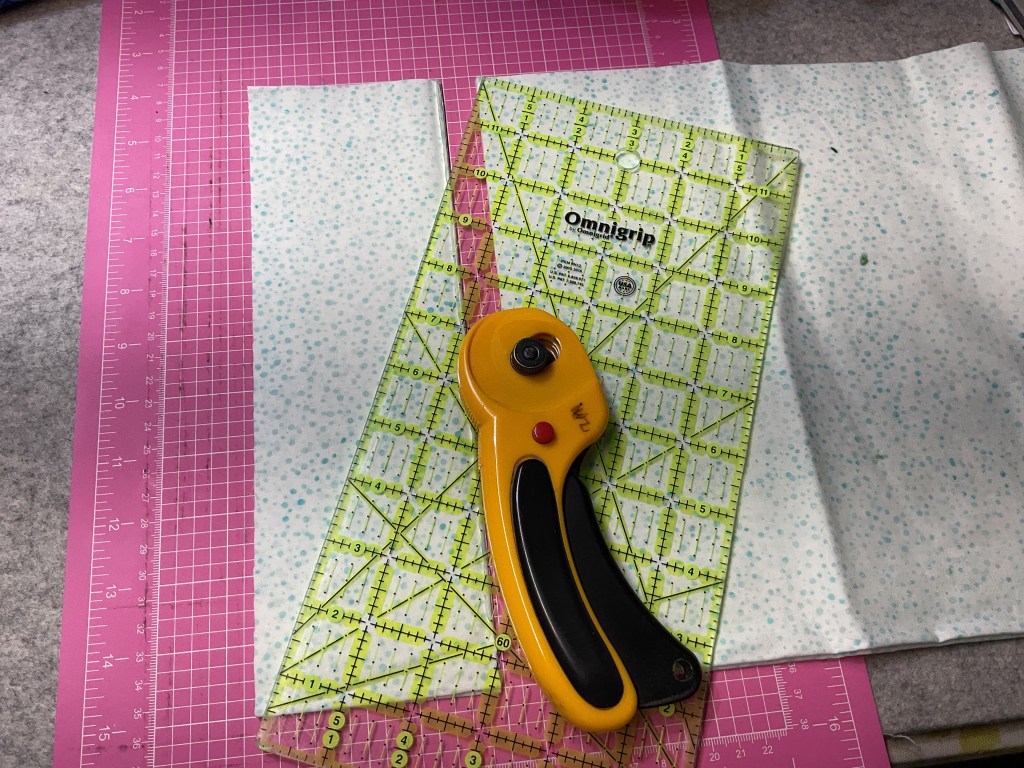
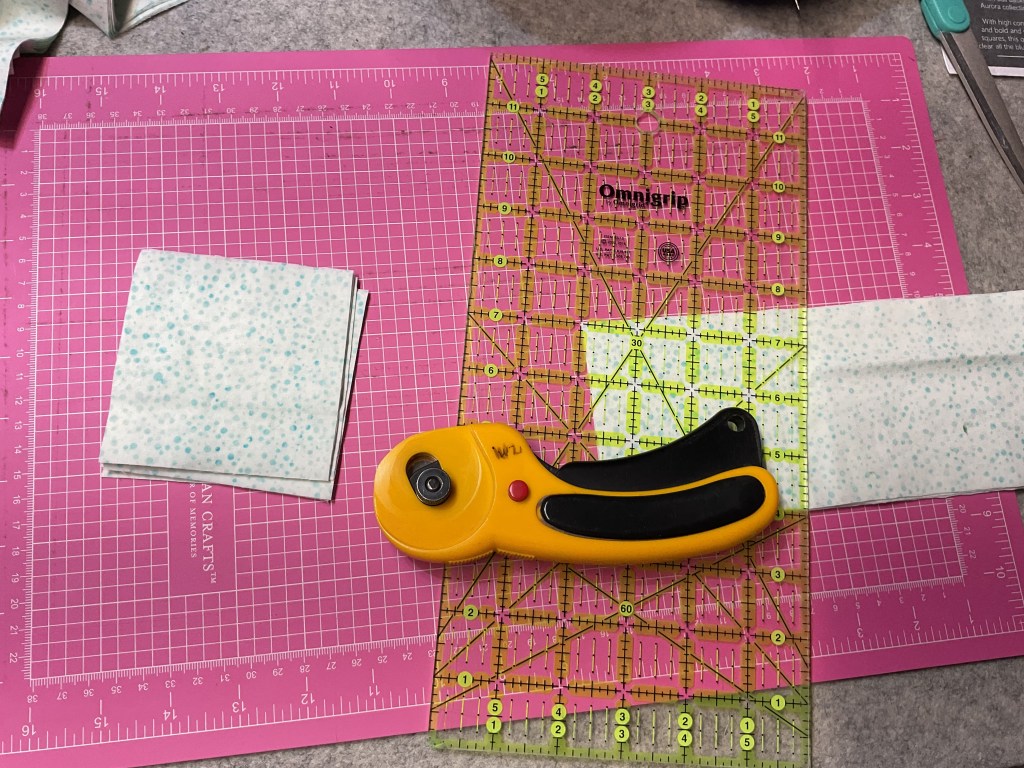
Now to cut the other 2 FQs. And with that, the cutting is finished. Wow! That was quick!
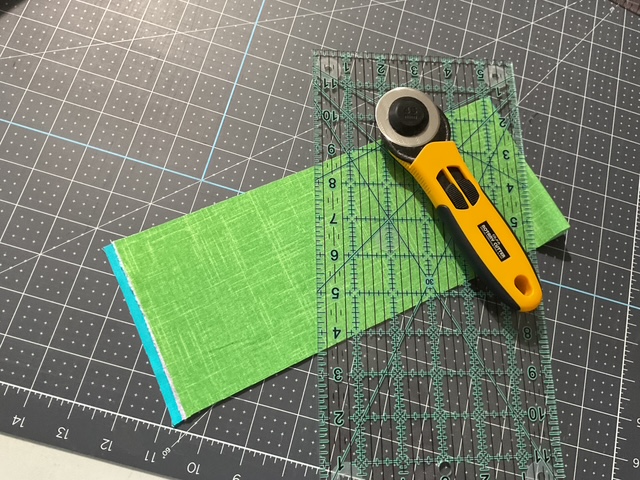
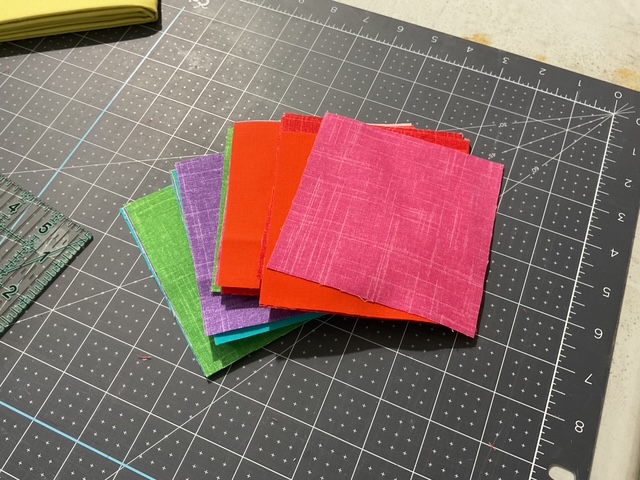
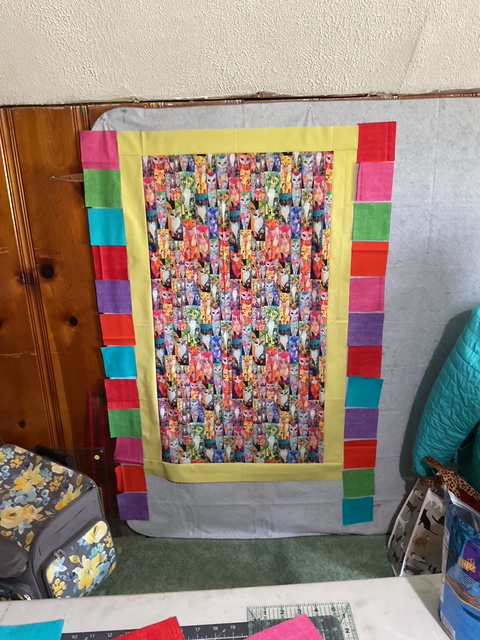
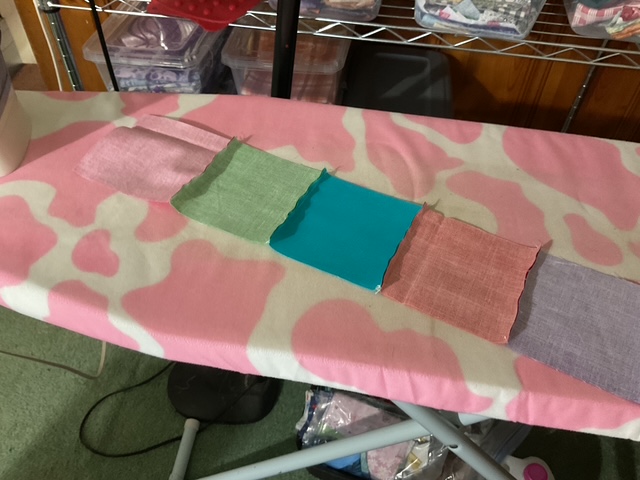
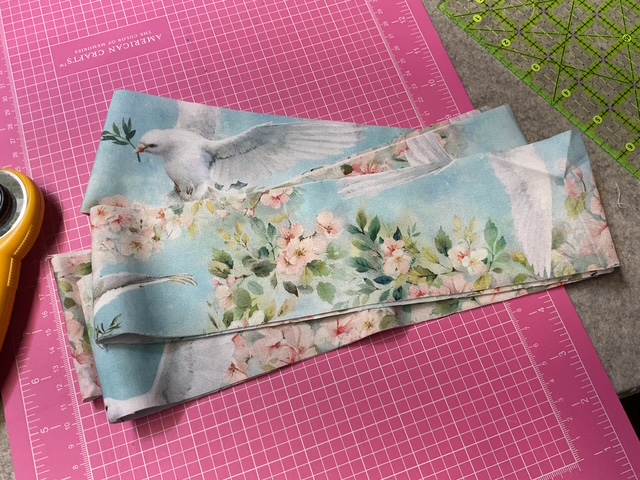
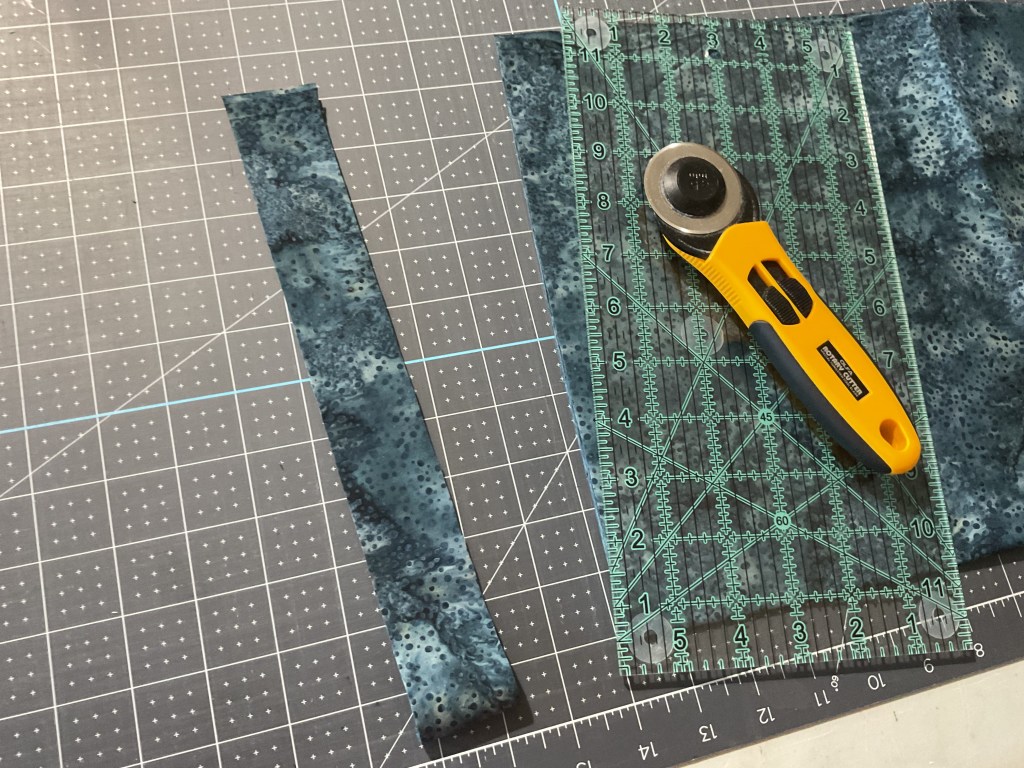
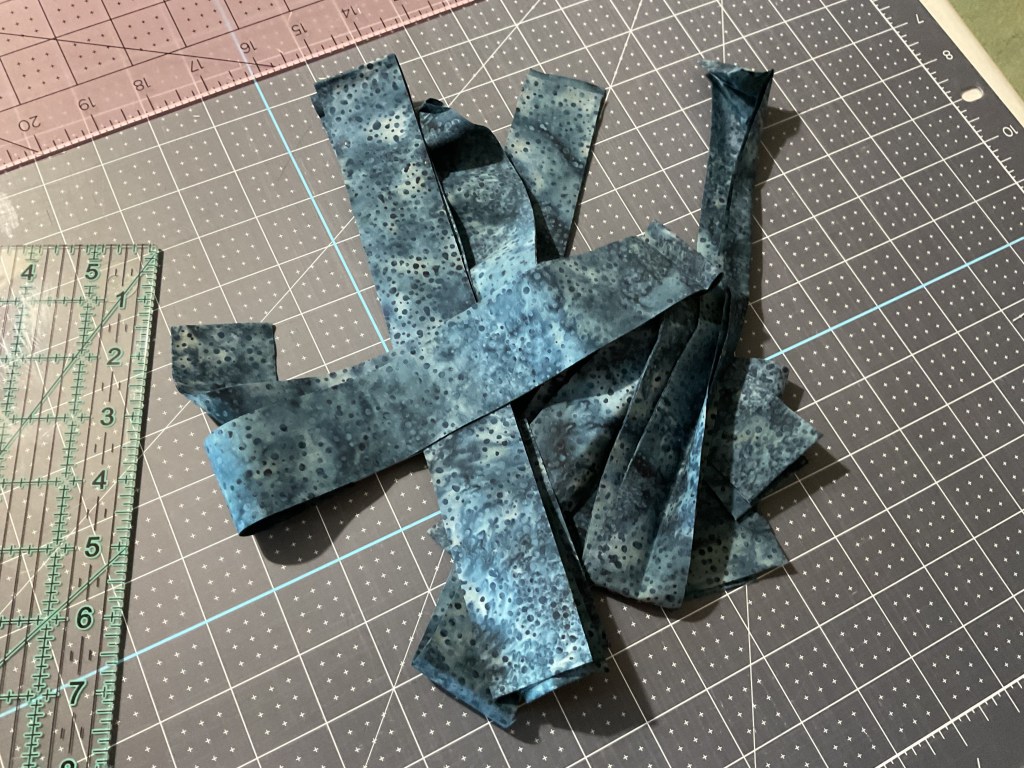
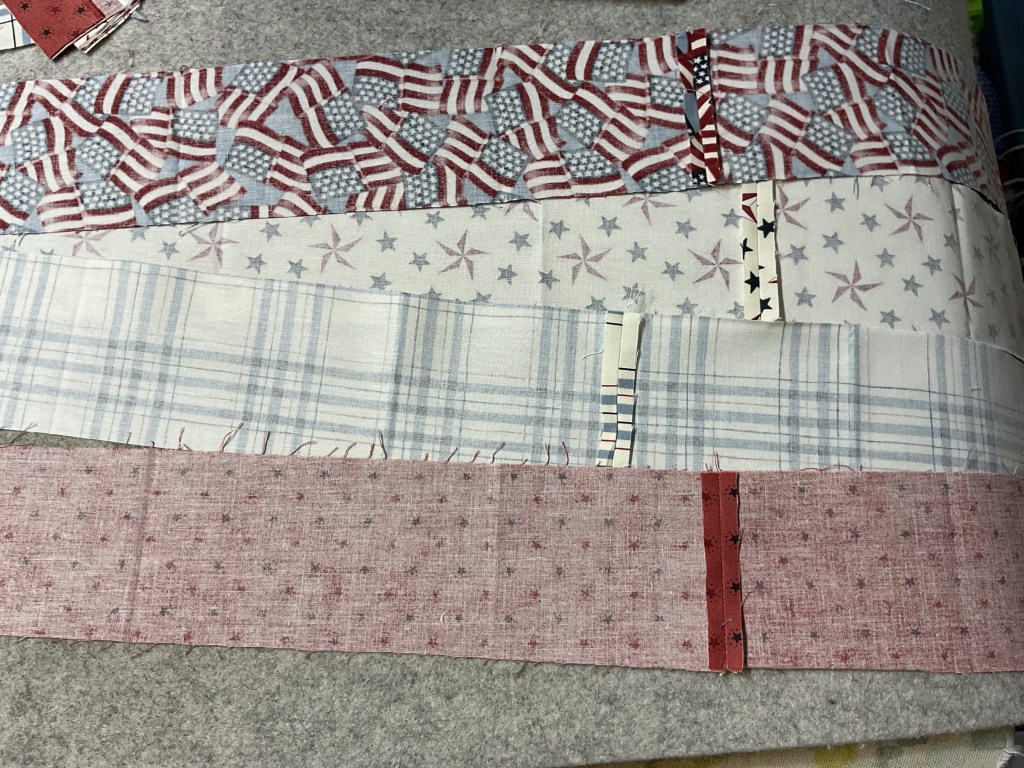
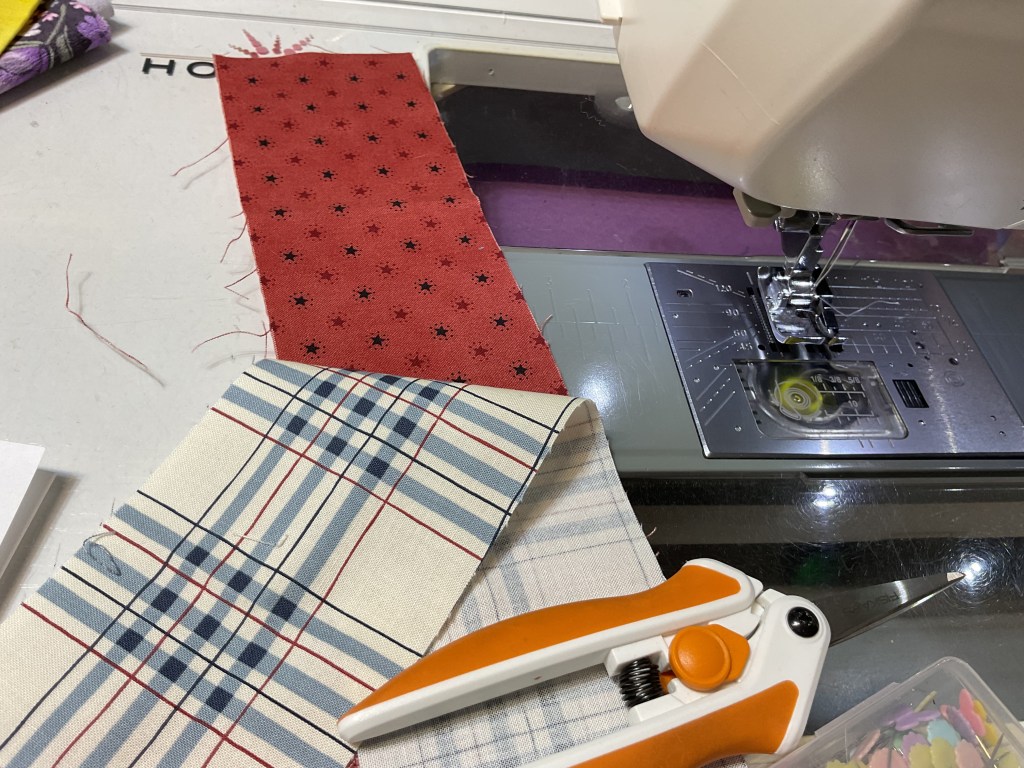
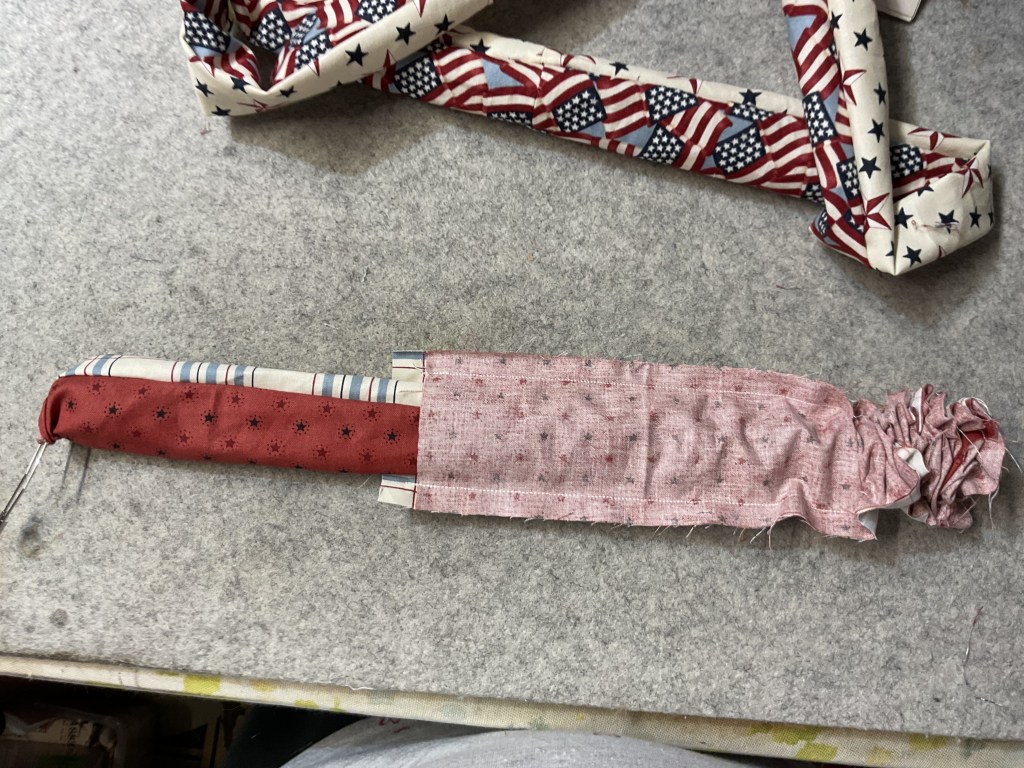
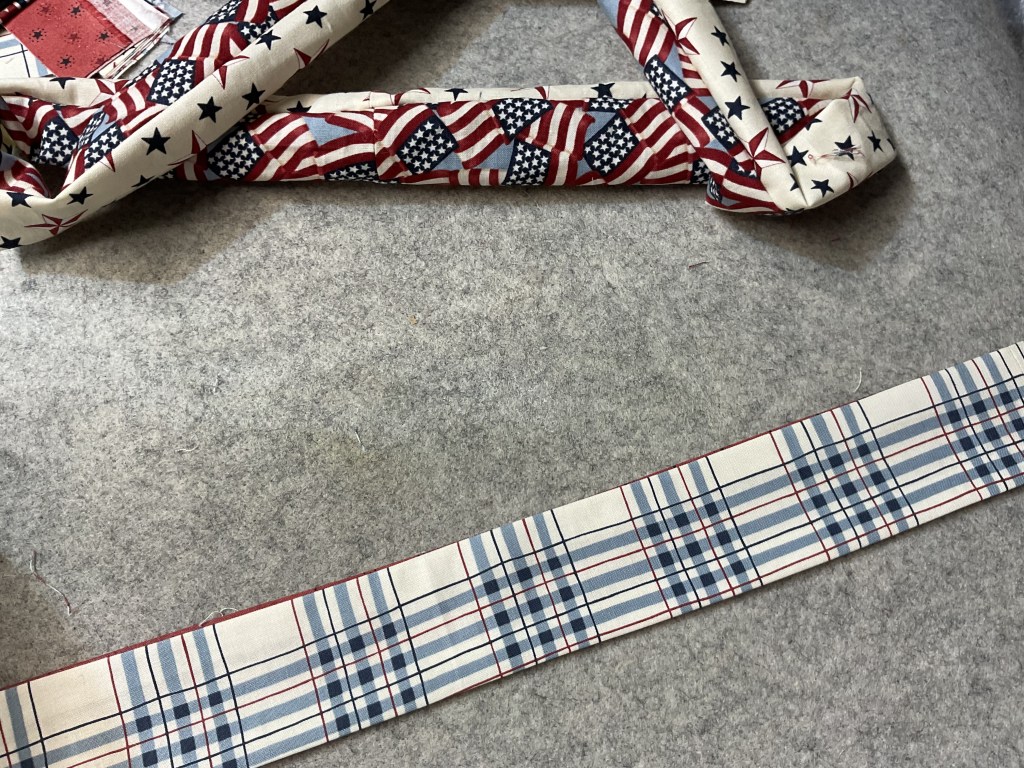
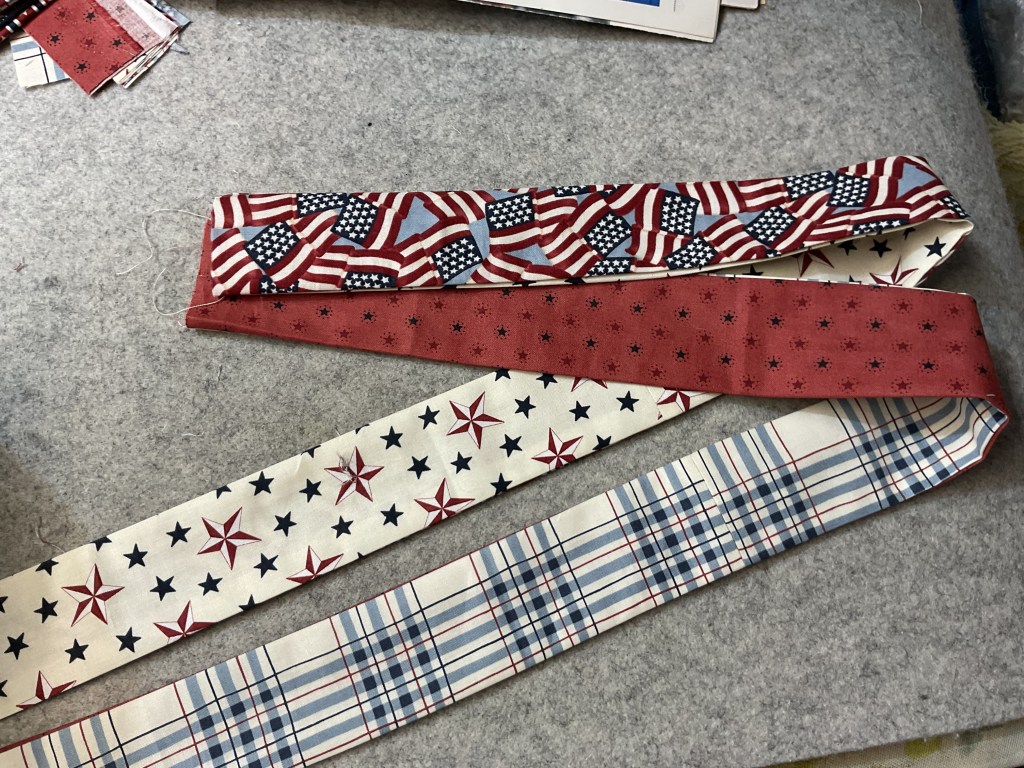
We’re going to make our straps first. Here are my 4 fabrics for my straps.
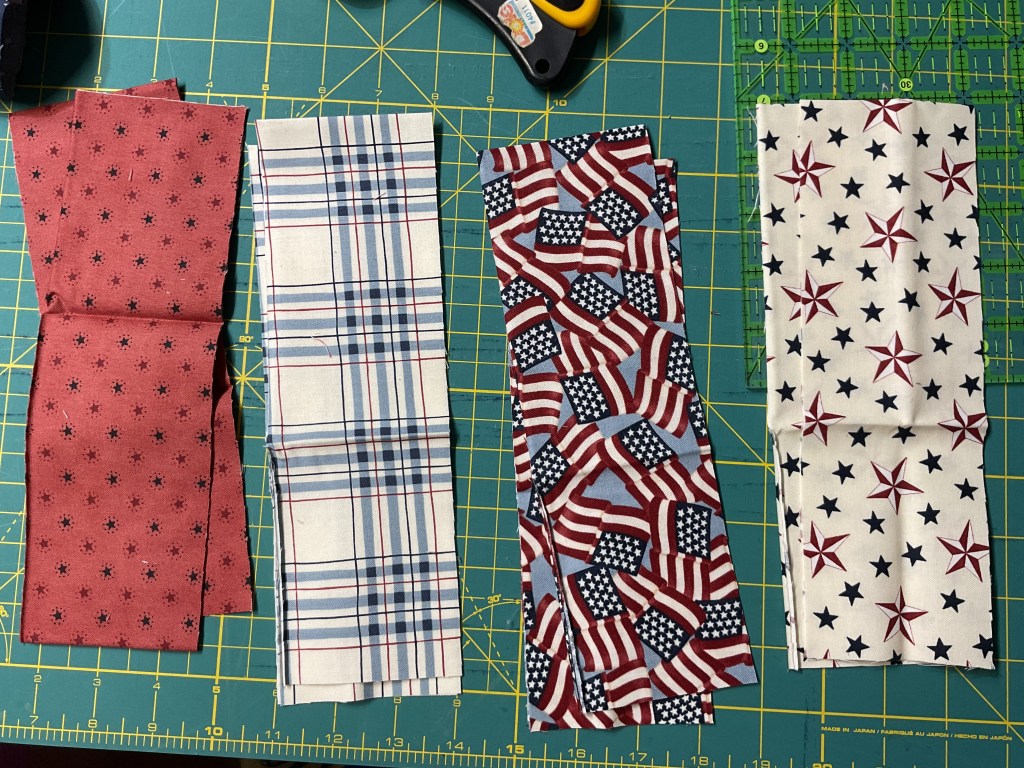
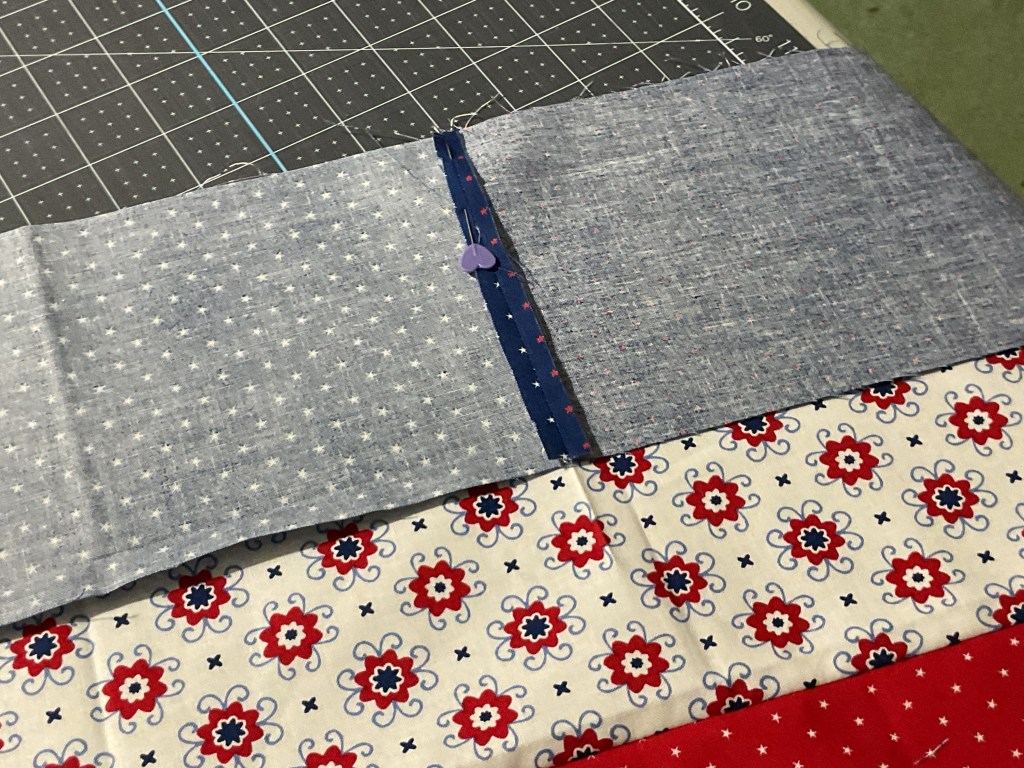
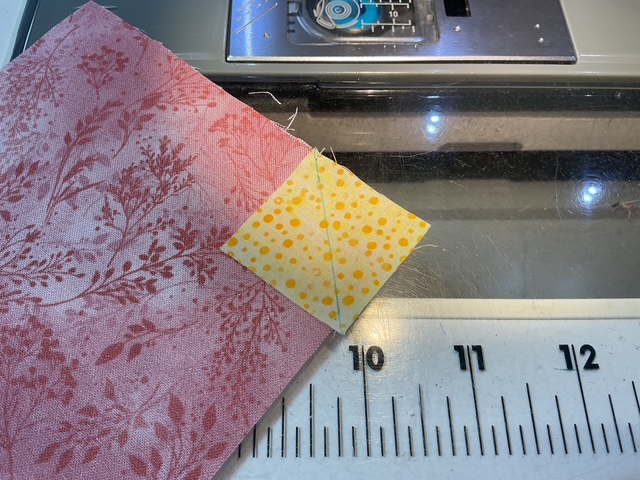
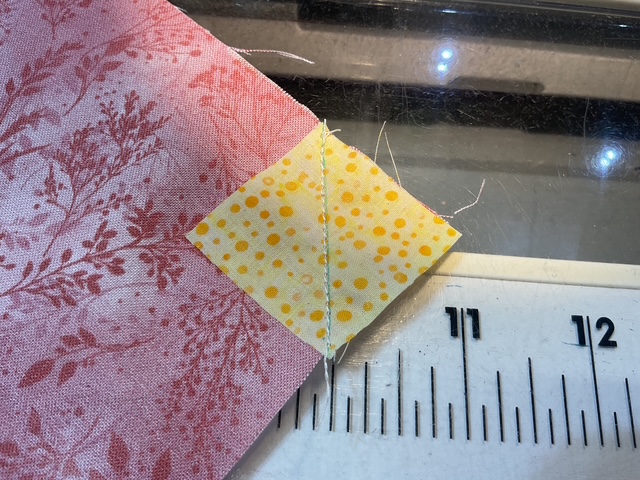
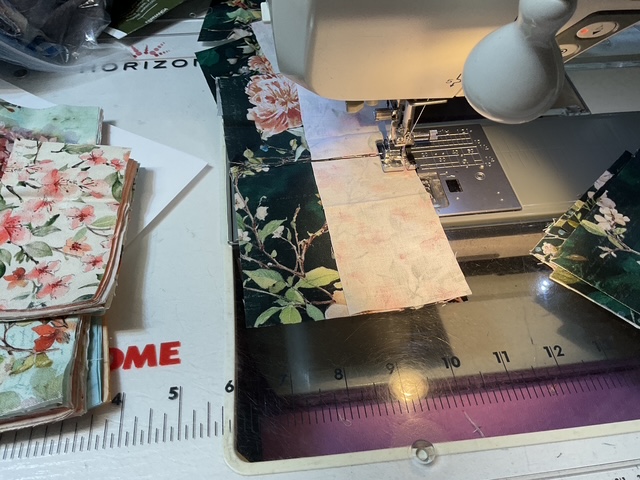
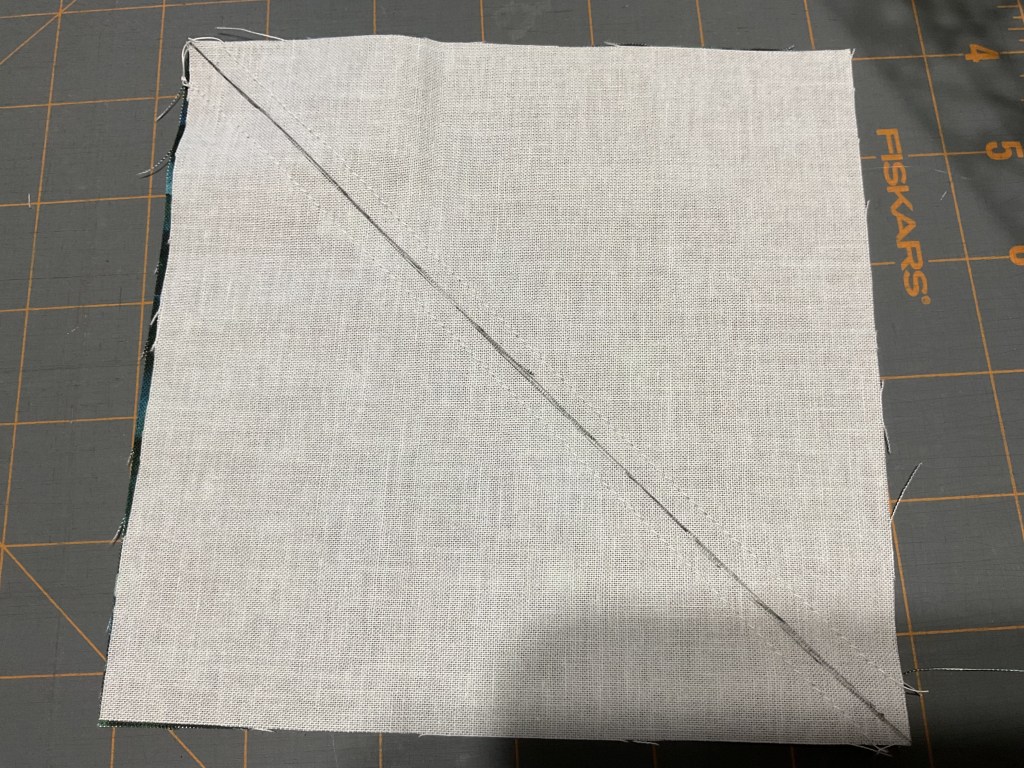
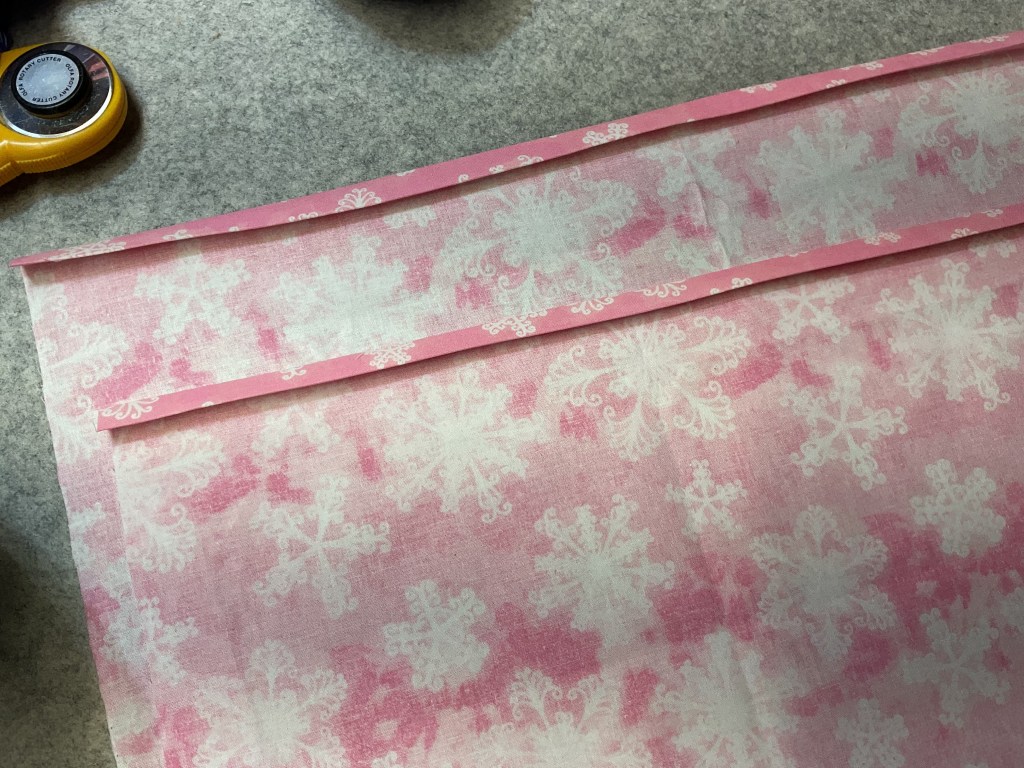
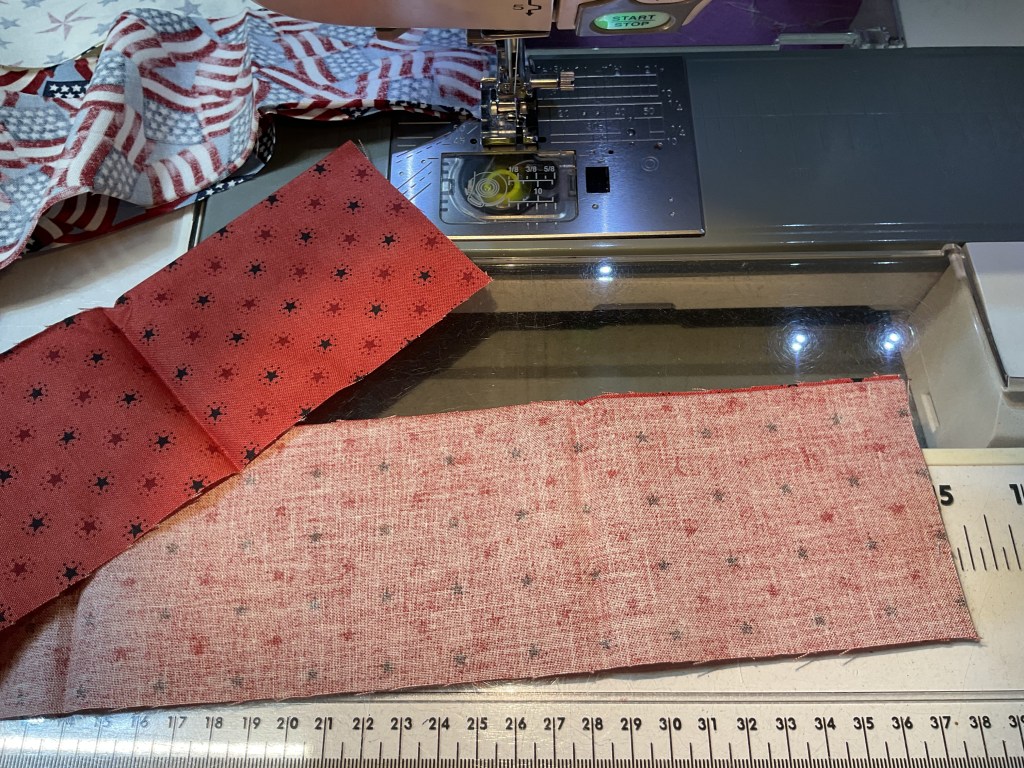
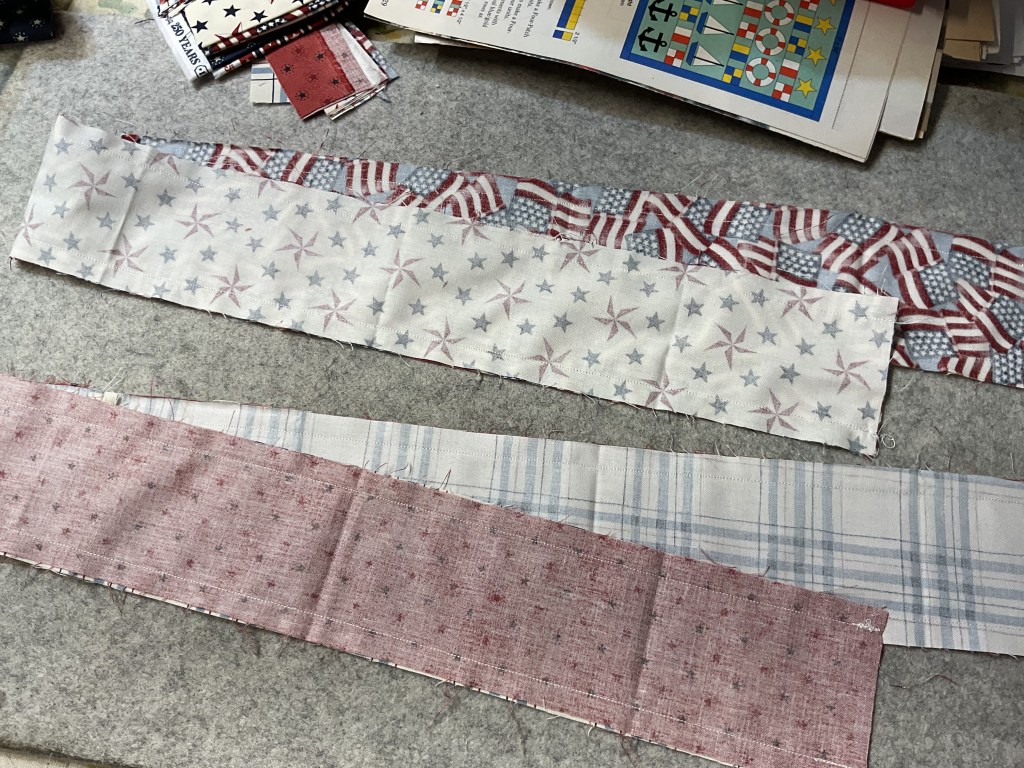
To make the straps, the first thing to do is stitch the smaller strips together to make 4 long strips. I chose to sew matching strips together, but you can totally scrap this up if you want to. You do you.
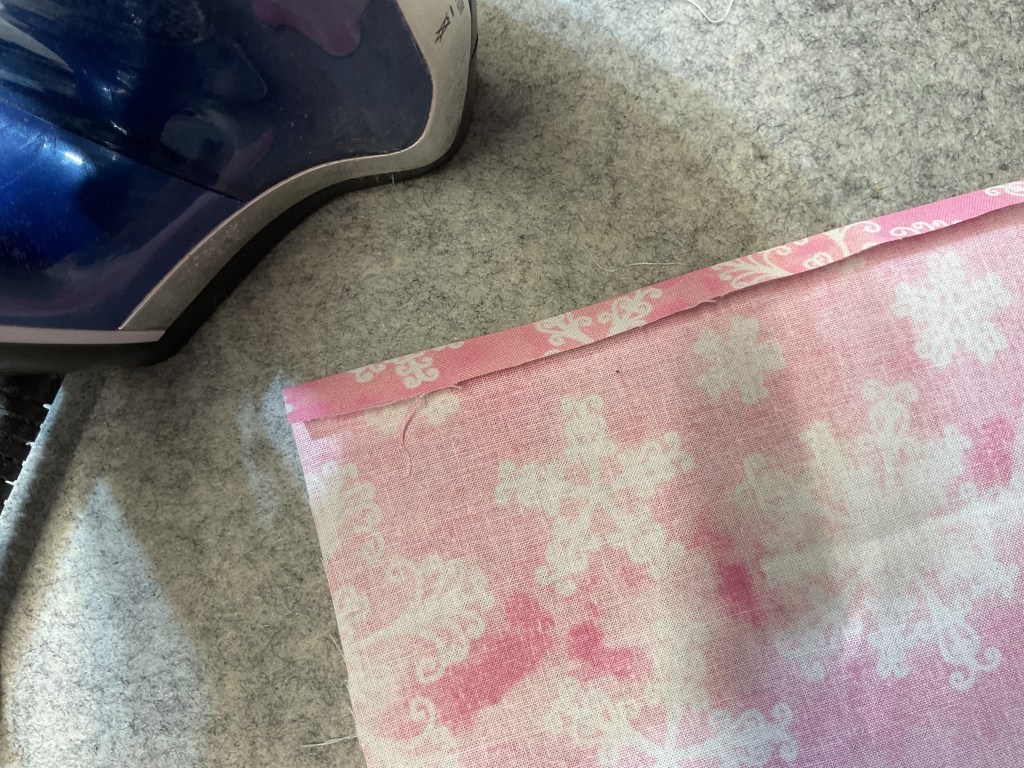
After I stitch my strips together, I’m going to press the seams open.
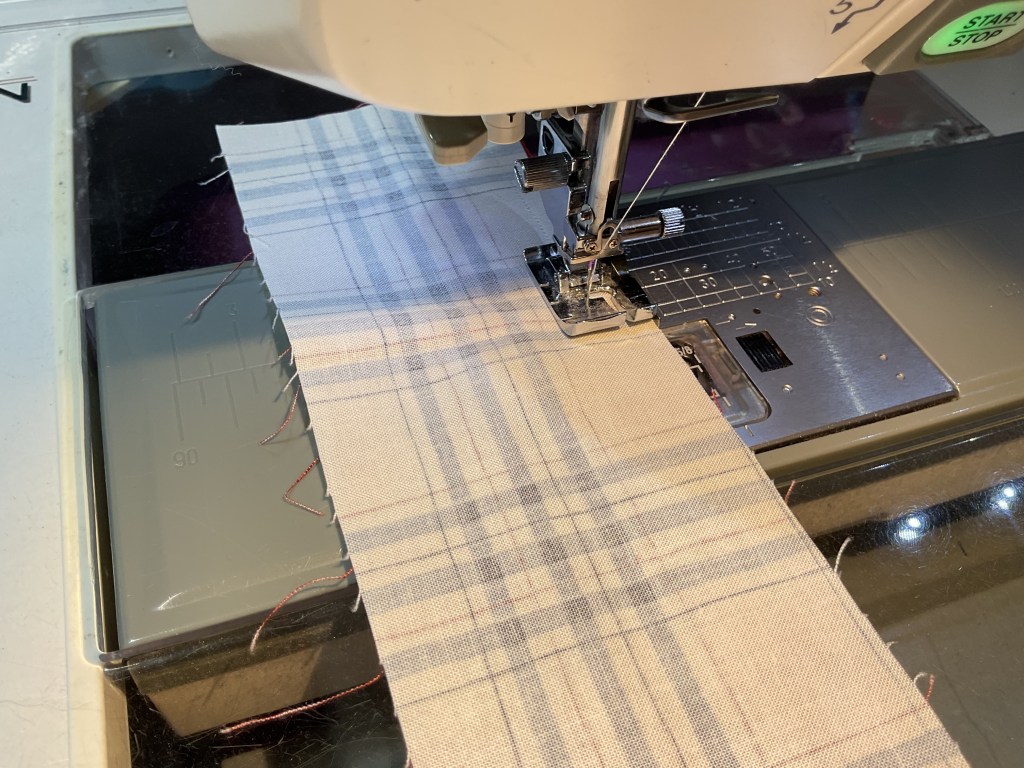
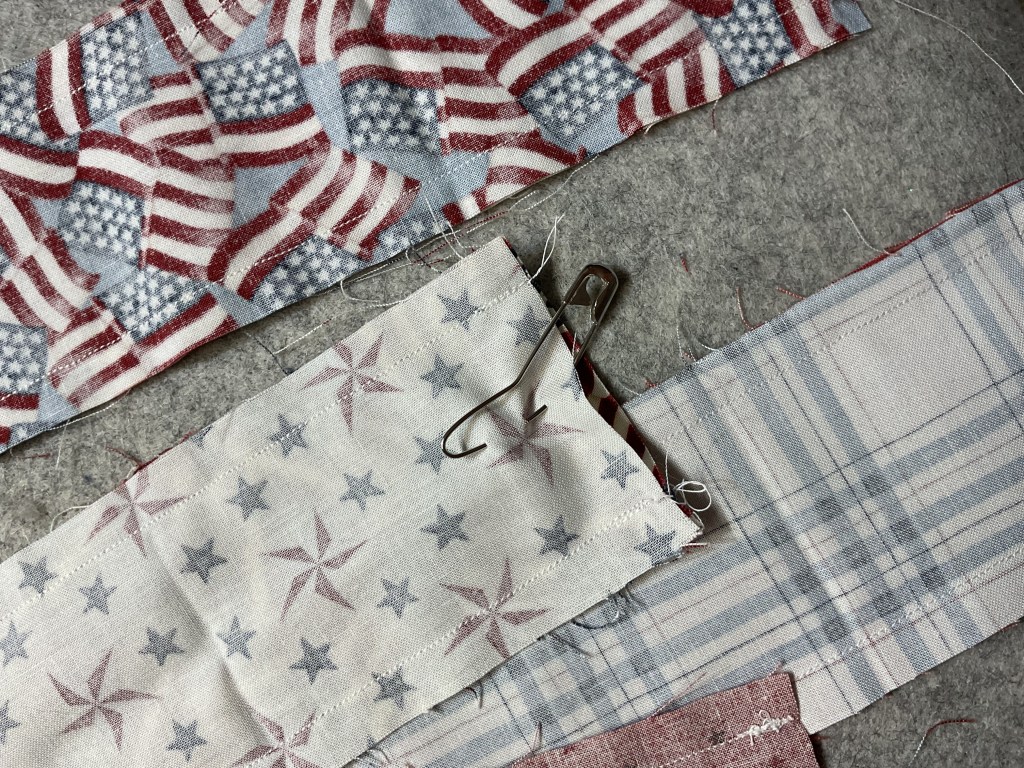
Next I am going to layer 2 strap strips right sides together (RST) and sew down both long edges to make my 2 straps.
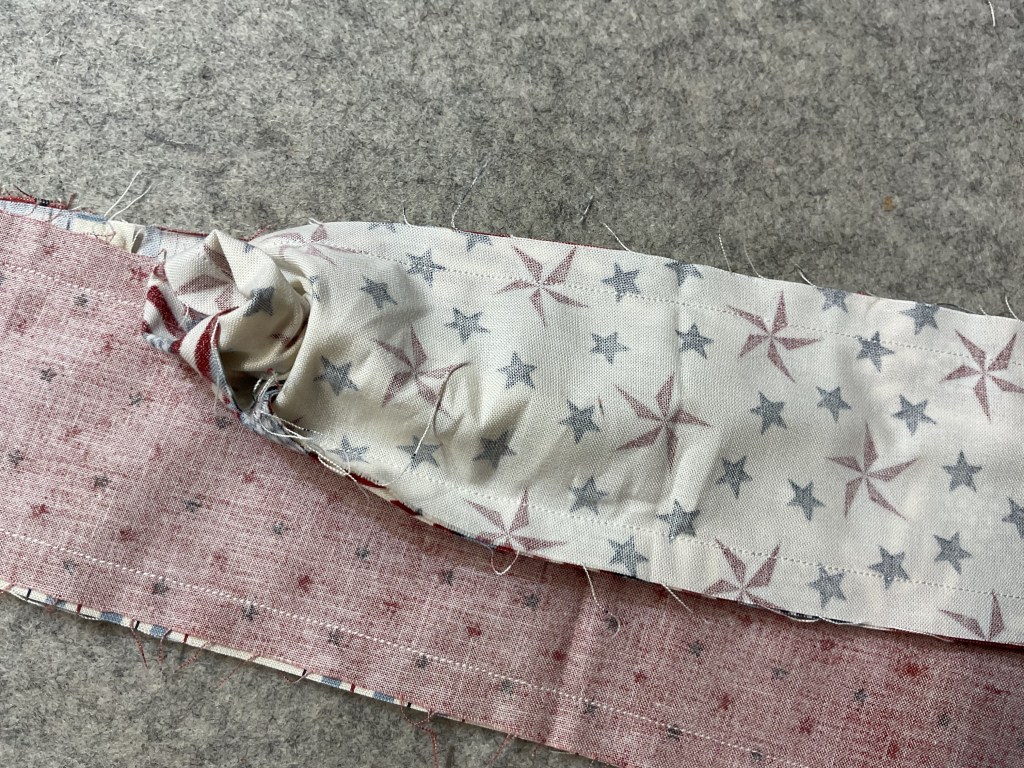
Oh goody (not really)….Time to turn both straps right side out (RSO). This is one of my least favorite things to do when sewing bags. Usually I fold my strips in half and then in half again to avoid having to turn things RSO. But these straps are pretty wide, so here goes……
I am using a large safety pin (Yup, one of my quilt basting pins) to turn my strips RSO. The pin gives me something to hold onto as I turn the strap.
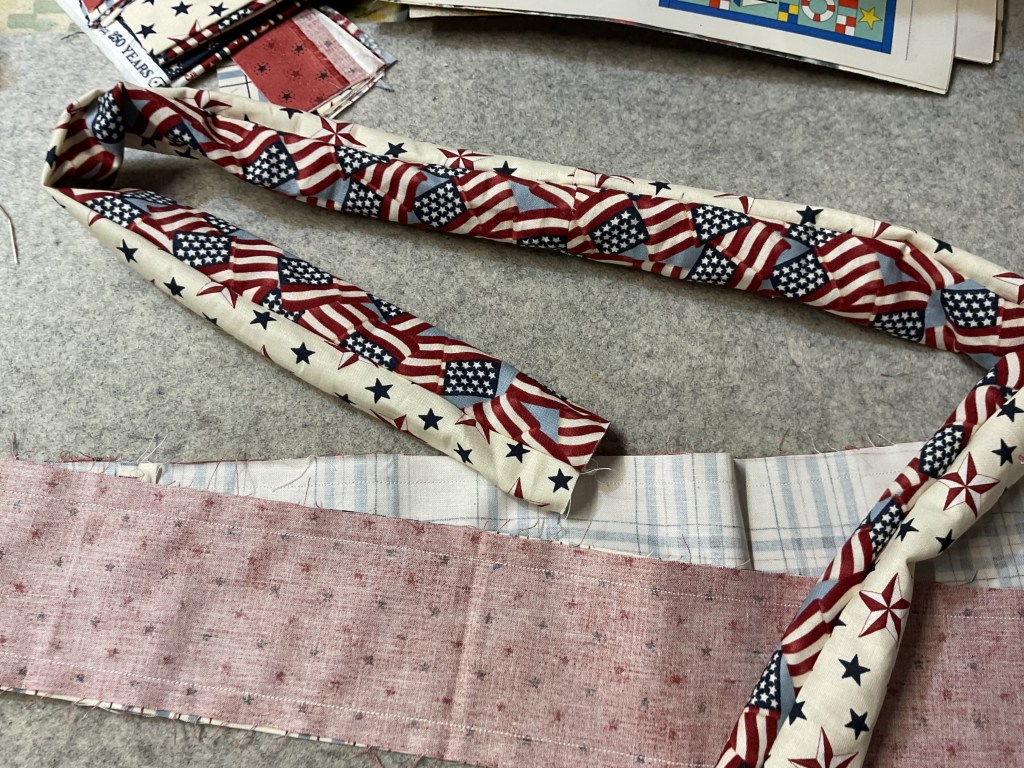
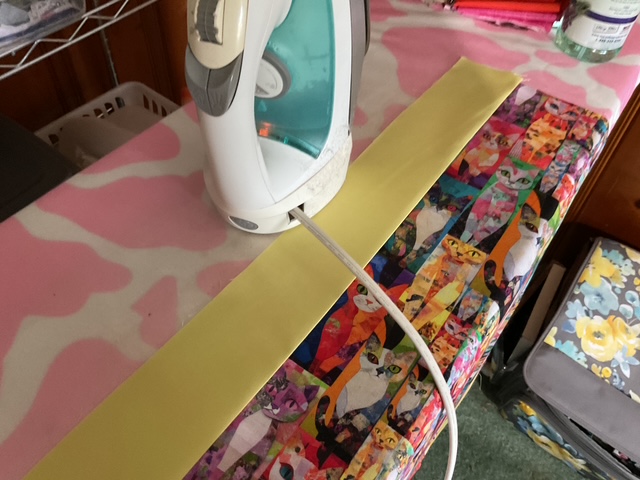
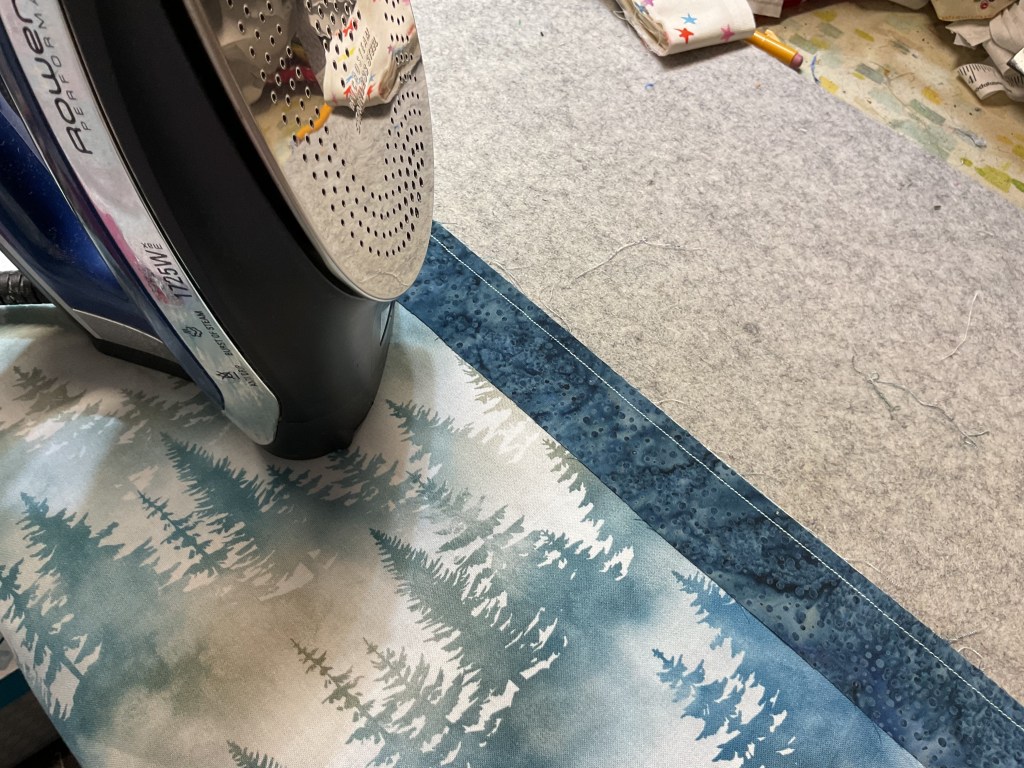
Now I need to press my straps flat.
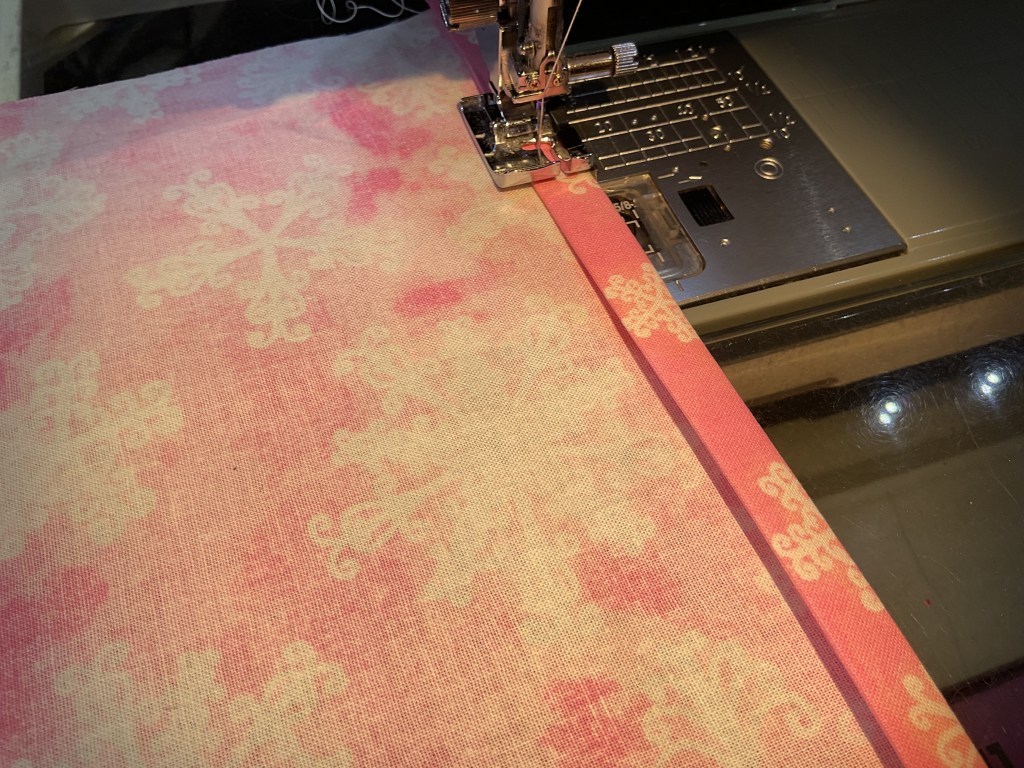
I’m going to sew close to both sides of each strap. This is for 2 reasons – 1st because it will keep the straps flat and 2nd because the stitching will help stabilize the straps as we did not add any interfacing or batting.
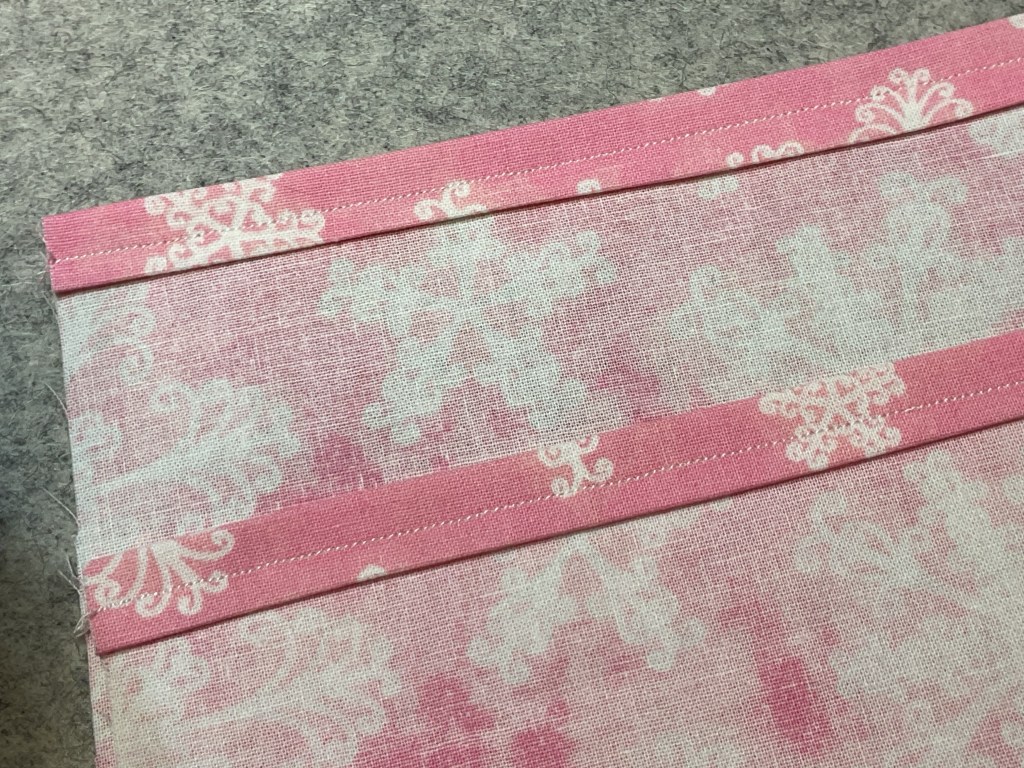
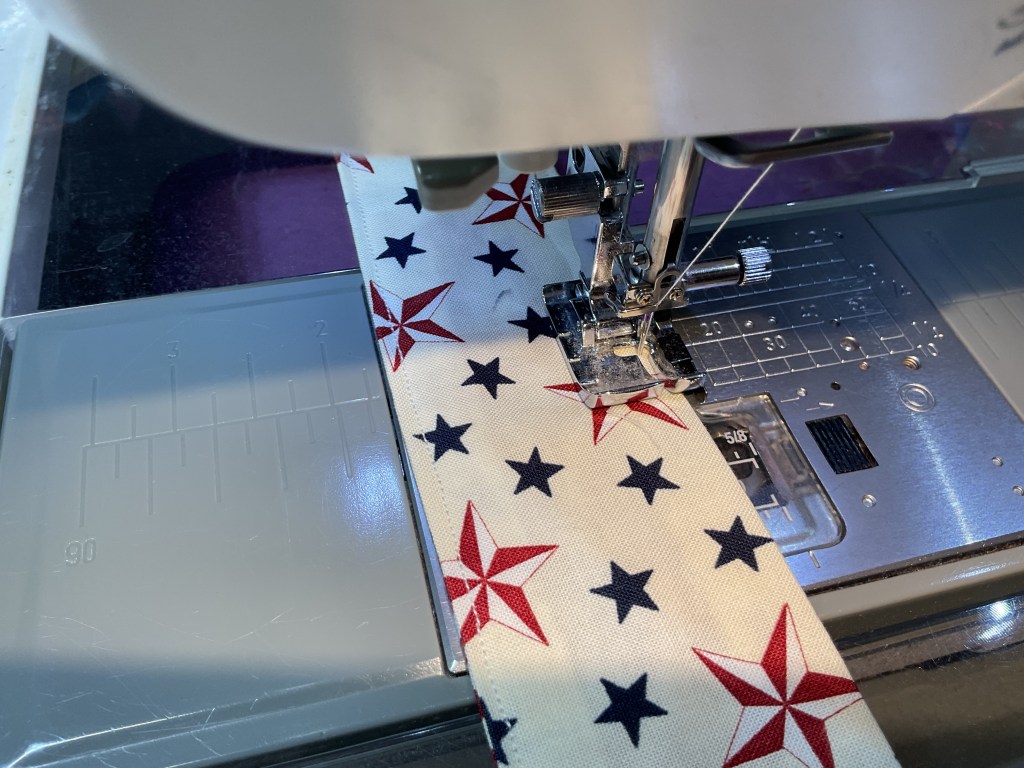
I’m also going to add more stitching down the middle of each strap for even more stabilization. And I’m going to use one of the zillion special stitches on my sewing machine to make it fun. I chose this cute star and decided to use variegated thread.
After I finished the straps, though, I wish I had used a solid navy blue thread instead of the variegated because the stars would have shown up better. Oh well…….

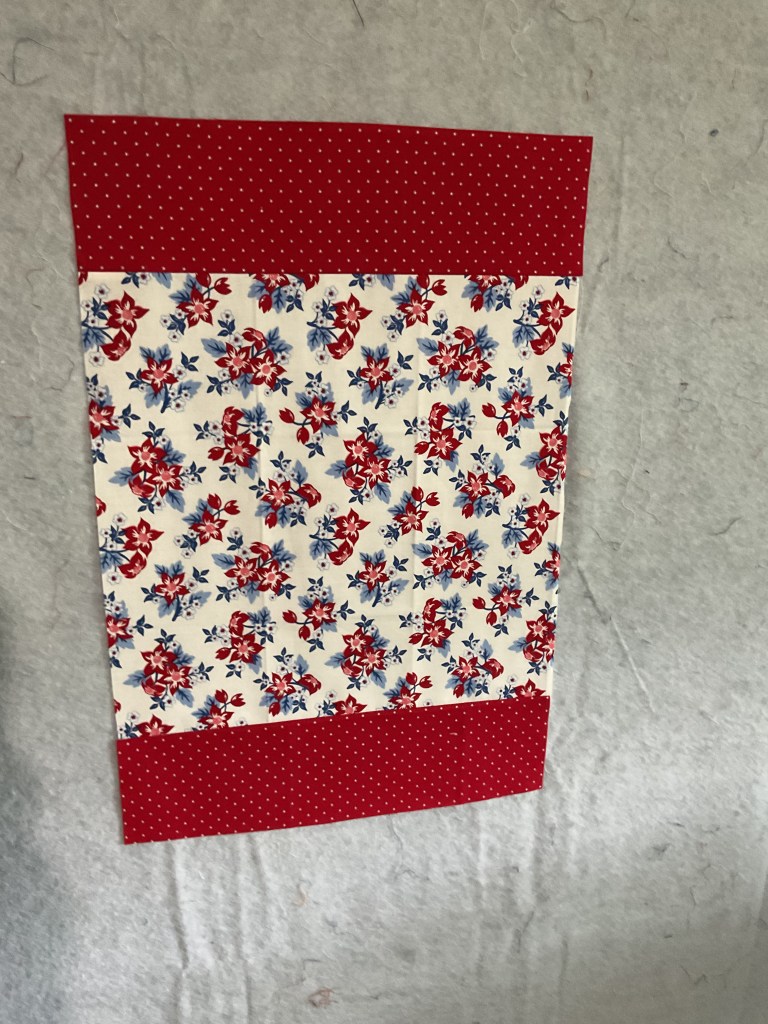
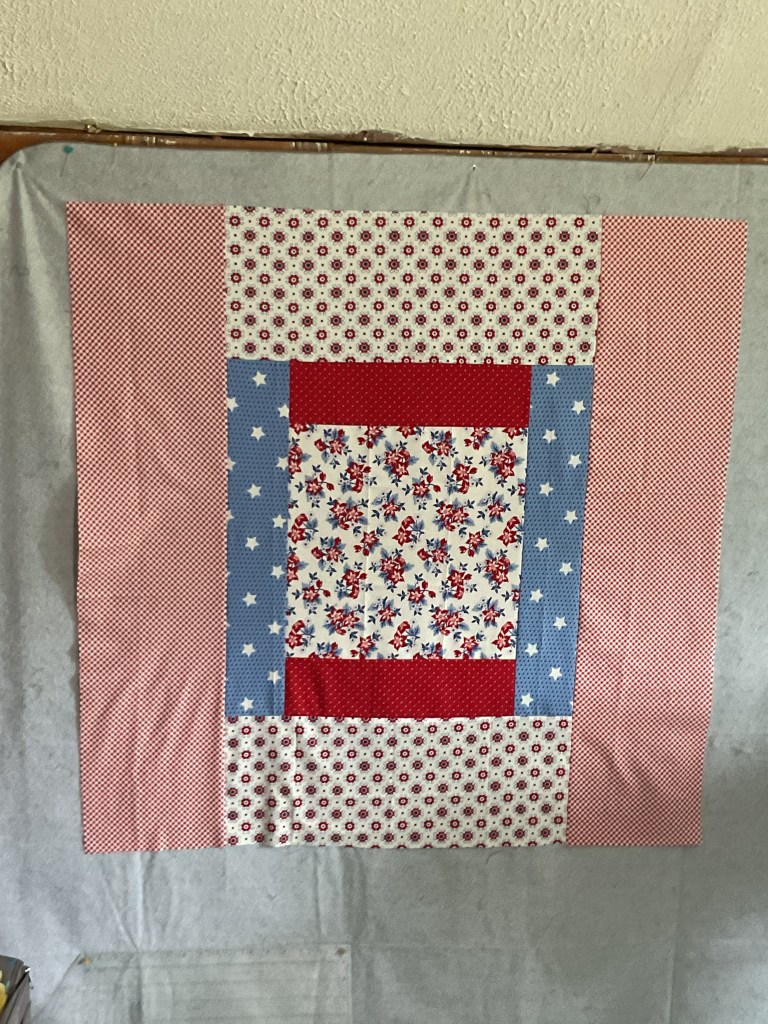
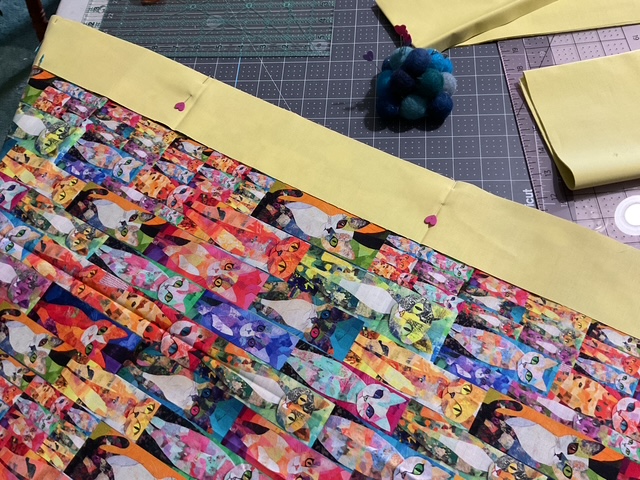
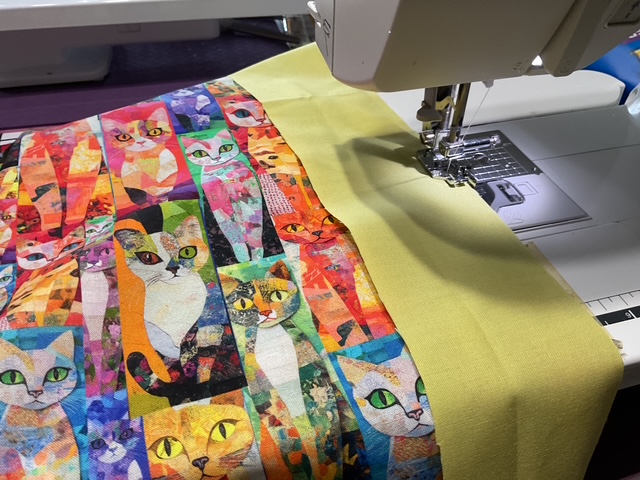
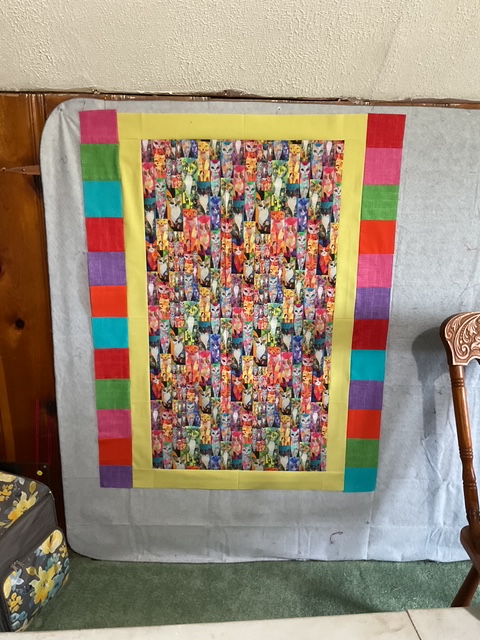
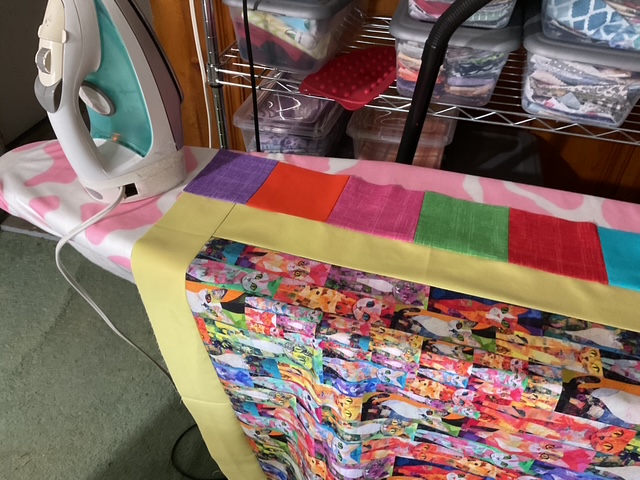
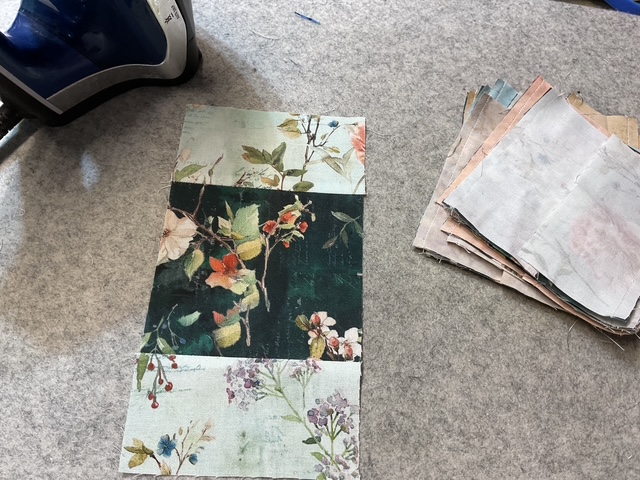
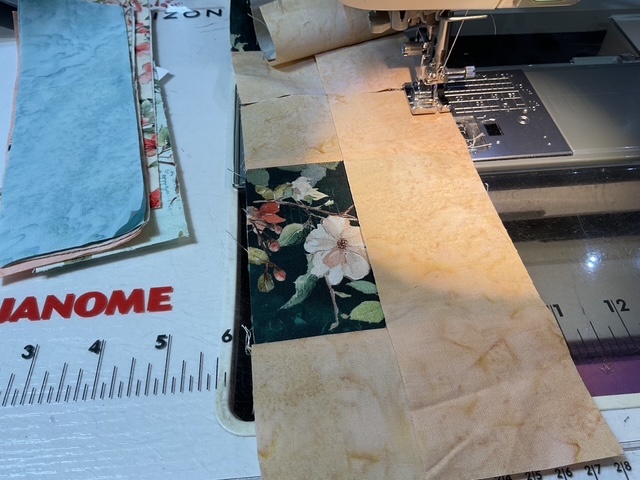
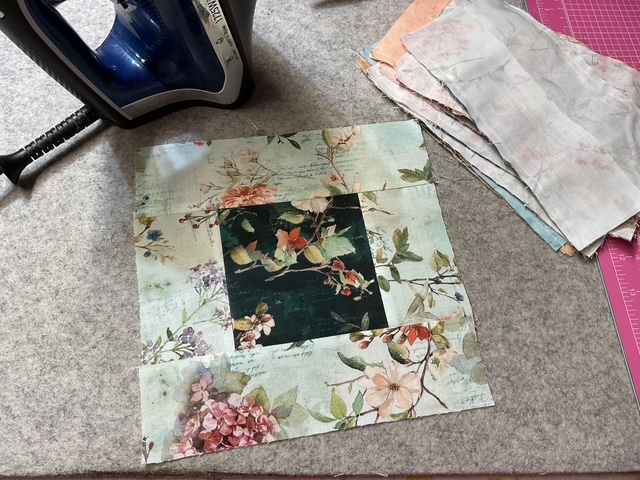
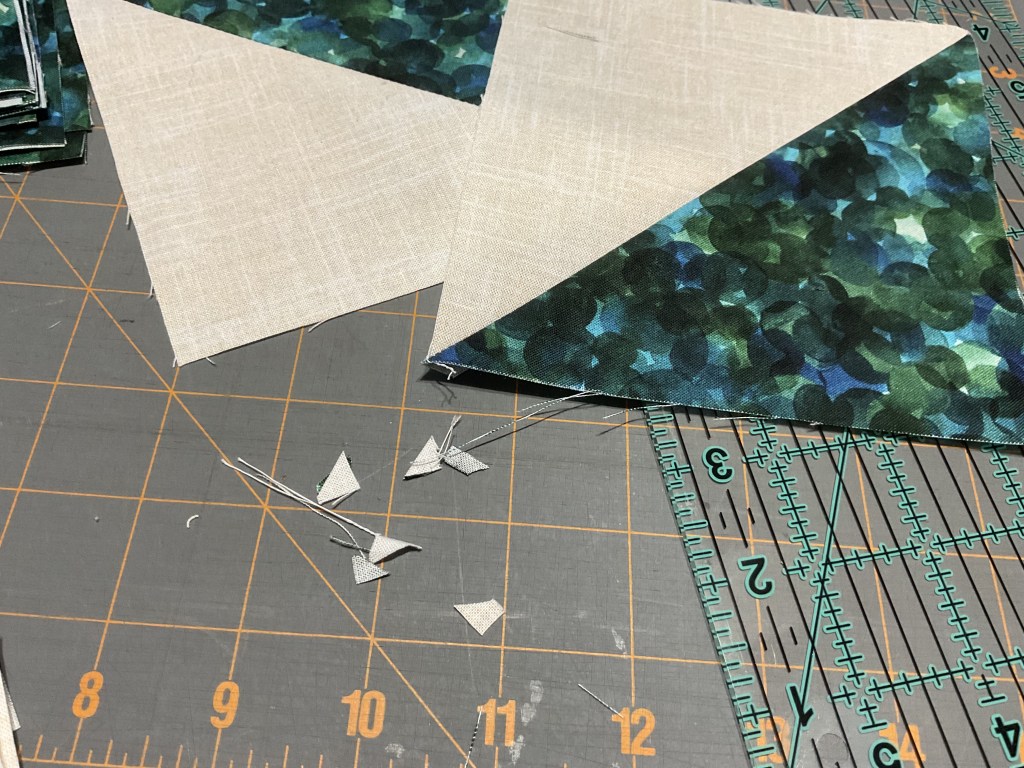
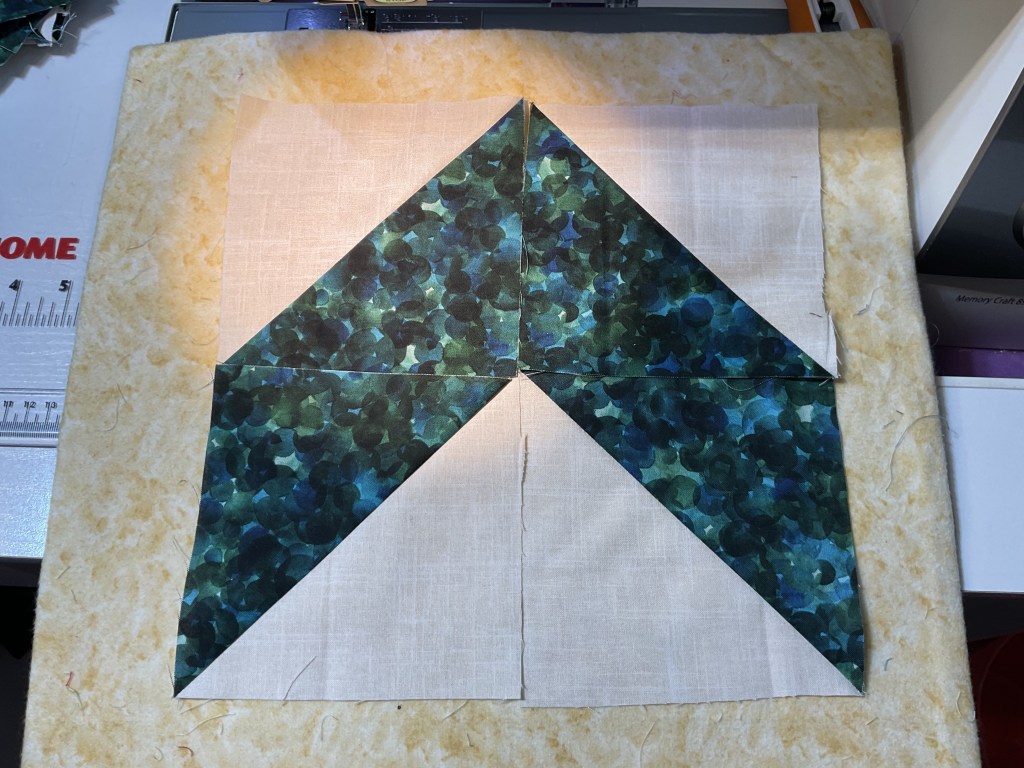
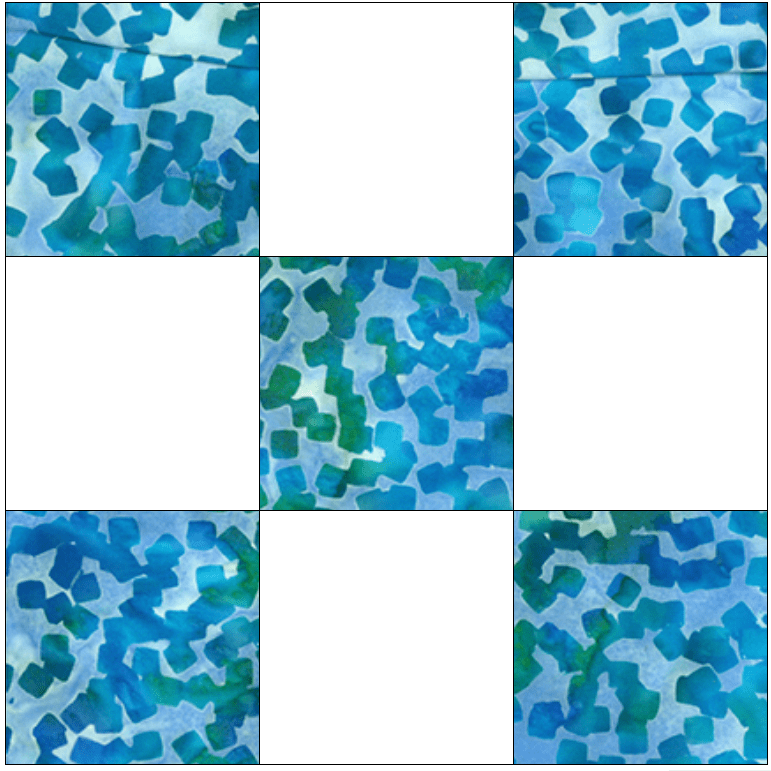
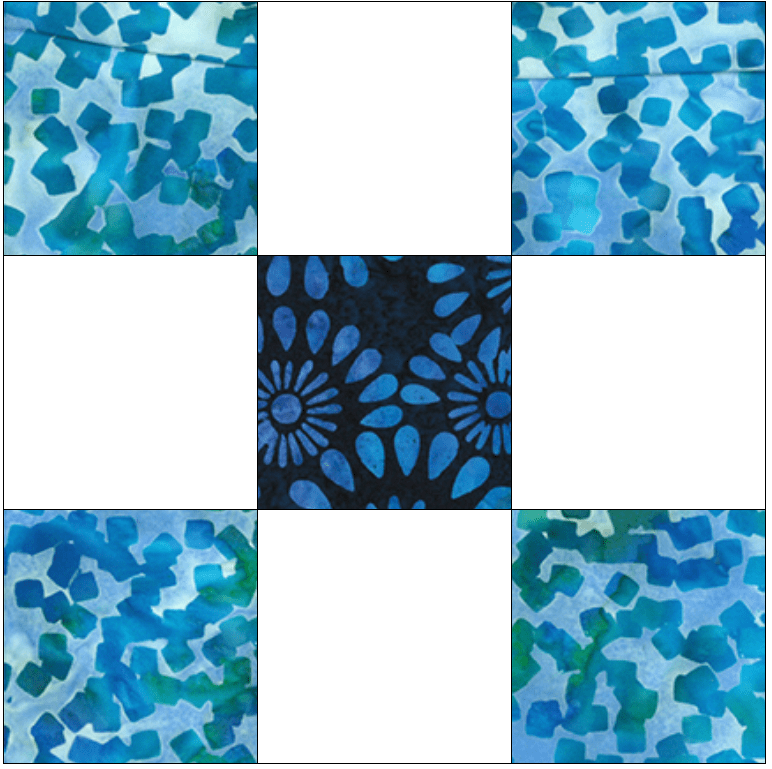
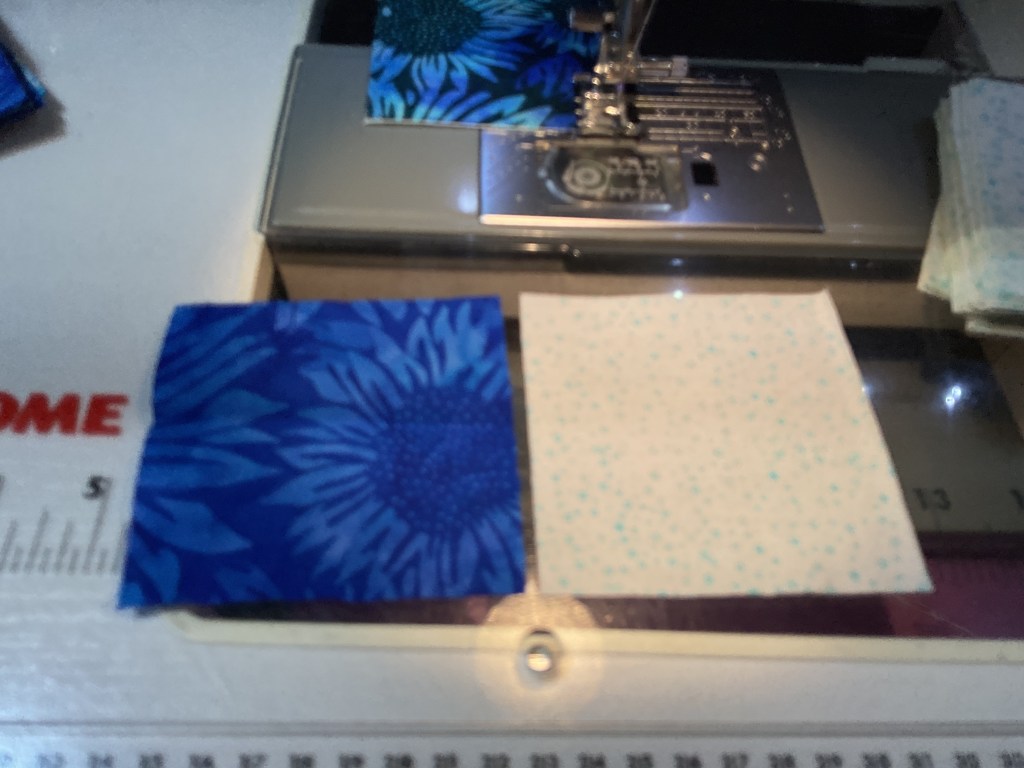
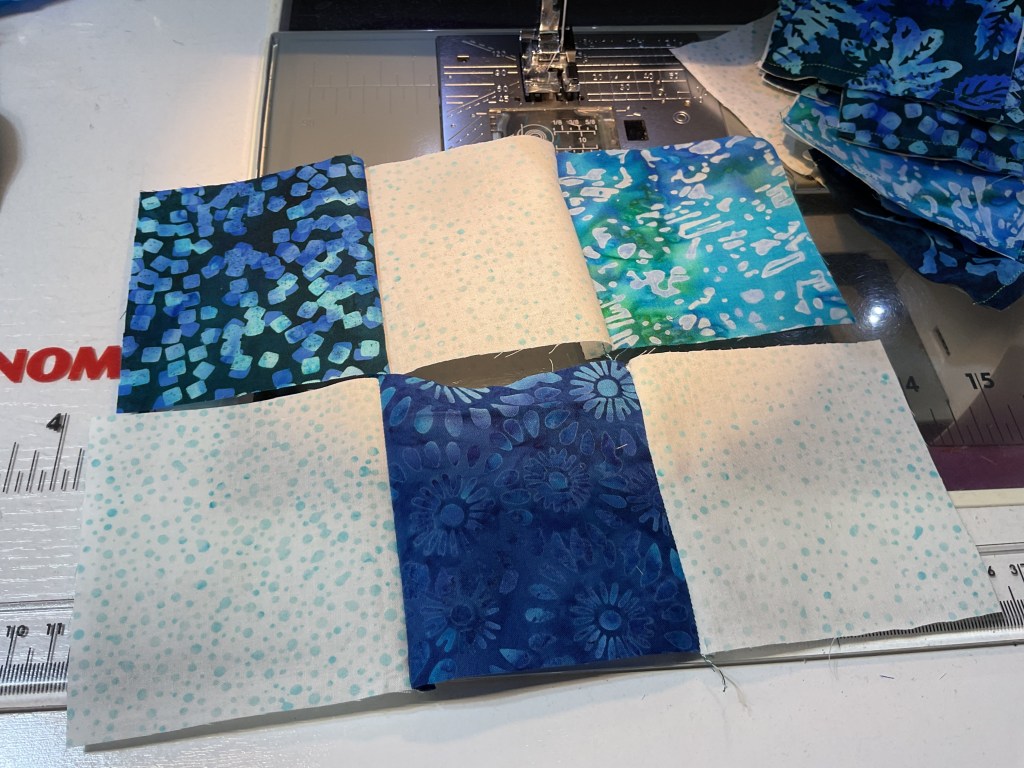
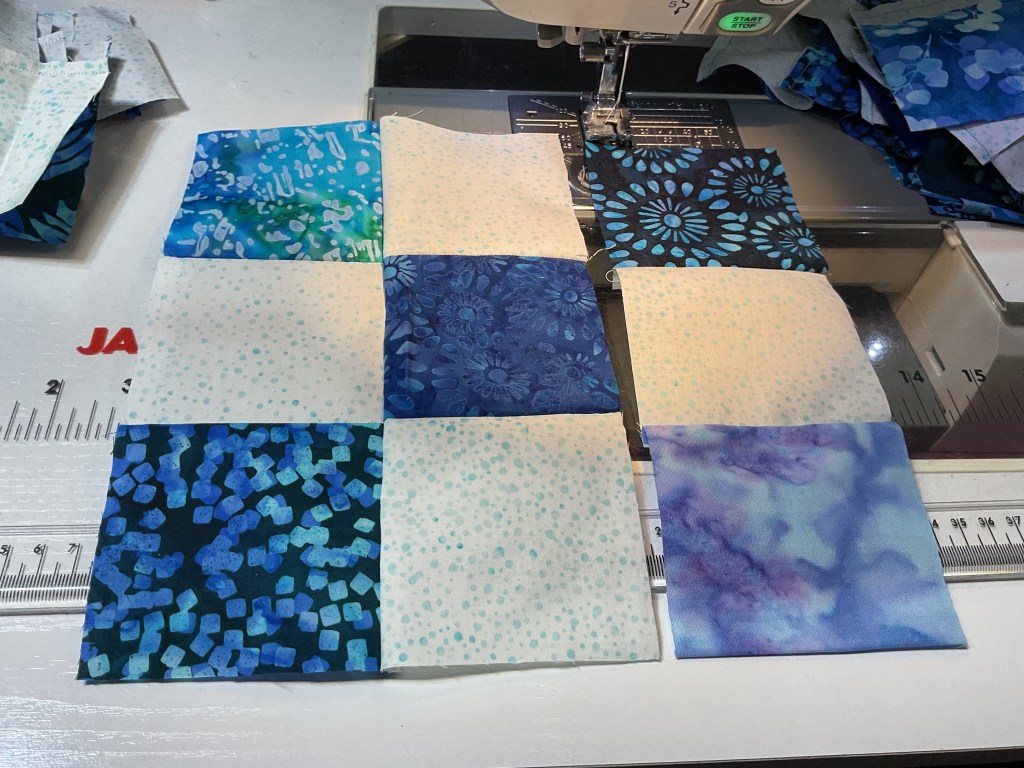
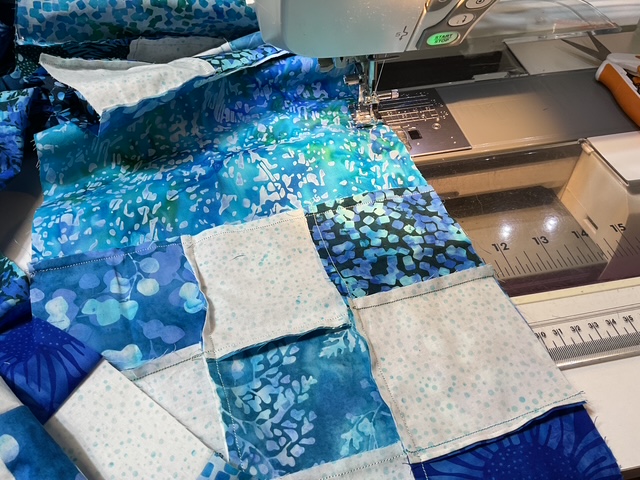
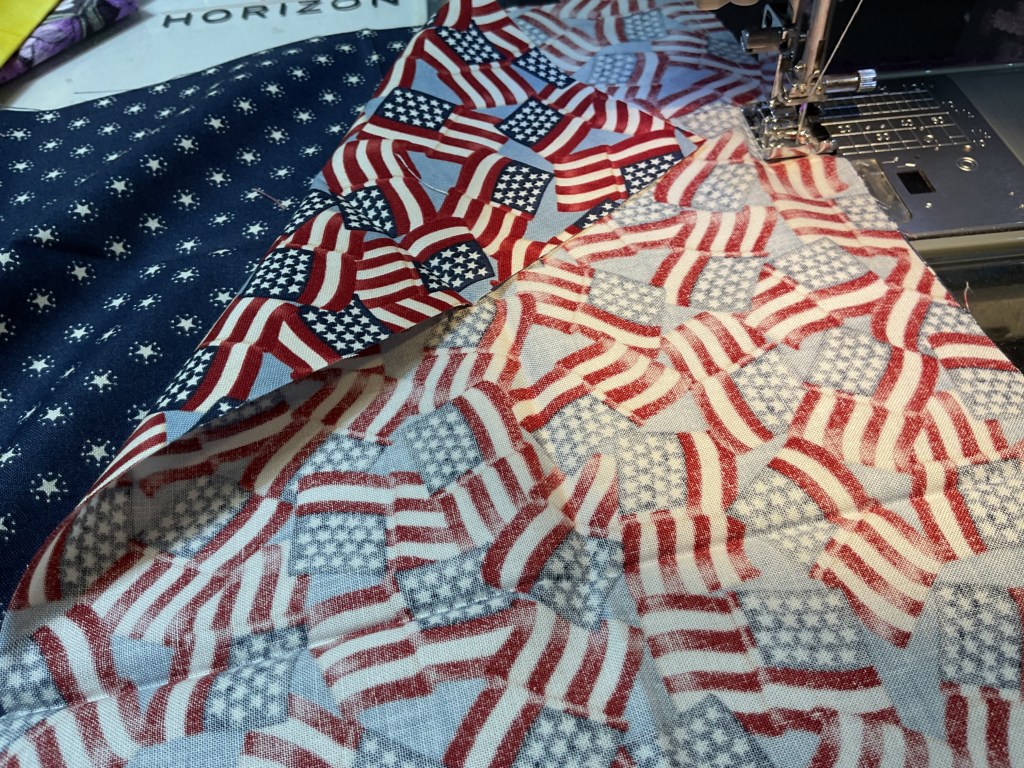
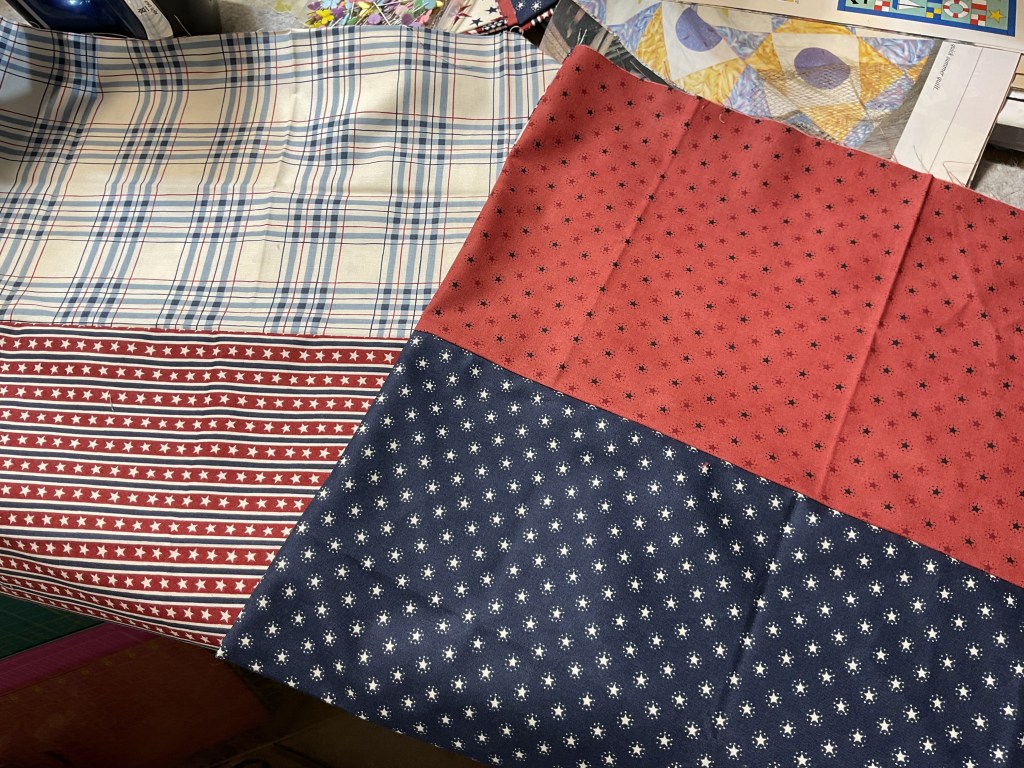
Time to work on the body of the tote now. I’m going to sew the smaller rectangles to the top and bottom of the large rectangles to make 2 bags. The finished bag doesn’t have any interfacing or batting, so if you want to add any to make your bag sturdier, now would be the time to add it. But I’m going to continue without adding any stabilizer for this one.
When I make a project for the first time, I like to follow the directions pretty close so I understand how it all goes together. Then if/when I make another one, I might choose to make changes or adapt the pattern.
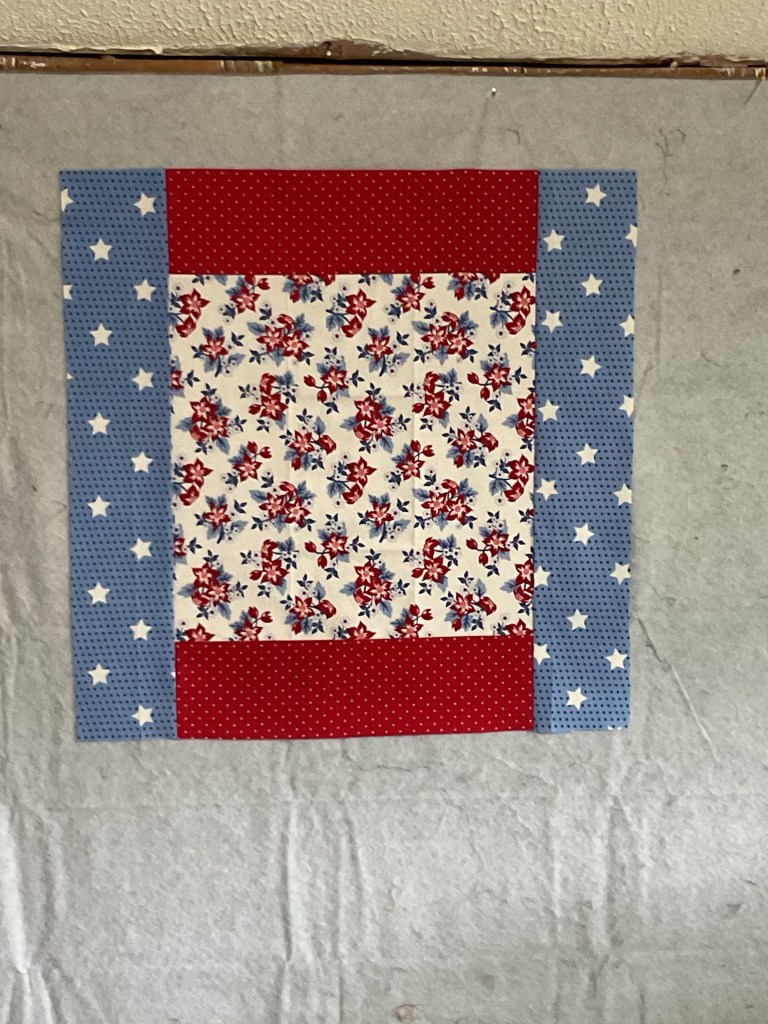
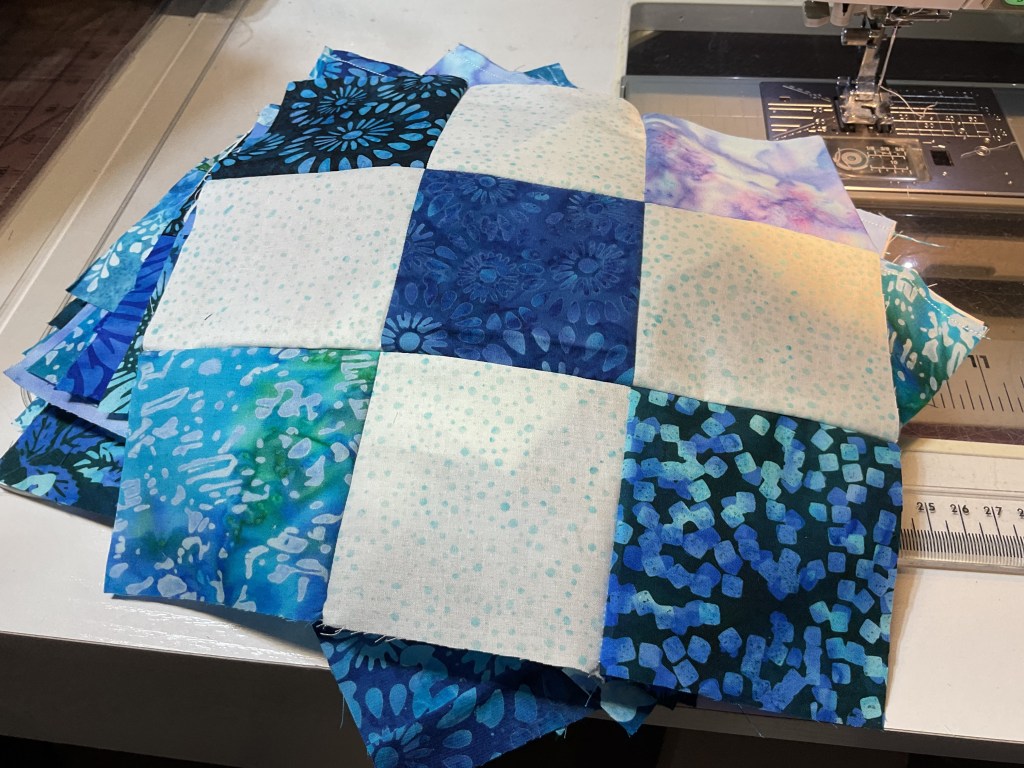
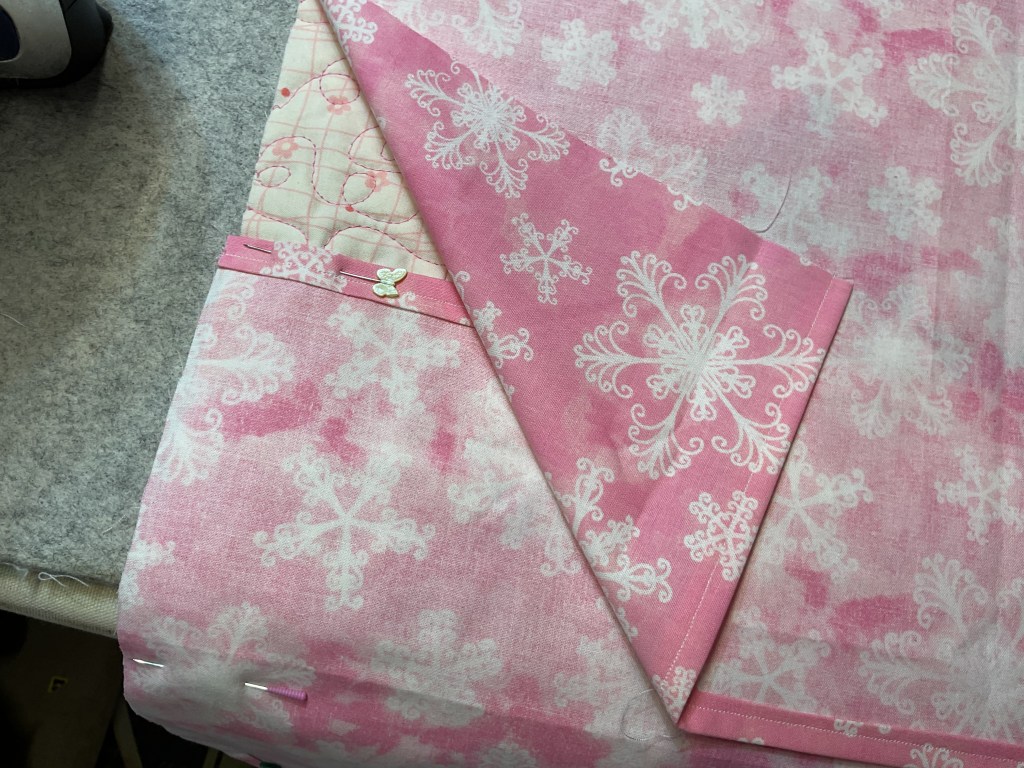
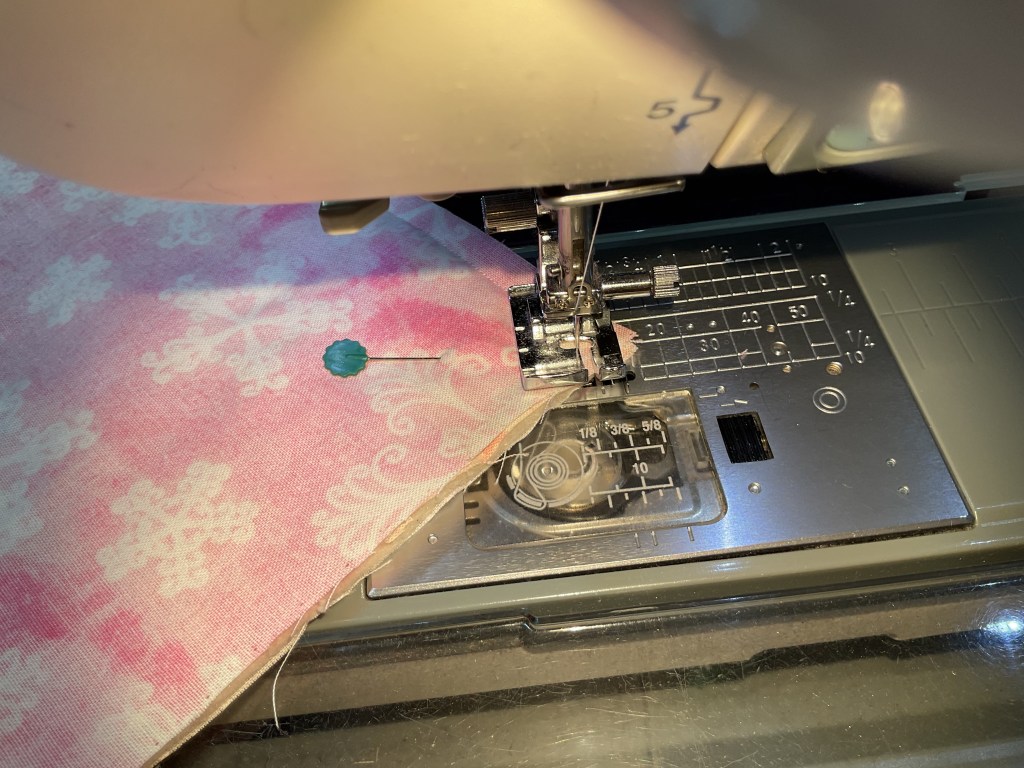
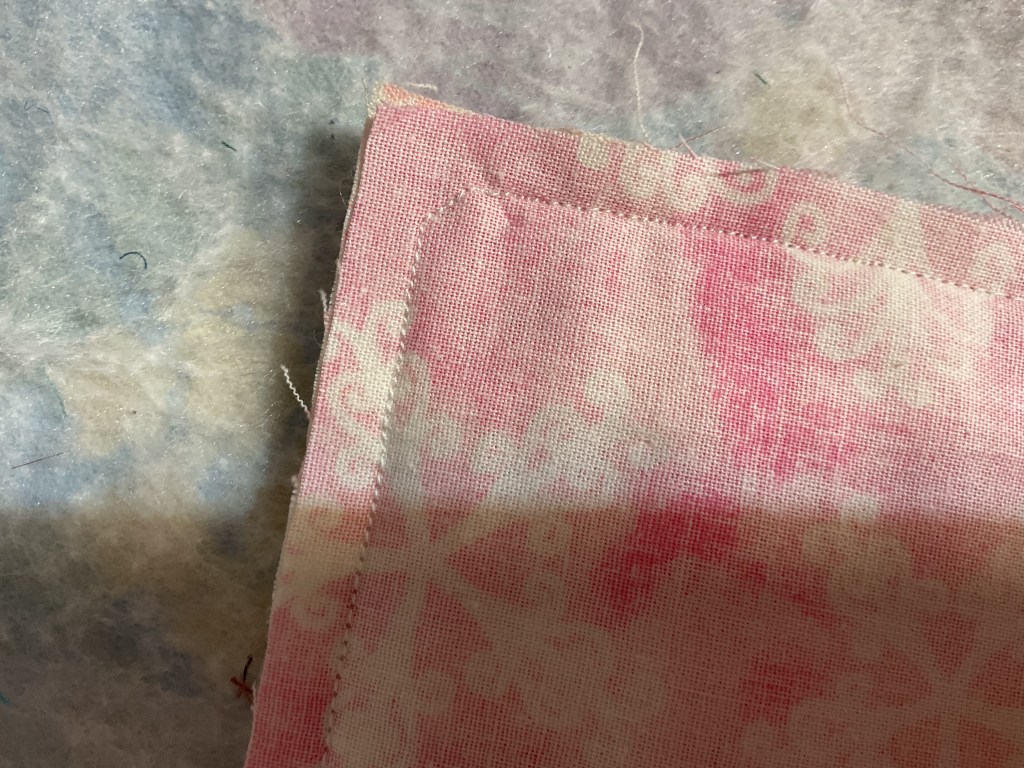
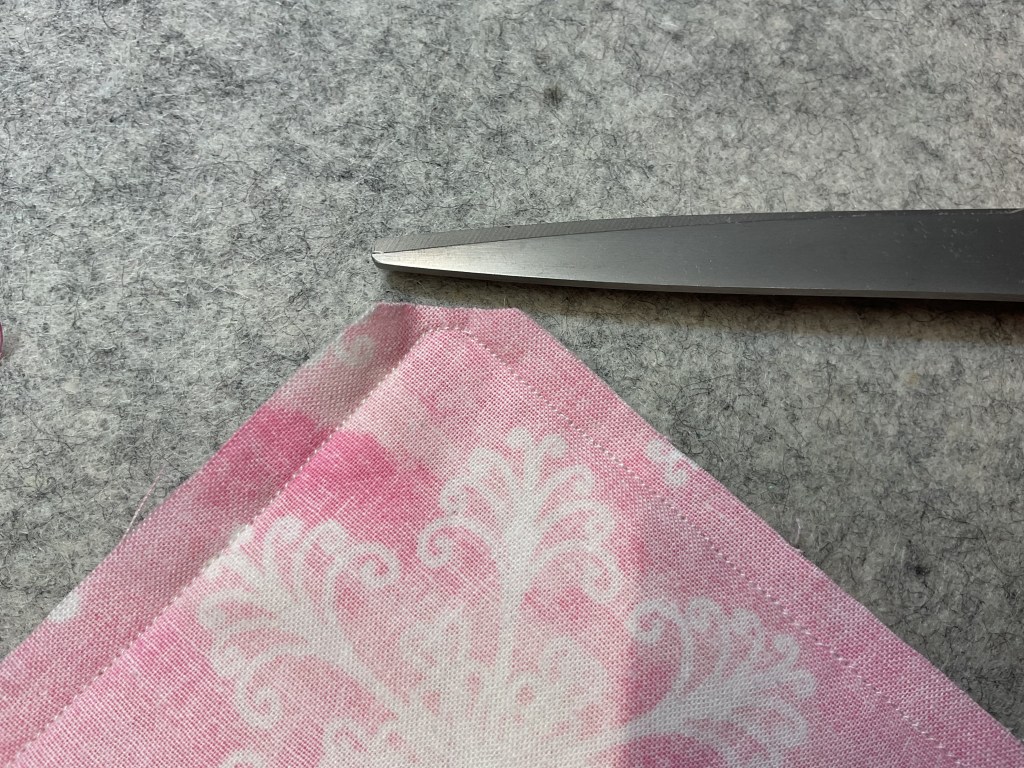
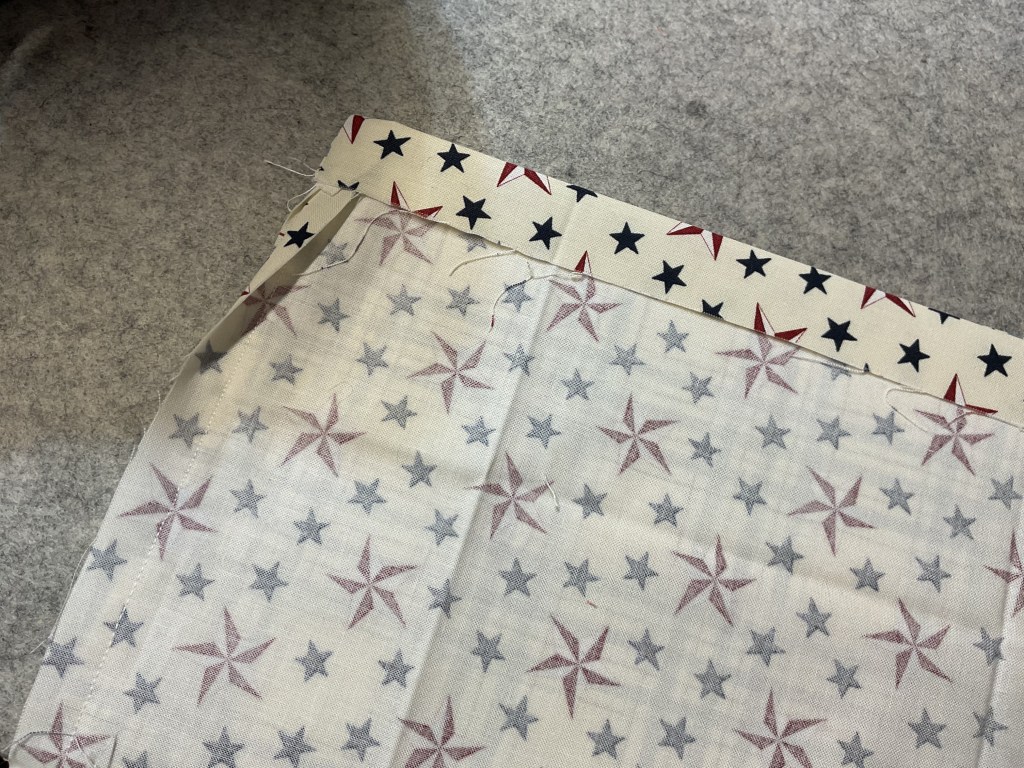
I’m going to fold each bag body section in half with RST so the top and bottom edges match. Then I’m going to sew down both sides of the tote for both pieces. When you turn them RSO, don’t forget to push out the corners and give the bags a press.

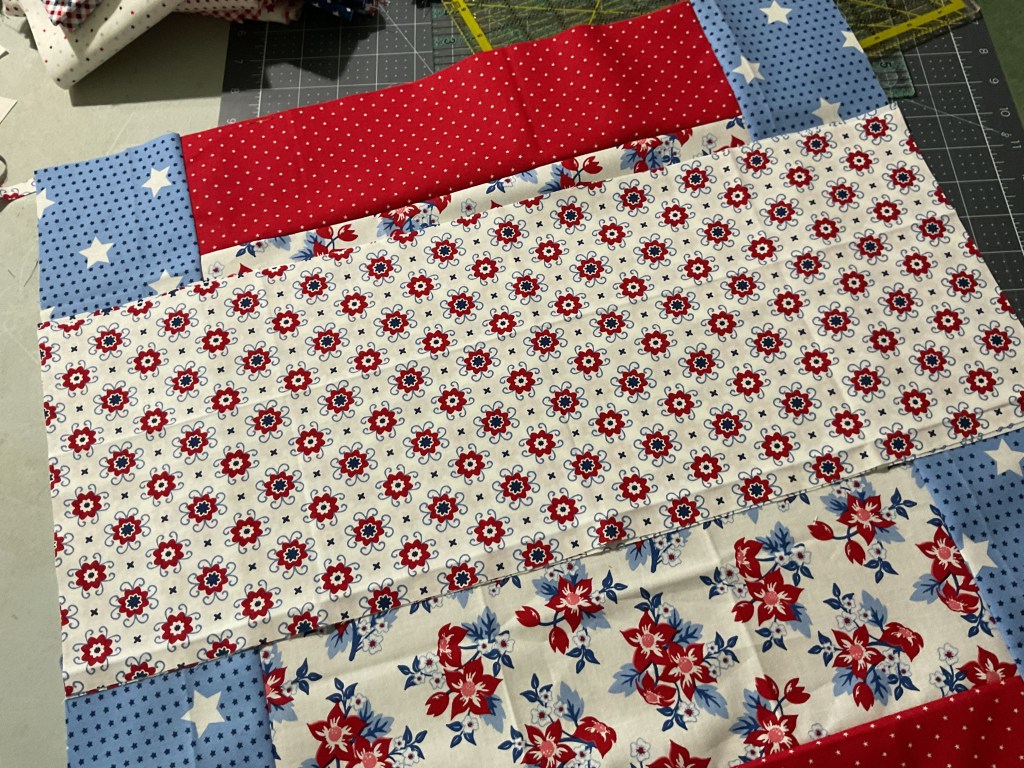
All that is left is to assemble the bag parts and the straps.
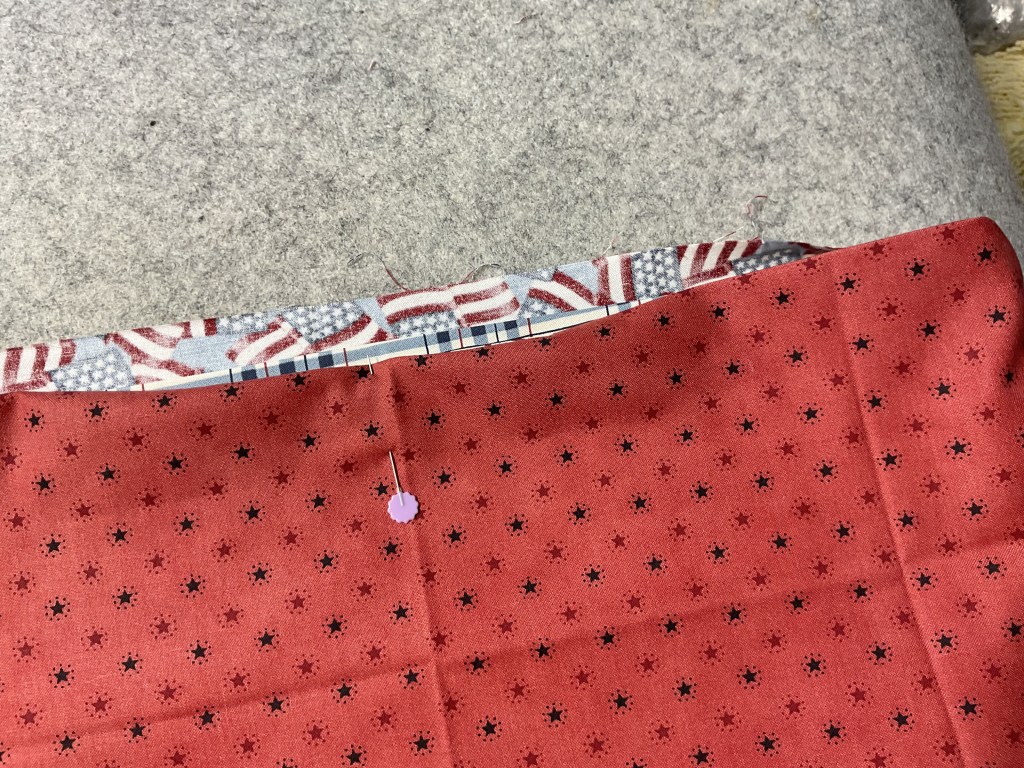
If desired, you can fold under the tops of the bags as the next step before placing one bag inside the other with wrong sides together, but I prefer doing the top seam allowance after 1 bag is already inside the other bag because I find I can get the top seams lined up better.
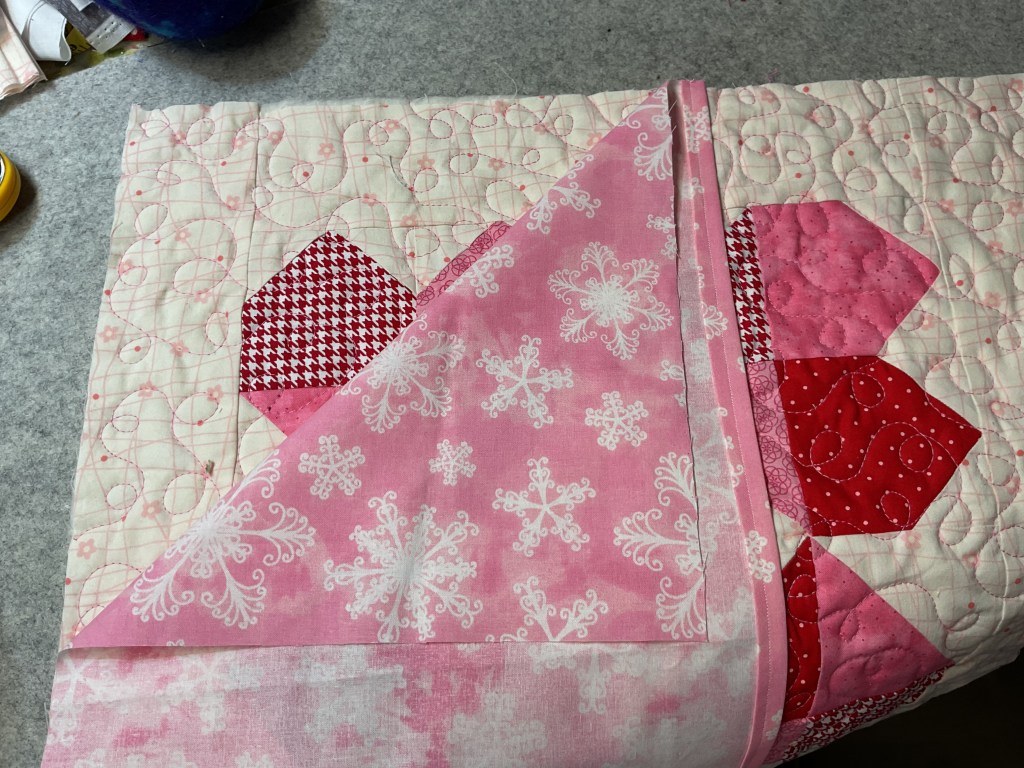
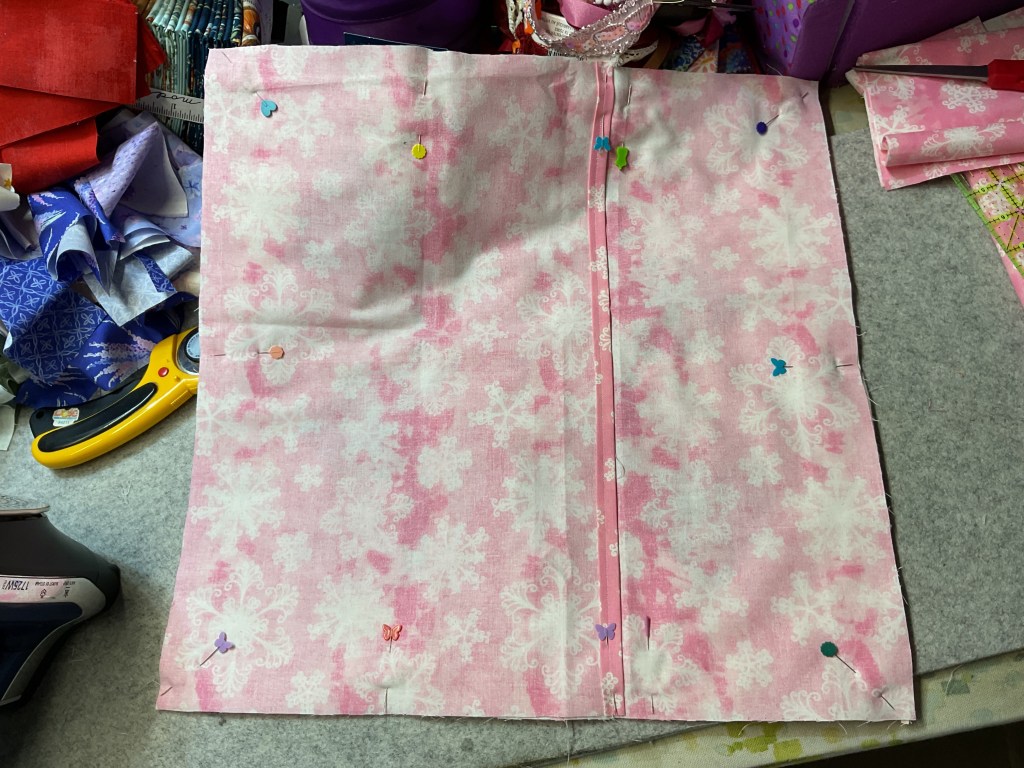
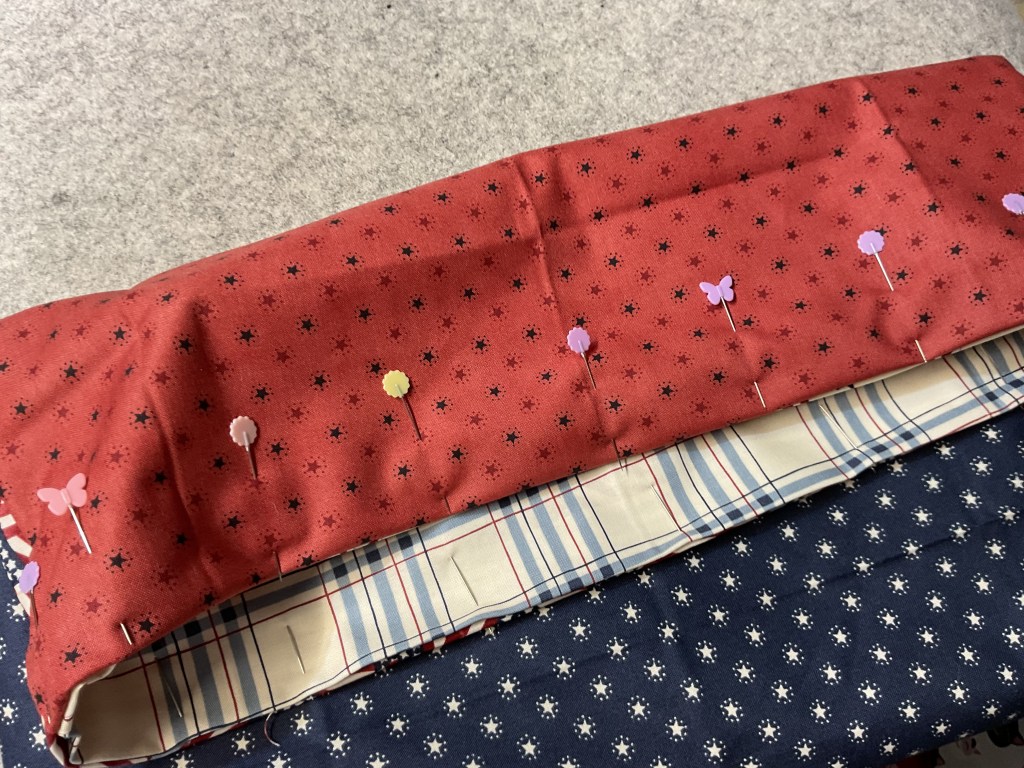
I’m going to turn one of the bags inside out again and place it inside the other bag (which is RSO) so that the wrong sides are facing towards each other. Smooth the bags out and line up the side seams.
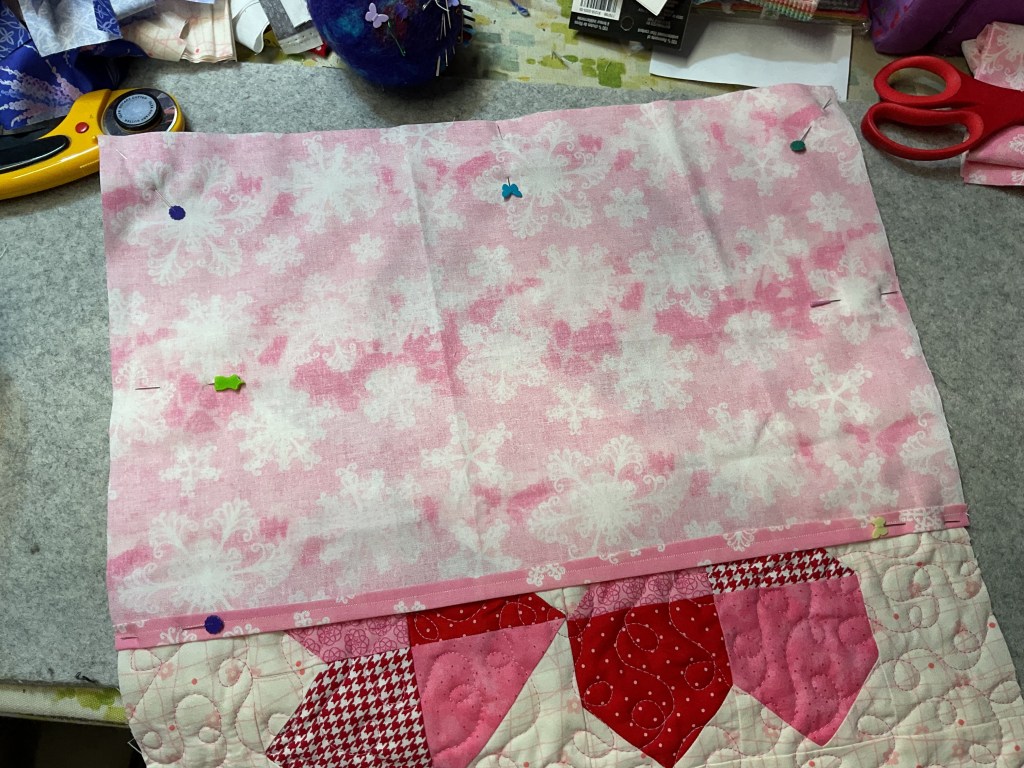
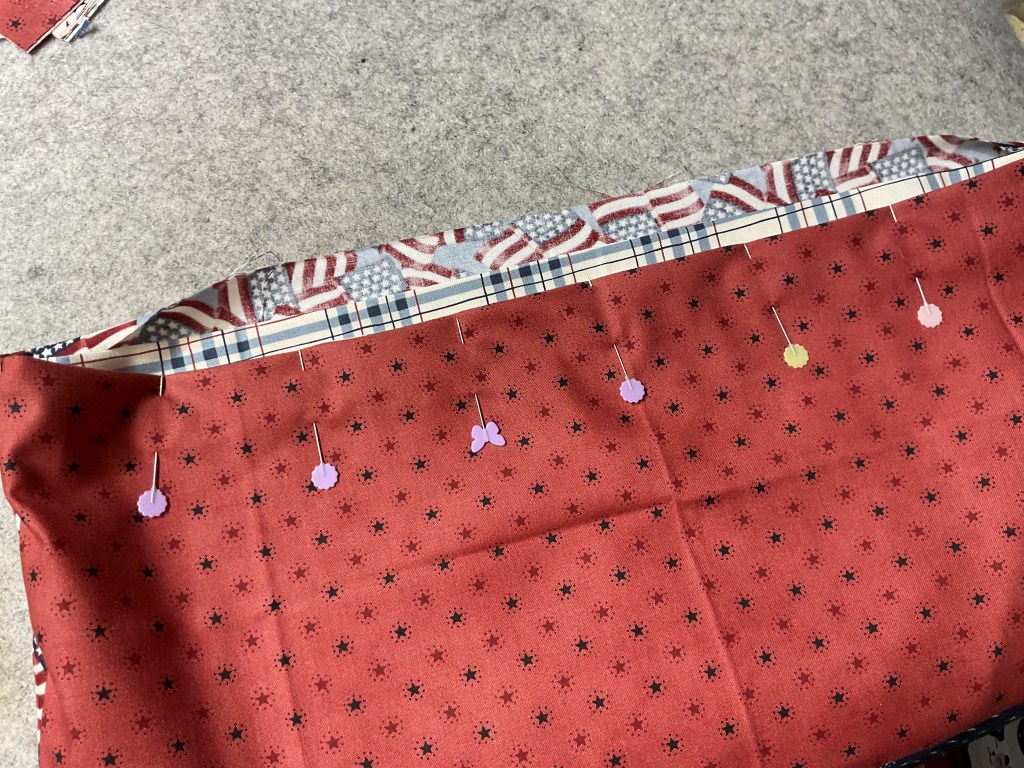
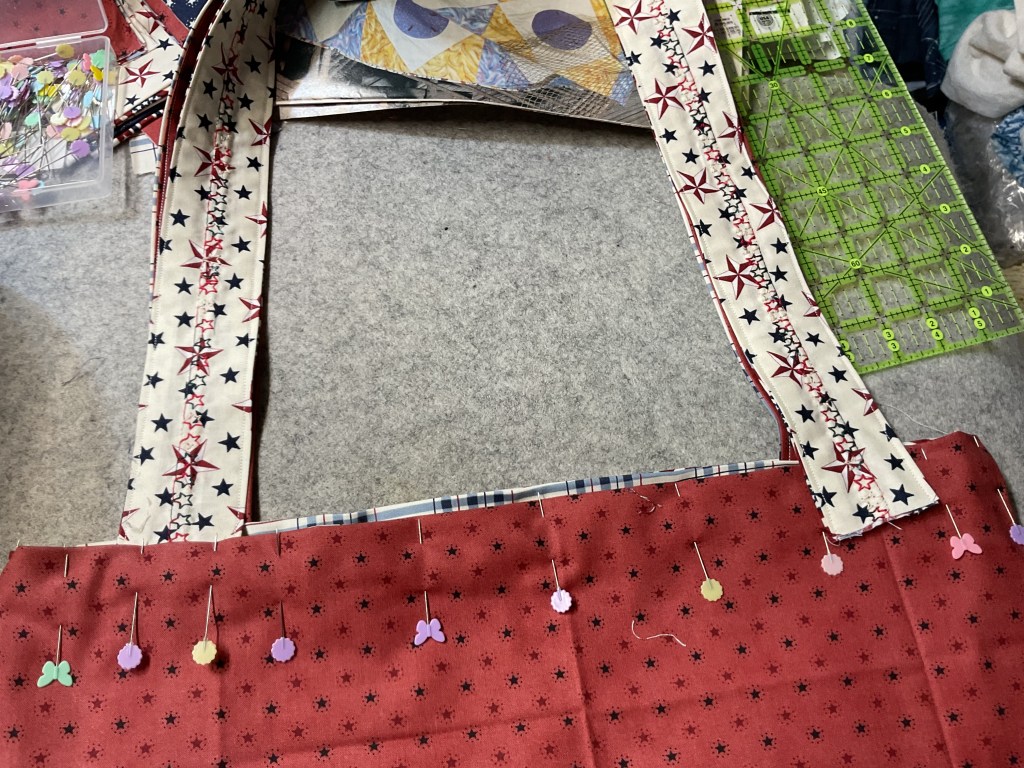
I like to work with one bag at a time as I fold and press the seam allowance to the wrong side of the bag. Next I’ll match the top edges as I fold the 2nd bag seam allowance towards the wrong side and press. I pin generously to keep the bag tops lined up.
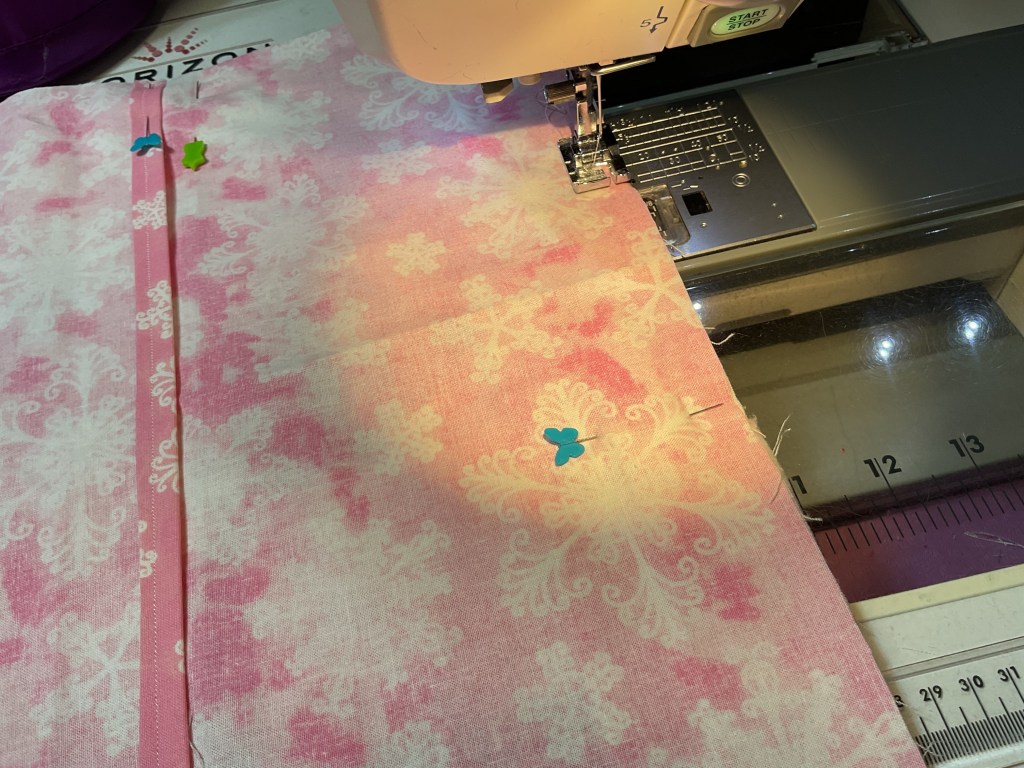
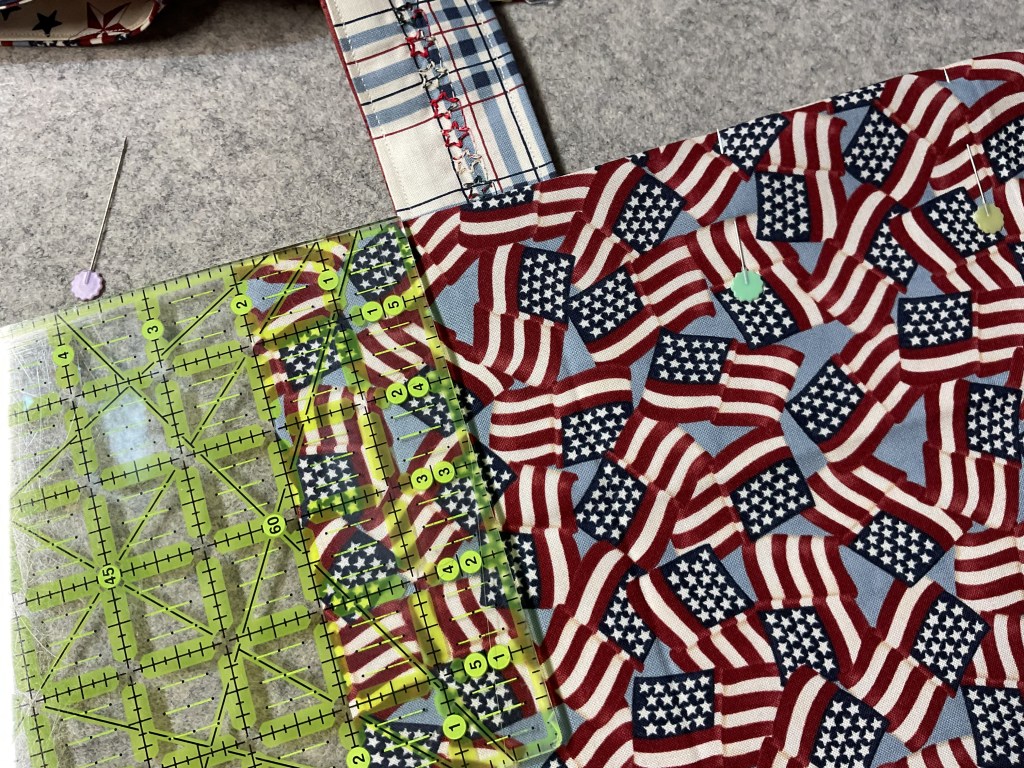
Before I sew the top of the bag, though, I need to insert my straps and pin them. I used my ruler when I pinned the straps between the 2 bags so that everything would be neat and square.
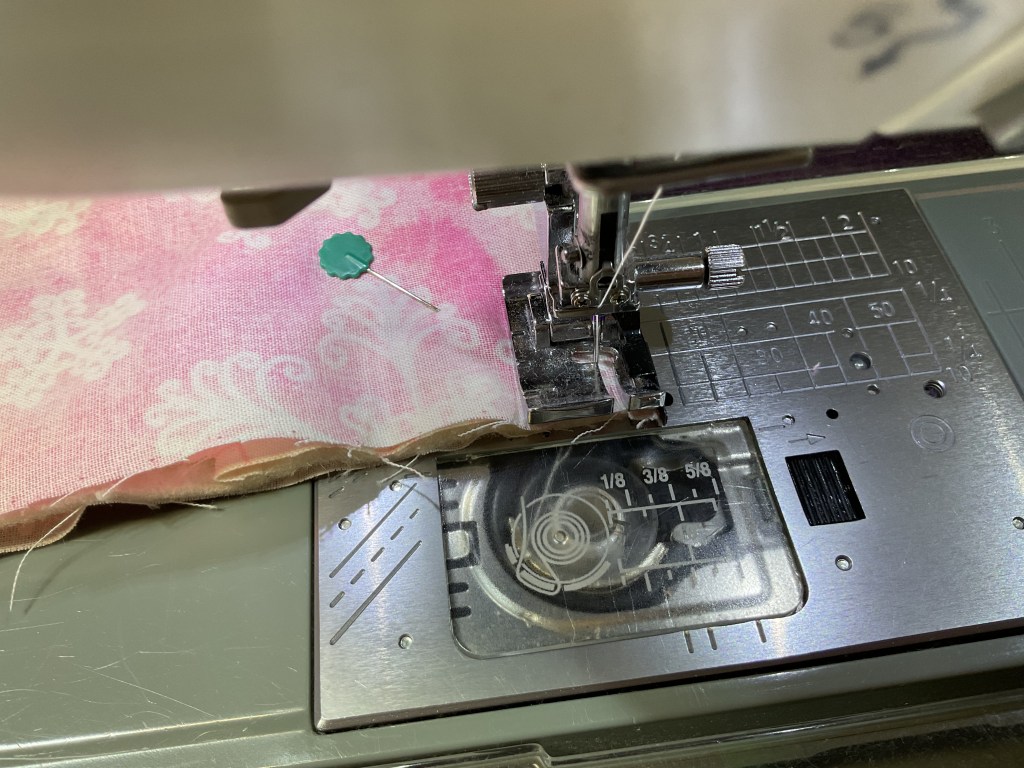
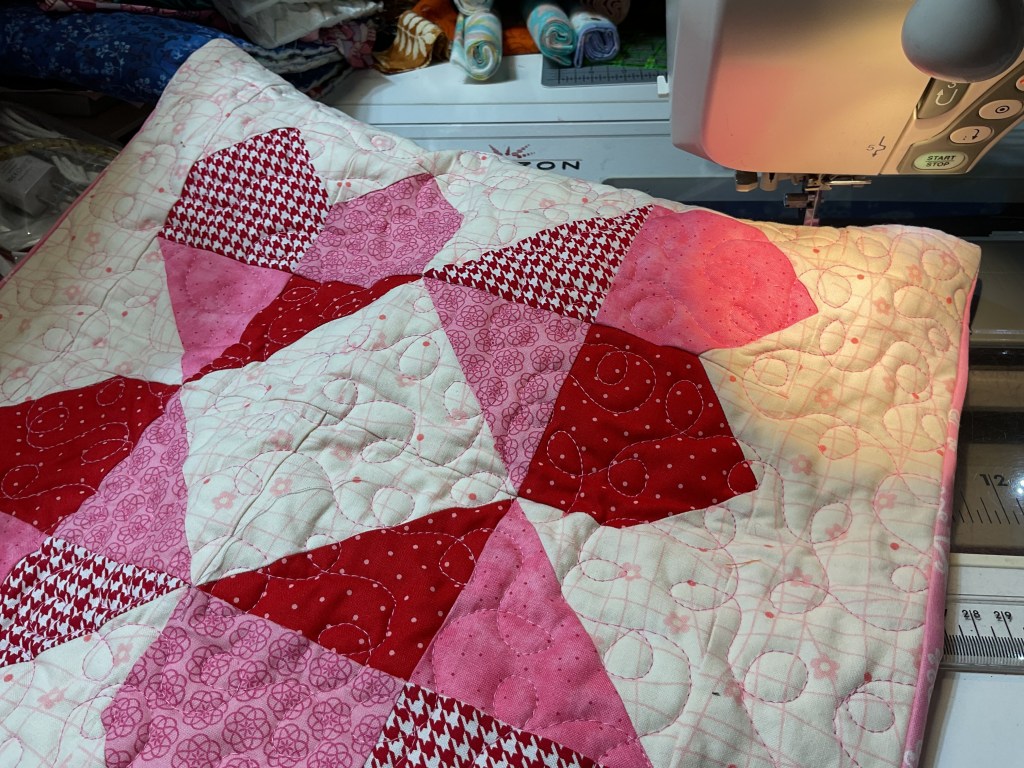
The last thing to do is to sew around the top of the bag close to the edge. I then zigzagged around the top of the bag to give the straps a little more support. Apparently, I forgot to take a few photos of this step. LOL! Sorry about that.
Anyway, here is my finished bag (again). All 4 sides.


What a super fun tote bag! Hmmmmm……..I’m thinking these would make great “gift bags” for Christmas. A gift within a gift.
Small Project Summer Challenge Week 3 Next Week
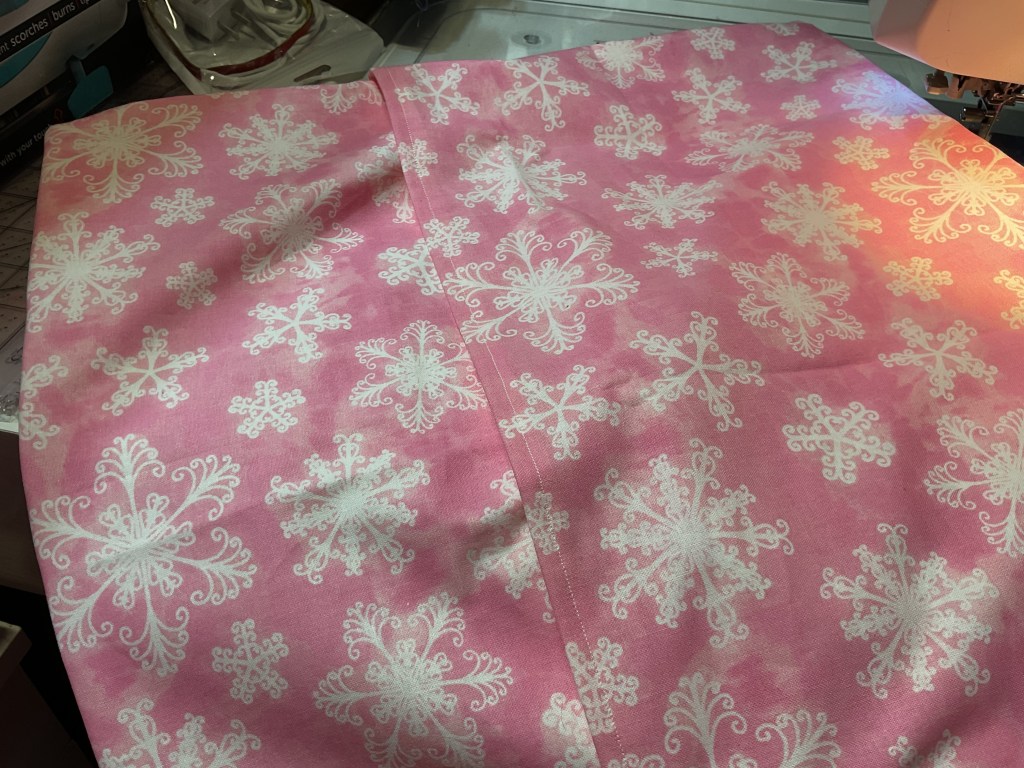
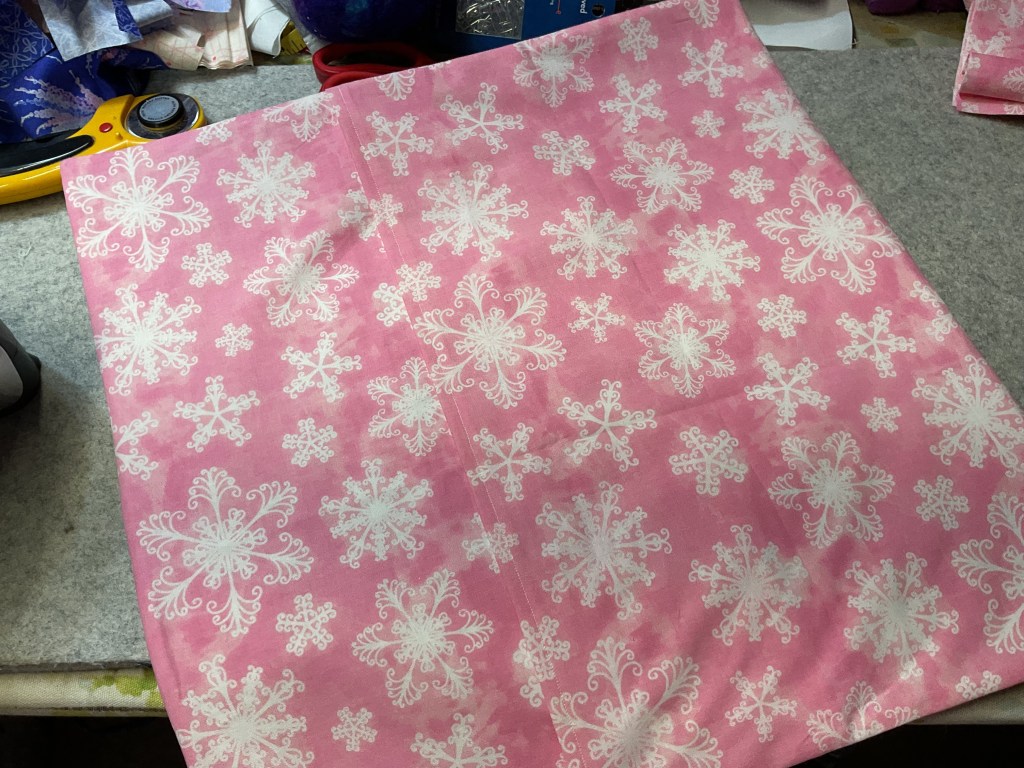
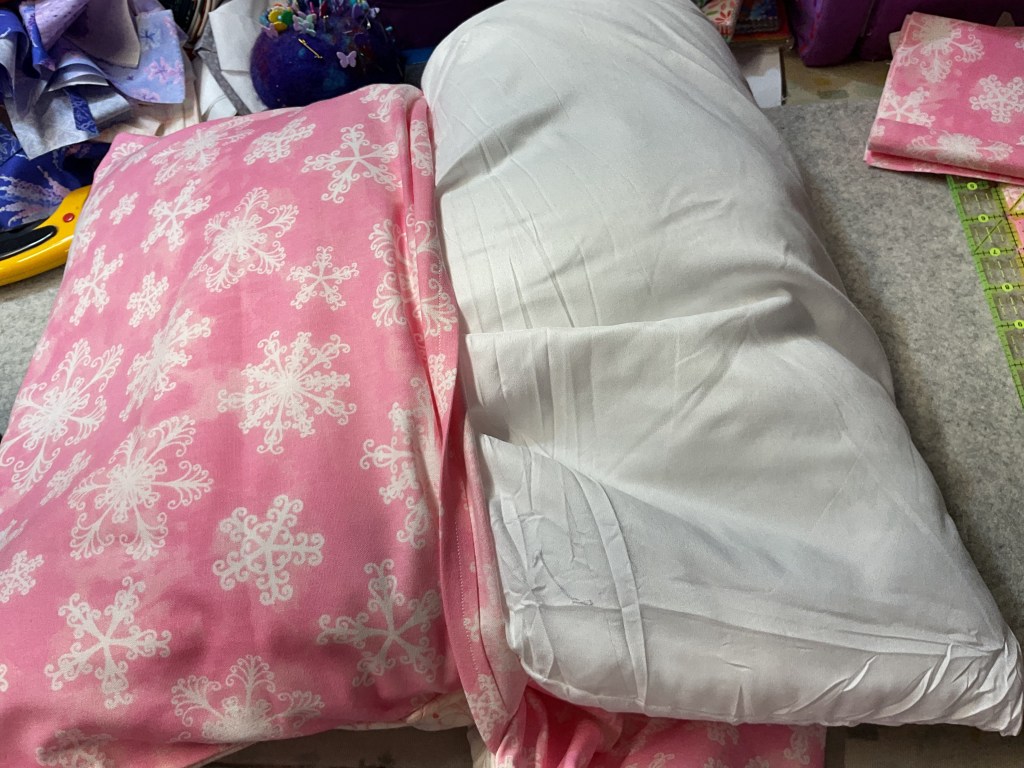
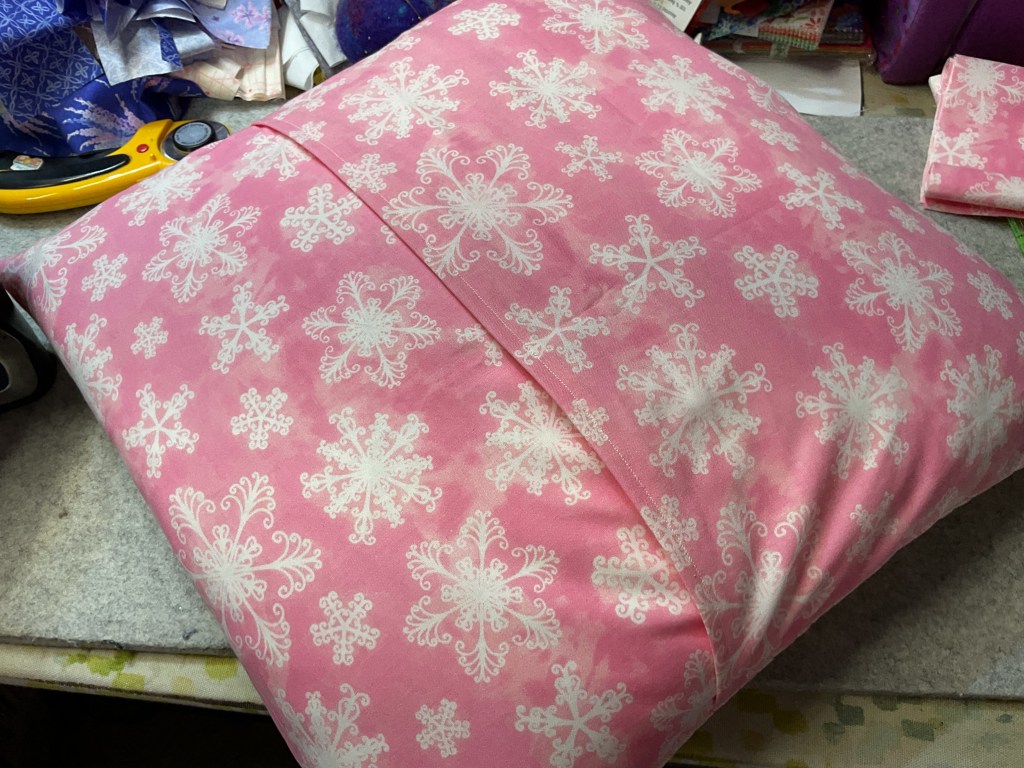
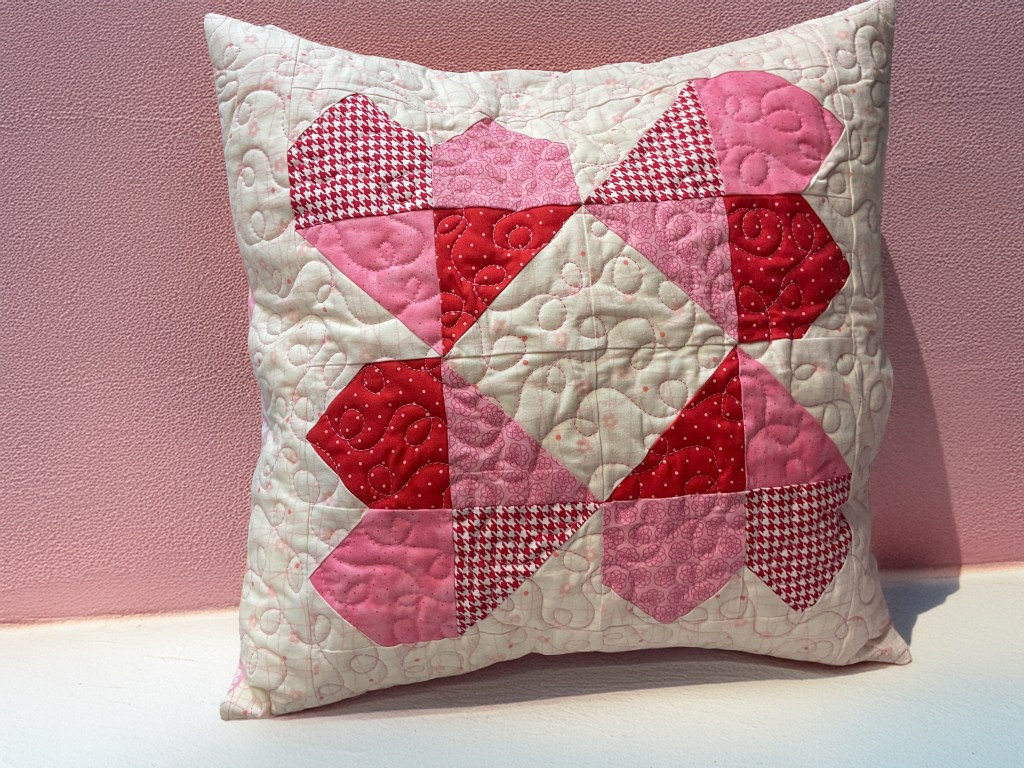
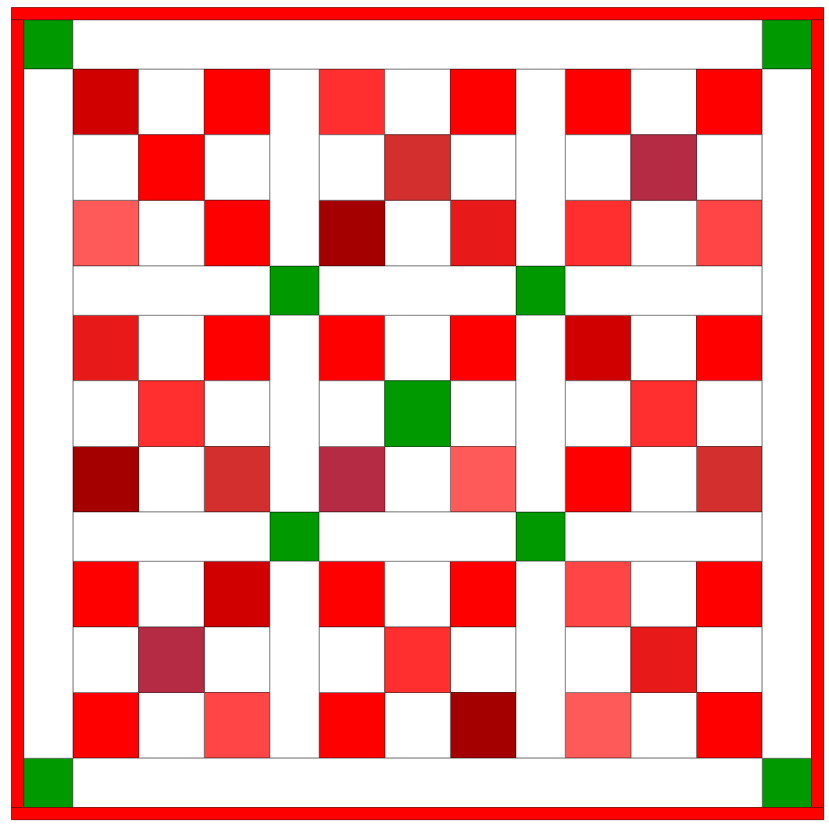
Next week for Week 3 of our Small Project Summer Challenge, we’ll be making pillows/pillow covers. We have some really fun VRD options for you! You can find both digital and print pillow patterns HERE.
Garden Wishes
Parade Day
Spring Blooms
Good Luck
Dot to Dot
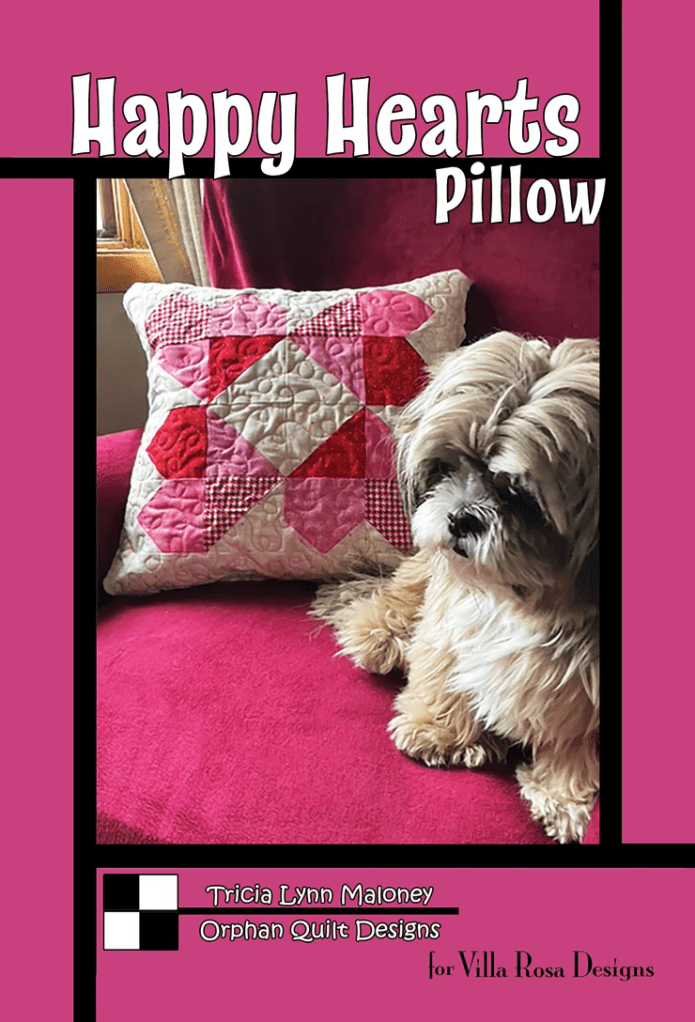
Happy Hearts
Belinda Jane
Louisa Jane
Your pillow project is due by midnight July 10th EST.
Enjoy your 250th celebration this weekend!
Until next week!
Sew. Laugh. Celebrate. Repeat.
Always,
Tricia @ VRD