
Hello Quilty Friends!
Happy Thursday to you!
Recently, we received a message from a quilter who purchased a couple kits featuring Villa Rosa Rose Card patterns at a quilt shop while traveling. She asked for instructions for the kits she purchased. Oh no! I thought, did the kits not include the Rose Cards?
After further communication back and forth, I found out the cards were in the kits, but the quilter, being unfamiliar with Rose Cards, wondered why the pattern was so small and on the back of a postcard– there must surely be more to the instructions than that, she thought. So, she contacted us.

This message got me thinking about how our Rose Card patterns really are very beginner friendly, but beginner quilters are expected to have some basic quilting skills.
So, what skills does a beginner quilter need to know in order to successfully make a Rose Card quilt pattern?

Several things came to mind right way, so I thought — why not write some posts about beginning quilting skills? That way if we get beginner questions, we actually have somewhere to send them for answers besides a vague reference to the Internet or YouTube.
The first one I thought of — and possibly THE most important beginner quilting skill — is knowing how to sew an accurate 1/4″ seam.
An accurate 1/4″ Seam Allowance
Most if not all quilting patterns use a 1/4″ seam allowance. Pattern designers build that seam allowance into their cutting measurements so the pieces will fit together properly when you sew them together. YAY MATH! (You can check out my post about quilting and math HERE.) In the past, way before rotary cutters, quilters had to draw seam allowances around patches, cut them out of cardboard or heavy paper, and then cut the patches out with scissors using the cardboard patterns. HORRORS! Please note that applique can be a little different, though, as you might have to add a seam allowance around the shapes — but this is a topic for another day. For our purposes here, we will refer to pieced quilting patterns.
Seriously, though — a 1/4″ seam doesn’t just happen by magic — you need to make friends with your sewing machine so you are both on the same page. One of the best things you can do to make friends with your sewing machine is to keep your sewing machine manual nearby and to actually use it! If you’ve lost your sewing machine manual, you can check the manufacturer’s website because they might have your manual available for download. Sometimes you can find reprints of manuals on Amazon, too.
One of my all-time favorite sewing machine accessories is my 1/4″ guide foot. It’s a typical 1/4″ foot for quilting but it also has a nice little metal guide on the right (see below) that I can bump my fabric right up against while sewing, which helps me to sew a more accurate 1/4″.

Don’t panic — if you don’t have a special 1/4″ foot for your sewing machine, there are other ways to get a accurate 1/4″ seam allowance.
The technique I was first taught as a beginner was to cut 3 strips of fabric 1 1/2″ wide by say 5″ long (the length is not as important as the 1 1/2″ width). Sew the 3 strips together side by side into a mini Rail Fence block. Measure the width of the center strip. If your center strip measures exactly 1″ wide, then you are already sewing an accurate 1/4″ seam so don’t change a thing!

If the center strip measures more than 1″ wide, then your seam is narrower than 1/4″, so you need to make an adjustment to sew a wider seam. Make the adjustment, then sew 3 more strips together and measure the center strip. If it’s still not right, keep making minute adjustments, sewing mini Rail Fence blocks, and measuring the width of the center strip until it is exactly 1″ wide. Note what adjustments you made so if you need to change the width of your seam allowance, you will be able to find your way back to your 1/4″. When in doubt, sew 3 strips together into a mini Rail Fence block and test the width of the center strip.
If the center strip measures less than 1″, then your seam is wider than 1/4″, so you need to make an adjustment to sew a narrower seam. Like above, keep making adjustments, sewing mini Rail Fence blocks, and measuring the width of the center strip until it is exactly 1″ wide. Note what adjustments you made so if you need to change the width of your seam allowance, you will be able to find your way back to your 1/4″. When in doubt, sew 3 strips together into a mini Rail Fence block and test the width of the center strip.
What adjustments can you make with your sewing machine to perfect your 1/4″ seam?
- Your machine might have the option to move your presser foot either right or left, depending on whether your seam is too narrow or too wide.
- You might need to place a strip of tape on your machine to mark where to line up the edge of your fabric to get your 1/4″ — you might try painter’s tape or washi tape, which would both be re-positionable as you make your adjustments to get your 1/4″.
- Speaking of tape, you can actually stack up layers of tape to get the “bumper” effect of the guide on my 1/4″ foot.
If these ideas don’t work for you, you might want to consider purchasing a 1/4″ guide foot that will fit your sewing machine. To do this, you might have to know whether your machine is a low shank, a high shank, or rarely (mostly older Singers) a slant shank. How do you determine what kind of shank you have??? Why, refer to your sewing machine manual, of course!
Sew, what do you do with all of your little (and possibly wonky) Rail Fence blocks? Make a cute pin cushion, of course!
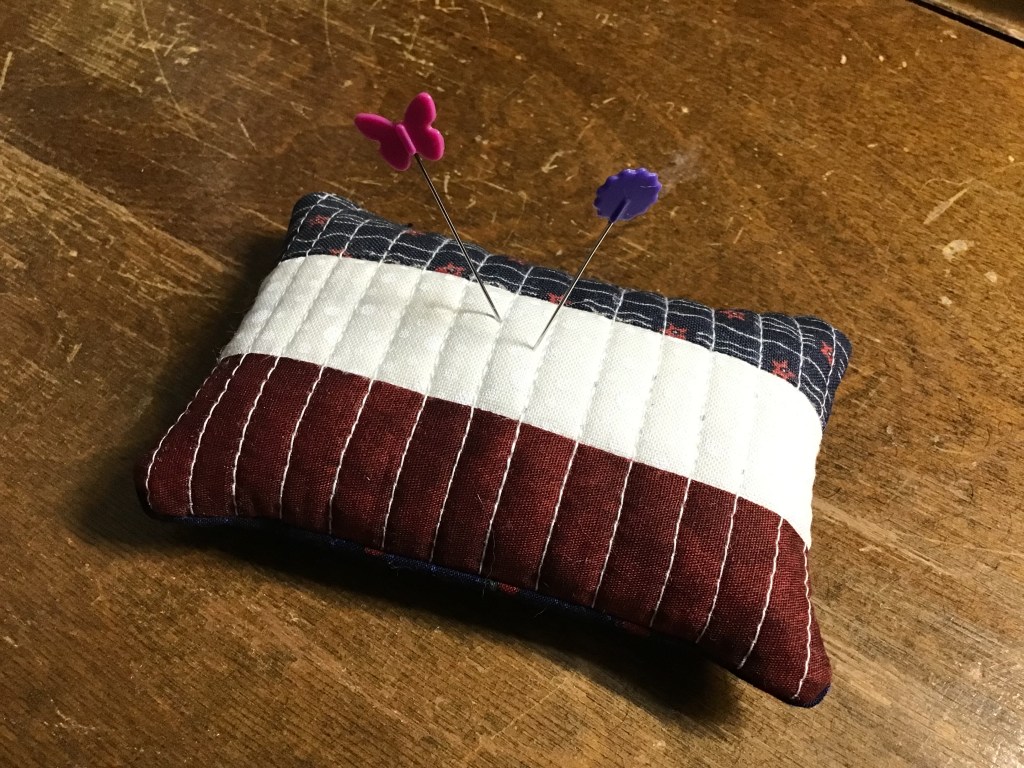
Here's how:

Press your Rail Fence block flat.  Make a tiny quilt sandwich with a piece of fabric for backing, a scrap of batting, and the Rail Fence block on top.  Press or pin in place.  Quilt by hand or by machine.  Square up your little Rail Fence sandwich.  Now place the Rail Fence sandwich right sides together with a piece of fabric you want for the back of your pin cushion.  Pin the layers together.  Sew 1/4" away from the outside edge of the Rail Fence block, leaving a couple inch opening on one of the long sides.  Trim the backing and Rail Fence block to the same size if needed.  Turn the pin cushion right sides out through the opening.  Push out the corners carefully.  Fill your pin cushion with stuffing or crushed walnut shells (mine is filled with crushed walnut shells).  Stuff or fill it firmly, making sure to fill the corners.  Leave a little bit of space at the long edge with the opening.  Turn the backing fabric and Rail Fence block raw edges to the inside of the opening.  Pin in place.  Now hand sew the opening closed using matching thread.  DONE!
I do want to point out that a consistent seam allowance is just as important as an accurate 1/4″ seam allowance. That being said, not all 1/4″ seam allowances are exactly the same. You would think so, but in truth there really is no one PERFECT EXACT 1/4″ seam allowance.
SHHHHHHHH. Don’t pass this around — you’re sure to offend someone who thinks their seam allowance is THE perfect 1/4″. We ALL know a quilter like this. LOL!
But alas, as hard as you try to find that elusive perfect 1/4″ seam allowance, there are always going to be things that make tiny differences — like the machine you use, the thickness of your fabric, you, how accurate your cutting is, possibly even the environment, and a host of other little things.
My advice to you is to find YOUR very best 1/4″ seam allowance and stick with it. Your pieces will still fit together as long as you’re consistent.
Our next topic will be Rotary Cutting Basics. Sew……Stay tuned!
Until next Thursday —
Sew. Laugh. Repeat.
Always,
Tricia @VRD

Enjoyed your beginners class . It would be nice if you sold each presentation so. We can refer to it plow and then Thank you
LikeLike
Thanks very much for the idea. Happy quilting!
LikeLike