Hello Quilty Friends!
Happy Thursday to you!
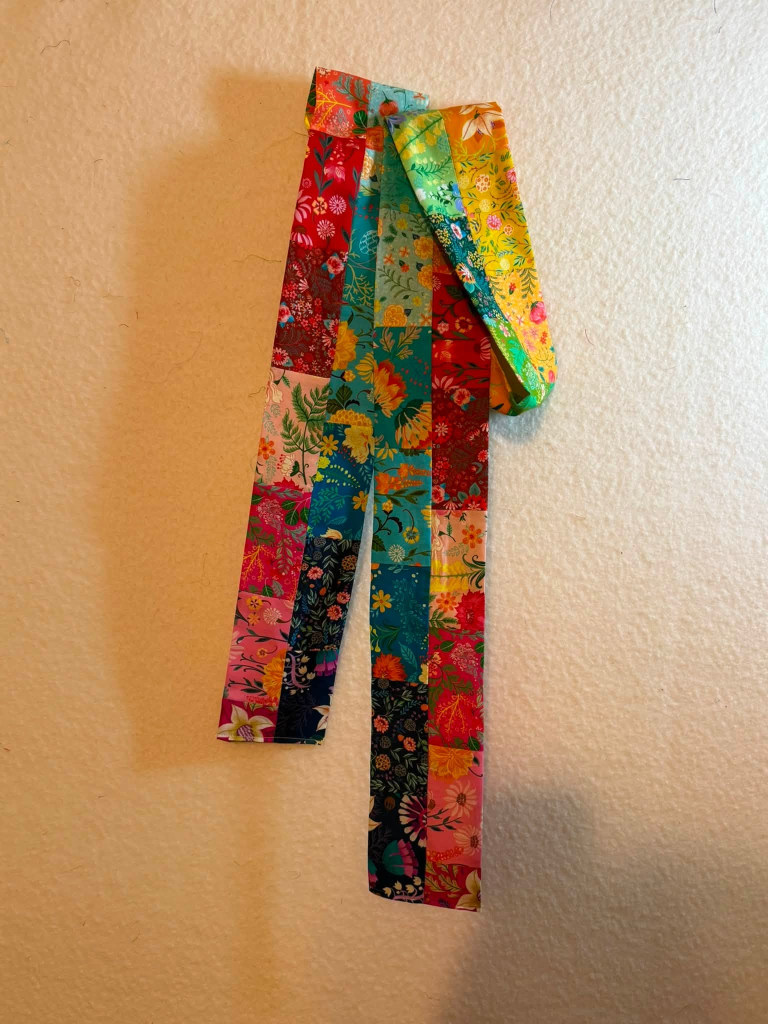
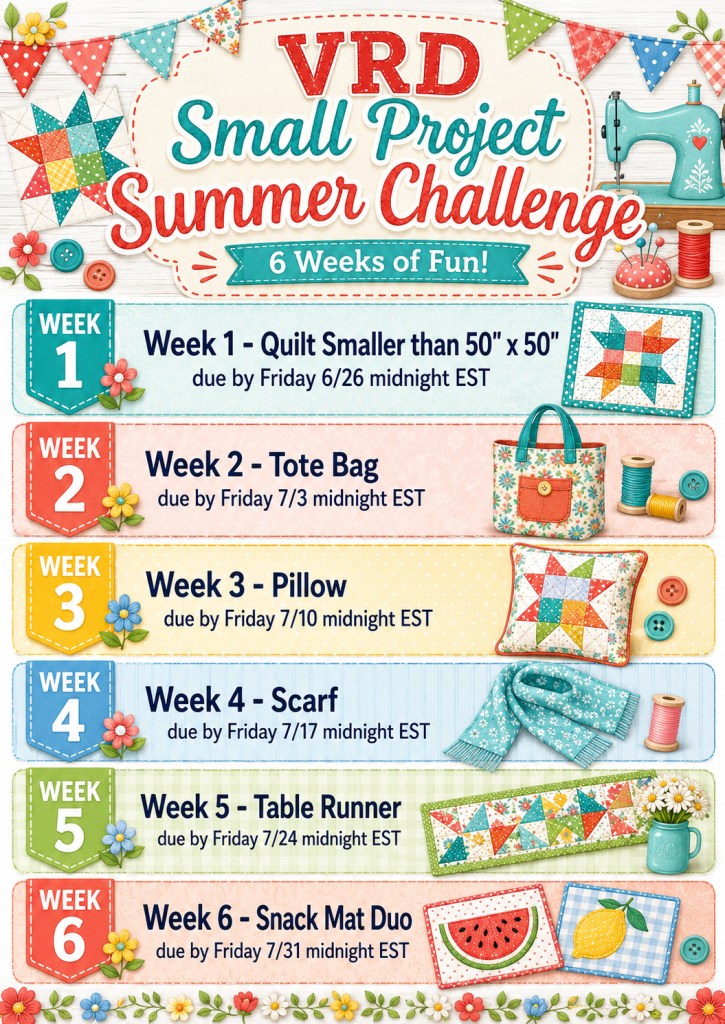
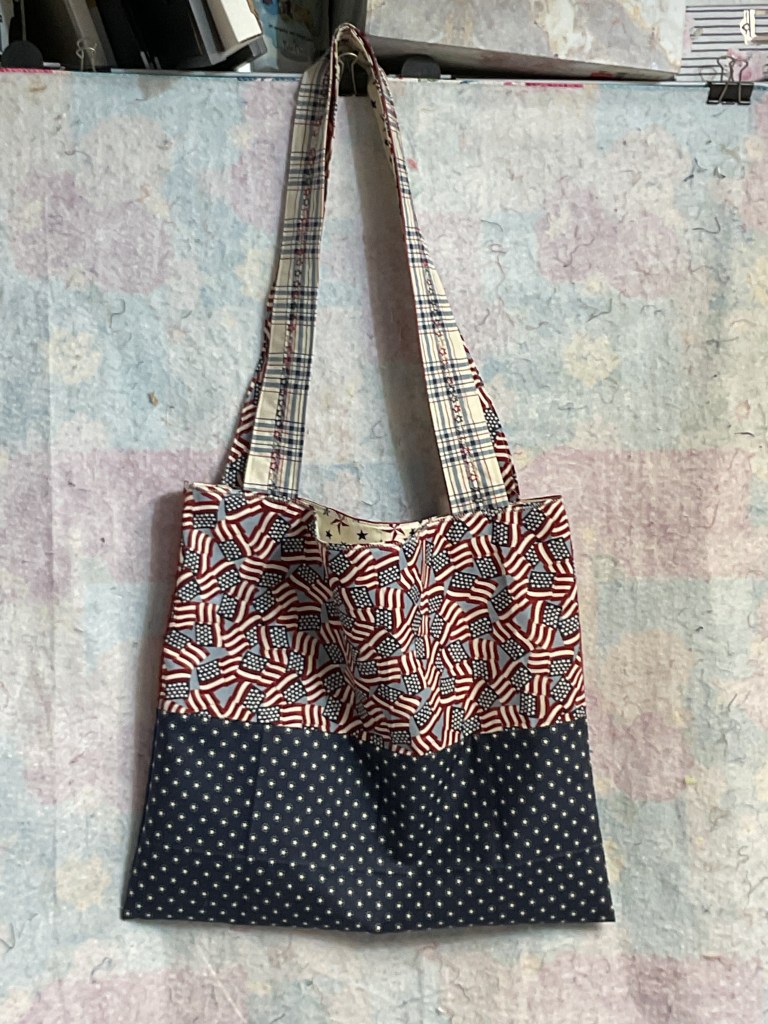
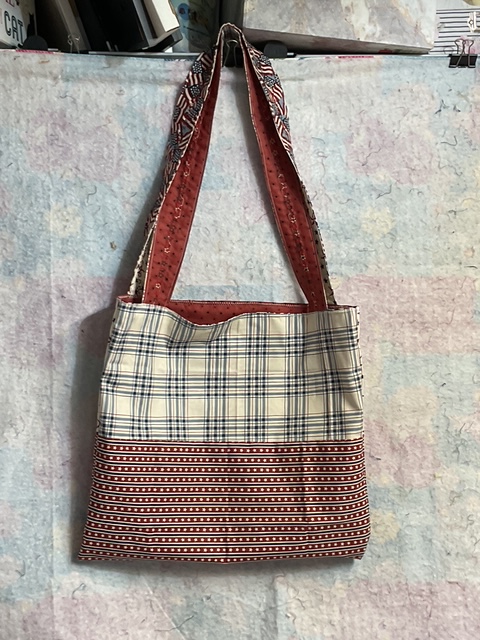
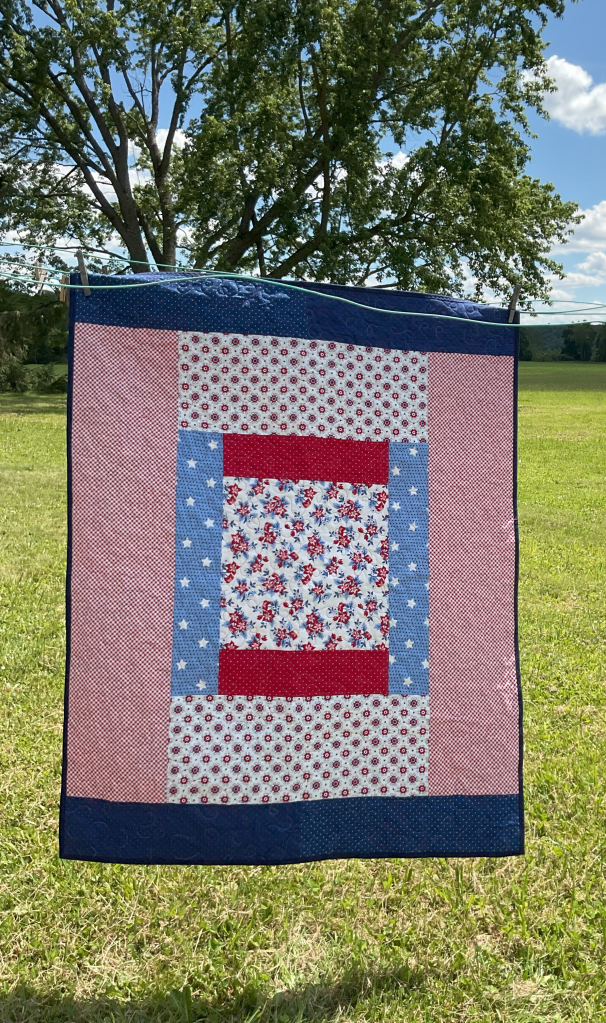
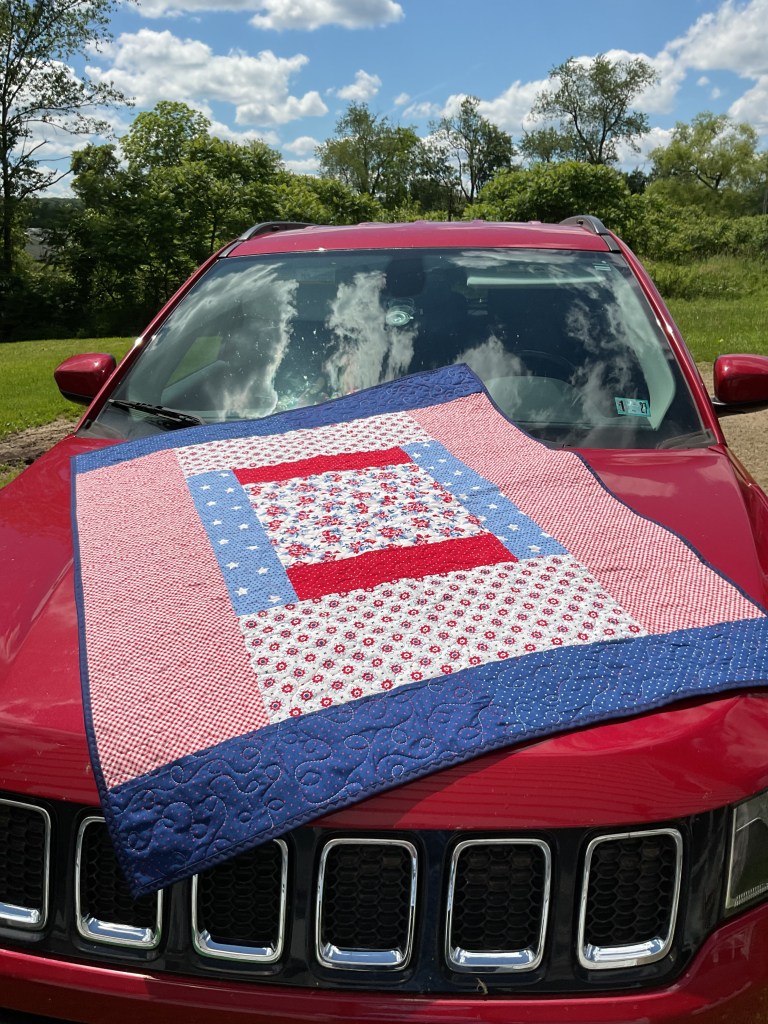
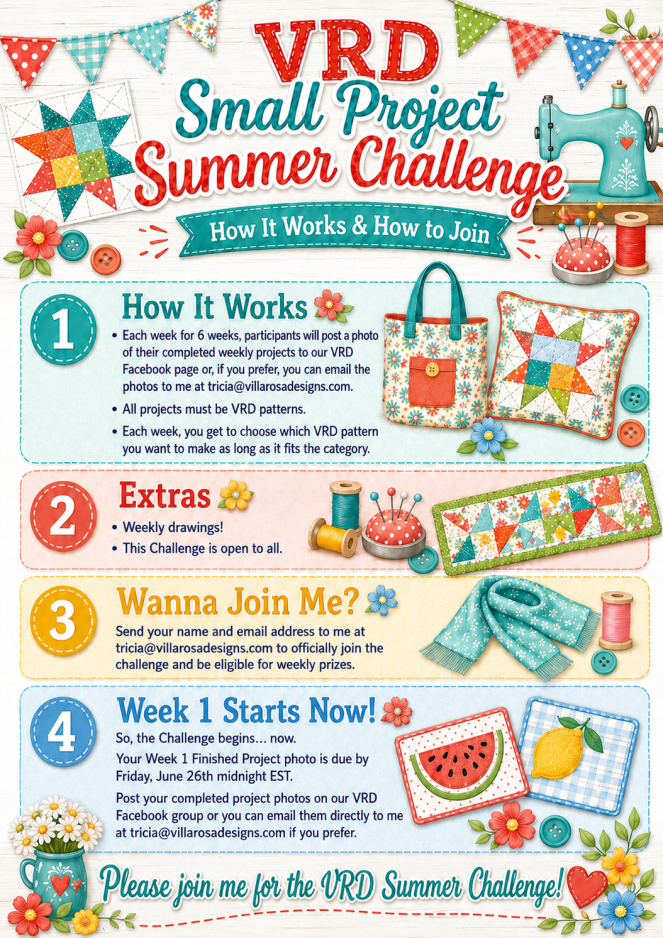
Hard to believe it’s Week 6 of our Small Project Summer Challenge already. Wow – it went fast! But what a fun and busy 6 weeks of super little projects – small quilts, tote bags, pillows, scarves, table runners, and snack mats.
Let’s take a look at the numbers – We had a total of 43 people sign up and 24 of them participated, which is more than 50% participation. For a sewing challenge in the middle of everyone’s busy summer, I think that is pretty incredible! Although the Week 6 deadline hasn’t happened yet as of this blog post, so far we have already made over 100 projects together in 6 weeks!
Yay us!
I’ll have the exact total for you next week once we complete Week 6.
I want to thank everyone for participating. These Challenges have really added a whole ‘nother layer to the VRD blog. I love how instead of me just writing something and you reading it, we can interact and connect with each other even though we are spread all over the USA and beyond.
I never really understood how that connection could happen on an online blog, but with the Challenges we’ve been doing here, now I do. I have been getting to know many of you simply based on the fabrics and projects you choose, your comments on the blog and on the FB page. I especially love that you comment on each other’s projects t00. We are a community of quilters and sewists!
I think it’s time to celebrate our Week 5 Winner!
Week 5 Winner
Raise your glass in toast to ……….
Donna P. in Florida
Congrats! Yay you! Awesome Applesauce!
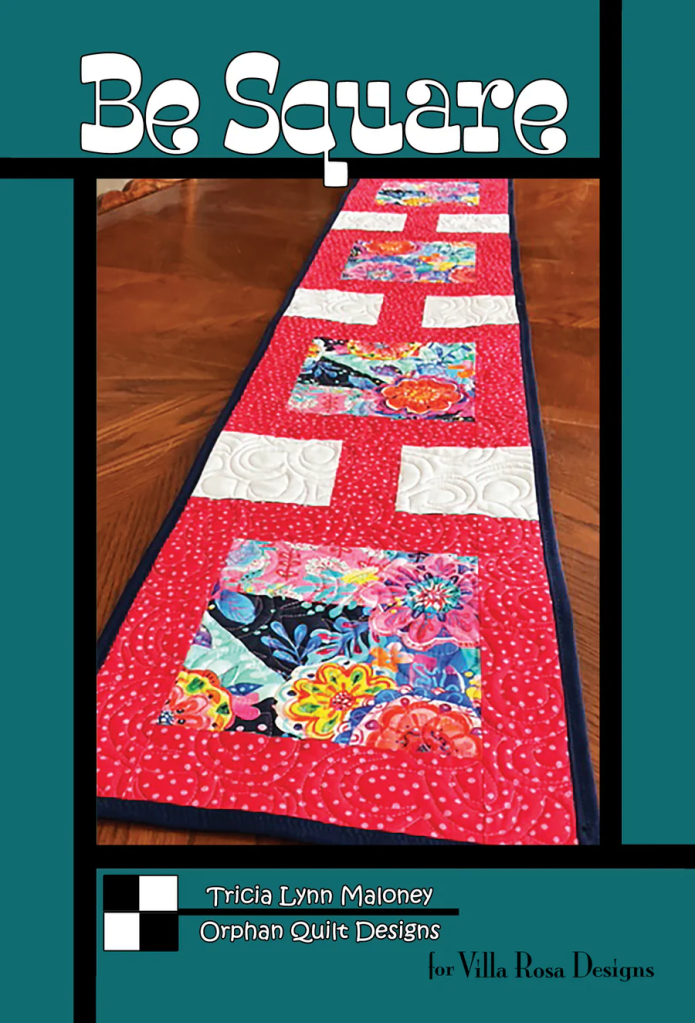
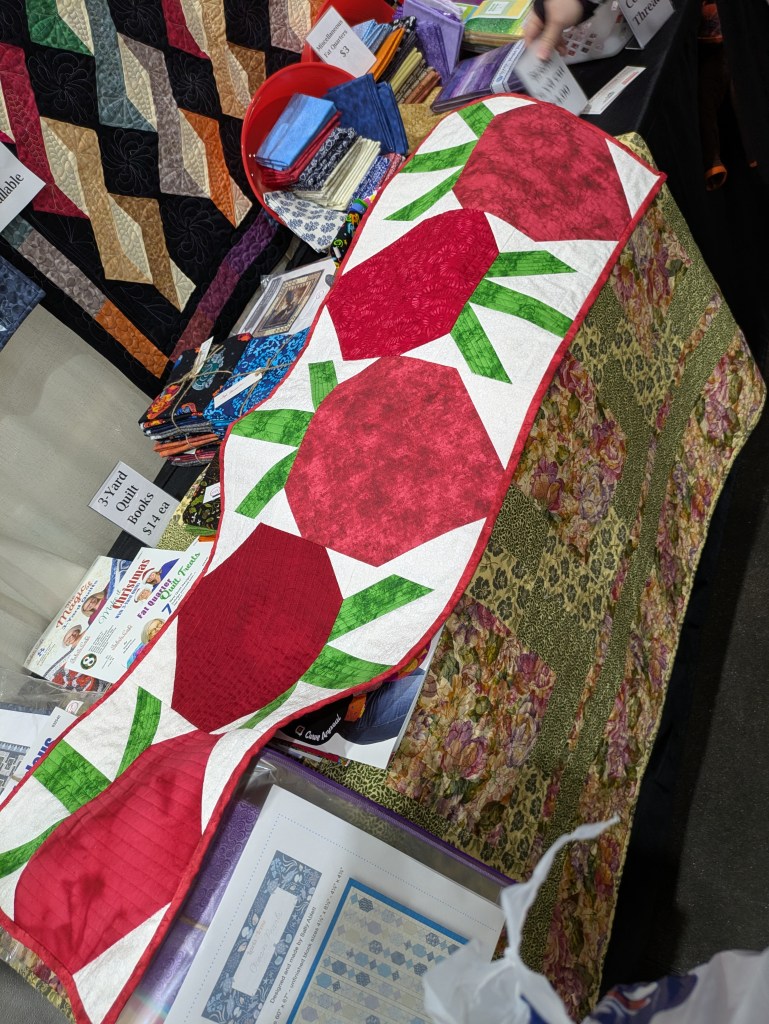
Here is Donna’s Belle Amie table runner for Week 5 –


Donna’s runner turned out really cute and I just couldn’t help but giggle when I saw the backing of her runner! Ape fabric is definitely something I’ve never seen before – how fun!

Get your digital pattern HERE or print pattern HERE
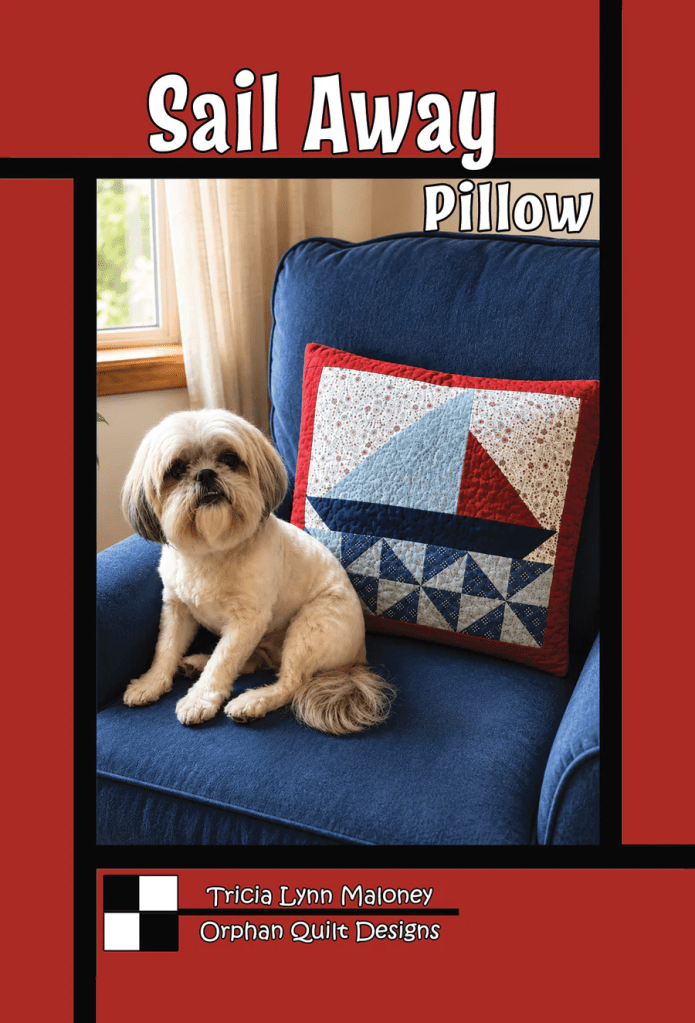
Week 6 Project
Wanna see my Week 6 project???
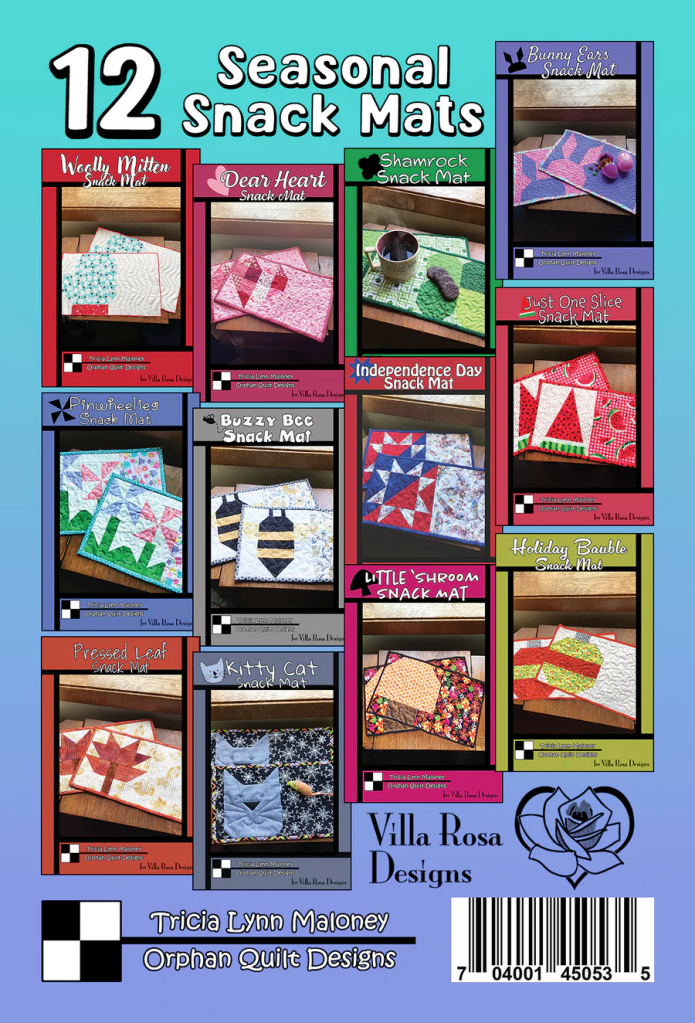
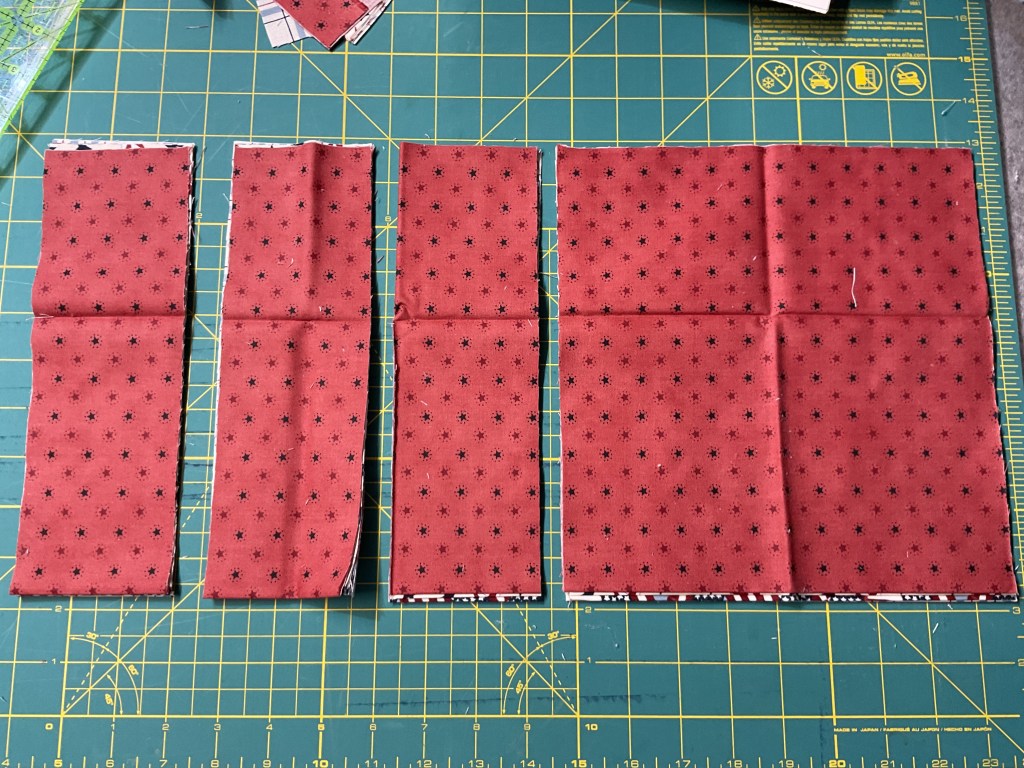
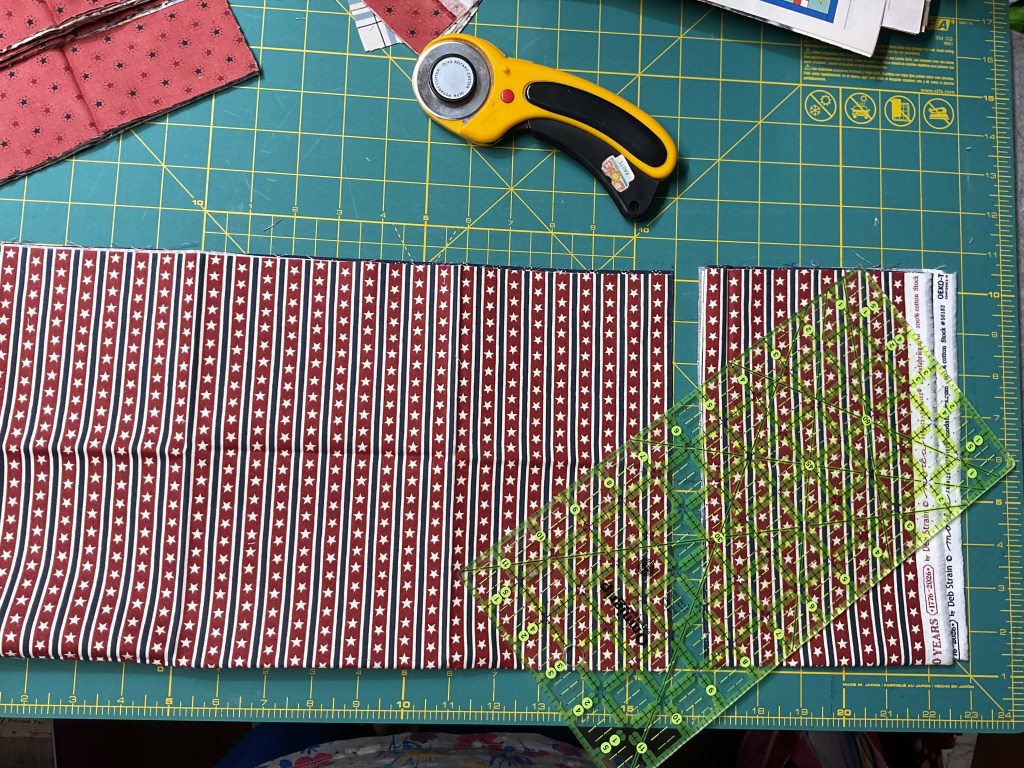
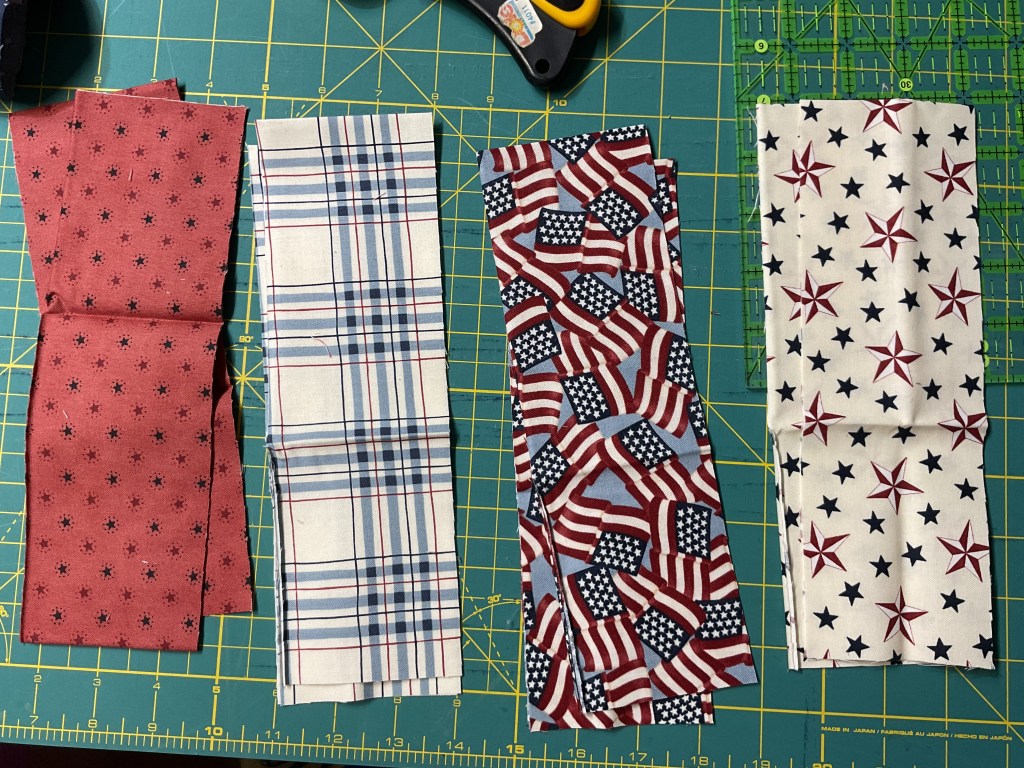
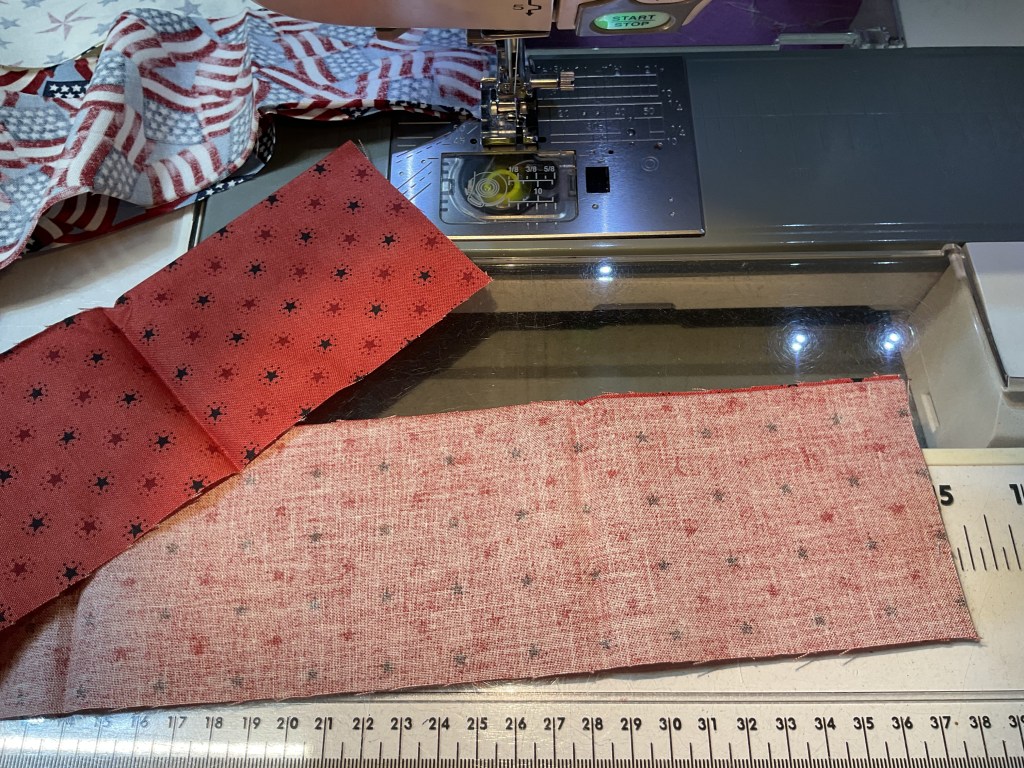
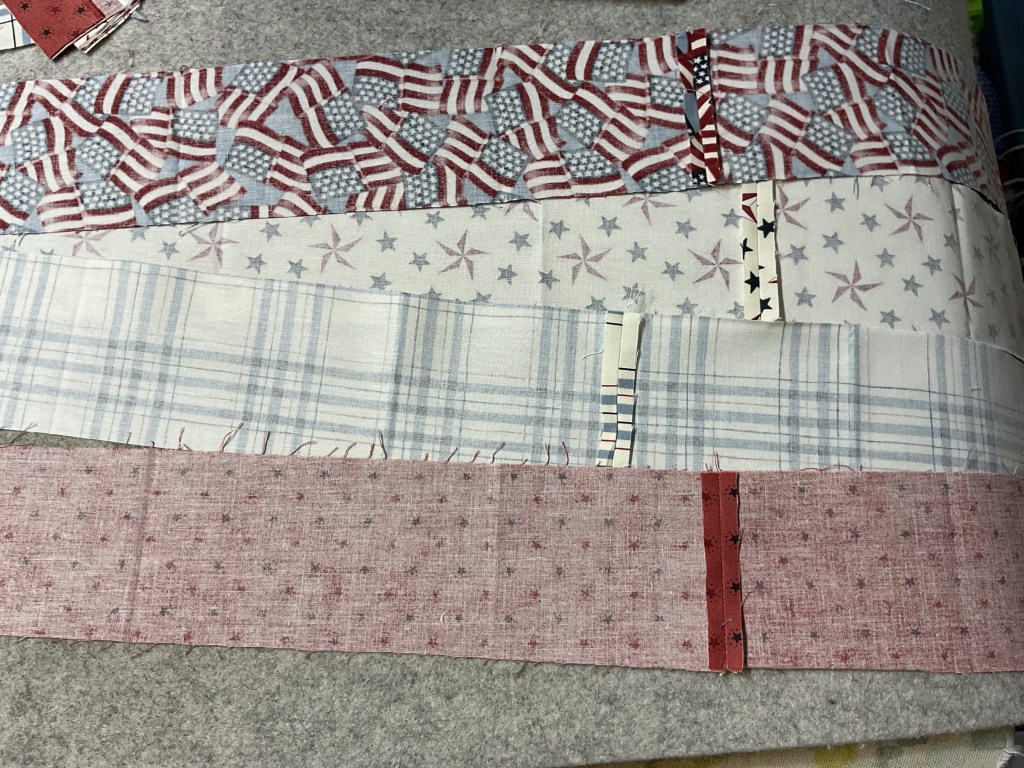
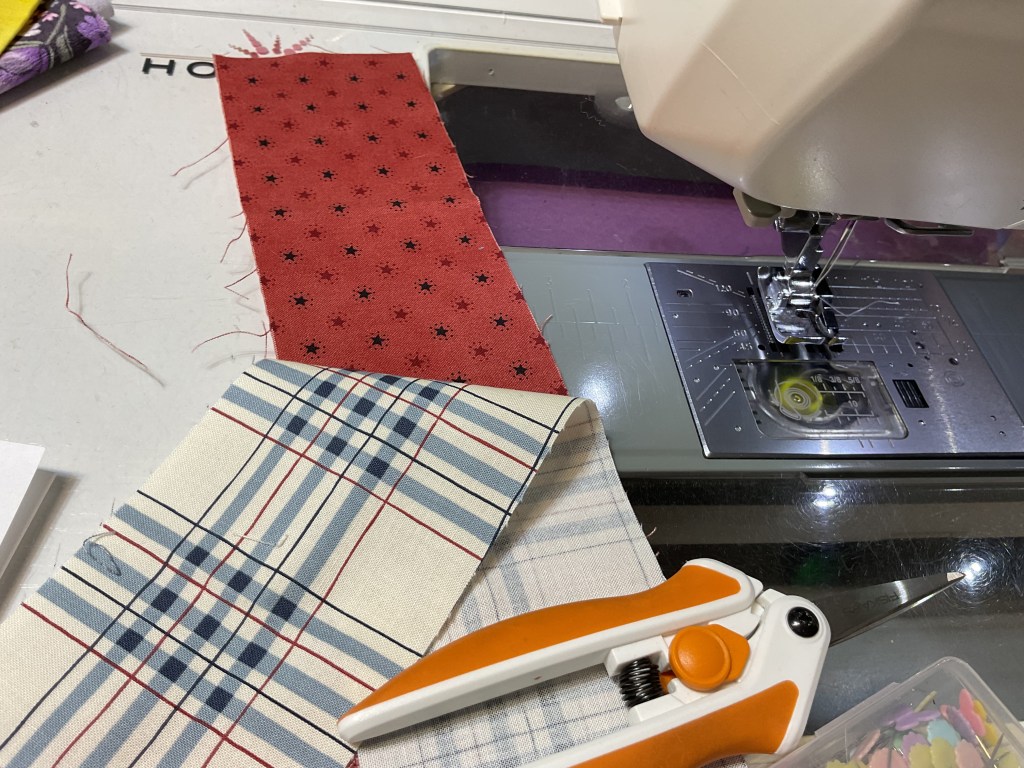
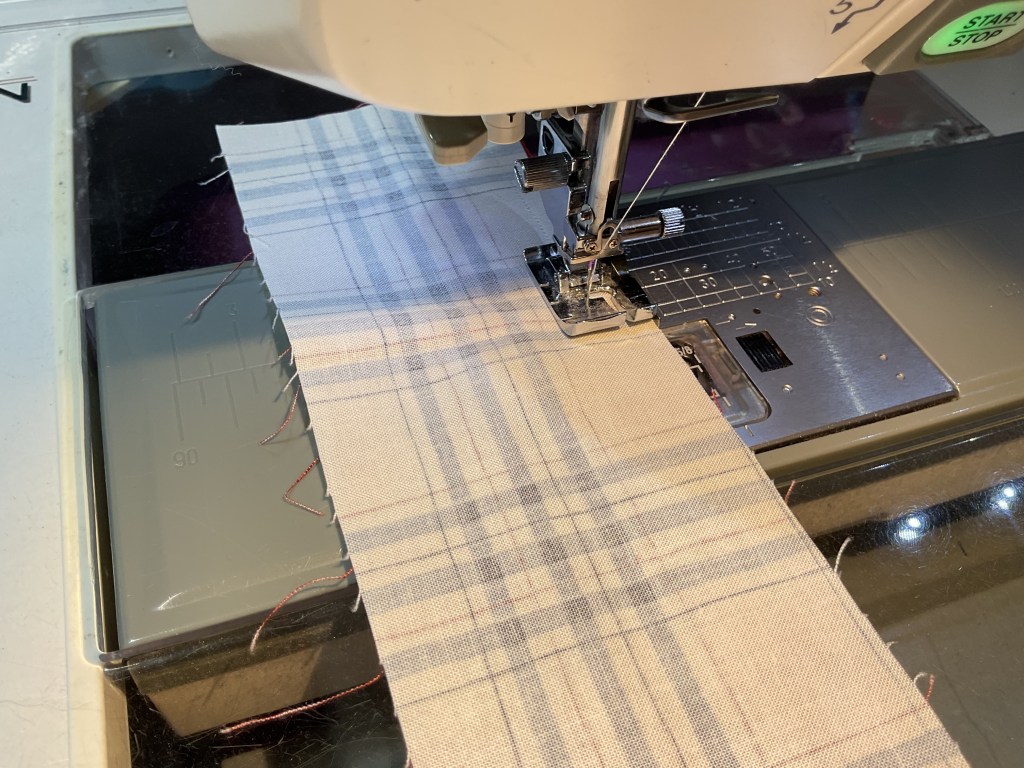
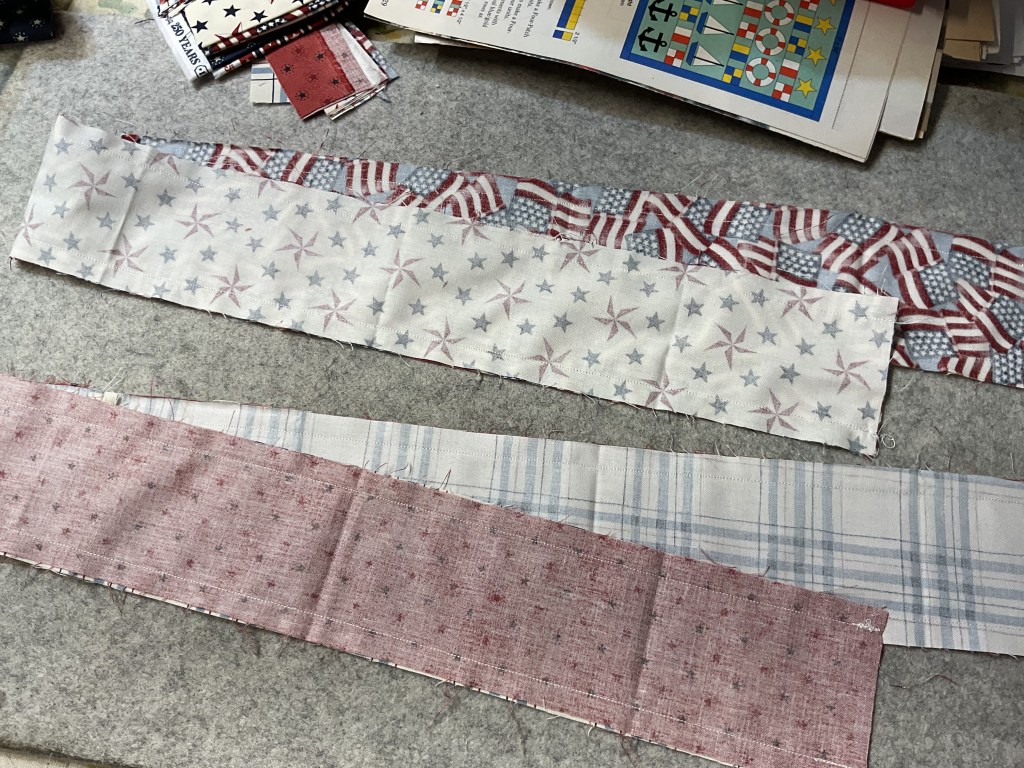
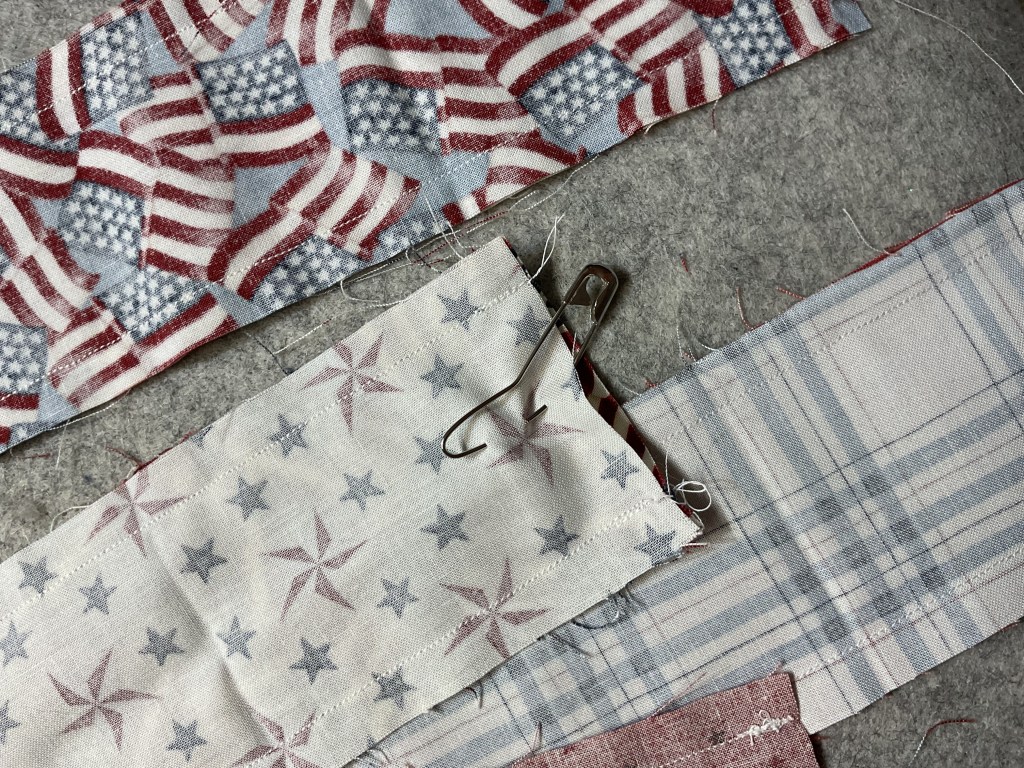
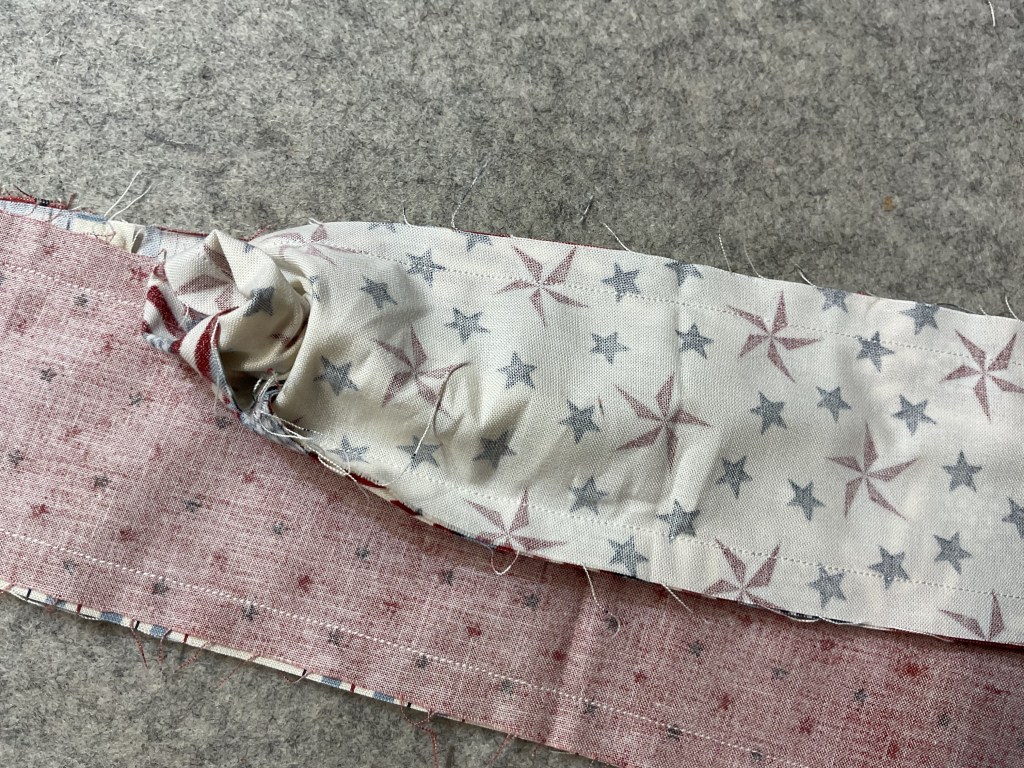
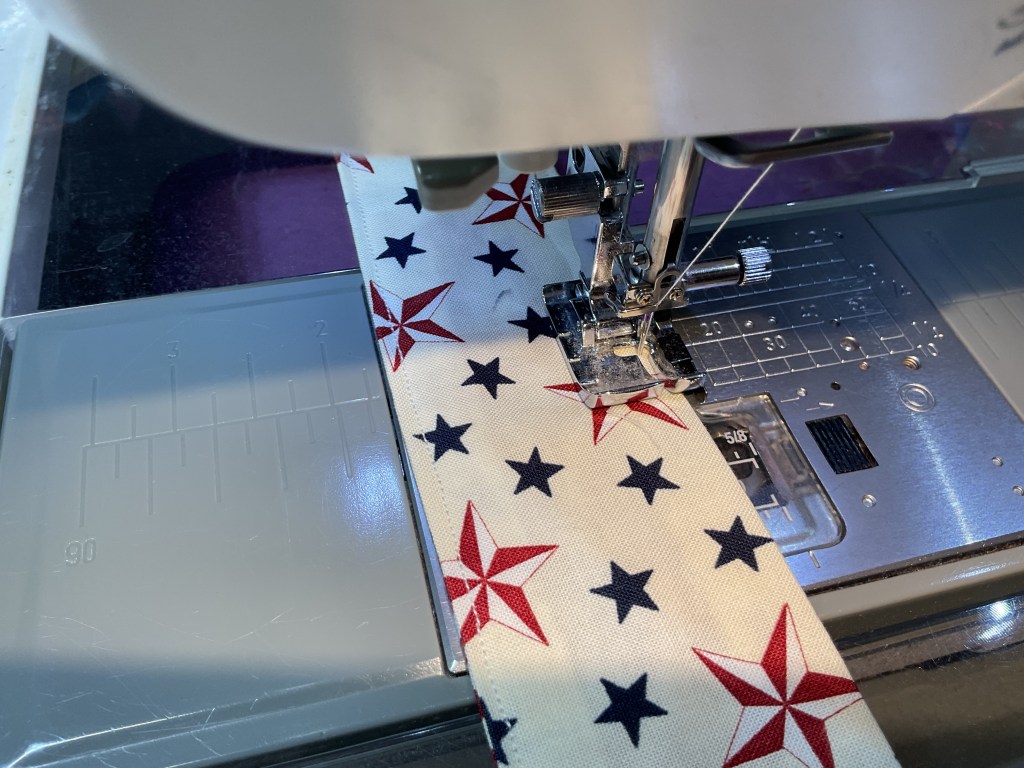
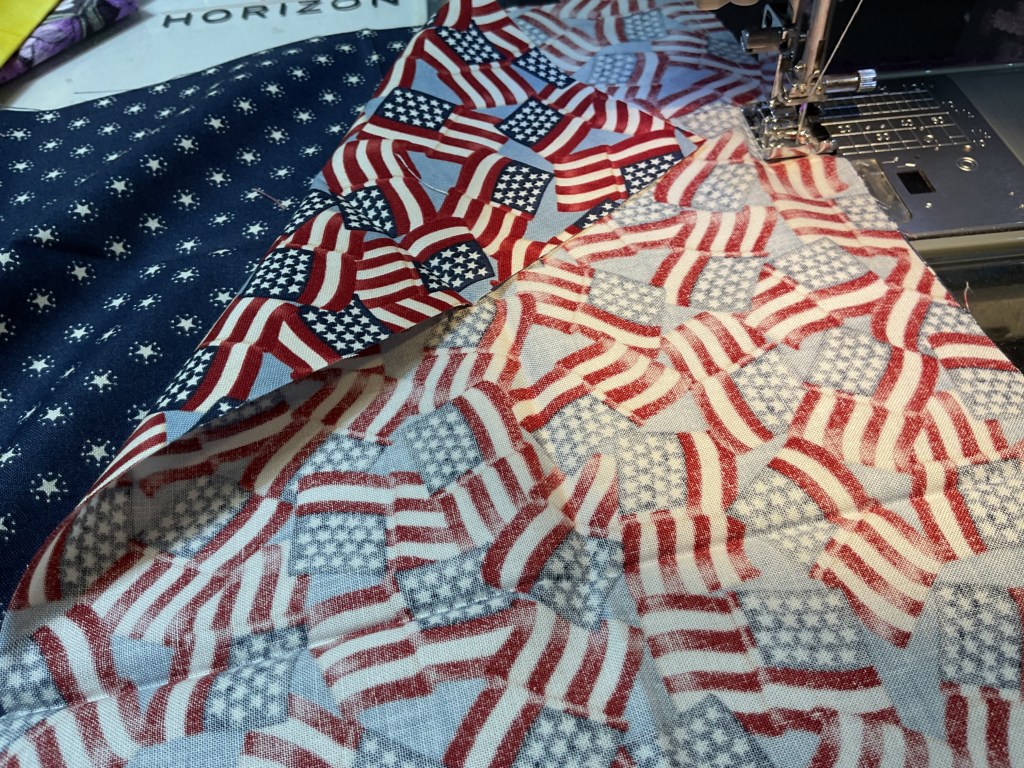
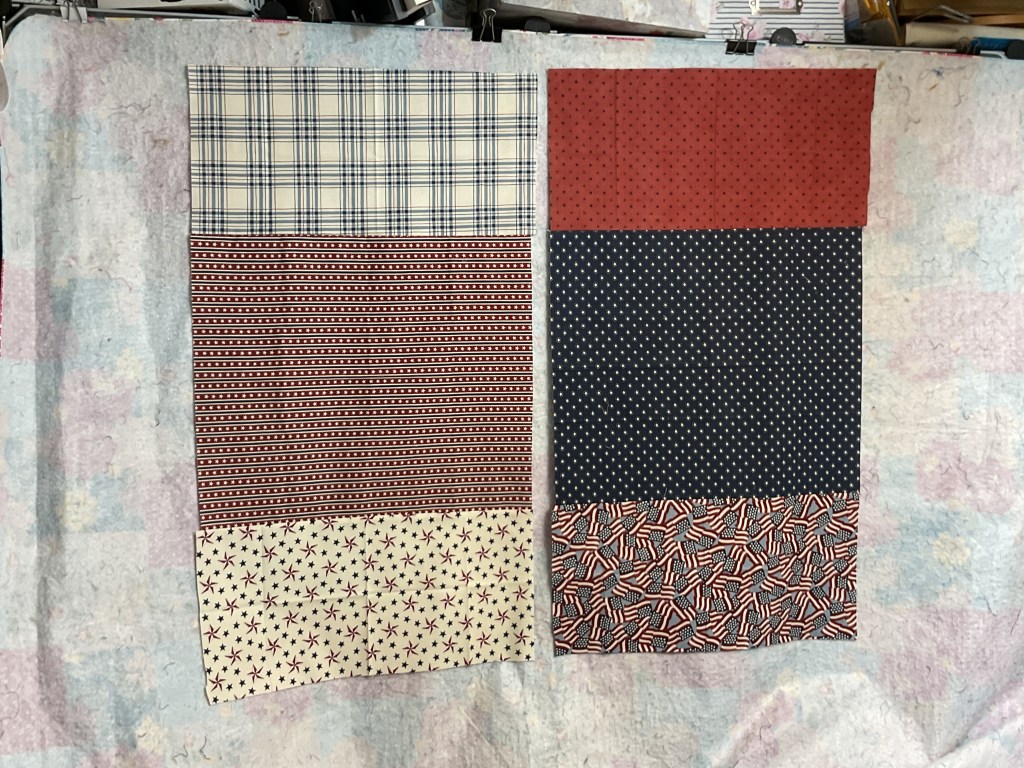
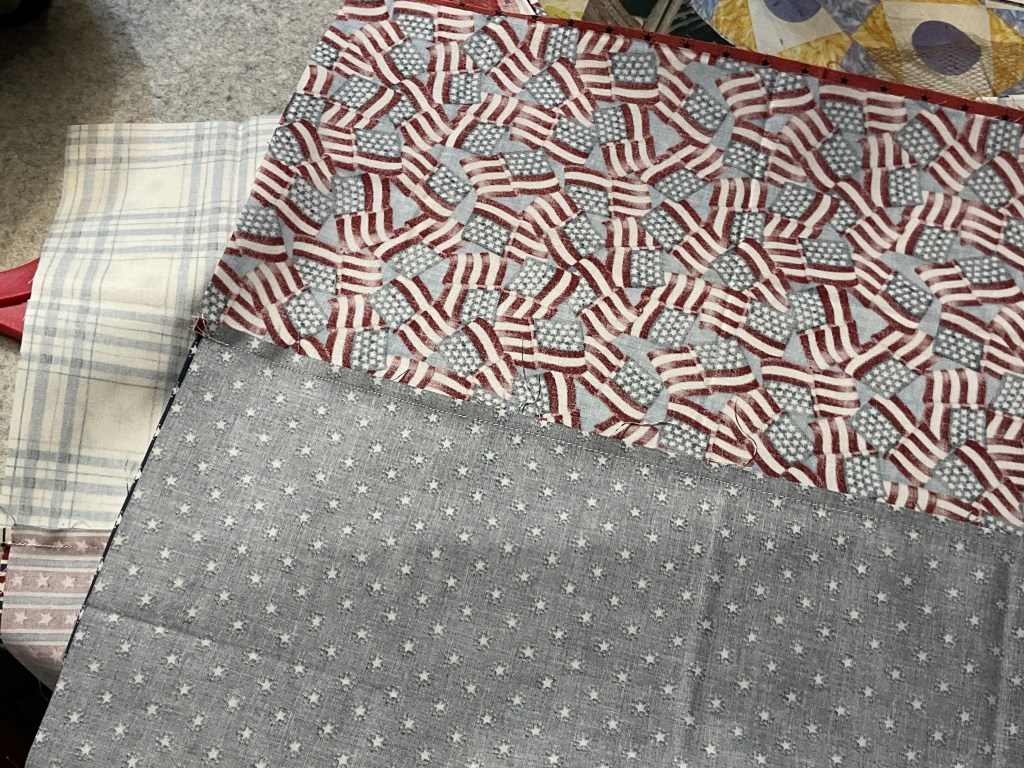
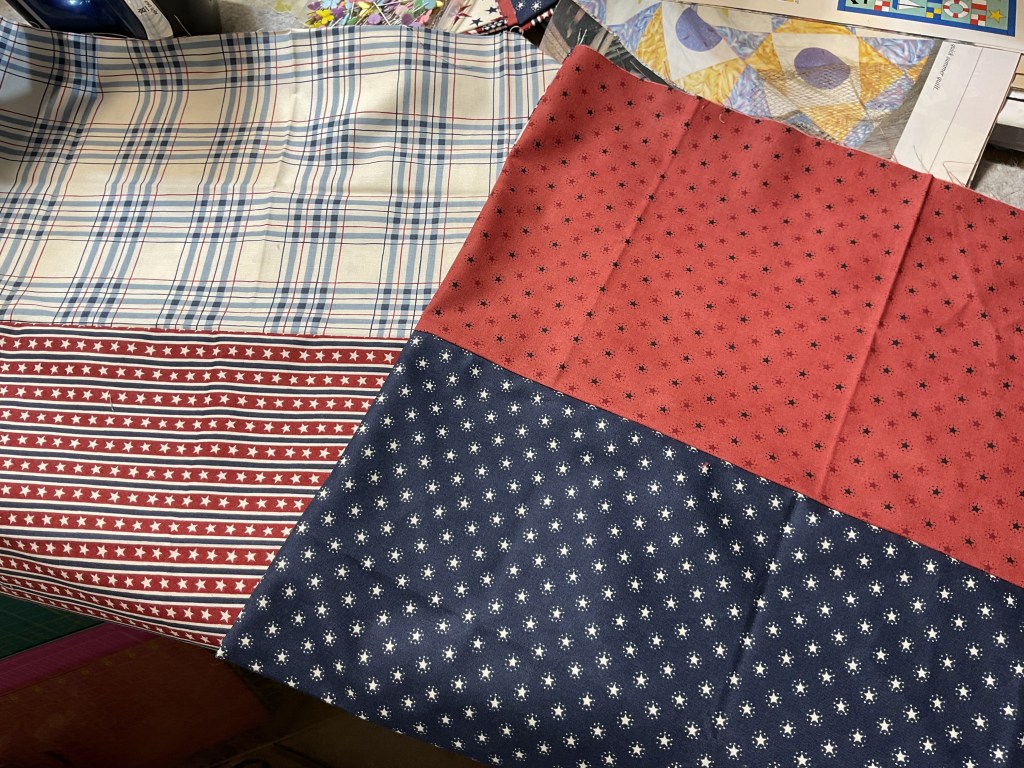
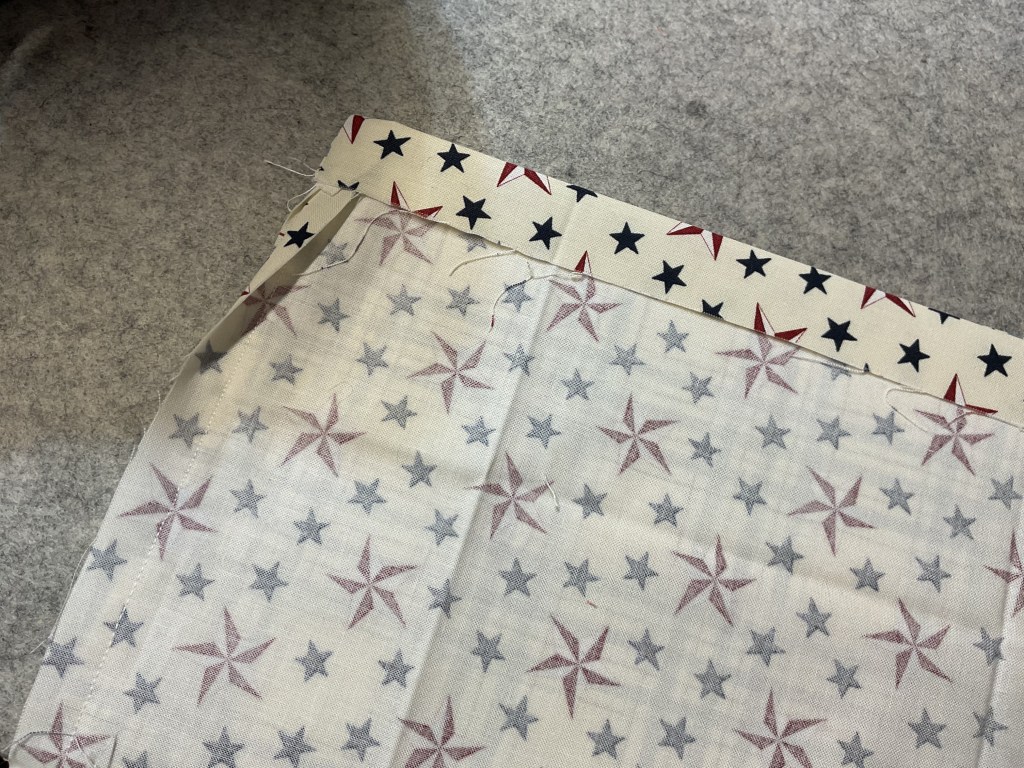
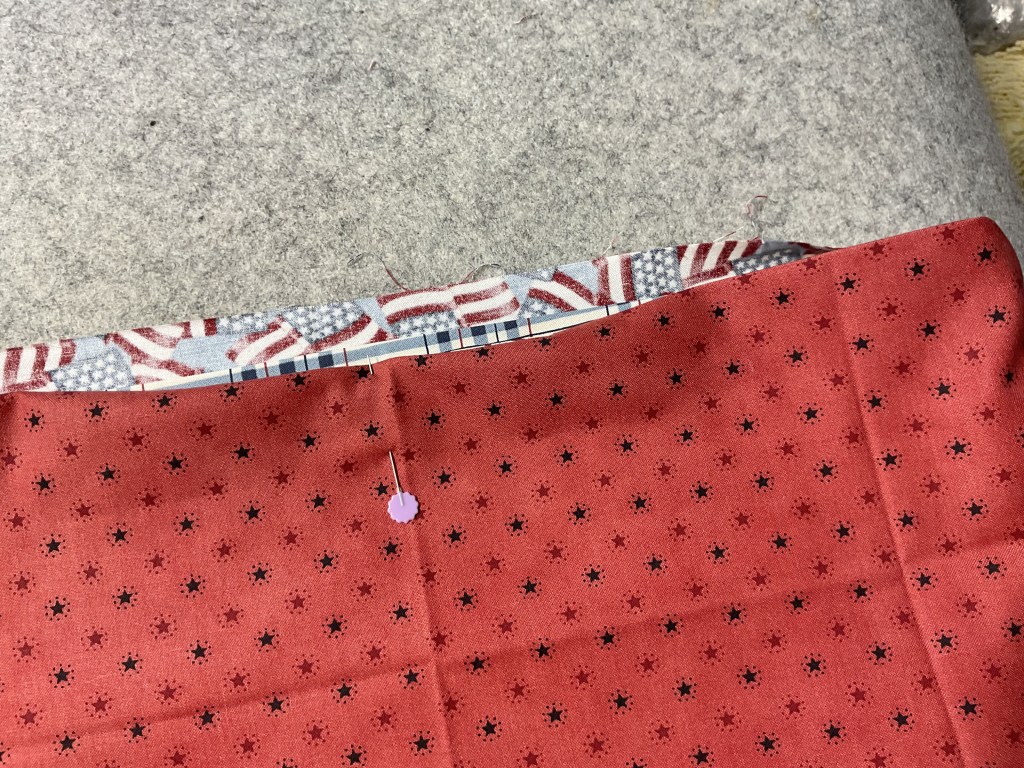
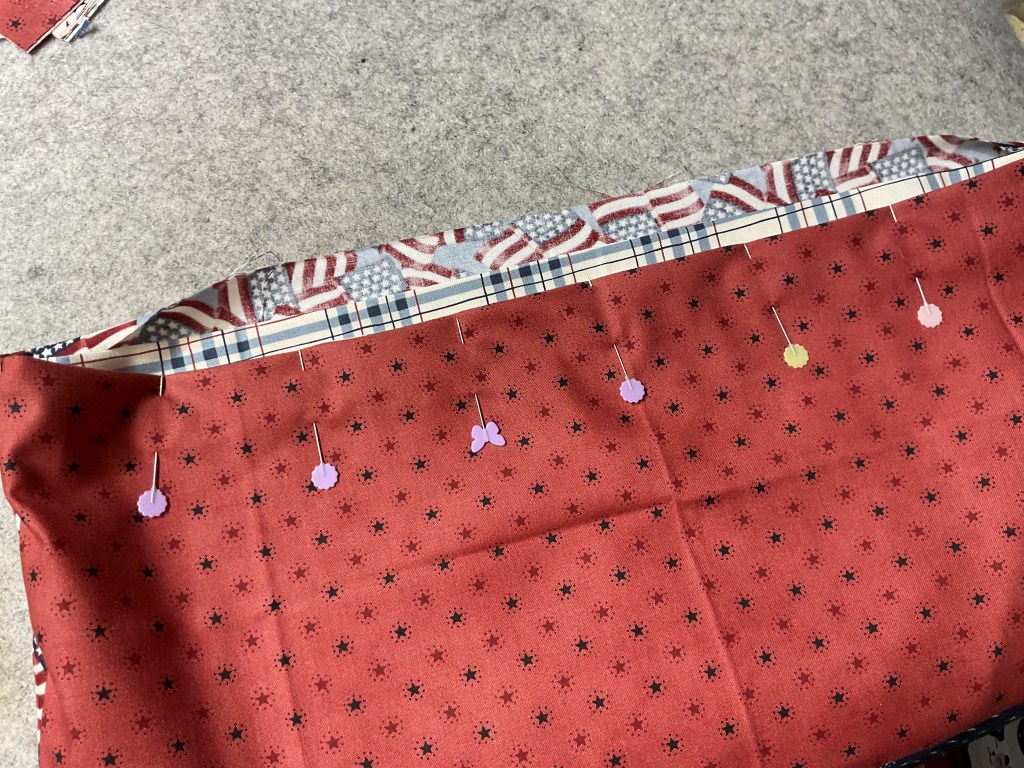
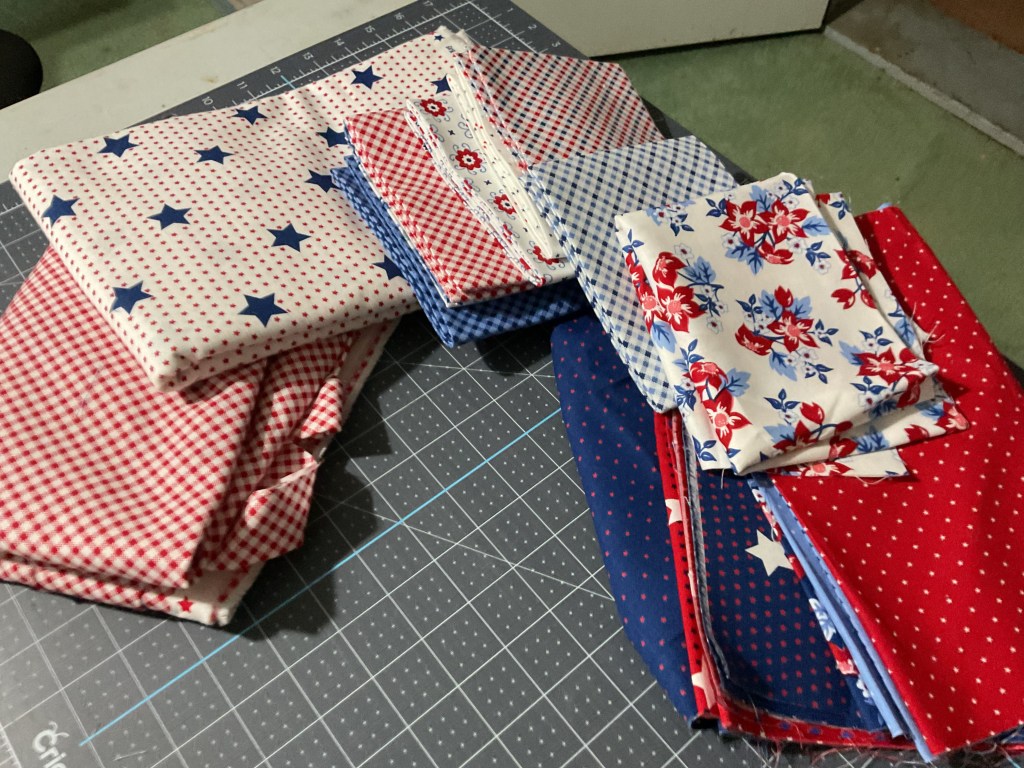
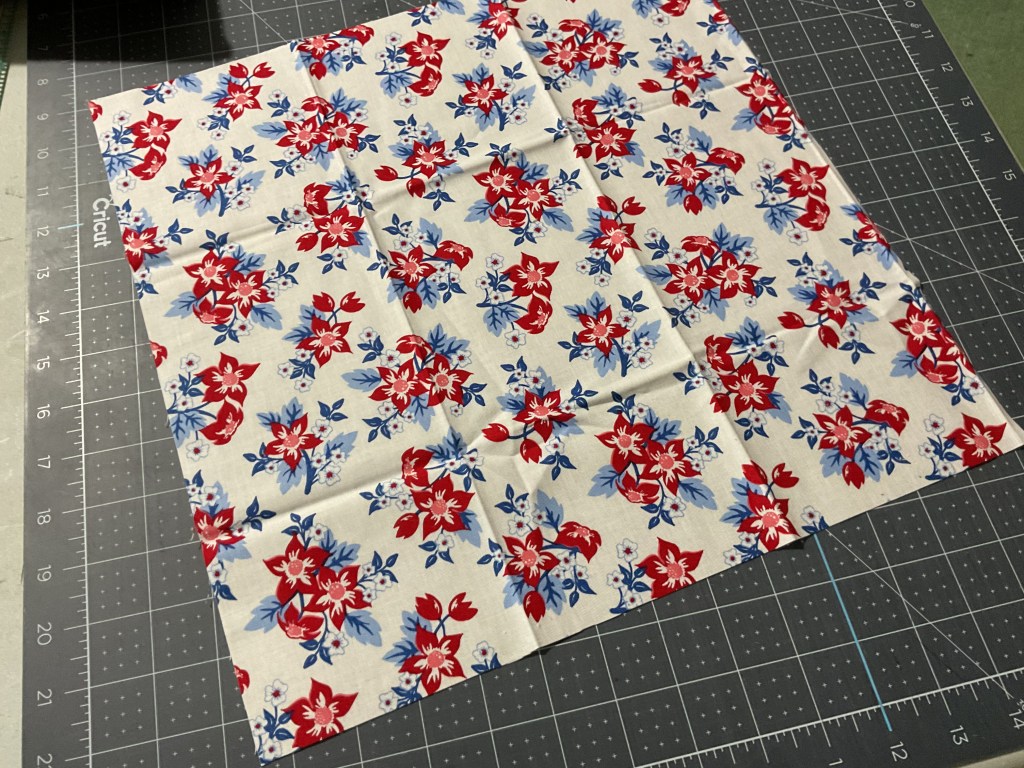
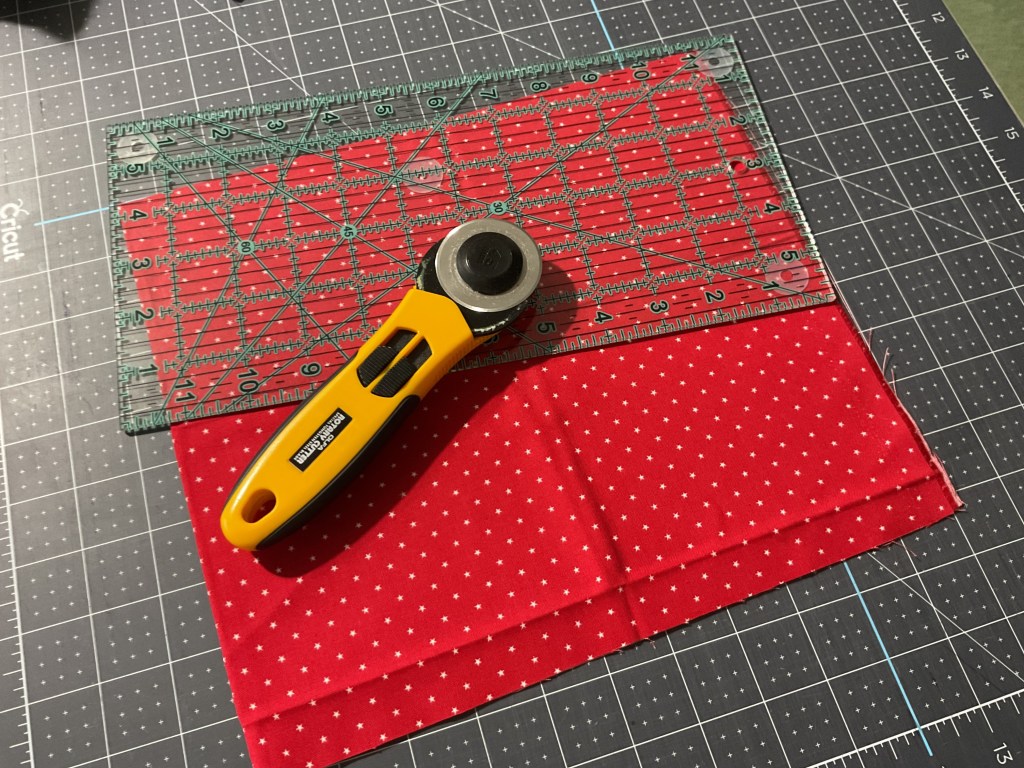
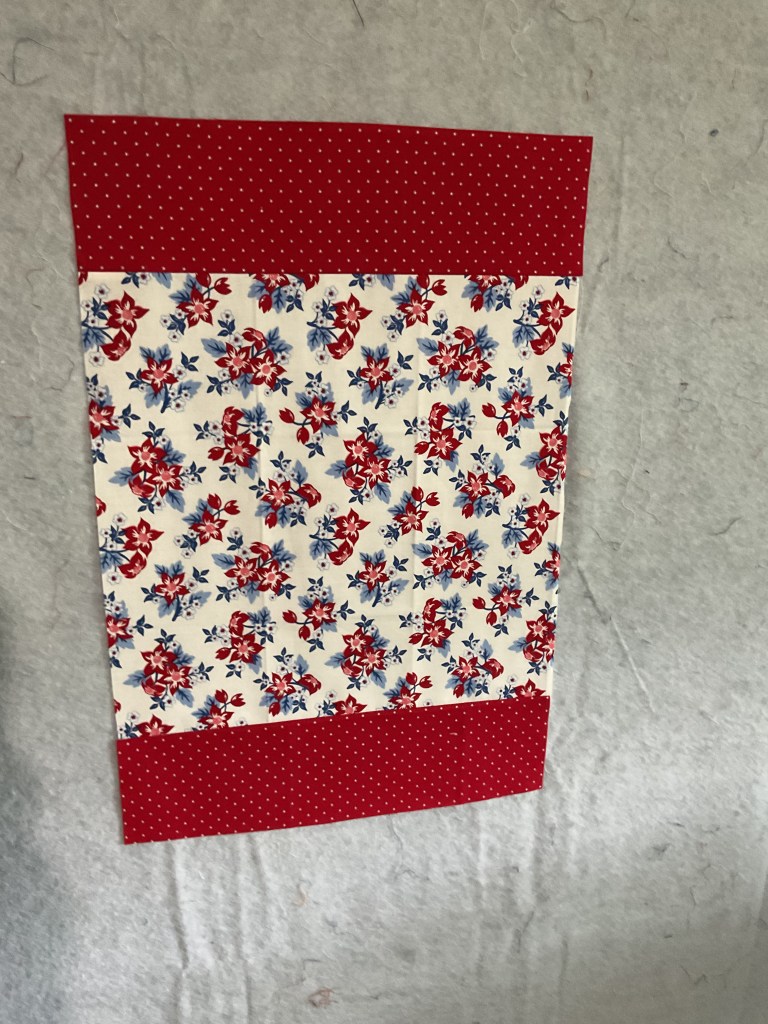
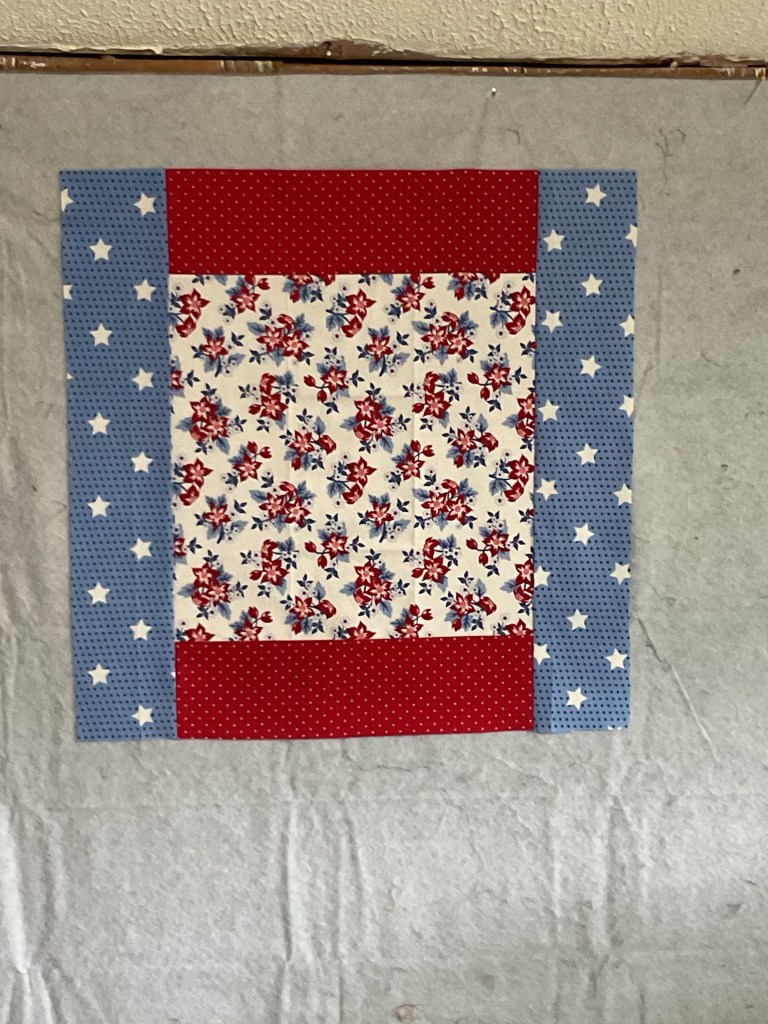
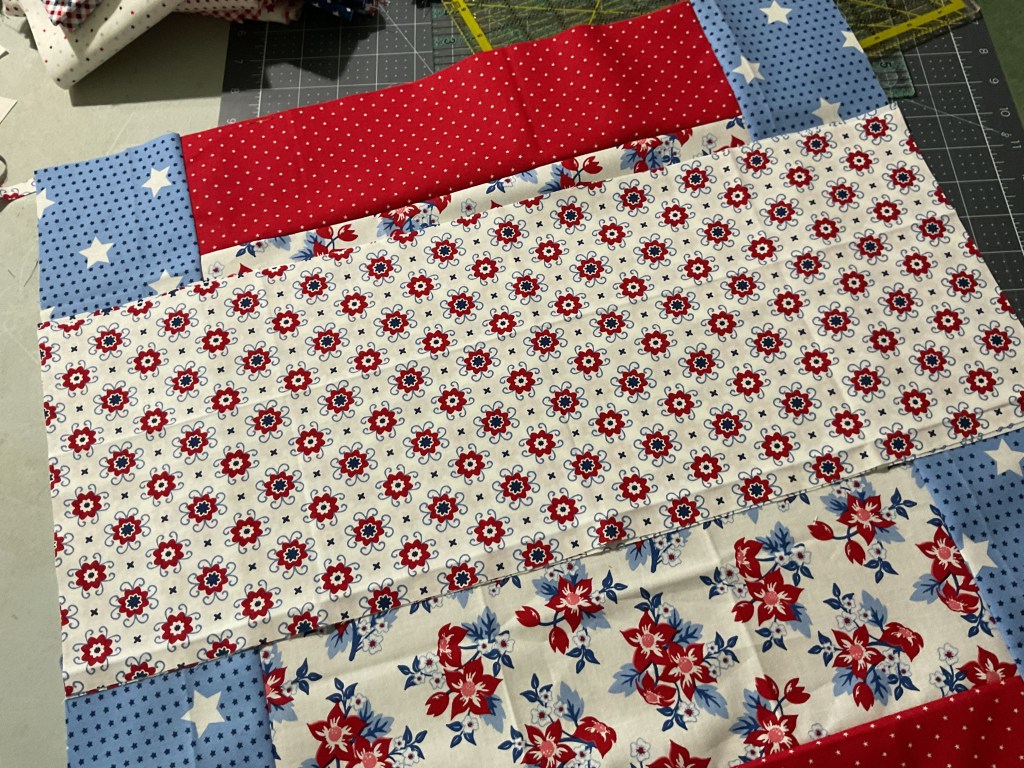
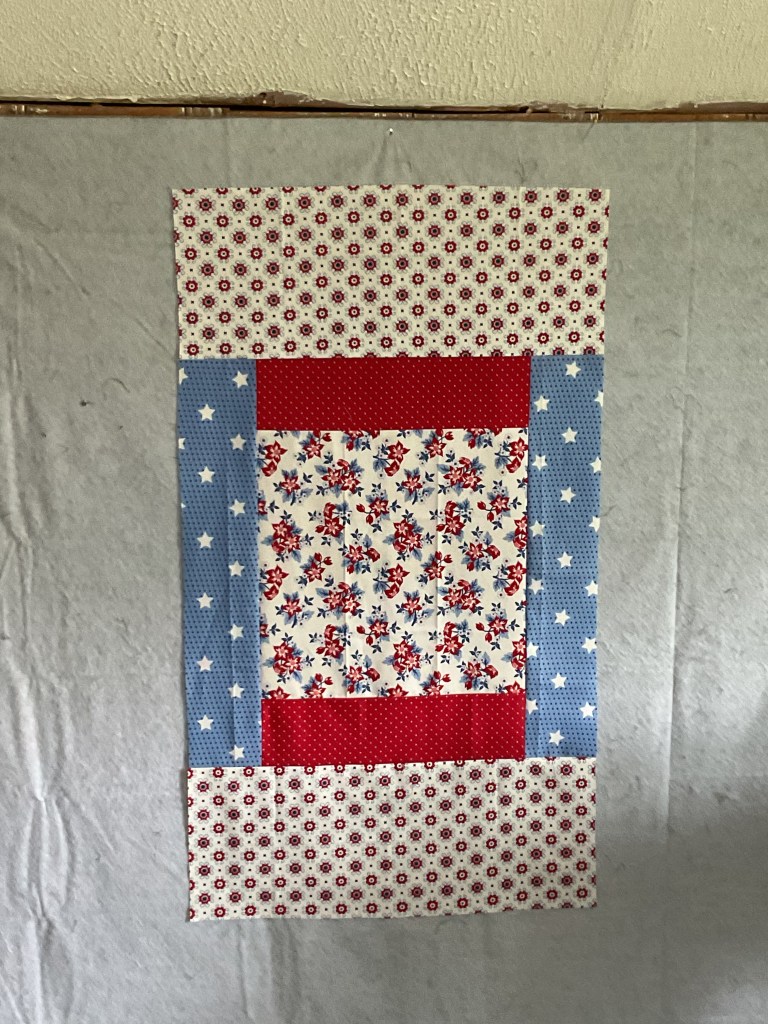
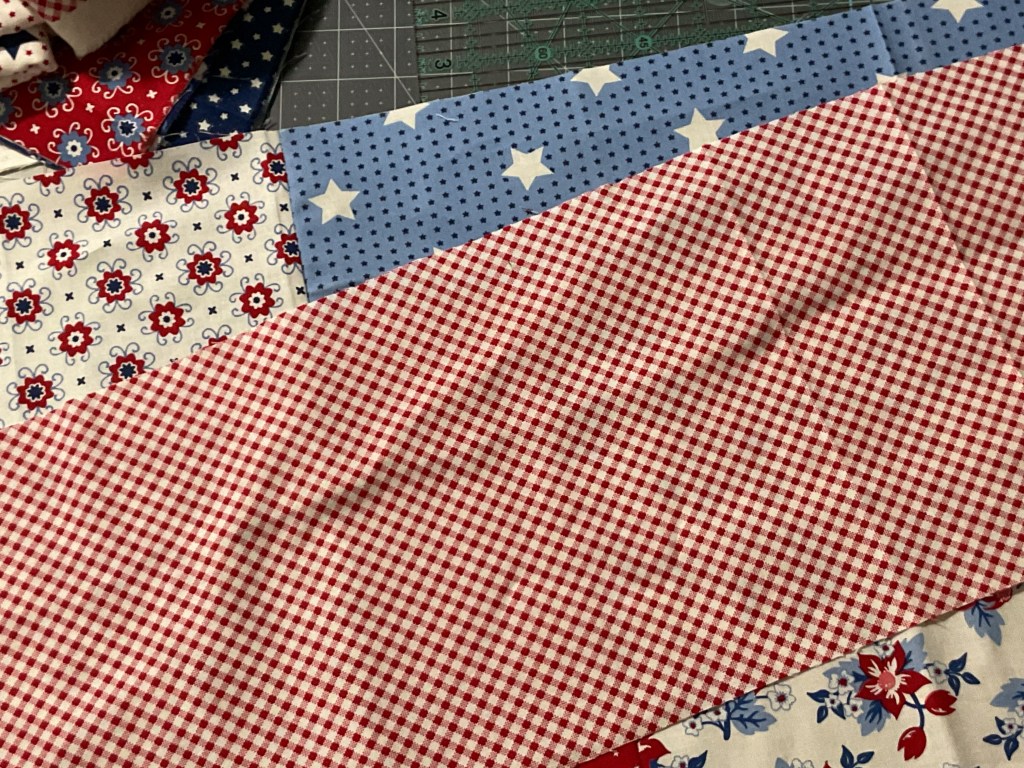
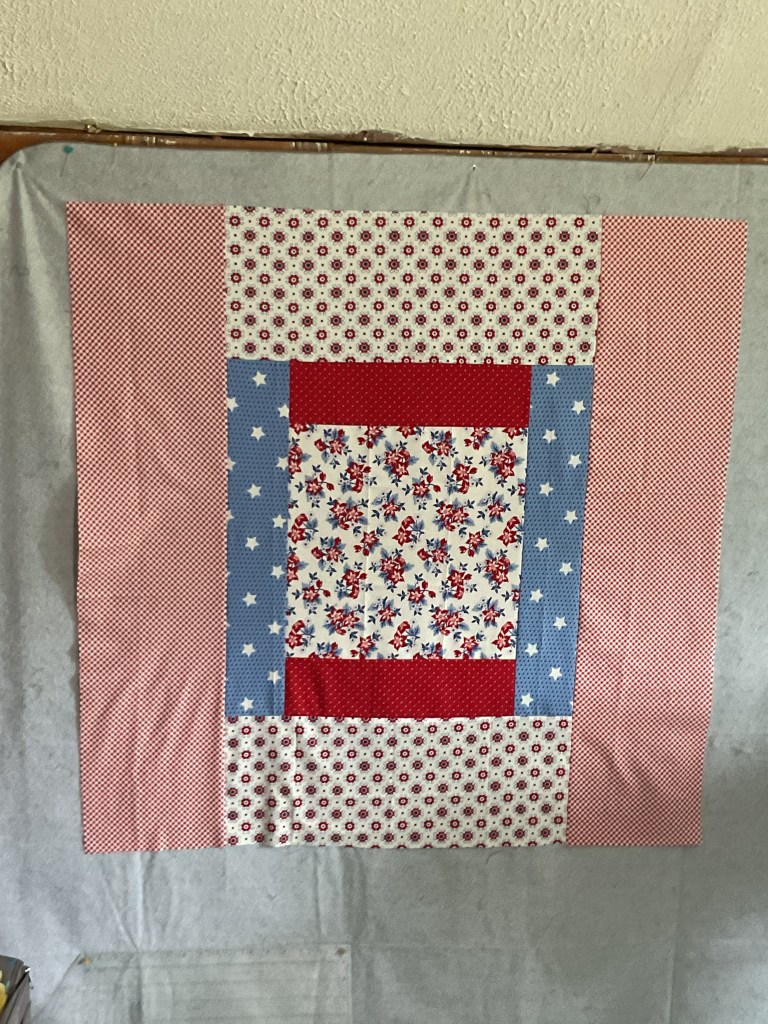
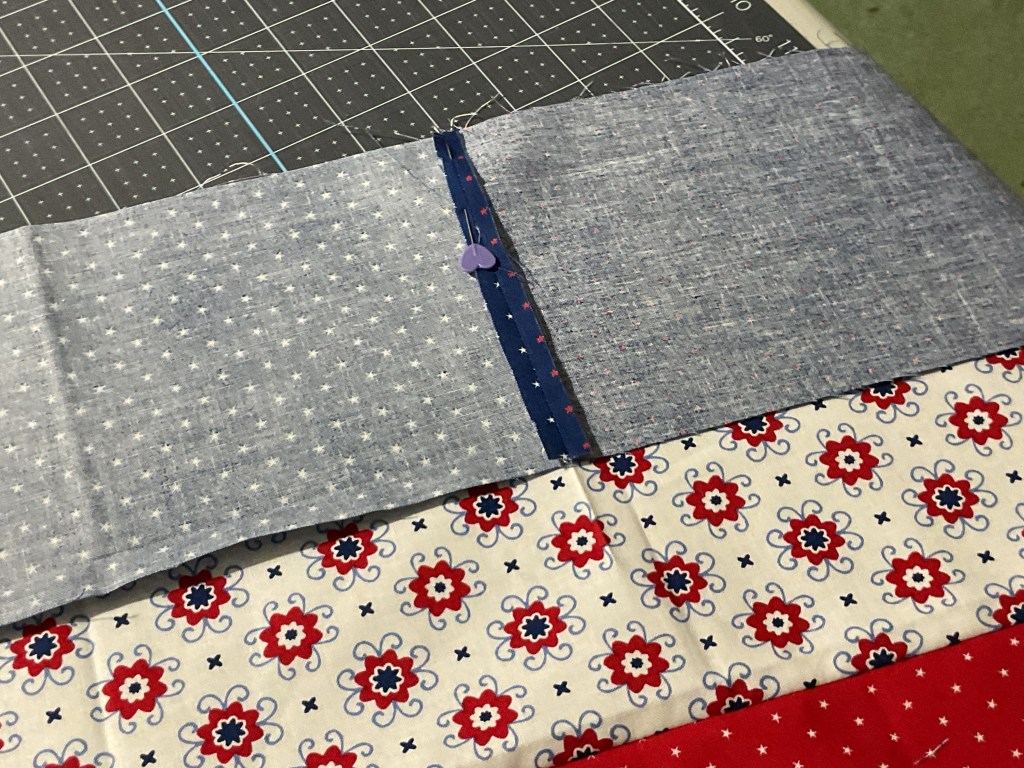
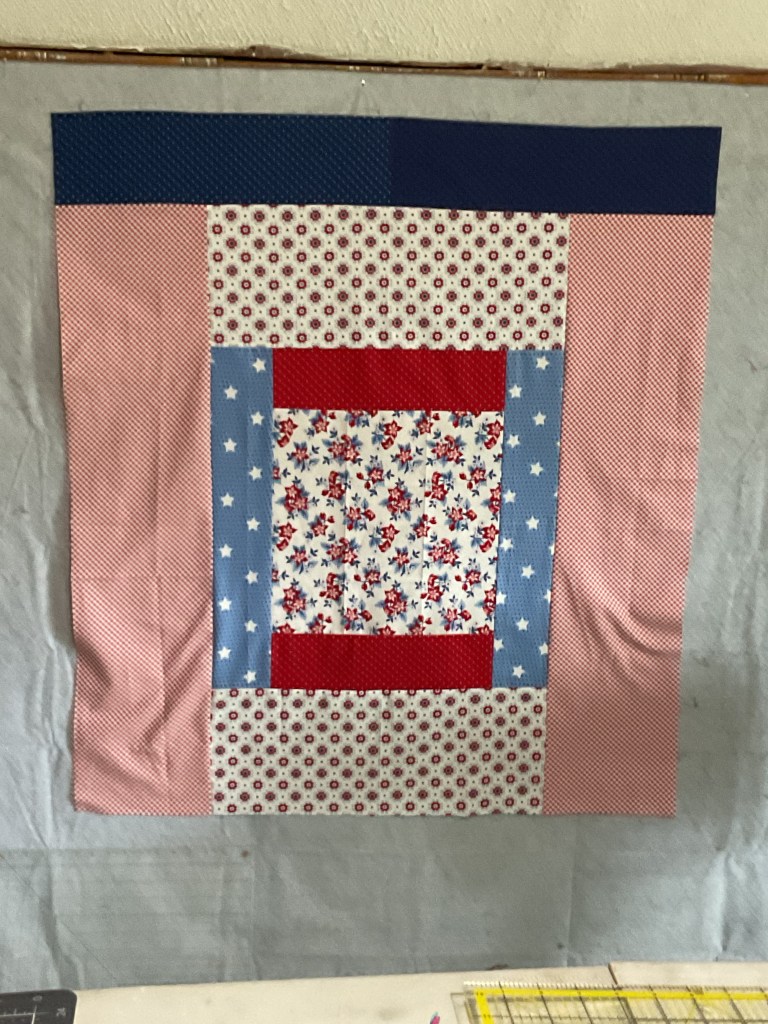
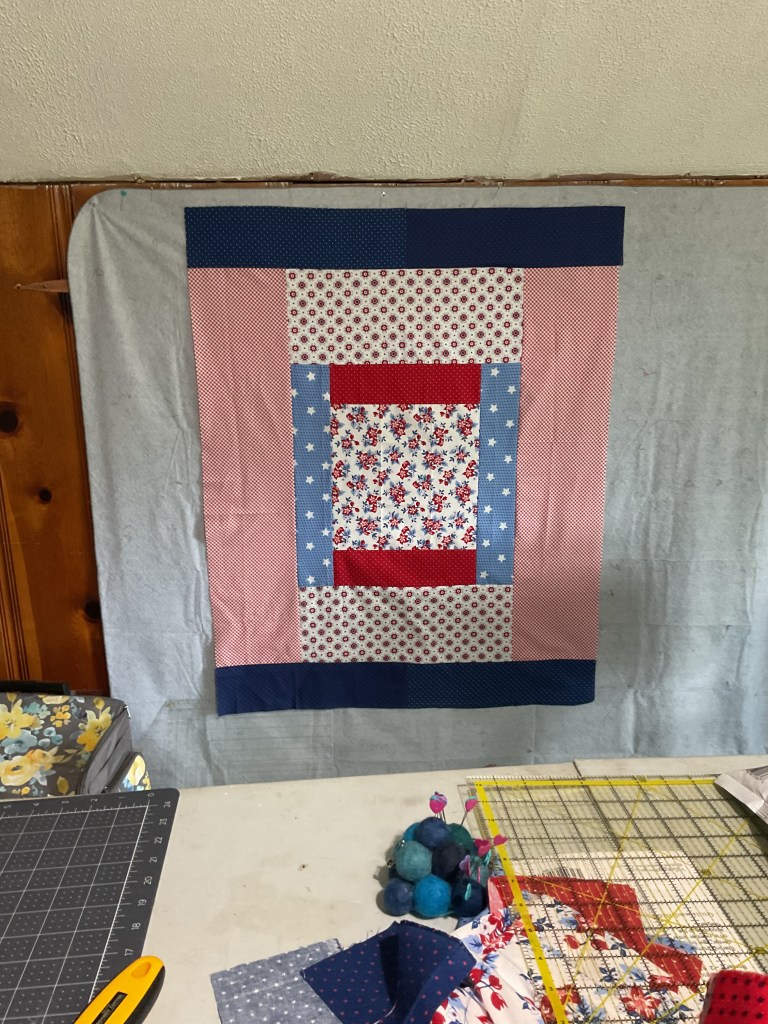
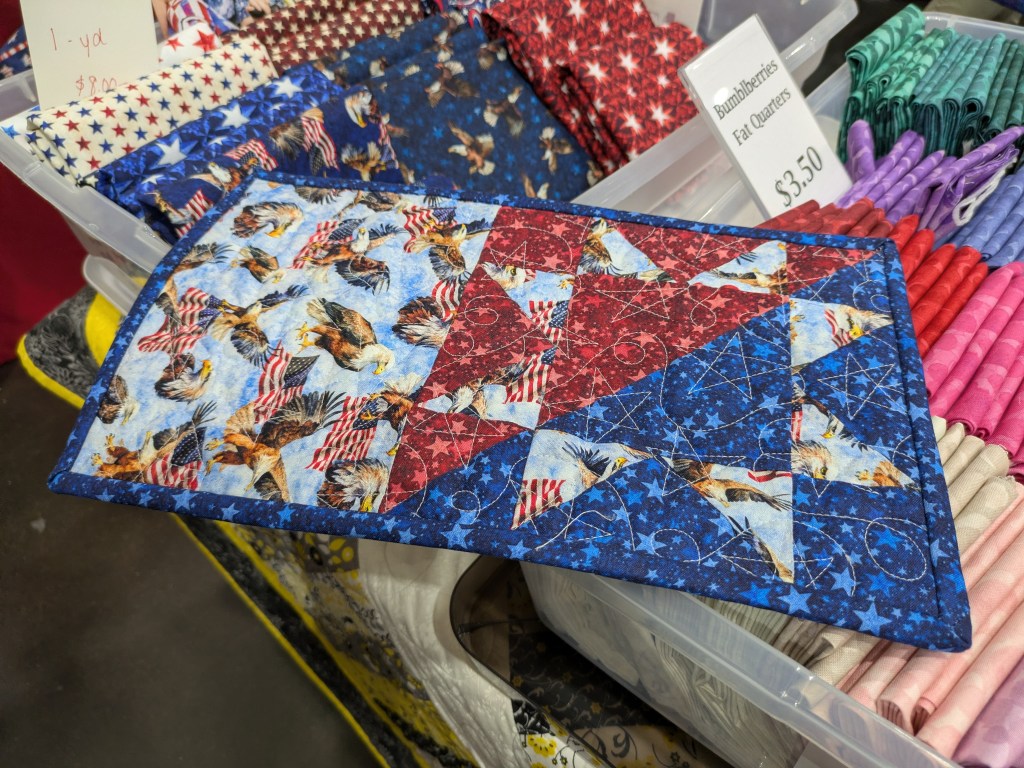
I didn’t want another week of the Challenge to pass without me participating, so I made the Dear Heart Snack Mat duo. They were fun and I think they turned out really cute!
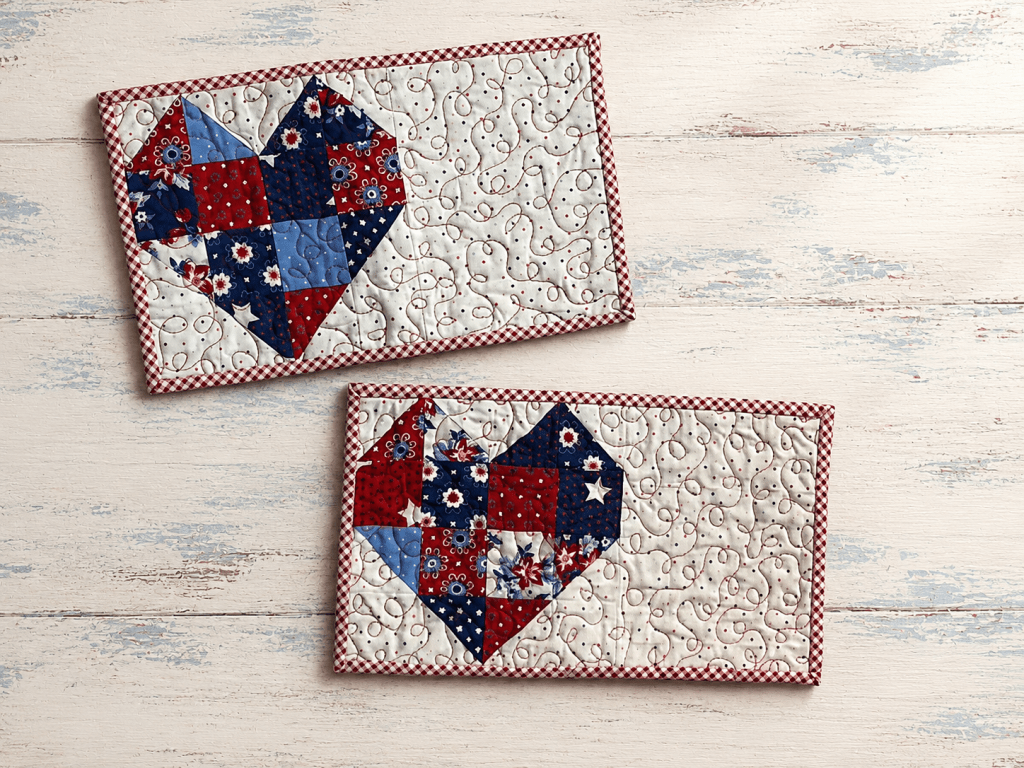
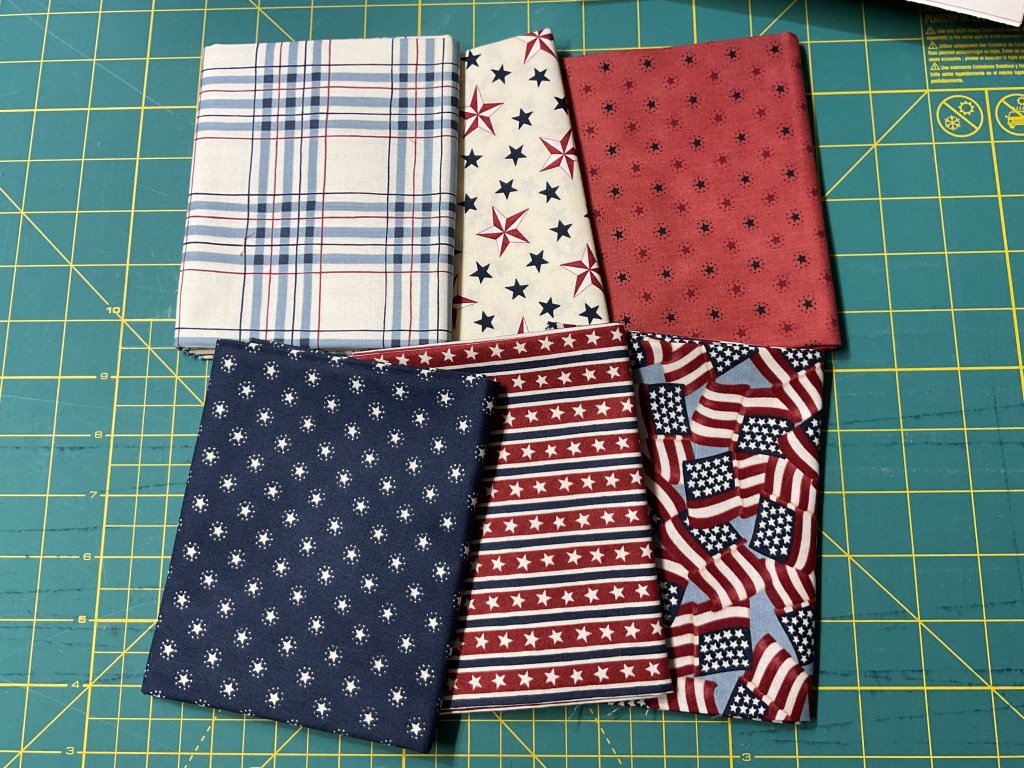
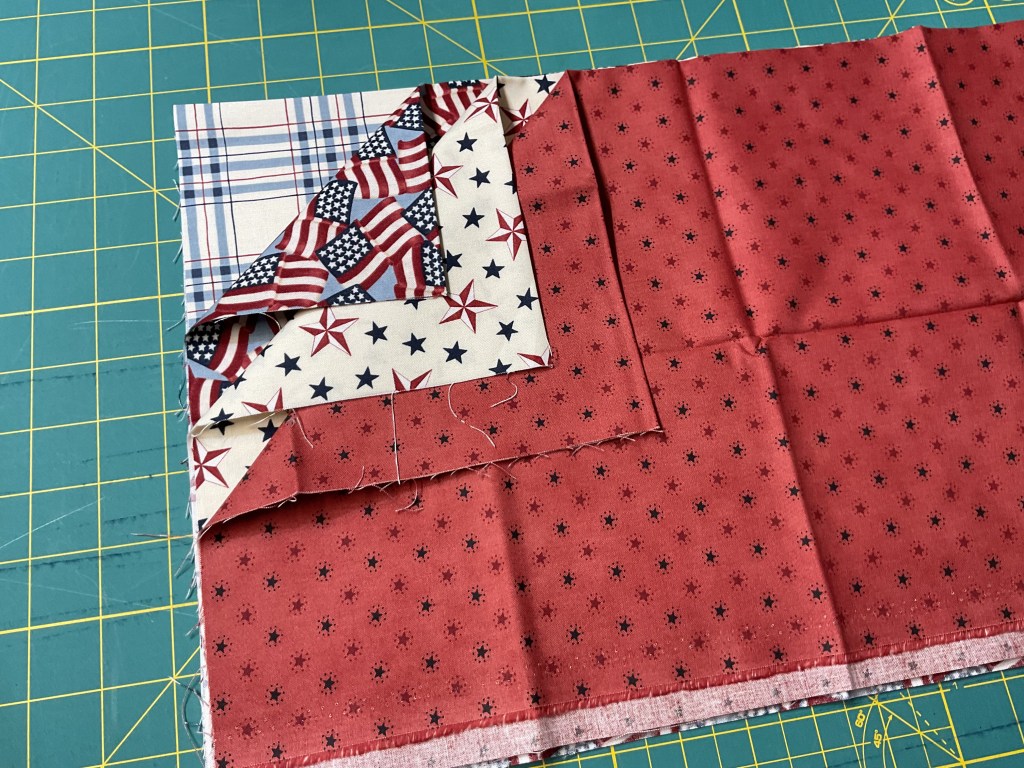
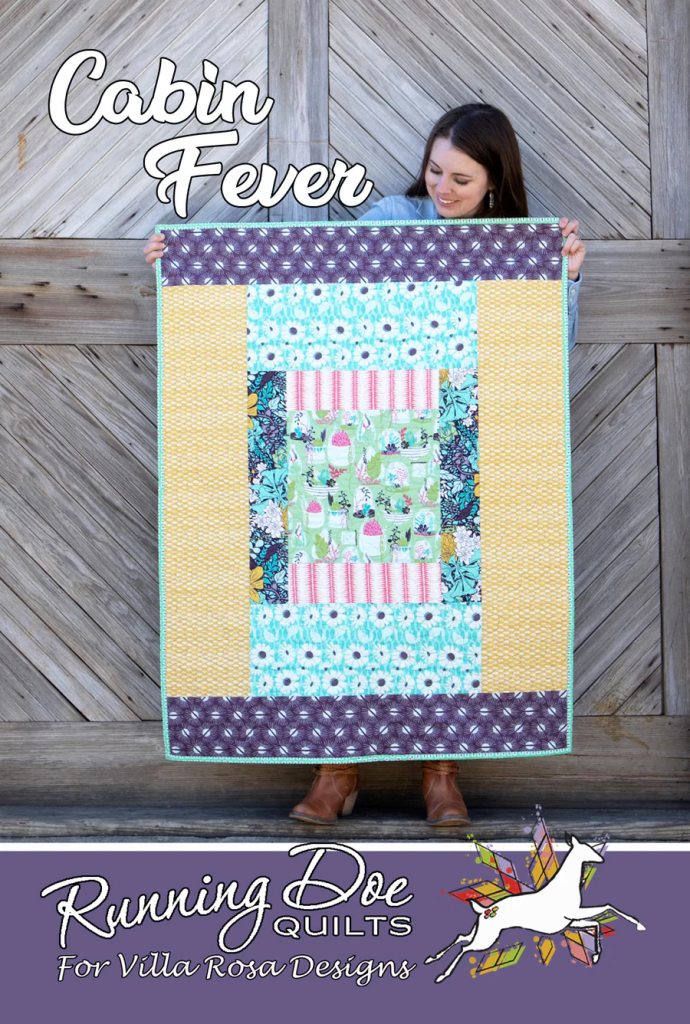
I used leftover fabric from my Cabin Fever quilt from Week 1 of our Challenge (you can see the tutorial for Cabin Fever HERE). I just love being able to find a project to use fabrics leftover from another project, don’t you??? And someday, when we use up all our leftovers, then we can buy more fabric……..
Wait! Nope! Whoever said we had to use up what we had before going to the quilt shop, hmmm??? LOL!
I just have to share this funny little story about making my Dear Heart Snack Mats. I knew I wanted to hand-stitch the binding on these l’il cuties, so I took them along to an eye doctor appointment. While waiting to be called back, I almost finished one of then. Then I finished the first one while waiting for the doc (I’m sure you all know how much waiting we do at appointments) and I began the second one. I needed my eyes dilated for this appointment, but I didn’t let that slow me down – well, not completely anyway. I kept right on stitching as my vision got blurrier and blurrier. Yes, I can thread a needle with dilated pupils – quite a talent I think. And I can stitch binding down too, although it goes a lot slower than when I can actually see what I am doing. LOL! I was bound and determined to get my snack mats completed before the blog post launched. WIN WIN – both snack mats almost got finished during the appointment (I finished the rest later in the day once my eyes weren’t wonky) and the appointment went well.

Get your digital pattern HERE or your print pattern HERE
What’s Next?
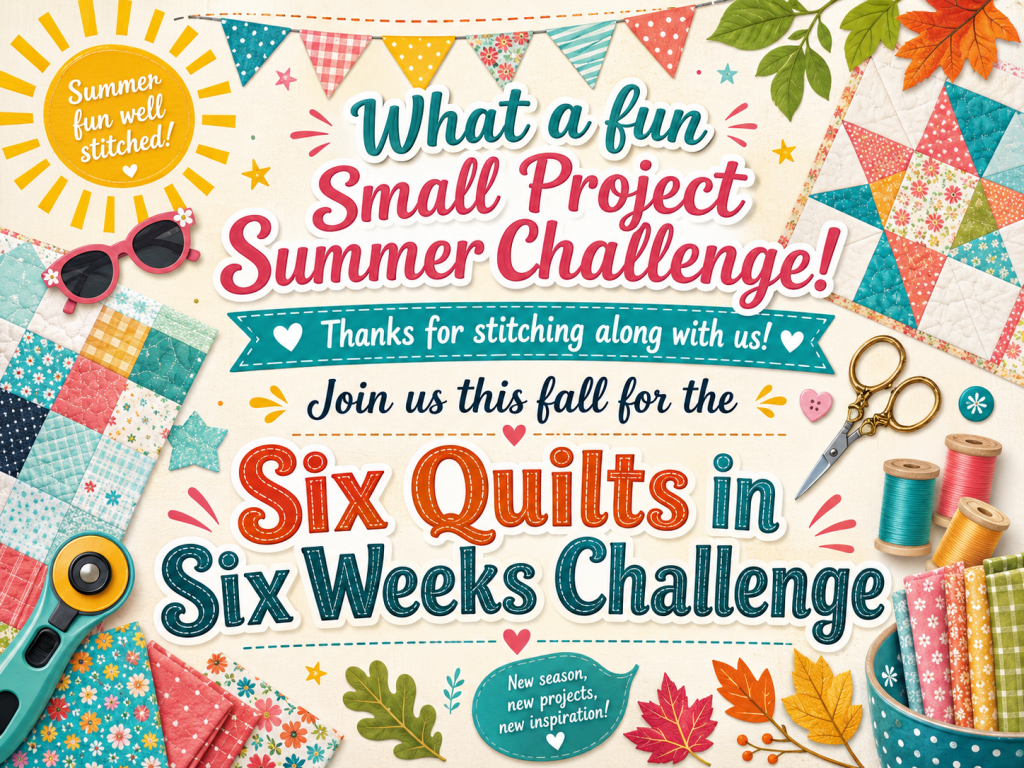
Even though our Small Project Summer Challenge is coming to an end, we aren’t finished challenging ourselves yet!
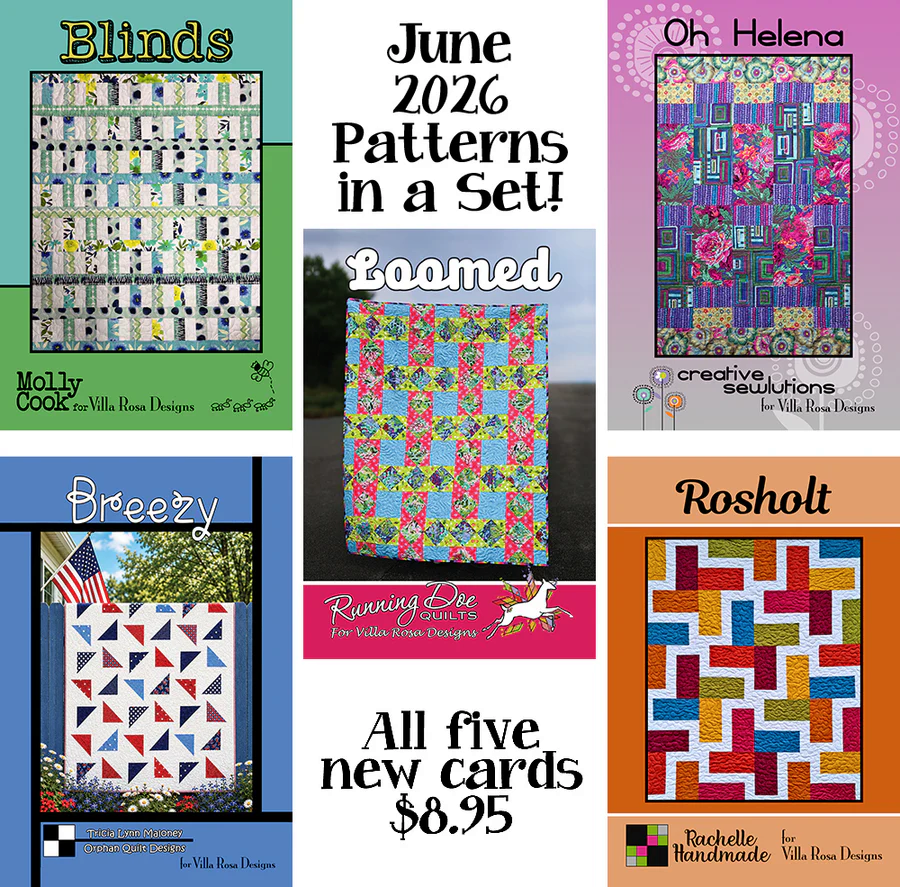
This fall, we’ll be jumping back into our Six Quilts in Six Weeks Challenge. Yes, you read that right: six quilts in six weeks!
Before anyone starts hyperventilating into a stack of fat quarters, let me remind you that our Fall Six Quilts in 6 Weeks will be all about finishing 6 UFOs or WIPs. Hey – if you’re one of those people who doesn’t have any unfinished projects I think this is totally a myth, though), then you can make a new project each week for the Challenge.
The Challenge is all about setting aside a little time to sew, finishing some projects, cheering each other on, and having fun along the way. After seeing more than 100 small projects come together this summer, I cannot wait to see what we finish this fall!
I’ll share all the details soon, so start thinking about which quilts might be waiting patiently in your sewing room to become your next finished projects.
I hope you’ll join me!
August
In the meantime, what should we do for August after the Small Project Summer Challenge ends?
I’m thinking some new tutorials would be nice, but that would depend on how things go for me in the next month. Please feel free to share your ideas in the comments or you can email them to me directly at tricia@villarosadesigns.com.
Well, that’s it for me this week.
Take care and enjoy summer because like most fleeting things, it ends far too soon.
Sew. Laugh. Make. Repeat.
Always,
Tricia @ VRD