Hello Quilty Friends!
Happy Thursday to you!
I’m SO excited to say that spring has finally sprung here in northwestern PA. The weather has been sunny and comfortable for almost a week with – gasp! – no rain. I’ve even been able to get outside more – I’ve done some weeding and weed whacking and I’m about ready to plant my mini veggie garden on the back porch.
Sigh……I used to have a big garden in the middle of the yard but I got so frustrated with the critters eating everything before it had a chance to grow that I gave it up and have since moved to a small 2 foot x 4 foot raised garden box. Eventually I want to add another box, but right now I’m not quite sure where it would go on the porch. Right now, I just love to have something growing so I can watch it and enjoy a little bit of fresh produce. I also have 3 small flower gardens as well, 2 of them are weeded and in good shape while my third is only partly weed right now.
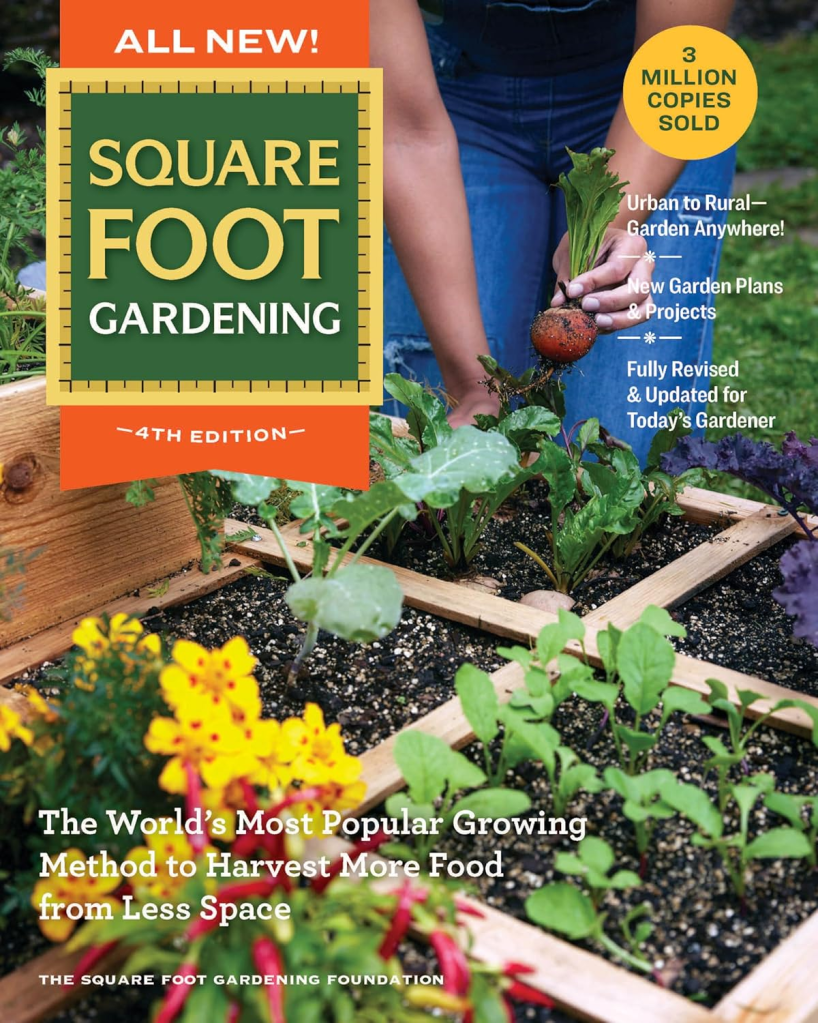
Right now I am planning to plant a yellow grape tomato, cucumbers, peppers, and beans in my little garden. Even though my garden is small, I’ve discovered a fantastic gardening book that makes so much sense to me. Have you ever heard of (or read) the gardening book, Square Foot Gardening? I just love it – it breaks a garden into 12″ square spaces so you can plant more in less space. For example, my 2×4 garden box gives me 8 square foot spaces to plant. And the book tells you what kind and how many seeds/plants you can put into a 12″ square plus so much more. Are you having a garden this year? What are you planting?
After some time battling weeds that seemed determined to take over western Pennsylvania, I decided it was time for a change of scenery. So I brushed the dirt off my shoes, left Mount Cluttermore behind (my studio, formerly known as The Dungeon, has officially been renamed), and headed to a quilt show where the only things growing were creativity and inspiration.
Hands All Around Erie Quilt Guild Quilt Show
Of course, I couldn’t go to the quilt show alone. I had to share the fun! So I grabbed Robin and Mary Lee on the way. I felt like I hadn’t been to a quilt show in forever, so I was really excited. Not only were there lots of great quilts to see, there were vendors, too.
Yay quilts! Yay shopping!
Oops…I’m very easily distracted. LOL!
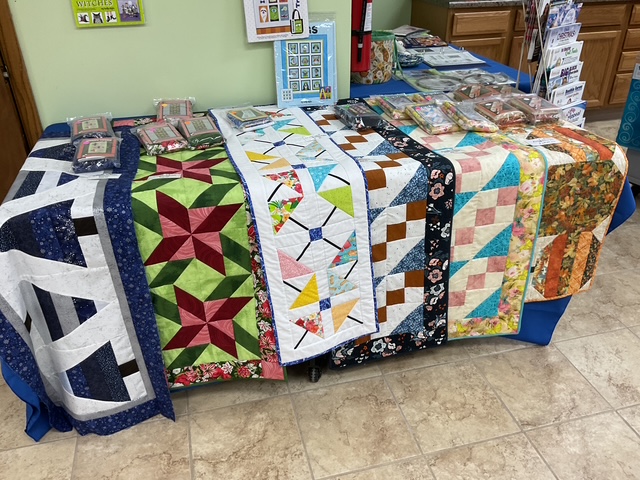
The first thing I saw when entering the show was an entire corner devoted to the Basket Raffle – oh goody! I rarely win anything, but I had to buy some tickets just in case. The baskets were wonderful and completely overstuffed with fabric, notions, precuts, gifty things, and even wine. One of the first baskets I saw looked even had a VRD quilt kit – my Slice of Summer table runner as a kit, another kit, a bundle of fat eighths…….plus a bottle of wine. Nice!
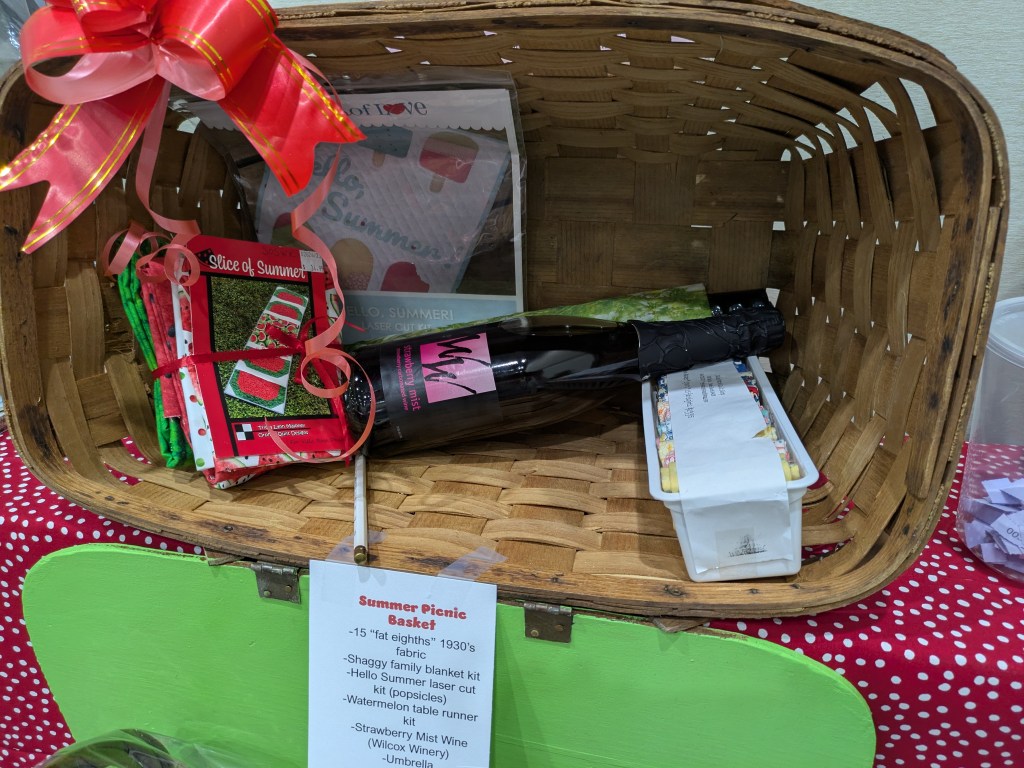
Slice of Summer digital pattern HERE or print pattern HERE
Of course, I didn’t win anything. But that’s okay – those who did won gorgeous curated baskets. No, I’m not jealous – I have only to look around my humble studio, Mount Cluttermore, to find my own basket goodies. I could make my own baskets full of quilty stuff, but then I’d just have a mountain of baskets instead of a mountain of fabric. Oh well, at least I’ve got the goodies even if I don’t have the wine.
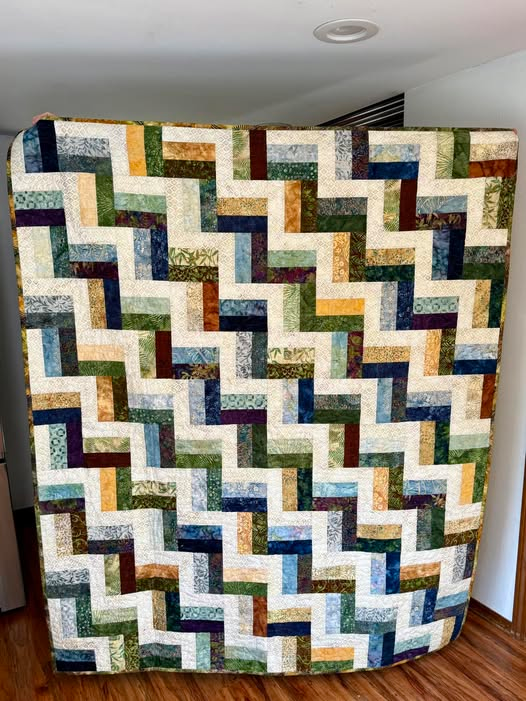
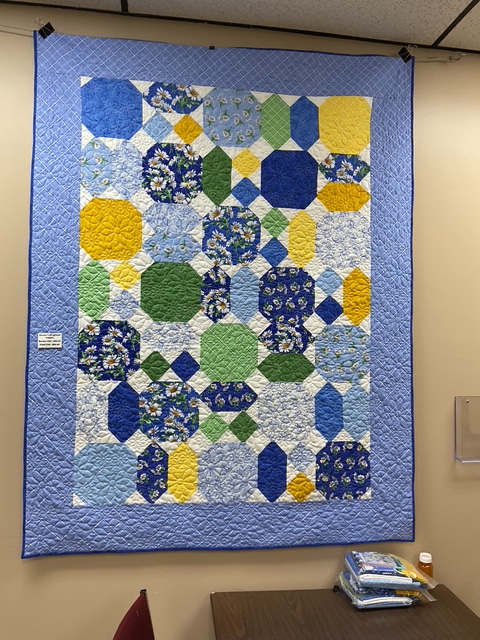
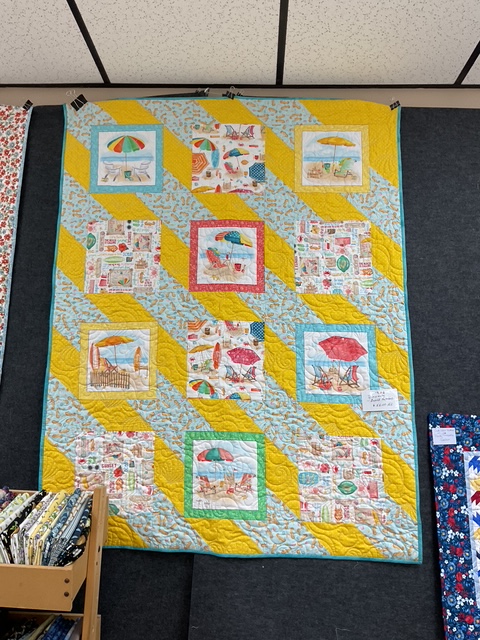
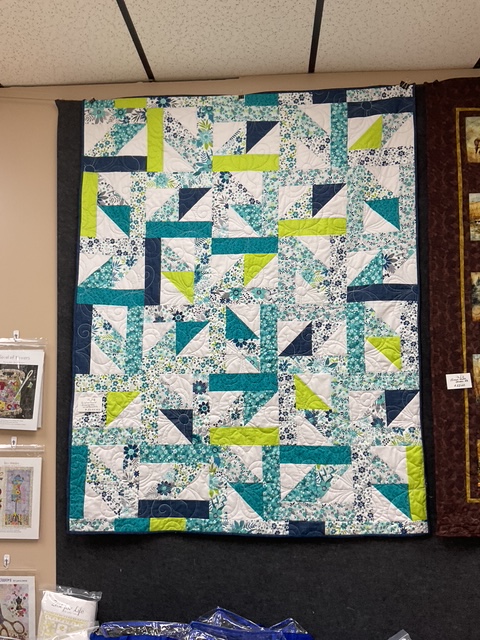
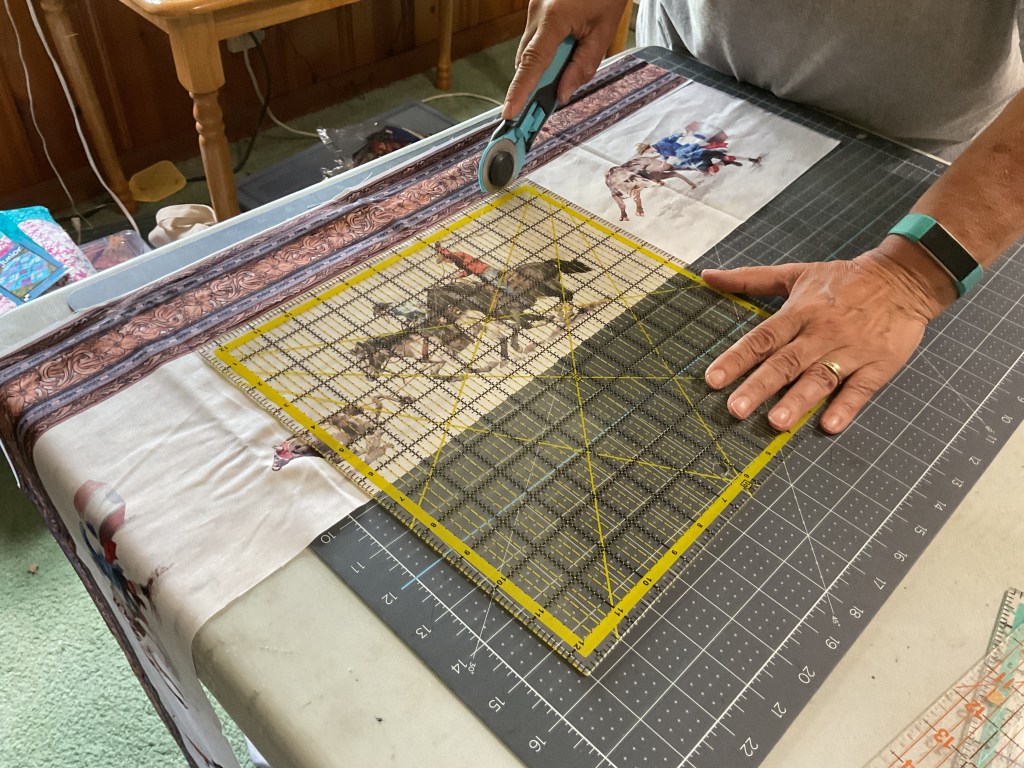
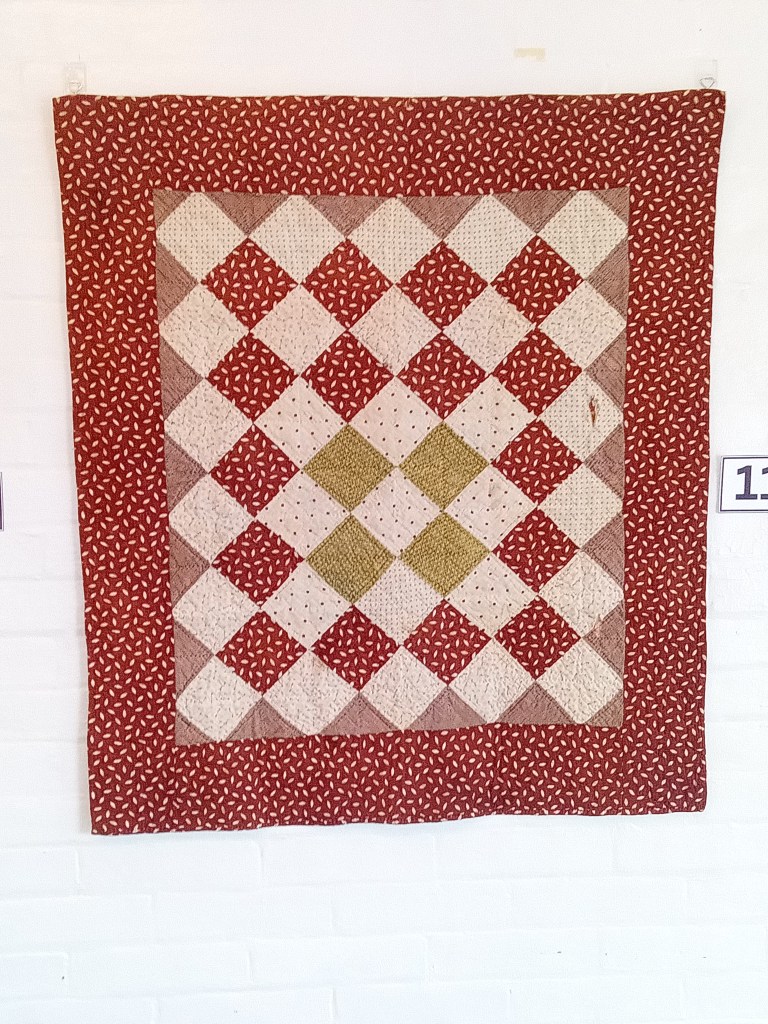
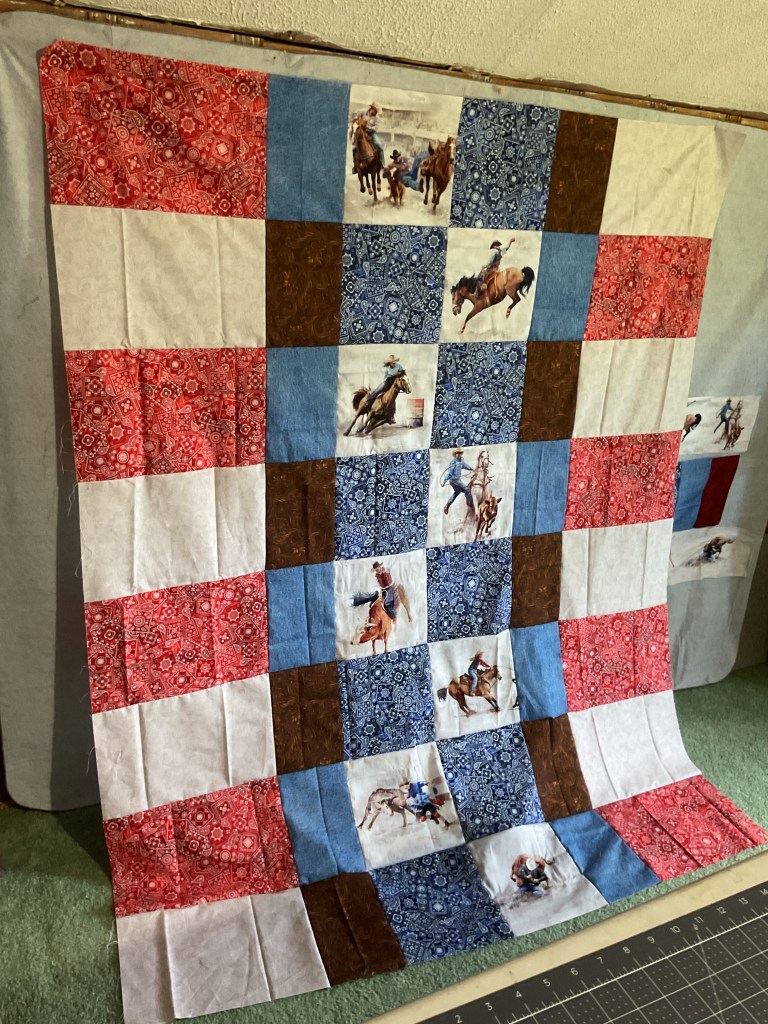
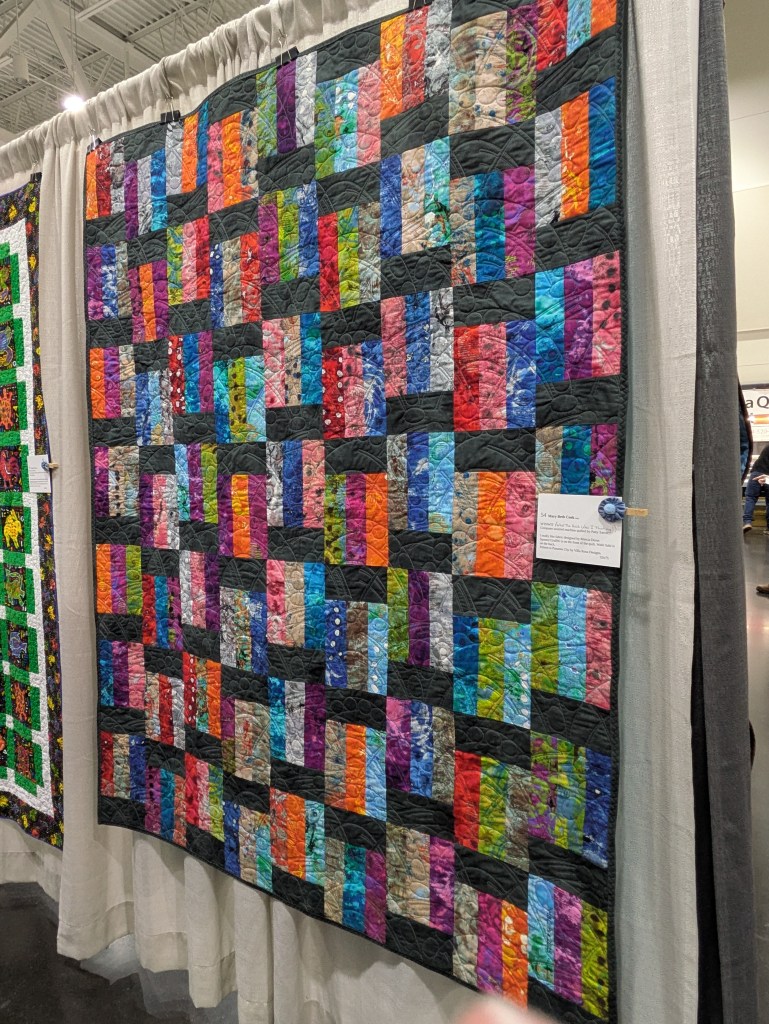
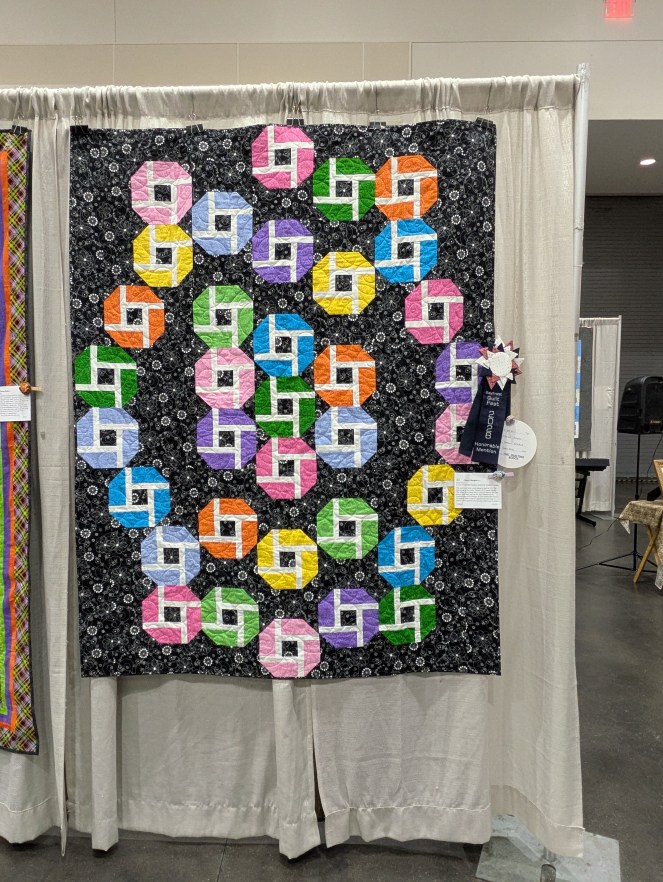
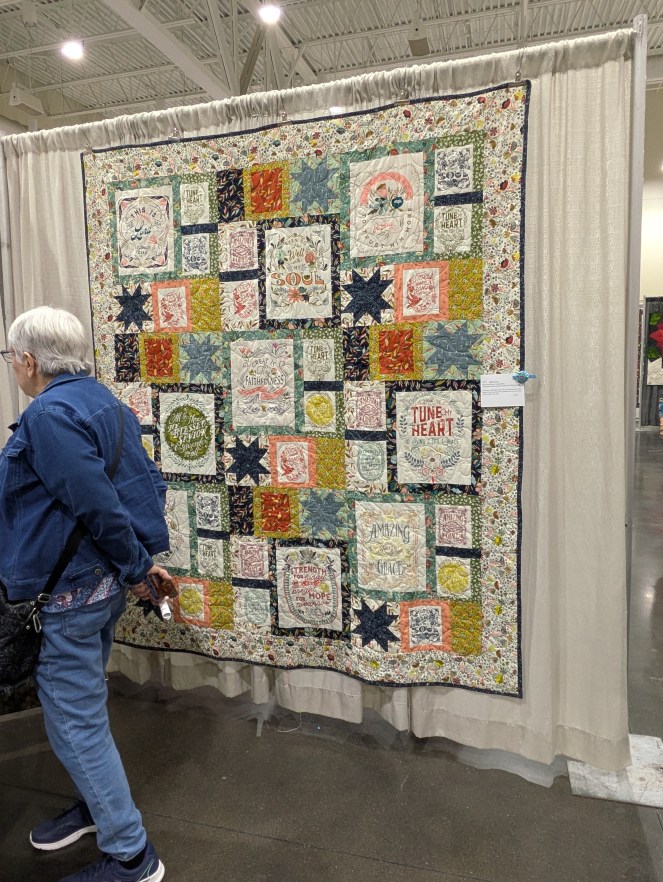
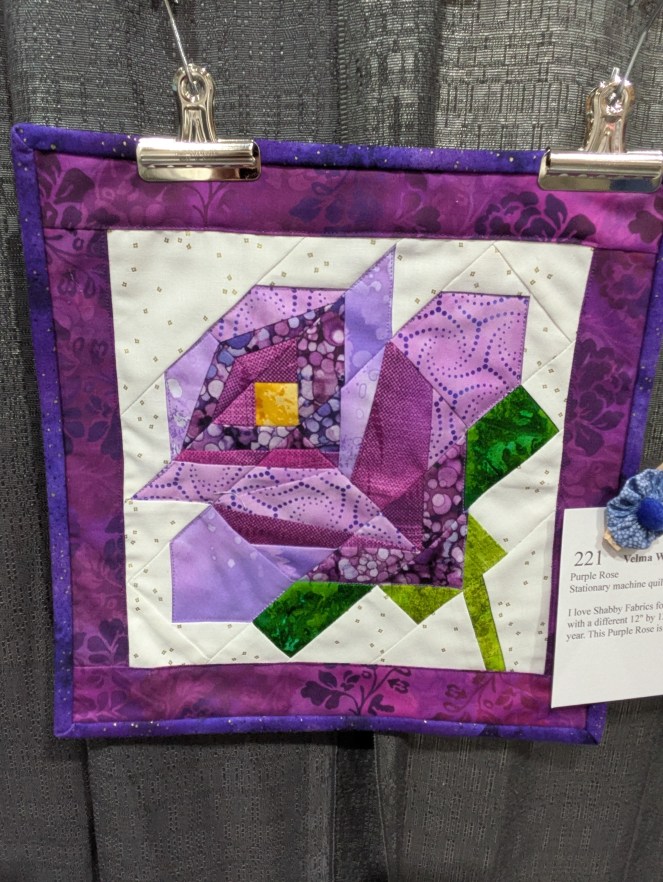
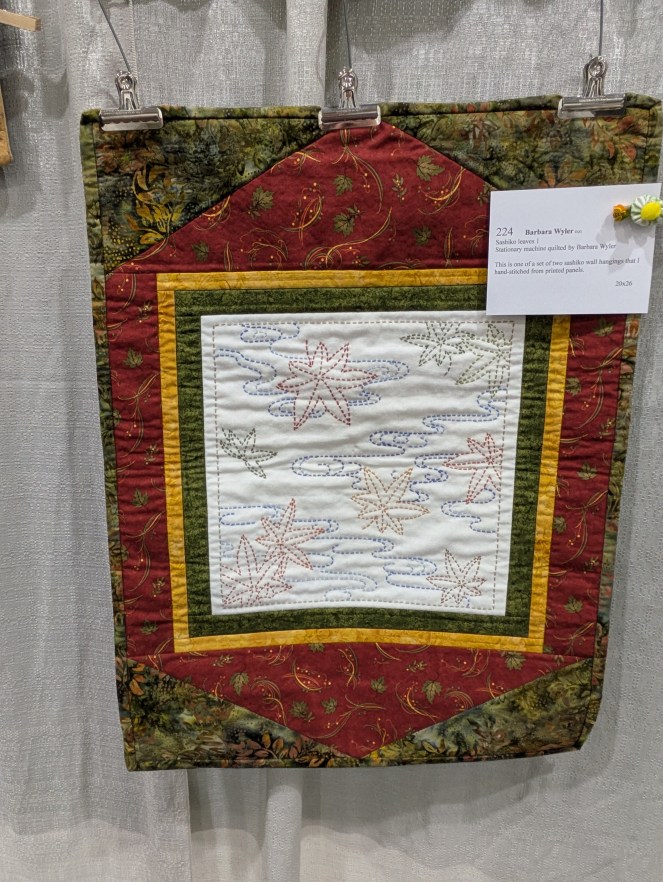
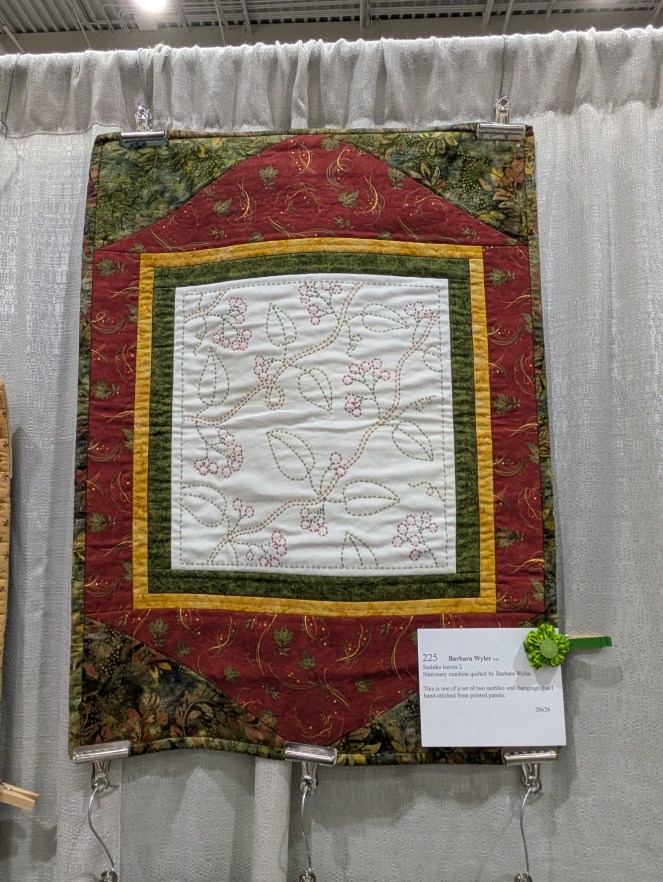
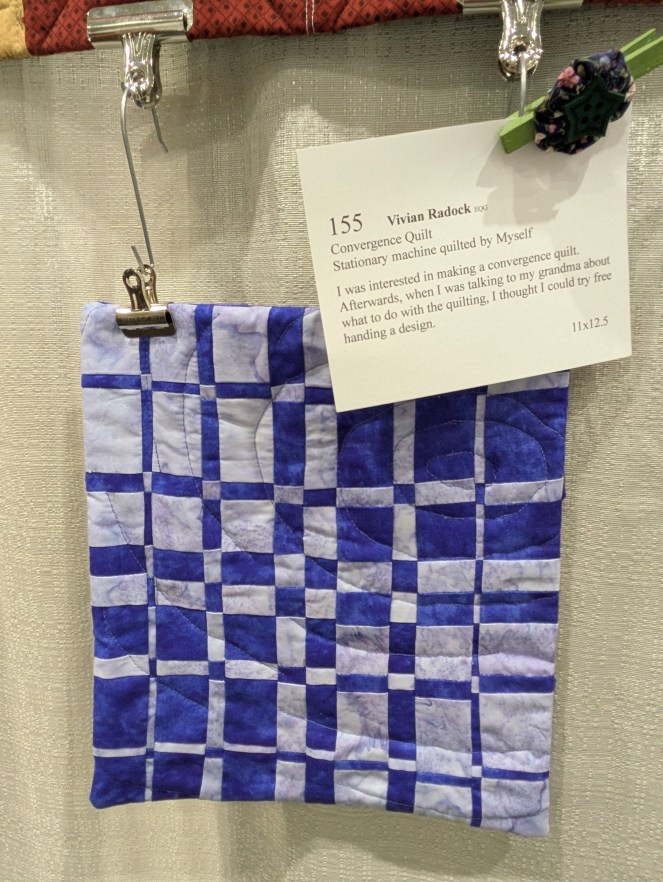
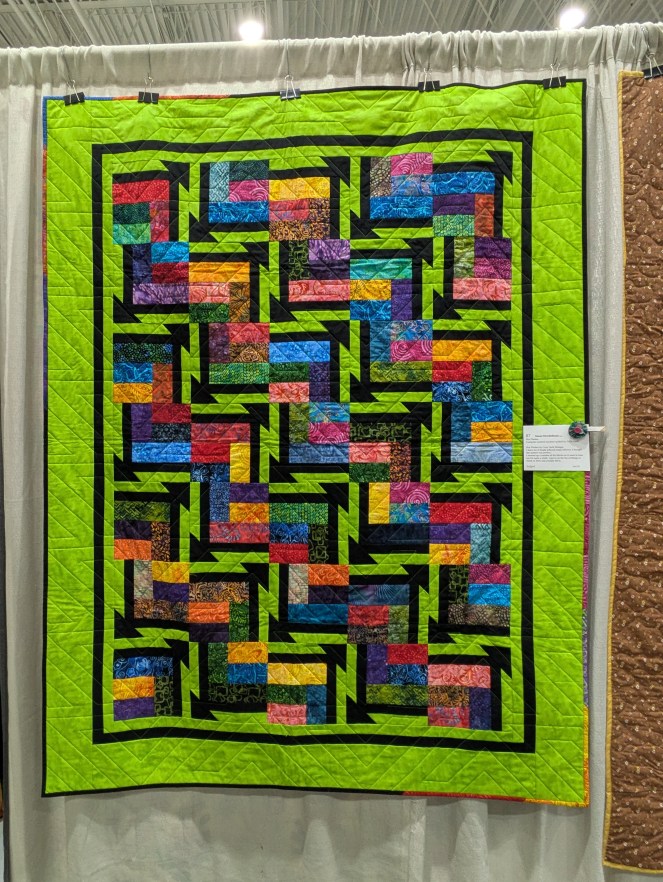
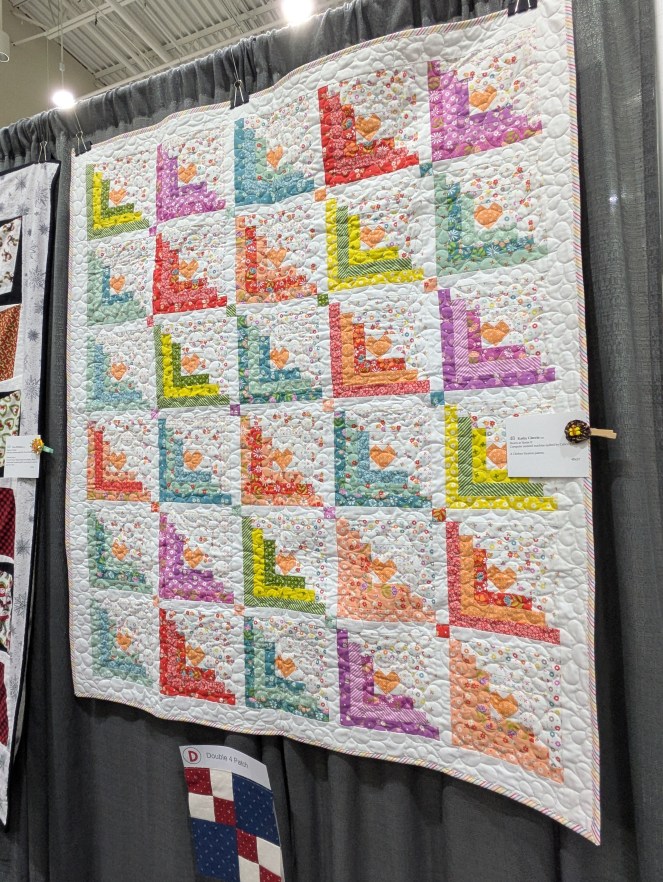
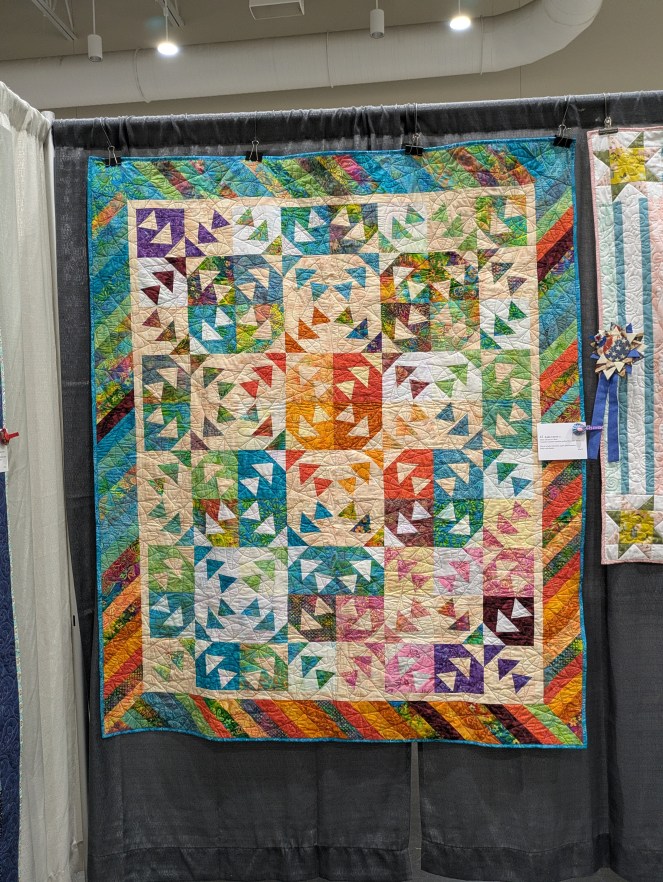
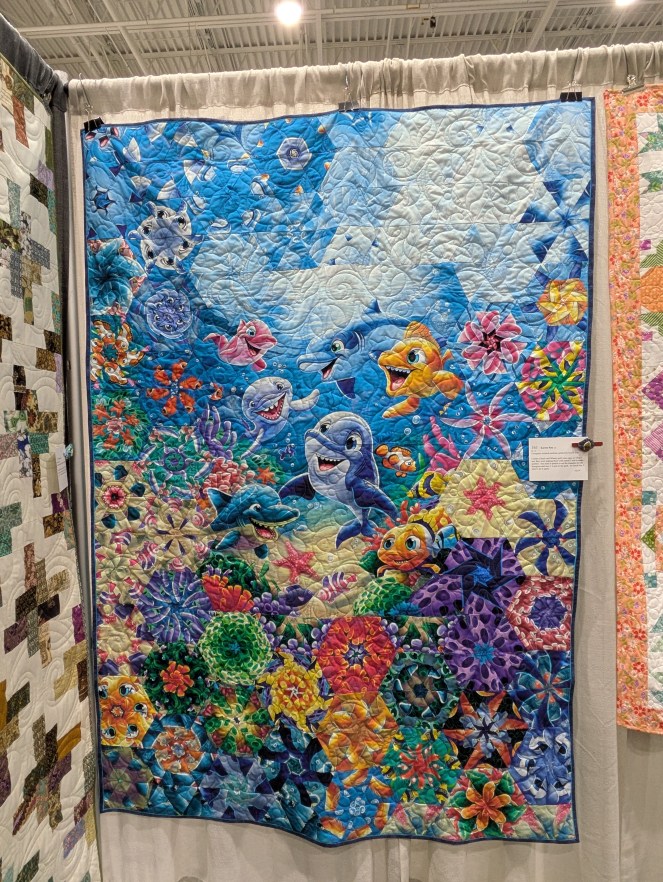
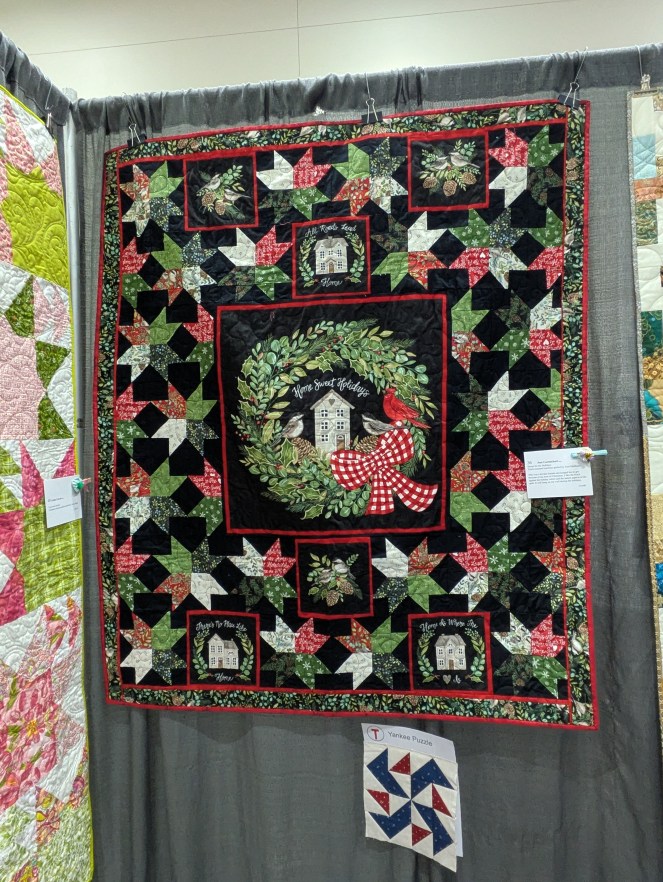
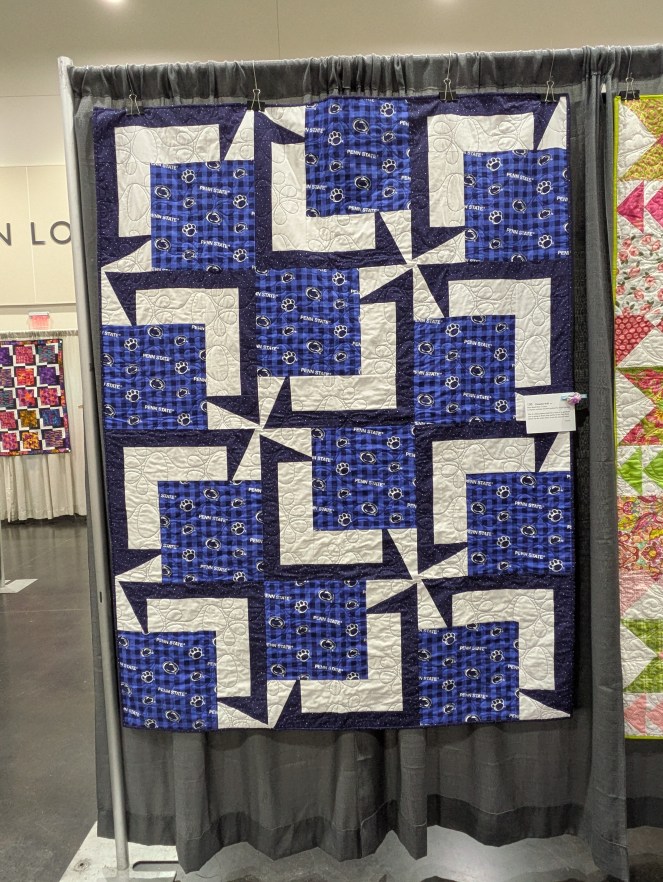
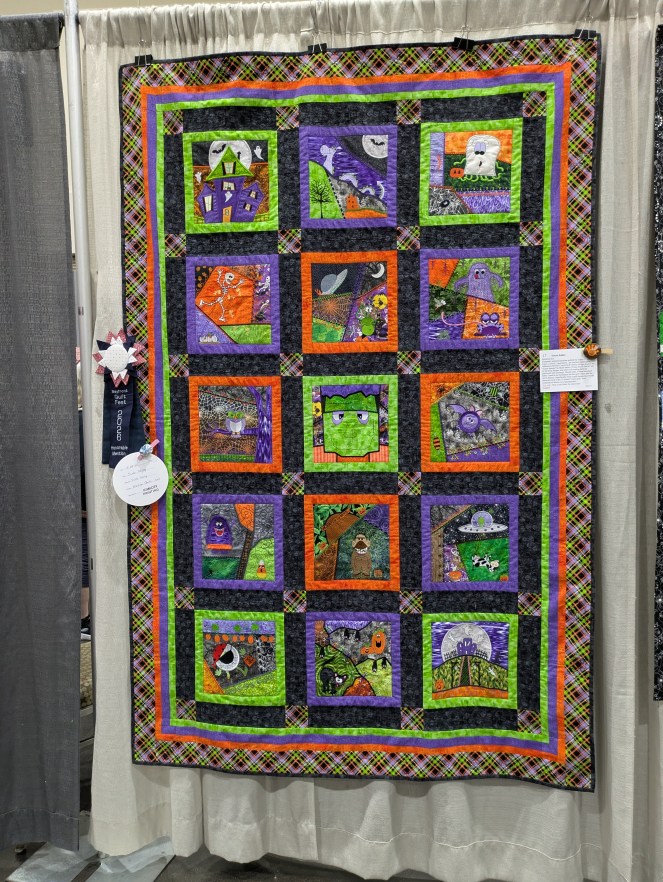
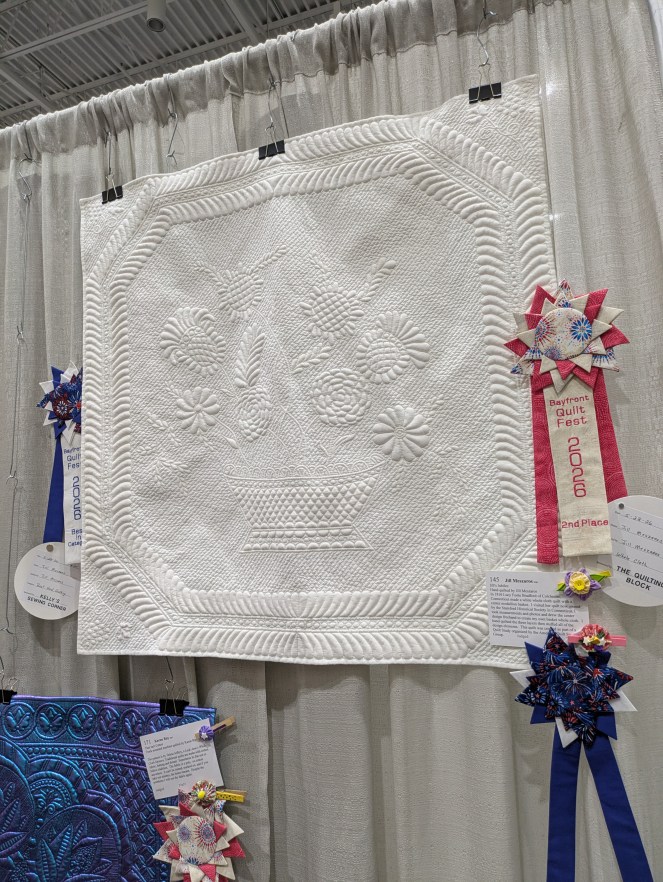
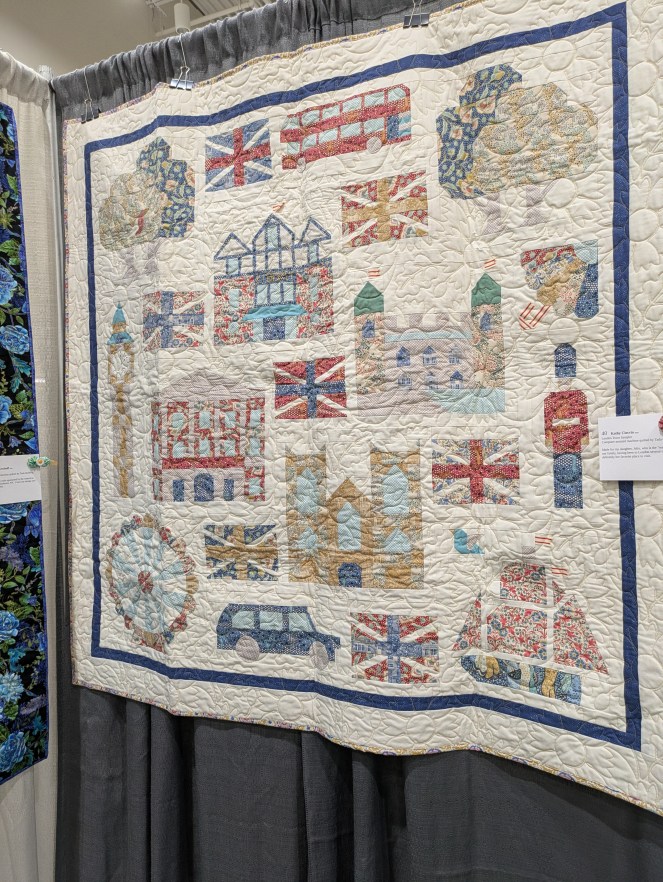
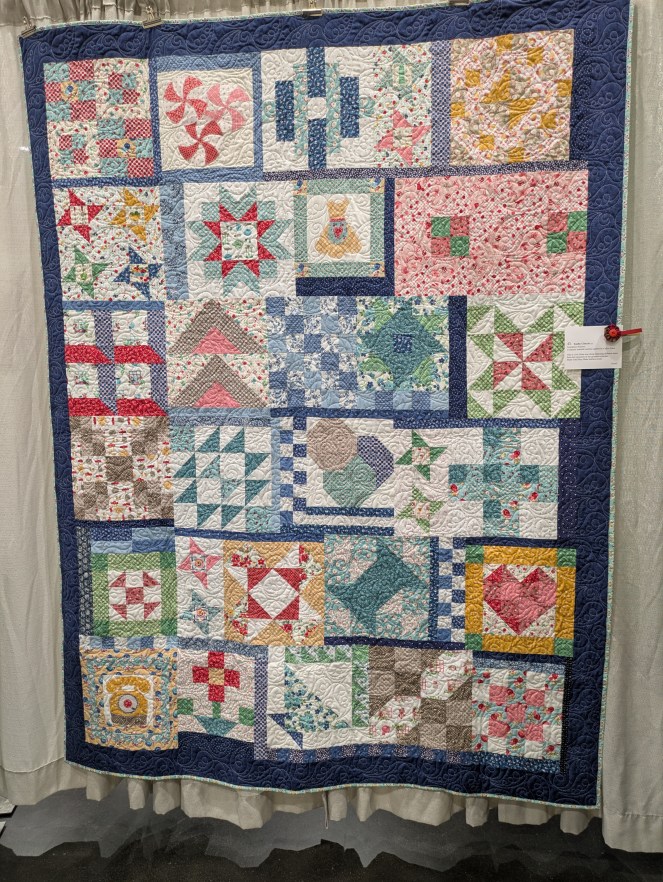
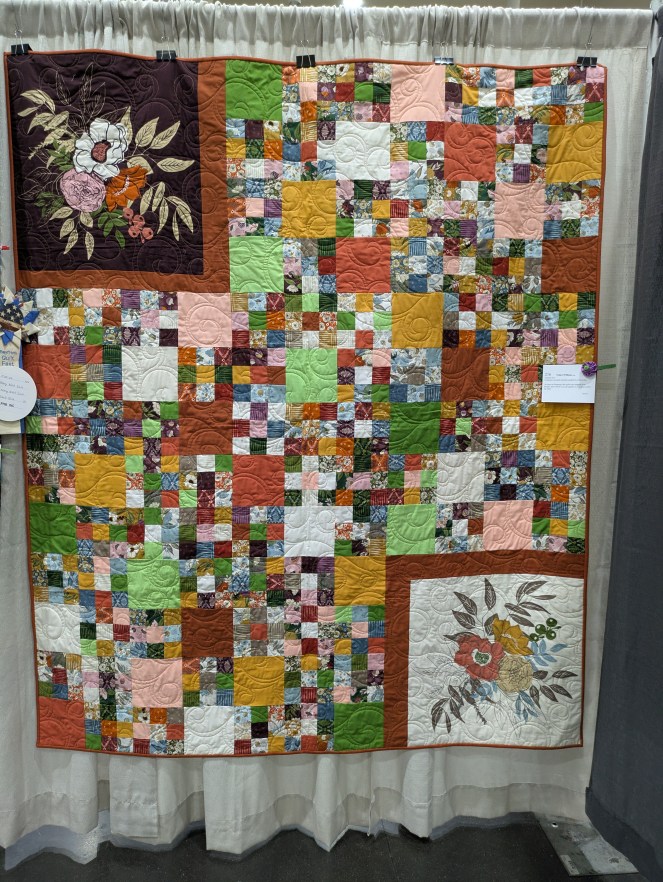
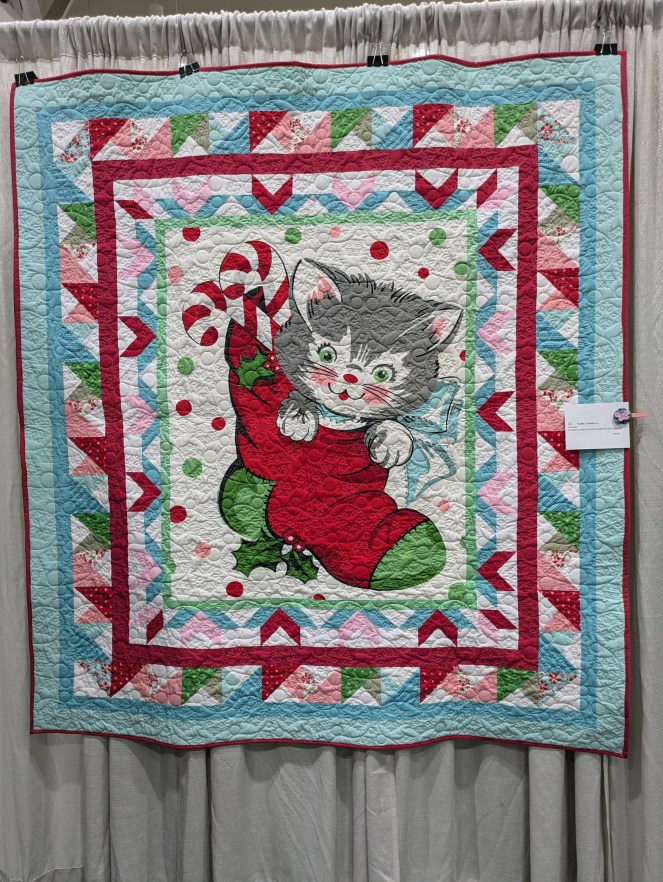
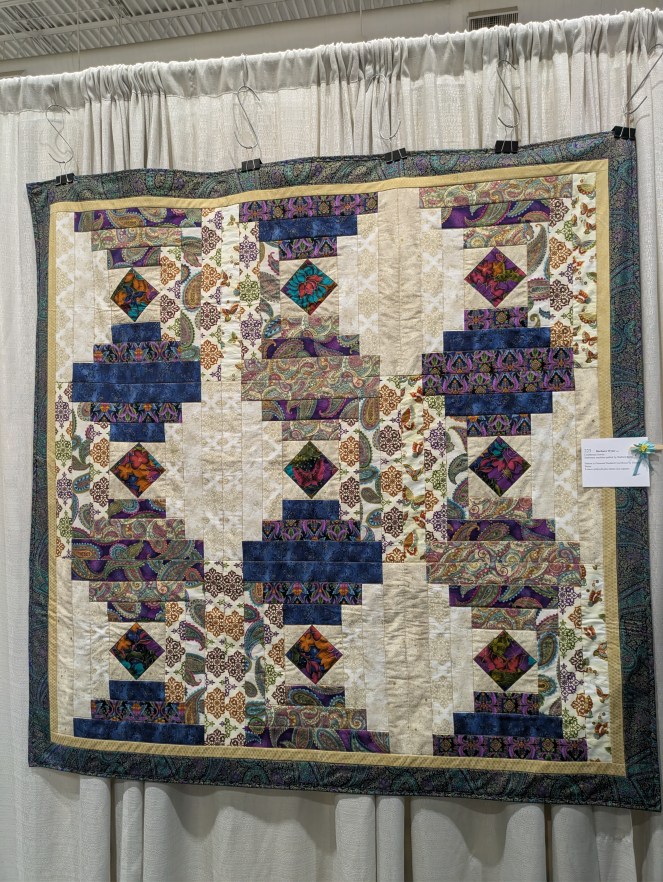
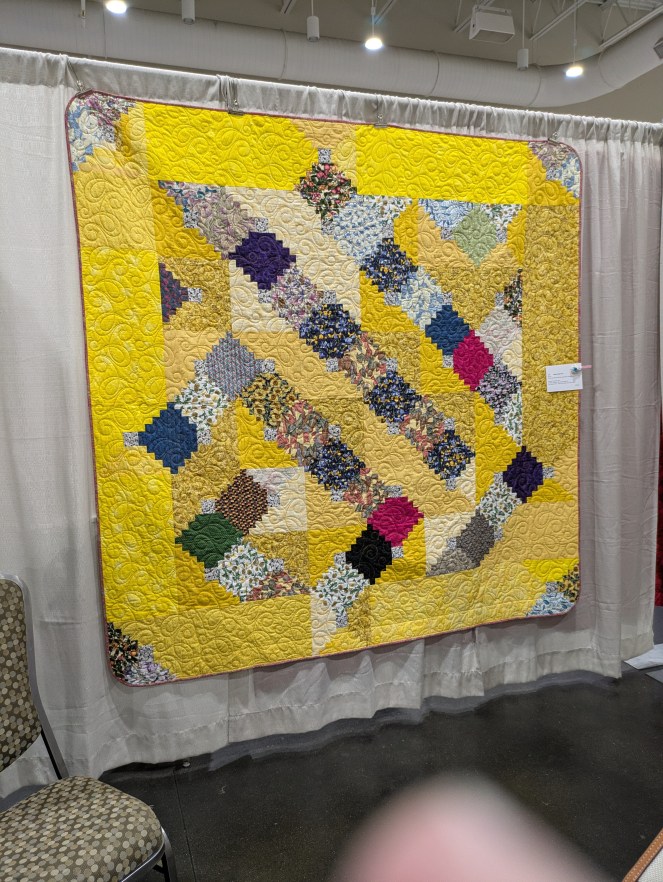
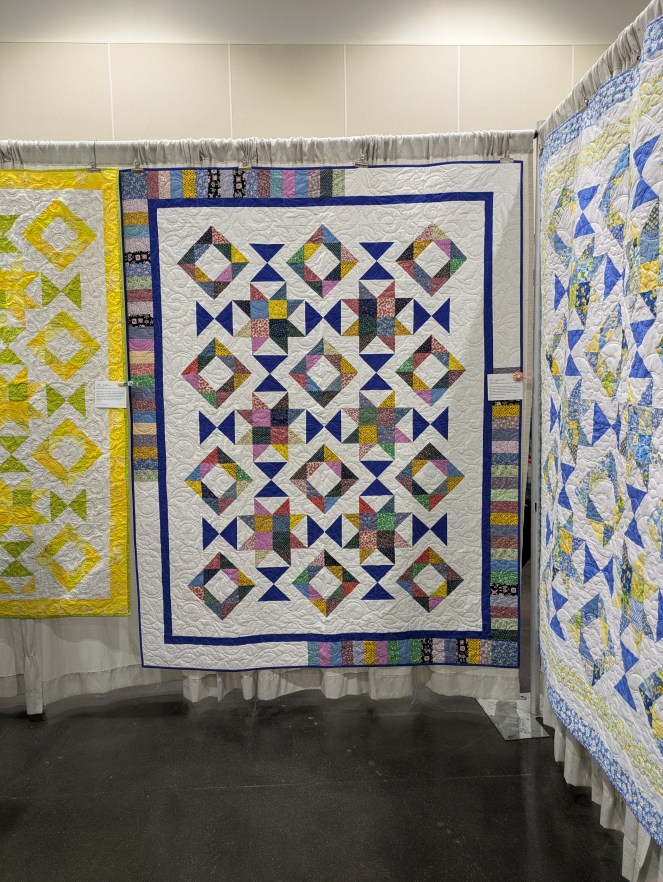
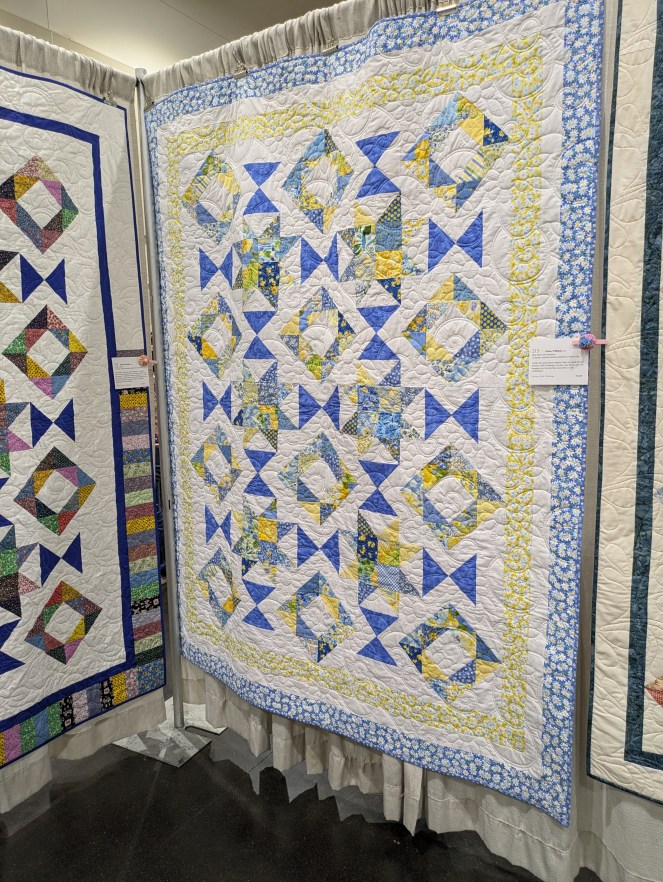
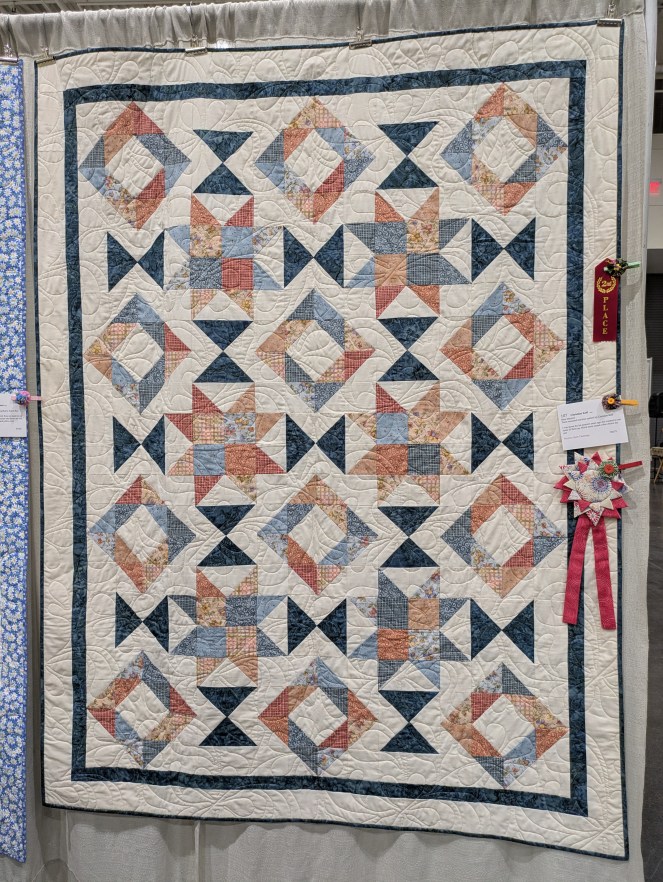
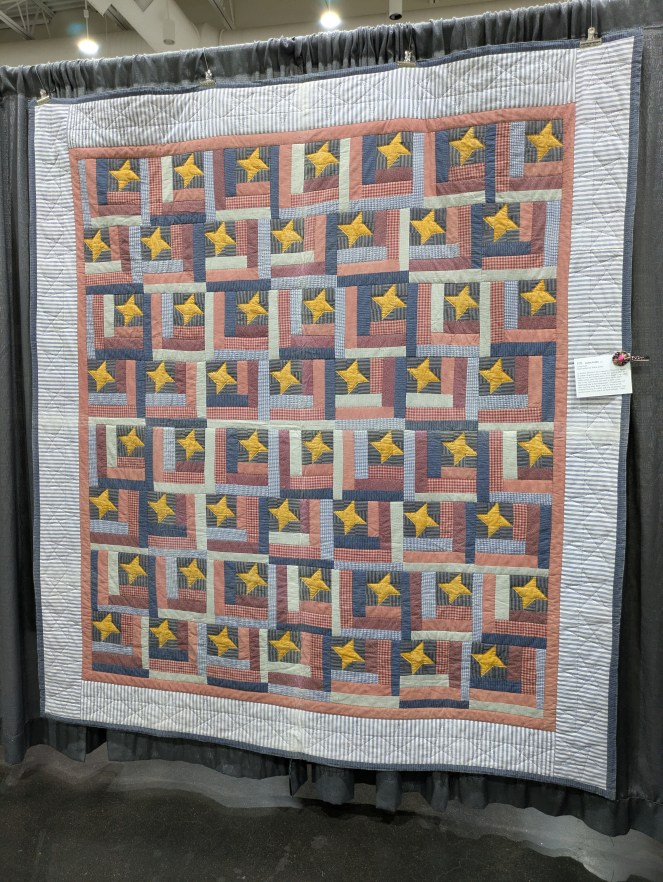
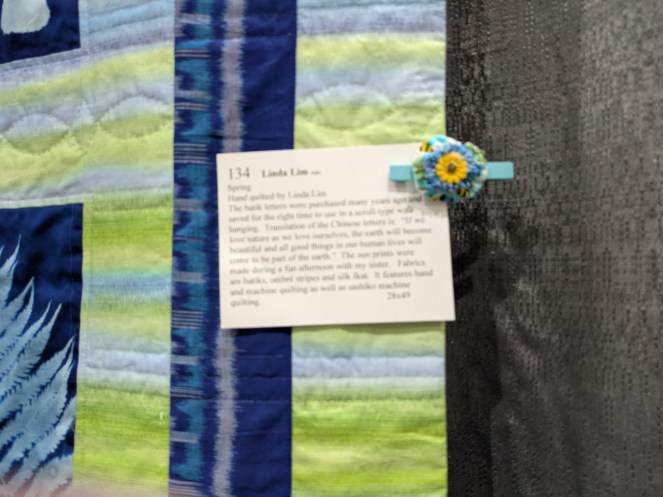
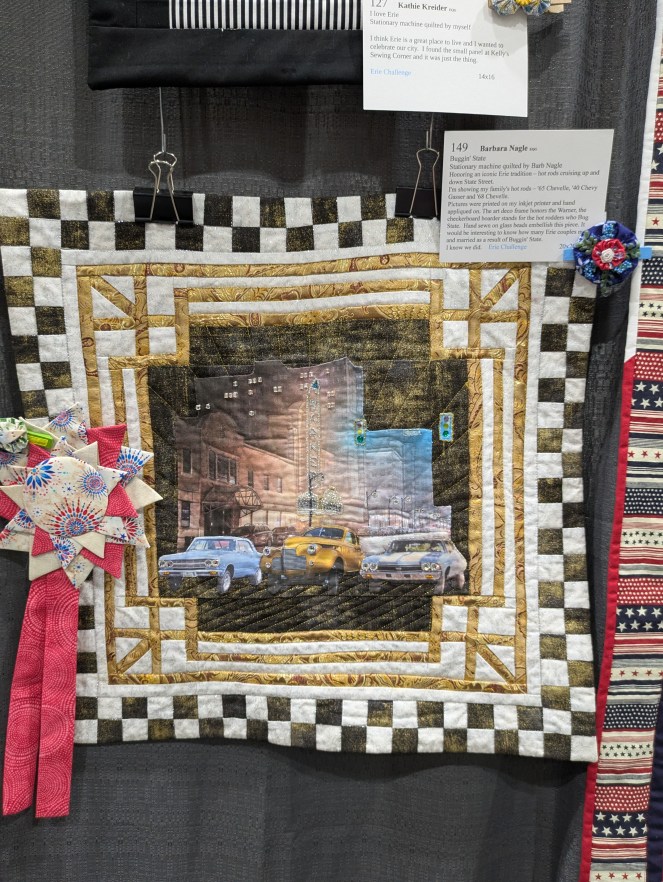
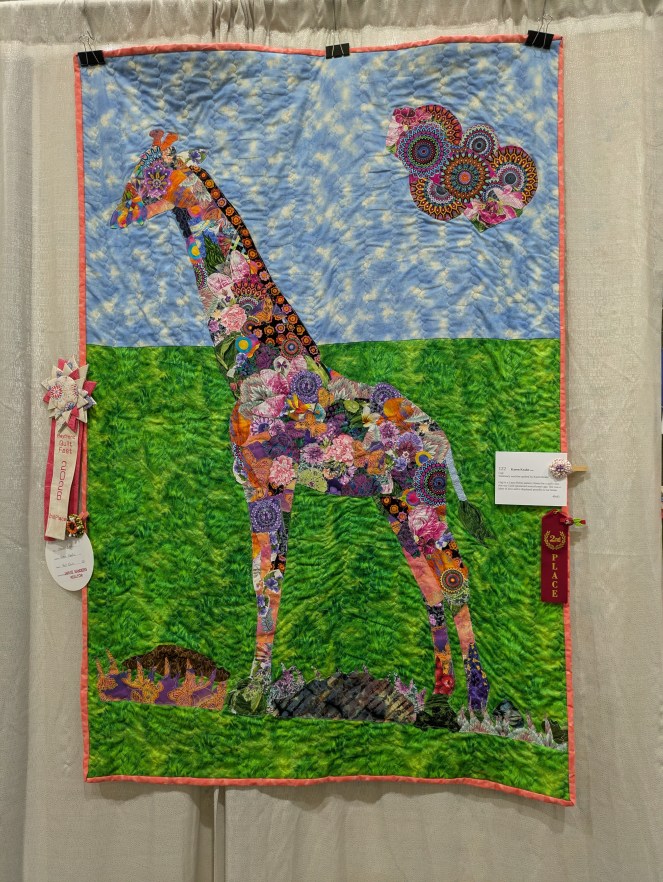
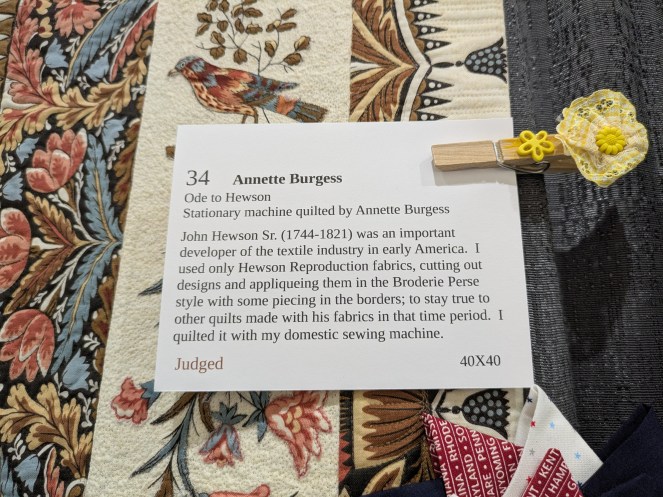
I tried to focus on the quilts first. Robin and Mary Lee went ahead of me and went back and forth between the quilts and the vendors as I took the time to photograph all the quilts that inspired me or caught my eye. I’ve often found that photographing quilts helps me to remember what inspired or surprised me at the show – whether it’s a block, the quilting, fabric choices, layout, or even the color palette.
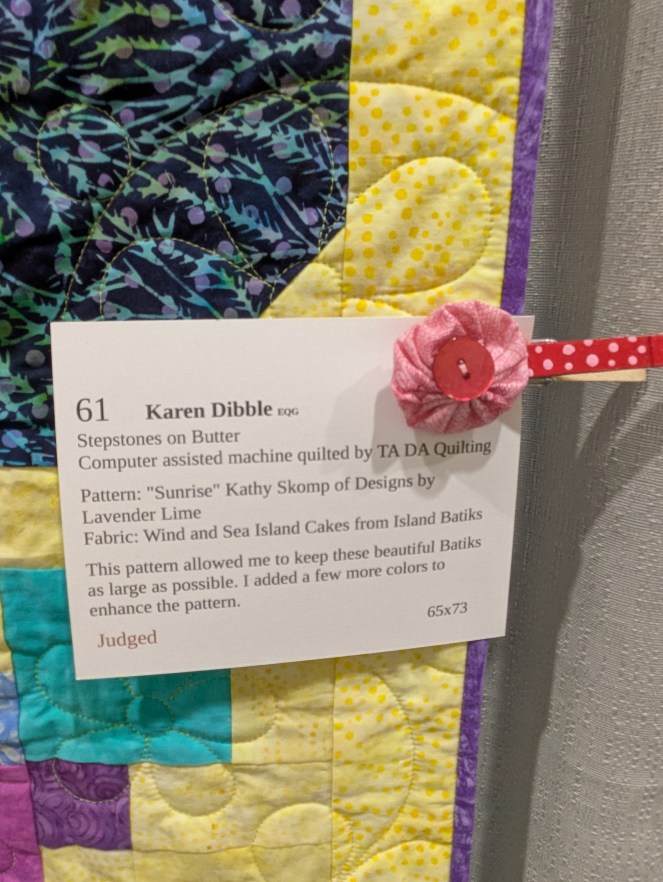
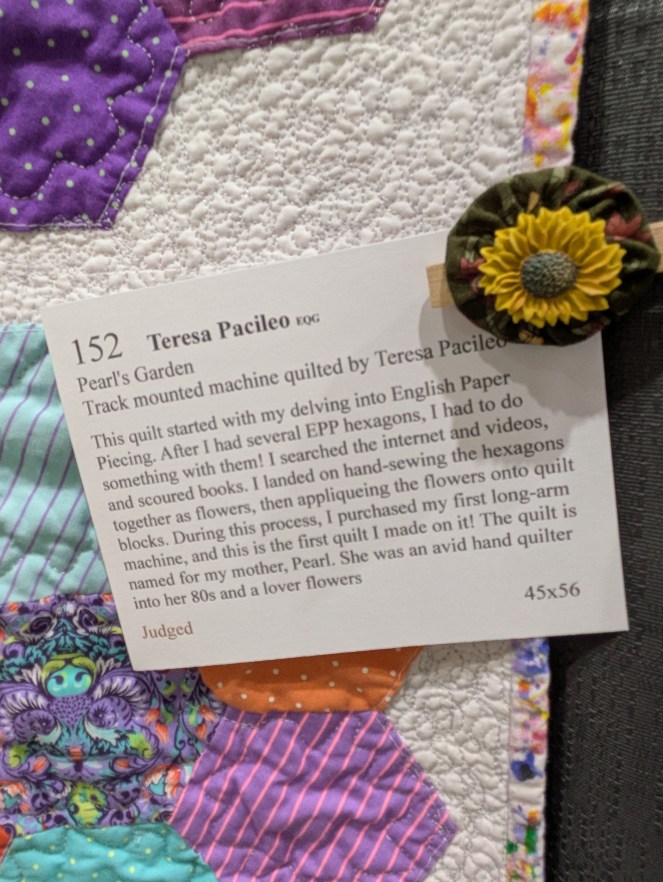
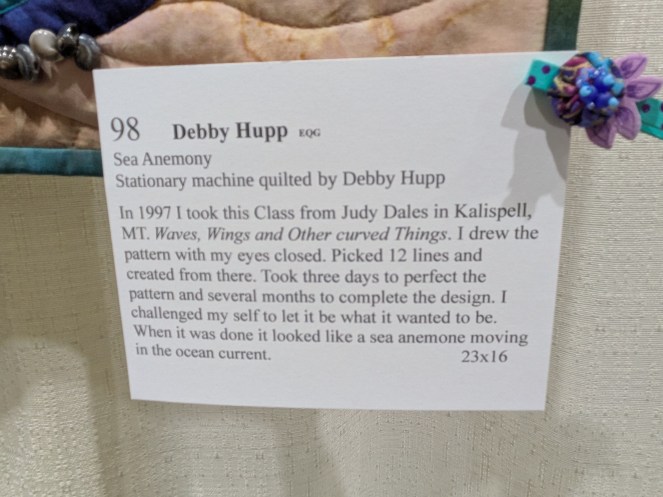
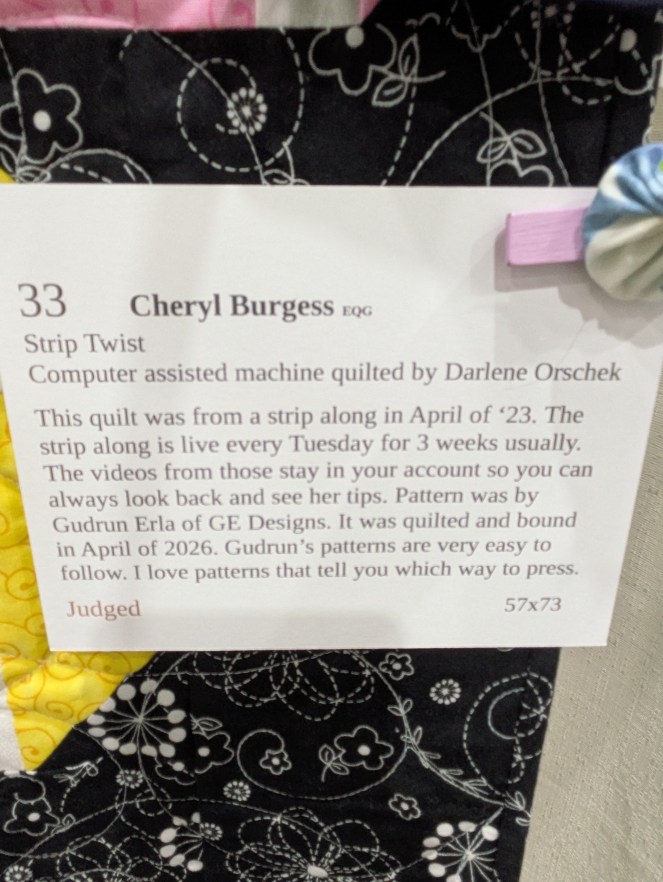
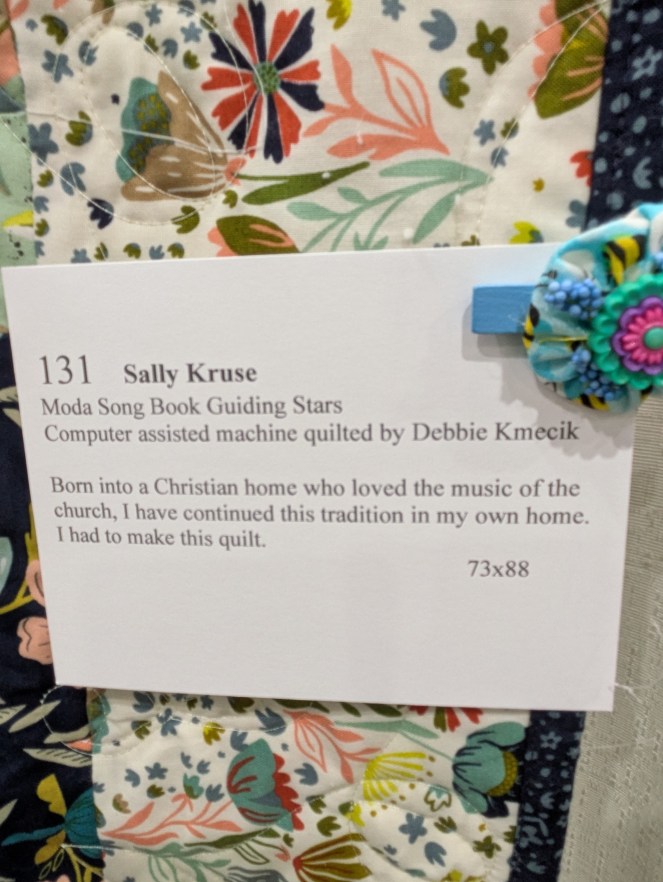
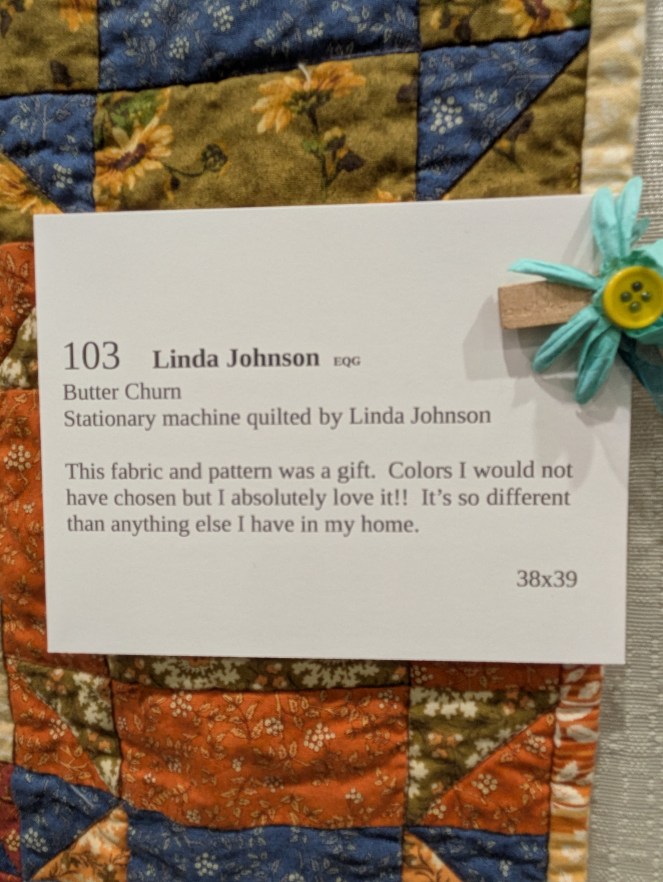
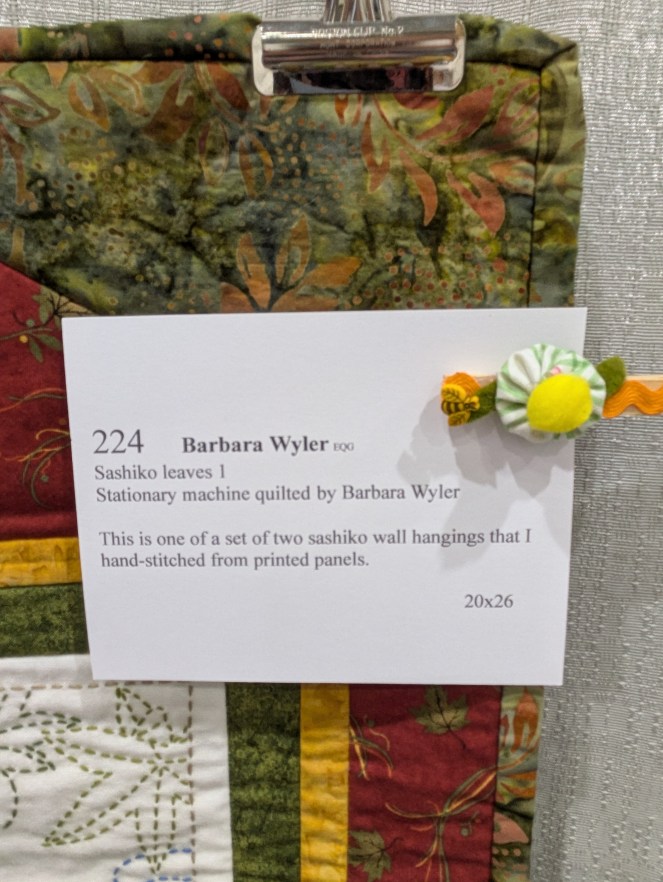
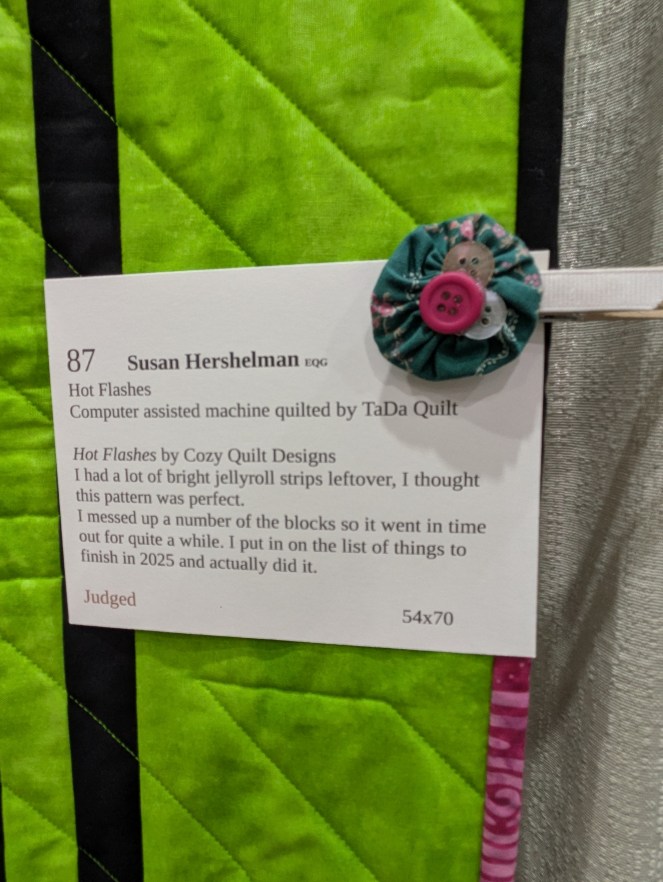
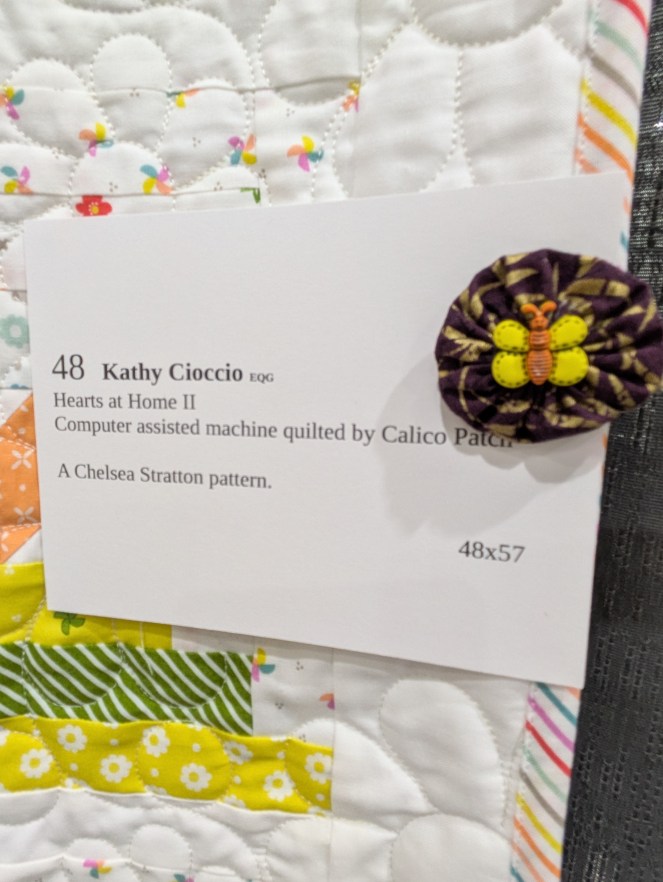
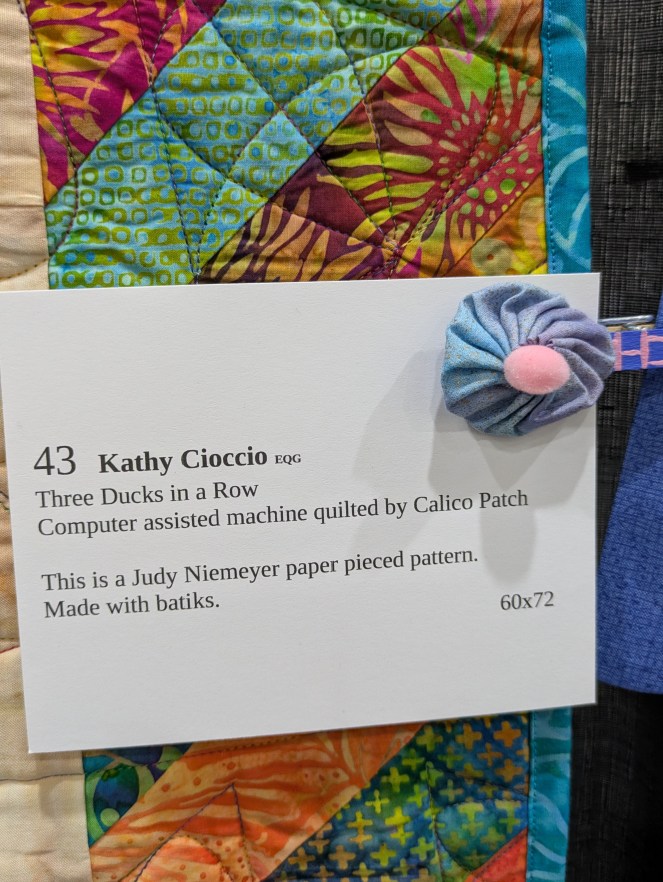
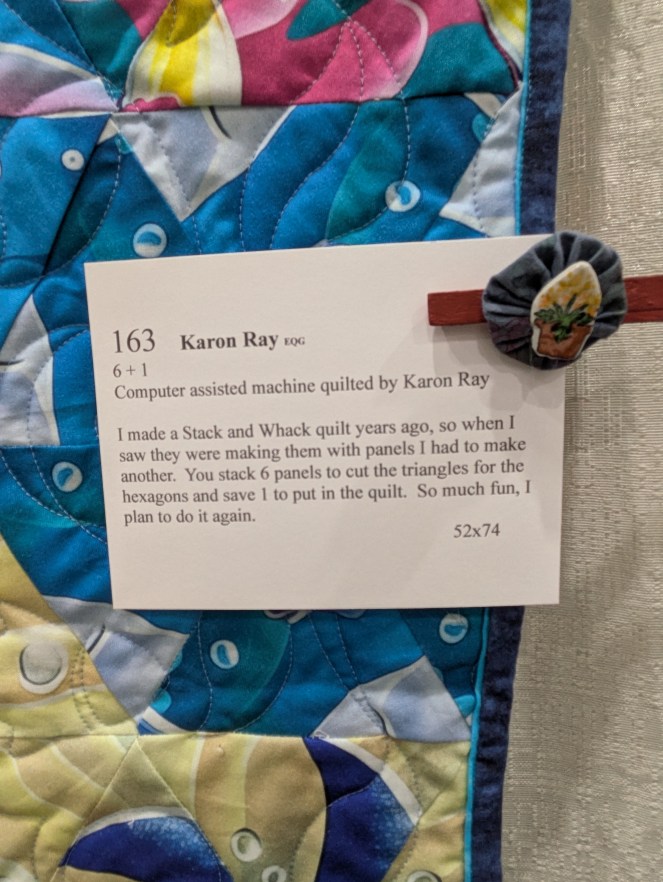
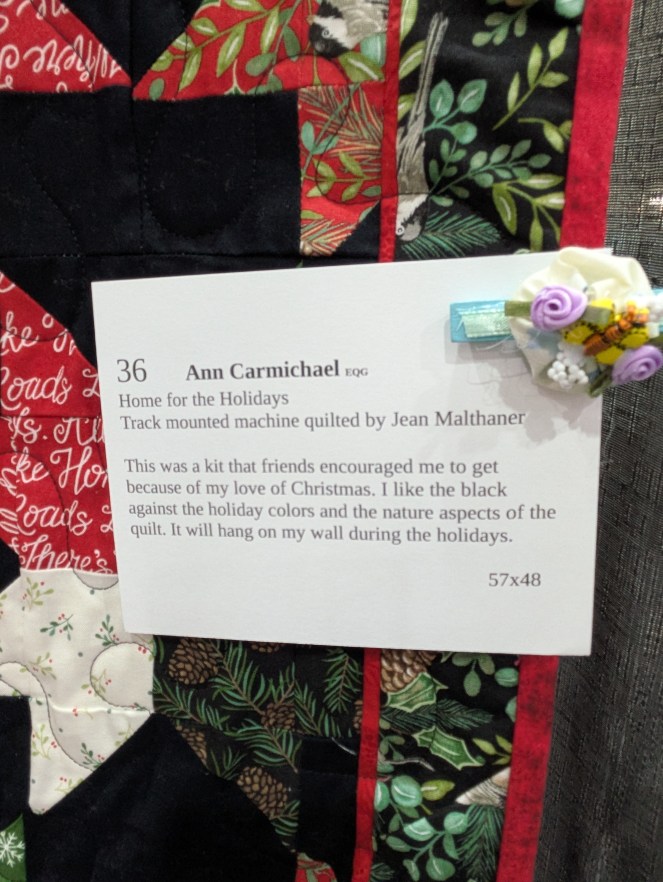
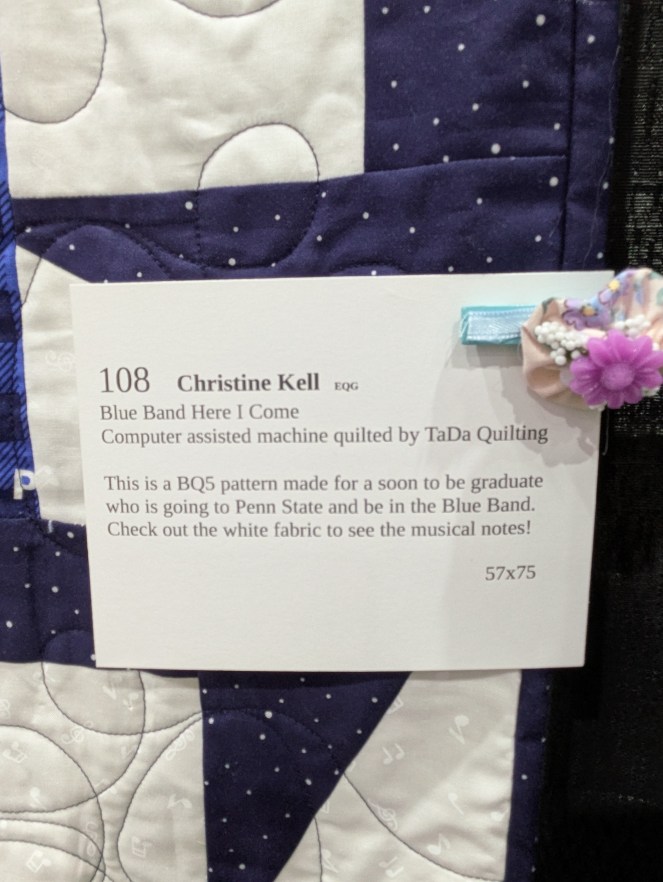
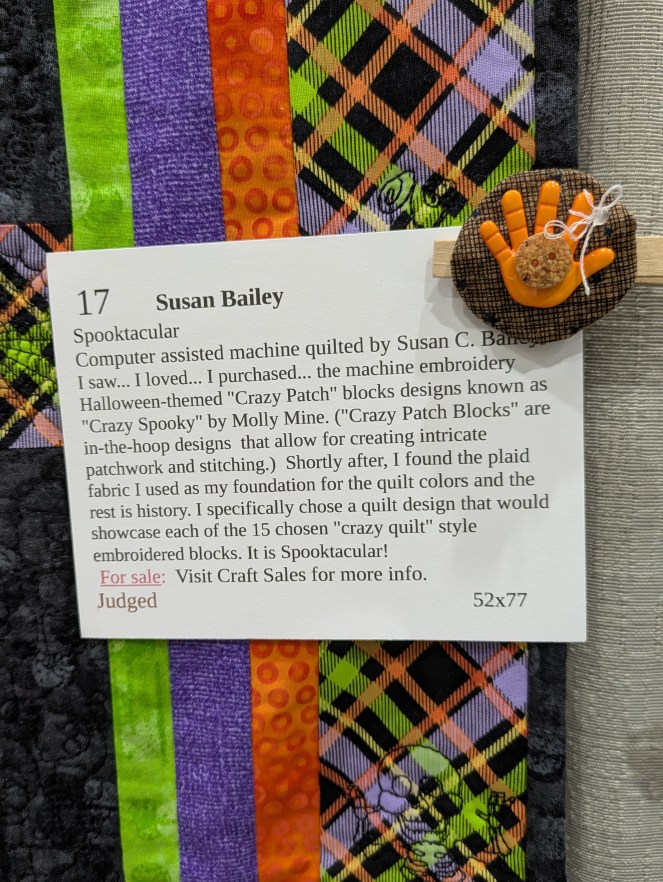
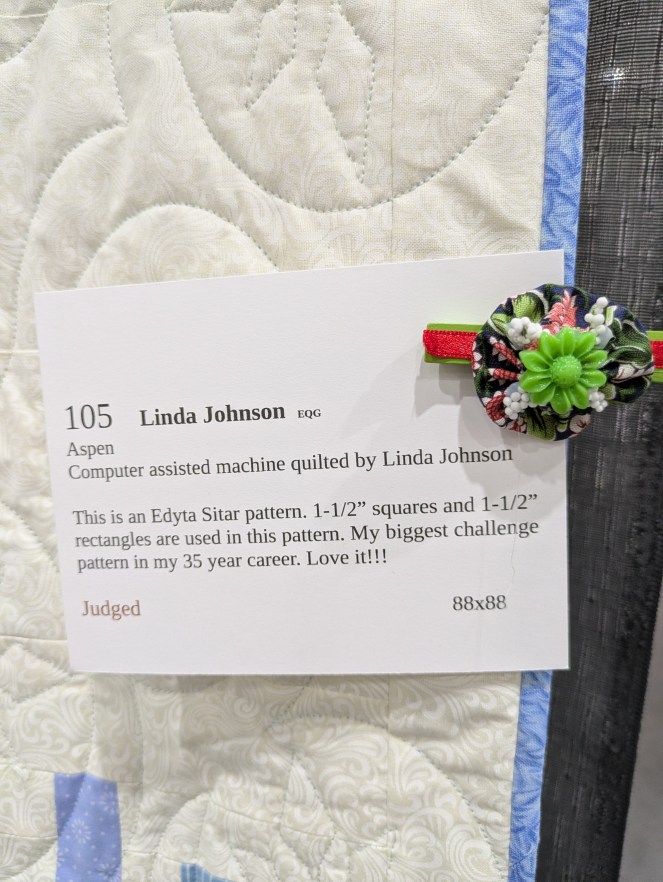
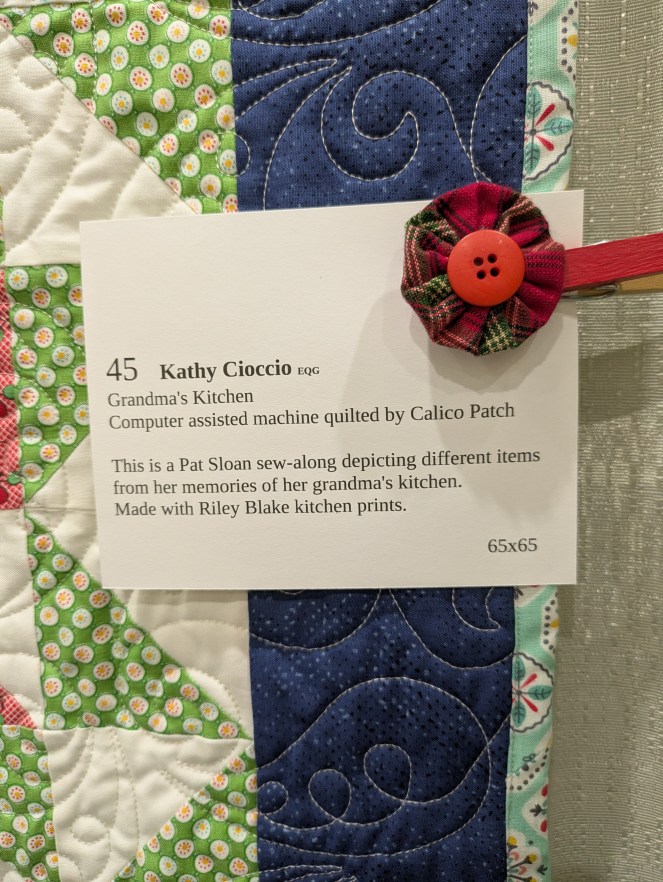
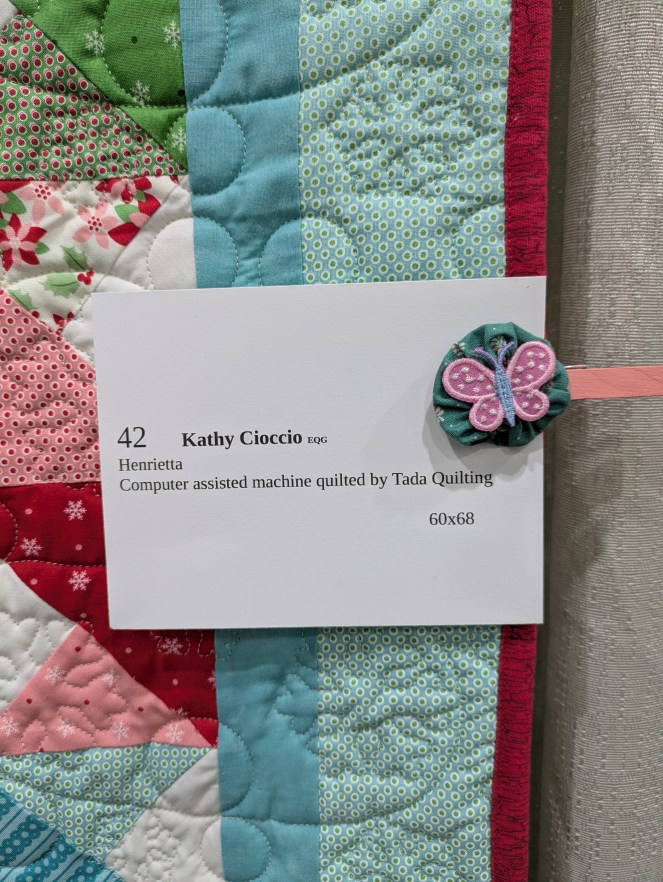
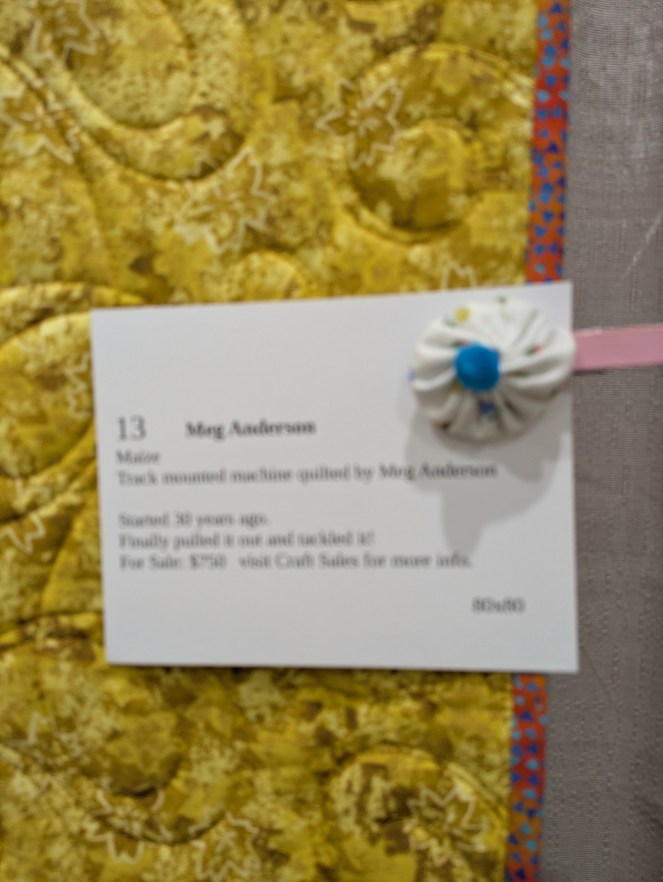
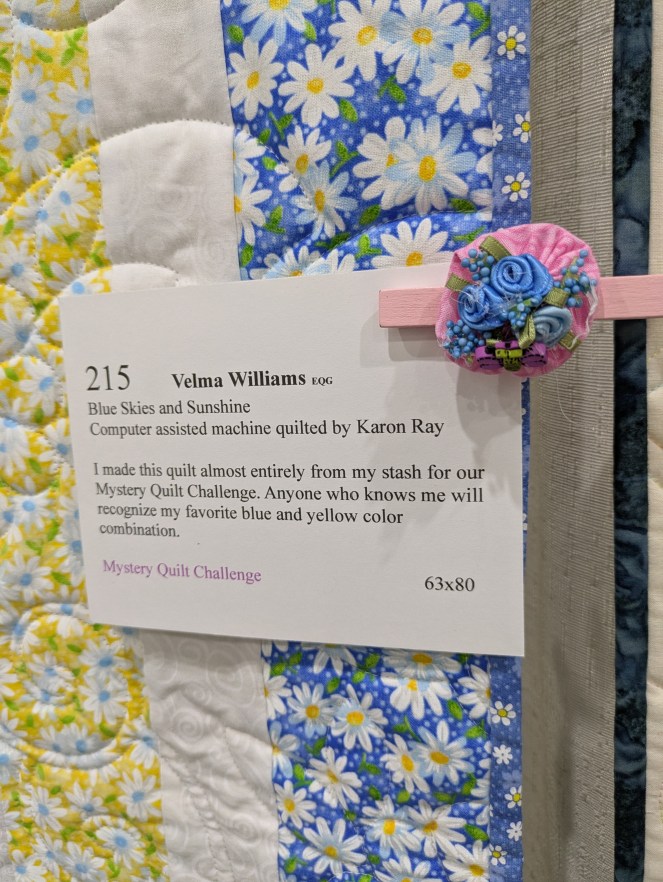
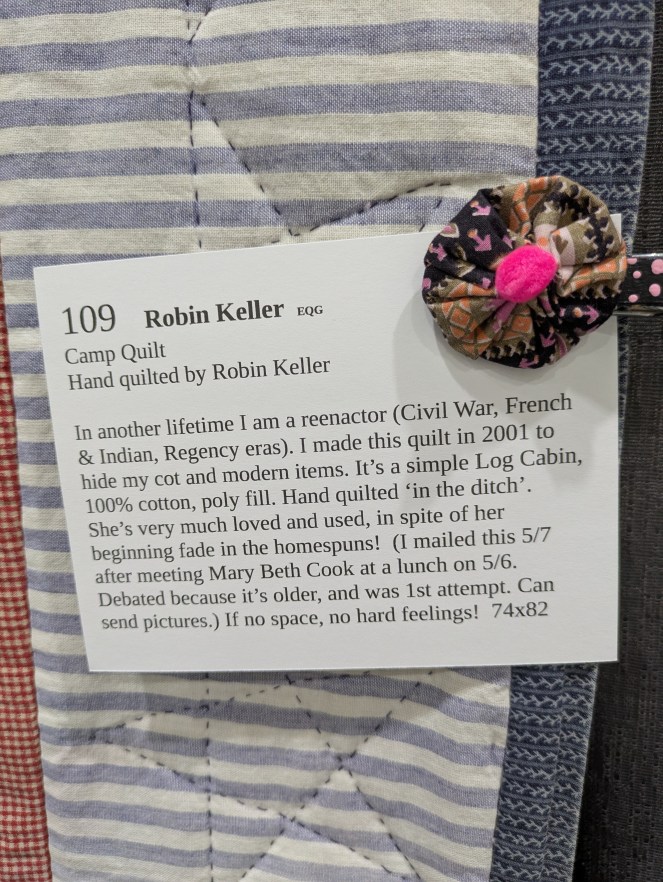
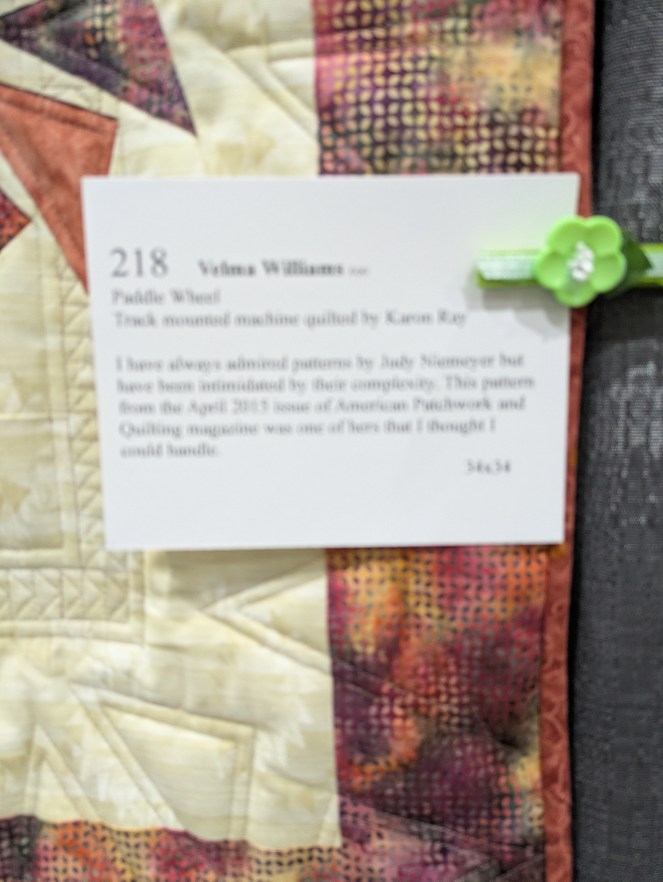
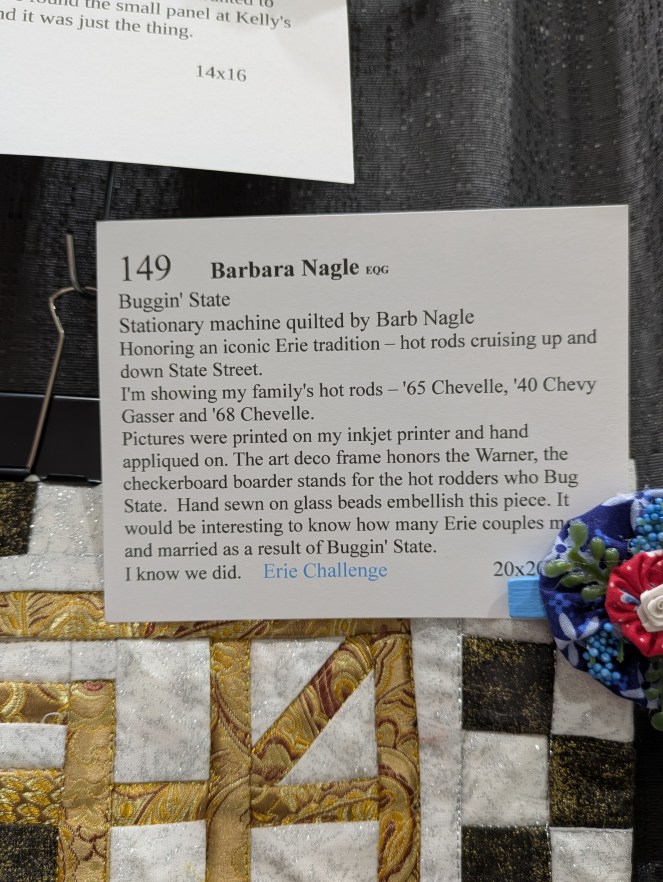
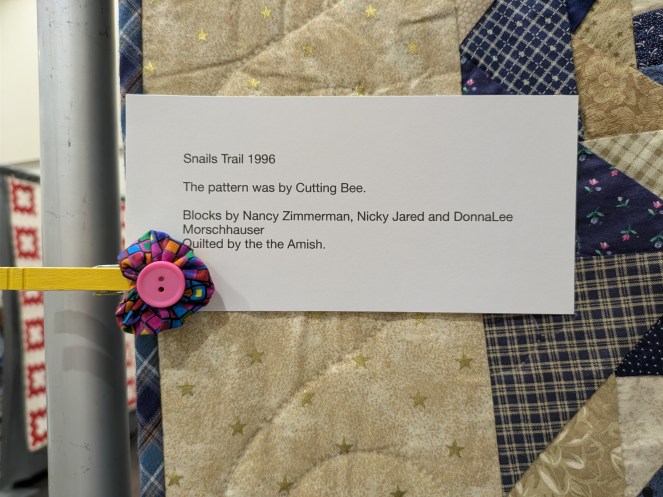
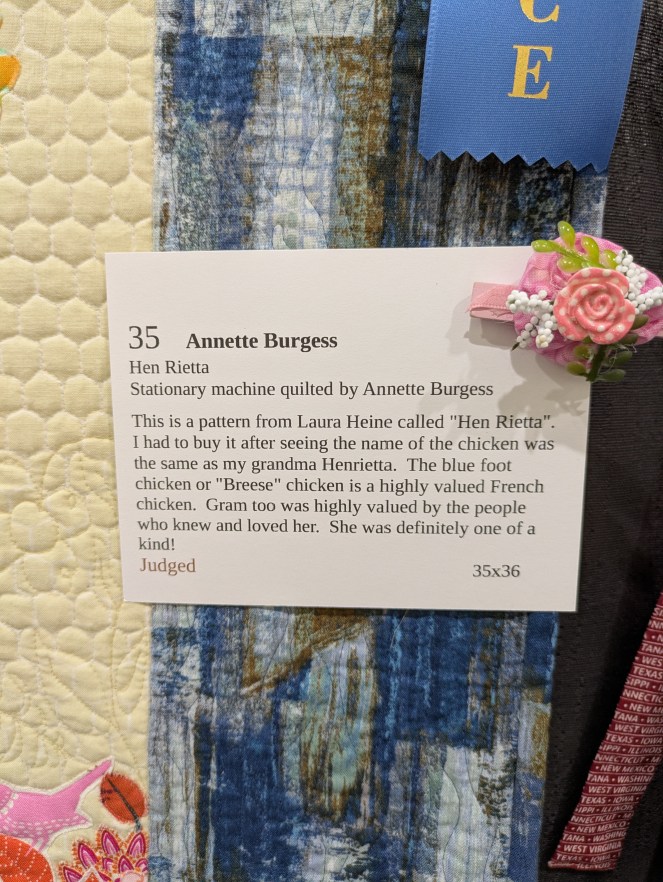
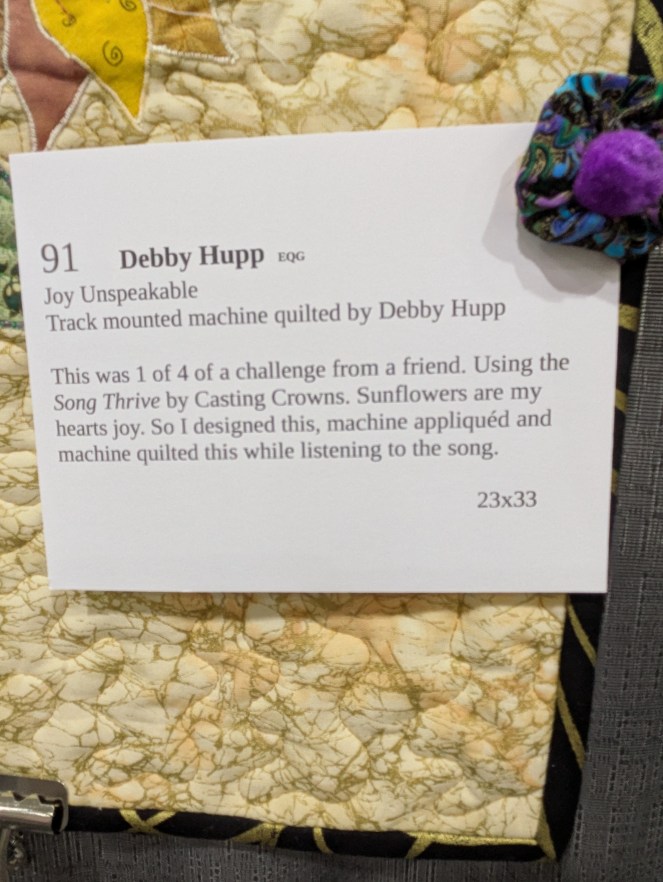
The only thing that frustrates me is that quilt makers don’t always include enough information on the quilt information tag. Sigh…
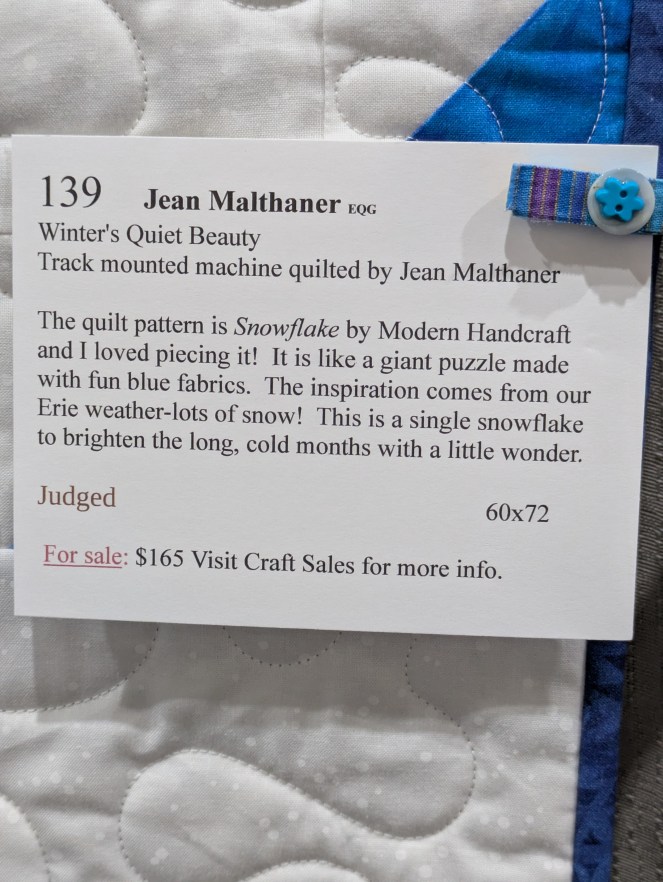
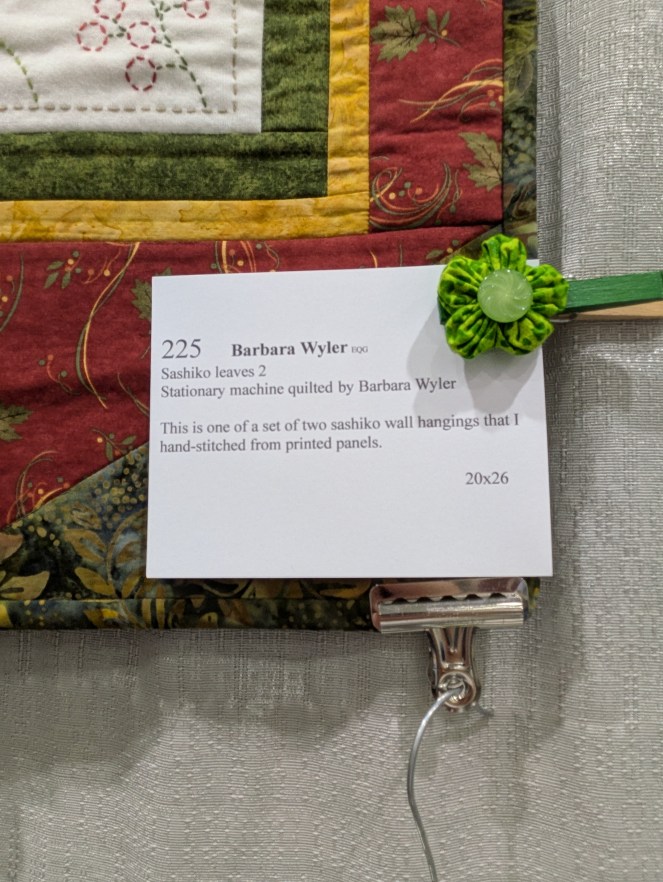
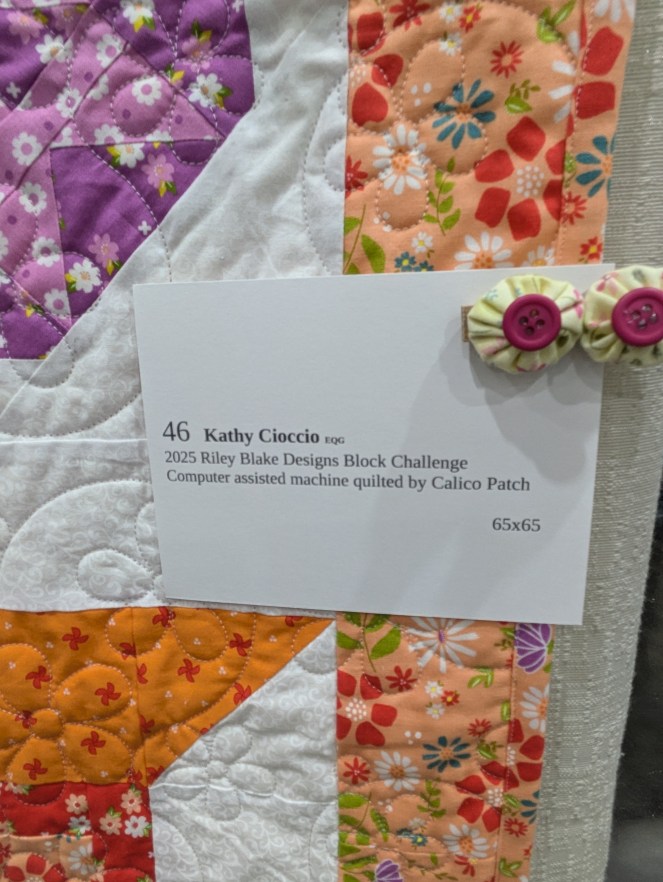
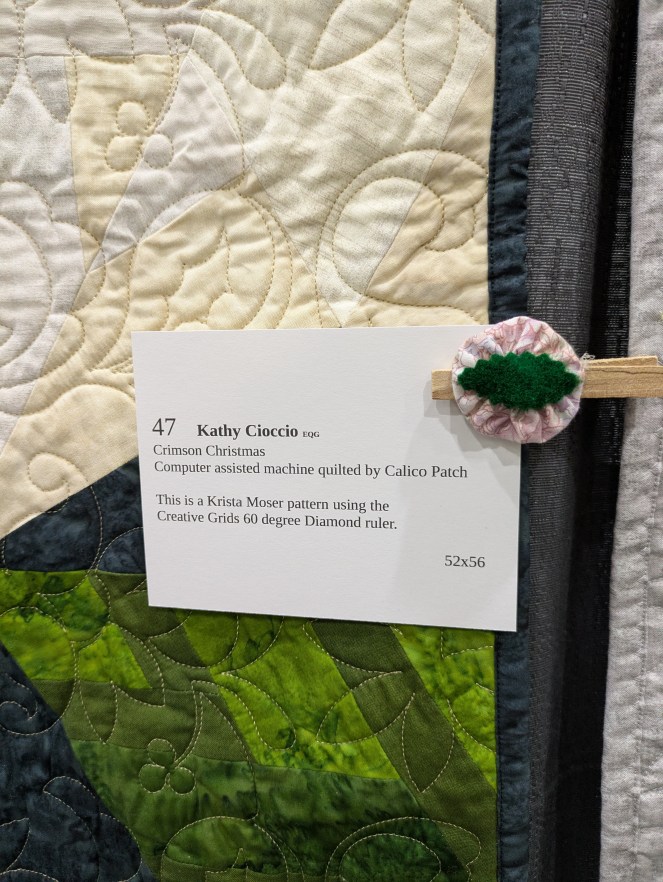
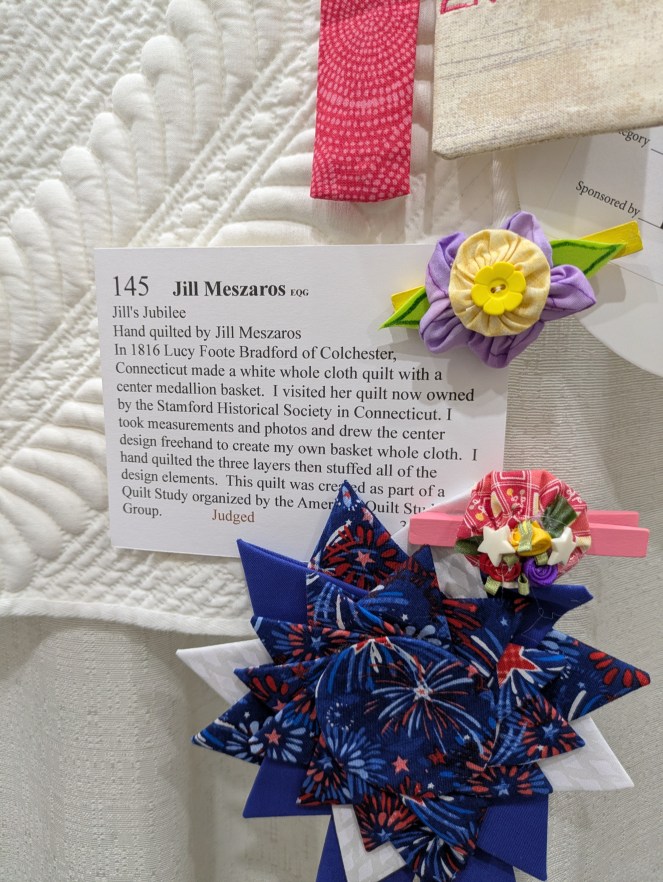
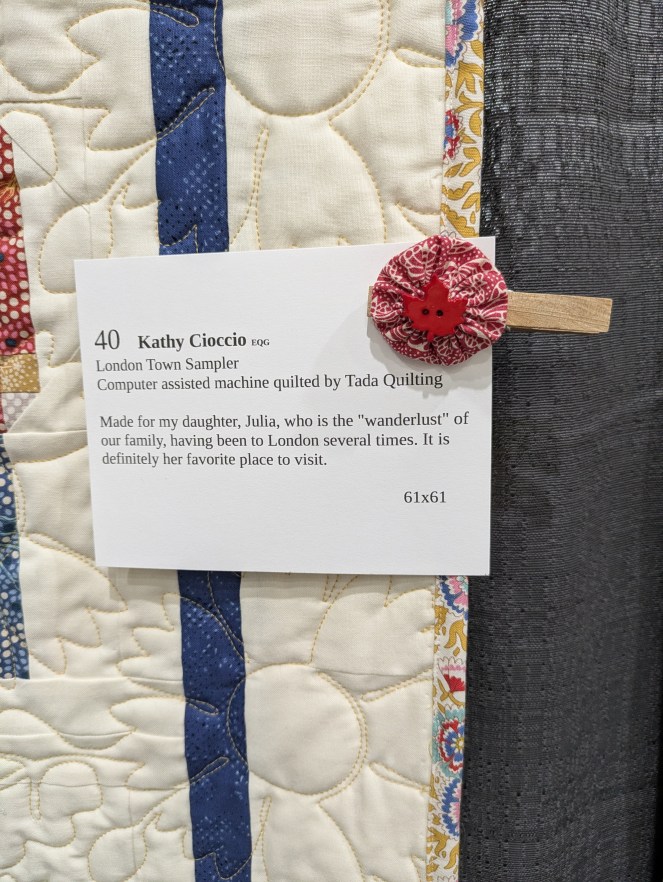
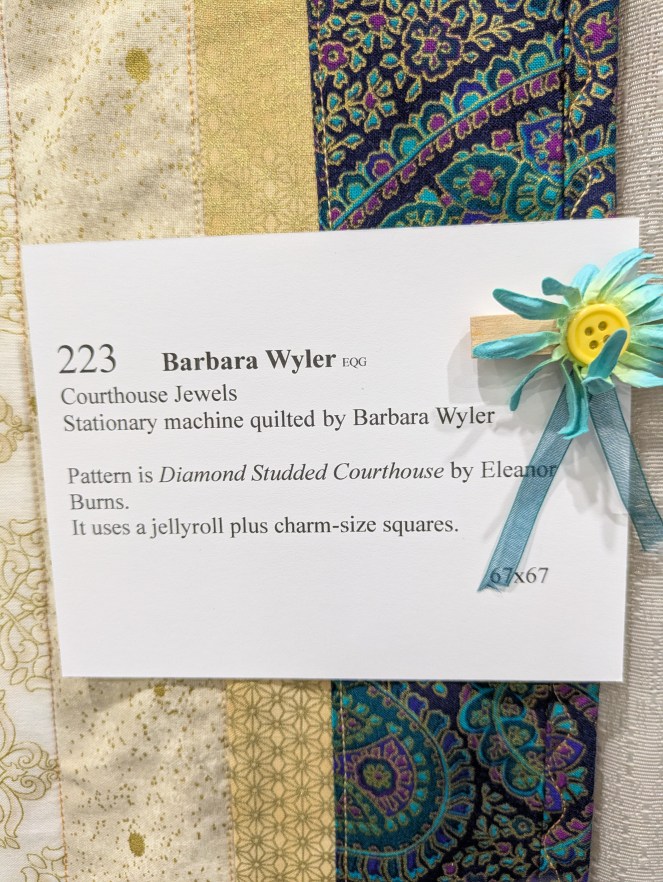
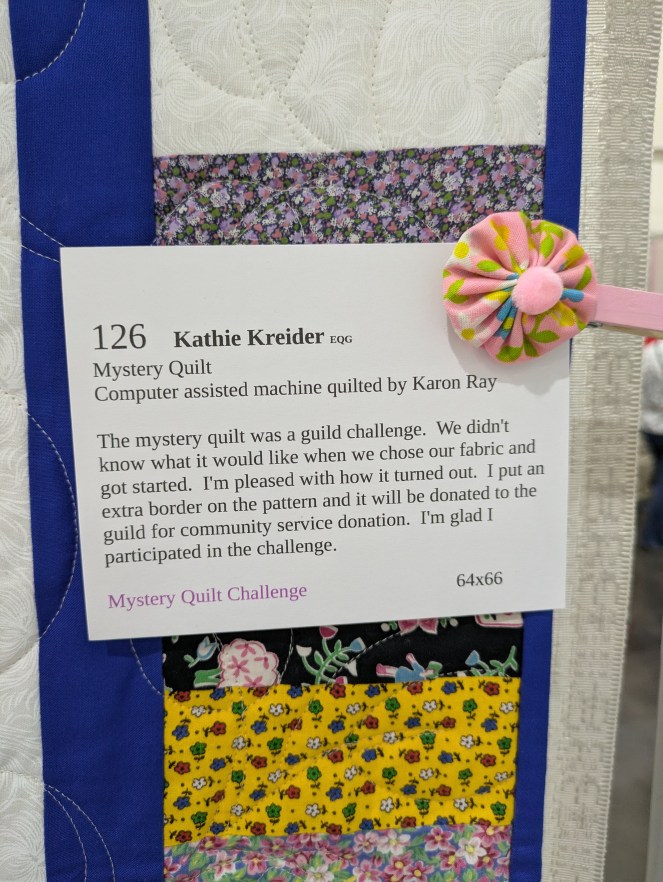
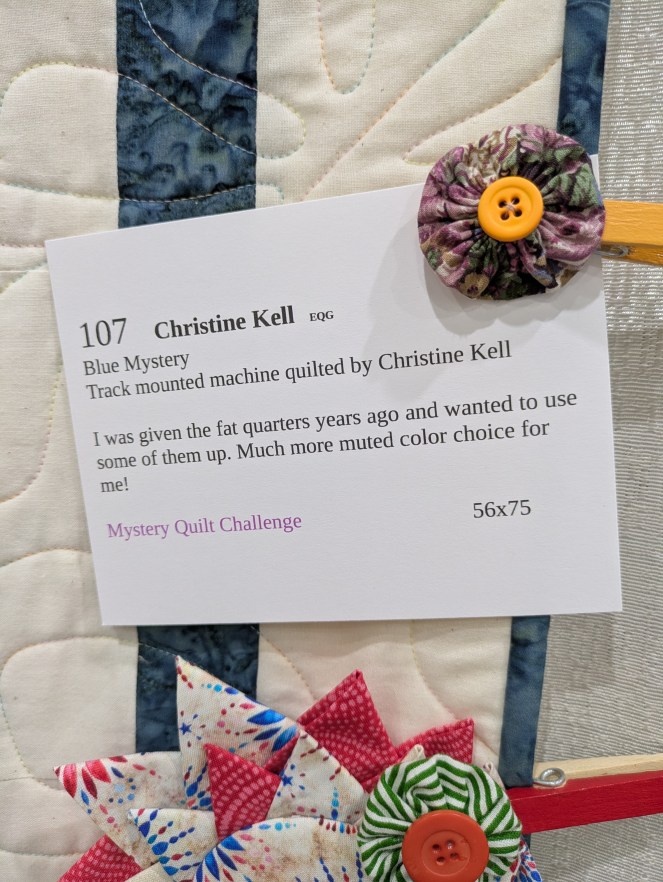
If I could offer one piece of advice to anyone entering or displaying a quilt in a show, it would be this: please include the pattern name, book name, or indicate if the design is original. You can bet that at least one person viewing your quilt is going to fall in love with it and want to make their own version. That’s one of the highest compliments a quilt maker can receive, isn’t it?
As a quilt designer, I especially appreciate seeing examples of my patterns hanging in a quilt show. When the maker includes the pattern name and designer information, that’s pure gold. Not only does it give credit where credit is due, but it also helps other quilters find the pattern if they’re inspired by the quilt.
On the other hand, when I spot one of my designs on display without any attribution, I have to admit it makes me a little sad. So when you’re filling out that quilt information tag, please include as much information as possible. You never know…the pattern designer might be walking through the show admiring quilts right alongside you.
I did find several VRD pattern quilts on display, which made me very happy. Including my own Sisterhood! Woohoo! The top 3 VRD quilts were made by Mary Beth Cook and Sisterhood was made by Jean Malthaner. Panama City was made by Mary Beth Cook.
Fandango – digital pattern or print pattern
Gridwork – digital pattern or print pattern
Wellington – digital pattern or print pattern
Messages – digital pattern or print pattern
Sisterhood – digital pattern or print pattern
Panama City – digital pattern or print pattern
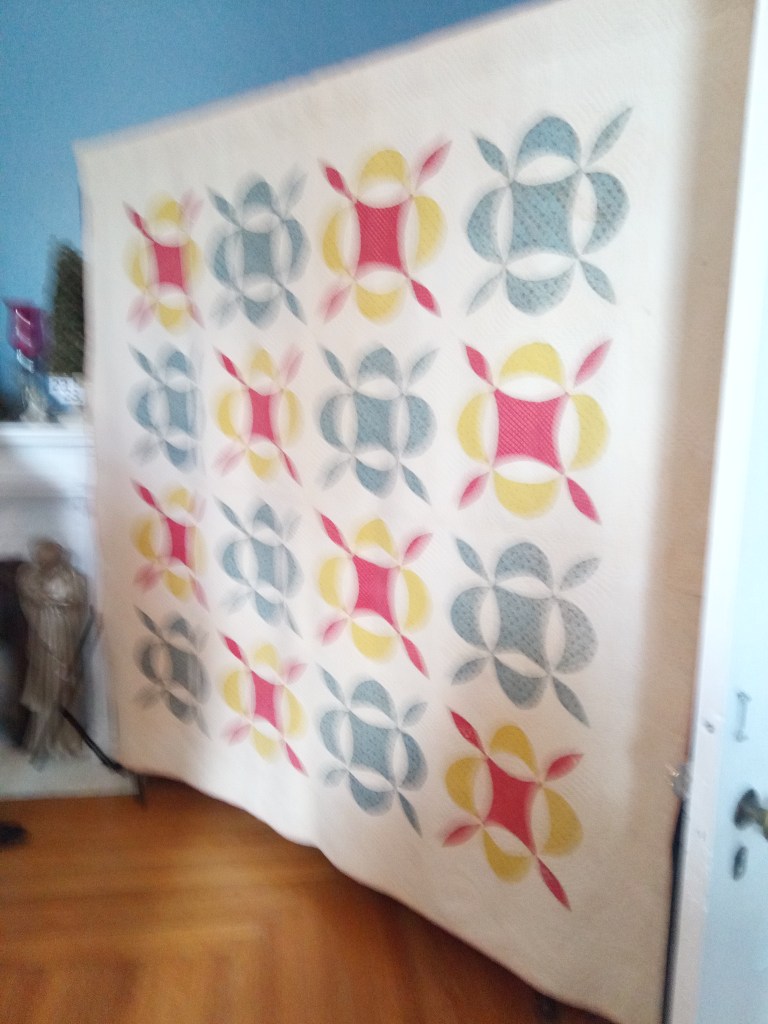
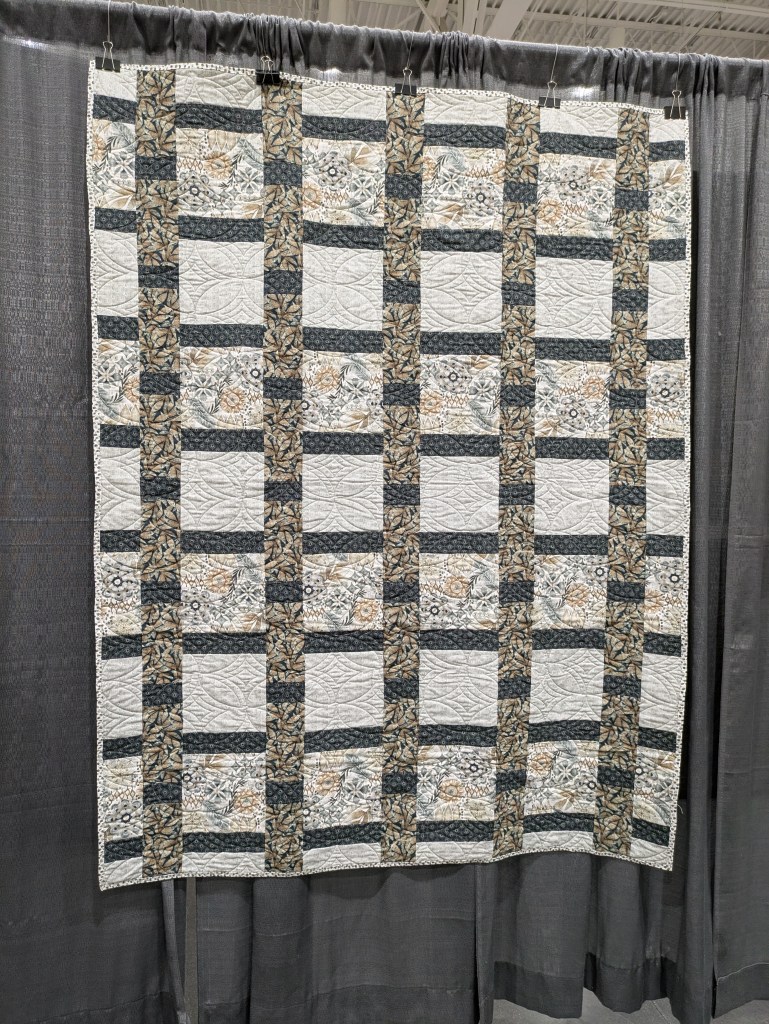
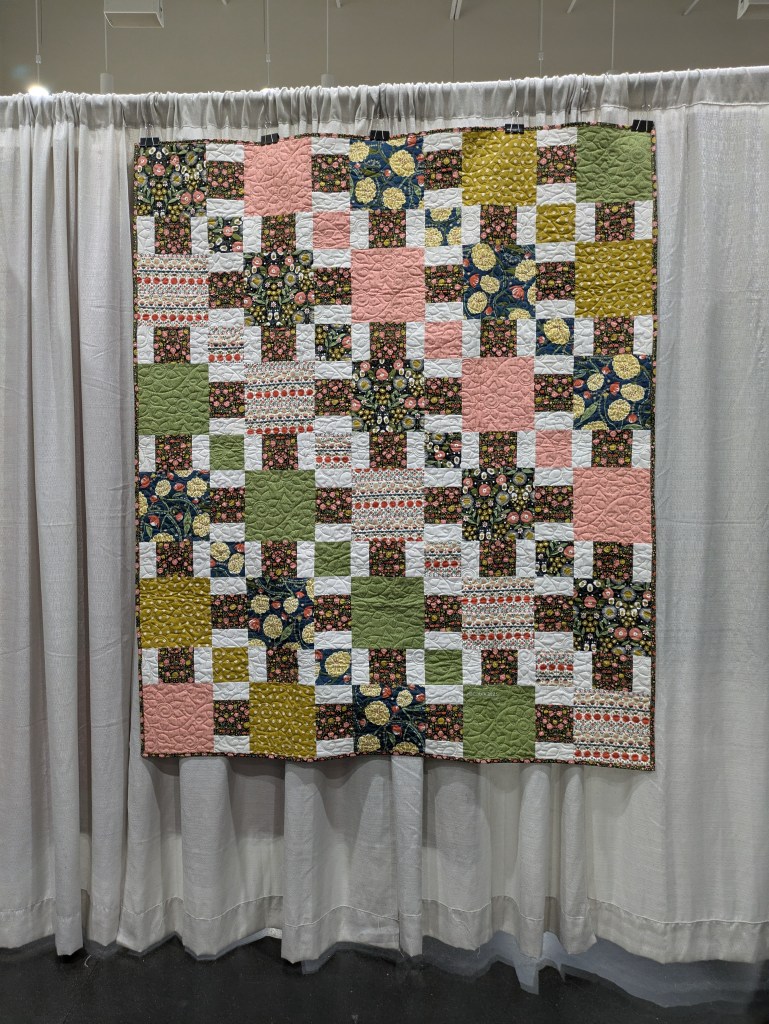
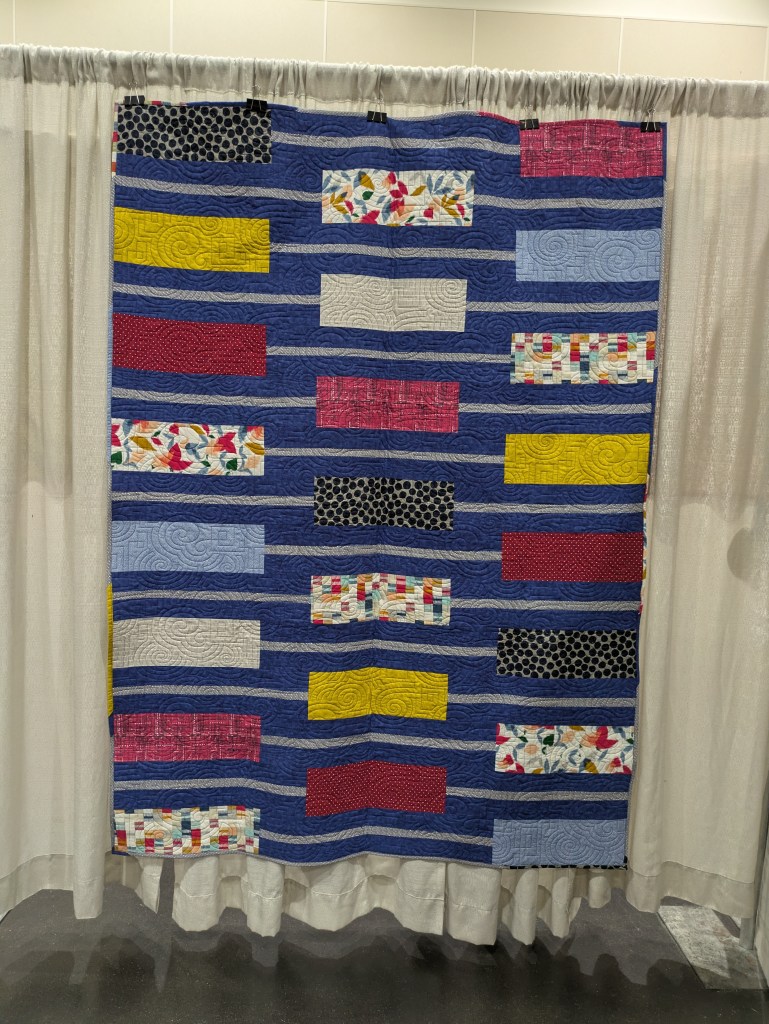
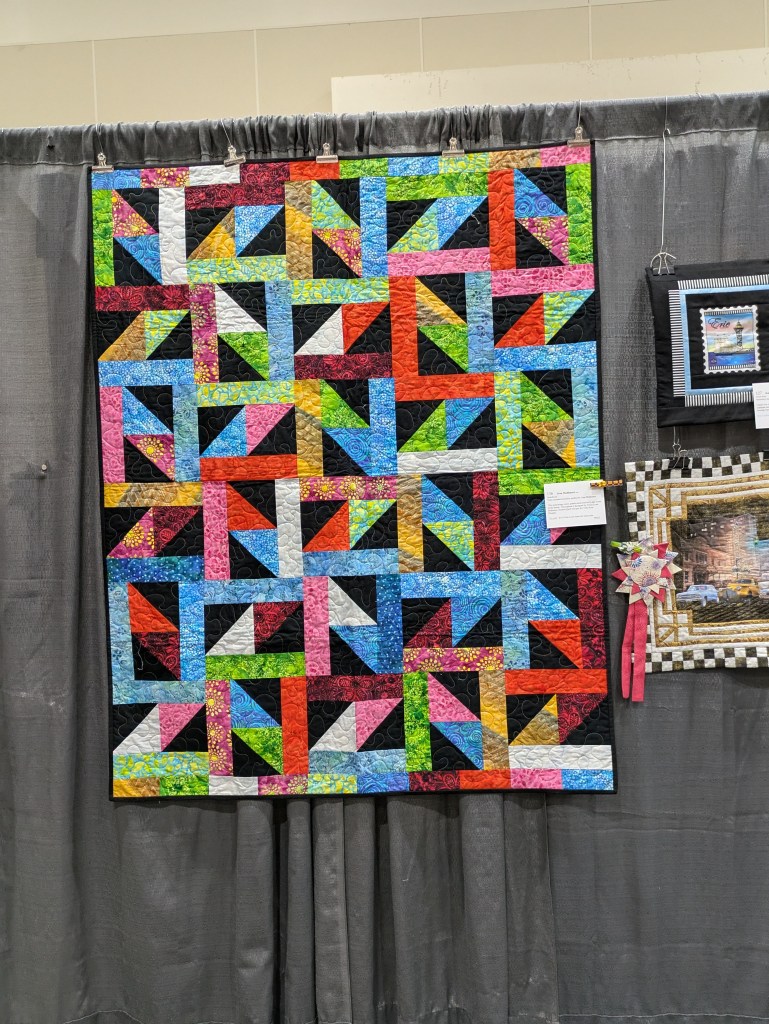
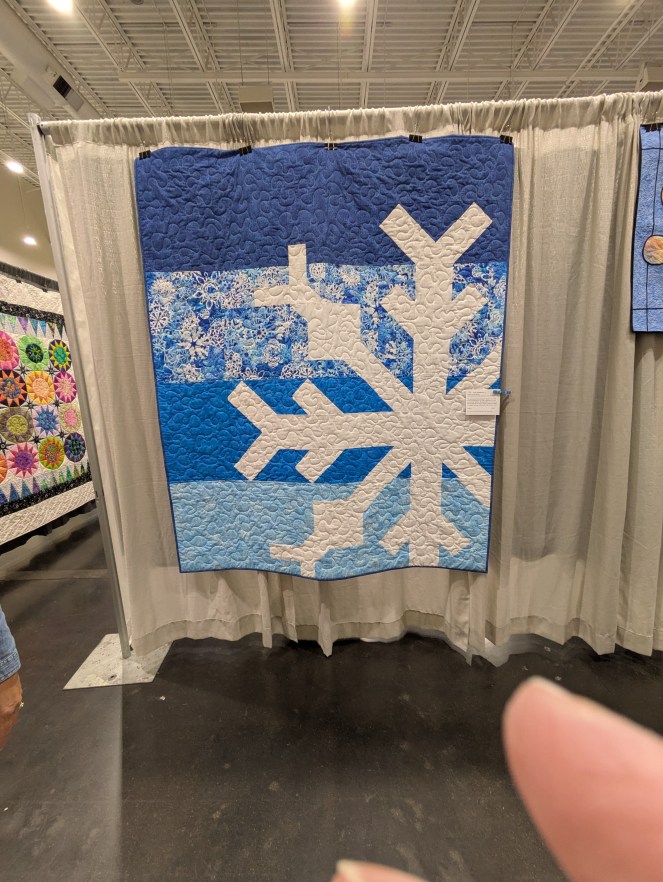
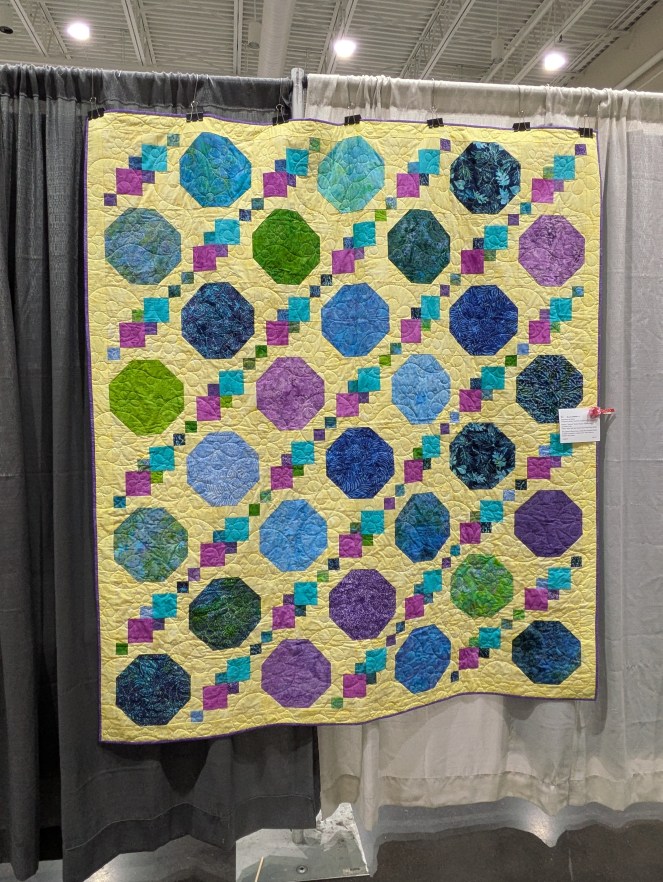
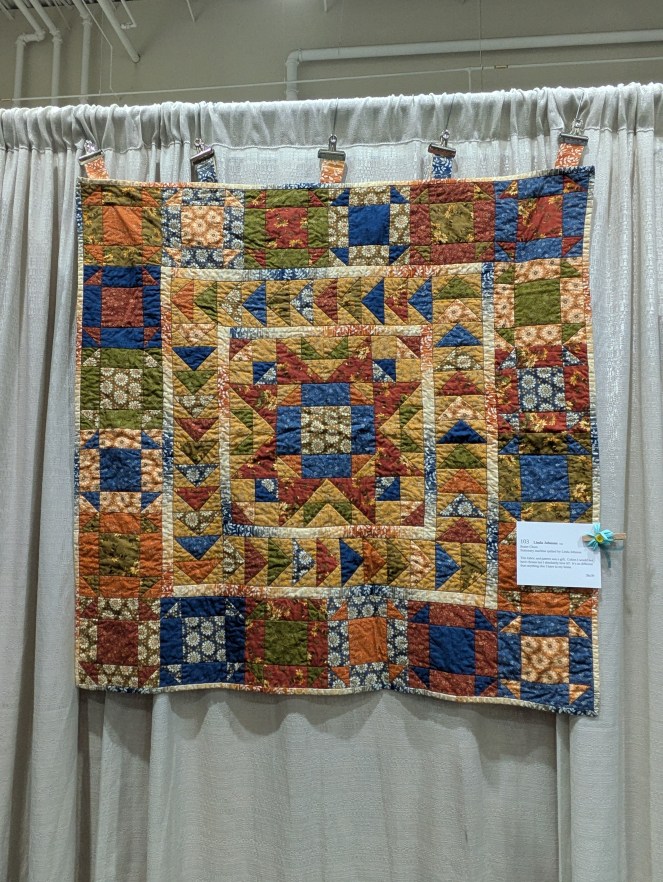
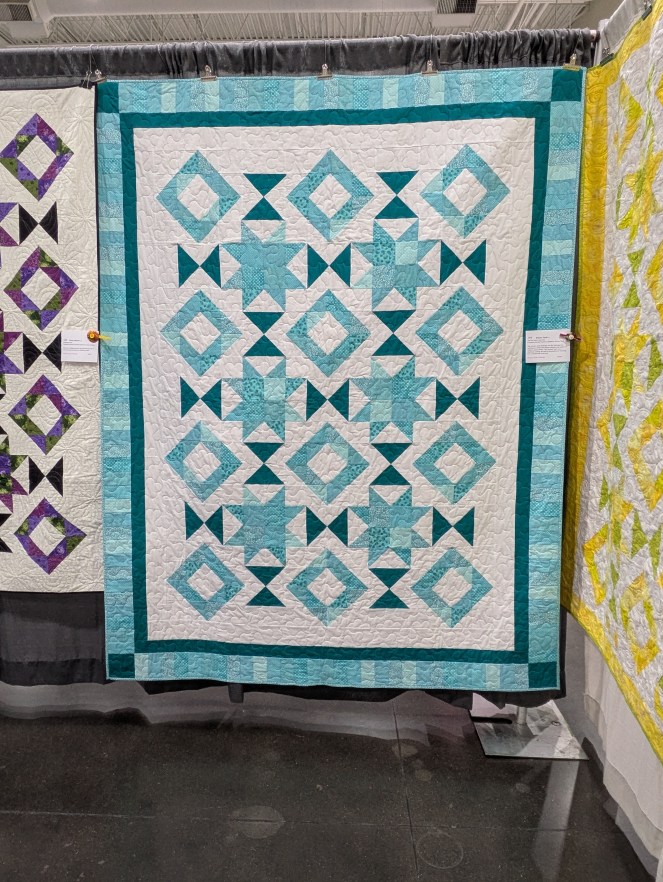
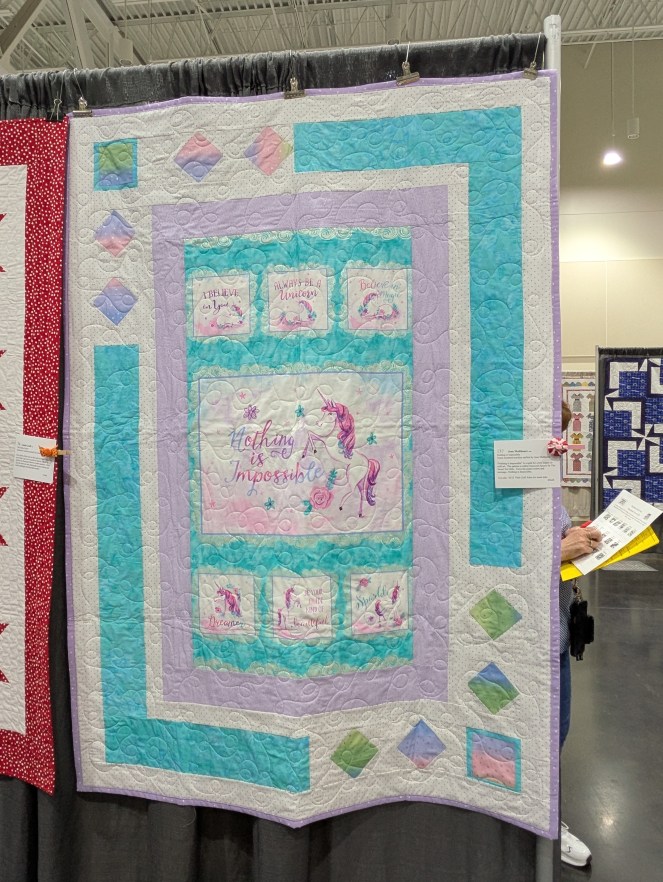
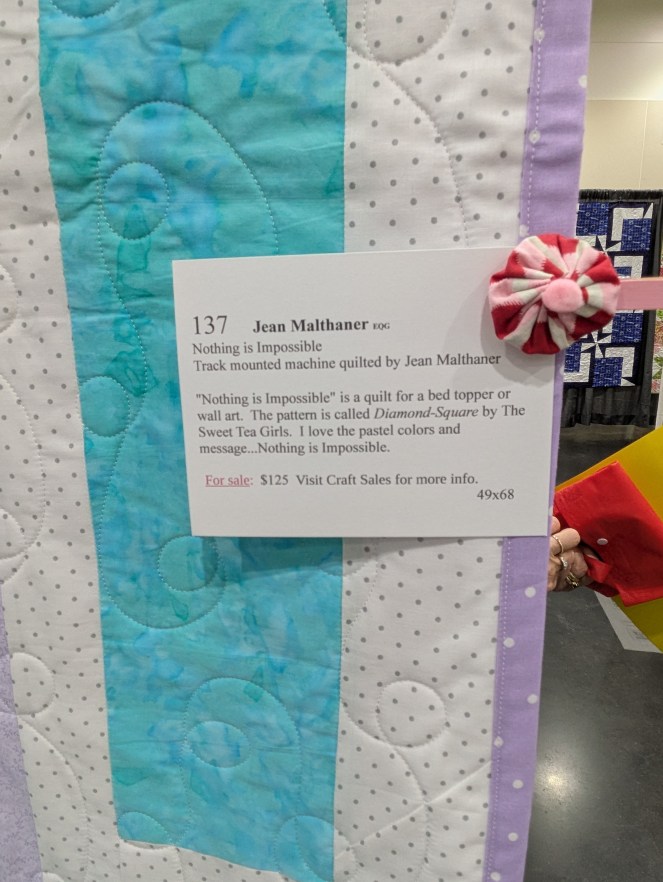
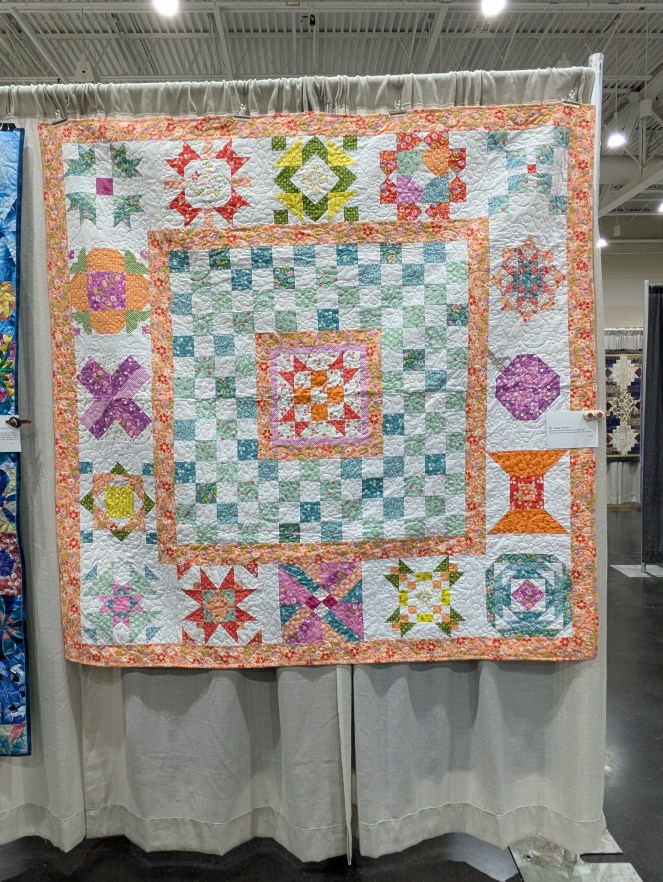
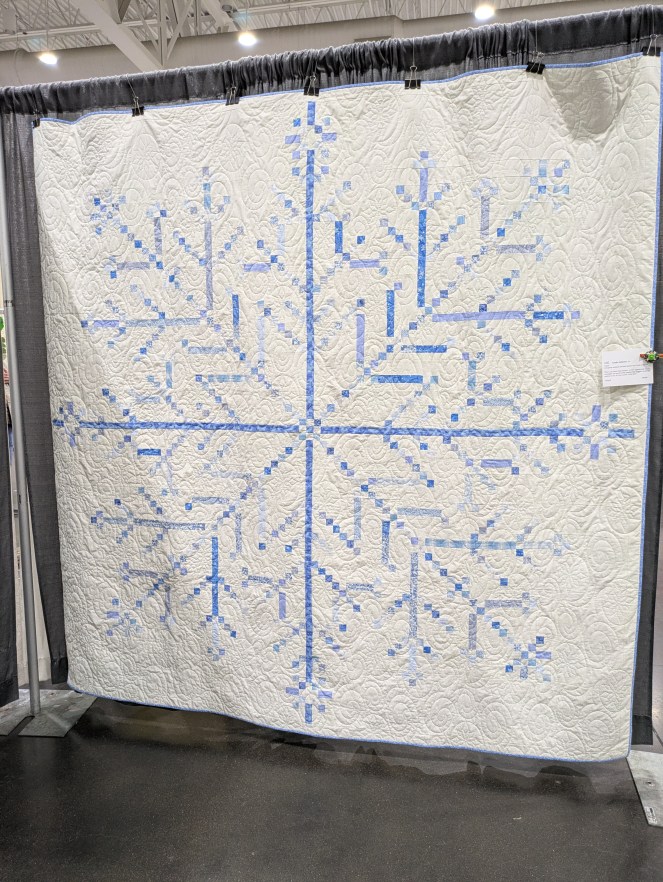
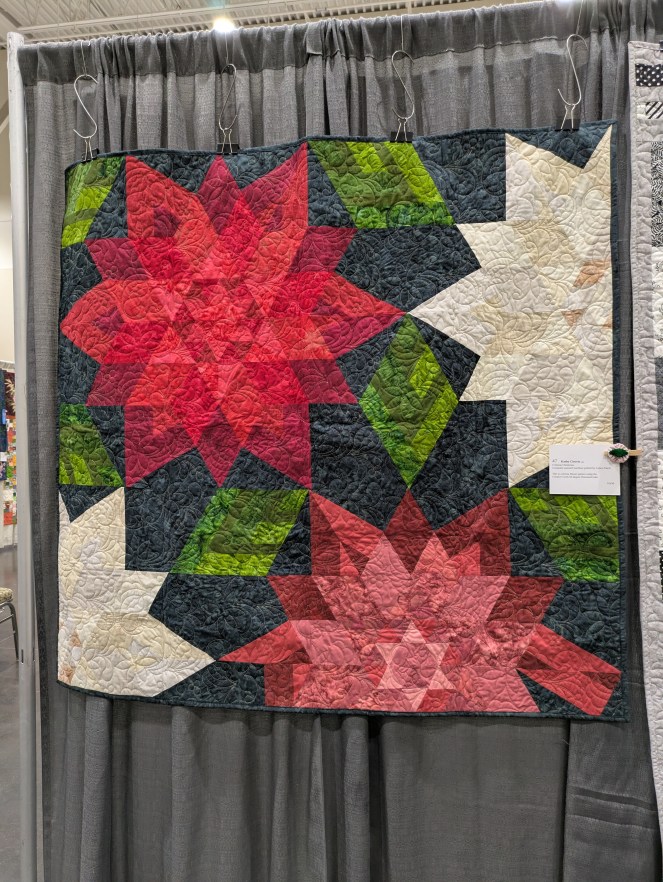
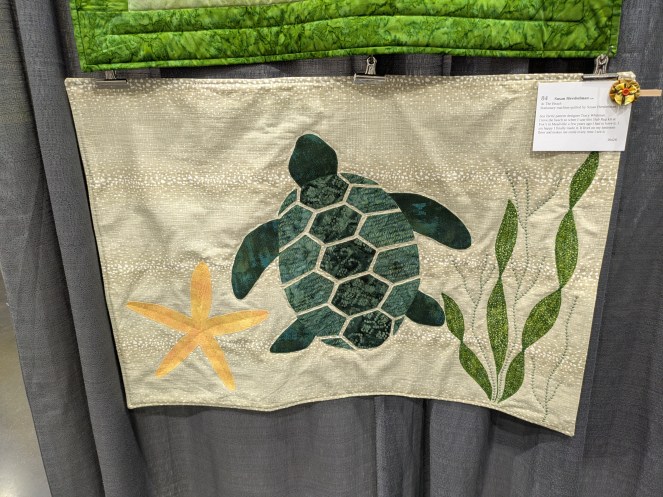
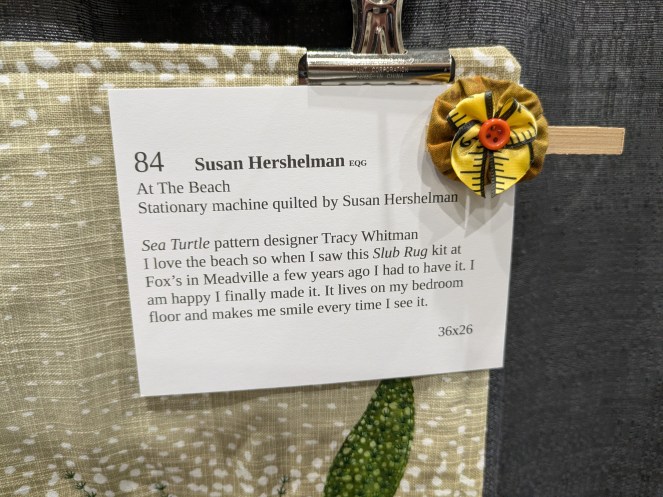
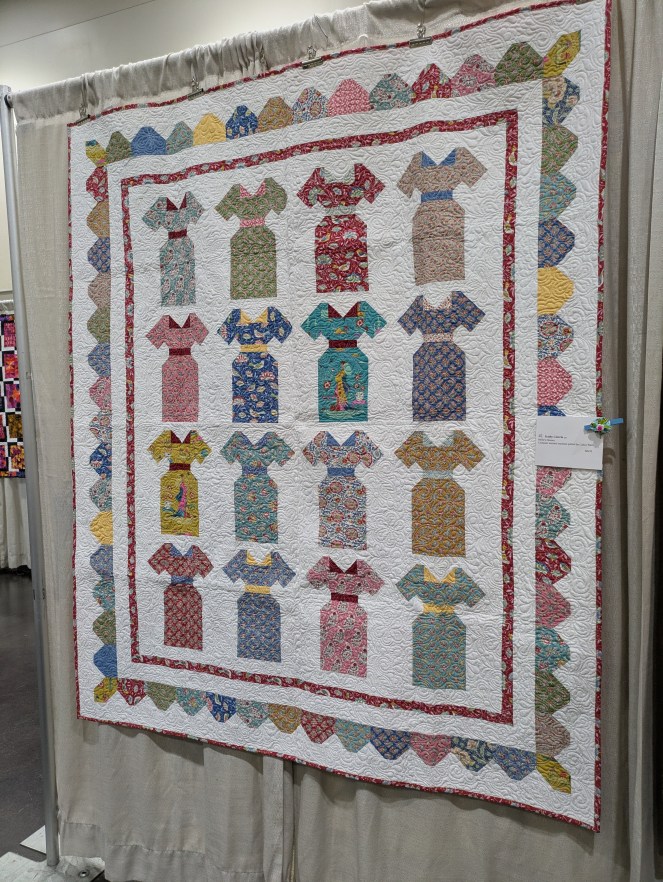
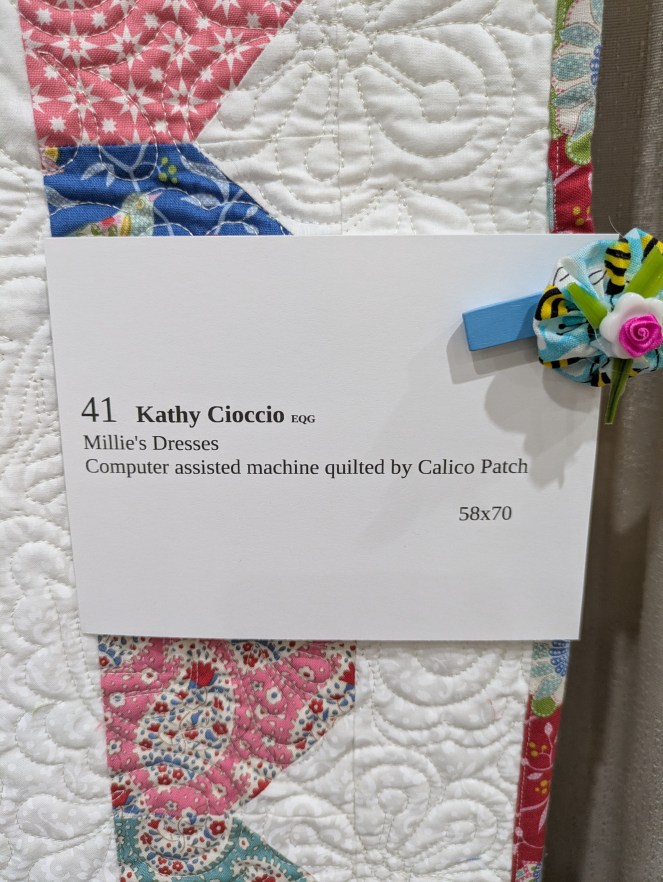
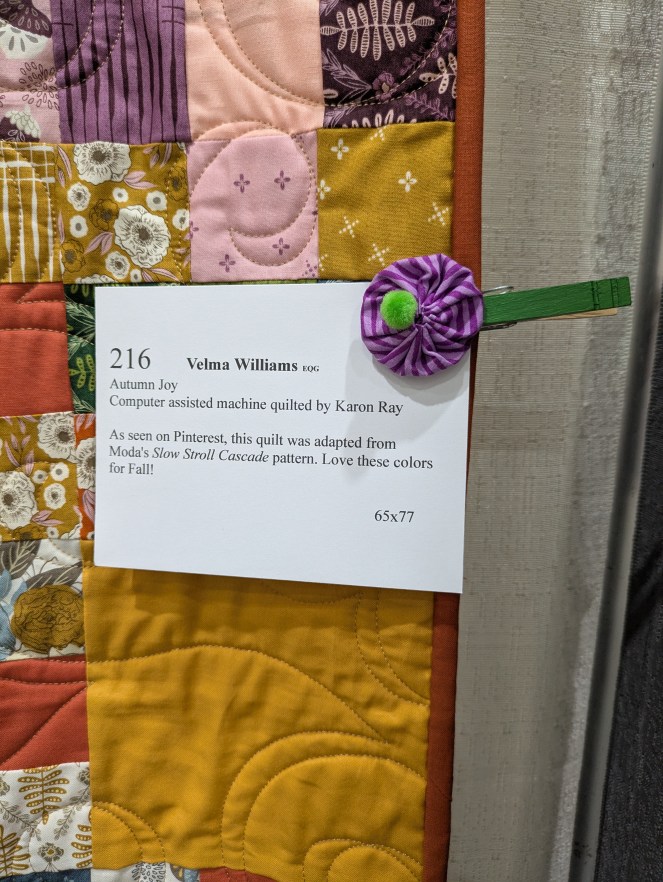
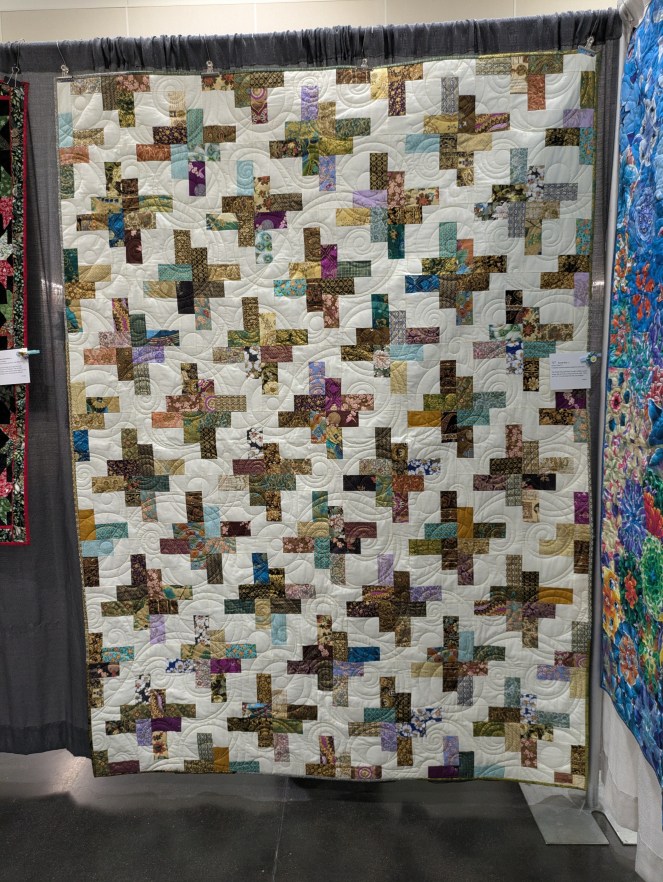
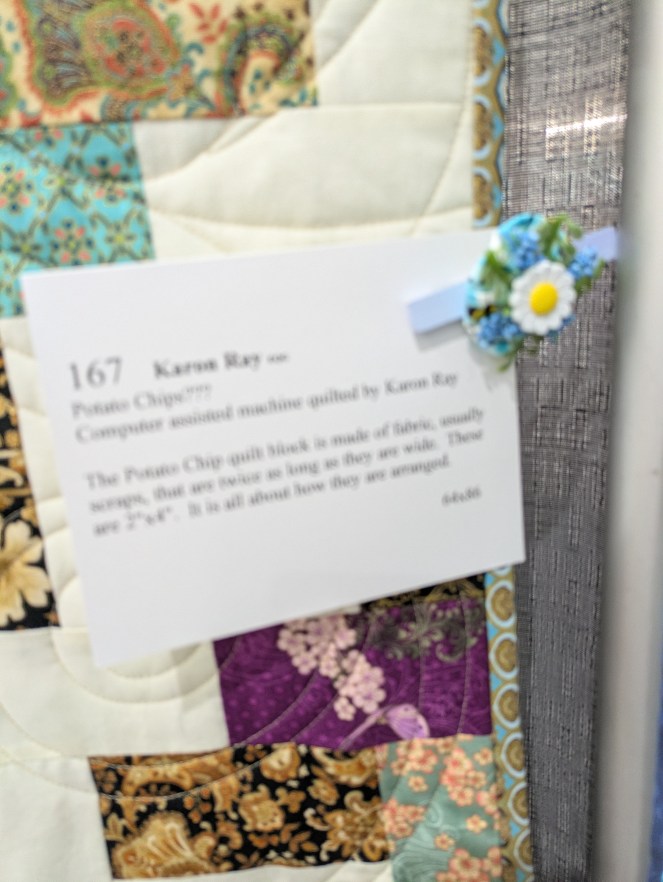
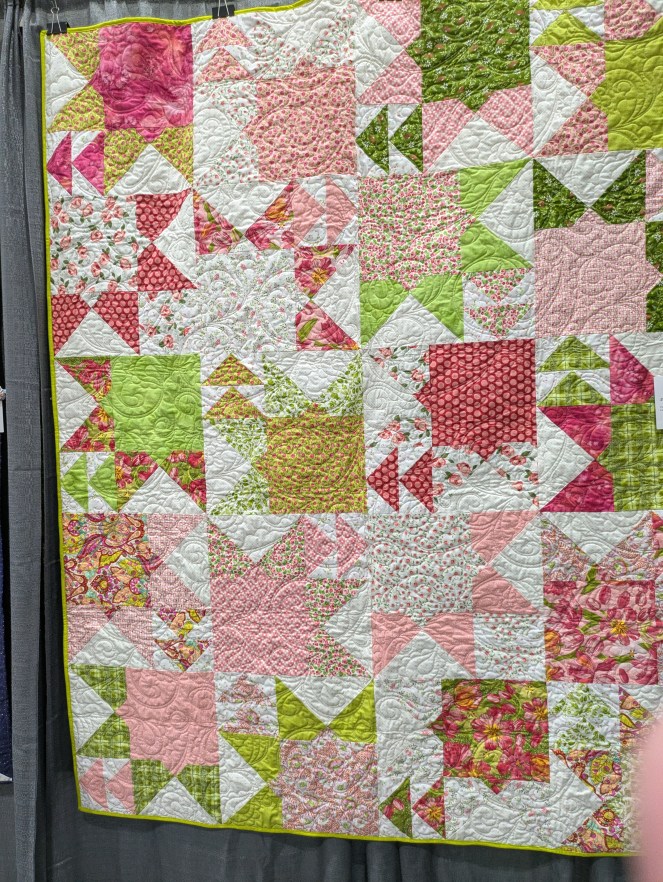
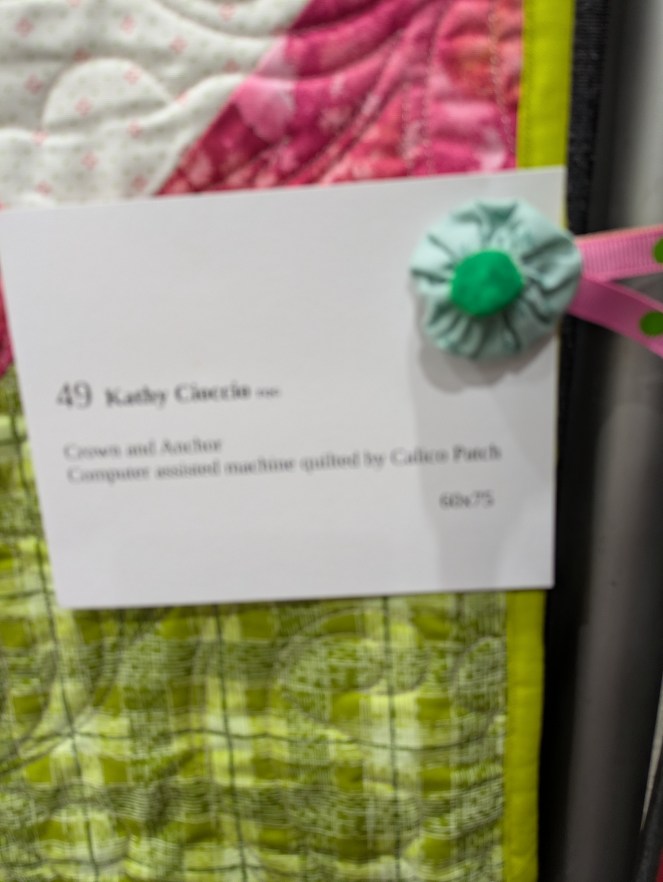
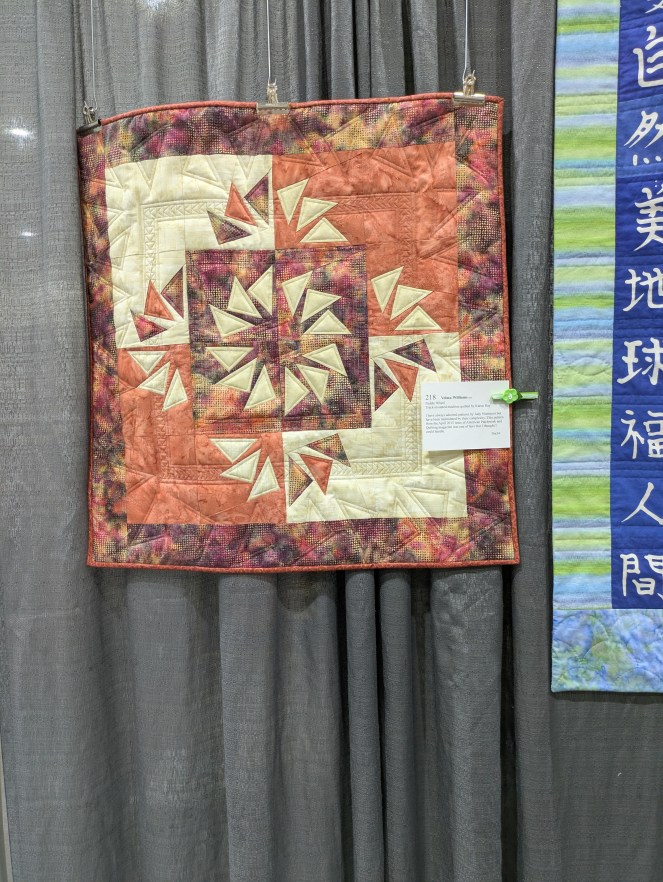
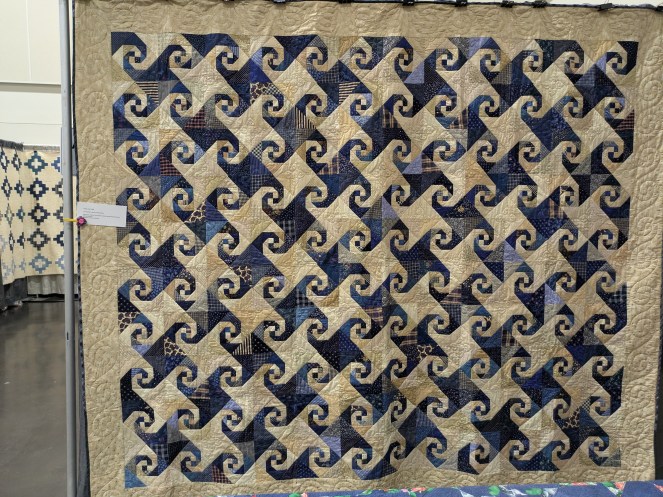
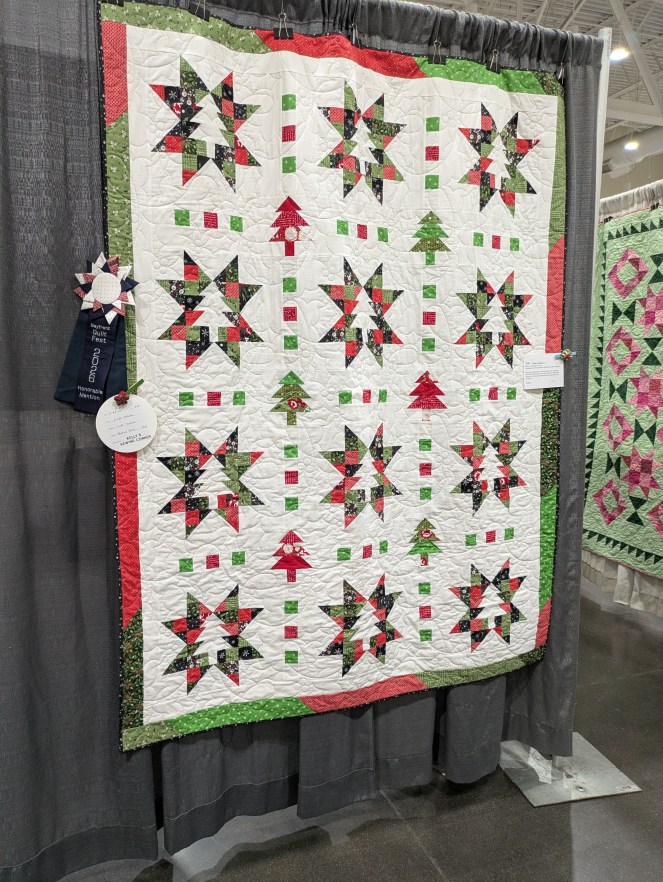
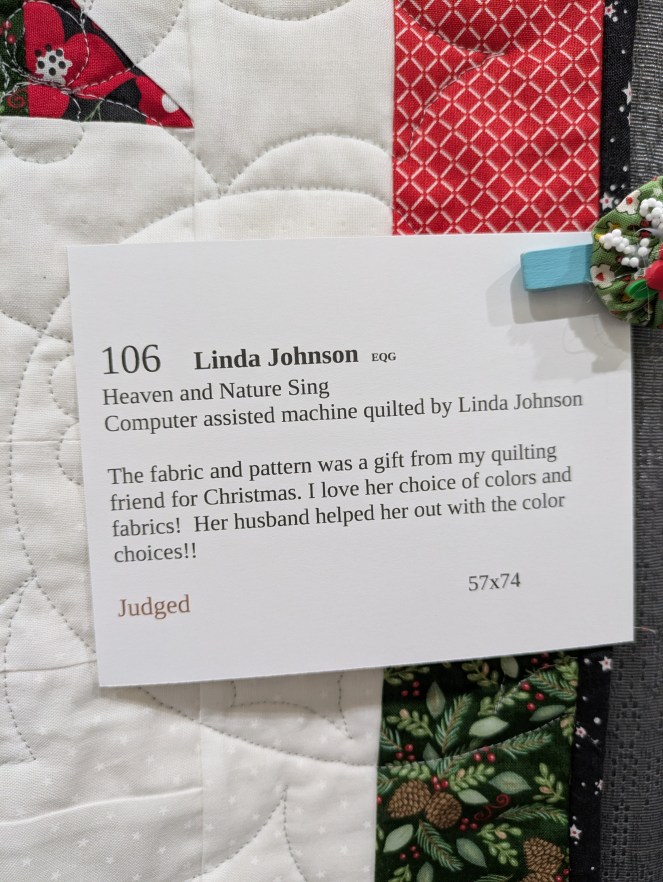
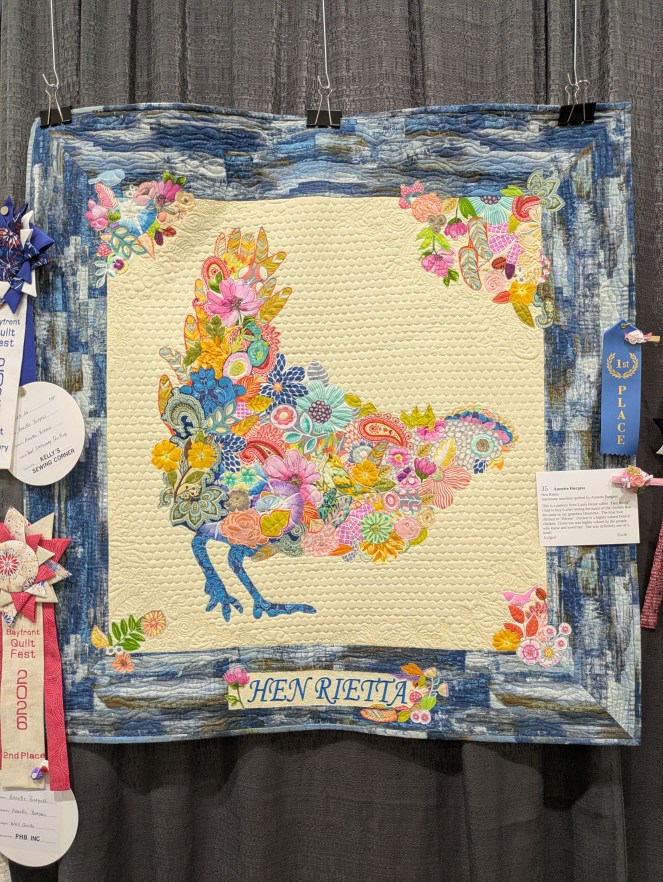
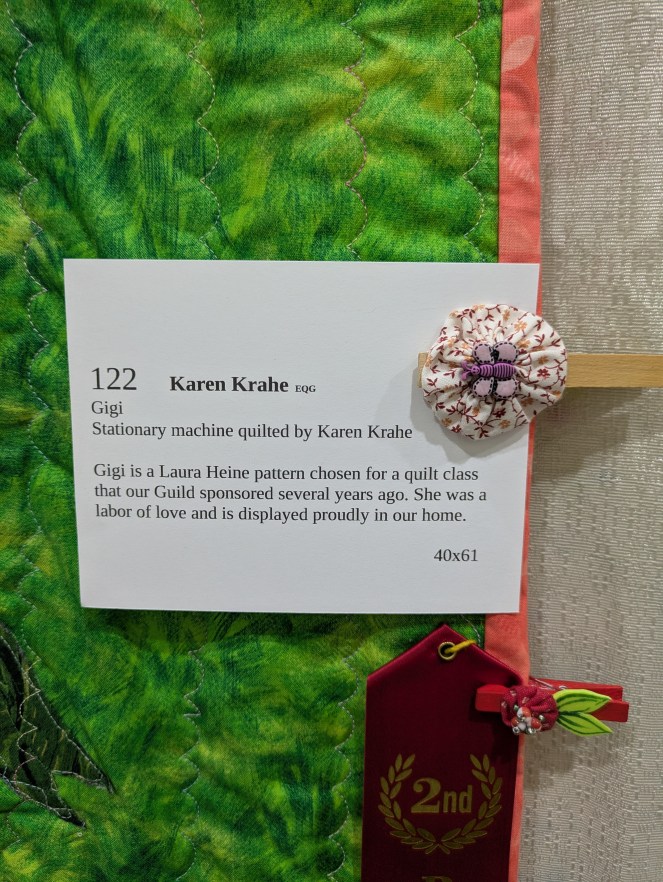
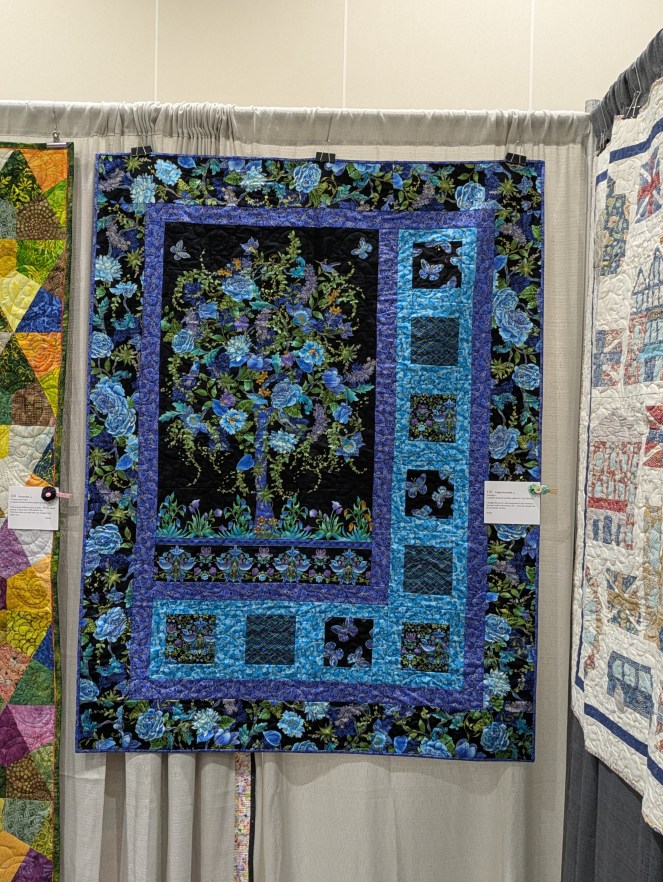
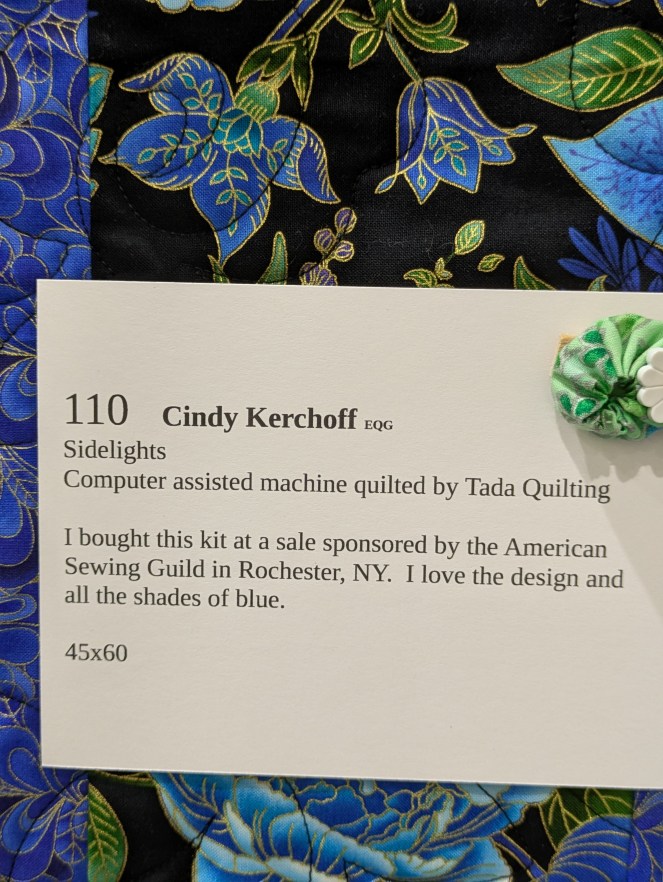
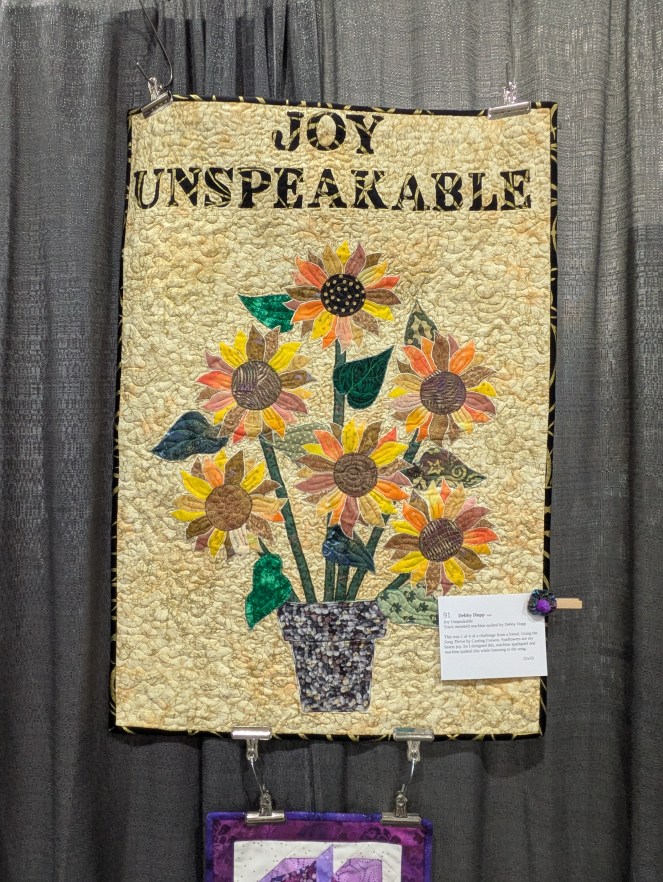
Now here’s a slideshow for you of my favorite quilts in the quilt show (no, I didn’t photograph every quilt, just most of them). The photo with the maker’s name follows the photo of the quilt. Huh! Sorry but occasionally, you will find my fingers in the photo. Also, I apologize for the fuzzy maker images. I am clearly an amateur photographer.

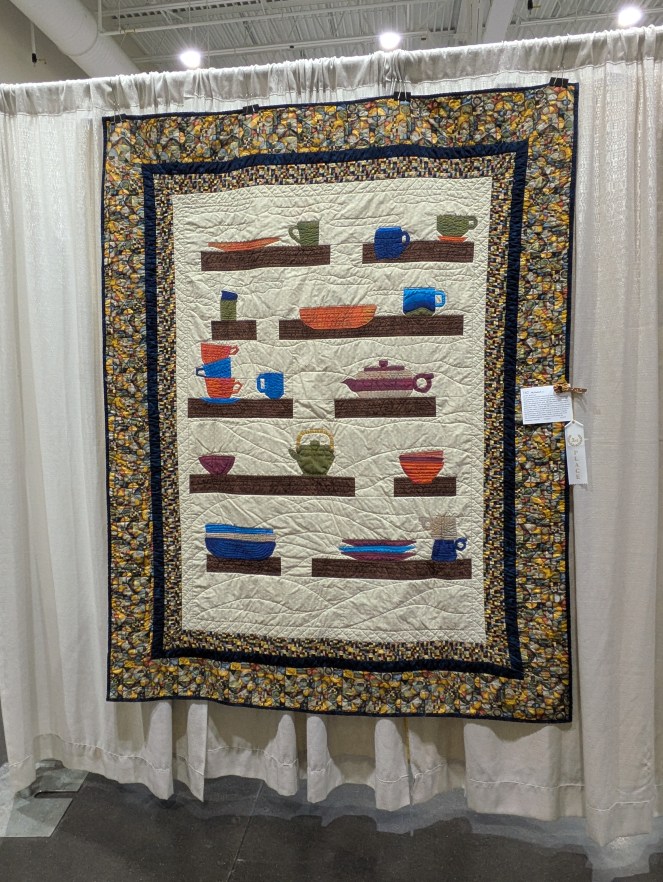

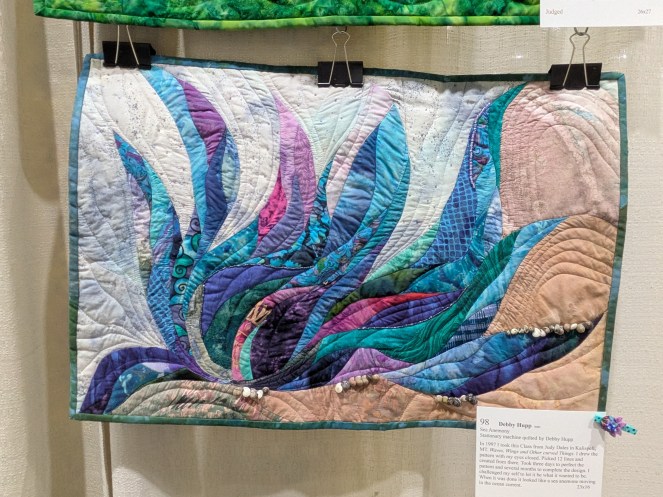


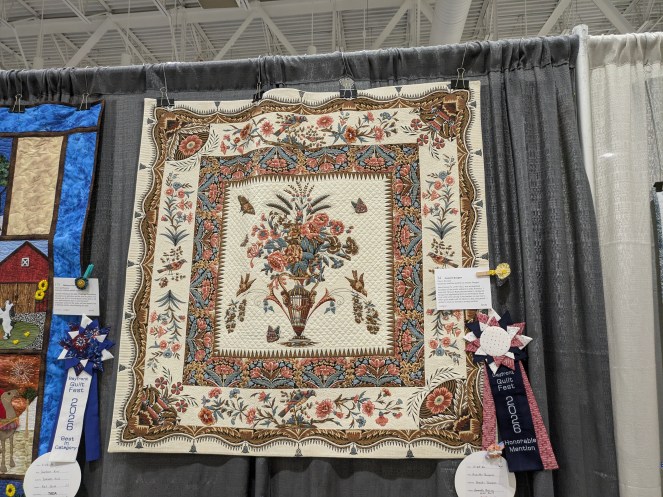
Well, I hope you really enjoyed the slide show. Aren’t they really great quilts? It was a super show and hopefully the first of many this year. I will must have to find out where all the quilt shows are in my neck of the woods for the rest of the year.
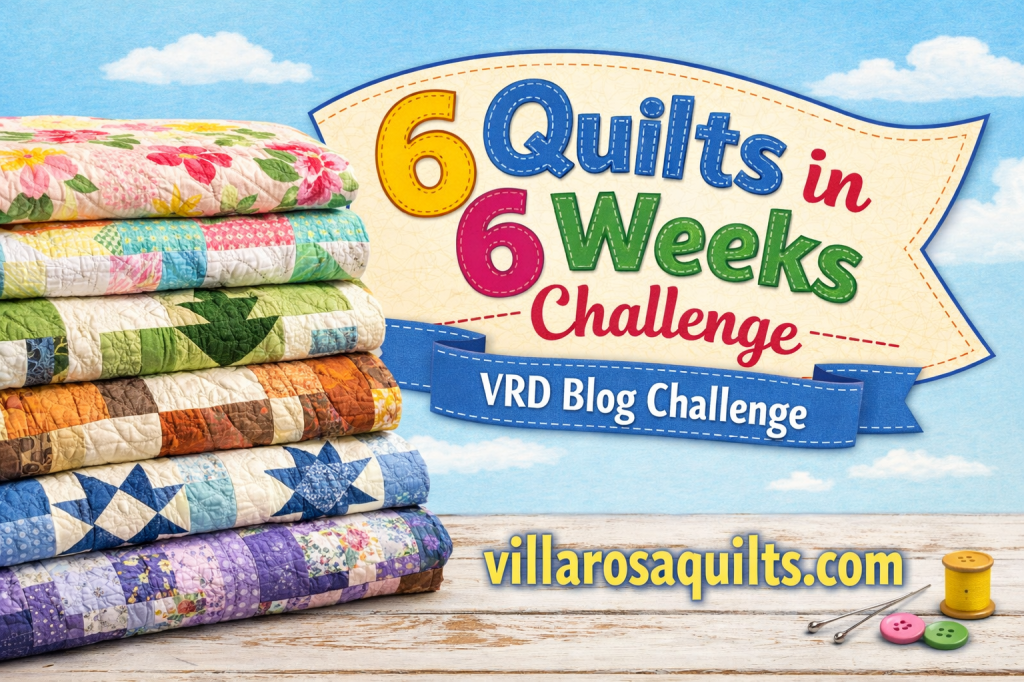
I was hoping to talk about the vendors, too as well as information about the Small Project Summer Sew Along, but I had a family emergency while I was writing the blog and we are still in the ER 4+ hours later. I am sorry I won’t get to share more with you this week, but truly I am exhausted and I have no idea what time we will get home tonight. I’m actually wrapping up the blog on my iPad while sitting beside the bed in the ER cubicle next to my Dad.
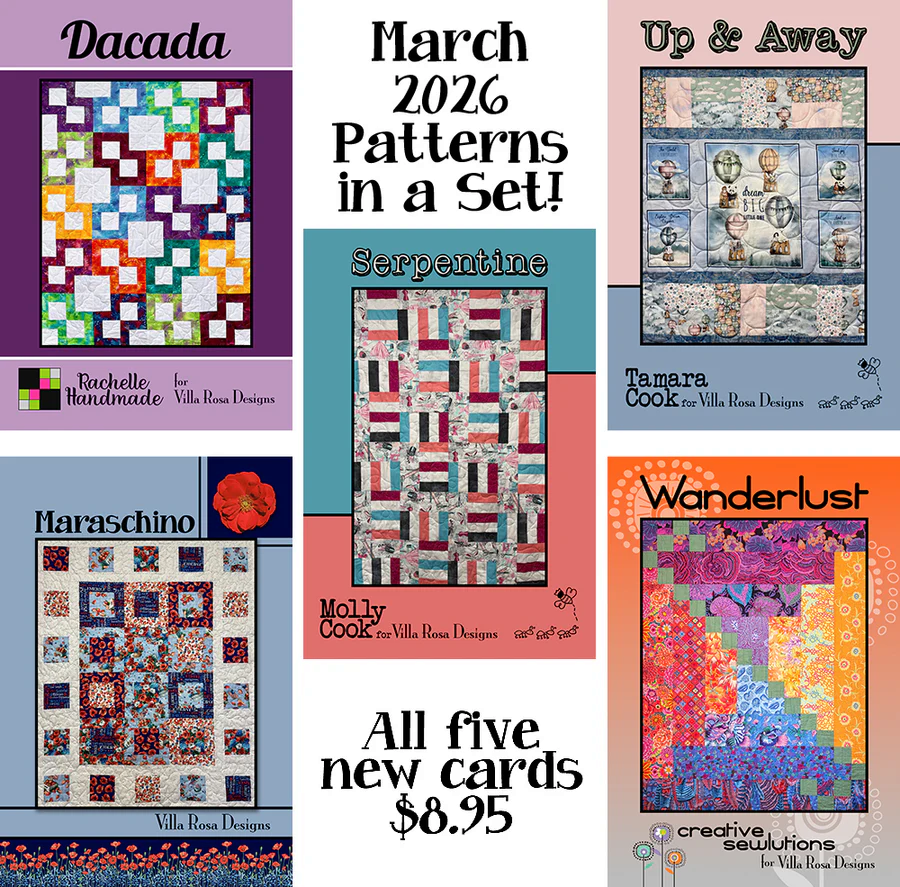
So stay tuned next week for the second part of the Quilt Show along with the scoop on our upcoming Sew Along. And new VRD June Rose Card quilt patterns. Lots to come back for next week.
See you right here next week!
Until then –
Sew. Laugh. Repeat.
Always,
Tricia @ VRD