I trust you all survived Labor Day weekend? I did! Happily, I had 2 days of sewing with my sewing buddy, Robin (Hi Robin!) – yay! – and I went to Robin’s 2 year old grandson’s birthday party. It was a good weekend.
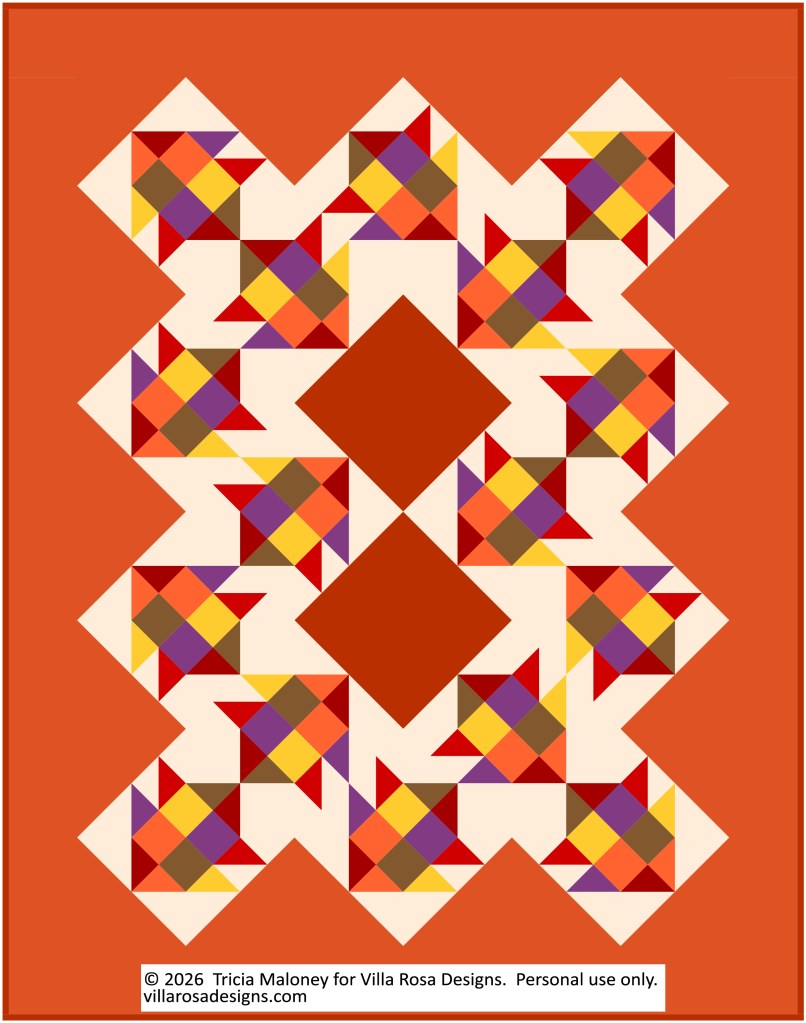
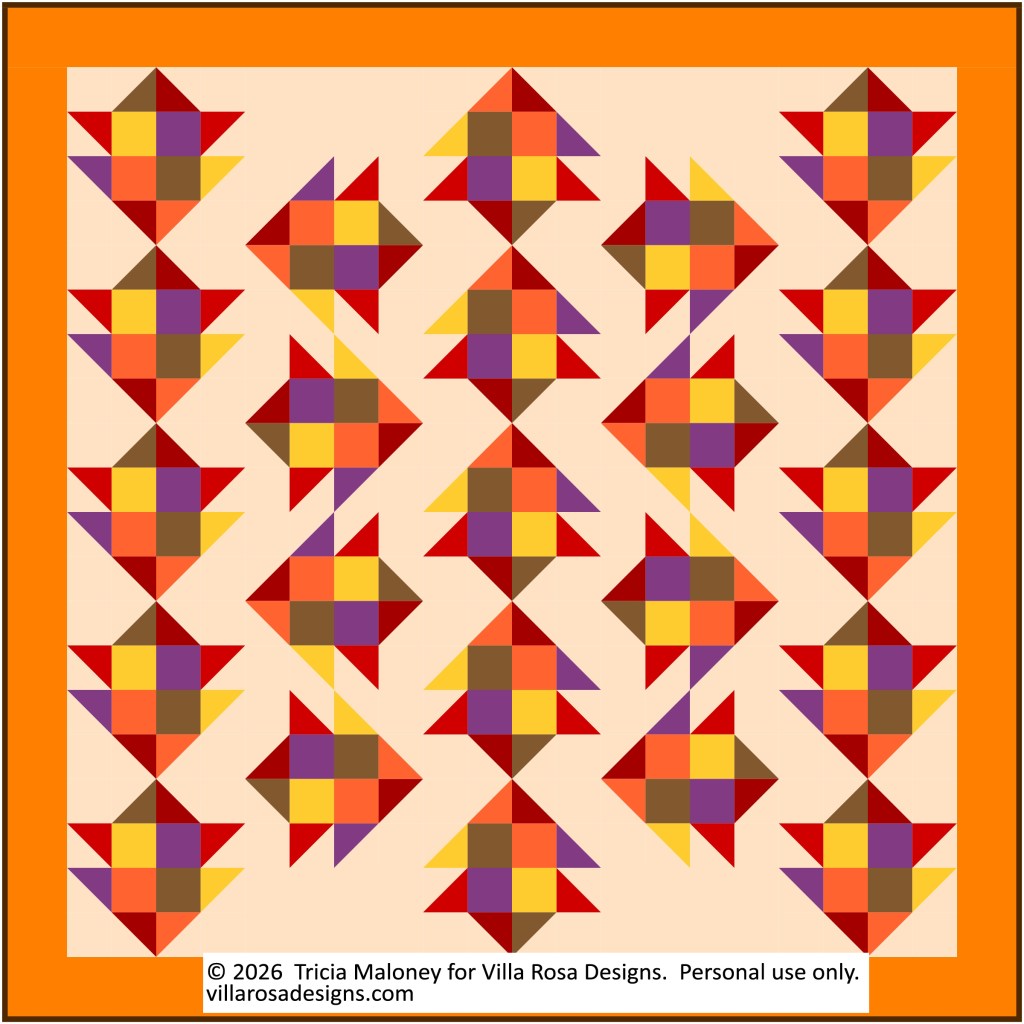
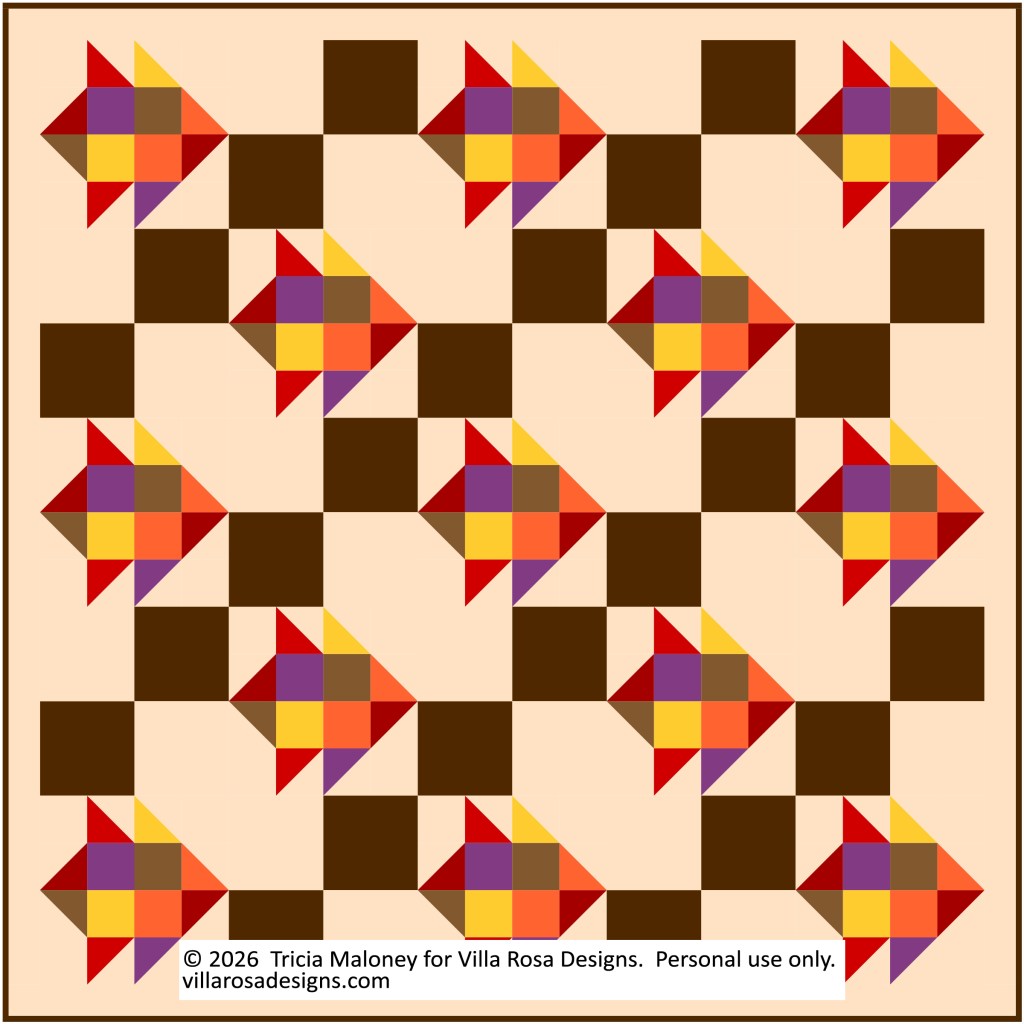
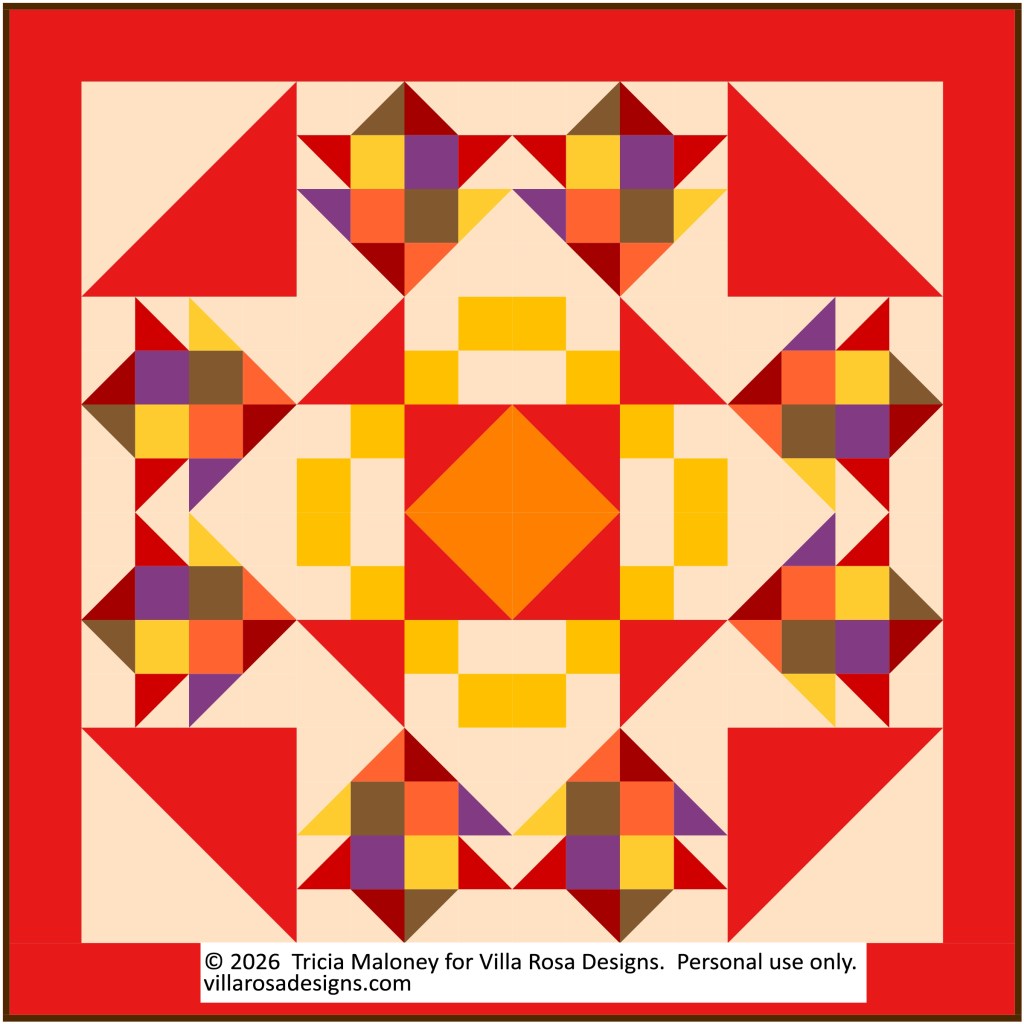
Today, I’ve got a free fun little scrappy fall leaf block pattern PDF download for you.
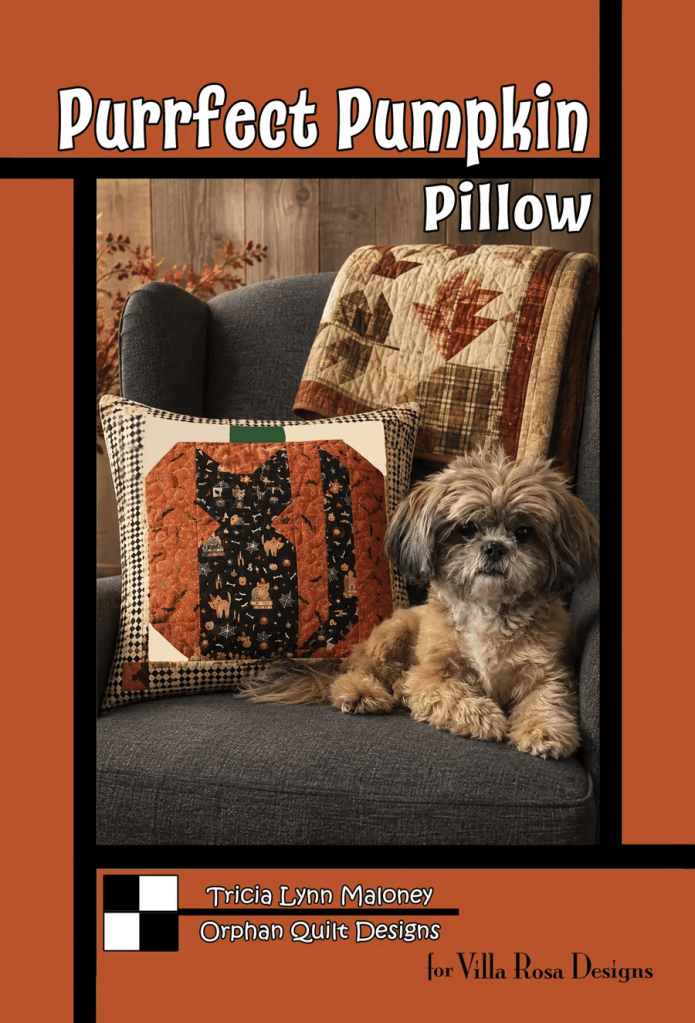
This block, which I’ve named Colorful Me Autumn, is adapted from one of the leaves on the throw in the background of my new September Rose Card pattern, Purrfect Pumpkin. You can see the throw on the pattern, below, over on the right side on the top of the chair.
Just the other day, I had a question asking if I had the pattern for the throw. Although I couldn’t reproduce the entire throw, I did adapt one of the blocks for you.
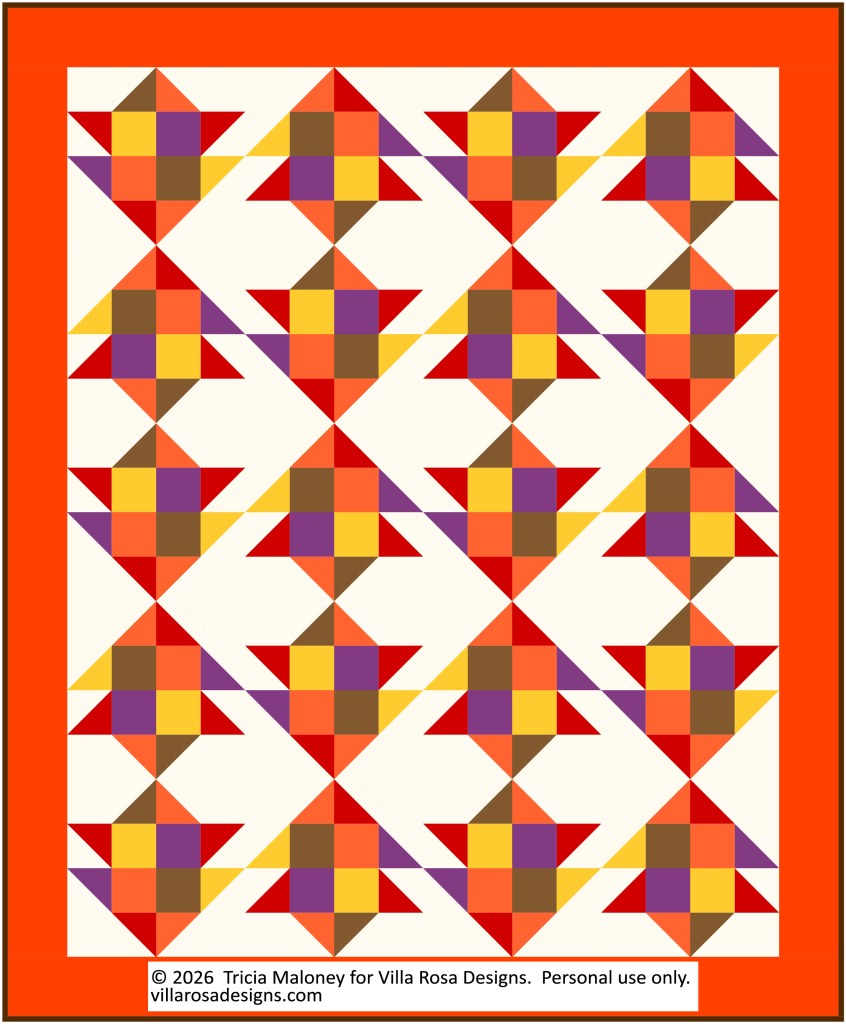
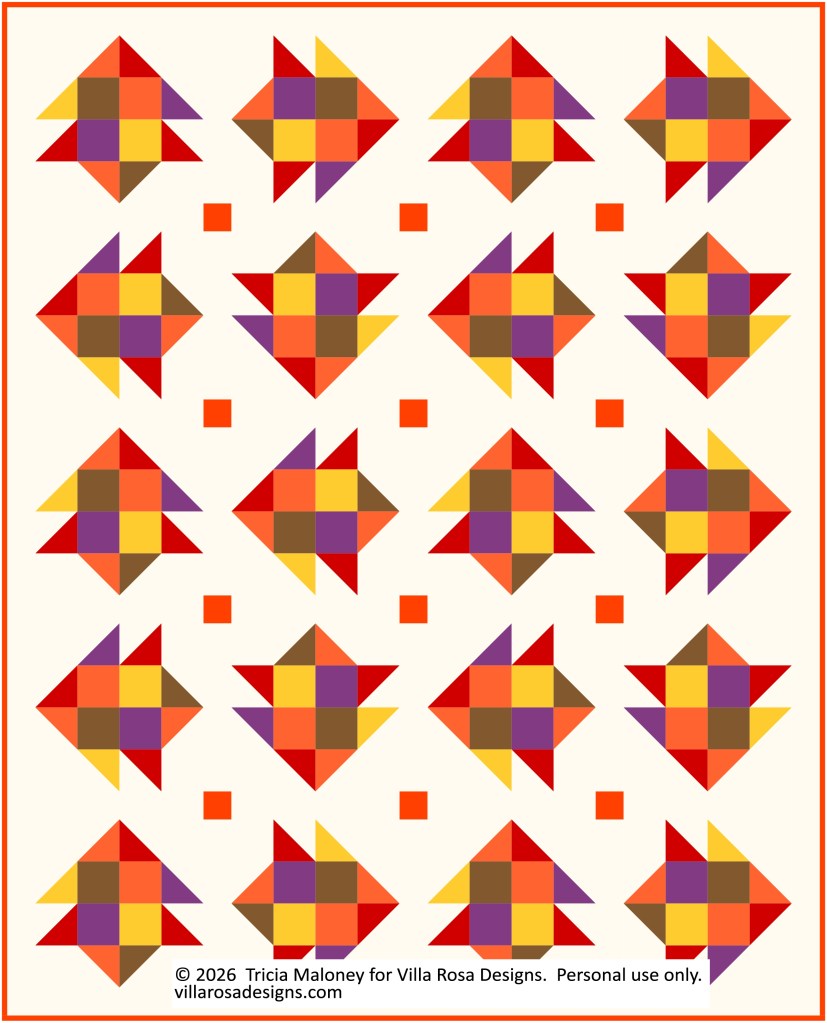
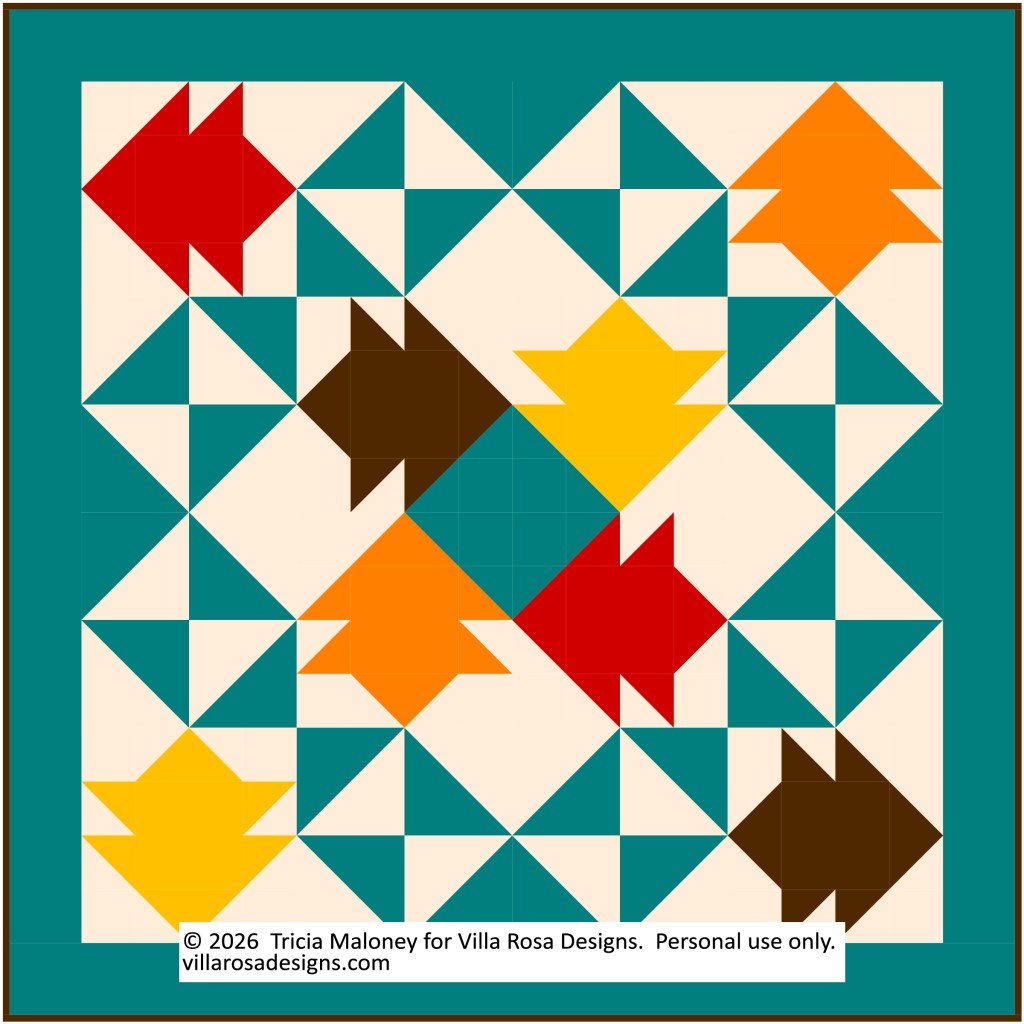
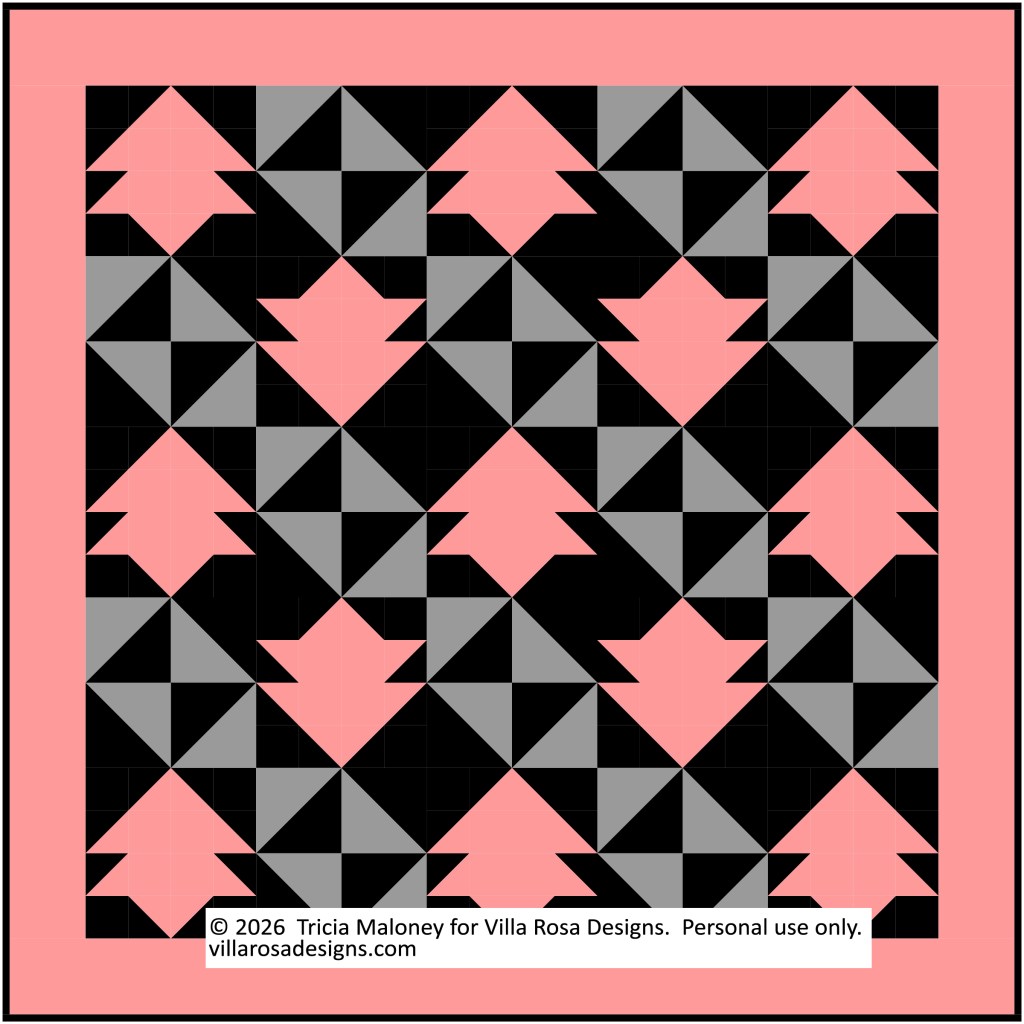
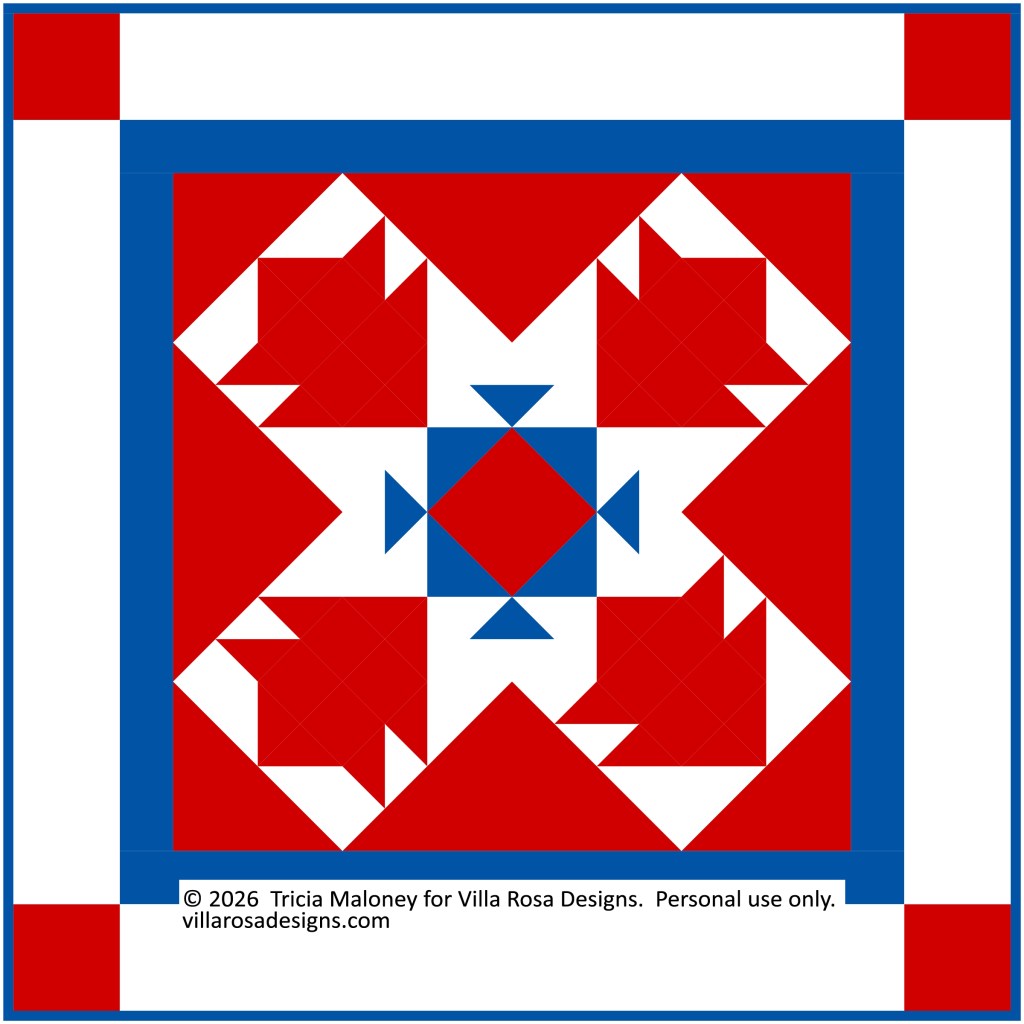
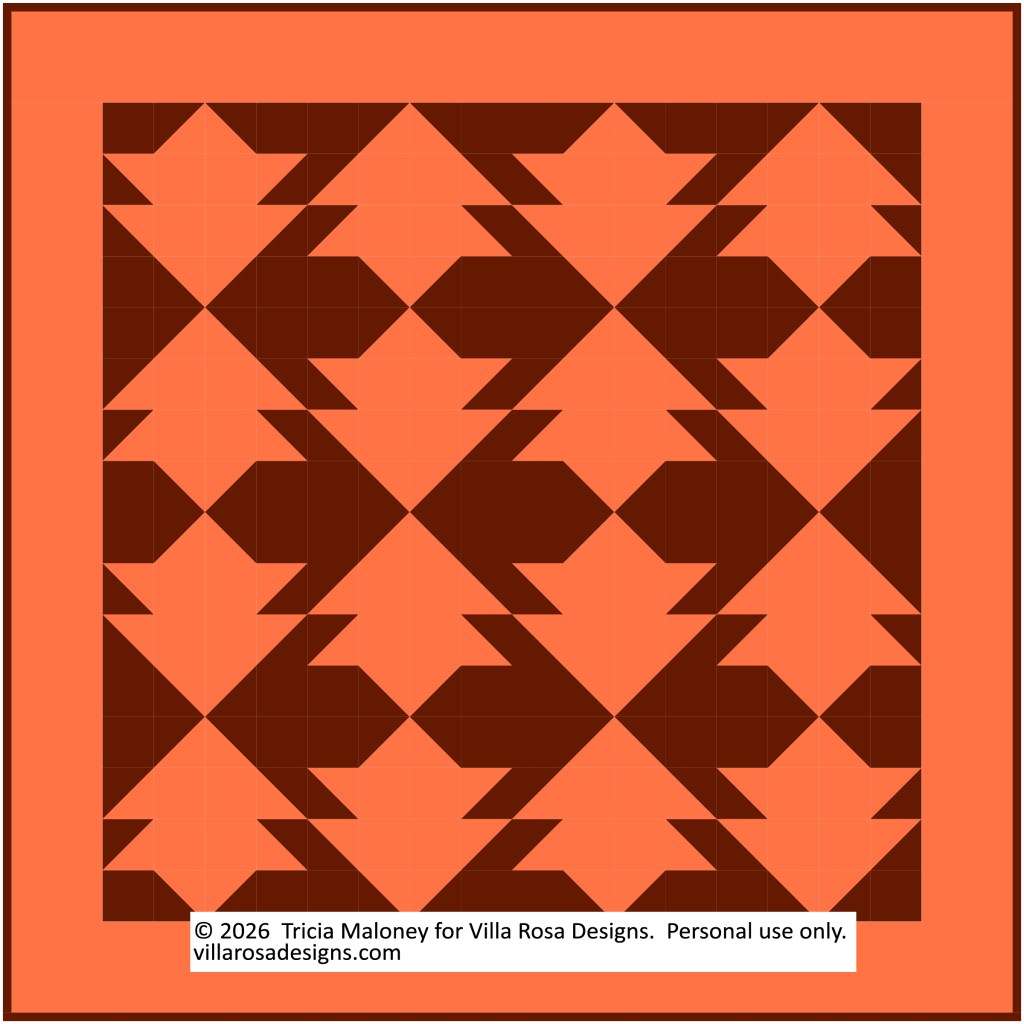
Here’s the Color Me Autumn block. Isn’t it fun??? You can make it totally scrappy so you can raid your own fabric stash OR use a single fabric for each block to make your quilt more organized. The block finishes at a nice 12″ x 12″.
Below is the PDF download with instructions for making the block:
Huh! I’m still trying to wrap my head around the fact that all of a sudden it’s December. Sew much to do and sew little time……
Don’t get me wrong, I’m really excited about December starting. My quilty cuz, Kim (Hey You!), and I both purchased Quilty Christmas Advent Boxes last year in 2024, but we were both a bit disappointed so we decided to create boxes for each other this year instead of hunting around to find another one we liked. What fun!
It’s been a blast picking out fun things for Kim. Of course, I panicked at the end of November because I wasn’t ready yet! LOL! But in a flurry of wrapping paper and covered in tape, I got all 25 items wrapped up and they all fit inside the box.
We met a a local restaurant on Saturday and exchanged our boxes. Kim’s box for me was a fun surprise – the goodies in the box were all stacked up (and wrapped in Christmas sloth paper) – they didn’t fit inside the box and were sticking out all over. Joy oh joy! She didn’t even bother with a lid. Oh my! What fun December is going to be – enjoying a little Christmas every day – both the giving and the receiving as well as the sharing.
In addition to Kim’s box, I also created a box for each of my parents. I had to hustle to get all of their goodies (that’s 50 gifts) wrapped in 1 day on December 1st before dinner so we could start our December tradition on the right day. Wow! I was so tired after all of the wrapping that I didn’t put numbers on everything like I should have. Oh well, Mom and Dad will just have to reach in and pull one out to open each day until Christmas Day instead of having to hunt through their boxes every day for the right number package. And by the way, everything fit nice and neat inside their boxes and the lids closed perfectly. Just sayin’, Kim…. LOL!!!
A Gift For You
When I was trying to decide what to do this week on the blog, I had a brilliant idea – why not create a special little holiday quilt for you, our readers and VRD friends? Without you, there would be no VRD. We appreciate you each and every day. Thank you for loving VRD as much as we do.
I decided to call the little quilt I created for you, Quilt Joy. It is a happy little thing and I am looking forward to quilting and binding it. I already have someone as the recipient.
So, let’s make a quilt together!
Quilt Joy Little Quilt Tutorial
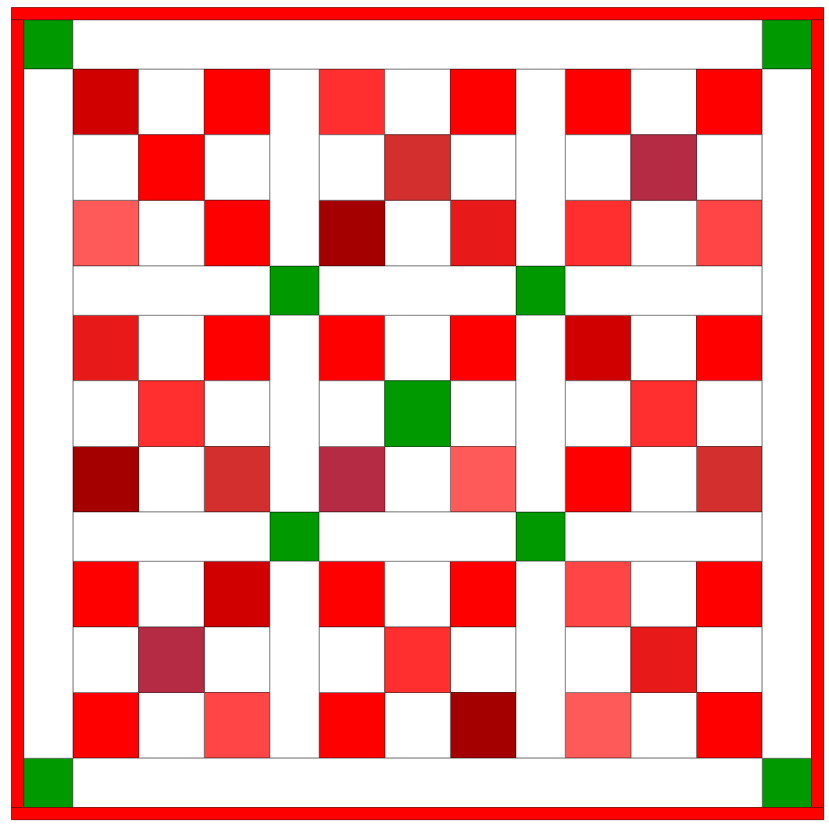
Quilt Joy, a little quilt by Tricia Maloney, finishes at 24″ x 24″
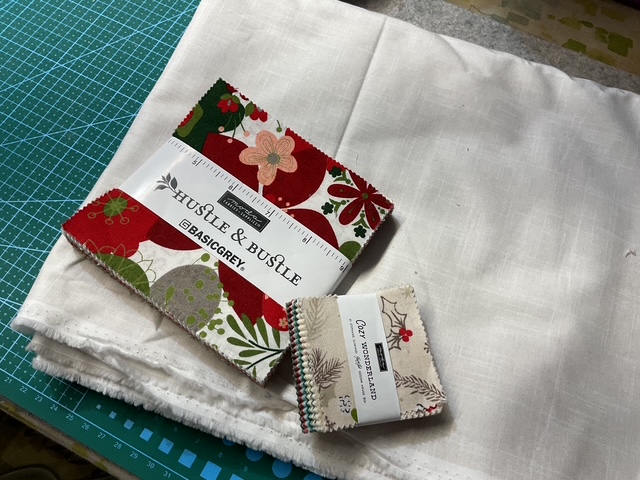
The first thing we need is our fabric, of course! For this little sweetie, I’m using a 5″ charm pack from my stash. Because I’ll need some more red, I’m adding a 2.5″ charm stack, too. And a background fabric. I’m going to make my little Quilt Joy in traditional red, green, and white, but you can make yours in any color combination or even really scrappy.
If you celebrate Hanukkah or Kwanza, you can totally use special colors for your celebrations.
I think I’ll make a blue, white, and silver one for January – but that’s getting a little ahead of myself, isn’t it?
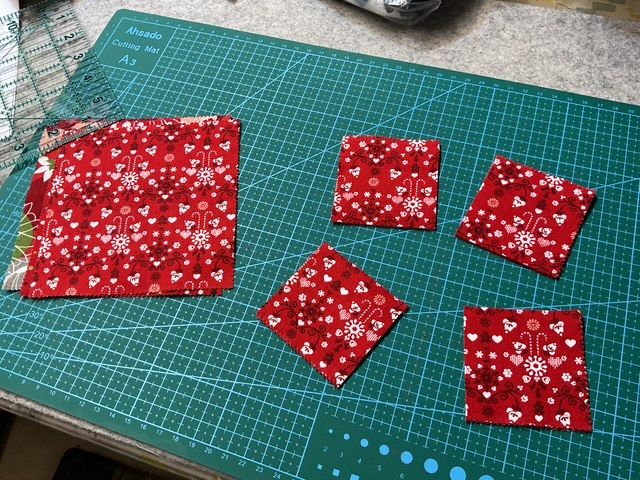
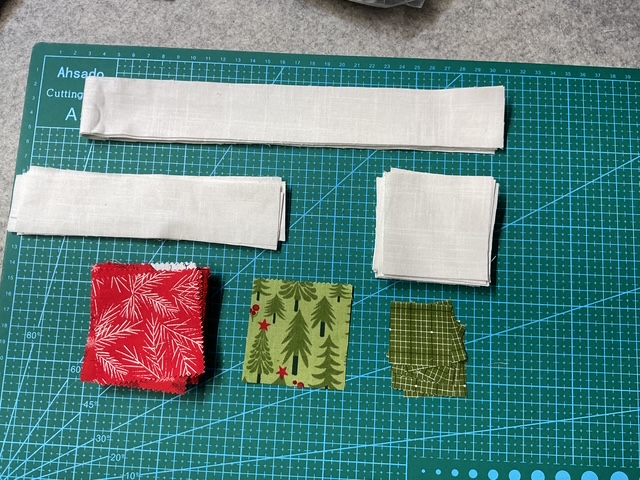
Cutting doesn’t take much time at all! I promise. I cut my 5″ charm squares into 4 – 2.5″ squares. Zip Zap Zoop – done!
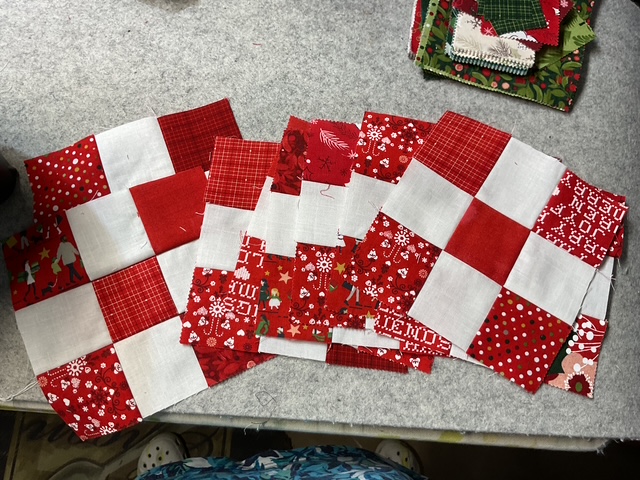
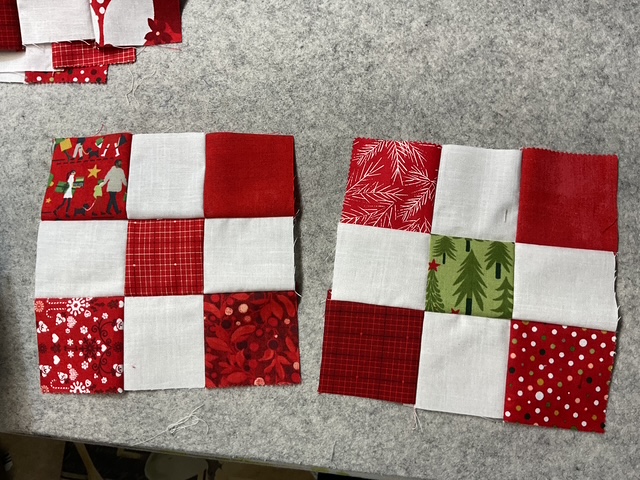
Now let’s make some Nine Patch blocks. Easy peasy.
In one of my Nine Patch blocks, I added a green square in the center. This block will be in the center of my quilt.
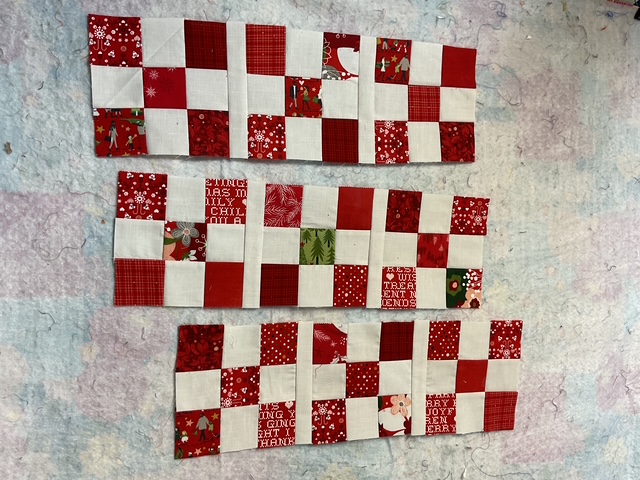
Okay, now let’s sew 3 blocks together with sashing in between the blocks. We need to make 3 rows.
Next we need to use 3 sashing strips along with 2 green accent squares to make a sashing row. Make 2 rows.
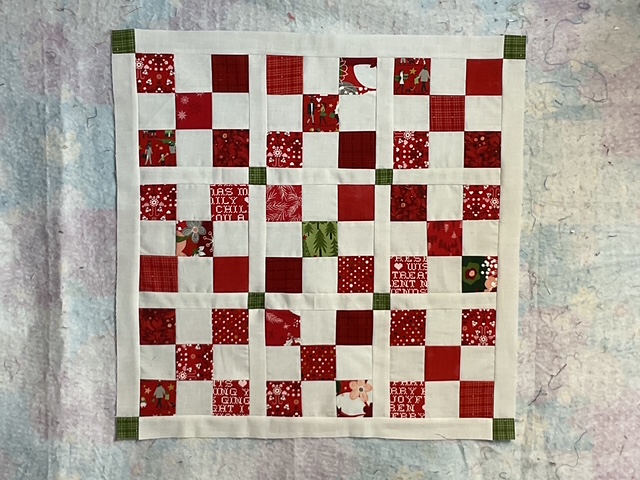
Now we are going to sew the sashing rows between the block rows. Isn’t this looking sew sew cute???? I am just loving this little cutie!
Add a border strip to each side of the quilt.
Now sew a green accent square to each end of the 2 remaining borders. Then sew to the top and bottom of the quilt.
Isn’t it just too adorable for words???? And in the classic traditional of Villa Rosa Designs, you can put the quilt top together in a few hours, including the cutting.
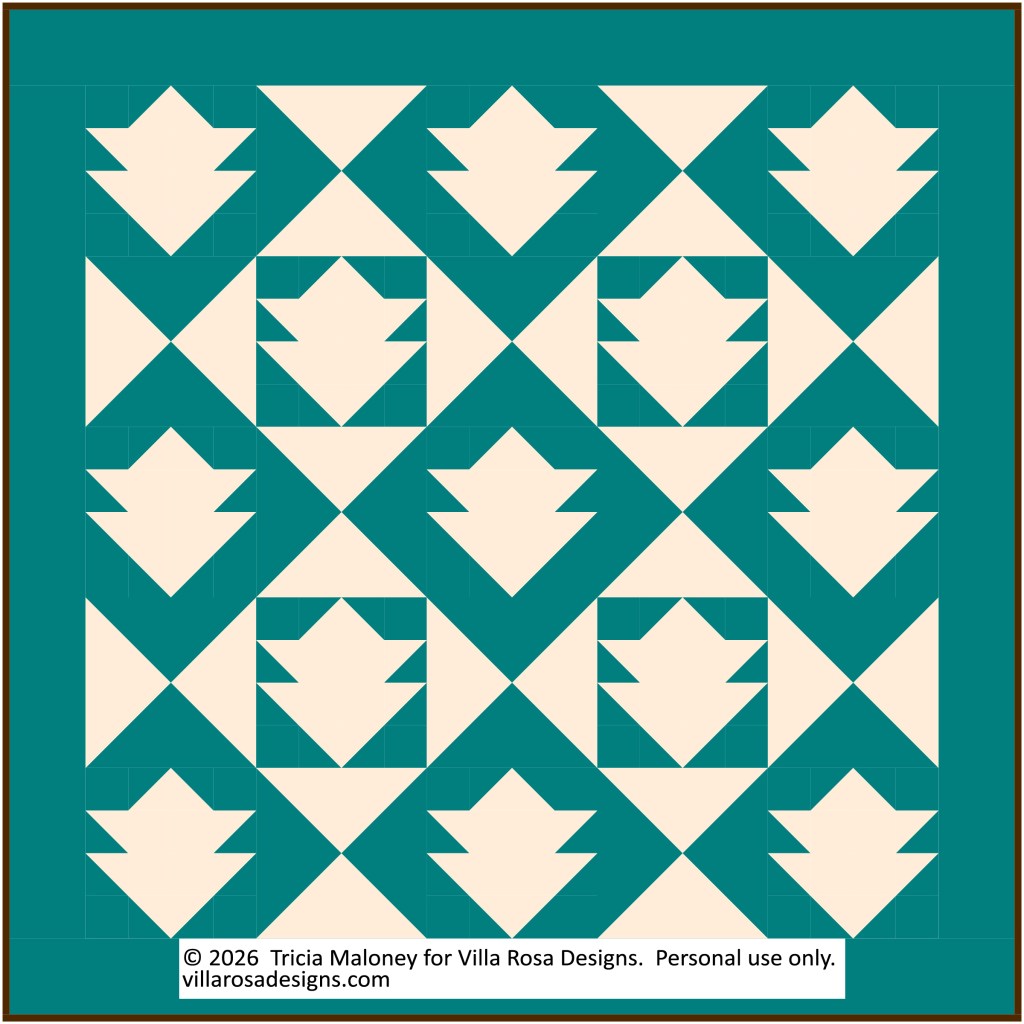
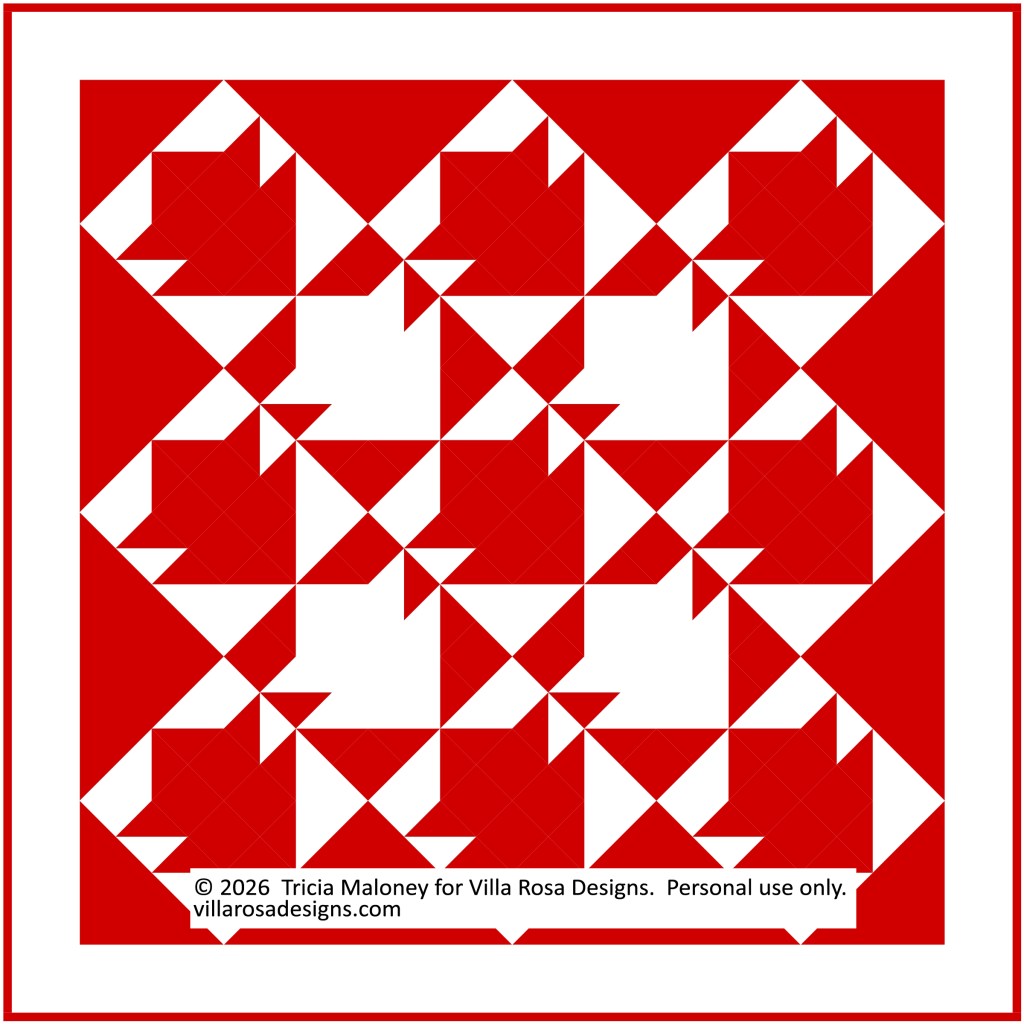
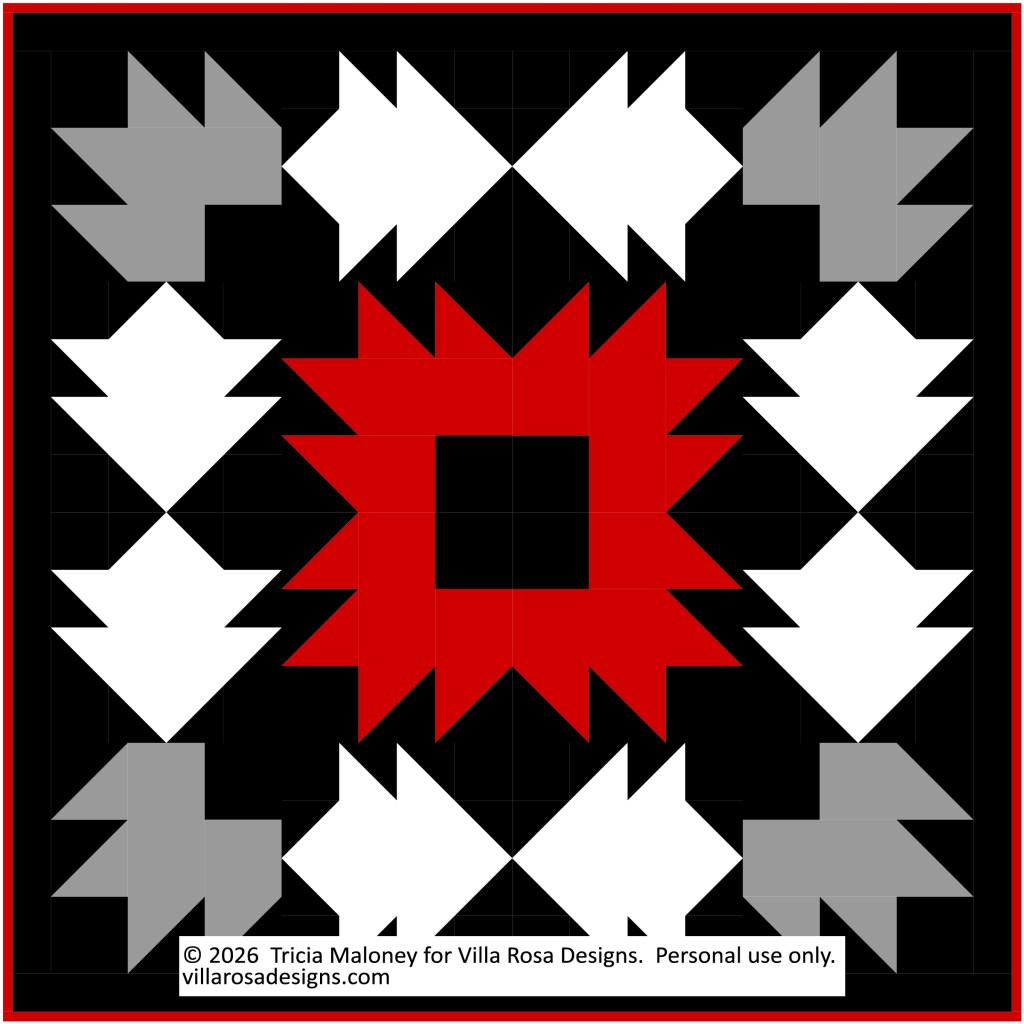
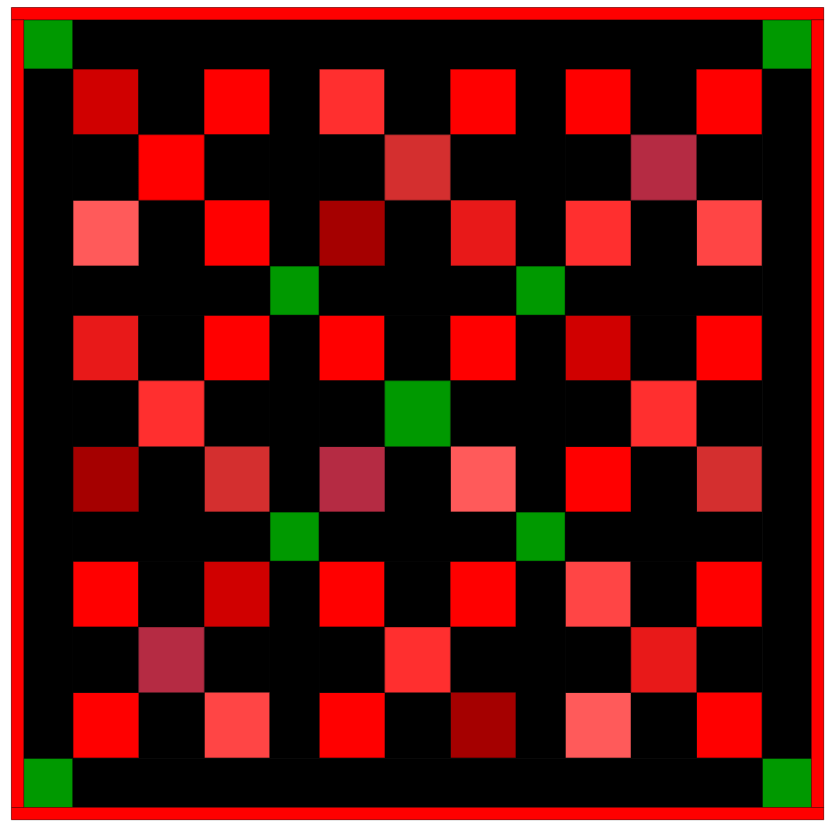
Here’s Quilt Joy for our friends who celebrate Hanukkah:
And here’s Quilt Joy for our friends who celebrate Kwanza:
Happy Happy December to You!
Holiday Gift Idea #3
For the past few weeks, I’ve shared a fun gift idea at the end of the blog for you. My Holiday Pick this week – #3 – is hot off the press – literally!
Many of you have been waiting for the collection of all 12 Seasonal Snack Mats from 2024/2025 to be released as a set and it is finally here – just in time for the Holidays! YAY! I am SEW excited!!!
Please note that at this time, it is only available as a print collection; however, each Snack Mat pattern is available individually as a digitalpattern as well as a print pattern. Don’t forget – shipping is always free on patterns at VRD.
I hope you enjoy each and every day of December this year. Please take a few moments every day to enjoy the season.
See you right here next week for more VRD fun in December.
Hard to believe it’s July already and the July 4th holiday is tomorrow. It’s not every year that the holiday falls on a Friday, so I see a 3 day weekend ahead for many of you. What are your plans for the holiday weekend? Me, I plan to take in some fireworks and maybe eat some fab picnic foods. Yum, yum, yummy!
Happy Independence Day!
July 4th with Quilts
In celebration of Independence Day, I have a few fun quilty things to share with you today! Woohoo!
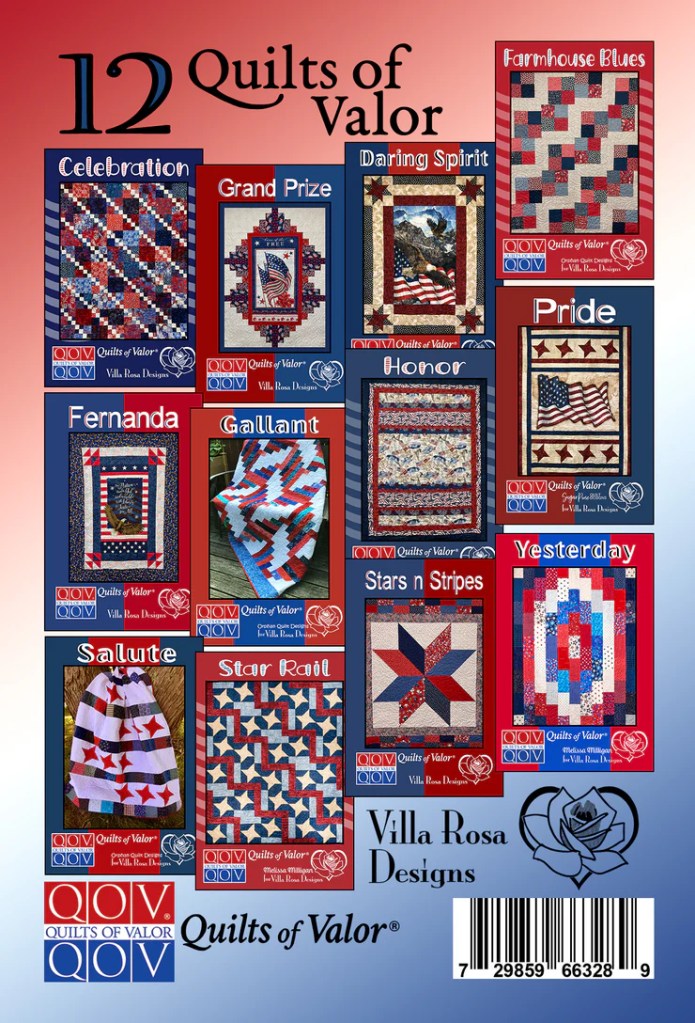
So I wanted to feature our 12 Quilts of Valor Pattern Collection on the blog. A lot of you probably already have the 12 QOV collection among your VRD patterns, but for those of you who are new to VRD or haven’t added the collection yet, let me tell you about this great collection of patterns.
The collection includes 12 patterns sized perfectly for your Quilts of Valor (QOV) projects – no more trying to figure out if a pattern is the right size for a QOV. You will find patterns that use yardage, fat quarters, 5″ squares, and panels (4 panel quilts in the collection and 1 of them uses horizontal panels). Finally, several of our talented VRD designers have patterns in the collection so you get a nice variety of styles in this collection. And of course, all of the patterns are fast, fun, and quickly done!
Almost forgot to mention – shipping is free on patterns on the VRD website, regardless of how many print patterns (or collections) you order!
At this time, the collection is only available in print format, but if you prefer our digital patterns or are an international friend, the patterns are also available as individual downloads. Please note that the download pattern covers will be different from the print pattern collection covers.
Last year on the blog for the 4th of July, I created a curated a Red, White and Blue Pattern list. You can find it HERE.
I hope your July 4th holiday is filled with new memories, American pride, picnic food, and quilts!
Dolls and Quilts
I realize this section of the blog isn’t really connected to the 4th of July at all, but I just had to tell you about my very first Sasha Doll Festival. Oh! I’m wrong – I just realized the theme for this year’s Festival was “Sasha Explores the USA” so it is kind of related to the 4th of July after all.
This past weekend I had the absolute pleasure of attending my very first Sasha Doll Festival. It was held in Columbus, Ohio which made the drive doable for me. Let me tell you though, last Thursday when I was on my way to the hotel/conference center where the Festival was being held, I kept running in and out of severe weather. There were times when I couldn’t seen anything at all due to the deluge and the steam coming off the road (the temps were in the 90s). It was kind of scary as this was my first longer road trip alone, but I followed the big trucks in front of me and everything went okay.
I got to the hotel/conference center safely, although it did take me an extra couple hours. I must admit I missed one exit and had to drive back around to catch the exit again. Thank goodness for my GPS.
Maybe you’ve never heard of Sasha dolls. Sasha dolls were created by Swiss doll artist Sasha Morgenthaler. She created personally created dolls in her studio from the 1940’s to the 1970’s (these surviving dolls are called studio dolls). She also taught classes to others about her techniques and the dolls created during those classes are called course dolls today. In the mid 1960’s, Sasha worked with the German doll company Gotz to manufacture vinyl play dolls based on her studio dolls. She wanted children to have quality dolls at an affordable price. Gotz made Sasha Serie (series) dolls from 1965-1969. A company in England also began making Sasha dolls in 1966 and continued until 1986. Then, Gotz made Sasha dolls once again from 1995-2001.
For more information about Sasha the artist and her dolls, you can go HERE.
I am a relatively new collector and enthusiast, although I saw my first Sasha doll as a child at my local public library. The library had a very special toy collection and you could check out the toys just like books when I was a child. They had Sasha dolls in the collection and I was so in love with the blond girl doll in the blue gingham dress (she would have looked something like this, below). Over the years I saw Sasha dolls here and there in doll clothes books or on the Internet. A couple years ago, I wondered if I could find Sasha dolls for sale online. And I did. My modest collection now includes 11 girls, 10 babies, and 7 boys.
Image from eBay
Here are 3 of the 10 dolls I took with me to the Festival. All 3 dolls are from the English production. Eden (1968) is on the left, Penny (1975-1980) is in the middle, and Annabelle (1969) is on the right.
I just love that the dolls are so realistic looking and no two are alike. They are lovely to pose and to dress (and make clothes for!), and each one seems to have their own personality.
It was an amazing Festival (of course being that it was my first one, I don’t have anything to compare it to). I met so many lovely people! I went to the Festival hoping to find some Sasha people in my own area, and I did! I even met Gina (Hi Gina!) and discovered not only did she live within 2 hours of me, but we actually know some of the same people. Crazy, isn’t it???
At this point, you might be wondering how Dolls and Quilts go hand in hand? Doll Quilts, of course!
As a gift to you, I am sharing a sweet and simple little doll quilt pattern. Make it for yourself, a child, or even another doll lover.
Sweet and Simple Doll Quilt
By Tricia Maloney
18″ x 23″
Fabric
20 – 5″ Charm Squares or 20 assorted scraps at least 5″ square
½ yd for backing
20″ x 25″ thin batting or flannel
¼ yd binding
Cut
20 – 5″ squares
20″ x 25″ for quilt back
3 – 2″ or 2 1/4″ width of fabric strips for binding
Sew
Sew 4 assorted 5″ squares together into a row. Make 5 rows.
Sew the rows together.
Finish
Layer your quilt top, batting, and backing.
Quilt as desired.
Bind your quilt.
Don’t forget your label!
If you’d like to download and print my Sweet and Simple Doll Quilt pattern, you can find the PDF below: