Hello Quilty Friends!
Happy Thursday to you!
This week we’re all about wrapping up our totally AWESOME Spring Edition 6 Quilts in 6 Weeks Challenge. If you missed the Challenge or the timing wasn’t right for you to participate this time, never fear – I am planning to do it again this Fall. We all need motivation to get stuff done, don’t we? And I can’t think of any better motivation than doing it together.
Let’s take a look at Challenge stats.
6 Quilts in 6 Weeks Challenge Final Stats
By the end of the Challenge, I had 70 people signed up to participate in the Challenge. WOWZER!
Of the 70 folks who signed up, 37 people participated in at least 1 week of the Challenge making at least 1 finished quilt. That’s a 53% participation rate, which is totally fantastic! What a great turn out for our Challenge.
And I know you’re all wondering how many quilts we completed in 6 weeks, right?!? Well, keep wondering for a minute because I want to build a little suspense for that answer yet. (Tehehe.)
Next let’s congratulate our Week 6 Winner!
6 Quilts in 6 Weeks Week 6 Winner
It’s time to announce our Week 6 winner!
Norma K from WI
HOORAY!
Way to go, Norma!
Congratulations!
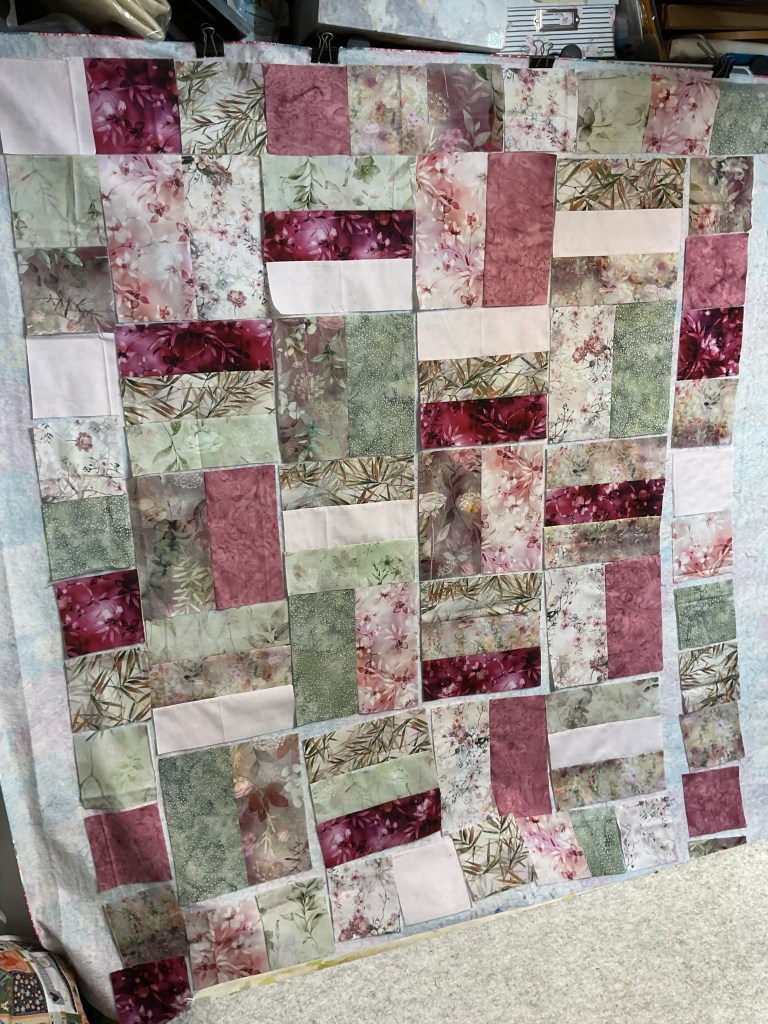
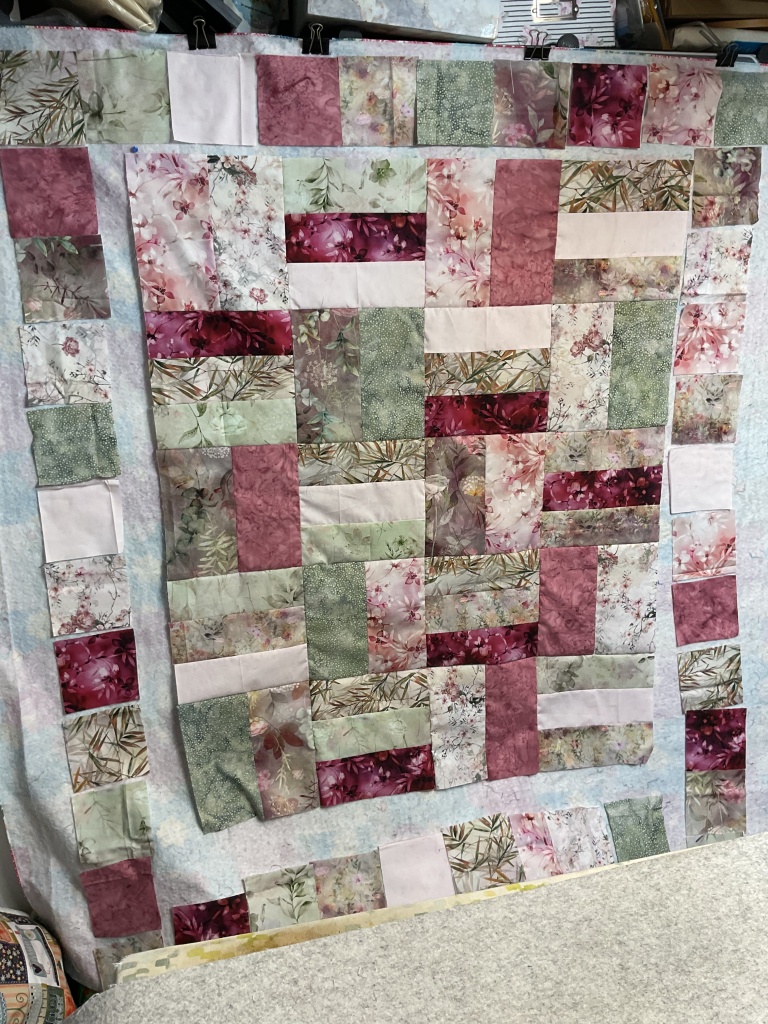
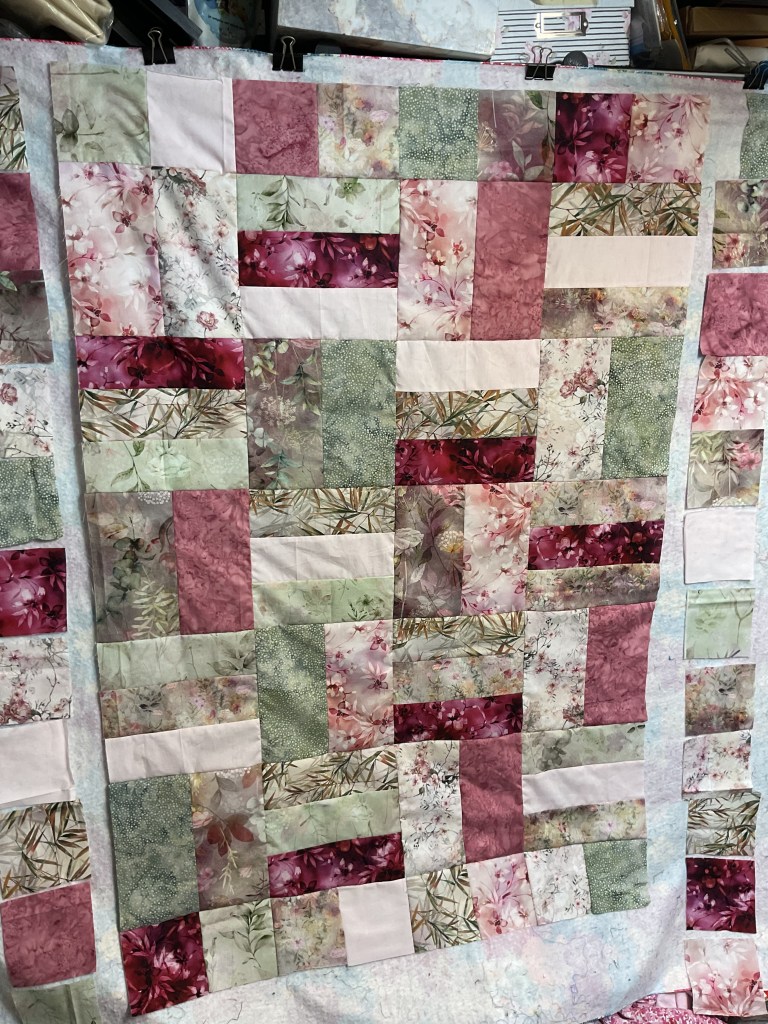
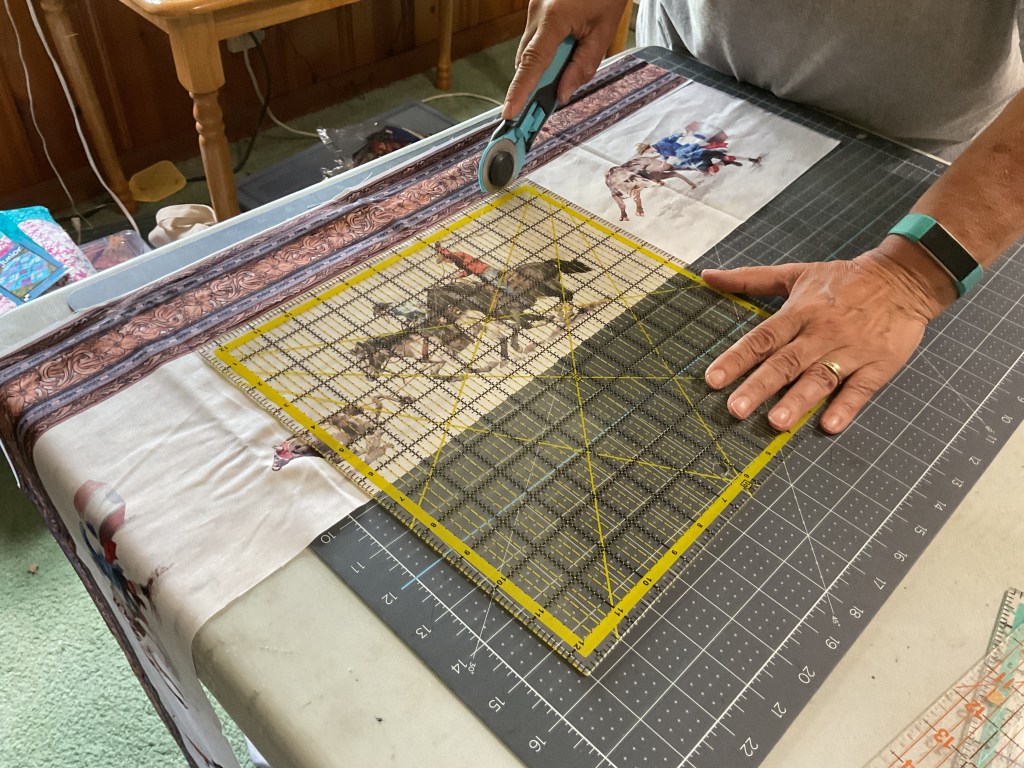
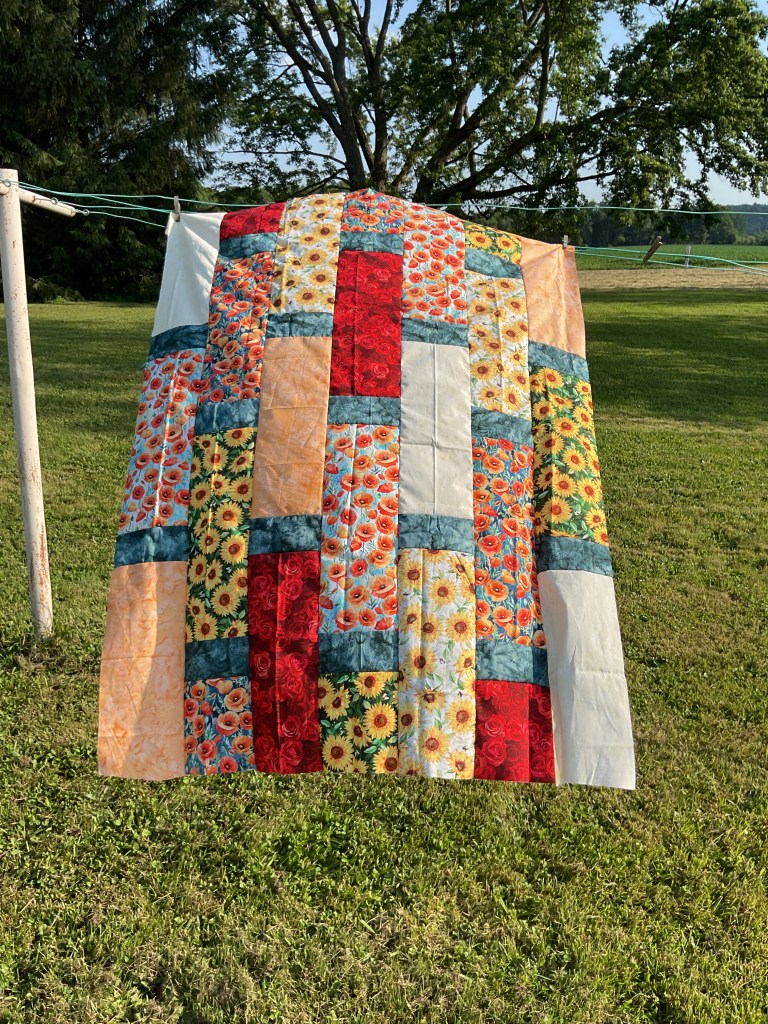
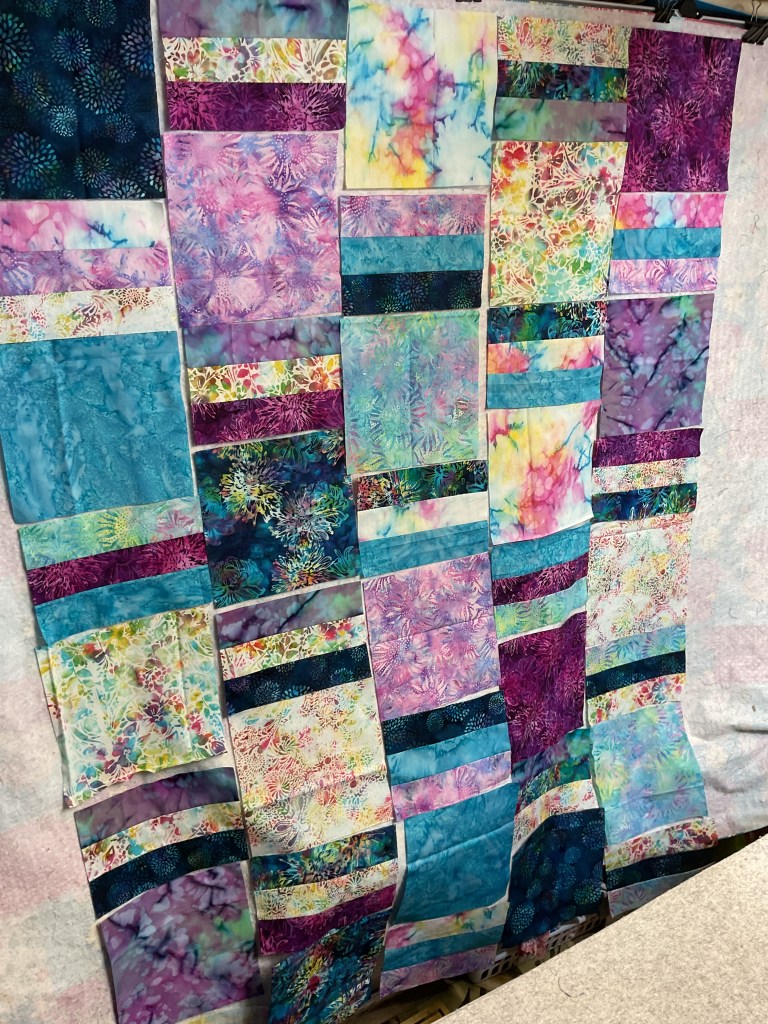
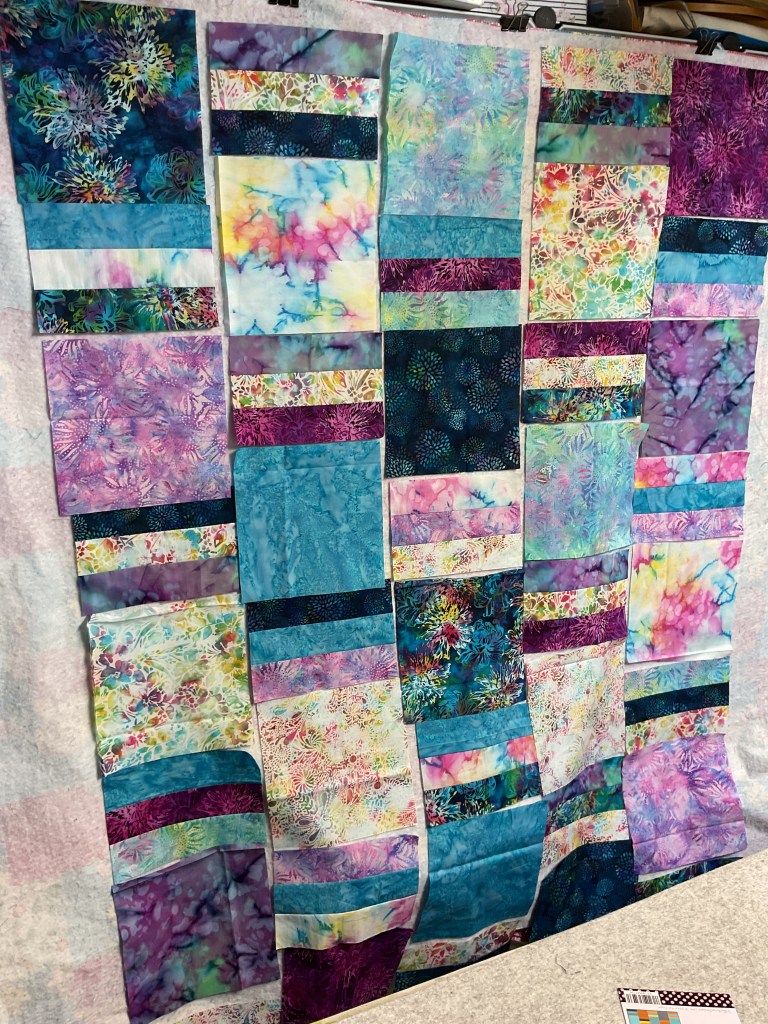
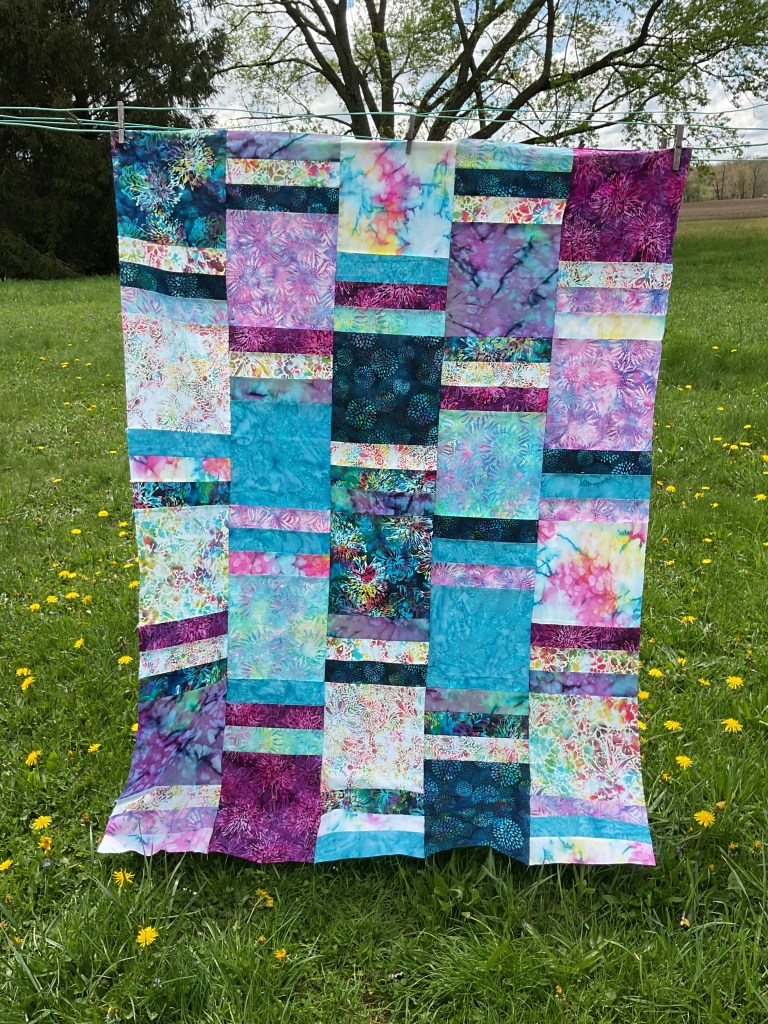
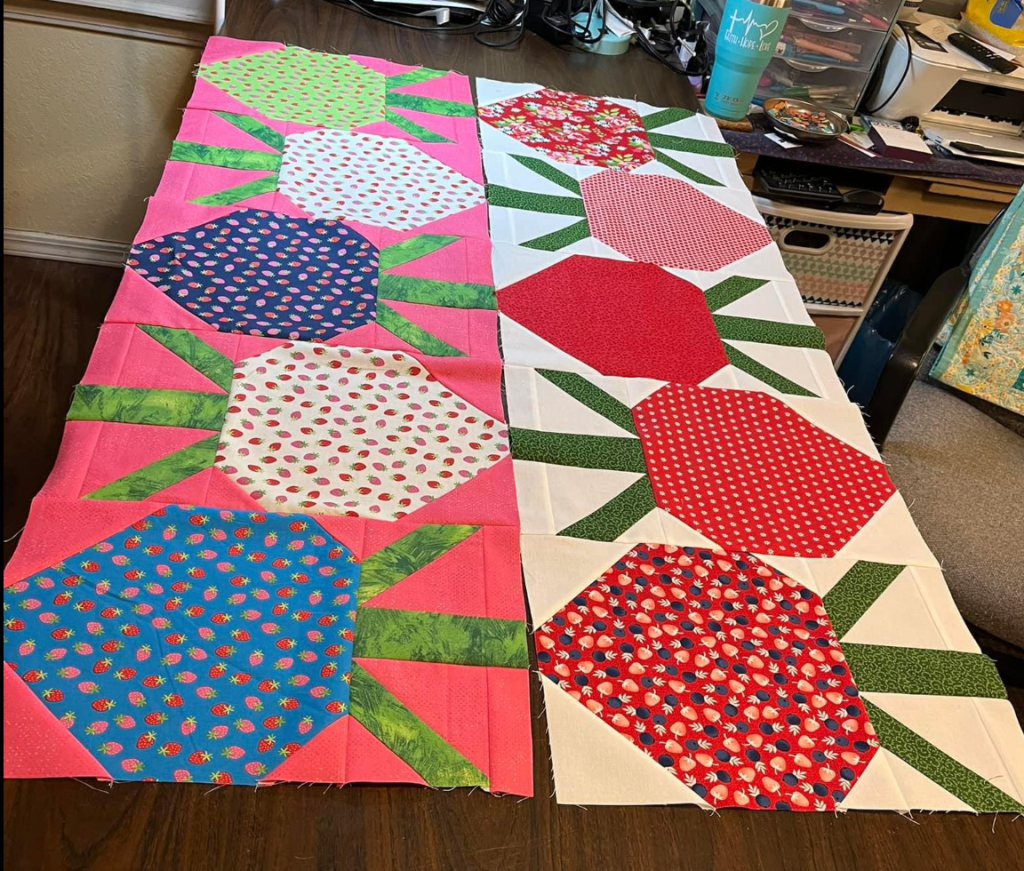
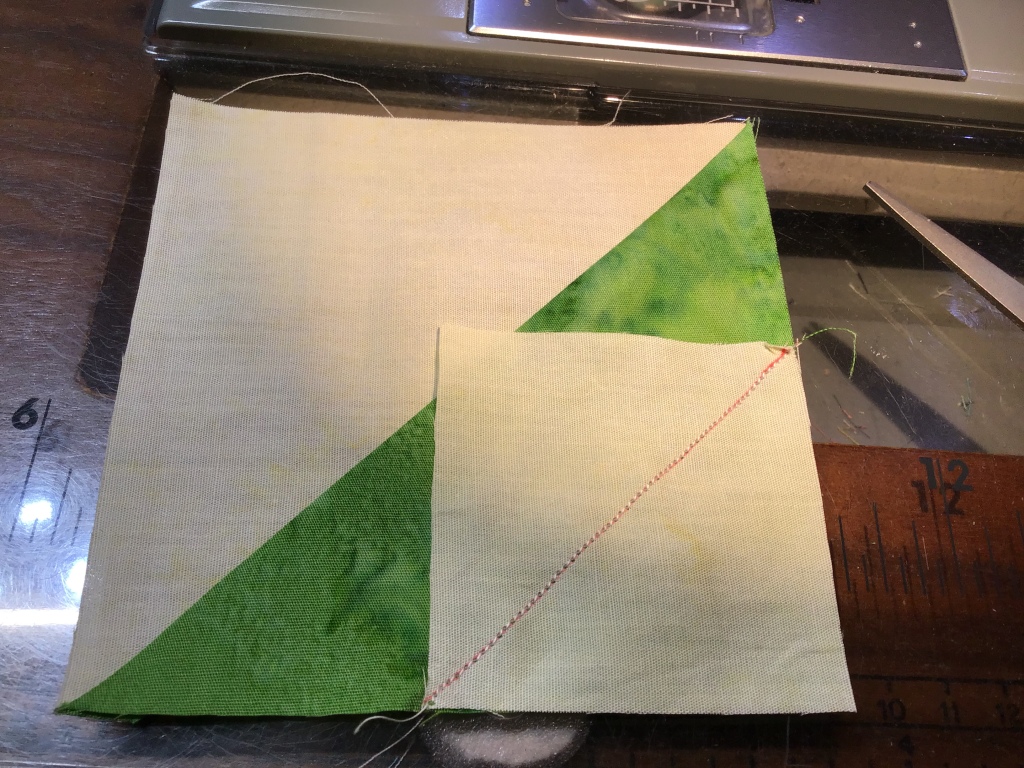
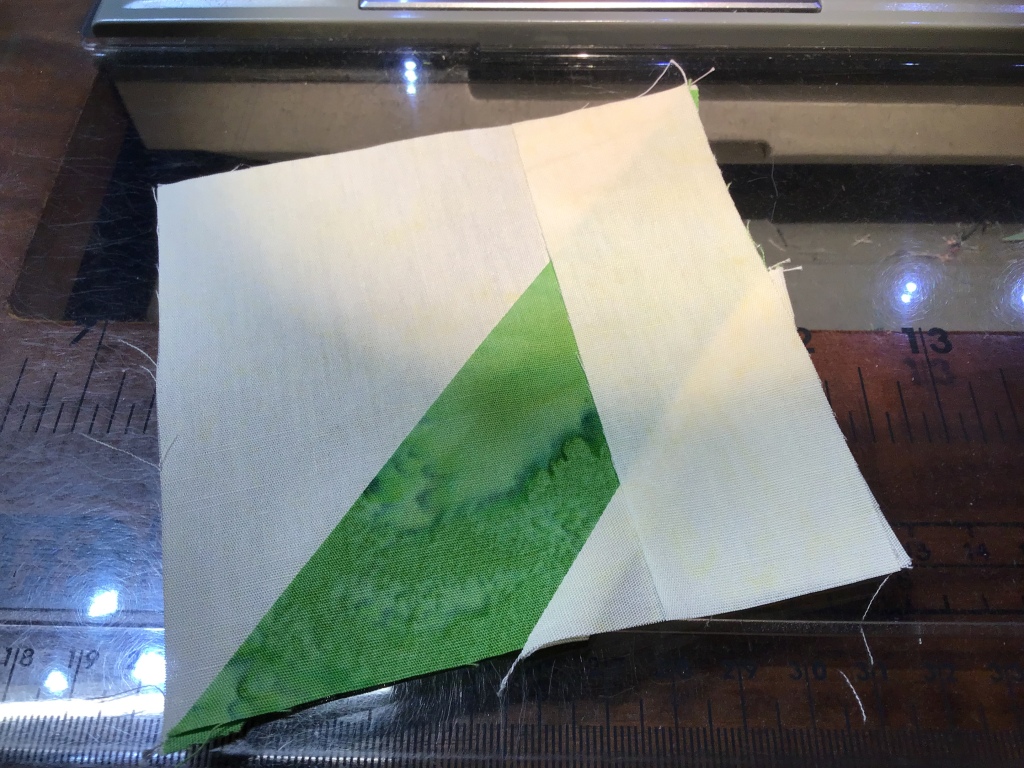
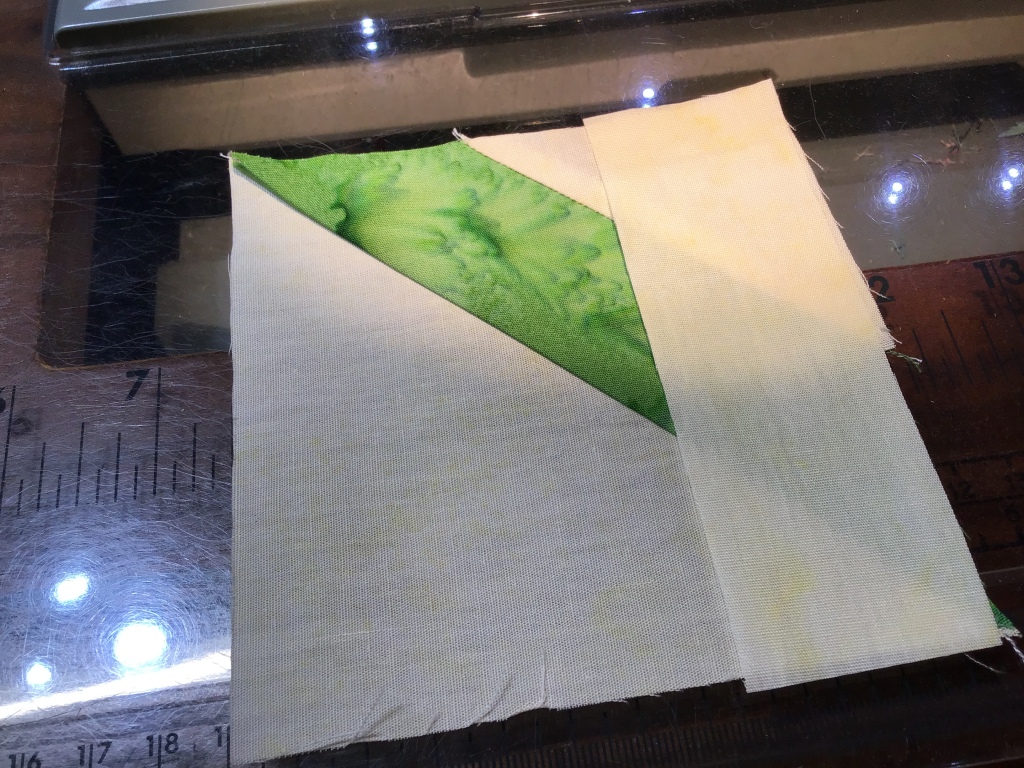
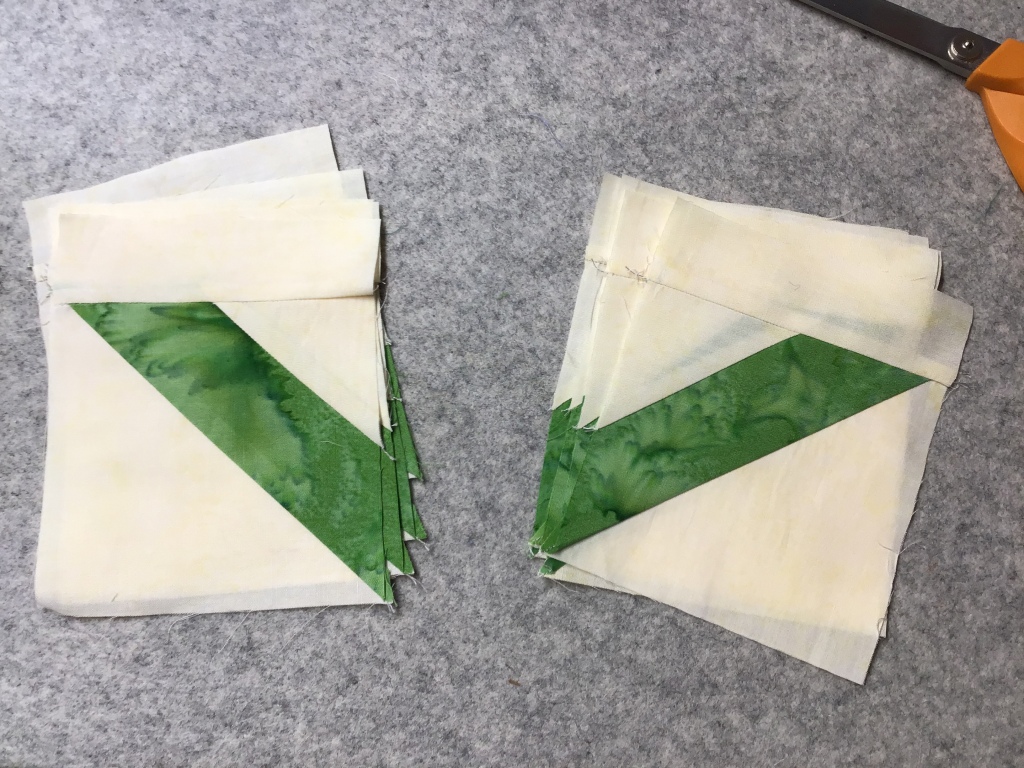
Here is Norma’s Week 6 finish – Silver Star. Isn’t it super? Just perfect for the upcoming 250th birthday celebration in the US this summer.
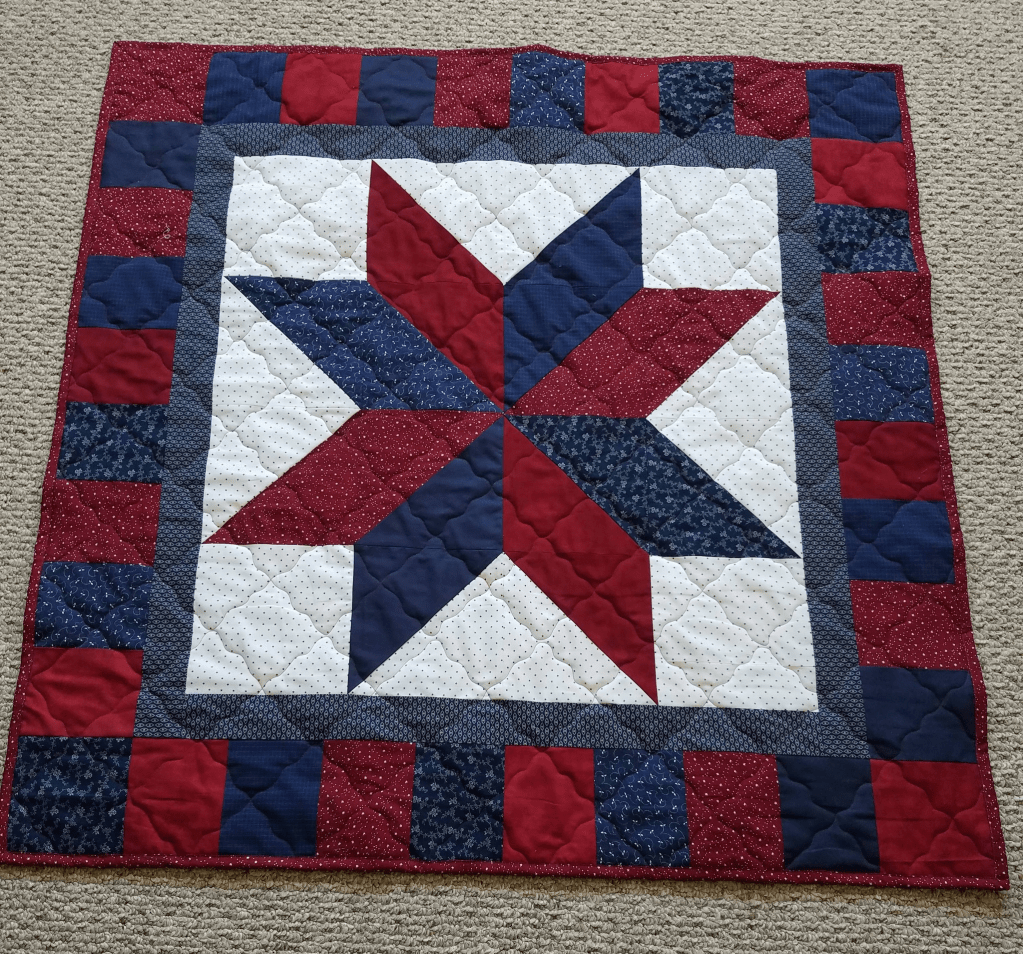
As you can see, Norma carried the pieced square border the whole way around the center star instead of only at the top and bottom. Great finish, Norma!
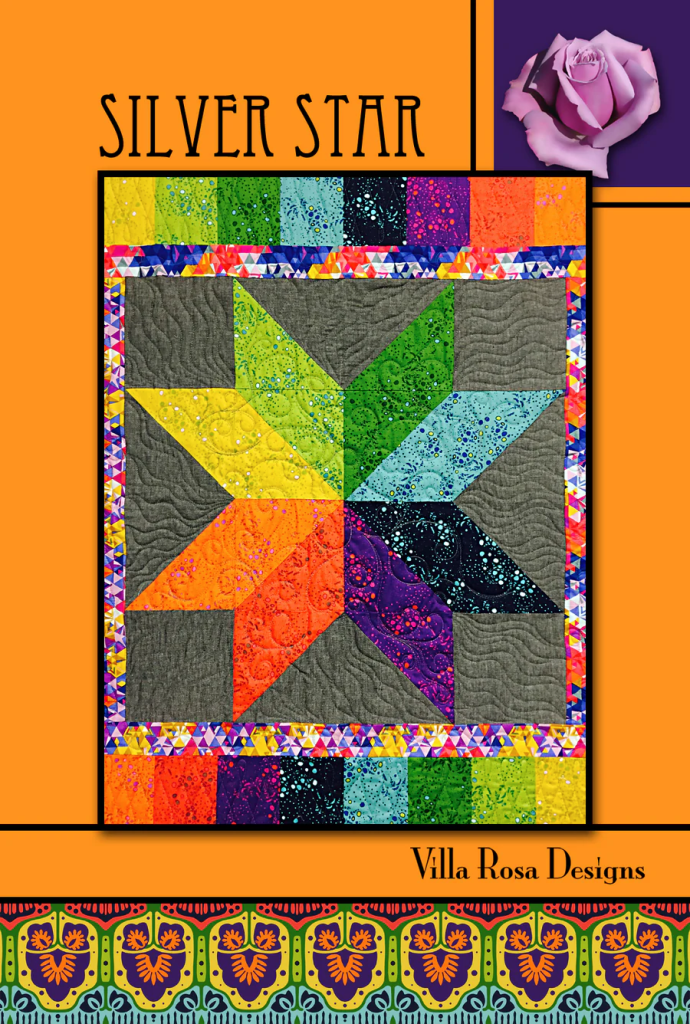
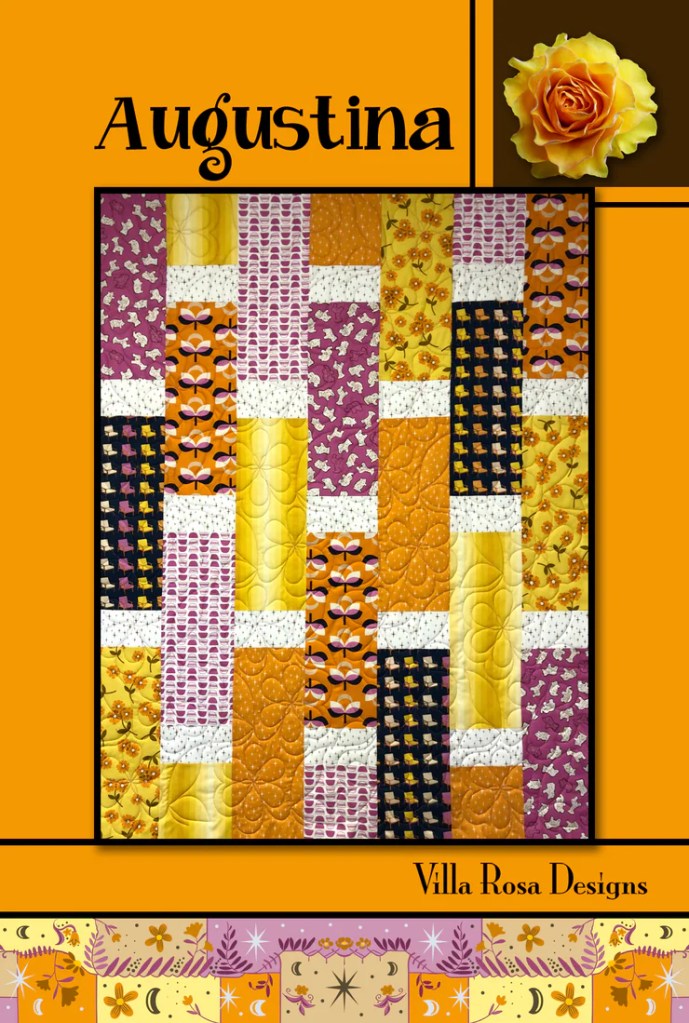
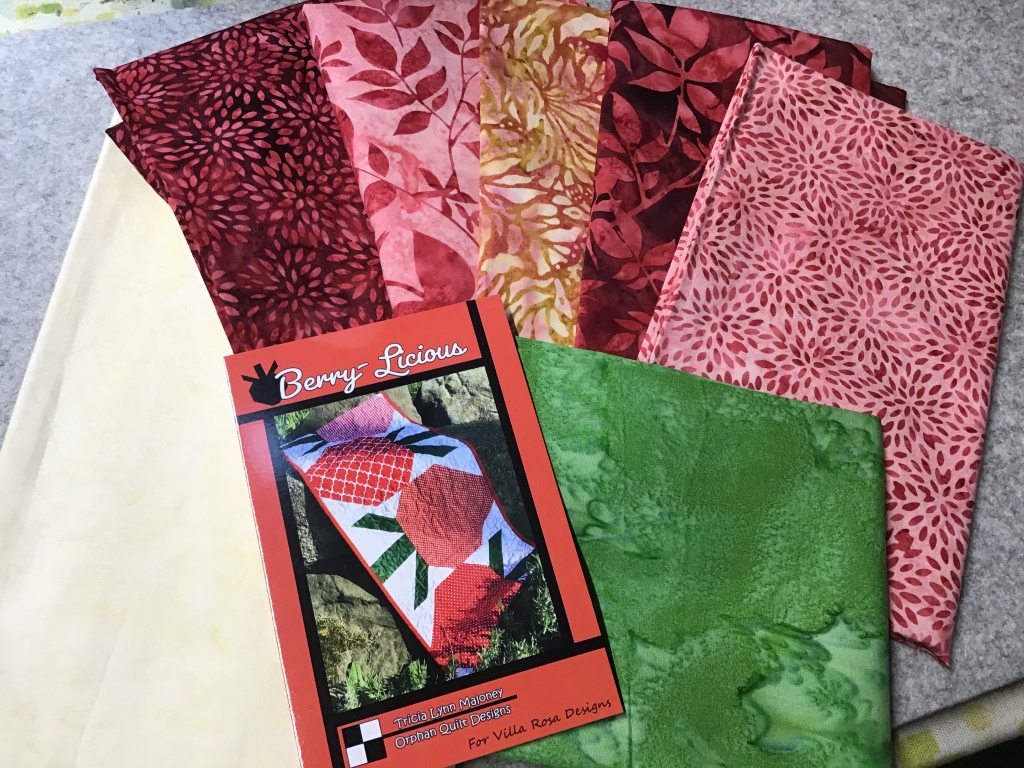
Get your digital pattern HERE or your print pattern HERE
Next up is the winner of our Best Guess Contest. Whose best guess was the closest to the actual number of quilts finished in 6 weeks?
Total Number of Quilts Completed and Our Best Guess Winner
Guesses were all over the place, but at the end of our 6 Quilts in 6 Weeks Challenge, only one guess came close to the actual number. Very close actually.
First, the total number of quilts completed for the 6 in 6 Challenge was an astonishing
162 FINISHED QUILTS!
Wow! Isn’t that amazing? I’ll say it again –
162 FINISHED QUILTS!
Our closest guess was 157.
Congratulations!
Cyndi S in FL
YIPPEE!
And we have 1 more winner to wrap up our Challenge.
6 Quilts in 6 Weeks Finishers’ Circle
I want to congratulate ALL of the folks who completed the entire Challenge – there were 14 (15 with me, but I don’t count. LOL!). Which ends up being 20% of all the sign ups who actually finished a quilt every week for 6 weeks. Whoa!
I added one more drawing for these 14 finishers because completing a quilt a week for 6 weeks is a real commitment and I want to celebrate that. Actually I want to shout it from the rooftops, but I’m thinking that might not be so safe…….
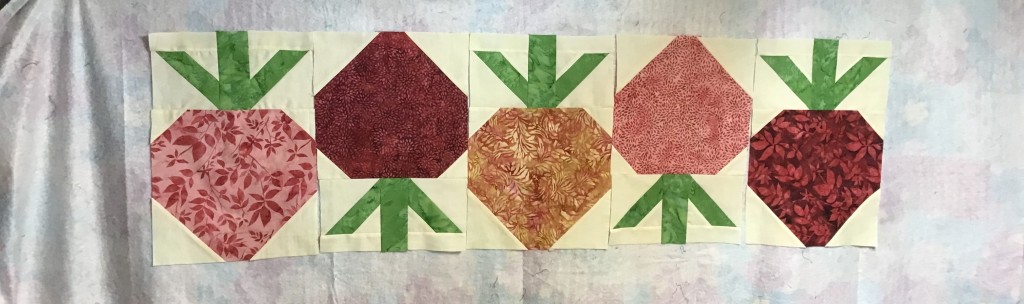
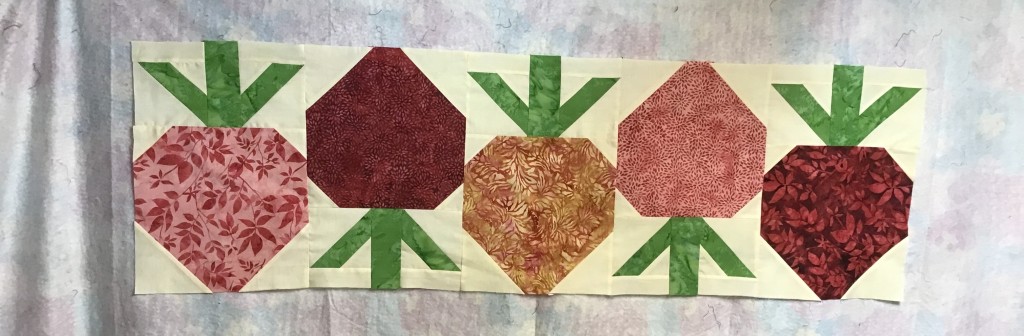
Some folks completed UFOs while others created brand new from start to finish quilts. Remember, to be eligible for the weekly drawings projects had to be completely finished – quilting, binding and all.
Drum Roll please…………..
Our Finishers’ Circle winner is
Regina S in MO
Yay you!
Congrats!
Now it’s time to celebrate all the wonderful quilts that were completed during the challenge. Some were made for loved ones, some were made just because, while others will find their way to charitable organizations.
162 quilts in 6 weeks.
I really enjoyed seeing the VRD Facebook page (and my email) light up with so many quilts every week. And it was exciting to see other folks getting inspired to complete their own projects even though they might not have actually signed up for the Challenge. I also saw participants fueled by the momentum and continuing to finish UFOs after the Challenge ended.
162 quilts in 6 weeks.
All I can say now at the end of the Challenge is THANK YOU. Thank you for quilting along with me. Thank you for your encouragement and your support. And thank you for all the amazing inspiration. I have now added oodles of new VRD patterns to my Make List. I bet you did too. It’s a good thing we’re going to do the Challenge again in the Fall.
KEEP THOSE QUILTS COMING!
6 Quilts in 6 Weeks Challenge Sponsors
I want to do a special SHOUT OUT to Hoffman Fabrics and Riley Blake Designs who are sponsoring the prizes for the Challenge. Thanks SEW much for partnering with us for this awesome Challenge!


What’s Next???
I’m thinking it’s going to be hard to come up with a new idea to follow our very successful Challenge. So I thought I’d ask you – what would you like to see on the blog this summer?
I was possibly thinking perhaps a Fun Summer Sew Along, but then I wasn’t sure what exactly to make for the sew along. What do you think?

Smaller projects? Runners? Accessory patterns? Patriotic projects? Fat quarter projects? Charm Squares? Jelly Rolls? Whew! Do we want to do a project a week or a project a month? Sigh…….too many choices.
So I thought I’d ask for your help. I am open to your thoughts and ideas, so please leave a comment and tell me what you’d like to do this summer on the blog.
See you next week!
Sew. Laugh. Keep finishing. Repeat.
Always,
Tricia @ VRD