Hello Quilty Friends!
Happy Thursday to you!
Guess what day it is, folks!?! It’s the Thursday after the first Friday in June, and you know what that means ………. NEW PATTERNS! Yippee!
Check these beauties out!
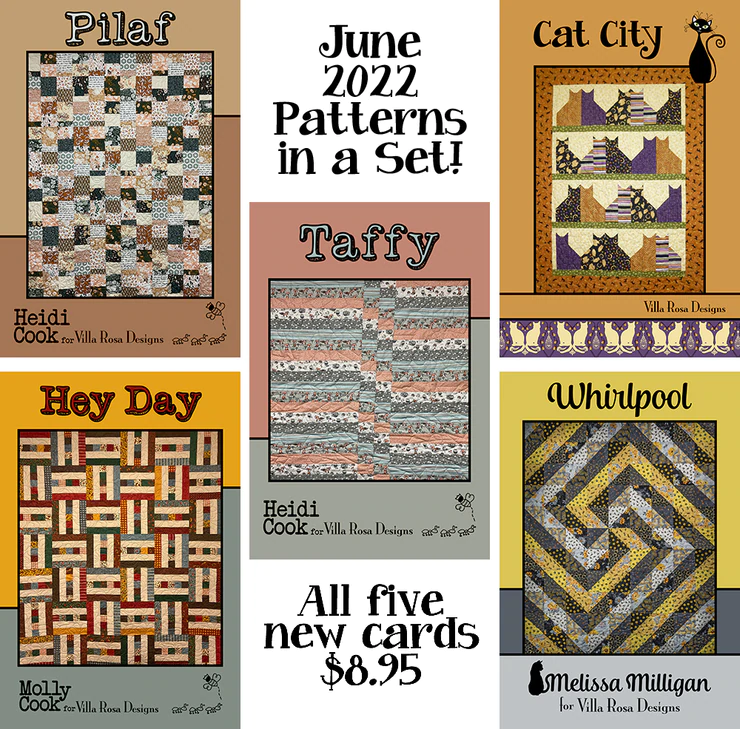
Here is the set of 5 monthly patterns for June. Definitely a little something for everyone, don’t you think?

Get all 5 print patterns HERE
Aren’t they lots of fun? Tomah is spot-on for your upcoming July 4th celebration. Escalate makes a BIG bed quilt and uses 1/2 yards. Sunita uses just 3 fabrics! Limerick and Well Seasoned are both fat quarter friendly and make nice throw-sized quilts. Although we offer them as a set of 5, you can get them as individual patterns, both as digital or as print.
Digital patterns HERE
Print patterns HERE
And in case I haven’t said this for a while, there is zero shipping on print patterns in the US (we only offer the digital format internationally). Yep, that’s right – ZERO shipping on print patterns regardless if you purchase 1 or 100!
But wait……there’s more!
I can’t forget this month’s table runner, can I? It’s called Stars & Ribbons and will make a wonderful statement on your July 4th table next month.

Get your digital pattern HERE or your print pattern HERE
Which pattern are you going to make first???
I was planning to do another tutorial for this week, but life got in the way. Ho hum….. Hopefully I’ll have a new tutorial for you next week.
Instead, let me tell you about my impromptu road trip!
Road Trip
So today I’m on an acquisition road trip with pal Robin and her brother Dan in Robin’s big blue truck. We are heading to Apollo PA, which is in the Pittsburgh area, to pick up a new desk solution for me for my studio/office space.
Currently, my desk is an old sewing table with a wooden top and metal legs. Good and sturdy, but not very ergonomic because it’s a bit too high for short little ol’ me. I’ve been on the lookout for a new desk for a while now, hoping to maybe find an L-shaped desk with at least one file drawer and as much storage as one can possibly cram into a desk to help keep me organized – most of the time my desk looks like an office and quilt store collided. LOL!
Sigh……I have found that if I don’t have a specific place to put something, then I just end up with piles on my horizontal surfaces. My defense – I think paper and fabric multiply like rabbits…….. So because of my tendency towards clutter, I am totally a storage junkie. Can you relate?
I’ve been watching Facebook Marketplace for a gently used desk and the other morning, an intriguing possibility popped up. I’d seen it before, but I didn’t take a closer look then. This time, I stopped and took that closer look and I liked what I saw – a group of Ikea (YAY! LOVE Ikea!) office pieces that could be arranged in lots of different configurations. A tall shelf, 2 desktops, a small desk (which had one of the desk tops on top), 3 drawer units, and a chair. Exactly what I have been looking for, but I didn’t know that I was looking for it until I saw it! Does that make any sense? I really really like the flexibility of the pieces.

The pieces looked to be in decent condition; however, there were a few hesitations before I messaged the owner. First, the pieces were dark brown instead of my usual white. I thought about that for a quick second and decided I could accept it because the flexibility made up for the color. Second, and it was a biggie – the pieces would definitely not fit in my cute little red Jeep Compass.
I needed a truck!
I messaged the seller and asked a few questions. She was quick to reply. OK, now what???? I still needed a truck. So, I sent an SOS to my quilty pal, Robin, who just so happens to have a really big blue truck. Yay! Problem solved. ROAD TRIP!

It was around 2 hours to drive to get to the seller’s home in the Apollo area, which turned out to be a lovely farm with horses running in a fenced field right beside the driveway to the house. What a pretty setting it was! I wanted to get a photo of the horses for the blog, but by the time we were all loaded (which seemed to take only minutes with the owner’s husband and Dan teaming up), the horses had all headed to get water further down in the field and I couldn’t see them anymore. Dang it!
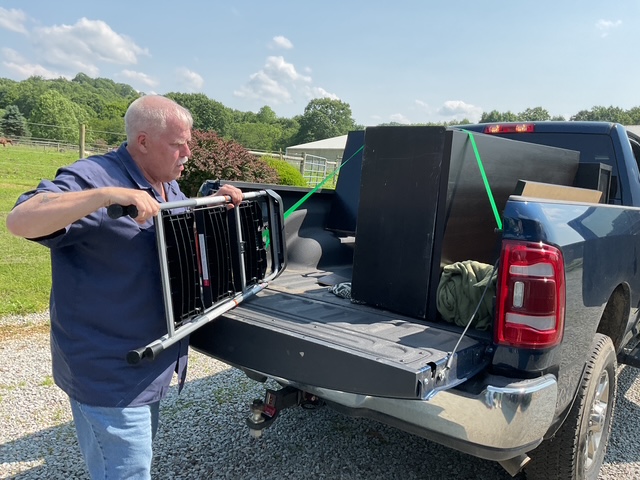


It took longer to come home than it did to get to Apollo because we stopped off for dinner at Eat n’ Park and then to get fuel. Once we made it to my home, we unloaded all the pieces and Dan helped me get them into the space I had carved out in the back of the garage.
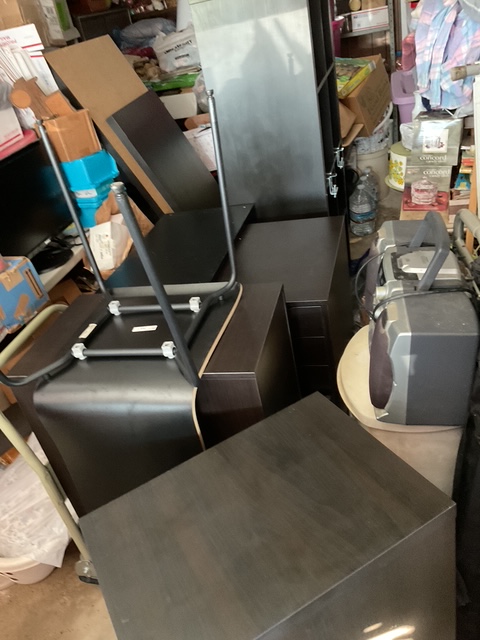
Of course, before I can set up my new workspace, I have to do a HUGE clean/sort/purge in my studio/office to make room. Not only is it my work area, it’s also the pantry and storage (most of the crates are mine, but not all of them). Luckily, I’ve been cleaning the garage and I have some space to store the pieces until I’m ready for them. Now that the pieces are stashed in the garage, I think that will really motivate me to get the clean up in my space done ASAP so I can arrange my lovely Ikea pieces into a configuration that will work for me.
I am thrilled there are lots of storage drawers with multiple file drawers! That means I will have no excuse for a messy desktop anymore. There is also a wonderful cube storage shelf as part of the desk system. Finally! A place for my books. Piles of books – begone!
I’ve been trying to visualize different configurations, but I know I’ll have to wait until my space is cleared out so I can create my dream office space in my dungeon studio. It will be some time yet before I will be able to get everything just the way I want in my studio/office, so there won’t be any before/after photos right now. Of course, I’ll show it off when I’m all done, so you’ll just have to stay tuned.
A BIG thank you goes out to Dan, Robin, and her big blue truck!
That’s it for me this week. I think I’ll head outside to enjoy a little sunshine now because I think summer has come before spring even had the chance to hang out.
Sew. Laugh. Repeat.
Always,
Tricia @ VRD