Hello Quilty Friends!
Happy Thursday to you!
Gosh, we have a ton of stuff to do today. I was hoping to add another post over the weekend to finish my quilt show experience, but with my Dad sick, I was just too busy to sit down and write it. Sorry about that, but we’ll get the rest of the trip added to today’s post about NEW PATTERNS and our VRD SMALL PROJECT SUMMER CHALLENGE. Let’s dive right in!
NEW VRD Rose Card Patterns for June
I won’t even say it – you know – how much I love the Thursday after the first Friday of every month. Dang – I said it. Well, hopefully I get an E for effort because I tried. LOL!
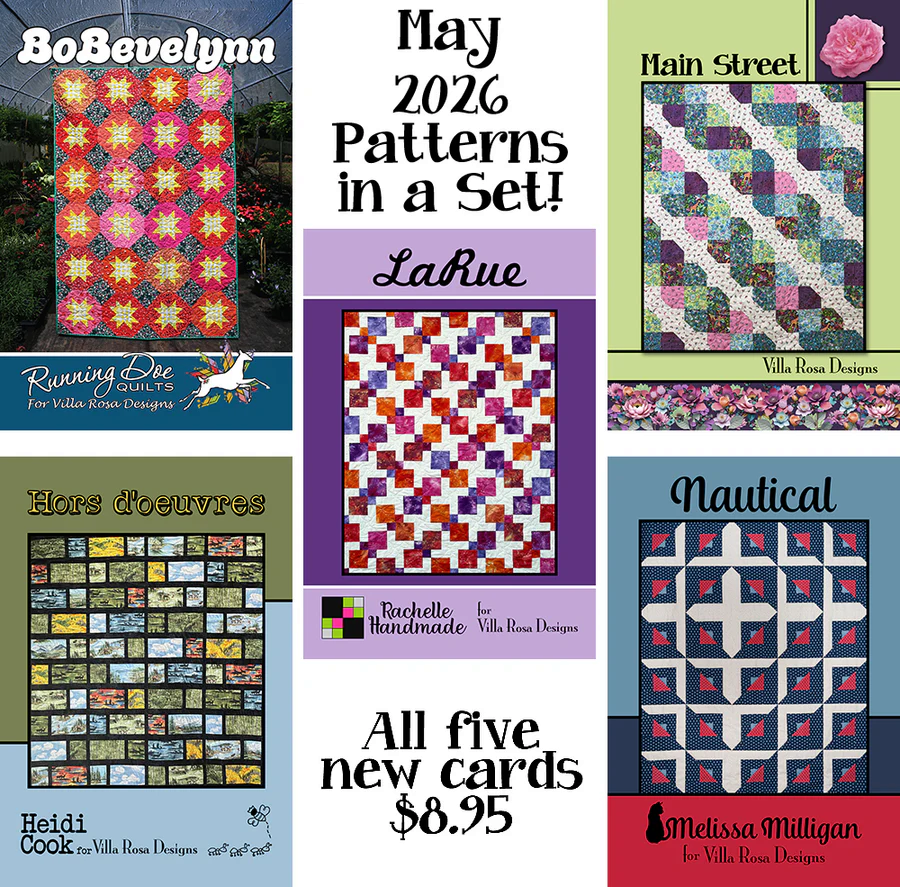
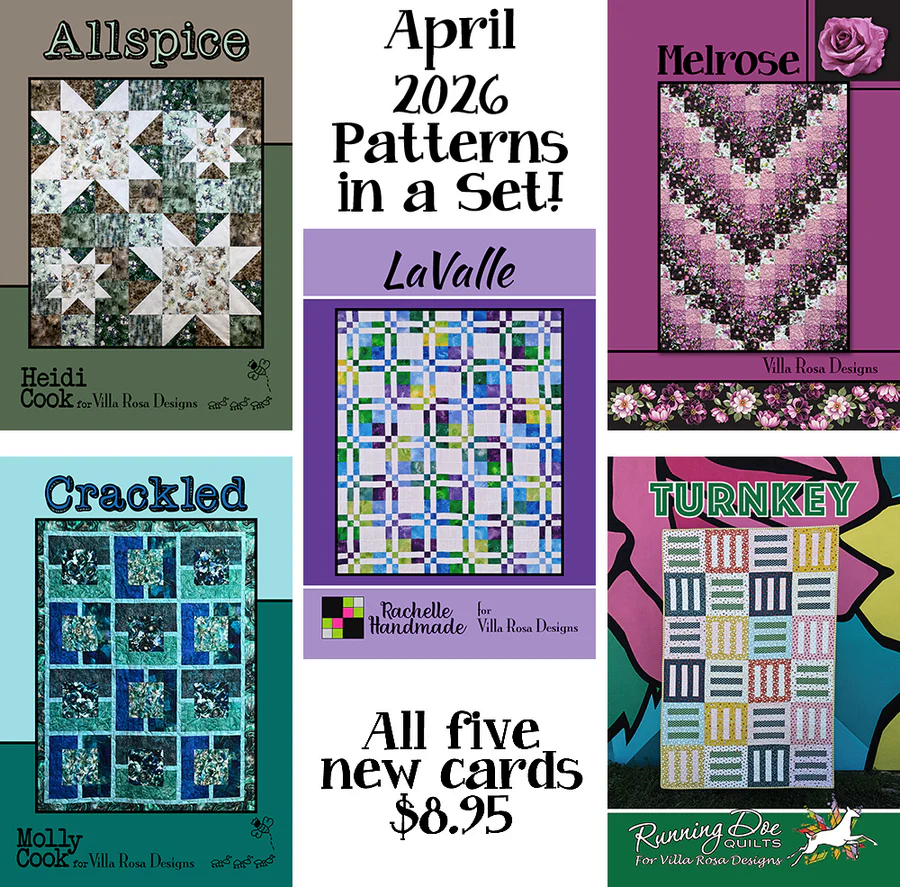
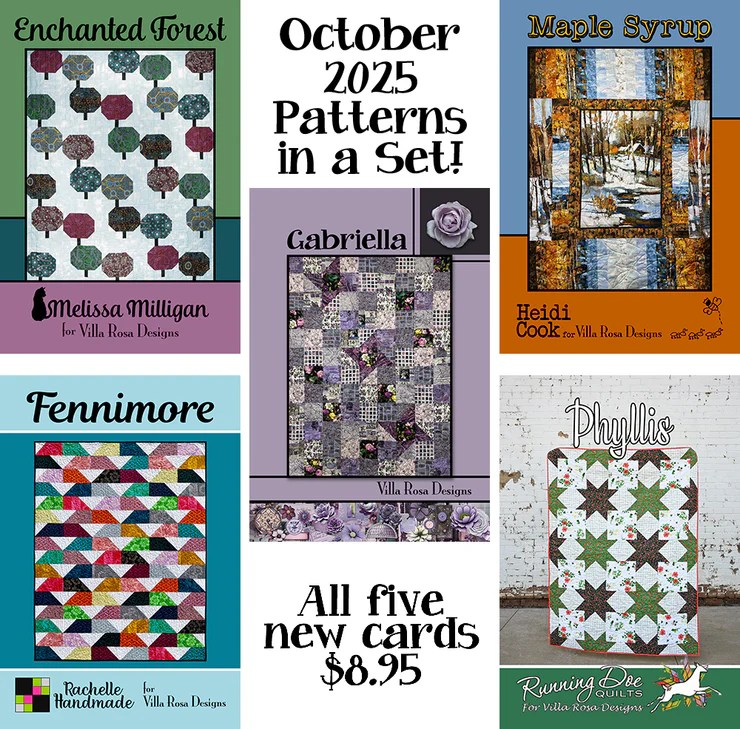
Here are this month’s new patterns!
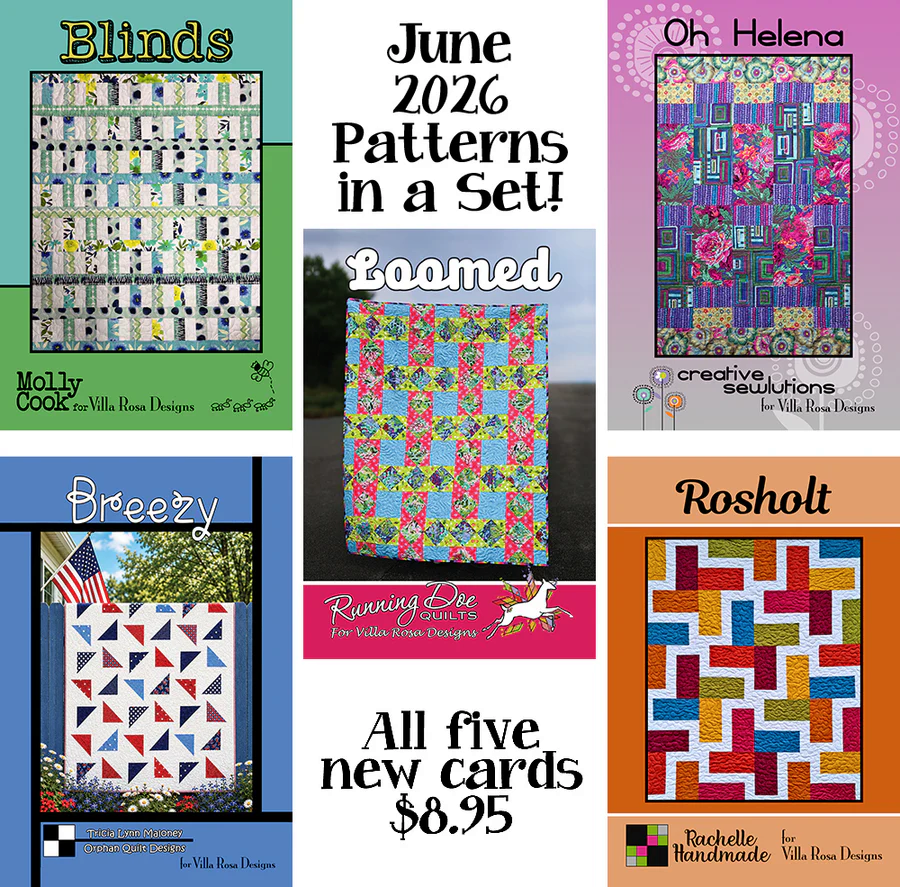
Get all 5 print patterns HERE.
Molly’s latest pattern is called Blinds and uses your favorite Jelly Roll plus a background. You can find a kit featuring the same fabrics as the pattern front HERE or one in Pat’s Bedazzled fabrics HERE.
Catherine of Running Doe Quilts is back with another fun star pattern called Loomed. I know what you’re thinking – where are the stars? You’ll just have to trust me if you haven’t gotten your pattern yet. LOL!
Deanne of Creative Sewlutions has a new pattern this month called Oh Helena. What fun! You can find a kit featuring the Birds collection HERE. And you might remember one of her earlier pattern called Oh Henry. I think they are fraternal twins….
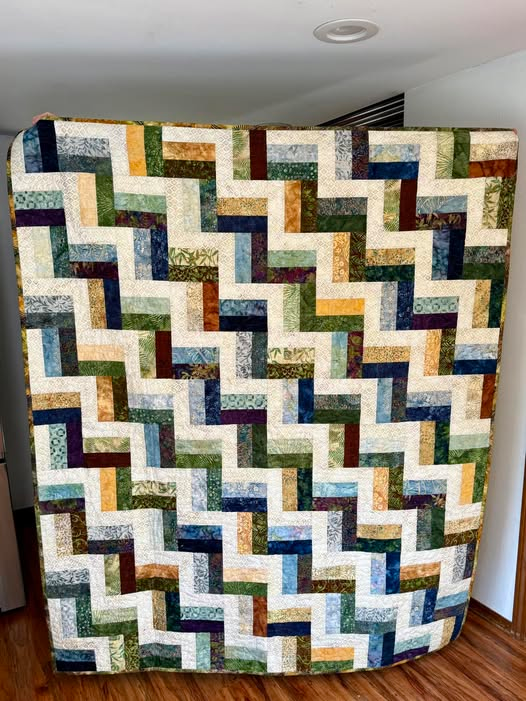
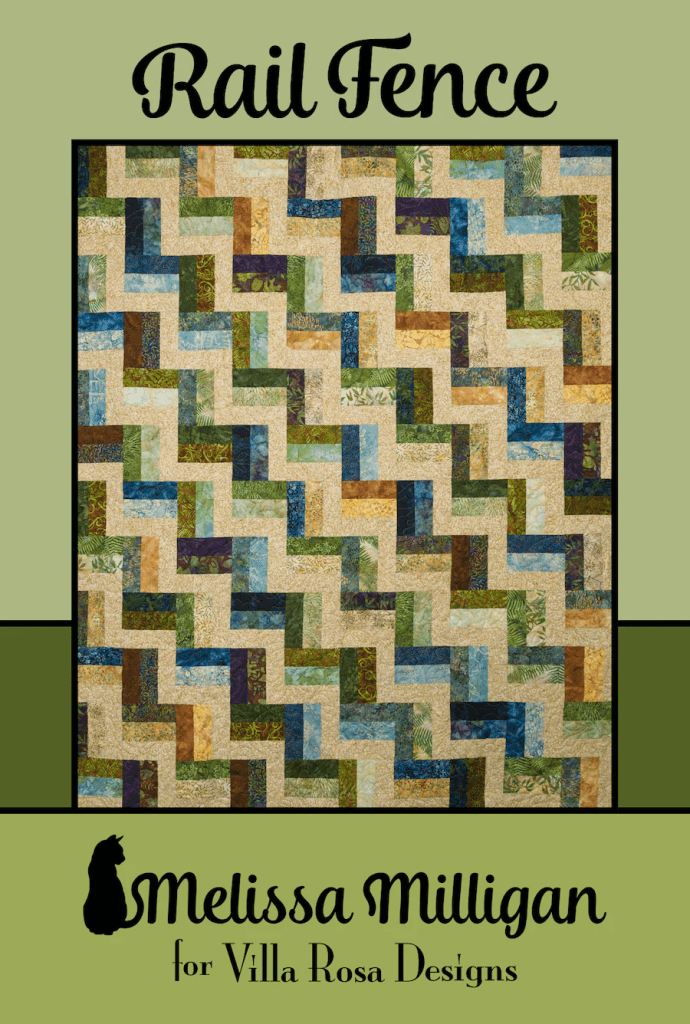
Rachelle’s latest pattern is called Rosholt. It’s fast, fun, and fat quarter friendly. You can find a kit featuring Hearts and Stars + Sunprint fabrics HERE.
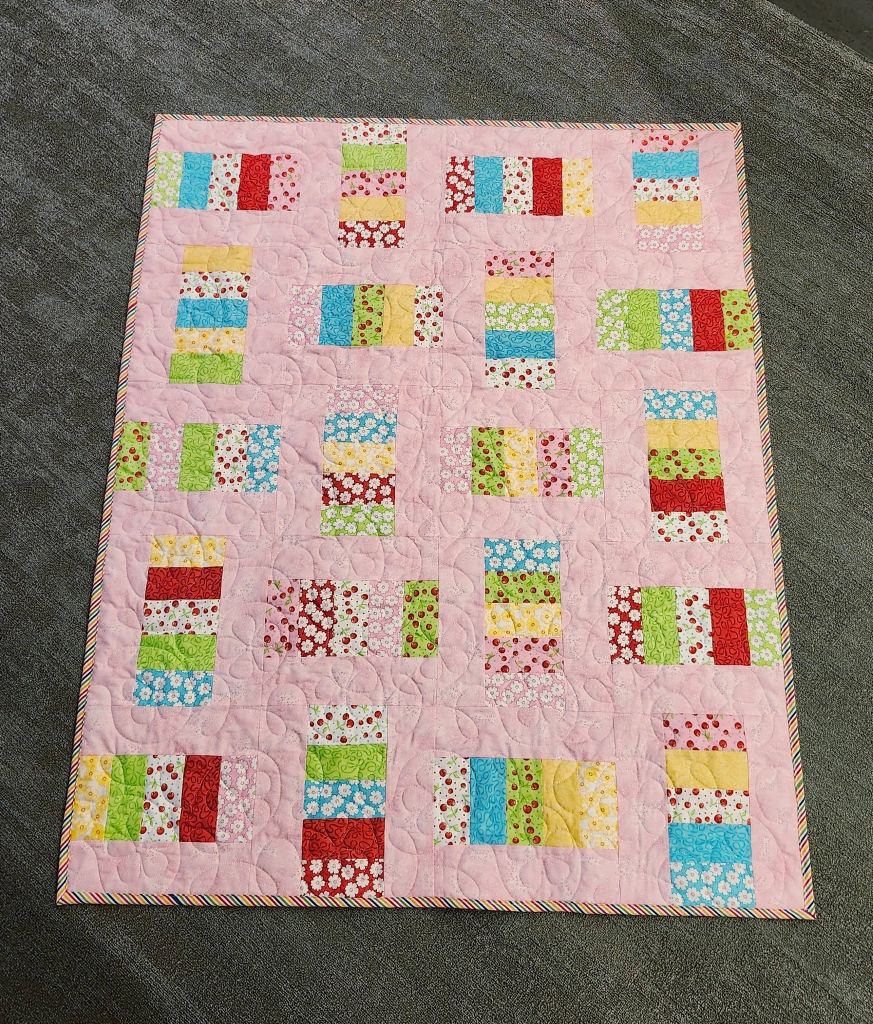
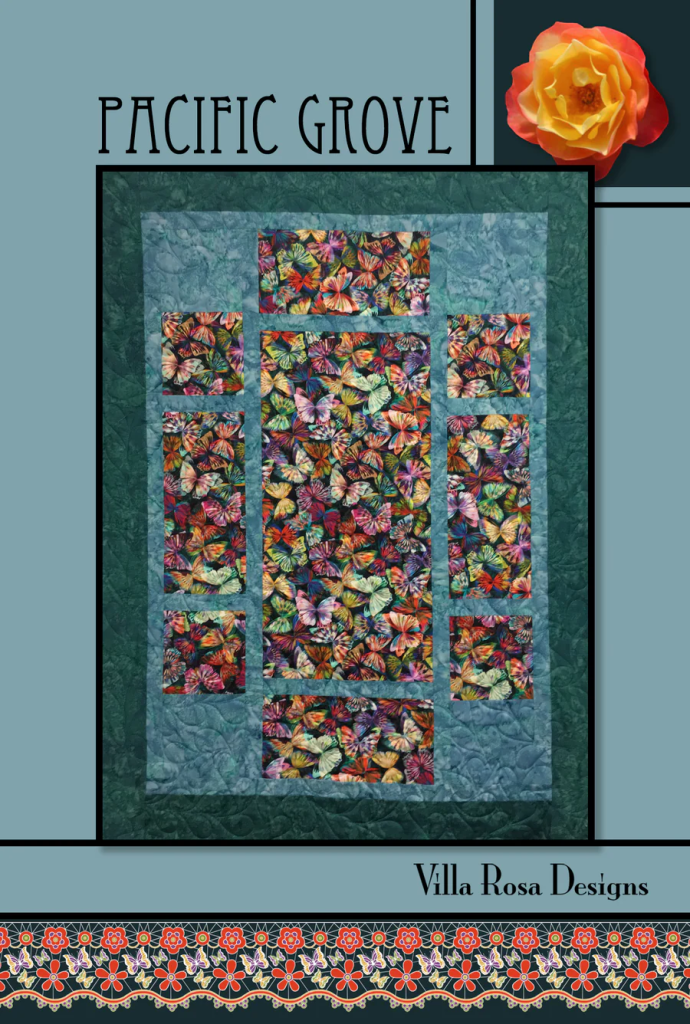
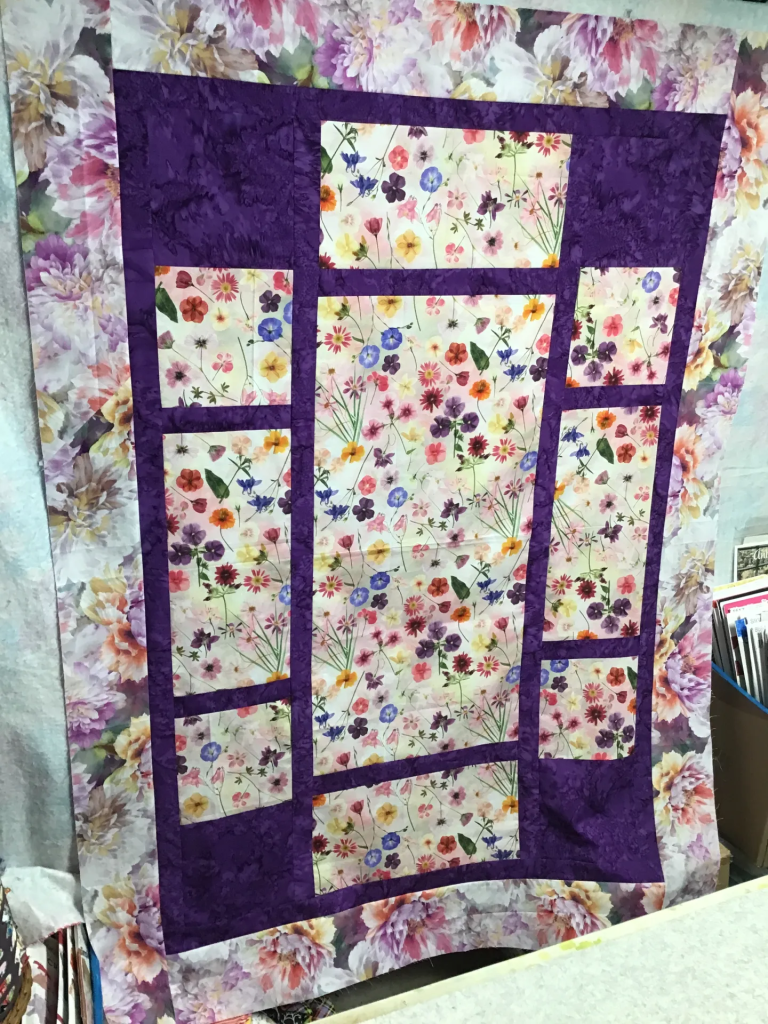
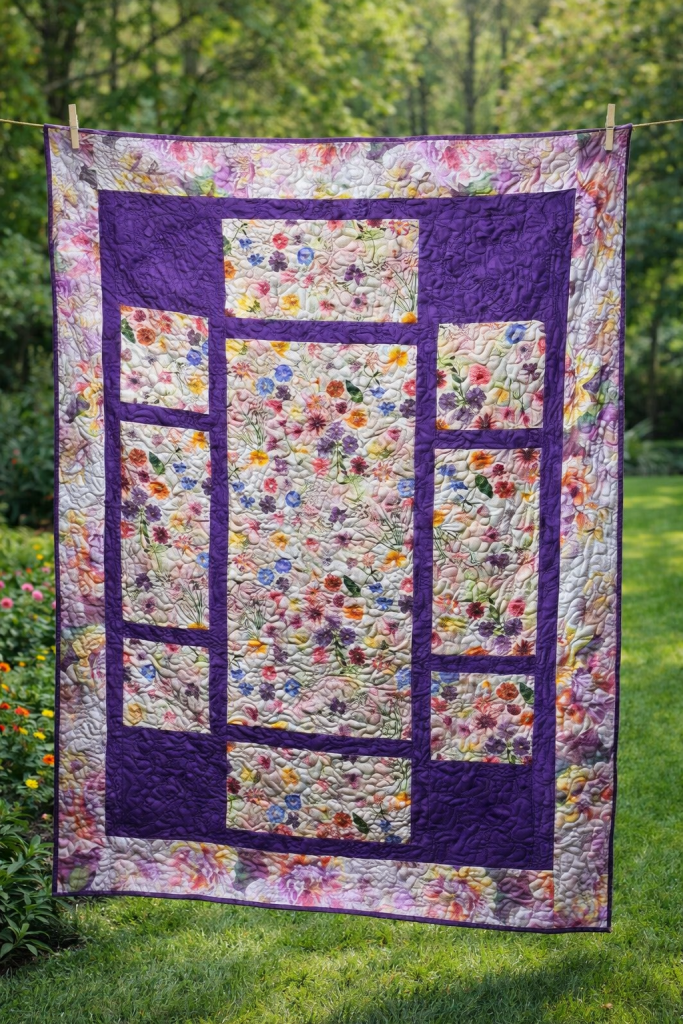
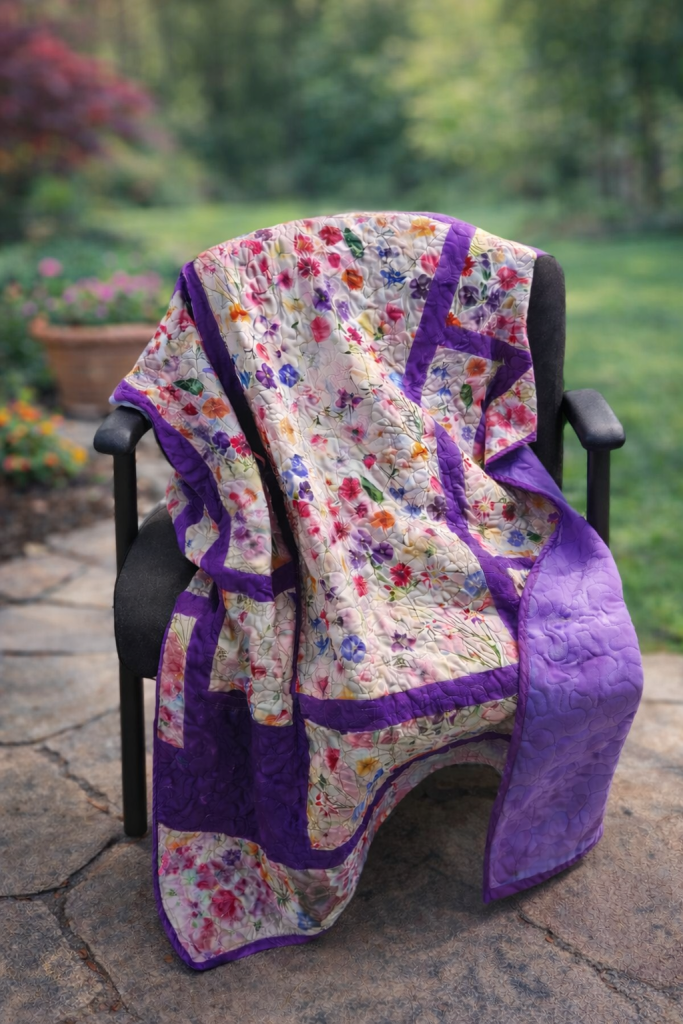
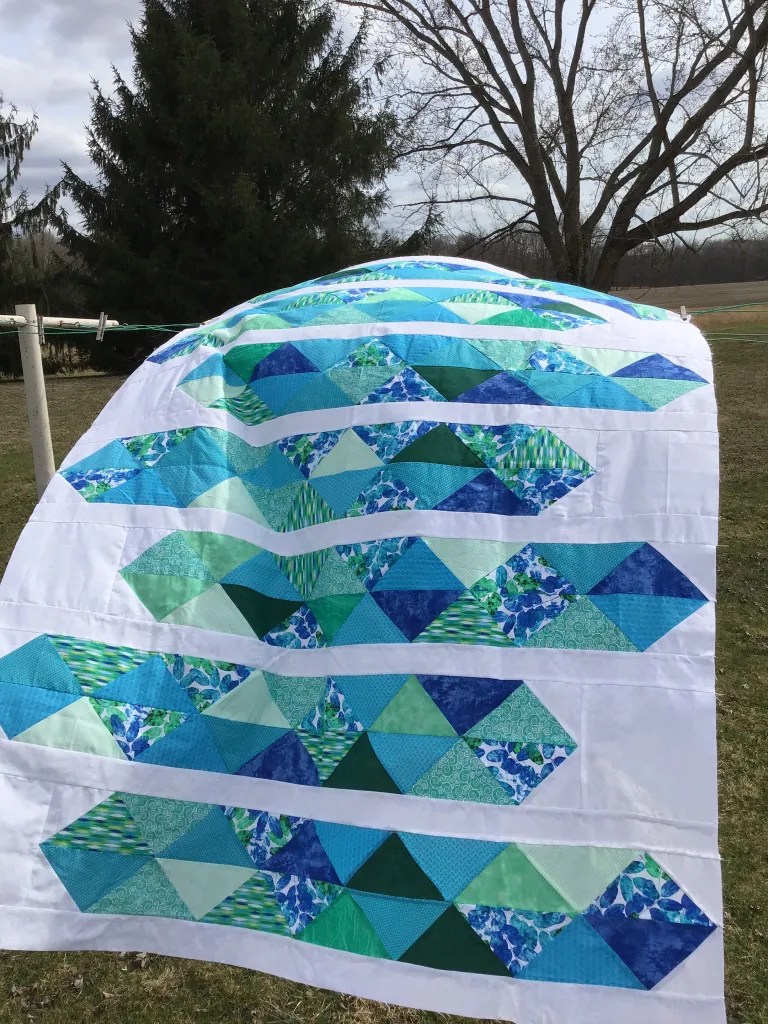
My new quilt pattern this month is called Breezy and it really is an easy breezy quilt. Grab a set of fat quarters or fat eighths and a background fabric and this quilt practically makes itself!
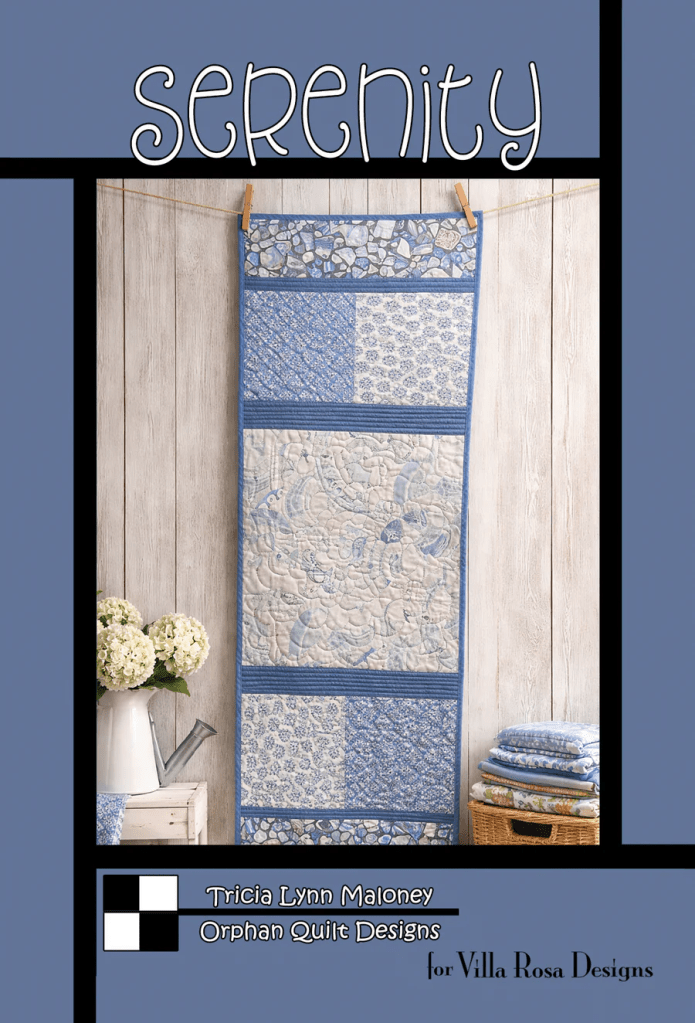
Next up are the Accessory patterns for June!
Get the digital pattern HERE or the print pattern HERE
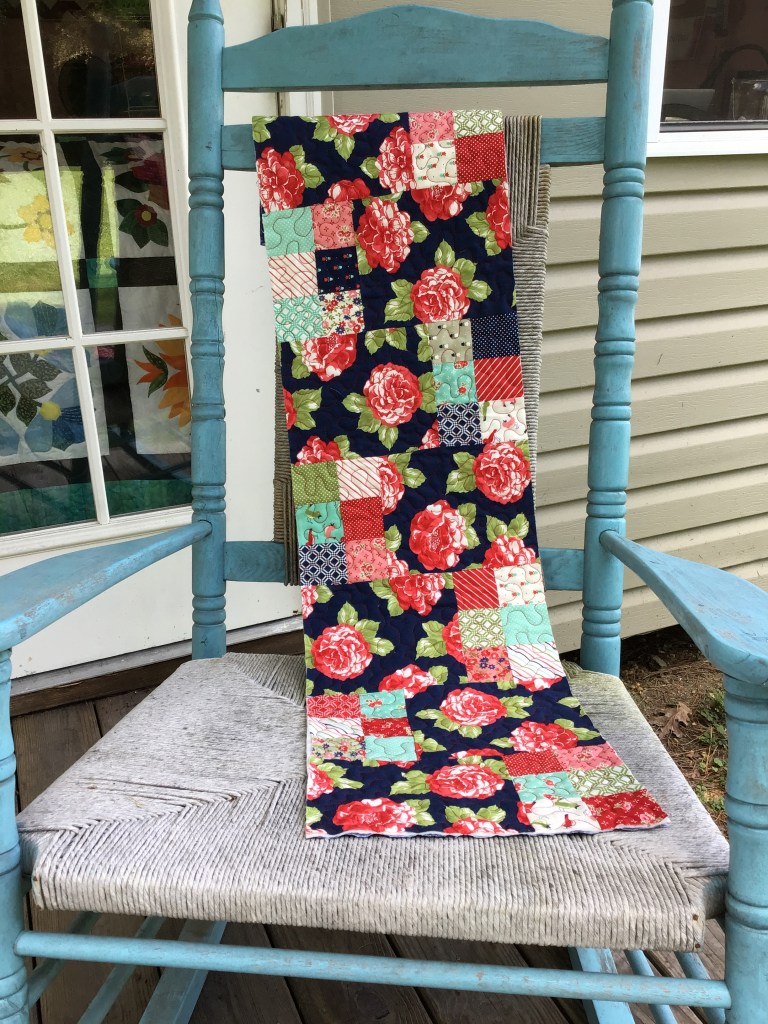
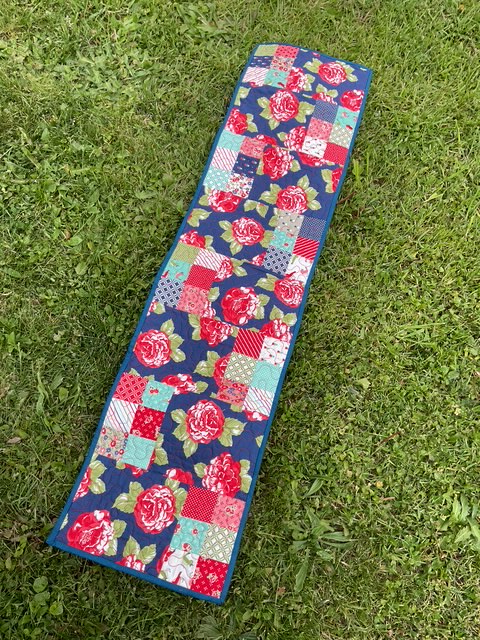
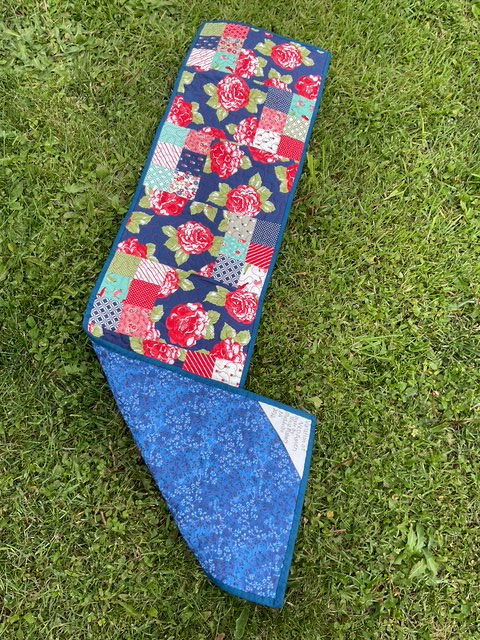
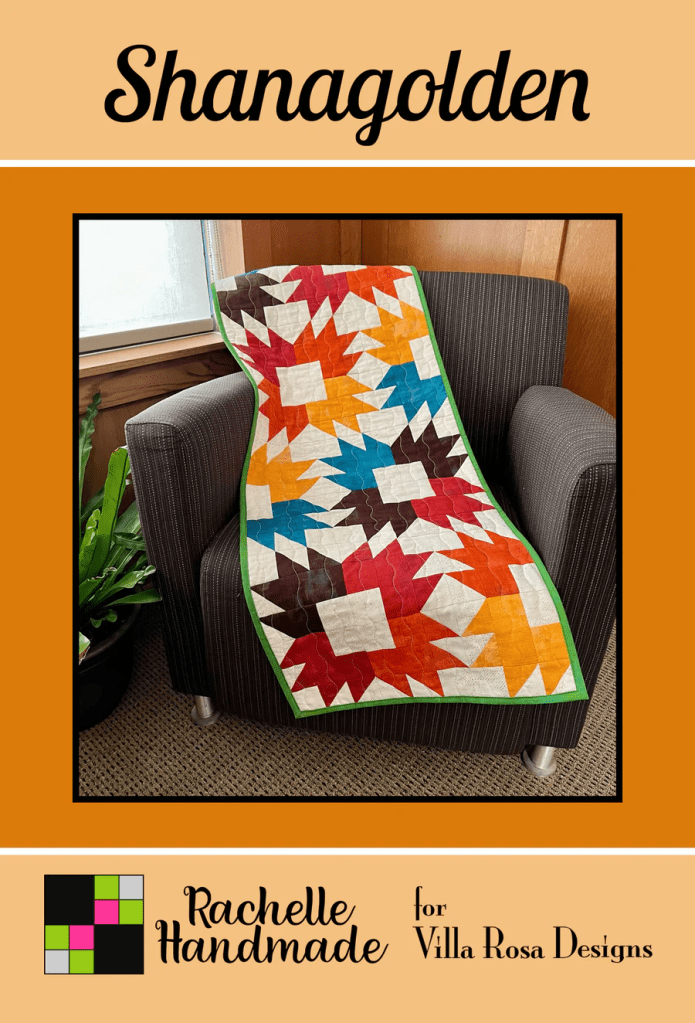
Rachelle’s second pattern this month is this cool table runner, Shannagolden. It’s another fat quarter friendly pattern and I can just imagine it in red, white, and blue. I think it would look like fireworks!
Get your digital pattern HERE or your print pattern HERE
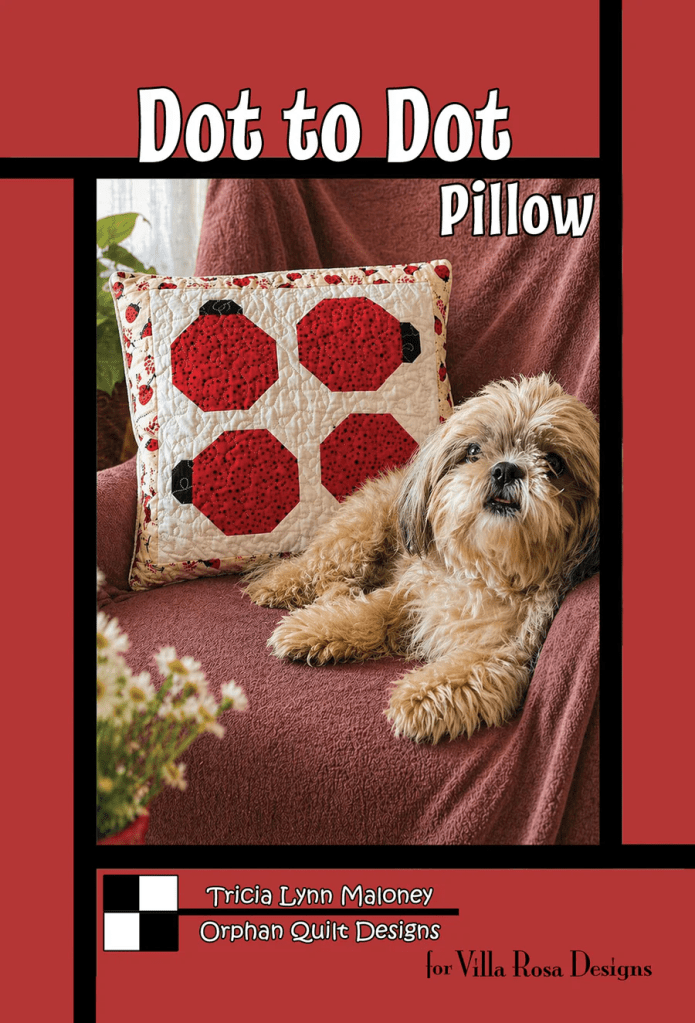
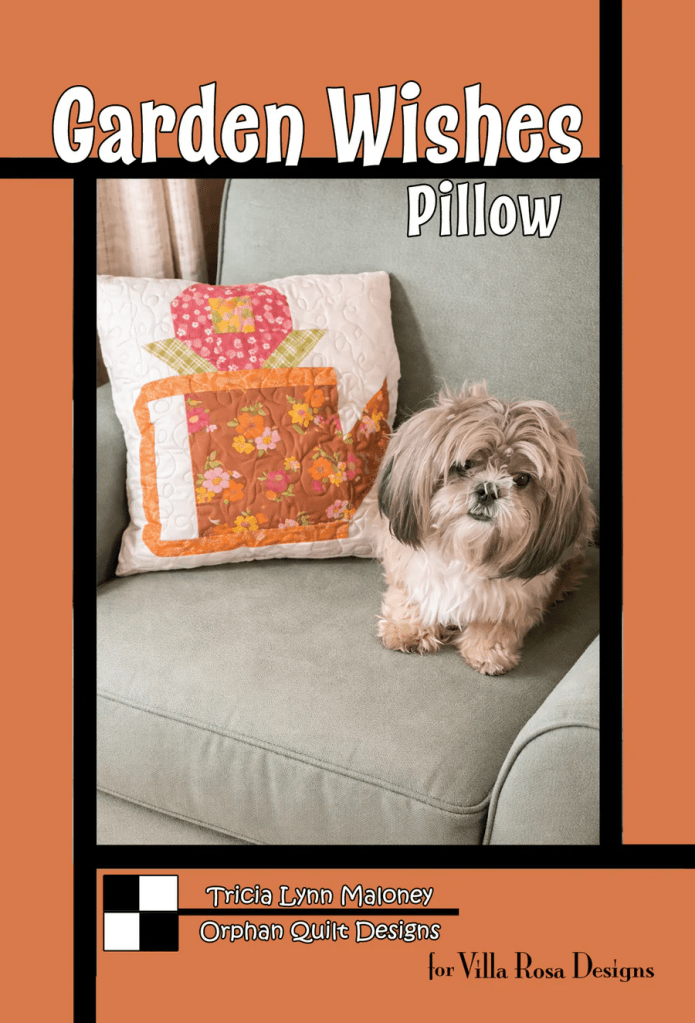
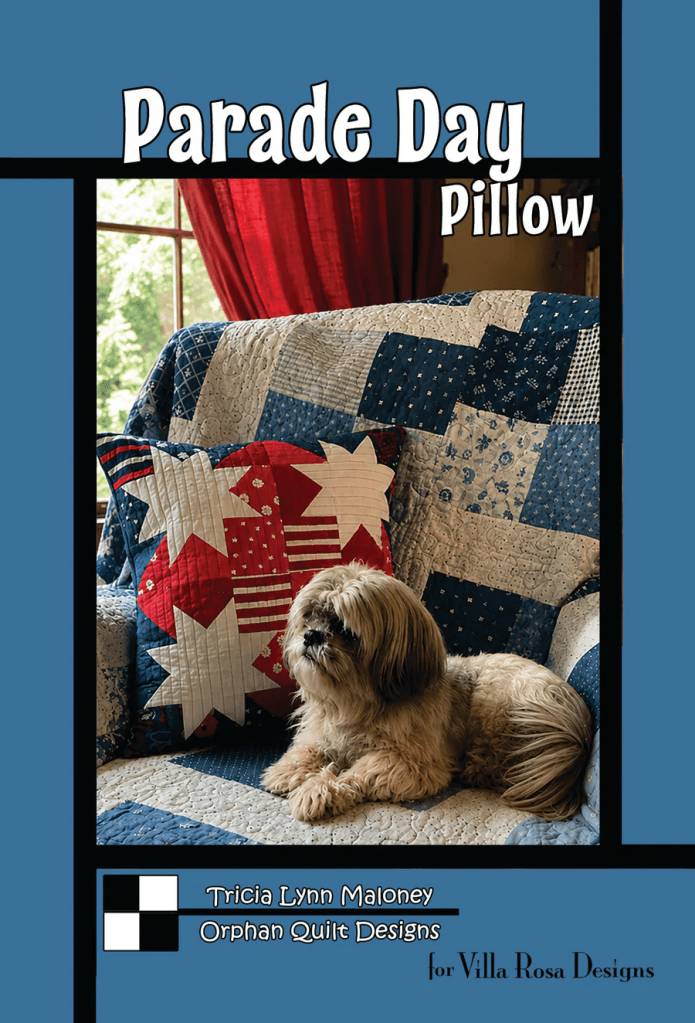
Last but certainly not least is my June pillow pattern, Parade Day. I really love the bold red, white, and blue fabrics – it’s charm square friendly so grab your favorite patriotic charms and get started on this great pillow. And there is little Miss Bailly posing beautifully like the little queen that she is. You might even recognize the quilt on the chair – it’s my VRD Farmhouse Blues quilt. It provided such a great backdrop for both the Parade Day Pillow and Bailly. You can find the Farmhouse Blues digital pattern HERE or the print pattern HERE.
I’m really getting my red, white, and blue on right now and I think any of this month’s quilts would be wonderful in patriotic colors. Time to get busy making those quilts in anticipation to all of the awesome events happening in July to celebrate the 250th birthday of the Declaration of Independence!
Quilt Show Wrap Up
Now I’m going to finish last week’s post about my quilt show trip, so if you missed the beginning of the post last week, you can check it out HERE.
I stopped last week right after the slide show of quilts that inspired me at the All Hands Around Erie Quilt Show because I took my Dad to the Emergency Room and I never got back to my computer. He is hanging in there, but he still has an awful cough a week later. Ugh.
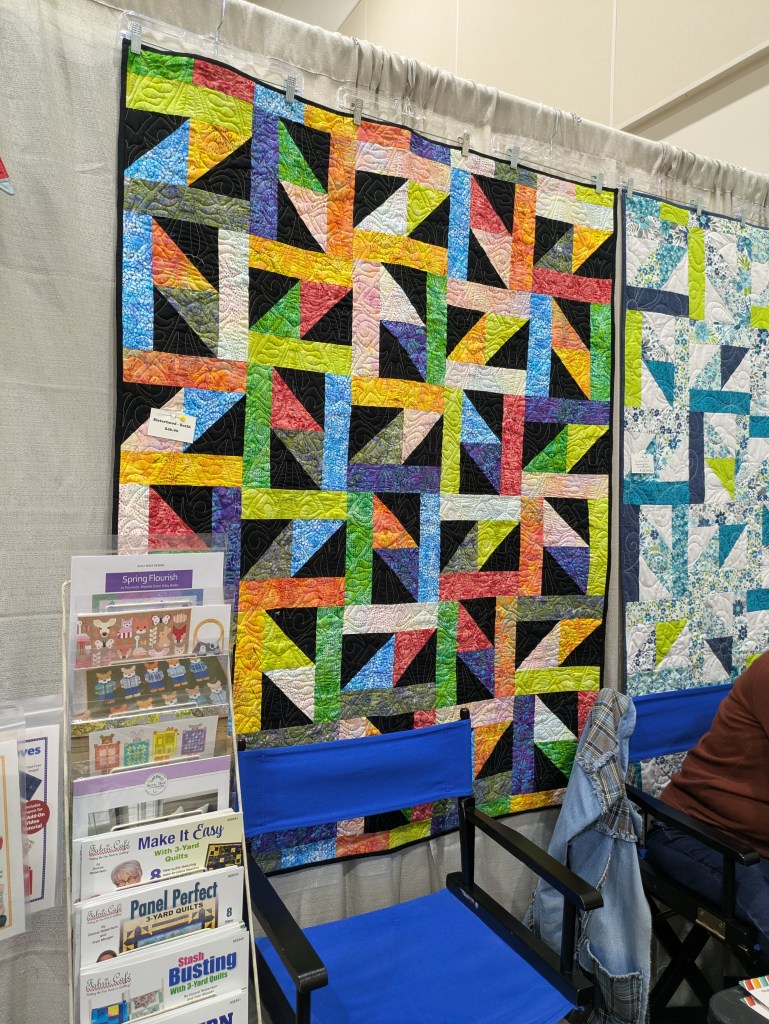
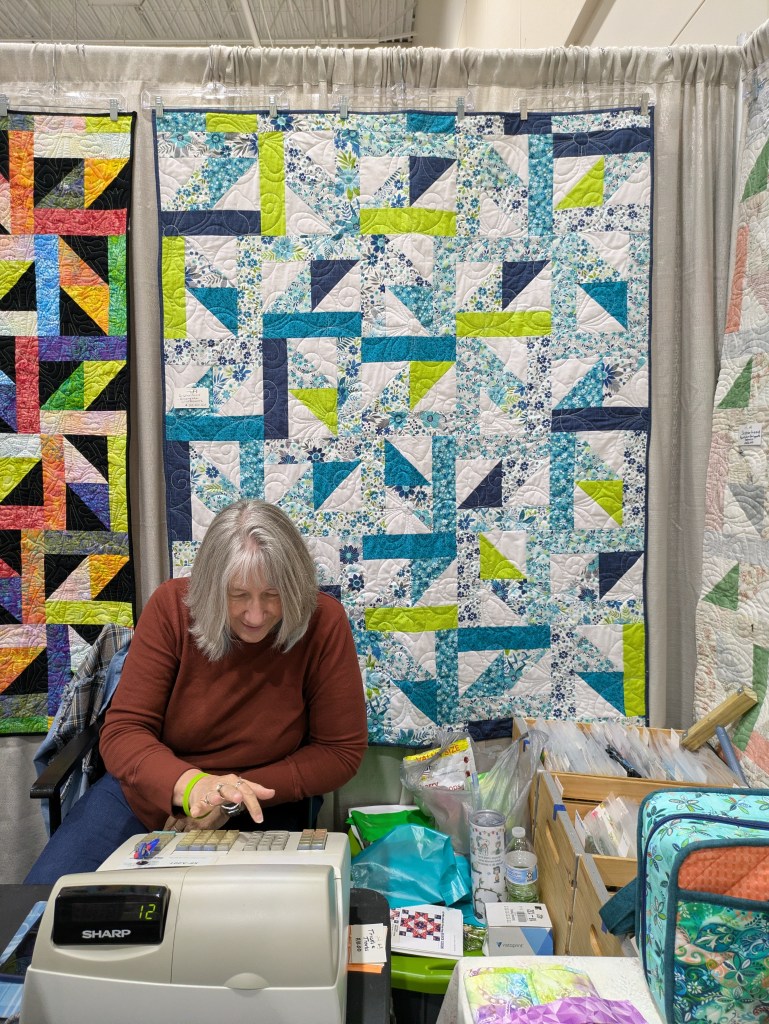
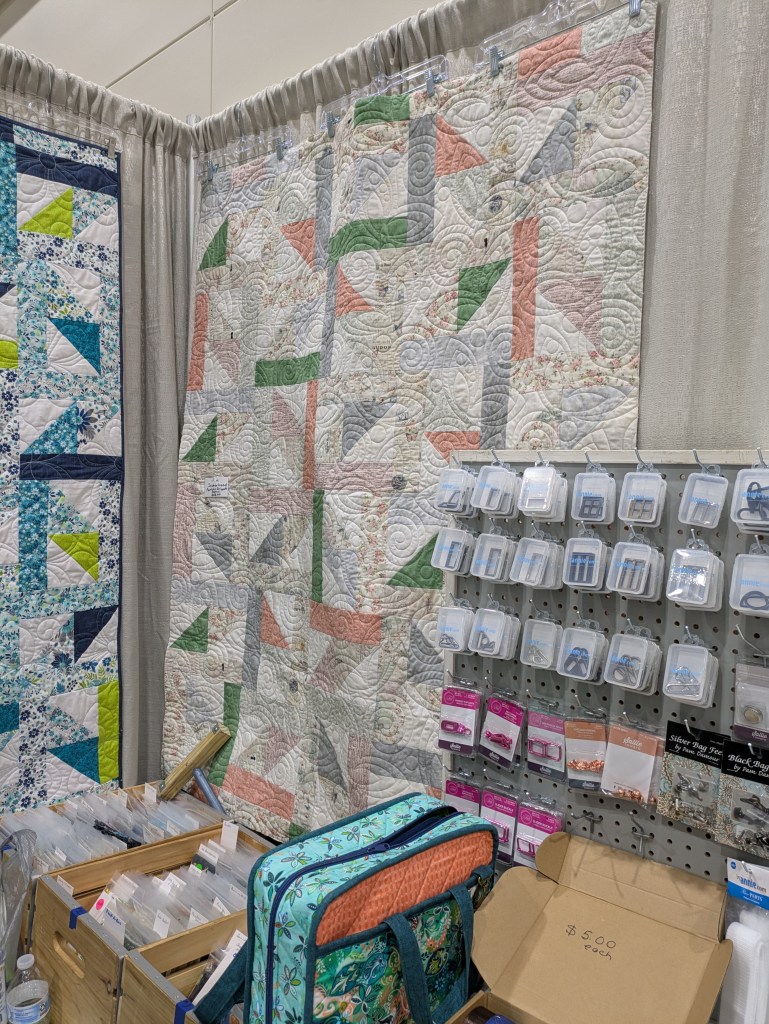
Anyway, I wanted to tell you about the vendors at the show. Many of them had VRD patterns and kits. Yay! My local shops were vending so it was great to catch up with them and to visit with some new-to-me ones, too.
One of my local shops, Quilter’s Cupboard, had – not one Sisterhood sample and kit available – but three totally different options! Wow! They just love VRD there. So, a big shout out to Shirley and Brenda at Quilter’s Cupboard!
Sisterhood digital pattern HERE or print pattern HERE
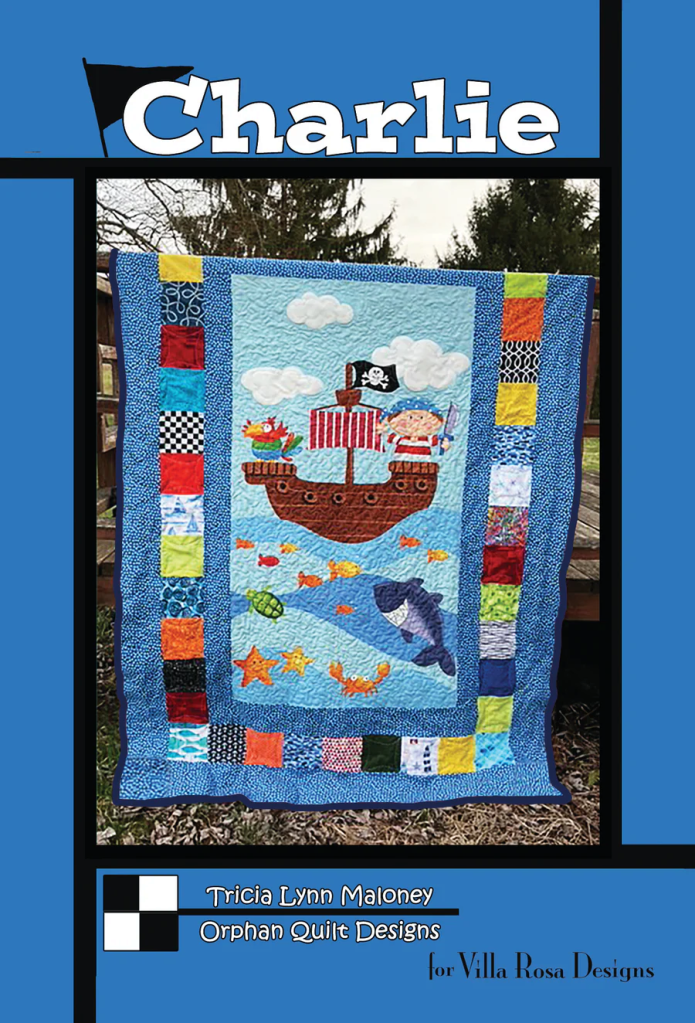
Another of my local shops, Fox’s Sew and Vac was there vending, too. They always have tons of great stuff and offer VRD patterns and kits. I bought a really cool panel to make a bucket hat at their booth. I spied this Addison at Fox’s booth. Big Howdy going out to my friends at Fox’s!
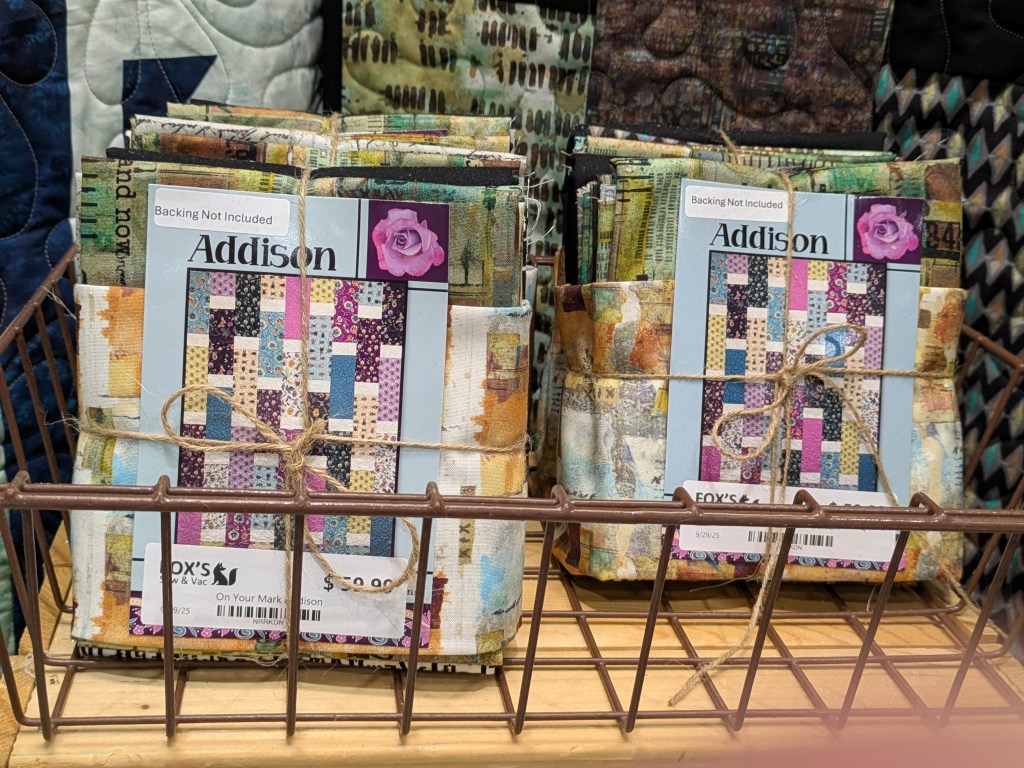
Addison digital pattern HERE or print pattern HERE
Detzel’s Sewing Center was there too. It’s also a local shop and I must admit, I haven’t been there. It used to be only sewing machines, but they have expanded and are continuing to expand. They had lots of VRD kits in their booth! I was totally delighted to see some of mine and introduced myself. I met Cathy and we really hit it off and now she’s reserved July 25th and 26th for their Christmas in July event. Now we just have to figure out what we are doing. LOL! So a huge huge HELLO! goes out to my new friends at Detzel’s.
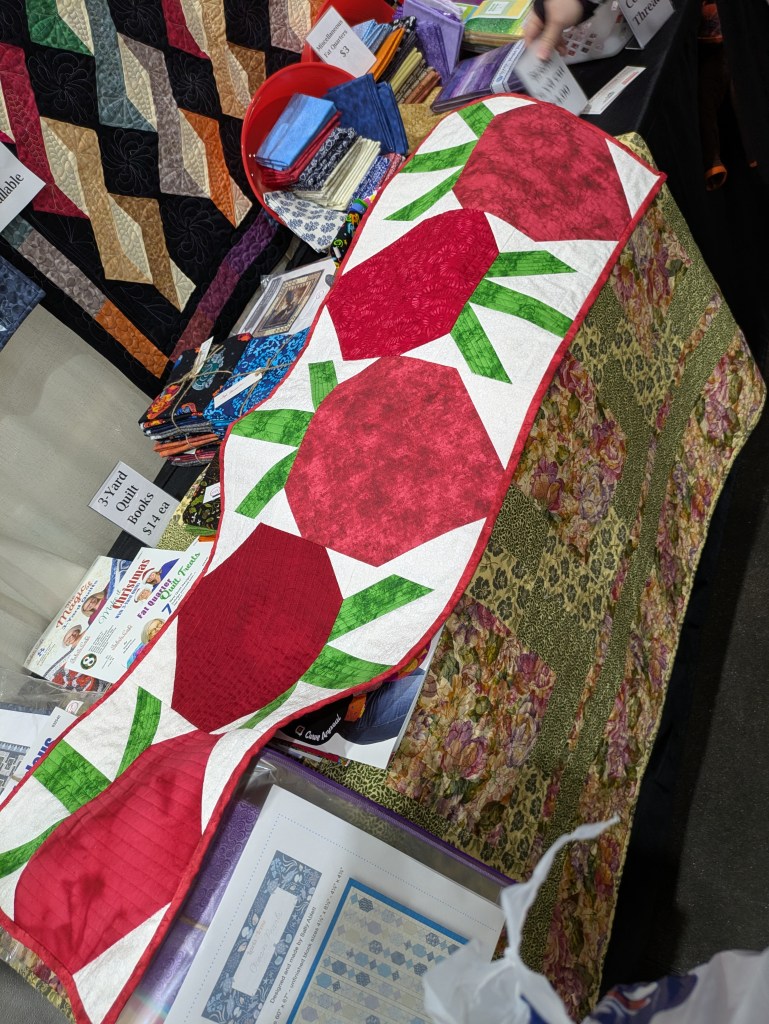
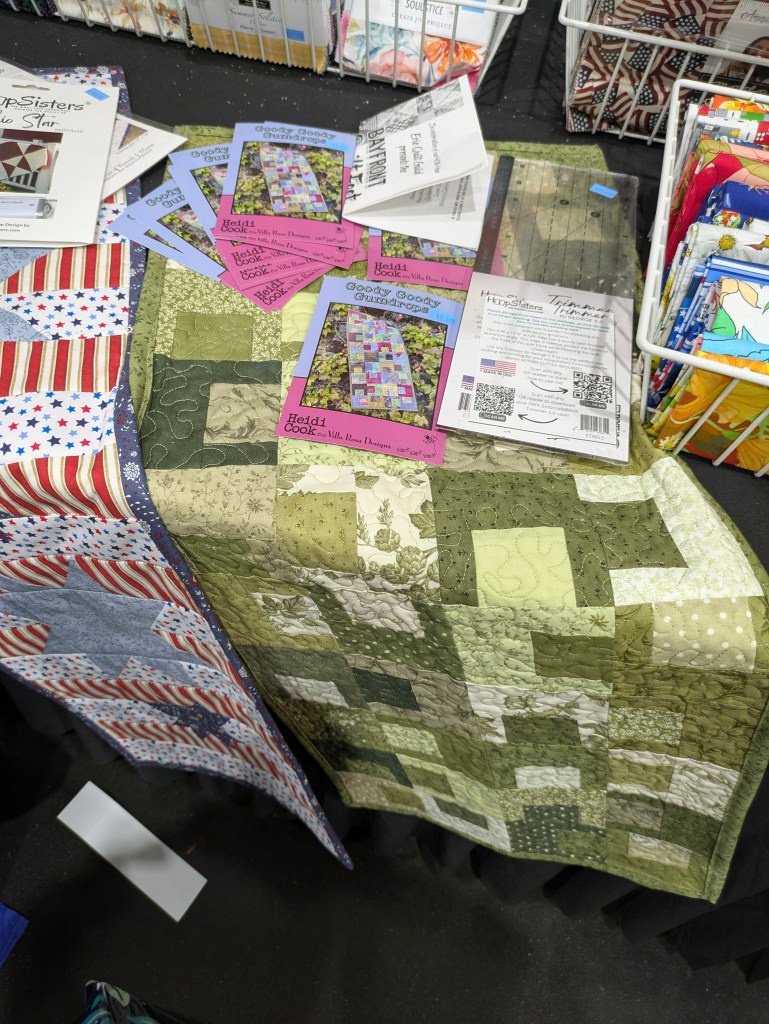
Left: Berry-liscious (digital pattern HERE or print pattern HERE)
Center: Independence Day Snack Mat (digital pattern HERE or print pattern HERE)
Right: Goody Goody Gumdrops (digital pattern HERE or print pattern HERE)
Basically, the shopping was awesome!
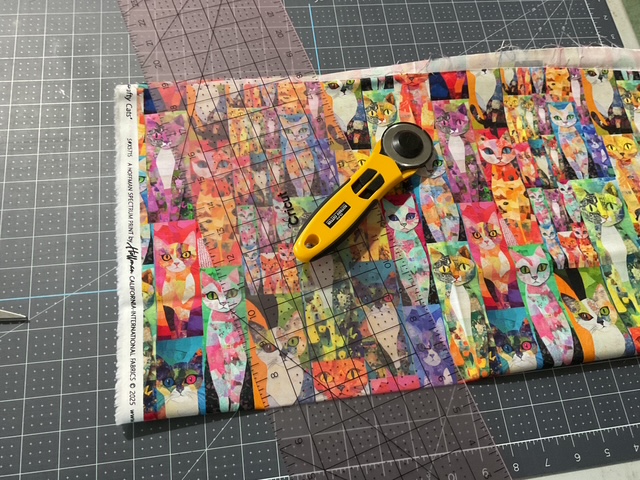
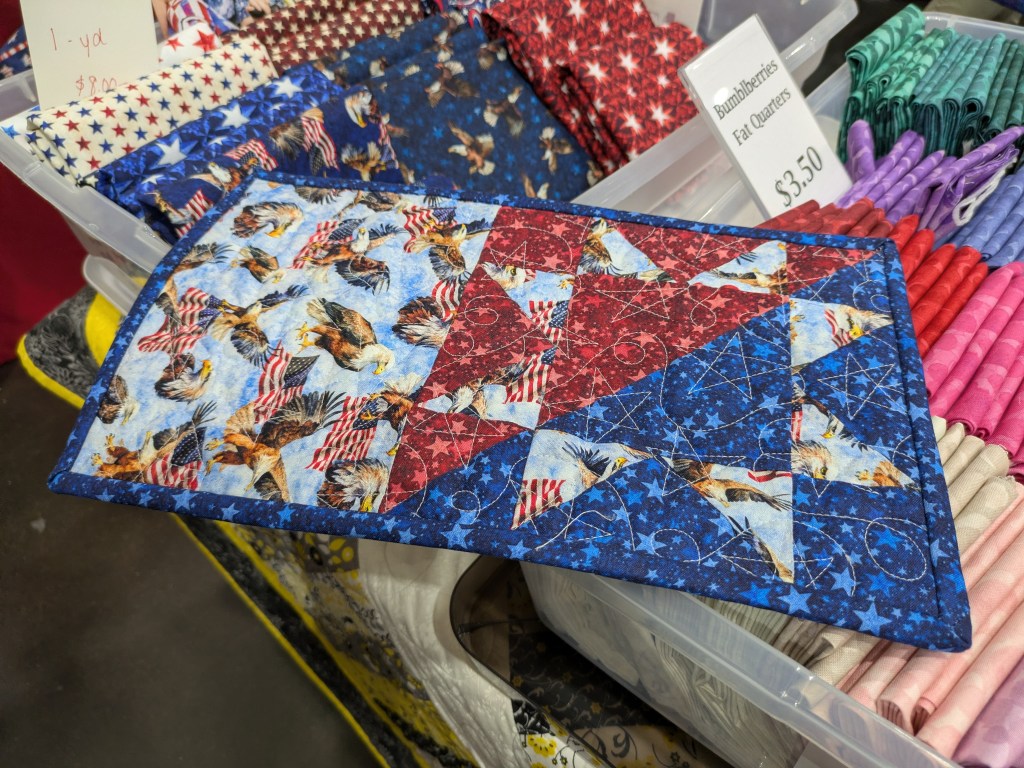
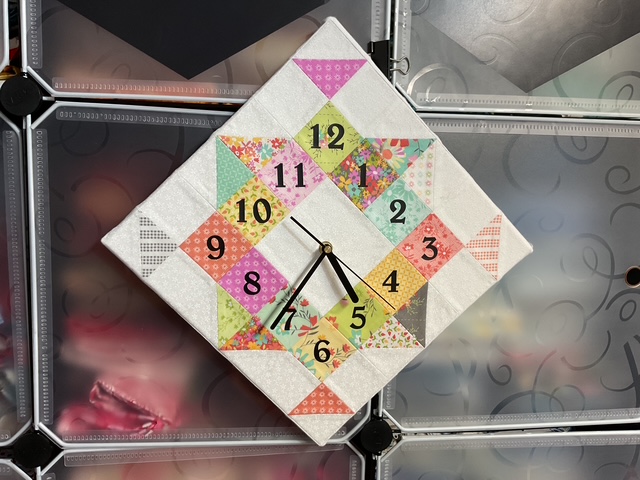
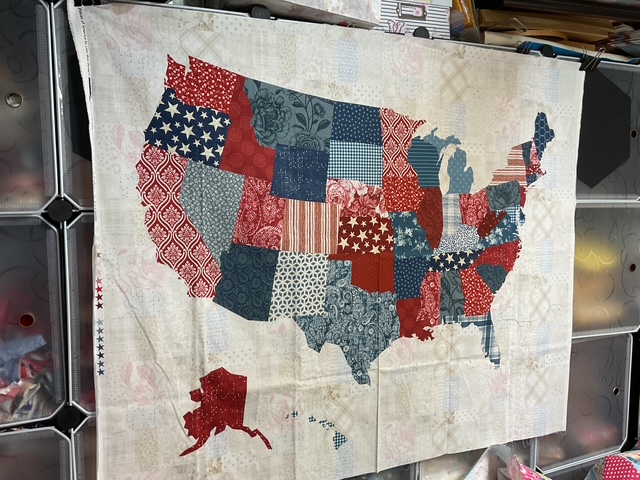
Here’s what I bought at the show – a one of a kind quilt clock, a quilty USA panel, a fun pot holder pattern, Minki Kim pouch panel, and the bucket hat panel.
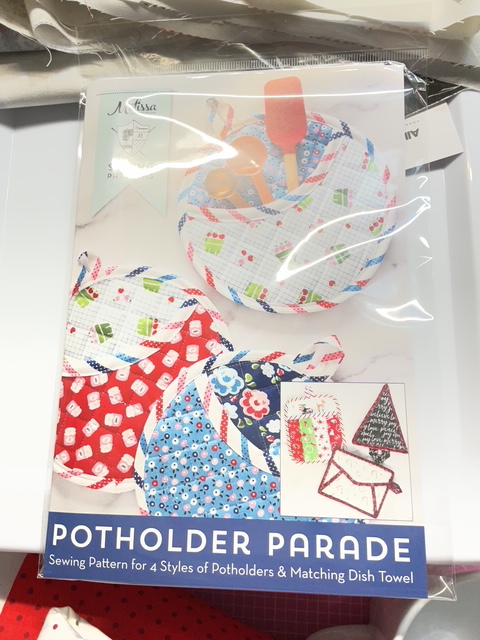
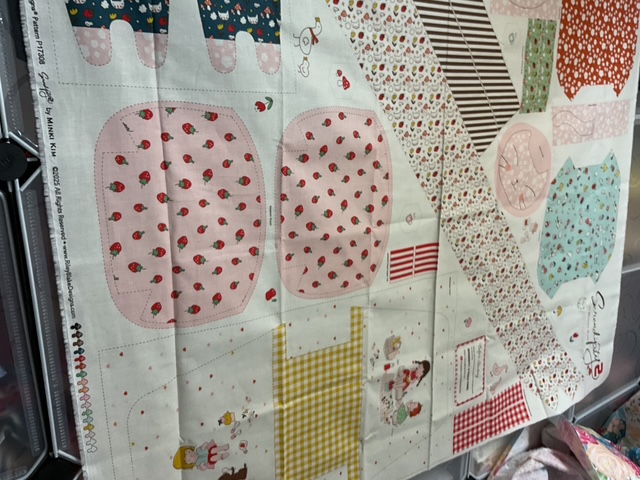
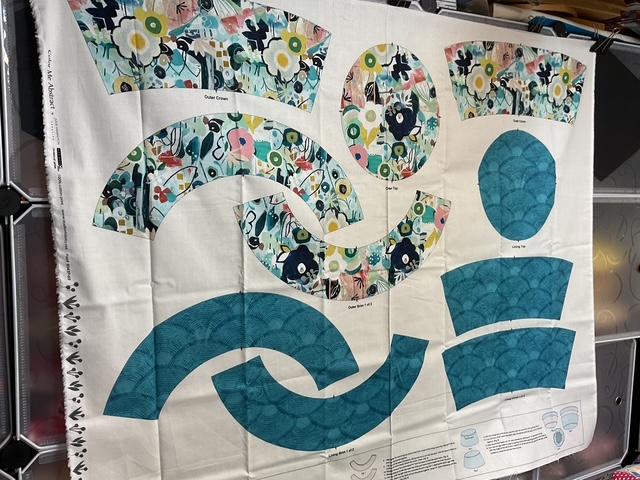
I’m really interested in what is going on with panels these days – pouches, hats, toys, etc. give sewists and quilters a lot of new and exciting options.
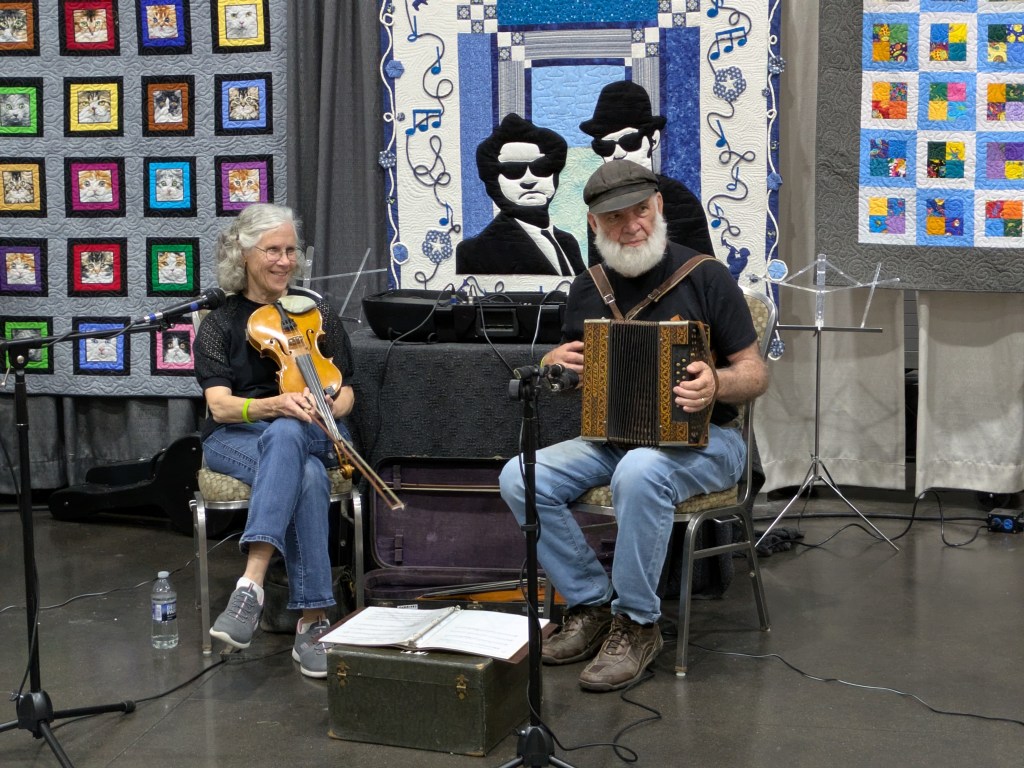
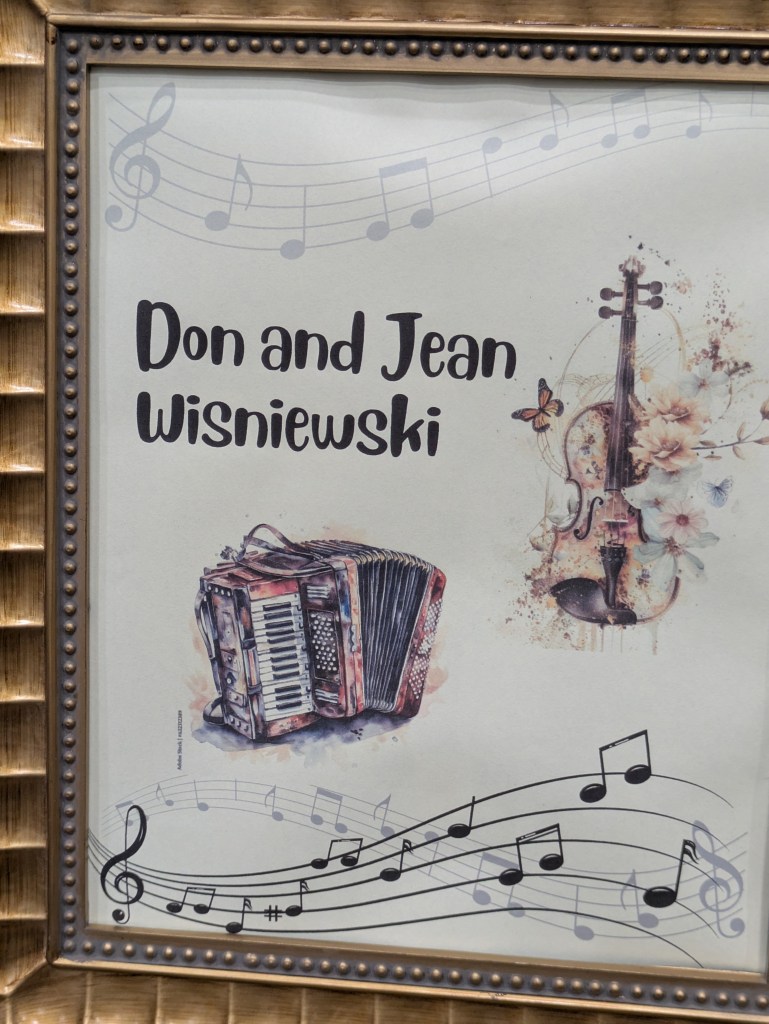
Did I mention there was live music at the show?????? I thought this was really awesome, it added another layer to the quilt show experience.
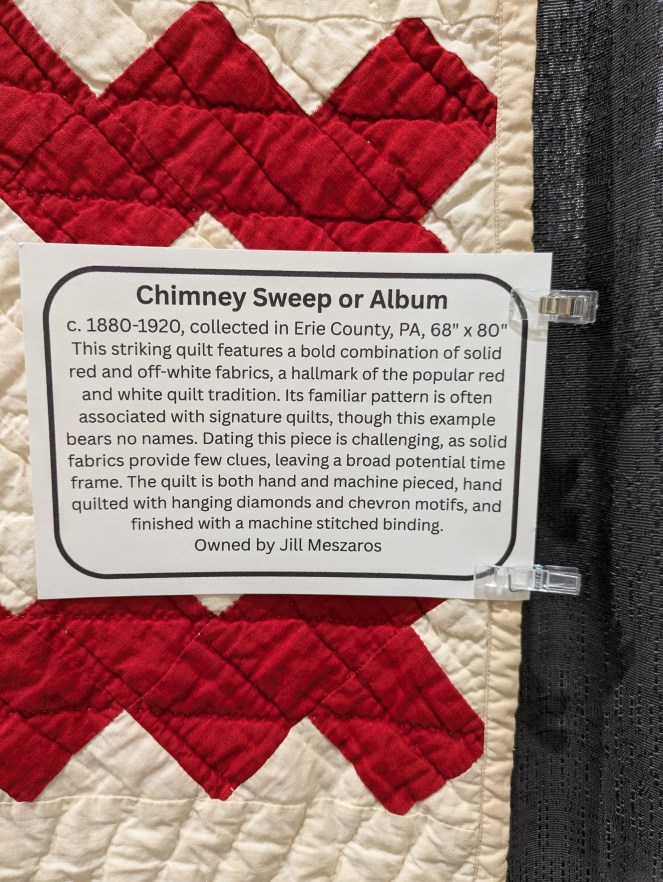
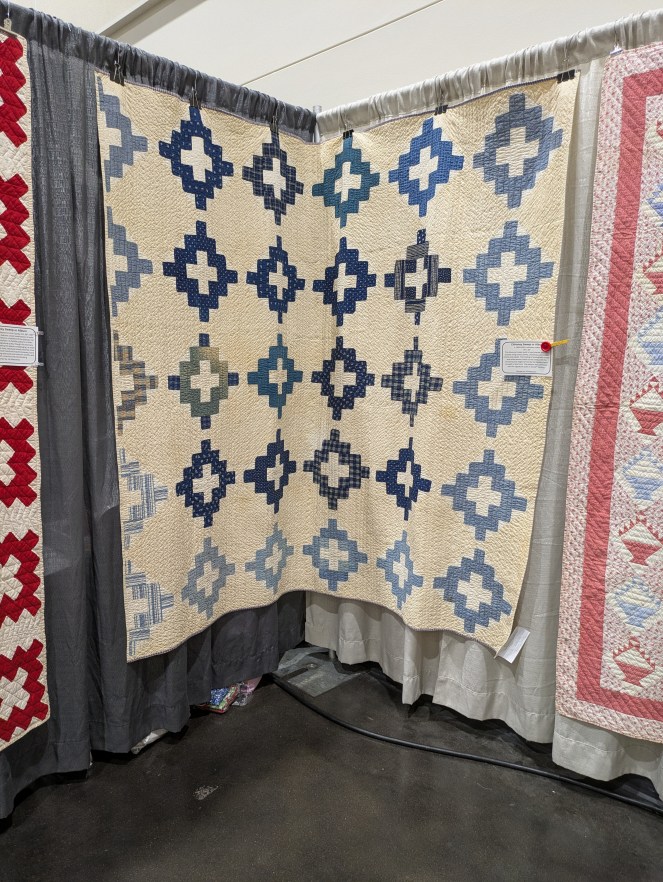
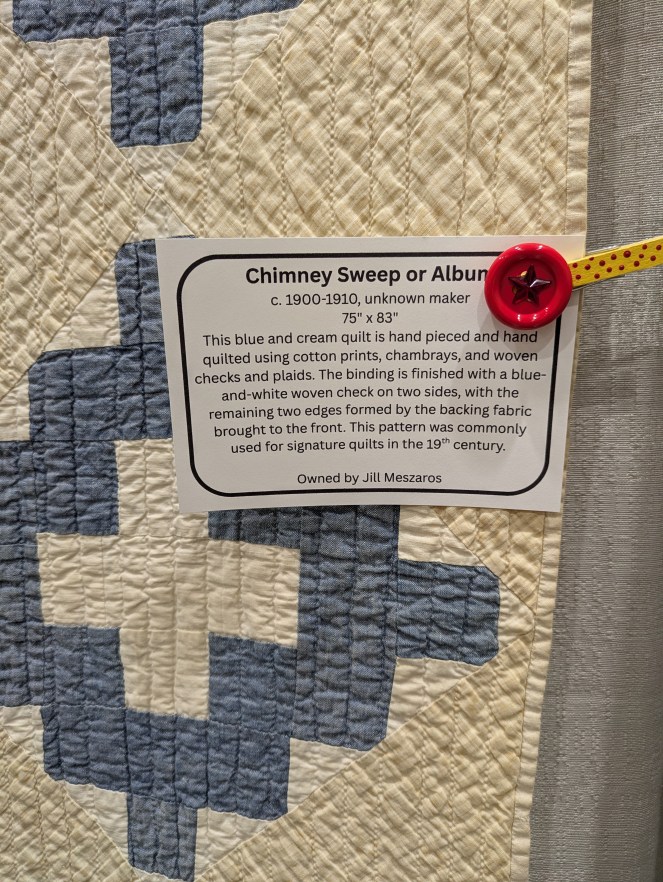
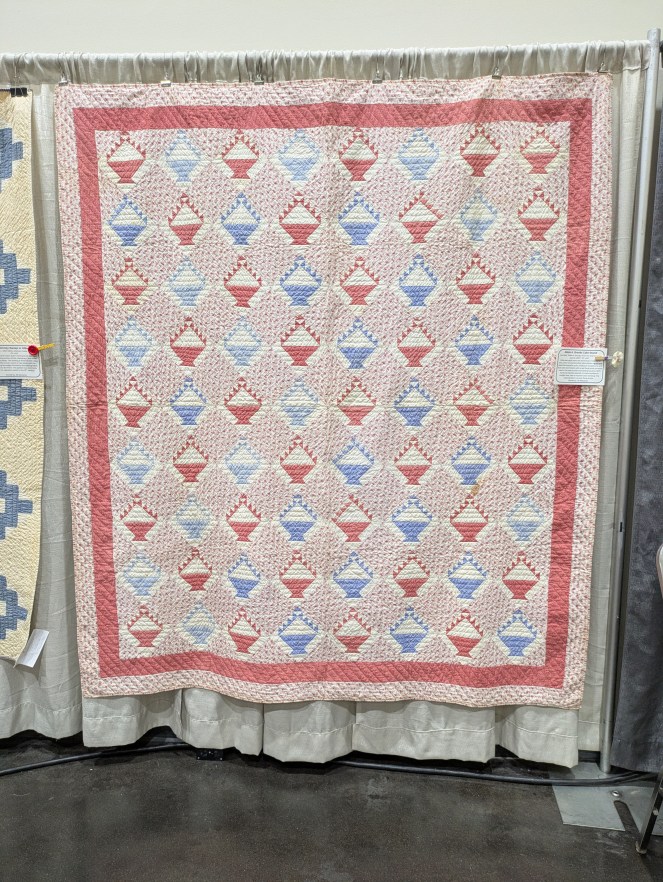
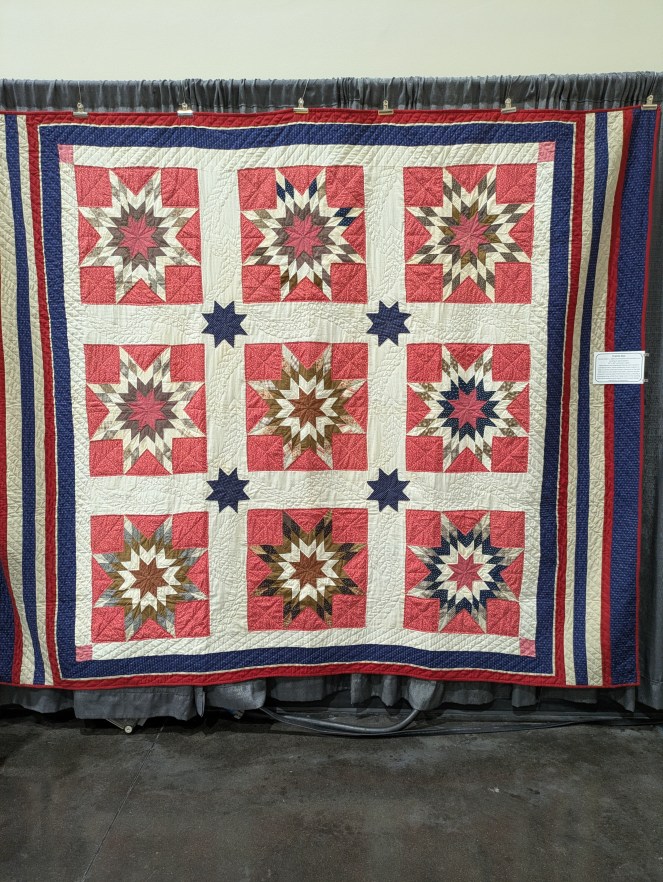
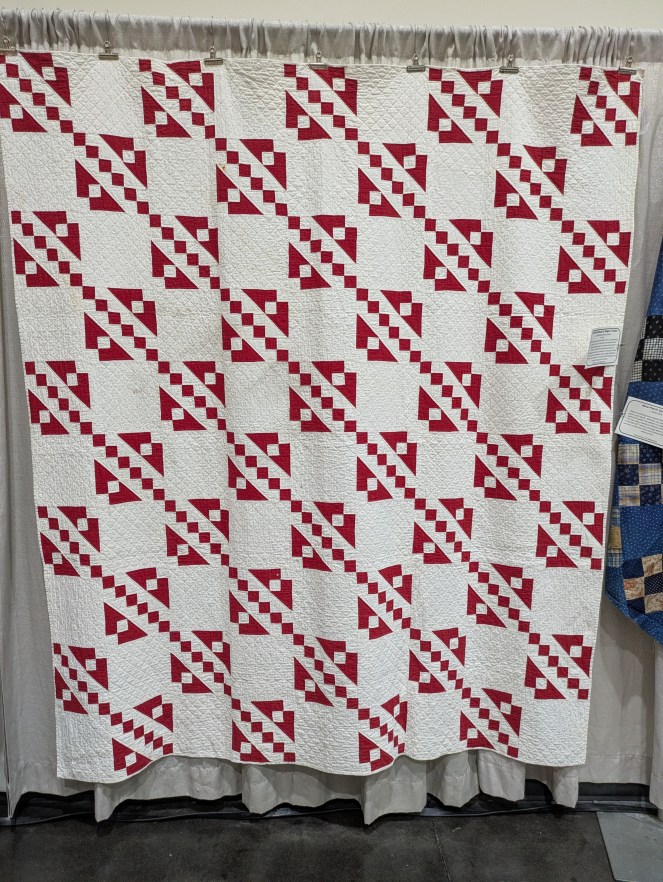
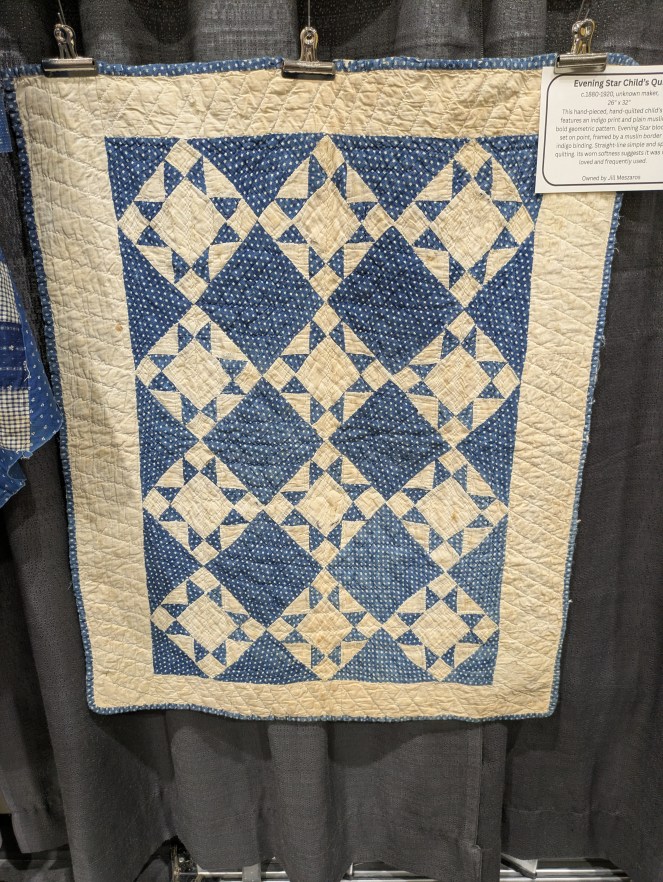
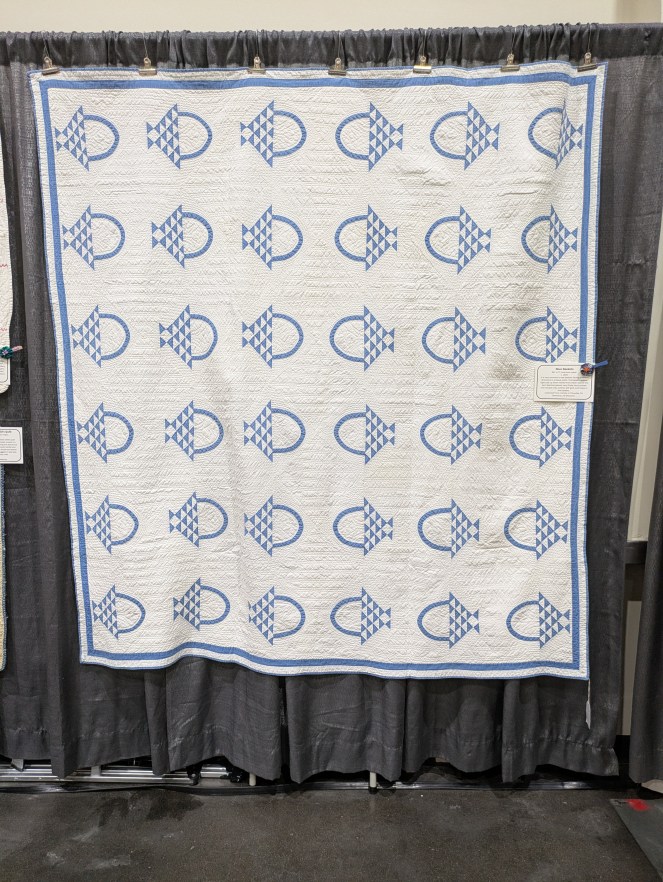
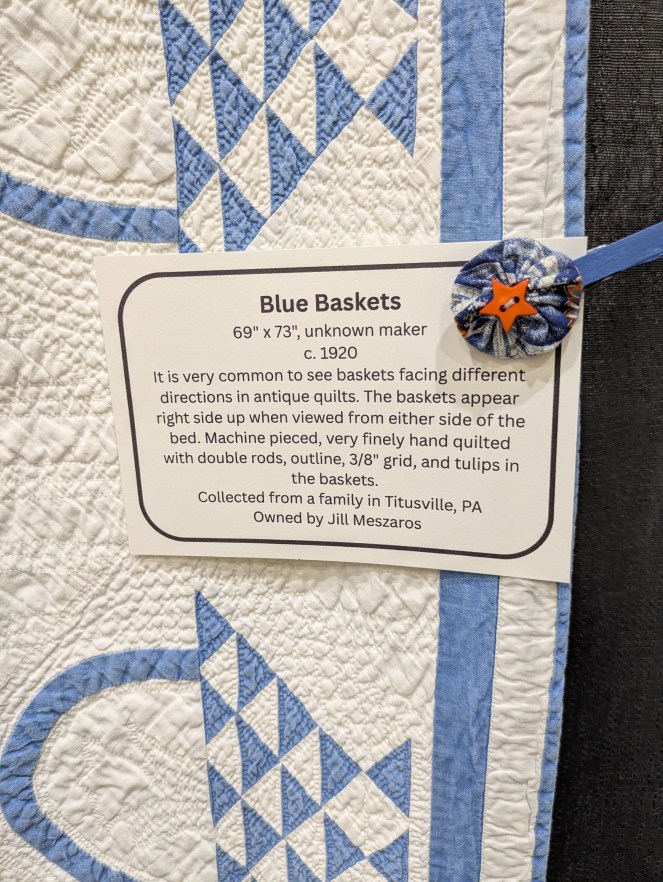
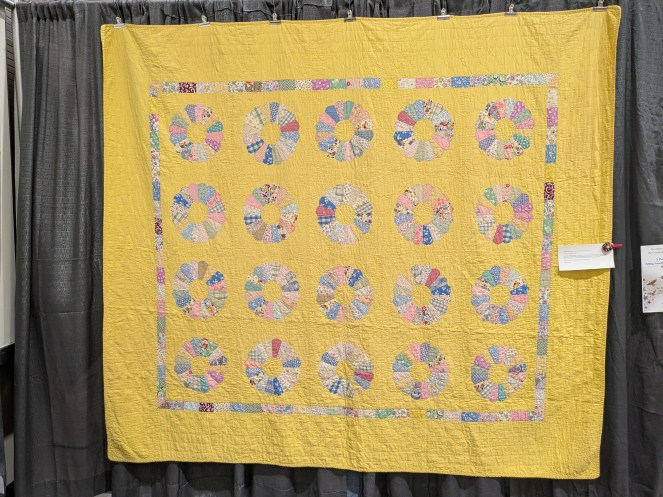
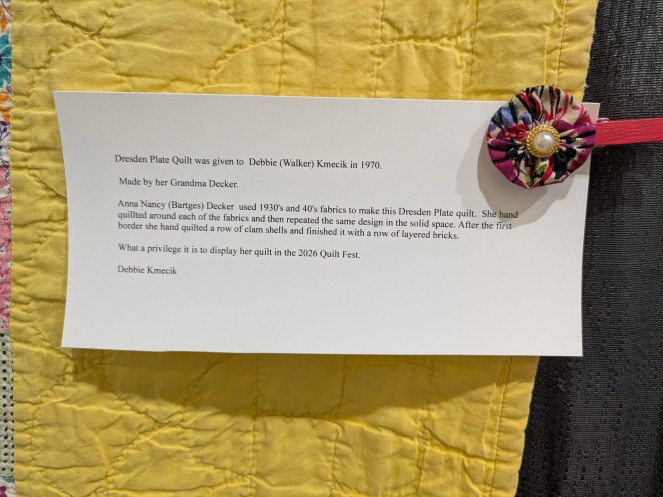
Finally, I saved one of my favorites for last…….a display of antique quilts. The display was put together by our local antique quilt expert, Jill Meszaros, who has also curated a quilt exhibit at The Baldwin Reynolds House Museum here in Meadville, PA. I haven’t gotten there yet, but it’s one of the things I have on my summer bucket list (I’ll be sure to tell you all about it when I go).
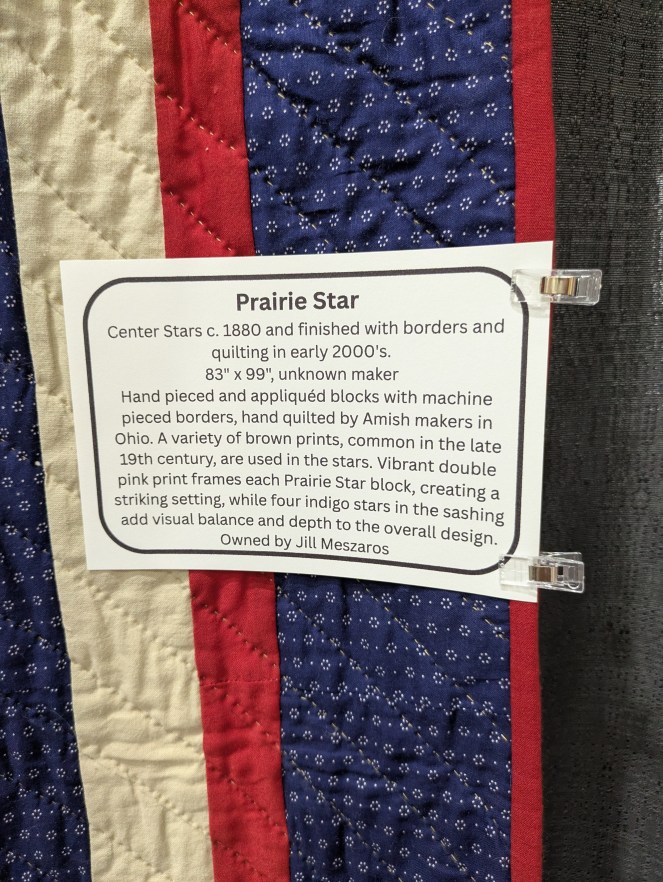
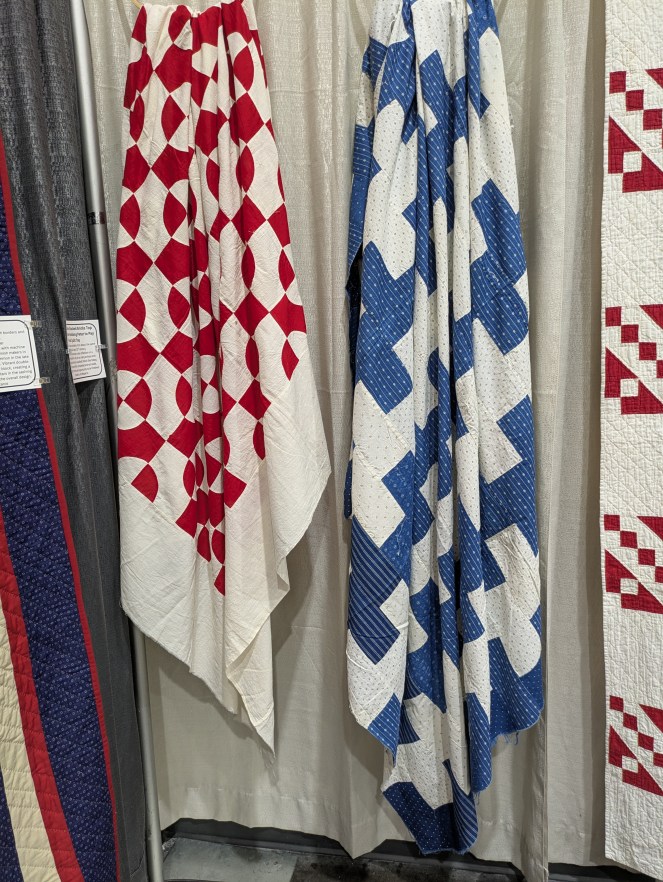
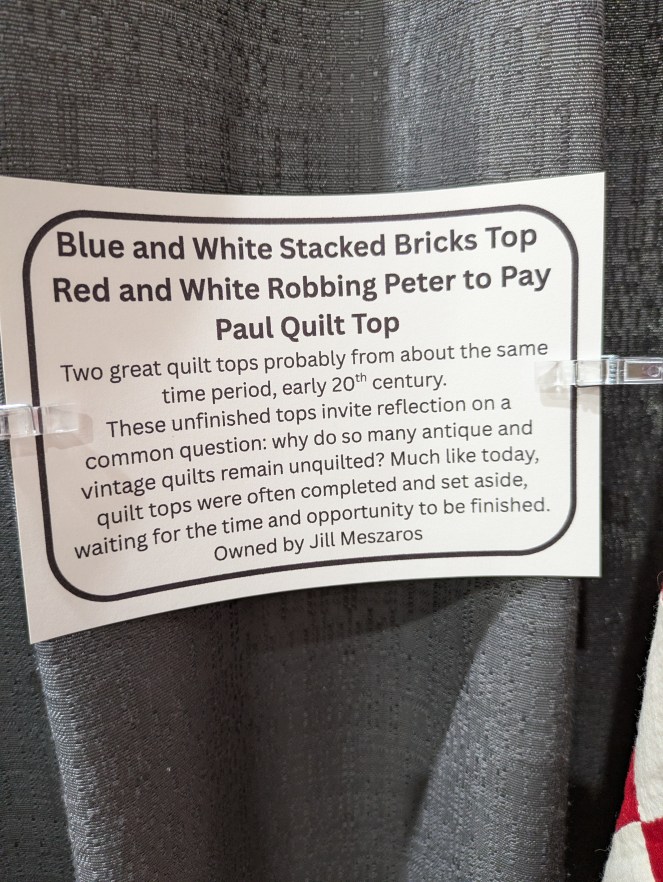
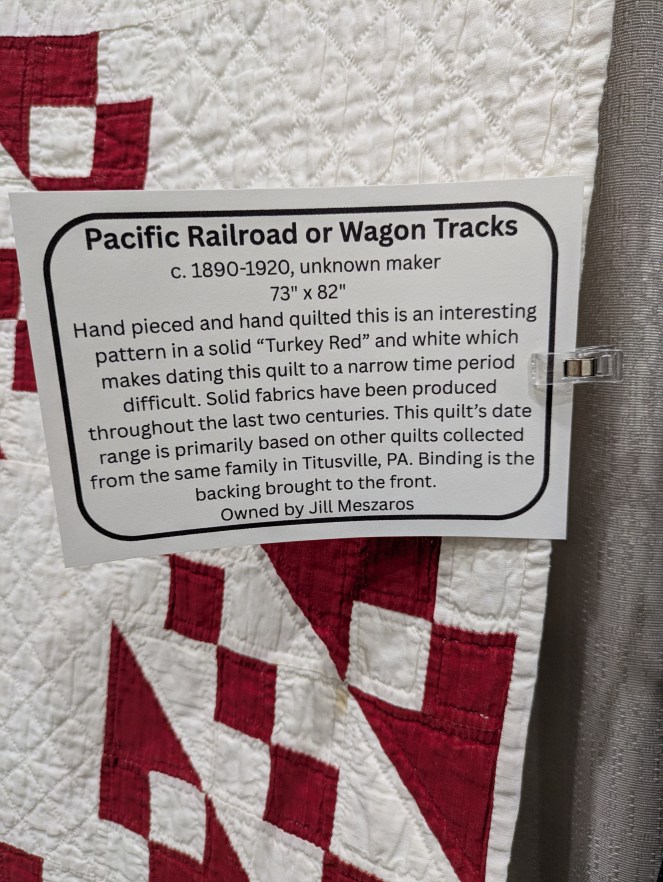
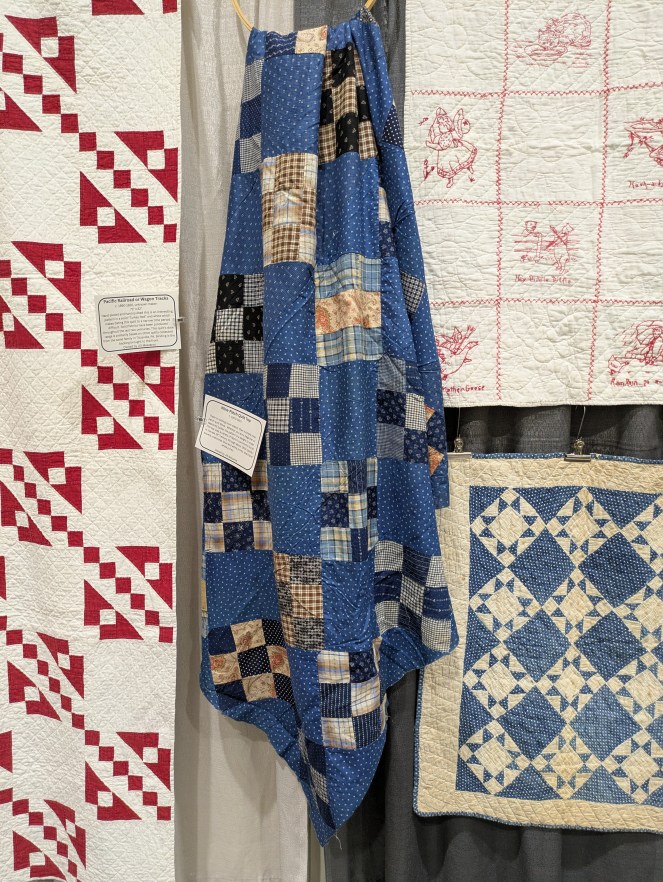
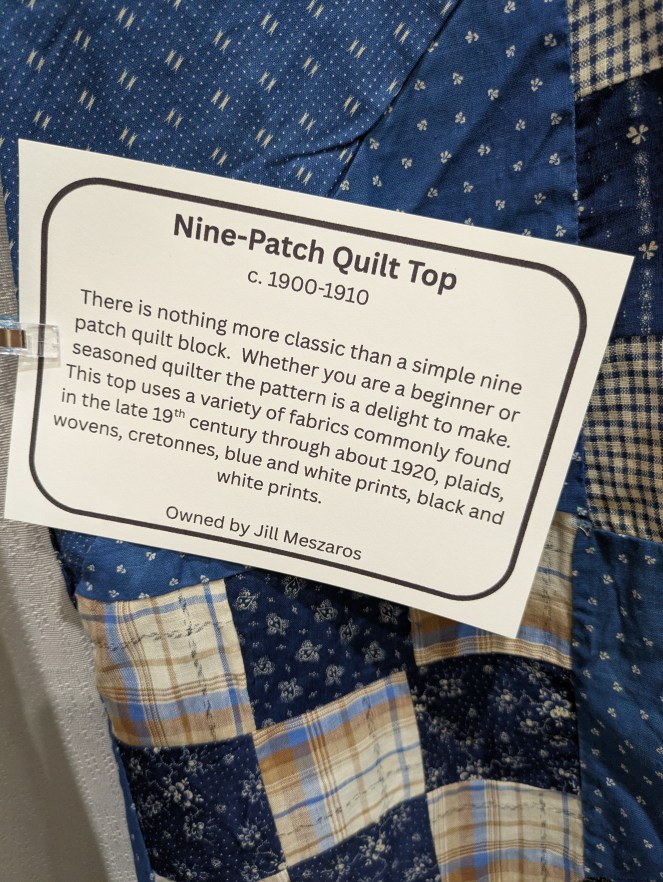
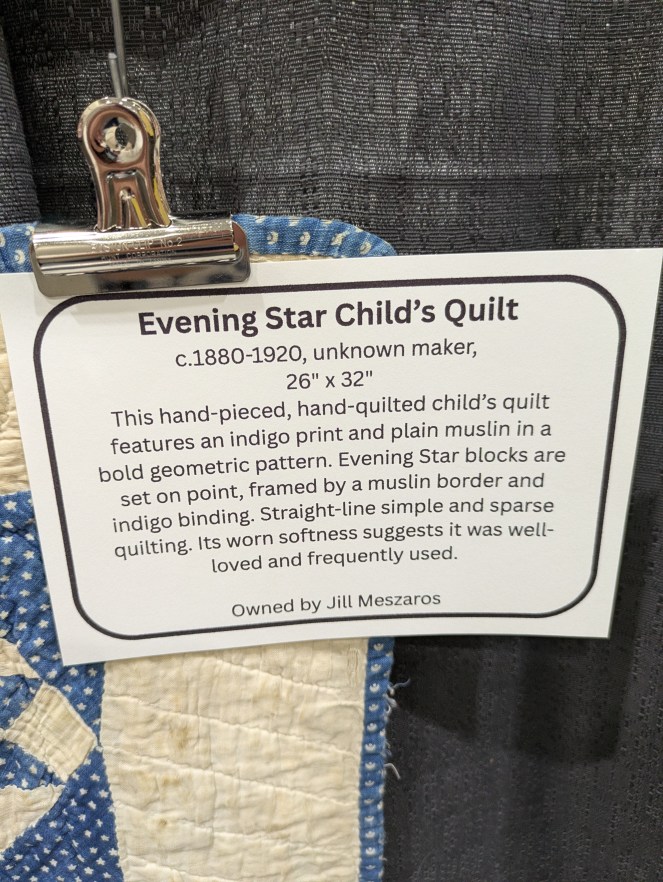
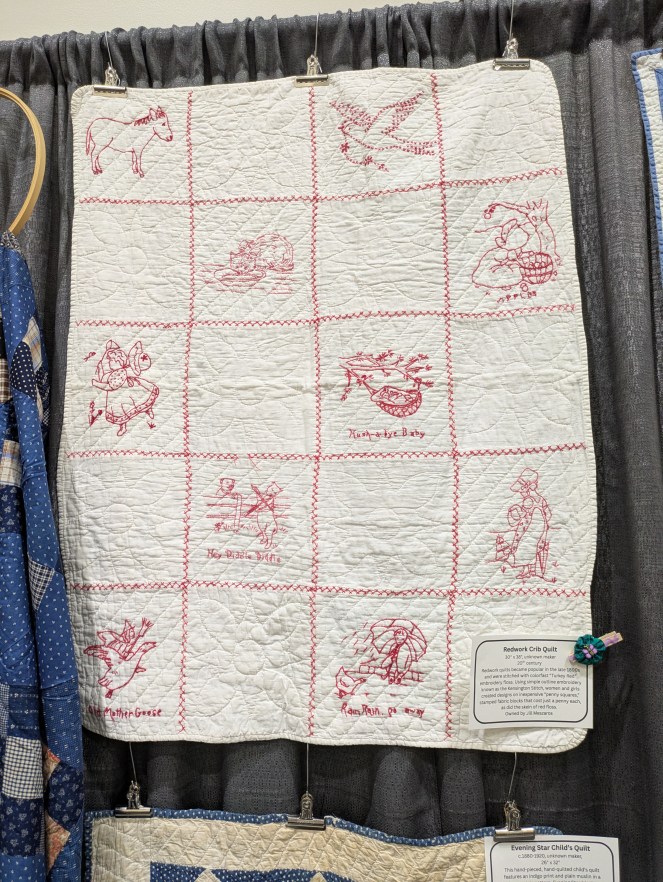
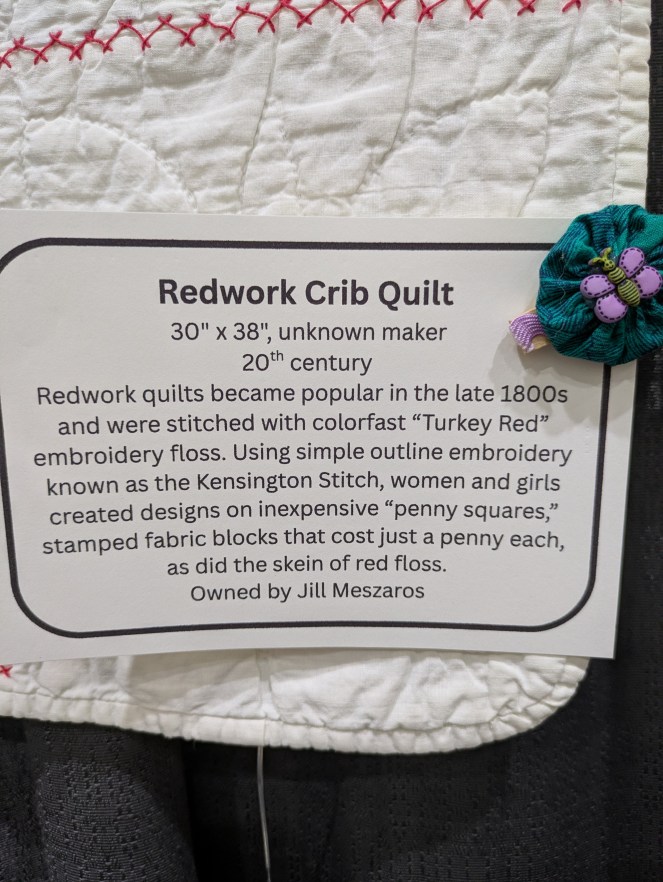
So, please enjoy this slideshow of antique quilts. The info card is after the quilt photo.


Finally! I finished last week’s post about the quilt show. Now let’s move on to our VRD Summer Challenge!
VRD Small Project Summer Challenge
Who’s up for a Summer Challenge????
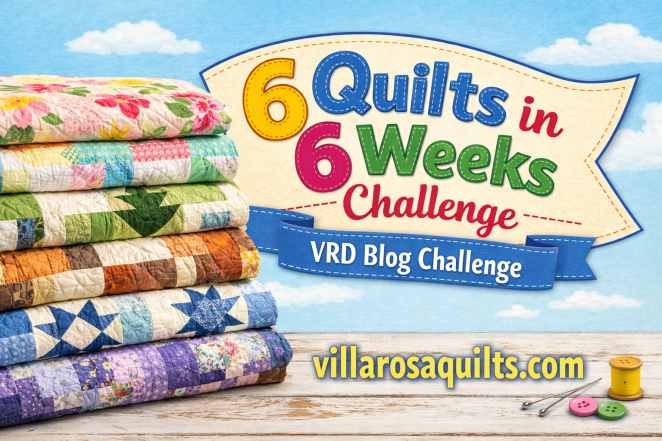
I know I am – I had a super time completing the 6 Quilts in 6 Weeks Challenge with you and I have decided I want to continue doing fun Challenges on the blog.
So……here’s the info you’ve been waiting for……..
VRD Small Project Summer Challenge
The Rules and All the Details of the Challenge:
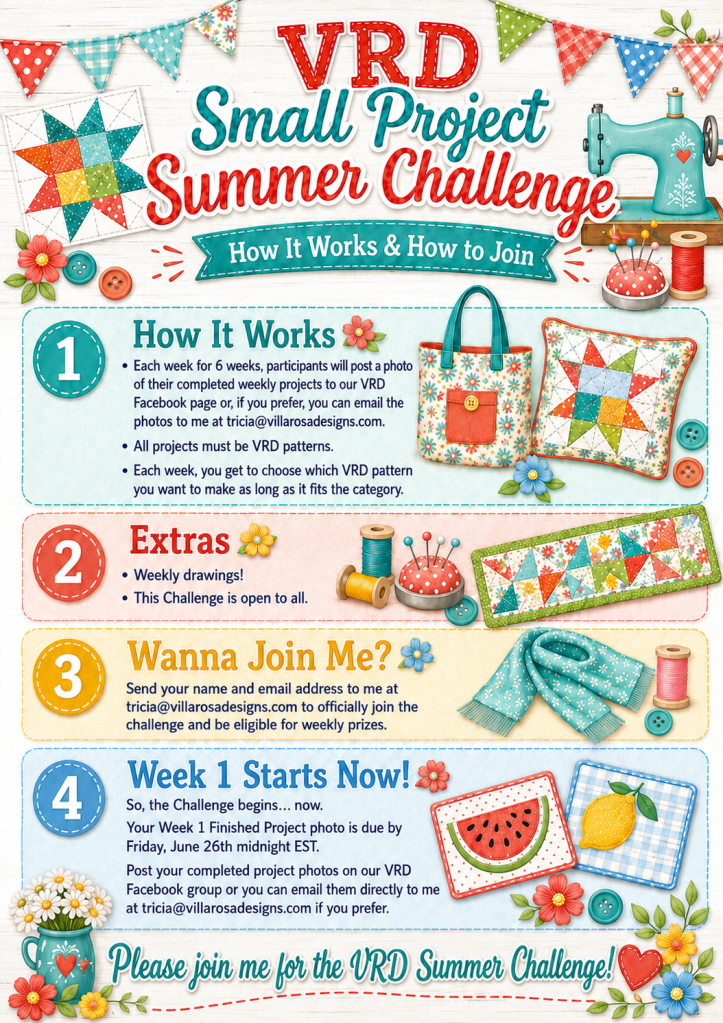
Each week for 6 weeks, participants will post a photo of their completed weekly projects to our VRD Facebook page or if you prefer, you can email the photos to me at tricia@villarosadesigns.com.
I will post my before/after photos on the blog, villarosaquilts.com, each week and I will try to post them on the VRD Facebook page as well.
All projects must be VRD patterns – this is the VRD blog, after all. All projects must be completed by the Friday at midnight EST each week to qualify for the weekly drawing.
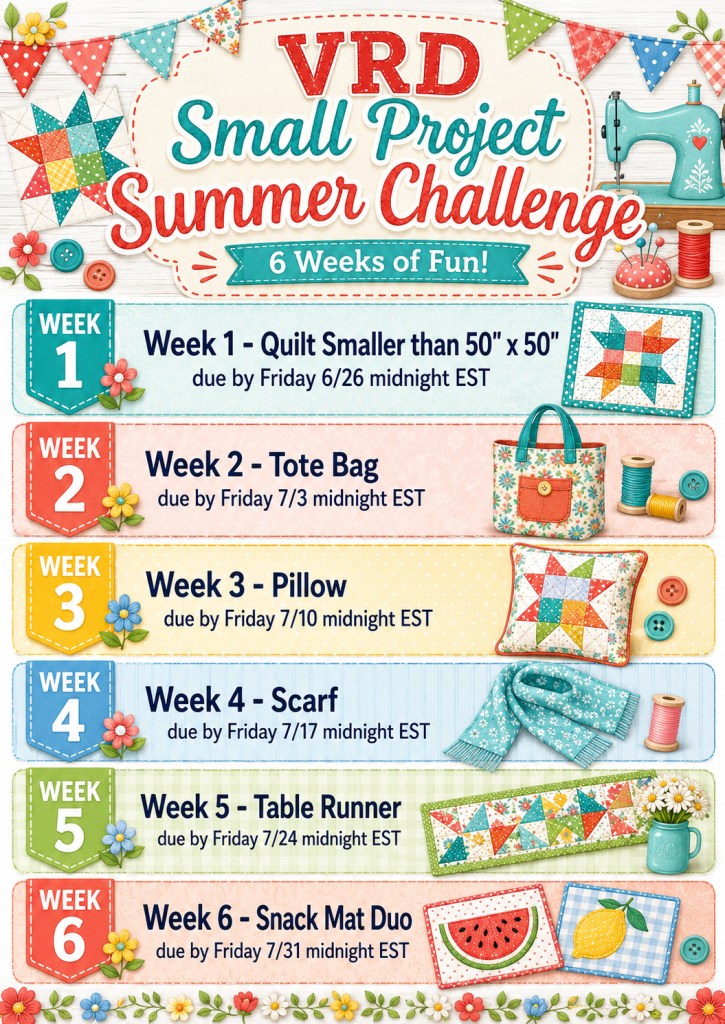
Each week there is a different project theme: Week 1 – Quilt under 50″ x 50″, Week 2 – Tote Bag, Week 3 – Pillow, Week 4 – Scarf, Week 5 – Table Runner, Week 6 – Snack Mat duo. Each week, you get to choose which VRD pattern you want to make as long as it fits the category. Easy Peasy.
Each week, I’ll draw a name randomly from those participants who posted photos of their completed projects by each weekly deadline. Weekly winners will get a surprise quilty surprise in the mail after the Challenge ends. Goodies might be from me or from one of our lovely quilting partners.
This Challenge is open to all, but please note that International winners will receive a selection of VRD digital patterns.
You might be wondering what happens if you don’t post a photo for a weekly Challenge or you miss the deadline. It’s pretty simple – your name won’t go into that week’s prize drawing – that’s okay because life gets busy. I’m not kicking you out of the Challenge, though – feel free to participate in any or all weeks. Your name will go into each weekly drawing that you complete a project and post your completed project photo before the weekly deadline.
All participants are on the honor system – please post only newly made and completed projects for the challenge. It’s not fair to other participants to post items that you made prior to the challenge.
I think that’s all the important info. I hope I’ve answered any questions you had. If not, feel free to email me.
Send your name and email address to me at tricia@villarosadesigns.com to officially join the challenge and be eligible for weekly prizes. Your name and email will only be used for this Challenge, I promise you.
So, the Challenge begins….now. Your Week 1 Finished Project photo is due by Friday, June 26th midnight EST (yes, you have 2 weeks to sign up and get your Week 1 project finished). Post your completed project photos on our VRD Facebook group or you can email them directly to me at tricia@villarosadesigns.com if you prefer.
Ready! Set! Go make something fun!
WHEW! That’s it for me this week. If you managed to get through the entire post, I applaud you. KUDOS! Hope you’ll join me for the Summer Challenge.
Sew. Laugh. Make. Repeat.
Always,
Tricia @ VRD