2026 Small Project Summer Challenge · Rose Cards · villa rosa designs

Summer Small Project Sewing Challenge Week 5 and a Not-So-Funny Story

Hello Quilty Friends!

Happy Thursday to you!

Now that August is closing in on us, I bet your summer is even more jam-packed than it was in June. Family vacations, reunions, trips, work, appointments, family, friends, kids, grandkids, etc. and so on. For me, this week has been crazily insane. Too much to do and not enough me.

A colorful summer-themed illustration featuring a bright sun, flowers, and a vintage car with a suitcase on top, surrounded by watermelon slices, ice cream cones, and a beach ball. The text highlights summer activities, a calendar for June filled with fun events, and a to-do list for family adventures.

I have 2 family reunions this weekend – Saturday and Sunday. At least they’re not on the same day. The Saturday reunion is for my Mom’s Mom’s side of the family and we help organize and make everything run smoothly the day of the reunion, so that’s added stuff this week with the prepping and then the reunion itself.

My role is pretty simple, though, I am in charge of the Family Pick a Prize table. I sell the tickets. Family members then drop the tickets into the numbered bags and hope that their ticket will be pulled out to win the item. This is how we raise money for next year’s reunion. It works great and everyone loves it. Plus I get to talk to nearly everyone who comes to the reunion, which is kind of nice, too. Maybe I’ll see you there.

Of course, I also have to plan and bring some kind of dish for the food table. This year I’m going all out – cookies from the store bakery. I just don’t have the time to make something at home this year, especially not with 2 reunions back to back. Yep, I’m taking cookies to both of the reunions. Cheating? Maybe. But low stress? For sure!

My Sunday family reunion is my Dad’s Dad’s family reunion. Luckily, all I have to do is take food – more cookies – and just go and relax. Thank goodness.

Of course, the house must be cleaned in case any relatives from out of town want to stop by for a visit, which usually happens on Saturday evening. Plus all the usual things. Yikes! I’m getting tired just writing about this week. Calgon…..take me away! LOL!

I thinkI’m ready for a winner next?????

Week 4 Challenge Winner

Let’s all stand up and cheer for our Week 4 Winner –

Brenda G. in TX

Woohoo! Yippee! Congrats!

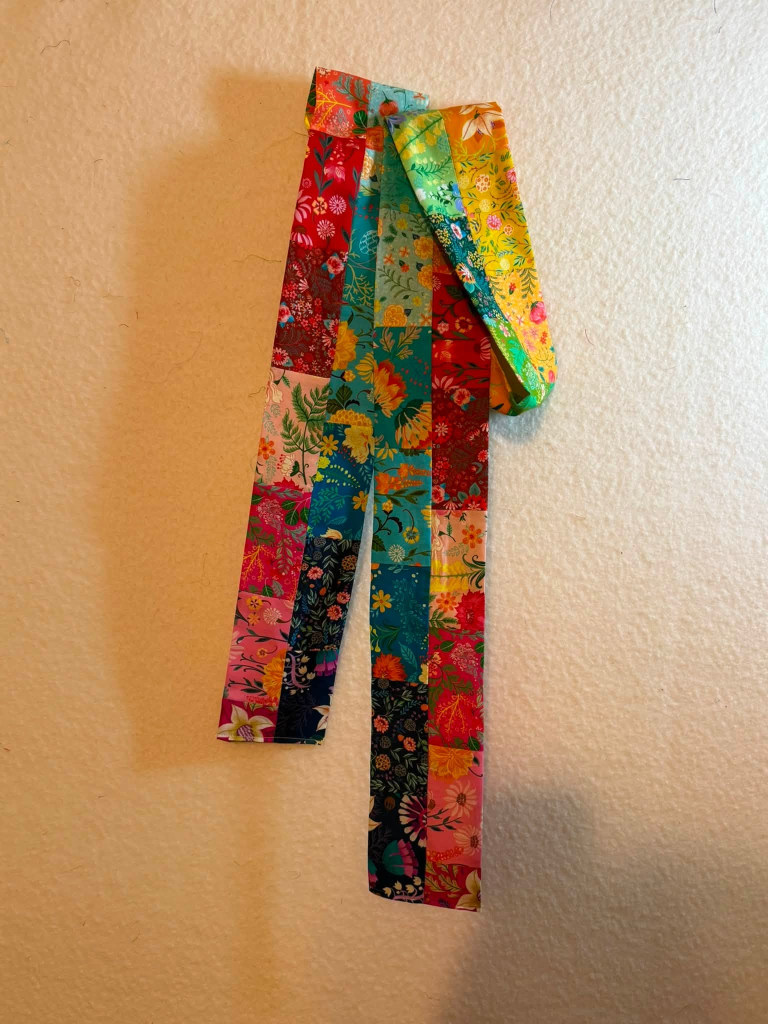
Here’s Brenda’s Week 4 Savannah Jane scarf. What fun fabrics and the colors are sew yummy! Yay you!

A collection of brightly colored fabric strips with floral patterns hanging on a wall.

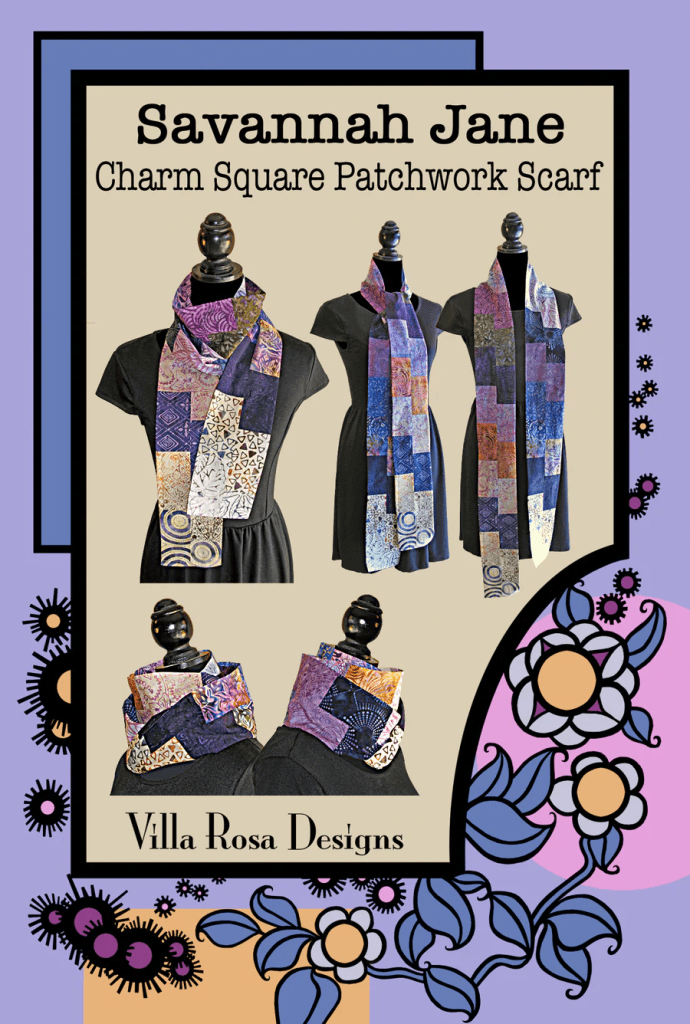
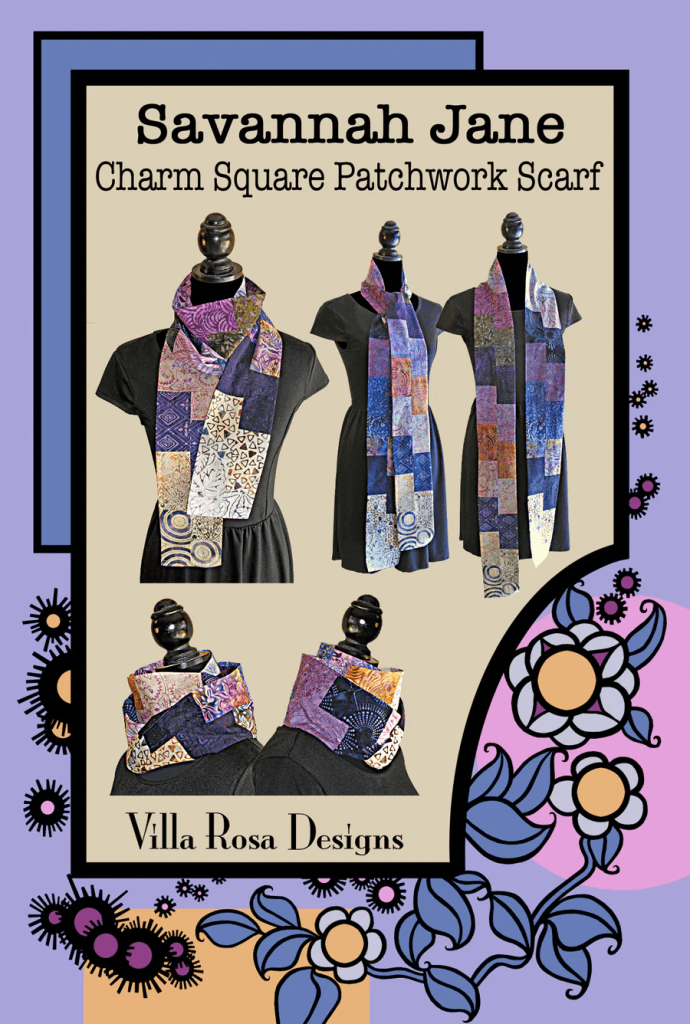
Here’s the Savannah pattern links if you haven’t added it to your pattern collection yet. It’s fast and fun…….it’s Villa Rosa!

An advertisement for the Savannah Jane Charm Square Patchwork Scarf by Villa Rosa Designs, featuring images of the scarf displayed on mannequin models and a floral border design.

Get your digital pattern HERE or print pattern HERE

Next let’s talk about Week 5 of our Challenge!

VRD Small Summer Project Challenge Week 5 and My Not-So-Funny Story

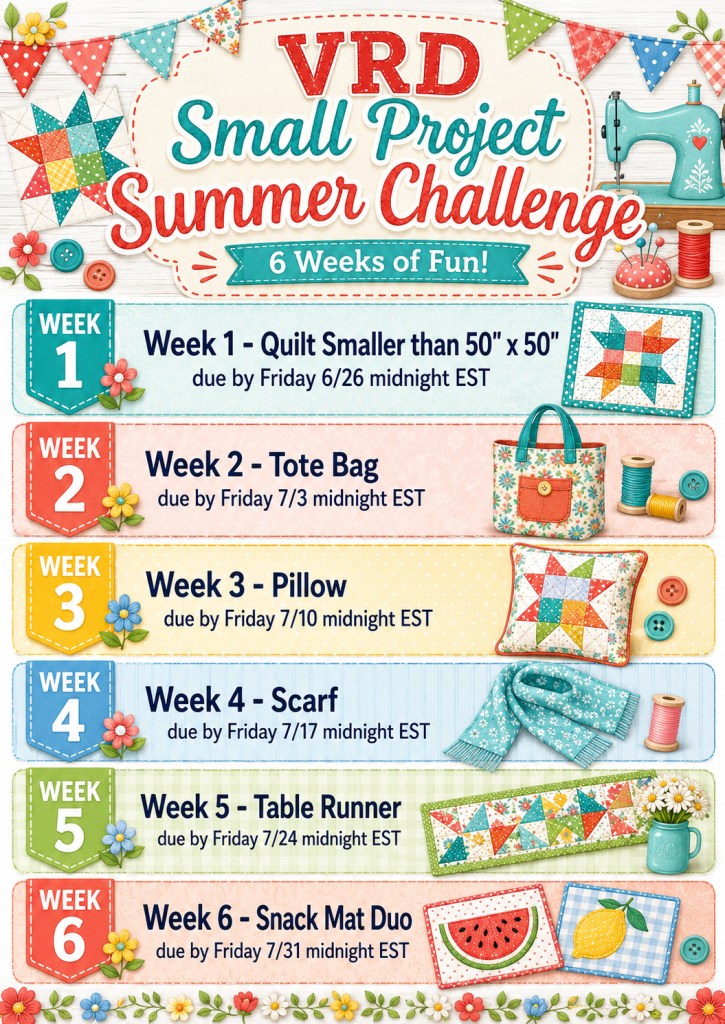
This week’s Challenge is a completed table runner and I personally know for sure that you have A LOT of patterns to choose from. You can check out our VRD Rose Card table runner patterns HERE. Your finished table runner is due by midnight Friday July 24th EST.

I’ve been checking out the Challenge runners posted on Facebook so far and I must say, they are all really terrific. It never fails to amaze me how different fabrics can totally change the look of a pattern. The arrangement of lights and darks can also change the overall look of a quilt project, too. And don’t forget the quilting – hand or machine – it adds to the uniqueness of each and every project.

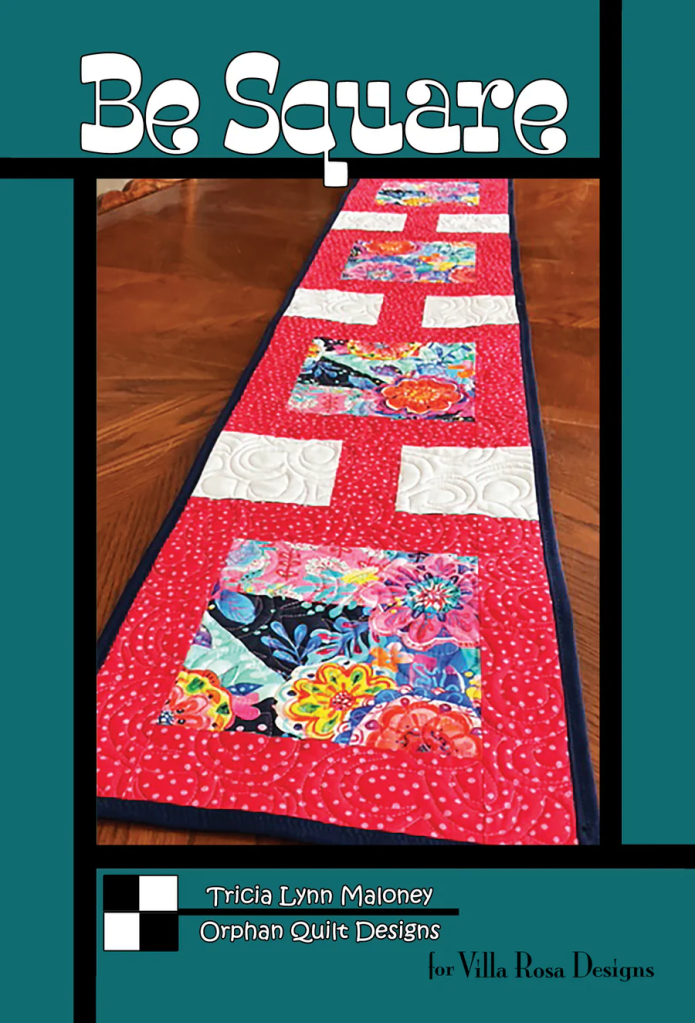
I must apologize again – I did not complete my table runner this week. If I had, I was going to make the Be Square runner and use fall fabrics for a quick autumn runner. Sigh…..it would have been really cute, too. I’m still planning to make it, but just not this week.

Quilted table runner with colorful patchwork squares, featuring red and floral patterns, titled 'Be Square' by Tricia Lynn Maloney for Villa Rosa Designs.

Get your digital pattern HERE or print pattern HERE

Sure, I’ve been totally swamped with family and summer events like all of you, including double family reunions this weekend. But the biggest and best excuse I’ve had for just about everything over the last few months (LOL!) is my health.

I didn’t mention it a couple of weeks ago when I wasn’t able to complete my project, but I have been fighting Lyme disease. I probably contracted it sometime in May, although who really knows for sure? I’m not a hiker and I don’t spend much time in the woods, so the likeliest place was probably my own yard, possibly while walking Bailly, gardening, or simply spending time outside.

My area of Pennsylvania is known for Lyme disease because it is rural, with lots of woods, trees, deer, and other wildlife. It’s probably surprising that I haven’t gotten it sooner, really. So now I’ve joined the ranks of the Lyme afflicted.

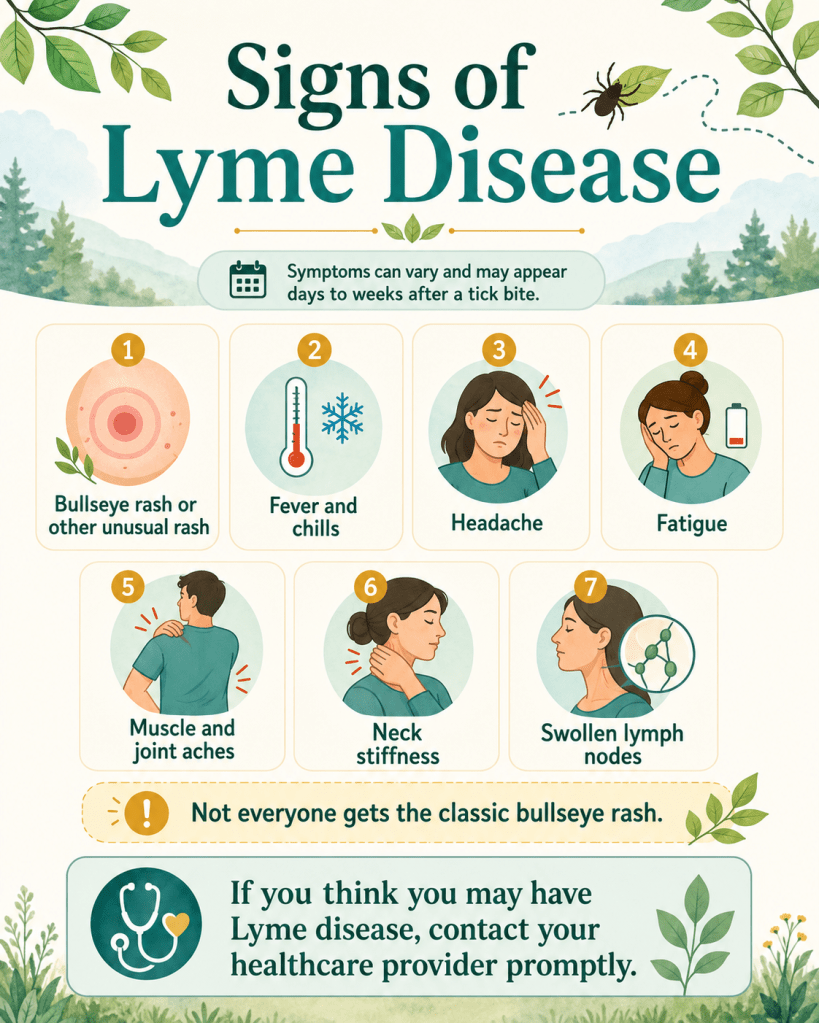
The hardest part is that I finished my antibiotics three weeks ago, and I am still experiencing symptoms. What are Lyme symptoms, you might ask? Well, they can be pretty nonspecific and often feel a lot like the flu.

Infographic outlining the signs of Lyme disease, including symptoms like bullseye rash, fever, headache, fatigue, muscle aches, neck stiffness, and swollen lymph nodes, with a reminder to contact healthcare providers if suspected.

With Lyme disease, you hear all about the classic bullseye rash. Well, guess what? Not everyone gets one. I didn’t. If I had, I probably would have been diagnosed sooner.

Instead, I had a puffy round, very itchy red spot that I honestly thought was a spider bite. I had it for weeks, perhaps even a month, before it began to fade. Then another itchy red spot appeared nearby.

Another spider bite? I wondered.

Some people do not notice a rash at all.

My other symptoms were spread out over several weeks rather than appearing all at once, so I never connected them. Then my friend Mary Lee mentioned that her great-nephew had contracted Lyme disease while camping. Thank goodness she told me about the poor kiddo, because something finally clicked.

I looked up the symptoms online (see the poster above), and I realized that I had experienced many of them, just not all at the same time. By the last week of June, before my diagnosis and treatment, I was feeling really awful.

Unfortunately, the symptoms didn’t disappear after I finished my antibiotics. Three weeks later, I am still dealing with them.

So what’s next?

I have tests and lab work that need to be completed, and then I’m off to the Infectious Disease office. I don’t know what will happen at that point. For now, the doctors are trying to rule out other possibilities before adding a new diagnosis or treatment.

In the meantime, I’m moving about as fast as a turtle who needs frequent rest breaks. The exhaustion can be overwhelming, and the lack of energy has made it difficult to accomplish everything I need to do. But I’m hanging in there, even if the Challenge host is currently moving at a slightly less-than-challenging speed.

I decided to share my diagnosis for a couple of reasons.

The first is to explain why I wasn’t able to finish another project for the Challenge I’m hosting. I’m certainly not happy about missing it, but right now I simply cannot add anything else to my plate.

The second is that sharing my Lyme journey might help someone else recognize the symptoms and seek medical care sooner.

Lyme is a squirrely disease, and it can look like many other things. Please talk to your healthcare provider if you experience symptoms like those listed above, even if they appear gradually rather than all at once, as mine did.

If it isn’t Lyme, that’s wonderful. But if it is, early diagnosis and appropriate treatment can help prevent more serious problems.

You can find more information about Lyme Disease at the following websites:

CDC (Center for Disease Control)

American Lyme Disease Foundation

Mayo Clinic

Okay, I’m jumping off my podium now. Somebody turn off the microphone and the stage lights. LOL!

Week 6 of the Challenge

Wow! Week 6? Already? Our Summer Small Project Challenge has gone by so fast – just like summertime.

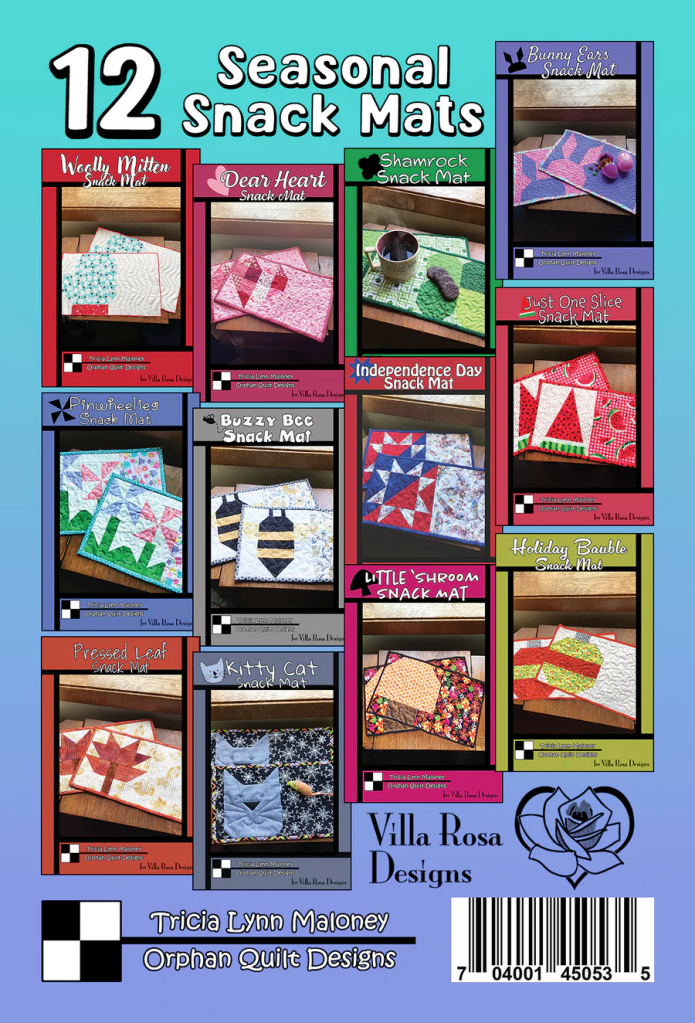
Week 6’s project is a completed set of 2 snack mats (including quilting and binding). There are 12 different seasonal snack mat patterns, so it shouldn’t be too hard to find one you like. Your Week 6 project is due by midnight Friday, July 31st EST.

You can find snack mat Rose Card patterns HERE, but did you know you can get the whole set of 12 patterns?

Cover image featuring 12 seasonal snack mats displayed in vibrant colors with names for each design.

Get your print pattern set HERE

I’m really going to try to make a set for next week because they are really fun to make, but I will have to see how things go between now and then.

Go get your sewing on and have a great week!

Sew. Laugh. Make. Repeat.

Always,

Tricia @ VRD
2026 Small Project Summer Challenge

Small Project Summer Challenge and a New VRD Scarf Tutorial, Inessa Jane

Hello Quilty Friends!

Happy Thursday to you!

I hope all of you are having an amazing summer filled with family, fun, sun, and maybe a little bit of quilting and sewing, too! For me, the quilting and sewing has come in little fits and spurts, but never fear – I am still getting my creative groove on very regularly. Which is a good thing because I tend to get cranky when I haven’t spent time doing creative things for a while. Are you like this too?

Colorful illustration featuring a sun, sewing tools, and summer-themed elements like watermelon and lemonade, with the text 'Family Fun & Sun' and 'Stitching in the Sunshine'.

We are now finishing Week 4 of our Small Project Summer Challenge and I’m thrilled to say that participation has been right around 50%. That is really terrific. I wasn’t sure what people would think of our smaller projects, but folks seem to be having fun and enjoying them. I’ve had many lovely comments about how fun the projects are and if it hadn’t been for the challenge, participants might not ever have tried making a particular small project. I’m hoping that next summer, we can do this again and my fingers are crossed that we’ll have even more small project options for you. My question for everyone is:

What kind of small projects would you like to see as VRD Rose Card patterns?

Please keep in mind that our space is limited for instructions, so each project has to fit on the back of a 4″ x 6″ postcard. This is not always an easy task and sometimes we have to get creative with our allotted space, which may even include several revisions. But somehow, we always figure it out in the end. It’s definitely a special skill to write a complete project pattern on the back of a postcard along with appropriate diagrams. Big high-five to all of our VRD designers for their creativity and problem-solving skills! Yay you!

Before we get started on our Week 4 Challenge, we can’t forget our Week 3 drawing winner!

Week 3 Winner

Big giant ovation for our Week 3 Winner!

Toss some confetti!

Where are those cheerleaders at?

Oh well…..

Congrats to…..

Pat C. of NY

Yay Pat! Well done! Kudos!

Here’s Pat’s version of Louisa Jane:

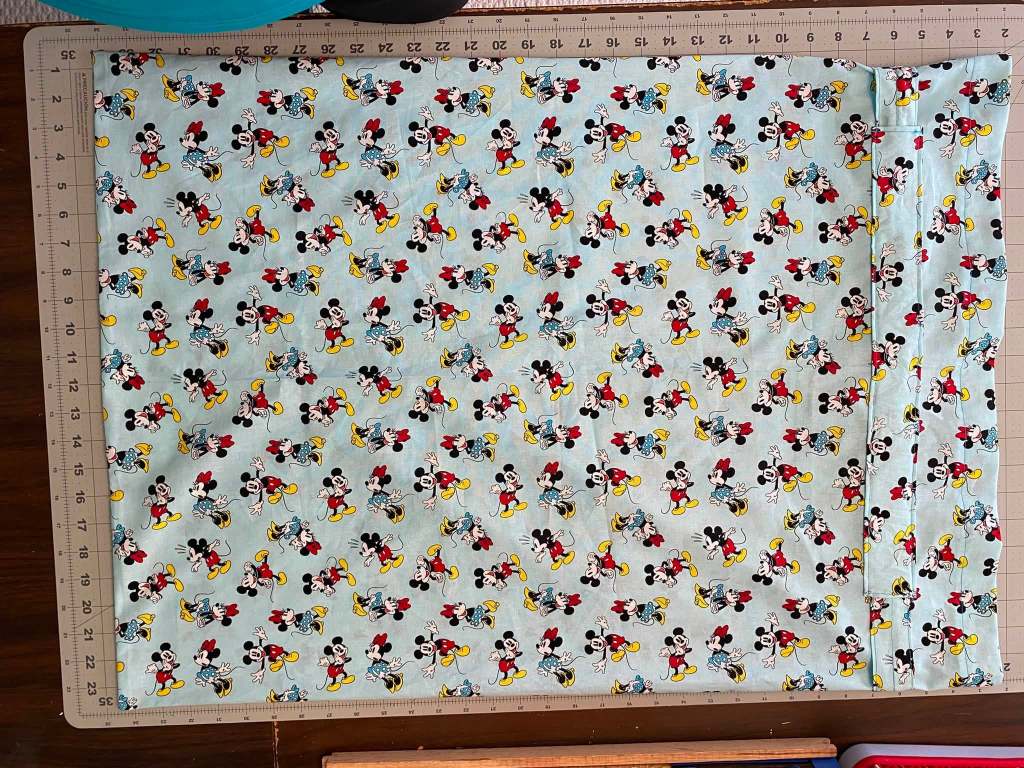
She made it for her granddaughter and the pillowcase doubles as a bag to carry toys and stuffed animals to Grandma’s house! What a wonderful idea, Pat!

Graphic illustration featuring Louisa Jane pillowcase and laundry bag designs by Villa Rosa Designs, showcasing colorful patterned fabrics on a decorative background.

You can find the digital pattern HERE or the print pattern HERE

What a cool pillowcase with a secret double life as a laundry or toy bag.

Let’s dive into our Week 4 Challenge next!

Week 4 of the VRD Small Project Summer Challenge

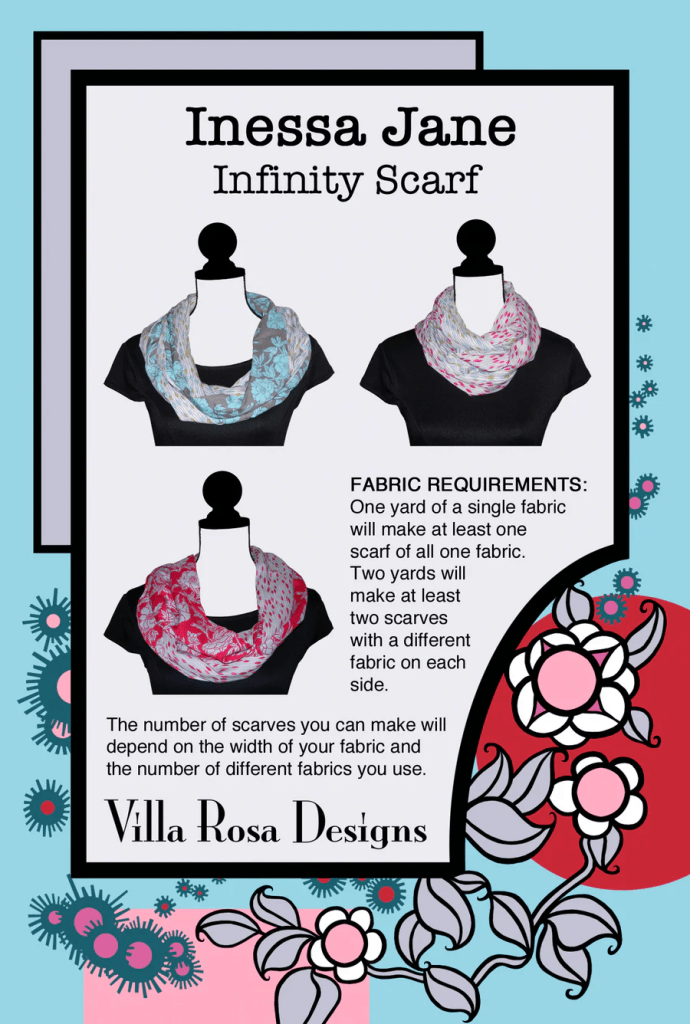
Wow! Hard to believe we’re in Week 4 already. This week’s project is a scarf, but not just any scarf – a VRD scarf. VRD has 2 fun and fast scarves:

Graphic displaying three styles of infinity scarves on mannequin busts. The top text reads 'Inessa Jane Infinity Scarf,' with fabric requirements detailed below. The design features floral embellishments and a colorful background.

Get your digital pattern HERE or your print pattern HERE

and

Image showcasing the Savannah Jane Charm Square Patchwork Scarf by Villa Rosa Designs, displayed on mannequins. The scarf features a variety of colorful patchwork patterns and is styled with different outfits.

Get your digital pattern HERE or your print pattern HERE

Should you choose to accept the Week 4 scarf challenge, your scarf is due by midnight Friday, July 17th EST.

This blog post will self destruct in 5 seconds……no, not really. I just wanted to write that. LOL!

Do you wanna see my scarf for this week???

Here it is…….I made the Inessa Jane infinity scarf. And here I am modeling it.

I’ve never really worn a lot of scarves except for in the winter here in chilly NW PA, but…..I might reconsider. This scarf turned out great and I think the colors of these Hoffman batiks are so pretty. And funny enough, my blue frames look great with the scarf. LOL!

A smiling woman with short brown hair wearing glasses and a blue patterned scarf, against a textured background.

I thought a tutorial for Inessa Jane would also be nice…….

VRD Inessa Jane Tutorial

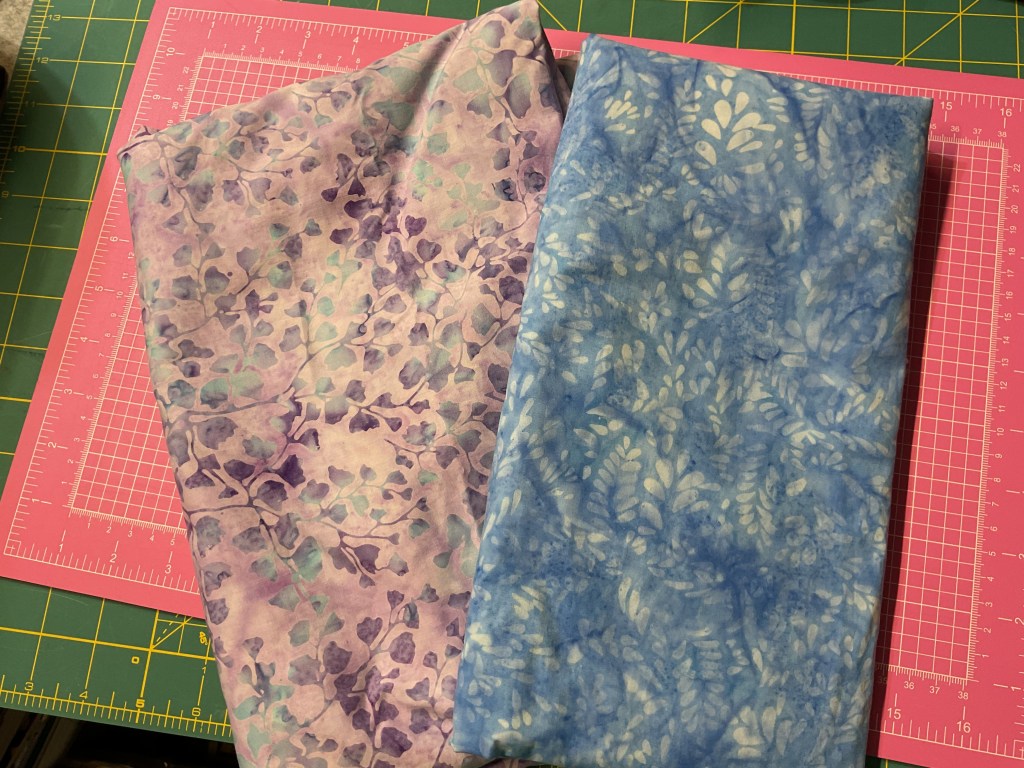
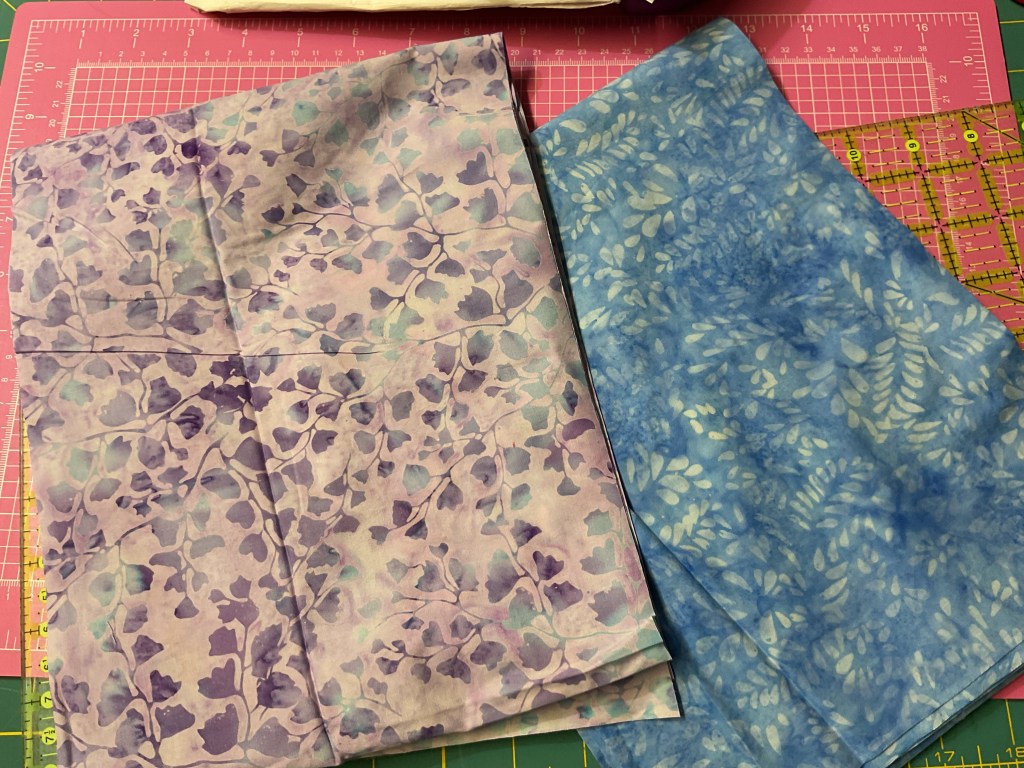
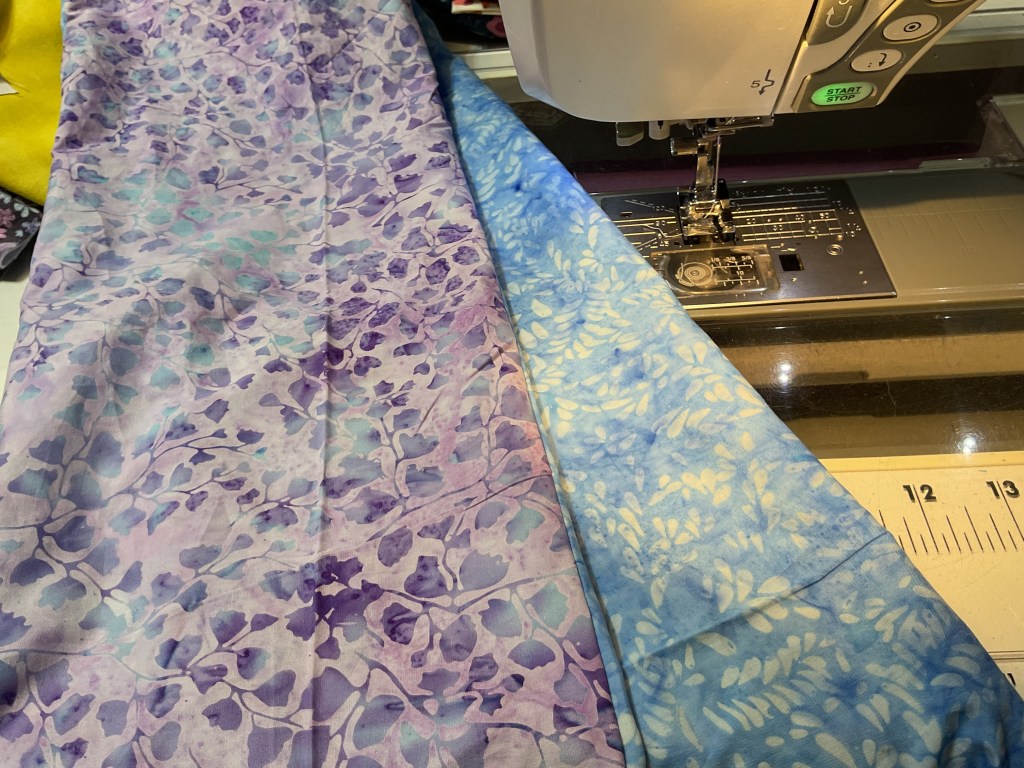
Of course, choosing fabrics is pretty much always our first step (and maybe a favorite, too). I picked two coordinating but different batiks for the scarf so it could be worn with the blue side out, the lavender side out, or folded so you could see both sides. Lots of fun options. You could use a single fabric too.

Now I’ll have to learn how to wrap and fold my Inessa Jane Infinity Scarf. You can check out a fun video HERE for 10 different ways to wear your infinity scarf!

Two pieces of fabric on a cutting mat: one with a purple and lavender floral pattern, and the other in varying shades of blue with a leaf design.

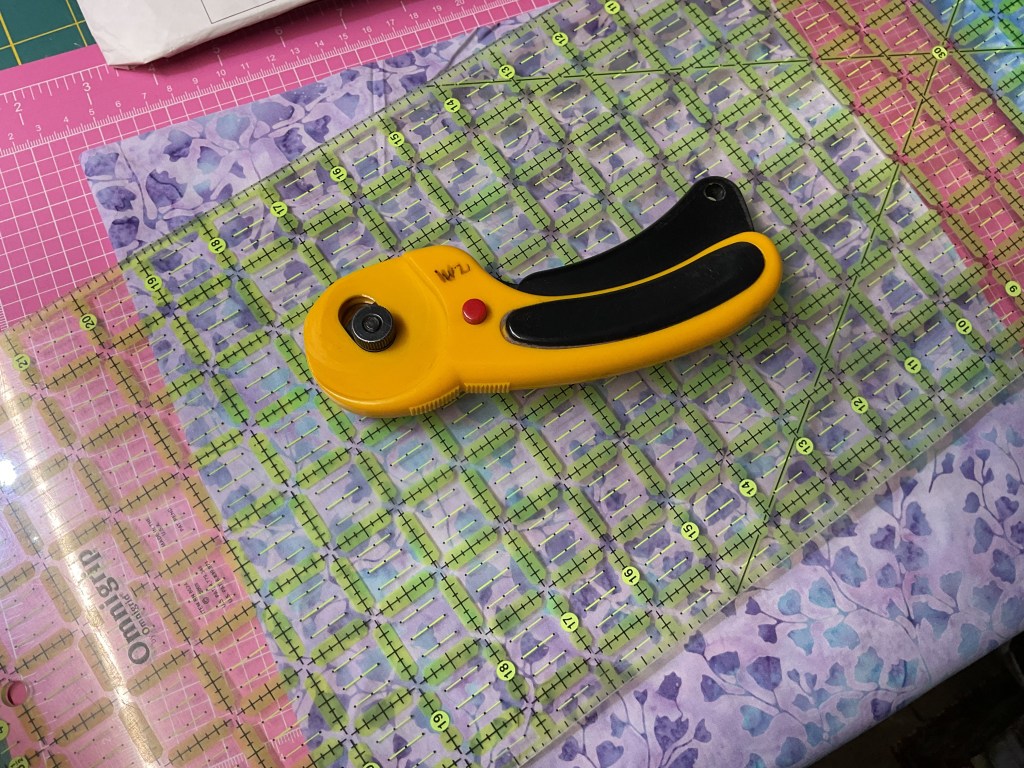
Next I cut my batik strips for the scarf. You can make your scarf longer by adding additional strips, just remember to increase the number of strips for both fabrics.

Off I went to my sewing machine to sew each fabric’s long strips together end to end.

Throughout the project, I back-stitched at the beginning and end of my seams so they didn’t have a chance to unravel while I handled and manipulated the scarf during the sewing process..

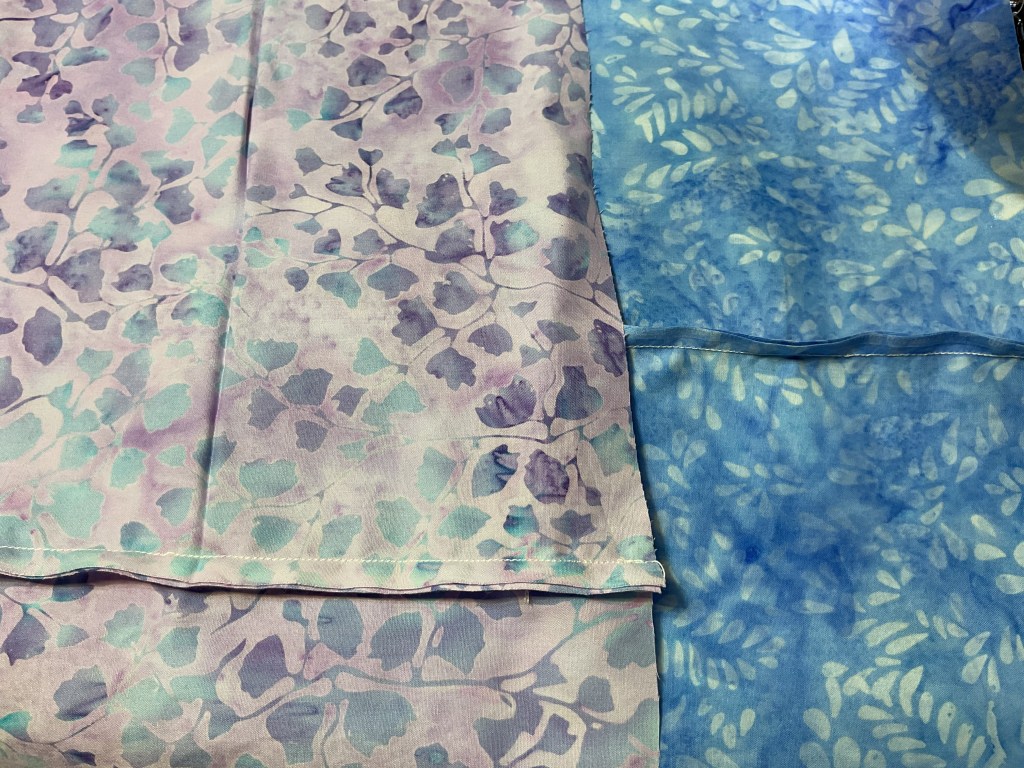
Two fabric pieces showcasing floral and leaf patterns, one in pastel colors with purple and teal hues and the other in various shades of blue.

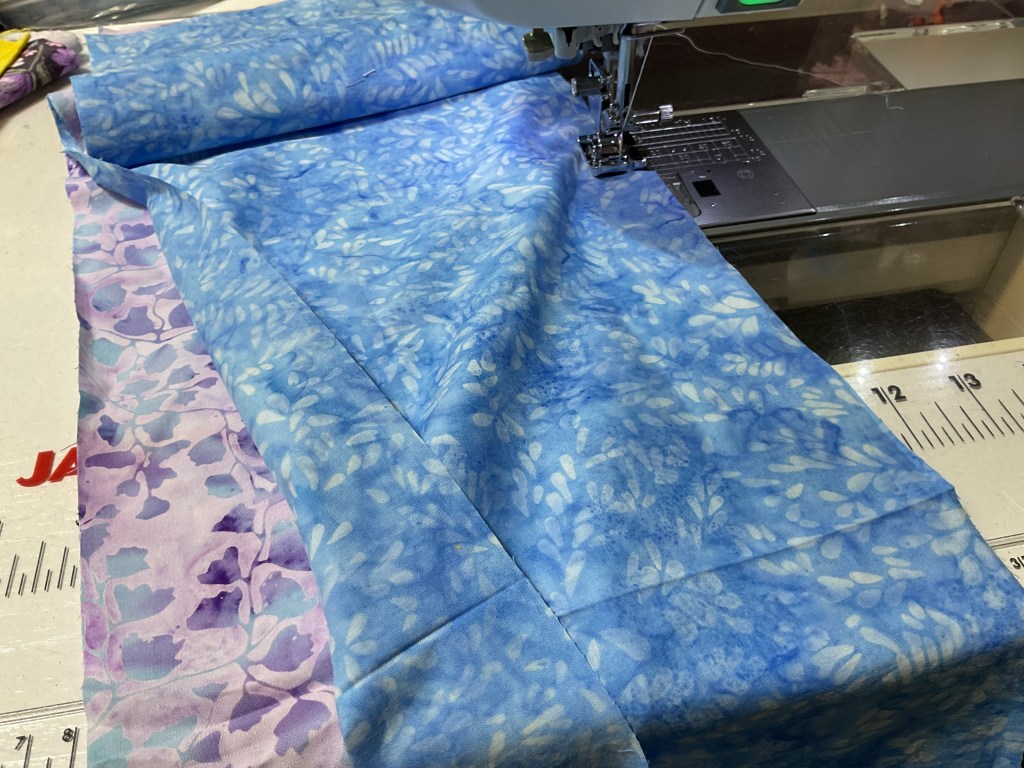
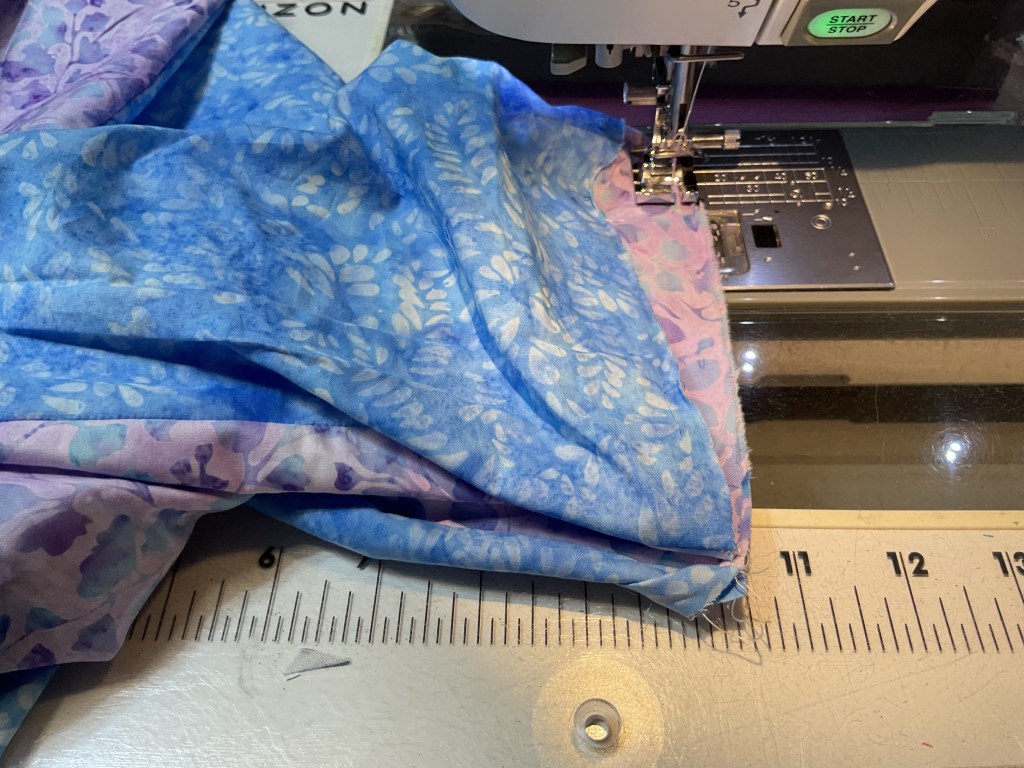
Next I layered the long strips of my 2 batiks together with right sides together (batiks are the same on both sides, so I had to watch to make sure that the seam sides were my “wrong sides”) and I stitched down both long sides of my scarf. I matched my seams and nestled them together.

A close-up view of two pieces of fabric being sewn together on a sewing machine, featuring a blue patterned fabric and a purple floral fabric.

The fun part is next – turning the scarf right sides out. Such a weird feeling thing to do, but pretty cool, too.

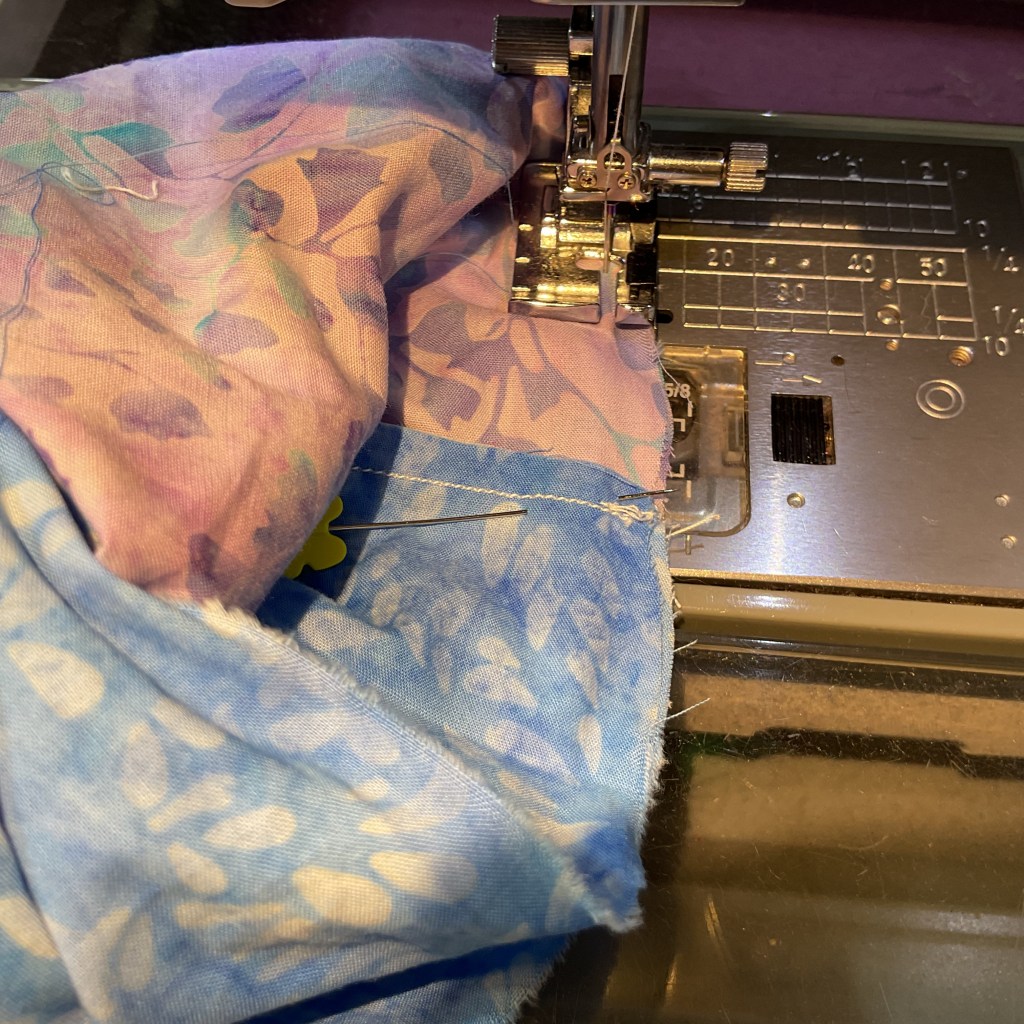
Now it’s time for the tricky part. I matched up the rights sides of the short scarf ends with the help of a few pins and carefully stitched around the scarf width as far as I could go. I also made sure to line up my seams and nestle them together again.

Once I sewed as far as I could, I back-stitched and stopped. There were maybe 4 inches or so left unsewn.

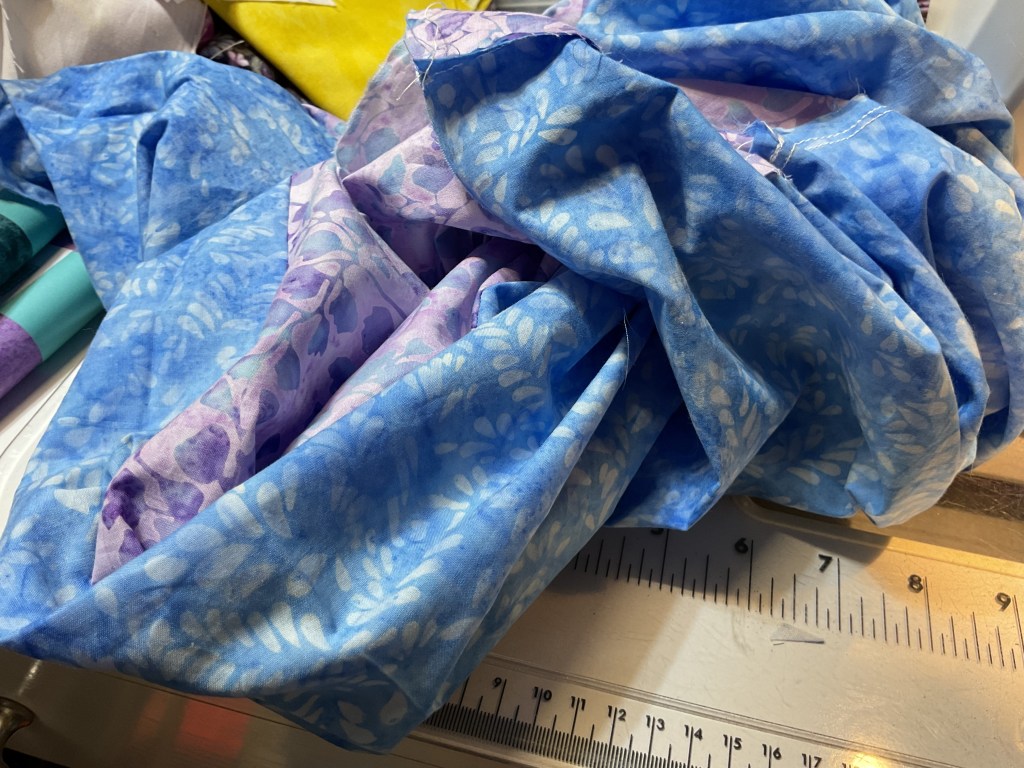
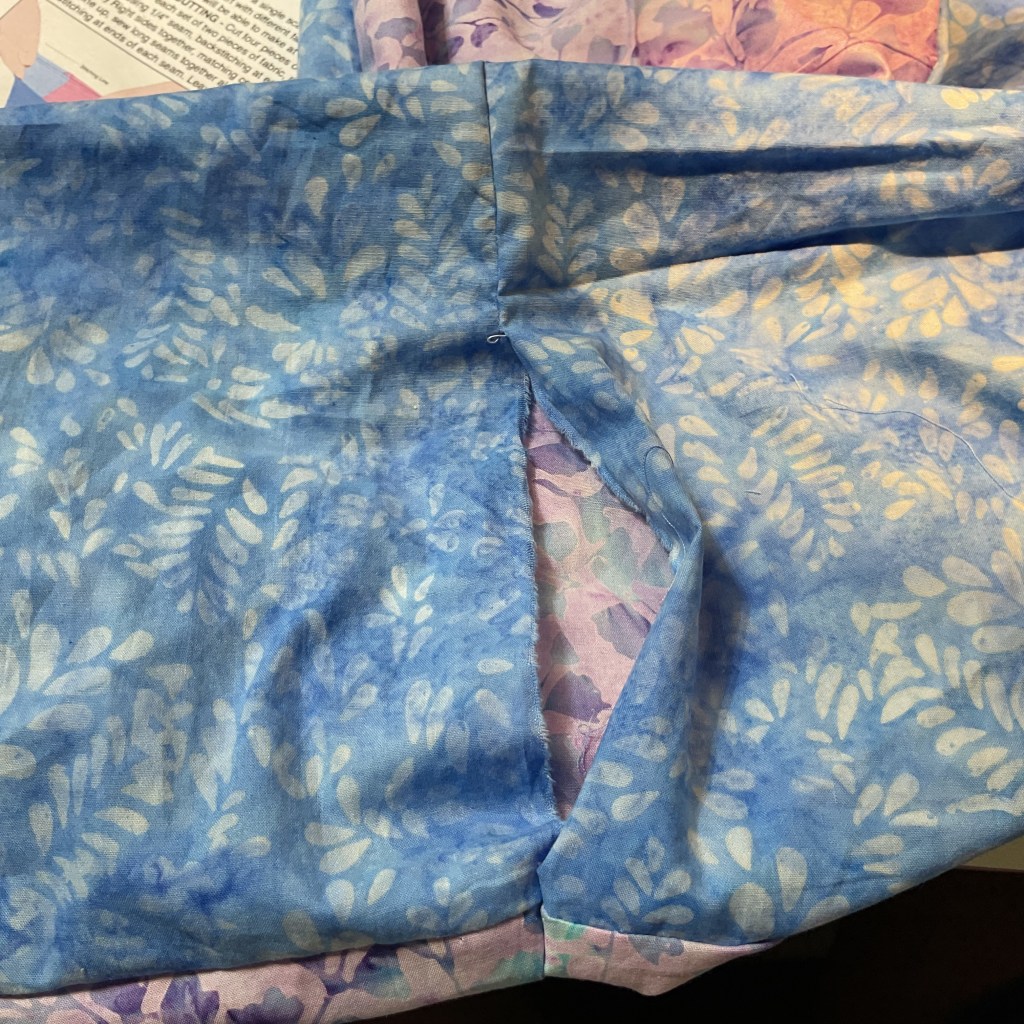
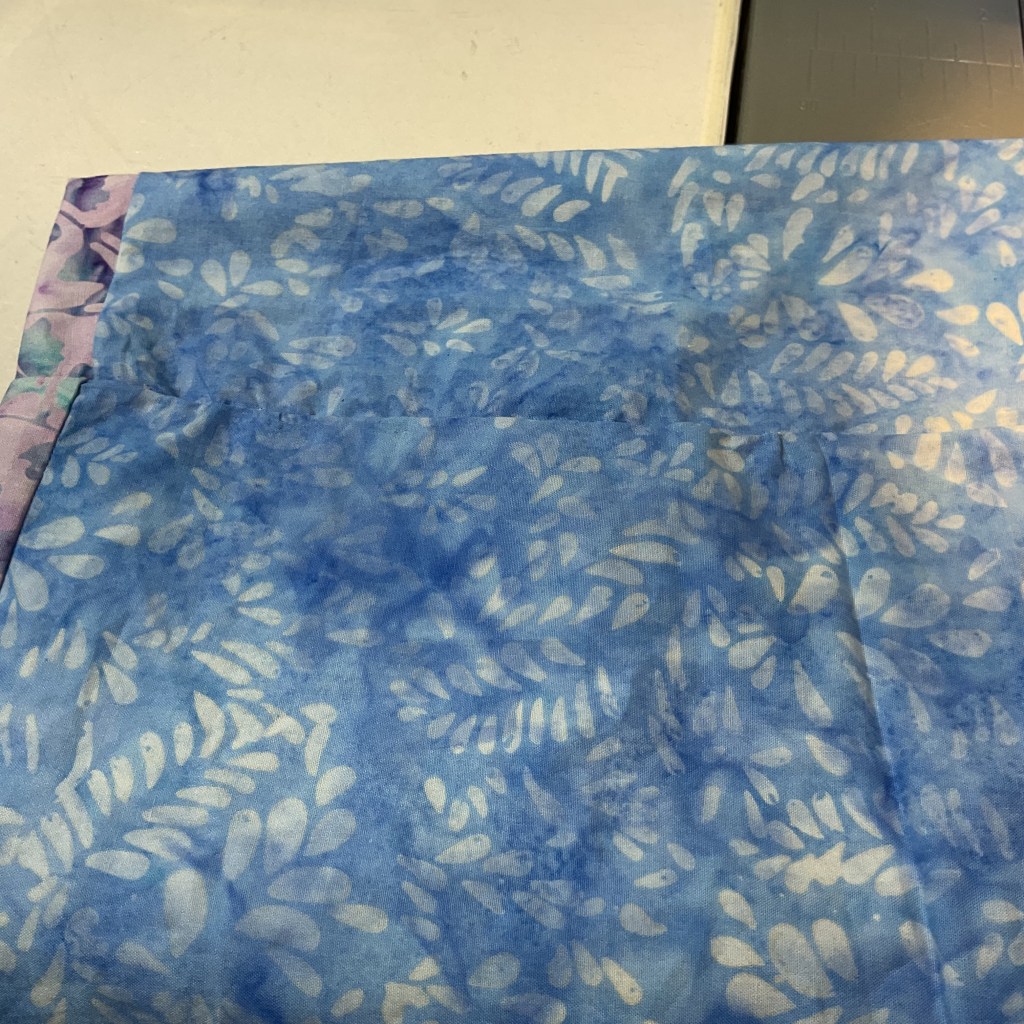
Close-up of fabric with a blue and white leaf pattern, with a pink floral print visible underneath.

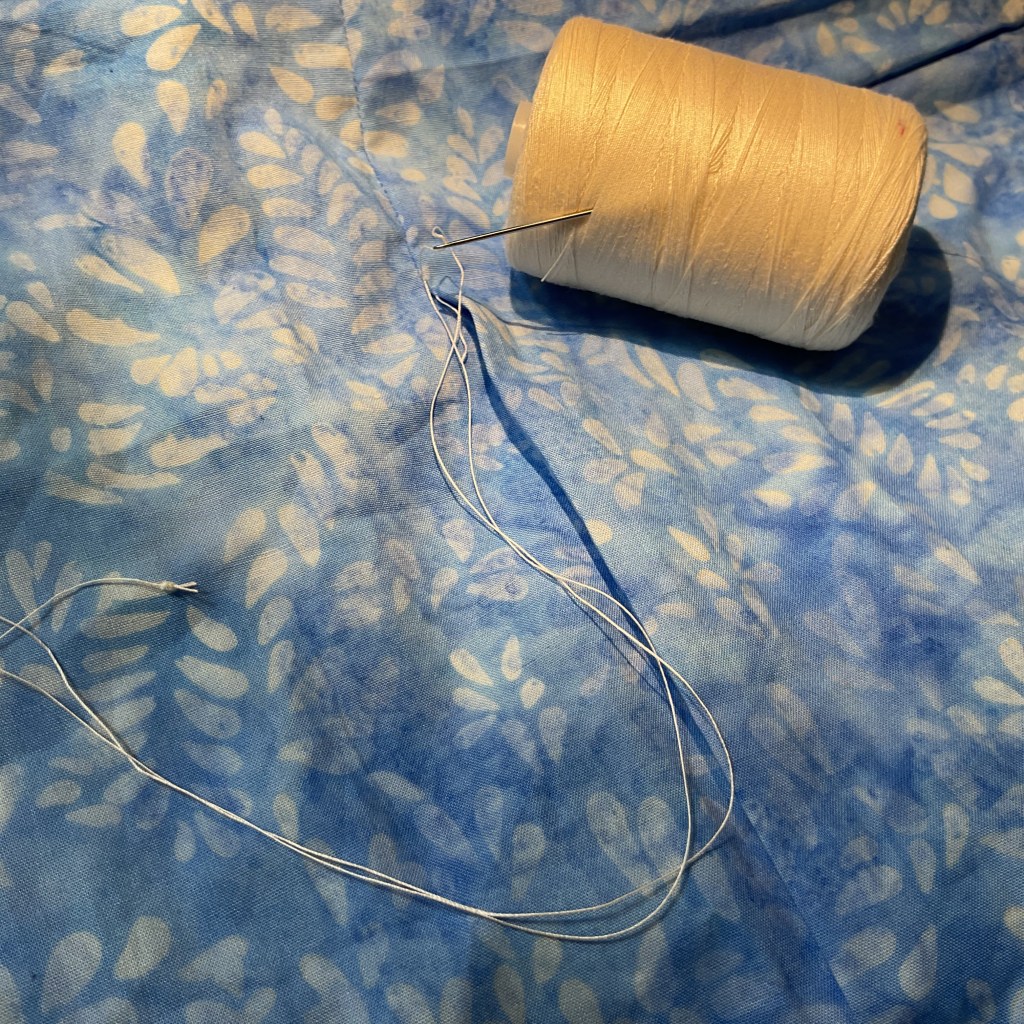
So, my final step was to slip-stitch the opening closed by hand. Boy, I learned something very important during this step – I’m not that great at slip-stitching especially really late at night. LOL! But I finished it. It wasn’t completely horrible but it did pucker a little bit. Oh well…..

Ta da! Here is my finished scarf….again! Pretty cool. I think I’ll make some more of these and play with different ways to wear them.

A smiling woman with short brown hair and glasses, wearing a blue and purple patterned scarf over a white top, posing in front of a softly blurred background.

Next week is Week 5 of our VRD Small Project Summer Challenge and our project is a finished table runner due by midnight Friday July 24th EST.

See you then! Don’t forget to take a moment and smell the roses. summer is going fast.

Sew. Laugh. Make. Repeat.

Always,

Tricia @ VRD
2026 Small Project Summer Challenge · Rose Cards · Tutorials · villa rosa designs

Small Project Summer Challenge Week 1 and a NEW VRD Rose Card Quilt Tutorial – Cabin Fever

Hello Quilty Friends!

Happy Thursday to you!

Are you ready for our Small Project Summer Challenge? I know I am! I can’t wait to see what everyone is making for Week 1 – a quilt under 50″ square. I’ll be checking Facebook out eagerly to see everyone’s projects, so make sure you get a photo of your completed Week 1 project onto the VRD Facebook page before Friday, June 26th midnight EST. Or you can email me your photo at tricia@villarosadesigns.com.

So far I have 34 folks signed up for our Summer Challenge. I am thrilled and welcome each and every one of you with a great big hug! A BIG high-five to those of you who already participated in one of the 6 Quilts in 6 Weeks Challenges…and a super special welcome to those of you signing up for a VRD Challenge for the first time. Be prepared to laugh a lot and be inspired by everyone’s projects for the next 6 weeks. Not only are you creating some fun small projects that make great gifts for yourself or someone else on your gift giving list, each week that you complete the weekly challenge, your name goes into a random weekly drawing. Prizes will be shipped after the Challenge is over.

Wanna see my Week 1 Project???

Tricia’s Summer Challenge Week 1 Make

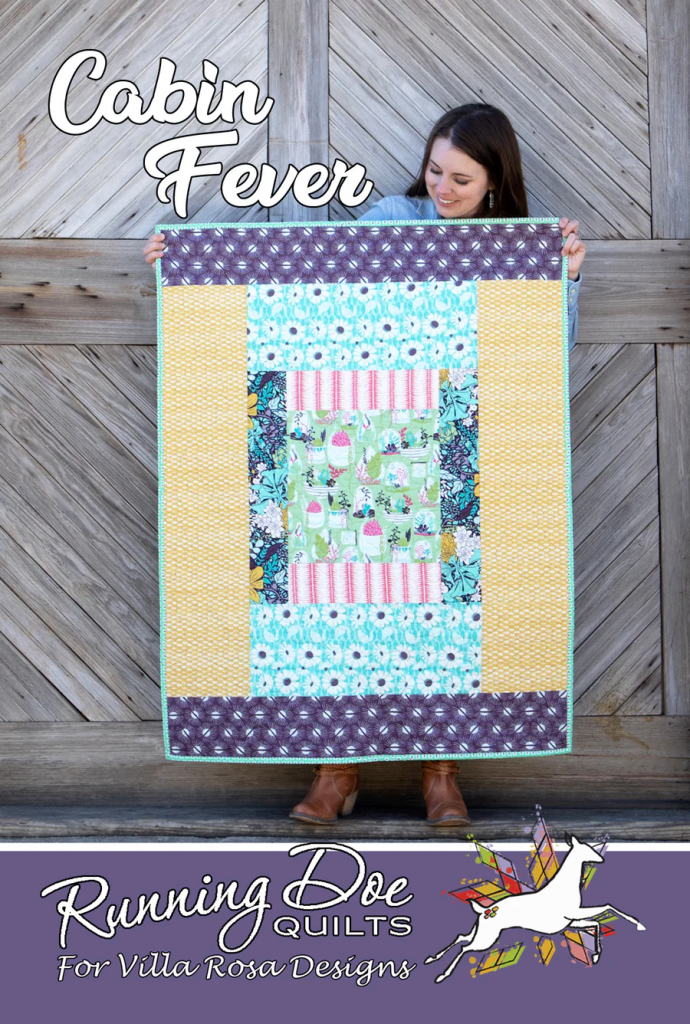
I’ve always wanted to make Cabin Fever by Running Doe Quilts for VRD. Log Cabin quilts are some of my many favs so when I hatched the Summer Challenge, I just knew I had to make Cabin Fever……finally.

A woman holds a colorful quilt titled 'Cabin Fever' in front of a rustic wooden backdrop, showcasing its vibrant patterns and designs.

Get your digital pattern HERE or your print pattern HERE

And since it’s summertime as well as the 250th birthday of the USA, I simply had to use patriotic fabrics, of course. LOL!

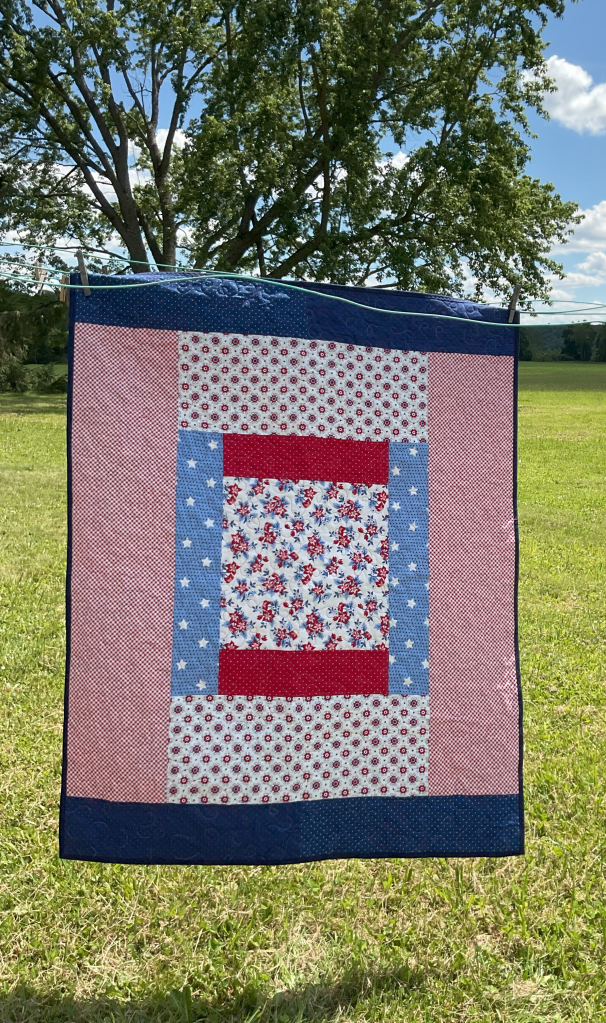
Sooooooo, here’s my Patriotic Cabin Fever!

A colorful patchwork quilt featuring red, blue, and white fabrics with floral and star patterns, displayed outdoors against a grassy field with trees in the background.

I think it turned out really cute and I plan to hang it in the living room over the sofa just as soon as I get a chance to do it.

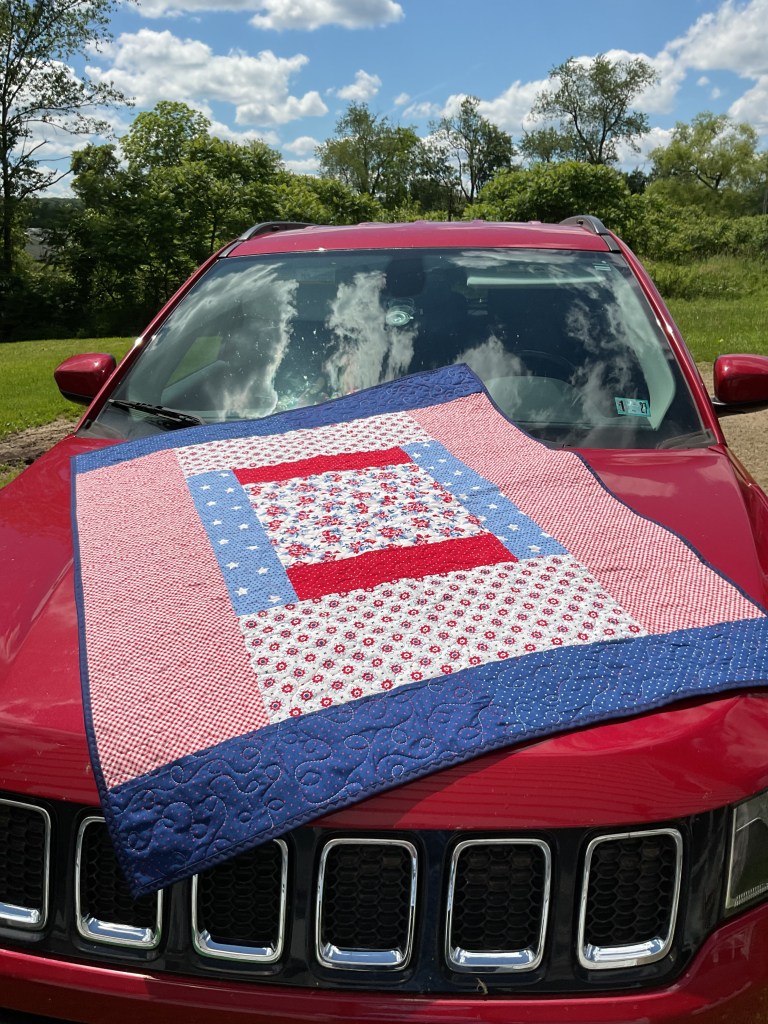
And here’s a fun photo I just had to take on my cute little red Jeep Compass. It was a perfect day with the gorgeous summer sky and fluffy clouds, about 75 degrees. And all the green in the background. Welcome to NW PA!

A colorful quilt displayed on the hood of a red car under a blue sky with fluffy clouds and green trees in the background.

I used a 100% cotton variegated red, white, and blue Aurifil thread to quilt it in my usual loopy design. The binding is a navy blue solid and I machine stitched it on. I think I’ve finally gotten the hang of that now – it saves me so much time these days, although I still like the look of hand-stitched binding better.

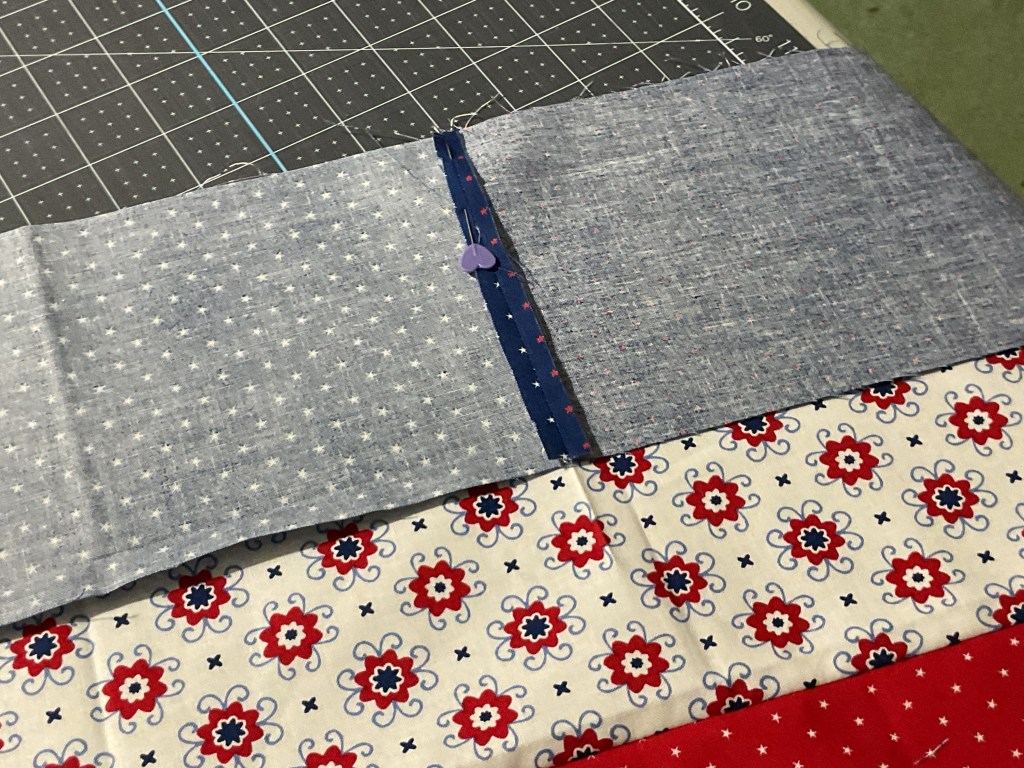
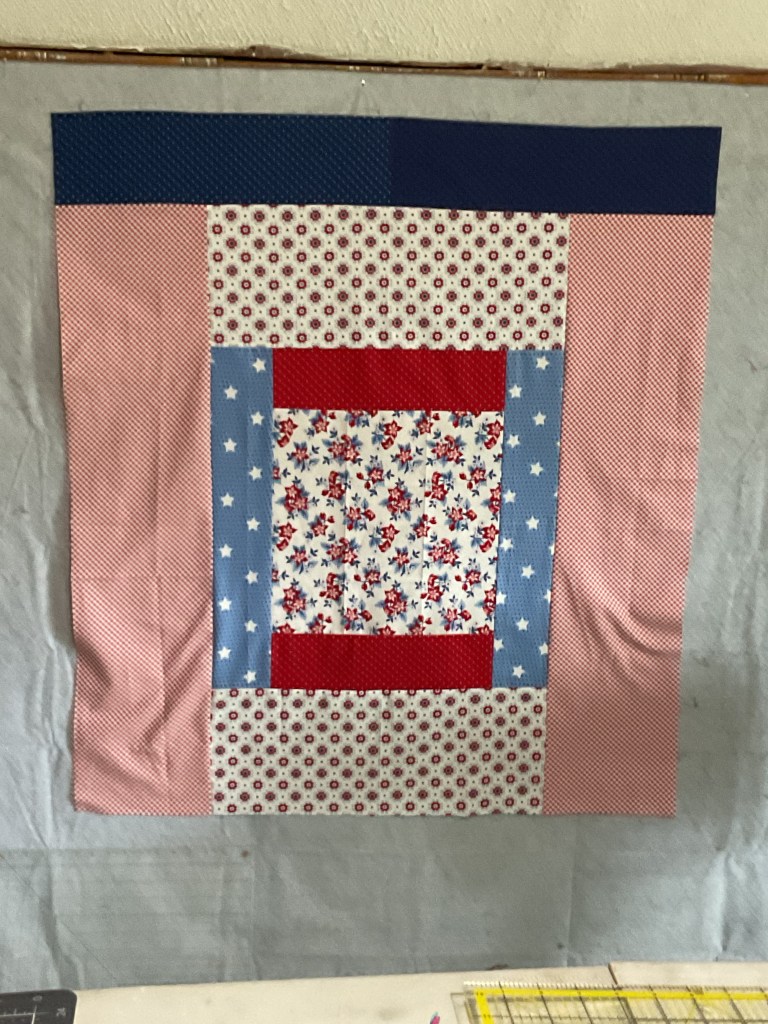
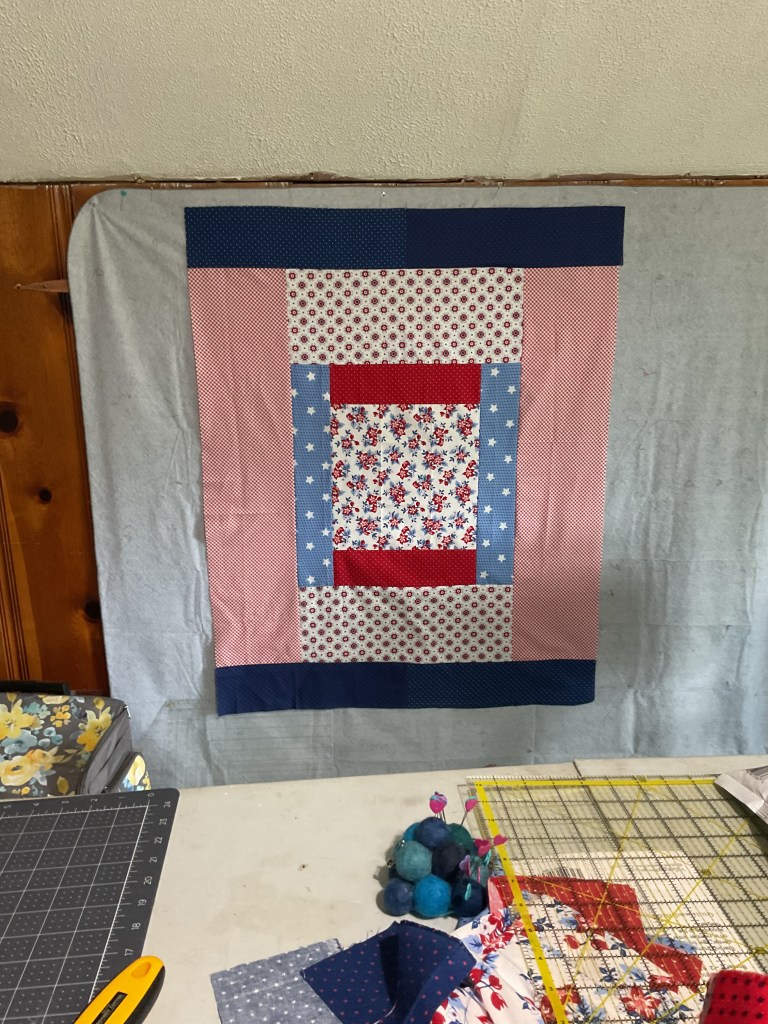
You might notice that my blue strips at the top and bottom are actually 2 similar blue prints sewn together in the center of the strip. I was using a collection of fat quarters and a couple pieces of coordinating yardage to make my Cabin Fever quilt. I didn’t plan out the fabric very well and then I ended up not having enough of 1 blue fabric to use for the top and bottom, so I improvised. I ended up piecing 2 very similar fabrics to make the strips long enough for the top and bottom of the quilt. But, you know what? I think it turned out pretty well and it looks intentional, not random.

How about a tutorial for Cabin Fever?

VRD Cabin Fever Quilt Tutorial

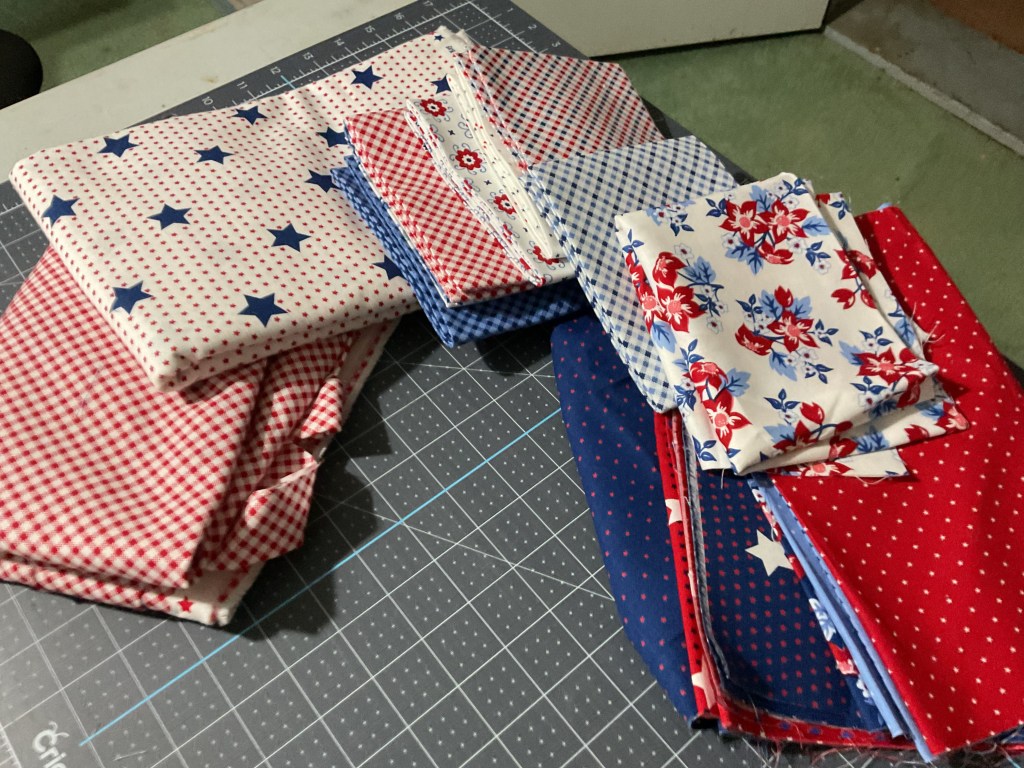
I started with a leftover collection of Moda Star Spangled FQs plus a few coordinates as you can see here. But my blue FQs weren’t complete as I’d used some of them in another porject.

A collection of folded fabric pieces featuring various patterns, including polka dots and stars, in red, white, and blue colors, arranged on a cutting mat.

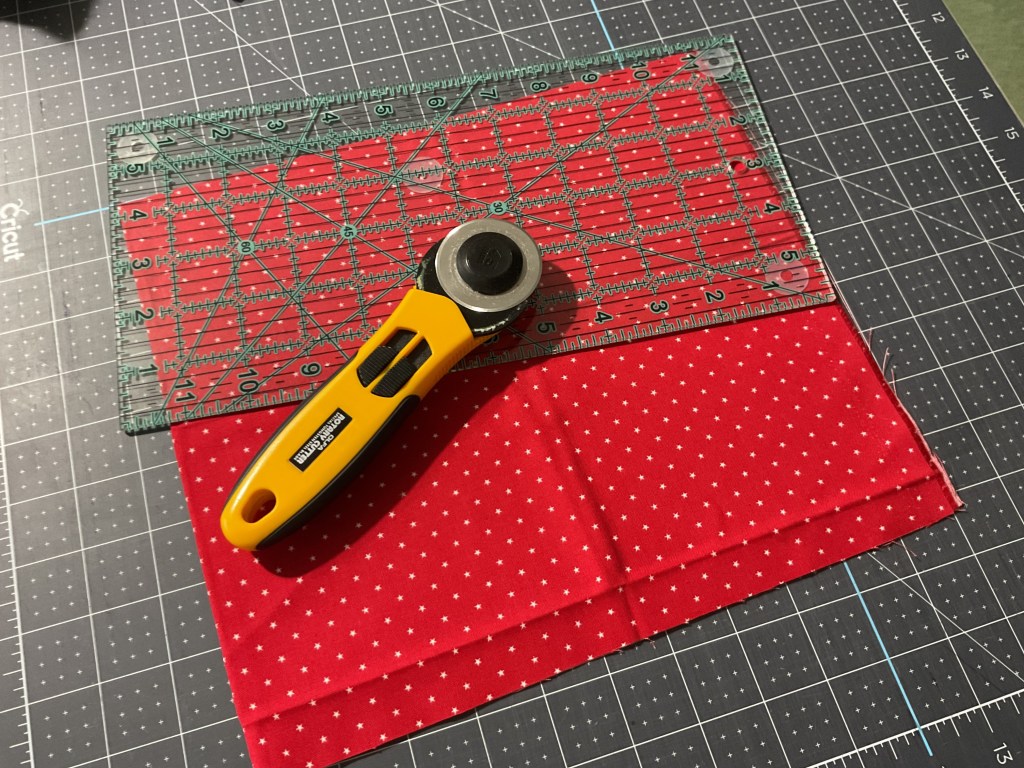
I started with the center square. I cut my pieces as I sewed, do likewise of you want. Or you can cut everything out at once before you begin sewing. You could even cut multiple quilts out at once.

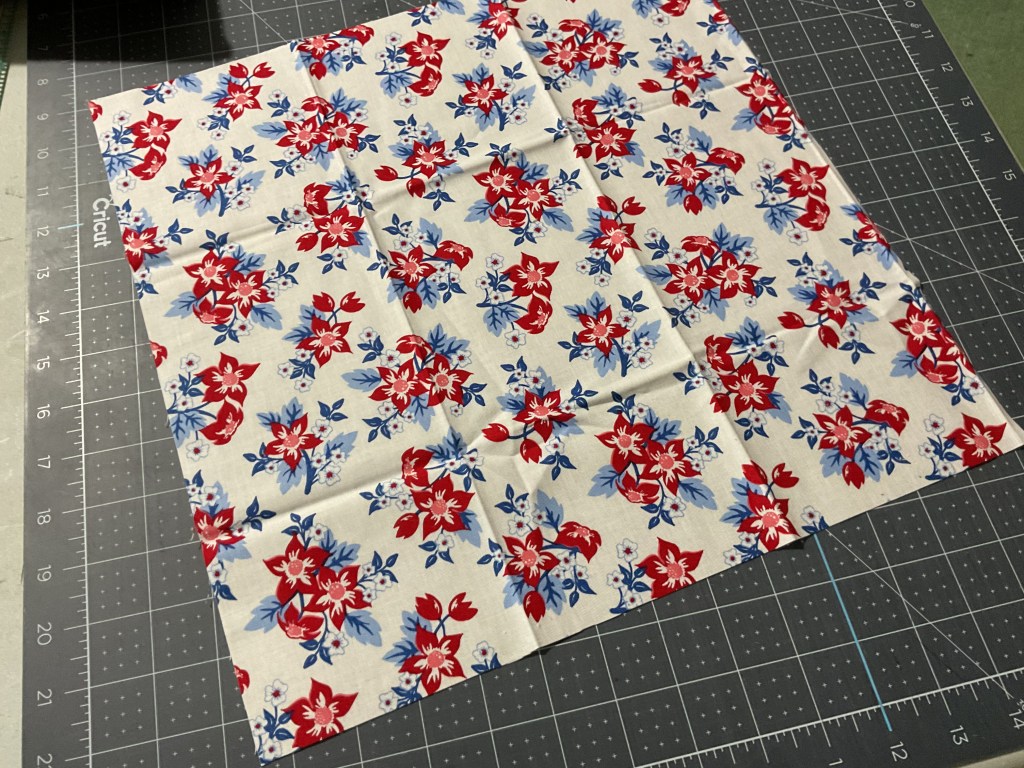
I chose this really pretty light floral print for the center because I didn’t want it to be a quilt that necessarily screamed patriotic, but I wanted my quilt to be patriotic. Does this make any sense at all?

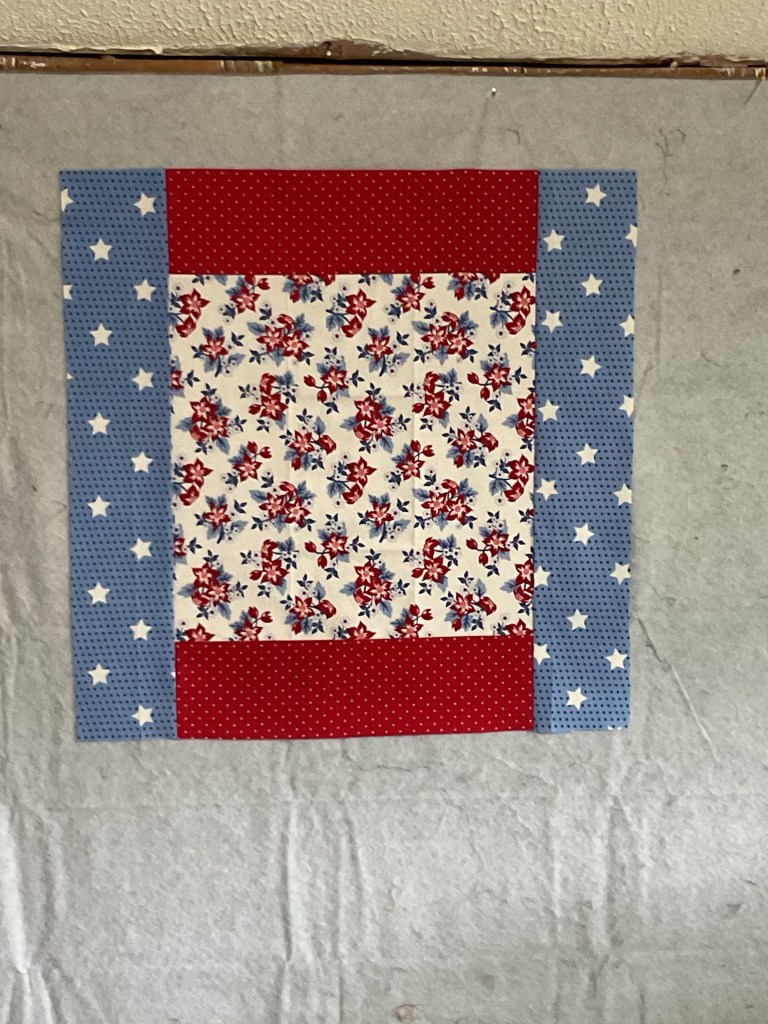
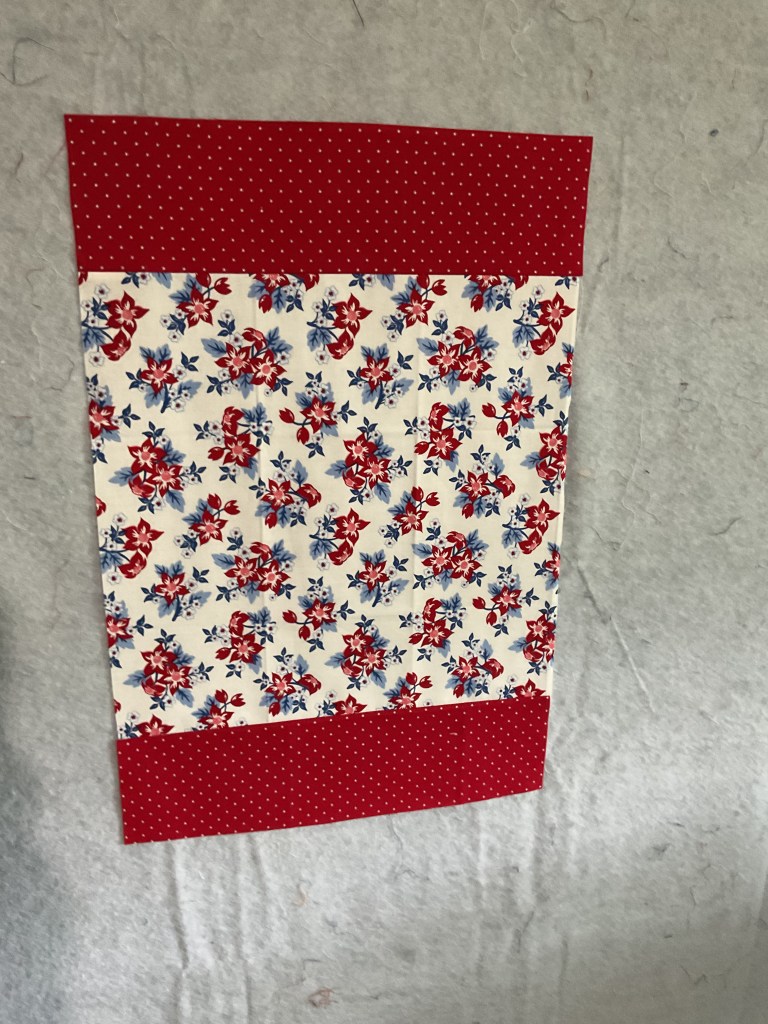
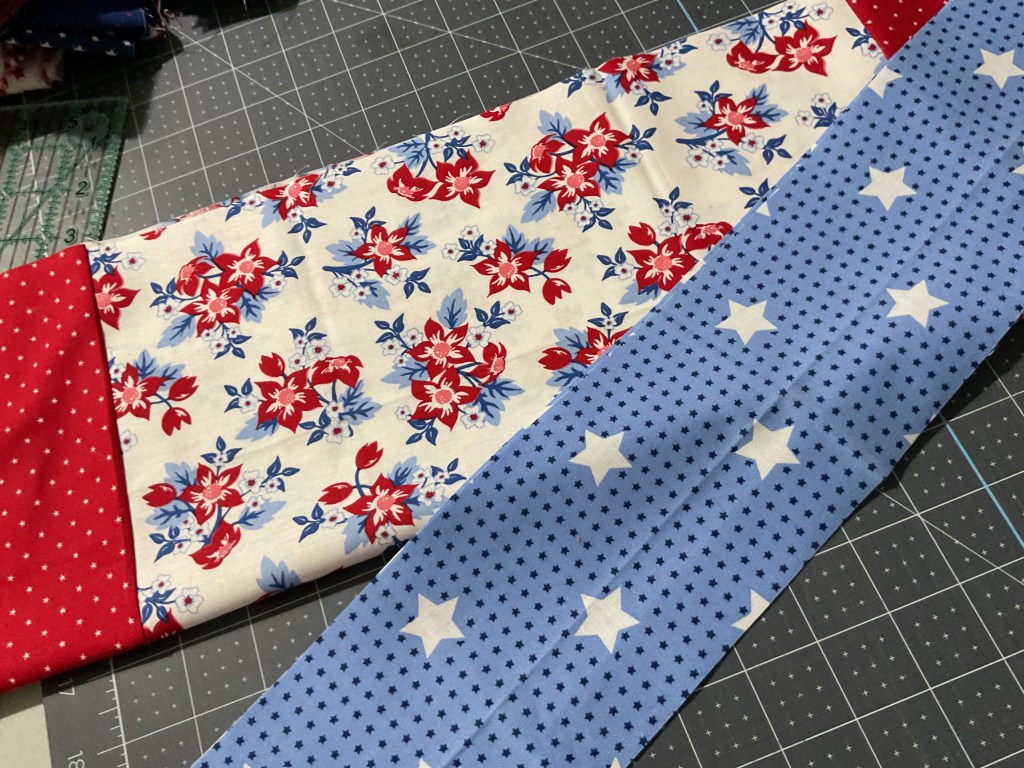
Then I sewed the red strips to the top and bottom of my floral square.

A patchwork fabric piece featuring a floral pattern with red and blue flowers on a cream background, bordered at the top and bottom with solid red fabric with white polka dots.

Time to cut and add the side strips next.

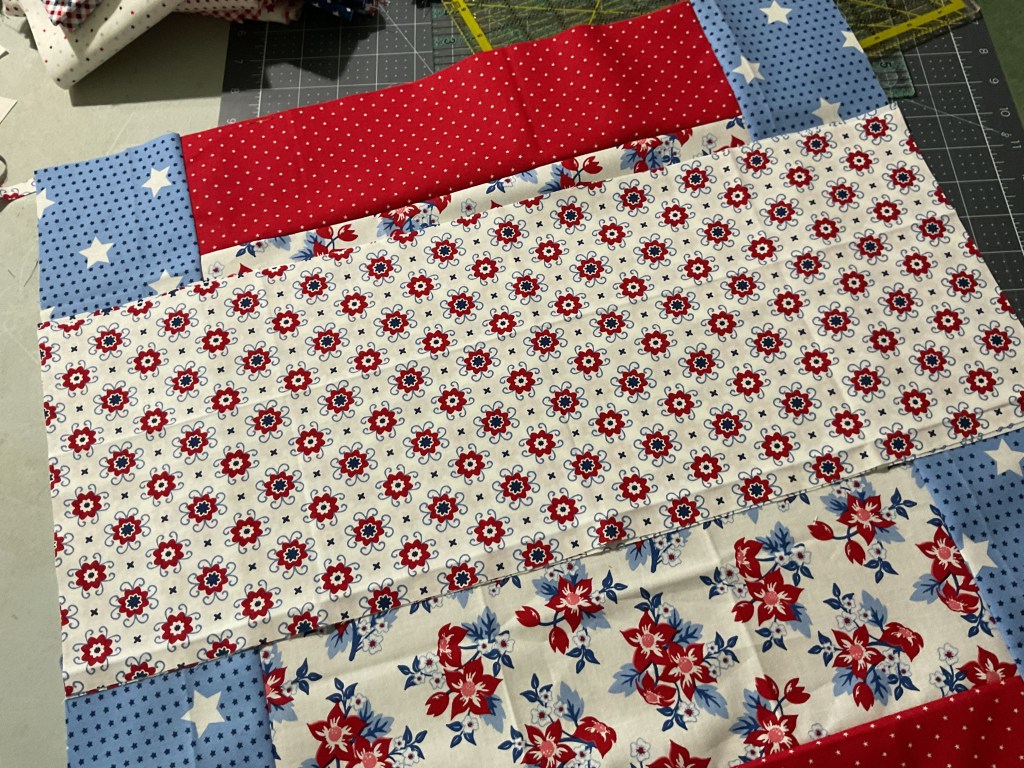
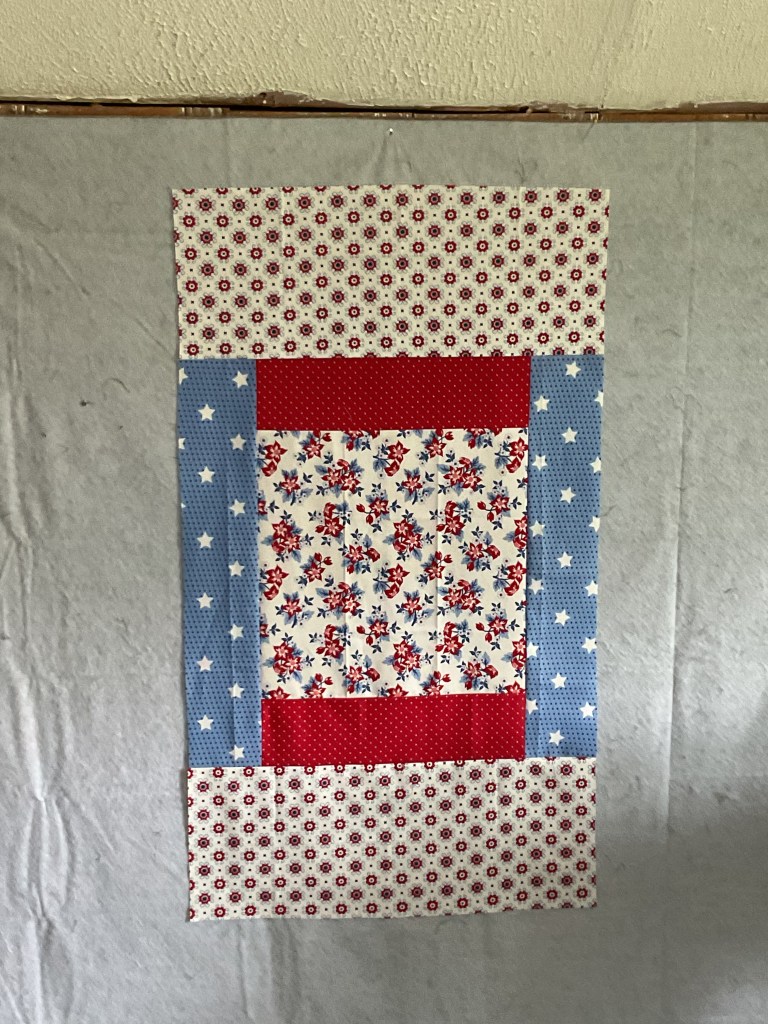
Next up are top and bottom strips. You’ll notice that the strips get wider for each top/bottom or sides round. I think that’s part of the magic in this pattern. Going bigger means less strips and less piecing to get to the desired size which translates into a faster project. Yay!

Side strips again. This quilt is coming together really fast!

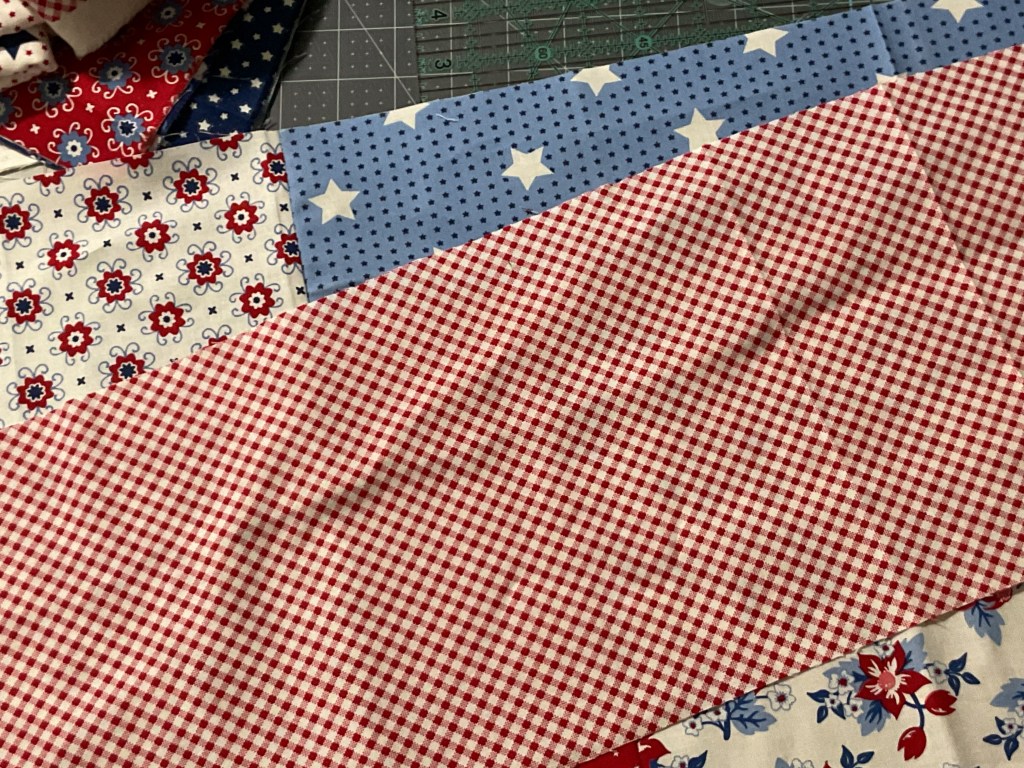
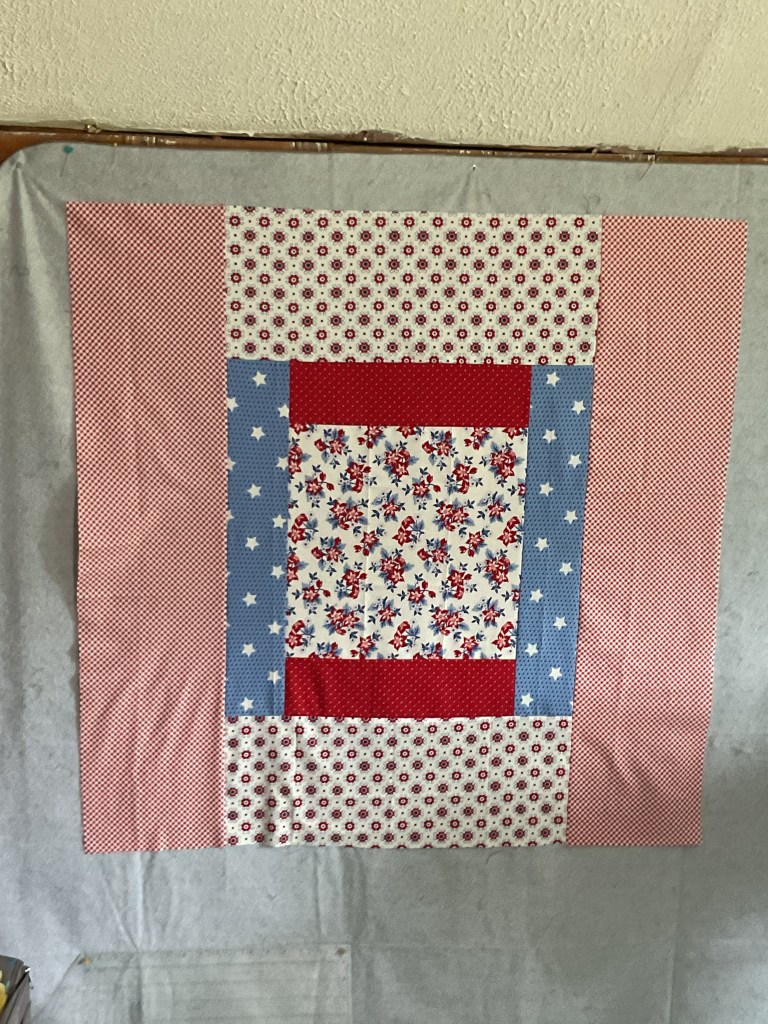
Last, but not least are the final top/bottom strips. This is where I ran into trouble. LOL! I wanted dark blue at the top and bottom, but I didn’t have enough of a single fabric. So, I improvised by piecing 2 similar fabrics together for the top/bottom strips. I took a few extra minutes to line up the center seams so they matched and looked intentional. And I flipped the bottom strip so the same fabric wasn’t on the same side. I think it turned out pretty well in the end.

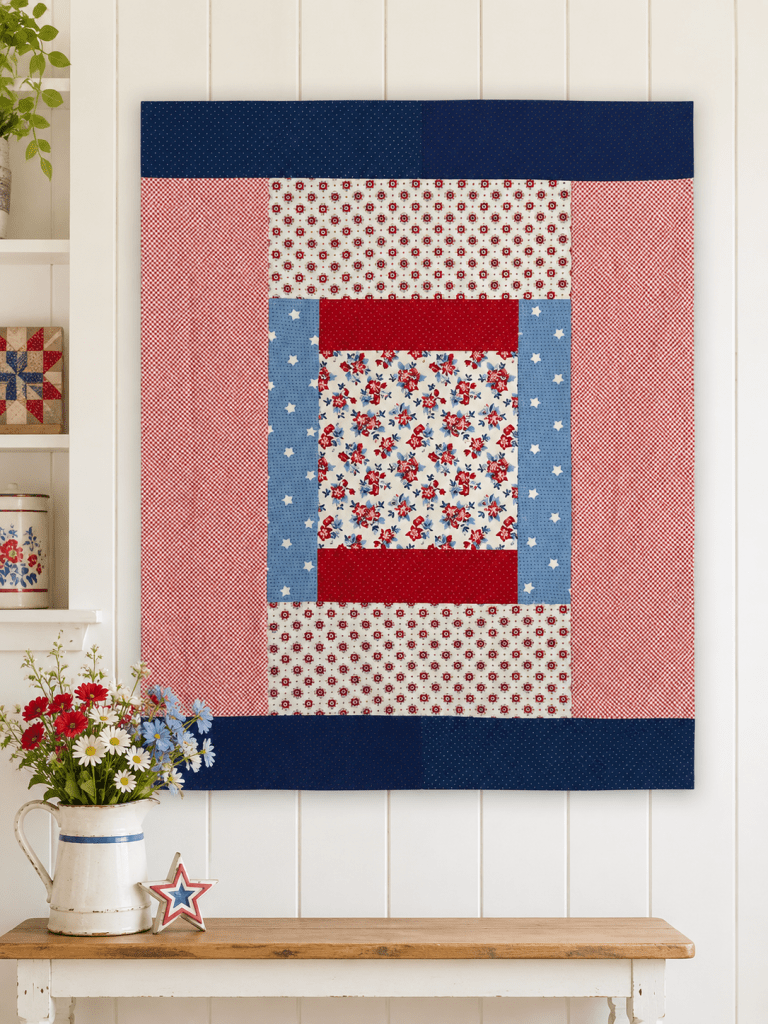
Voila! The finished quilt top!

A colorful quilt featuring red, white, and blue fabrics with various patterns, displayed on a white wooden wall. A vase of fresh flowers and a decorative star are placed on a wooden table in front.

I hope you’ll give this fast and fun small quilt a try sometime. It really is a great summer make. It is a super wall quilt (I’ll show you when I actually get it up on the wall) or a wonderful table quilt – perhaps for a summer picnic – or as a lovely quick baby quilt. Use your stash or use it as an excuse to go shopping at your local quilt shop.

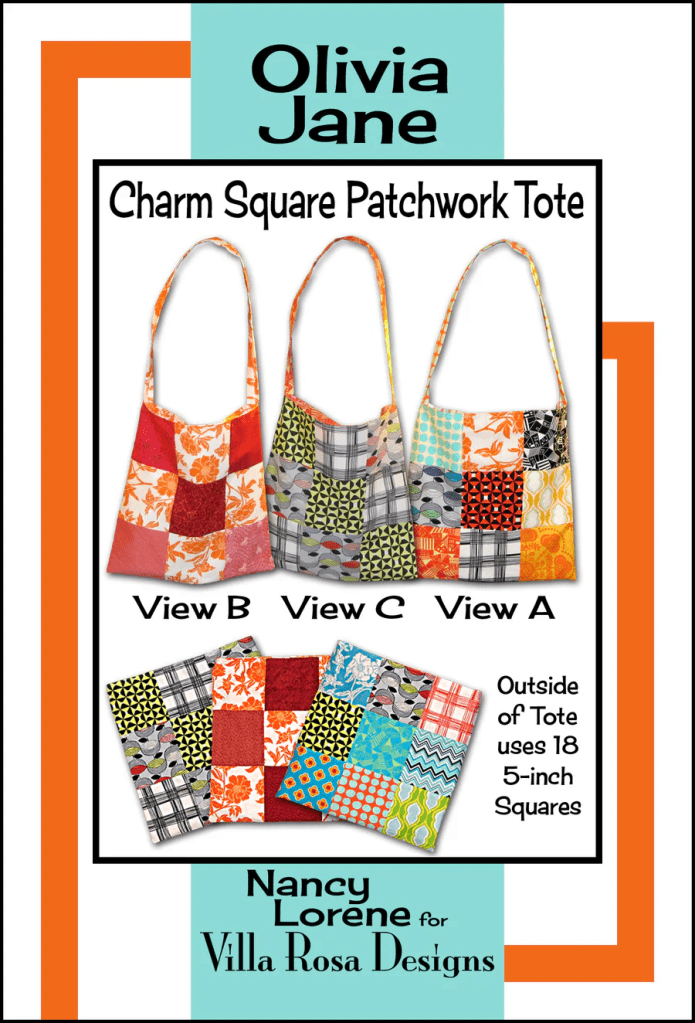
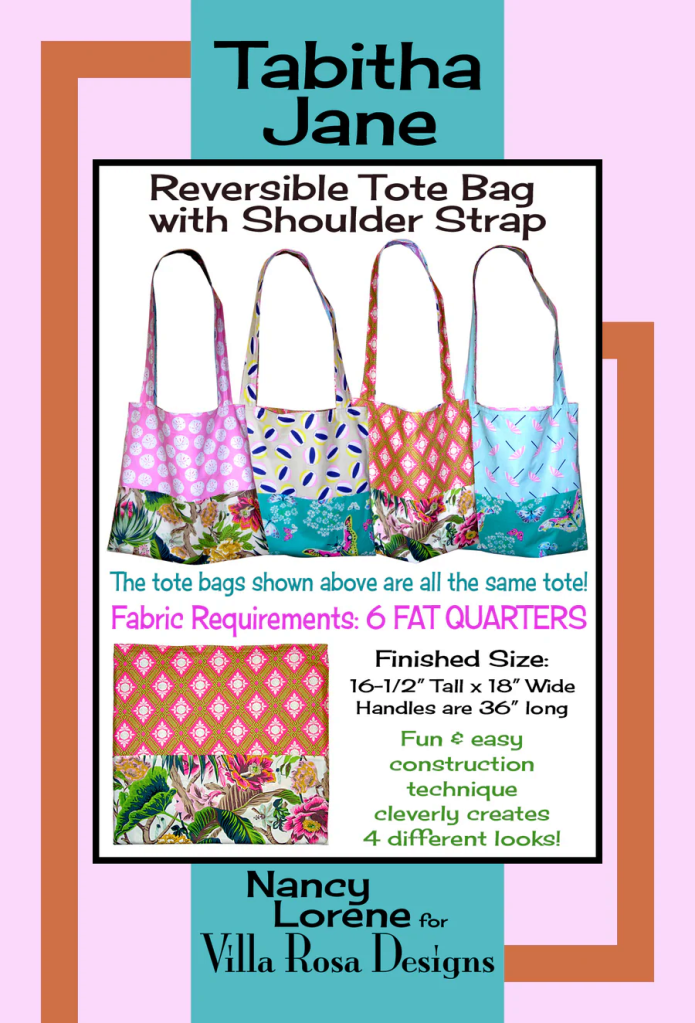
Next week for Week 2 of our Summer Challenge is a TOTE BAG. We have 2 different VRD tote bag patterns to chose from: Olivia Jane or Tabitha Jane. Olivia Jane uses 5″ Charm squares while Tabitha Jane uses FQs.

Here’s a fun tutorial for Olivia Jane where I show you some of the adaptations you can add to your Olivia Jane tote.

Image showcasing three views of the Olivia Jane Charm Square Patchwork Tote, featuring colorful patchwork designs and information about tote construction using 18 five-inch squares.

Get your digital pattern HERE or your print pattern HERE

Promotional poster for a reversible tote bag by Tabitha Jane, featuring four colorful bags with different patterns, fabric requirements, and construction details.

Get your digital pattern HERE or your print pattern HERE

Well, that’s it for me this week!

Enjoy your Small Project Summer Challenge sewing and I’ll see you next week right here!

Sew. Laugh. Repeat.

Always,

Tricia @ VRD
Curated Rose Card Pattern Lists · Just Quilty Stuff · Rose Cards · villa rosa designs

What Can You Do with 2.5″ Mini Charm Packs?

Happy Thursday to you!

Here we are at the end of May following Memorial Day and the “unofficial” beginning of summer and I’m still waiting for spring to stick around for more than a couple of days in row here in NW PA. We actually did have 2 nice dry days in the 60s/70s but now we’re back to cold and rain again. It’s been a real challenge to get the lawn mowed and keep it that way, not too mention getting my small gardens shipshape all while dodging rainstorms and cold temps. Most likely, at the rate we’re going, summer will just land suddenly with hot weather out of nowhere. Sometime in December. 2035. I personally prefer a gradual build up to summers and winters, however; Mother Nature sure has her own agenda these days.

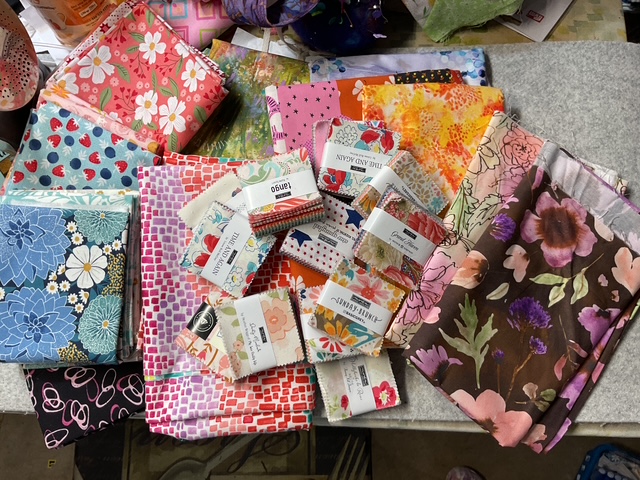
I thought it would be fun to talk about magical 2.5″ squares today. If you read last week’s post about my shop hop around Chicago with Pat following the H&H Show, you may have noticed I bought quite a few 2.5″ Mini Charm Packs (see my photo below). And you might have wondered what the heck I was going to do with all of that eye candy besides tucking them away or dropping them into a canning jar on a shelf to look sew adorable.

A collection of colorful fabric squares and charm packs arranged on a surface, showcasing various floral and geometric patterns.
Here’s a recap from last week’s post showing my goodies from our Chicago shop hop. Note the pile of Mini Charm packs.

I suspect you know all about 5″ Charm packs and how much fun they are (whether you actually use them or you just collect them), so let’s start there and backtrack our way back to 2.5″ Mini Charm Packs.

Three mini charm packs displayed on a light gray background, featuring colorful fabric designs and packaging.

Moda Fabrics is responsible for gifting us with the 5″ Charm Pack, which contains on average 40-42 5″ squares of fabric from a single collection. Thank you Moda! Of course, many fabric companies also offer 5″ square packs and each company calls their 5″ pack by a different name because “charm packs” are synonymous with Moda, even though as quilters, we use the term “charm packs” to describe pretty much any 5″ pack manufactured by any fabric company. Yep, it’s all a little’s a bit confusing.

Hey! Here’s a fun little tidbit perfect for Jeopardy – Moda coined the phrase “Charm Pack” as a nod to Charm Quilts of the past. A true Charm Quilt was said to contain no duplicate fabrics and quilters often exchanged squares of fabric with other quilters to have enough unique pieces to make their quilts. You can find an interesting historical article by Barbara Brackman HERE about Charm Quilts.

Are you wondering why I started out with 5″ square packs? It’s quite simple really, and includes a bit of math! Yay! MATH!

What is a 2.5″ square, but exactly 1/4 of a 5″ square. That means if you cut a 5″ square through the middle both vertically and horizontally, you get 4 – 2.5″ squares. There, I said it – math! (If you know much about me, you probably already know how much I love quilt math.)

It’s not completely clear who actually came up with the 2.5″ square pack idea, as several companies have been producing them for a long time, but Moda certainly comes to mind. I think all of the 2.5″ Mini Charm Packs I bought recently were from Moda. If Moda didn’t invent the whole 2.5″ idea, they are certainly the most well-known manufacturer of the 2.5″ Mini Charm Pack. Moda really was on the forefront of the development of precuts way back when with their Charm Packs, Jelly Rolls, Layer Cakes, Turnovers, Dessert Rolls, and more exploded onto the quilt scene.

Now that you know a little bit of background, let’s sashay our way back to those delightful 2.5″ squares.

So, you might be wondering what I do with with my 2.5″ Mini Charm Packs besides hoard them.

Here are some of my favorites:

  1. EPP Hexies – of course! 2.5″ squares are perfect for using the English Paper Piecing technique to make hexies which I then use to make a variety of small projects (I make small projects because I just don’t think I have enough patience to make a classic
  2. Pin cushions
  3. Doll quilts
  4. Table runners
  5. Snack mats
  6. Bags

As you can see, I do lots of different things with them. Maybe you do, too. If you love 2.5″ squares, please share what you like to use yours for in the comments. 🙂

If you haven’t tried EPP and you are interested in learning more, please check out the class offerings at your local quilt shop or look up some tutorials online.

But Wait – there’s MORE!

VRD even has some Rose Card patterns featuring 2.5″ squares! Did you ever doubt that for a second??? LOL!
A quilted table runner featuring colorful fabric squares and a prominent design with the word 'Amen,' created by Molly Cook for Villa Rosa Designs.

Digital or Print pattern

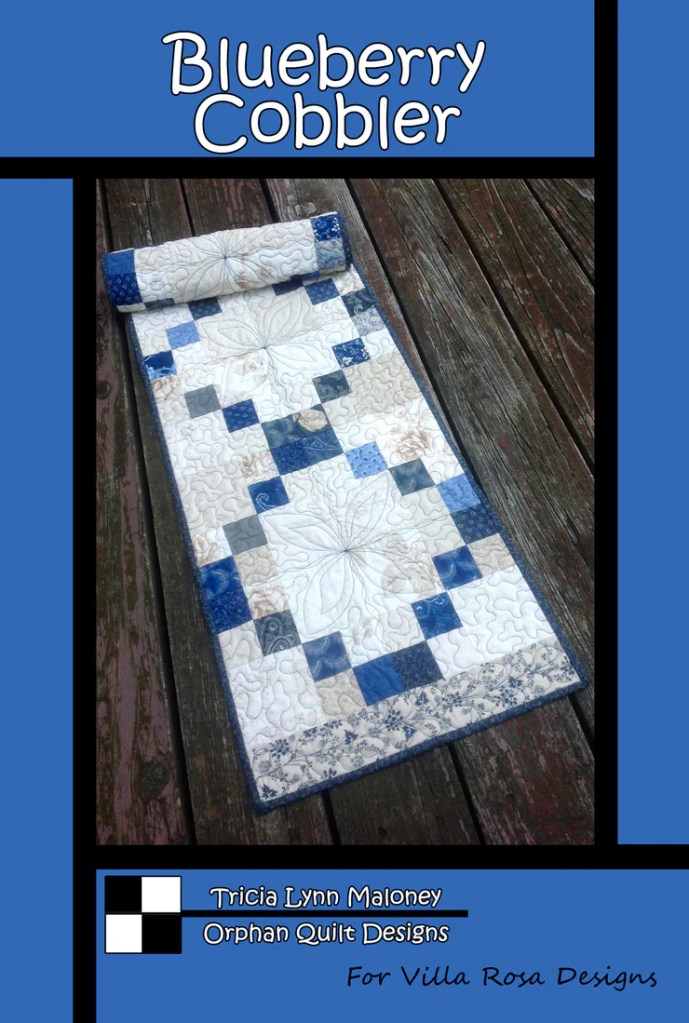
A rolled quilt titled 'Blueberry Cobbler' featuring a patchwork design in blue and cream colors, displayed on a wooden surface.

Digital or Print pattern

A colorful quilt titled 'Color Box' featuring various patchwork squares on a dark background, displayed outdoors.
Digital or Print pattern

A vibrant pink snack mat featuring a heart design, displayed on a wooden surface, with the title 'Dear Heart Snack Mat' prominently displayed at the top.
Digital or Print pattern

A quilted table runner featuring a modern design with various colored squares, set against a natural backdrop of grass and trees, with a prominent orange border and leaf motif.

Digital or Print pattern

A colorful quilt titled 'Lollipop' featuring a playful geometric design, displayed against a natural background.
Digital or Print pattern

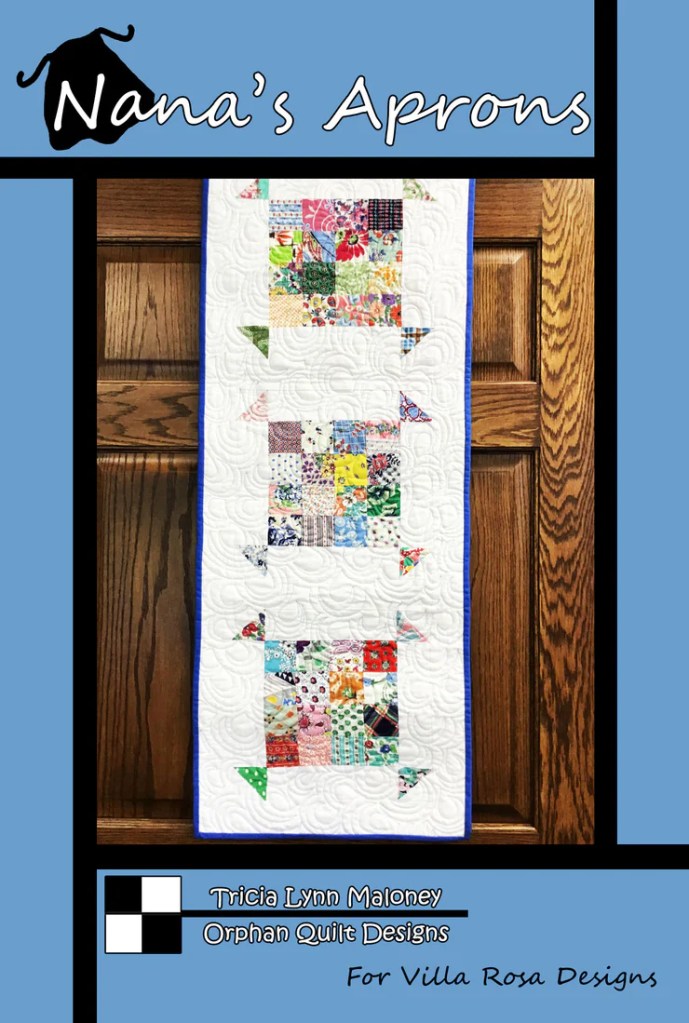
A quilted wall hanging titled 'Nana's Aprons' featuring three colorful apron designs made from various fabric squares, displayed against a blue background.
Digital or Print pattern

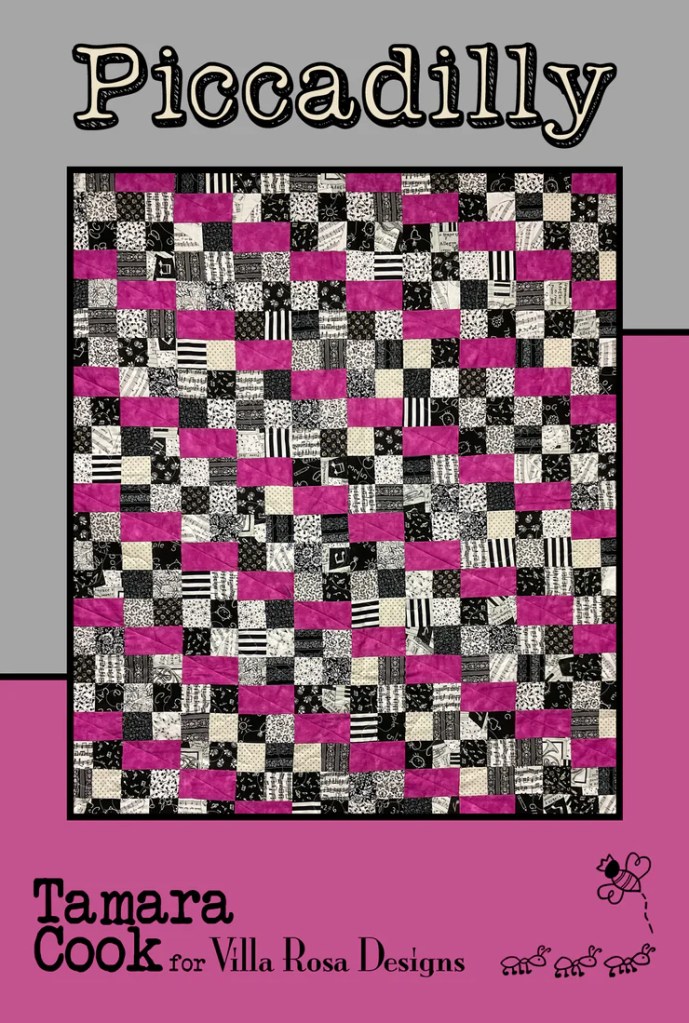
A colorful quilt design titled 'Piccadilly' by Tamara Cook for Villa Rosa Designs, featuring a pattern of black, white, and pink squares in a checkerboard layout.
Digital or Print pattern

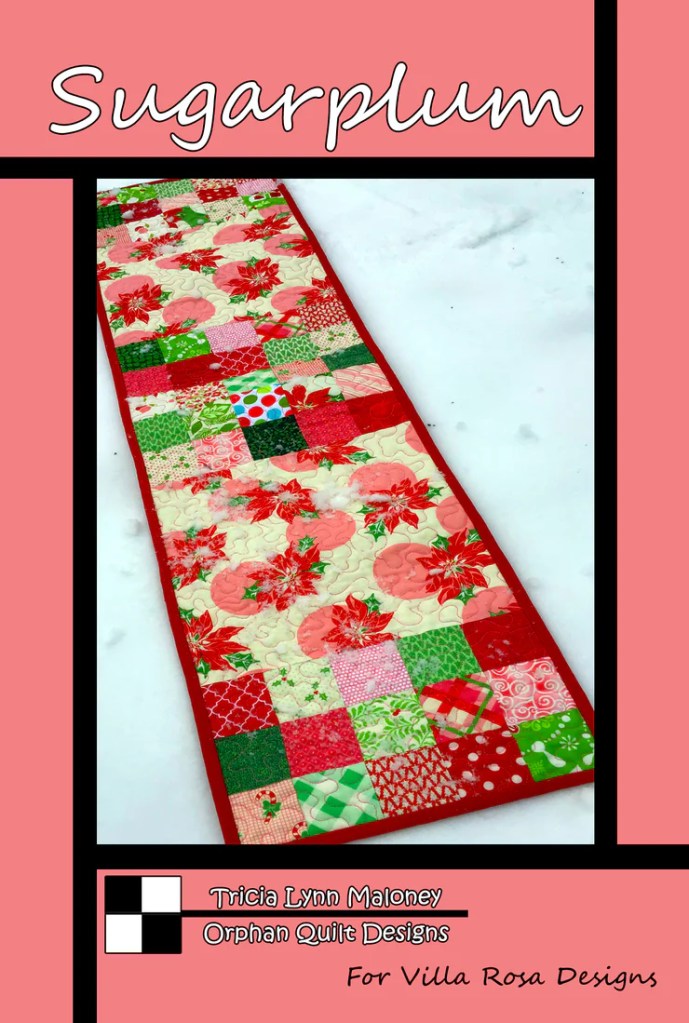
A vibrant quilted table runner titled 'Sugarplum,' featuring a mix of red, green, and pink 2.5" squares adorned with holiday-themed patterns, placed on a snowy background.
Digital or Print pattern

Cover of a quilt pattern titled 'Turkish Delight' by Heidi Cook for Villa Rosa Designs, featuring colorful 2.5 inch squares arranged in rows, surrounded by floral accents.
Digital or Print pattern

I hope you enjoyed this list of fun 2.5″ square Rose Card patterns. Remember, VRD doesn’t charge shipping for patterns, so anytime is a good time to add a few more patterns to your collection. And don’t forget to join our Facebook Group and show off your VRD quilts and be inspired by the projects of others. Hope to see you there!
Have a great week.

Until next Thursday –

Always,

Tricia @VRD