
Hello Quilty Friends!
Happy Thursday to you!
Boy, do I have some fun things to share with you this week! Like NEW PATTERNS, for one. And a NEW TUTORIAL for this month’s table runner pattern, Steppin’ Up. So buckle up and get ready for some VRD fun!
First up is our New August Villa Rosa Designs Rose Card patterns! Check ’em out!

What a great variety of patterns, don’t you think? You can order all five Rose Cards HERE for the super low price of $8.95.
Here’s my latest table runner Rose Card pattern — Steppin’ Up. Isn’t it fun?

You can get the Steppin’ Up Rose Card HERE.
Keep reading for a tutorial for Steppin’ Up as the blocks are a tad tricky.
Don’t forget that we also offer digital patterns for most of our Rose Cards patterns. This is great if you’re a techie quilter or if you live outside the USA. You can find individual digital patterns HERE, unfortunately there aren’t any of the card sets as digital bundles.
There are even some great kits still available for the NEW August Rose Cards —
Sorry, but kits for Steppin’ Up, Mira Costa, and Pots and Pans are already out of stock at the moment, so make sure you check back later.
All right! Let’s get to our Steppin’ Up tutorial.
VRD Steppin’ Up Tutorial
Since I’ve been wanting to do something with an autumn theme (Yes, Gaynel, you were right!), I grabbed some great prints out of my stash. I think you’ll really like how Steppin’ Up looks with a seasonal twist. I’m now thinking Christmas might be fun, too….
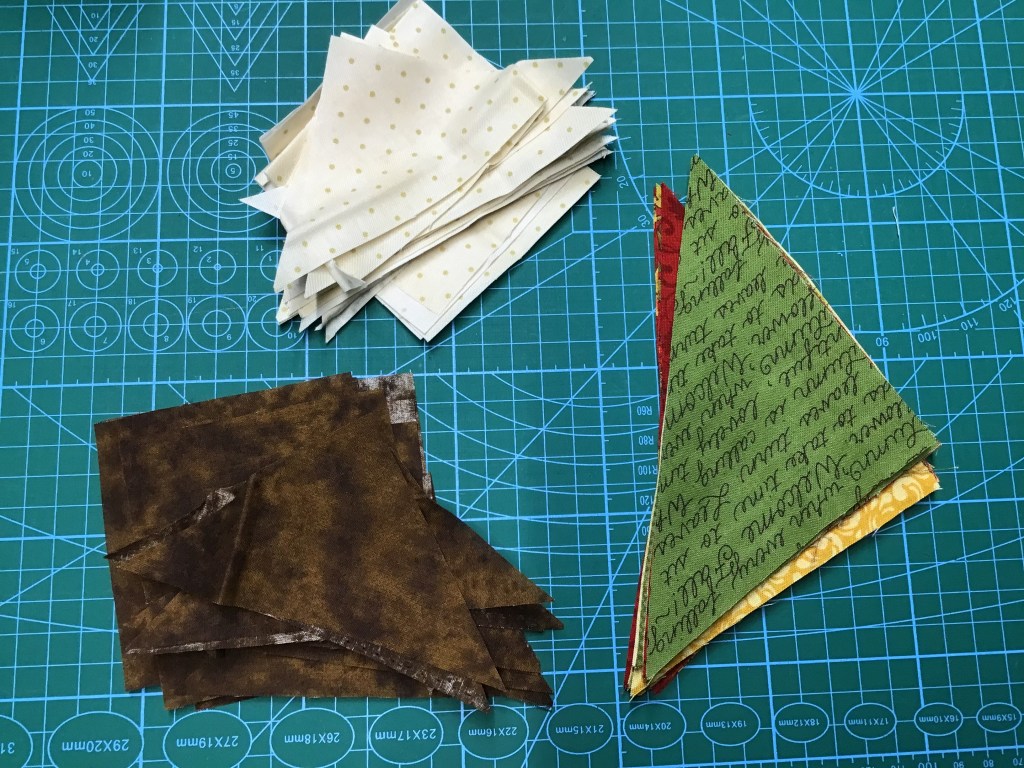
Step 1: Time to gather up your fabrics for Steppin’ Up. For the cover runner, I chose fun brights with black and white, but for this version I chose a brown tonal and a cream dot to go with my fall fabrics. The most important thing in selecting fabric for this runner is to have high contrast between the light and the dark.

Step 2: Go ahead and trim your print squares and then cut your print squares into triangles. Cut on one diagonal to make 2 triangles out of each square.


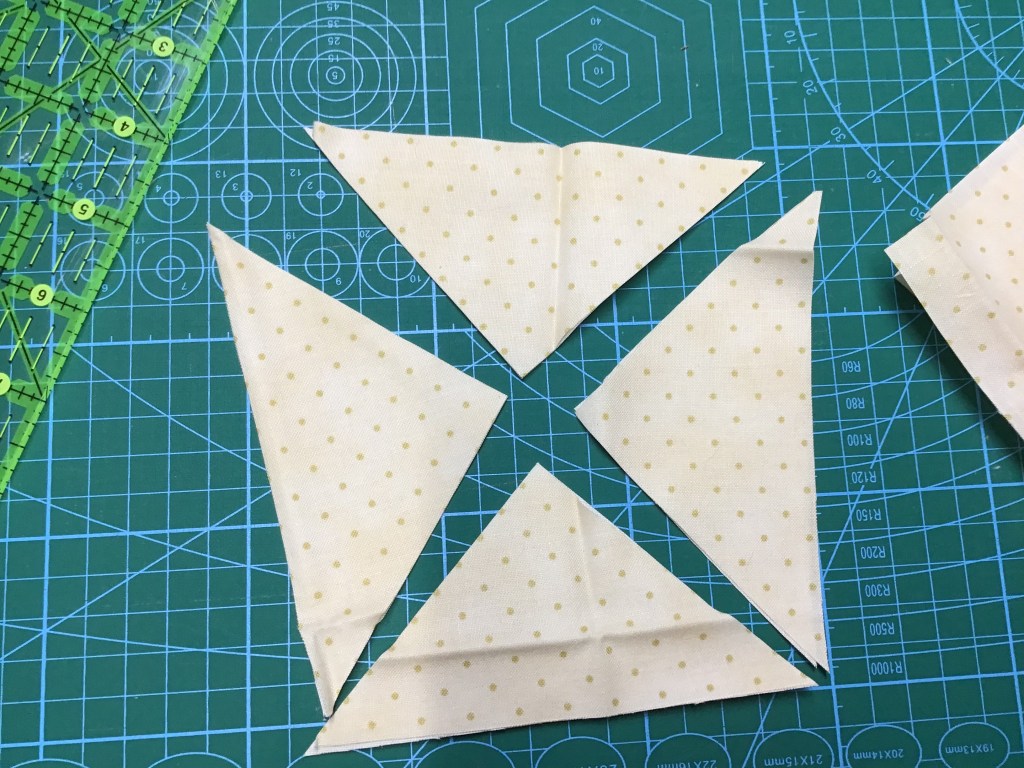
Step 3: Now it’s time to cut our light fabric into squares and then cut the larger squares on both diagonals to make 4 smaller triangles out of each larger square.
Oops! I just looked over at the pattern beside me and I see I did the dark first and then the light in the directions and when I did the tutorial steps, I did the light first followed by the dark. Mea culpa! I hope switching the order of the light and dark won’t confuse anyone….

Step 4: Next we’re going to cut the dark fabric into 2 different sized squares and cut each larger square on both diagonals so we get 4 smaller triangles from each square.

Step 5: Yay you! All your fabrics are cut for the blocks. I don’t usually cut my border strips until after I’ve pieced the center. That way, I can measure my quilt just in case my measurements might be a tad different than the designer who wrote the pattern.
BLOCK 1
Step 6: Let’s make Block 1. I’m going to break this into smaller steps so it’s a bit easier to follow.
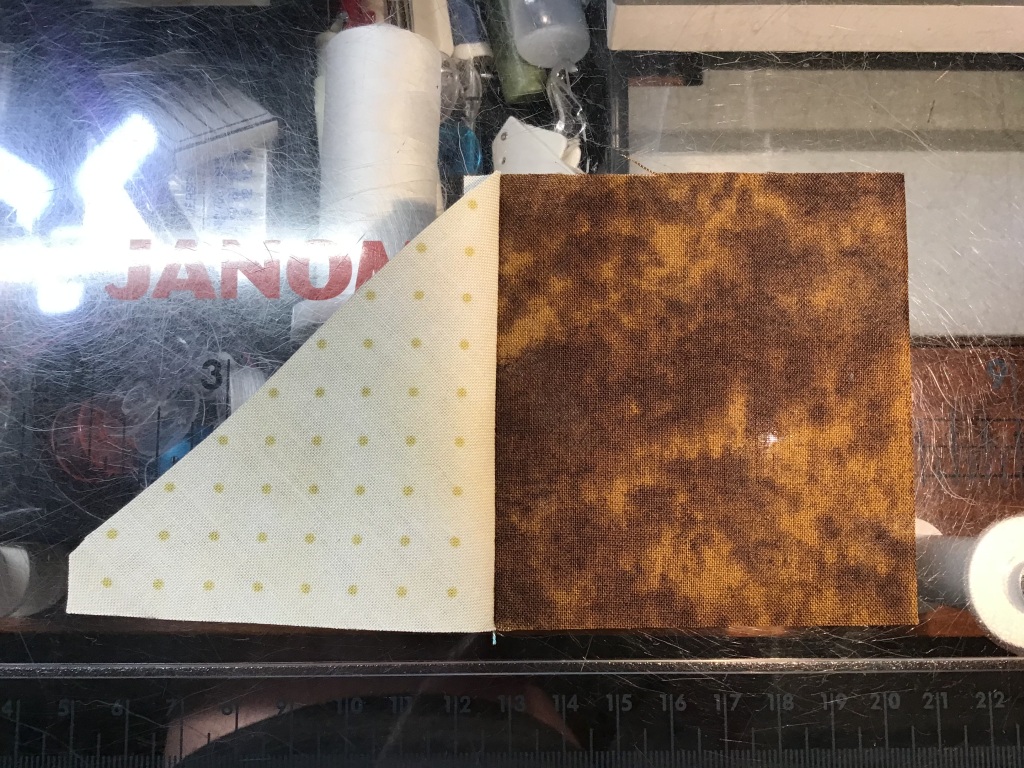
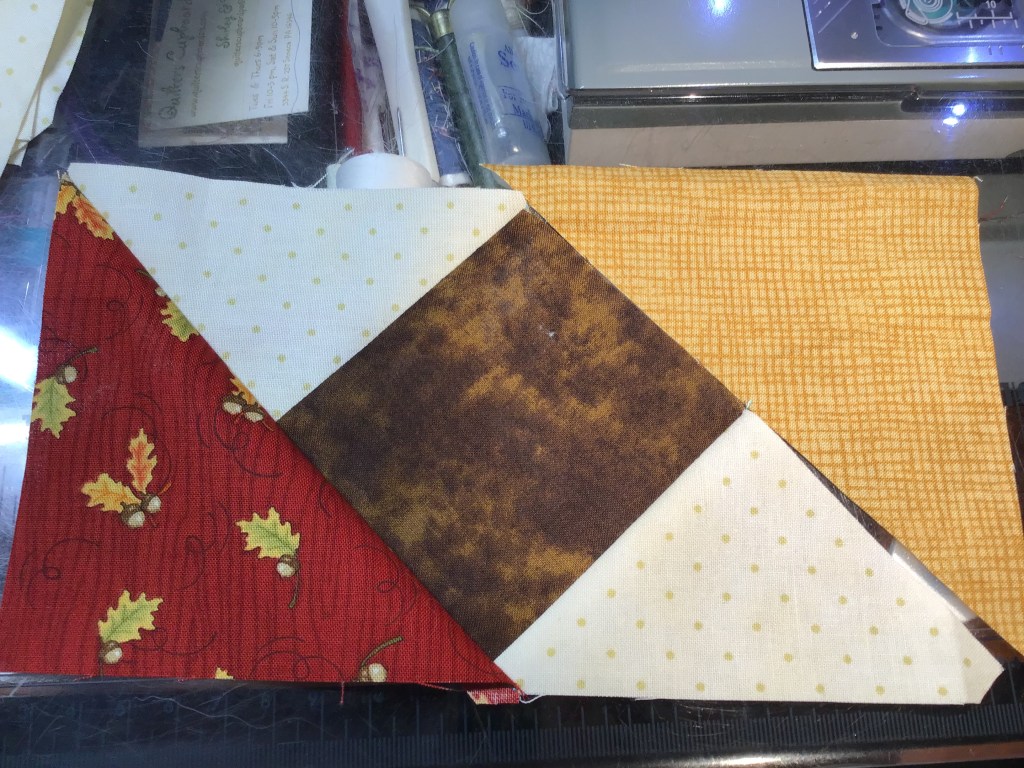
Image A. See how my light triangle is sitting up against my dark square with the slanted side (the hypotenuse) facing towards the top left? Once your pieces look like this, then carefully flip the brown square over on top of the triangle with the right sides together.
Image B and C. Go ahead and sew along that straight side using your 1/4″ seam. Open up the unit and press (I usually just finger press as I’m assembling a block).
Image D and E. Now we’re going to sew a light triangle to the right side of the dark square. Once your pieces look like this, then go ahead and carefully flip the triangle over on top of the brown square, with the right sides together. Go ahead and sew using your 1/4″ seam.
Image F. Open the unit and press. Repeat for the rest of your dark squares and light triangles.


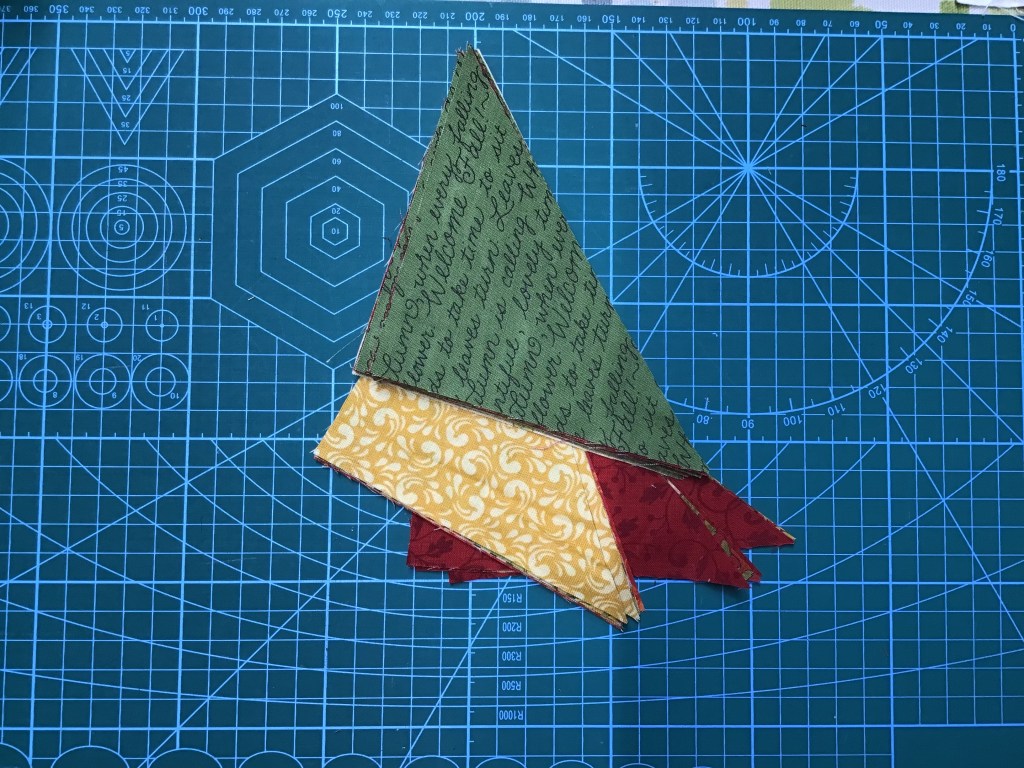
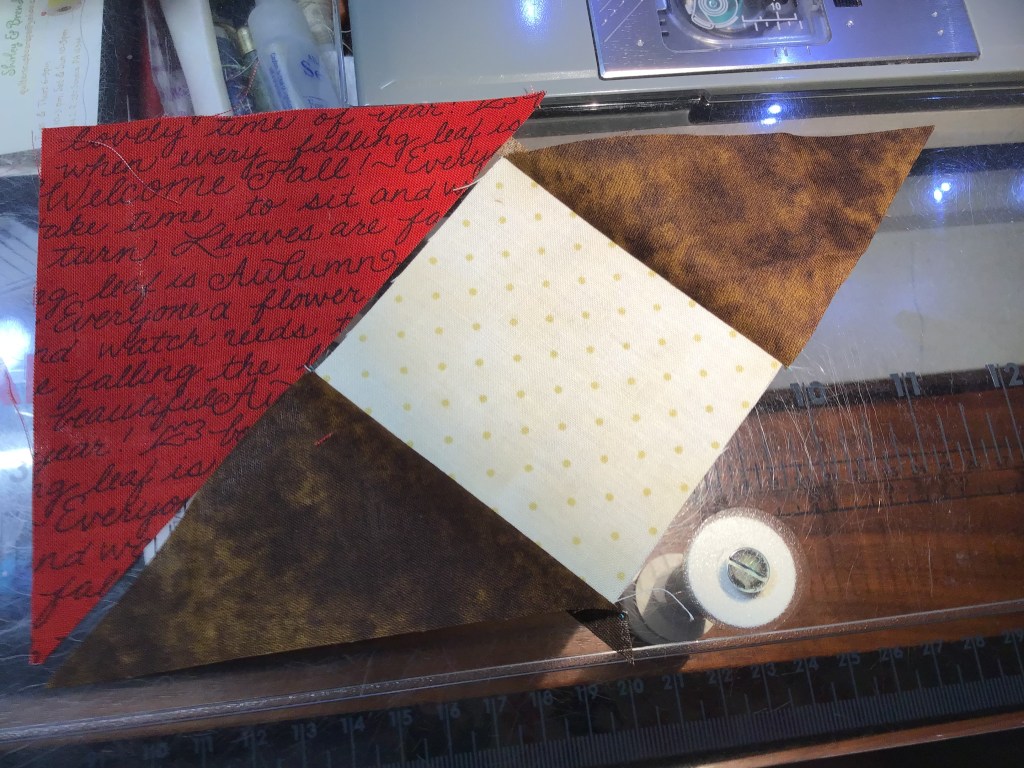
Step 7: Here’s my favorite part of assembling these rectangular blocks — sewing the print triangles on! This really makes the blocks a lot more fun.
Image A and B. Turn your Block 1 unit on its side like you see in the photo. Choose a print triangle and place it on the left as shown. Carefully flip the unit over on top of the triangle, lining up the bottom straight edge (you should have about a 1/4″ triangle overhang at the top). Sew using your 1/4″ seam. Open and press.
Image C and D. Go ahead and repeat for the right side.
Image E. Here is a completed Block 1.


BLOCK 2
Step 8. Are you ready to make Block 2? This time we are using light squares and dark triangles. The placement of the triangles is different than in Block 1.
Image A and B. Notice how the dark triangle is laid out for Block 2 with the slanted side pointing to the bottom left. Once your pieces look like this, go ahead and flip your light square over on top of your dark triangle, with right sides together. Sew using your 1/4″ seam. Open the unit and press.
Image C. Lay a dark triangle on the right side of the light square as shown. Then flip the dark triangle over on top of the light square, with right sides together. Sew using your 1/4″ seam.
Image D. Oops! Take a look at the bottom unit in the photo — I sewed the right dark triangle on wrong. Oh dear….time to unsew and try it again.
Image E. Got it right the second time. Open the unit and press. Repeat for the rest of your light squares and dark triangles.


Step 9: Now let’s get Block 2 finished! Grab the rest of your print triangles.
Image A and B. Turn the Block 2 unit on its side and place a print triangle on the left. Flip the unit over on top of the print triangle, right sides together, and lining up the edge. Sew using your 1/4″ seam. Open and press.
Image C. Repeat for the right side. Open and press.
Image D. YAY! Block 2 is now done.


Step 10: Yay! You made it through the hardest part of putting this runner together. Now it’s time to alternate Blocks 1 and 2, arranging them until you are satisfied. Once you like what you see, sew your blocks together. (A few of my blocks were AWOL when I snapped this photo, but I found them in a couple minutes — they didn’t get very far.)

Step 11: Measure your quilt through the center horizontally and cut 2 border strips to this length, piecing your strips together as needed. Then sew the borders on the long sides of the runner. (My errant blocks were added to the end before I sewed on the long borders.)

Step 12: Now measure your runner through the center vertically and cut 2 border strips to this measurement. Sew the borders to the short sides of the runner.

Step 13: Layer, quilt, and bind your table runner. Don’t forget your label.
Step 14: Enjoy!
Interested in more VRD tutorials? You can check out our tutorials to date on the blog HERE.
Until next week —
Sew. Laugh. Repeat.
Always,
Tricia

Love this pattern, so interesting design especially with the dark and light thru the center. On my want to make list now!
Thank you for the tutorial as well!
LikeLike
Hi Rachel, Glad you like the Steppin’ Up pattern — it is fun, isn’t it? Enjoy!
LikeLike