
Hello Quilty Friends!
Happy Thursday to you!
Happy Independence Day!!!

I hope you get the chance to enjoy some patriotic FUN FOOD and FIREWORKS! And please don’t forget to pause a moment to reflect on how the United States of America got here.
Last Friday, my quilty pal, Robin (Hey Robin!), and I did a road trip down to Pittsburgh to pick up my new gently-used sewing cabinet, which I found for sale online. Robin drove her truck because there wasn’t any way my new cabinet would fit into my Jeep. LOL!
I didn’t know who the maker was from the photos online, but it was exactly what I needed to upgrade my own sewing space! My current cabinet was an older Pfaff (maybe made by Arrow) — truly a gorgeous solid wood cabinet with a hand-operated machine lift and 4 drawers, but what it lacked was an extension on the back which would have made machine quilting A LOT easier for me. My new-to-me cabinet has 2 drawers in the sewing table along with a separate 3 drawer rolling caddy AND AN EXTENSION TABLE! Woohoo! And it’s white, my favorite finish. It really is my dream cabinet! Lucky me!

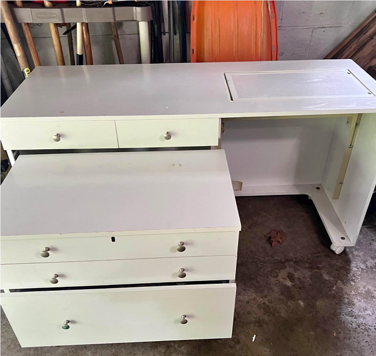
When the owner’s very kind patient husband loaded it into the truck, we discovered that it was a Koala Quiltmate III, which isn’t manufactured anymore. Fine with me, it’s perfect just the way it is.
After the cabinet was securely covered and literally tied into the back of the truck, Robin and I headed on to Ikea, where we, of course, had Swedish meatballs for lunch. Unfortunately, Ikea was right in the middle of updating a lot of their spaces for fall, so there weren’t as many “rooms” on display as usual. Bummer. But we had loads of fun just looking around at the rooms that were still on display and checking out the marketplace downstairs with all those awesome goodies. Do you have Ikea stuff in your sewing space? What item(s) do you use the most? I love there colorful carts and little drawer units on wheels.
After Ikea, we headed back home. On the way, we talked about how on earth we were going to get my cabinet off the truck and into my sewing dungeon. Robin ended up calling in reinforcements (her hubby and son — THANK YOU Rich and Ryan!) to help get the cabinet off the truck at my house and then my Dad and I rolled out my current cabinet and then rolled my new cabinet into my dungeon sewing room. It wasn’t as easy as it sounds, but it’s there now AND it fit through the doorway, which was a relief…… Thank goodness it had wheels!
Now I have the wonderful and awful task of cleaning out and rearranging my space so that I can have the extension up for machine quilting. I’ve been looking for a reason to begin my major studio clean up and purge. I now have a BIG reason and motivation to get things organized and cleaned up. Wish me luck. If you don’t hear from me next week, assume I’m buried under my stash and call the quilt police for me, okay?
Let’s get onto our next Summer Tutorial project — Lattice!
VRD Lattice Table Runner Quilt Tutorial
Lattice is a fun table runner with a really cool woven effect. You only need 3 fabrics — light, medium, and dark along with a coordinate for your border.

You can get the print Lattice pattern HERE or the digital Lattice pattern HERE.
My original sample for the pattern was made with one of my favorite color combinations — red, white, and black. Just love how striking it is! Today’s Lattice runner will be in summery blue and yellow. Just goes to show you that Lattice is a flexible pattern and looks great in a lot of different fabric combinations and styles.
Here are my fabrics for Lattice. The large print was on the sale rack at my local quilt shop and the yellow, blue, and background fabrics are from my stash.

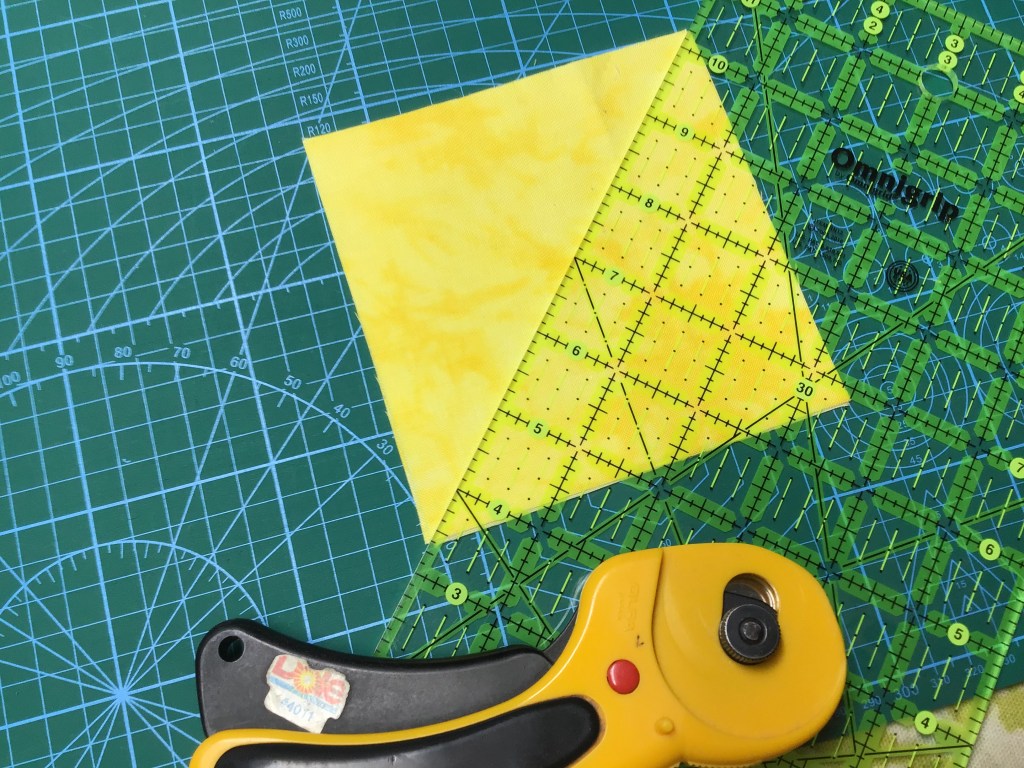
Time to cut these pretty fabrics.
Once we cut the background fabric (white in the pattern) and the dark (black in the pattern) fabric into squares, we’ll need to cut them on both diagonals to make small triangles.


Next we need to cut the medium fabric (red in the pattern) into squares. This time, cut on only one diagonal to make large triangles.

Here are our triangles ready to go. That’s all we need to make ALL the blocks! Easy peasy!

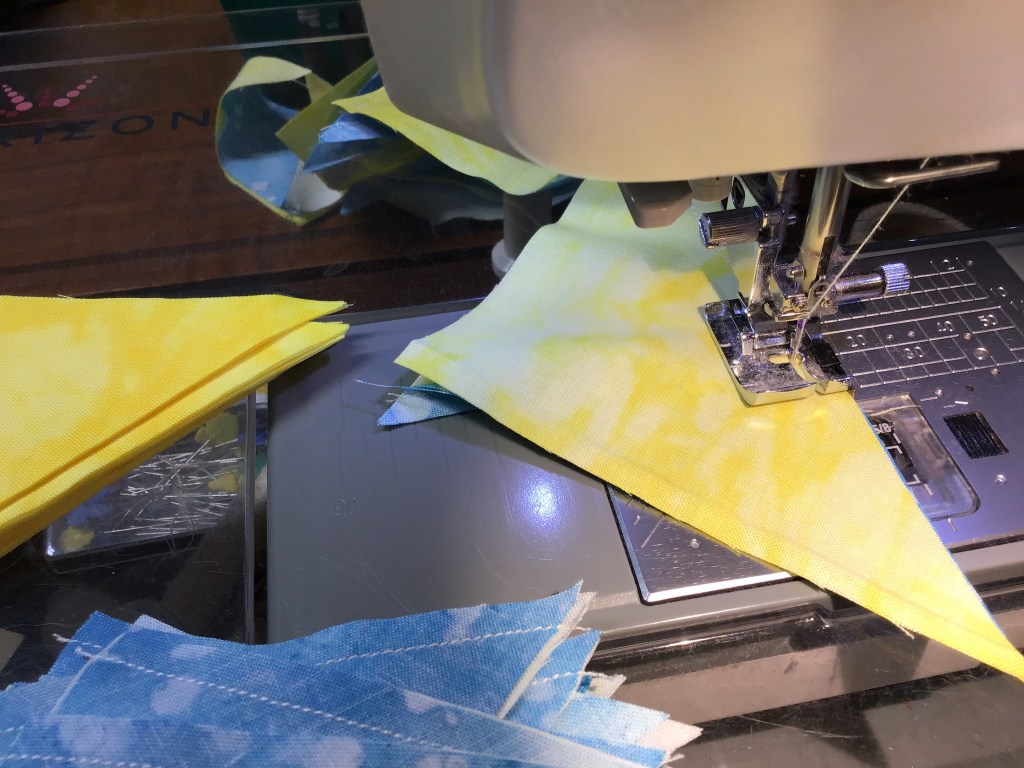
Let’s sew the background and dark small triangles together. We need to sew a background and a dark triangle together along the shortest straight side, as shown in the 1st image so that they will make a larger triangle. Once we’ve stitched all the small triangles together, it’s time to give them a gentle press with the iron — be careful not to stretch this unit by pressing too hard because of the bias edges.
FYI — this unit is technically half of a Quarter Triangle Square (QTS).


Now let’s sew the large medium triangles to the pieced triangle units from above. Our blocks are coming together!

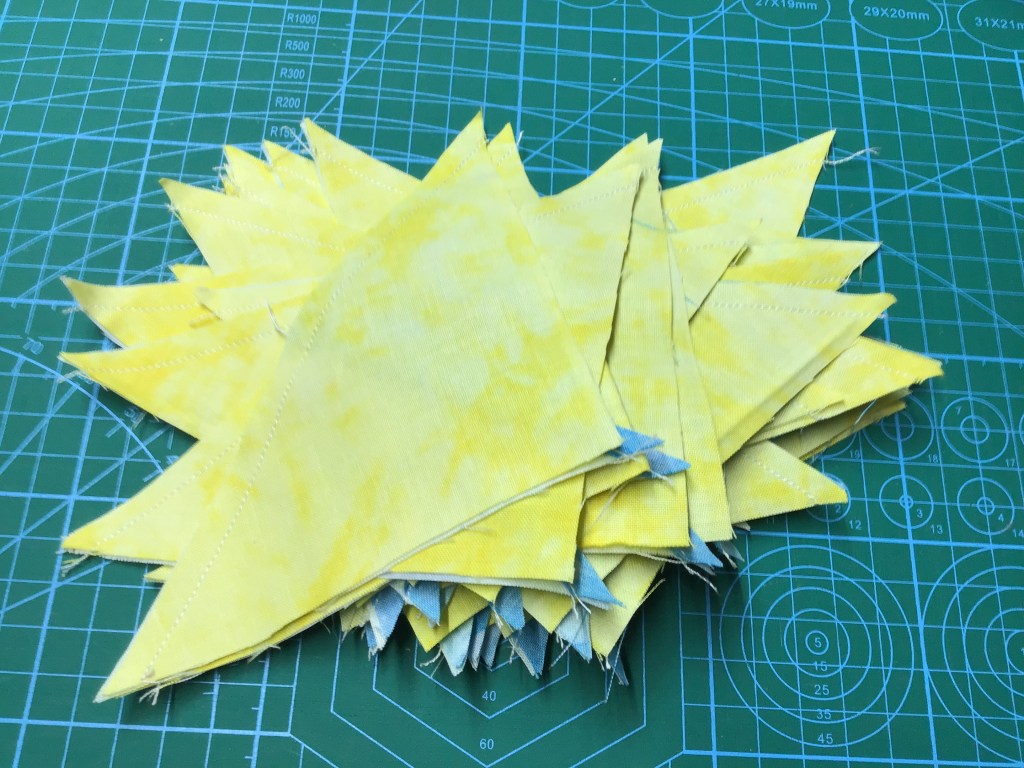
Next up is pressing our blocks and then snipping off those annoying little dog ears. Sure, you could just leave them, but I have found that snipping them off makes for more accurate sewing.


These blocks actually have a name — they are called Y Blocks. My friend, Cathey of Cathey Marie Designs (Hey Cathey!), is completely crazy about this block and all of its design possibilities. She loves it so much, she even created her own ruler, called the Y Block Ruler, which creates 4 identical units at the same time as well as a series of Y Block patterns. If you ever stop by her website, tell her Tricia sent you. LOL!
Now let’s sew our blocks together, 13 across by 2 down, turning them as shown below to get the Lattice effect.

But wait! There’s more. As I mentioned above, the Y Block is a really cool block with lots of design potential. So, let’s rearrange the blocks a bit to see what we get.


Which one is your favorite? They are all quite interesting, but my favorite is still the original Lattice layout. 🙂
Once you’ve decided on your setting and you’ve sewn your blocks together, it’s time to add the border. Sew borders to the short ends first and then sew borders to the long sides.

As you can see, I haven’t had a chance to machine quilt this runner yet. Just as soon as I can get my space rearranged and my new sewing cabinet all set up, I’ll be catching up on my stack of projects waiting to be quilted. YAY!
Well, I guess that’s it for me. Feel free to get back to your July Fourth Festivities now! Save some watermelon for me!
Until next time —
Sew. Laugh. Celebrate. Repeat.
Always,
Tricia @ VRD

That was a lucky find! You can probably still get a plastic insert cut for your machine. You might have to template it, but talk with a dealer who has the cabinets, and they may be able to help. You will love it. Fun table runner too! I have a couple more Villa Rosa quilts coming up on my blog this month (Maid Marian and Pinked) if I get them quilted! Love that table runner. That block sure is a versatile one!
LikeLike
Hey Kathleen, thanks for the suggestion! I’ll be posting more about my table as I redo my sewing space to accommodate it.
LikeLike