
Hello Quilty Friends!
Happy Thursday to you!
WHEW! If you’re like me, you are having a heatwave right now. 90’s every day. It even hit 100 on the thermometer on Monday! YIKES! I’m sooooo not ready for these temps. It’s like we went straight from 50’s to 90’s in a couple weeks.
90’s are definitely not normal for this time of year here in northwestern Pennsylvania. AND we have high humidity to go with the heat which makes me want to just melt into a puddle on the ground every time I have to step outside. I literally had to scramble on Sunday to get the window AC units in, but we’re all good now. I just don’t want to go outside anymore.

Luckily my dungeon studio is still cool enough (sadly, it is not air conditioned) to work in comfortably. I have several fans on to keep the air moving, but when the heat finally infiltrates my space, it’ll get quite uncomfortable. That usually isn’t until August and September, though, but we’ll see what summer brings this year. Northwestern Pennsylvania is an interesting place to live – record amounts of snow and cold in the winter, a wet and cold spring, then – POOF! – record high temps in June. Only the strong survive……..
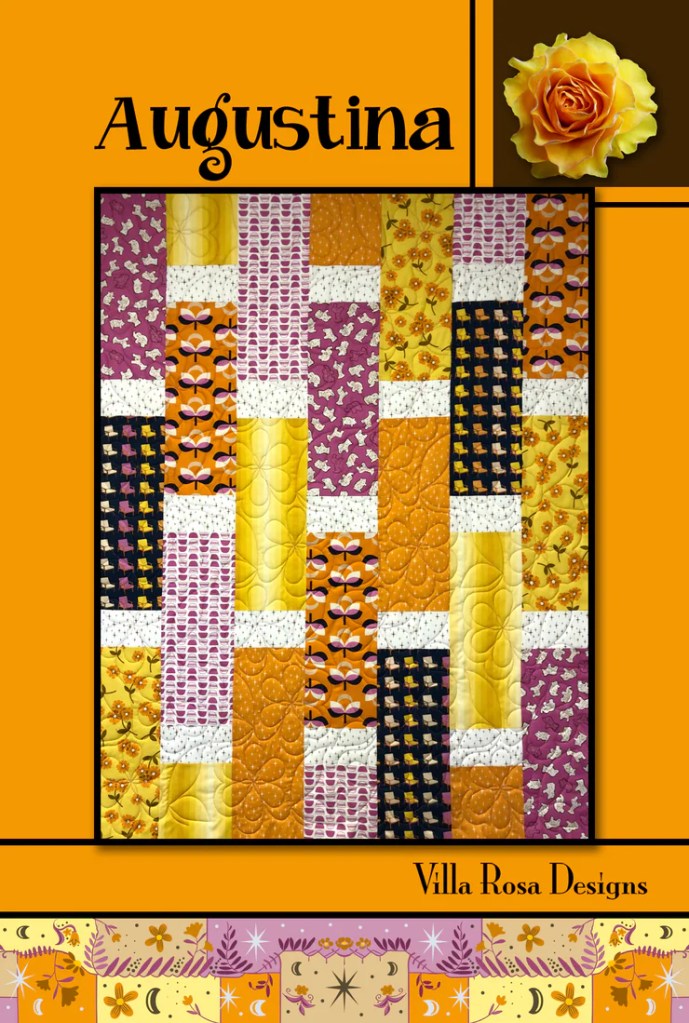
I finally got a little quality time with my sewing machine this week so I decided to put together a new tutorial for you. Augustina is a such great project for summer!
Of course Augustina is fast and fun – it’s a VRD pattern, but it’s also not so big that you feel like you’re wrestling an alligator while your body is dripping with sweat. I promise you, this quilt really is quick – I made the top in a couple hours and that included both cutting and photographing my step-outs for the tutorial. It’s a very satisfying afternoon project.
VRD Augustina Quilt Tutorial
Augustina is a great sized quilt for a small throw or a juvenile quilt. And this is a pattern you are going to turn to over and over again for a beautiful quilt with little effort, yet it looks like a million bucks (sorry, it’s late and I couldn’t think of another phrase to use). So don’t forget to get your own Augustina pattern if you don’t have it yet.
Get your digital pattern HERE or your print pattern HERE
Let’s get started!
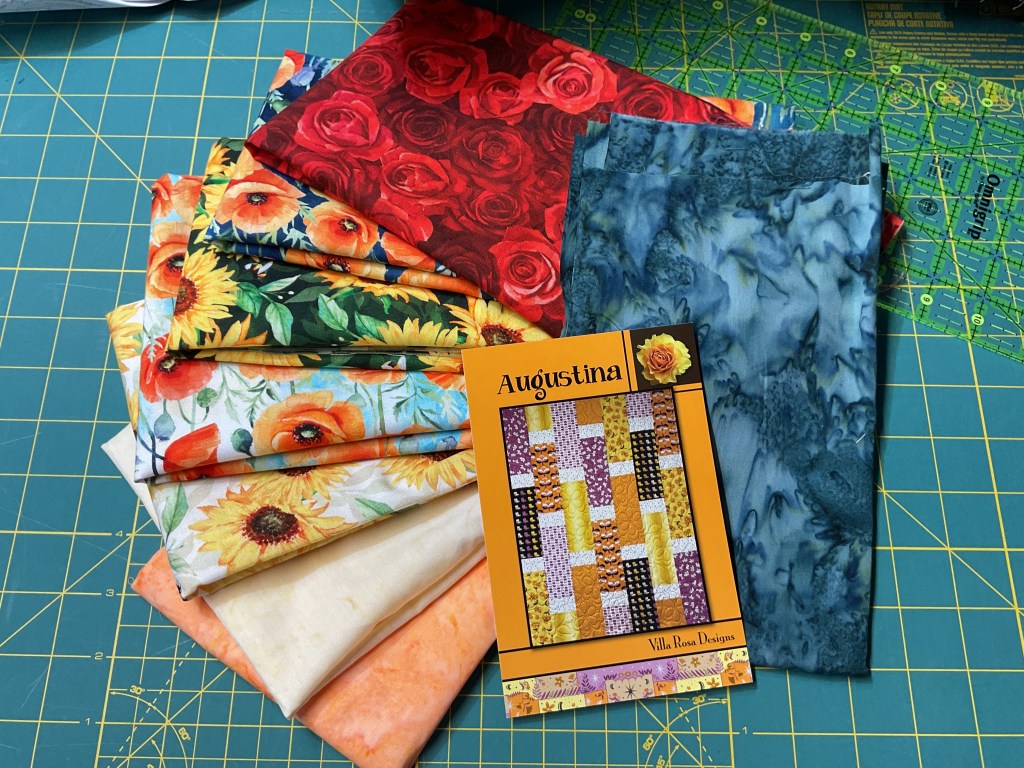
The first thing we need to do, of course, is round up our fabrics. Augustina is a fat quarter project, so you can march right over to your stash and find some coordinating fat quarters or you can use this project as an excuse to visit your local quilt shop to buy new fabric. Yeah, I know, we quilters really don’t need an excuse, but it is handy to have one anyway, isn’t it?
For this tutorial, I am using Flower Shoppe fabrics from our quilty friends over at Hoffman Fabrics. The flower fabrics are all amazing Hoffman digital prints – have you seen these in person yet? The colors are so bright and clear – I feel like I could pick these flowers right off the fabric. We’ve paired a few Hoffman batiks to balance out the gorgeous flower prints.
Please remember when using digital prints, that they do not react exactly the same as regular quilting cottons. Always start with a new needle in your machine so you are not pulling threads when sewing as well as a new rotary cutting blade so you are cutting cleanly through the fabric instead of sawing at it, which can damage the fibers.
Next up…..cutting.
SHHHHH! The secret of this quilt is that the pieces are big. Big pieces mean you don’t have to spend loads of time cutting little squares, rectangles, or triangles. Big pieces are a huge time saver! Big pieces also mean you can use bigger prints (when you use big prints in small pieces, the design gets all chopped up and you tend to lose what you loved about the print to begin with). Yay! Let’s GO BIG!
In the photos, below, we’re cutting our accent fabric into strips and then into rectangles.

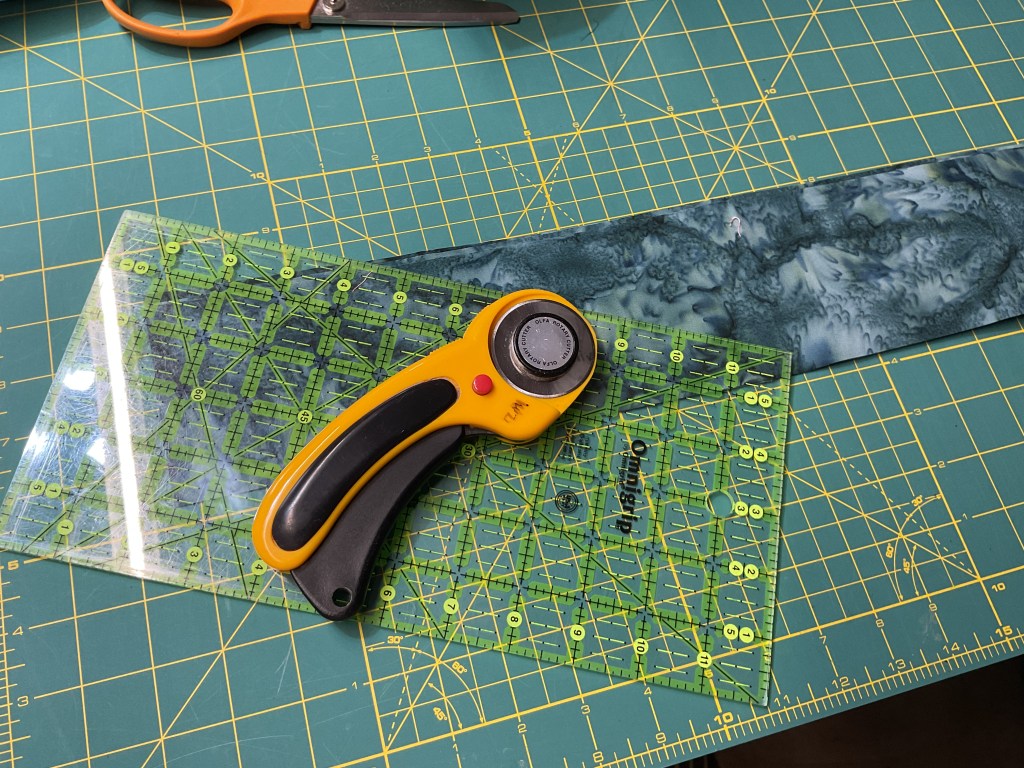
Below, we’re cutting our FQs into strips and then into 2 different sized rectangles.


VIOLA! Cutting done. Easy peasy. Here’s all the pieces we need to make Augustina.

Before we can sew Augustina together, we have to lay out our fabrics. I’m going to put them up on my handy dandy flannel board which consists of a flannel-backed table cloth clamped to the tops of my fabric storage unit doors. As I’ve mentioned before, this idea came from my pal, Mary Lee. Kudos to you, Mary Lee! It’s a great option if you don’t have a spare wall to put up a more permanent quilt wall solution. I can simply take it down when I need access to my yardage stash. I’ve actually had this tablecloth for years now, so it’s even an economical option.
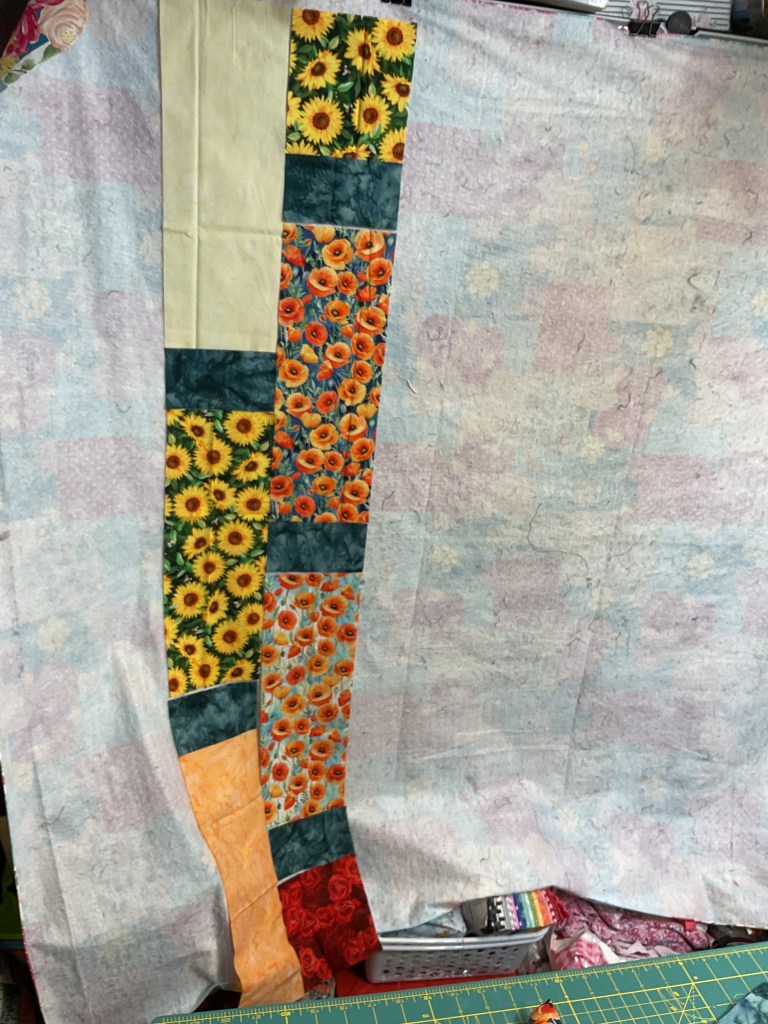
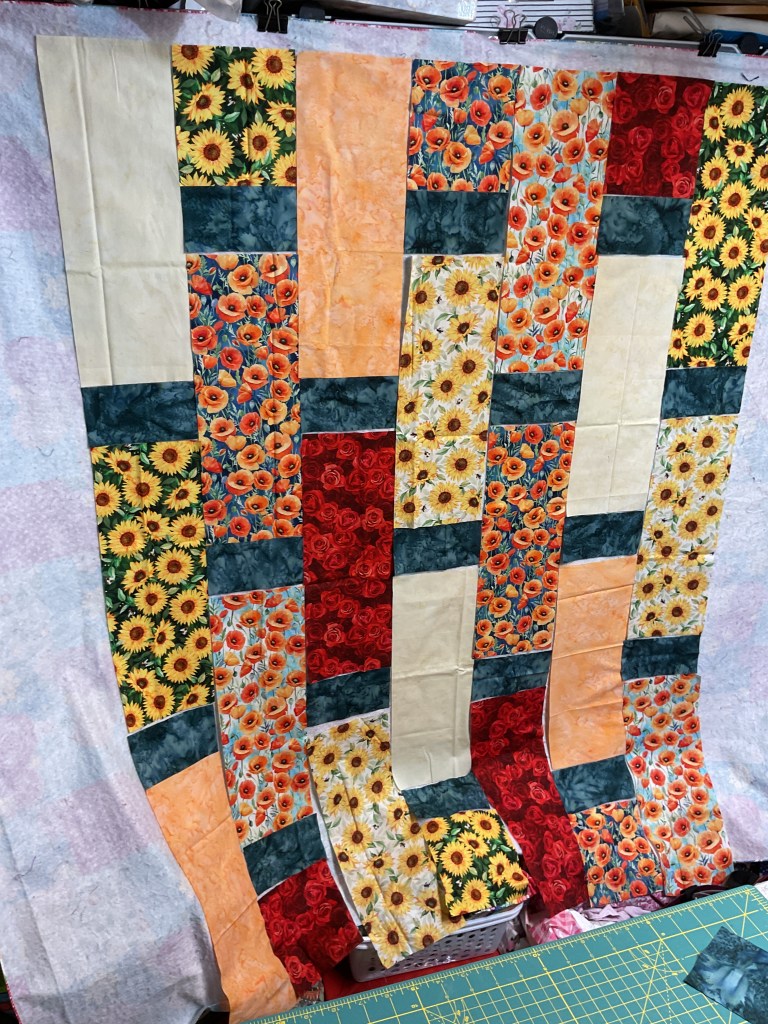
Hmmm……I think I need to move some fabrics around.


After several switcharoos, I think I’m happy with the layout now.
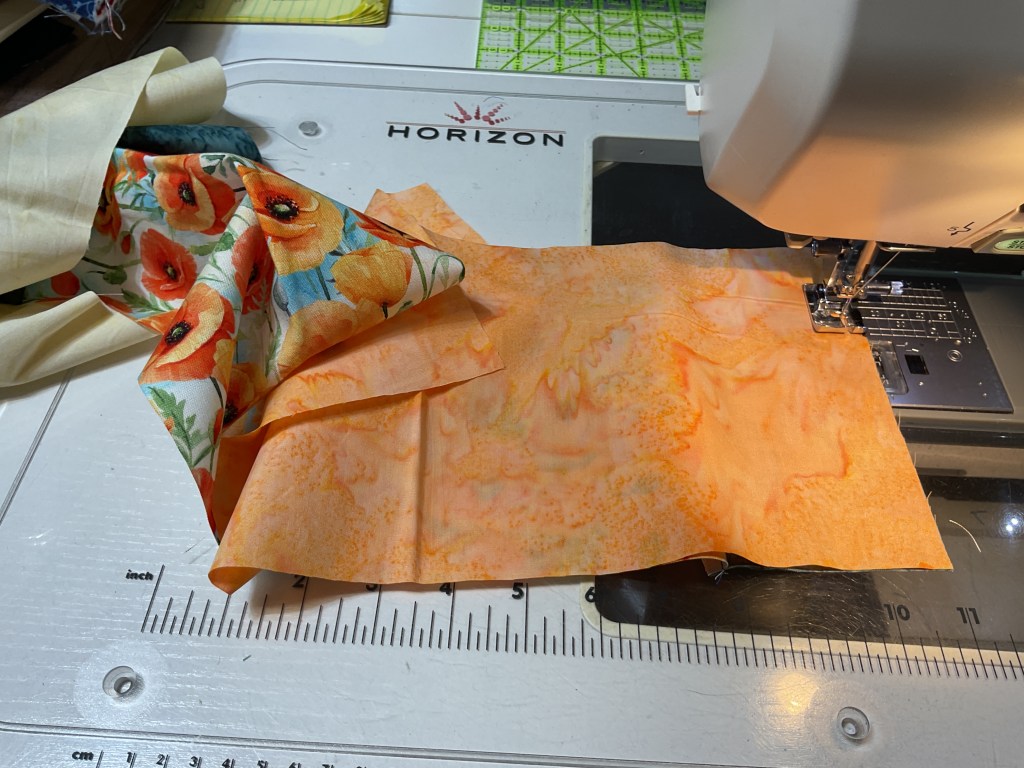
Let’s sew!
This quilt is sewn together in vertical rows. I took my time, only taking one vertical row off of my board at a time. I worked from the top down to sew the pieces together. It doesn’t matter whether you sew your strips top down or bottom up, just be consistent with all of your rows or else you might get your fabrics out of kilter.

Okay, all the fabrics are now sewn into vertical rows.
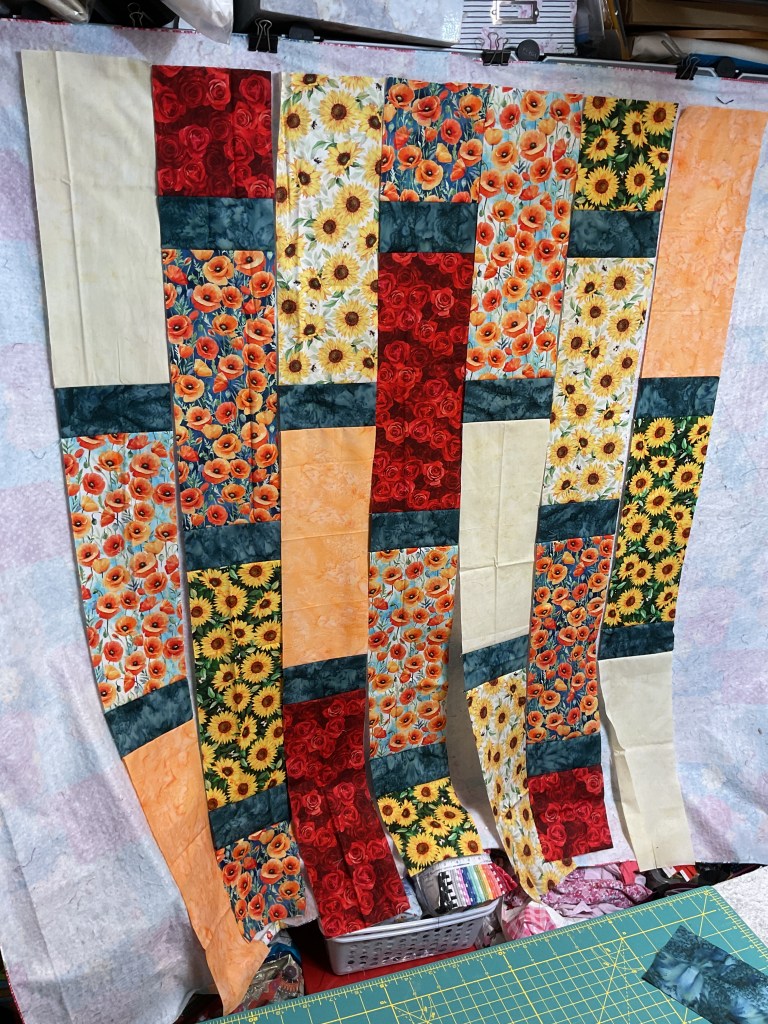
Now I’m going to sew the vertical rows together into pairs. As this quilt has an odd number of rows, the last row will have to hang out all by itself for a while.
Next, I’m going to sew the first 2 pairs together into a foursome. Then I’ll sew the third pair and the last row together into a trio.

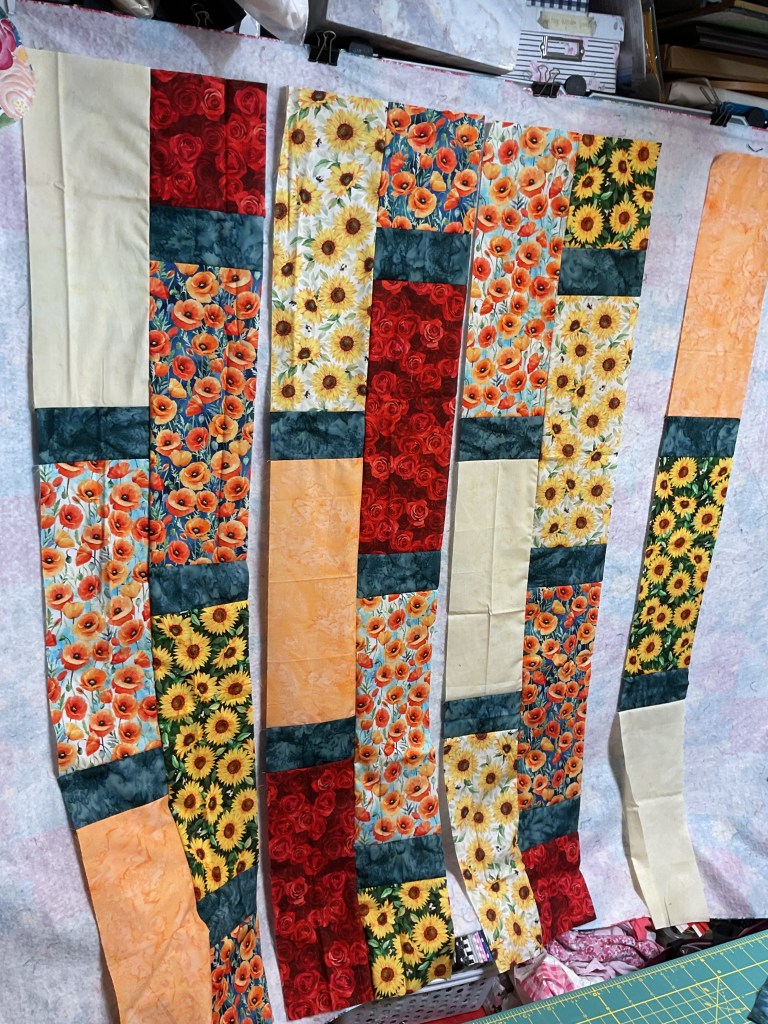
One last seam to sew the 2 sections together and the Augustina top will be finished. Fast as can be! There isn’t a lot of matching seams, but you do want to make sure your accent pieces are relatively even-looking across the quilt.
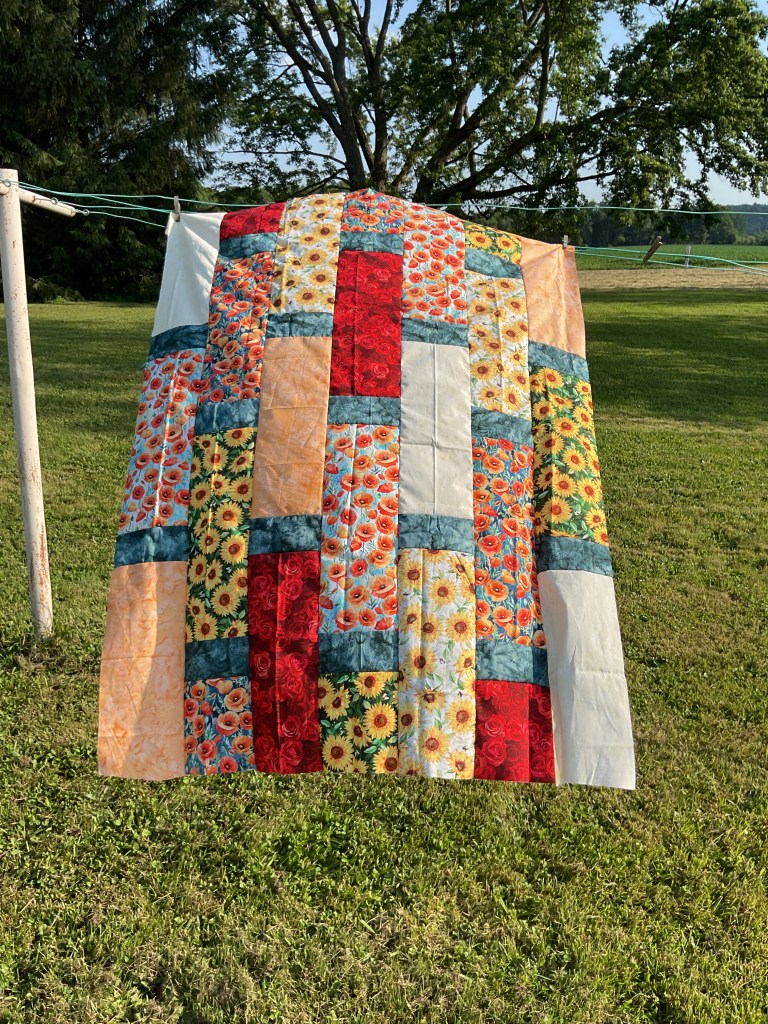
And here it is! Our completed Augustina quilt top.

Although it was hot, I decided to take Augustina outside for a glamour photo. Sigh…….it was a little breezy out and I couldn’t get a photo with it hanging nicely for you. Bummer. But I do love how it looks surrounded by all the green – the flowers look like they are about to burst right off the quilt! That’s digital fabric for you – the number of colors that can be printed on fabric is phenomenal and creates stunning designs.
And that’s it! Finito! Next I need to layer, quilt, and bind it…….someday, anyway.
If you’re looking for another great summer quilt pattern, check out the Jubilee tutorial from a few weeks ago. It’s also a super go-to project.
That’s it for me today, gotta go have me some summer……..in the air conditioning. LOL!
See you next week, same time same place —
Sew. Laugh. Stay Cool. Repeat.
Always,
Tricia @ VRD
