Hello Quilty Friends!
Happy Thursday to you!
In last week’s blog post, I proposed a companion Quilting Olympics to go with the recent 2026 Winter Olympics in Milan Cortina. I was hoping some of you might weigh in about possible events, but sadly, no one did. I get it, people are busy. So this week, I’m going to share some fun ideas for Quilting Olympics events. Who knows? Maybe this post will inspire your quilting guild or your next quilt retreat.
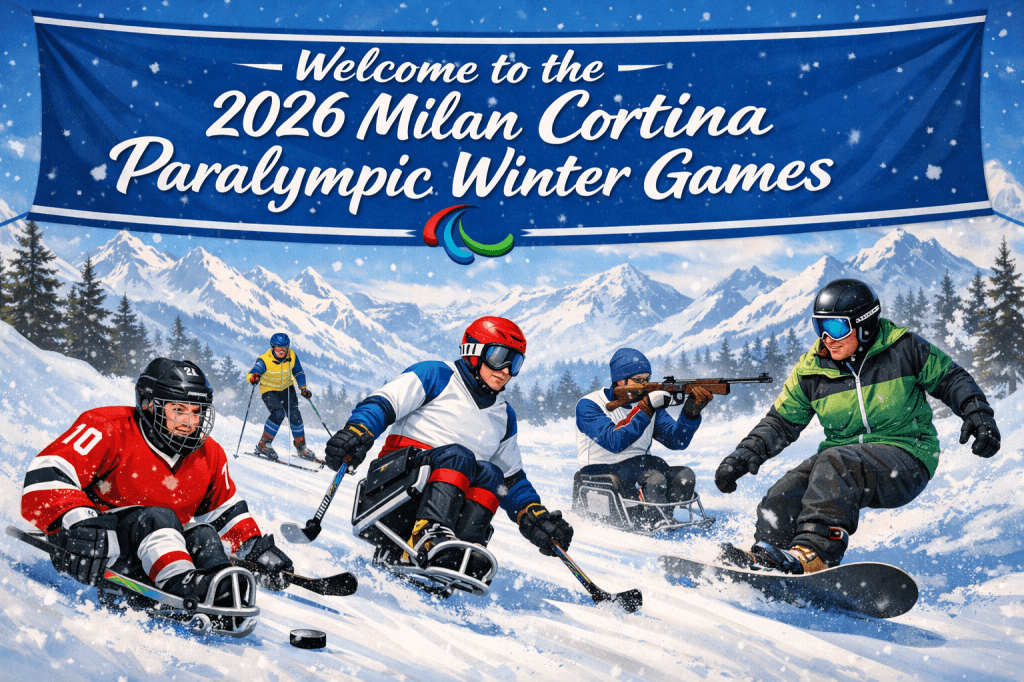
So………..Welcome to the Quilting Olympics, proudly inspired by the winter games in 2026 Winter Olympics hosted in Milan and Cortina d’Ampezzo.
But instead of skis and skates… we bring rotary cutters and seam rippers. I had SEW much fun creating this Quilting Olympics post for you. I utilized AI tools for the images as well as my very overdeveloped imagination for the story you are about to read.
After all –
“Imagination is more important than knowledge. Knowledge is limited. Imagination encircles the world.”
— Albert Einstein
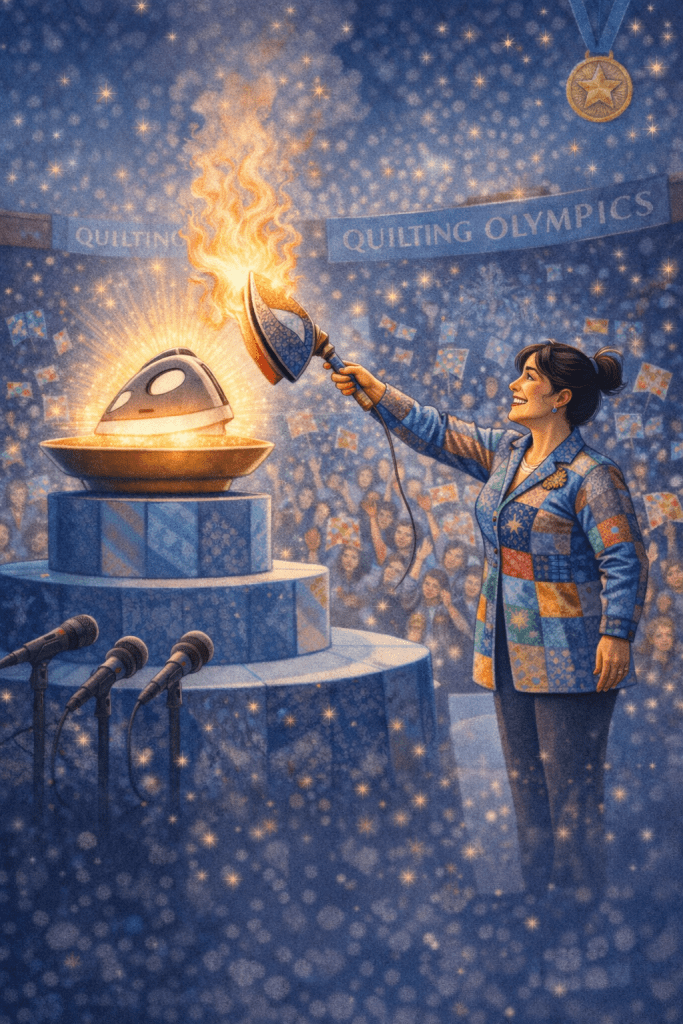
Opening Ceremony for the 2026 Quilting Olympics
🏅 The Lighting of the Iron
“And here we are, ladies and gentlemen, quilters of all nations, gathered for this historic moment…”
The stadium lights dim. The crowd quiets. Thousands of rotary cutters glint softly in the night.
From the far end of the arena, she appears.
A master of her craft. A legend of the long arm. Draped in a jacket of brilliant patchwork, each piece representing generations of makers before her. The crowd rises to its feet.
She approaches the ceremonial cauldron — not a flame, not a torch — but the most sacred symbol of quilting excellence.
The Iron.
Set reverently to Cotton.
A hush falls over the crowd.
With steady hands and the confidence of someone who has conquered both bias curves and bobbin tension, she raises the glowing iron. A warm golden light flickers from its sole plate.
She touches it gently to the waiting pedestal.
And in a radiant burst of steam and sparkle…
The Quilting Olympics are officially underway.
Cheers erupt. Patchwork flags wave. Someone in the upper stands shouts, “Press it open!”
The flame glows steady and true, symbolizing:
Precision.
Patience.
Perseverance.
And perfectly matched points.
Above the arena, thread trails shimmer like starlight.
The games have begun.
The Official Quilting Olympic Oath
All competitors stand if you are able, rotary cutters raised (safely locked, of course) and repeat after me:
“I solemnly swear
to measure twice,
to cut once,
to maintain a quarter inch seam allowance,
to press with dignity,
to respect the bias,
and to finish at least one UFO before starting three more.”
Thunderous applause. Someone wipes away a tear with a fat quarter.
On to the Games!
Quilting Olympics Events
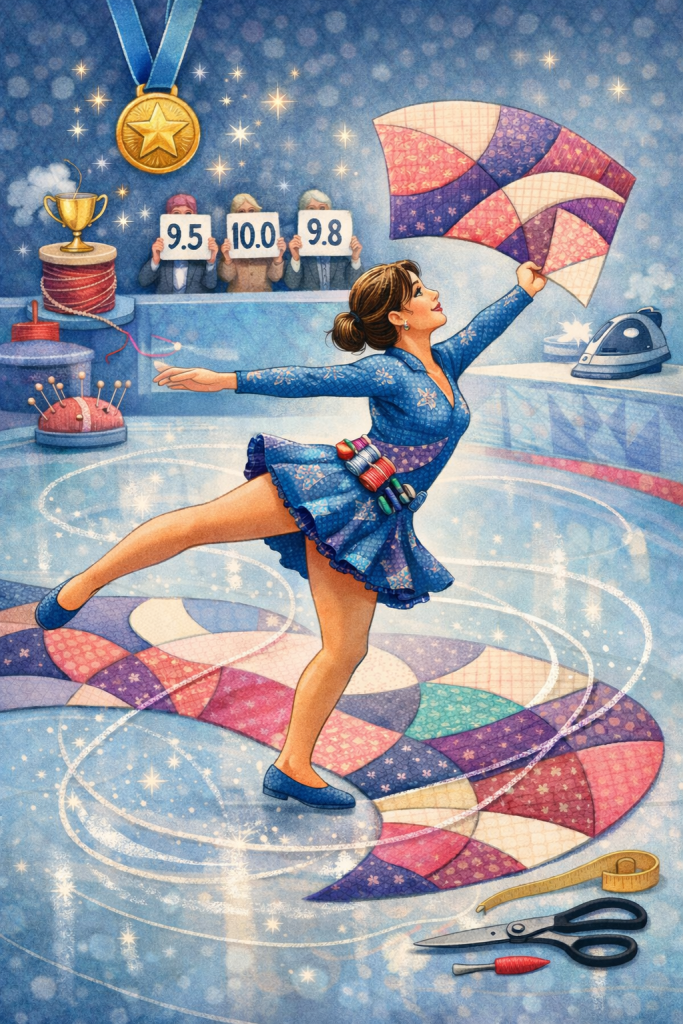
🧊 1. Fabric Figure Skating (Inspired by Figure Skating)
Competitors must create the most graceful curved piecing block under time pressure. They must also wear some kind of costume with a sewing theme. Competitors must present their completed block to the judges in their own unique pose.
Scoring:
- Costume
- Flow and elegance
- Seam smoothness
- No puckers allowed
- Unique pose
- Dramatic flourish points for bias control
Bonus if they finish without swearing.
🎤 Fabric Figure Skating – The First Event
“And we begin tonight with Fabric Figure Skating…”
Under a wash of golden light, the first competitor glides into position — costume shimmering with stitched embellishments and a waistline cinched in thread spools.
The clock begins.
She commits to the curve immediately — bold choice.
The fabric arcs beneath her hands like a satin ribbon in motion. The bias is unforgiving terrain, but she navigates it with steady control.
The judges are watching for:
- Clean seam transitions
- Smooth curvature
- Zero puckers
- And of course… costume cohesion
She pivots, presents her block overhead in a dramatic finishing pose —
And yes… no audible swearing.
That may earn her bonus points.
The judges confer.
Scorecards rise.
9.5
10.0
9.8
The crowd erupts.
A near flawless opening performance in Fabric Figure Skating.
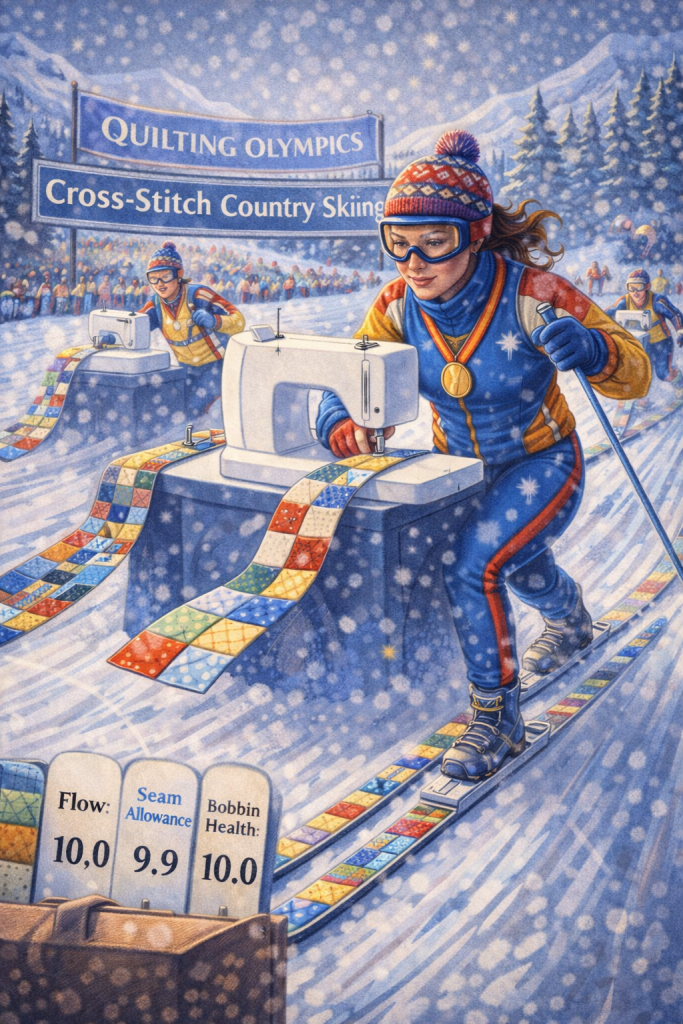
🎿 2. Cross-Stitch Country Skiing (Inspired by Cross Country Skiing)
A long endurance event.
Participants chain piece 200 same-size squares without:
- Losing focus
- Switching seam allowance
- Running out of bobbin thread mid run
- Skis are optional
Bonus for maintaining a perfect quarter inch seam throughout (which will of course be measured).
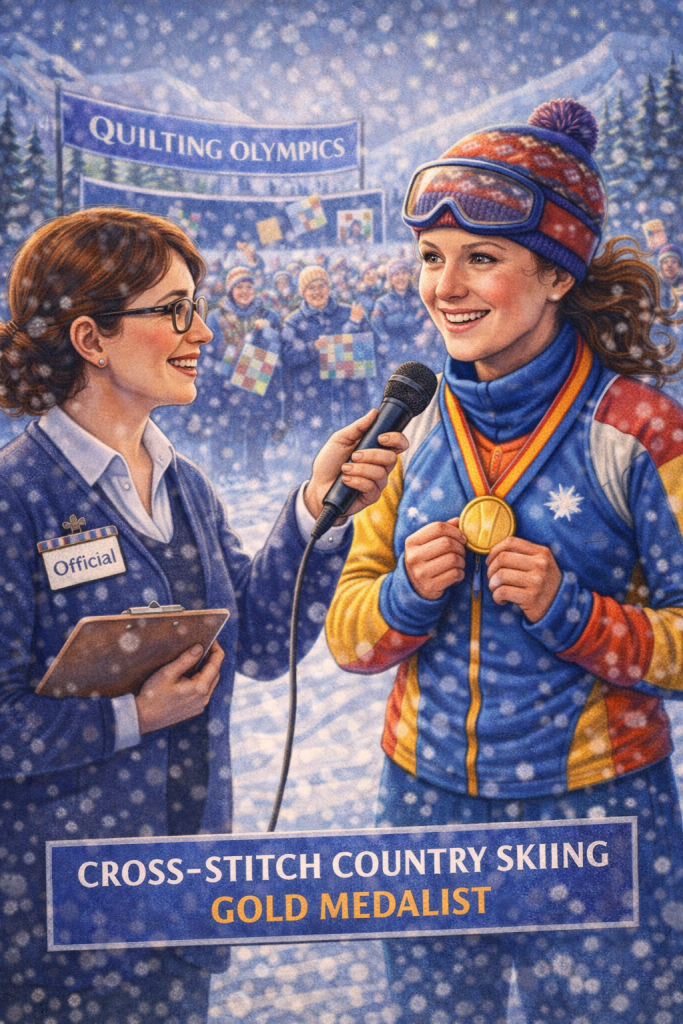
🎤 Post-Race Interview
Official:
“Incredible performance today. Two hundred identical units. Not a single seam drift. How are you feeling?”
Gold Medalist:
“Focused. Pressed. Centered. I really trusted my quarter inch today.”
Official:
“There was a tense moment around unit 112. The crowd thought you might check your bobbin.”
Gold Medalist:
“I considered it. But I’ve trained for this. Fresh bobbin before the start. Proper tension check. You don’t gamble at this level.”
Official:
“Your chain piecing rhythm was remarkable. Almost meditative.”
Gold Medalist:
“It’s all about cadence. Needle down. Feed steady. Don’t rush the corners. Let the machine glide.”
Official:
“And how did you maintain consistency over 200 units?”
Gold Medalist (smiles knowingly):
“Seam guide tape. Good lighting. And no scrolling on my phone between runs.”
Official:
“Wise strategy.”
Reporter from the Quilter’s Gazette:
“What would you say to young quilters dreaming of competing one day?”
Gold Medalist:
“Practice your quarter inch. Respect your bobbin. And never, ever underestimate the power of pressing.”
The crowd erupts.
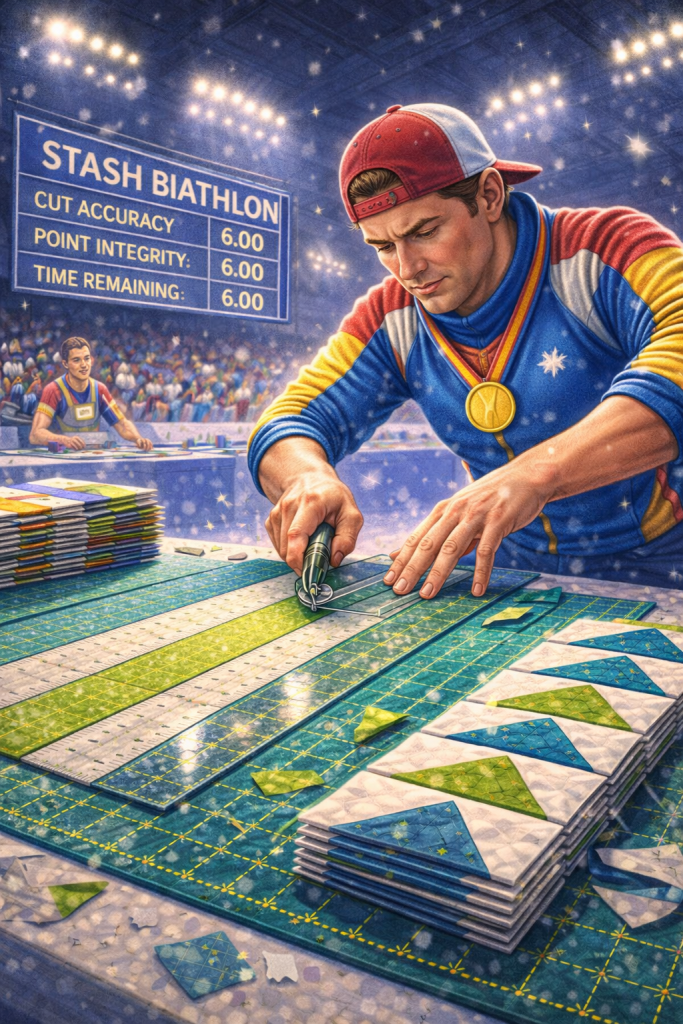
🛷 3. Stash Biathlon (Inspired by Biathlon)
Two events combined:
- Speed cutting fat quarters into accurate strips
- Precision piecing tiny flying geese
Penalty laps for every point chopped off.
🚨 Breaking News from the Stash Biathlon
Midway through the speed cutting round…
The arena was silent except for the rhythmic glide of rotary blades.
Our leading competitor, known for his flawless quarter inch precision, leaned in for what should have been a routine final strip cut.
But then—
A flicker.
A shimmer.
The ruler shifted.
Barely.
Half a thread’s width.
The front row saw it. The back row felt it.
The strip separated cleanly… but something was off.
The judges conferred.
One lifted the strip.
Measured.
6.52 inches.
The crowd gasped.
The regulation width?
6.50 inches.
A murmur rolled through the stadium like a wave of unsquared half square triangles.
Was it pressure?
Was it overconfidence?
Was it a rogue mat bump?
The competitor froze.
Slowly… calmly… he requested a re measure.
A bold move.
The strip was aligned again. Squared carefully. Measured from a different mark.
6.50 inches.
The first measurement had caught the selvage ripple.
The arena erupted.
Cleared.
The competitor nodded once. Composed. Refocused.
He adjusted his stance. Anchored the ruler more firmly.
No further slips.
The judges later released a statement:
“Precision is not perfection. It is discipline under scrutiny.”
🧗 4. Free Motion Moguls (Inspired by Freestyle Skiing)
Free motion quilting a queen sized quilt.
Judged on:
- Smooth curves
- Confidence
- Thread tension control
- Artistic flair
Automatic disqualification for:
- Eyelash thread nests
- Sudden tension tantrums
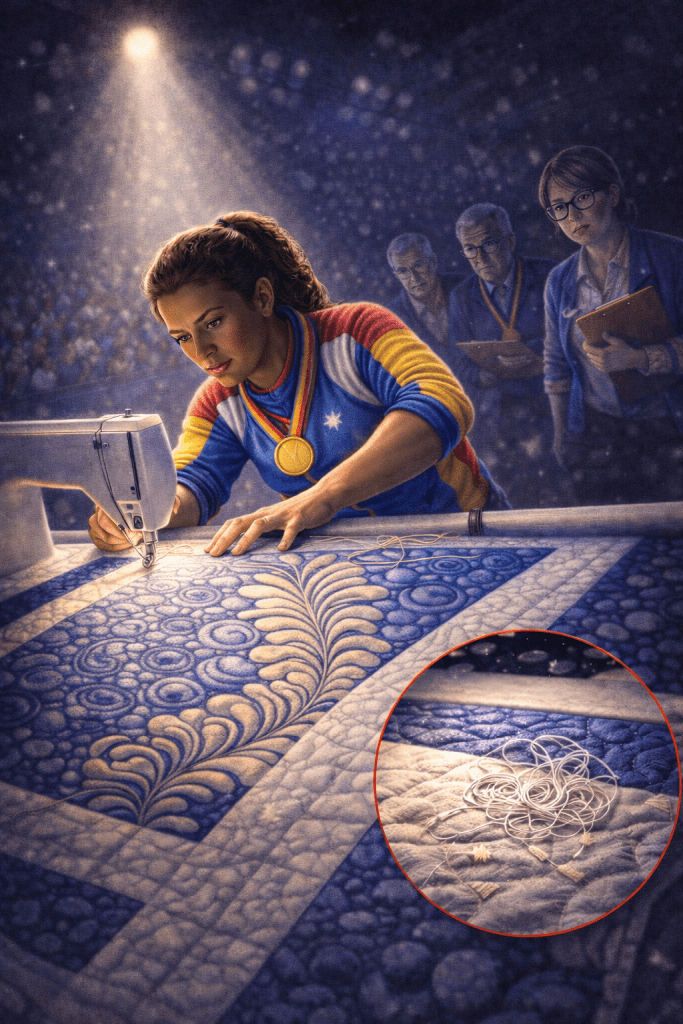
🎤 Free Motion Moguls – The Disqualification
“And we are midway through the run…”
Under a single golden spotlight, she moves with precision. Feathers arc across the quilt top like snowfall in perfect formation. Pebbles stack. Echo lines glide.
The crowd is breathless.
The judges lean forward.
Her control is extraordinary. The stitch length steady. The movement fluid.
Then—
A flicker.
The machine hesitates for half a heartbeat.
The audience barely notices.
But the camera does.
The broadcast screen shifts to the underside.
There it is.
A thread nest.
Not catastrophic. Not dramatic. Just enough.
The commentators lower their voices.
“That is tension inconsistency on the underside.”
“Under Free Motion Moguls regulations, visible nesting constitutes structural instability.”
“She has continued without stopping to correct.”
The spotlight tightens.
She knows.
You can see it in her eyes. The split second recognition. The calculation.
Stop and lose momentum?
Continue and risk penalty?
She continues.
Her top stitching remains flawless. Elegant. Commanding.
But the underside tells another story.
The judges rise.
The head judge adjusts his glasses.
The Quilting Official steps forward. Clipboard in hand. Expression steady.
A red flag is raised.
The arena falls silent.
The announcement echoes:
“Under Section 4, Paragraph 3 of the Free Motion Moguls Code:
Competitors must maintain tension integrity on both the top and underside of the quilt during the entirety of their run.”
A pause.
“This performance is hereby disqualified.”
Gasps ripple through the stands.
She closes her eyes for a moment. Breathes.
Then nods.
Grace under pressure.
She removes her medal. Places it gently on the table.
The crowd begins to clap. Slowly. Then louder.
Because though the rules were firm, her artistry was undeniable.
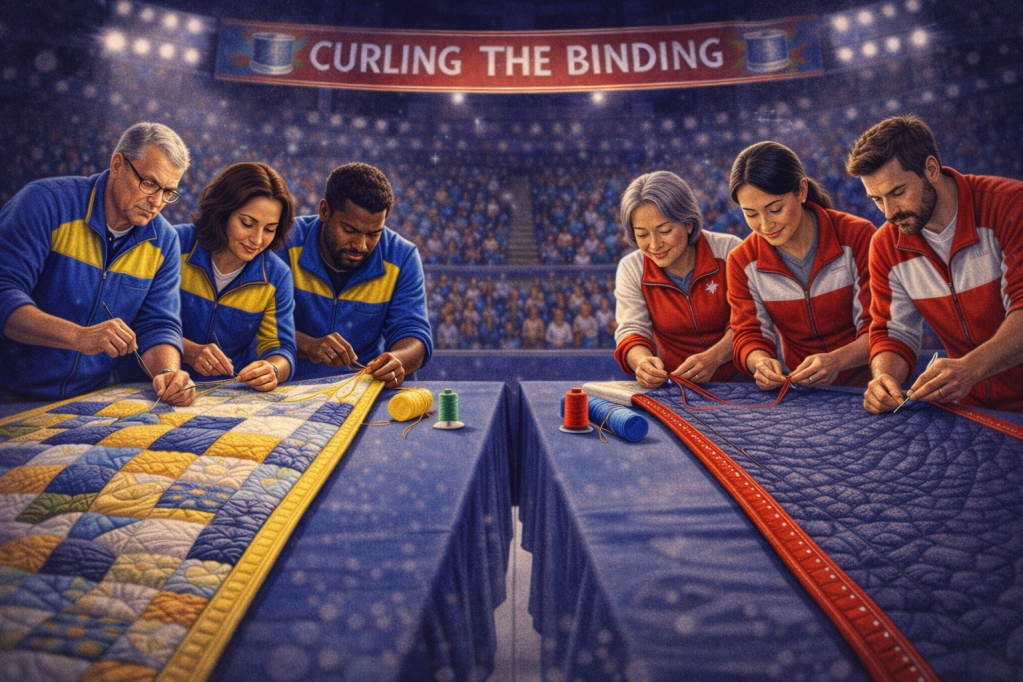
🥌 5. Curling the Binding (Inspired by Curling)
Teams compete to attach binding with:
- Perfect corners
- Even width
- Zero ripples
Bonus for hand stitched finishes that look machine perfect.
🎤 Curling the Binding – The Almost Scandal
The arena is electric.
Team Blue and Team Red are locked in a dead heat. Corners sharp. Stitching steady. The crowd is leaning so far forward they’re practically measuring seam width from the stands.
Then—
A murmur begins in Section 12.
A spectator points.
On Team Red’s table… something glints.
A tiny metal clip.
The commentators freeze.
“Is that… a binding clip?”
“Are clips regulation compliant under Section 2, Article 7?”
The judges rise.
Team Blue pauses, eyes narrowing.
The camera zooms in.
Yes. A small binding clip is visible near the corner.
Gasps ripple across the arena.
Under Quilting Olympics guidelines, mechanical advantage devices must be declared before the round.
The head judge approaches.
The Quilting Official flips through the rule book. Pages turn. Tension builds.
Team Red’s anchor, an older woman with silver hair and steady hands, calmly explains:
“It’s not securing the corner. It’s holding excess thread from tangling while we hand stitch. We removed it before turning the miter.”
The clip is examined.
The stitches are inspected.
The corner is measured.
Perfect 45 degrees.
Even width.
No ripples.
The judges deliberate.
Silence.
Then—
The announcement echoes:
“After review, the binding clip was not used to alter corner formation. No violation occurred.”
The crowd erupts.
Team Blue nods respectfully.
Team Red resumes stitching, unflustered.
The silver haired quilter smiles gently and says, “We don’t cheat. We press.”
And just like that, the almost scandal dissolves into applause.
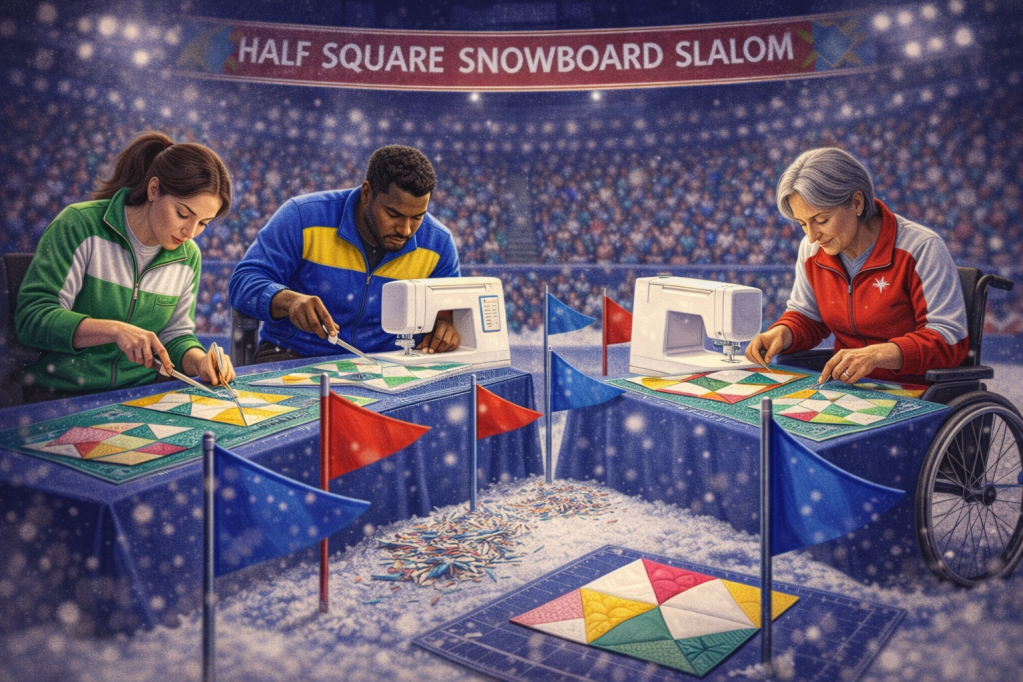
🏂 6. Half Square Snowboard Slalom (Inspired by Snowboard Slalom)
Racers must press and trim HSTs while navigating:
- Bias stretch
- Trim accuracy
- Consistent size
Fastest accurate finisher wins. Crooked blocks disqualified.
🎤 Half Square Snowboard Slalom – The Event
“Where bias meets bravery.”
The arena hums with anticipation.
Three competitors at their stations. Pressing mats aligned. Rulers poised. Trim piles already forming like tiny drifts of fabric snow.
The whistle blows.
And they’re off.
Pairs of triangles are pressed open in swift, confident motions. Steam rises. Fingers test the seam. Is it flat? Is it true? Did the bias stretch betray them?
Lane One presses aggressively — bold, fast.
Lane Two trims with surgical precision.
Lane Three — steady. Calm. Methodical.
The first slalom gate: Bias Stretch.
One HST ripples slightly at the edge.
The commentator whispers, “Watch that diagonal. Bias is unpredictable terrain.”
A quick press. A gentle reposition. Recovery.
Next gate: Trim Accuracy.
Rulers align on the 45° seam.
Corners trimmed.
Dog ears removed with quiet efficiency.
The camera zooms in.
3½ inches exactly.
No wobble.
No over trim.
The crowd applauds the restraint.
Final gate: Consistent Size.
Stacks are measured.
One competitor’s pile shows a slight variation — a whisper of 1/16 inch off.
The judges raise an eyebrow.
But then we see it — the wheelchair competitor, unwavering. Each block squared. Each seam pressed. Each measurement precise.
Her rhythm never broke.
Her corners meet like they were meant to.
No rushing. No panic. Just control.
The final stack is placed forward.
The judges measure.
Again.
And again.
Uniform.
Exact.
The announcement rings through the arena:
“Fastest accurate finisher… with zero crooked blocks… Gold Medal to Lane Three!”
The crowd rises.
Not for spectacle.
For excellence.
Because in this event, speed alone is not victory.
Accuracy is.
And crooked blocks?
Disqualified without hesitation.
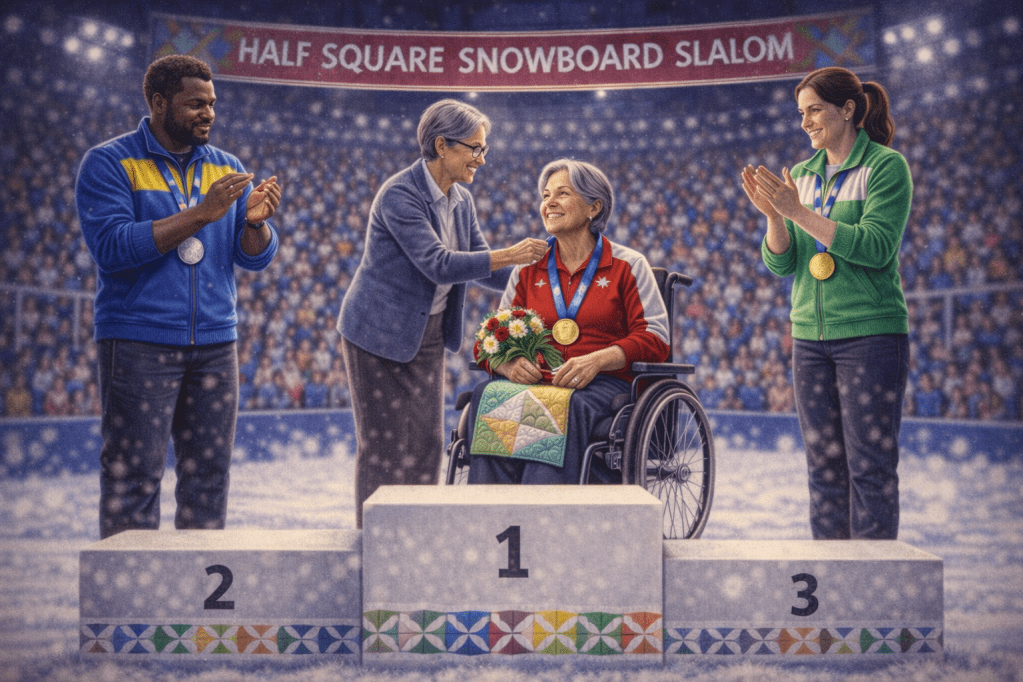
🏅 Half Square Snowboard Slalom – Medal Ceremony
The arena grows quiet.
Not tense this time. Not electric.
Just reverent.
The competitors stand together beneath the banner. No rivalry now. Only shared understanding of what it took to reach this moment.
The Gold Medalist sits steady at center podium. Hands calm. Expression luminous.
The Quilting Official steps forward.
“Accuracy under pressure. Precision without compromise. And consistency that never faltered.”
The medal rests against her chest.
The crowd rises — not because they are told to — but because they want to.
In the Slalom, bias may stretch. Corners may tempt. Speed may deceive.
But steady hands win.
And today, the steady hands belonged to her.
⛸ 7. Synchronized Sewing (Inspired by Synchronized Skating)
Teams of four must:
- Piece identical blocks
- Press identically
- Align points in perfect harmony
Judges watch for teamwork and identical stitch length.
🎤 Synchronized Sewing – Rhythm and Harmony
“3 machines. 1 rhythm.”
The arena lights glow steady and warm.
Two teams of 3 take their places at identical stations. Machines aligned. Mats squared. Fabric stacks matched exactly.
No rushing. No grand gestures.
Just quiet focus.
The whistle sounds.
And 6 hands move in unison.
Pieces are fed beneath presser feet at the same cadence.
Foot pedals hum in synchronized rhythm.
Needles rise and fall like a well rehearsed chorus.
From above, the pattern begins to take shape.
Identical blocks form, stitch by stitch.
The first seam is pressed.
All 3 irons lift together.
Steam rises in a shared exhale.
The judges lean forward — not searching for error, but for harmony.
Stitch length: consistent.
Seam allowance: precise.
Body posture: aligned.
A corner turn.
3 machines pivot at the exact same moment.
The audience murmurs softly at the symmetry.
Now comes the test.
Point alignment.
Blocks are placed side by side.
Do the intersections meet?
They do.
Across both teams, the blocks are nearly mirror images. The only difference is color placement — intentional, coordinated, elegant.
This is not about speed.
This is about trust.
About glancing up at your teammate and knowing they are sewing at the same pace. Pressing the same direction. Listening to the same invisible metronome.
The final stitches are sewn.
6 hands lift away at once.
Silence.
The blocks are carried forward and placed beneath the judges’ eyes.
Measured.
Compared.
Stacked.
Perfect harmony.
The arena rises in applause — not for spectacle, but for teamwork executed with grace.
Because in Synchronized Sewing, excellence is shared.
And tonight, both teams delivered a performance stitched together in perfect time.
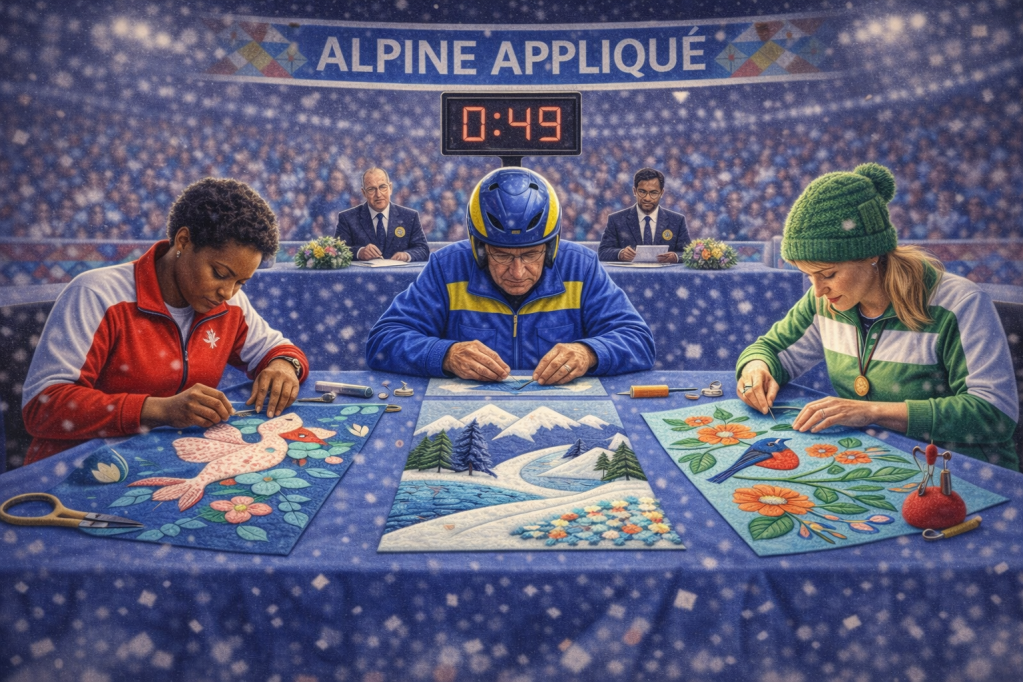
🏔 8. Alpine Appliqué (Inspired by Alpine Skiing)
Fast downhill challenge:
Competitors must appliqué intricate shapes onto a background before time runs out.
Scoring includes:
- Smooth edges
- Invisible stitches
- No frayed drama
🎤 Alpine Appliqué Count Down
“Smooth edges. Steady hands. No unraveling under pressure.”
The countdown clock glows above the arena.
0:49 … 0:48 … 0:47 …
Three competitors lean in, eyes narrowed in concentration.
This is the downhill.
No room for hesitation.
Intricate shapes are already positioned on their backgrounds — petals, birds, mountain ridges. The first stitches anchor the edge.
Invisible.
Tiny.
Precise.
The first gate: Smooth Edges.
Needles glide along tight curves. Fingers pivot fabric gently to avoid puckers. One competitor navigates a sharp inward point — the appliqué equivalent of a hairpin turn.
Clean.
No folding. No bulk.
The second gate: Invisible Stitches.
The judges lean forward.
Are those stitches visible?
They squint.
They tilt their heads.
Nothing.
The thread disappears into the fabric like fresh snowfall over a seam line.
Final stretch: No Frayed Drama.
A competitor trims a tiny seam allowance. Close. Very close.
The crowd holds its breath.
Will it fray?
She secures the edge with three nearly imperceptible stitches.
Time ticks down.
0:05
0:04
0:03
Needles lift.
Hands fall still.
The appliqué blocks are carried forward.
Edges smooth as silk.
Stitches nearly invisible.
Backgrounds unwarped.
The head judge smiles.
“In Alpine Appliqué, speed tempts you to rush. But mastery means staying calm all the way down the mountain.”
And tonight… no one unraveled.
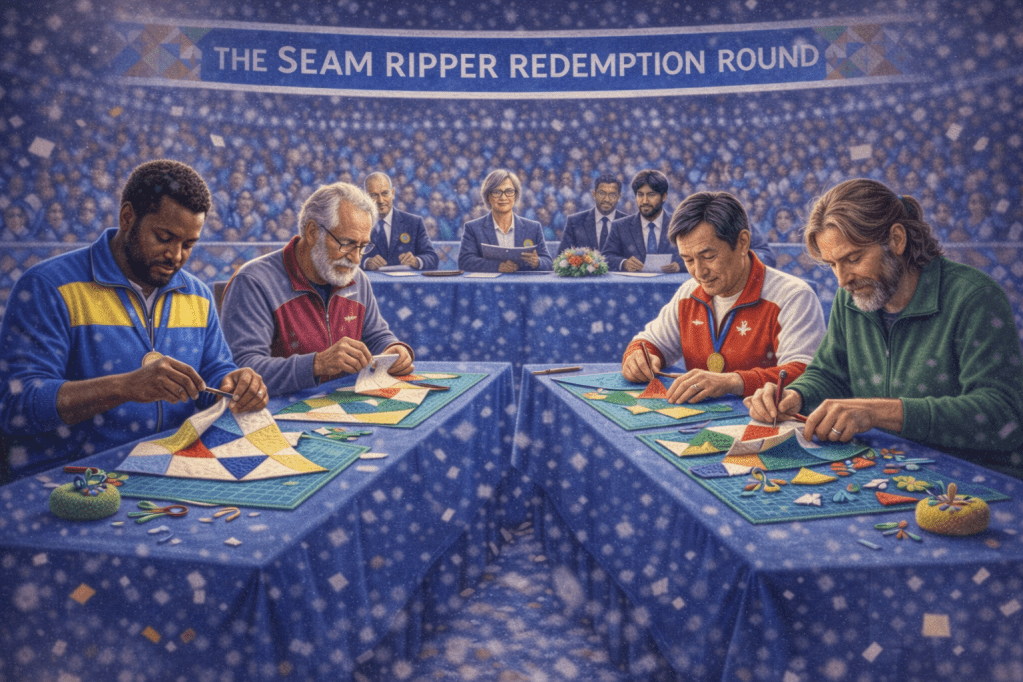
🎯 9. The Seam Ripper Redemption Round
For athletes who confidently stitched the wrong sides together.
Points awarded for:
- Grace under pressure
- Clean rip
- Reassembly accuracy
🎤 The Seam Ripper Redemption Round Begins…
“It’s not about the mistake. It’s about the recovery.”
The arena is quieter for this one.
No countdown clock. No downhill rush.
Just four confident competitors… who confidently stitched the wrong sides together.
The judges nod knowingly.
This is a test of character.
The whistle sounds.
Seam rippers slide beneath stitches with careful precision.
First category: Grace Under Pressure.
No sighing dramatically.
No blaming the pattern.
No muttering about seam allowances.
Just a steady breath… and a clean start.
One competitor pauses, smiles faintly, and says, “Ah. There it is.”
The crowd chuckles softly.
Second category: Clean Rip.
Threads are lifted — not yanked.
Fabric is supported — not stretched.
No gouges. No accidental holes. No shredded seam allowances.
The judges lean in.
One competitor removes an entire seam in one smooth motion.
The audience applauds.
Final category: Reassembly Accuracy.
Pieces are repositioned.
Right sides together — this time intentionally.
Stitch lines are sewn again.
Pressed.
Aligned.
Measured.
Points meet.
Corners sit square.
The block is held up.
Perfect.
The commentator’s voice warms:
“In quilting, perfection isn’t never making mistakes. It’s knowing how to fix them beautifully.”
A medal is awarded to each competitor.
We interrupt this presentation to bring you…….
🚨 BREAKING NEWS
Free Motion Moguls Disqualification Overturned
In a stunning development late this afternoon, Olympic Officials have overturned the disqualification of the Free Motion Moguls competitor following a formal machine inspection.
After the controversial tension irregularity that led to her removal from competition, the long arm machine was secured and transported to the Technical Integrity Pavilion for examination.
What they discovered changed everything.
A subtle but critical internal component had shifted during transit to the Quilting Olympics Arena.
The result?
Intermittent underside tension instability — beyond the quilter’s control.
The bird’s nest.
The hesitation.
The flaw.
Not hers.
The Head Technical Official addressed the press:
“Upon inspection, we determined the tension assembly had sustained minor damage during shipping. The malfunction directly contributed to the underside inconsistency observed during the performance.”
The arena fell silent as the ruling was delivered.
“Under Section 7, Article 2: Equipment failure not caused by the competitor warrants reinstatement.”
And then —
The announcement echoed:
“The Free Motion Moguls competitor is officially reinstated and will be offered the opportunity to repeat her run.”
The crowd erupted.
She stepped forward — not triumphant, not indignant — just calm.
The Quilting Official met her at center stage.
A handshake.
A nod.
A second chance.
The commentator’s voice carried through the arena:
“In quilting, as in life, sometimes the tension isn’t yours to carry.”
Tomorrow night, she will return to the spotlight.
And this time?
The machine will be ready.
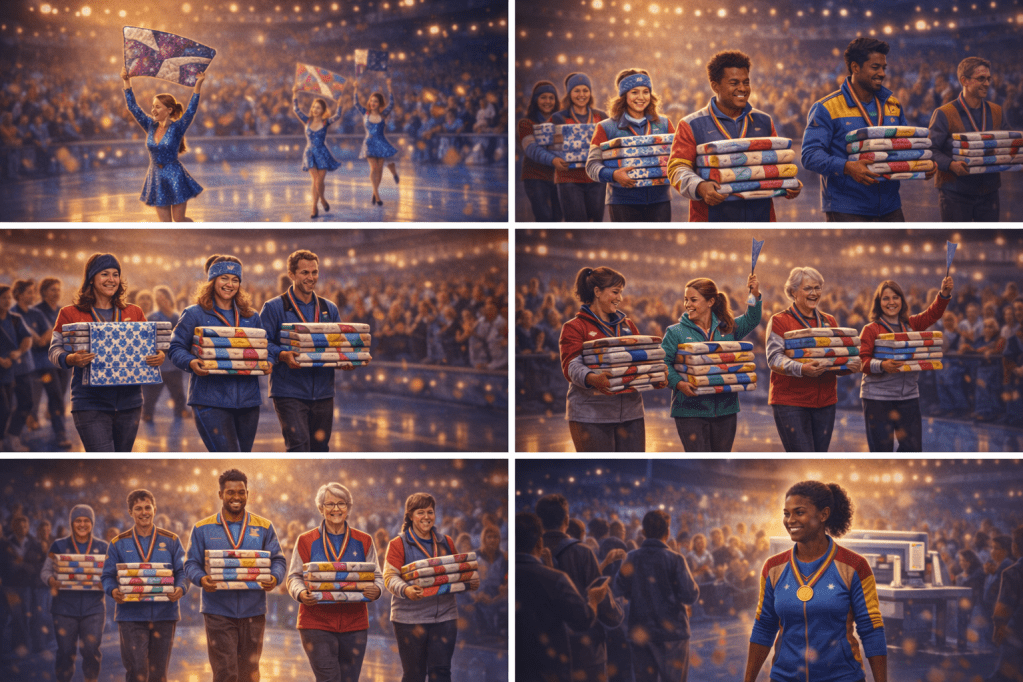
🏅 The Quilting Olympics Closing Ceremony
The arena dims one final time.
Not in suspense.
In warmth.
The competitors re-enter — not in lanes, not in rivalry — but together.
Fabric Figure Skaters glide in first, curved blocks held high. Their costumes shimmer under golden light.
Cross-Stitch Country Skiers follow, stacks of perfectly identical units carried like trophies of endurance.
Stash Biathlon competitors stride confidently, flying geese aligned in flawless formation.
Curling the Binding teams walk side by side — corners crisp, rivalry replaced with laughter.
Half Square Slalom medalists roll and step forward together, uniform blocks stacked in perfect symmetry.
The Seam Ripper Redemption crew enter last among the event finalists, seam rippers held aloft like tiny swords of humility.
And then —
The Free Motion Moguls competitor steps into the light.
The crowd rises instantly.
No scandal now. No tension. Only respect.
Behind her, the repaired long arm glows softly.
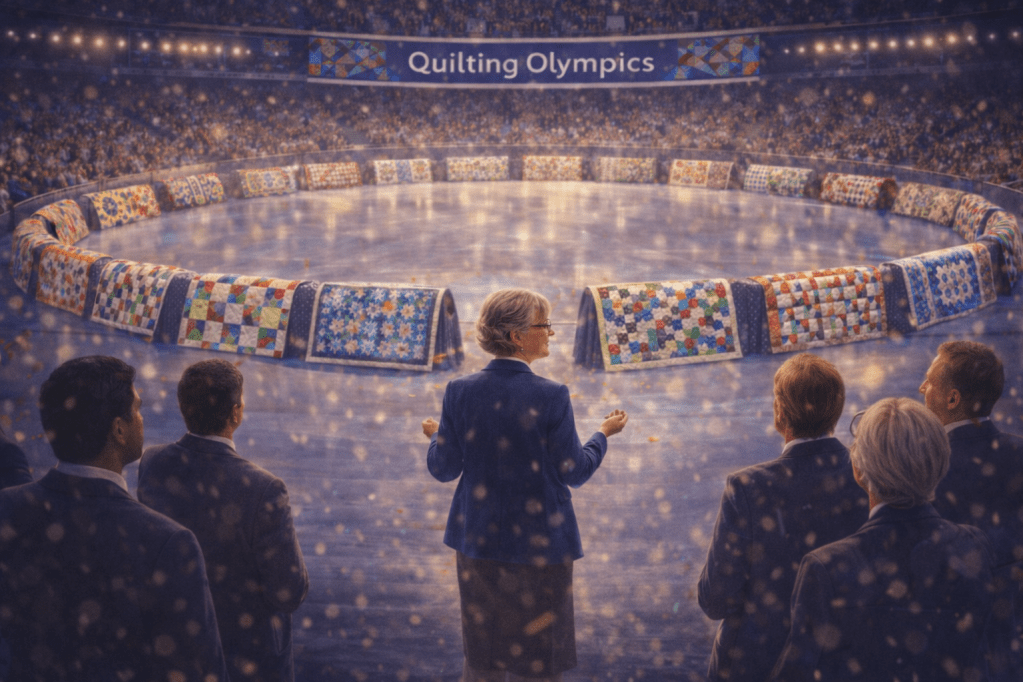
🎪 The Parade of Quilts
Each event’s finished masterpiece is displayed around the arena, forming a giant circle of color and craftsmanship.
The judges stand.
The Quilting Official steps forward, cardigan flawless, clipboard retired.
“Over these Games, we have witnessed precision under pressure, grace in correction, and artistry stitched into every seam.”
A pause.
“We have seen bias controlled, corners conquered, and tension tested.”
The crowd chuckles knowingly.
“And we have been reminded that in quilting — as in life — perfection is not the absence of mistakes, but the courage to mend them.”
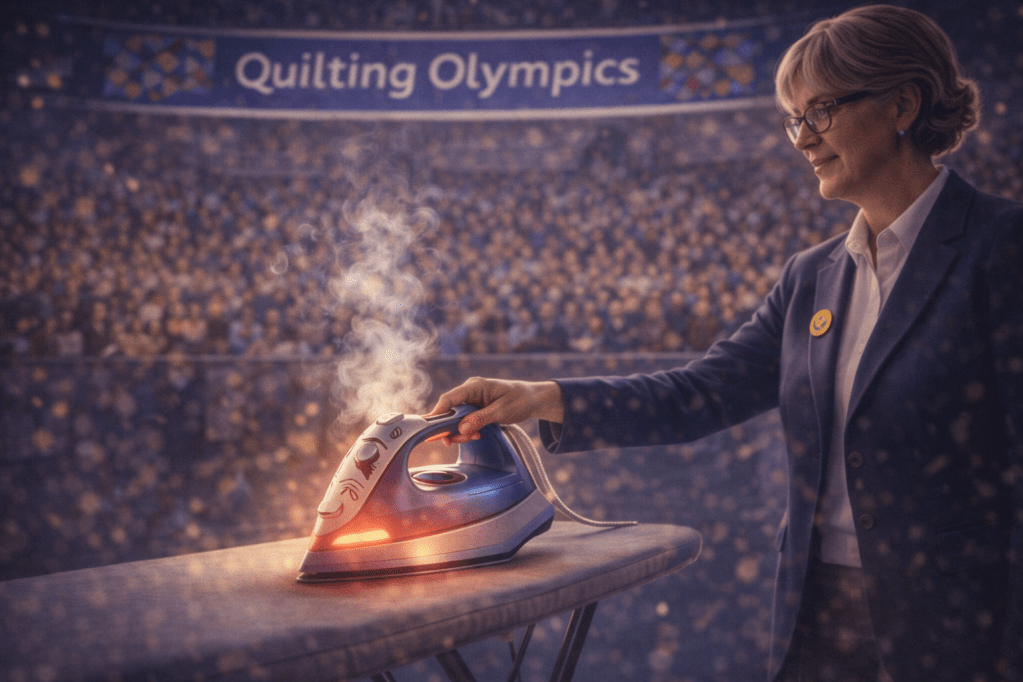
🔥 The Extinguishing of the Iron
The ceremonial iron glows at center stage.
Steam curls upward like a final flourish.
The Quilting Official presses the steam button gently.
A soft hiss.
The glow fades — not extinguished forever, just resting until the next Games.
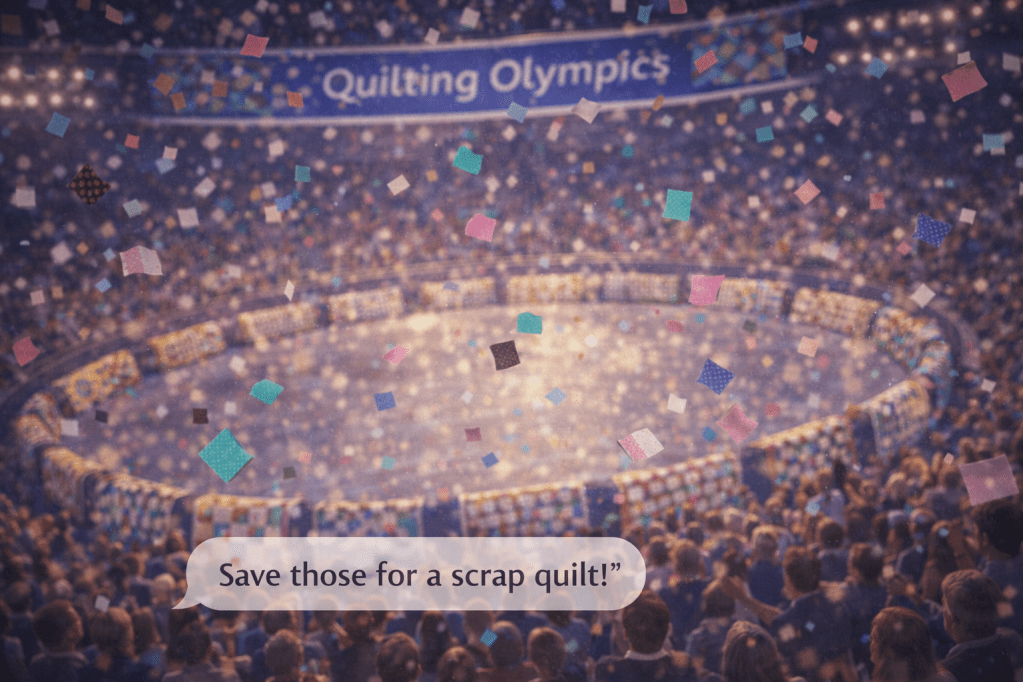
🎉 The Fabric Confetti Finale
From above, tiny squares of fabric drift down.
Pink. Teal. Blue. Black. Florals and solids alike.
Someone in the stands calls out, “Save those for a scrap quilt!”
Laughter ripples through the arena.
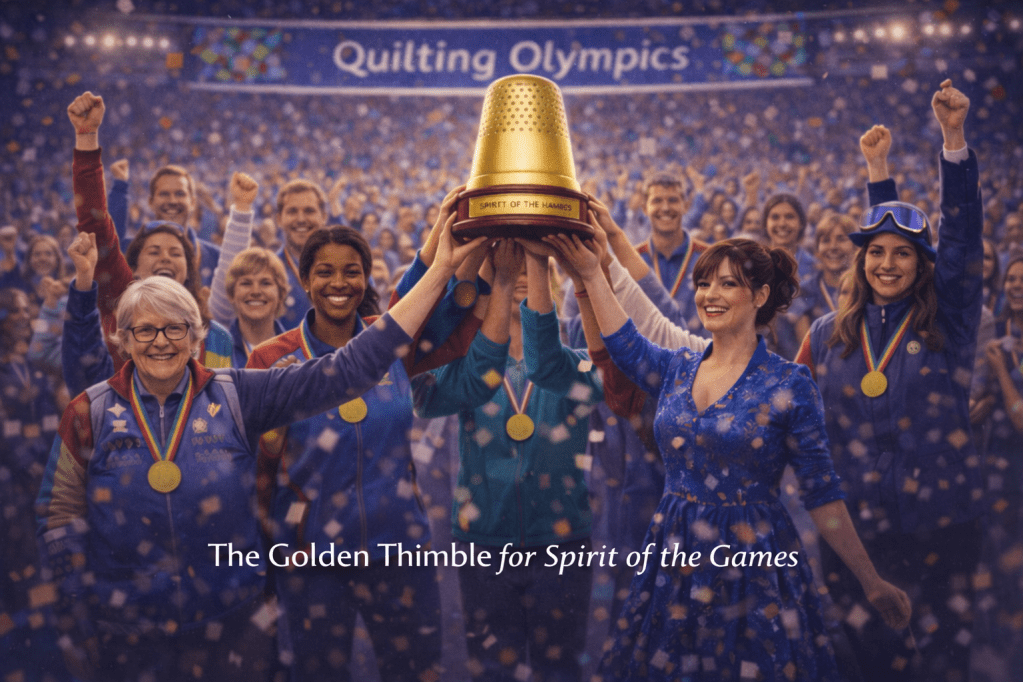
🏆 Final Honor
One final award is presented:
The Golden Thimble for Spirit of the Games
Not for highest score.
Not for flawless execution.
But for integrity, inclusivity, creativity, and joy.
And tonight… it belongs to everyone who stitched, pressed, ripped, mended, and tried again.
As the lights fade, the banner above the arena glows softly:
Until the next Quilting Olympics —
Keep your seams straight and your spirits brighter still.
I hope you enjoyed this VRD presentation of the Quilting Olympics. Now we will return to our scheduled programming.
Sew. Laugh. Imagine. Repeat.
Always,
Tricia @ VRD