Hello Quilty Friends!
Happy Thursday to you!
Welcome! We have lots of fun stuff to do this week, so we’re just going to dive right in.
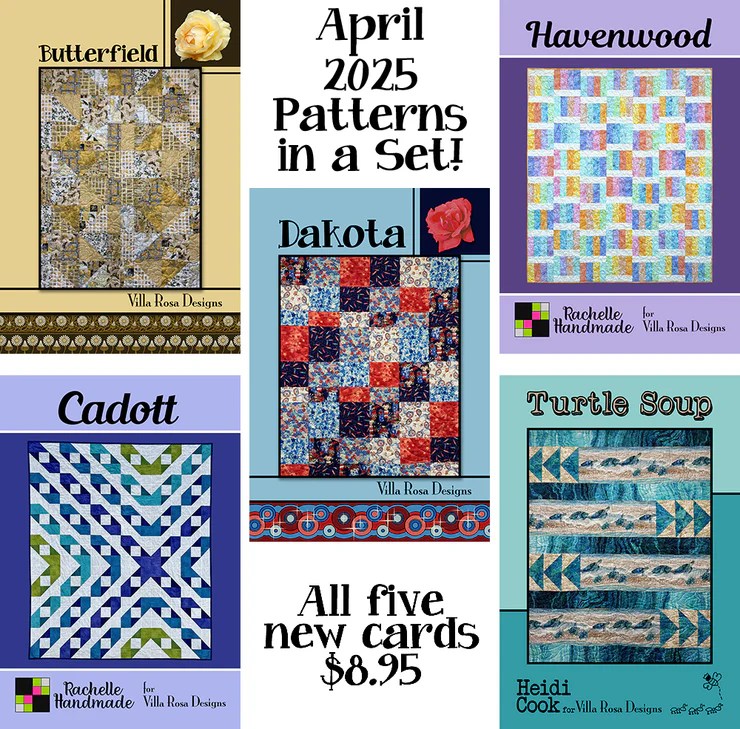
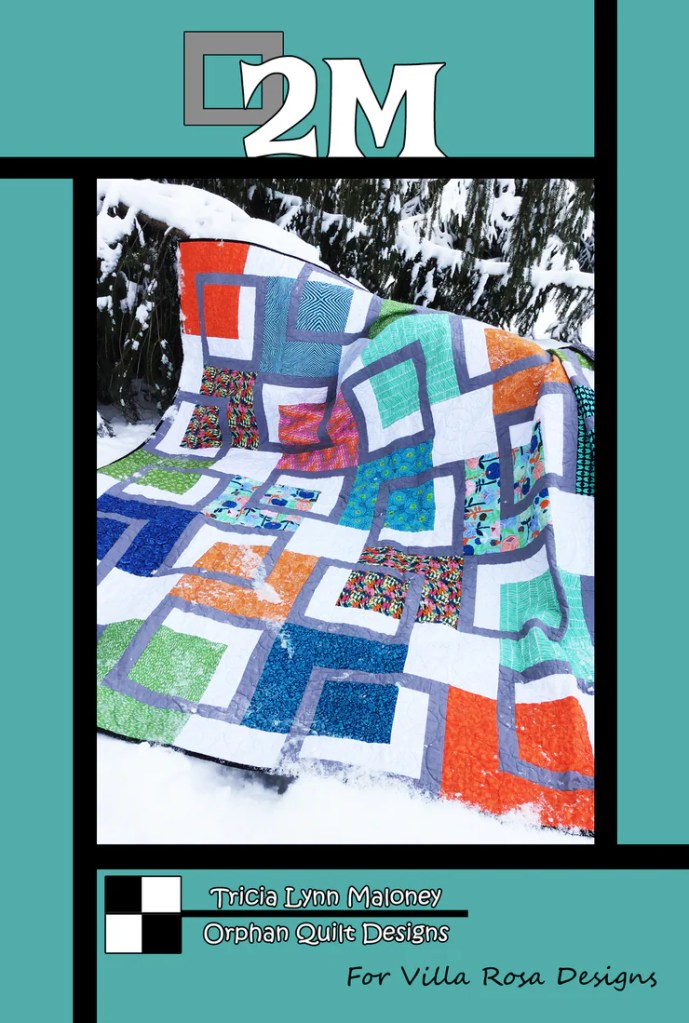
First up, today is the Thursday after the first Friday, which means – NEW PATTERNS! Yay!

Get your print pattern set HERE.
I know I say it every month, but our VRD designers are totally outstanding! Every month, they exceed the previous month’s designs. Let’s take a look at each pattern this month.
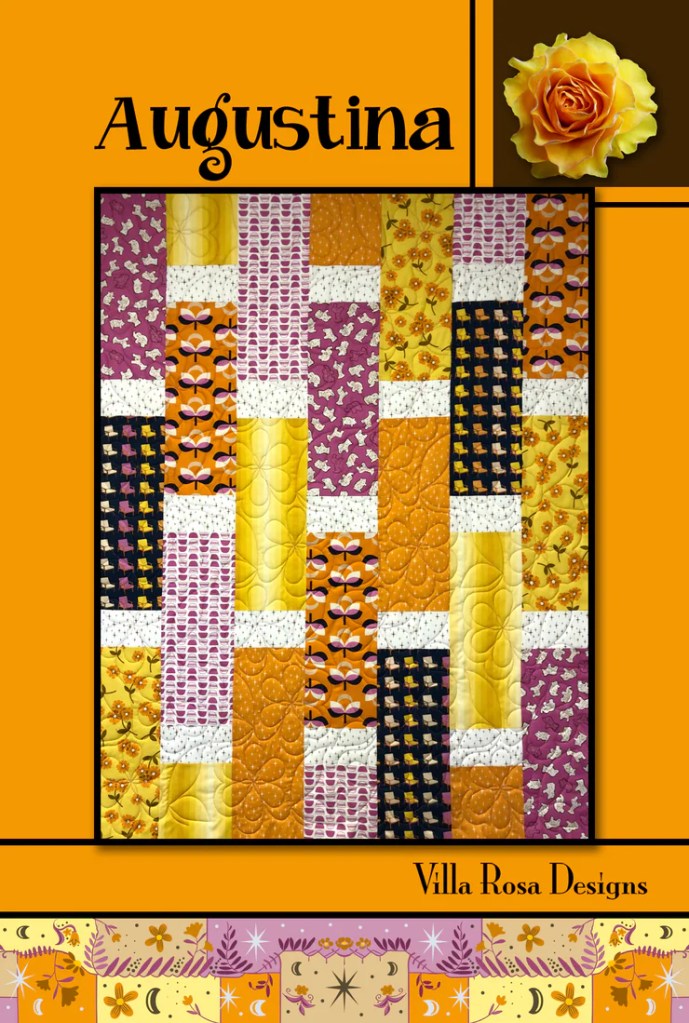
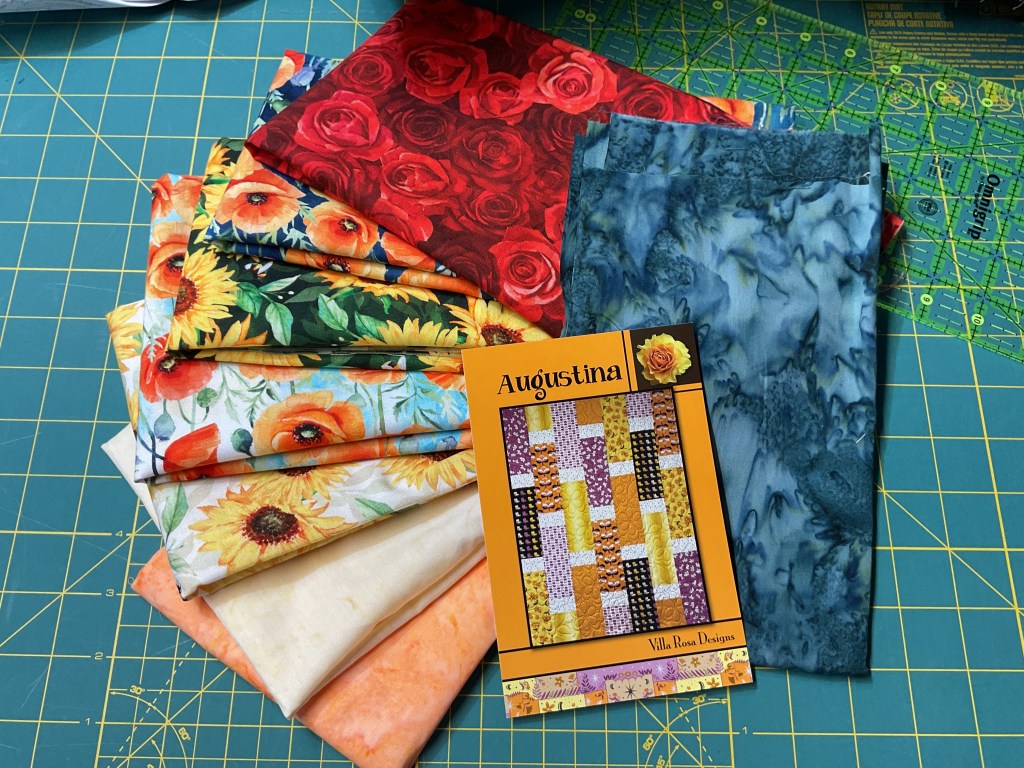
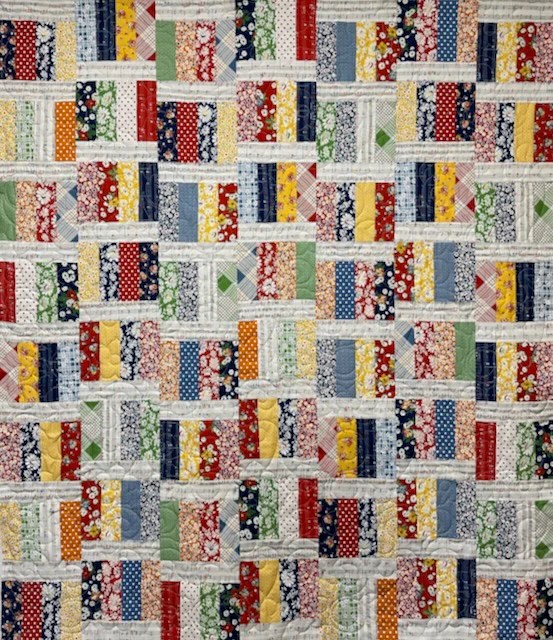
Grated by Heidi

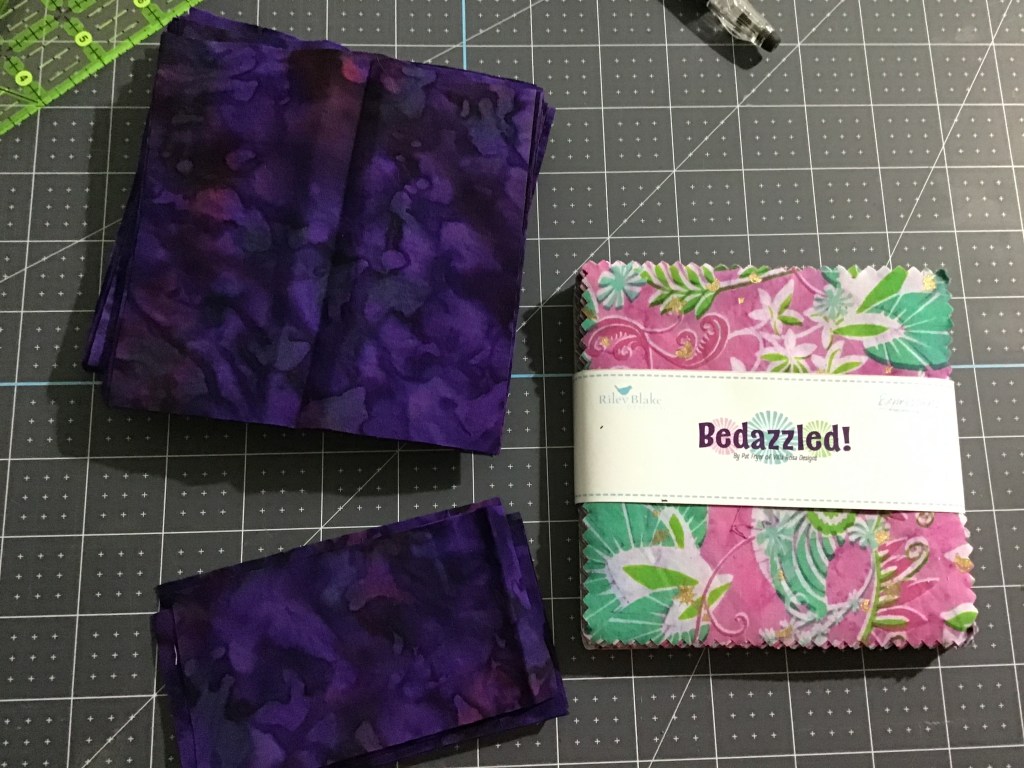
Grated uses a stack of fat sixths (which are between a fat eighth and a fat quarter, measuring 12″ x 21″) or 10″ squares. This is a big quilt measuring 65″ x 75.” There are still kits available, which feature Klimt fabrics like the pattern cover. You can get your Grated kit, which includes the pattern, HERE.
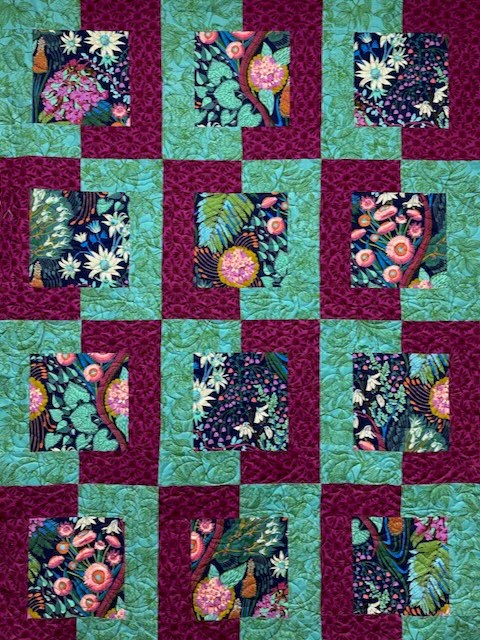
Lady Banks by VRD (Pat)
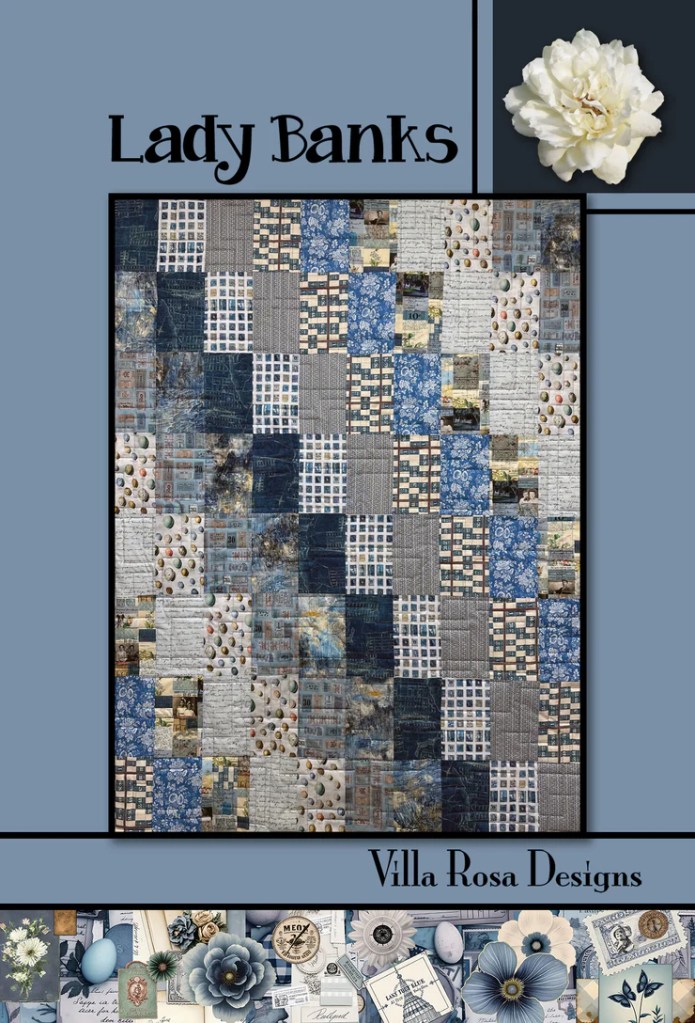
If you are following along with the Tim Holtz Palette collections then Lady Banks is for you. It features the blue palette and finishes at 45″ x 60″. You can find the kit (including the pattern) HERE.
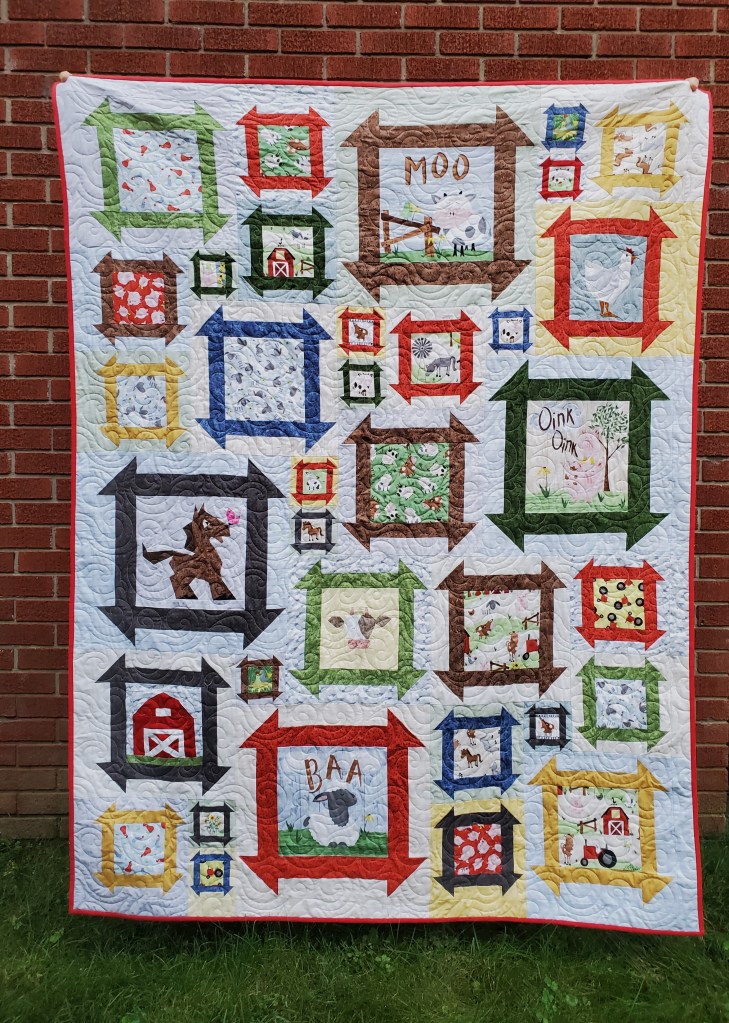
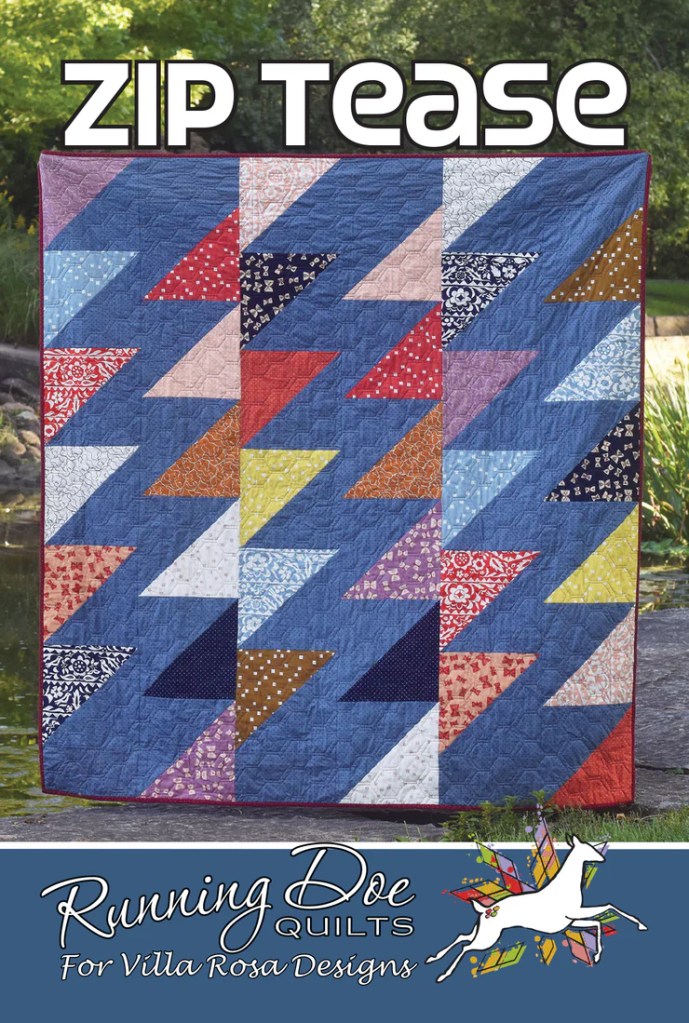
Jasper by Running Doe Quilts (Catherine)
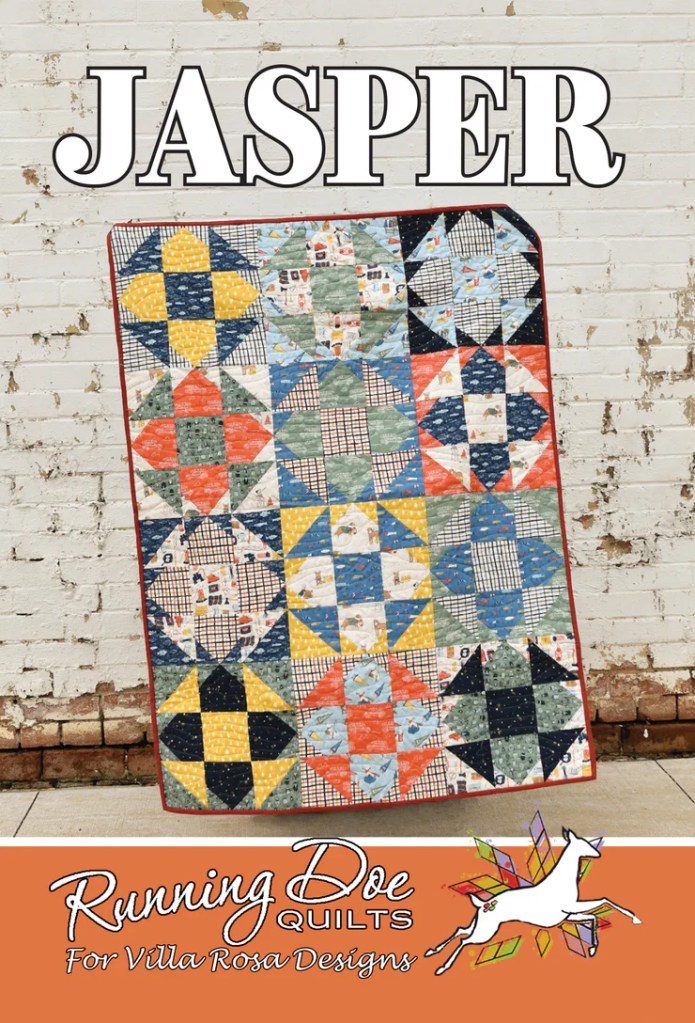
Catherine is back with 2 new mod patterns this month! Jasper is FQ friendly and finishes at 36×48, which makes a nice baby quilt or lap quilt. You can find the kit HERE featuring the Camp Canine collection at Running Doe Quilts.
Jolene by Running Doe Quilts (Catherine)

Jolene is Catherine’s second quilt this month. It uses FQs and finishes at a generous 63″ x 84″. You can find the kit HERE at VRD featuring the Thirty-One collection or HERE at Running Doe Quilts featuring the Camp Canine collection.
Snap Shot by Molly

Snap Shot is another one of Molly’s creative panel quilts. It is FQ friendly and finishes at a nice 45″ x 54″, which could be a wall quilt or a throw. Sorry, but VRD is out of Snap Shot kits already.
Apologies, but there is no table runner this month. Stay tuned for next month’s runner!
SEW, which NEW pattern are you going to make first?????
Now let’s turn our thoughts to our ongoing Quilt Design series.
Let’s Design a Quilt: The Farmer’s Daughter Block

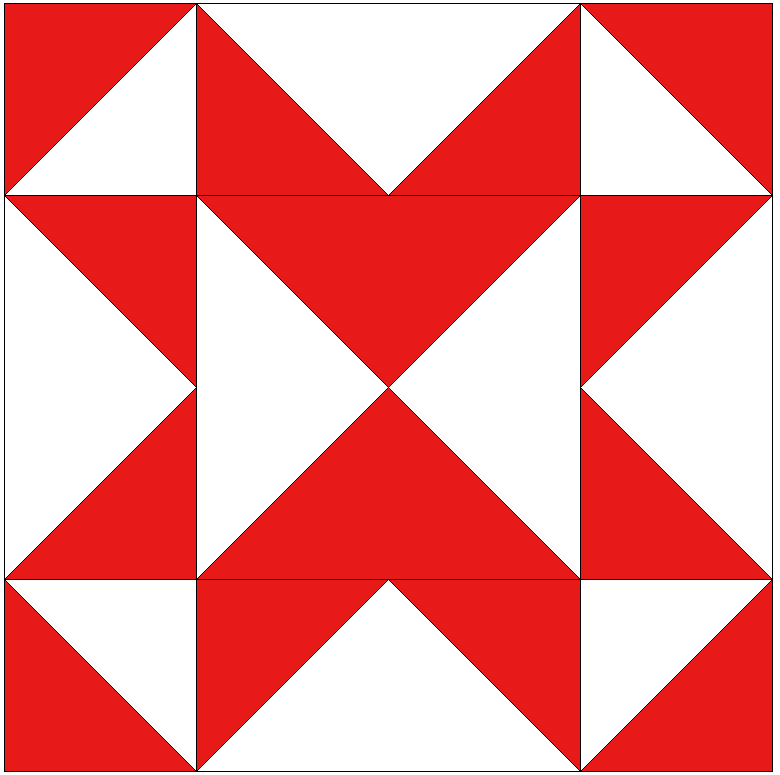
Here is the traditional Farmer’s Daughter block. According to Barbara Brackman, this block was first published in Clara Stone’s 1906 booklet, Practical Needlework: Quilt Patterns, which was part of a needlework booklet series by C. W. Calkins & Co. in Boston. Of course, like most quilt patterns, it was probably being made long before it was published. One of our readers suggested this block last week and I just couldn’t resist it. Thank you, dear reader! I hope I do the block justice for you!
Yikes! See how the four corners of the block feature set-in seams? Well, the first change to this block we are going to make is to change the four corners to be much friendlier by using Half Square Triangles (HSTs) instead of set-in pieces. Ahhhh! That’s more like it!

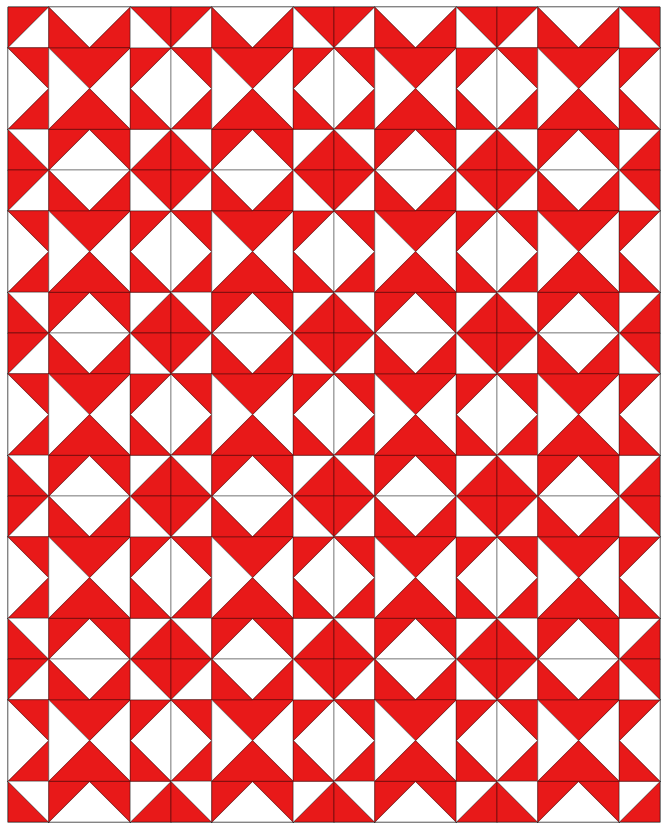
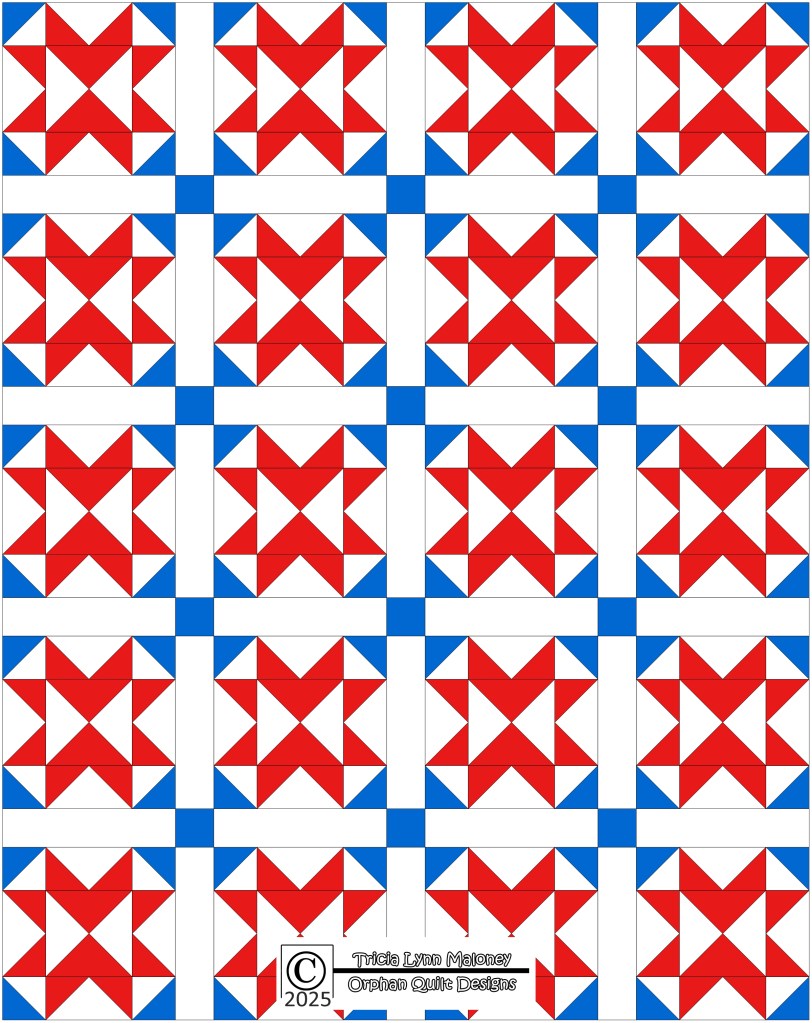
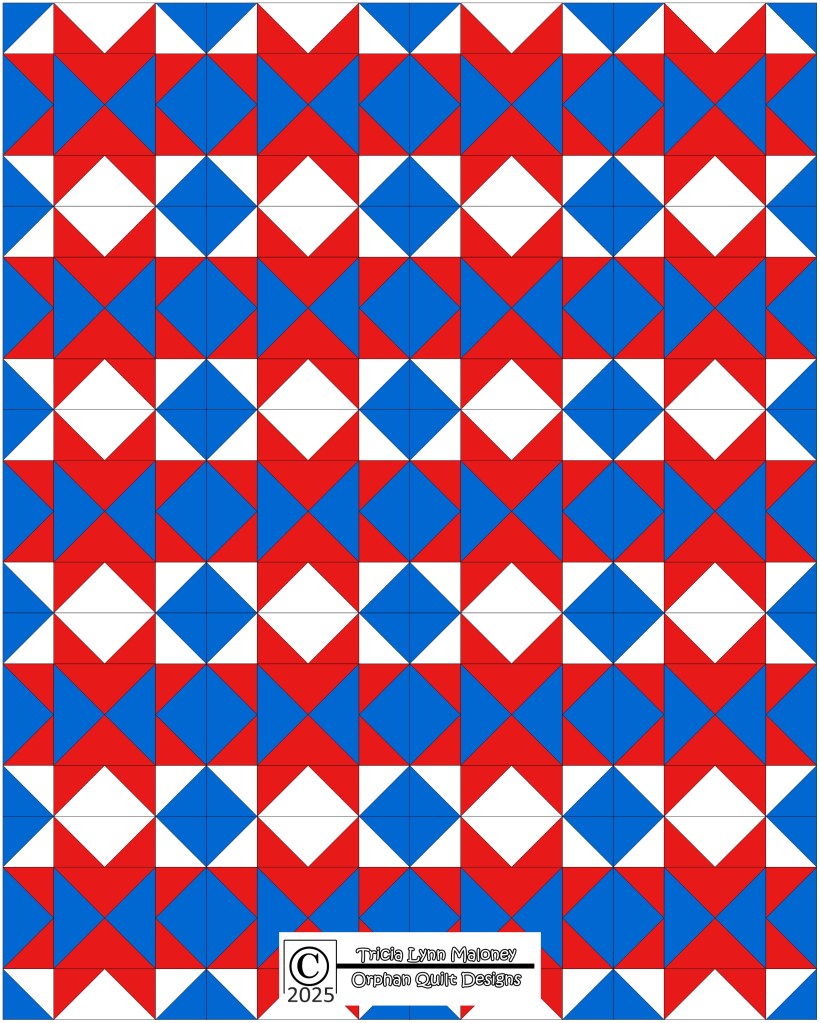
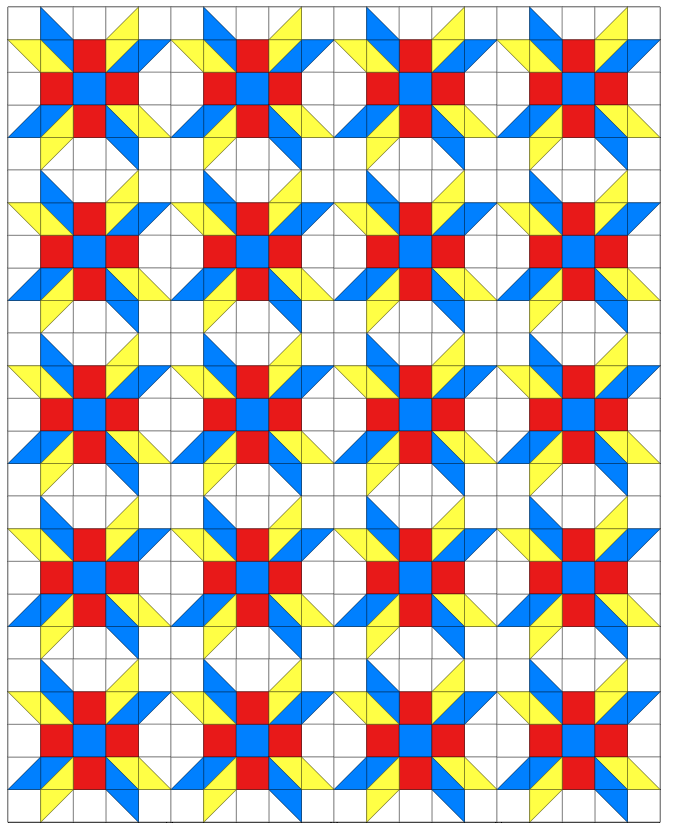
Now we’re ready to play — er, design! Let’s put Farmer’s Daughter blocks in a quilt. Huh! When you set the blocks side to side, you lose the block and a whole new design emerges. Pretty cool!
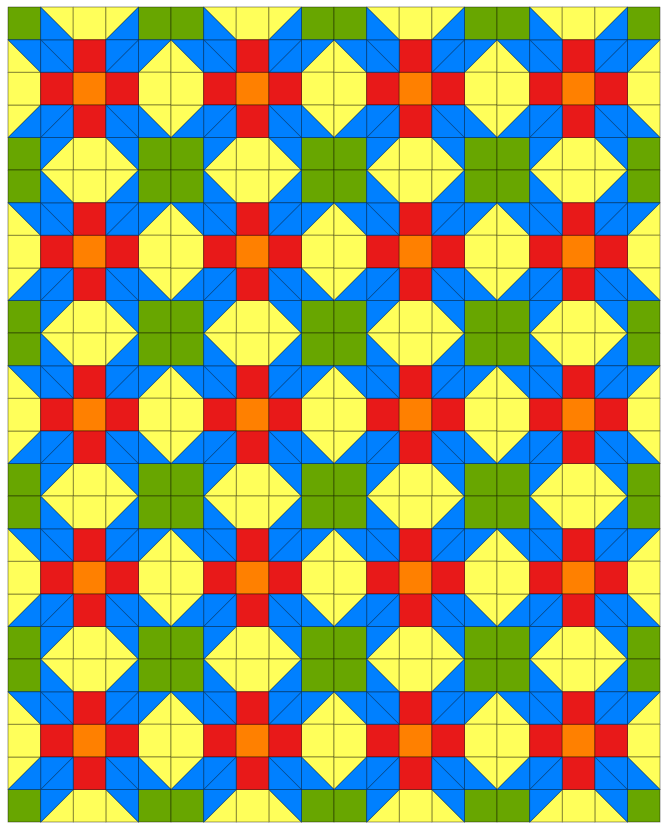
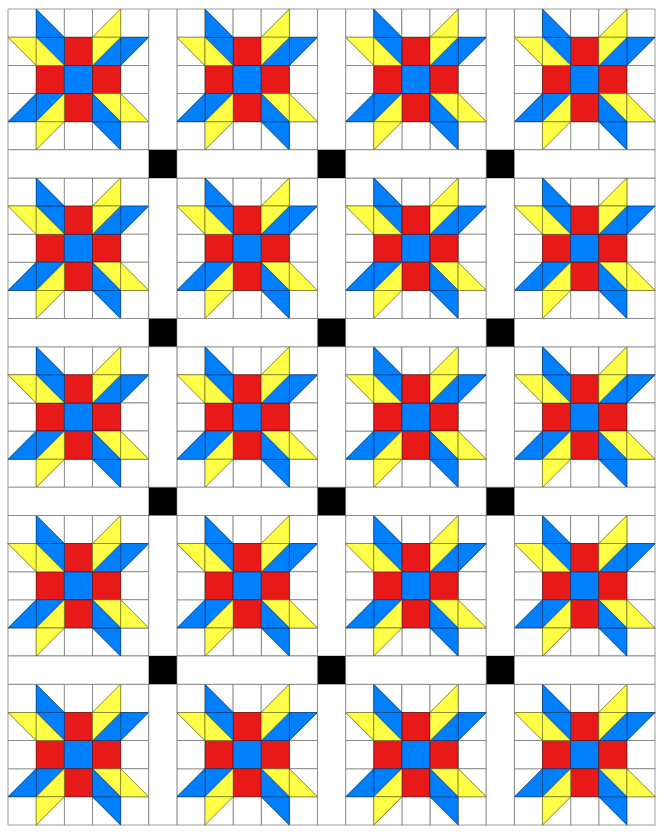
Now let’s add some sashing to see what that looks like. Neat-o! Sashing shows off the block. I just love the secondary design where the block corners (with the green squares) meet the sashing squares. Both designs have a lot of movement already and I haven’t done anything except the HSTs.
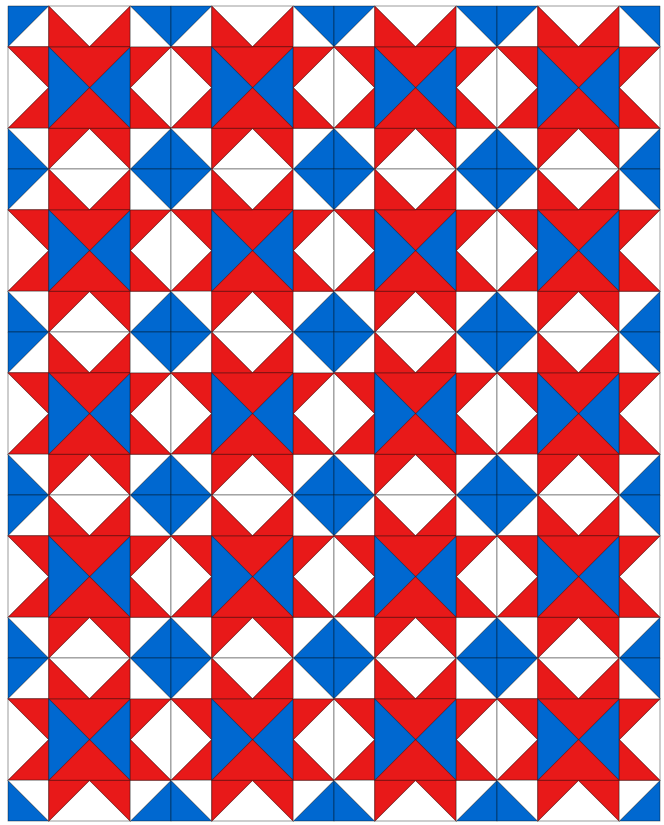
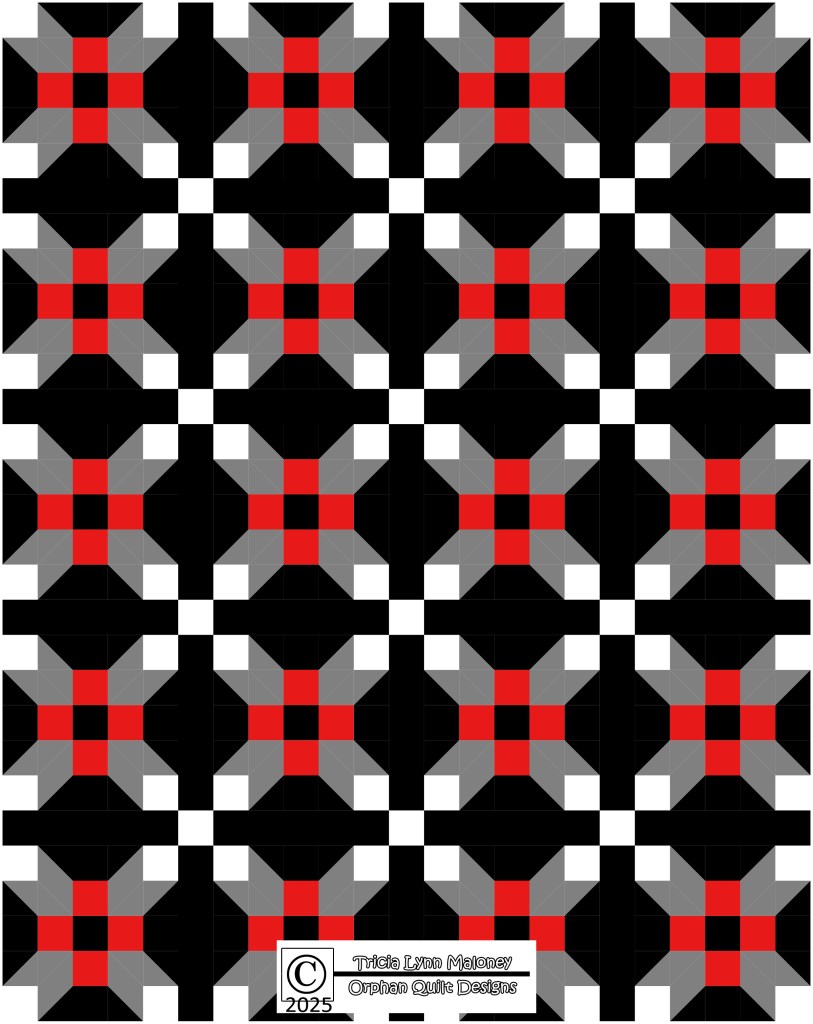
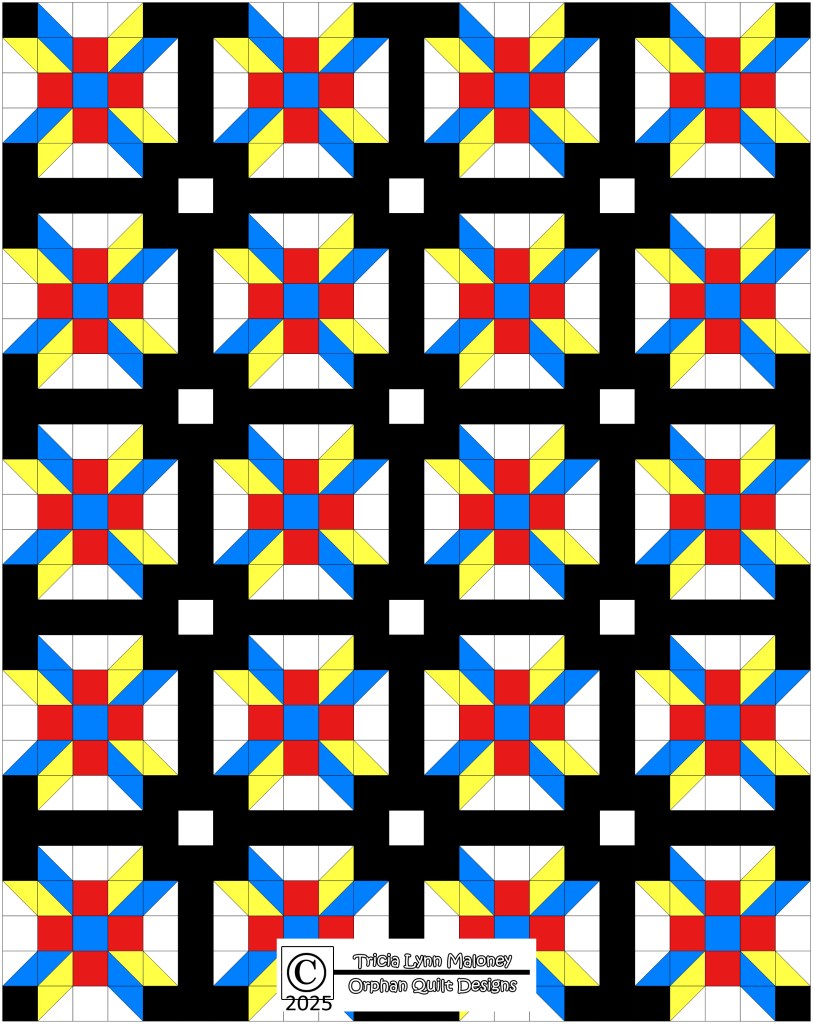
Wowzer! Look what happens when I change the colors to black, grey, white, and red. I’d call this a finished design right now, wouldn’t you???? It almost has a 3D effect. Cool beans!
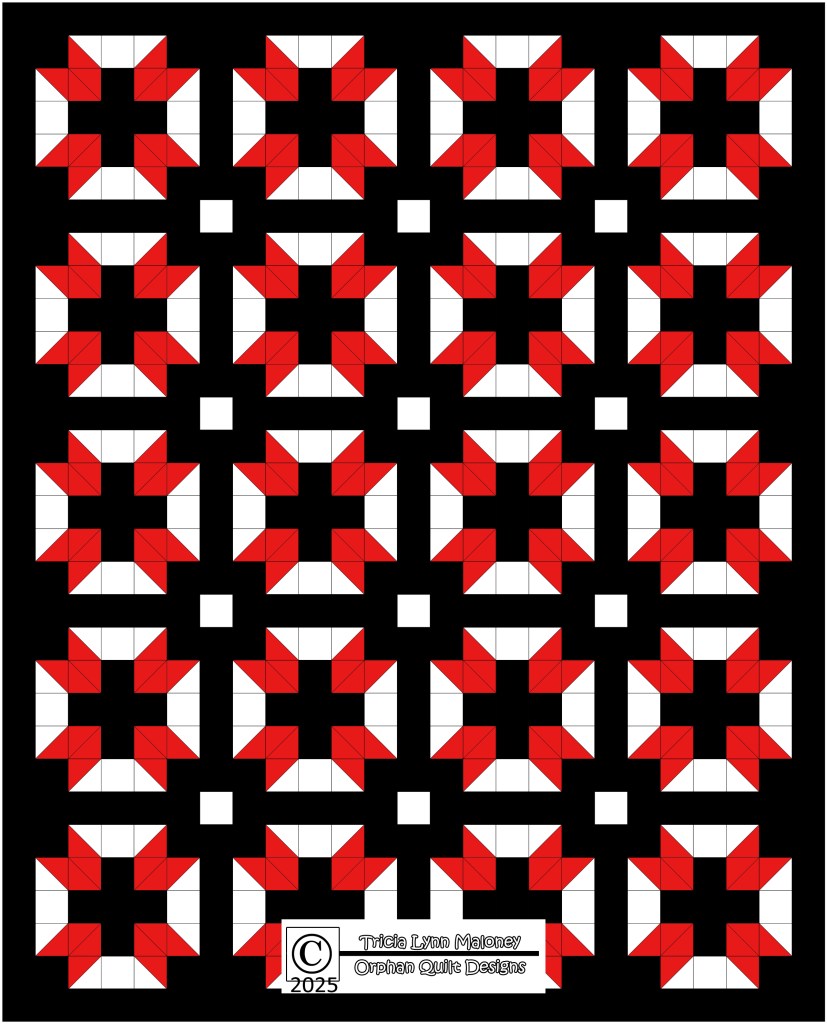
Here’s the same design, but I changed the red to white. Holy cow, Batman! It’s really eye-catching and the black negative space is just itching for some really cool machine quilting.

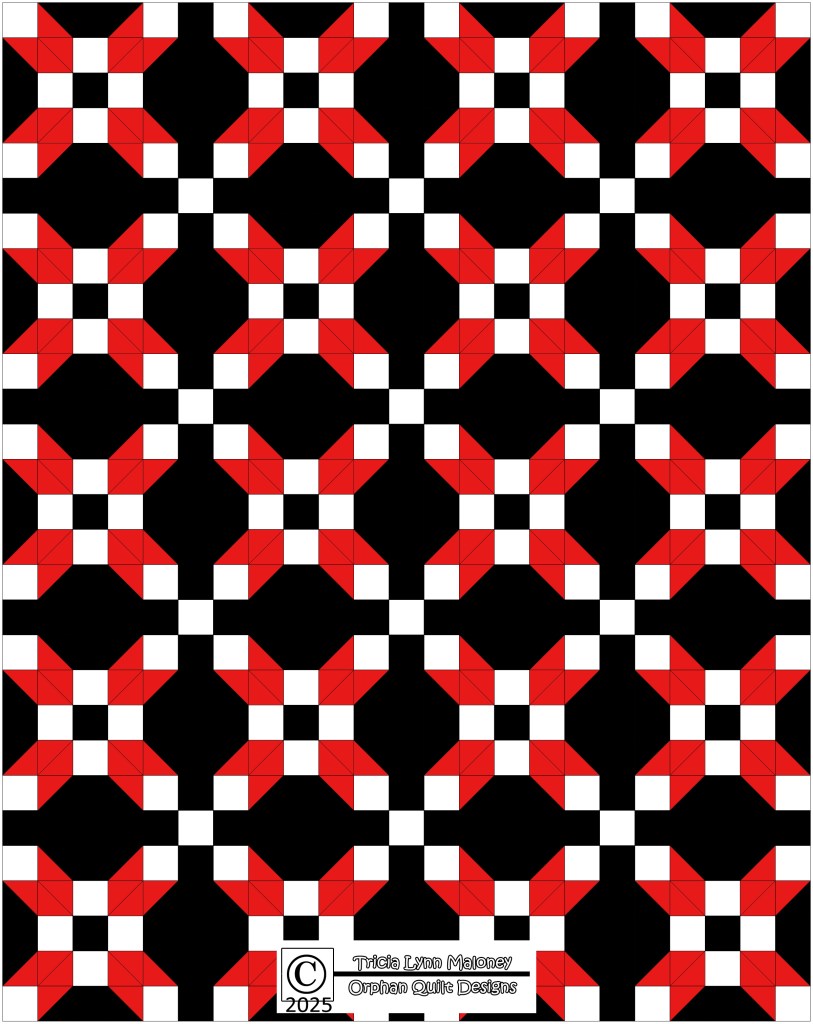
Here’s the same design again, but I changed the grey to red. Oh my! It just about leaps off the screen. Just by playing around with the colors.
This is only ONE of sew many reasons why I love my Electric Quilt 8 software. I can tweak some tiny little thing and if I don’t like it, I can go back or keep tweaking. If you haven’t ever tried EQ8, you really should. It is a total game changer for quilters everywhere!
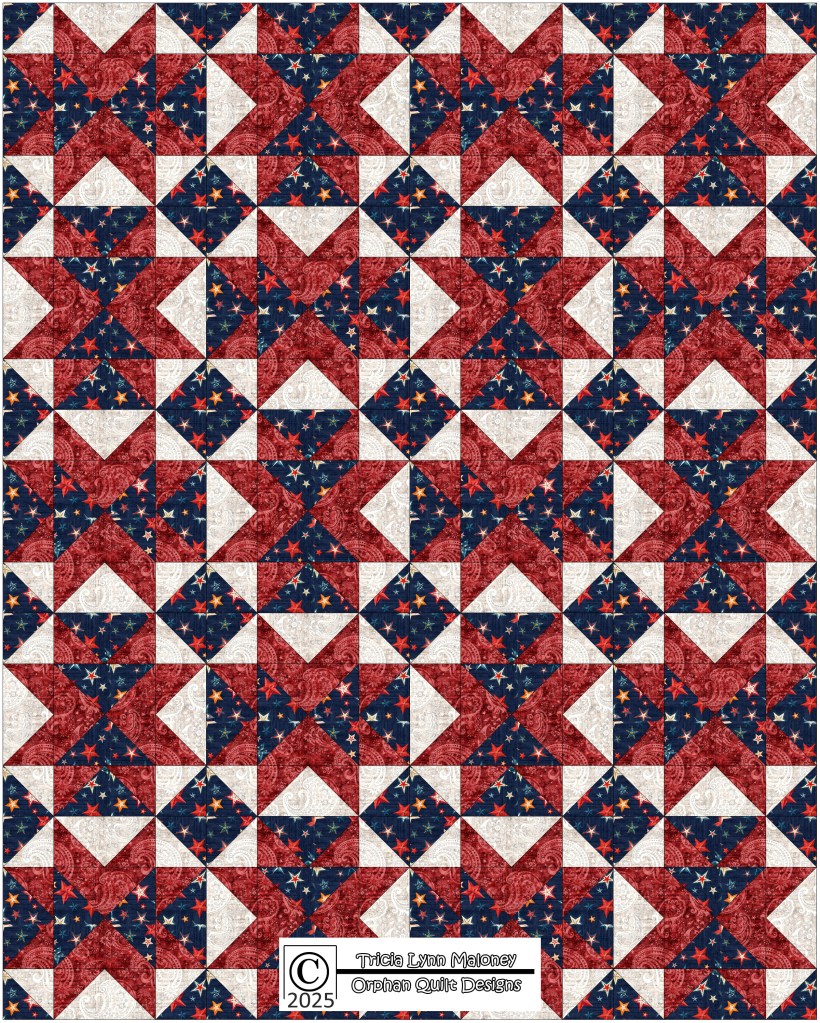
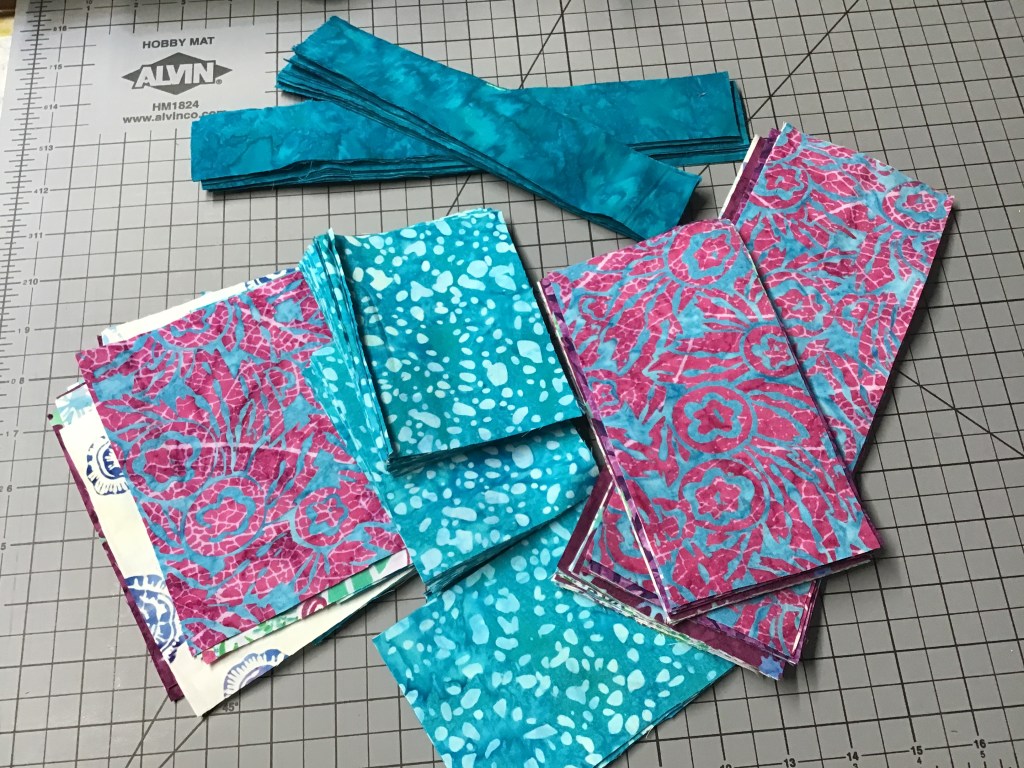
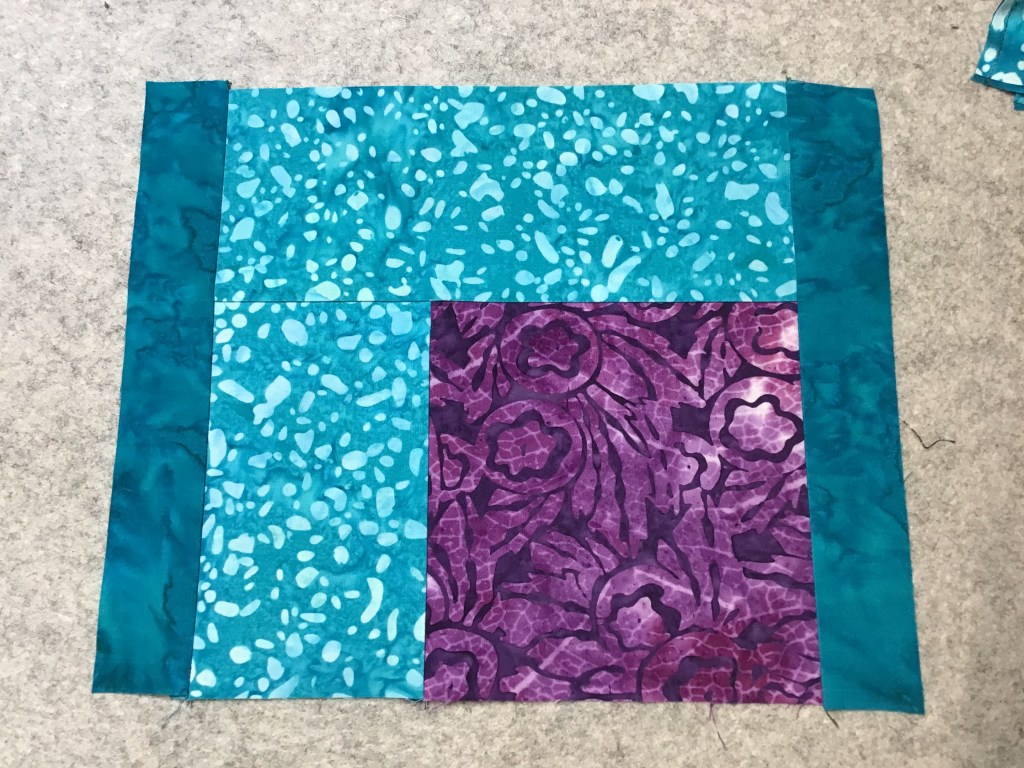
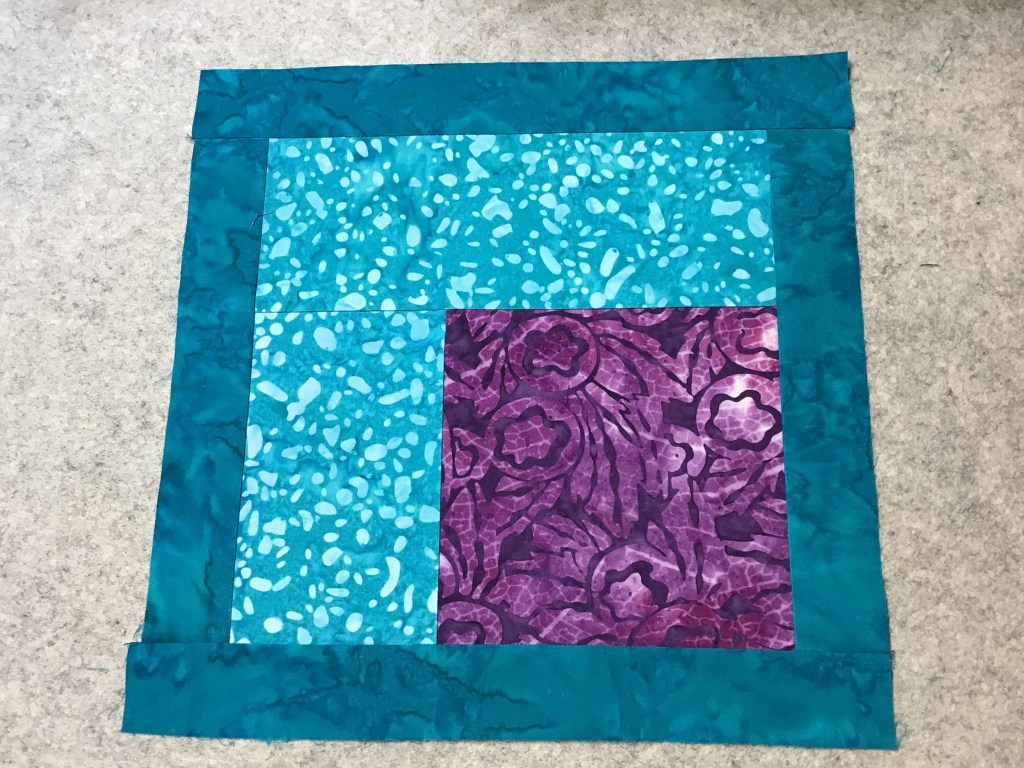
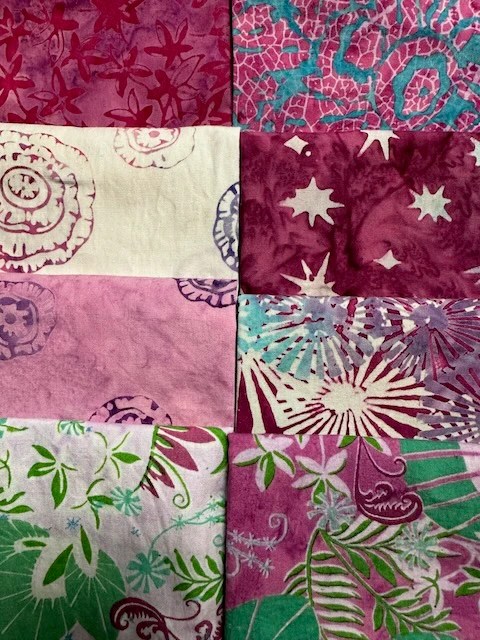
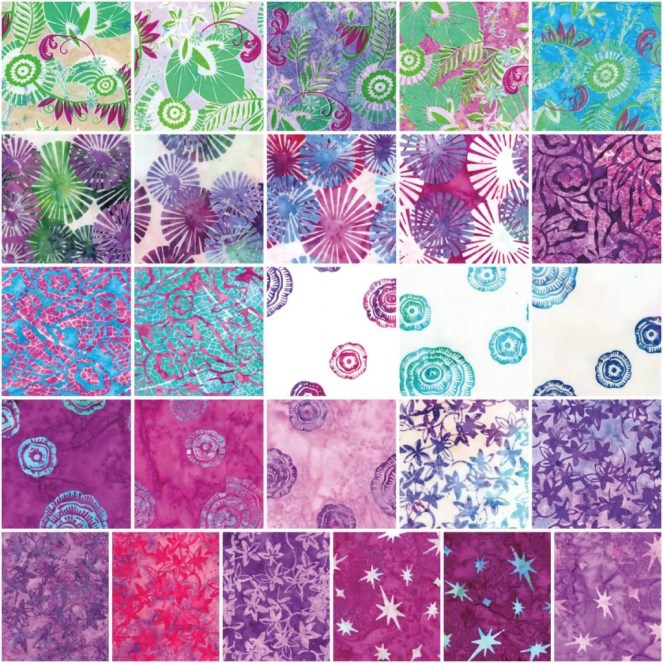
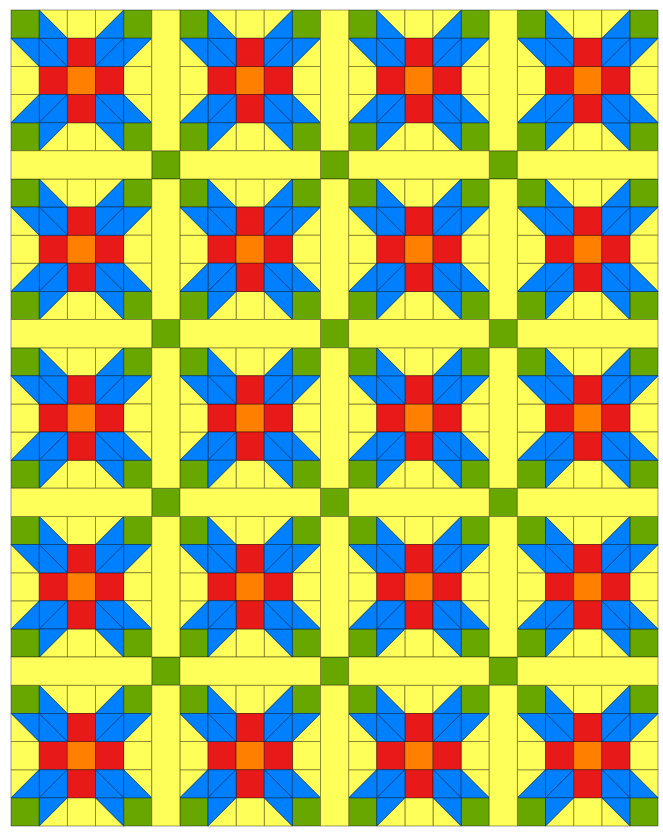
Now let’s add some fabric. I’m using lovely blue batiks from Hoffman’s 1895 Watercolors collection. That’s the one! LOVE IT!
That’s a wrap for this design!

But wait! We’re not done yet. Let’s go back to the block and split the corner sections into 2 colors, instead of just 1 color. I also changed the center square to blue, which gives it an interesting pinwheel design in the center.

Let’s see what it looks like in a quilt. Hmmm. Not very interesting. At least not yet.
Let’s add some sashing. I’m gong to introduce black for the sashing squares. Better, but no way near finished. Let’s keep going.
Let’s flip the black and white for the sashing and sashing squares. WHOAH! I am loving this sashing idea – it is incredibly graphic! But now we need to tweak the blocks some more.
Before we work on the blocks some more, it needs a border to frame it. It just looked a bit unfinished without it, don’t you think?

That’s it! Okay, on to the blocks. Let’s swap the blue and yellow in the 4 corners back to 1 color, red. And change the blue center to white so it repeats the white sashing square. I love how graphic it is. Your thoughts?

One more tweak. Let’s change the center square in the blocks to black. Yup! That’s it! Love the plus sign in the center of the blocks! This design has a clean modern look yet it feels traditional, too. It is totally the best of both worlds.
All right! Let’s add some fabric. Again, I’m using batiks from Hoffman’s 1895 Watercolors collection. I did make one more tweak by changing the sashing squares to match the plus signs. Don’t you just love it in pinks? The black has a slight bluish tinge for added interest. Again, it has a bit of a 3D effect. Done and done!

Do you remember where we started? A Classic Farmer’s Daughter block.
How far we came just by changing the colors, playing with the fabric placement, and adding sashing/border.
How are you going to explore these ideas with your quilts???
Well, that’s it for me for our 4th week in our Let’s Design a Quilt Series. If you missed any posts, you can catch up here:
Playing with Nine Patch Blocks
Playing with the Courthouse Steps Block
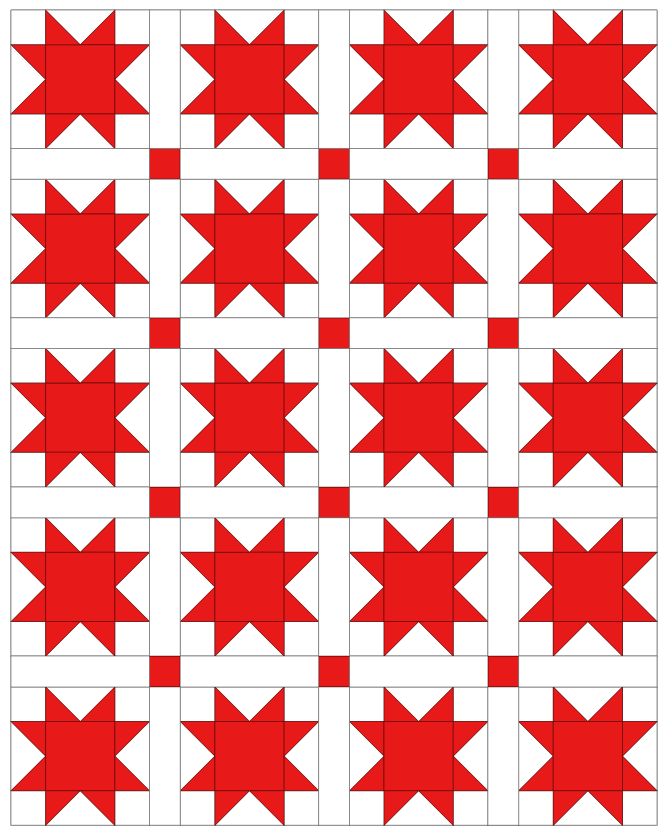
Playing with the Sawtooth Star block
Sadly, next week we are going to wrap up our Quilt Design series. Next we’re going to do some new tutorials, just for you. Sew stay tuned!
See you on the flip side!
Until then –
Sew. Laugh. Design. Repeat.
Always,
Tricia @ VRD