Hello Quilty Friends!
Happy Thursday to you!
It’s October! How’d that happen? I feel like this year has been too short and yet too long at the same time. Does that even make any sense? So much has happened this year, yet there is still so much to accomplish, and now there is only a few months to do it in. Oh brother……… (me, smacking my forehead).
I know I mentioned last week that Fall is my absolute favorite season and happily, October is my most favorite month. October in northwest Pennsylvania is simply beautiful! You can almost watch the leaves burst into shades of red, orange, yellow, and purple . Then after a grand showing of color for a little while, they simply hop off the tree branches and drift down to the ground. There is nothing better than walking through those piles of color, crunching as you go. Raking leaves into a big pile and jumping into it is still an option for me too. Of course, I adore the cool nights and warm days, which make me feel more energetic and eager to get back on track to get things done after the lazy hazy crazy days of a hot summer.

Did I mention the food of autumn (and October)??? Goodness! How could I forget that? Apples are huge in our area this time of year, in fact I even have a couple neglected apple trees in my backyard. I was able to rescue some good-sized apples, even if they weren’t perfect. Apple pie, apple crisp, apple cider, homemade applesauce………need I say more? And if you have apple cider, you simply must have donuts to go with it. I don’t know if this is a regional thing or common all over, but I have fond memories of Friday and Saturday night cider and donuts.
In my hometown, there is also a huge nighttime Halloween parade later in October. When I say huge, I mean HUGE! Every firetruck and queen/princess for miles takes part! As well as all the area marching bands. There are floats, too. It was always a fun time when I was a kid, snagging all the candy thrown from the parade participants. I must admit that the Zem Zem mini race cars always made me nervous when they were doing their routines, — I was always afraid they’d run over my feet when they drove so close to the curbs where all of us kids were sitting. And after the parade, it was time for — you guessed it! — cider and donuts. LOL!
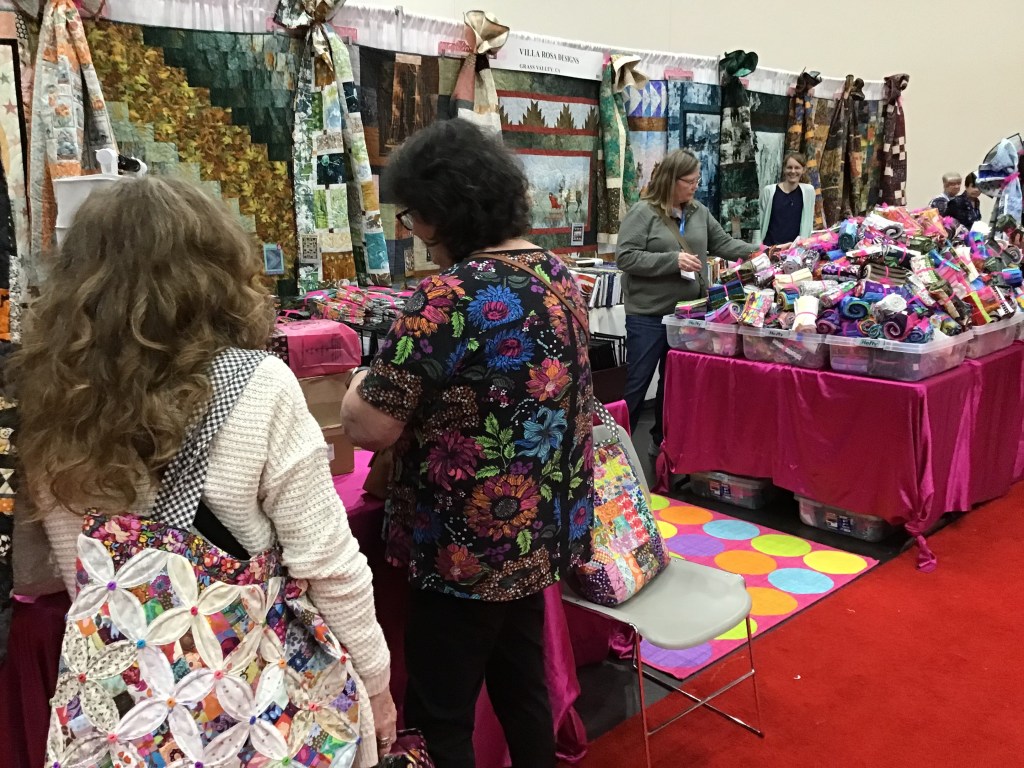
International Quilt Market
October also brings Fall International Quilt Market (the professional event) followed by Quilt Festival (the retail event) in Houston, Texas. YAY! Although there’s a lot of work that goes into getting ready for Market, it’s so much fun and totally exhausting. For me, it’s the one time a year I actually get to work with Pat and the VRD gang in person, which makes it super important to be there so we can brainstorm, discuss ideas, and dream up fun new VRD events just for you.

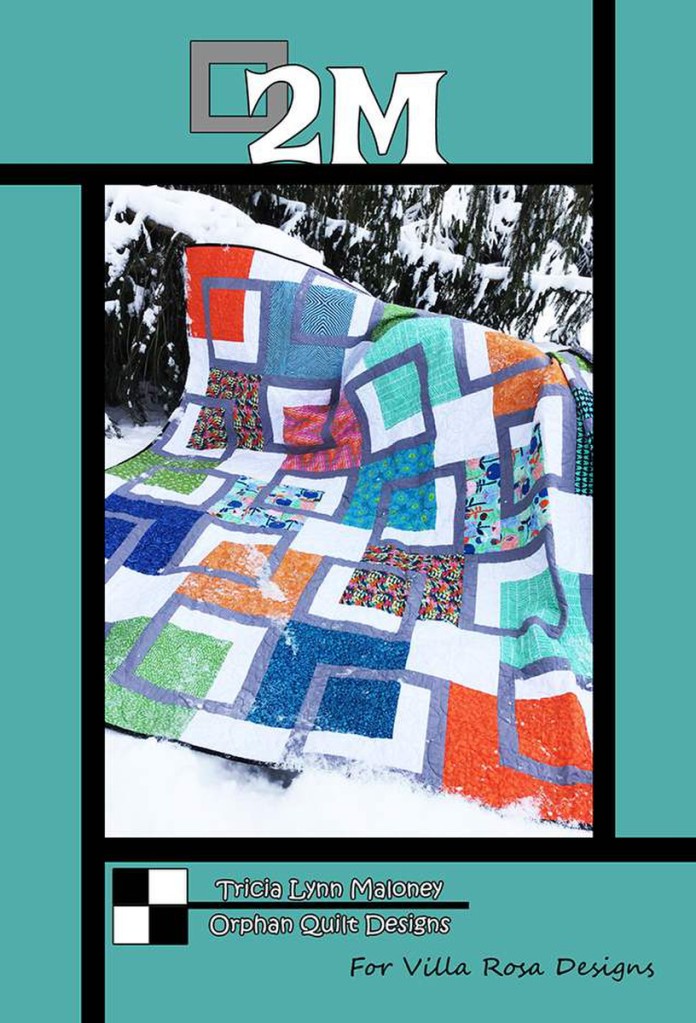
I attended my first Quilt Market in 2010 when my very first quilt book, Orphan Block Quilts, was coming out. It was also where and when I first met Pat and fell in love with Villa Rosa Designs. My pal, Leslie (who I went with to Maryland back in August) went with me for that very first Market — basically she help my hand and provided me with training wheels, or…………simply moral support. LOL! Thanks, Leslie! I’ll never forget when we saw superstar Ty Pennington from HGTV, who was there to promote his first fabric collection. OMG! Women were practically throwing themselves at him. He had a security guard trying to protect him and they even had to bring in stanchions and ropes to help control the crowd of rowdy women. Ahhh, good times.
Last year I was really fortunate to be able to stay on for Quilt Festival (the retail event) after Market. That was my very first Festival experience, even though I’ve now been to enough Markets that I don’t even keep track anymore. I had an amazing time and I met such terrific folks at both Market and Festival.
I don’t really have any specific goals in mind for Market this year, except to work in the VRD booth and to just enjoy the experience. I do hope to meet some new industry professionals, to put a face to people I’ve only worked with online, and to catch up with some old friends — like my pals, the Springers, of Quilts of Mulberry Lane, who kindly gifted me with an antique quilt last year. You can read the Story of the Quilt that Followed Me Home HERE. I might even line up some new fun sponsors for our 2025 VRD Blog Hop.
Bedazzled Fabric Collection
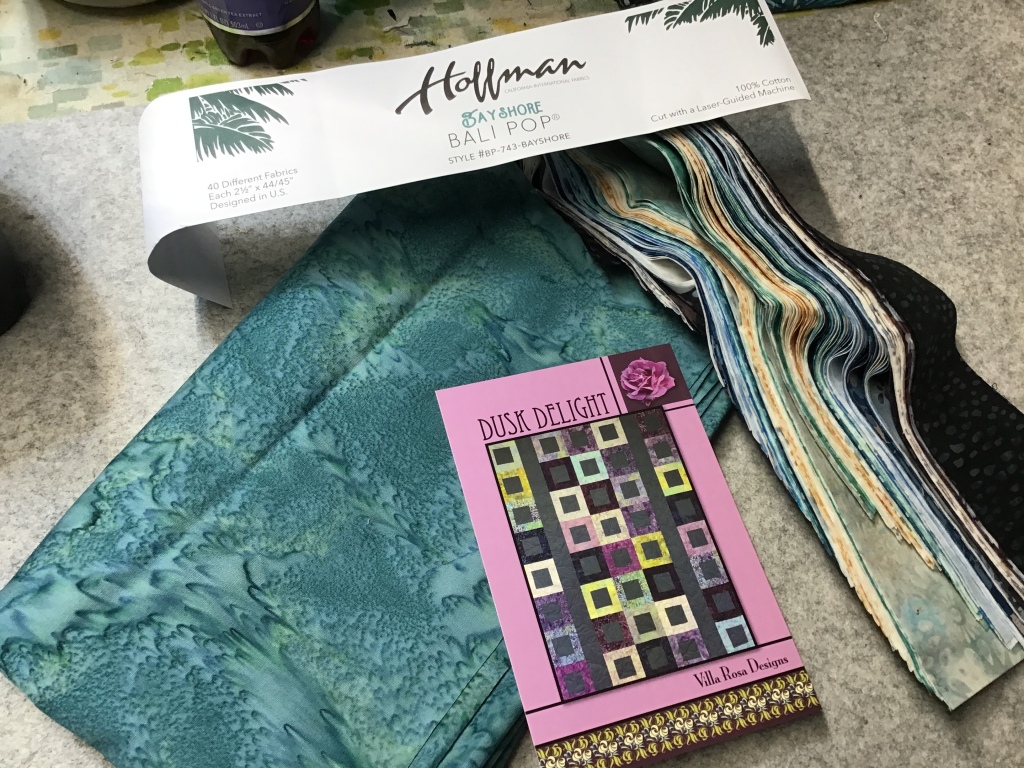
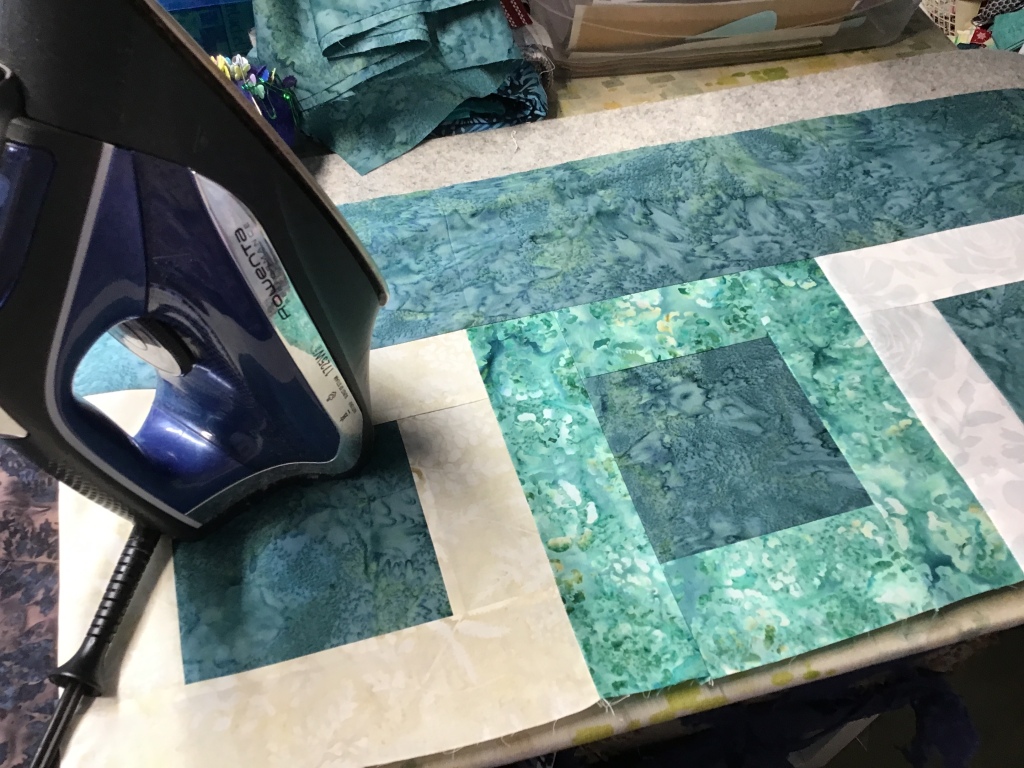
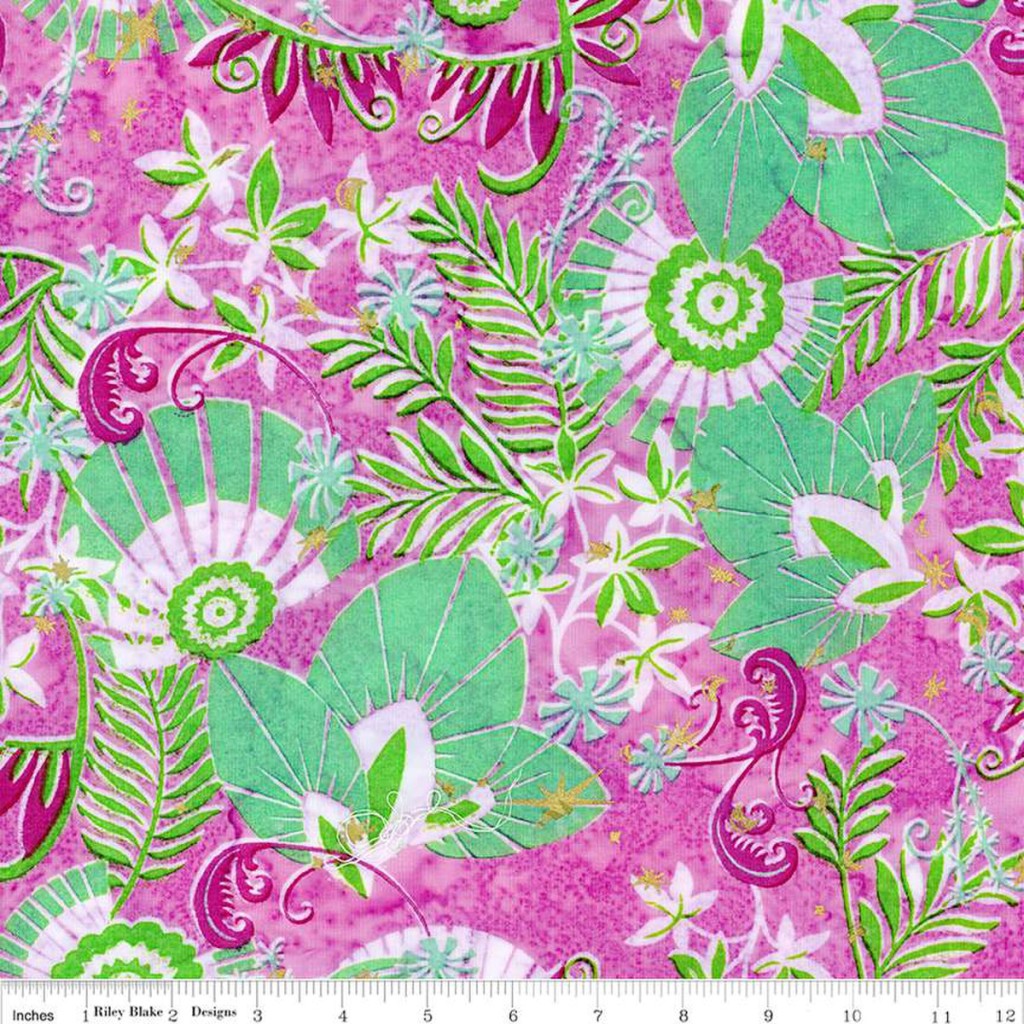
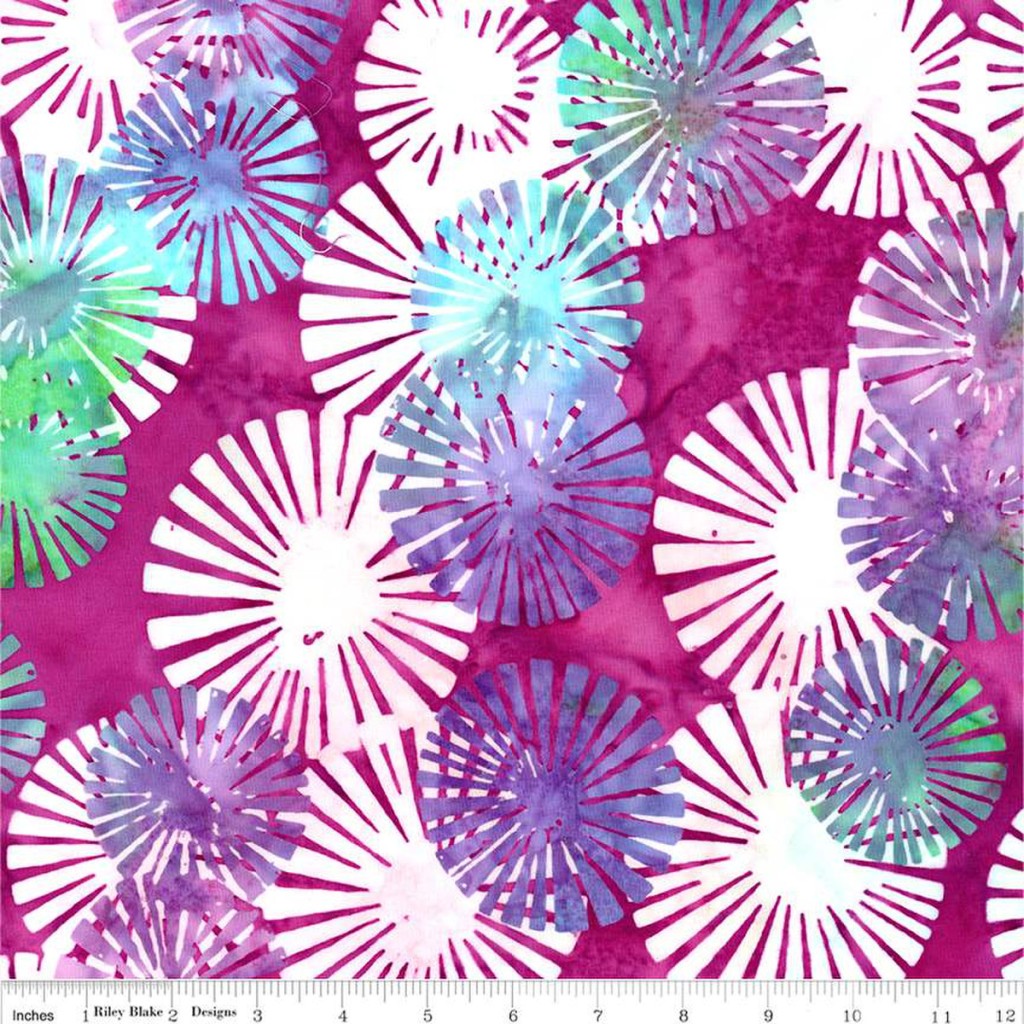
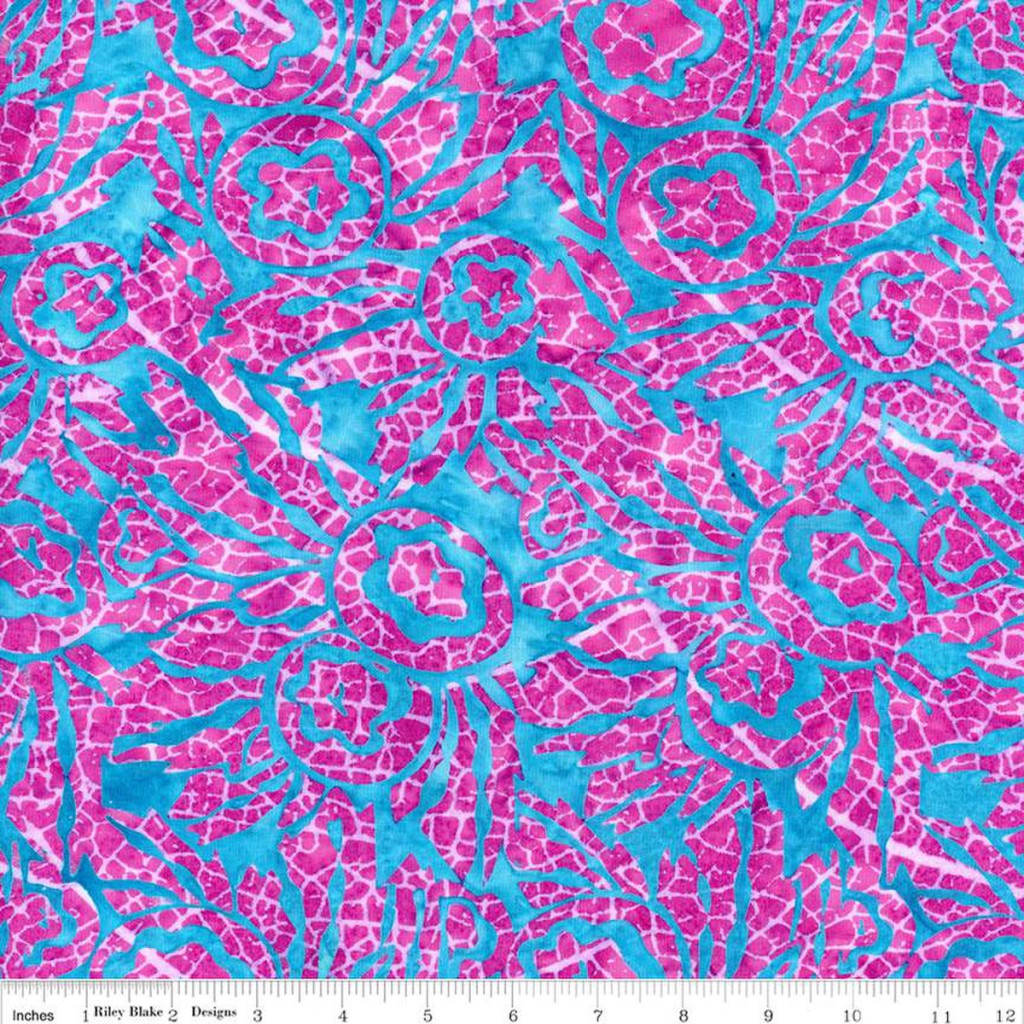
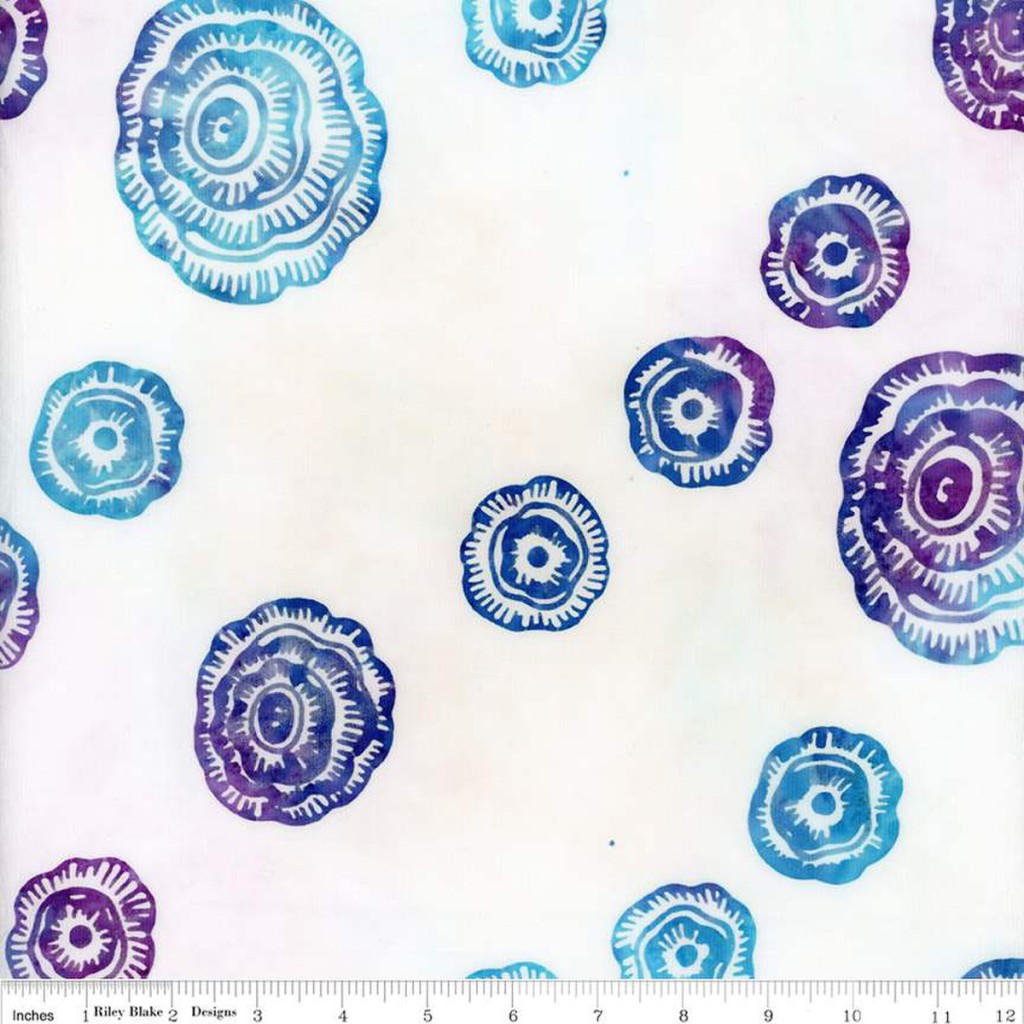
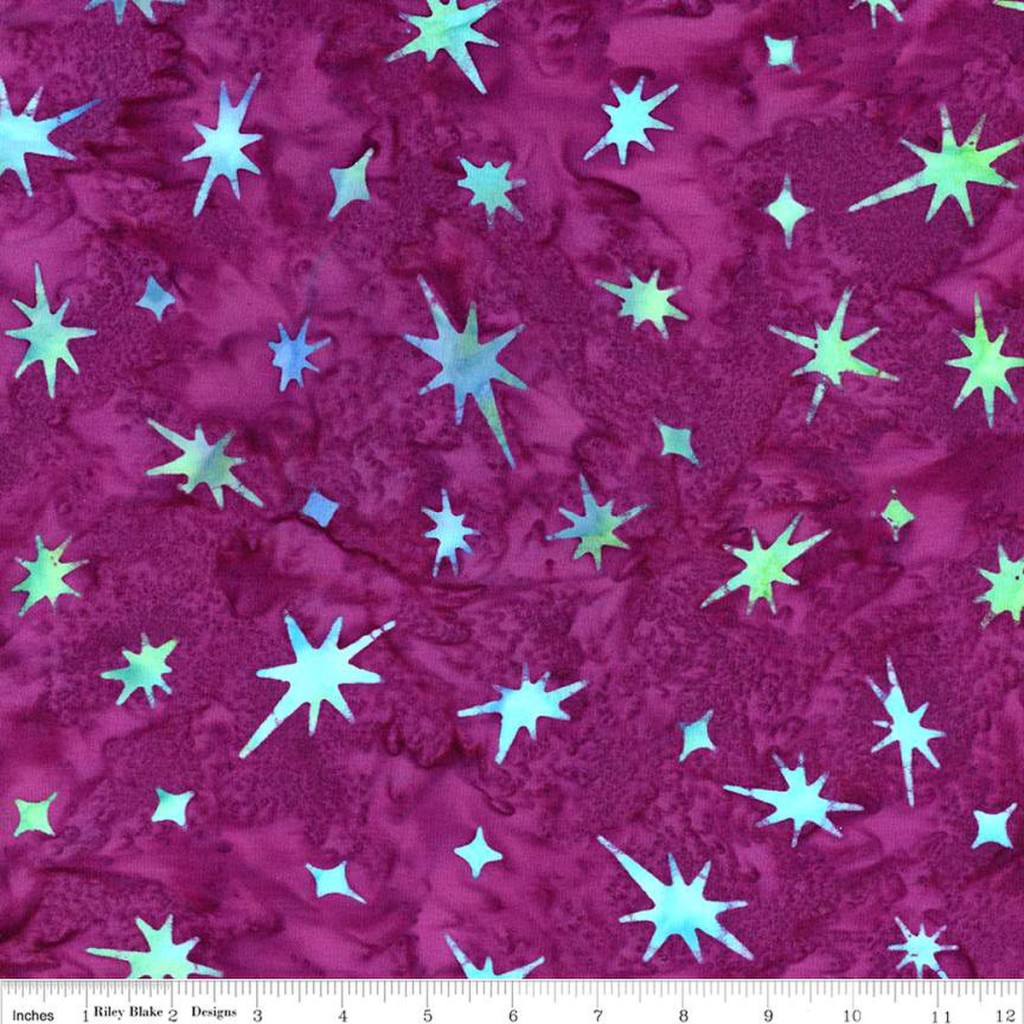
The most exciting thing going on for Villa Rosa at this year’s Quilt Market is Pat’s new fabric collection with Riley Blake Designs. It’s called Bedazzled and it is a batik collection. If you know Pat Fryer, then you know she adores batik fabrics!

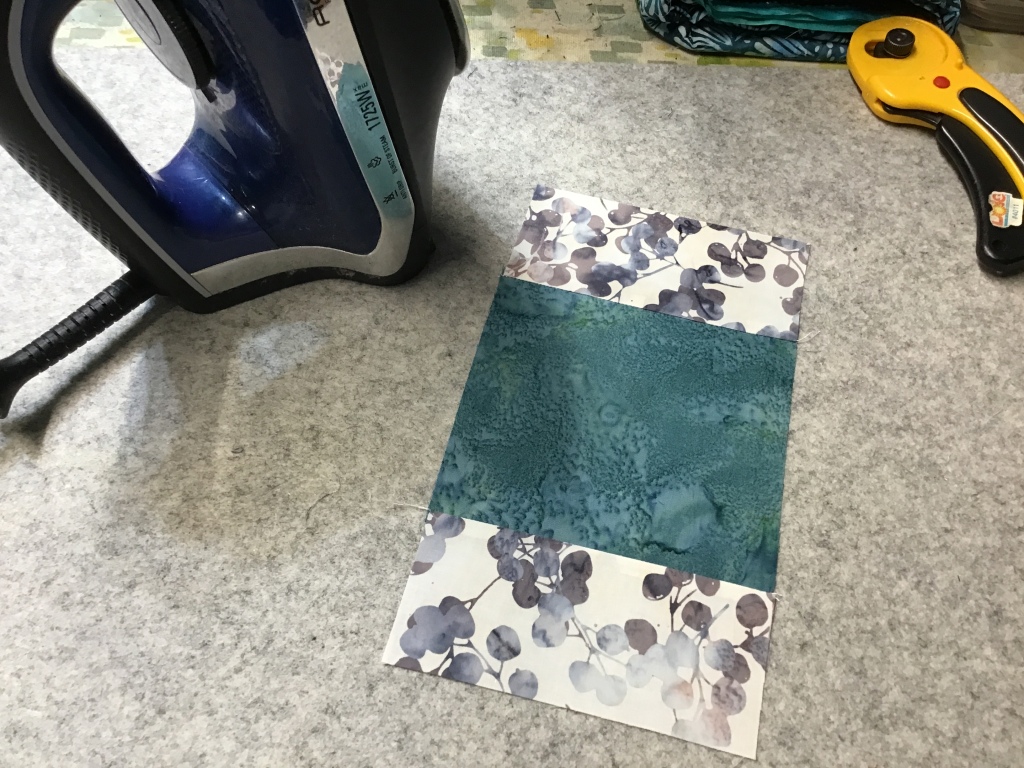
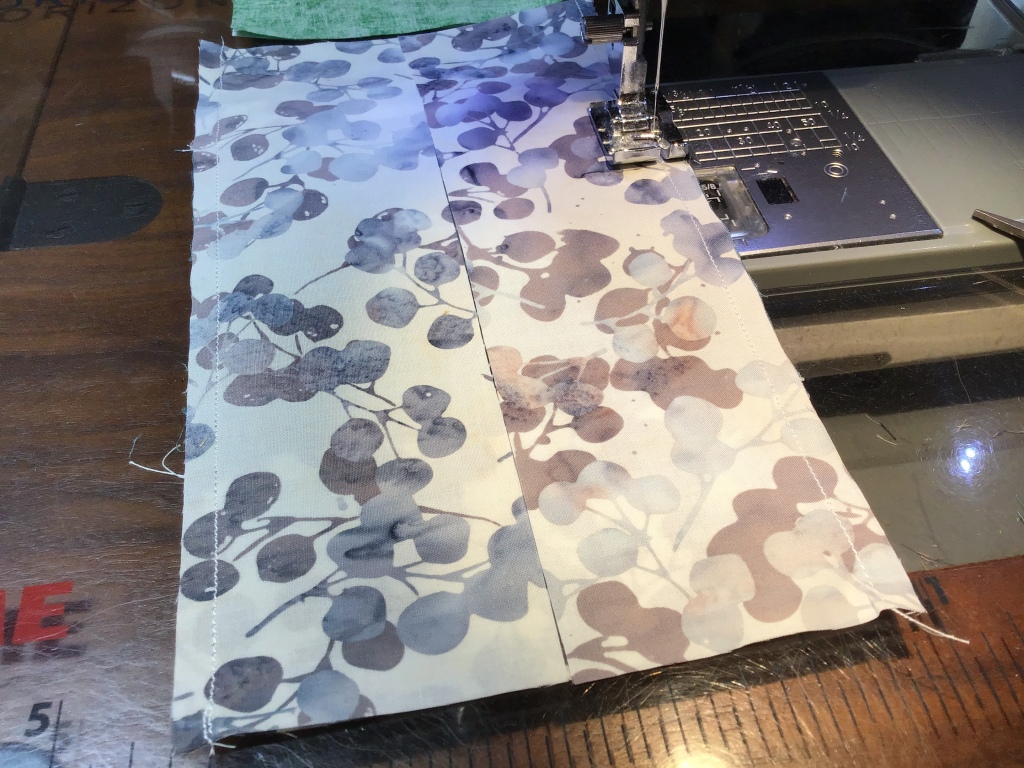
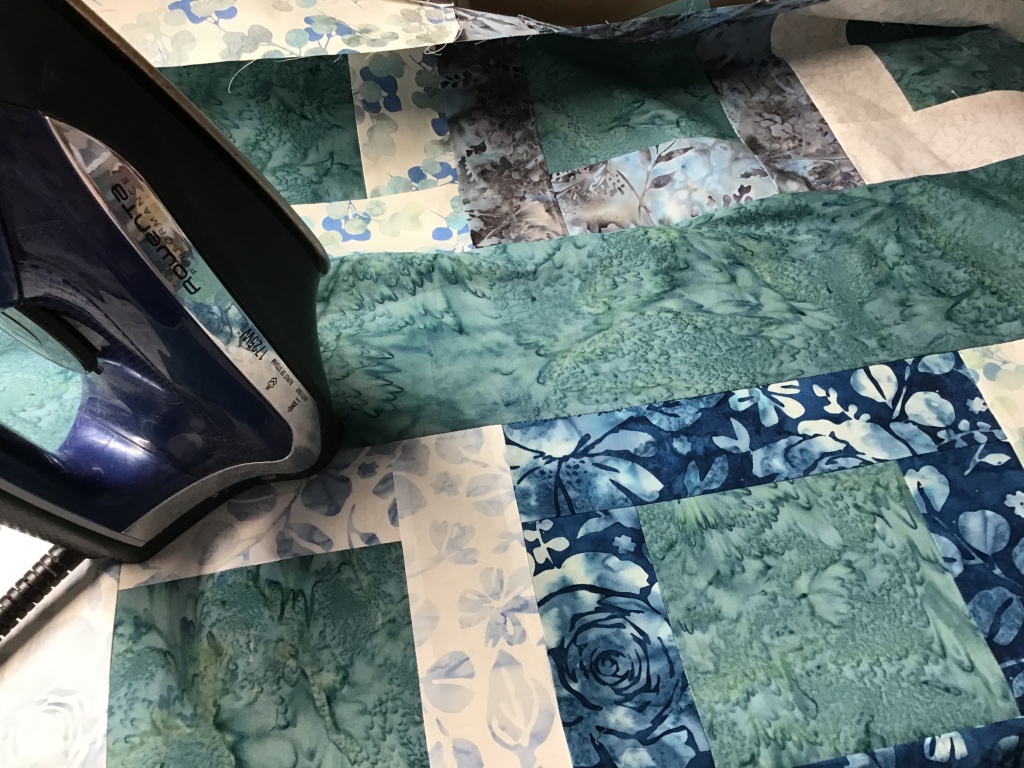
There are 26 fabrics in the Bedazzled collection. Lots of purples and teals with hints of pink, jade, and blue. The fabric designs have a lot of movement and energy and the colors are just sooooooo rich. Of course, Bedazzled will be available in precuts — 5″ squares, 10″ squares, 2.5″ strips, and fat quarter bundles, so the collection will literally shine in lots and lots of VRD Rose Card patterns!
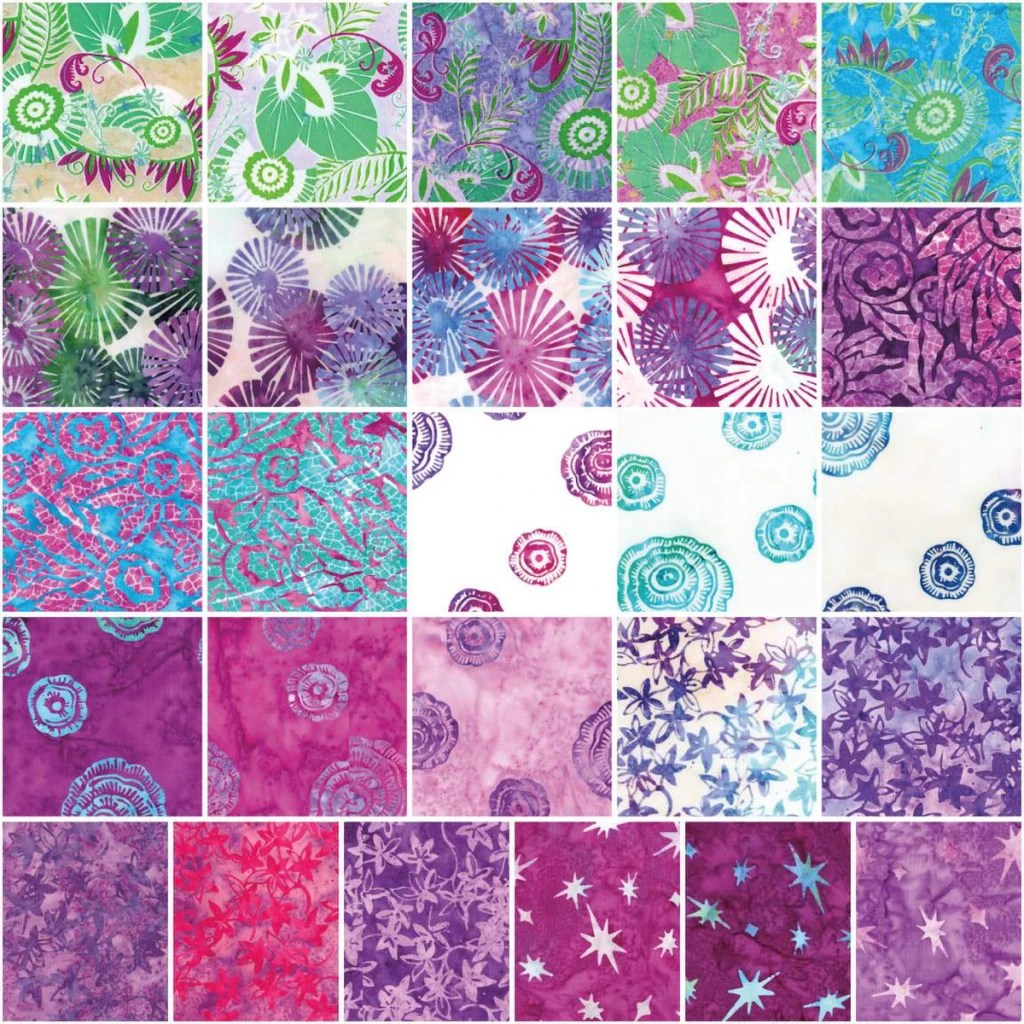
But wait……………….there’s more! There is a teeny tiny little extra detail that makes Bedazzled truly unique and special — it has bling! It isn’t called Bedazzled for nothing, you know. Tehehe. The main print has wonderful hints of sparkle and shine.

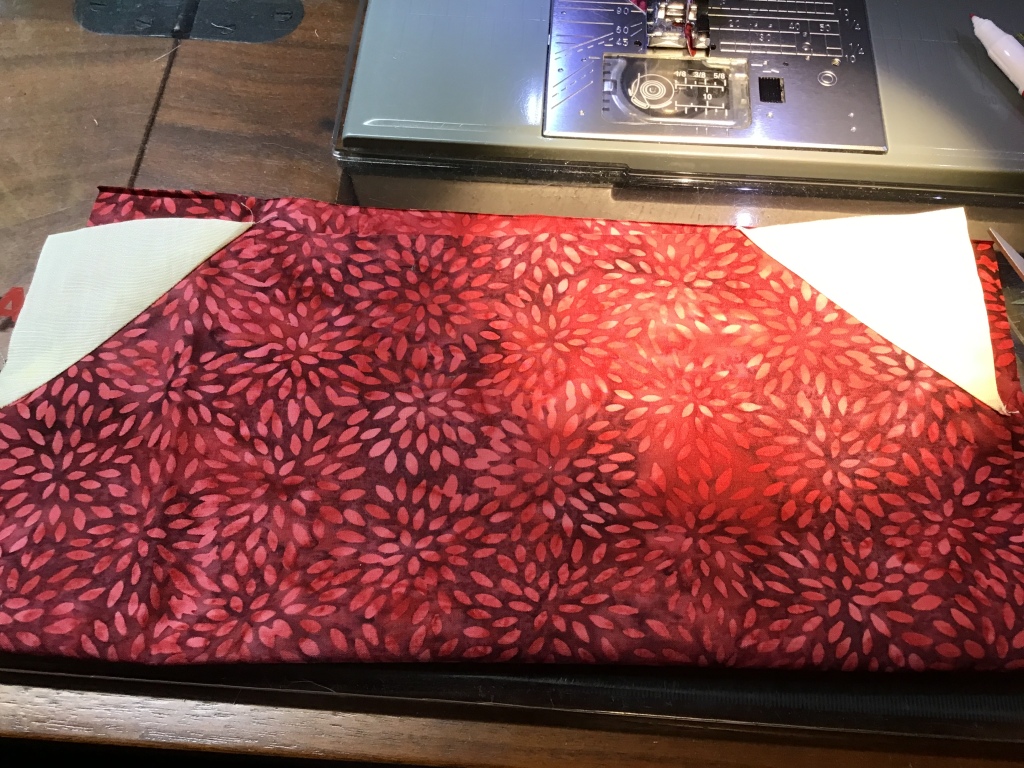
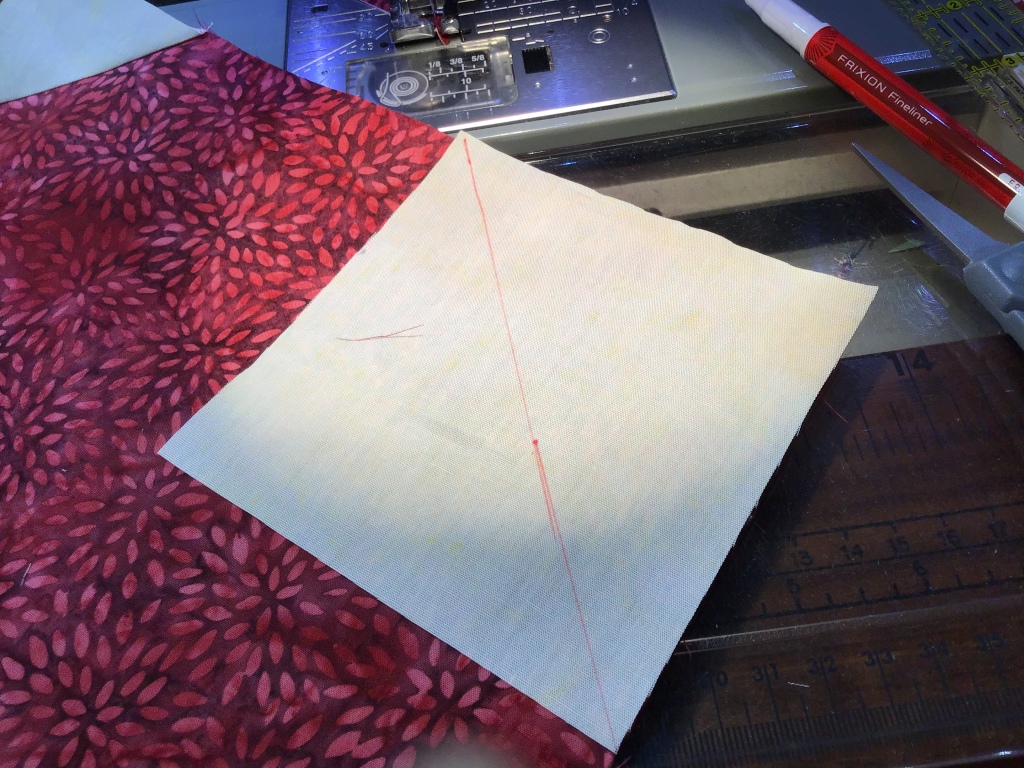
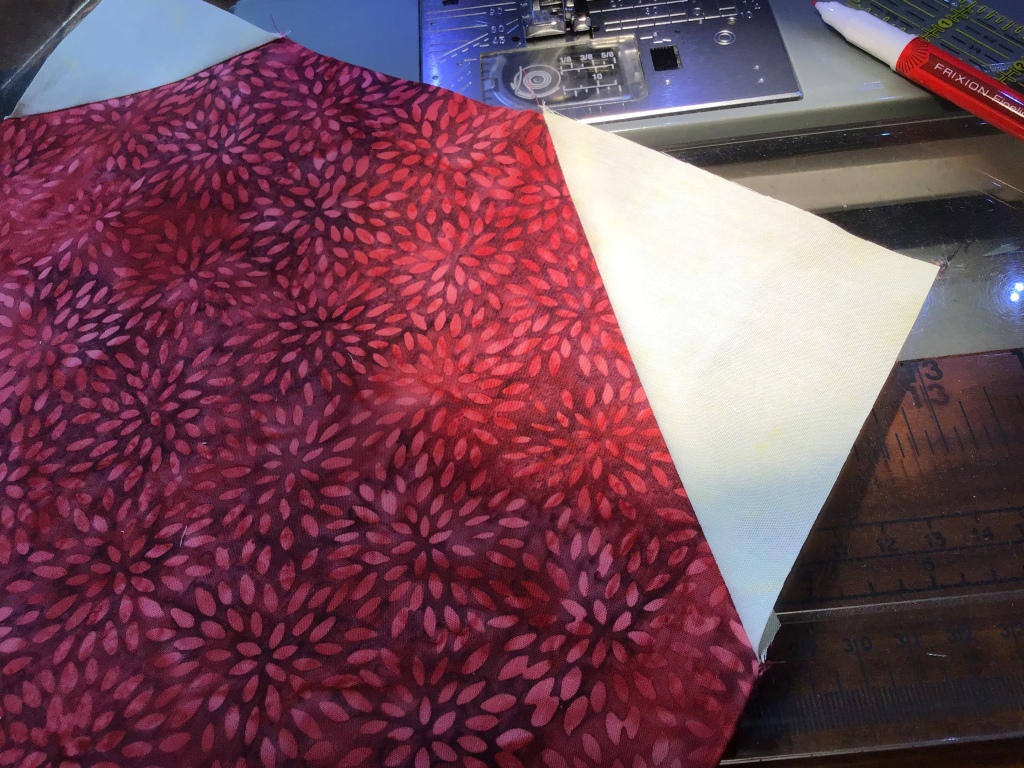
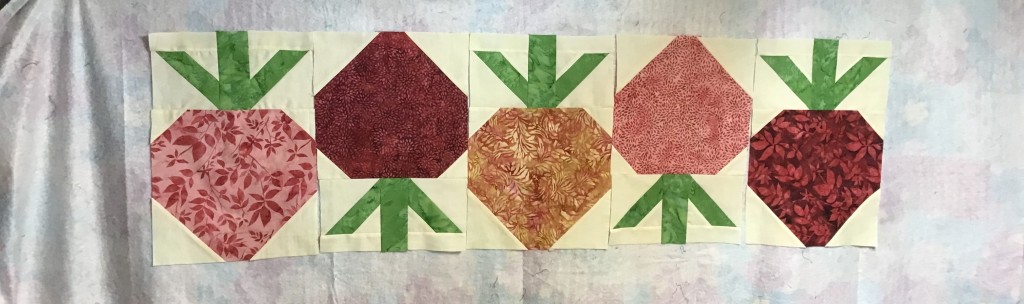
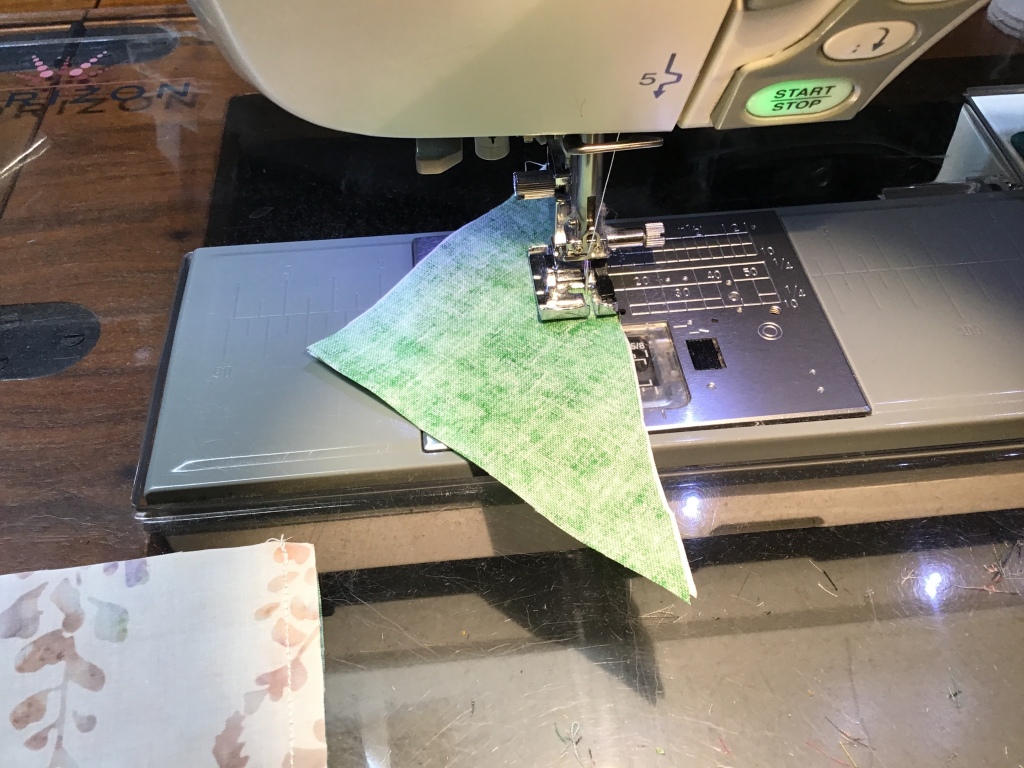
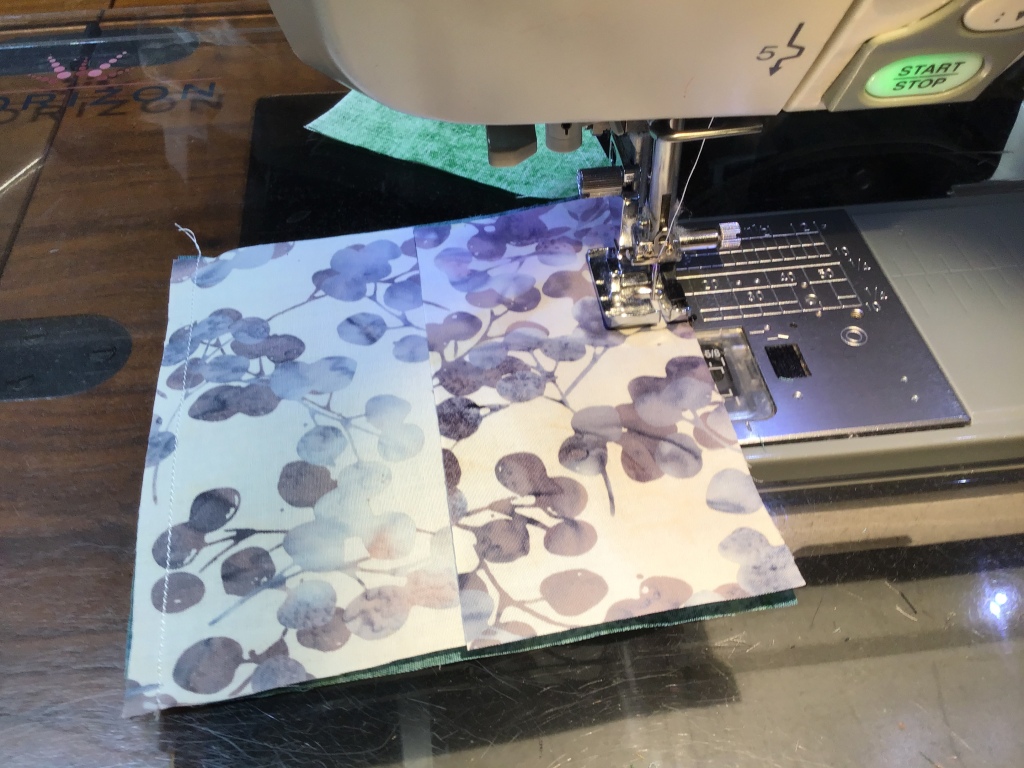
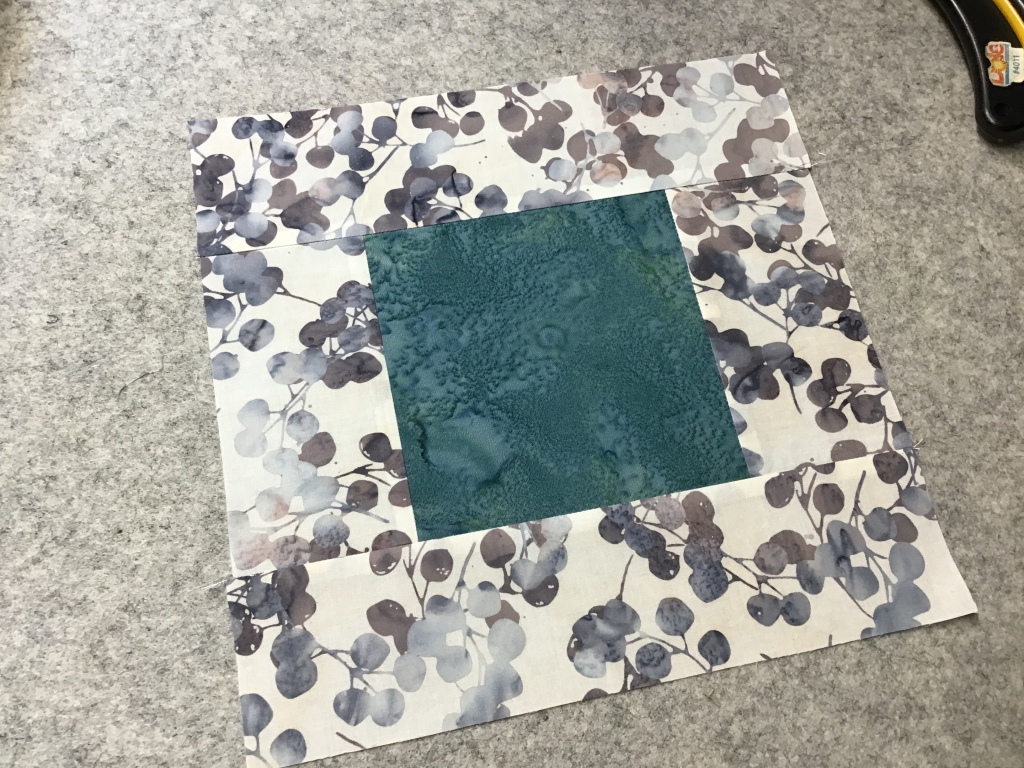
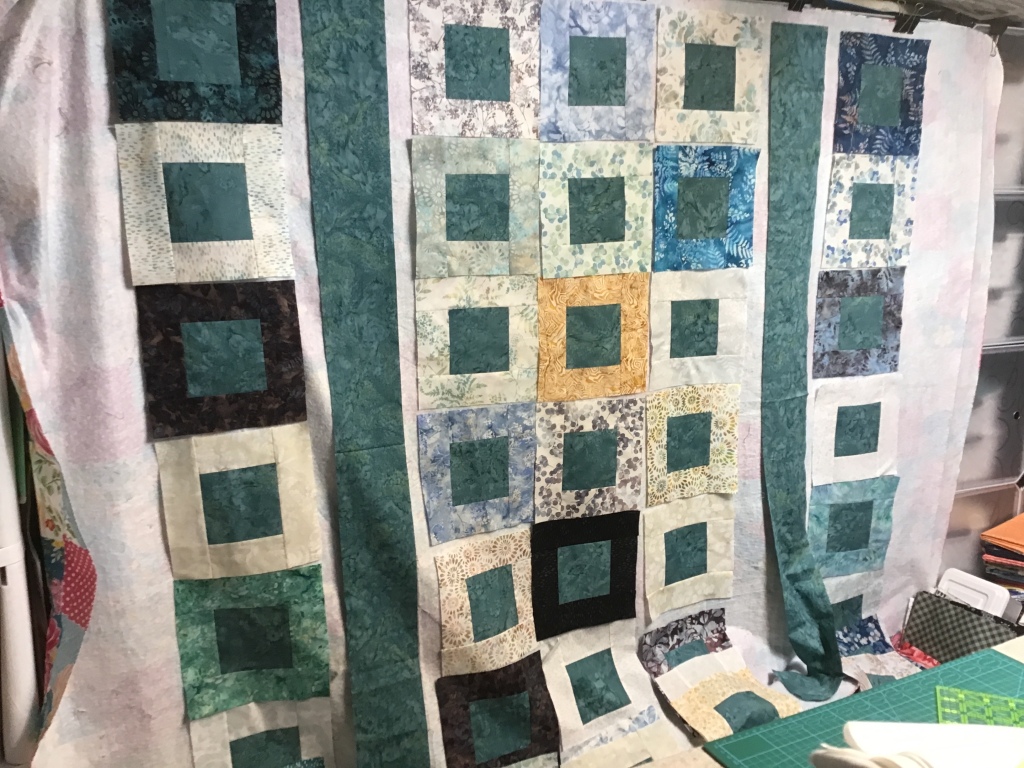
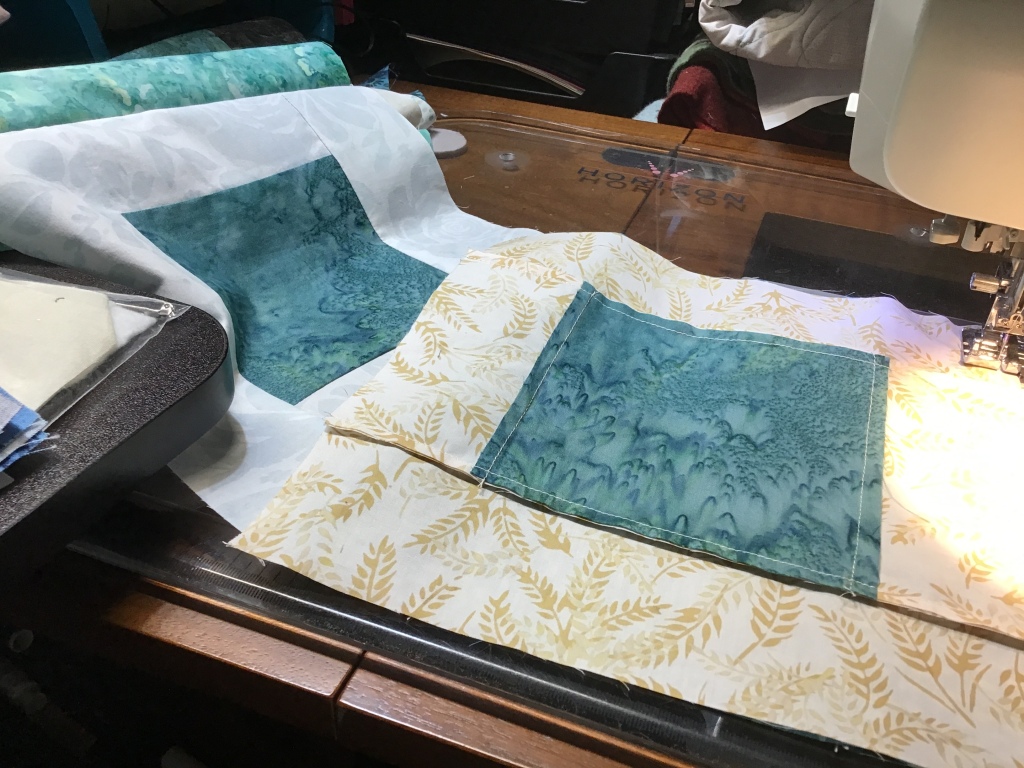
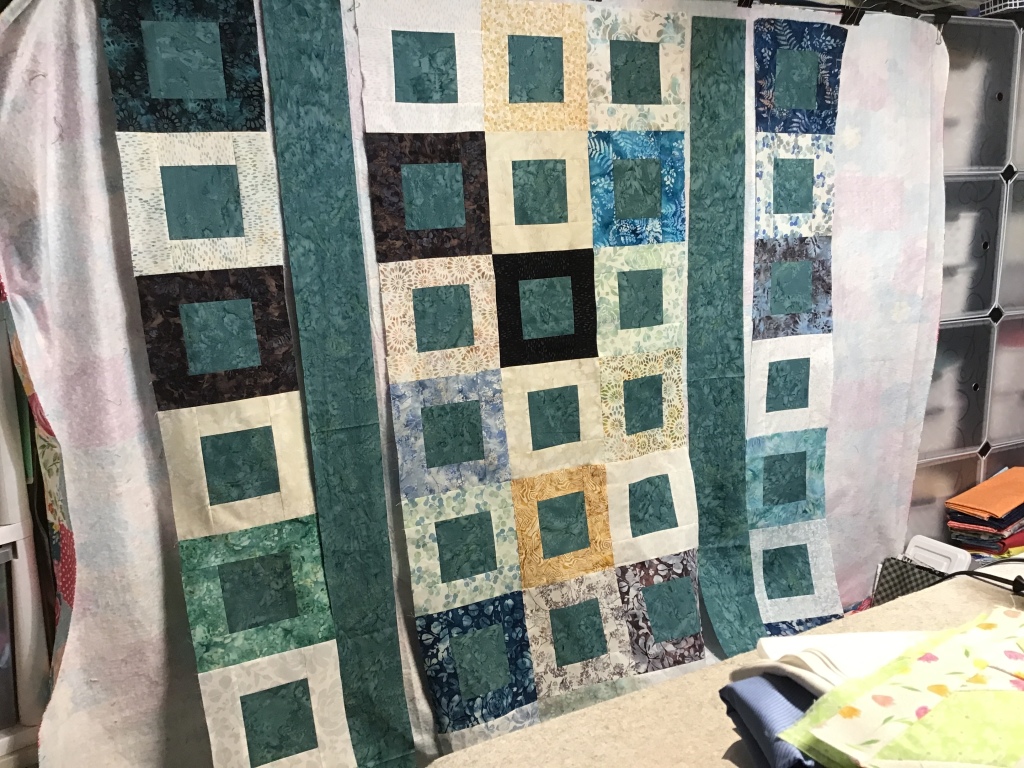
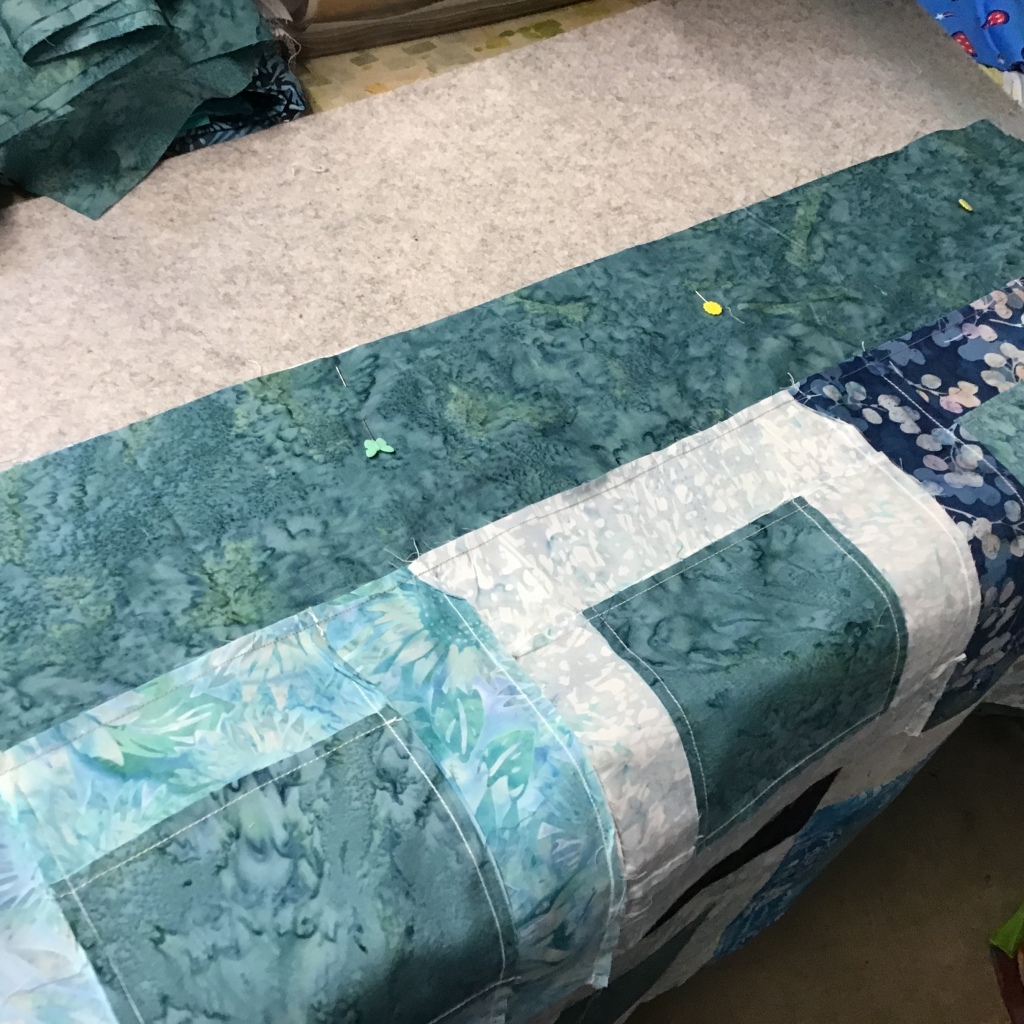
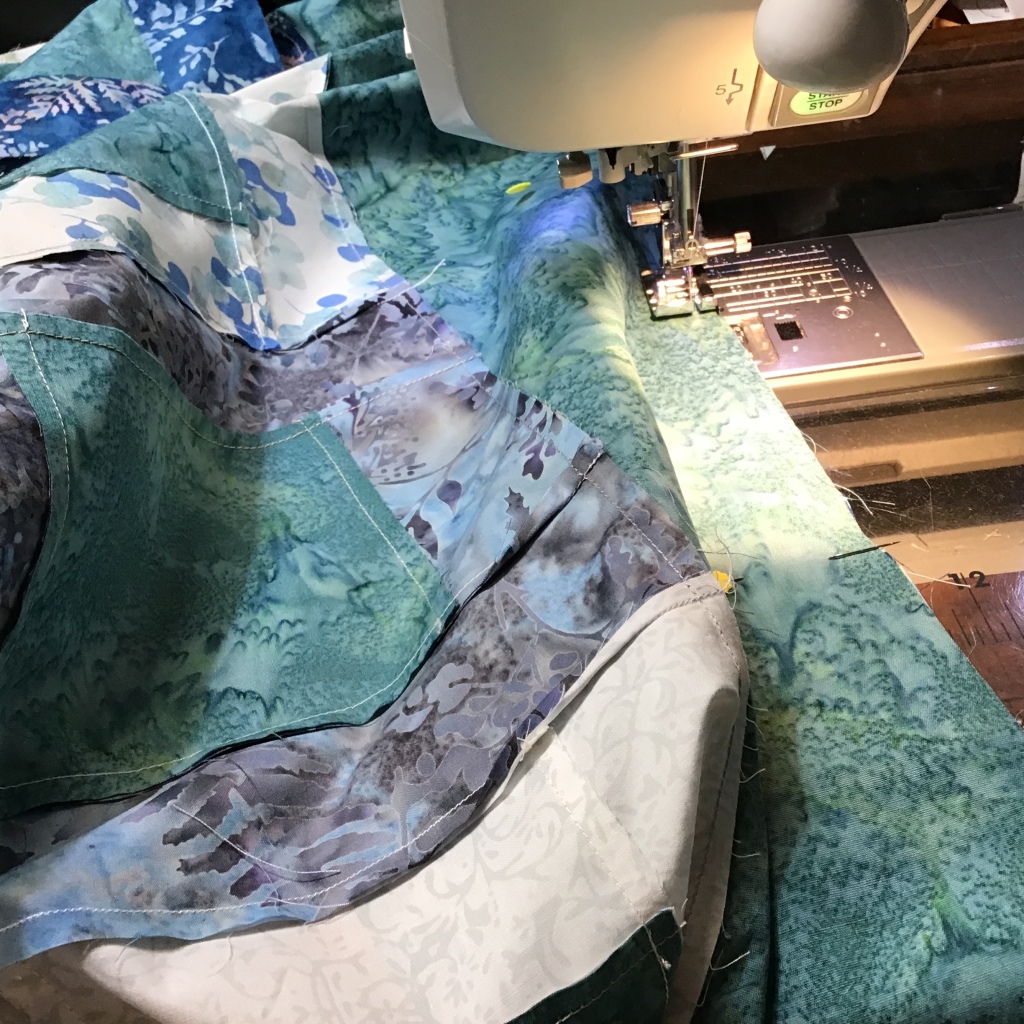
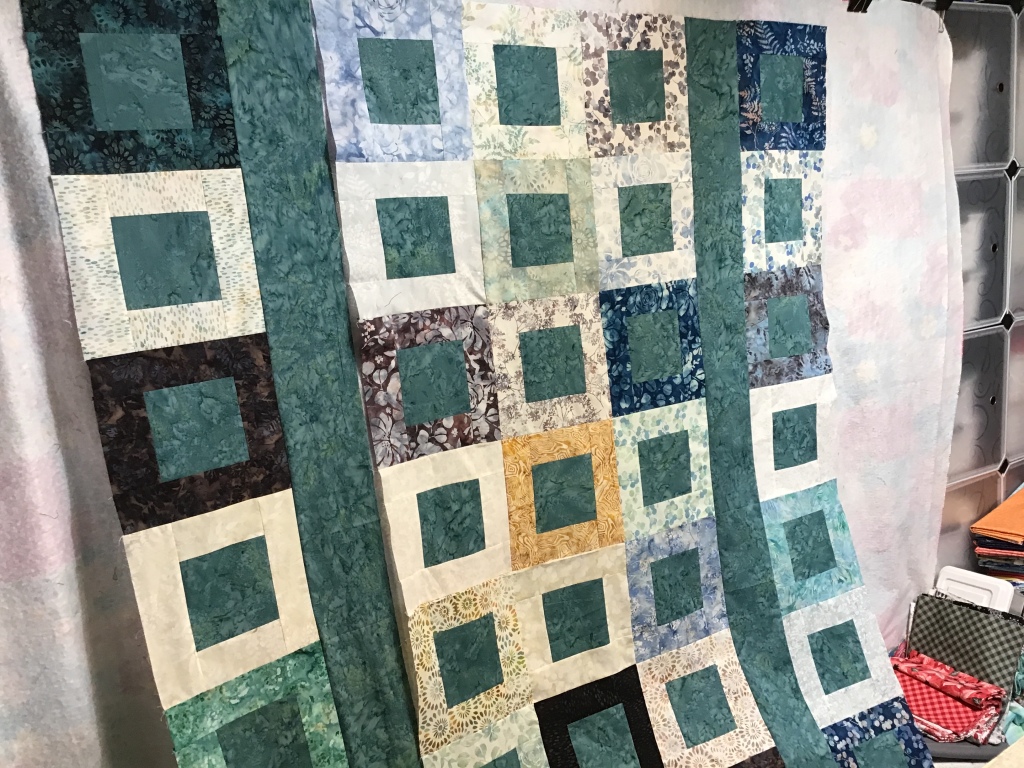
Bedazzled will debut at Quilt Market later this month and is shipping to quilt shops in December, which is only a couple months for you to wait. Right now all of us at VRD are busy working on quilt samples to show off the Bedazzled collection for Quilt Market, so you will be seeing those soon, I promise. You will be SEW inspired! I’m also working on a couple new tutorials for you, which will go live towards the end of the month and into the beginning of November.
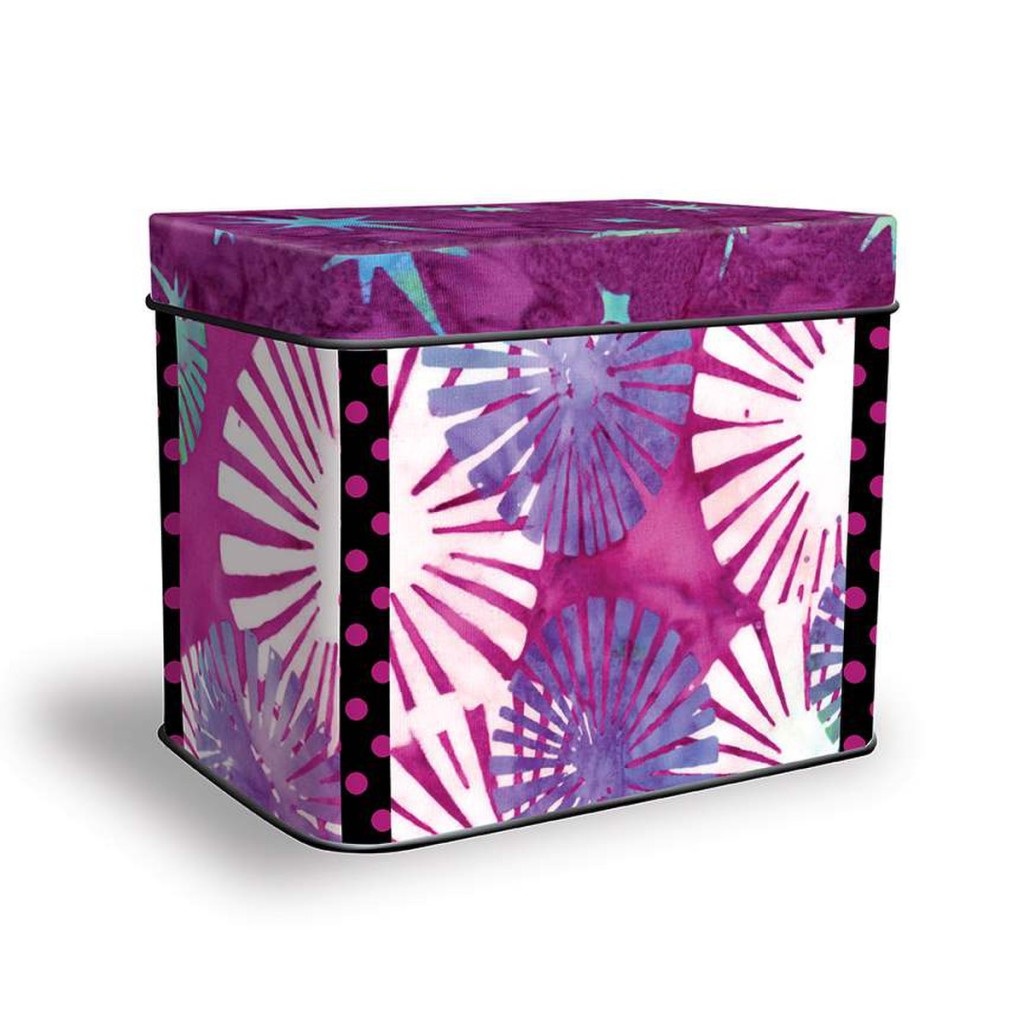
One of the things I’m most excited about Bedazzled is the collectible Bedazzled tin Riley Blake created for the collection. What makes this tin so special??? It will hold Villa Rosa Rose Card patterns! Yep. SERIOUSLY! A tin designed specifically for our Rose Cards. How many times have we talked about how to store our VRD Rose Cards right here on the blog and on the Facebook page?
Ridiculously, I am so in love with this tin already and I haven’t even seen one in person. Hmmm…..maybe Riley Blake will have one as part of their Bedazzled display. Guess we’ll have to wait until then to find out.

Remember, Bedazzled is shipping to quilt shops in December. Of course, we’ll have it available at Villa Rosa Designs. Did you doubt we would? So, hang in there. December’s coming really really fast!
Well, that’s it for me. Time to get back to work on my Bedazzled sample quilts and tutorials. Stay tuned for updates coming soon.
Until next time —
Sew. Laugh. Repeat.
Always,
Tricia @VRD