Hello Quilty Friends!
Happy Thursday to you!
I can’t believe that a week has passed since we began our second VRD Blog Hop. It’s been Sew Much Fun! And FAST, too!
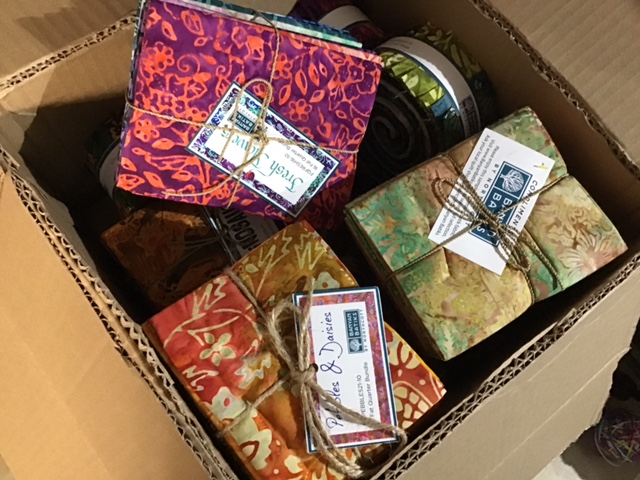
Our participating bloggers have shared their VRD quilts, tips and tricks, and inspiration by the boatload — just what we all needed to help us jump-start a new fun project! You can visit Villa Rosa Designs HERE to see our catalog of over 600 Rose Card patterns for even more inspiration as well as kits and fabric galore.
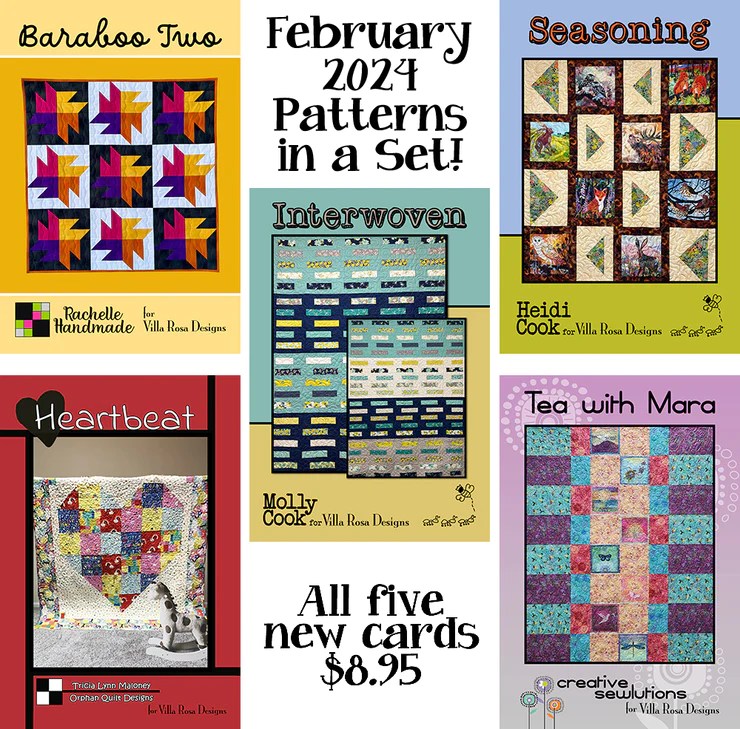
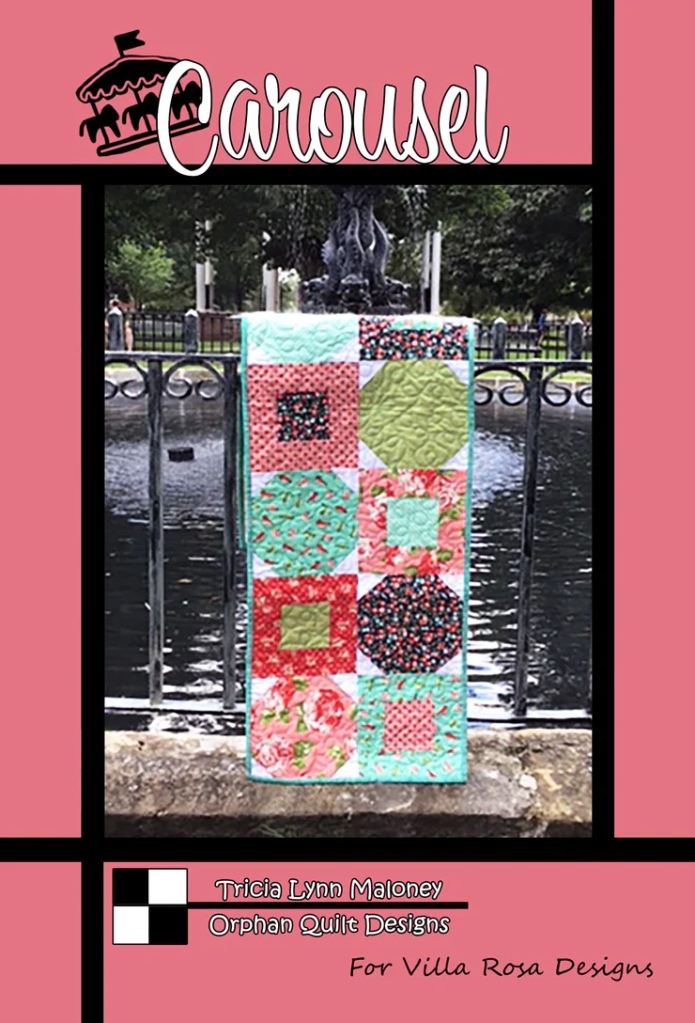
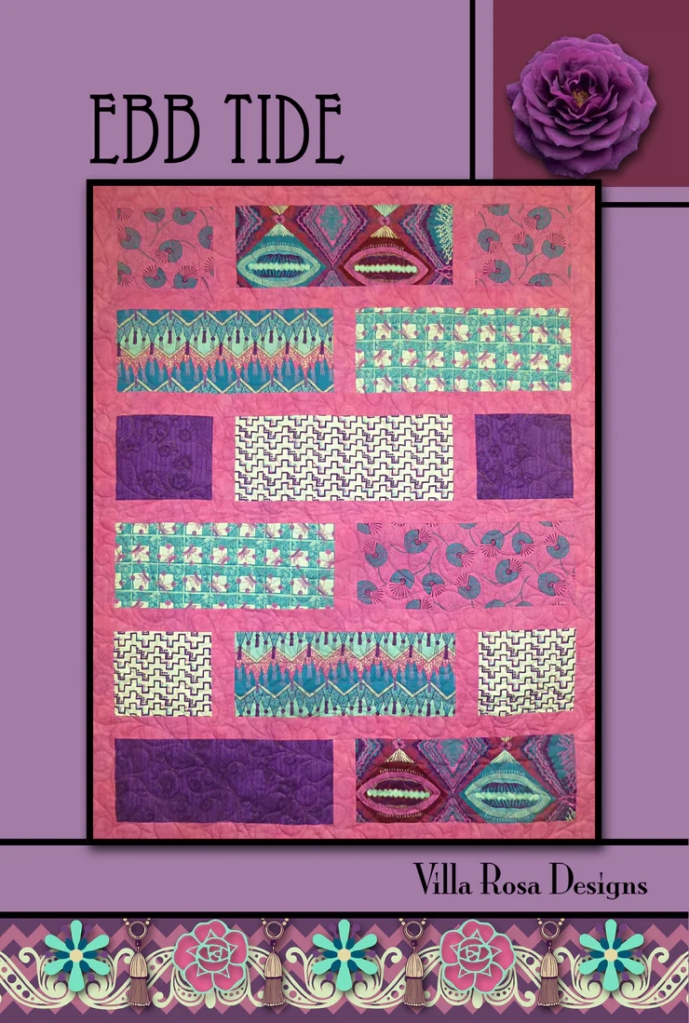
Here’s the special VRD Rose Card collection curated for our Fast & More Fun Blog Hop:

Get your own Pattern Set HERE or you can comment on all the participating blogger sites to register to win your own set.
Interested in seeing the patterns we selected for our very first Blog Hop in 2023? You can see them HERE.
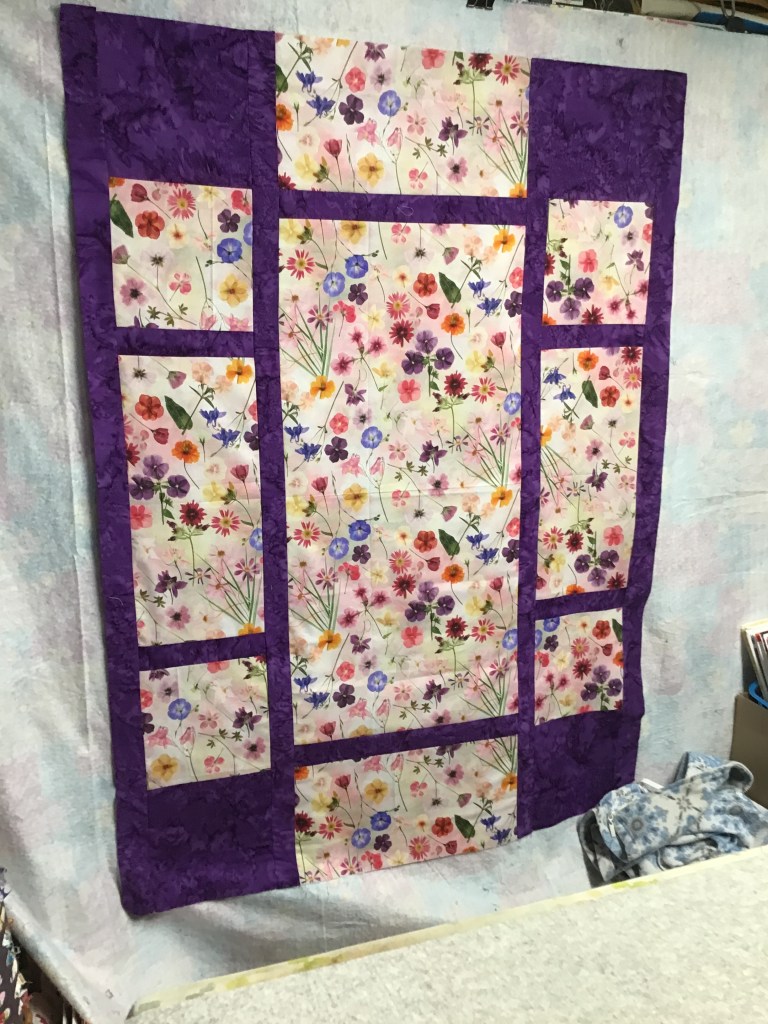
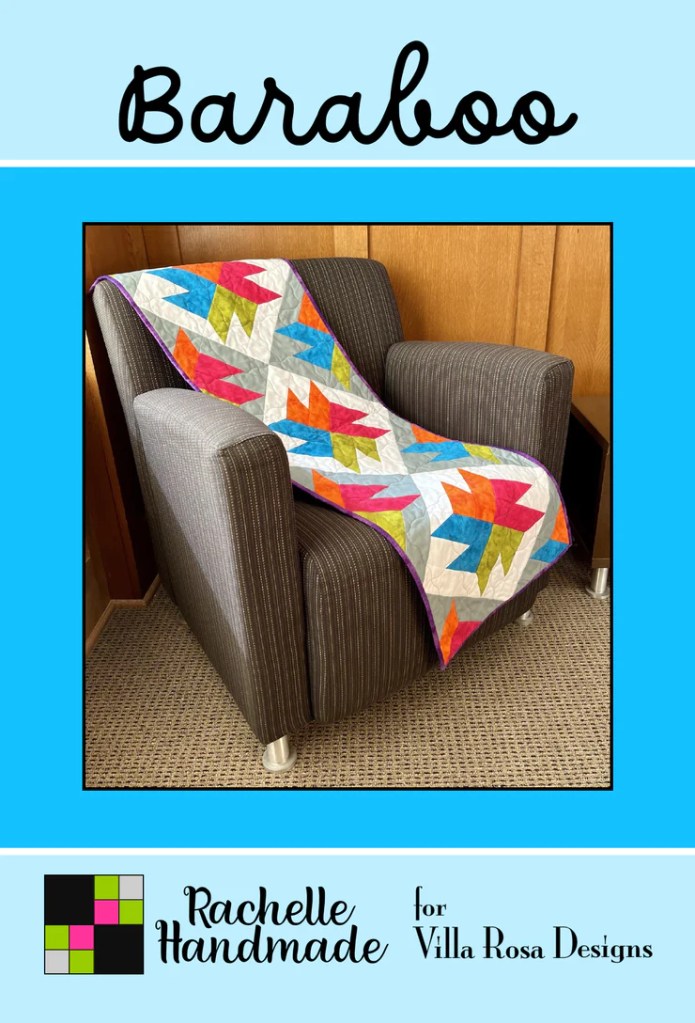
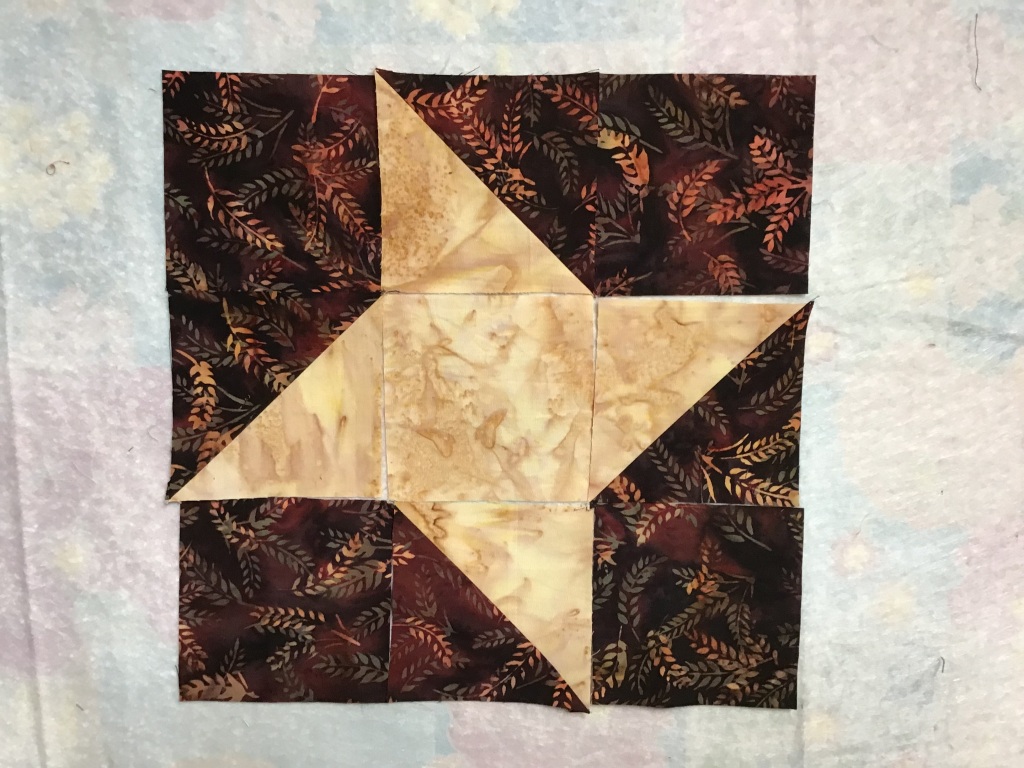
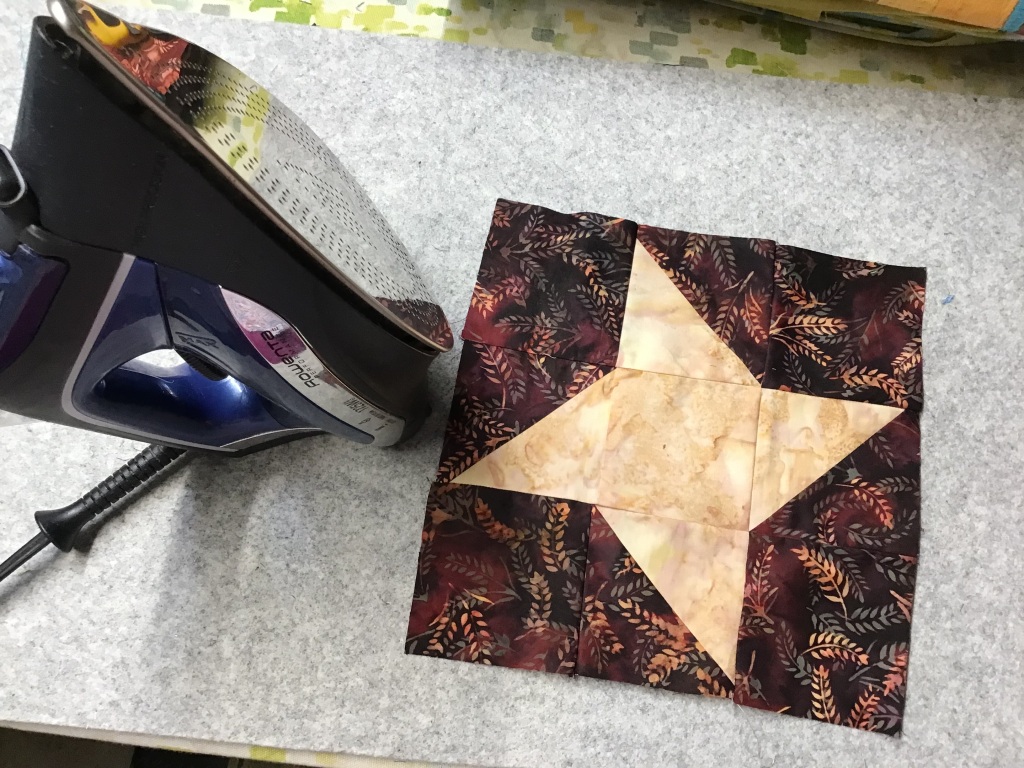
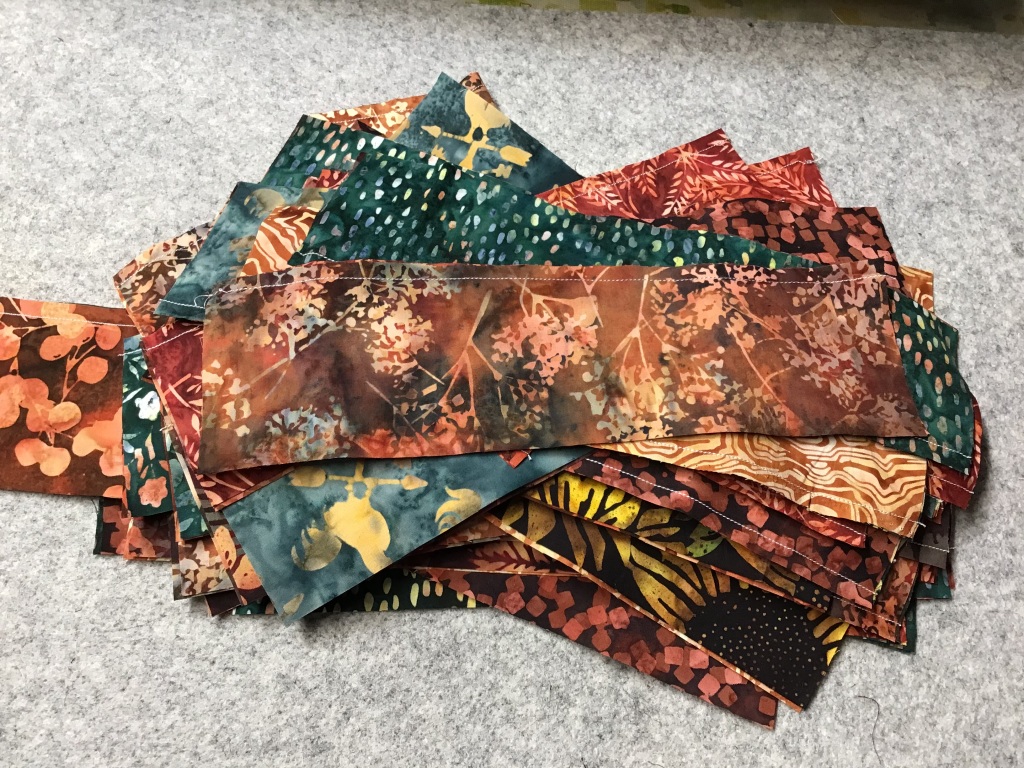
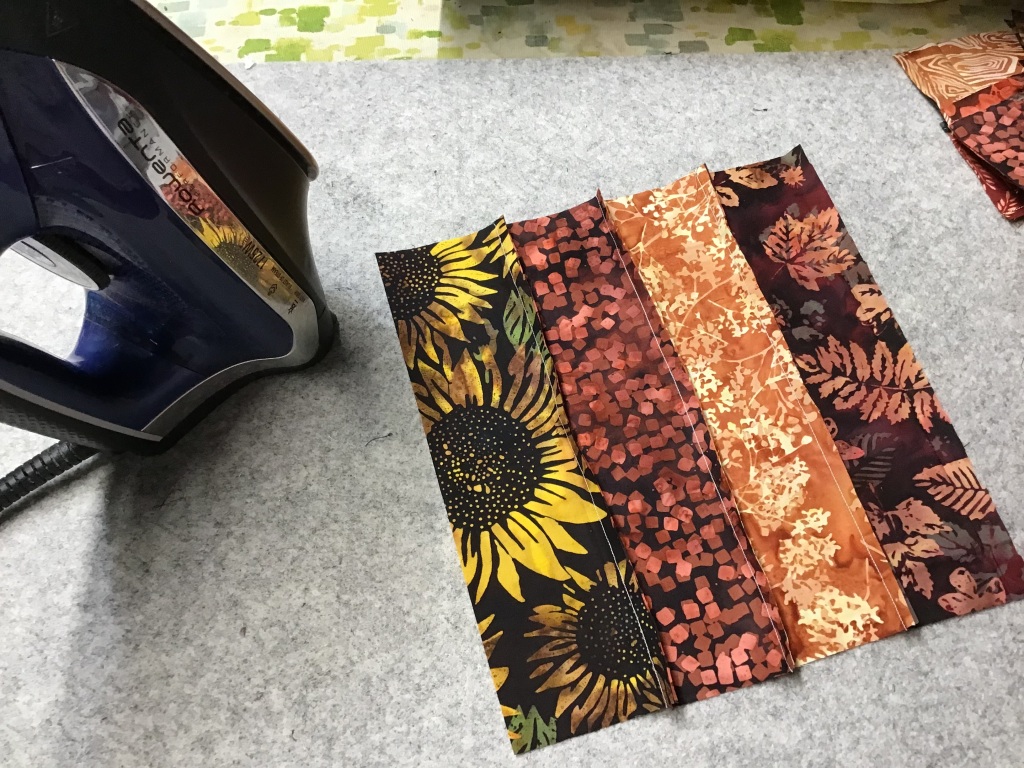
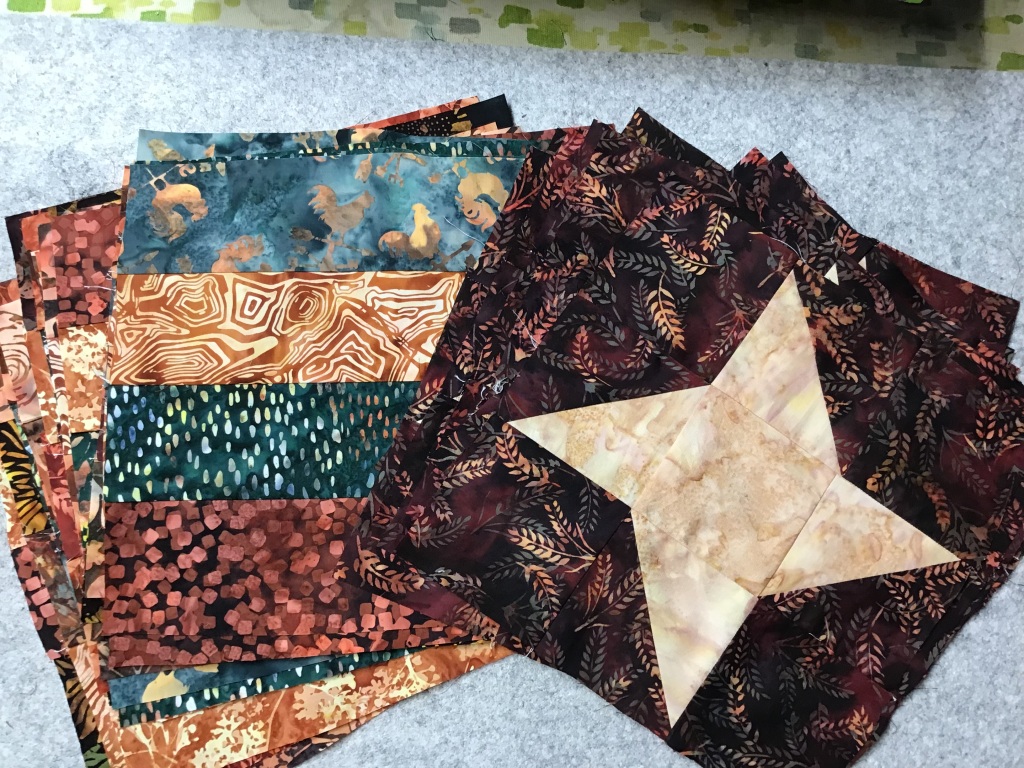
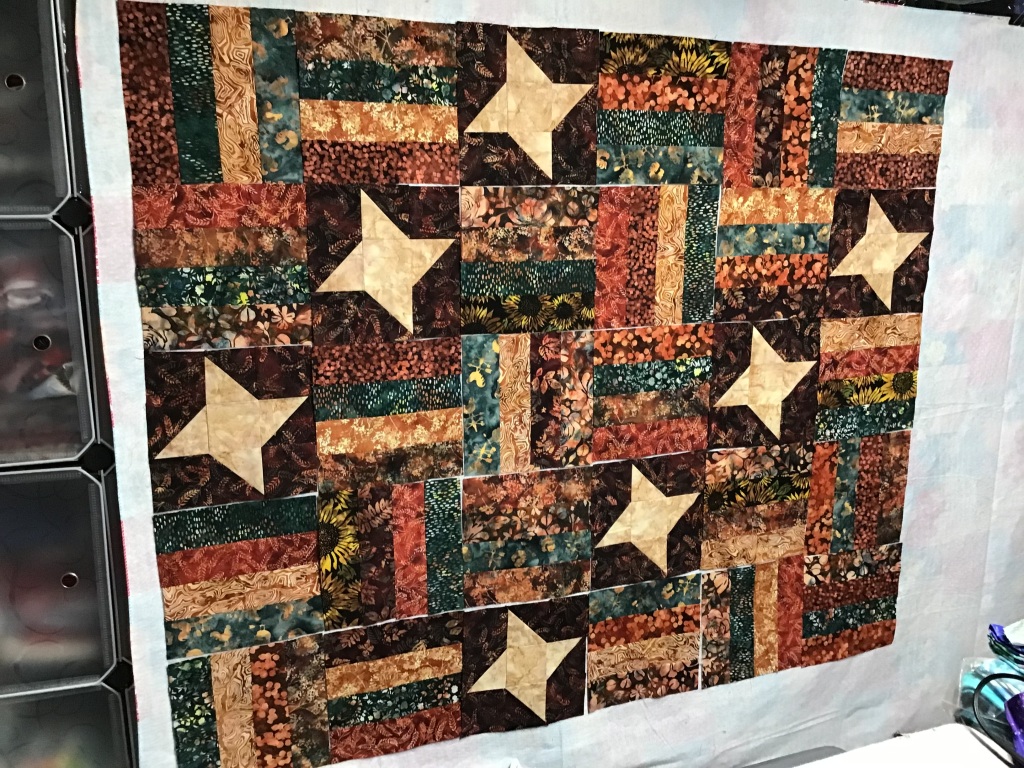
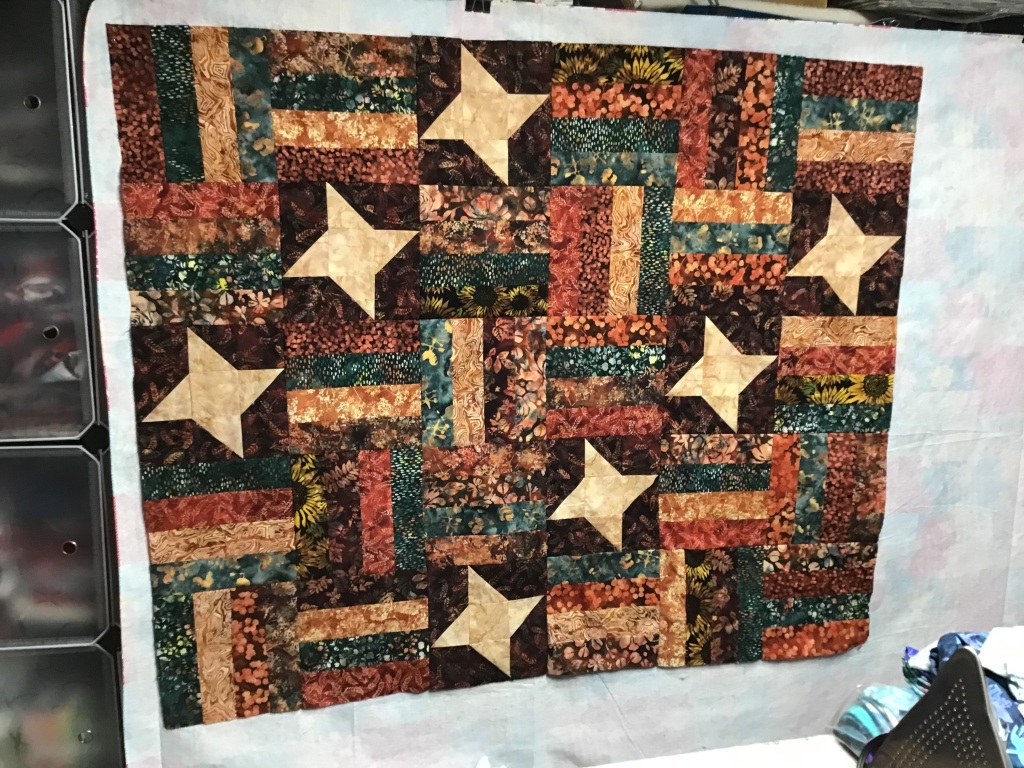
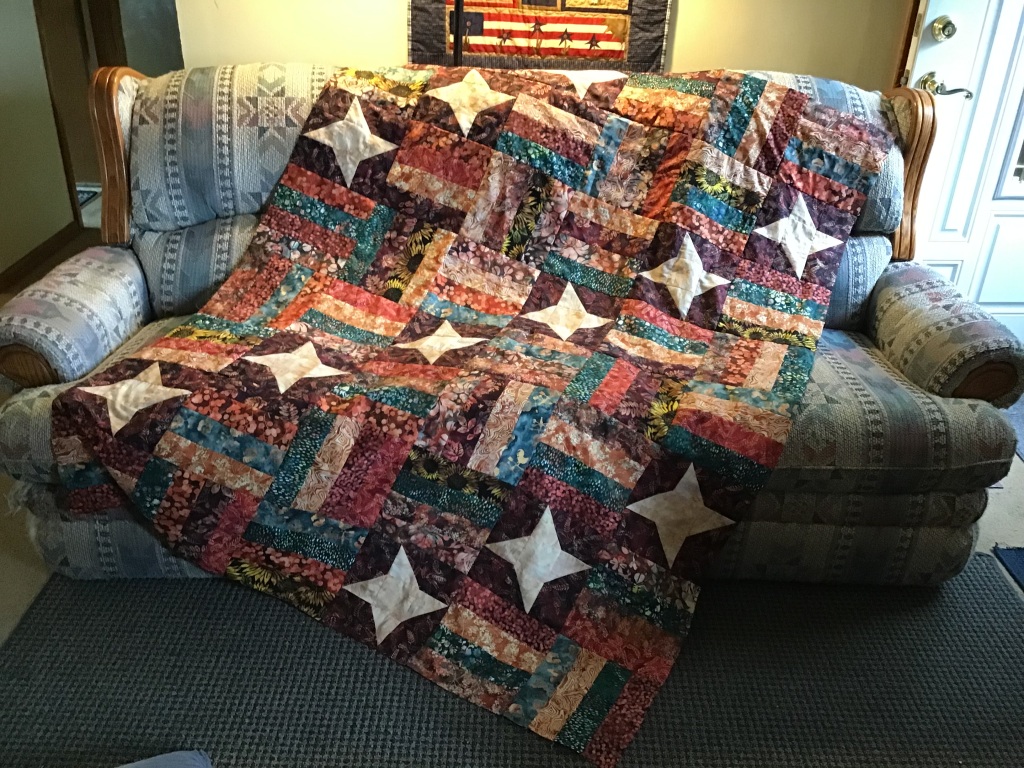
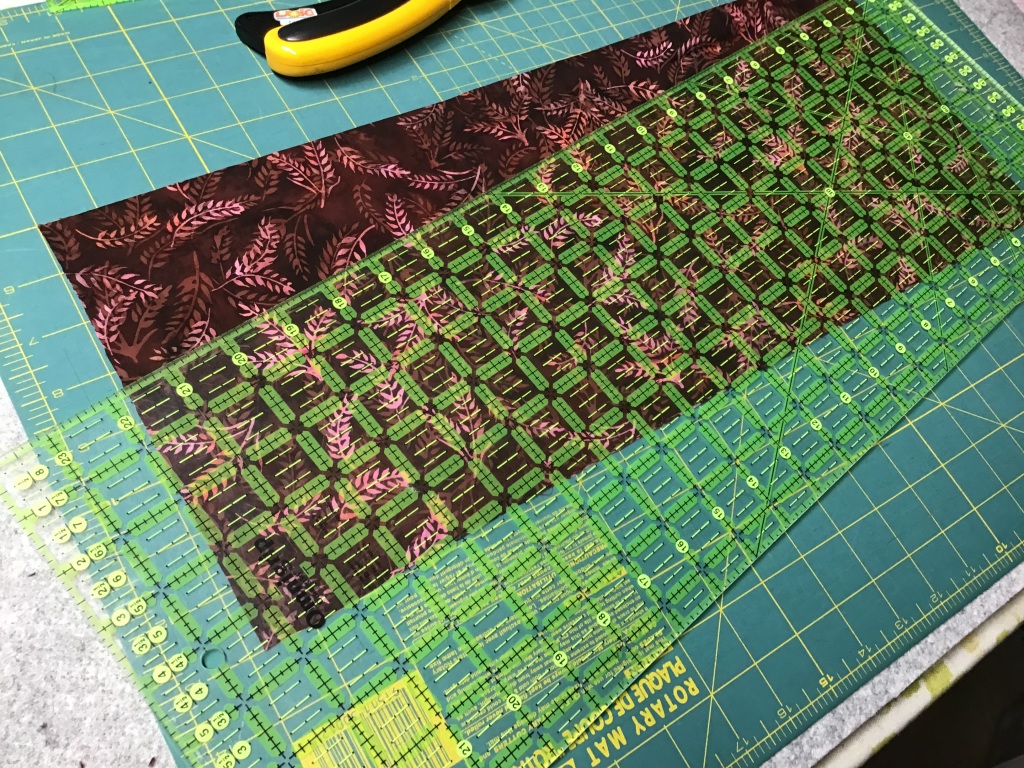
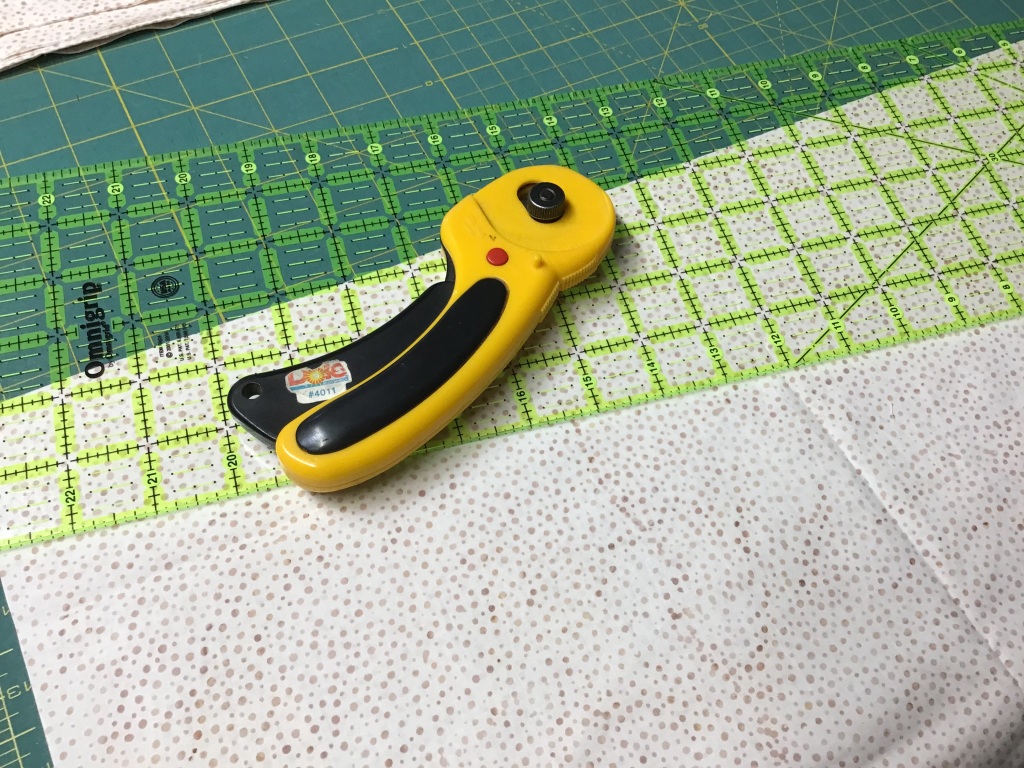
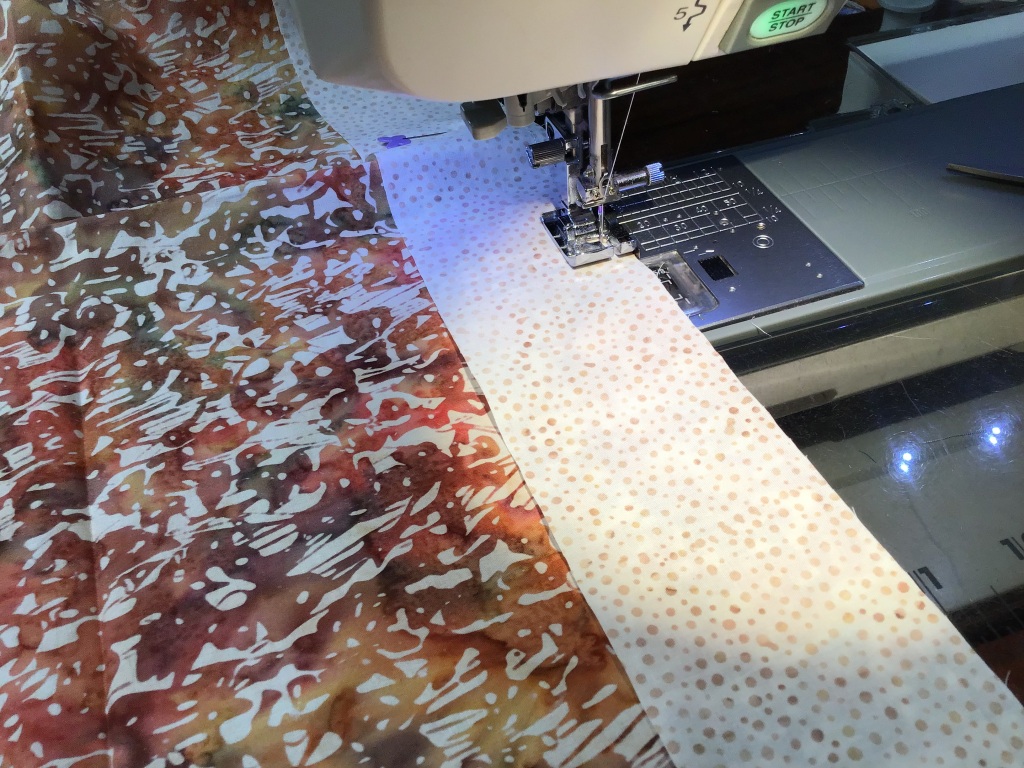
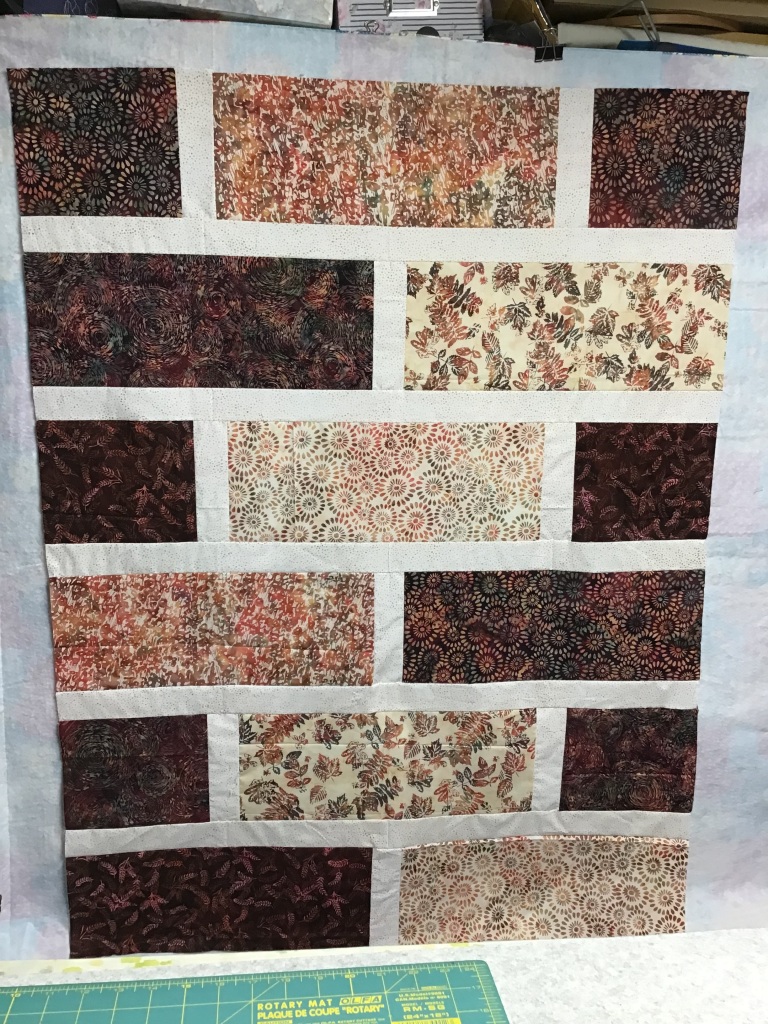
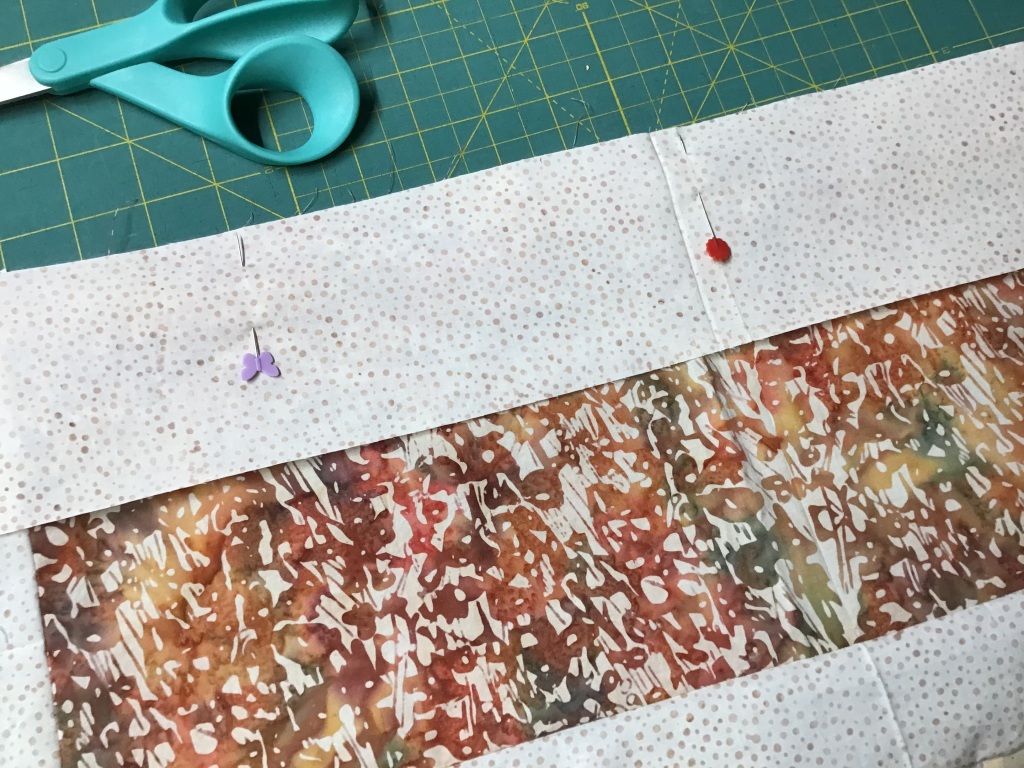
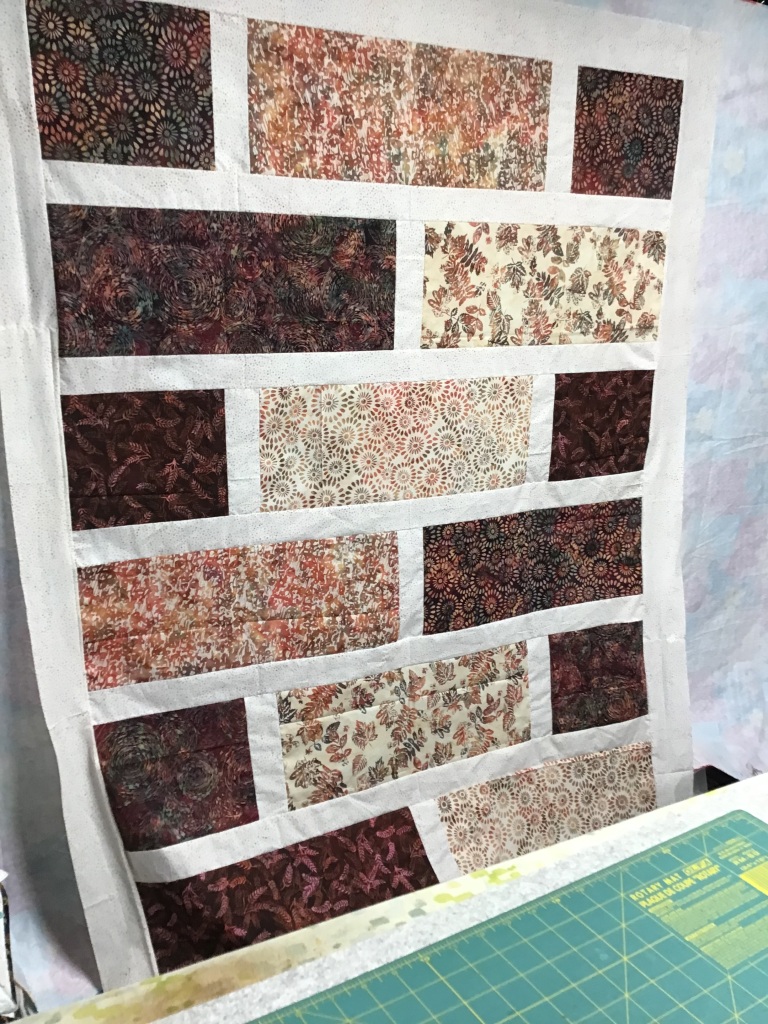
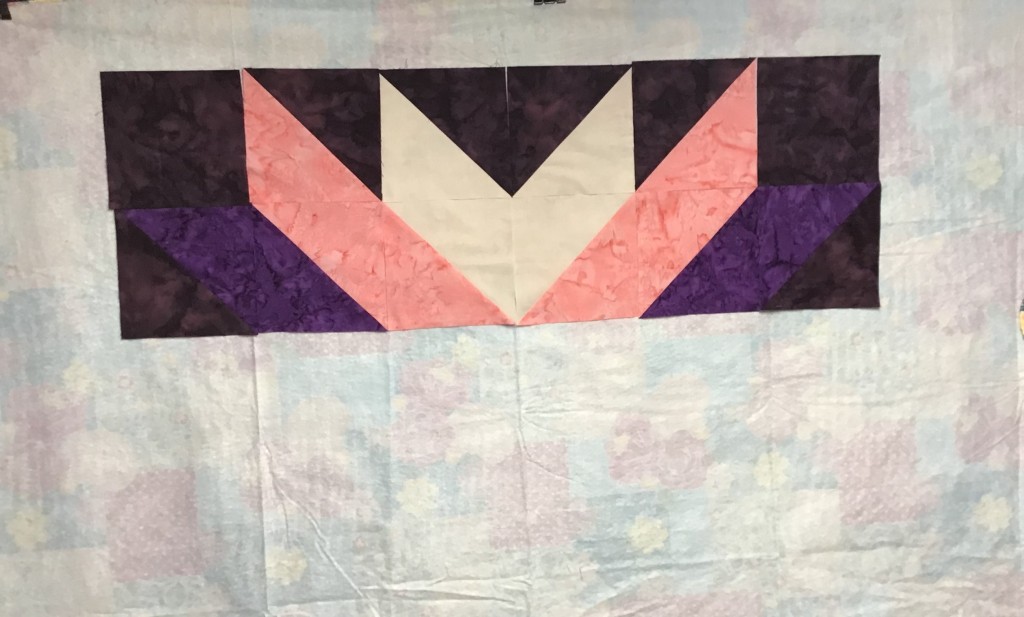
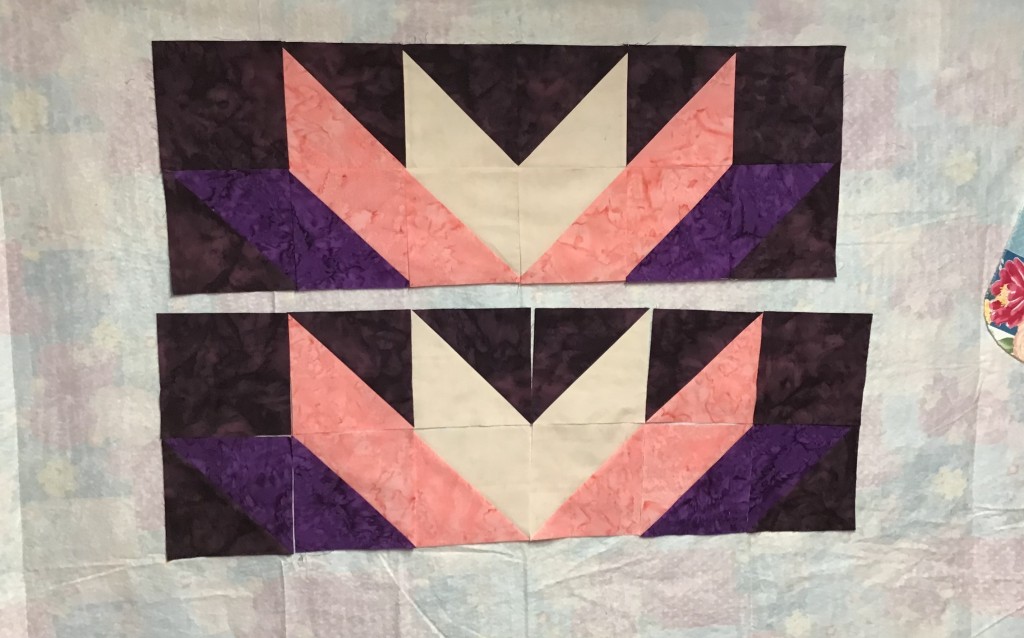
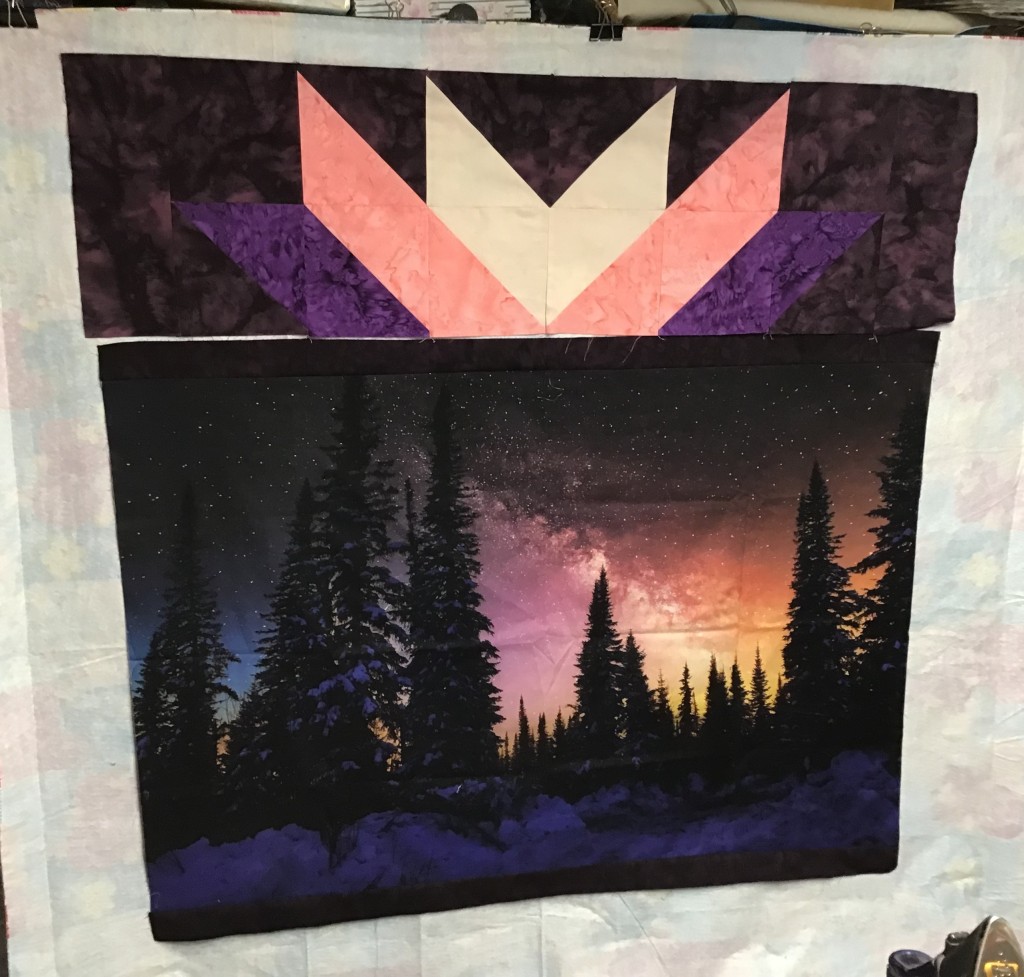
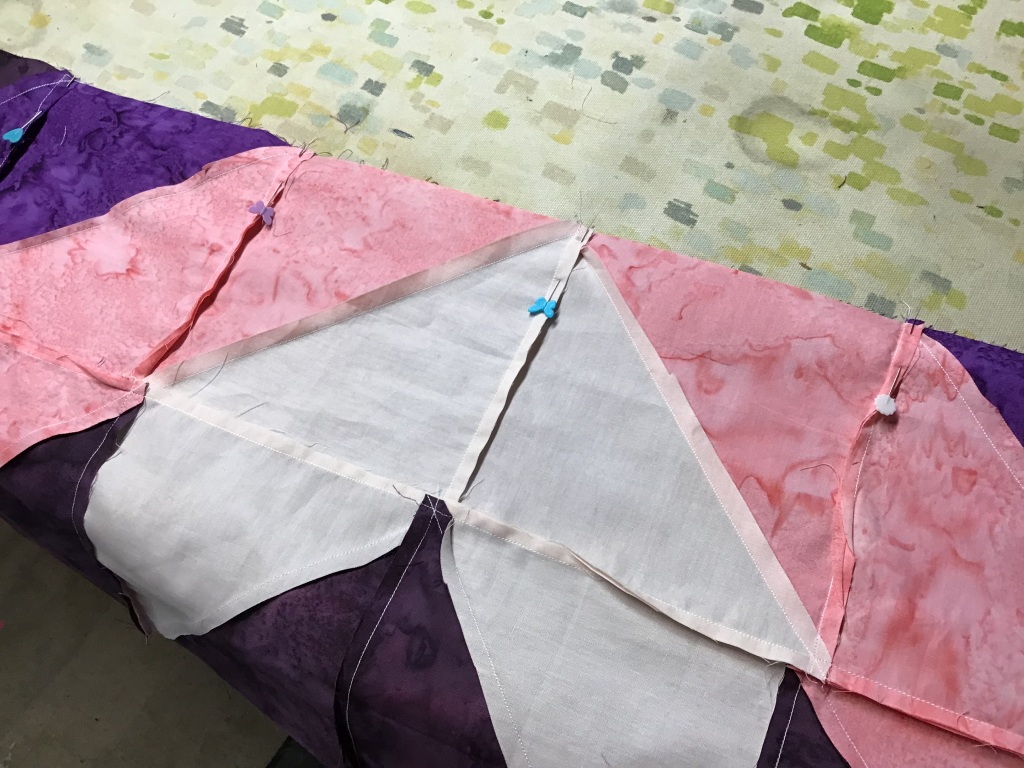
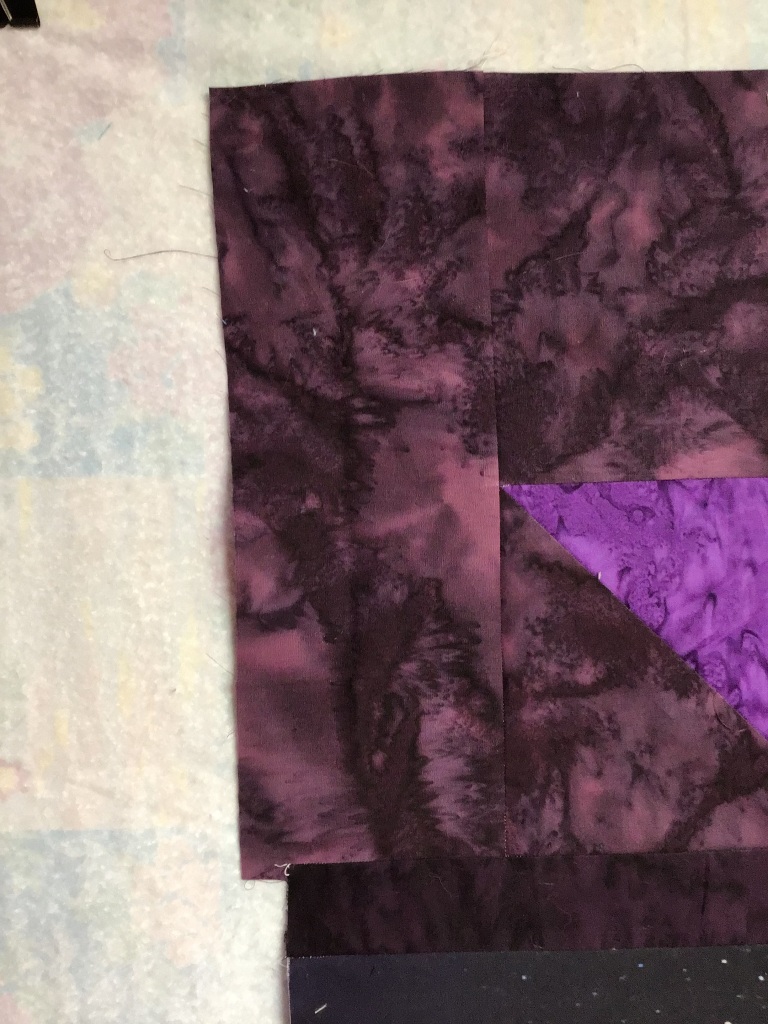
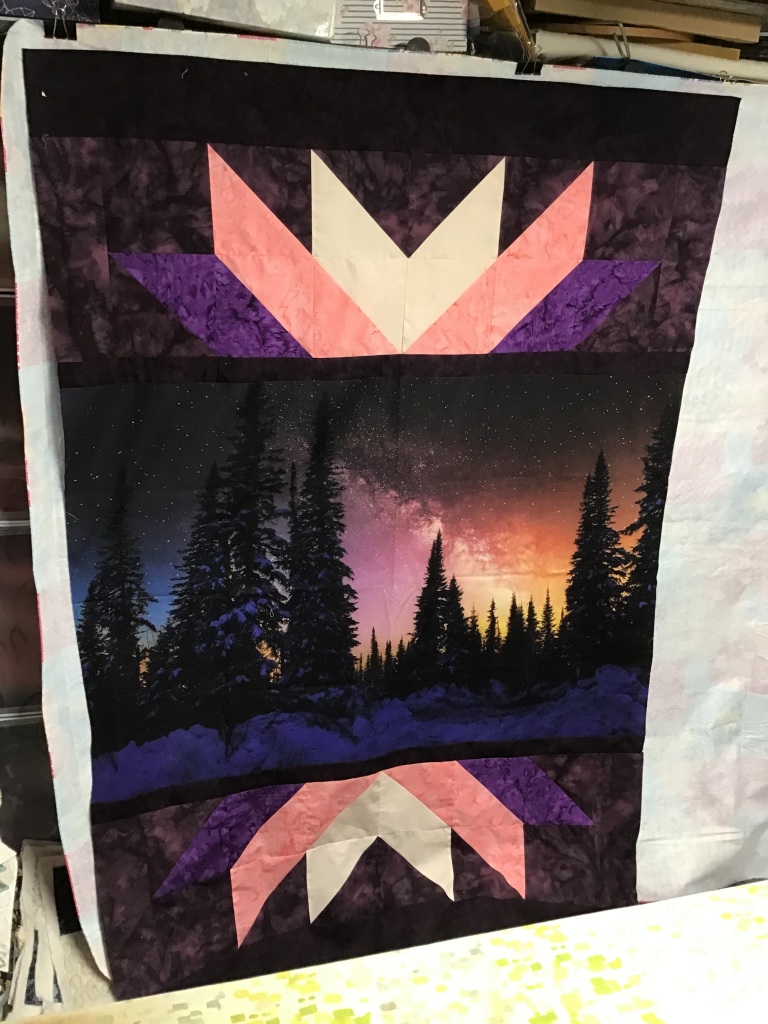
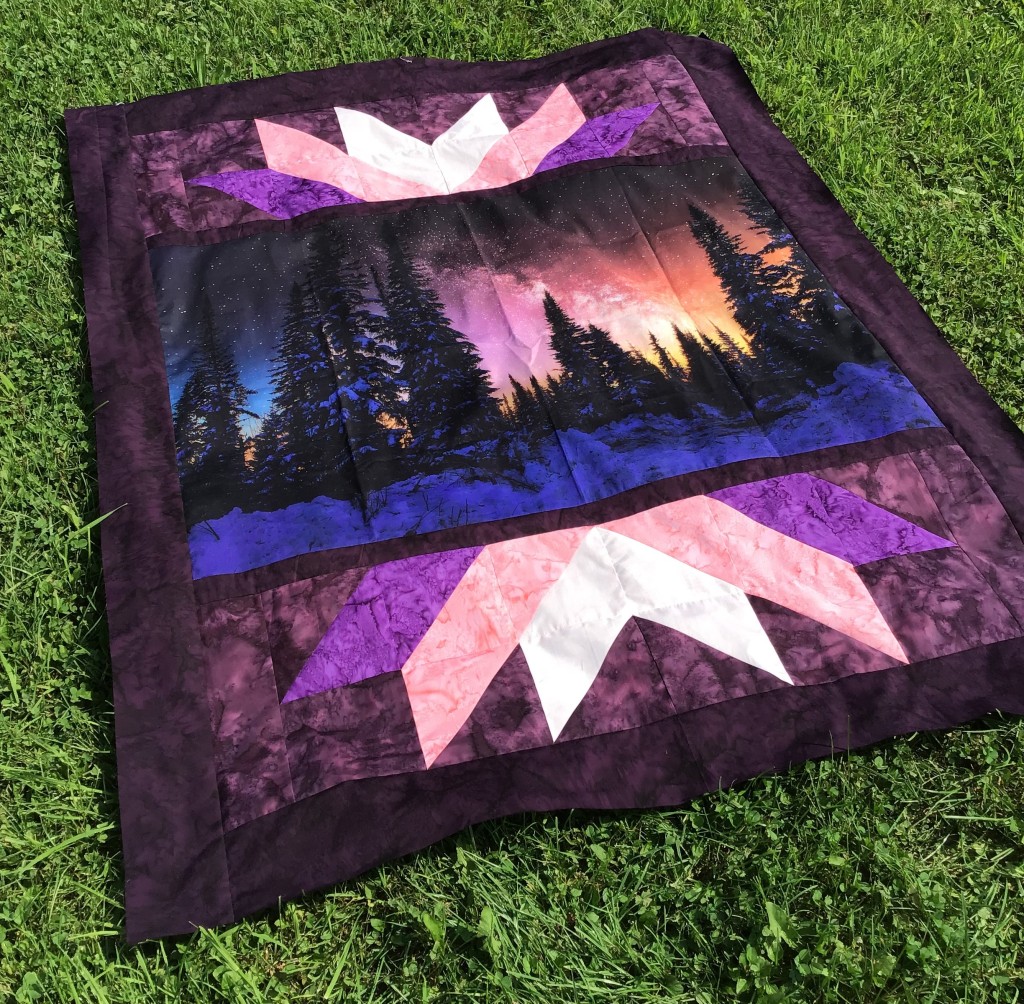
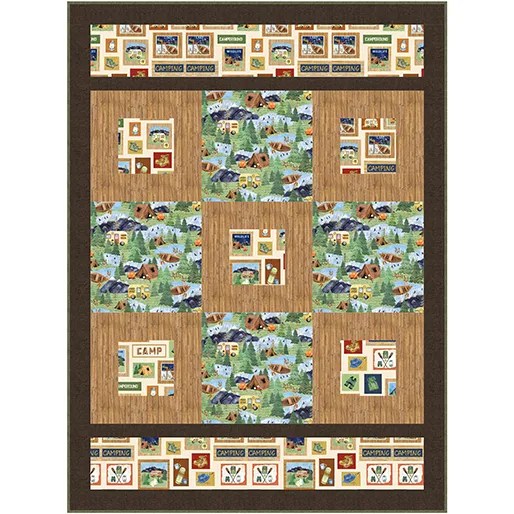
While we are still Hopping, let me show you one of my next blog tutorial projects. I am planning to make 31 with this brand new collection by Satin Moon Designs for Blank Quilting. The collection is called Holiday Style and it is coming to a quilt shop near you in May 2024, so start planning your projects now.


You’ll have to stop back to check out my 31 tutorial sometime after the Blog Hop is all wrapped up and all the prizes are shipped.
Hey! Did you know we do tutorials on this blog??? You can see which VRD patterns we’ve done so far by finding the Tutorials link under the Blog Topics category over on the right side of the blog. Want to see a tutorial for a specific VRD Rose Card pattern that we haven’t done yet? Just ask and we’ll see what we can do.
Bloggers and Sponsors
GROUP HUG! An enormous hug goes out to all of our 28 amazing bloggers for participating in the 2024 Blog Hop and showing us their own spin for the VRD Rose Card patterns above. Thank you, Bloggers, for taking the time to be part of the second VRD Blog Hop!
PSST! A quick reminder from the bloggers — if you posted a comment as “anonymous” and/or did not include an email address, then PLEASE PLEASE PLEASE revisit the blogs where you posted and leave another comment with a contact email address. Sadly, with no email address, there is no way to contact you if you win. Comments will close midnight on Sunday, March 24th.
Here is our Blog Hop Schedule again in case you missed any participating blogs or need to add last-minute comments:
Thursday, March 14
Villa Rosa Quilts — https://villarosaquilts.com/
Friday, March 15
Kathleen McMusings — https://kathleenmcmusing.com/
The Morning Latte — http://livelylatte.blogspot.com/
Homesewn By Us — https://www.homesewnbyus.com
Pieceful Thoughts — https://www.piecefulthoughts.com/
C & T Publishing — https://www.ctpub.com/blog/
Saturday March 16 — National Quilting Day!
Needle and Foot — https://needleandfoot.com/
MMM Quilts — https://www.mmmquilts.com/
Texas Quilt Gal — https://www.texasquiltgal.com/
Time 4 Stitchn — http://time4stitchn.blogspot.com/
SIY (Sew It Yourself) — https://blog.siysewityourself.com/
Sunday, March 17 — Happy St. Patrick’s Day!
Quarter Inch Capers — https://quarterinchcapers.blogspot.com/
Norton House Quilting — https://www.nortonhousequilting.com/blogs/news
Quilting Gail — https://quiltinggail.com/
Wazoo! Newsbits — http://wazoonewsbits.blogspot.com/
Monday, March 18
With Strings Attached — https://withstringsattached.blogspot.com/
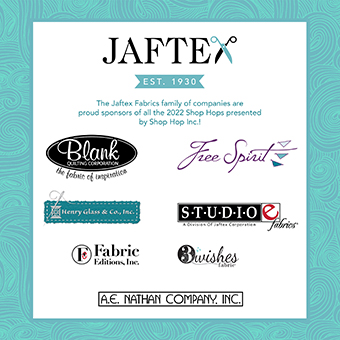
Jaftex/Scott Fortunoff — https://scottfortunoff.com/
Cocoa Quilts — https://www.cocoaquilts.com/
Quilt With a View — http://quiltwithaview.blogspot.com/
Tuesday, March 19
Shout 4 Joy — https://shout4joy-shouting.blogspot.com/
The Darling Dogwood — http://thedarlingdogwood.blogspot.com/
Vicki’s Crafts and Quilting — www.knitbug2.blogspot.com
Something Rosemade — https://somethingrosemade14.blogspot.com/
Quilts of Valor Foundation — https://www.qovf.org/
Wednesday, March 20 — First Day of Spring!
Grace and Peace Quilting — https://www.graceandpeacequilting.com/
Happy Cottage Quilter — https://happycottagequilter.blogspot.com/
Joyfully Tracie — https://joyfullytracie.com/
Patchouli Moon Studio — https://patchouli-moon-studio.blogspot.com/
Electric Quilt Company — https://doyoueq.com/blog/
Thursday, March 21
Villa Rosa Quilts — villarosaquilts.com (You are here)
NEWSFLASH! — There’s ONE MORE blogger surprise just for you! Our lovely sponsor, Hancock’s of Paducah, just created a blog to share their delight and excitement about Villa Rosa Designs Rose Card Patterns. You can stop over to cheer them on HERE. They aren’t able to accept comments at this time, but they know that you’ve been registering on all the other blogs for prizes. Enjoy one last stop….
And of course, need I mention all the prizes up for grabs??? See below for MORE PRIZES!
We couldn’t have done this Blog Hop without the support and generosity of our sponsors. Please join me in offering a round of applause for each of these lovely sponsors —

https://hoffmancaliforniafabrics.net


https://www.northcott.com/home.aspx

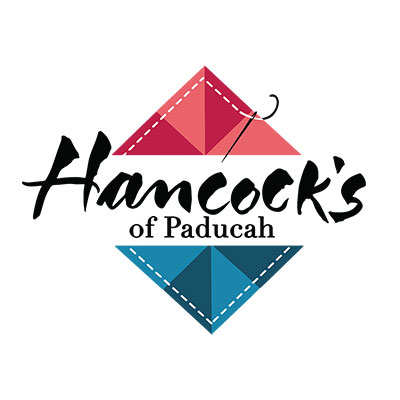
https://www.hancocks-paducah.com
https://foxchapelpublishing.com


I’m bummed that our Fast & More Fun Blog Hop is wrapping up today. Sadly, all good things must come to an end sometime. And this Blog Hop really was a SUPER GOOD THING!
I really enjoyed reading each participating blogger’s post each day, didn’t you? I must confess that I read them over breakfast because I honestly couldn’t wait to see which quilt each blogger created! And I absolutely loved reading the comments on our VRD post as well as the comments on the other blogs. What fun!
THANK YOU to everyone who took the time to hop from blog to blog with us this past week. I hope you really enjoyed the Fast & More Fun Blog Hop with more quilts, more inspiration, and of course more prizes. And I hope that you discovered new quilty friend bloggers to visit on the ‘Net.
If you haven’t finished reading all 28 blog posts for the Hop and/or leaving comments on each to register for prizes, you have through Sunday, March 24th, to do so. Use the links above to visit each participating blogger to catch up on your reading and your prize entries.
Winners will be drawn next week and notified. Please be patient with us as we navigate the shipping process. And we will post all the winners just as soon as the winners are selected and prizes are shipped.
One Last VRD Fast & Fun Blog Hop Giveaway
Let’s review all the prizes that are up for grabs for our Blog Hop:
Everyone, Everywhere is eligible to win prizes and there are several opportunities for you to win prizes:
- Individual bloggers may be hosting giveaways on their blogs for you to win. Please visit these bloggers to find out about their giveaways and how to register.
- Villa Rosa Designs is giving away a 2024 Blog Hop Rose Card pattern collection on each participating blog (International card set winners will receive a digital collection of the patterns).
- Sponsor prizes have been donated by our lovely Sponsors, above, and even from some of the bloggers, too! These prizes are divided into 2 different categories —
- 5 Grand Prizes — Yup, I added another one to the Grand Prize list!
- Kaffe Fasset Precut Collection
- Big Box filled with mystery quilty goodies
- $100 digital gift certificate to Hancock’s of Paducah
- Electric Quilt 8 Download (winner to be selected on the EQ blog HERE)
- An Eversewn Sparrow 25 Sewing Machine from Jaftex (winner will be selected on Scott’s blog HERE) — this was a happy surprise addition to the Hop Prizes, so make sure you get registered
- Individual Prizes (each blogger will select 3 winners on their blog) which may be precuts, books, notions, or other cool quilty goodies.
- 5 Grand Prizes — Yup, I added another one to the Grand Prize list!
WOWZER! That’s a lot of chances to win prizes so I hope you comment on ALL the blogs to increase your chance of being a winner. No purchase is necessary to participate in the Blog Hop or to win prizes, but please make sure you leave your email address on your comment or else we can’t contact you if you are a winner
Now, how about ONE LAST GIVEAWAY???
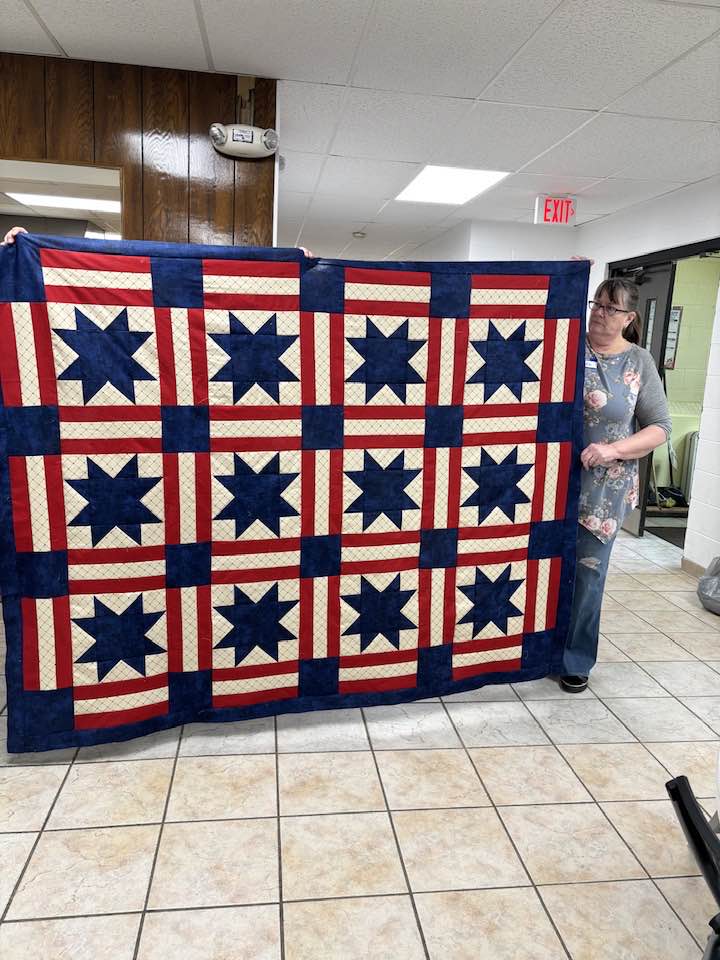
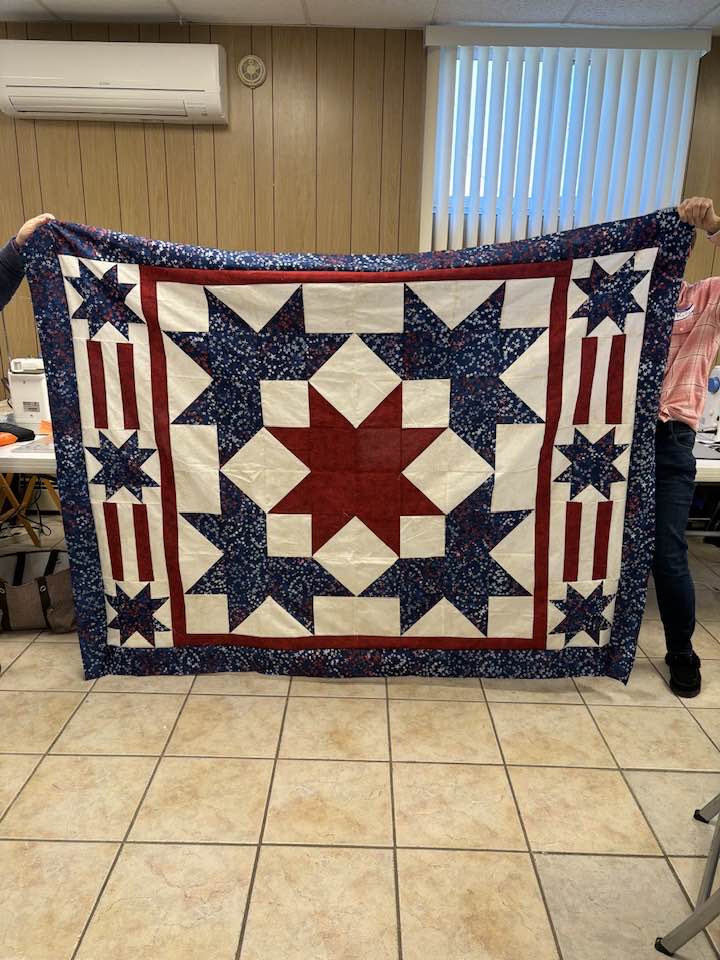
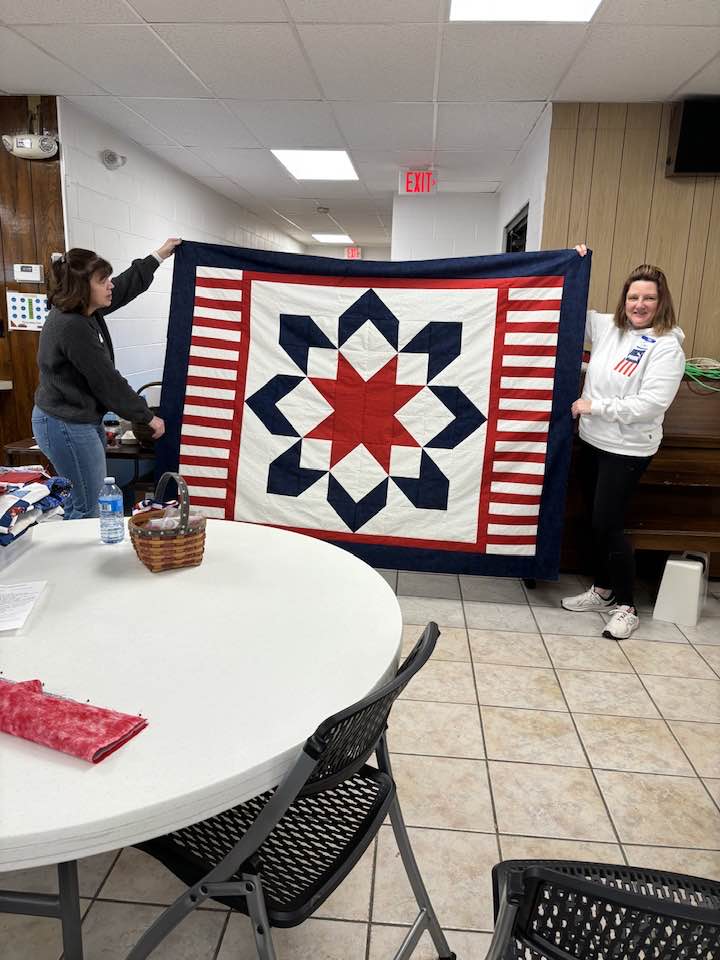
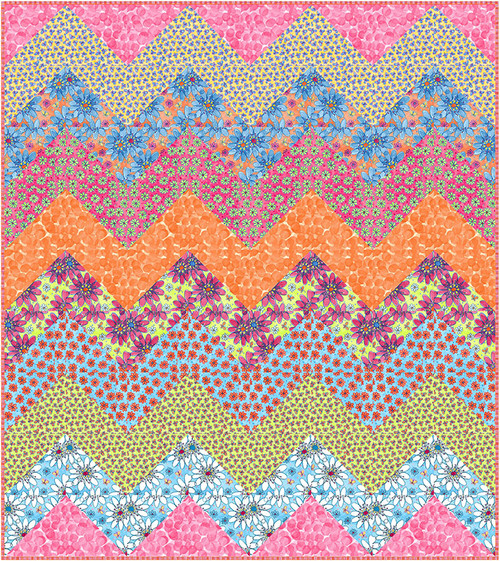
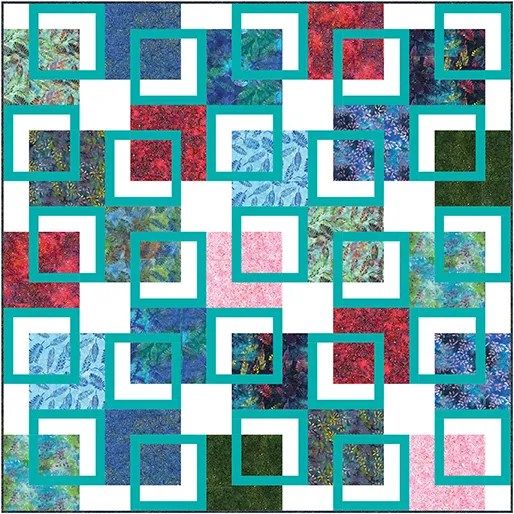
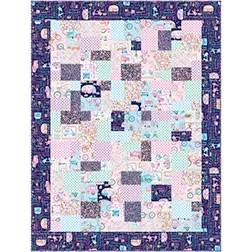
3 MORE QUILTS!!!


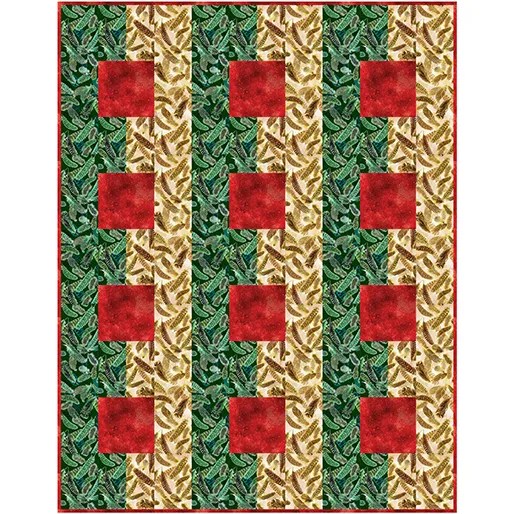
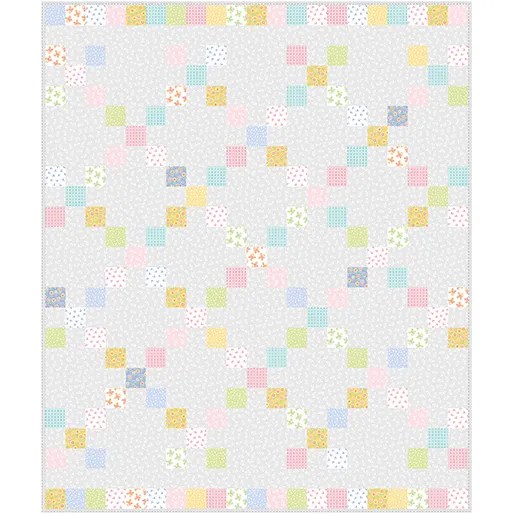
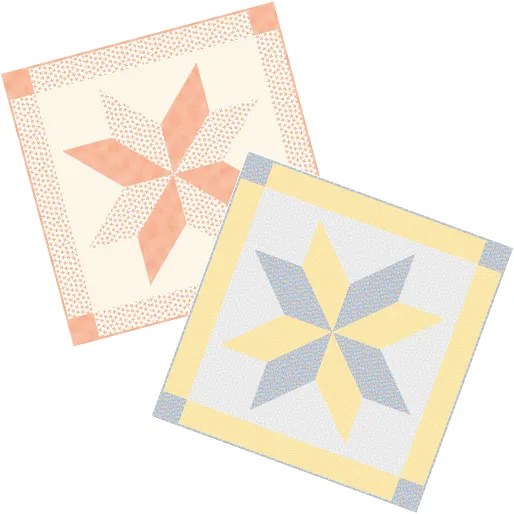
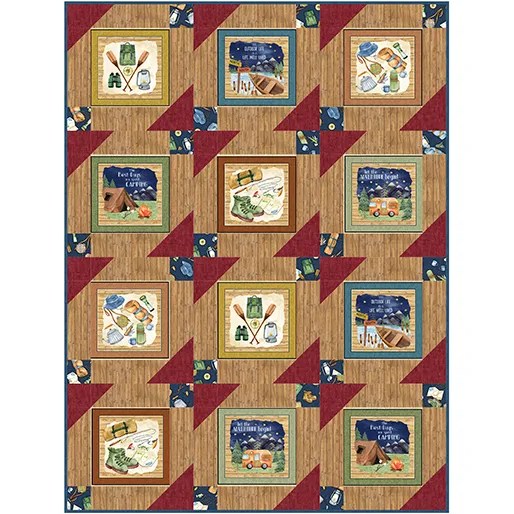
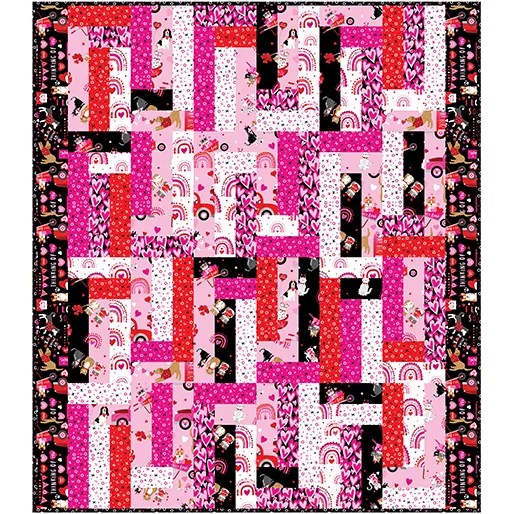
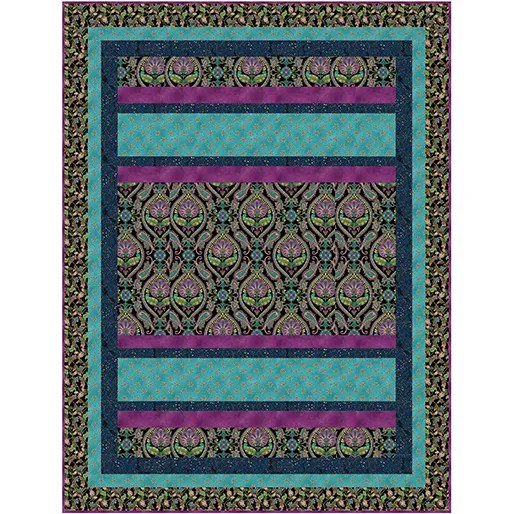
Left: Jubilee 45″ x 60″
Middle: Kalinda 45″ x 54″
Right: Star Spangled 48″ x 60″
In addition to the 3 quilts above, we will be giving away a set of the Fast & More Fun Rose Card Patterns and 3 commenters will be added to the Grand Prize drawings.
Here’s how to win one of these finished quilts:
You have up to 3 chances to win the quilts listed above on this blog post. Please leave a single comment for EACH of these categories (if you comment that you loved the hop, you are a blog follower, and hang out at VRD on Facebook all in one comment, it will only count as one chance to win).
1. Leave a comment on this post and tell us your thoughts about the VRD Fast & More Fun Blog Hop.
2. Become a blog follower/subscriber and leave a comment on this post telling us that you are a blog follower/subscriber ( if you already follow — thank you — just leave a comment letting us know).
3. Join our VRD Facebook group and leave a comment on this post telling us you joined our FB group (if you are already a member — thank you — just leave a comment letting us know).
Ready! Set! GO!
Please note that to be registered to win any prizes on this blog, you first must leave a comment. To leave a comment, you will need to click on the comments link just under the blog title at the top of the blog OR you can find a comments link along the side of the blog post towards the bottom right. After you click the “comments” link, you need to scroll all the way down to the bottom of the comments in order to find the space to leave your own comment. Be patient — there may be a lot of comments to go through until you get to the bottom. Thank you.
Don’t forget — registration for prizes closes Sunday, March 24th.
Winners will be selected randomly next week and will be announced once all winners have been contacted.
PLEASE MAKE SURE TO INCLUDE AN EMAIL ADDRESS IN YOUR COMMENT SO WE CAN CONTACT YOU IF YOU ARE A WINNER!
Well, Quilty Friends, I thank you for hopping along with us this past week. I sincerely hope you had as much fun as we did! And I invite you to come back and visit the Villa Rosa Designs blog, Villa Rosa Quilts. We have SEW much fun here!
Until next Thursday —
Sew. Laugh. Hop ‘Til You Drop Some More. Repeat.
Always,
Tricia