Hello Quilty Friends!
Happy Thursday!
Quilting in the summer. Do you find it as hard to do as I do? Do you get the summer sewing blues or are you a year-round quilting dynamo?
For me, I start off just fine in May and June, but by July, I’m just not into it anymore. That is until September rolls around, then I can’t wait to fire up my machine and sew, sew, sew with all those wonderful rich autumn fabrics. Over the years, I’ve discovered that I’m basically a three-seasons quilter.
The good news is, there are lots of ideas to keep us sewing all through the summer.
Quiltalongs
Have you thought about joining a Quiltalong? I know that many start in the summer and continue into the fall while others start in January. Check with your local quilt shop, if they don’t have some kind of summer sewalong, there are lots online. Just search for “summer quiltalong” online to see what you find. 🙂
Summer Classes
While you’re at your local shop, why don’t you see what classes they are offering for the summer? Maybe there will be something really fun you can do. Don’t forget that quilt shops are usually air conditioned too which makes sewing a lot more comfortable.
The reason I mention air conditioning is that my basement dungeon studio isn’t air conditioned. I have to rely on a couple fans to move the air around. This does not help me feel motivated to sew, instead it makes me feel motivated to take a nap. LOL!
Small Projects
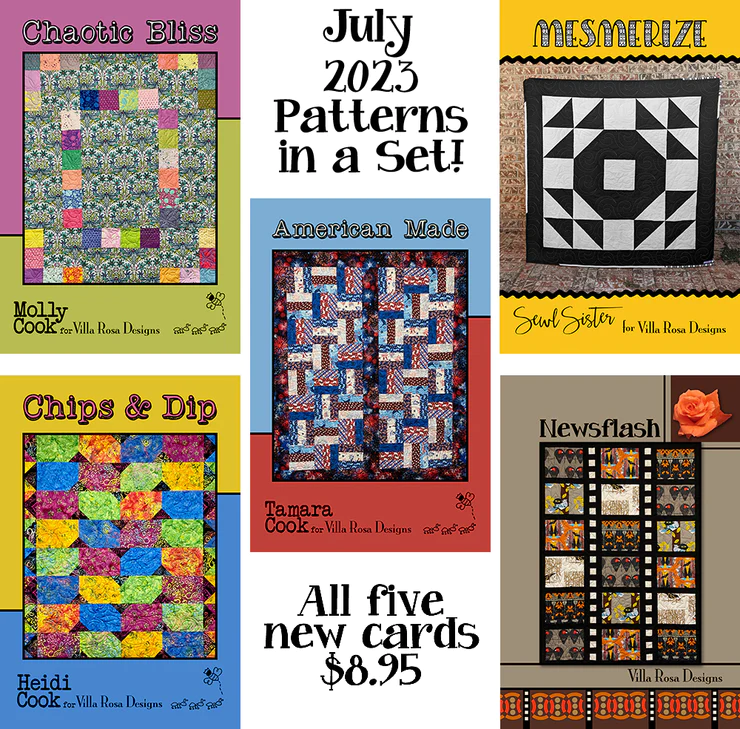
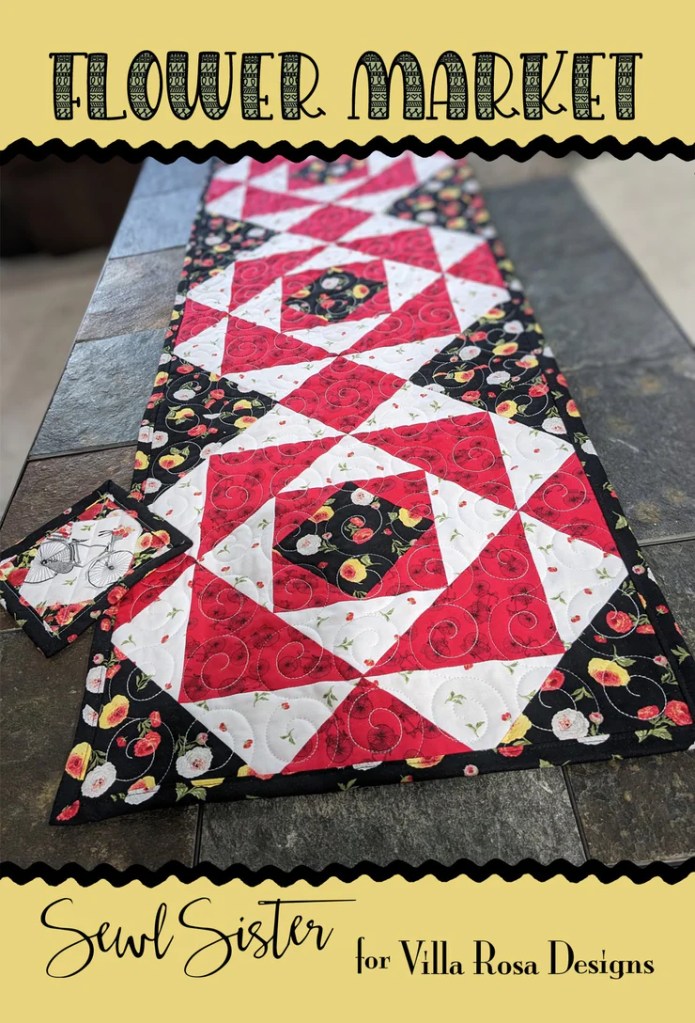
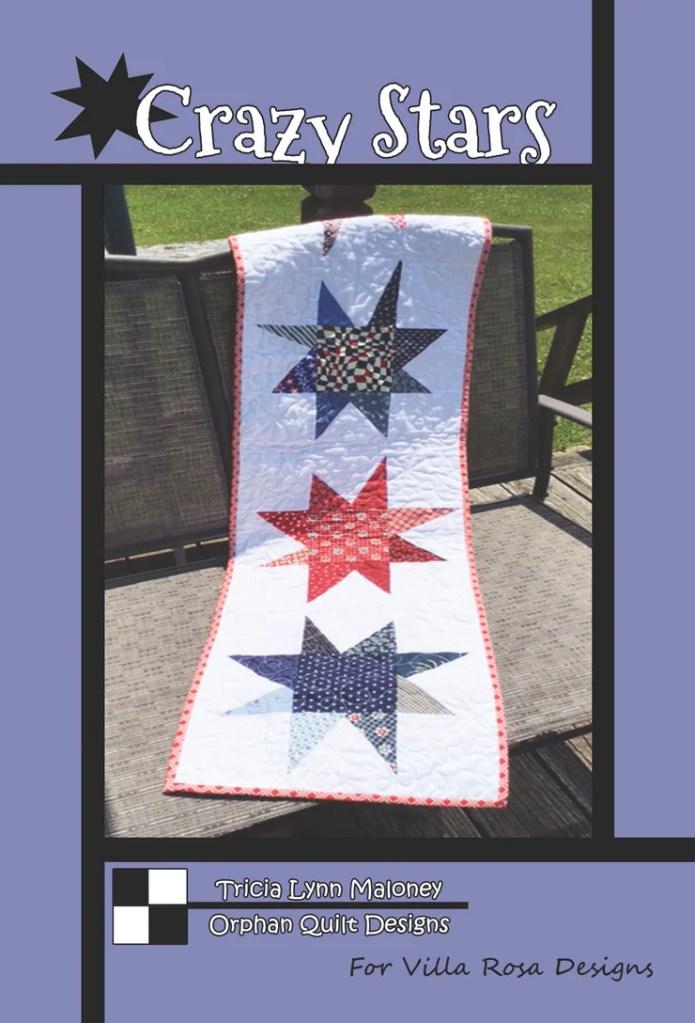
I really don’t think summertime is the time of year to work on big projects, unless you really have to. It’s better to stick to smaller projects so that you can fit your quilting around your summer activities and still finish some of your projects. Place mats, table runners, wall quilts, pot holders, mug rugs and more are wonderful summer projects. You could even work on some small items for Christmas gifts, if you were so inclined.
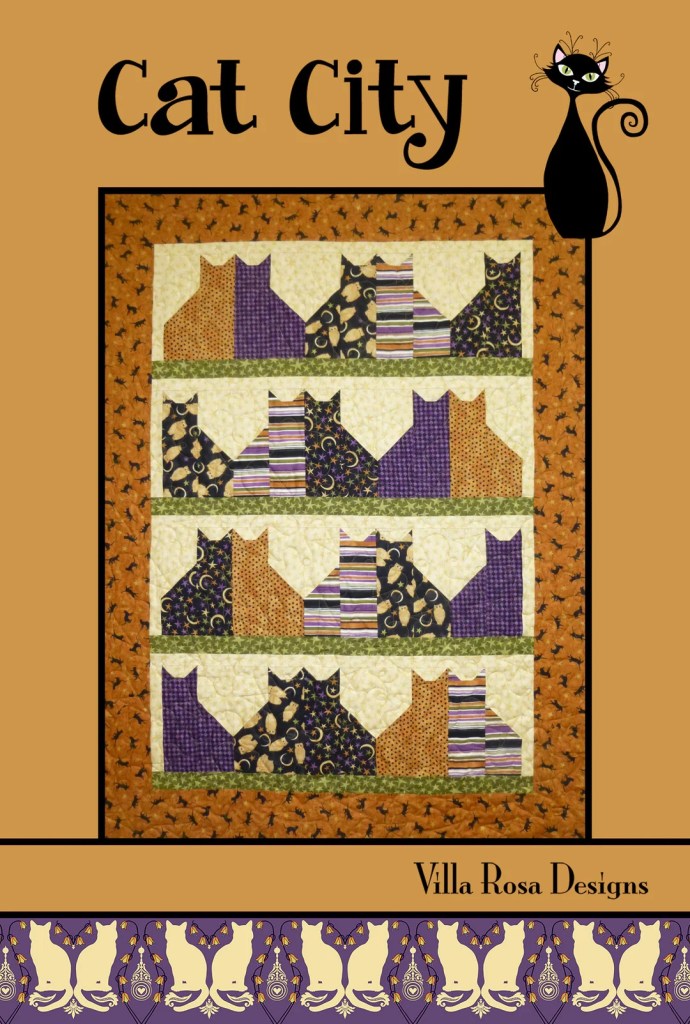
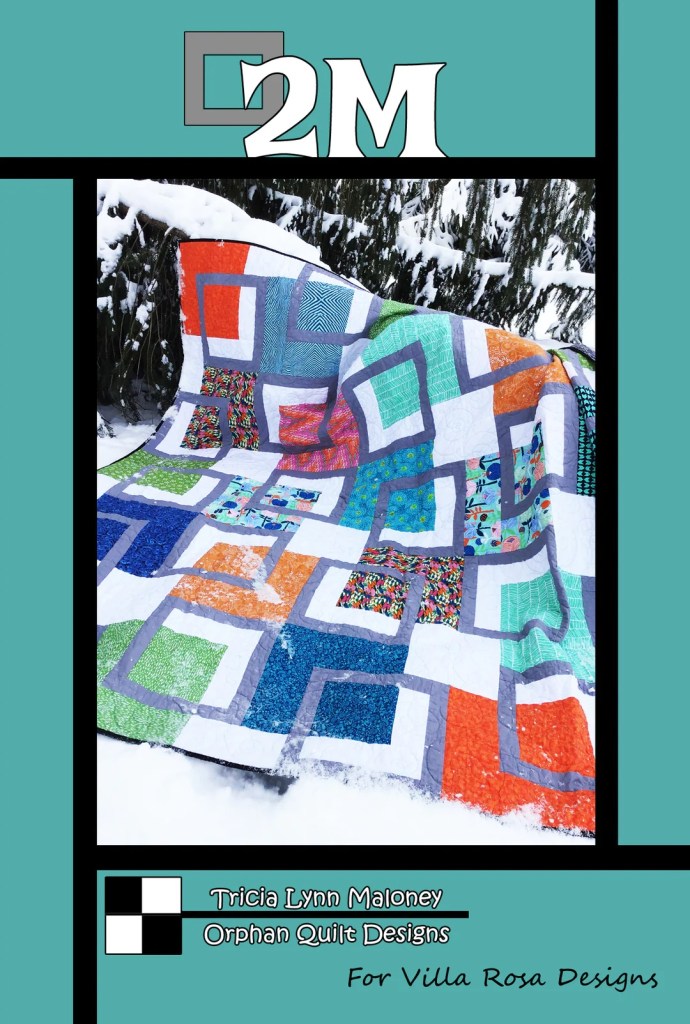
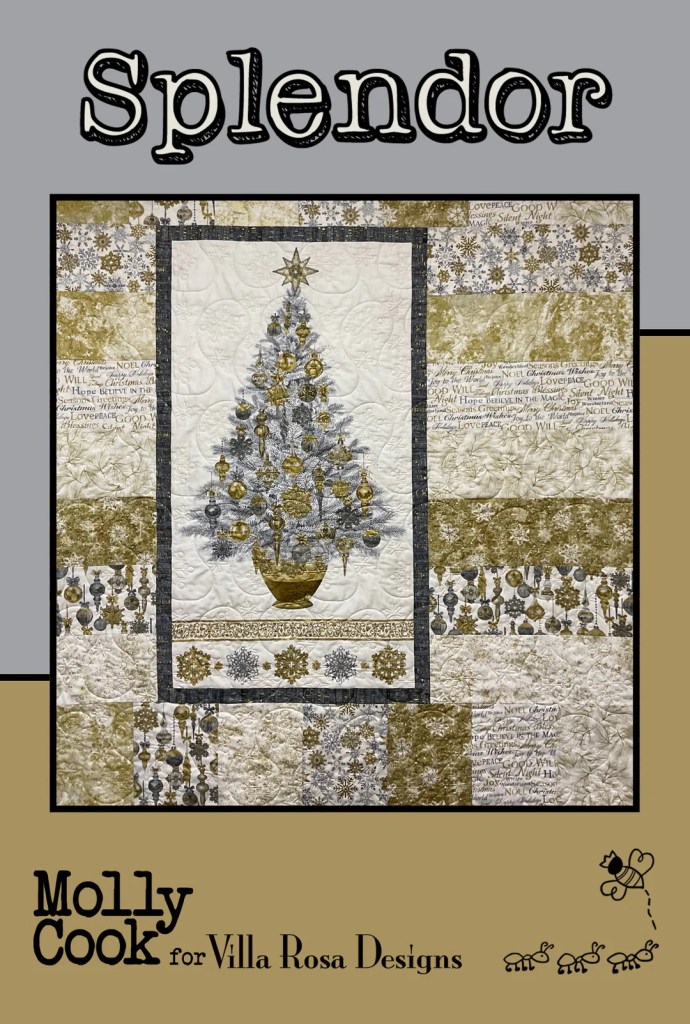
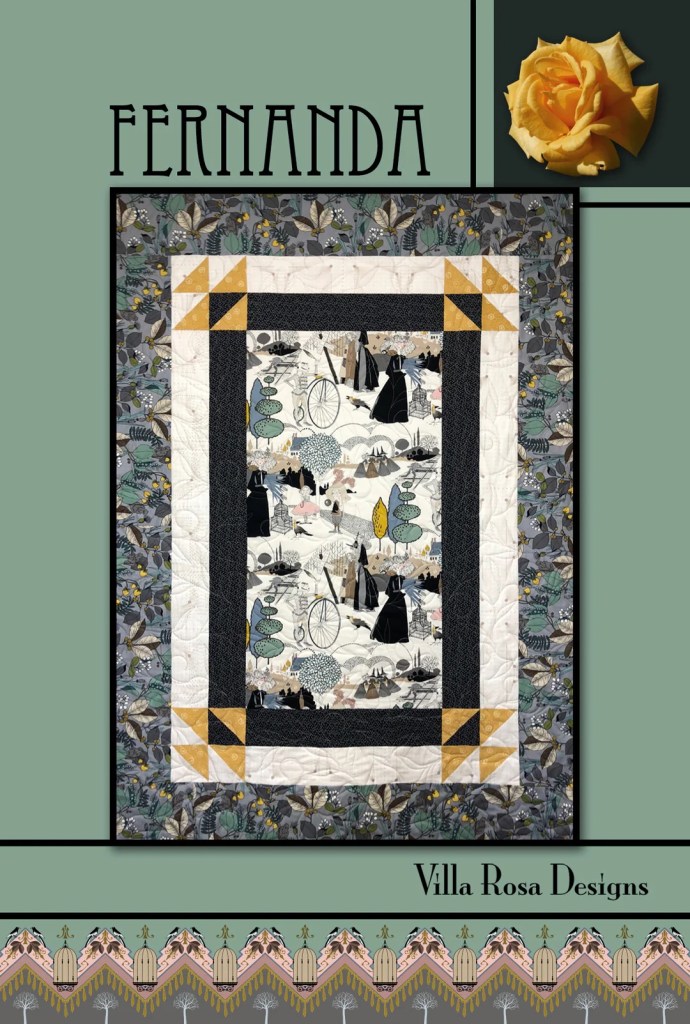
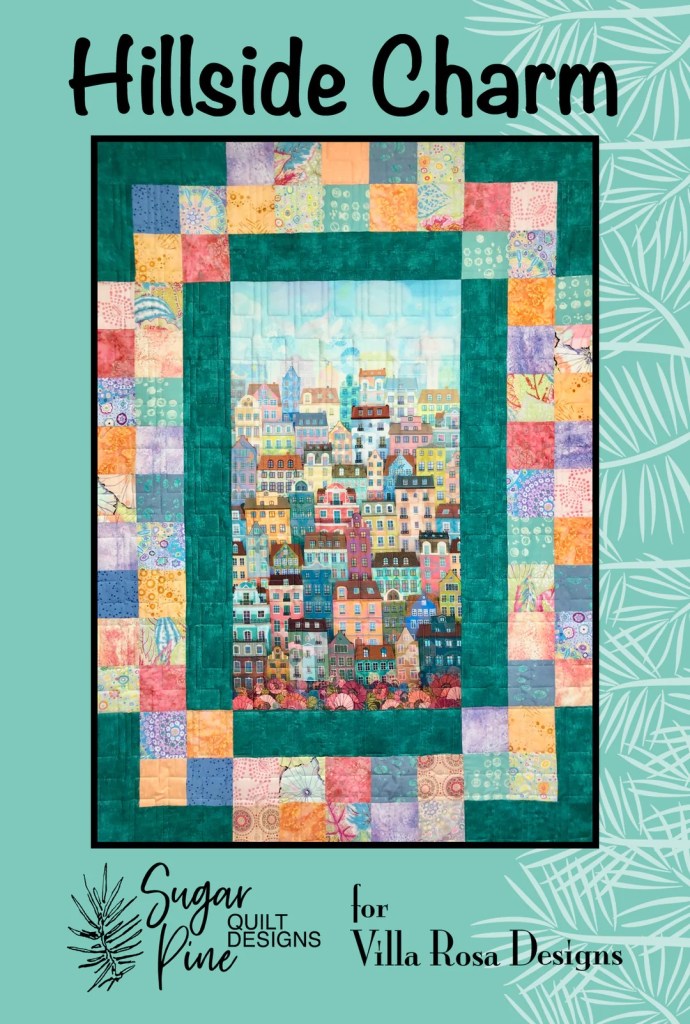
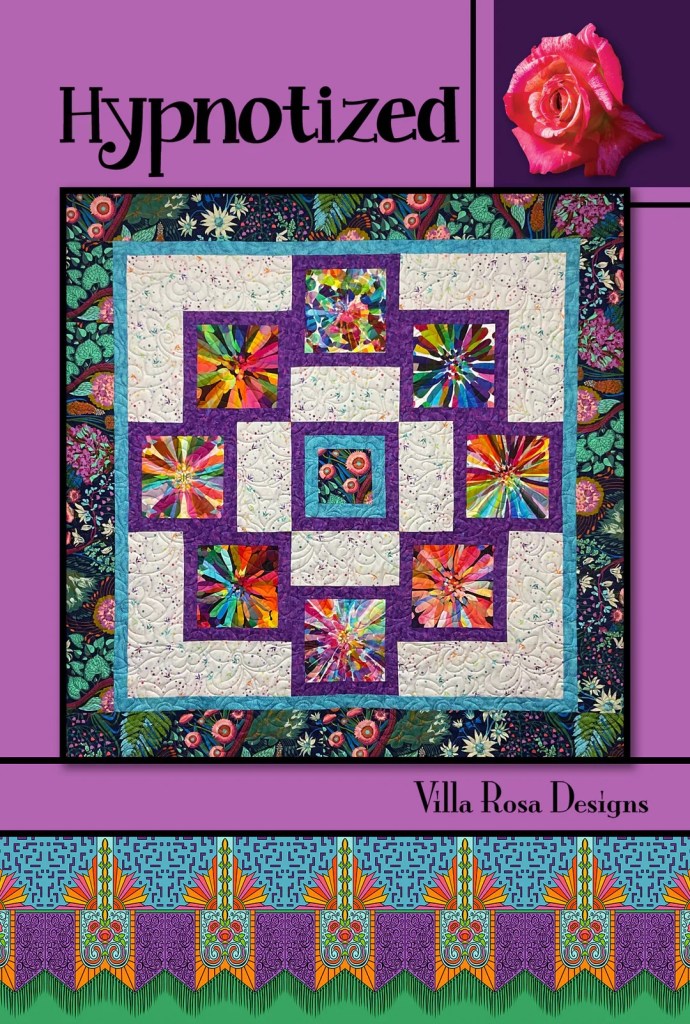
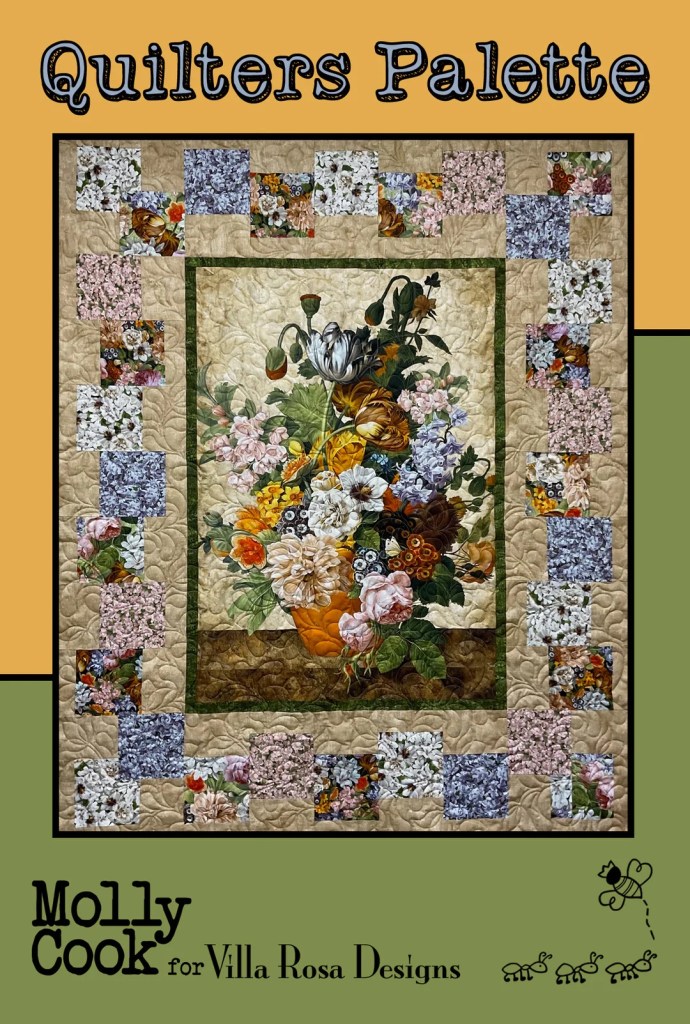
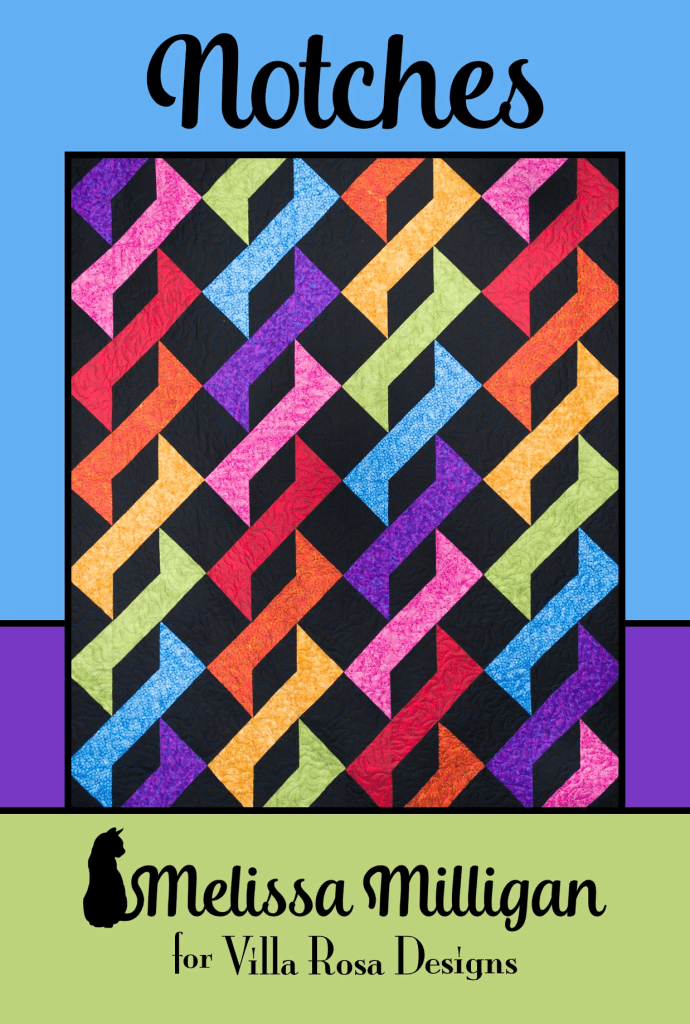
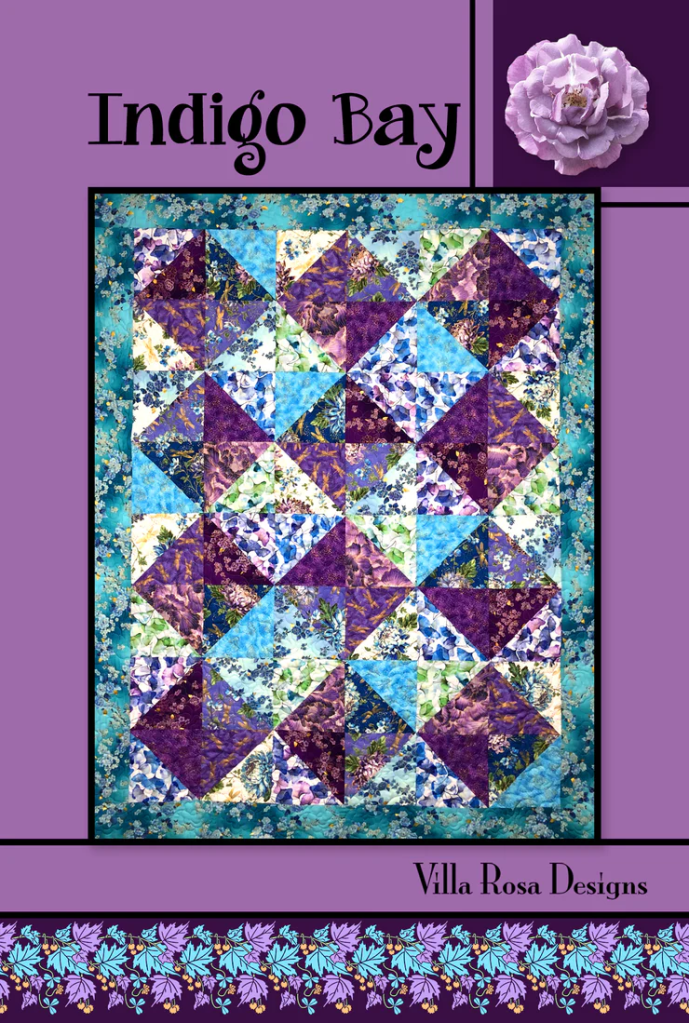
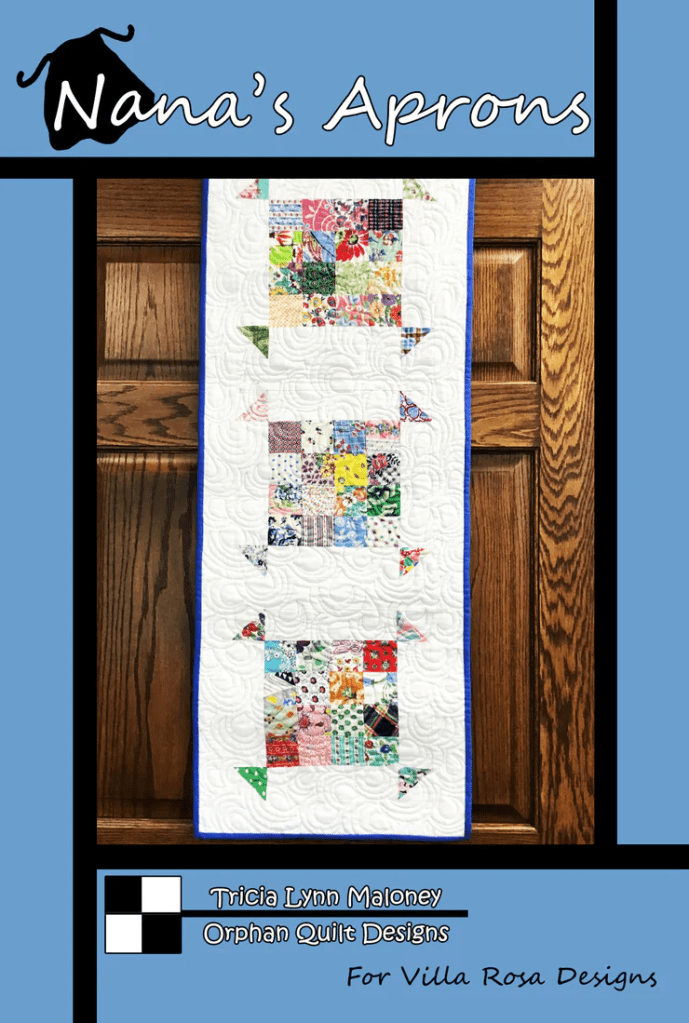
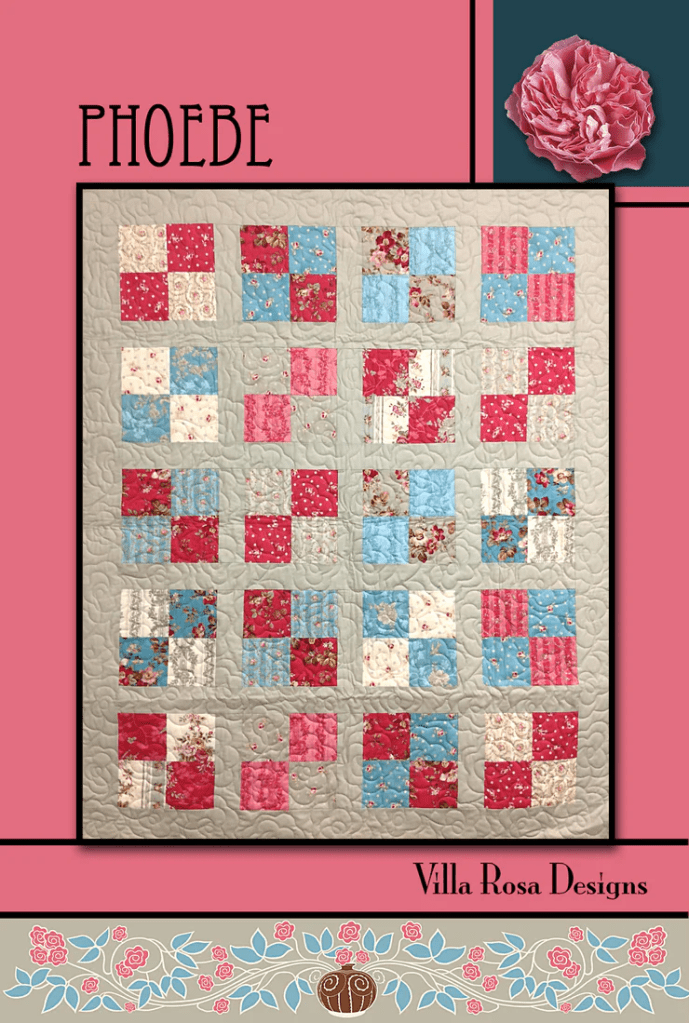
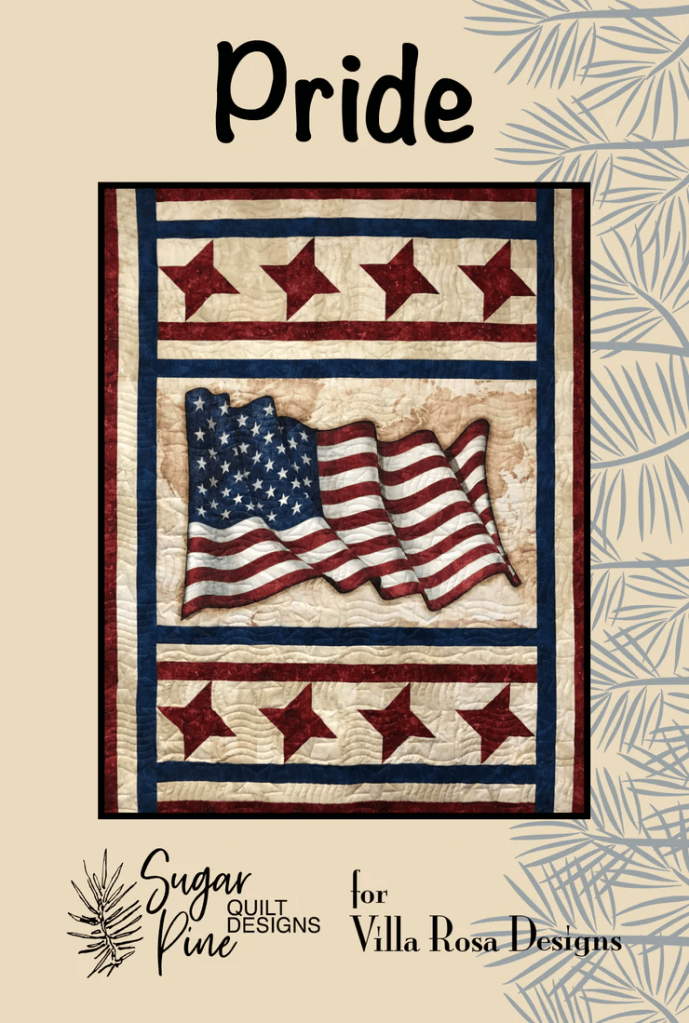
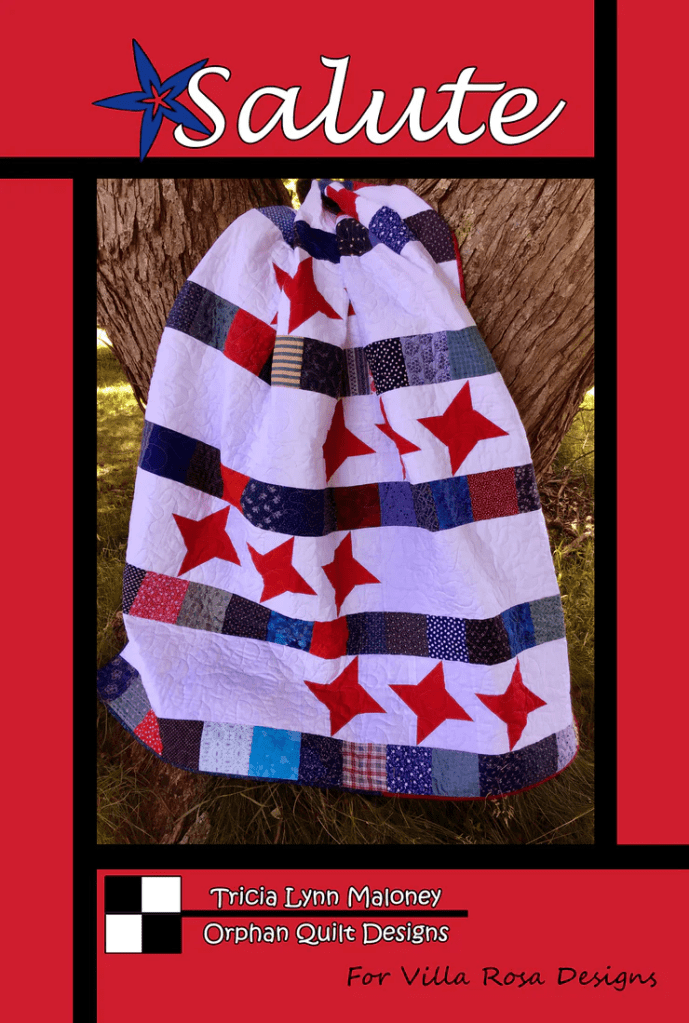
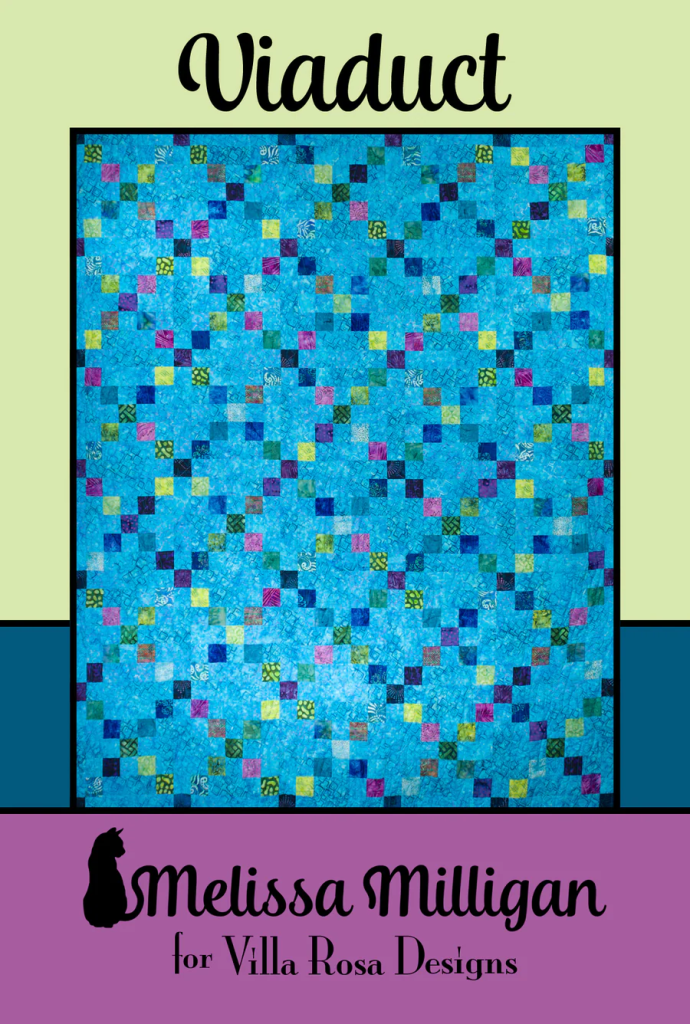
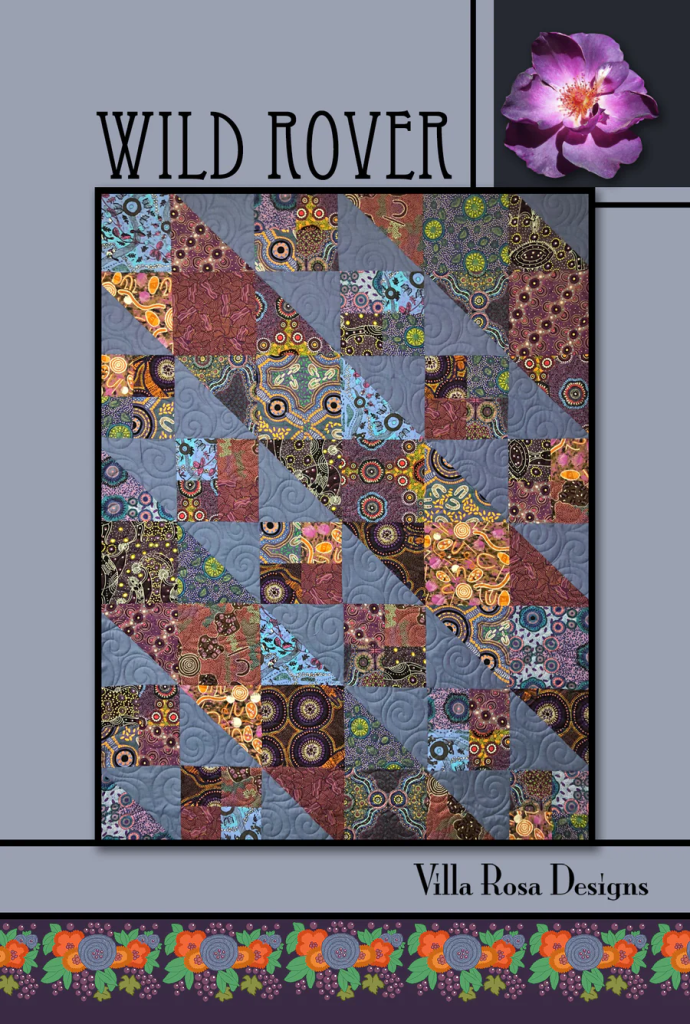
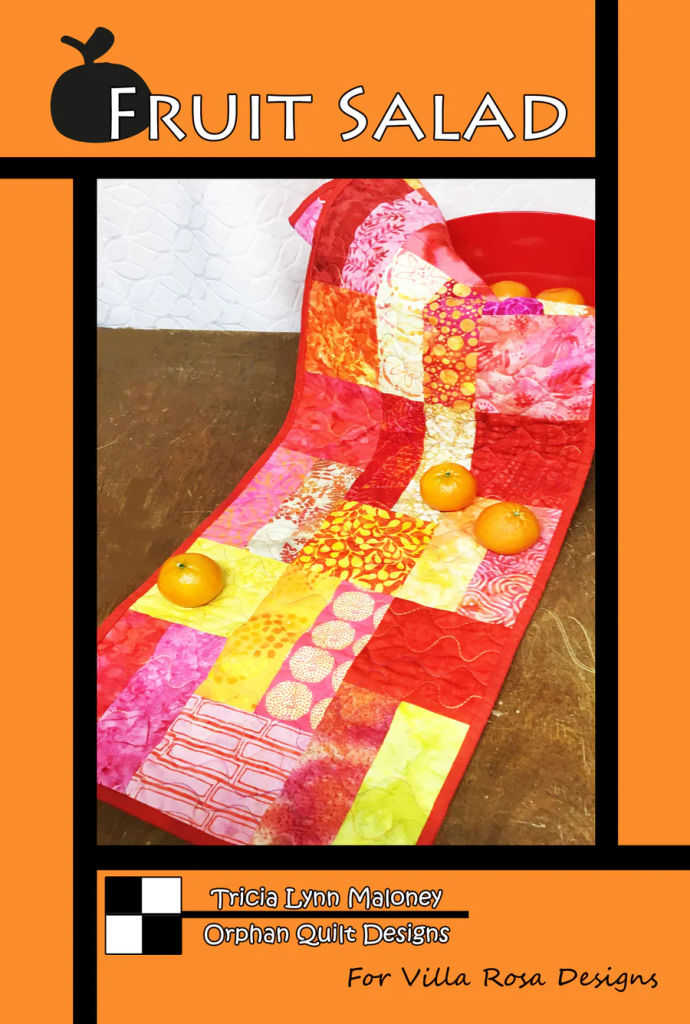
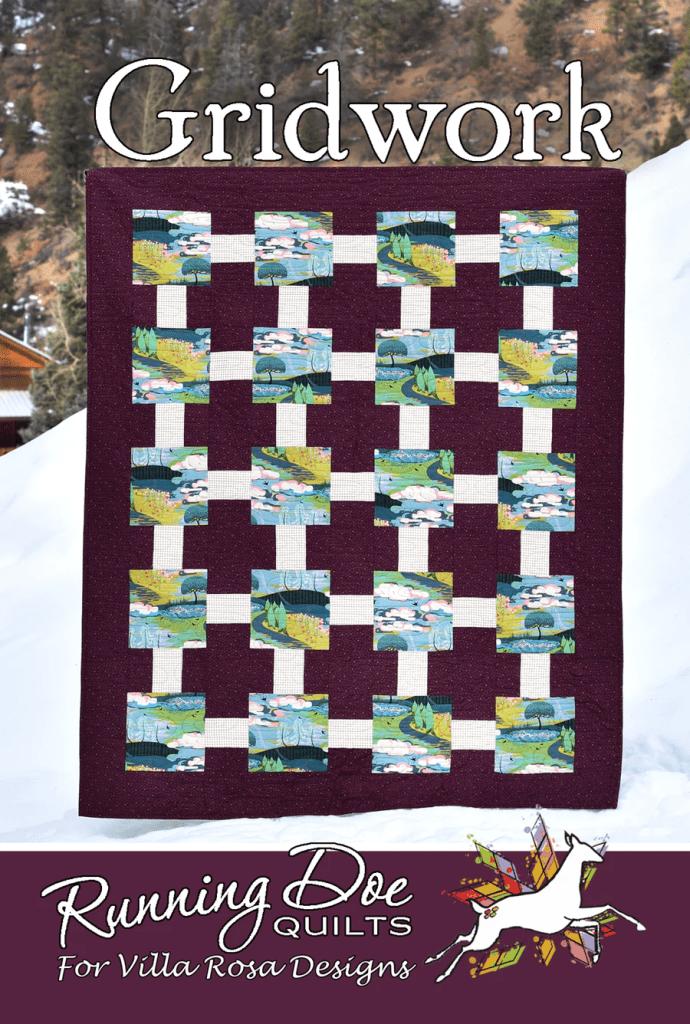
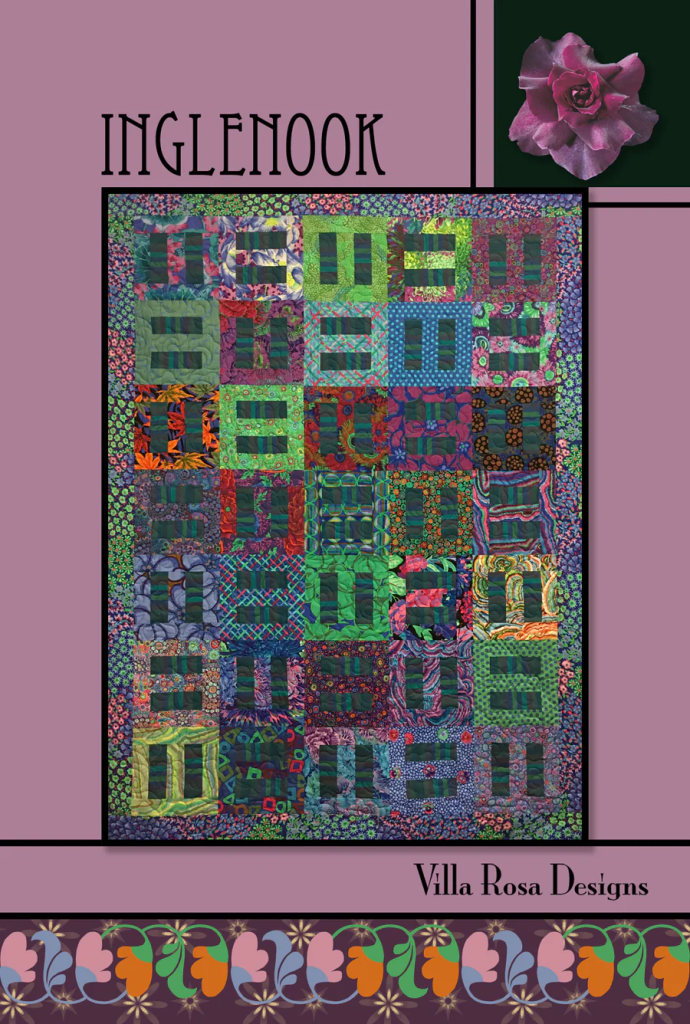
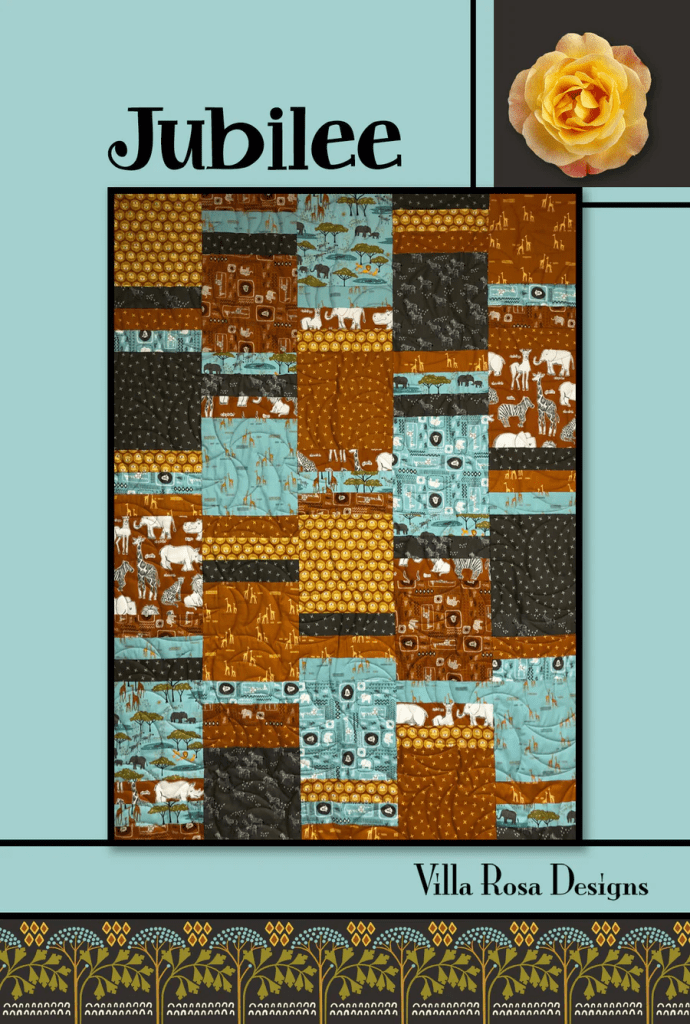
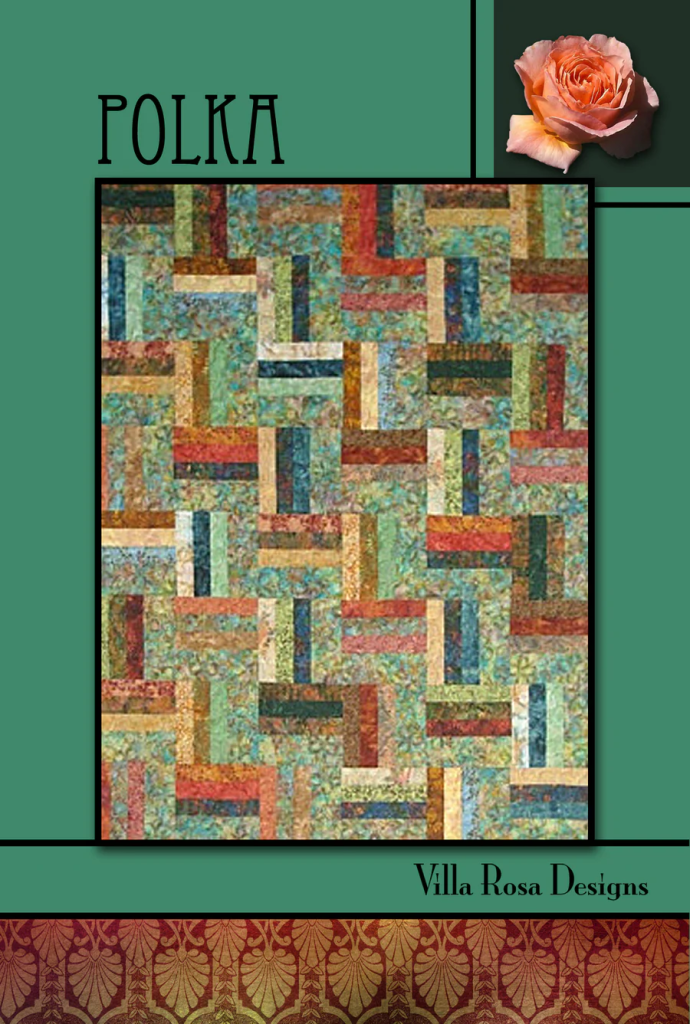
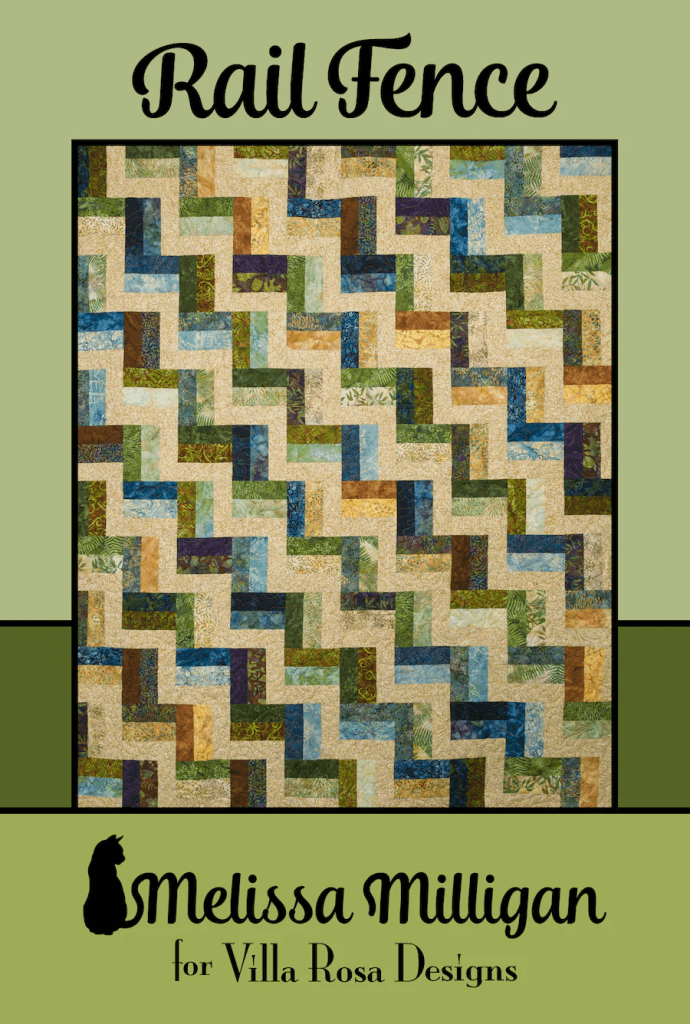
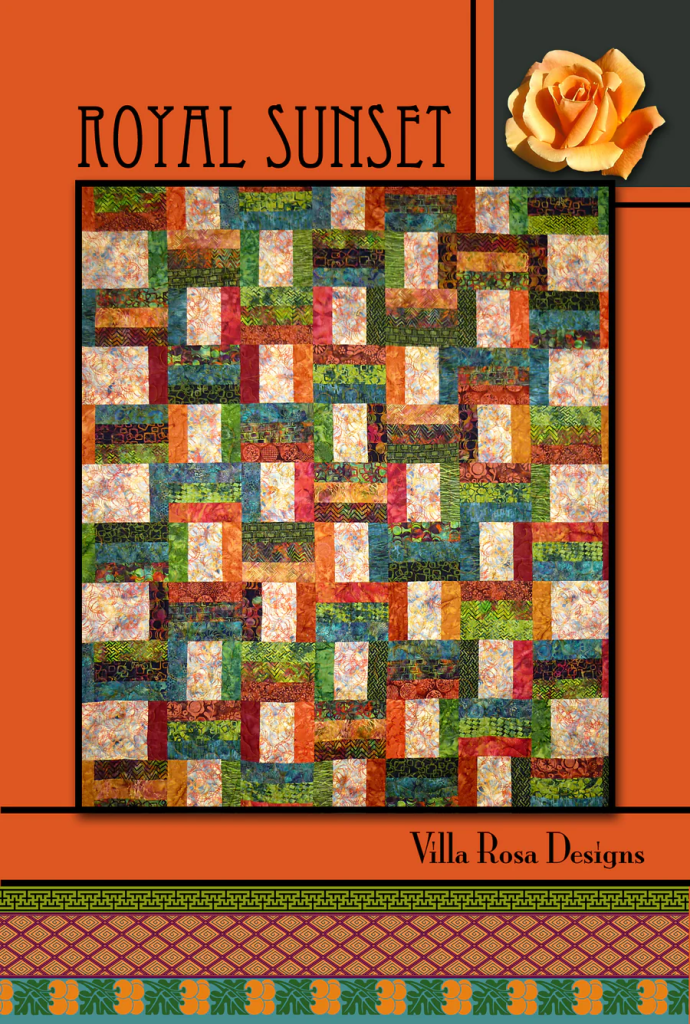
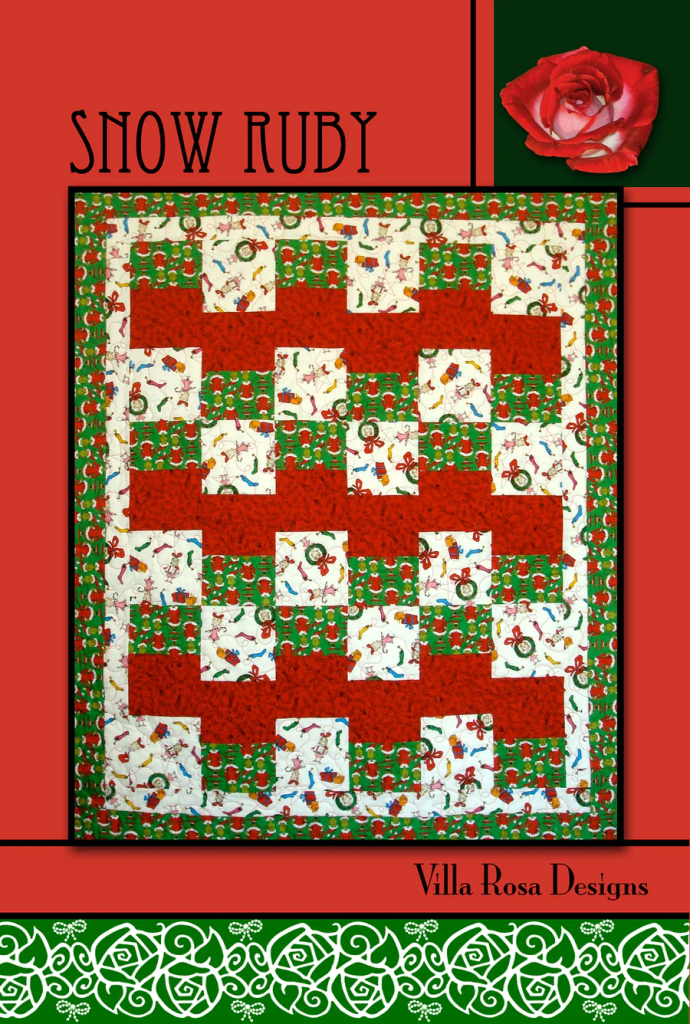
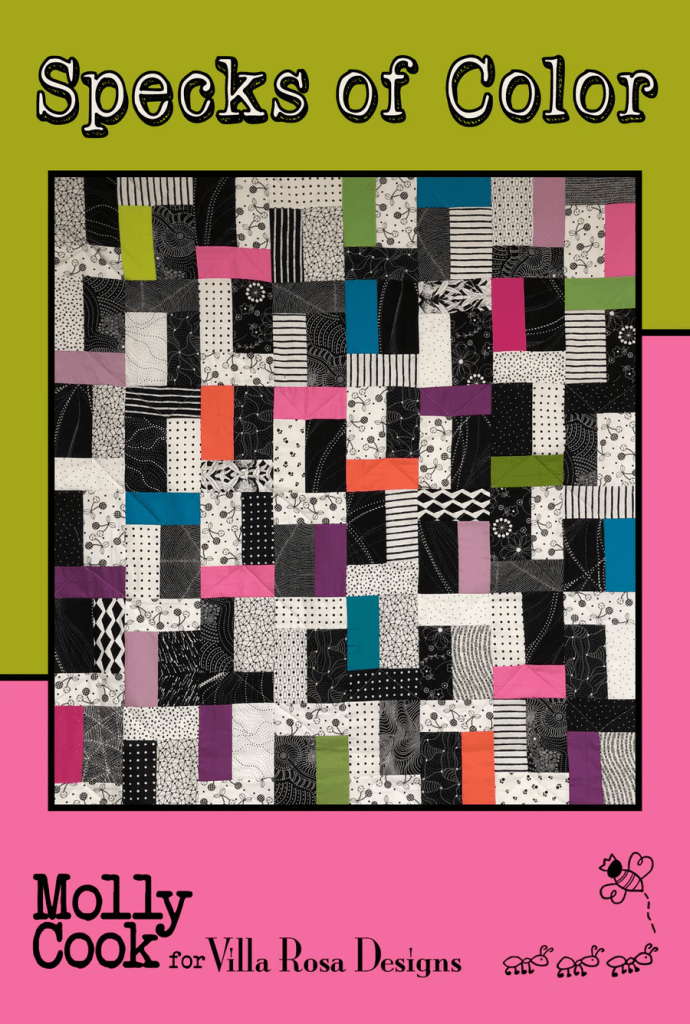
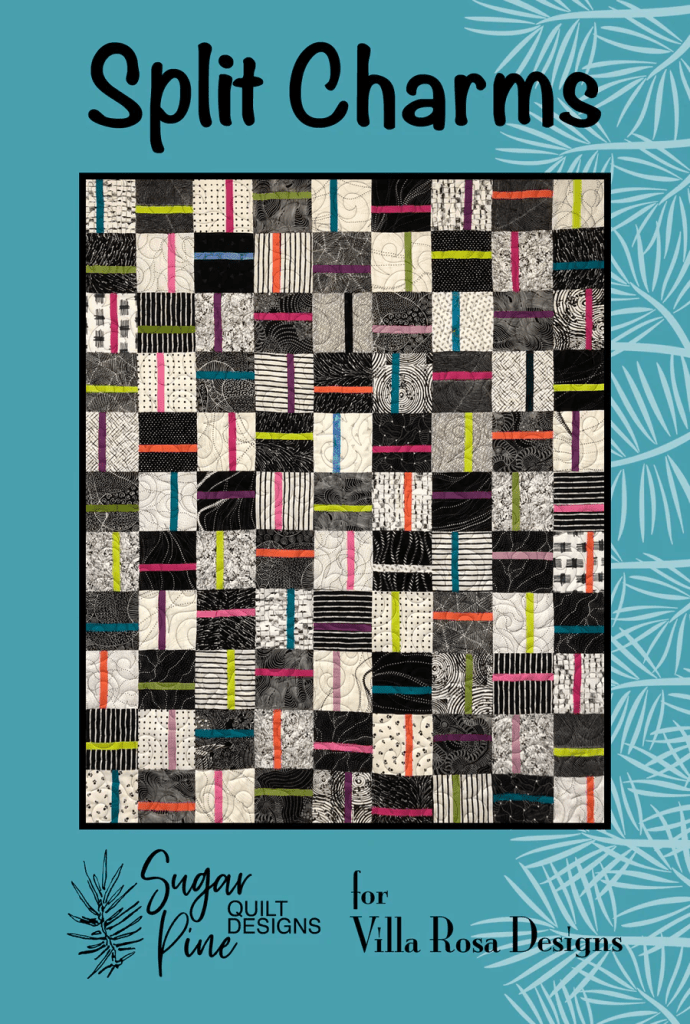
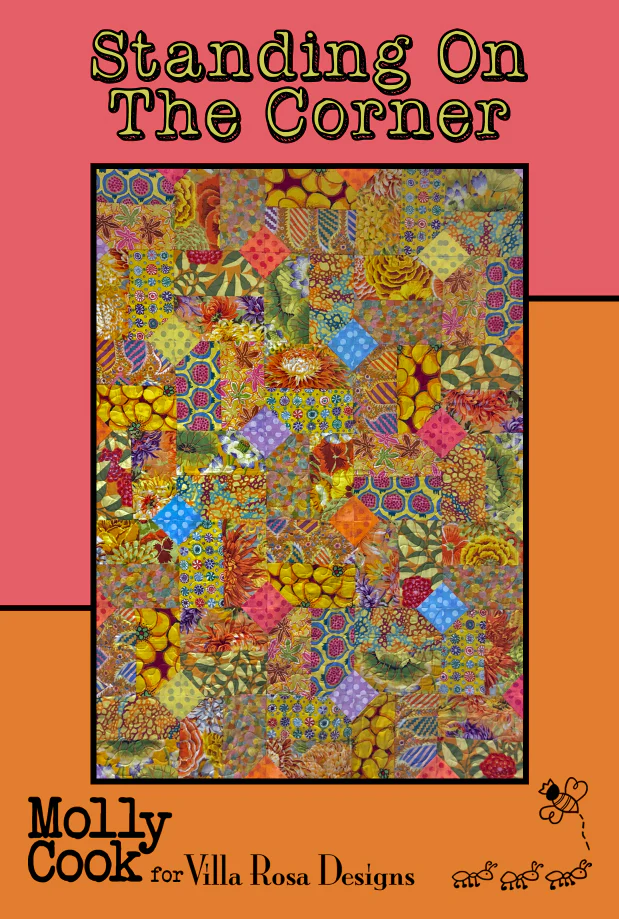
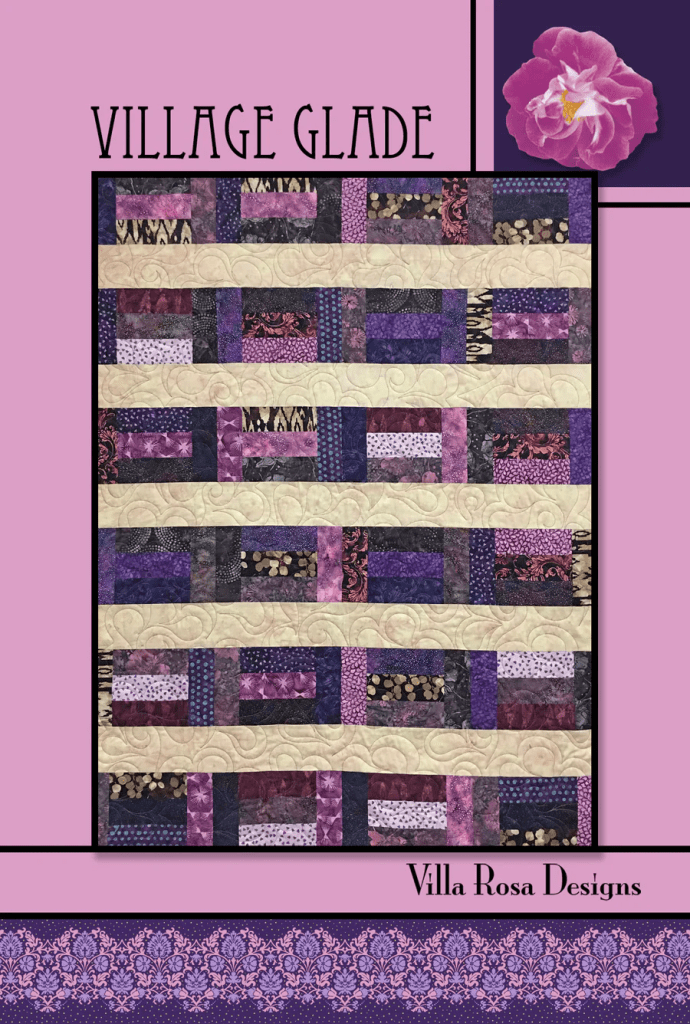
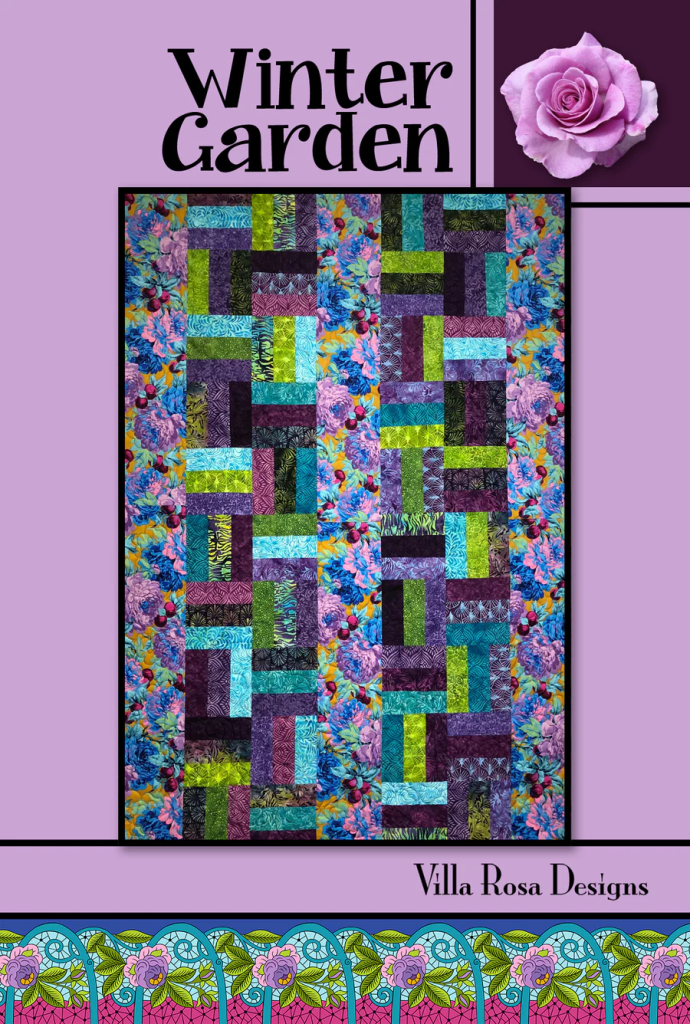
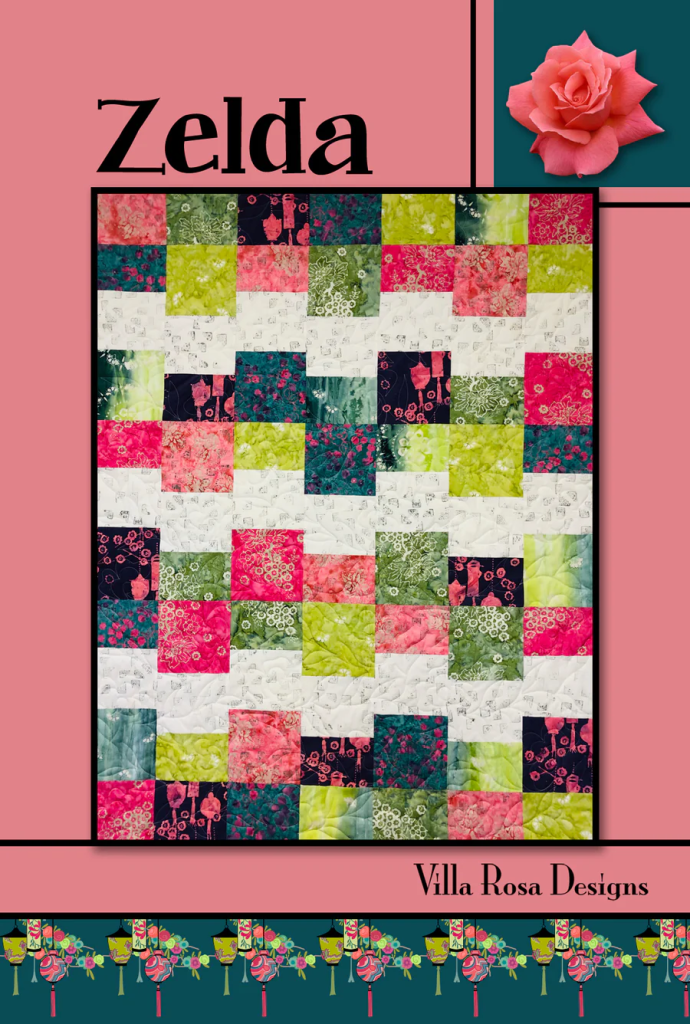
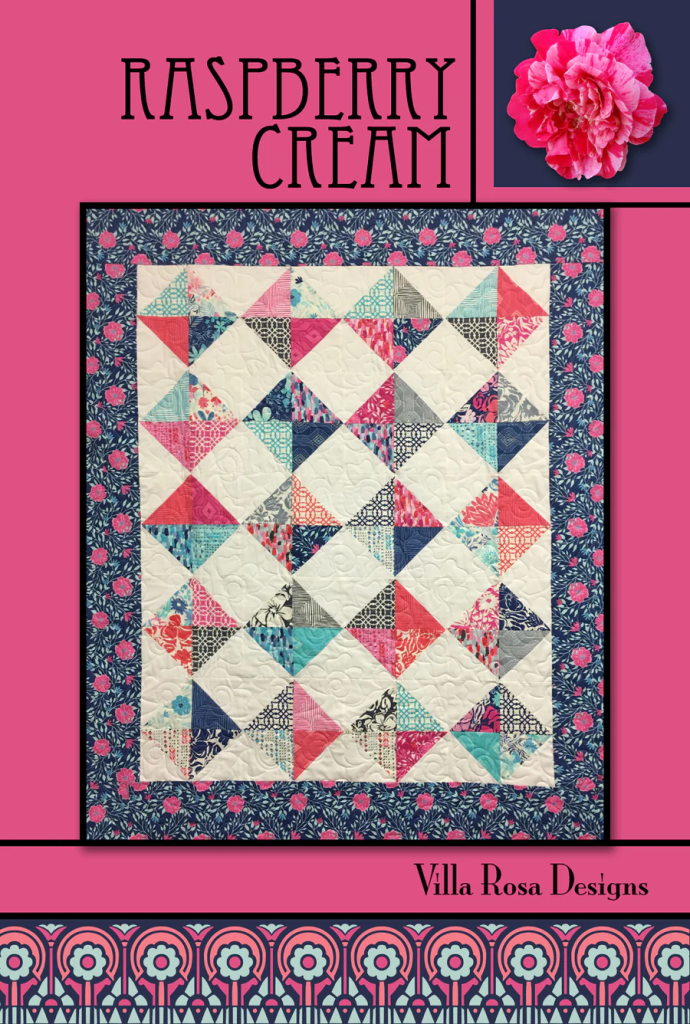
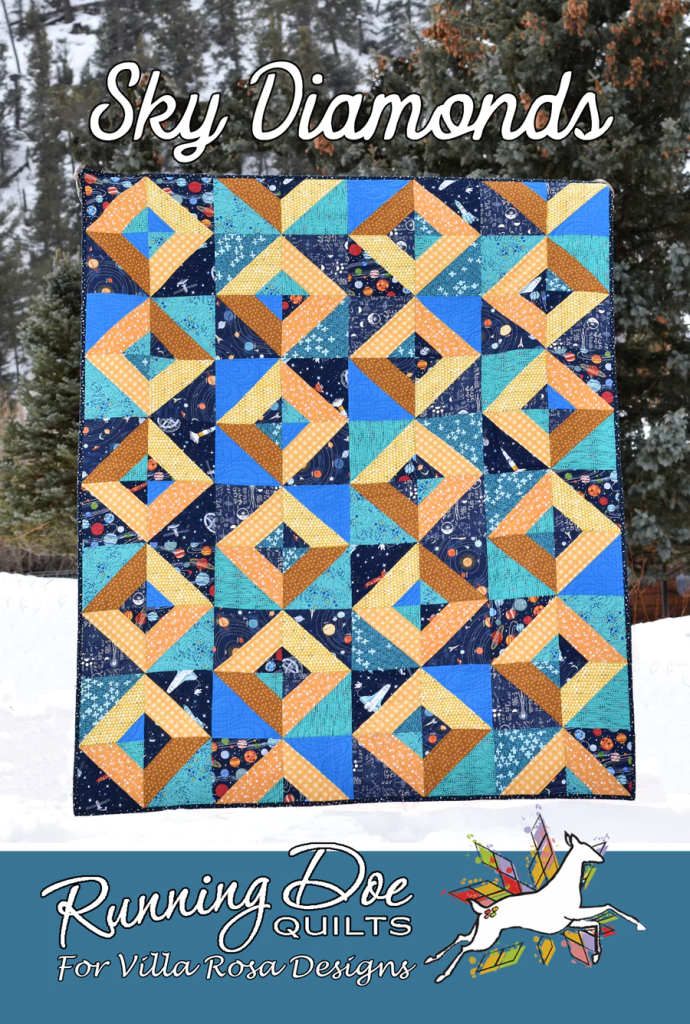
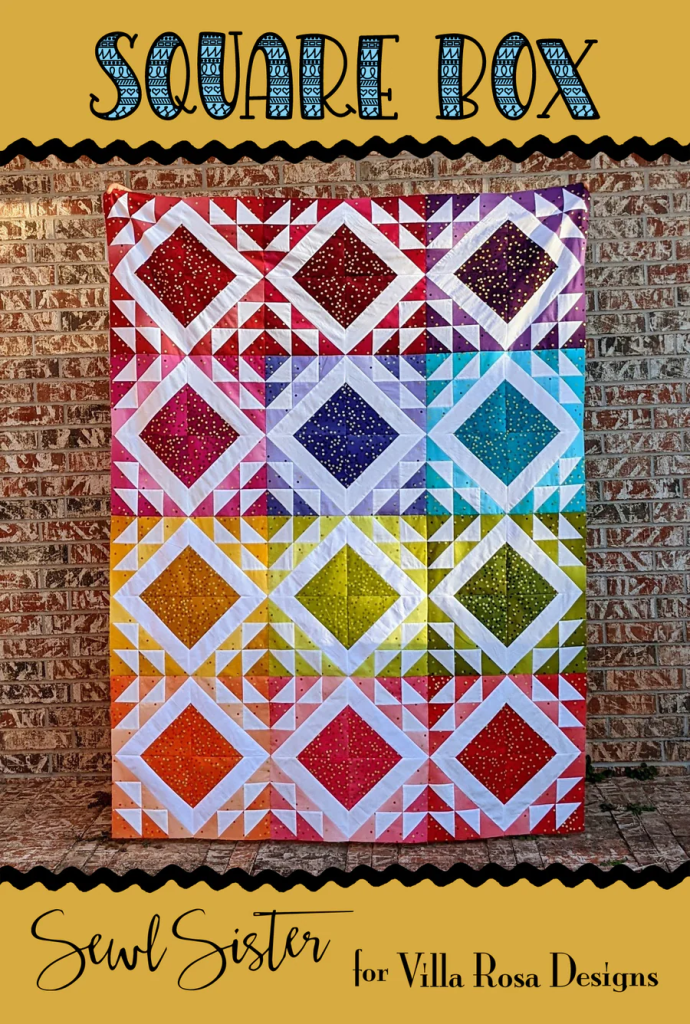
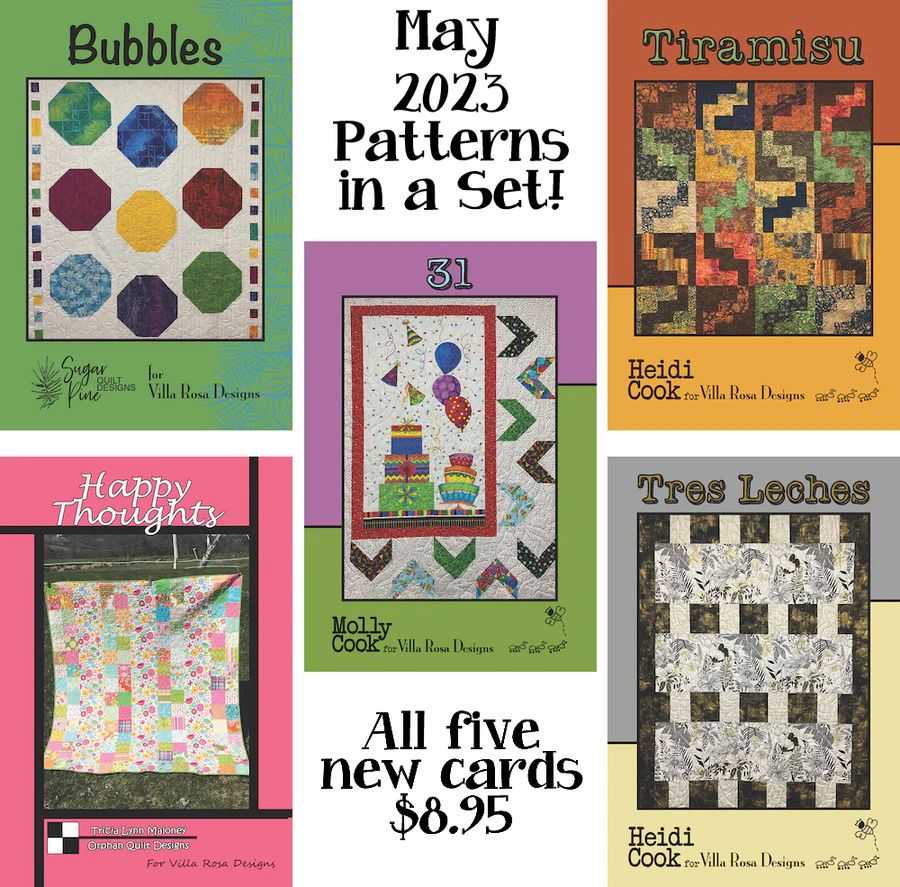
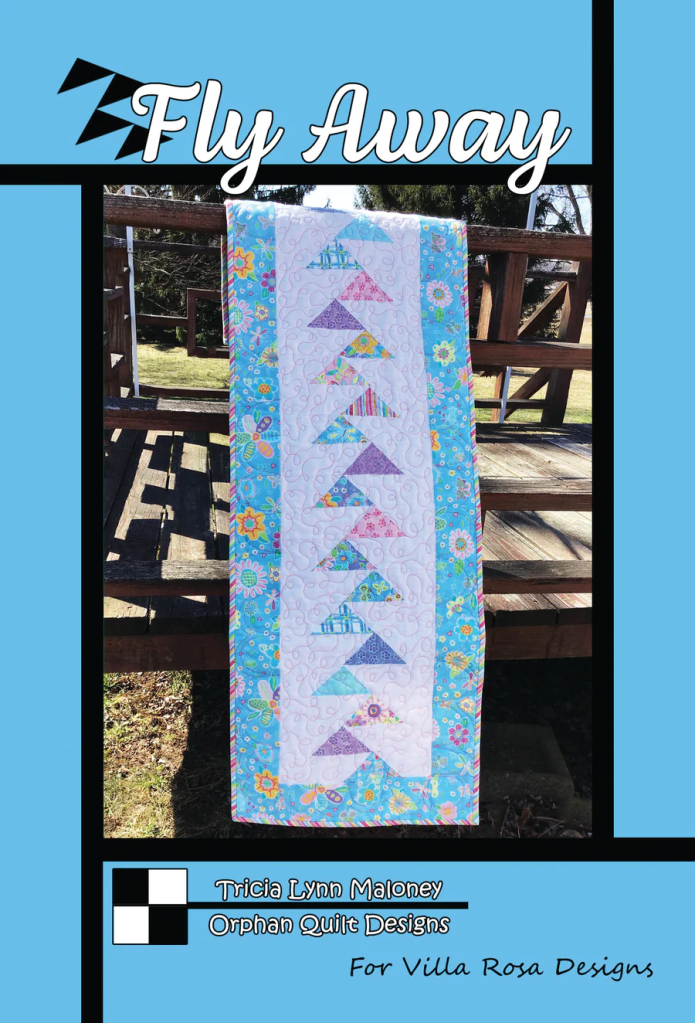
Here are some of our smaller Villa Rosa Designs Rose Cards, perfect for summer sewing:

Get Mary Jane HERE
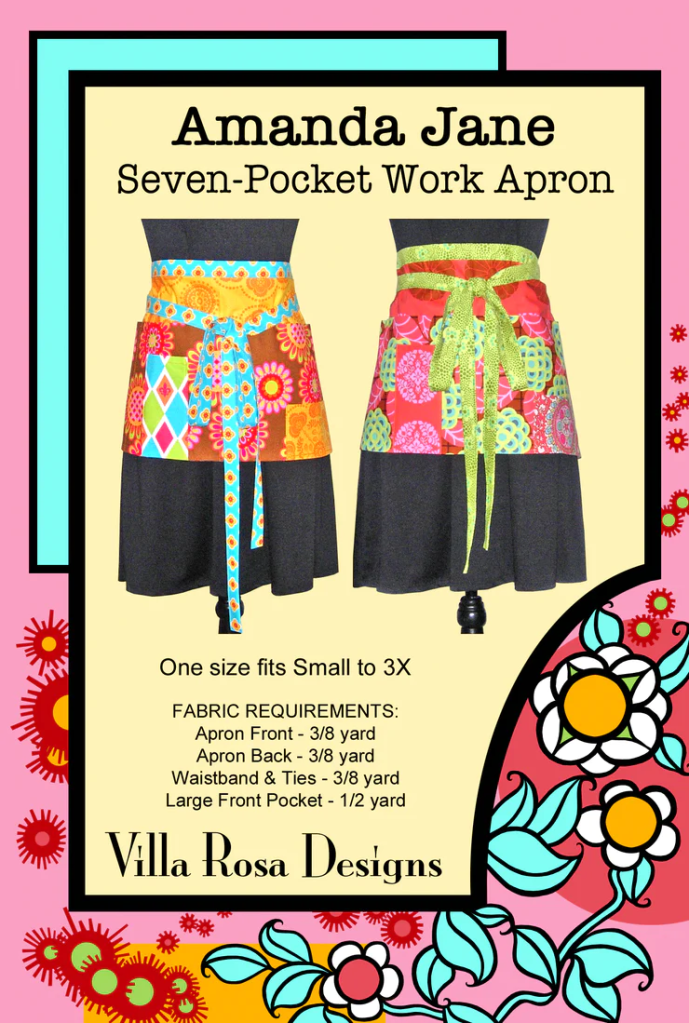
Get Amanda Jane HERE
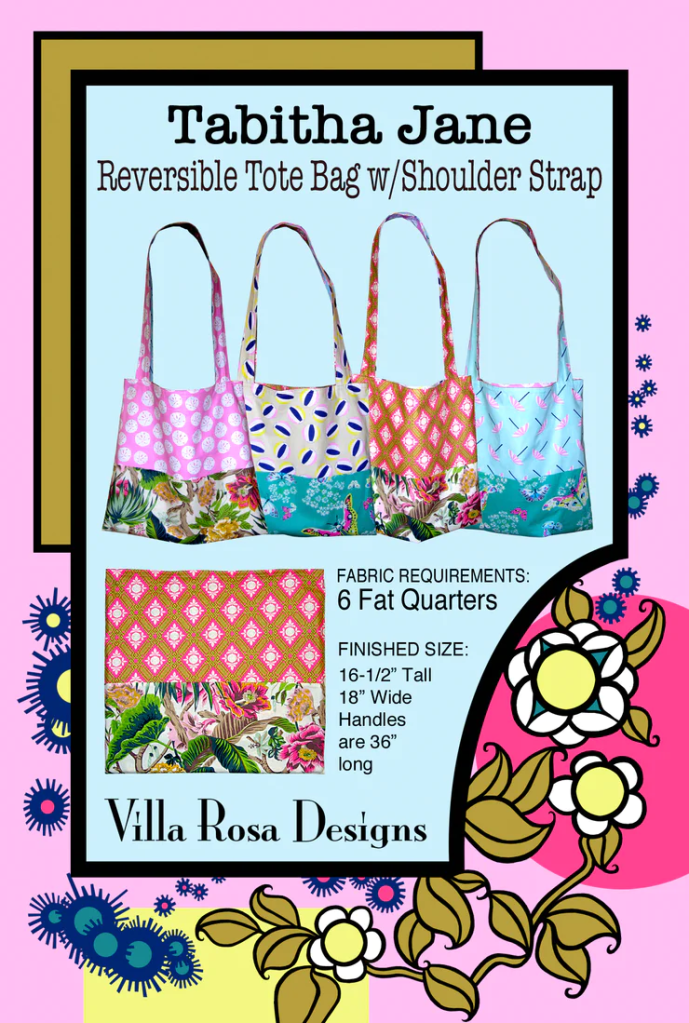
Get Tabitha Jane HERE

Get Let’s Eat HERE

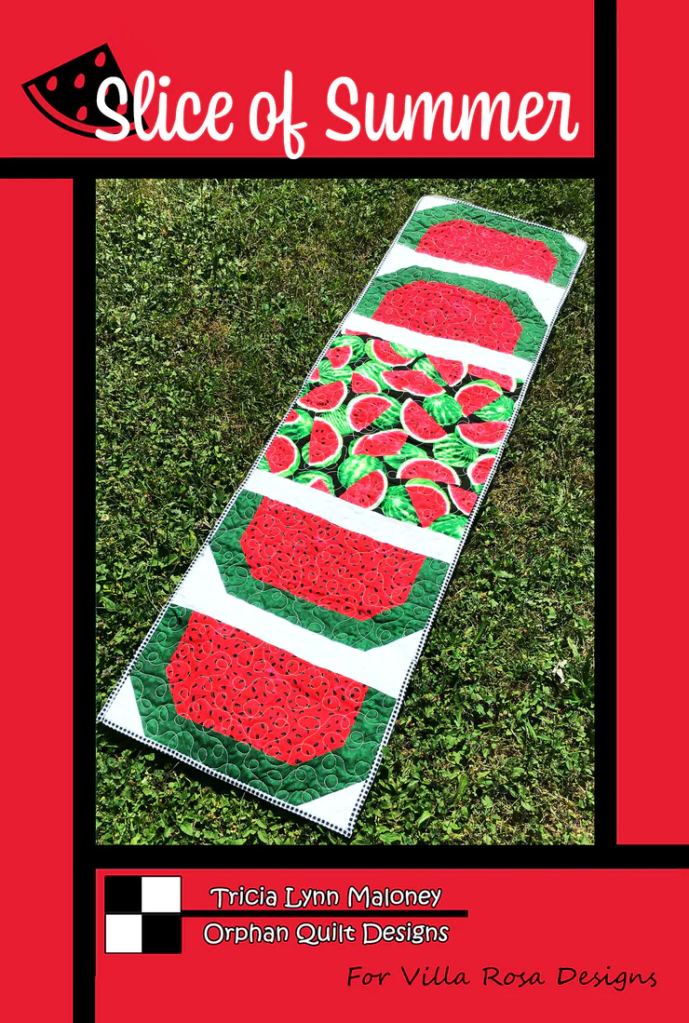
Get Slice of Summer HERE

Get Berry-Licious HERE
There are tons more fun and fast Villa Rosa Designs Rose Card patterns HERE.
Shop Hops
Shop Hops are often in the summer, so make sure you join your local Hop. You won’t regret it. Take a friend or two and make it a quilting buddy adventure.
Maybe your local shop is sponsoring a bus for the Shop Hop? If so, don’t hesitate — ride the bus. Then you can just focus on having fun and no one has to worry about driving or navigating or getting lost.
It’s a good idea to have a list of things you are looking for with on a Shop Hop or you will find yourself tempted by every pretty thing you see.
Take Along Projects — English Paper Piecing (EPP)
Maybe you do a lot of traveling in the summer. Do you have a take a small sewing project along? My favorite go-to project for travel is my Hexies. Are you familiar with Hexies?
Hexies are (of course) fabric pieces cut into a hexagon shape that you sew together. You can sew Hexies together by machine, but that is definitely NOT for beginners. Sewing hexagons together by hand, now, that’s something most people can do. Have you ever tried it?

There are several different ways to sew Hexies, but I like to use the English Paper Piecing (EPP for short) technique to sew my Hexies together.
Here’s a great video tutorial by quilter Carolina Moore about the basics of English Paper Piecing:
I couldn’t find her book Learn to English Paper Piece from the video, so I am guessing it’s out of print now, but I was excited to see that she has a brand new Paper Piecing book coming out next month in August! Woohoo!

You can pre-order Carolina’s new book HERE.
EPP really is a great project to take along with you when you’re on the go. The supplies can fit in a small bag — wouldn’t it be super cute to make a little bag for your EPP out of EPP??? Depending on your bag, it might actually slip down into your purse or tote too. You can even take them with you on that Shop Hop you’re going on!
The supplies you need for EPP are pretty simple and easy to find. You probably already have most of them lurking in your sewing area:
- Paper or plastic templates in your desired shape/size
- Fabric shapes that are larger than your paper pieces
- Thread, needle, thimble
- Small scissors
- (Optional) Fabric glue stick if you are going to glue your Hexies like in Carolina’s video
- Something to store your supplies in
These Hexie paper templates are currently my favorite find:

Get your 1 1/2″ Hexie papers HERE.
Do you see the hole in the center of the paper Hexie? Do you know what that hole is for? Snaps to you if you do! If not, let me tell you about it.
When you place your paper Hexie in the center of your fabric hexagon shape, you can use a straight pin in that hole to hold the paper Hexie on the fabric so the paper templates doesn’t slide as you work you way around the paper Hexie, either sewing or gluing the edges. One time I bought a set of paper templates without the holes, and boy did I regret it — I ended up punching a hole in each and every one in the package. Sadly, my hole punch wasn’t exactly big enough so my holes are all off center, which means that sometimes I run into my center straight pin while sewing around the Hexie. Ugh, not fun.
Once upon a time, when everyone was going wild for Hexies, Moda and other fabric companies were making precut fabric Hexies. They weren’t hard to come by back then and totally sped the EPP process up because you didn’t have to cut out the Hexies — you just started sewing. Sadly, you don’t find them around very often anymore. Bummer.

Here’s a precut pack from Kona cottons, if you’re interested. I found them HERE.
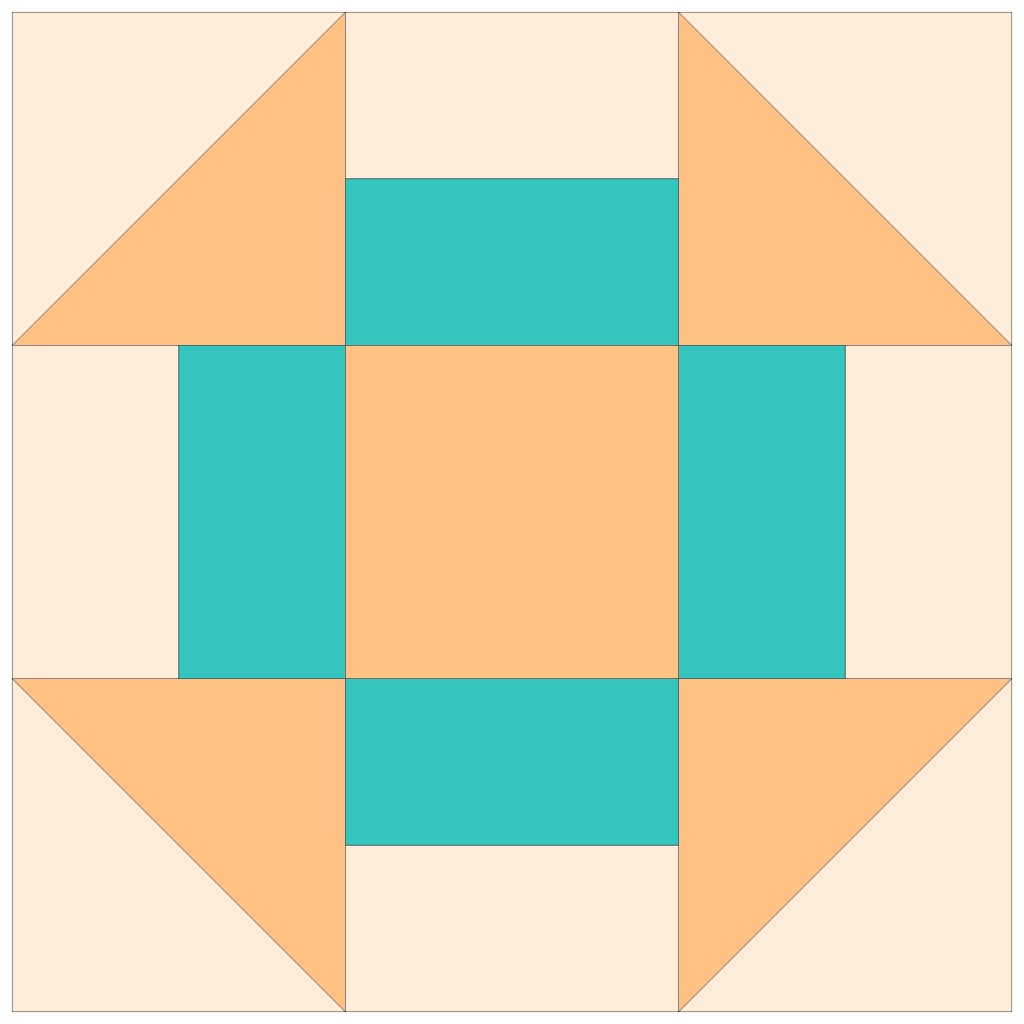
English Paper piecing isn’t just for Hexies, though. You can use the technique to sew lots of other shapes, too. And when you mix and match different shapes together, you can create some amazing EPP quilt blocks!
You could try Pentagons —

Or Elongated Hexies, which are kind of funky —

Maybe you’re more into Octagons —

Who wouldn’t want to make some Dresden Plates —

These are just a few of the fun EPP shapes out there. So, you’ll probably never get bored with EPP unless of course you’re trying to make a California King Size quilt entirely by hand with EPP. Good luck, you crazy quilter, you!
Me, I keep things simple and only do Hexies. Those other shapes scare me! LOL! Mostly I make small projects with my Hexies like small table mats, runners, and other little things.
I do have a doll quilt I made with small Hexies (I don’t know what I was thinking, really). I think they are 1/2″ Hexies, by the way. Because it was my take-along project, it literally took me years to make the top. I think I started it in 2010? But that’s okay, I don’t usually have any specific deadlines for my EPP projects.
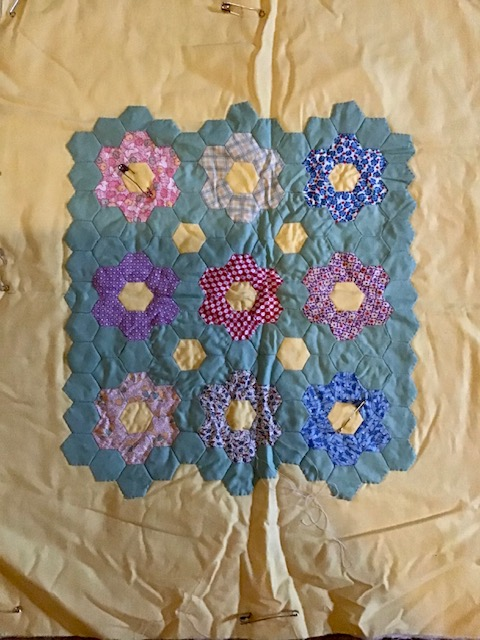
I’ve been trying to hand quilt my little Grandmother’s Flower Garden quilt now (for years…) but let me tell you, hand quilting is really not my thing. Not at all. I bow down to all of you hand quilters out there.
It’s funny but I have many little bags and boxes with EPP Hexies all ready to grab and go. Maybe a little excessive, but then again, I always have an EPP project….or two….or three going and ready so I can just grab it, pop it in my bag and off I go. Below you can see the EPP bag I am sew in love with right now! My quilting pal, Mary Lee, made this great zip bag for my birthday after I hinted very strongly. LOL! Thanks, Mary Lee!
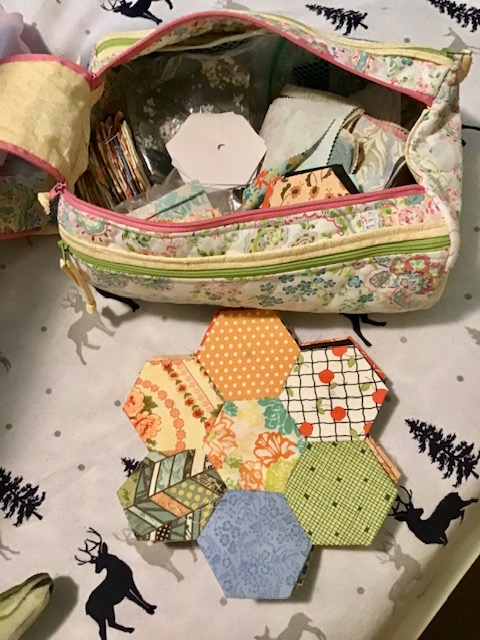
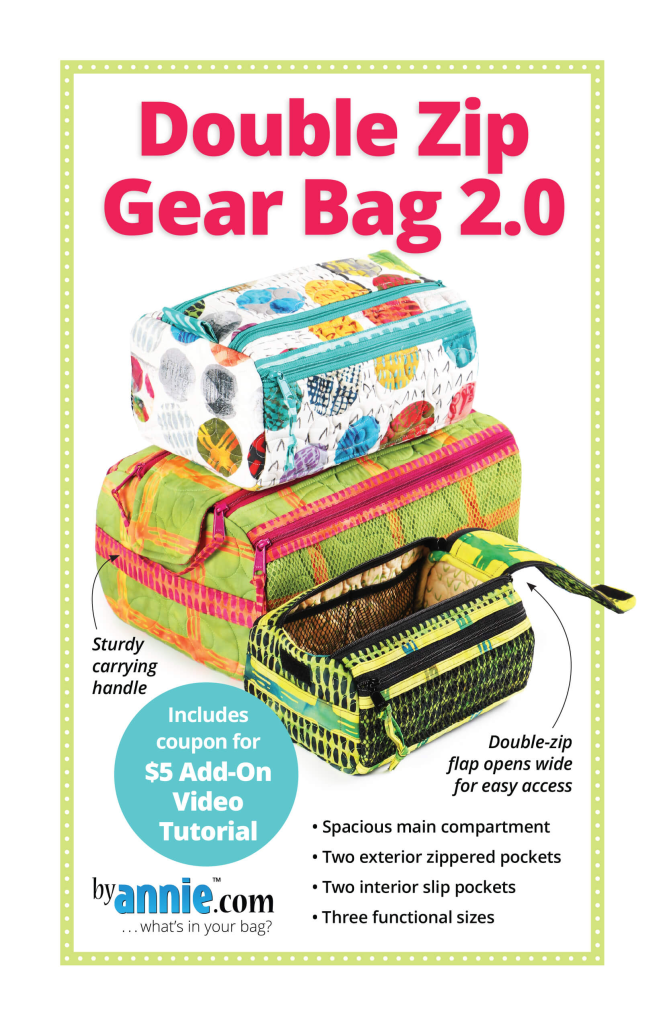
It’s an byannie.com pattern — Double Zip Gear Bag 2.0. You can find the pattern HERE.
Sigh…..if only that ginormous bed quilt would magically fit into a cute little bag so I could tote it around and finish the binding….
Well, that’s it from me. Stay cool and keep on quilting this summer!
Until next week —
Sew. Laugh. Repeat.
Always,
Tricia