Hello Quilty Friends!
Happy Thursday to you!
I hope you are enjoying this collection of VRD quilt tutorials to inspire you to leap back into quilting this fall. May these tutorials nudge you into making a quilt for someone special or maybe just for yourself.
We’ve got lots to do today, so let’s get moving.
First up, it’s the Thursday after the first Friday of the month, and you know what that means – NEW PATTERNS! Talk about fall inspiration!!!
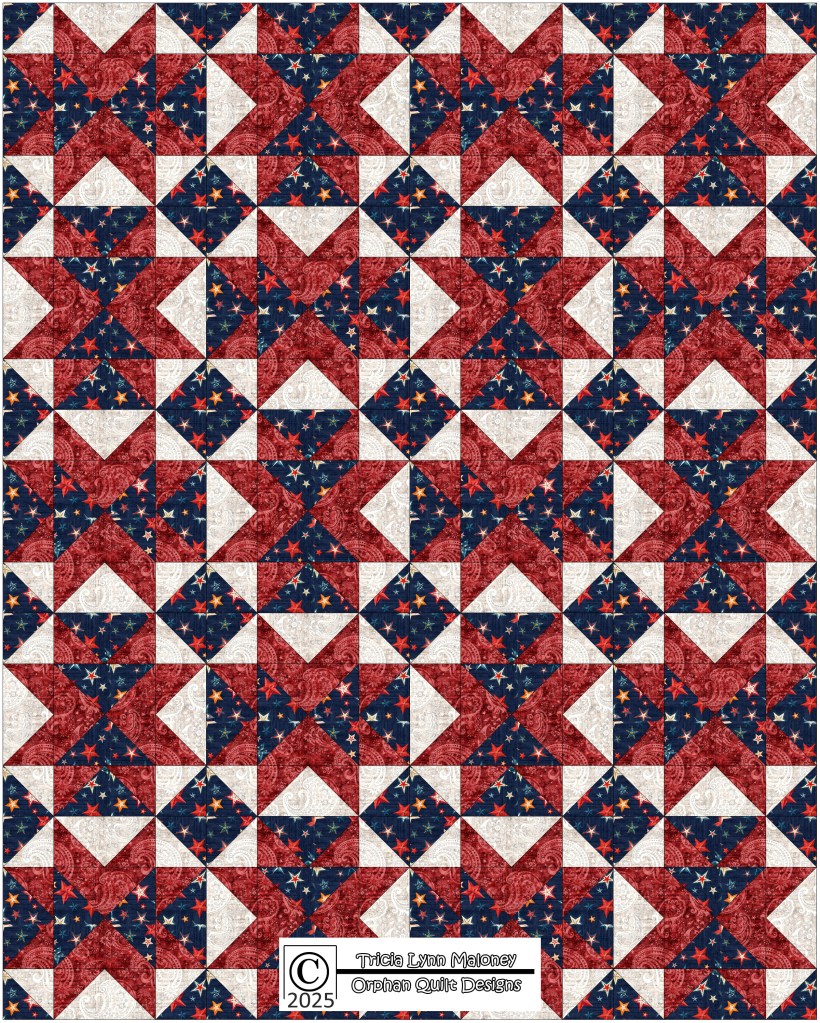
Here’s the new collection of 5 VRD Rose Cards for September. Aren’t they super???

Get the set of 5 print patterns HERE
(Patterns are also available individually both as print and digital versions)
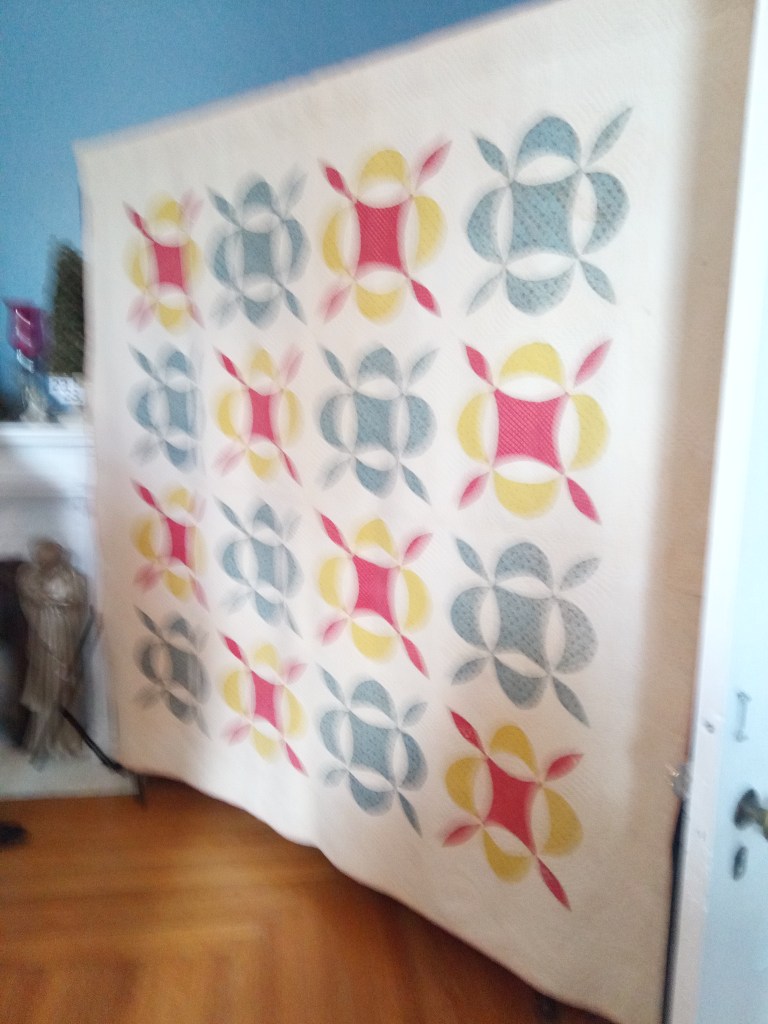
Awestruck by Molly uses 5″ squares and finishes at 44″ x 60″. There are kits still available HERE featuring Tula’s True Colors collection while they last. Totally loving the name!
Melissa wows us with her Pumpkin Parade throw quilt. It uses yardage (or your stash!) and finishes at 45″ x 56″. We still have a few kits left HERE featuring Riley Blake Seasonal fabrics, so grab one before they’re gone.
Pat is back this month with her latest Tim Holtz Palette quilt pattern, Edwina, featuring the Indigo Palette. Edwina finishes at 45″ x 60″ and is fat quarter friendly. Kits are still available, but going fast, so get yours HERE.
Besties is my new throw-sized quilt pattern this month. It’s fat quarter friendly and finishes at 48″ x 64″. We have kits featuring Anna Maria’s Iconic collection (see below) still available HERE.

Besties in the Iconic Collection
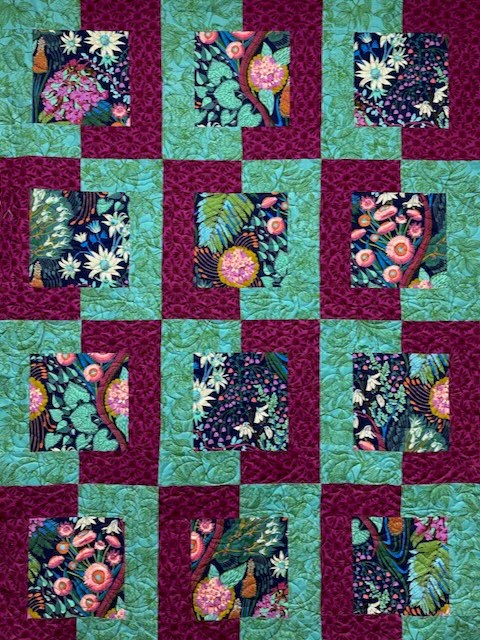
Viroqua is Rachelle’s latest smashing mod pattern. It finishes at 42″ x 48″ and uses half yards and yardage (stash friendly!). There are kits still available HERE featuring Windham’s Sketchbook 21 collection (see below).

Viroqua in the Sketchbook 21 collection (please disregard the 2 mistakes where we turned the HSTs the wrong way – it’s getting fixed as we speak)
Last, but certainly not least is this month’s new table runner, Beachcomber. I’m sorry I missed the deadline boat last month with this fun runner, but I think it’s not too late to have just a wee bit more summer before it’s officially autumn on September 22nd.
You can really use just about any fabric collection or your stash for this fun and clever runner. Beachcomber finishes at 18″ x 54″ and uses yardage. Autumn? Halloween? Thanksgiving? Christmas? And the list goes on. Have you ever thought about making a 2 sided runner with 2 different seasons….here’s your chance!

Get your digital Beachcomber pattern HERE or your print pattern HERE.
Now we’ve covered all of the new September patterns, which one will you make first?
OH! One last little thing about the new patterns – Melissa’s new Pumpkin Parade throw quilt is a fabulous companion to our best-selling Pumpkin Hollow table runner.

Get your Pumpkin Hollow digital pattern HERE or print pattern HERE.
All right, moving on, let’s dive into this week’s quilt tutorial – Cinnamon Stix.
VRD Cinnamon Stix Quilt Tutorial
Cinnamon Stix is a great pattern for a favorite fabric collection. You can use a stripe or even a seasonal/novelty fabric in the long strips, so it’s really versatile. Then simply add your coordinating fabrics for the Stix, a sashing, and border. Cinnamon Stix is fat quarter friendly and finishes at a nice 46″ x 63″.

Get your Cinnamon Stix digital pattern HERE or your print pattern HERE.
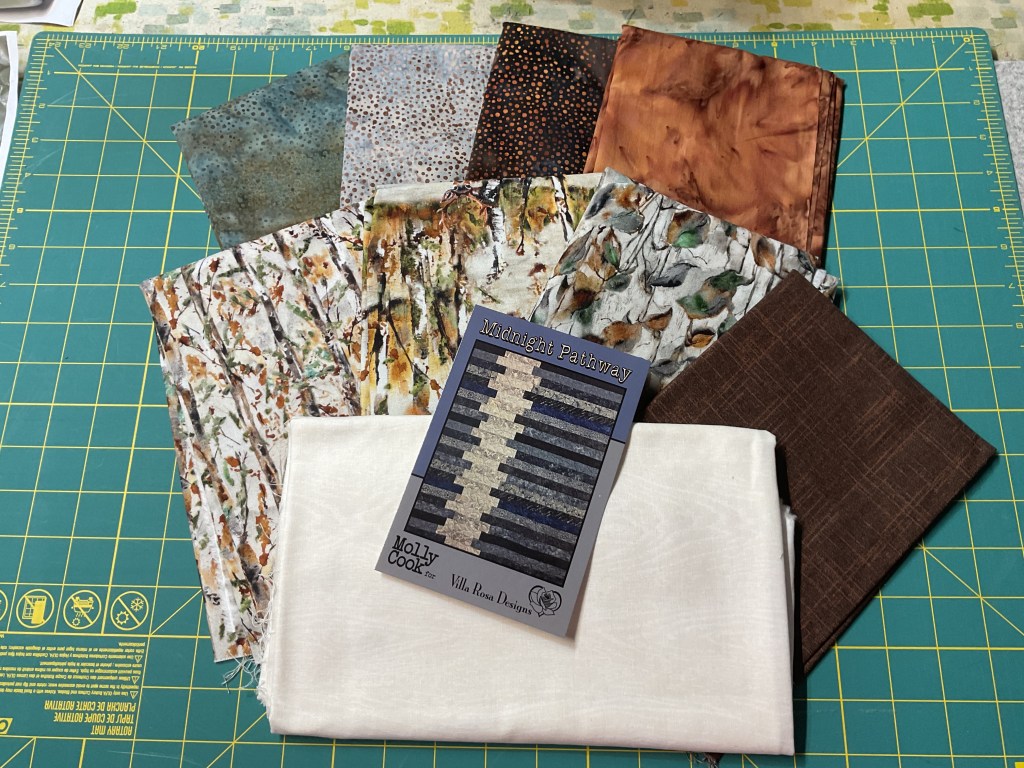
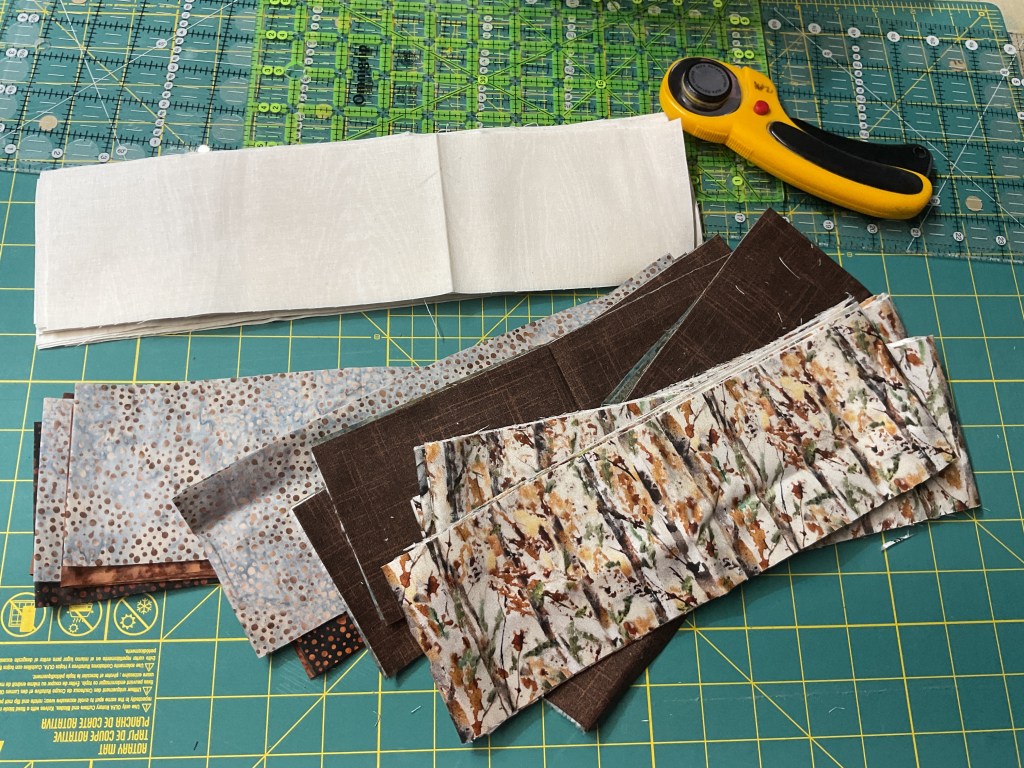
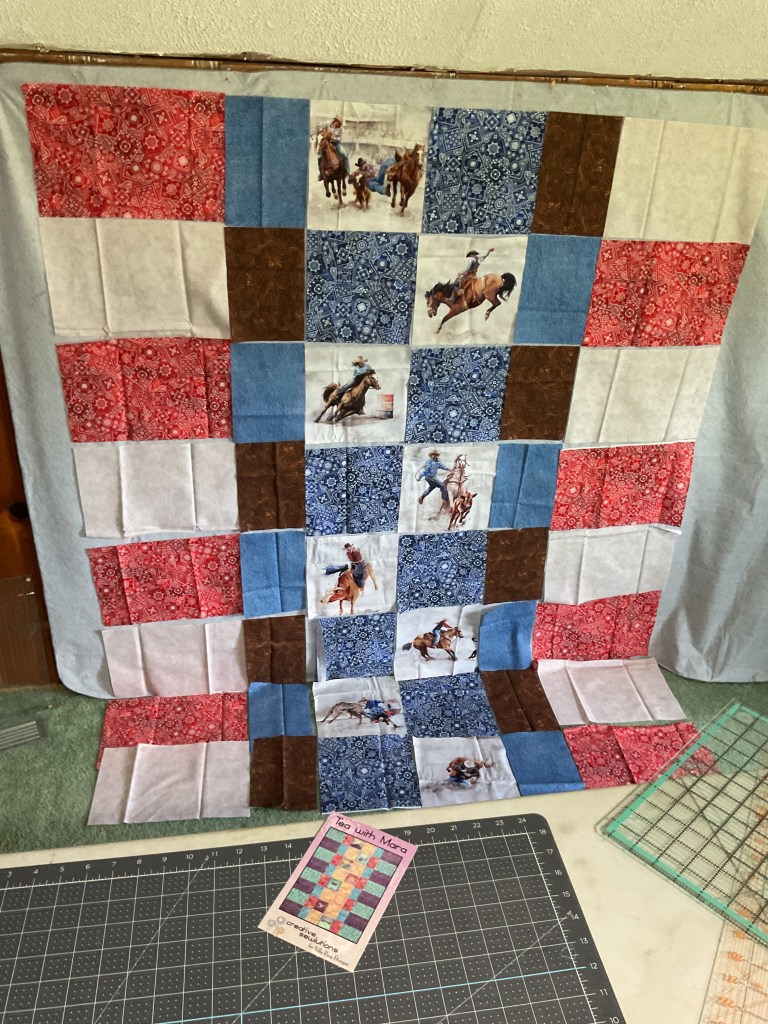
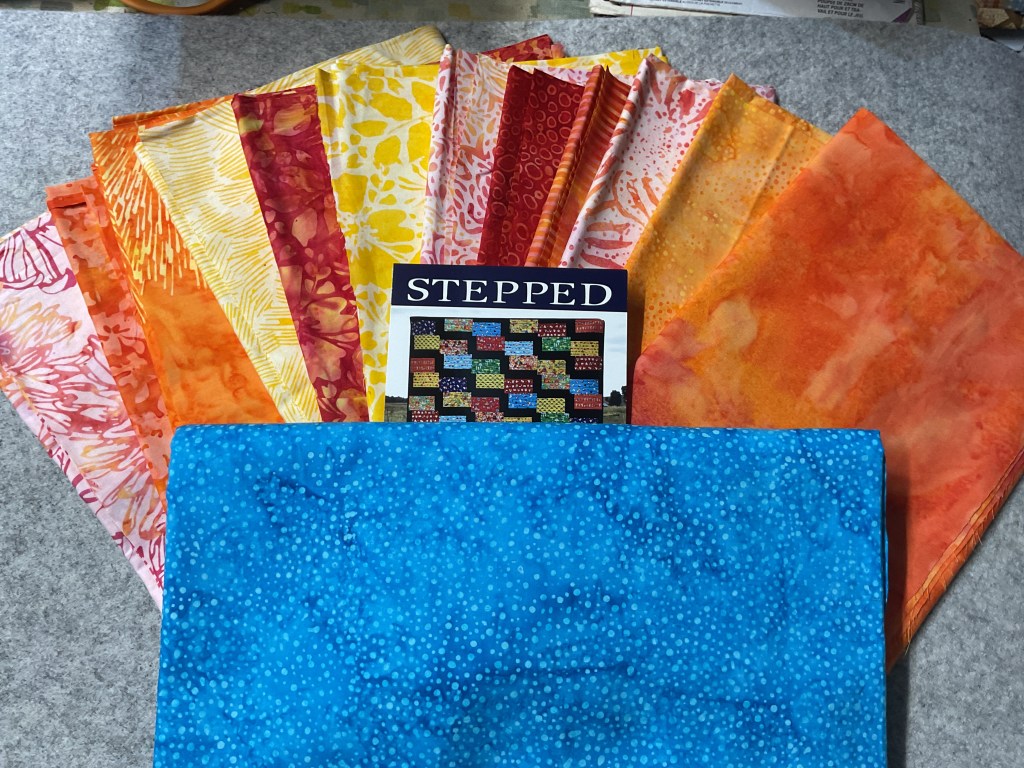
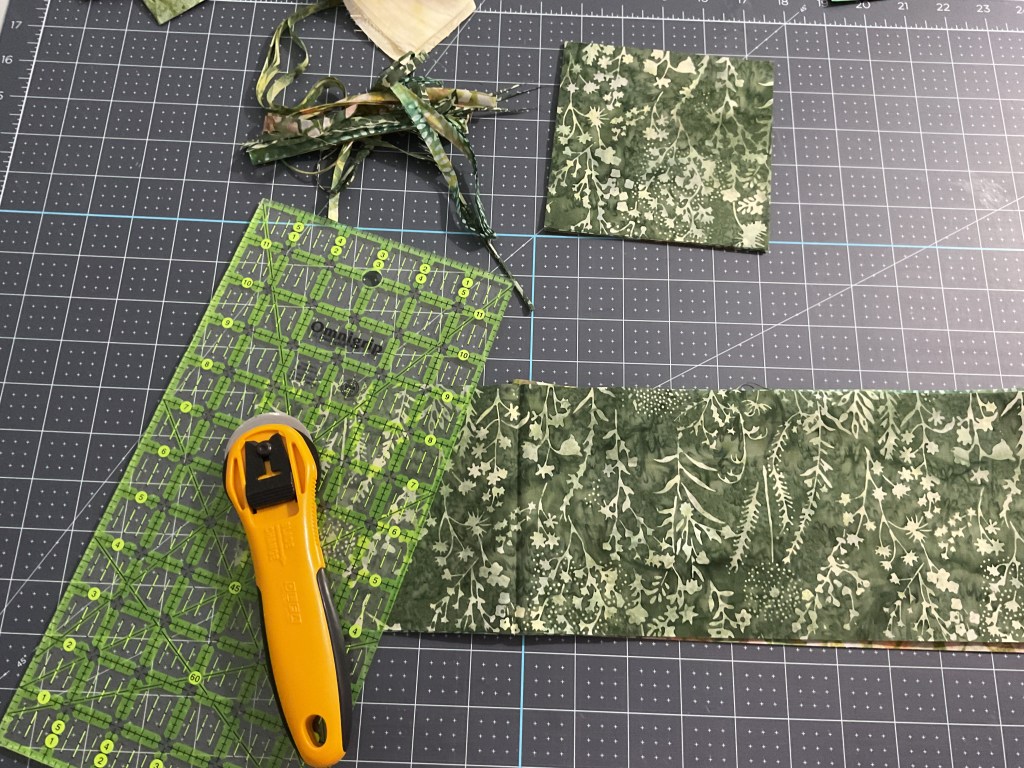
I promised you a few weeks ago that I was going to have another quilt featuring Hoffman’s Rodeo Dreams digital collection – well, here it is! Today we’re using the border stripe in the collection along with fun coordinates, including a few batiks.

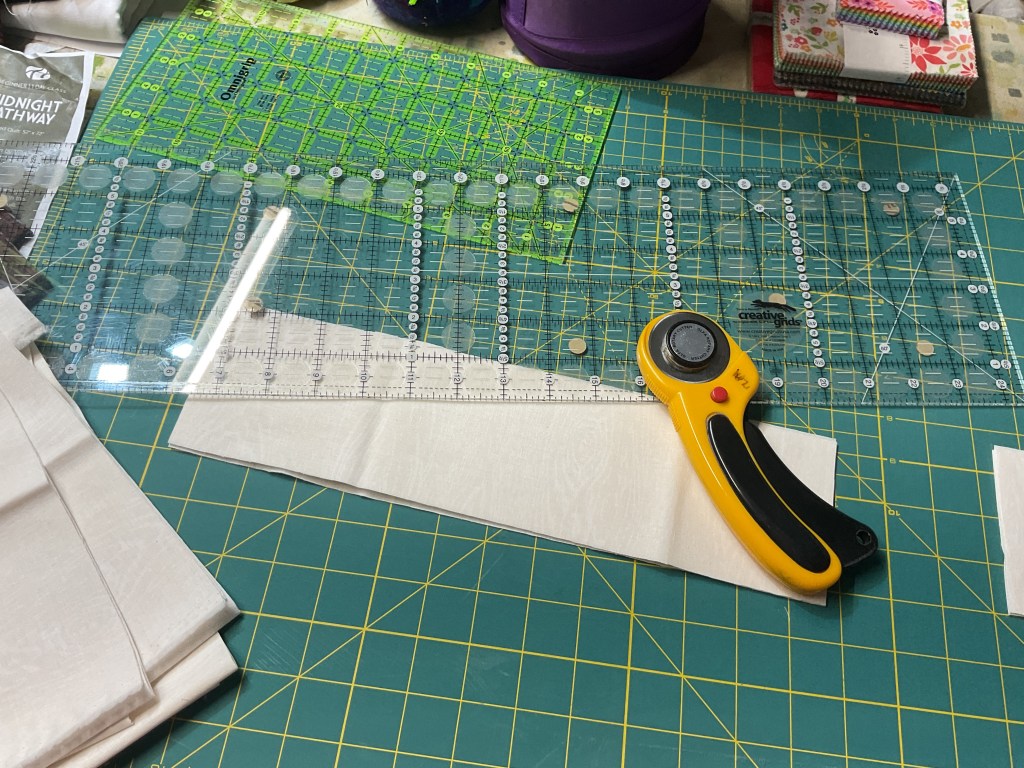
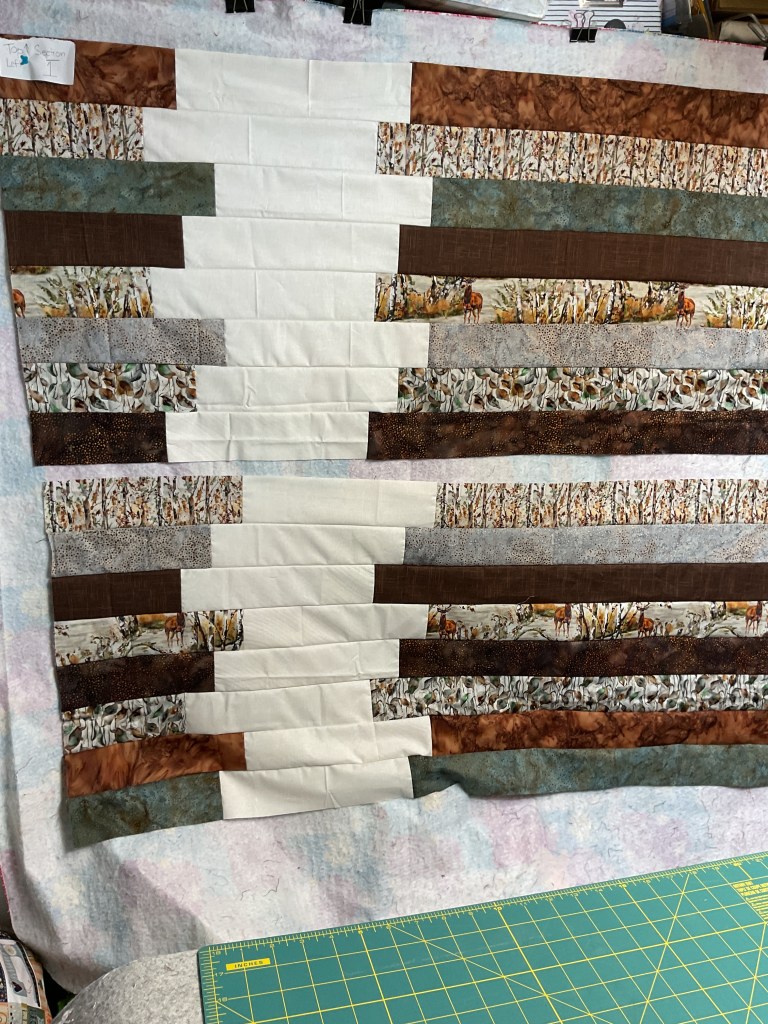
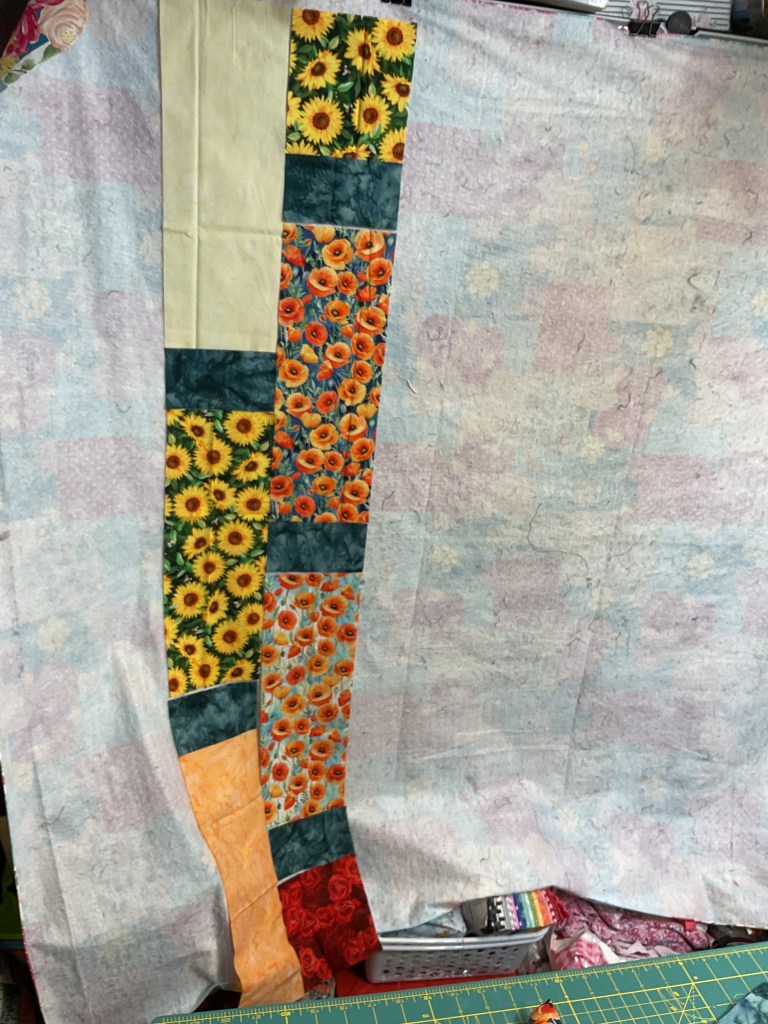
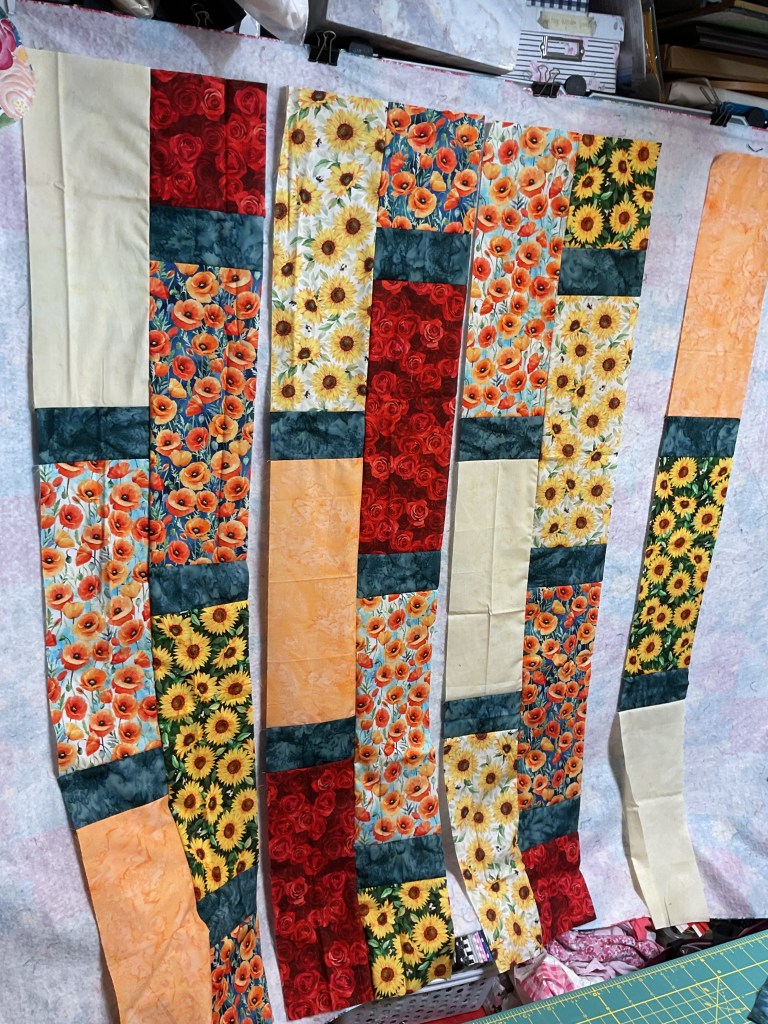
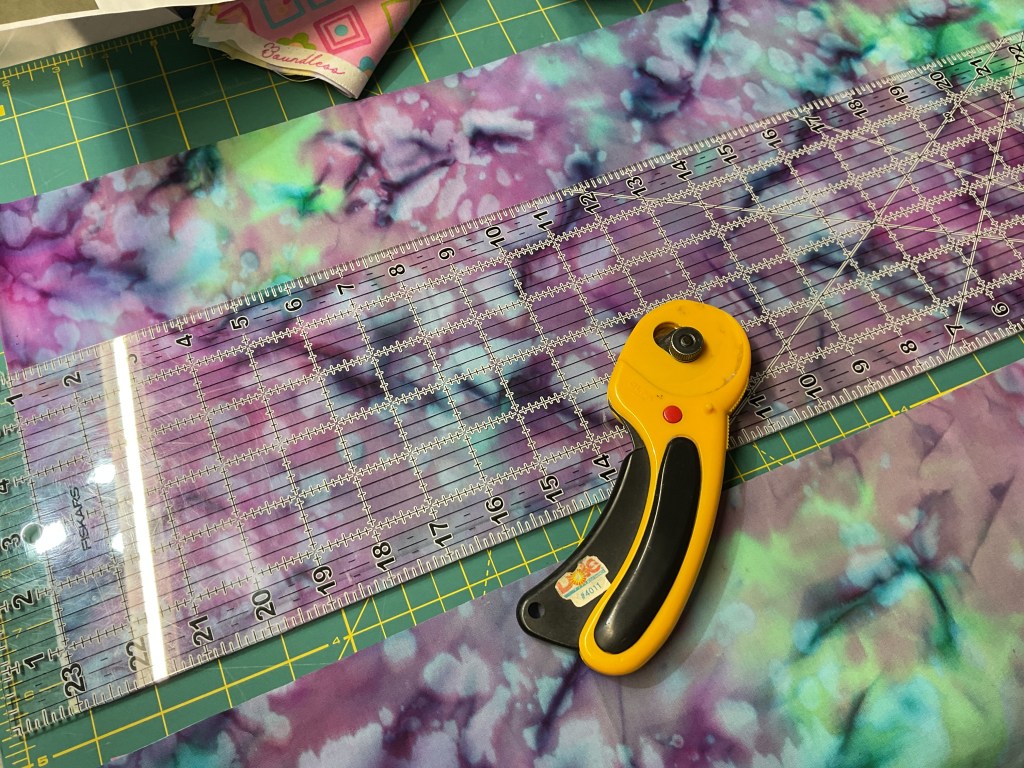
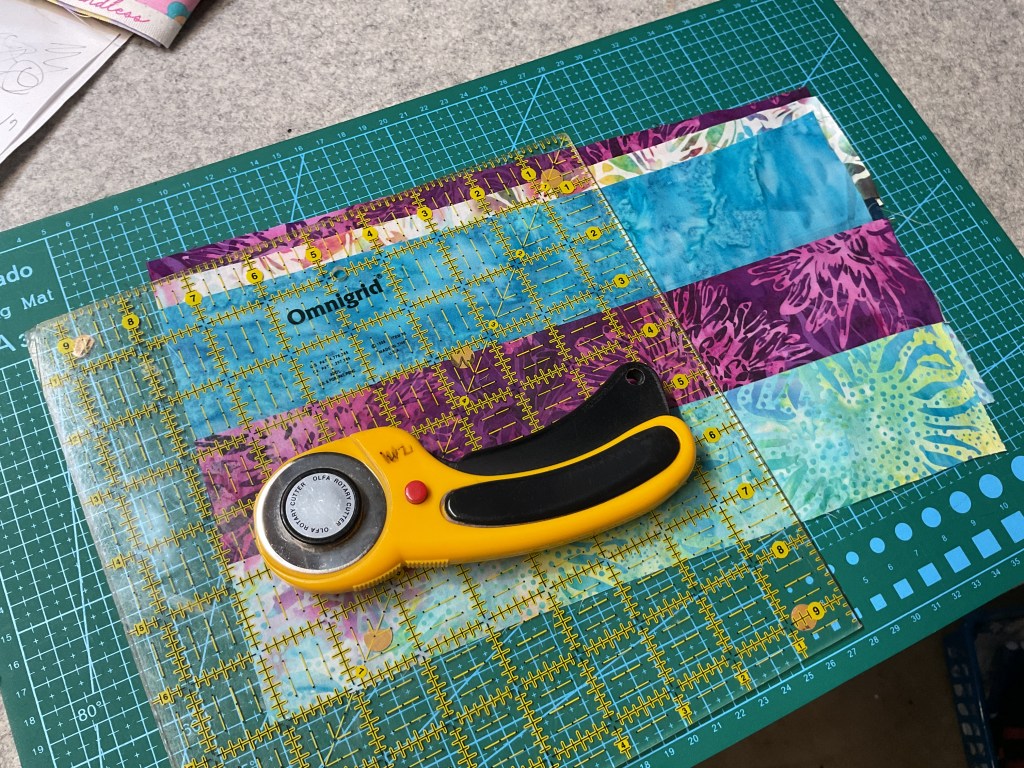
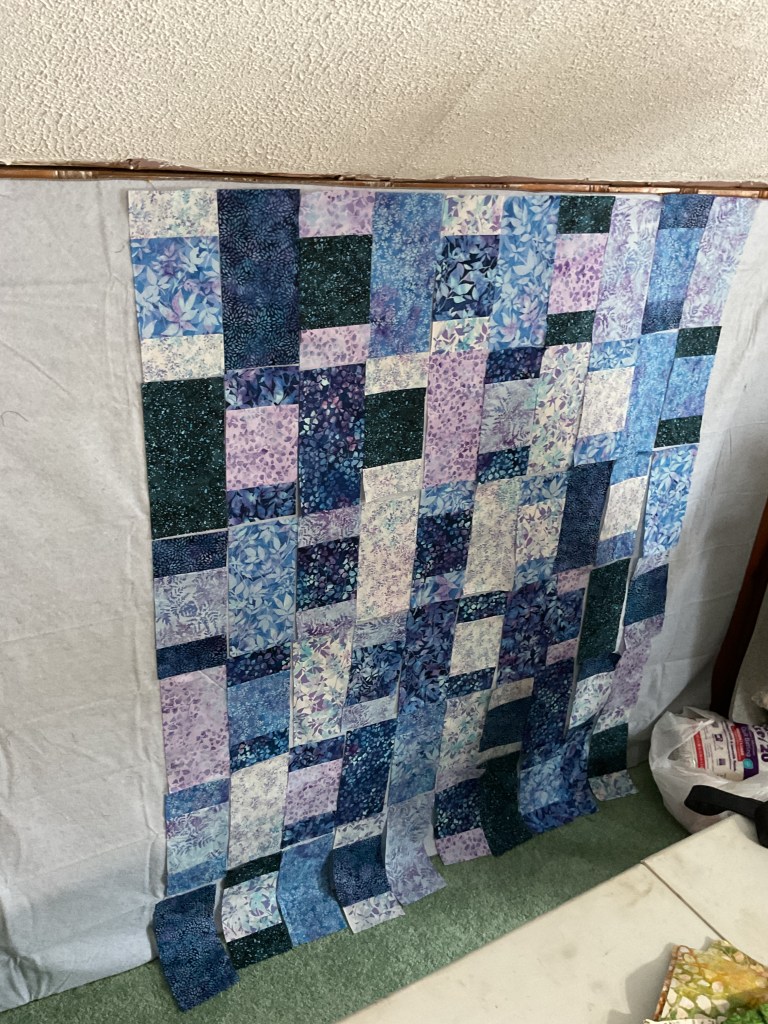
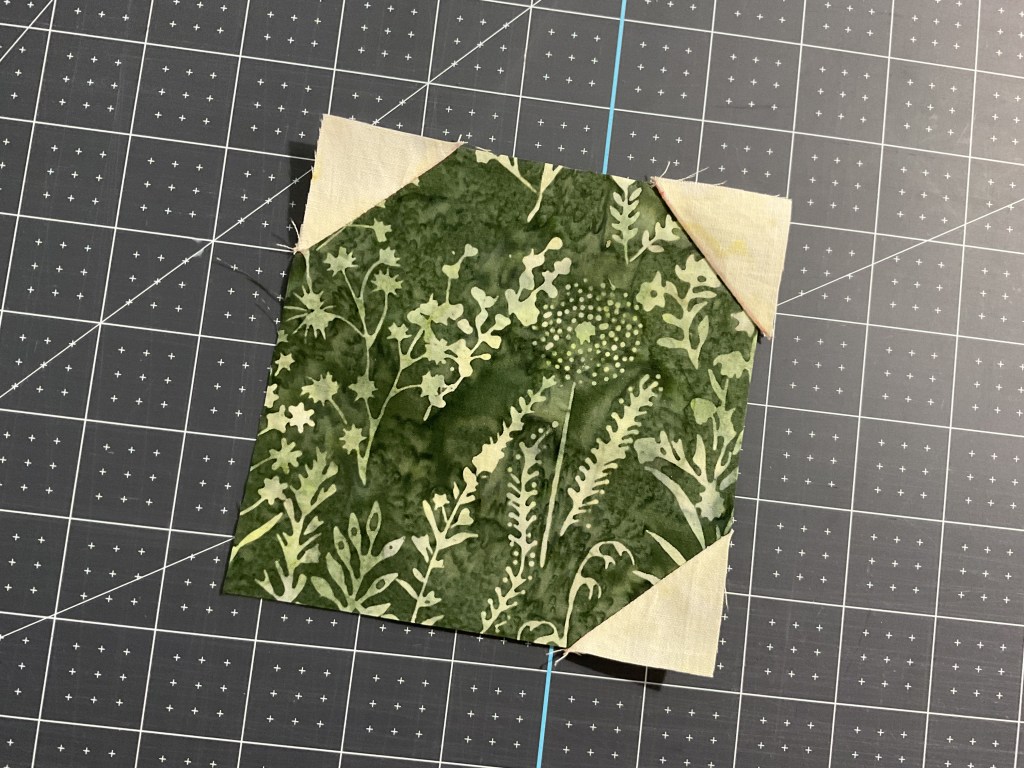
First up, we’re going to cut out the Stix for the 3 pieced Stix rows.

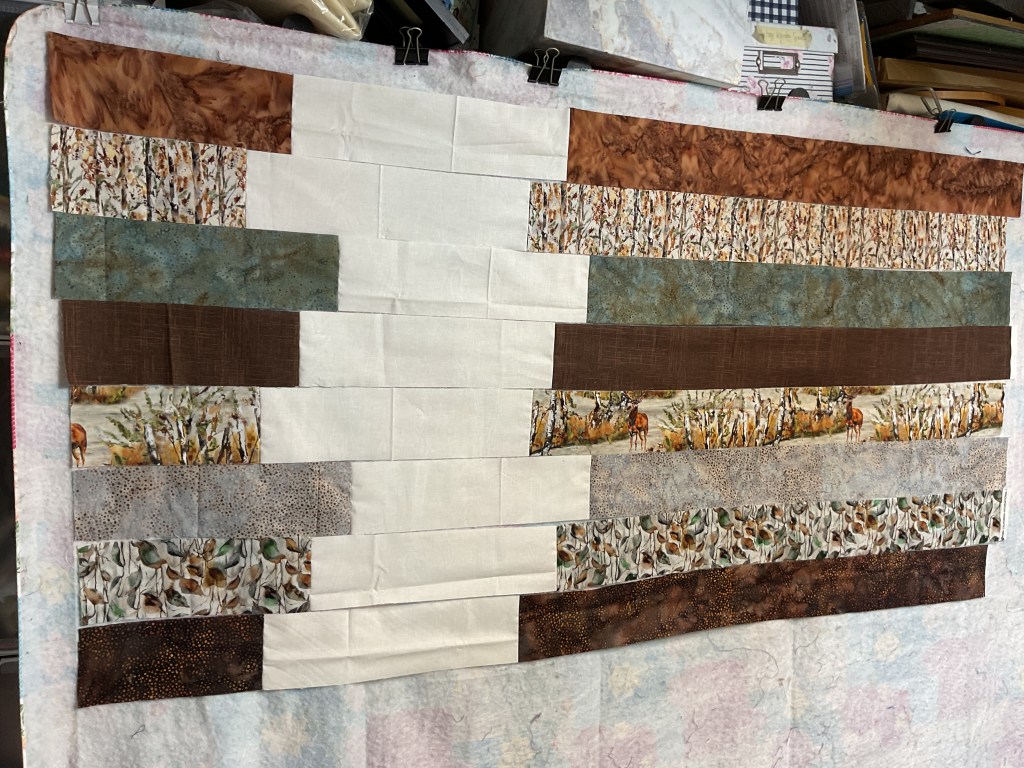
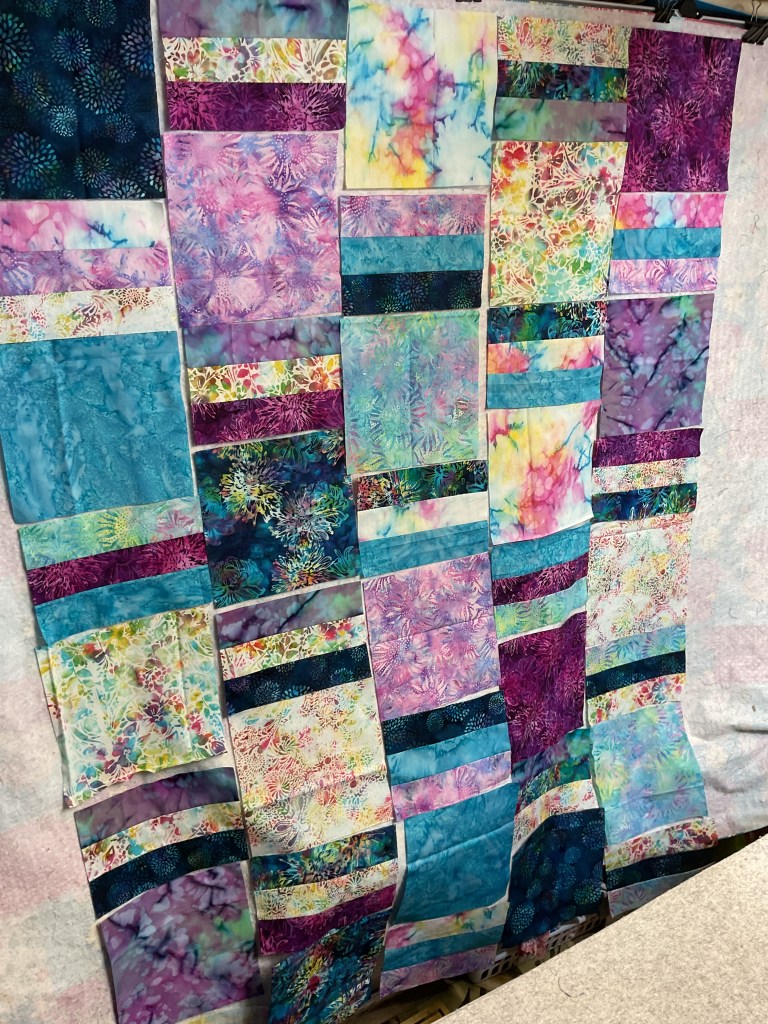
Once we’ve gotten all of the Stix cut, we’re going to slap them up on the design wall so we can arrange and rearrange them until we’re happy with the fabric placement.
Heads up – because the Stix are cut different widths, each row might look a bit different, depending on how you arrange your Stix.

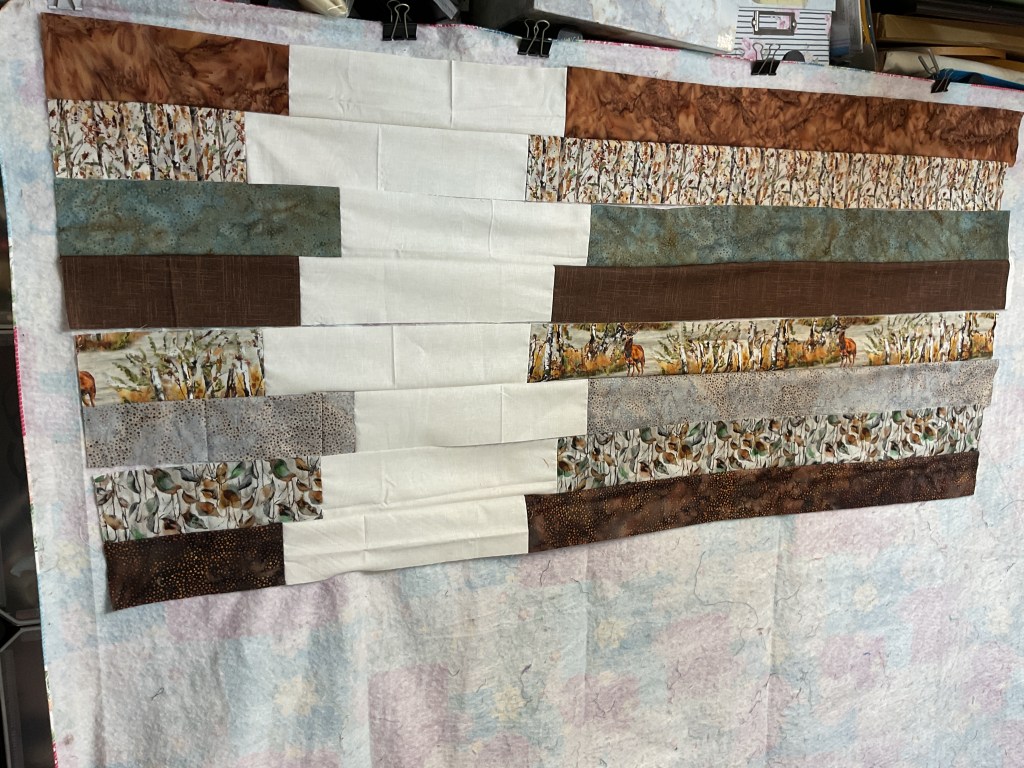
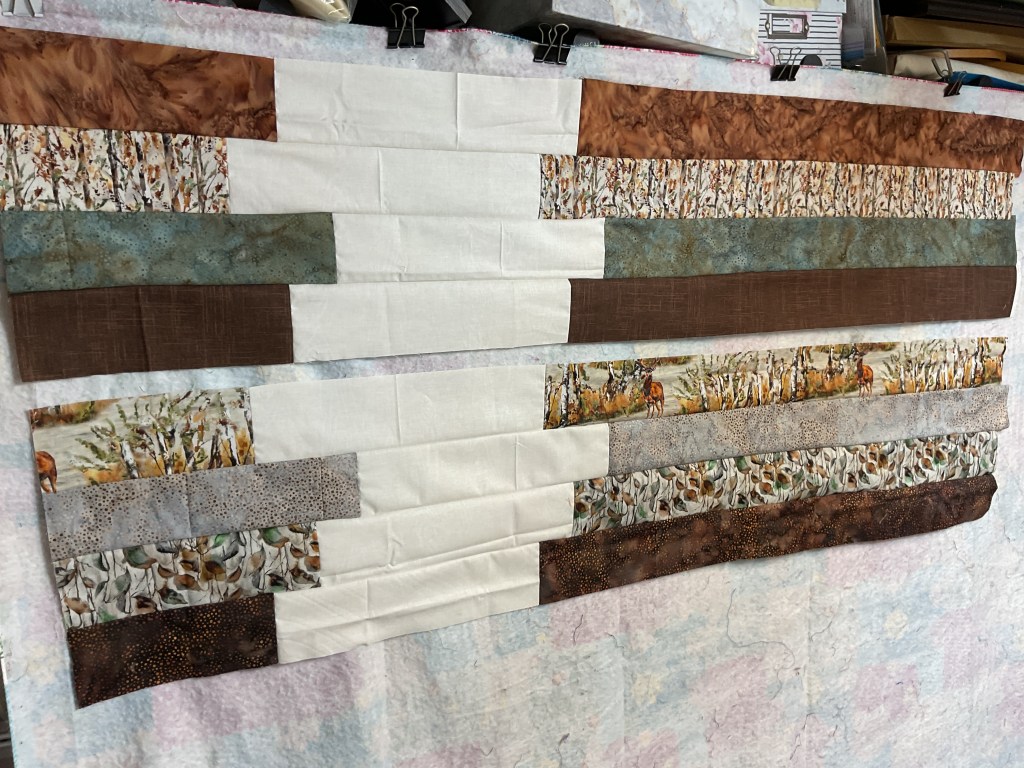
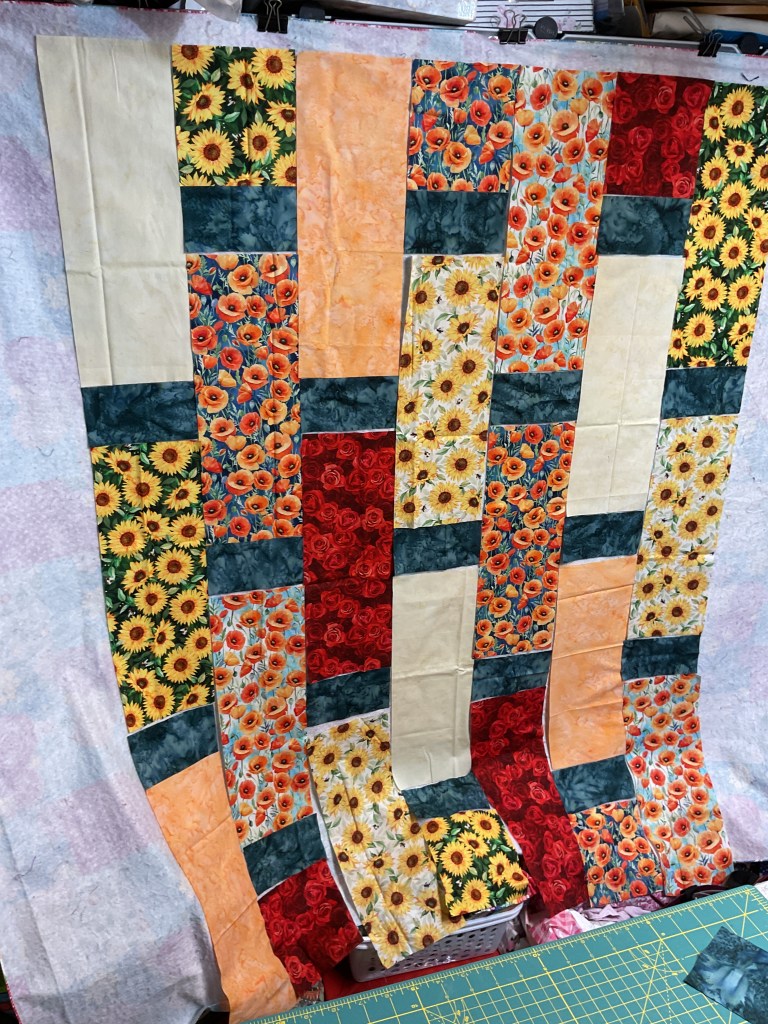
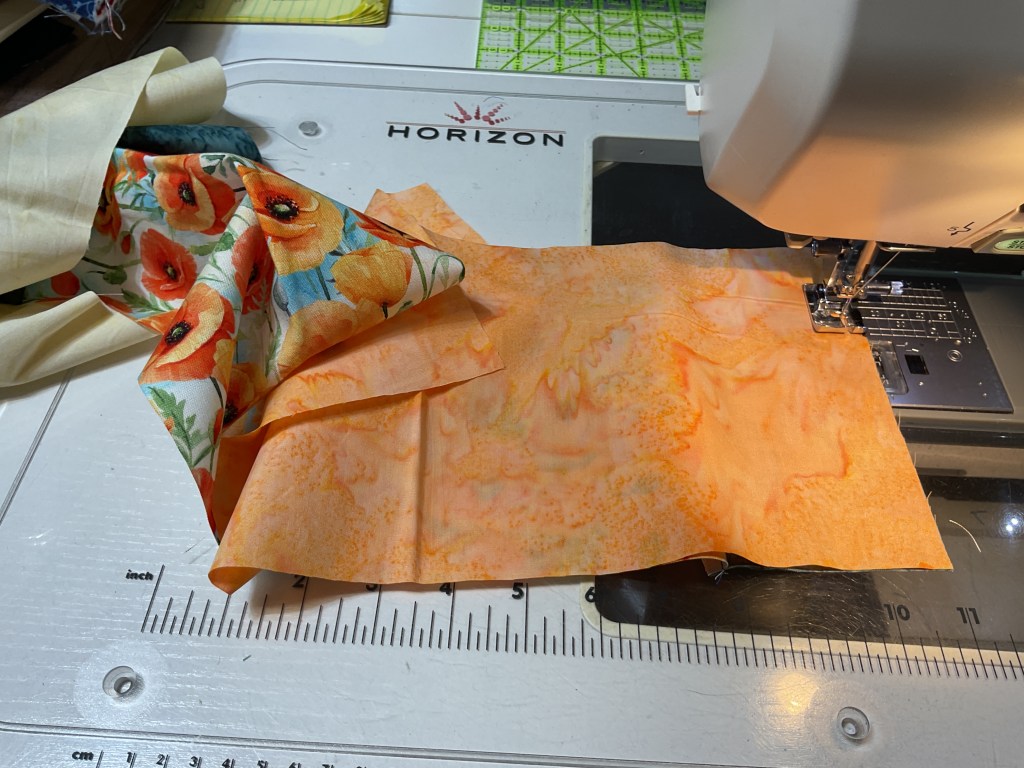
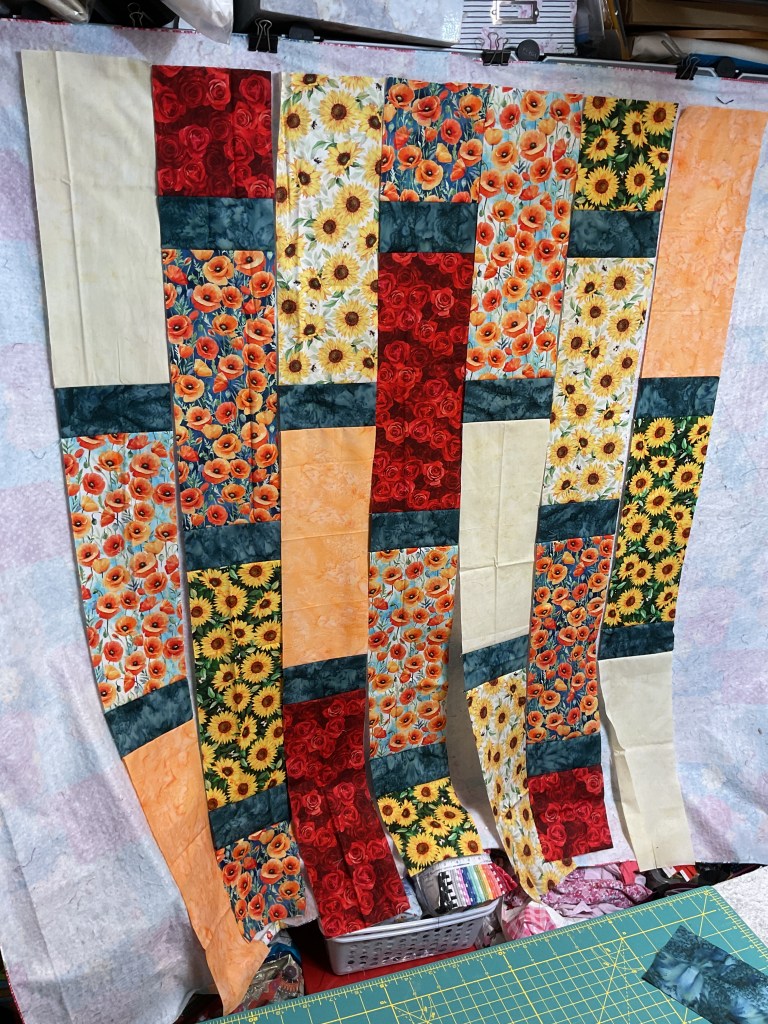
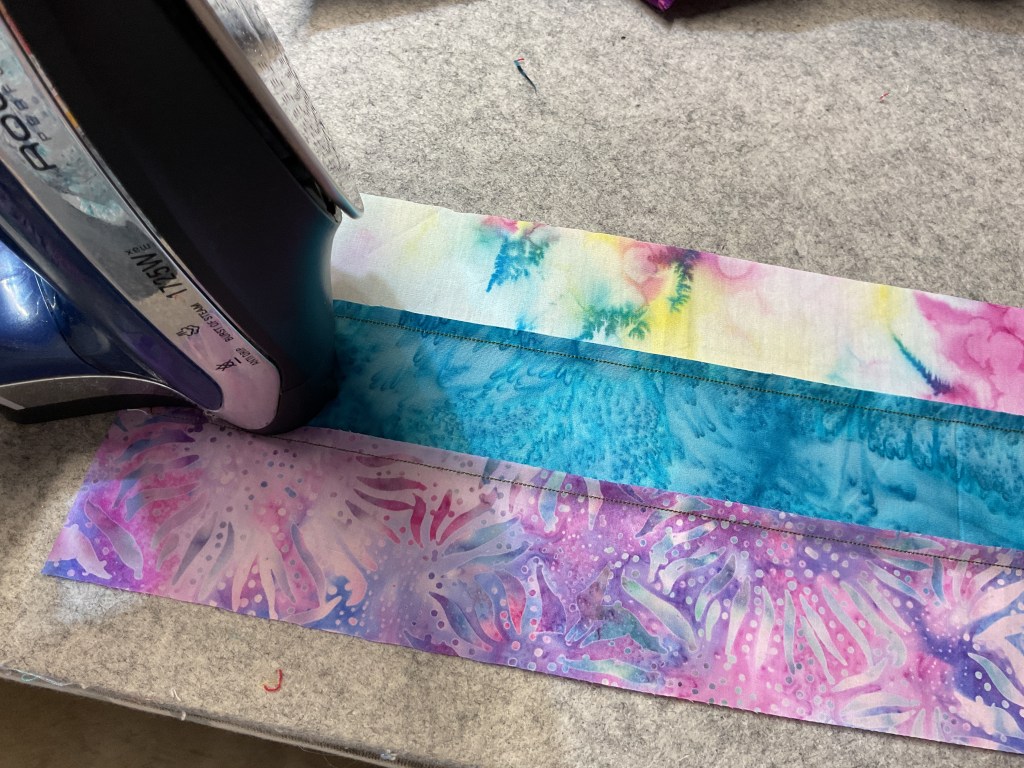
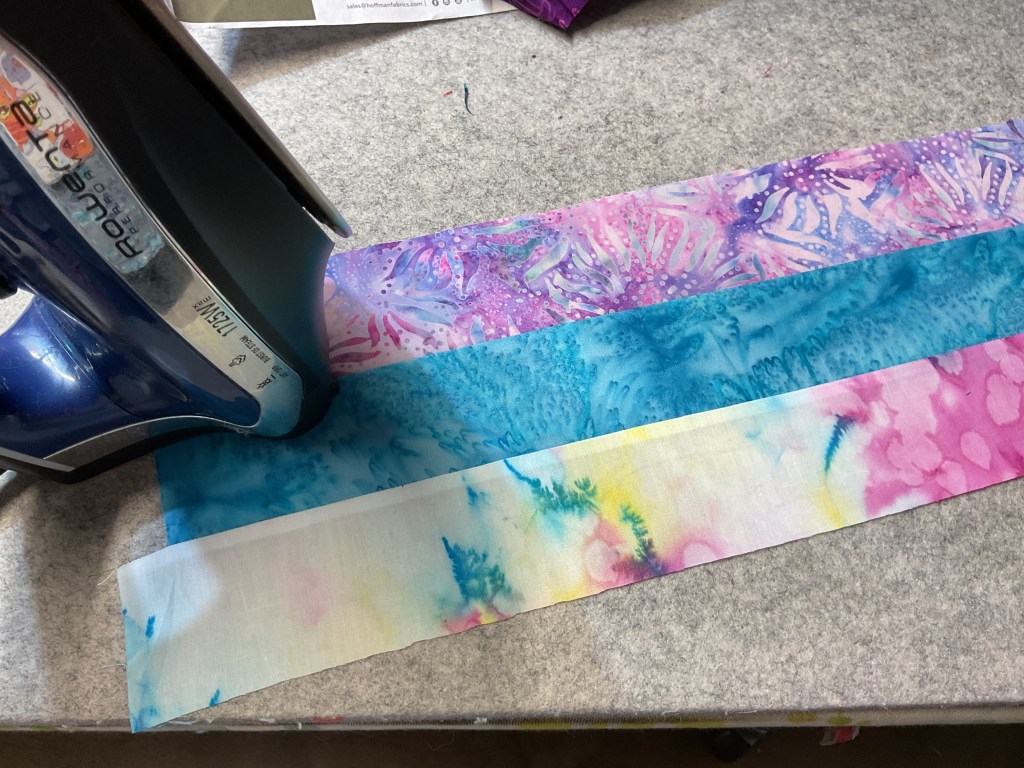
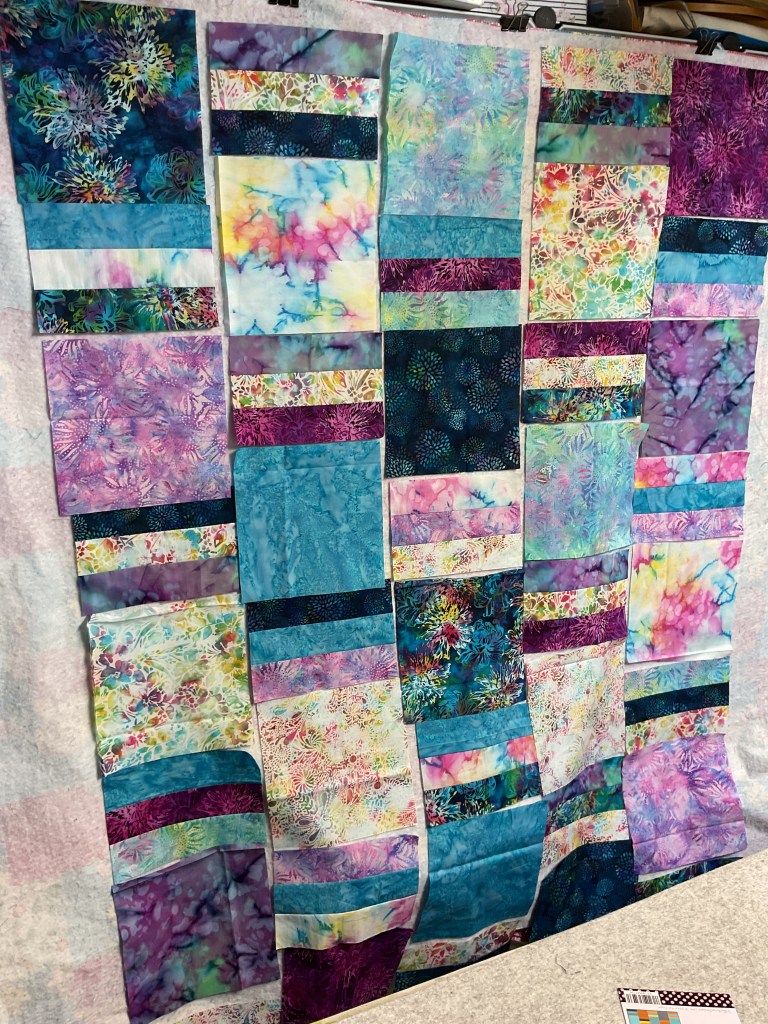
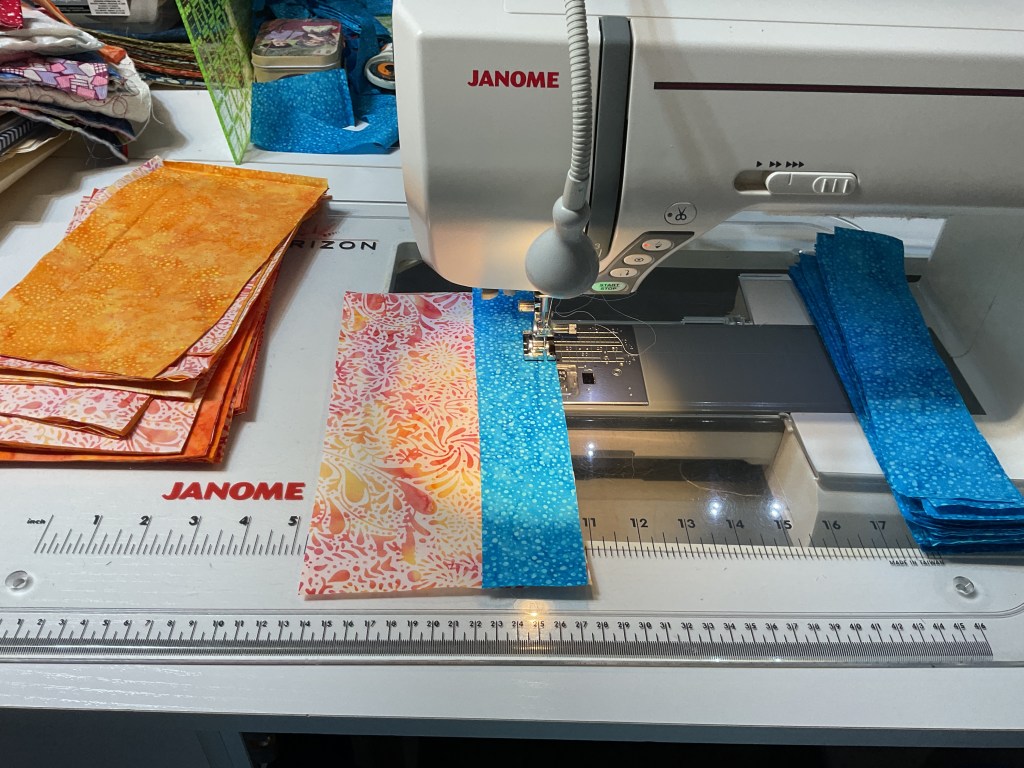
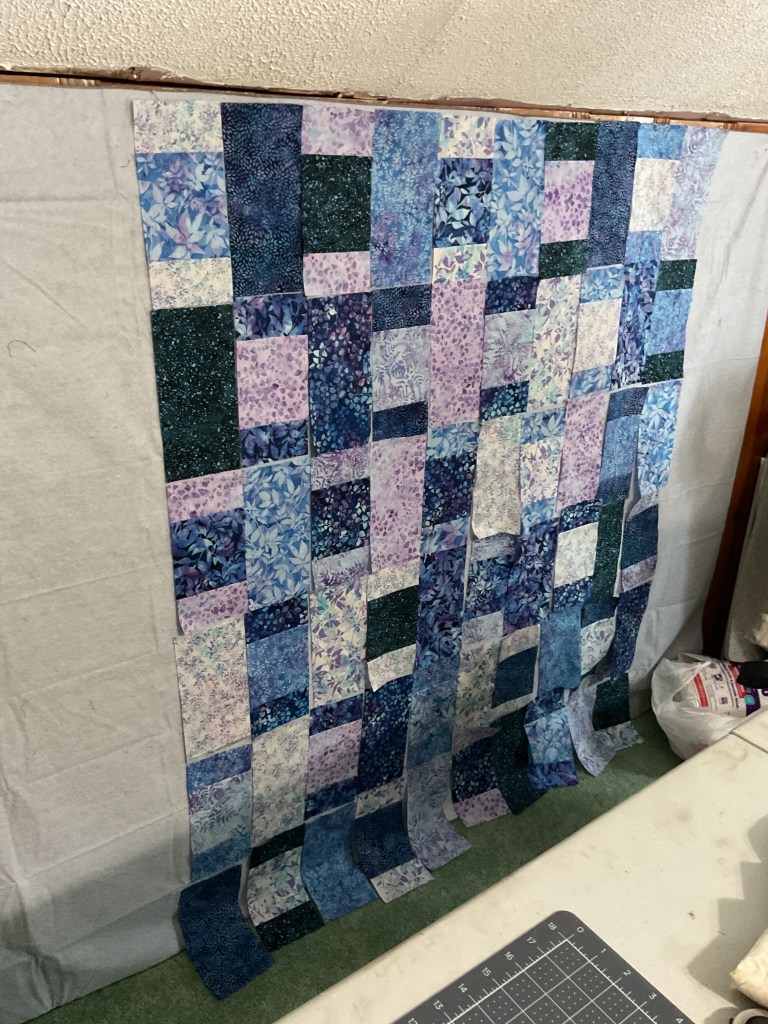
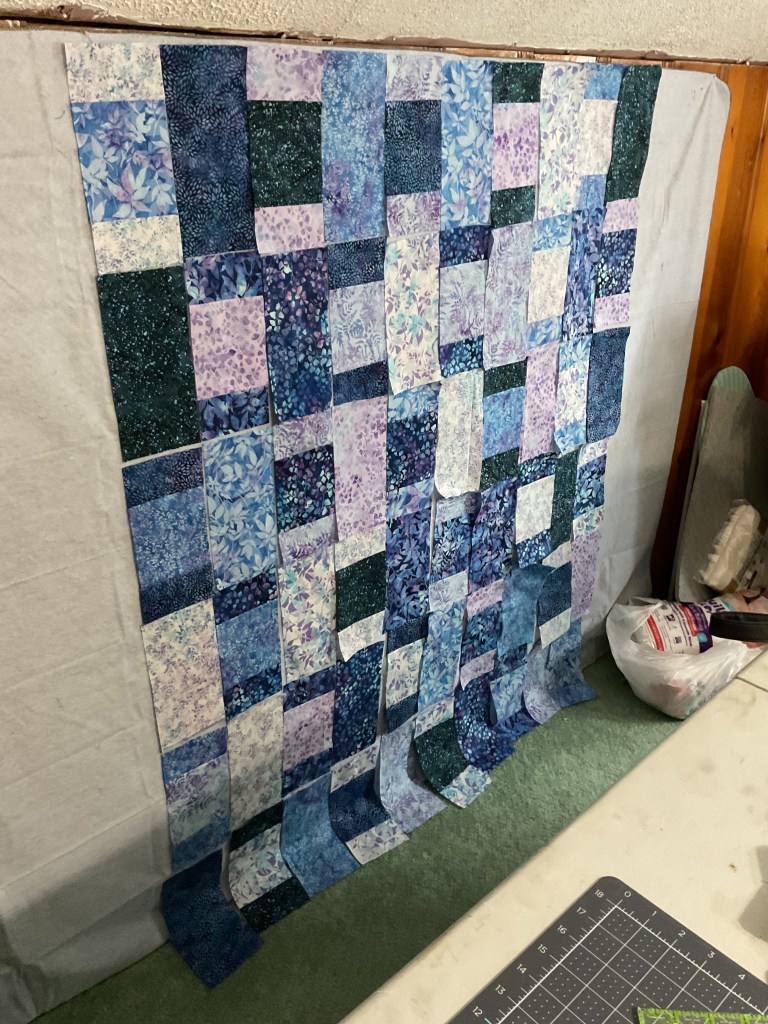
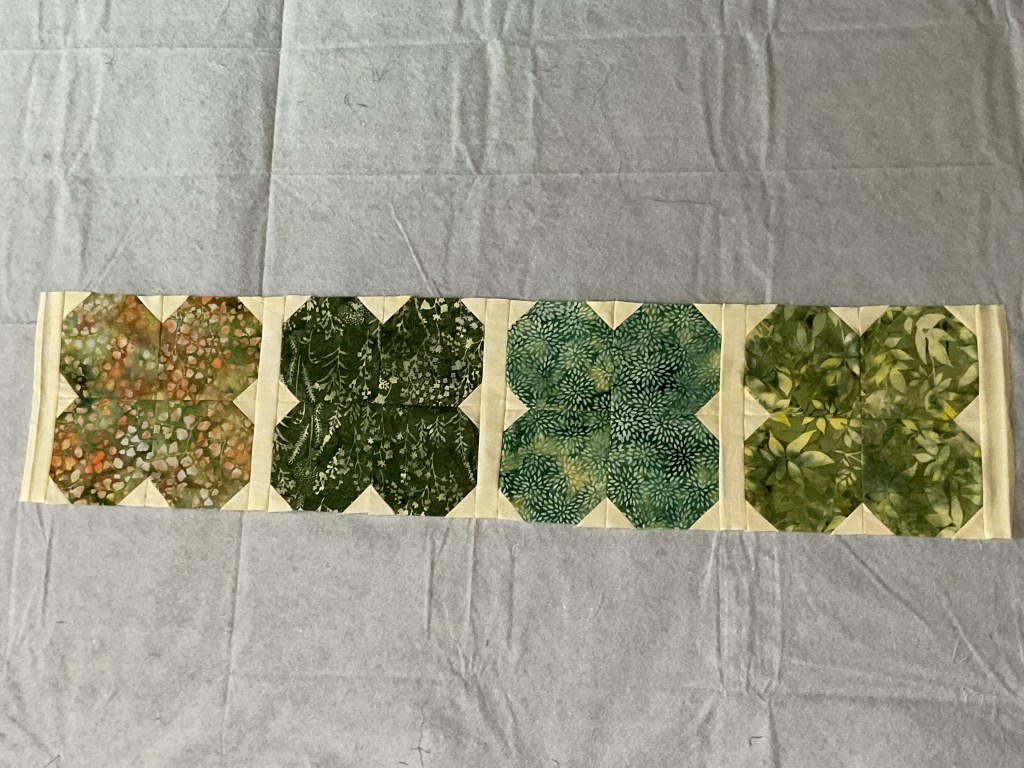
Now we’re happy with how the Stix rows look, so it’s time to sew them together. I like to sew them into pairs, then sew the pairs into quads, and so on until all the pieces are stitched together into a row. Then repeat for the next 2 rows.

Okay, all the Stix are sewn together into 3 rows. Lookin’ good!

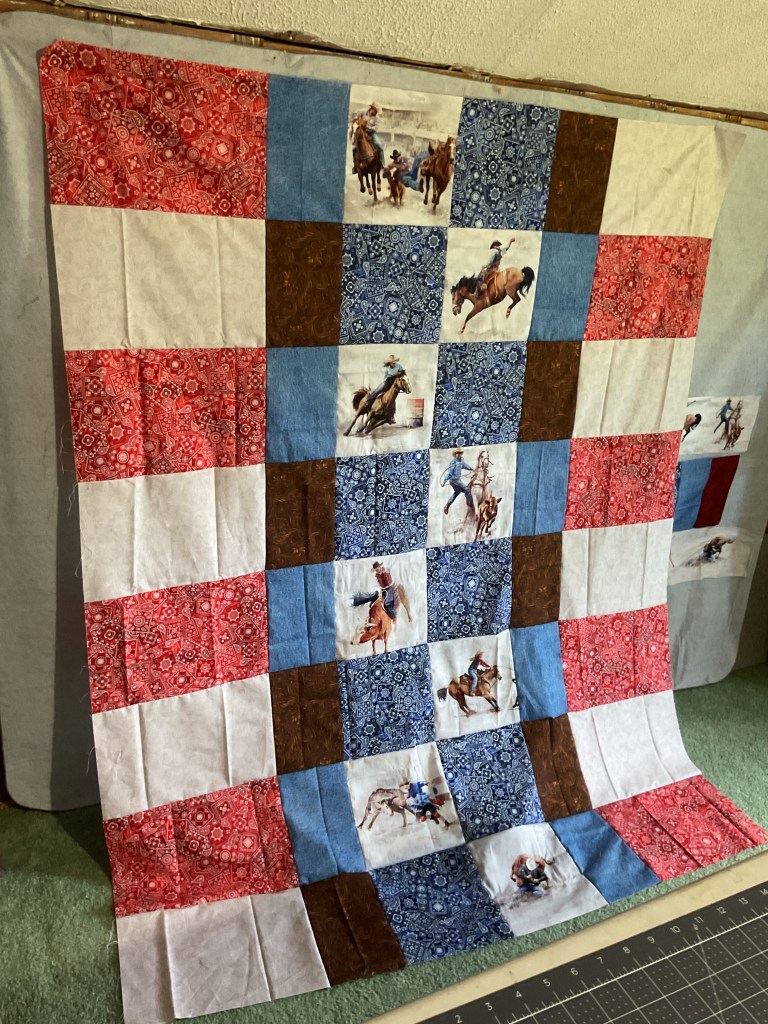
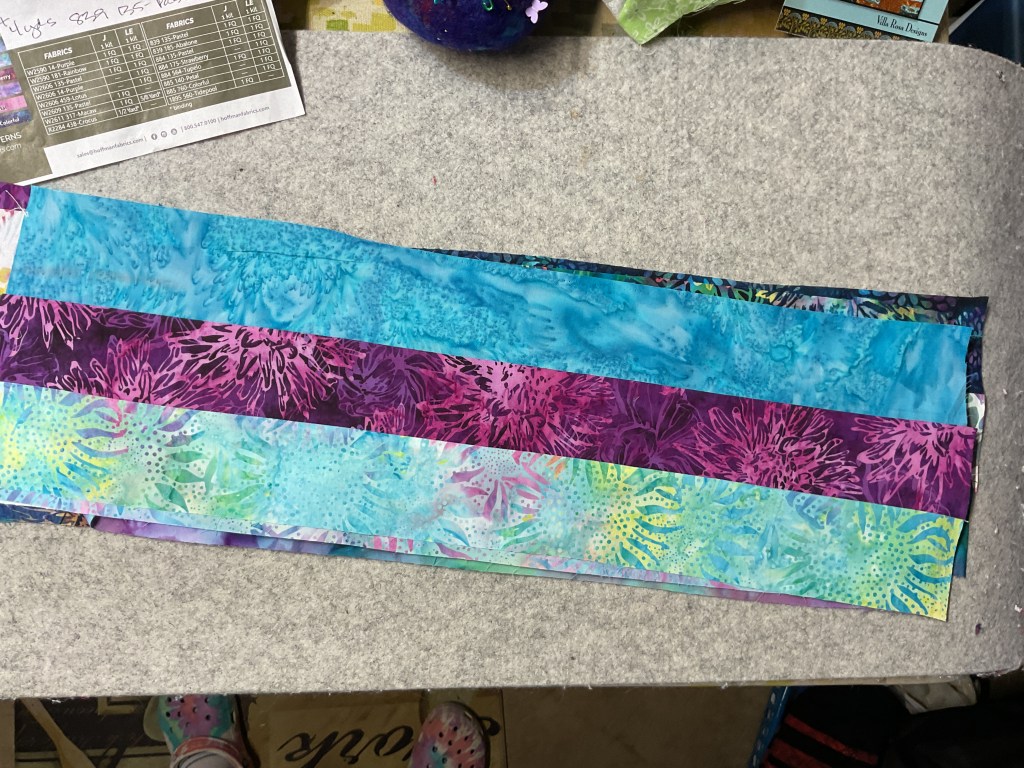
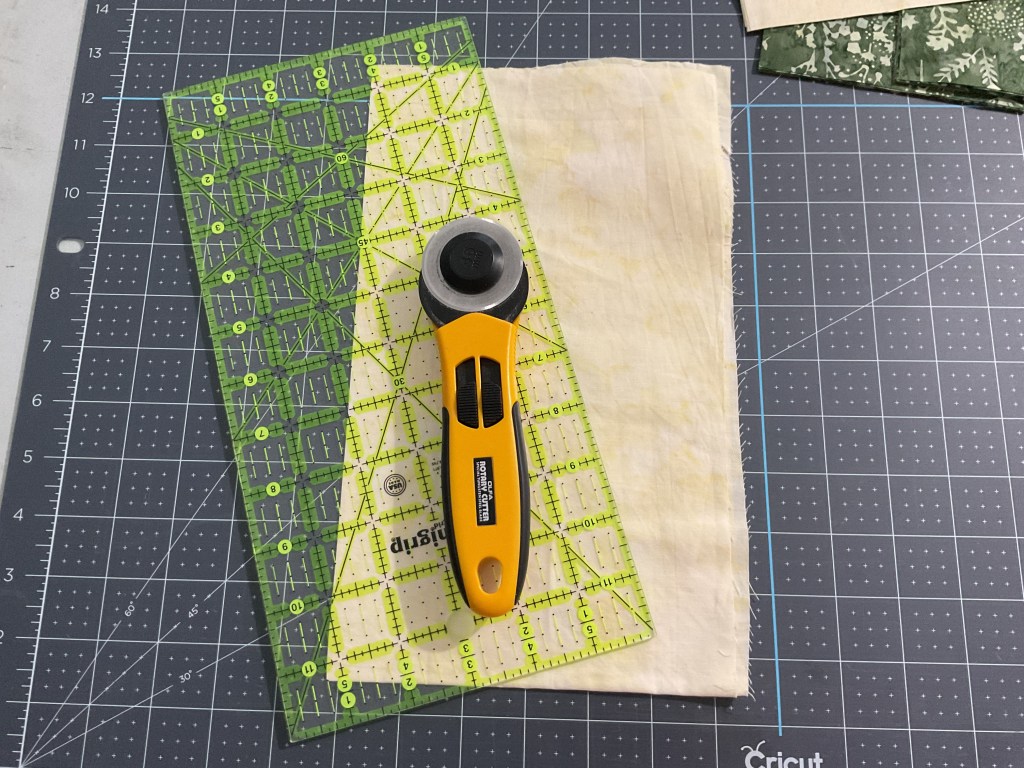
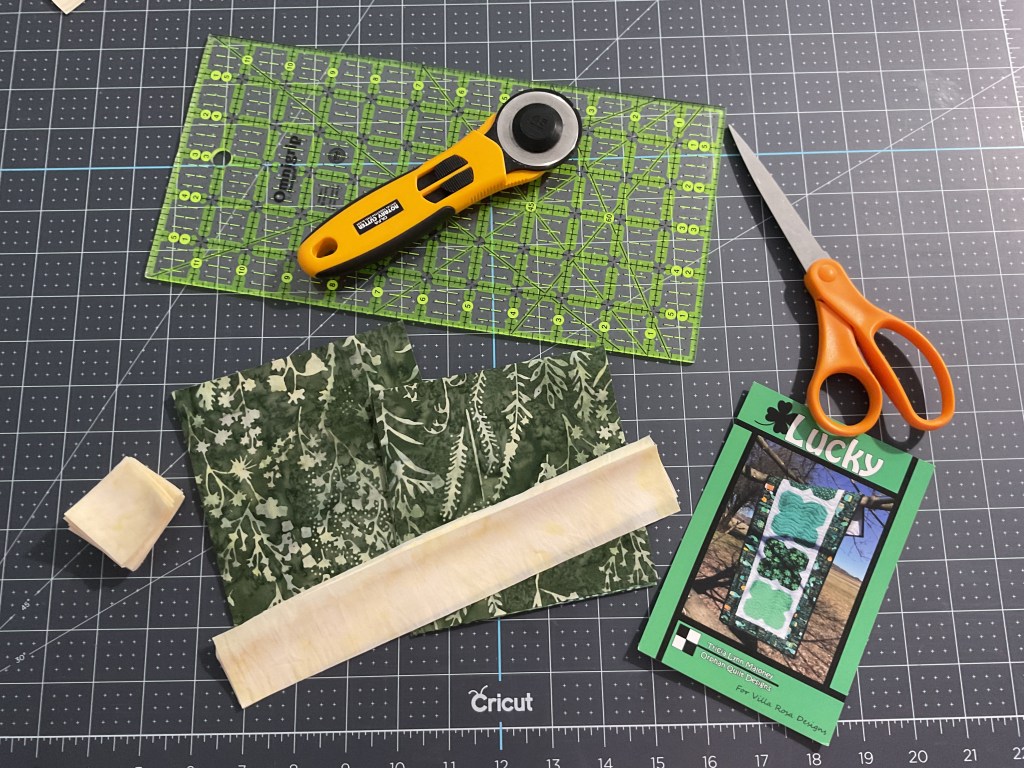
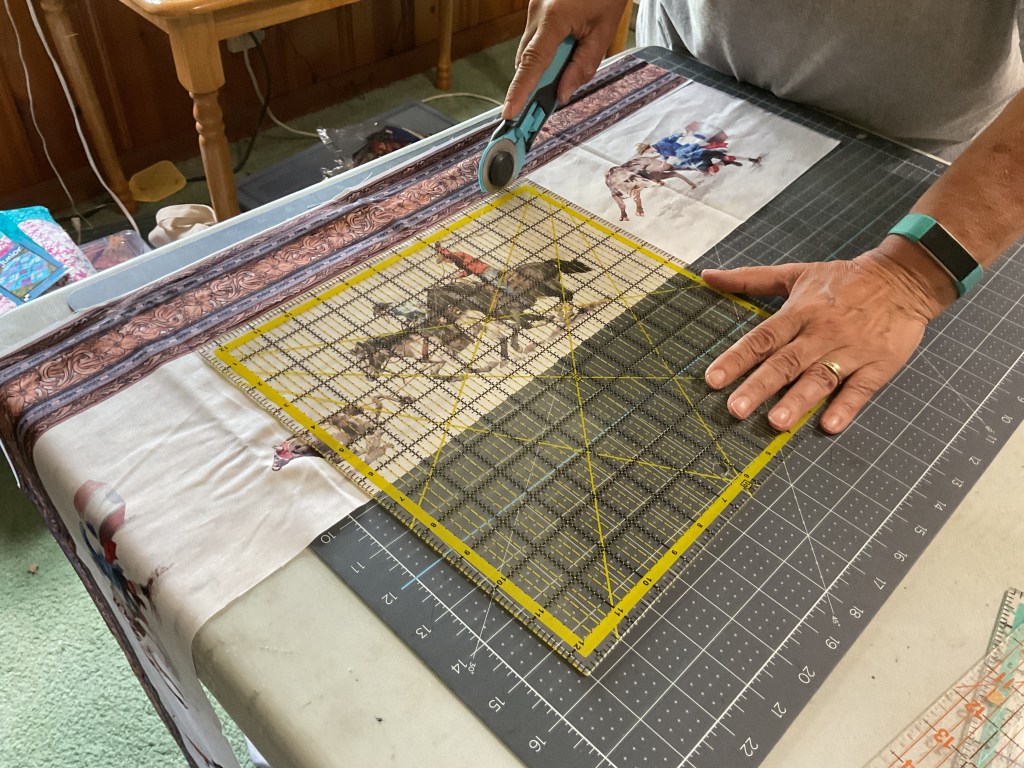
Next let’s work on prepping and cutting the Rodeo border stripe fabric. My pal (and cousin), Robin, is helping me out with this tutorial today – we’re working on it in her sewing room.
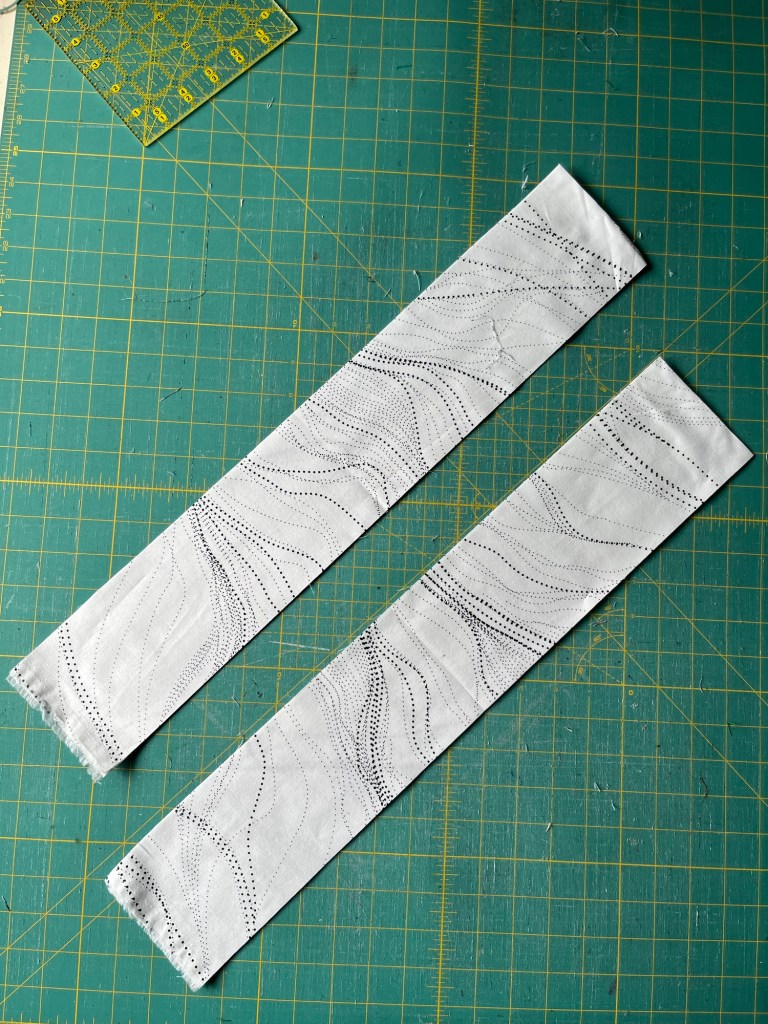
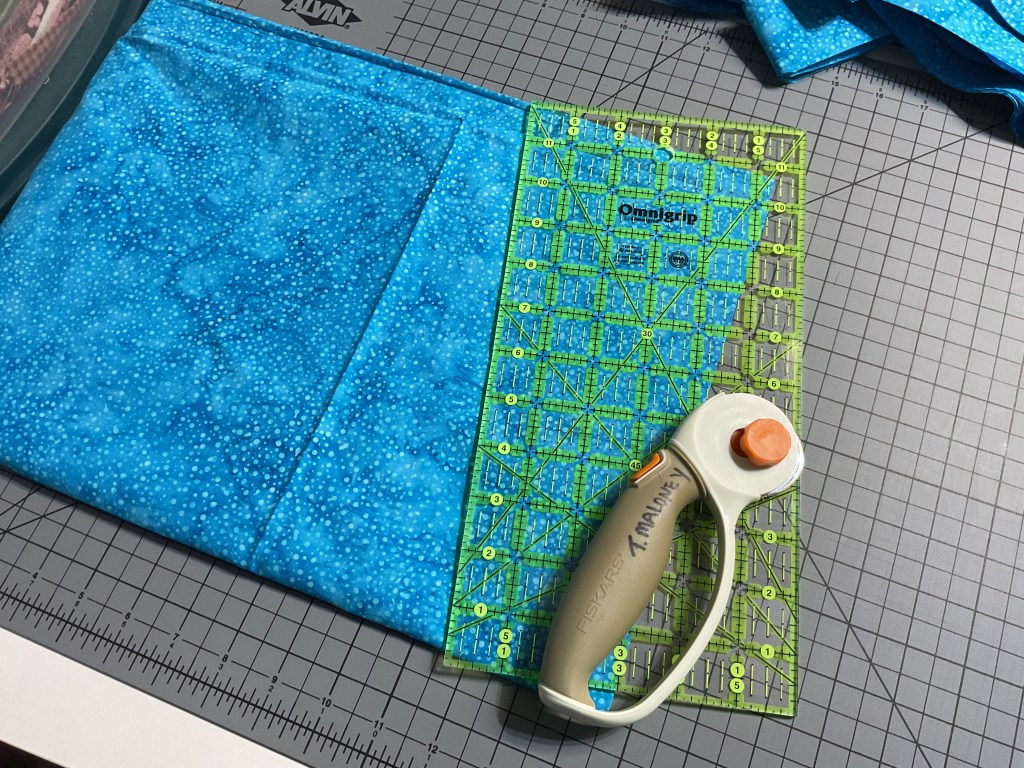
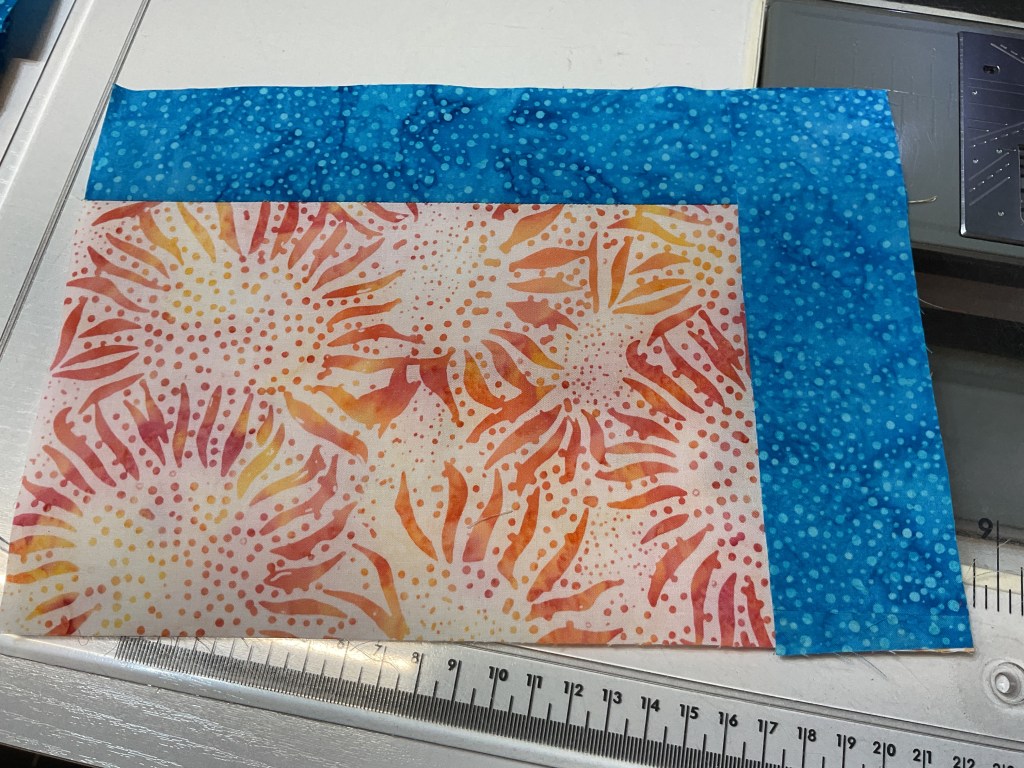
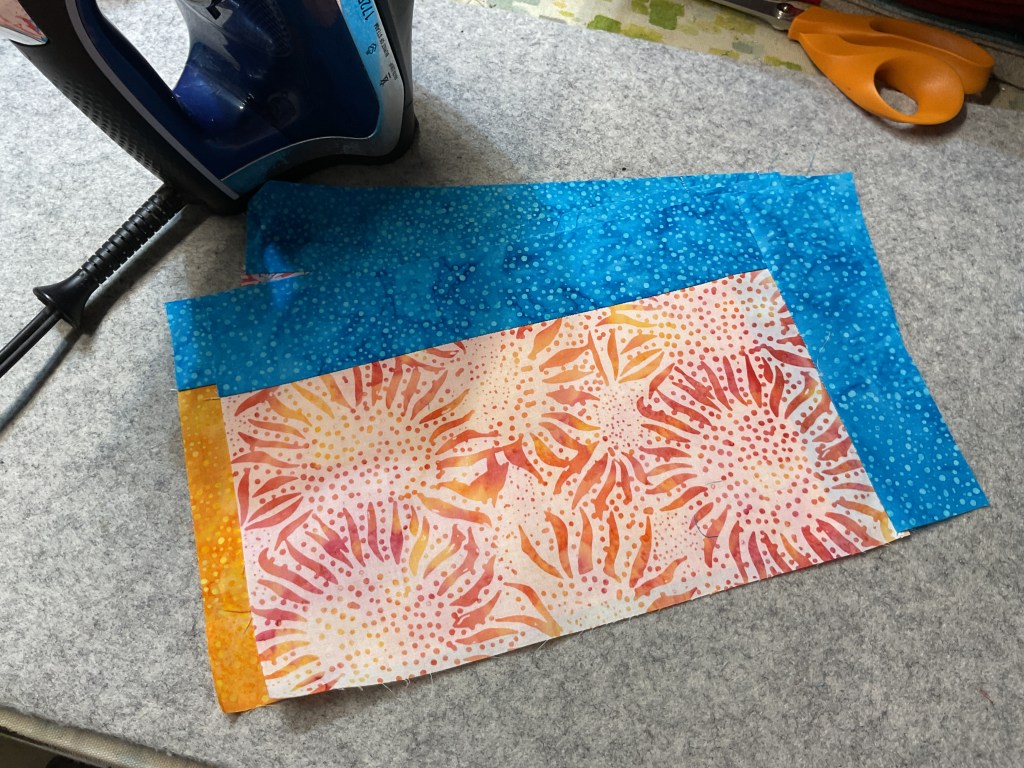
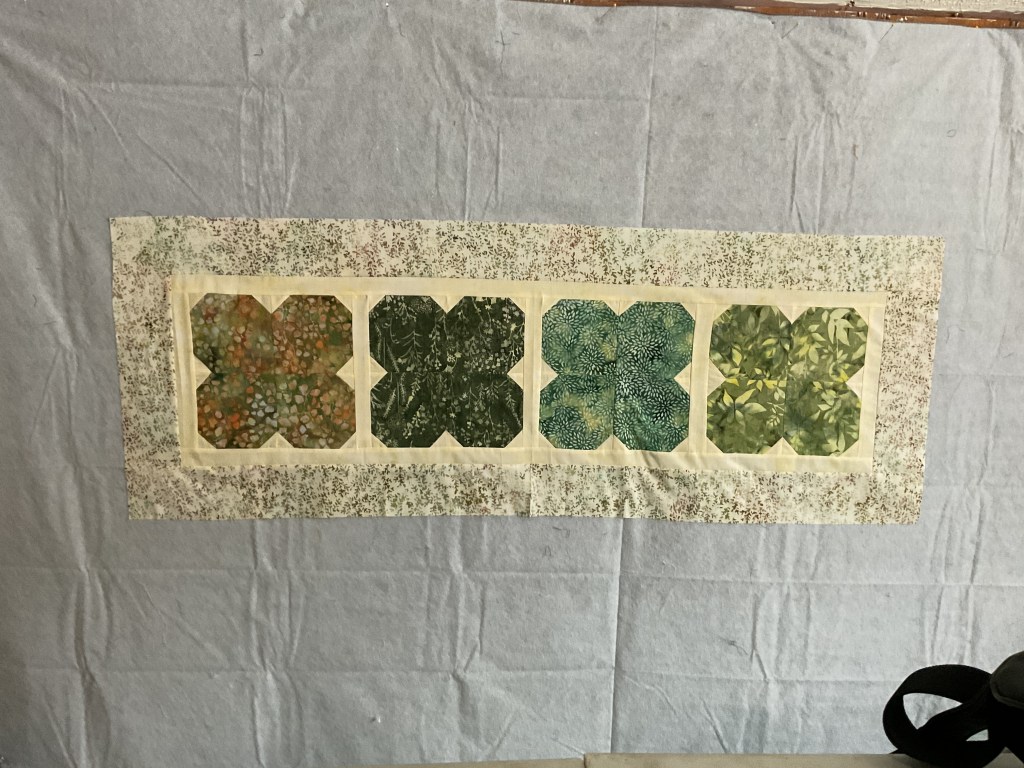
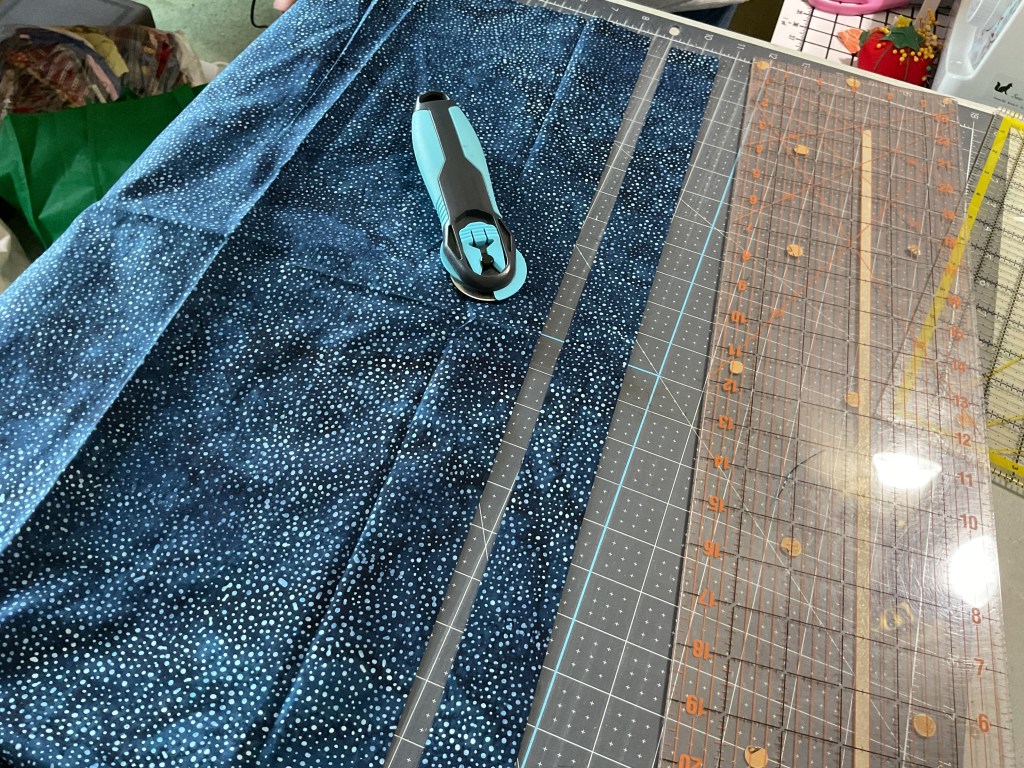
Once the stripe is cut, we’re going to work on cutting the narrow sashing, which is this gorgeous blue 885 Dot batik. LOVE IT!
Let’s sew the sashing to both sides of our pieced Stix rows.
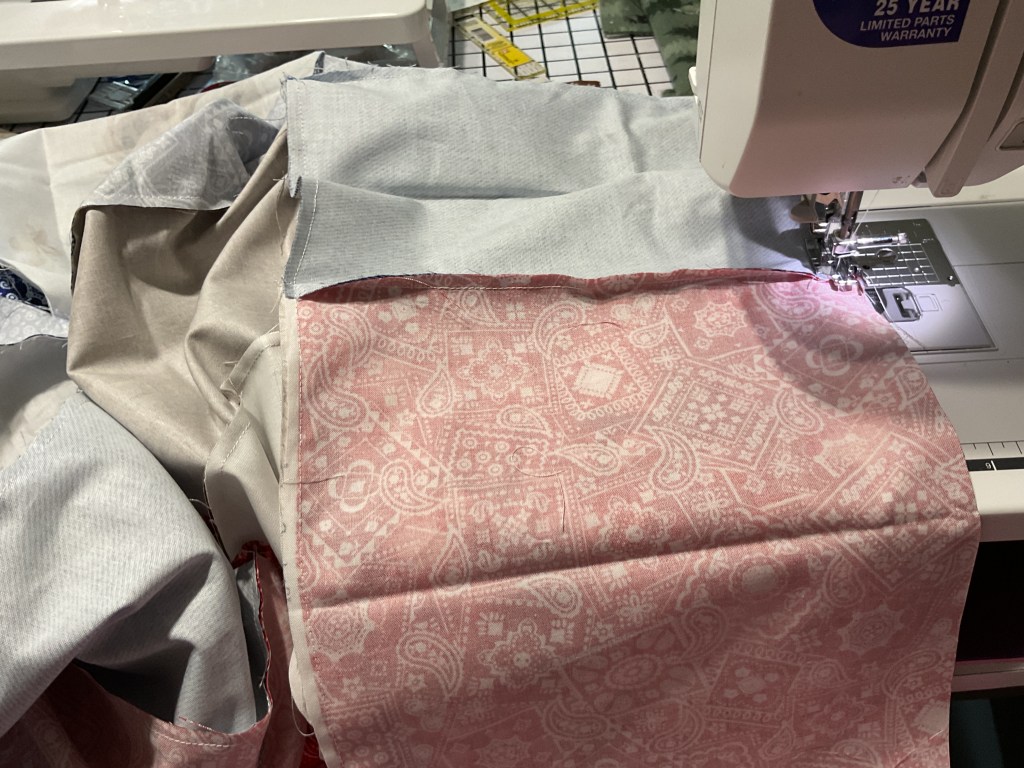
Now we’re going to lay out the sashed Stix rows with the stripe. My tip is to find the center of the sashed Stix row and the center of the border stripe. Then match and pin the centers together and pin outward towards the ends to keep the quilt nice and square. We’re ready to sew the rows together. And then we need to add sashing all the way around as our first border.


Yay! The center of the quilt is finished. Easy peasy!

Okay, time to cut the final border, which is a wonderful red bandana print from the Rodeo Dreams collection. Then we’re going to sew it to the quilt. Yay!

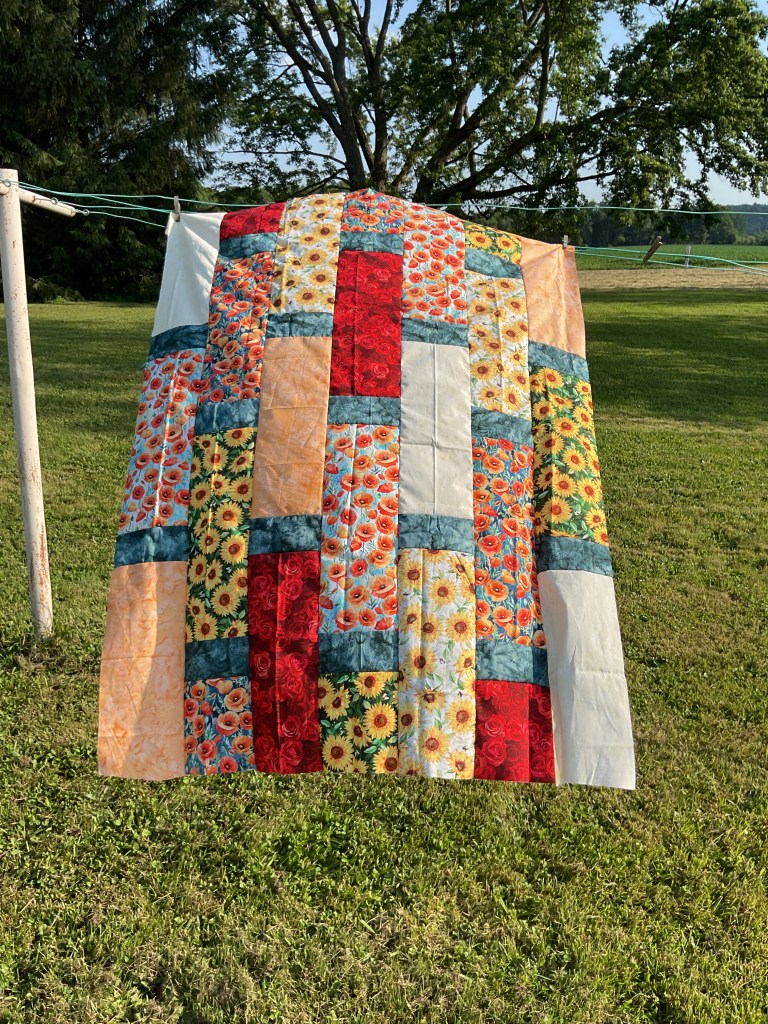
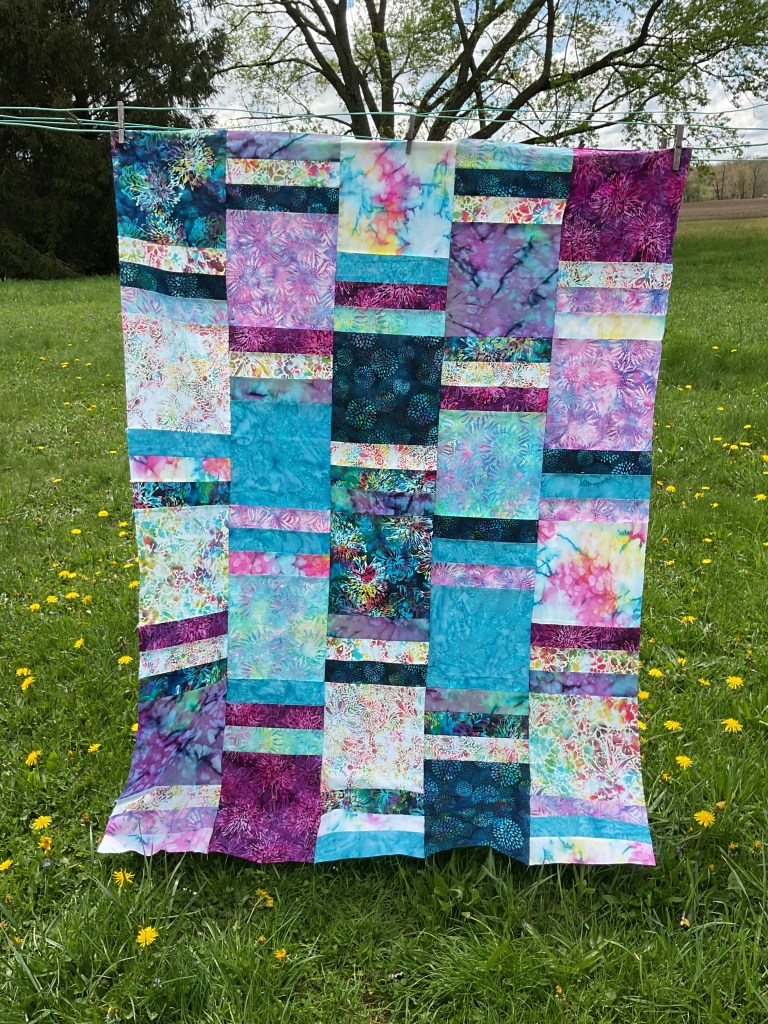
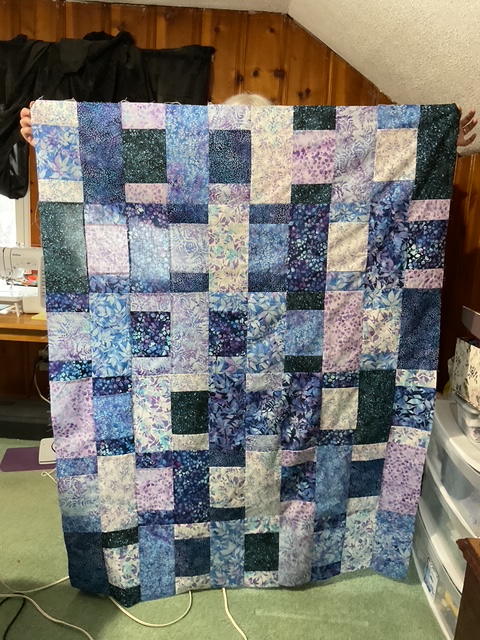
And here it is – the finished Cinnamon Stix quilt top in Rodeo Dreams. Isn’t it really fun???

Here it is outside for a straight-on shot. It was really breezy so we ended up taking the photo in front of one of Robin’s hubby’s farm toys so it blocked the wind, instead of in front of the old barn (our first choice). Thank you Mary Lee and Robin for holding the quilt and fighting the wind for me. Perfect!

I bet you’re already thinking about border stripes in your stash (or something new at your local quilt shop) to use in this fun and fast VRD pattern. We’d love to see your Cinnamon Stix quilts on our VRD Facebook page.
Now that the top (or flimsy) is done, it’s time to layer it with batting and backing, quilt it, bind it, and lastly add a label. Eventually…..
Stay tuned next week for another great VRD tutorial.
Until then –
Sew. Laugh. Repeat.
Always,
Tricia @ VRD