Hello Quilty Friends!
Happy Thursday to you!
Mother Nature sure has been trying hard to confuse us up here in NW Pennsylvania! We’ve had temps in the 60’s! Can you believe it? I wouldn’t, except I’ve been reading the temp on the thermometer. Yesterday, I even had peepers (tree frogs) on my basement window in the rain. This is WAY too early for the little dears to be awake! I’m wondering what Mother Nature has in store for us in March and April. Who knows? Maybe we’ll have snow in June?!?
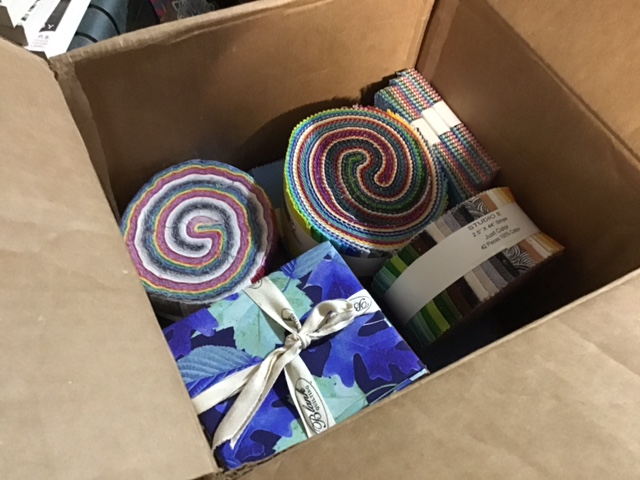
I’ve been on a quilting roll since my curated list of Spring VRD Rose Card patterns a couple weeks ago (you can find the post HERE if you missed it). So I wanted to do another tutorial this week. I reached into my magic project crate and pulled out Pacific Grove.
But first, let’s chat about the upcoming Blog Hop!
Villa Rosa Designs Blog Hop March 14-21
Well, it’s now officially 2 weeks until our VRD Fast & More Fun Blog Hop, which kicks off right here on March 14th. I hope you’re getting excited about it.

Prizes keep coming in — it’s like Christmas around here! Except it’s not for me at all, instead — it’s ALL FOR YOU.

So far we have 2 AWESOME Grand Prizes lined up. Nope, I’m not going to show them to you yet. You’ll have to wait until March 14th for our Blog Hop kickoff post. Everything will be explained at that time, I promise.
We now have 26 bloggers participating in the Hop. And who knows? Maybe more if anyone comes late to the party.
We’ve also got the most fantastic and generous Sponsors for the event — Hoffman, Moda, Jaftex, Timeless Treasures, Electric Quilt, Banyan Batiks, C&T Publishing, Hancock’s of Paducah, and Fox Chapel/Landauer.
So, are you excited yet???
Remember, the fun begins March 14th right here on the Villa Rosa blog. So make sure you stop by and hop along with us for the week.
Okay, now let’s get to the quilt tutorial!
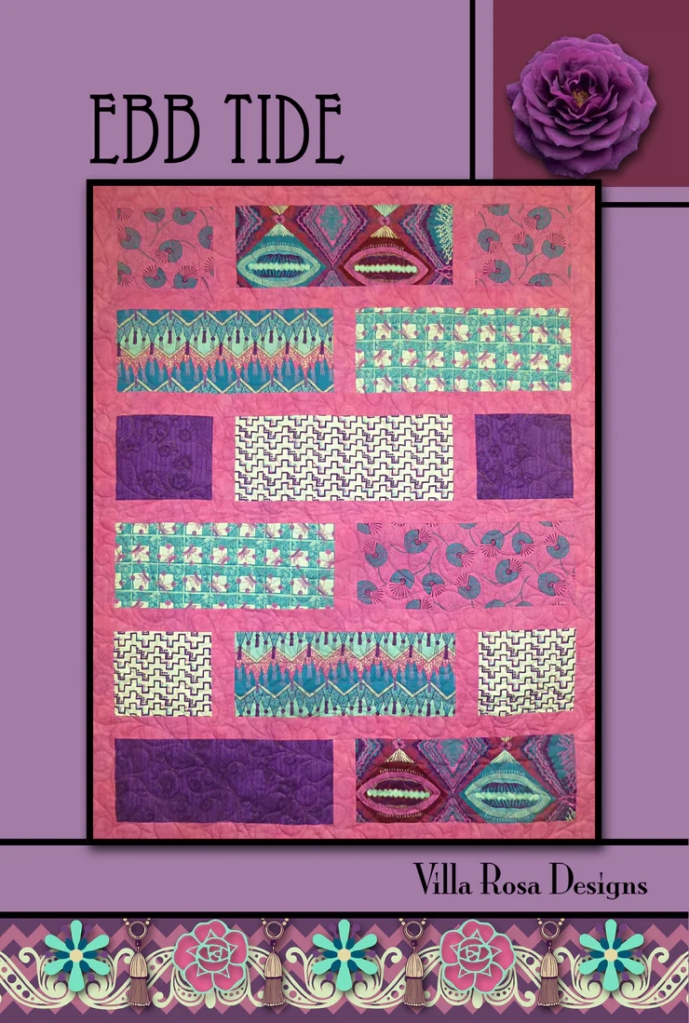
VRD Pacific Grove Quilt Tutorial
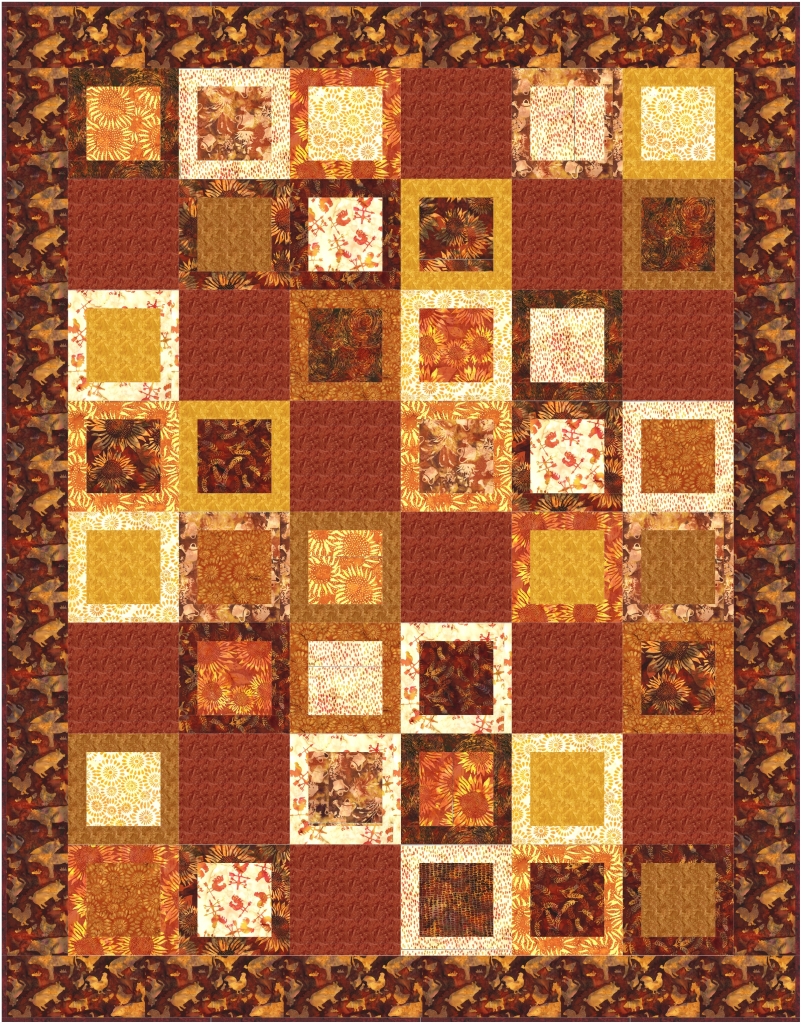
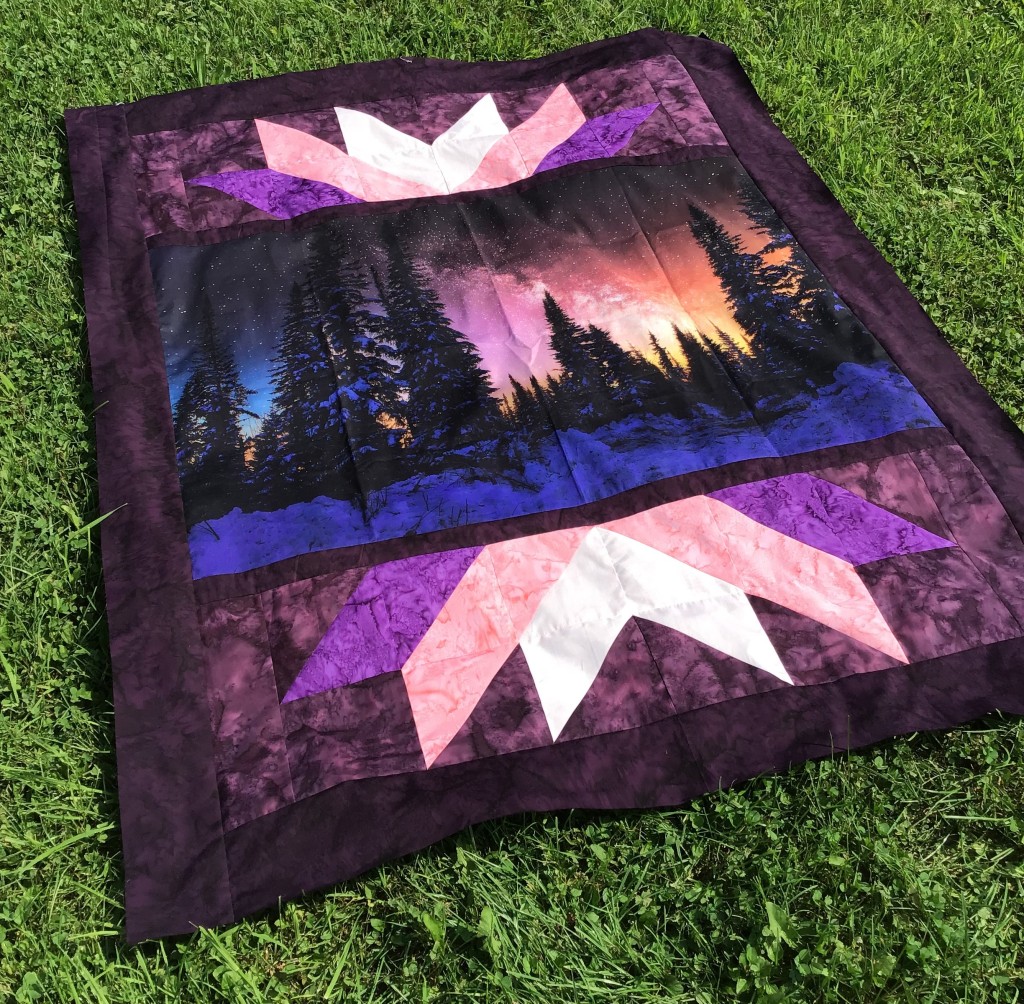
I’ve been wanting a reason to make Pacific Grove for a while now. I’ve always thought the quilt on the cover of the pattern looked like a work of art. What do you think? Wouldn’t it look amazing framed and hung on a wall? On my wall???
Finally, today is the day to finally make my very own Pacific Grove work of art.

Get your own Pacific Grove physical pattern HERE or a digital pattern HERE.
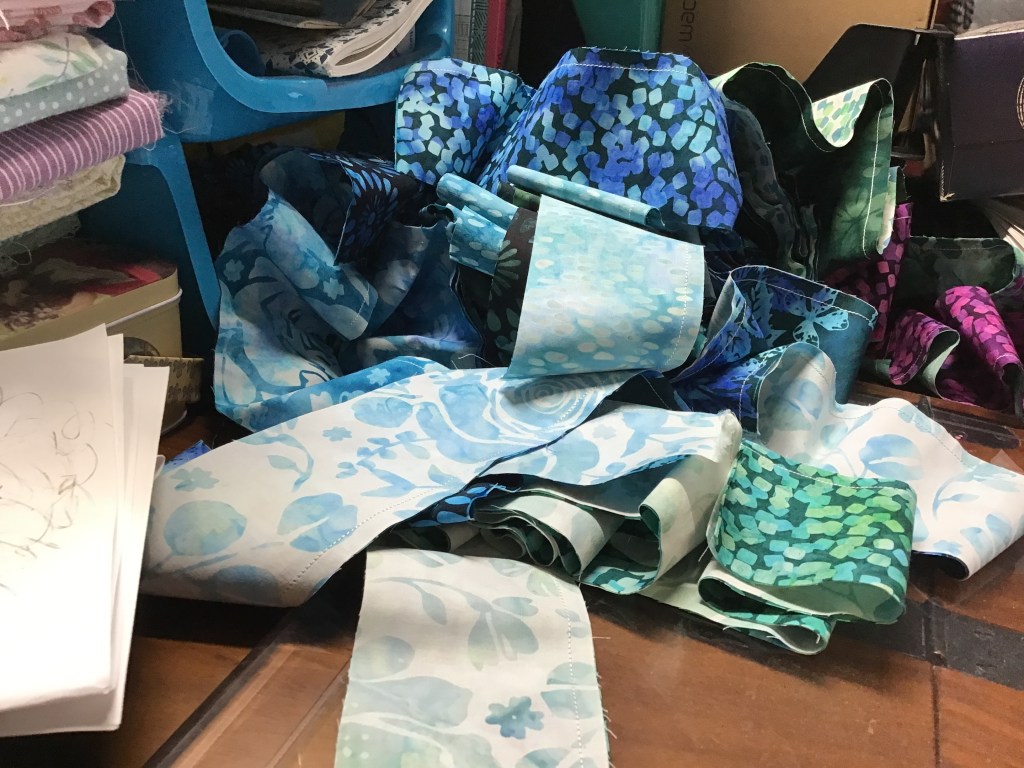
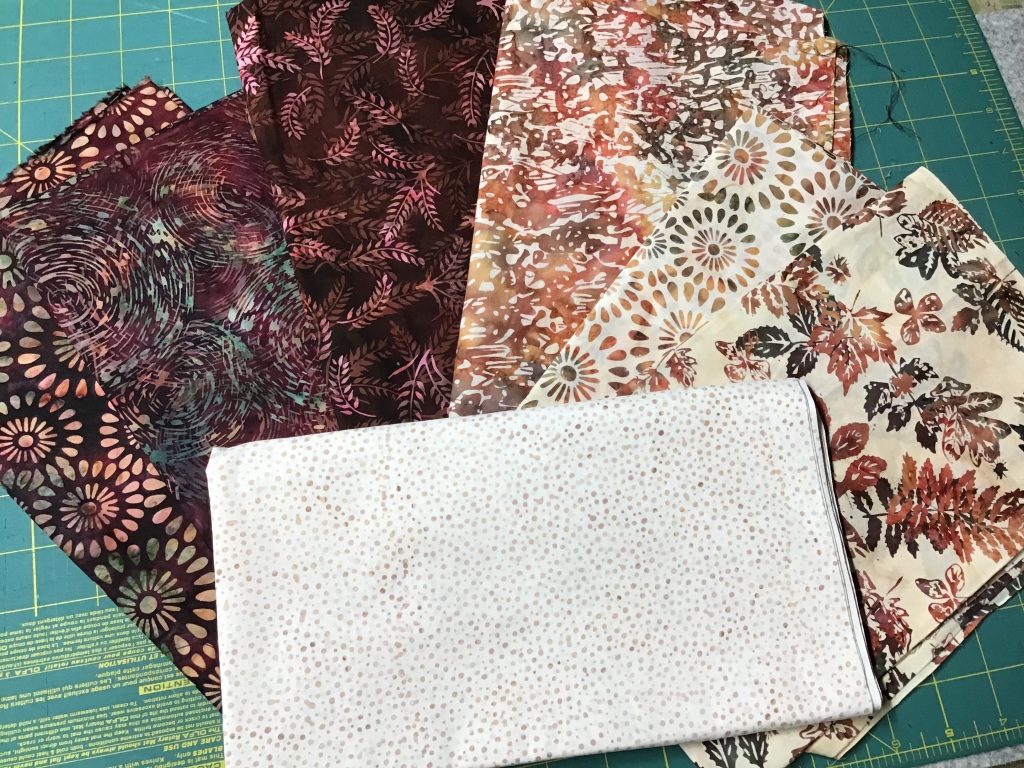
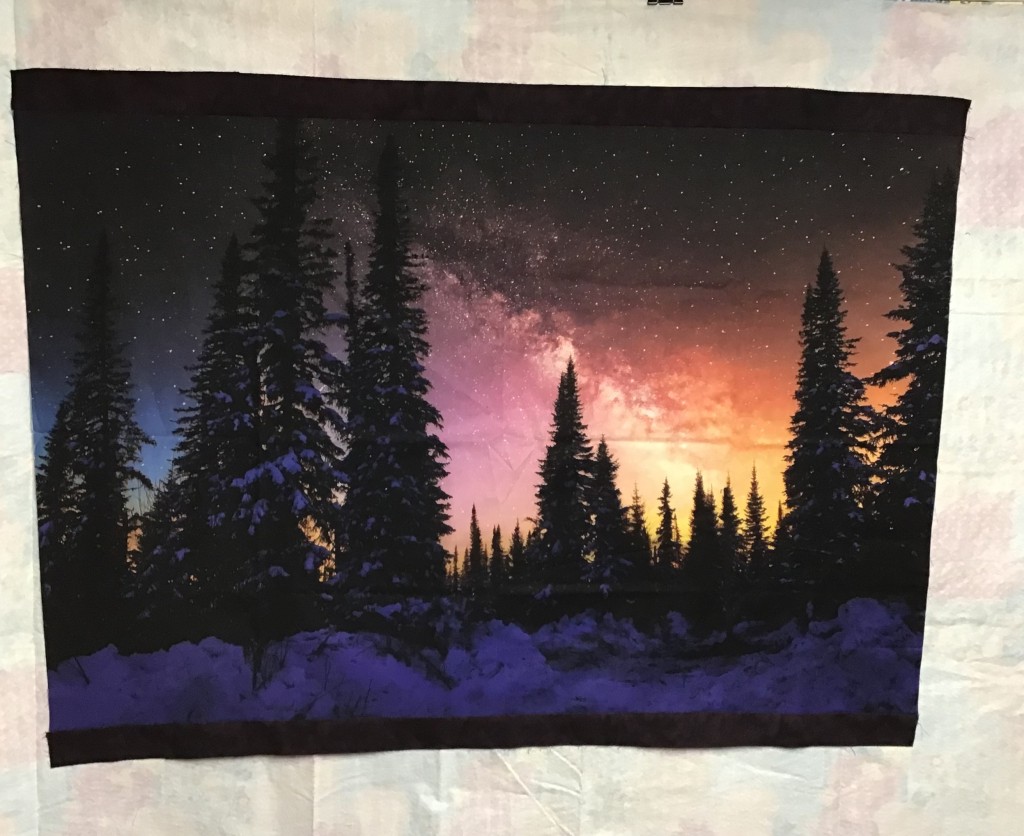
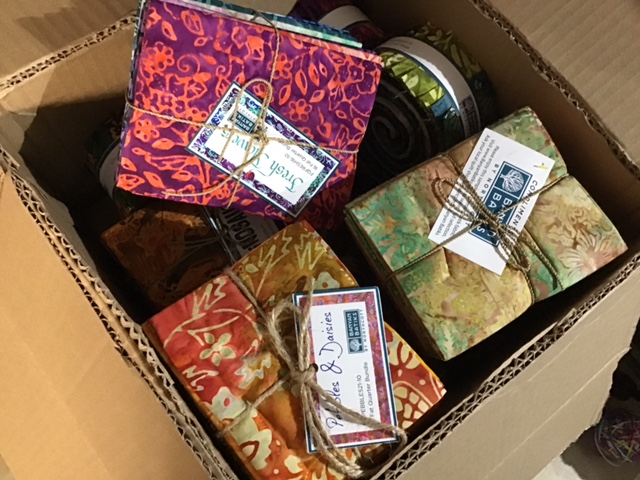
I’m using some gorgeous fabrics from the Wildflowers Spectrum Digital Print collection by Hoffman. Did you know Hoffman did digital prints in addition to their amazing batiks?
Special thanks to Hoffman for providing the fabrics for this tutorial.

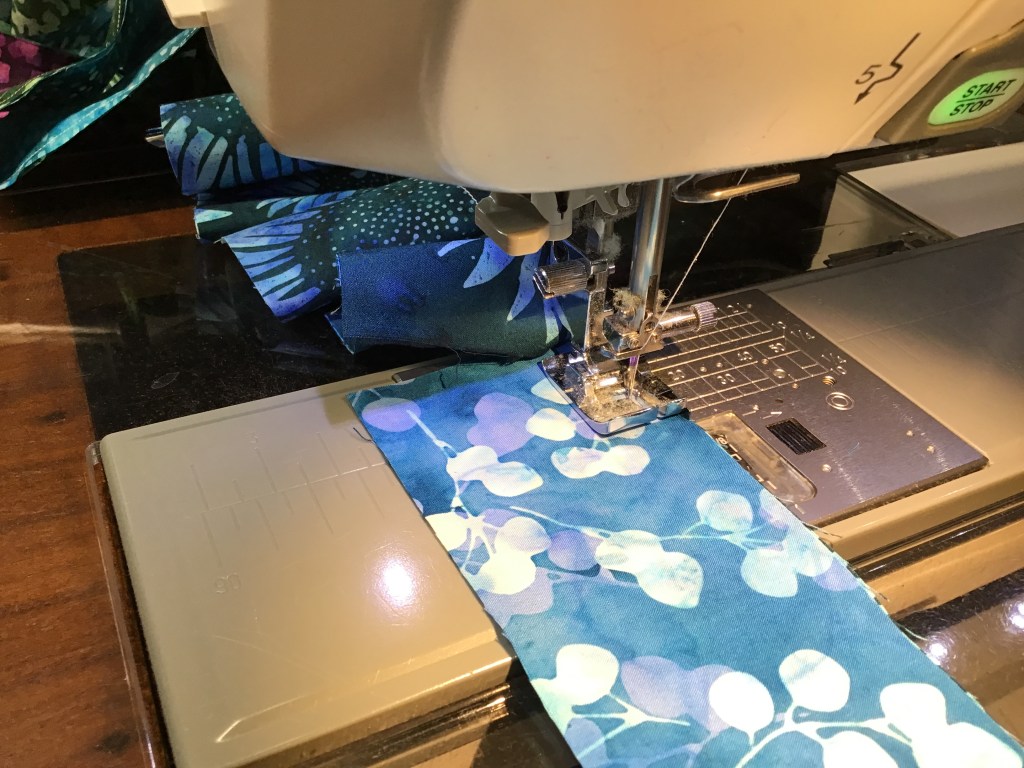
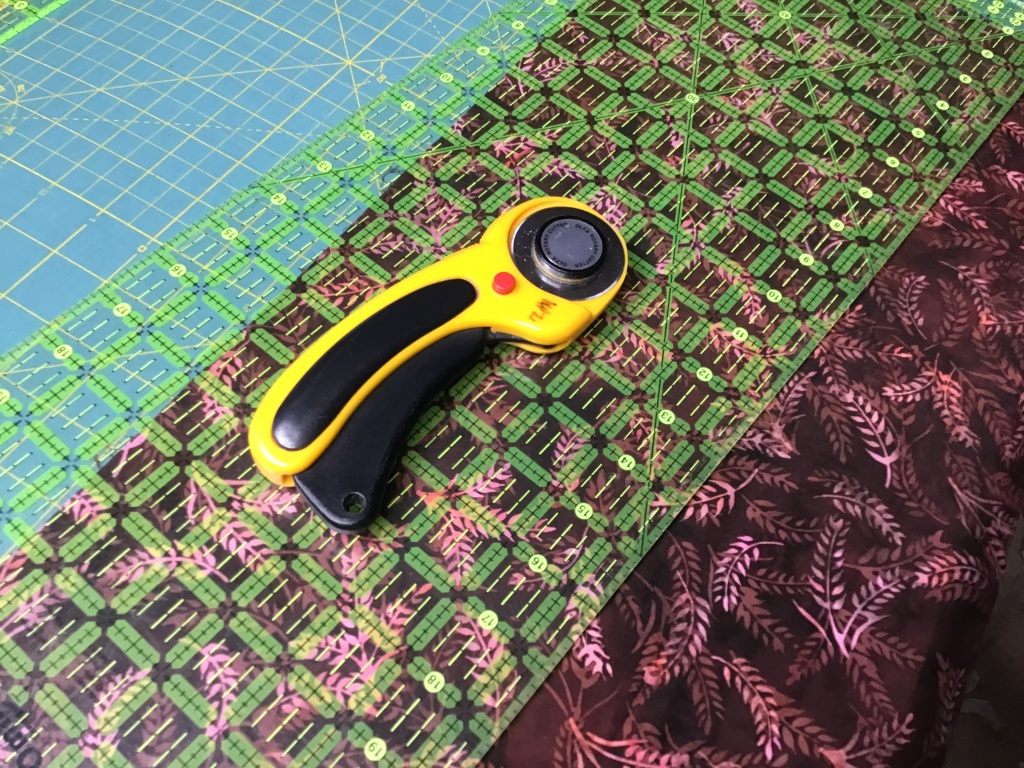
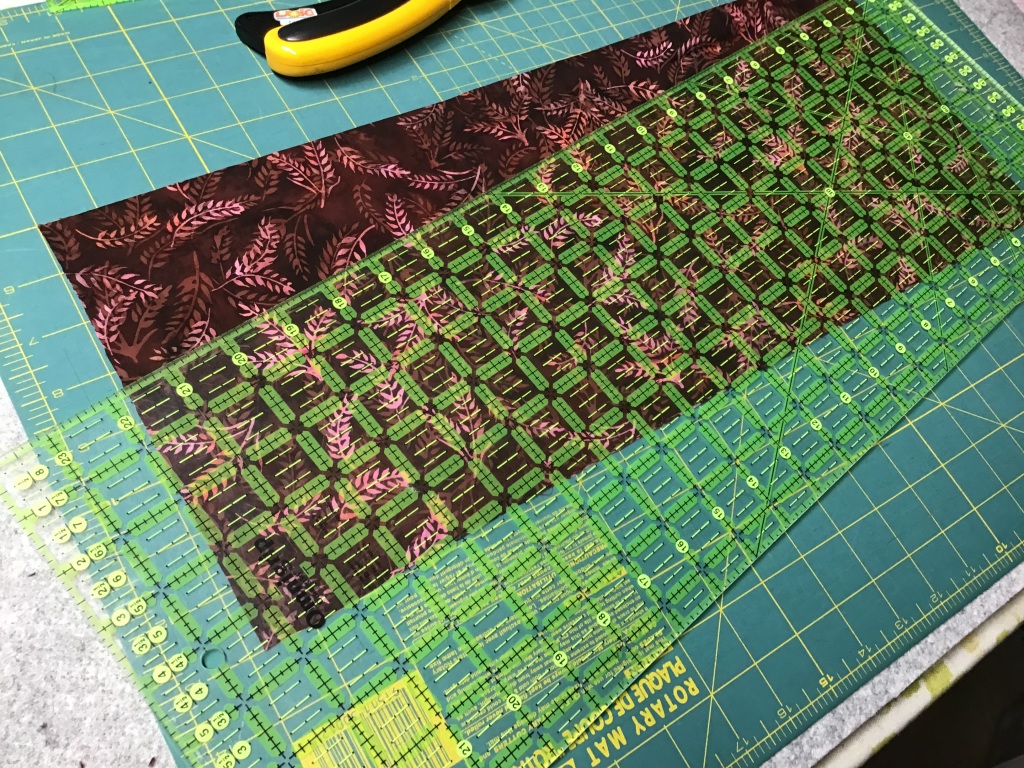
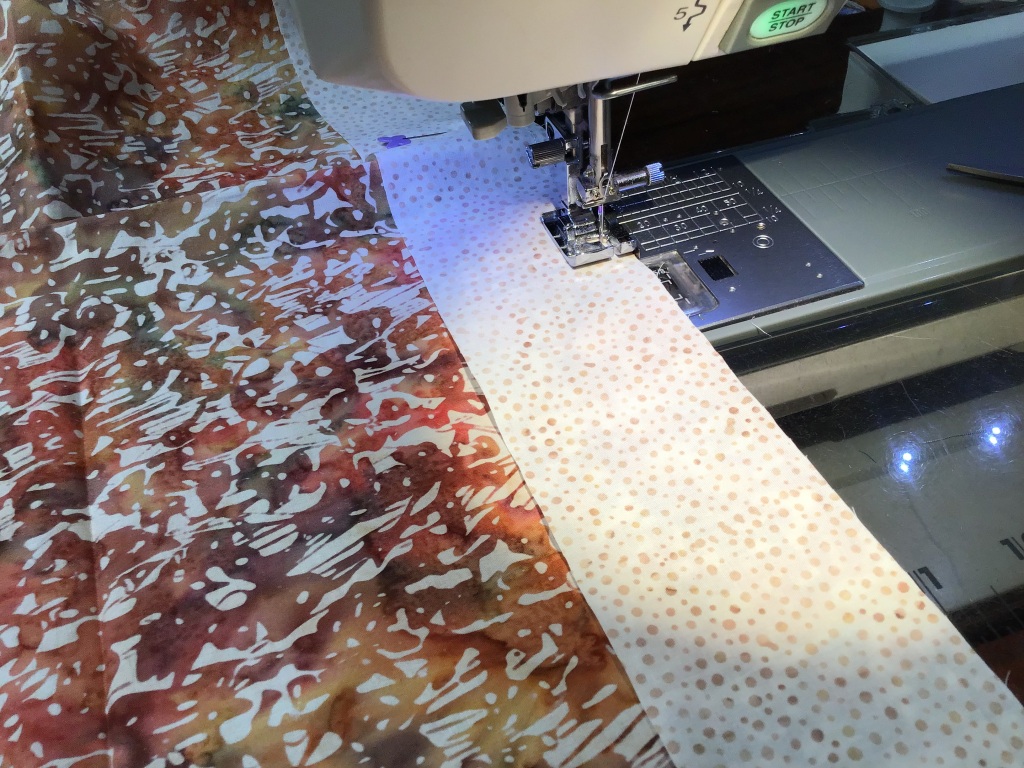
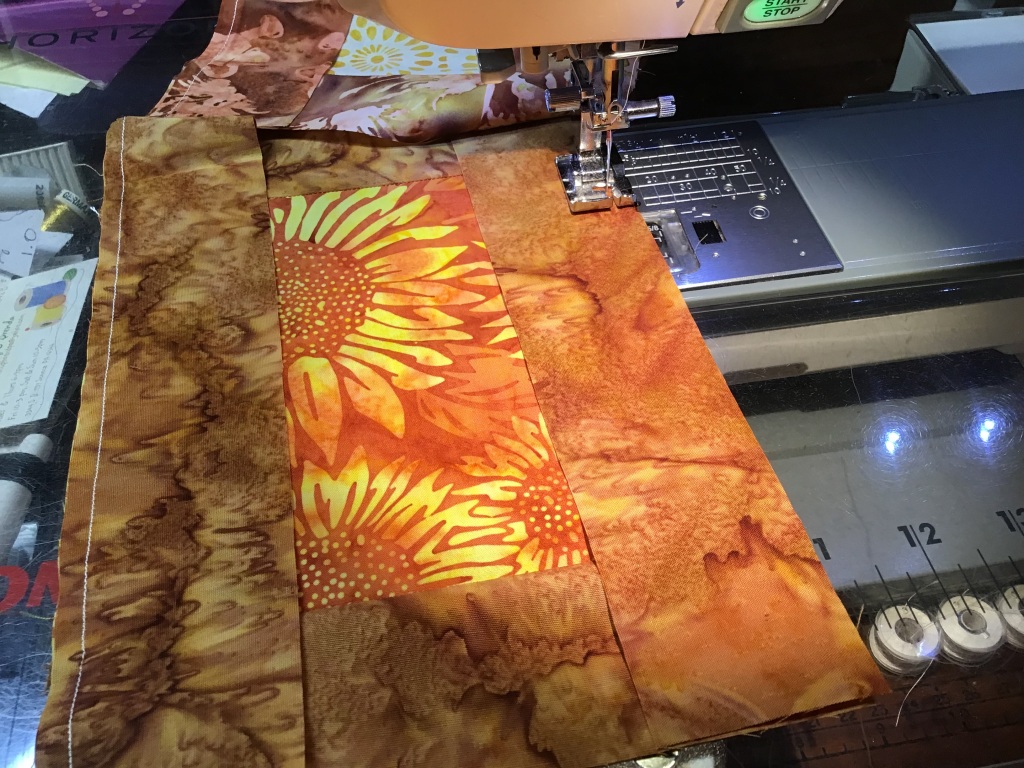
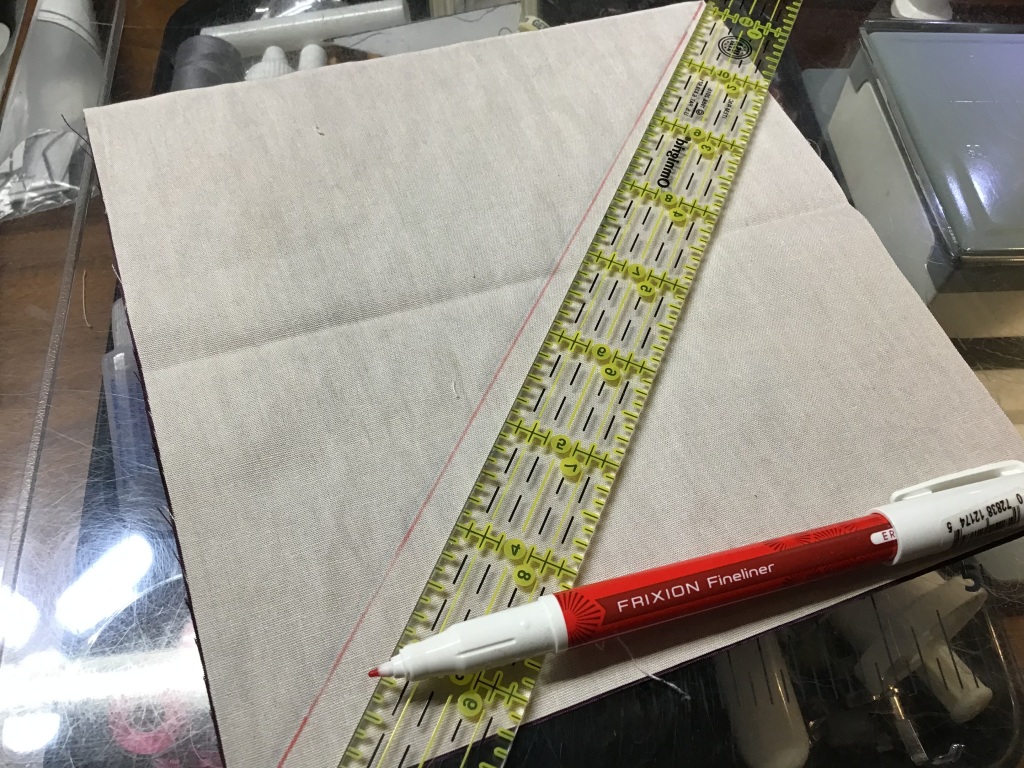
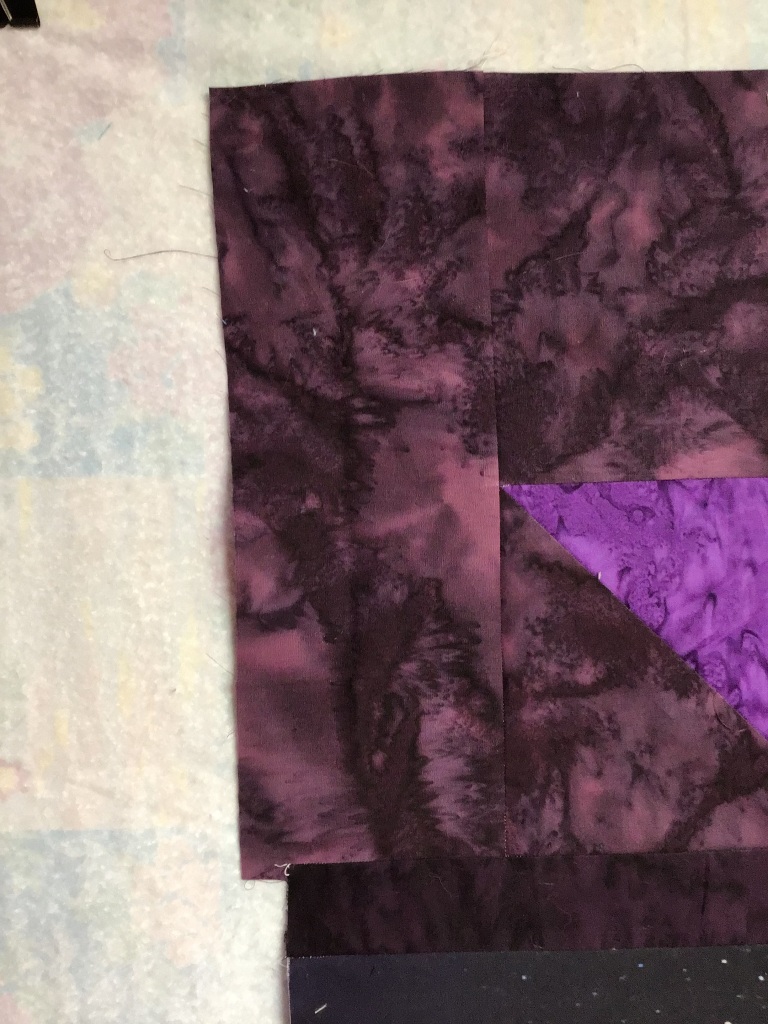
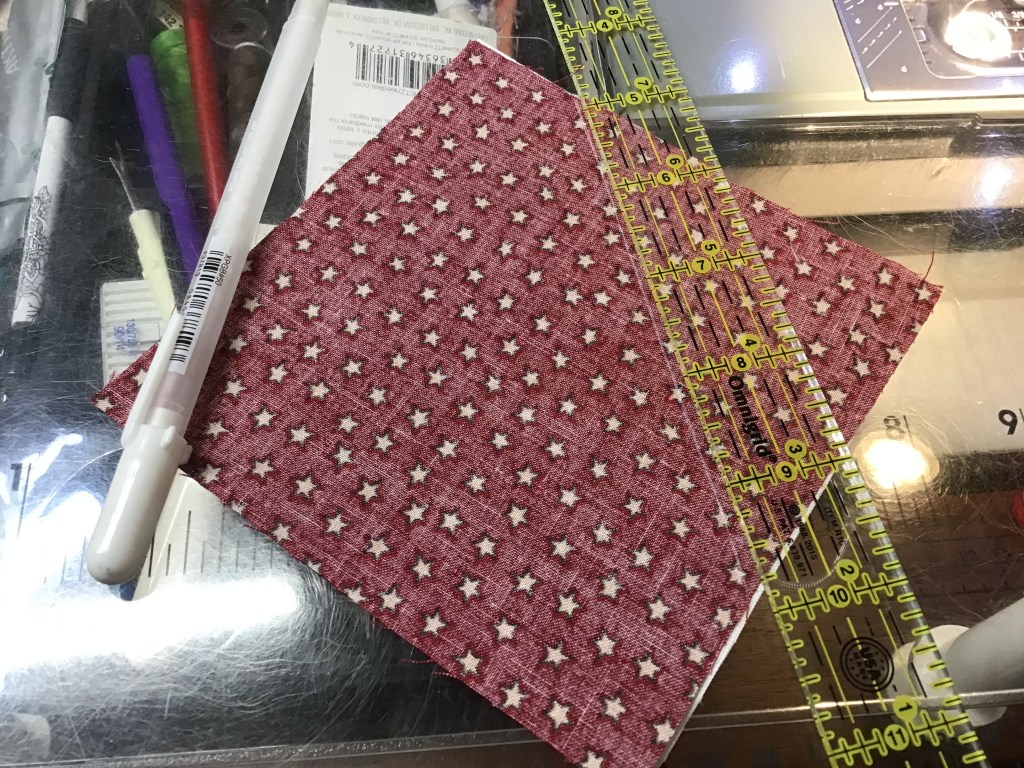
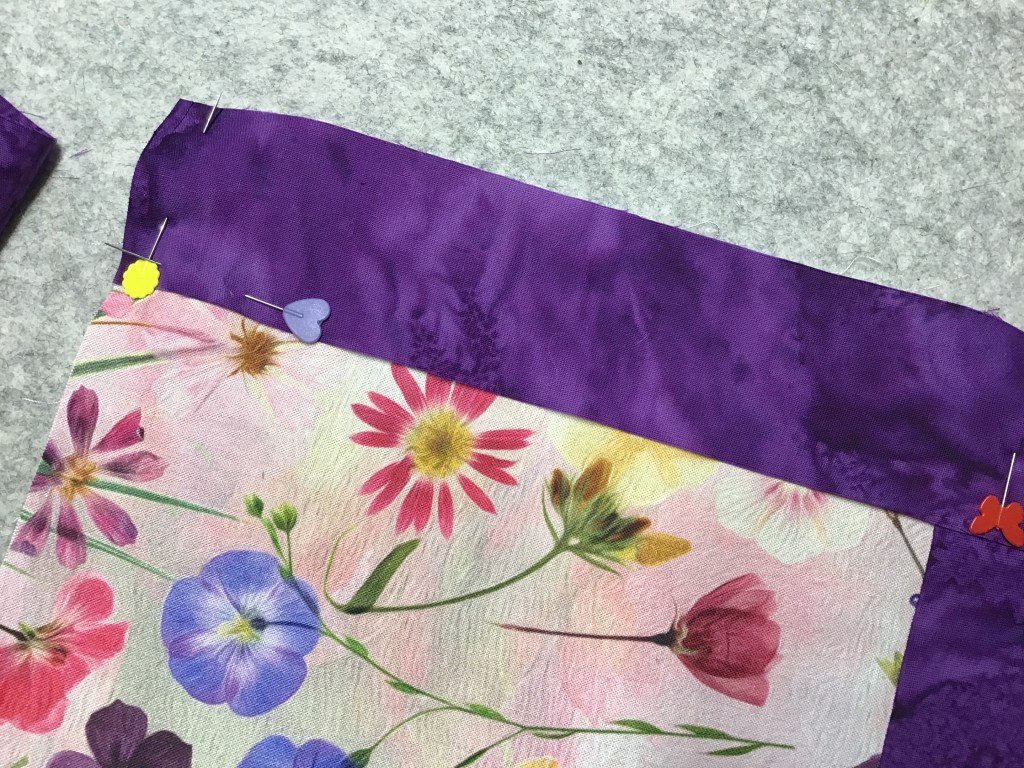
Before we get started, I do want to say that digital prints can be a little finicky so it’s important to start with a new sharp needle in your machine. If you use pins when you sew, make sure they’re sharp. Why? Because you don’t want to break any threads. Take a look at this photo. Do you see area inside the red circle? See the 2 broken threads? You don’t want this to happen to your quilt because it will probably be visible on the front, not just on the back. Lucky for me, this was in the seam allowance. Whew!

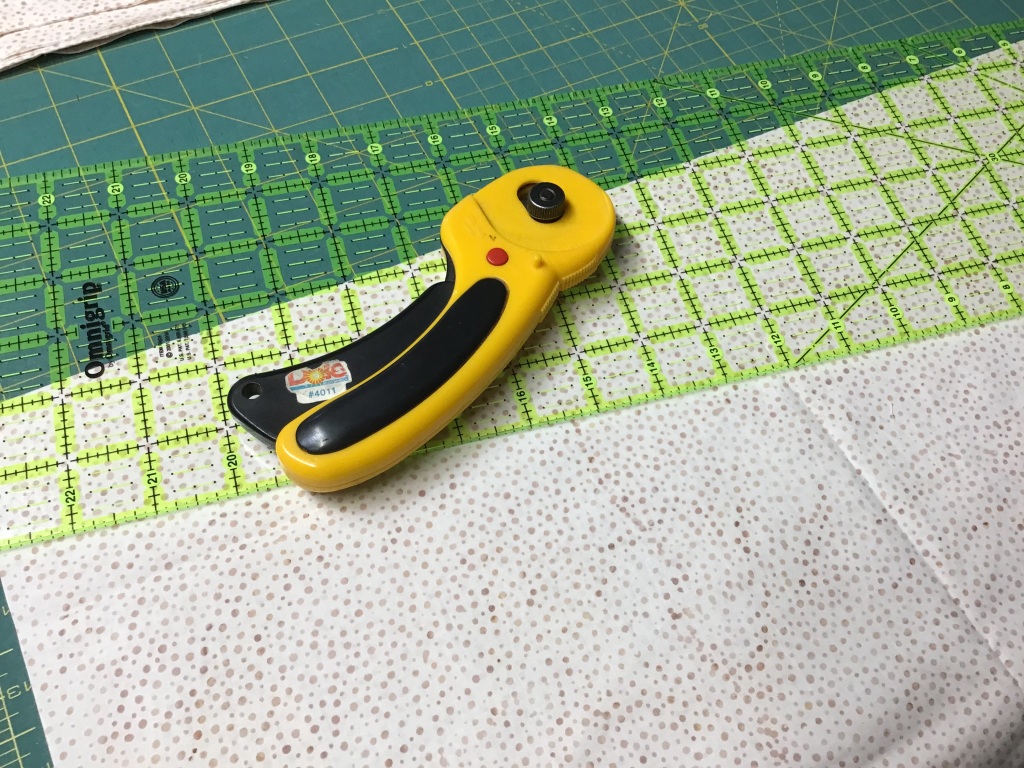
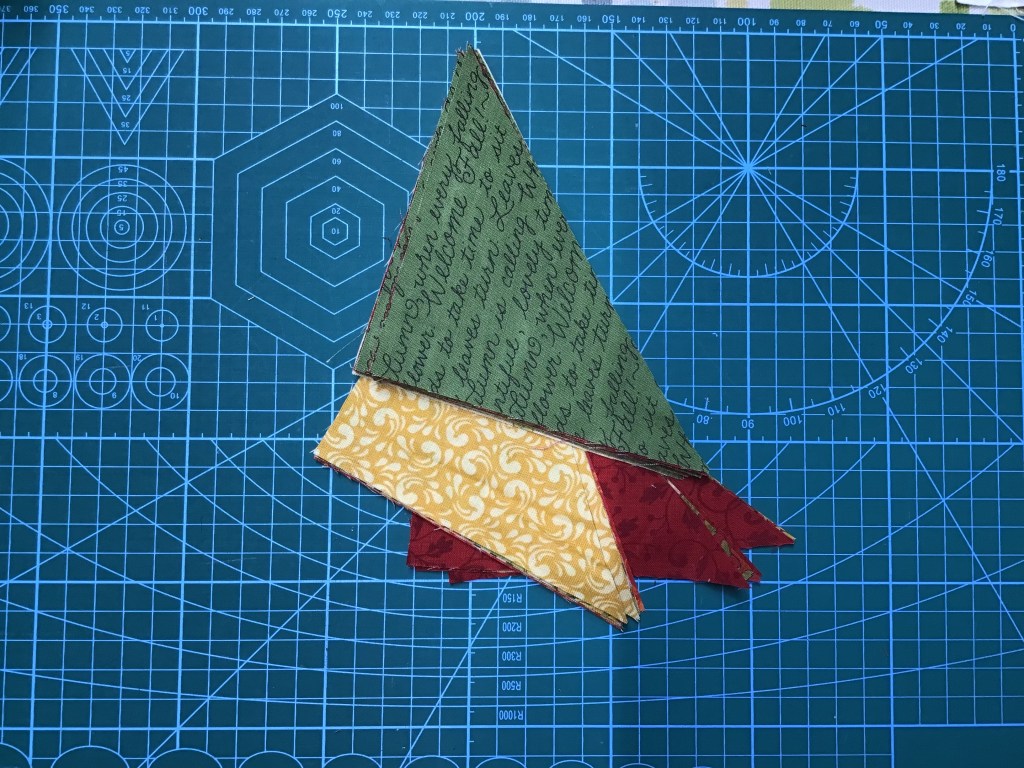
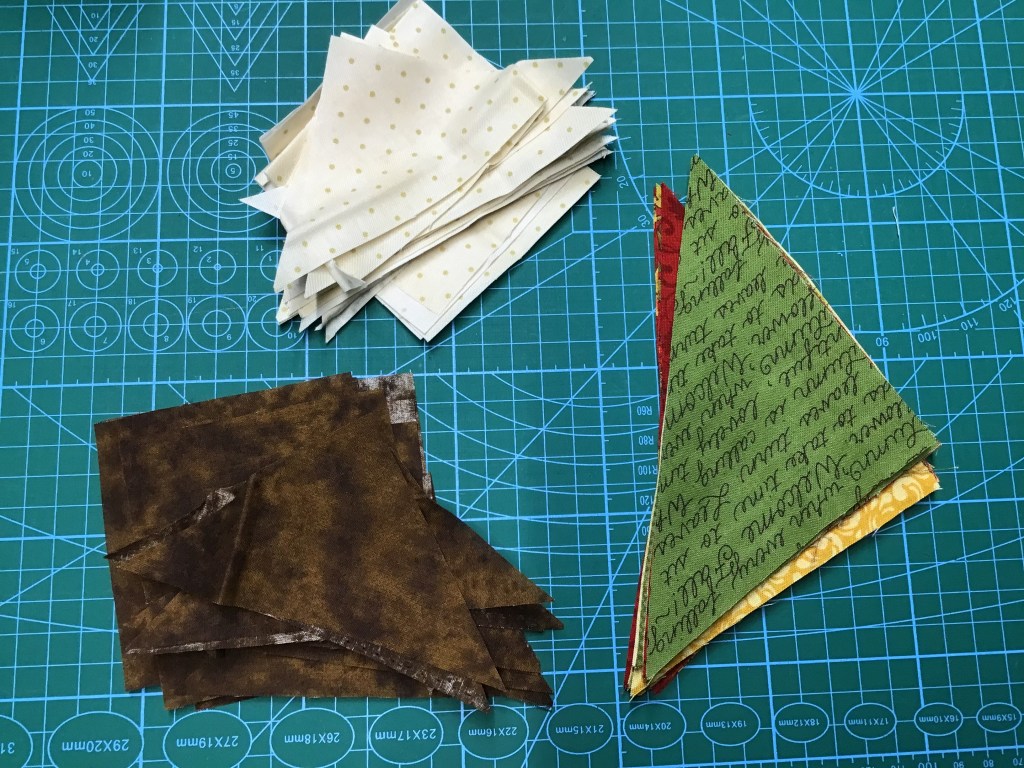
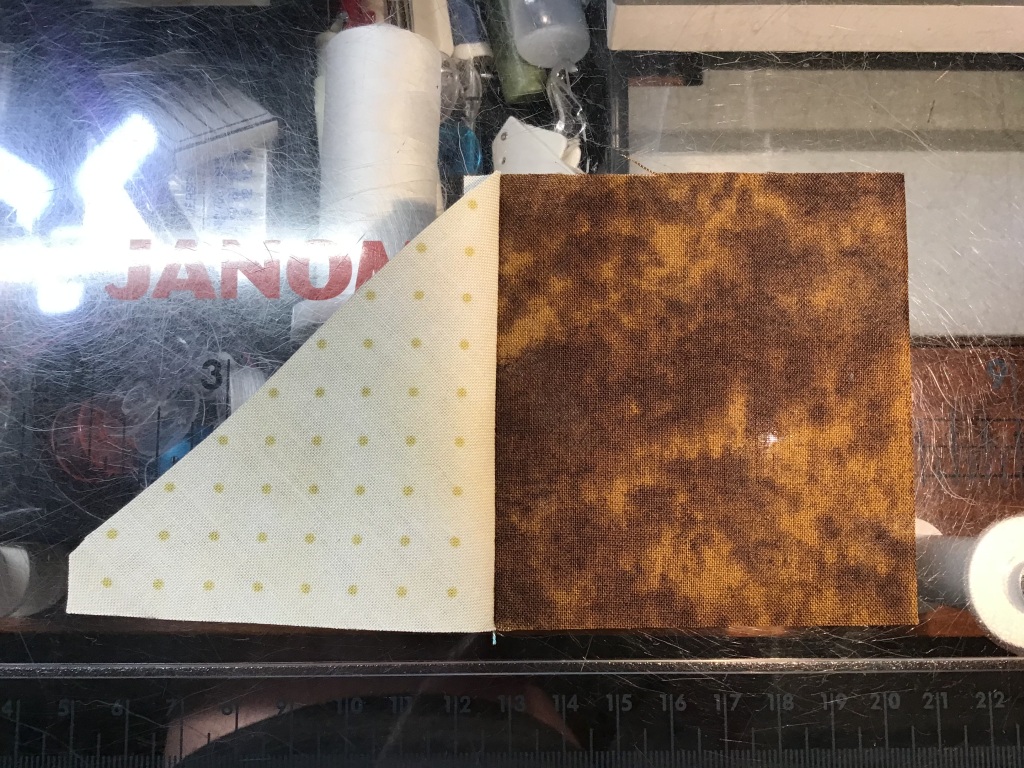
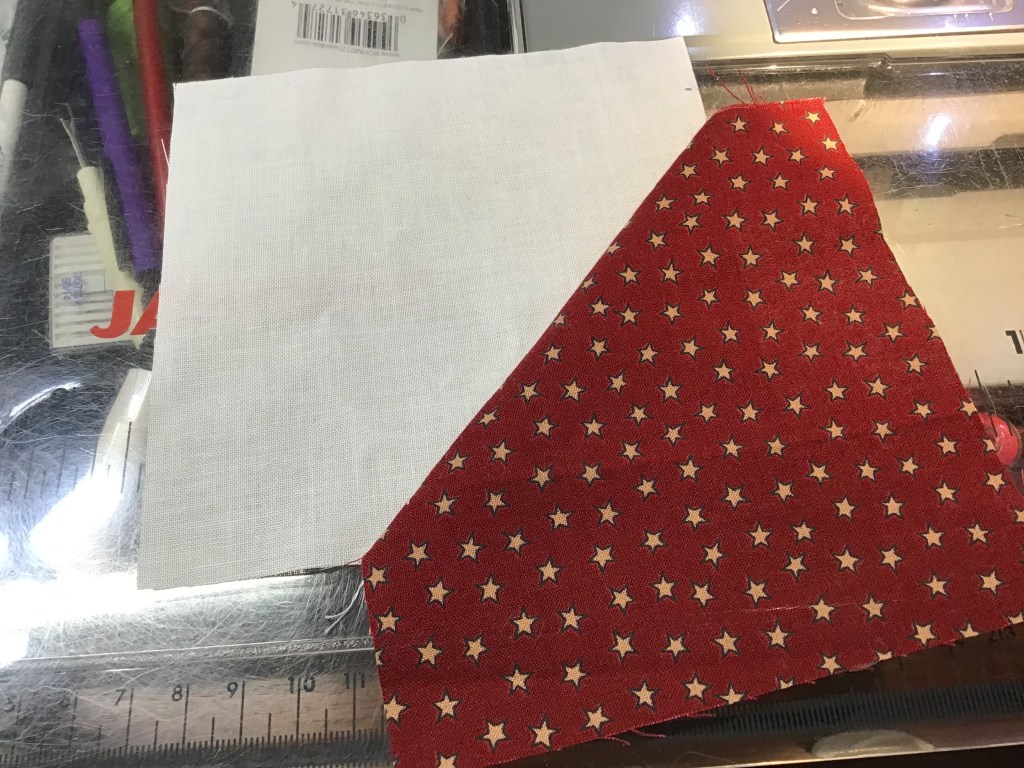
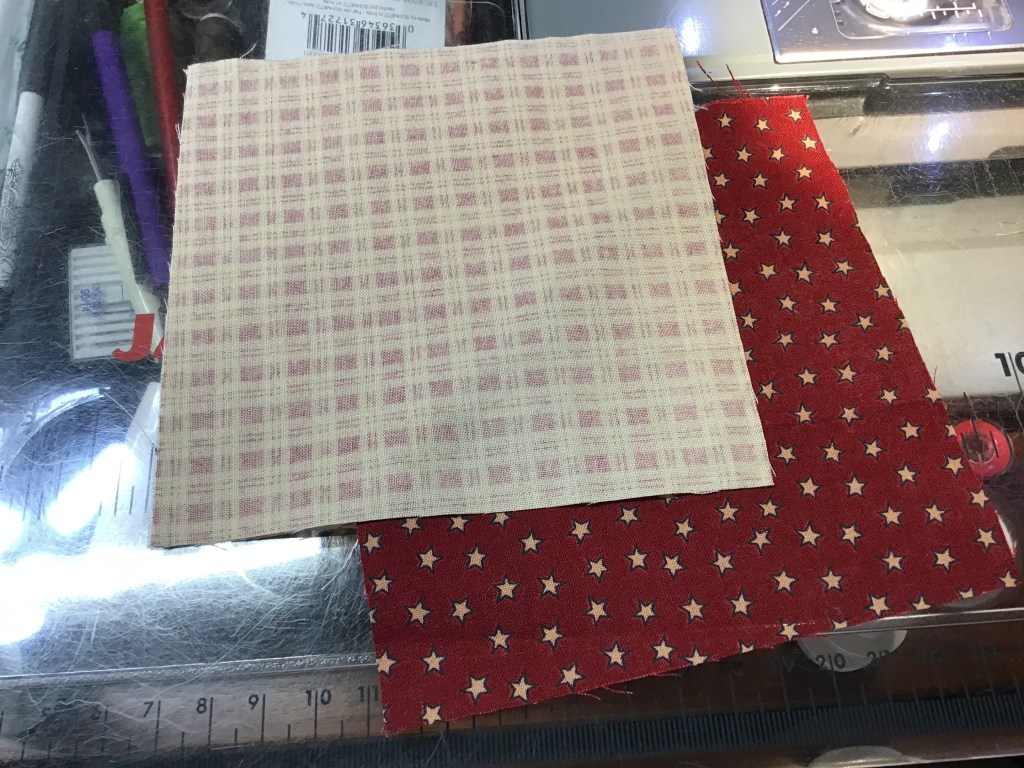
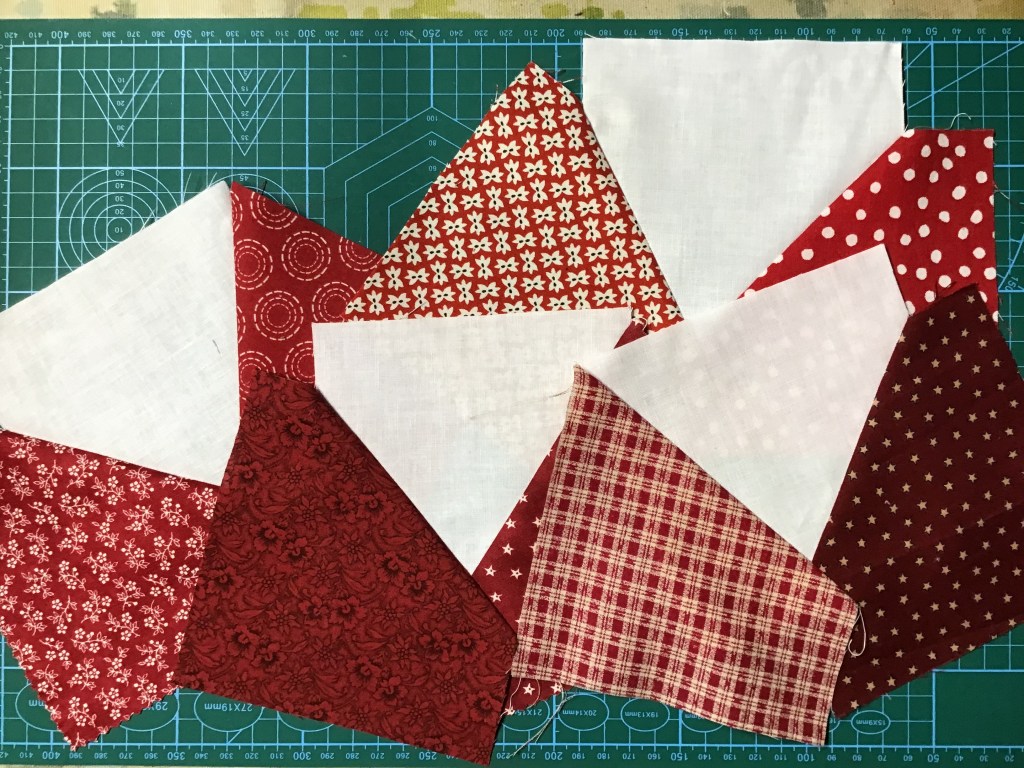
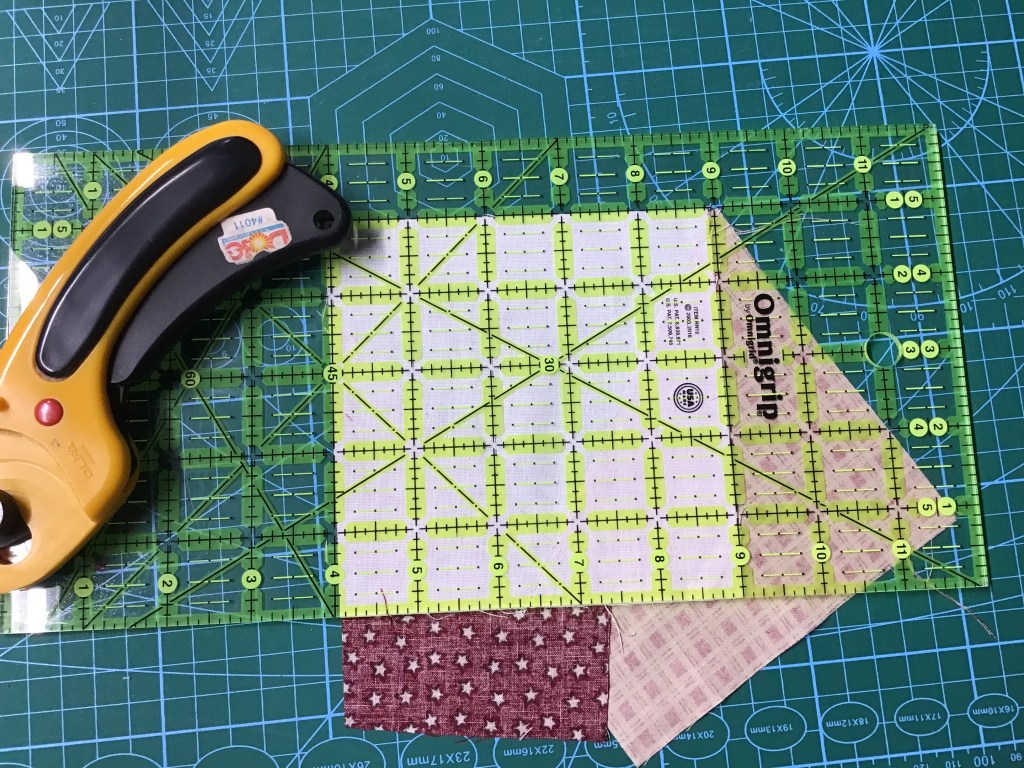
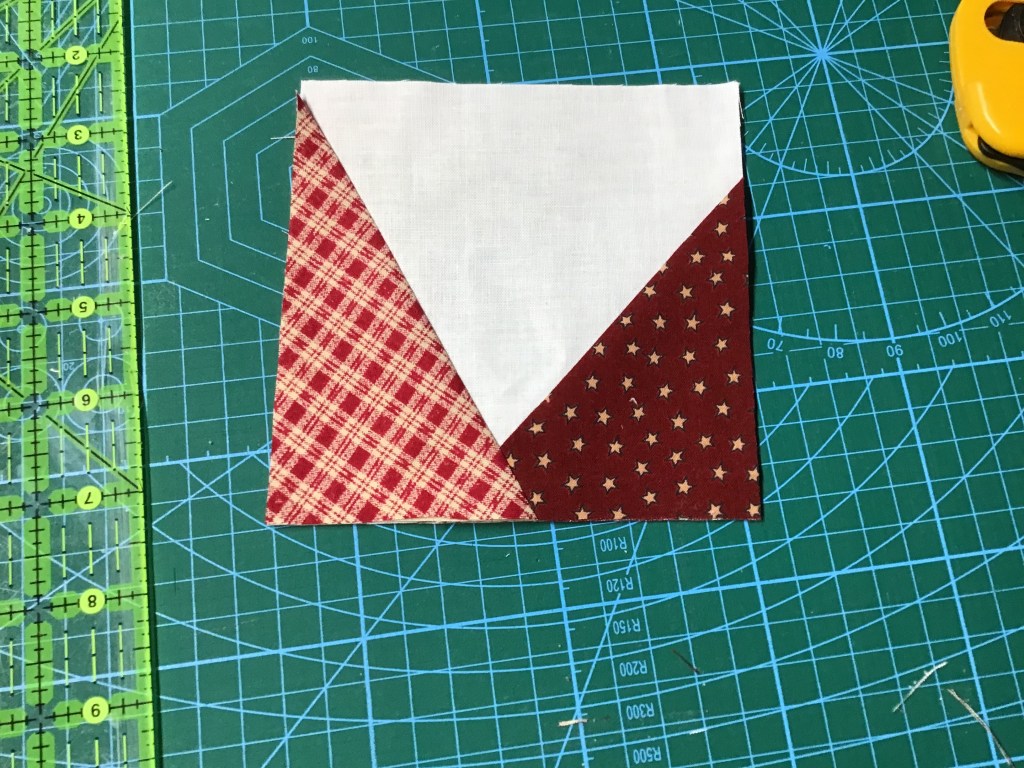
So, let’s get start by cutting the main print and the background fabric. I kind of don’t want to cut this lovely fabric up, but I know it will look fabulous in the Pacific Grove pattern.


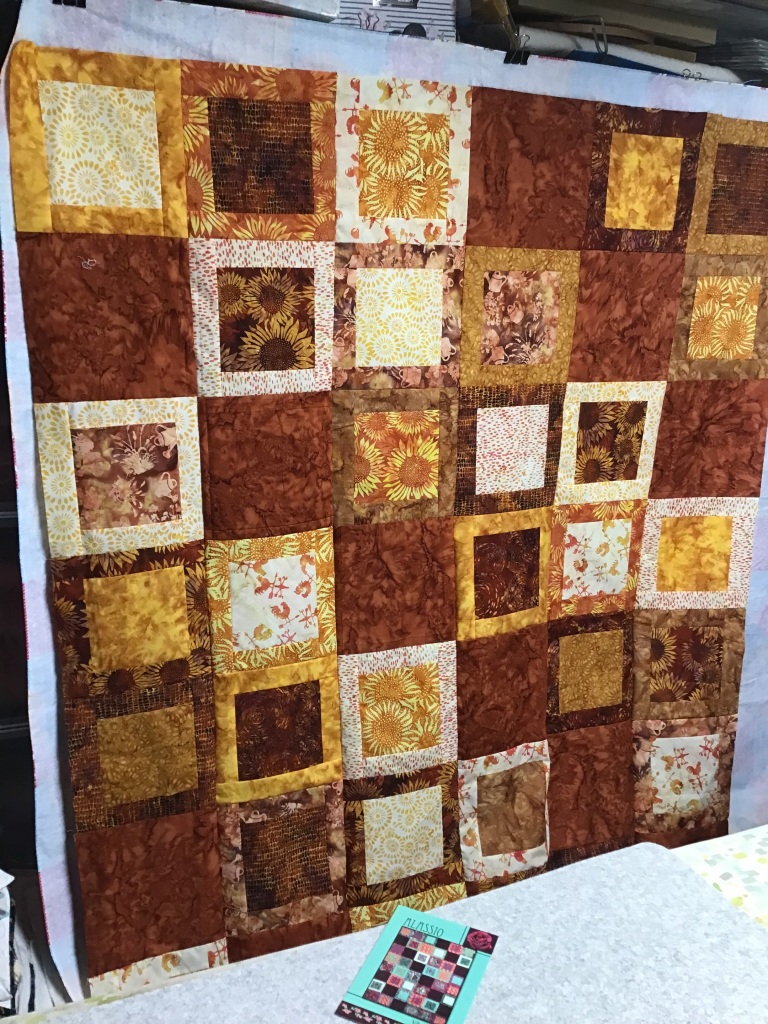
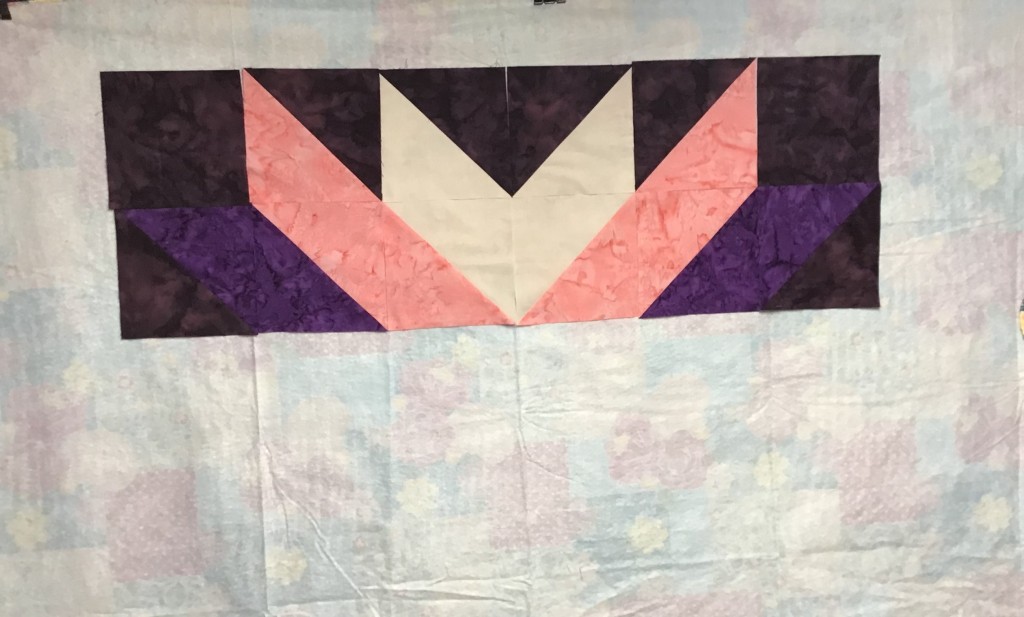
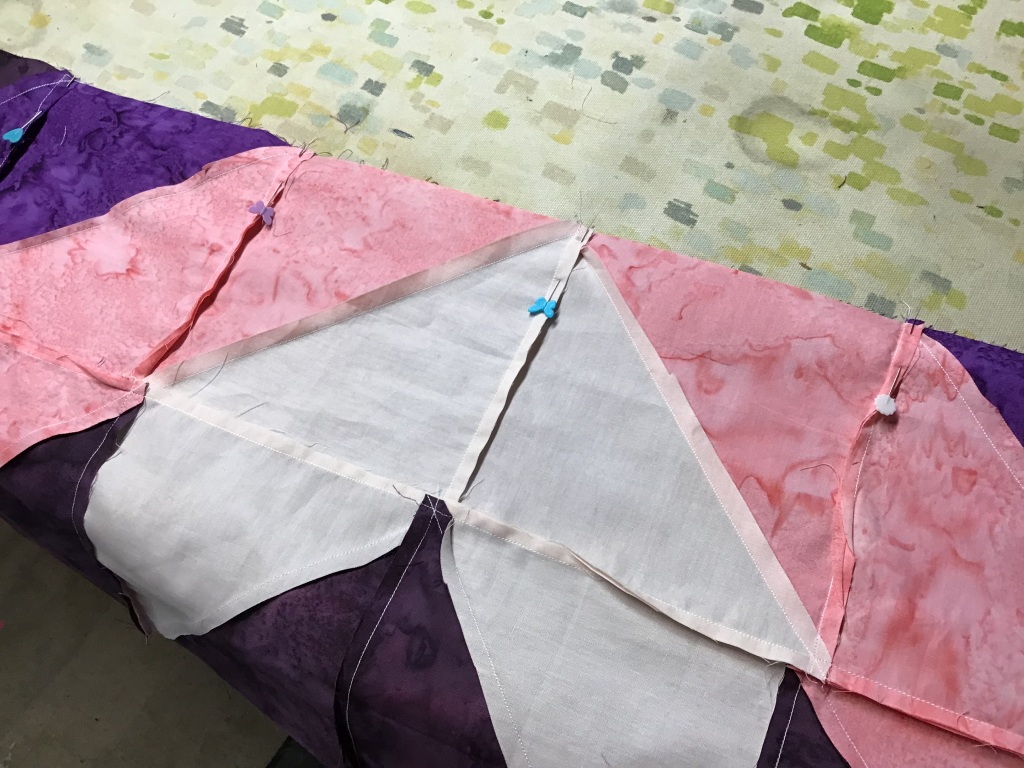
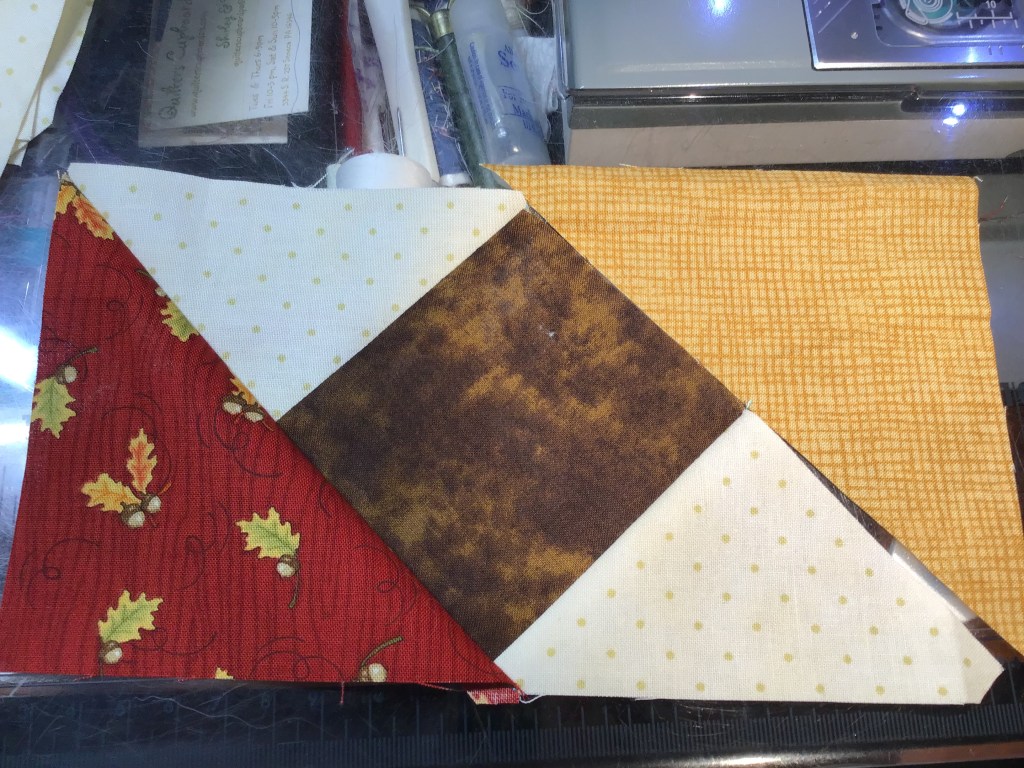
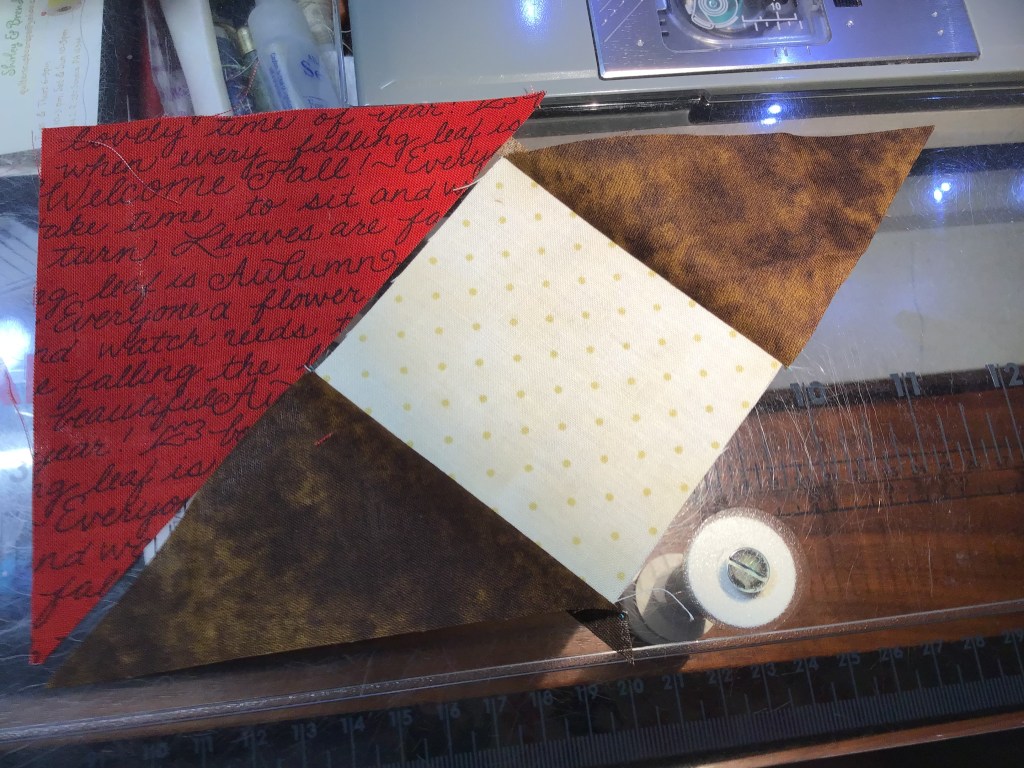
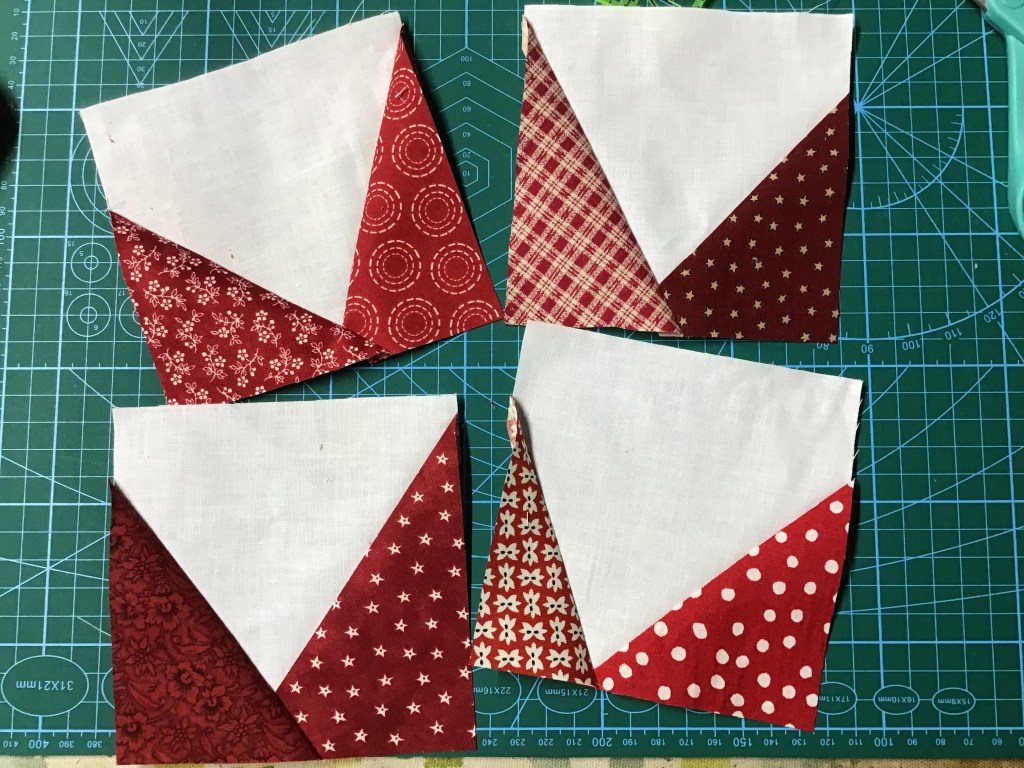
Now that the pieces are cut and ready to sew, it’s time to assemble 2 side units. Easy piezy!

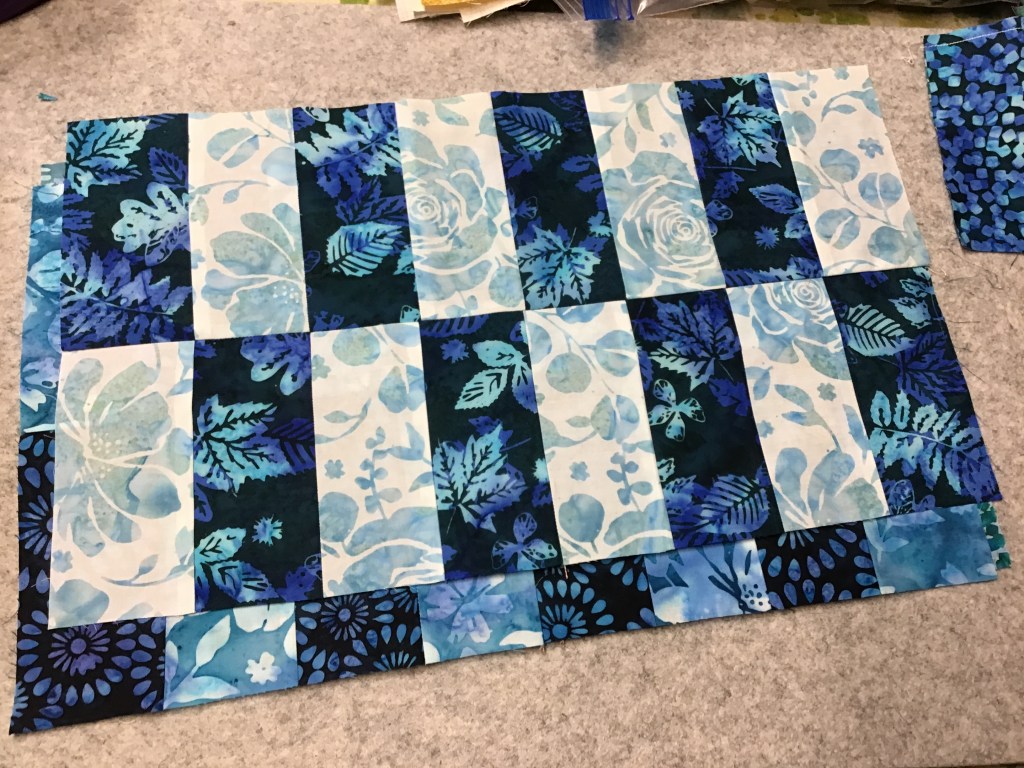
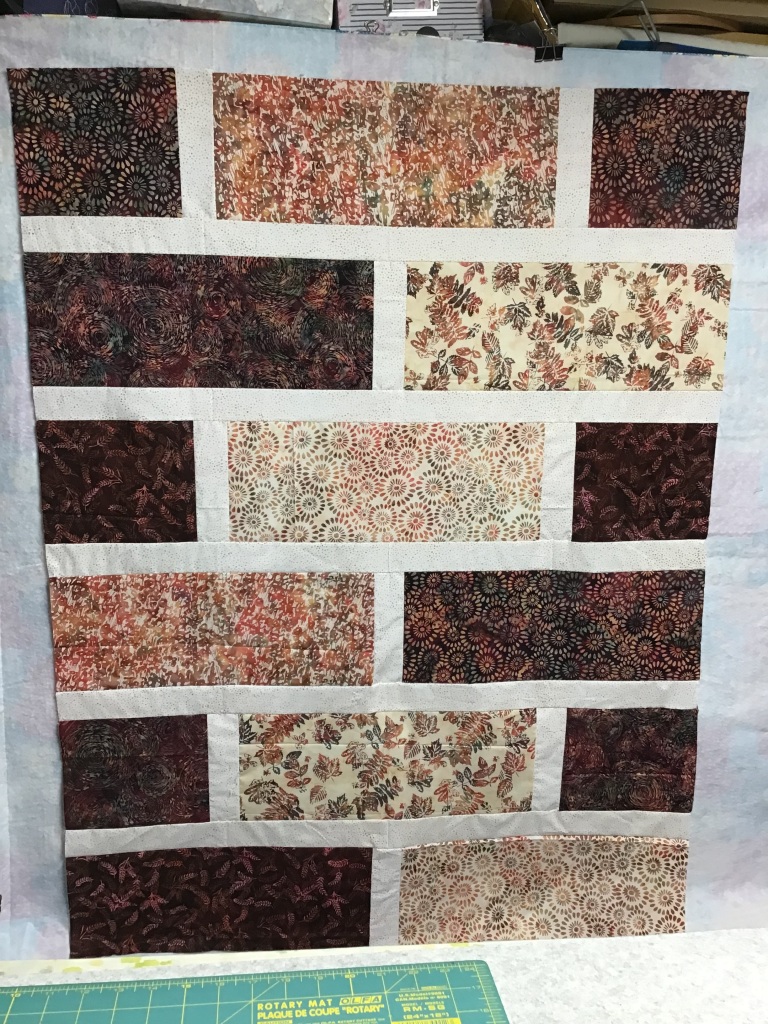
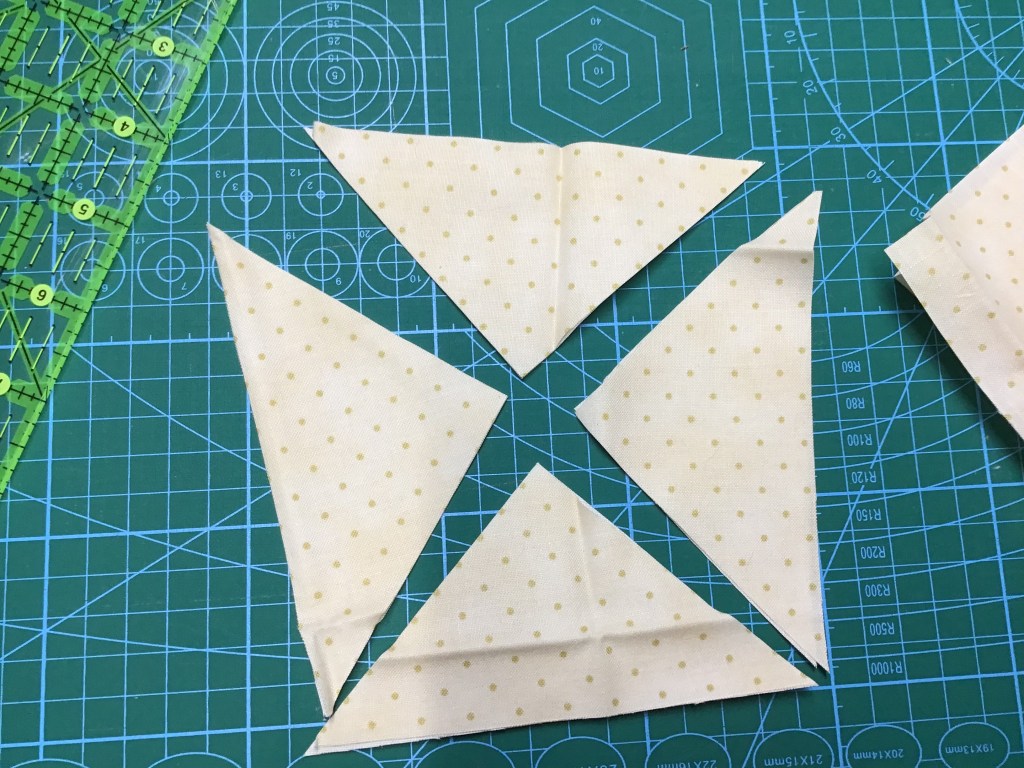
Next up is putting together the center of the quilt. I really like how this quilt is coming together into vertical rows. That makes it really simple to put together. And I’m not having to match up a bunch of seams. Yay!

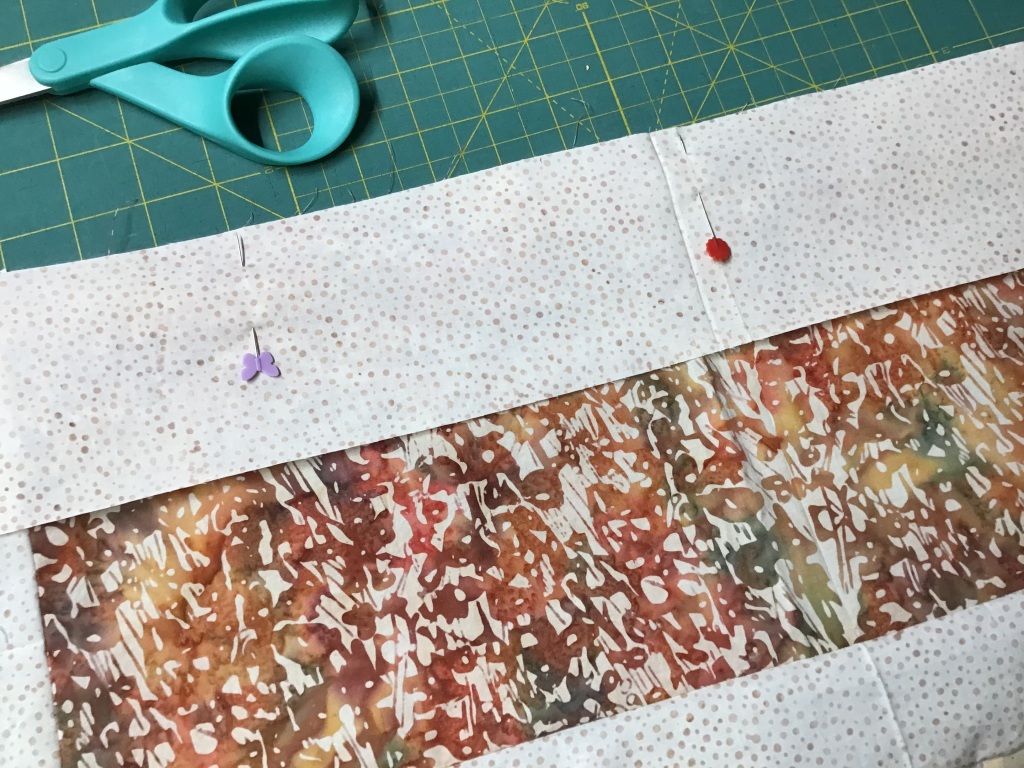
Now that the sides and the center are made, I’m going to work on the purple background strips. Here you can see in the first photo how I creased the center of the side strip and the center of the sashing strip. Then I matched those creased centers and put a pin right there. After I found the centers, I went to the outside edges and lined them up. You’ll see in the second photo that not only do I place a vertical pin, I also place an horizontal pin . That horizontal pin helps to keep my strips straight instead of bowing as I sew (I learned this little trick a long time ago from a quilter friend when I was a new quilter). After the center and the outsides are pinned, I always add a few more pins in between to keep everything from shifting when I sew.

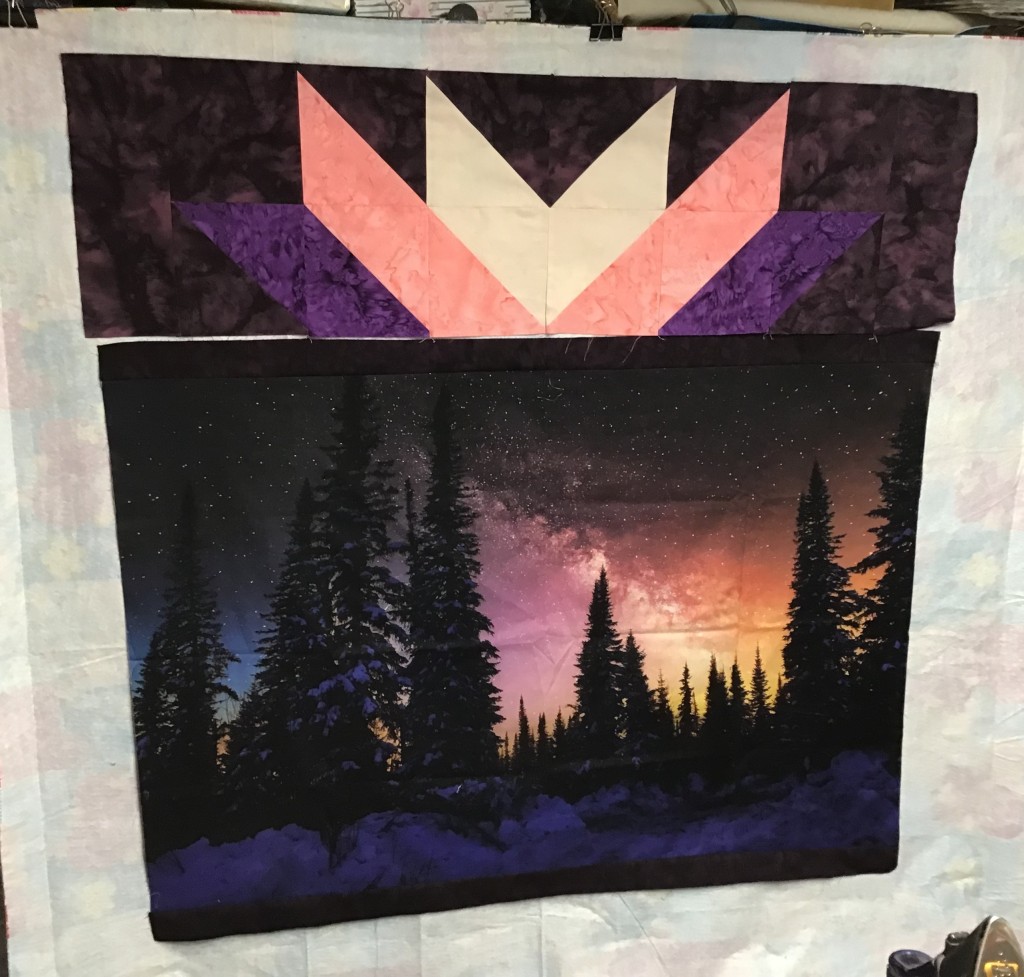
Yay! Here you can see the design taking shape now that I’ve sewed the purple strips to the sides of the quilt center.

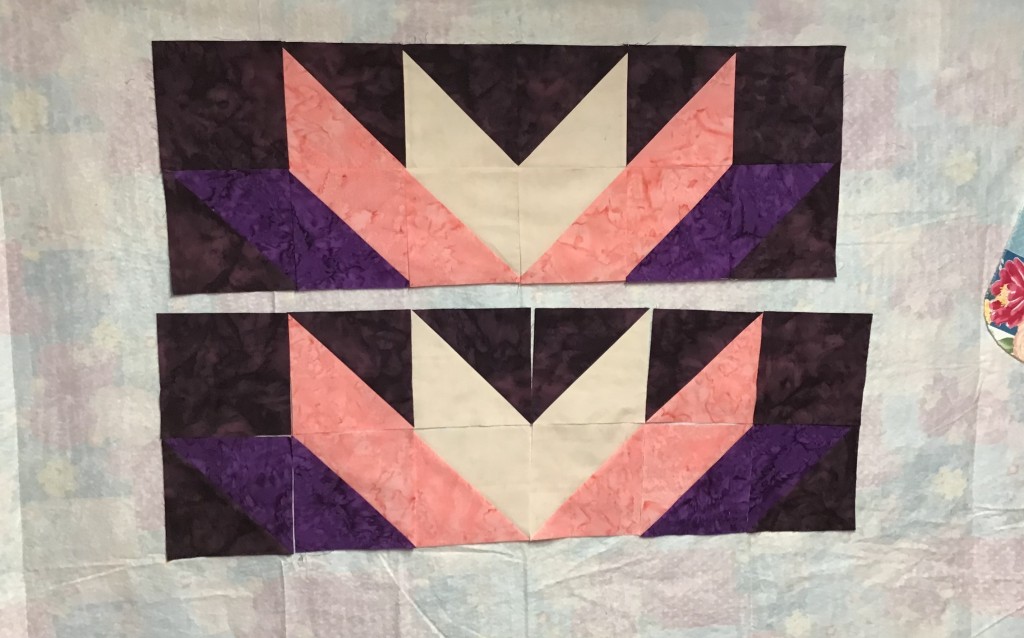
Next I’m gong to sew the side units to the center. Again, I will crease and match my centers. I think it’s looking really lovely with these digital prints.

Time to add purple background strips to the sides. It has a bit of an Art Deco feel to it, doesn’t it? Or maybe a stained glass window?
Time to sew background strips to the top and bottom of the quilt. Isn’t it looking amazing???

The borders are next up. What’s cool about this pattern is that you add the top and bottom borders on first before the side borders. When I did the purple strips, I added the sides first. But it does make sense to do it this way because it uses the fabric more efficiently — you don’t have to piece the top and bottom borders if you add them first. Ingenious!
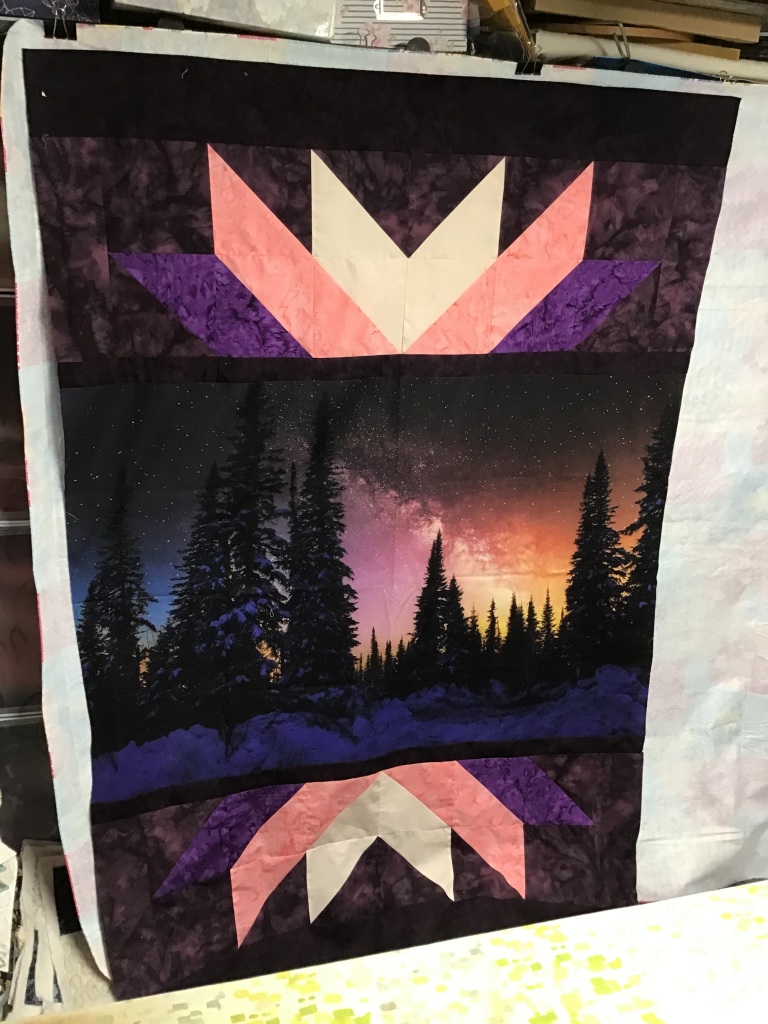
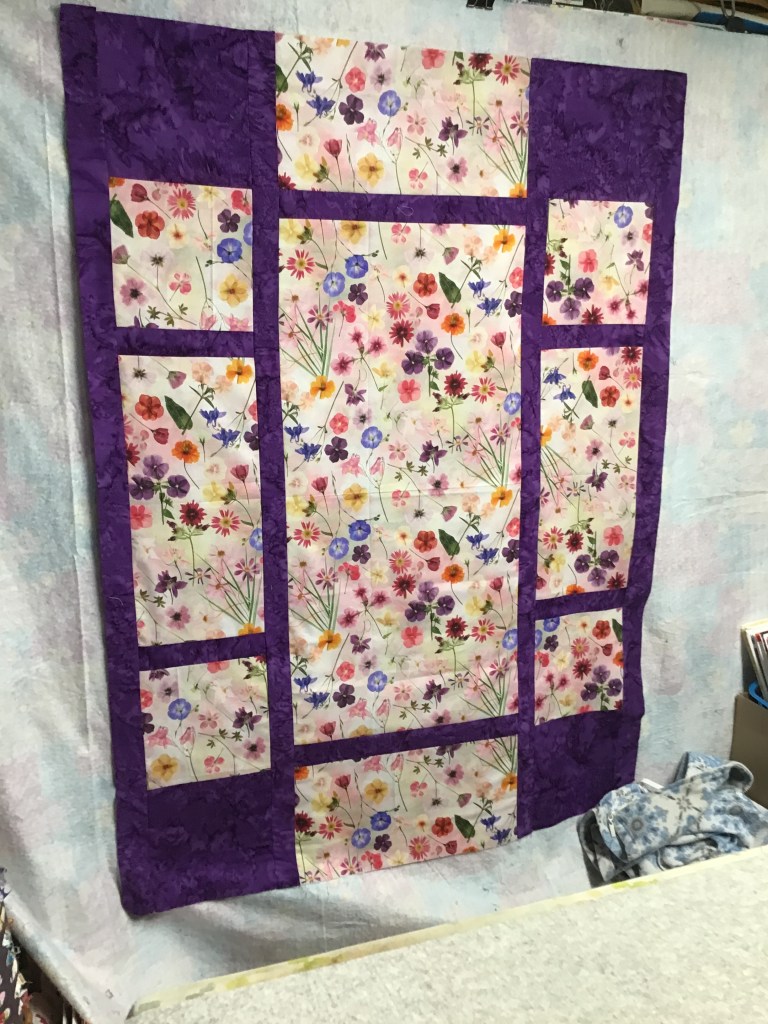
Here is the finished quilt top. It looks like an Art Deco stained glass window garden to me!
With so much open space, I’m just itching to starting machine quilting it, but that will have to wait for a while, I’m afraid.

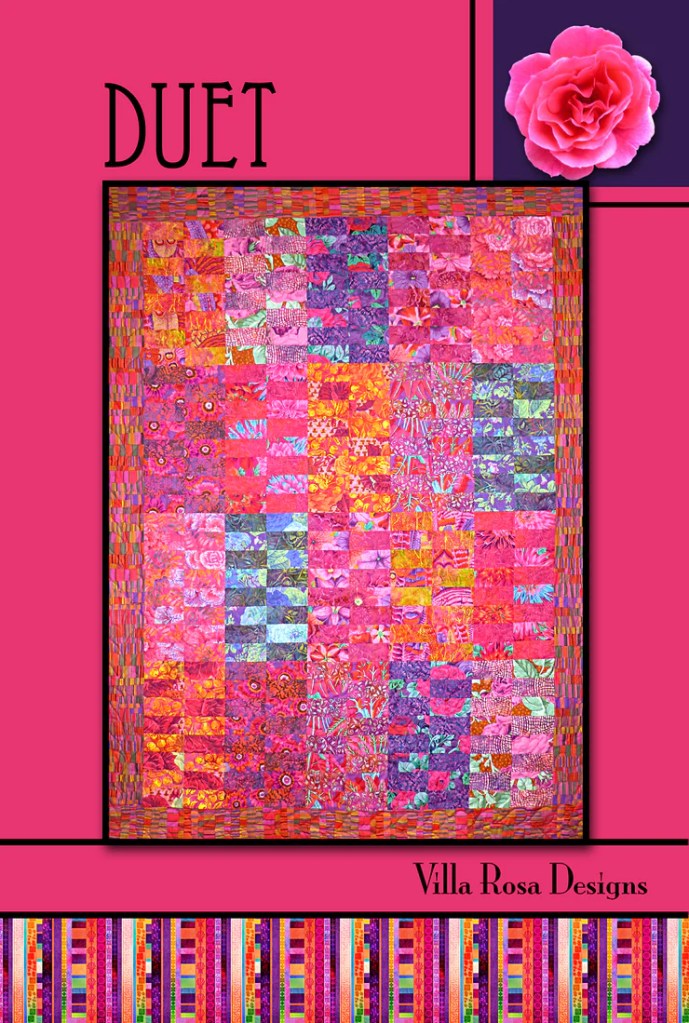
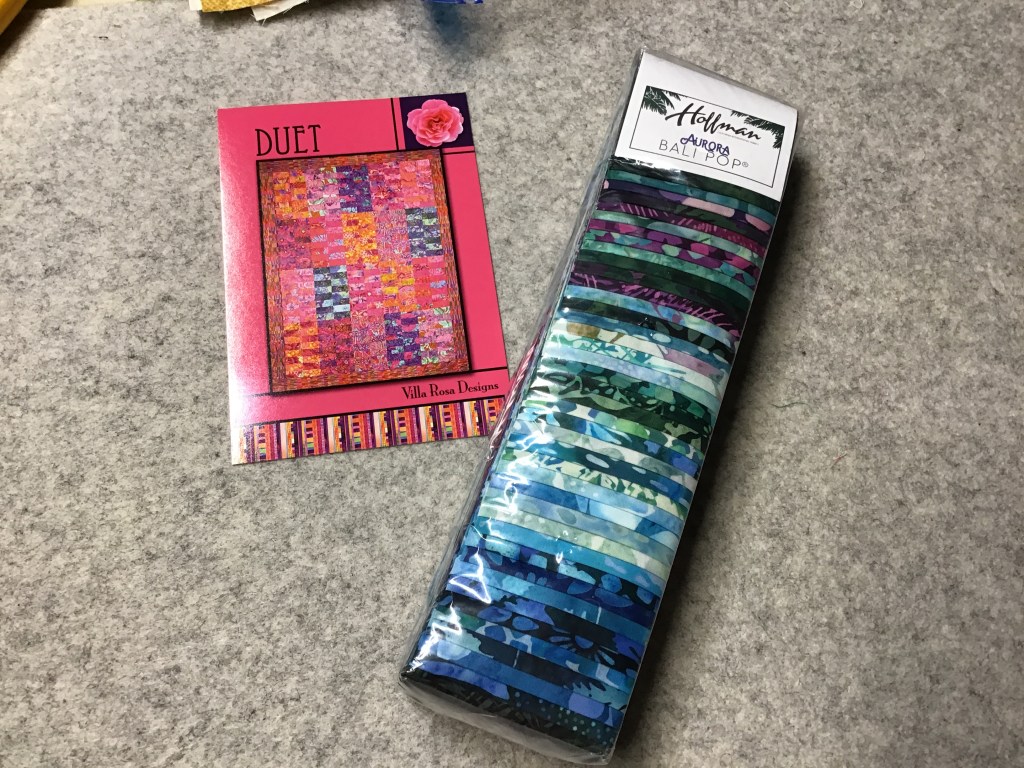
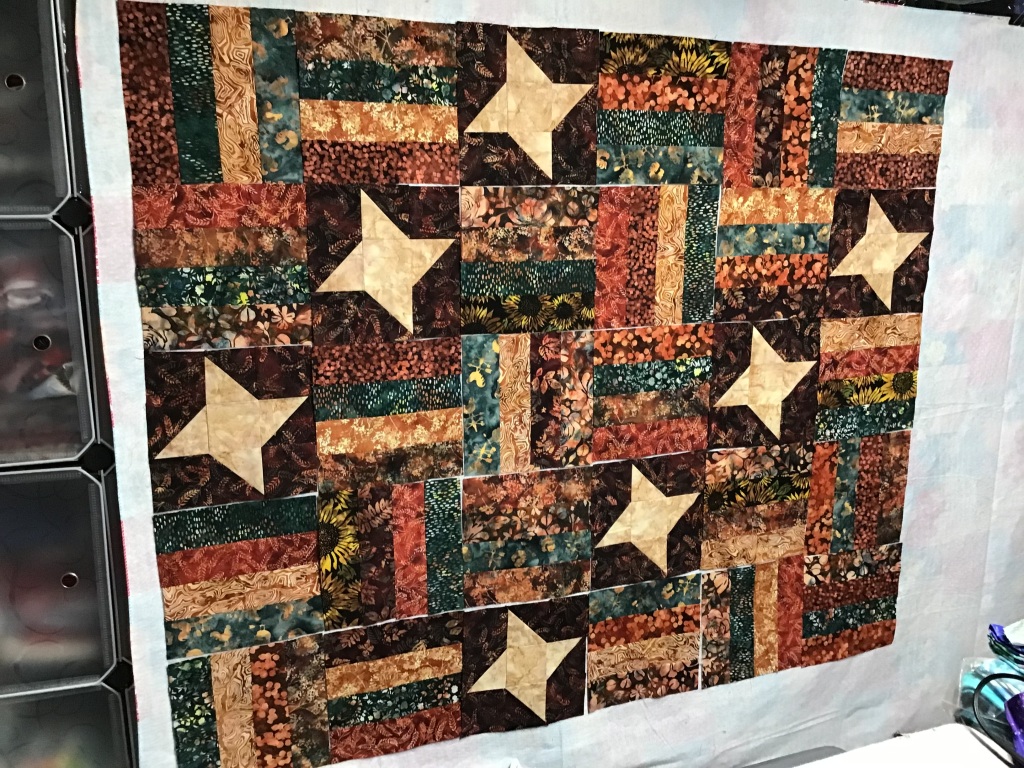
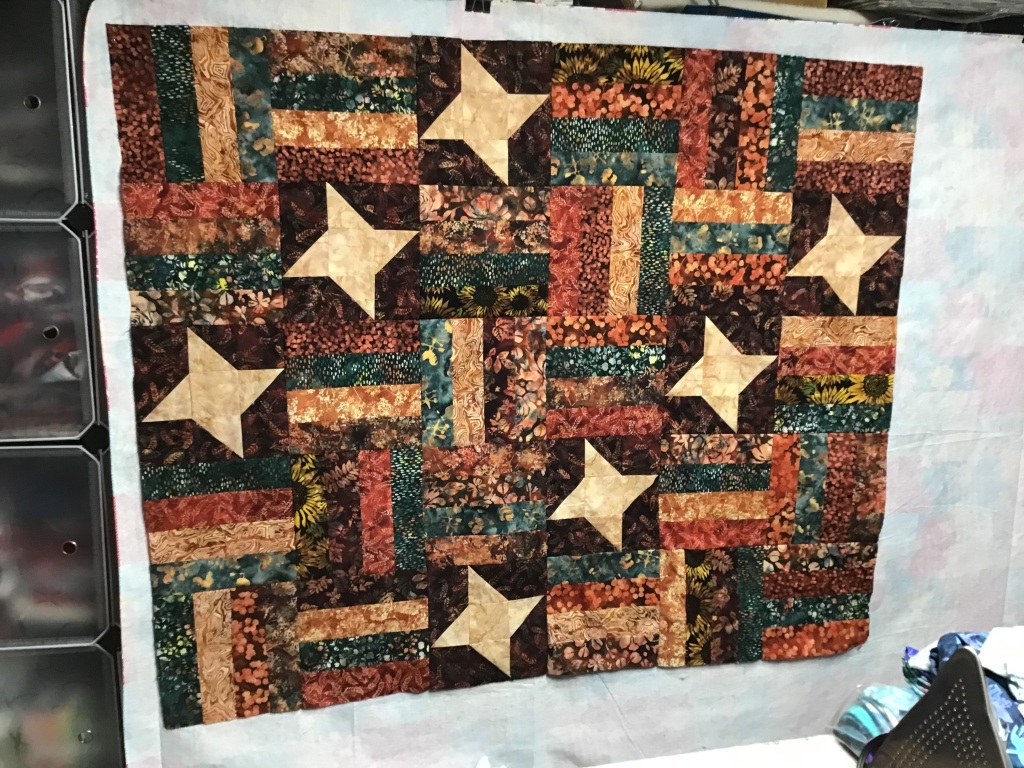
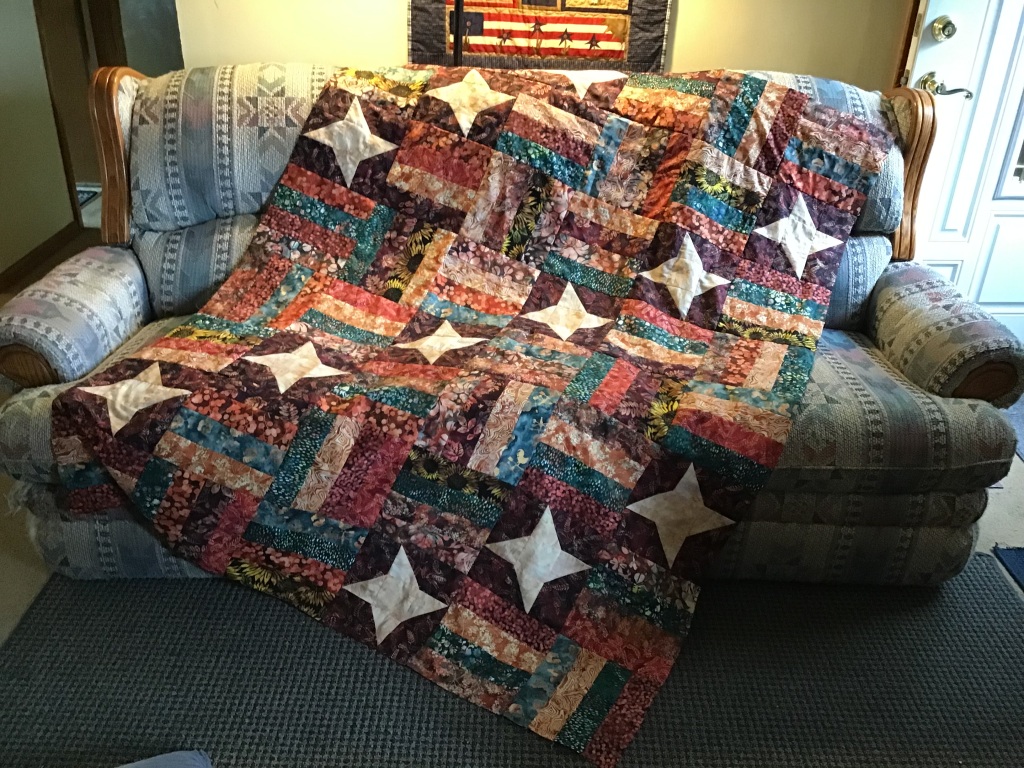
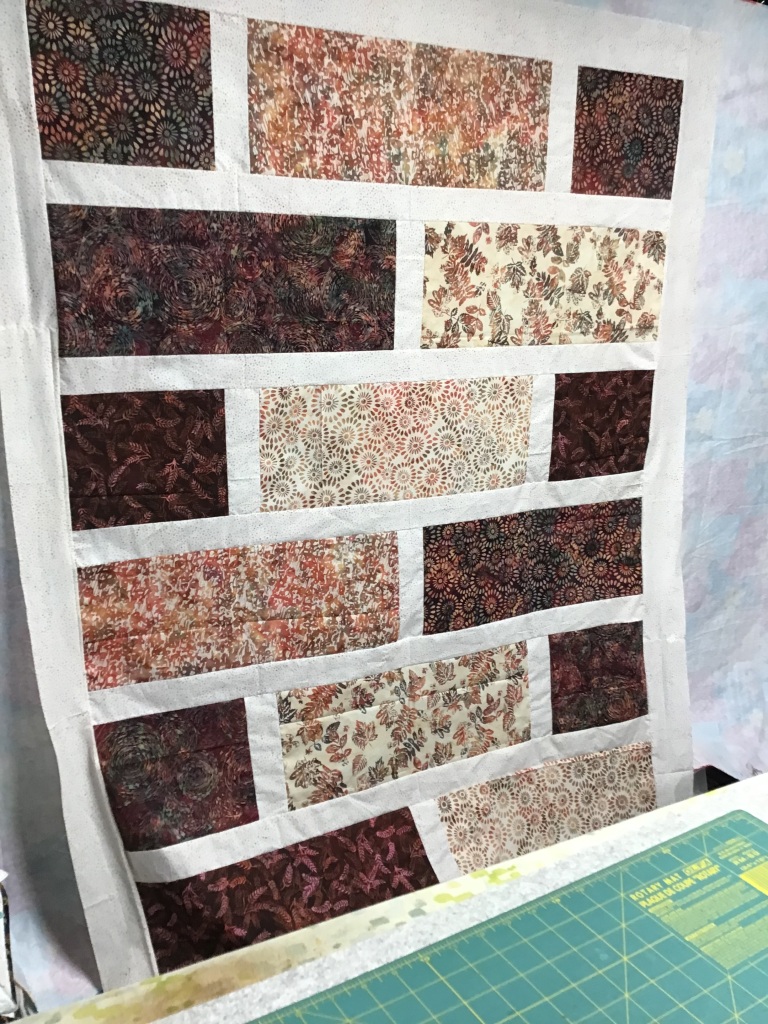
Duet Quilt Tutorial Update
Last week I was debating whether to add a border or not to my Duet quilt top. Then I took a deep breath and just added that outer border. I chose a light batik because Duet felt a bit dark to me. The binding will frame it all nicely — it’s dark blue.

TWO WEEKS TO GO AND COUNTING DOWN……..until the Blog Hop. Get ready.
Take care and Happy Quilting.
Until next week —
Sew. Laugh. Repeat.
Always,
Tricia @ VRD