Hello Quilty Friends!
Happy Thursday to you!
Have you ever looked at a quilt pattern and said to yourself, “That is just too simple.” Then either kept walking or scrolled right past to find a different pattern? Yeah, we’ve probably all done this at one time or another.
If you read the title of this post, then you already know I’m going to talk about why simple quilt patterns are for everyone from the beginner up to the expert. Let’s bust that “too simple” myth today!
Some thoughts right up front –
Simple does not mean basic, boring, or not as good.
Simple gives the fabric, colors, blocks, etc. room to breathe.
In this crazy hectic world, simple quilt patterns can give over-stressed and overbooked quilters some much needed calm and relaxation.
I am not suggesting that we totally give up complex patterns, instead I am saying that there is beauty in simplicity, too.
Whenever I think about simplicity, I remember a song from my junior high chorus days called “Tis a Gift to be Simple,” which happens to be a lovely Shaker song written by Elder Joseph Brackett in 1848. You can hear the song HERE. The funny thing is, a million years later (well, maybe not quite that many years LOL!), I still remember that song. You may be wondering why I’m diving down this rabbit hole, but I promise there really is a connection – “Tis a Gift to be Simple” reminds me that simplicity is beautiful and can be quite memorable, too.
Simple Patterns Let Fabric Be the Star
Have you ever fallen in love with a large print fabric and just had to have it? Of course you have. Me too. Then you chop it up into little squares and triangles and it just doesn’t look the same anymore. And perhaps you set that project aside, forgeting all about it and why you purchased that gorgeous to-die-for large print fabric in the first place.
This is one example where a simple quilt pattern becomes your best friend because it allows that big bold fabric room to just be. To just breathe – that simple quilt pattern quietly provides a space where you can still enjoy what attracted you to the fabric to begin with.
Let’s take a look at some quilts that demonstrate this idea.
Here is Angel Face. The wonderful fun bold print used in the large squares would really lose A LOT if you chopped it up – you’d have all kinds of bits and pieces of facial details and hair (ewwww! – a nose here and an eyeball there). The fabric wouldn’t make much sense anymore and chopping it up wouldn’t do this fun fabric justice at all. The alternating pink and black frames provide a barrier around the large print squares to keep them from blending into each other. Can you see how the understated repetitive design really compliments the large print fabric without being boring?
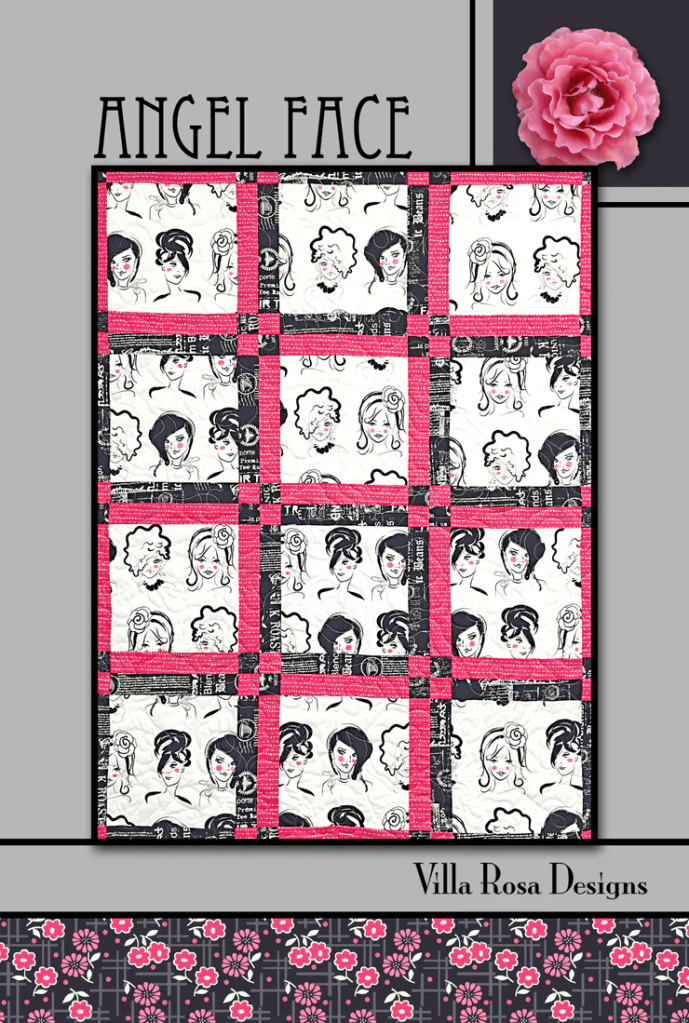
Get the digital pattern HERE or the print pattern HERE
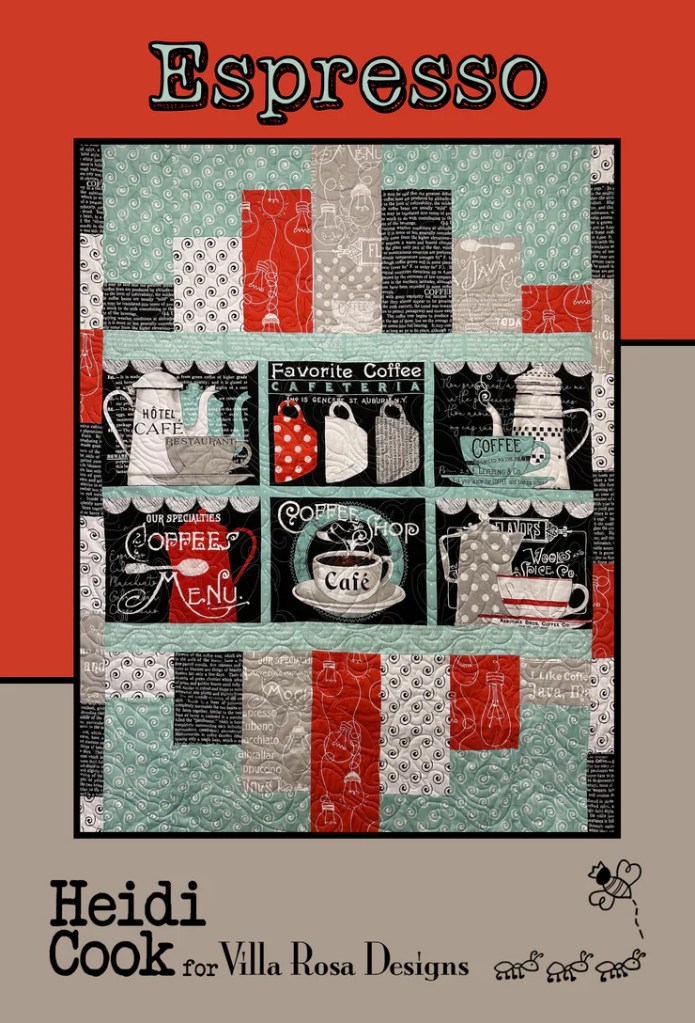
Next let’s take a look at Newsflash. Notice how each large print rectangle is identical in size and framed in black. The fun unexpected twist is the 2 vertical columns of off-white squares and black rectangles which give the quilt a definite old film feel. What a clever way to contain a variety of large prints in the same design! This pattern is exciting and far from boring, yet it is repetitive and quite simple to make.
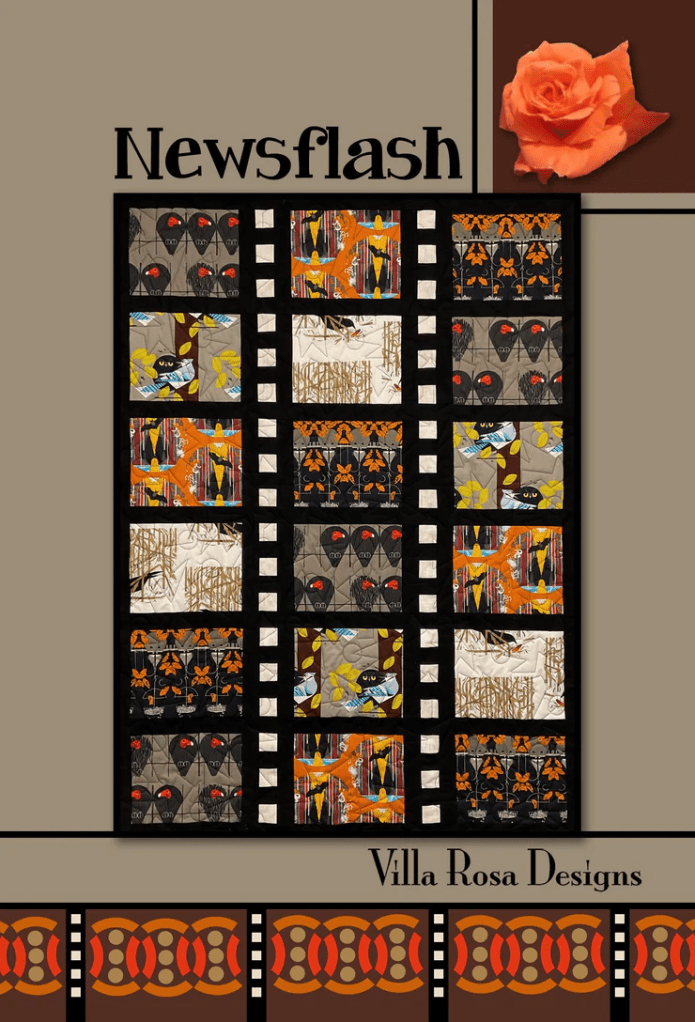
Get the digital pattern HERE or the print pattern HERE
What do you see when you look at Pacific Grove, below?
I see Pacific Grove is another great use of a large print fabric. The large horizontal and vertical rectangles/squares give you plenty of opportunity to enjoy the print itself and the teal sashing provides space between the squares/rectangles so the large print fabric isn’t overwhelming. In addition to breathing room, the teal tonal also provides a great space for fancy quilting which would otherwise be lost in the very busy large print. The wide blue-green border then provides a nice frame around everything.
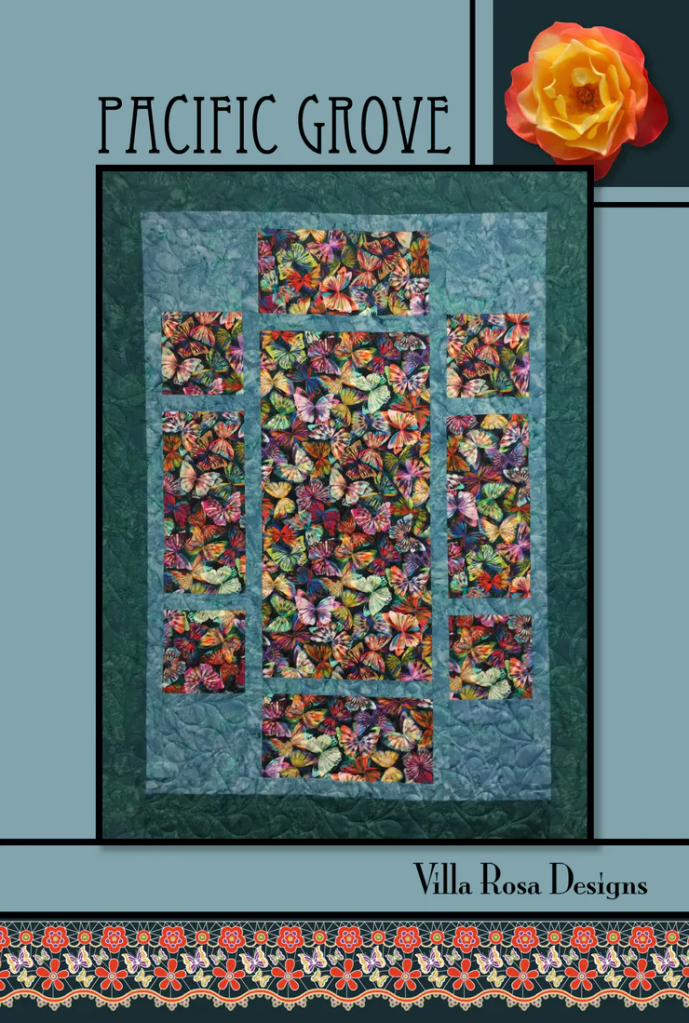
Get the digital pattern HERE or the print pattern HERE
After taking a look at these 3 VRD Rose Card patterns, I think you will agree that simple quilt patterns DO make the fabric the star of the show. Plus, you still get to enjoy the fabric you fell in love with in a finished quilt. Additionally, a beautiful finished quilt doesn’t need to take a lifetime to make.
Repetition Creates Rhythm (Not Boredom)
Now let’s shift our thoughts to repetition. If you’re already familiar with VRD patterns, then you’ve probably already noticed that we often employ a single quilt block or shape and repeat it to create an overall design. There are several reasons for doing this, including the physical space on the back of a 4″ x 6″ card to actually write a pattern, but also because repetition creates balance and harmony.
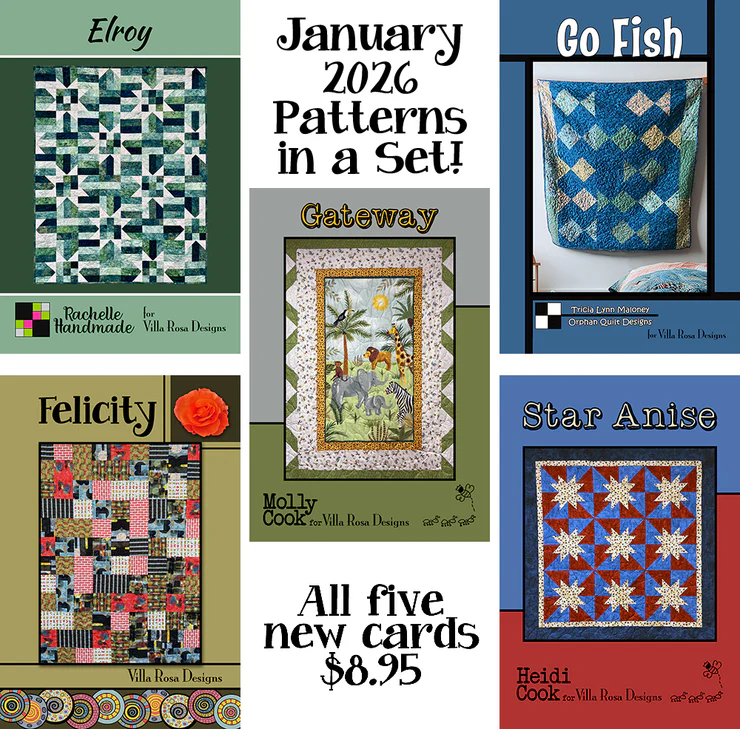
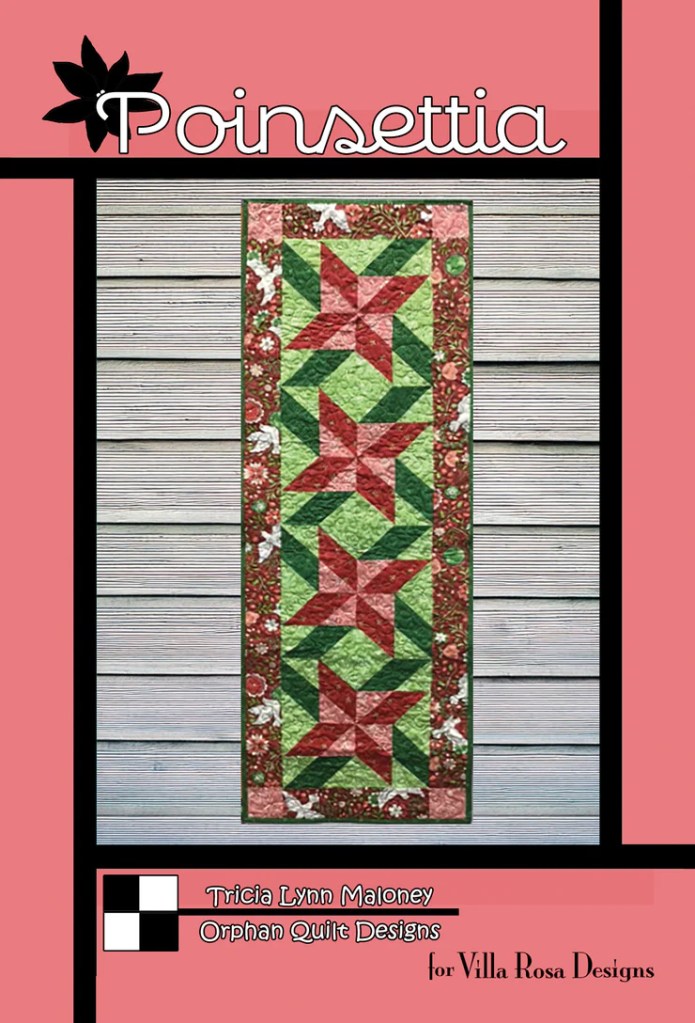
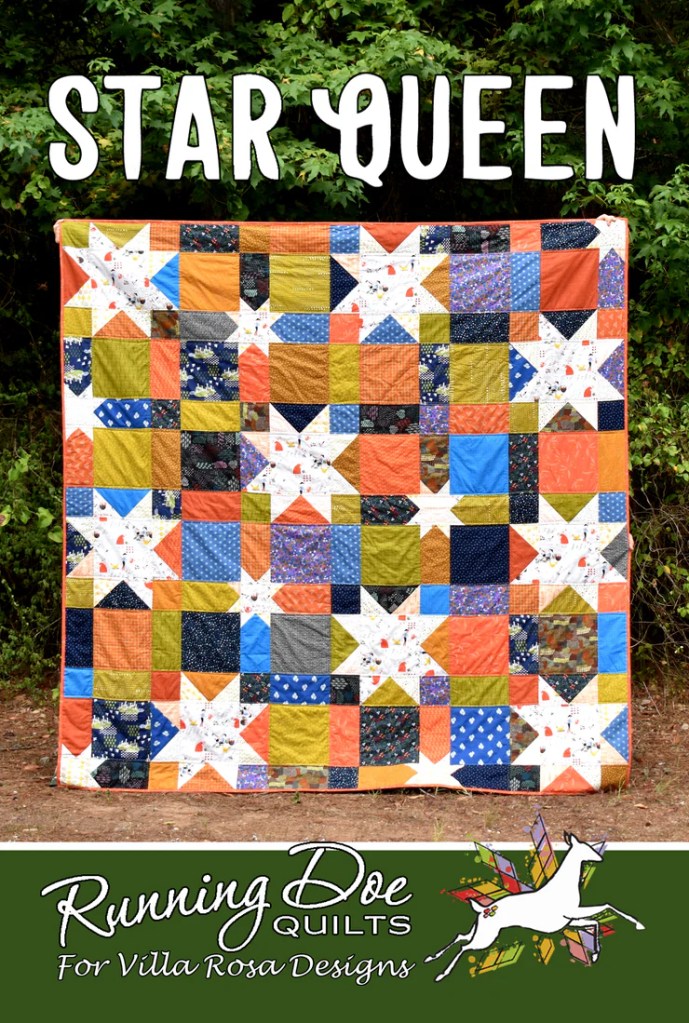
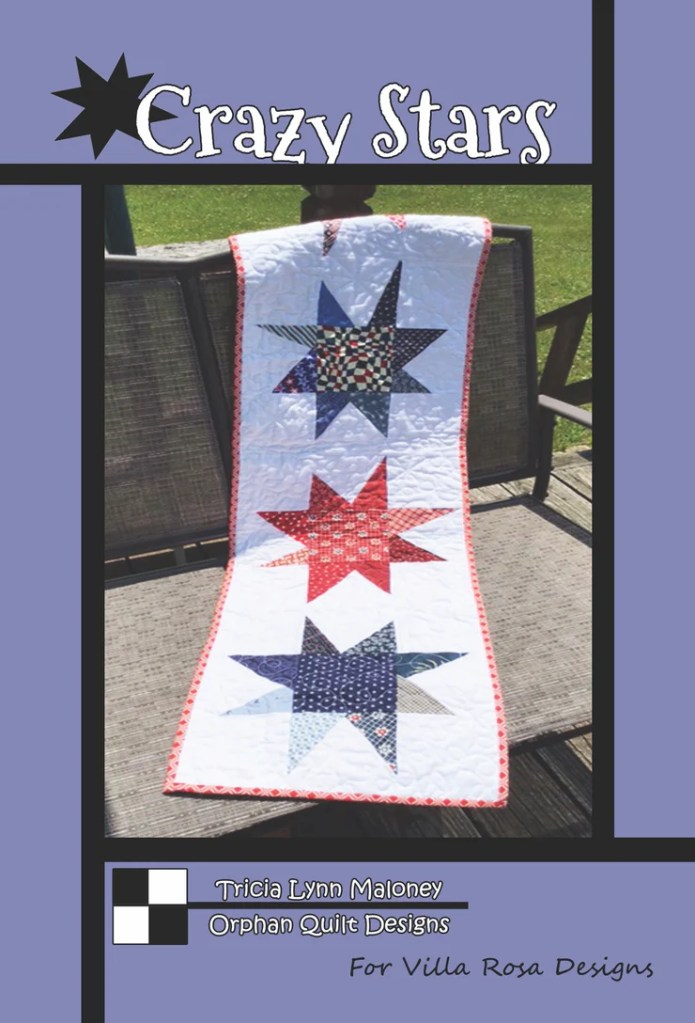
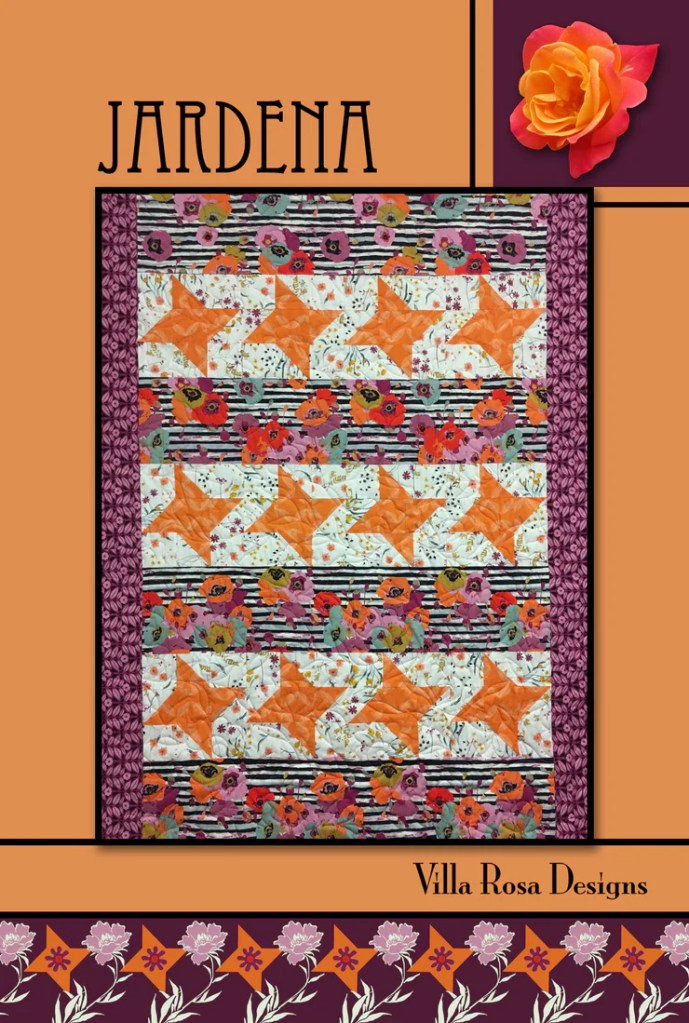
Heidi’s brand new January pattern, Star Anise, is a great example of repeating a single block to create a completely balanced interesting finished quilt. Definitely NOT boring! In fact, the red and blue shapes provide a lot of movement behind the stars. Heidi chose tonals for the red and blue so they recede while the busy-printed stars seem to float on top. Then the 2 borders contain everything. This is a well-thought out quilt pattern featuring a relatively simple repeated single quilt block and 2 borders. This design is so NOT boring!
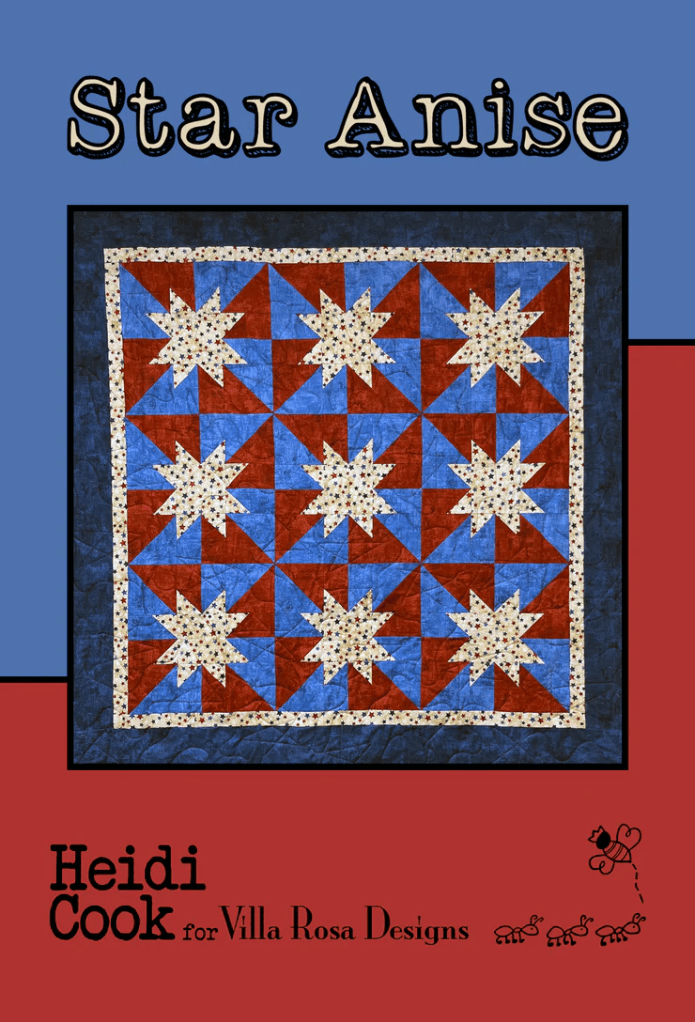
Get the digital pattern HERE or the print pattern HERE
Now let’s take a look at About Face. First, the framed stacked blocks repeat throughout the quilt. Alternating the color of the frames really adds a lot of interest and excitement to this pattern. Then of course, there’s the fabric, which is equally exciting. I love how the stacked squares look different in each block depending on the combination of fabric used. And, of course, the framed stacked block is super simple to make. What a marvelous pattern for big bold colors and fabrics!
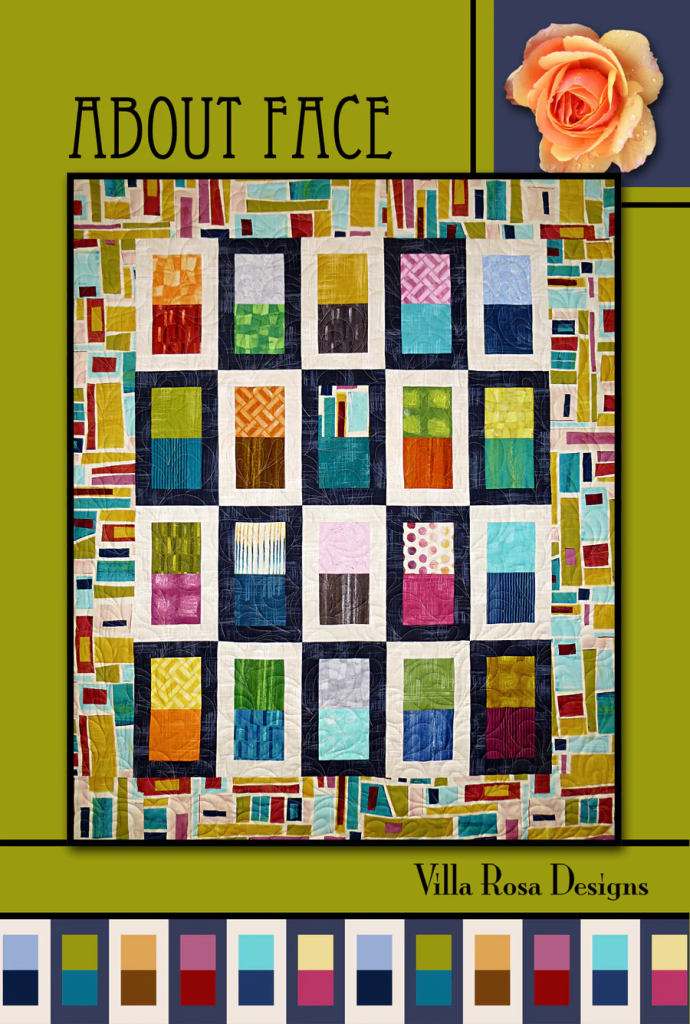
Get the digital pattern HERE or the print pattern HERE
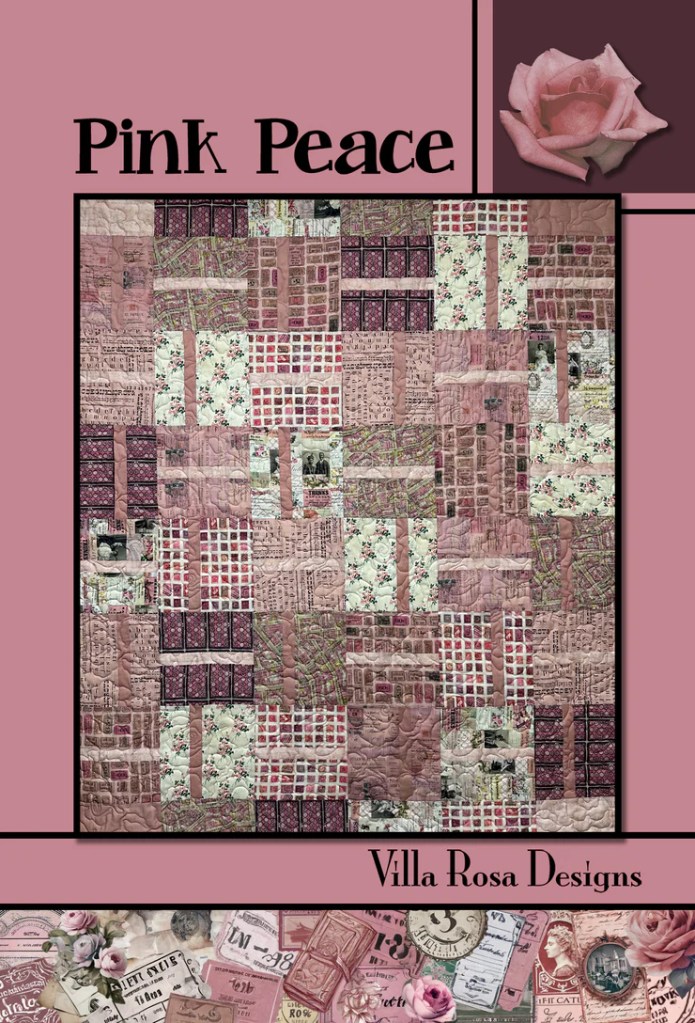
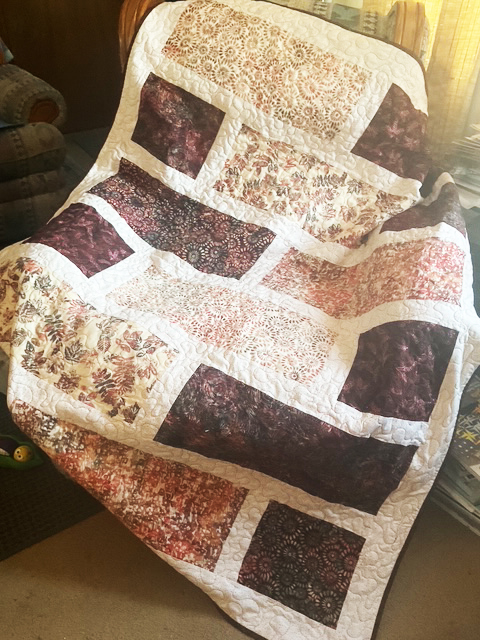
Here’s Throwback. What do you see?
Here’s what I see: with Throwback, the single Courthouse Step block repeats throughout the quilt. That repetition manages the bold fabrics and colors without the need for any frames or borders. Why does it work? The simple block itself is very rigid so it keeps the fabrics organized and under control. And this pattern is far from being boring, even if it’s only a single repeated block.
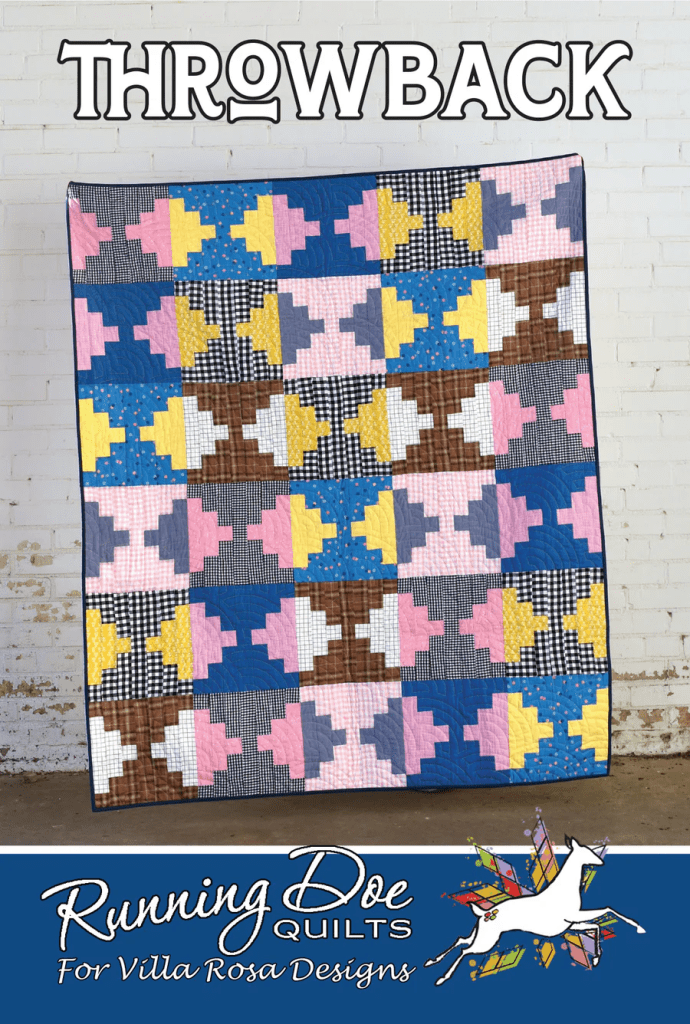
Get the digital pattern HERE or the print pattern HERE
We’ve explored how simple quilt designs work well with large and busy fabrics and how repeating simple blocks in a quilt pattern is anything but boring. What might look “too simple” at first glance often becomes “just right” when we take the time to examine what makes that simple pattern really work.
Simple Patterns Highlight Quilting, Not Hide It
Up above, in Pacific Grove, I mentioned how the open space not only gave the very busy large print fabric room to breathe it also allows for the quilting to shine. If you want your quilting to be the main event in your quilt, you need to carefully consider batting, thread color and choice, as well as the quilting design and its size. Please note that really busy prints tend to hide quilting, but you can still see the texture that quilting gives the quilt.
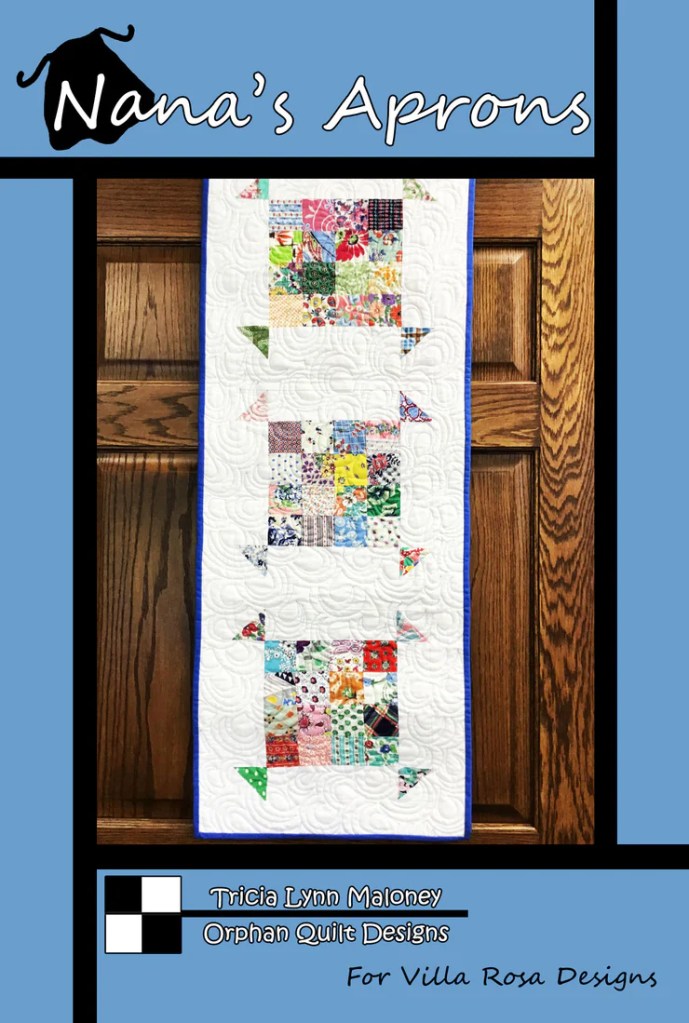
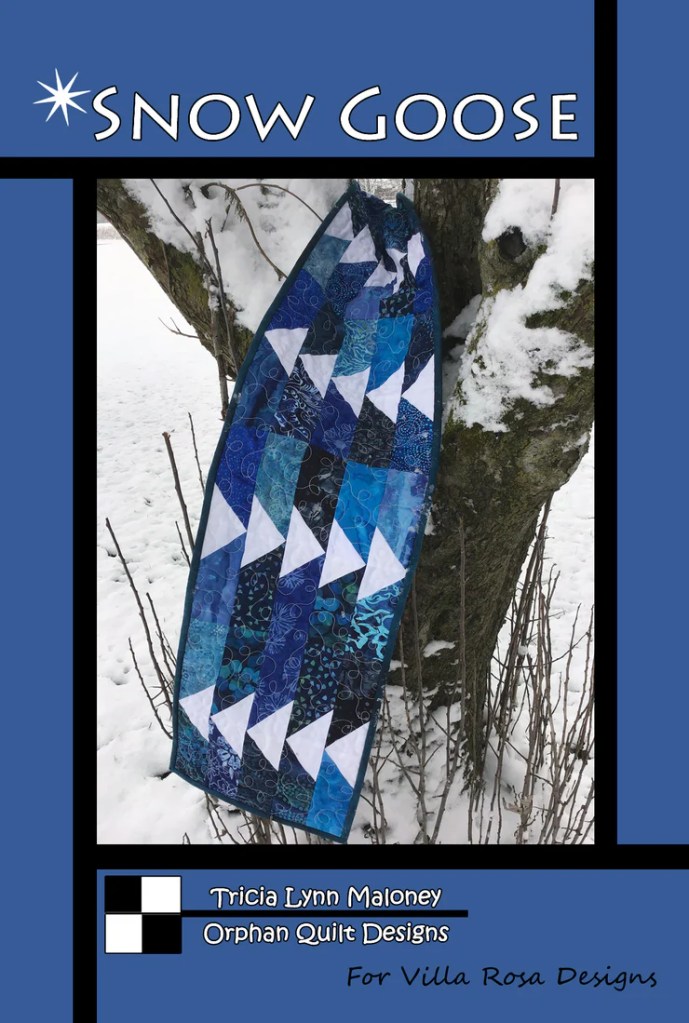
Let’s take a look at the really quick and fun pattern, Baby Goose. The large succulent fabric is the main event here. The horizontal band of Flying Geese blocks breaks up the large print into smaller bites for our eyes. Can you see the machine quilting on this quilt? The thread colors blend more with the fabrics than stand out so mostly, what you are seeing is texture. What if you wanted the quilting to be the star of Baby Goose? I would probably choose a smaller print fabric or at least a less busy one as well as a strongly contrasting thread color so that it stood out. I might also choose a thicker batting or even layer 2 batts in order to give the quilting more definition.
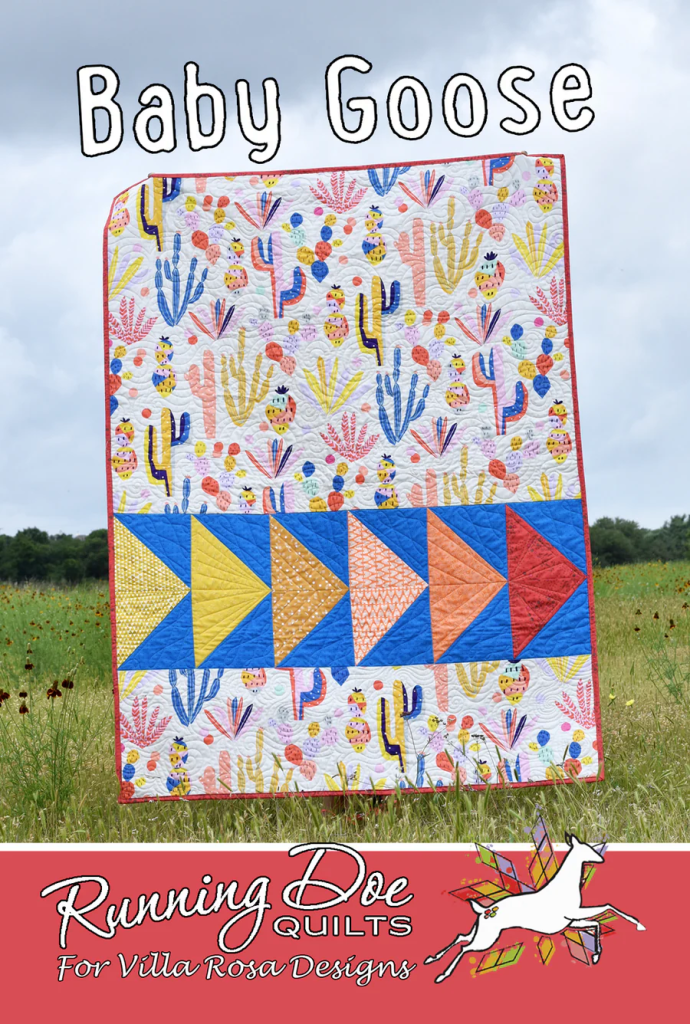
Get the digital pattern HERE or the print pattern HERE
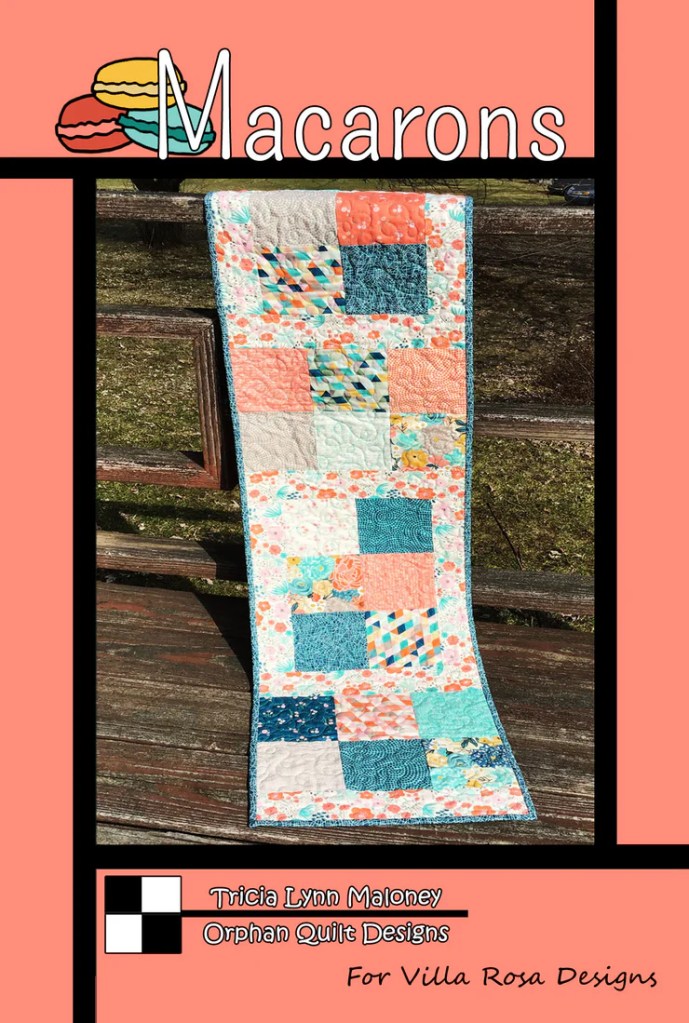
Check out Kate Griffin’s Color Block pattern! It’s a simple pattern with a lot of room to showcase your quilting. Kate used an overall geometric design in a subtle contrasting color – do you see how it pops on the solid fabrics? If you look closely at the quilting, you can easily make out the shapes, yet with the overall quilting pattern it provides a tremendous amount of texture. In this quilt, the simple design, the fabrics, and the quilting all compliment each other.

Get the digital pattern HERE or the print pattern HERE
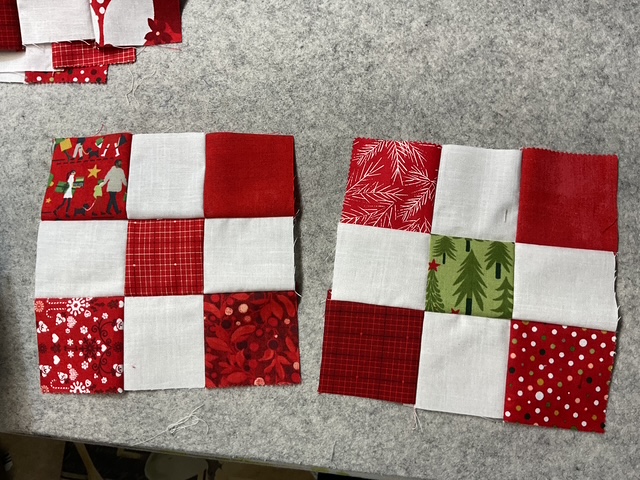
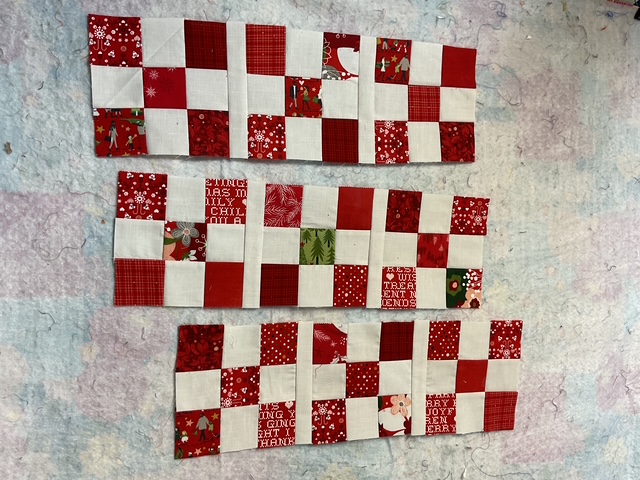
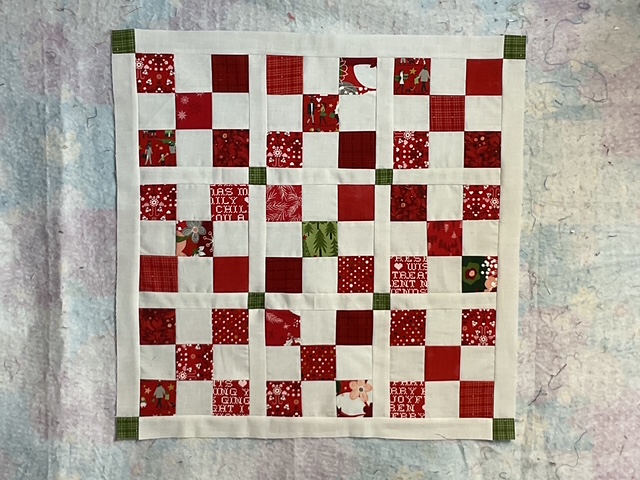
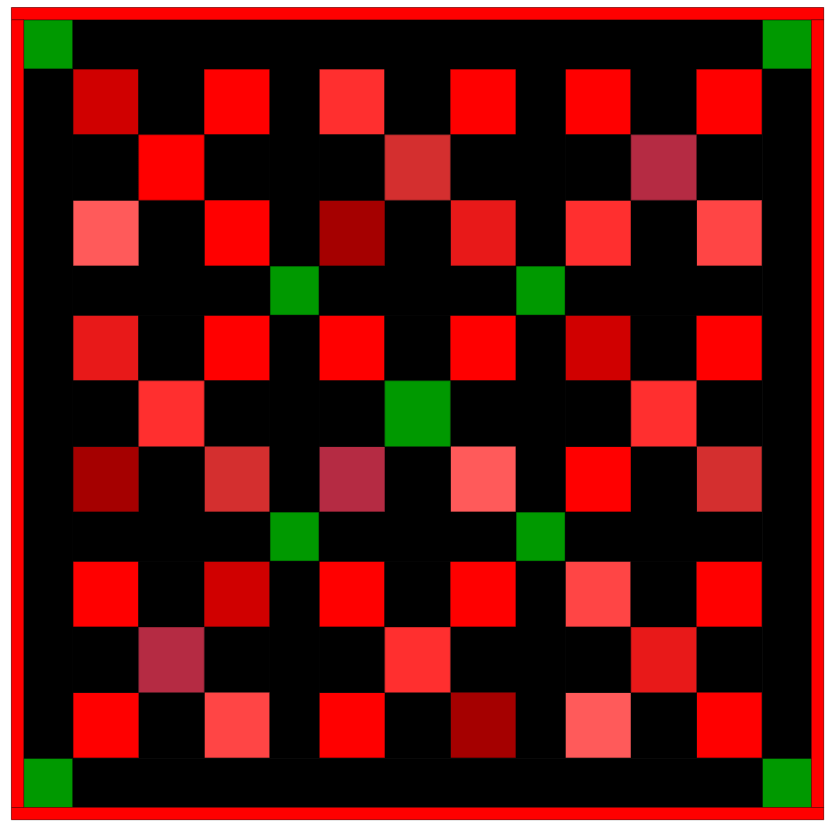
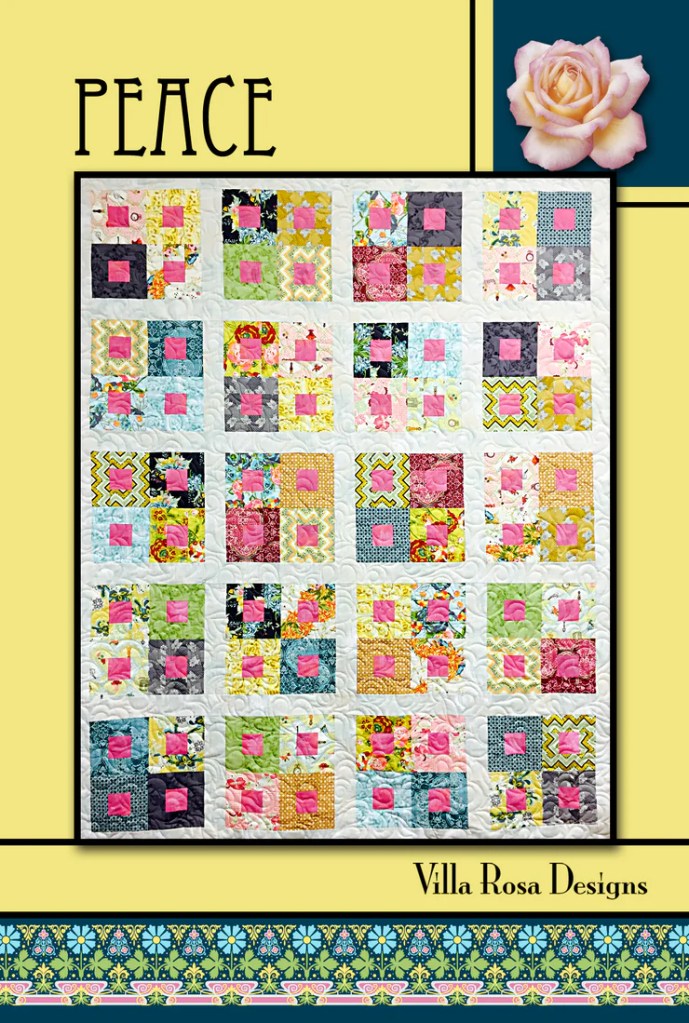
Sooo, what are your thoughts on Lollipop, below?
Here’s what I see – a simple repeating/alternating Nine Patch block with lots of open space to allow the quilting to shine. Want to quilt feathers? Yep, this pattern can handle that. Want to use bold fabrics in the Nine Patches? Go for it! Use a funky binding to tie everything together? Absolutely! This pattern can handle just about any fabrics you throw at it all while giving space for the simple blocks to breathe and providing the perfect canvas for your quilting.

Get the digital pattern HERE or the print pattern HERE
Albert Einstein once said:
Everything should be made as simple as possible, but not simpler.
This quote really resonates with me as it truly describes my personal design aesthetic. Funny that Al Einstein and I would agree on something, especially as it applies to quilting. I like my designs simple, but they are not simplistic or basic. Sure, once in a while I feel the need to tackle something challenging, but simple quilts are my go-to designs – the ones I turn to time and time again. Simple is hardworking and reliable. Simple is the way I roll.
They’re More Forgiving Than You Think
Simple quilt designs are also great for beginners. I can’t tell you how often I have suggested Villa Rosa Rose Card patterns to new quilters. I’ve even personally used VRD patterns to teach both new and experienced quilters.
I have found that simple patterns set quilters up for a more pleasant experience as well as more success and satisfaction.
Simple quilts have fewer seams which equals less stressful piecing.
Simple quilts are often easier to enlarge or reduce by adding/subtracting rows and/or borders without struggling with tough math to figure it all out.
Simple quilt patterns often employ clear easy-to-understand instructions, too, which helps new quilters gain confidence in their abilities. For experienced quilters, clean straightforward instructions are a breath of fresh air in our complicated busy lives.
With easy-to-read instructions, simple repeating quilt blocks, and space for fabrics and blocks to breathe, it’s no wonder that simple quilts are more forgiving than complex designs with intersecting seams, set-in seams, complicated piecing, tiny pieces, etc.
Yay! Let’s hear it for simple quilts!
Simple Patterns Age Gracefully
What are your favorite go-to patterns? The ones you turn to when there’s a new baby, a birthday, a wedding, a holiday? I bet most of you have at least one pattern you’ve made over and over – that pattern that has stood the test of time. And I wouldn’t be surprised if your go-to pattern is a simple one. One that you can make up quickley, yet looks different depending on the fabrics and other choices you make as your create.
It’s the simple quilts we turn to for comfort.
They are often the ones that get used, washed, and loved. Every day.
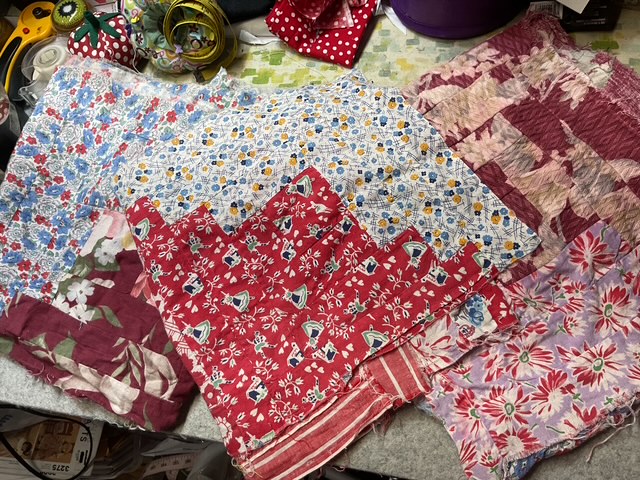
The ones the grand kids drag around until the quilts are frayed and worn. Maybe it’s the quilt your great grandmother made for your grandpa as a young man – a simple 4 Patch quilt with leftover fabrics from household sewing.
Maybe it’s the sweet little baby quilt that’s now tattered and torn but has been passed down for a hundred years.
Trends and colors may come and go, but simple quilts are always in style. Always will be. Always.
See you next week – same place, same time.
Until then –
Sew. Laugh. Think Simple. Repeat.
Always,
Tricia @ VRD