Hello Quilty Friends!
Happy Thursday to you!
Another week has passed us by and the only things I’ve sewn recently are my samples for this Bunny Ears Snack Mat tutorial. LOL! I hope you had better luck this past week getting some sewing in. I keep gazing at my collection of VRD Rose Cards as well as petting my fabrics and my sewing machine looks lonely across from me as I write here at my desk, but I just can’t seem to find enough time to actually get something going on my machine. Somehow I need to find a pocket of time — maybe I should sleep less so I can quilt more. But, no, that won’t work for me these days as I really do need those 8 hours of sleep a night. Ho hum…..
Update on Blog Hop Prizes
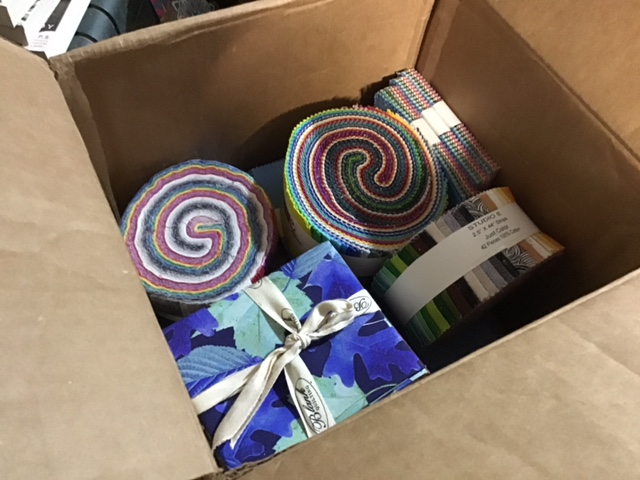
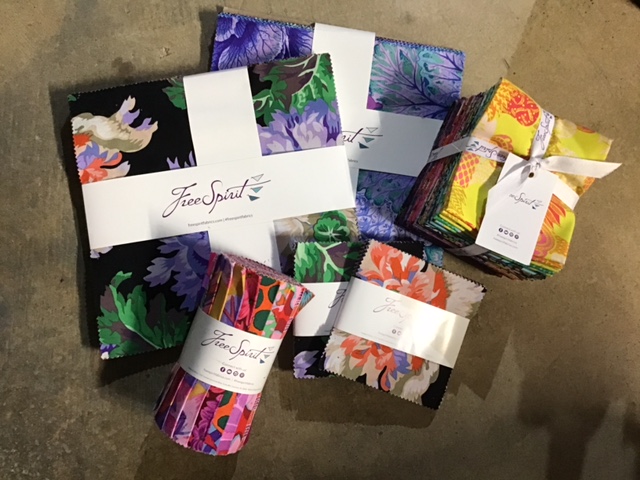
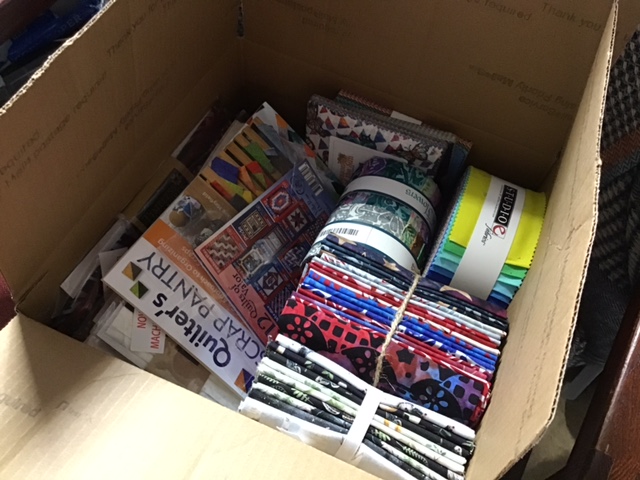
I just wanted to let everyone know that we are still working on getting everything shipped to Blog Hop Prize Winners. So far the quilts have been shipped, digital pattern collection winners have received their patterns, and prizes graciously being shipped by our lovely sponsors should be in the mail. Physical pattern collections haven’t yet been shipped but should be going out in the next couple days. I have a stack of prizes that also need to get mailed as well as the Kaffe Collection and the Mystery Box.
You may be scratching your head, wondering why it’s taking us so long to get everything sorted out and to the winners. That, my friends, is a complicated topic:
- We had around 28 bloggers in addition to our own blog, which really makes 29. There were prize winners on ALL of the blog post. So that’s a lot of information to put together and organize! To make things even slower, we had some winners who never replied to their winner emails, so then we had to randomly select new winners and contact them to get their information. Egads! It literally took weeks to gets all the winners selected and confirmed. Really, I’m not kidding.
- Prizes are being shipped from multiple locations — the quilts were shipped from the VRD shop in CA, physical pattern collections will be shipped from our pattern shipping location in MO, digital pattern collections were emailed by moi here in PA, sponsors are shipping prizes from their warehouses and office locations all over the US, and I am shipping prizes and 2 of the Grand Prizes from my little studio here in PA.
It’s crazy when you think of the logistics involved in our Blog Hop — kind of like dancing Swan Lake en pointe while trying to juggle knifes — very sharp knifes!
Happily, we should have everything out in the mail very soon. Winners hare receiving their prizes. Please continue to be patient as we get everything on its way to you.
Now, how about a fun tutorial?
VRD Bunny Ears Snack Mats Tutorial
Nothing says spring like a pair of bouncy little bunnies with extra-long ears! But before I even begin the tutorial, I need to let you know there is an update on the cutting instructions for piece B — you should have enough fabric left over to cut the updated piece, though. Please check the Corrections Page HERE for the new cutting measurement for piece B. Yes, we do have a corrections section at the bottom of our website, villarosadesigns.com, so if you ever find something on a pattern that doesn’t quite look right to you, please check the corrections page for updates.
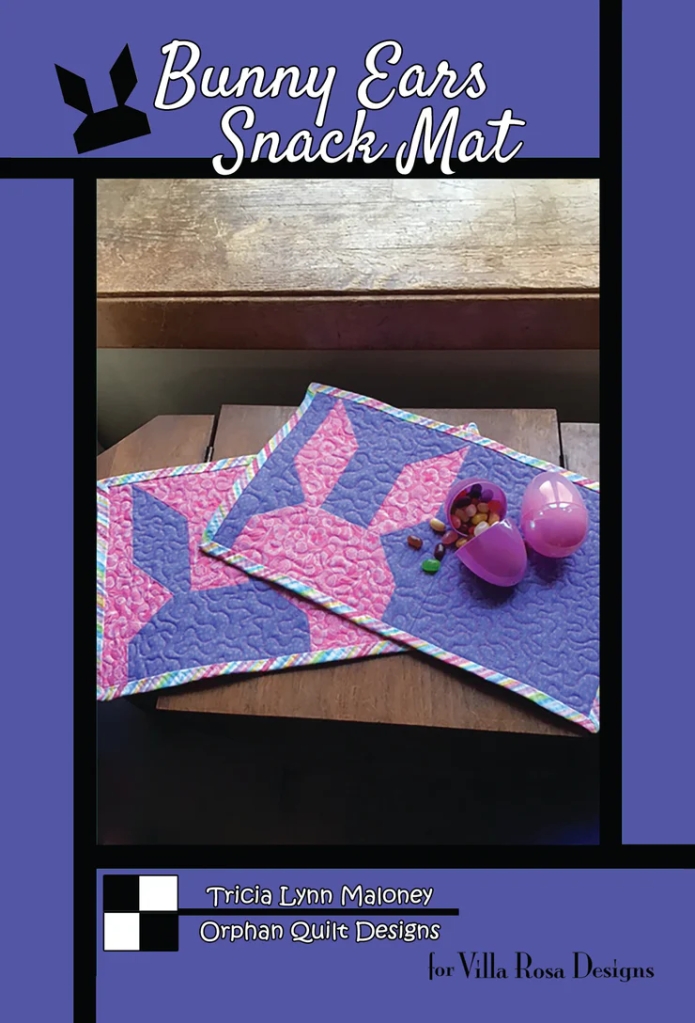
Get your own Bunny Ears Snack Mat Rose Card physical patterns HERE or digital patterns HERE.
All right! Let’s make some cute bunnies!
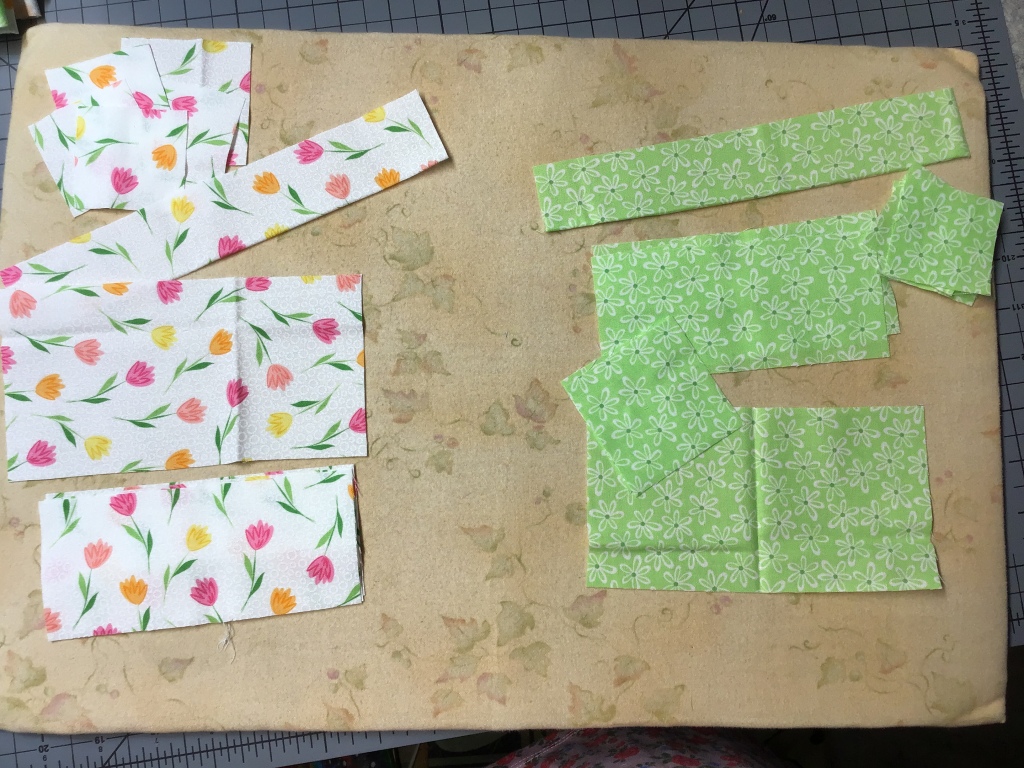
The first thing we need is 2 fat quarters. Yep, just 2 FQs makes 2 adorable little Bunny Ears Snack Mats.
I chose these bright and happy spring prints from Cherry Guidry’s Full Bloom collection for Benartex for my Snack Mats.

Time to cut all the pieces out — we’re actually doing the cutting for both Snack Mats at the same time. While I cut, I’m using my ancient homemade flannel board to keep my pieces from getting lost.
Did you miss my flannel board tutorial last week? You can find it HERE.

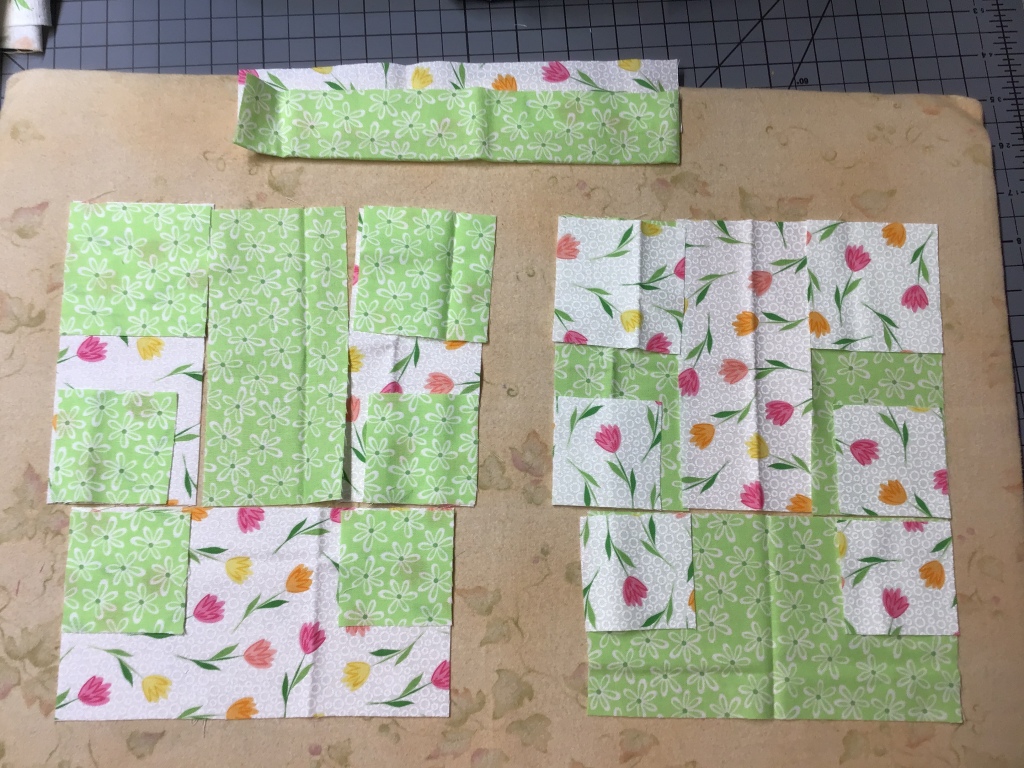
PSST! Don’t forget to switch your pieces before your start sewing so the bunny fabric in one block becomes the background in the other!
I know it doesn’t look like much yet, but here are my pieces all laid out for both blocks and ready to sew together. Having a small flannel board is great because I can just take it right to my sewing machine from my cutting table, without dropping or losing a thing.
As all the pieces are cut and ready to go, let’s start sewing these little Bunnies together!
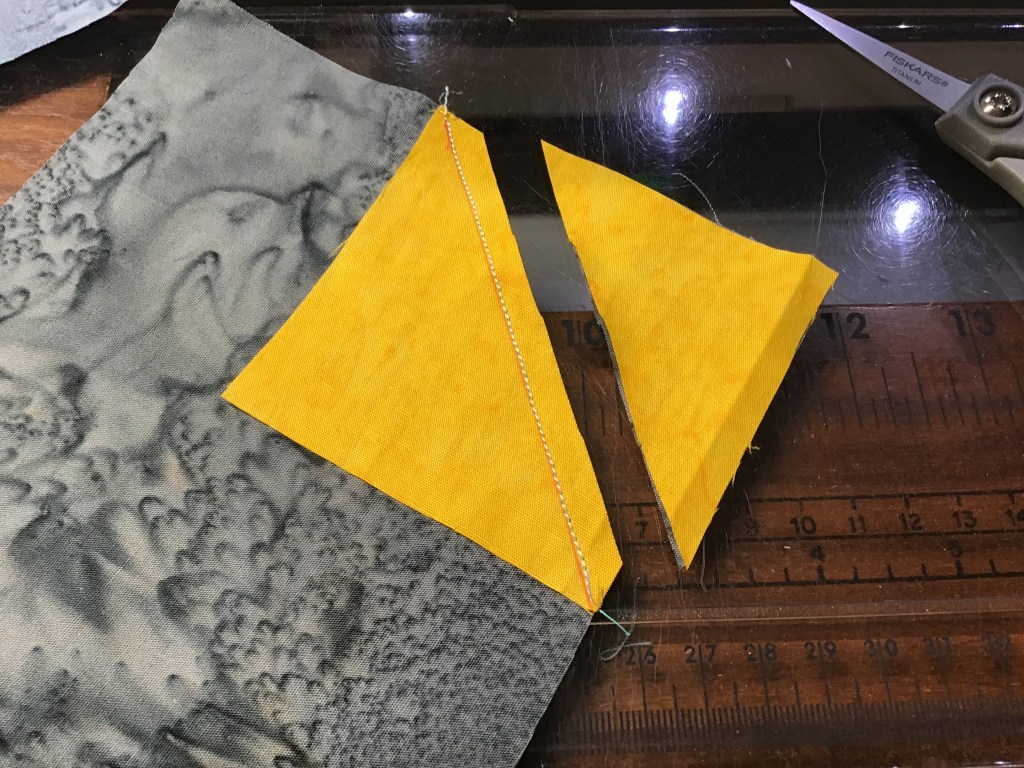
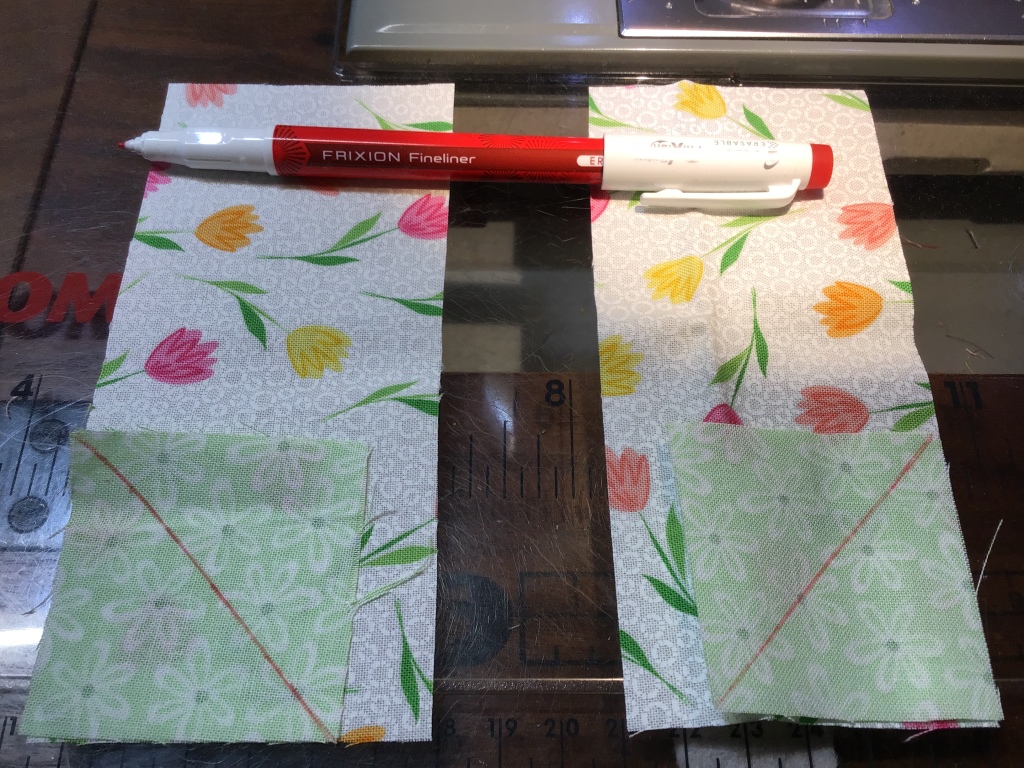
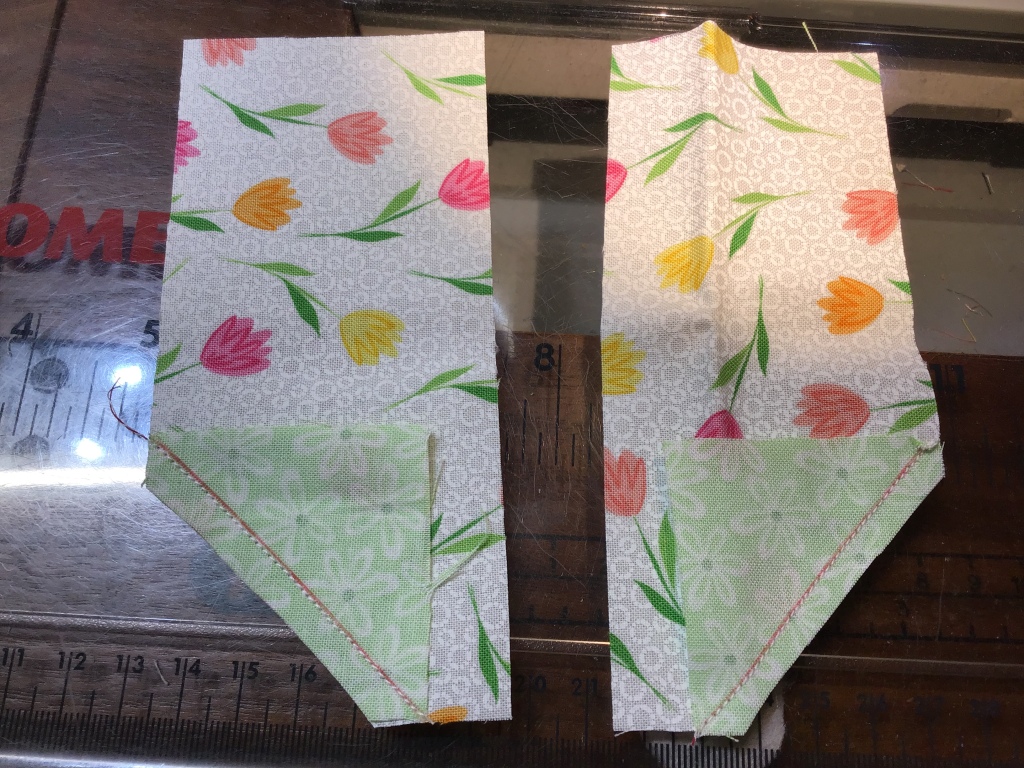
Place a background square right sides together on the top left corner of the Bunny Head rectangle. Draw a diagonal line and sew on the line. Then cut 1/4″ away from the sewn line and press the “flippy triangle” open. Yup, that’s what I call them — “flippy triangles” — you know, I only use the technical terms here on the blog. LOL!
To make thing easier later, press the seam towards the Bunny.


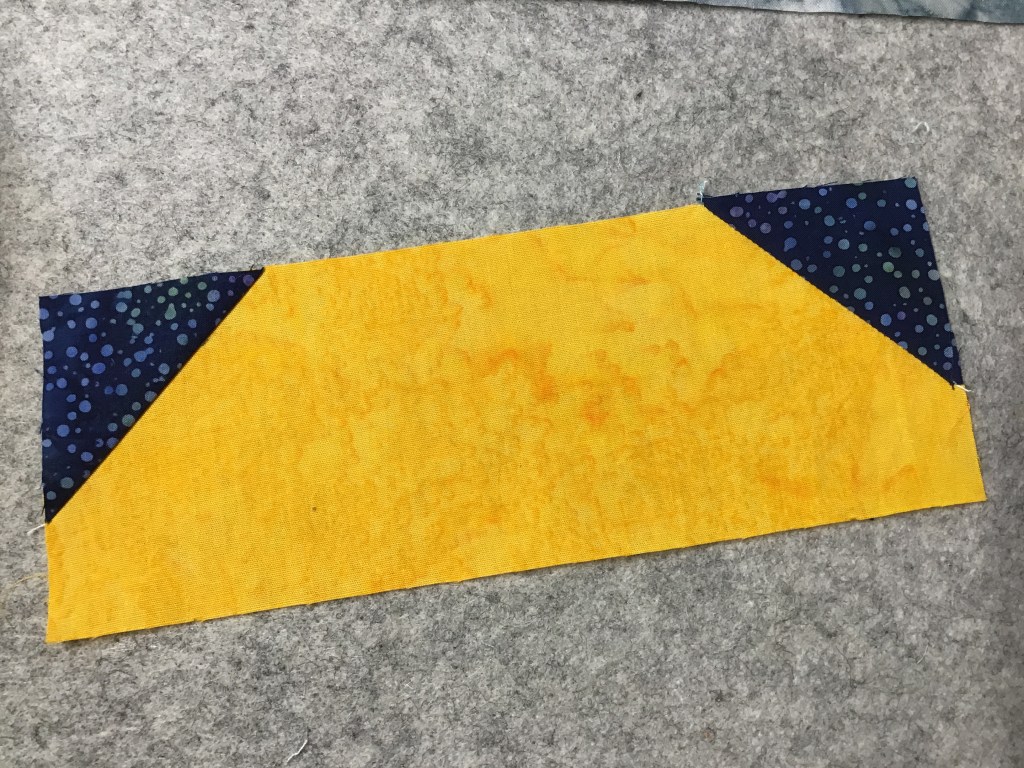
Sew “flippy corner” on the top right corner and press this seam towards the Bunny Head too. Repeat to make identical “flippy corners” on the second mat.
Voila! Now we have 2 cute little Bunny Heads (with a crazy mess for Ears right now)!

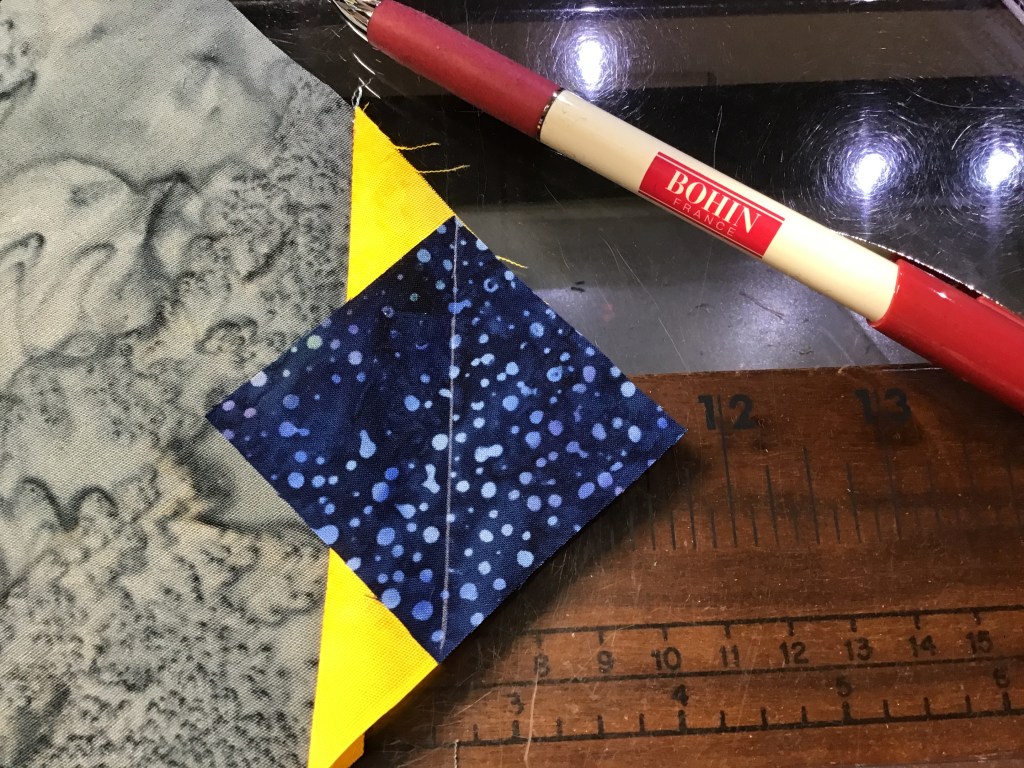
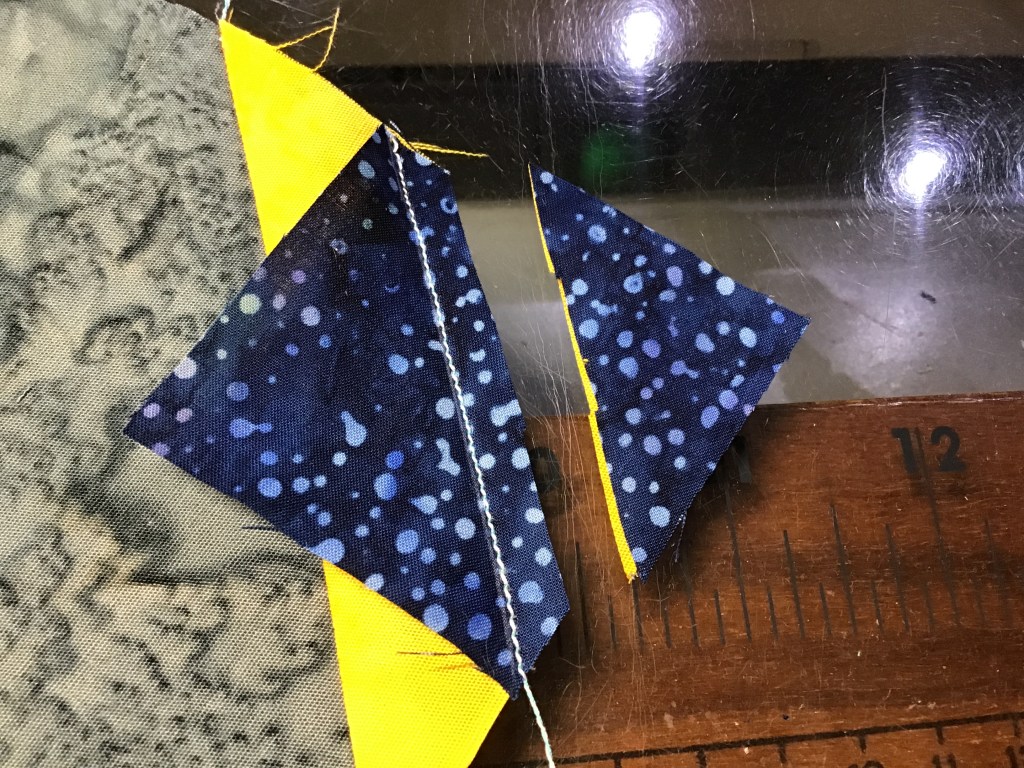
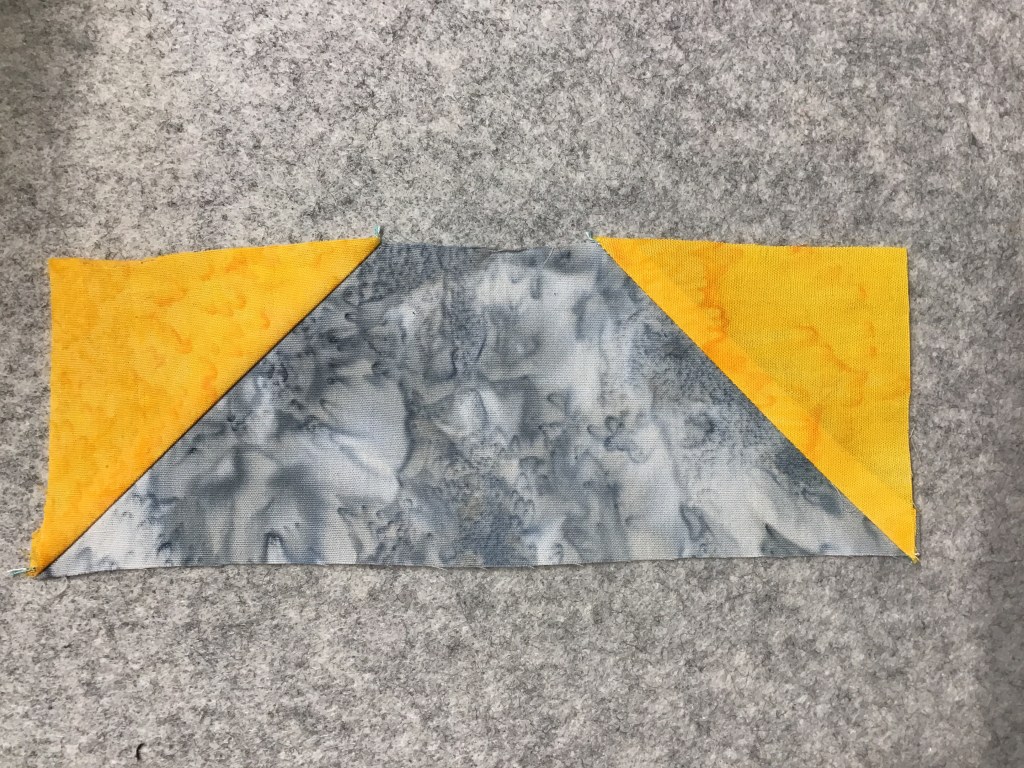
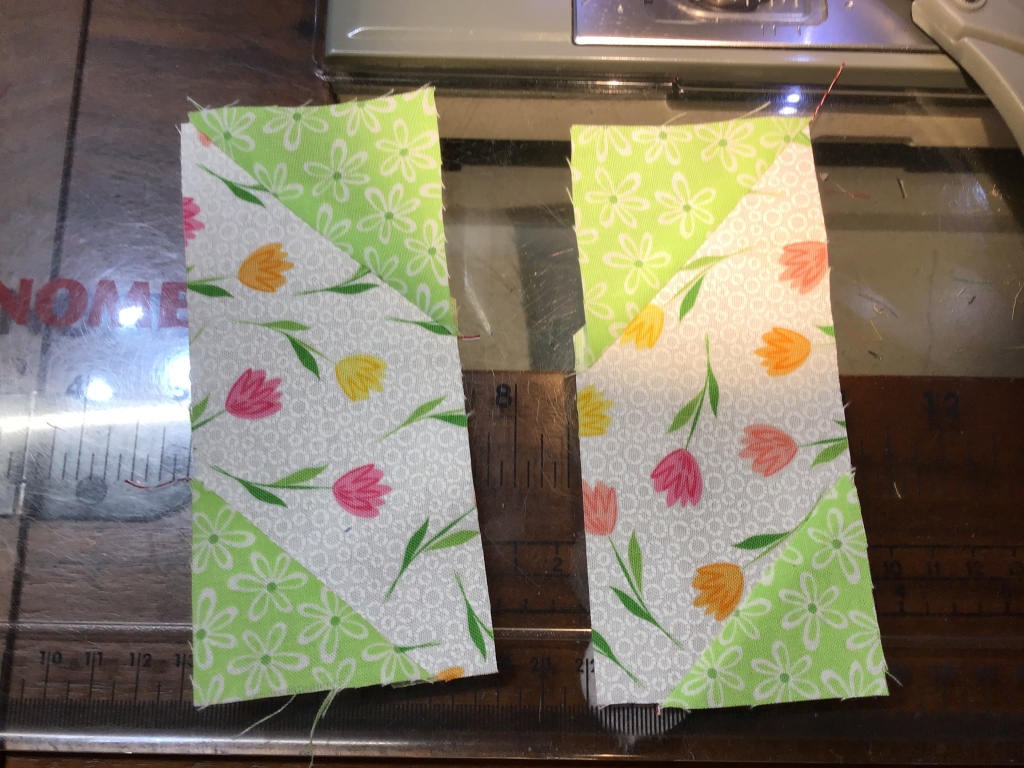
Speaking of Bunny Ears, let’s make some! Place the background squares right sides together with the Bunny Ear rectangles, lining up the outside edges at the bottom. Draw diagonal lines as shown — keep in mind you are making mirror images. Sew on the lines and cut 1/4″ away from the drawn lines. Open the “flippy corners” and press the seams towards the background fabric.
Our Bunny Ears aren’t quite finished yet because we have to add some top “flippy corners,” too. The background squares used for the top of the Ears are larger than the squares used at the bottom in the previous step so be careful not to get the top and bottom squares mixed up.
Again, we are making mirror images. Repeat this step for the second block as well. Press the seams toward the background fabric.
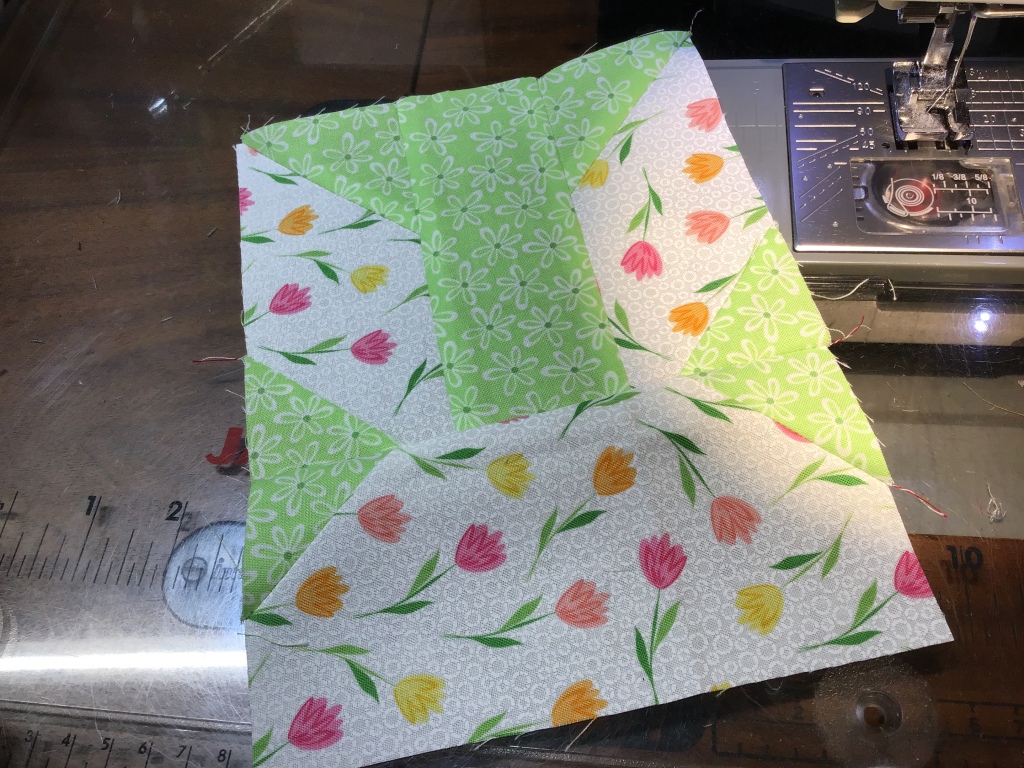
We now have Bunny Ears! Yay!


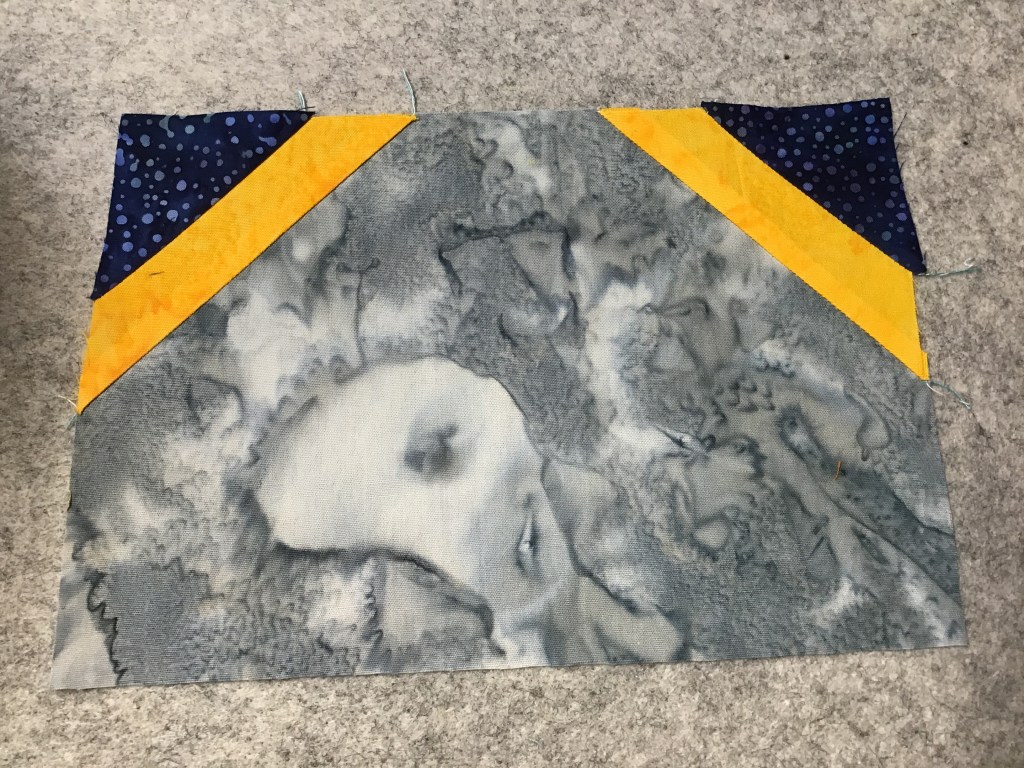
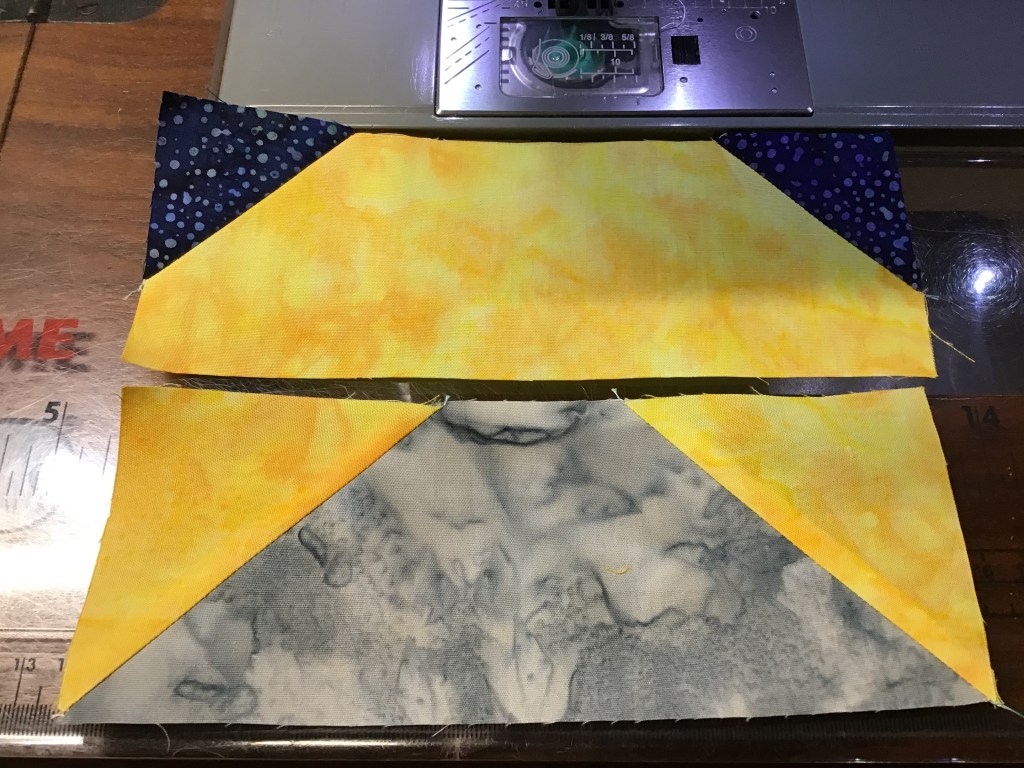
Next, sew the background strip between the Bunny Ears and press the seams towards the center background strip. Repeat for the second block.
Almost there, just a few more steps!


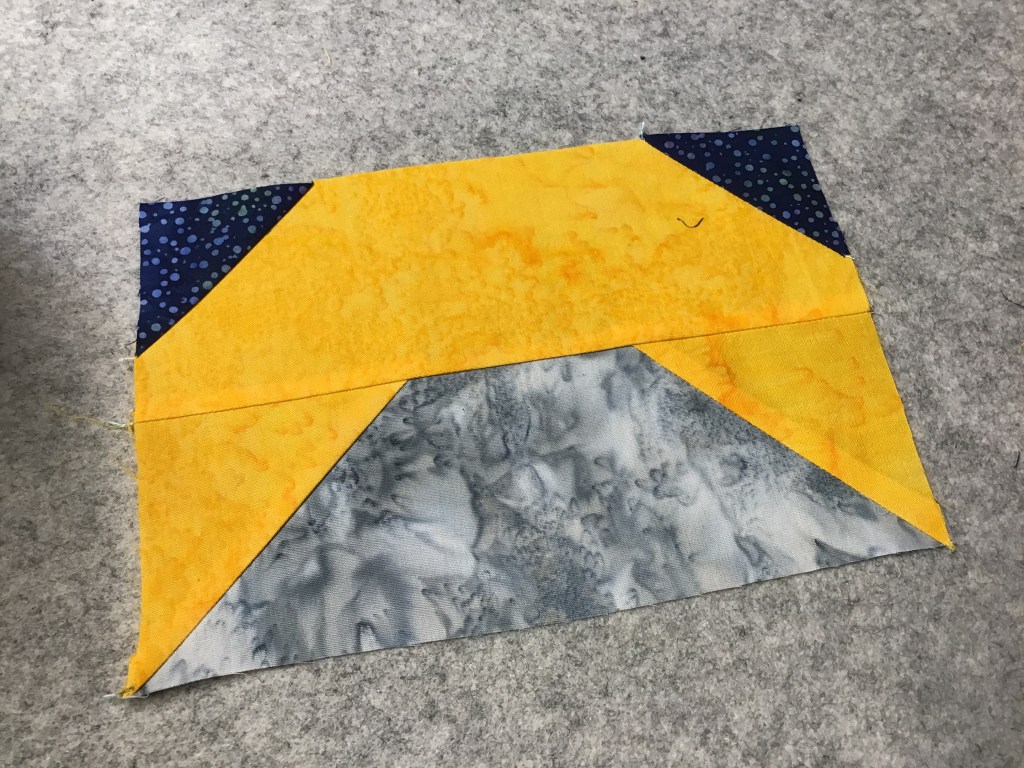
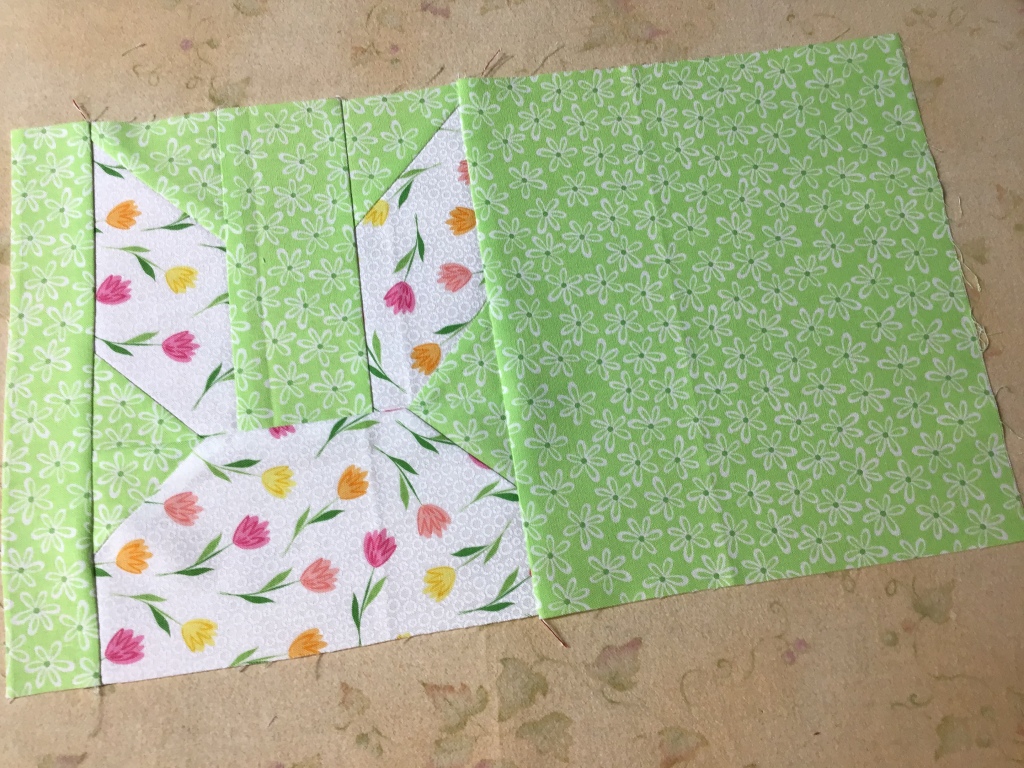
Now sew the Ear section to the top of the Bunny Head for both blocks. If you pressed the “flippy corners” towards the Bunny Head in the first step, above, then your corners should nestle together nicely.
Ladies and Gents, we now have a Bunny, or rather 2 Bunnies!
Do you see how the green stands out and the floral fabric recedes? Aren’t fabrics so much fun to play with???


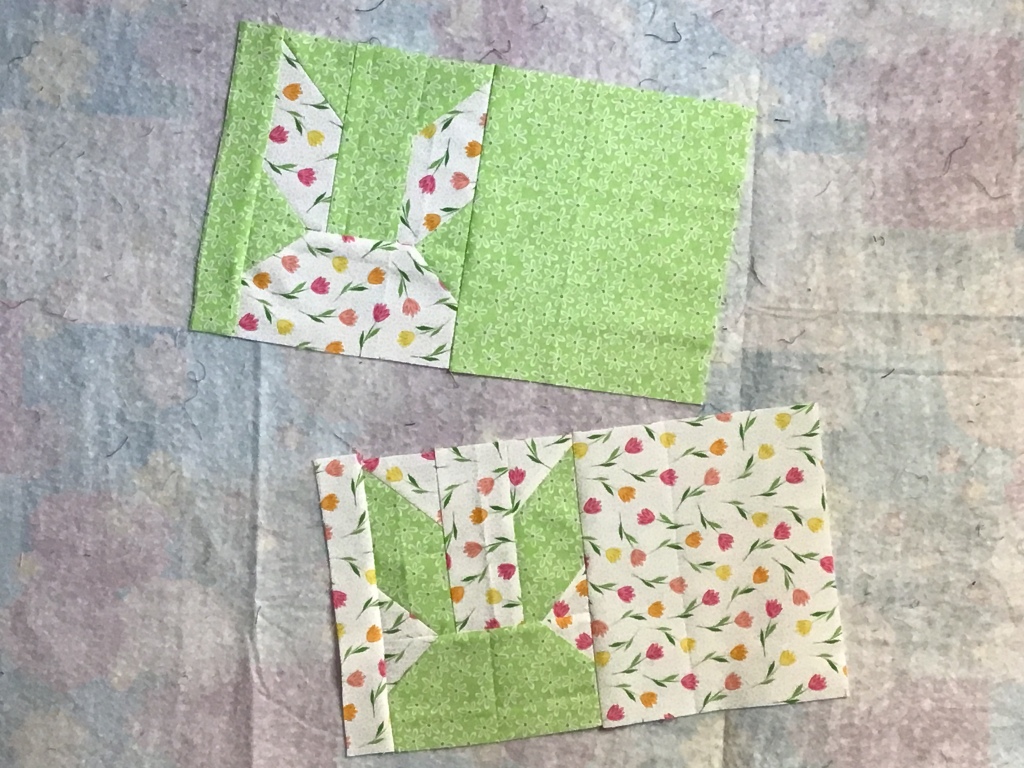
The last thing to do is sew the narrow background strip to the left side of the block and the large background piece to the right side of the block. Repeat for the second block.
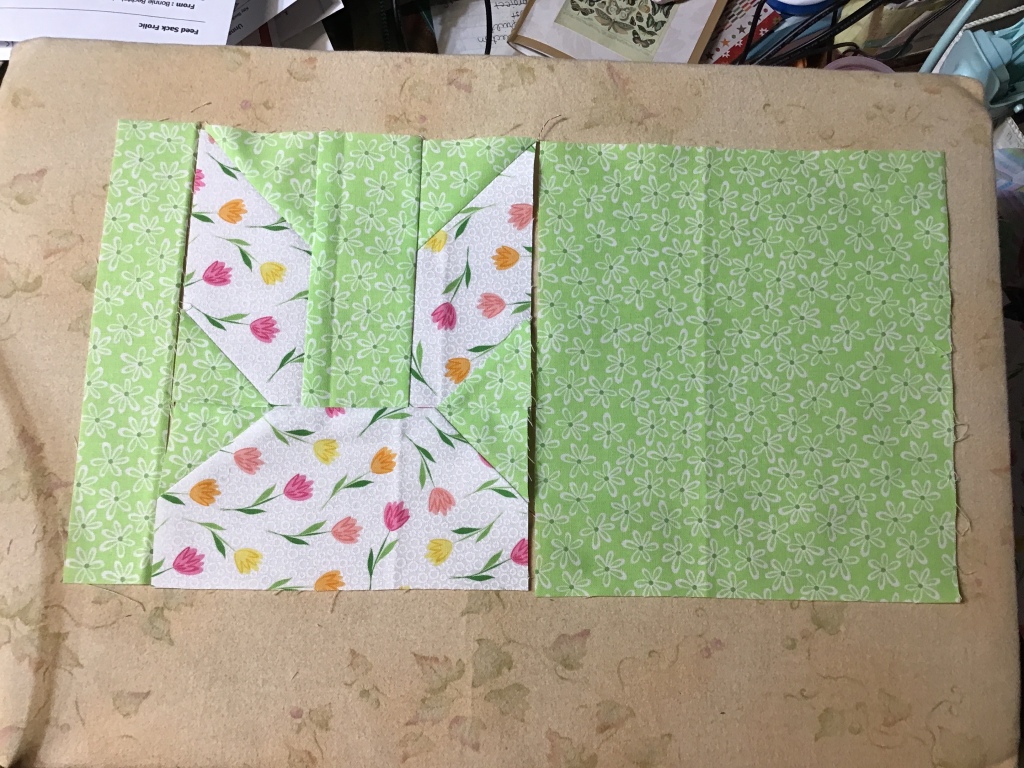
And there you have it — Bunny Ears Snack Mats! Next up would be layering the Mats with batting and backing, quilting them, and adding binding.
Don’t forget to label your Snack Mats!
I hope you enjoyed this super cute tutorial and have fun making your very own Bunny Ears Snack Mats. They are quick and easy to make, using only 2 fat quarters, and are great little something-somethings for all your pals, quilty ones and non-quilty ones alike! Long live cute little Bunnies! Hurray!
Until next Thursday —
Sew. Laugh. Repeat.
Always,
Tricia @VRD