Hello Quilty Friends!
Happy Thursday to you!
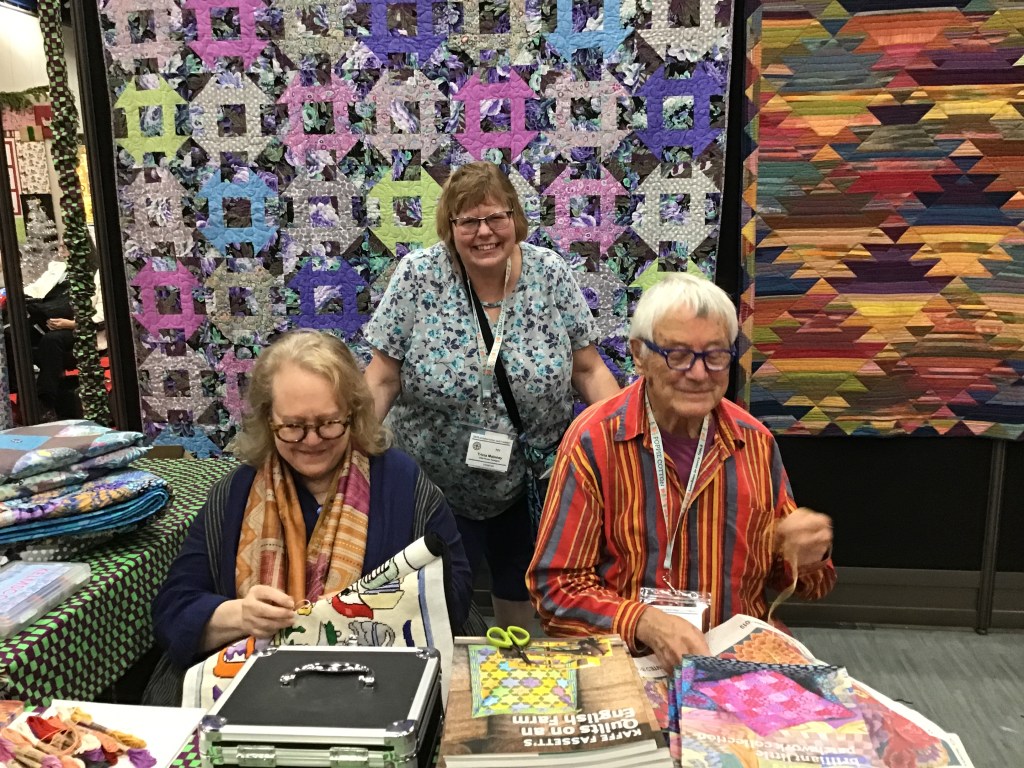
Today is my last post about Quilt Market and Festival.
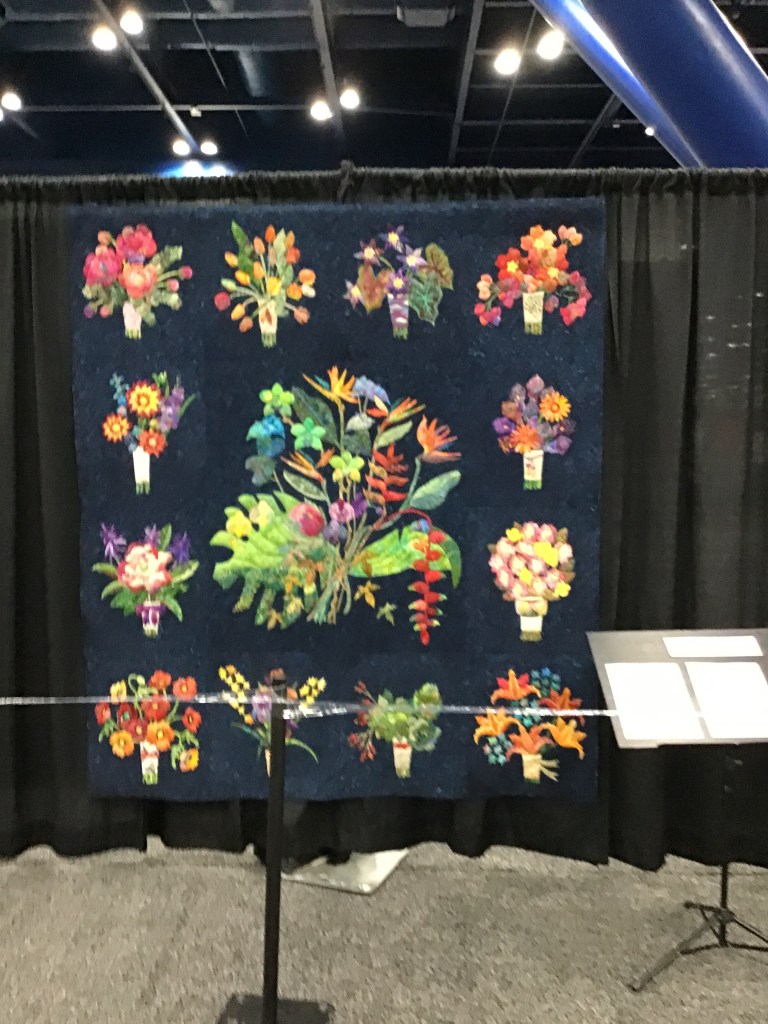
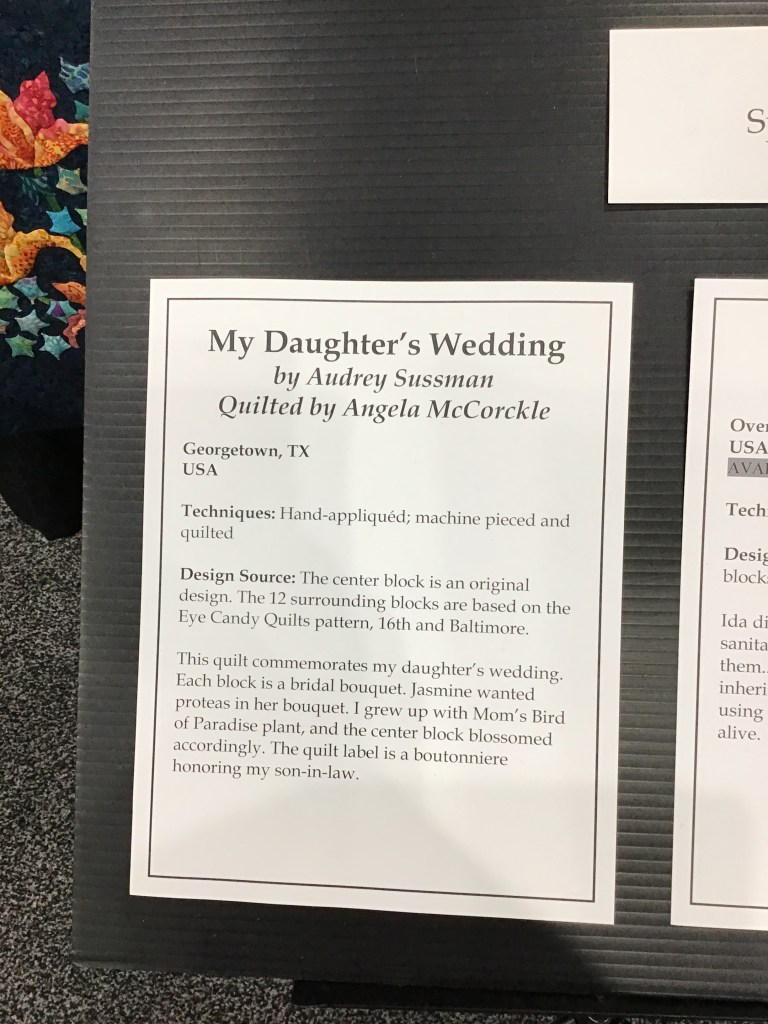
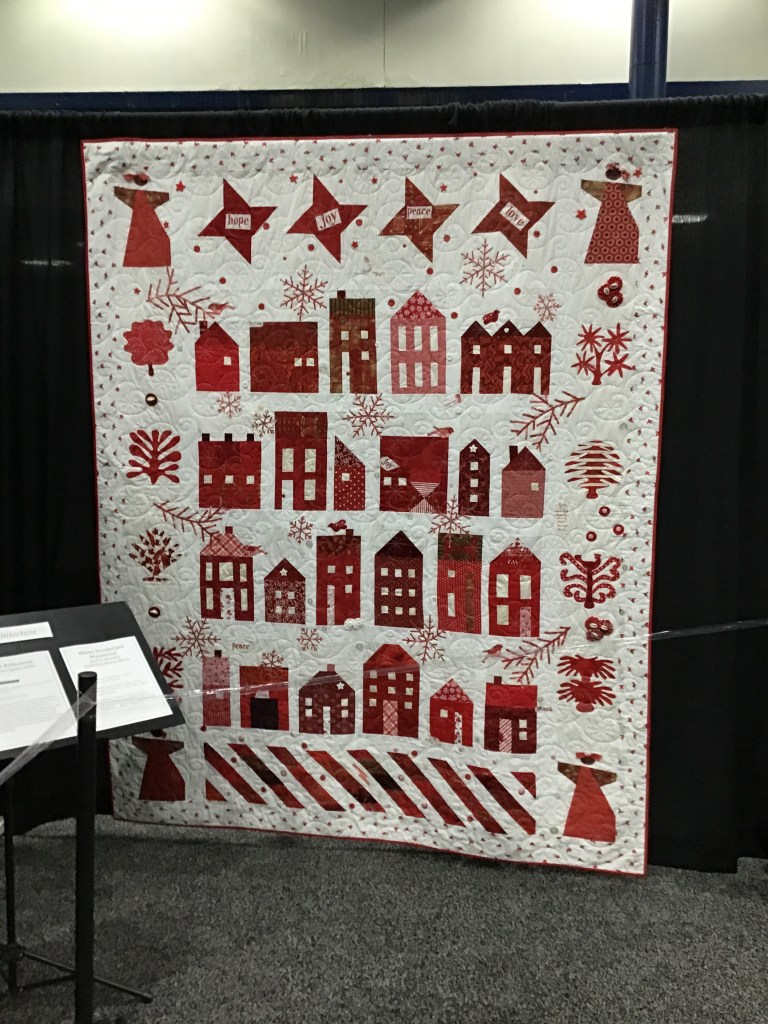
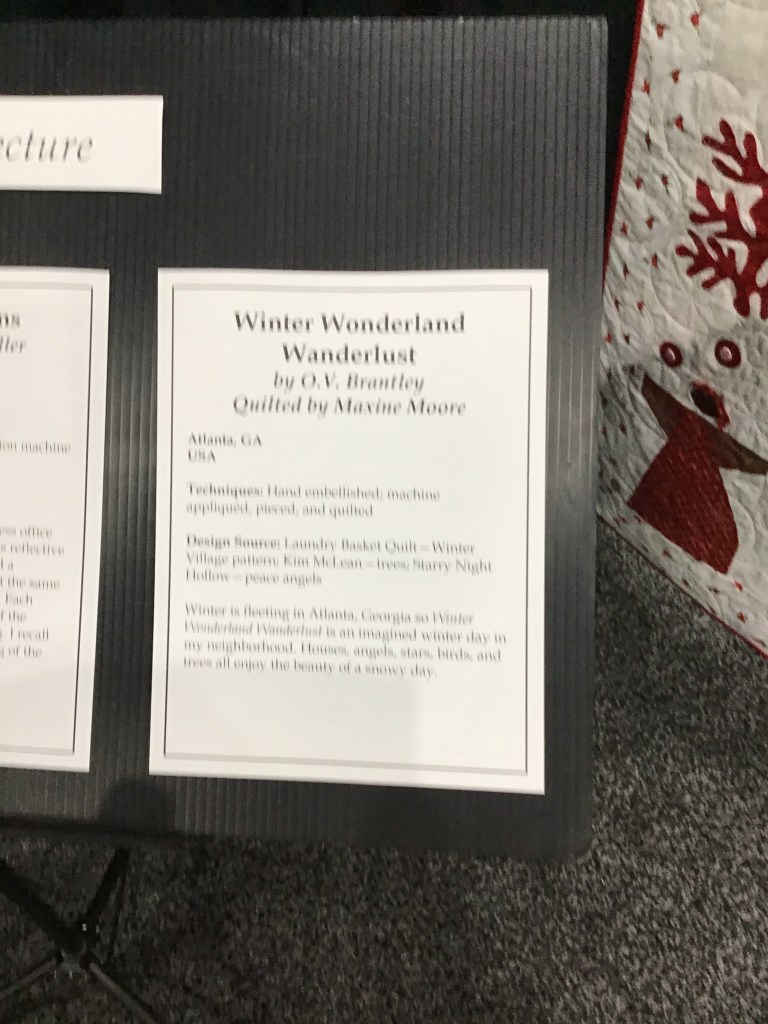
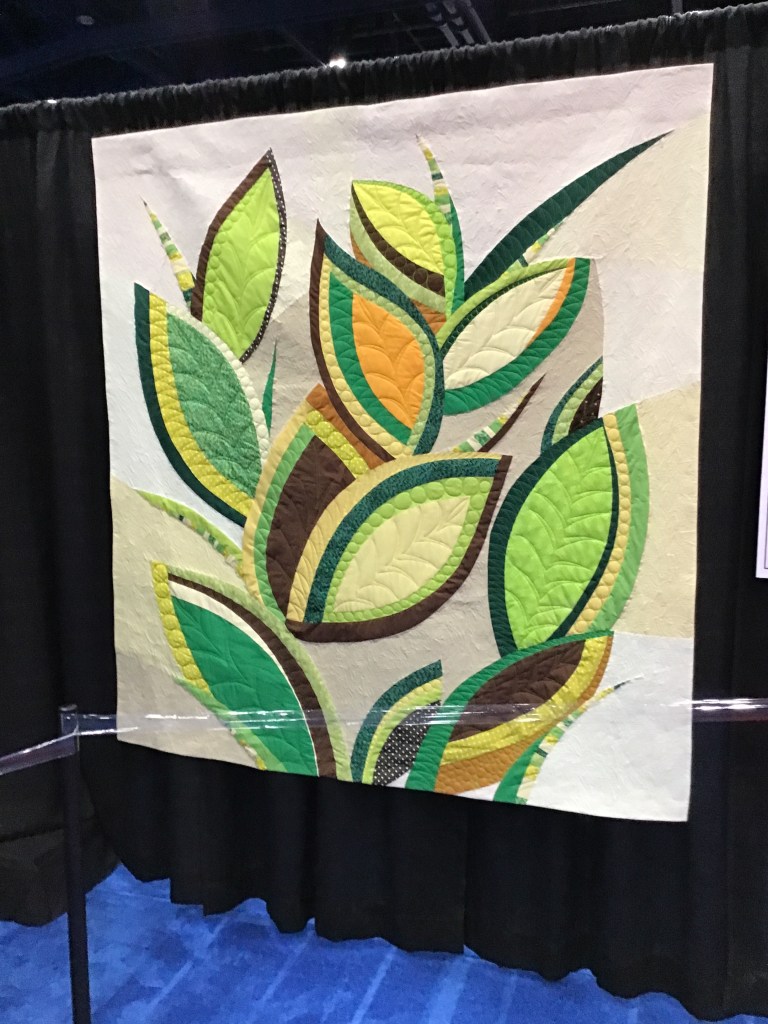
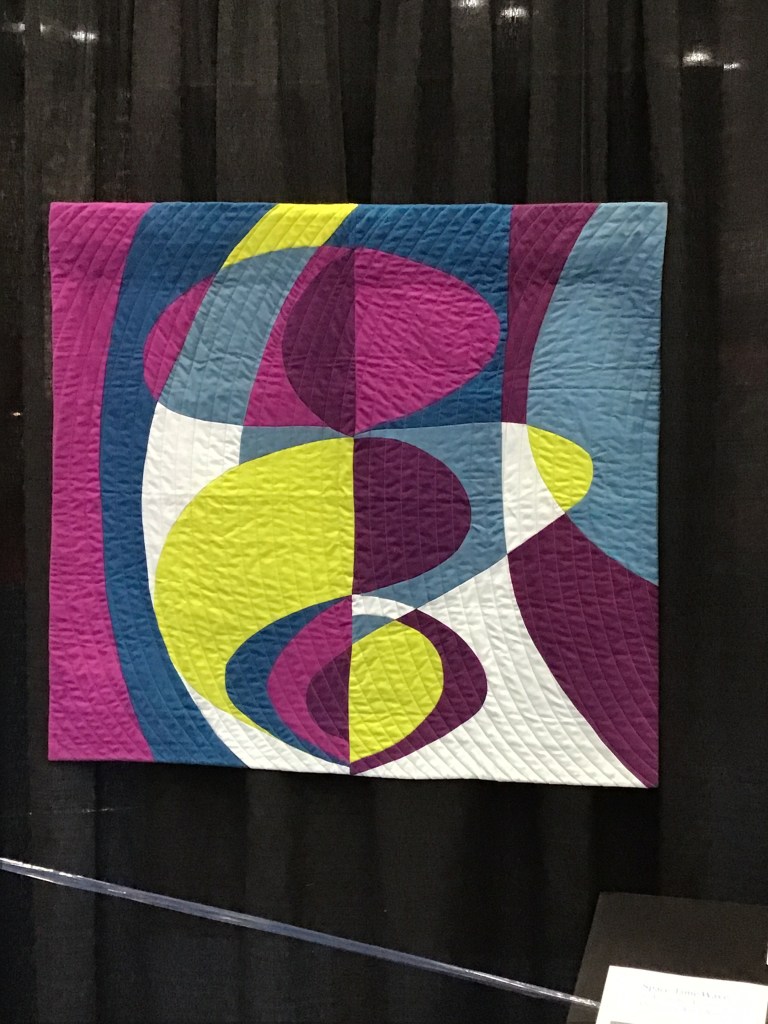
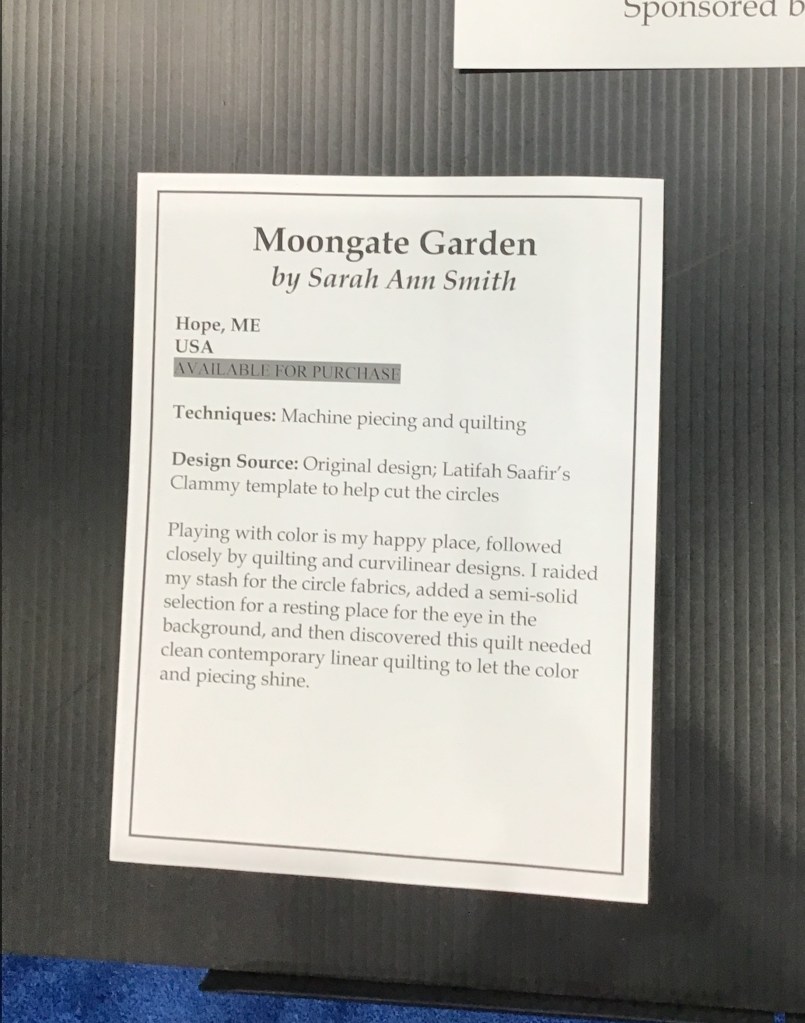
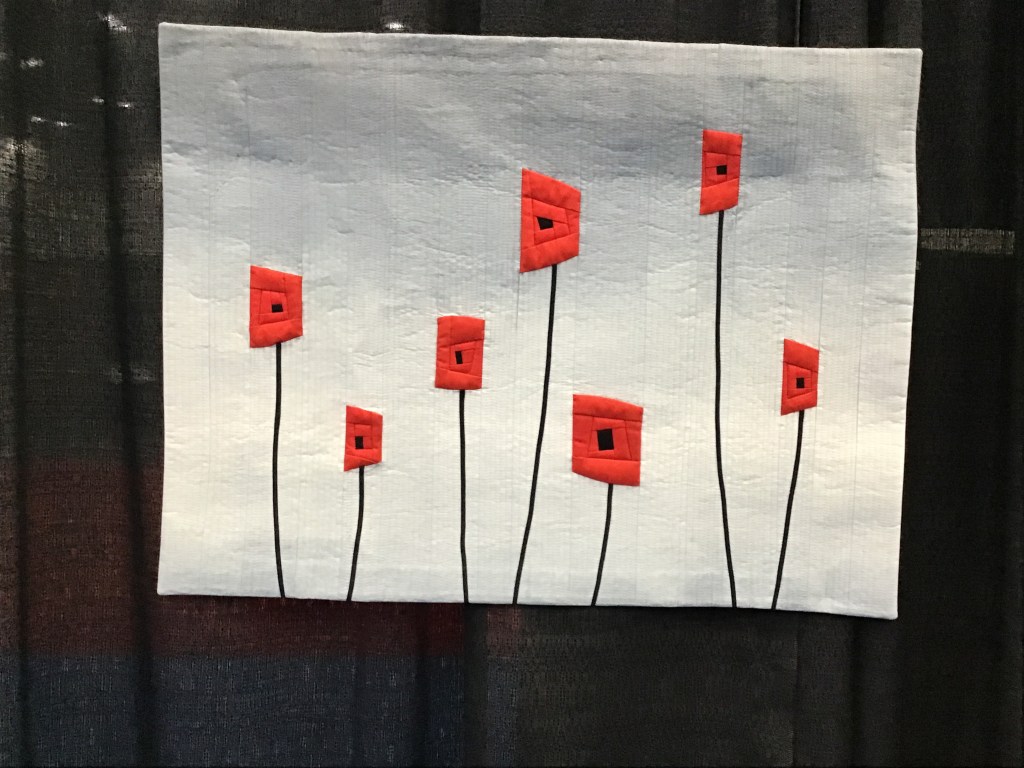
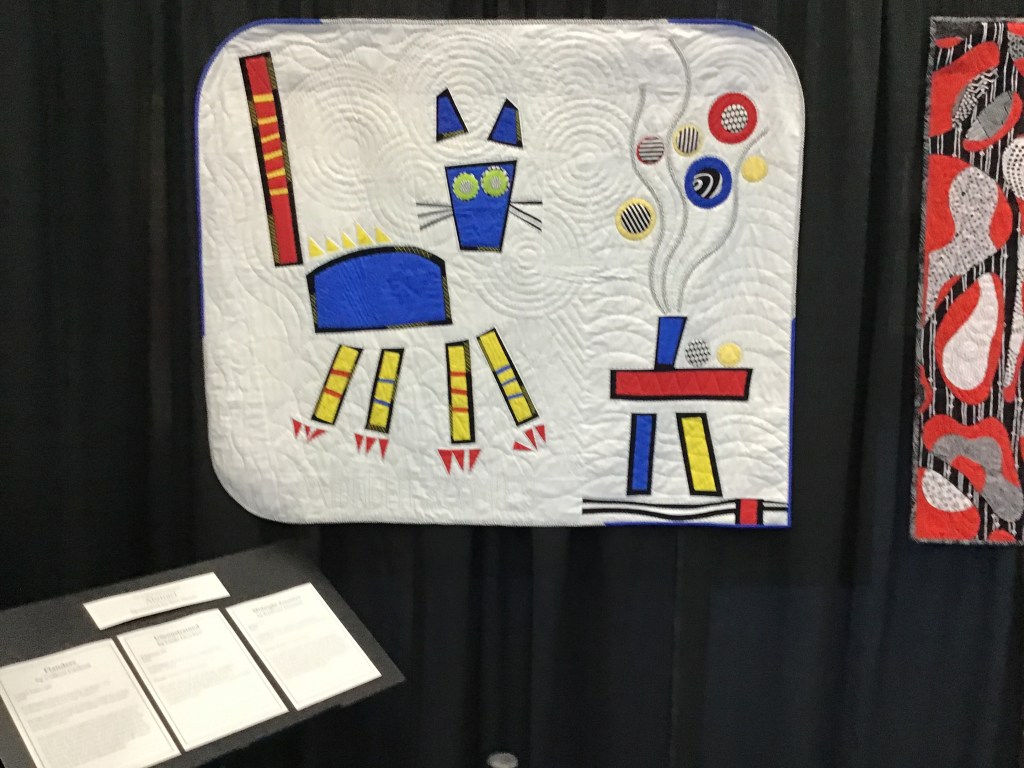
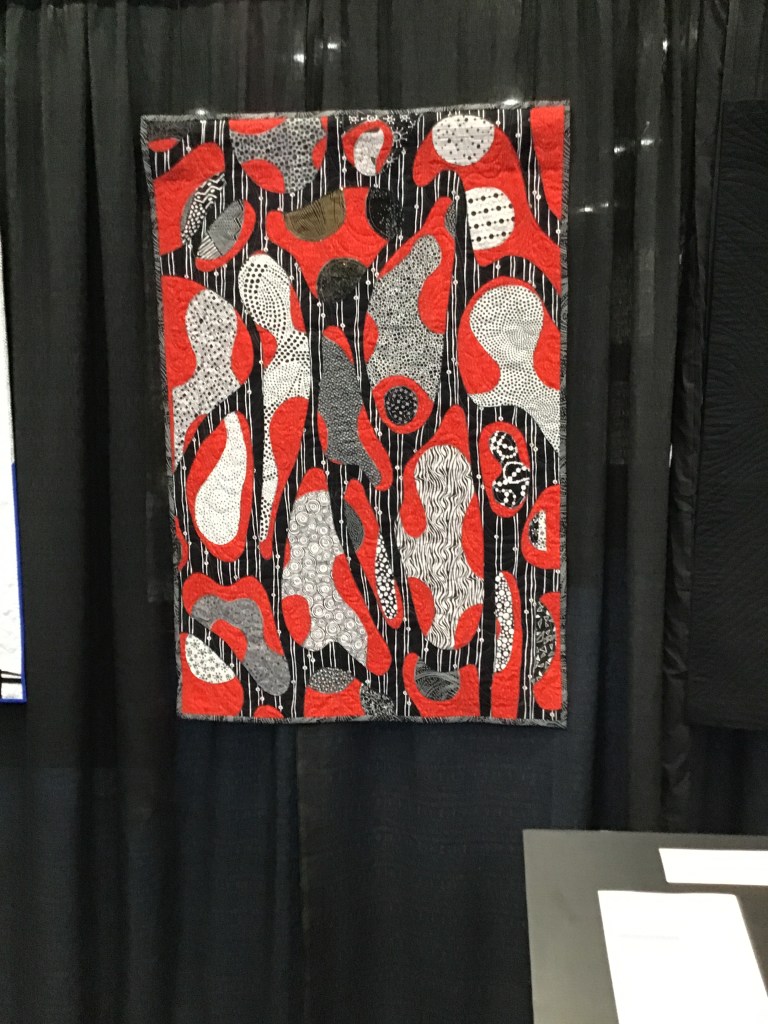
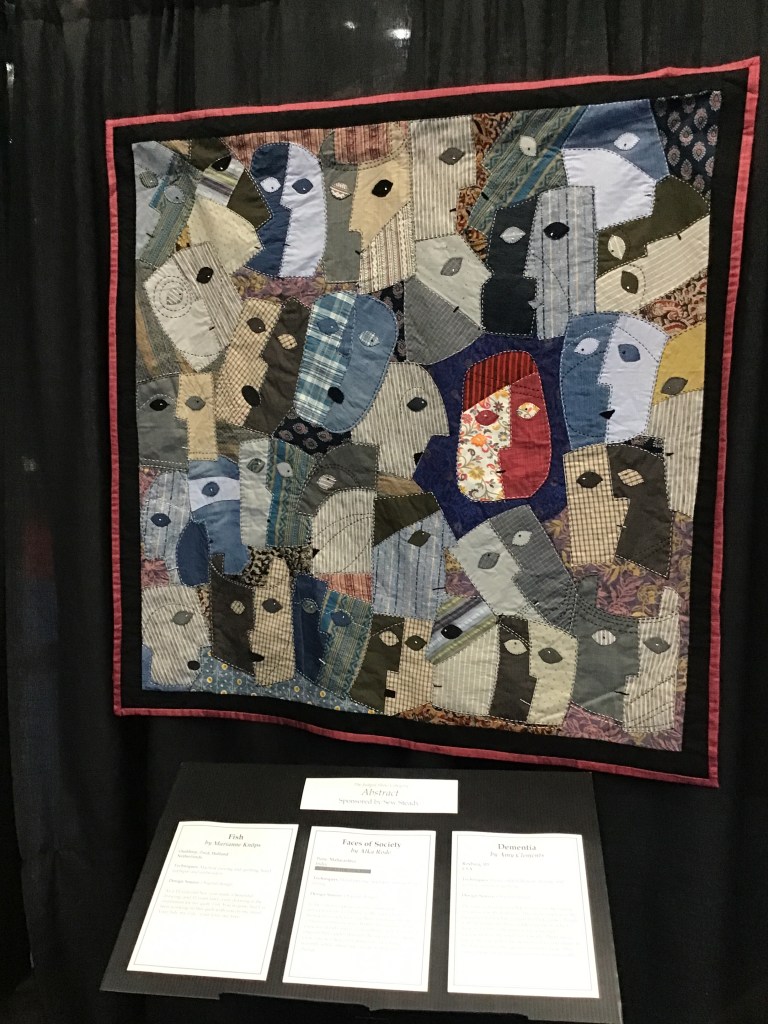
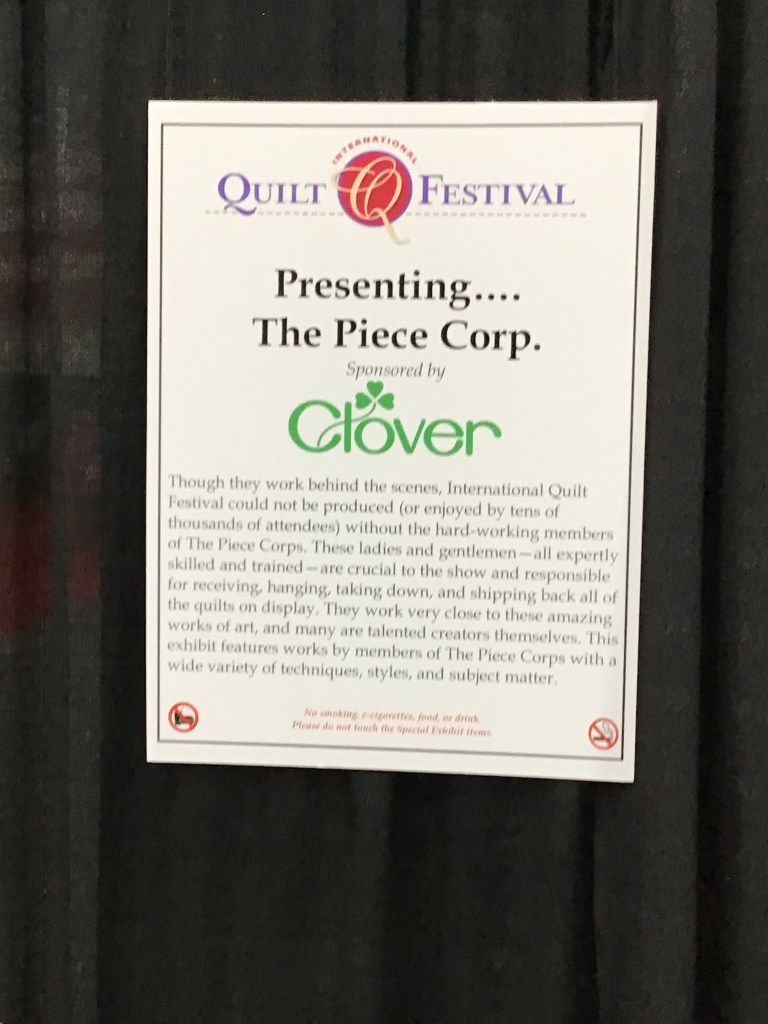
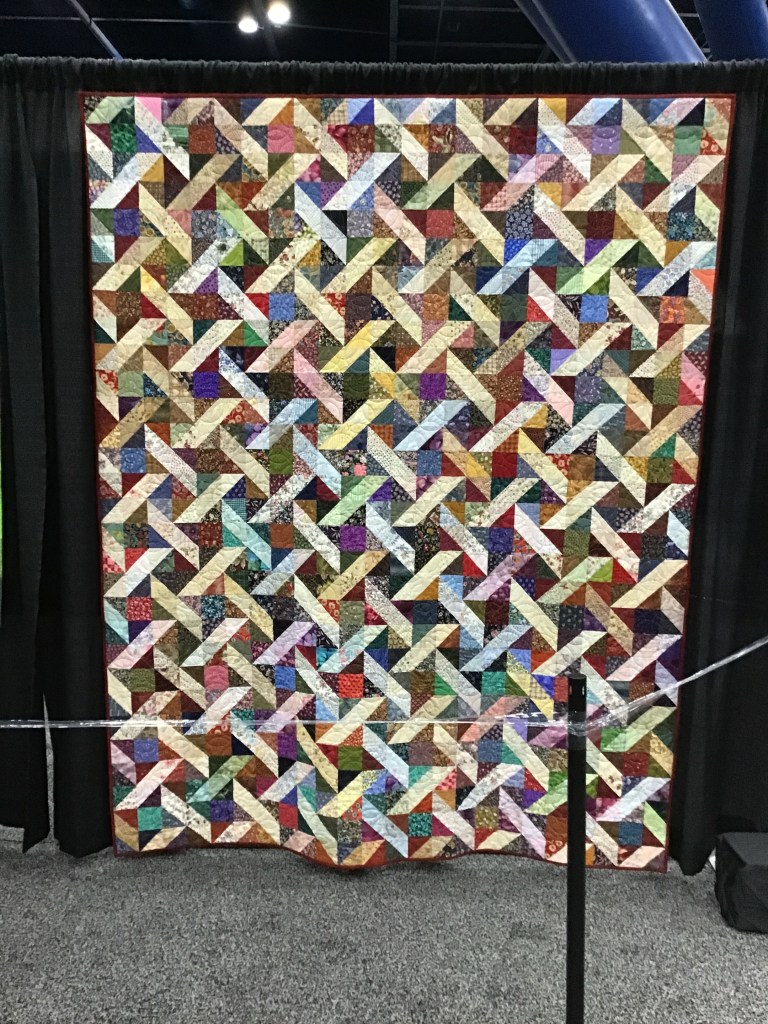
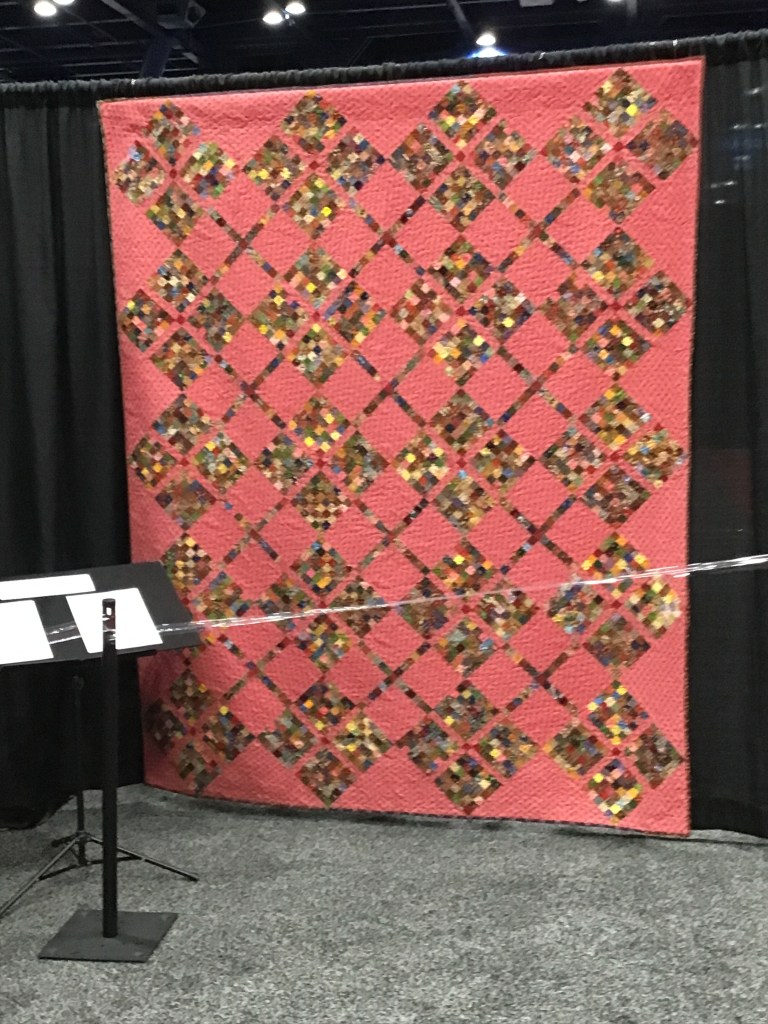
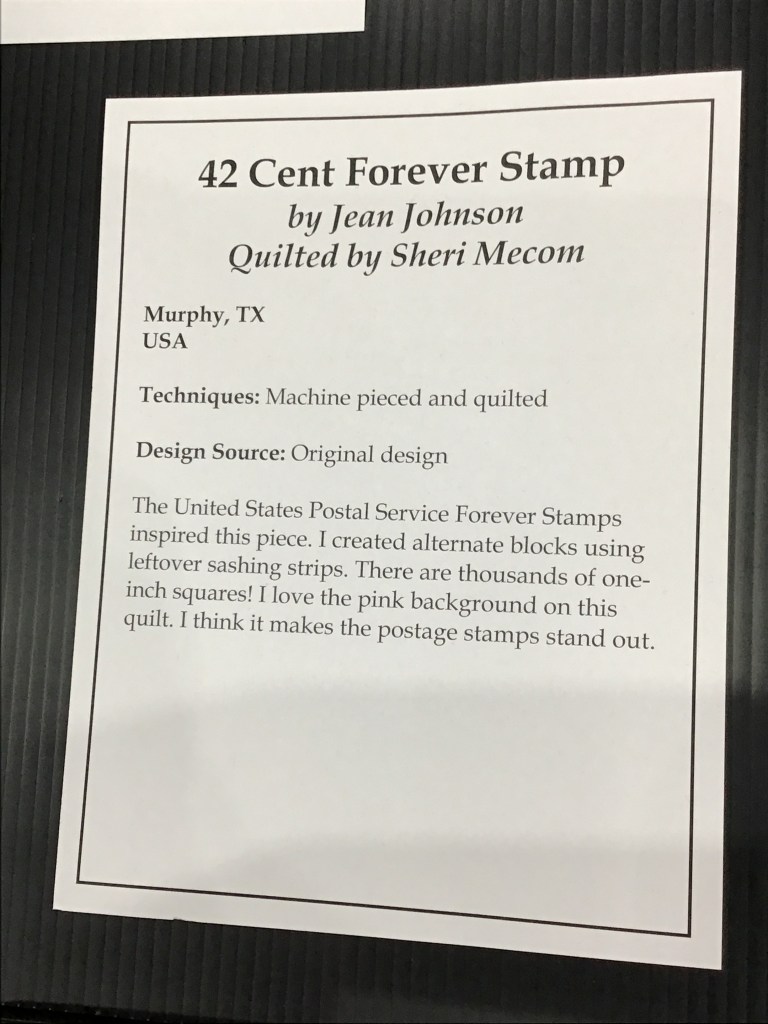
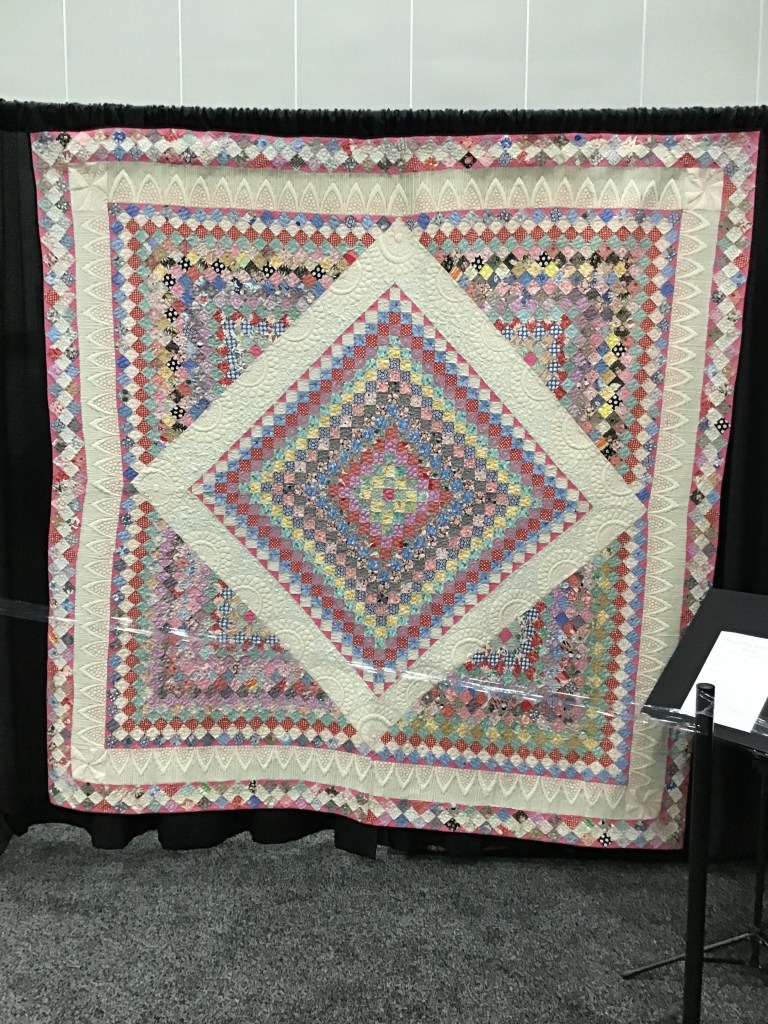
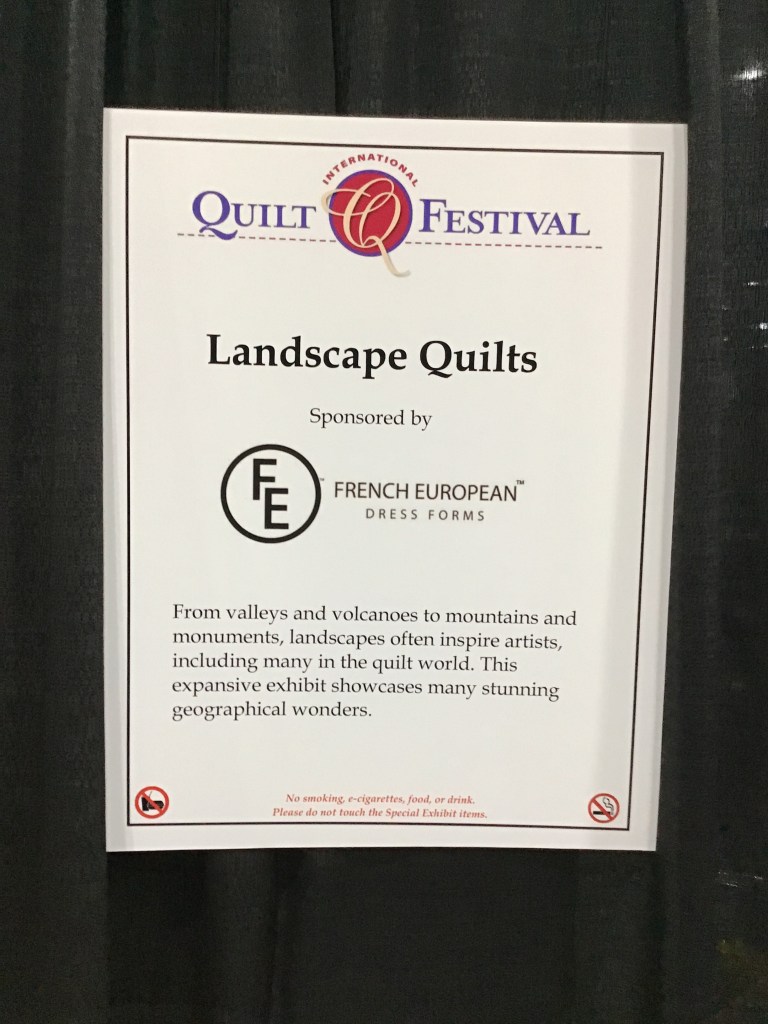
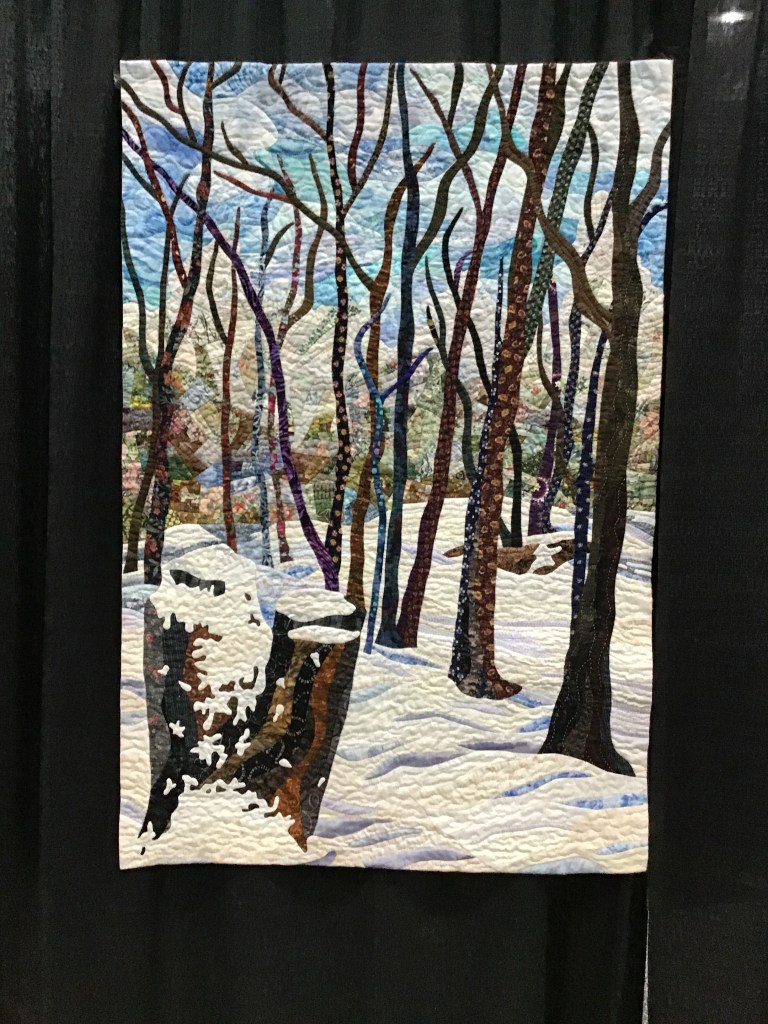
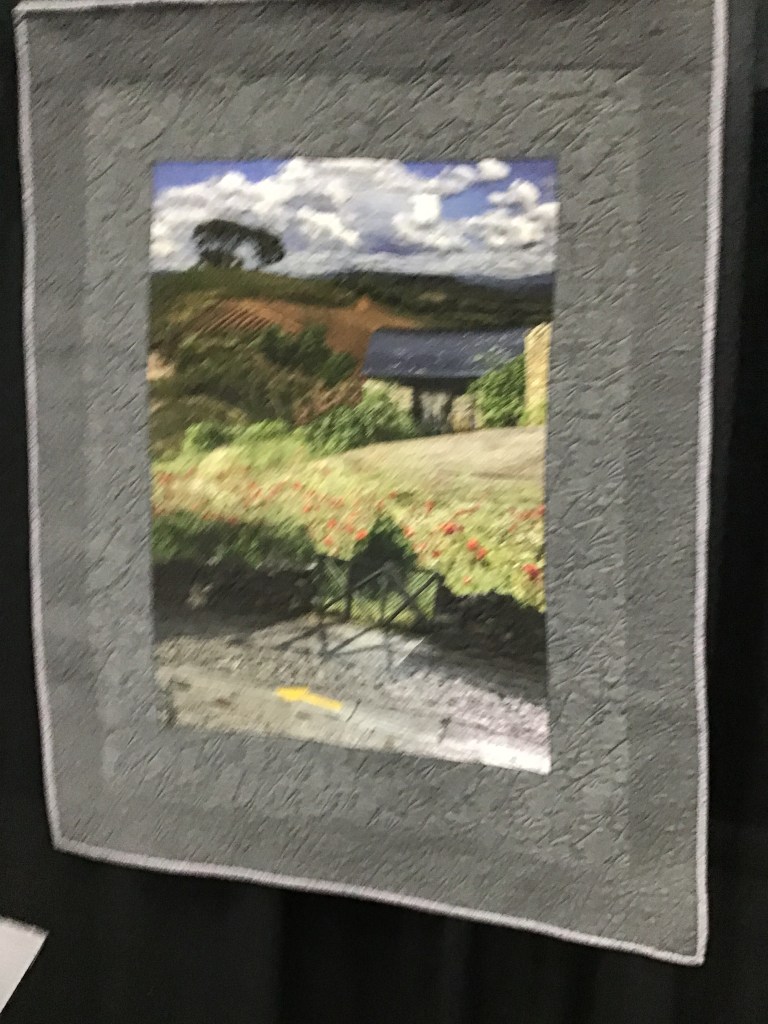
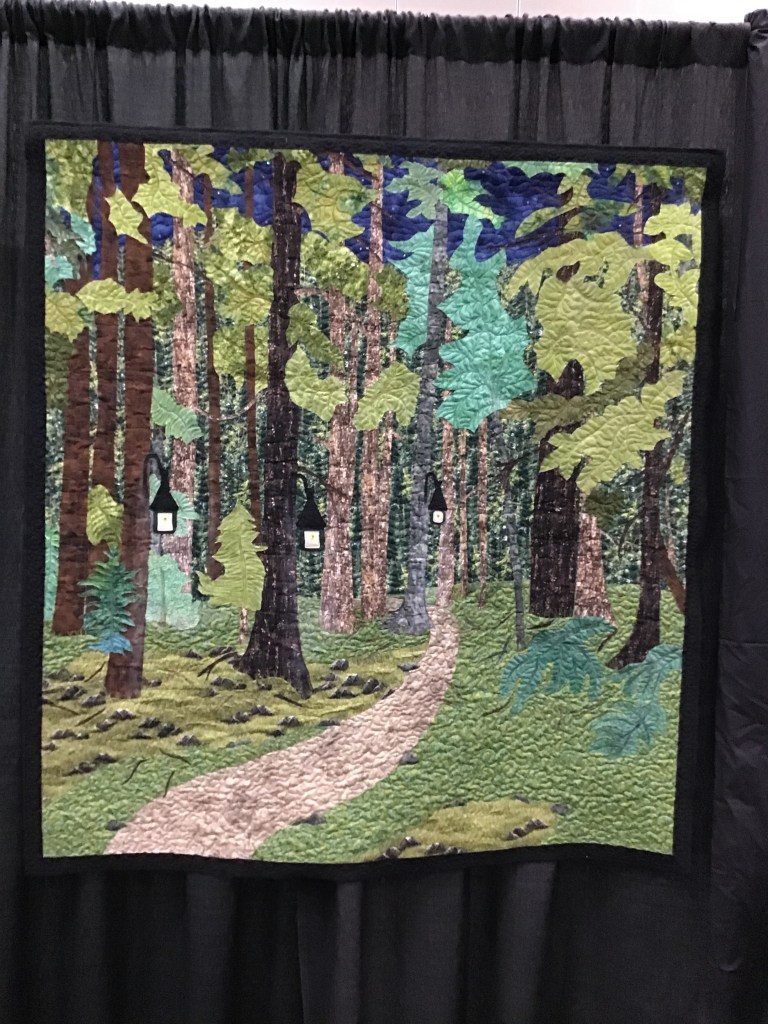
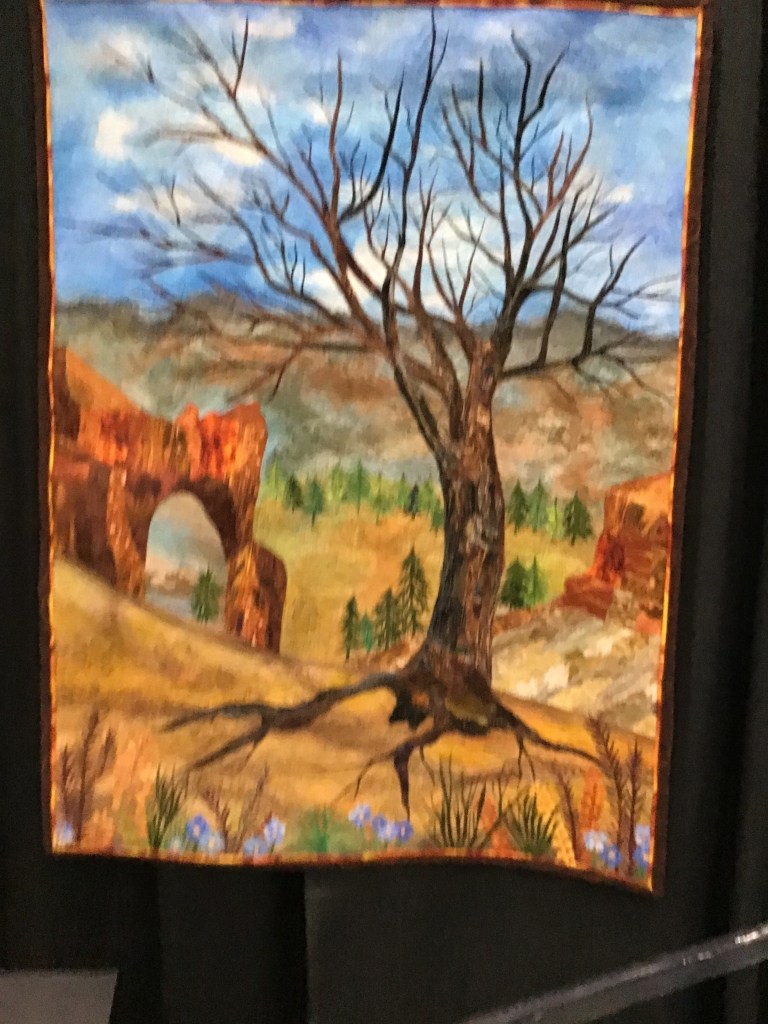
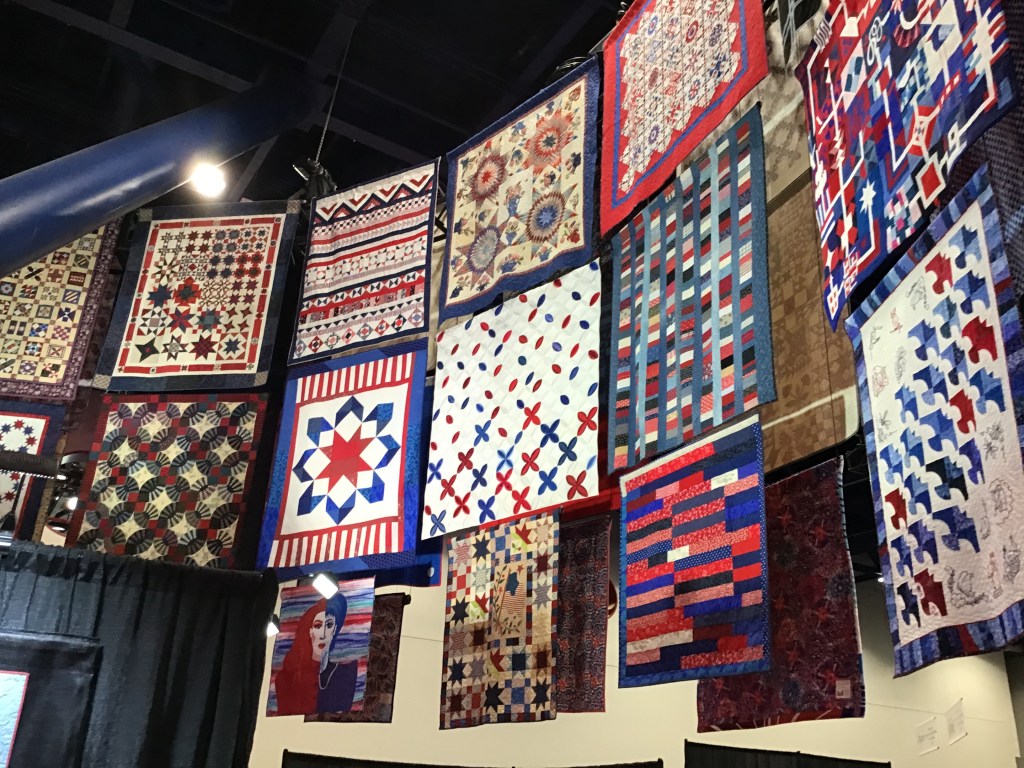
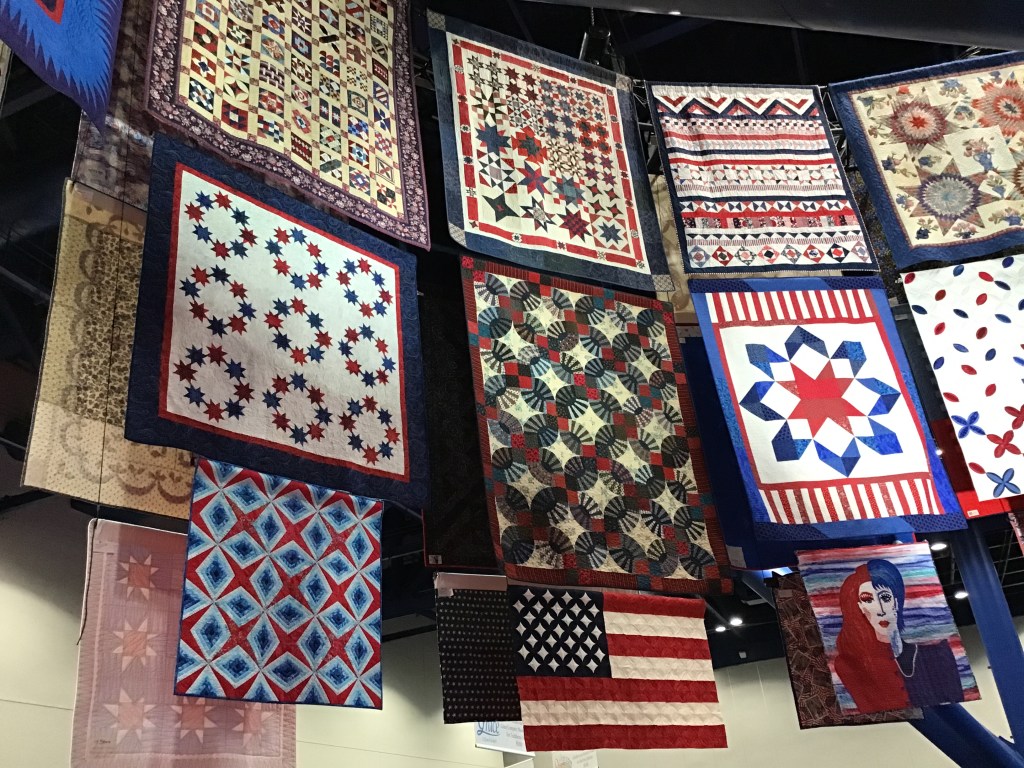
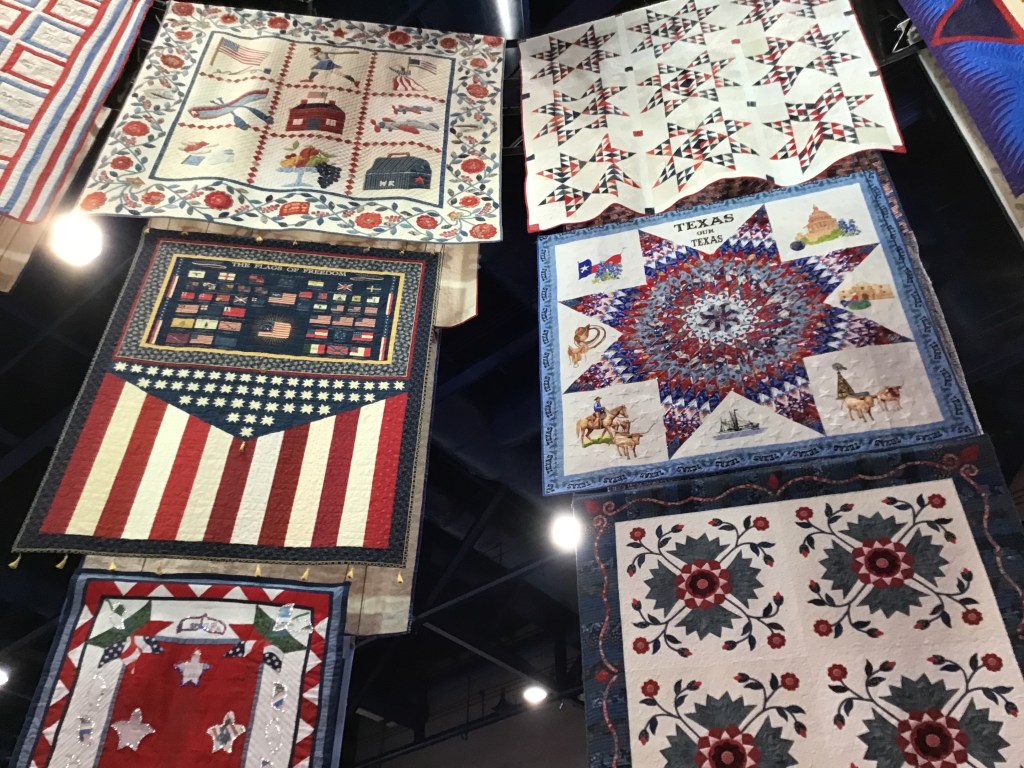
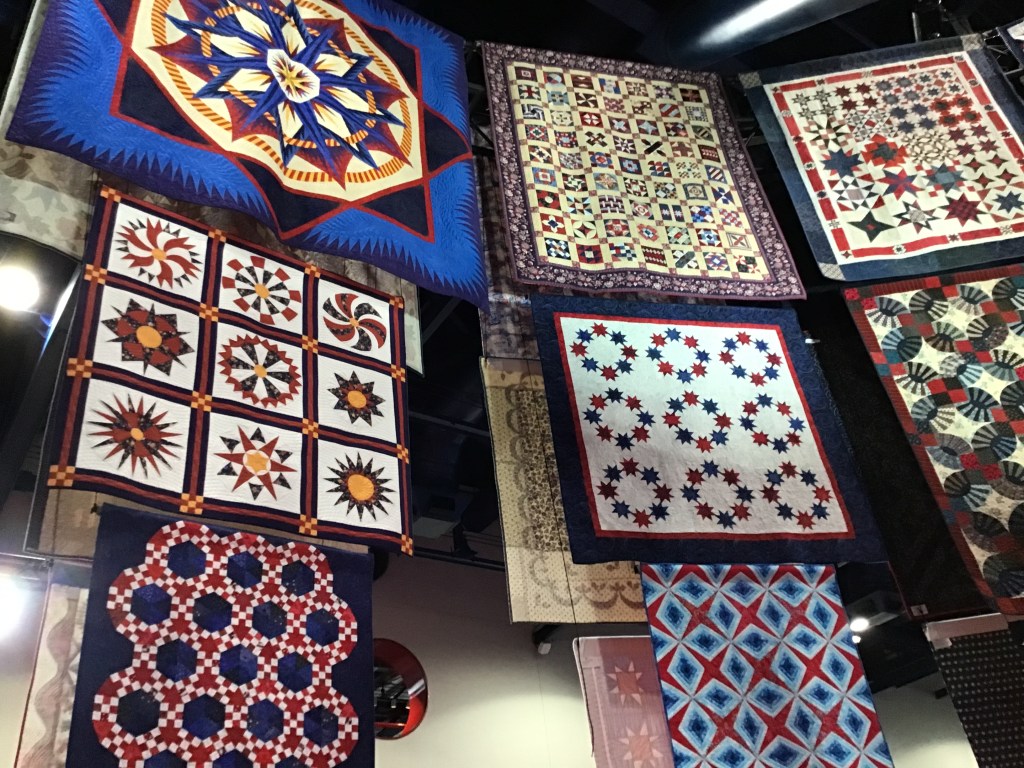
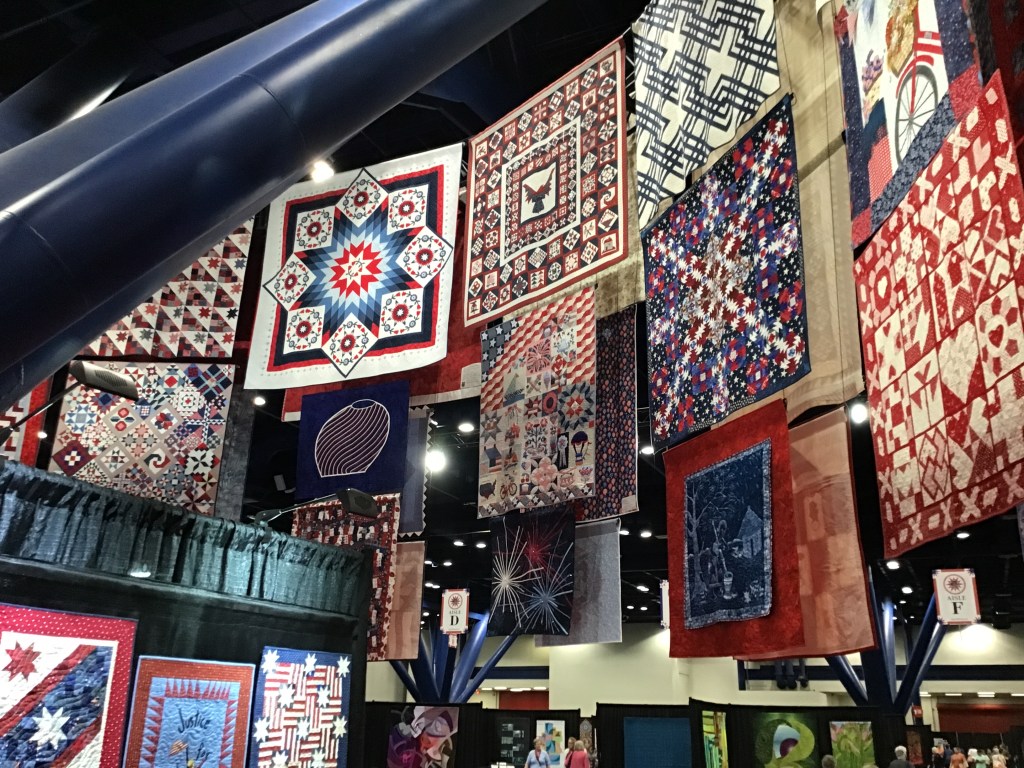
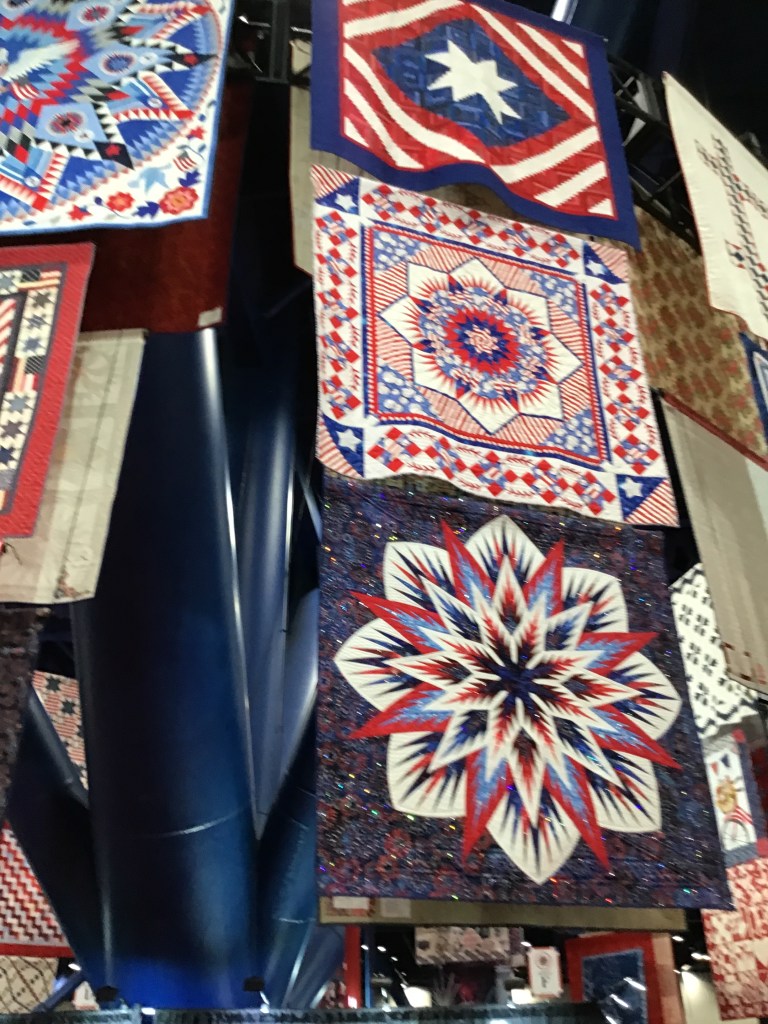
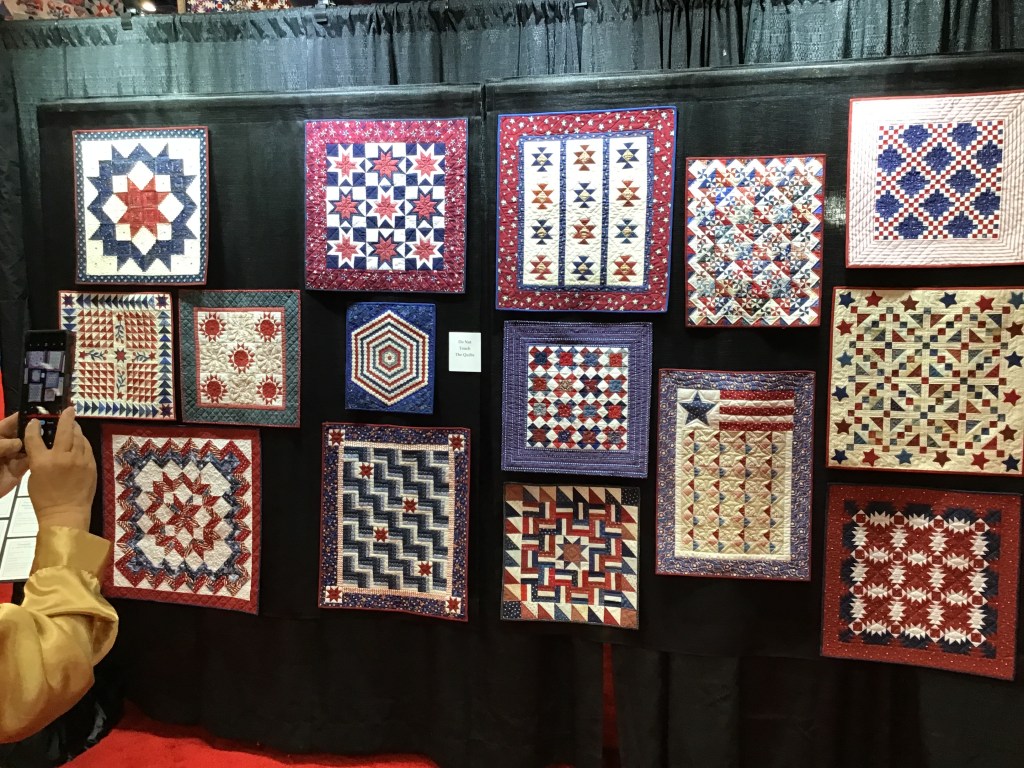
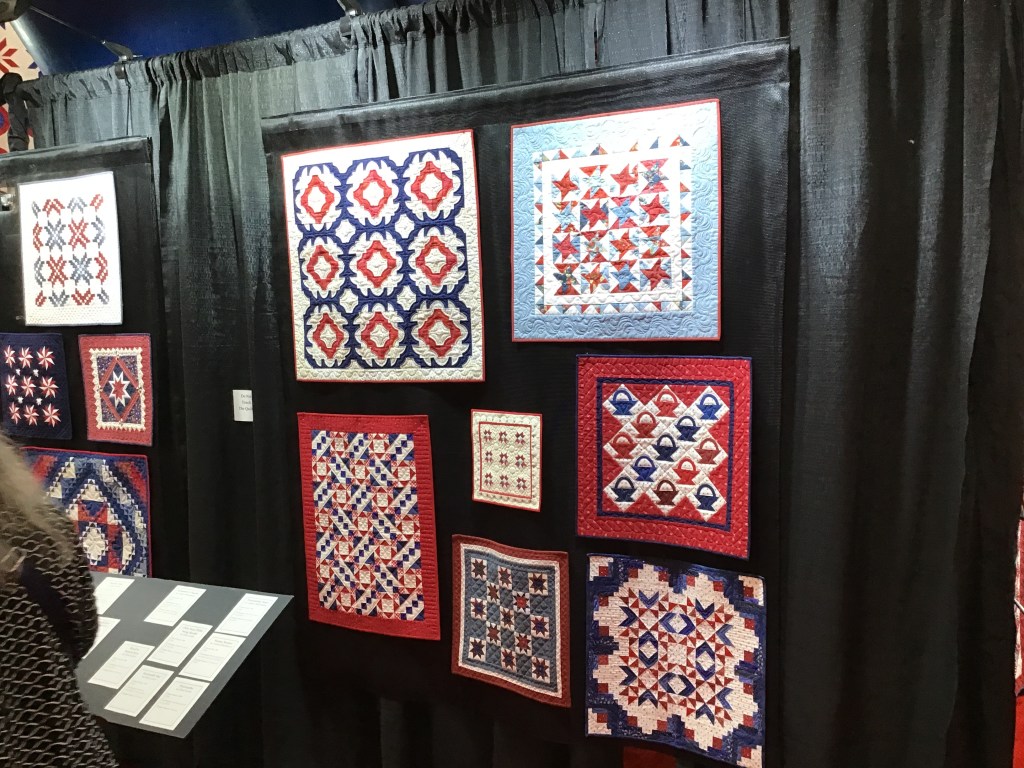
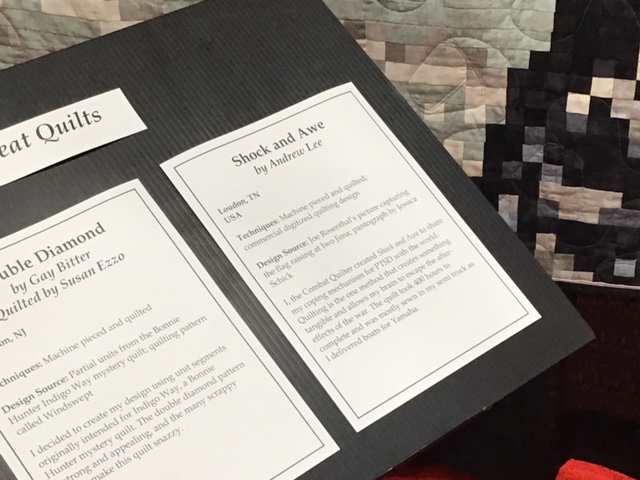
We’ve covered the insider’s view of Market HERE and the 50 year Celebration of International Quilt Festival HERE. We’ve also explored some of the amazing and wonderful quilts on display this year during Market and Festival HERE.
So what’s left to talk about????
All the cool stuff at Market and Festival, of course!
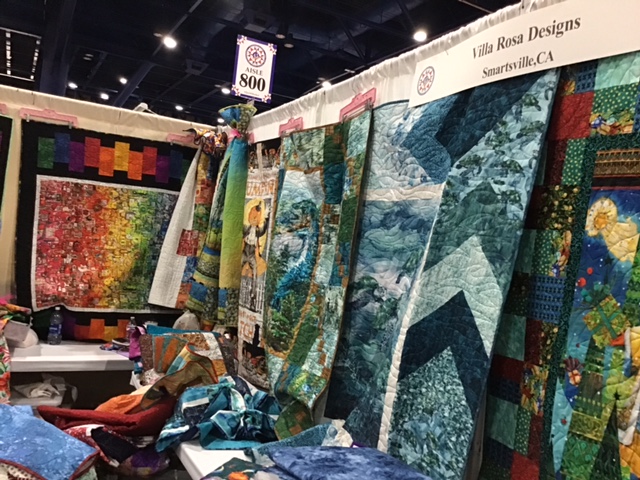
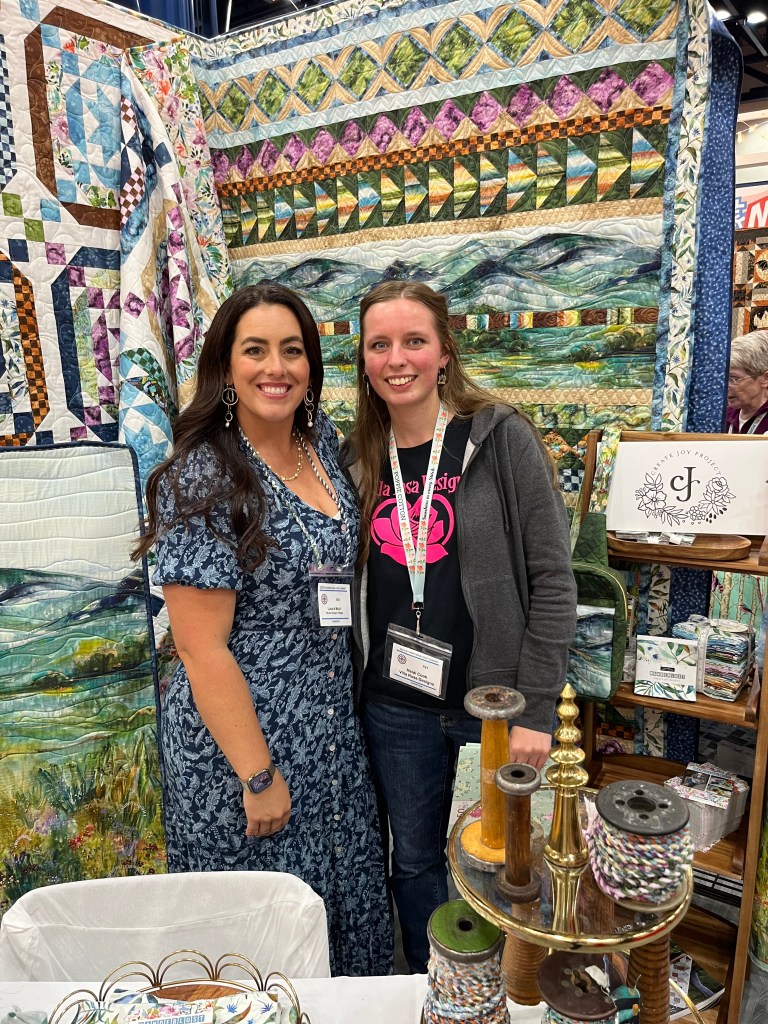
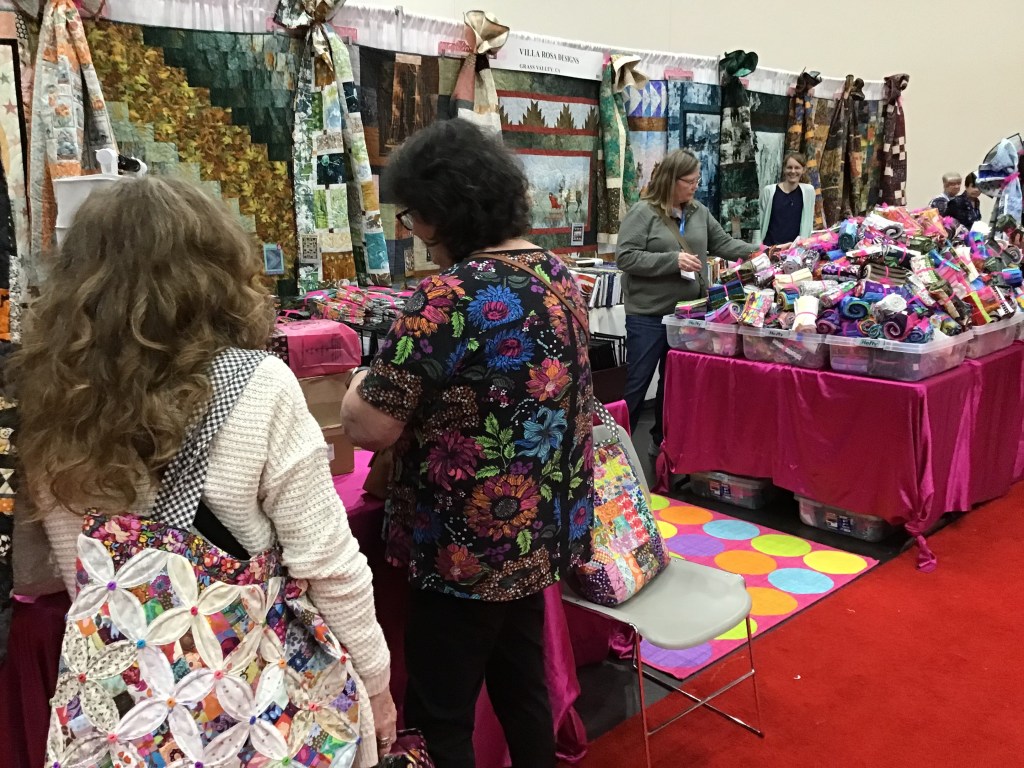
My Finds at Market and Festival
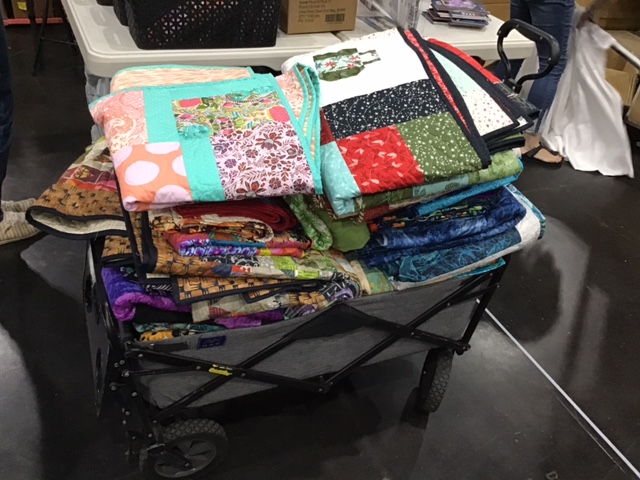
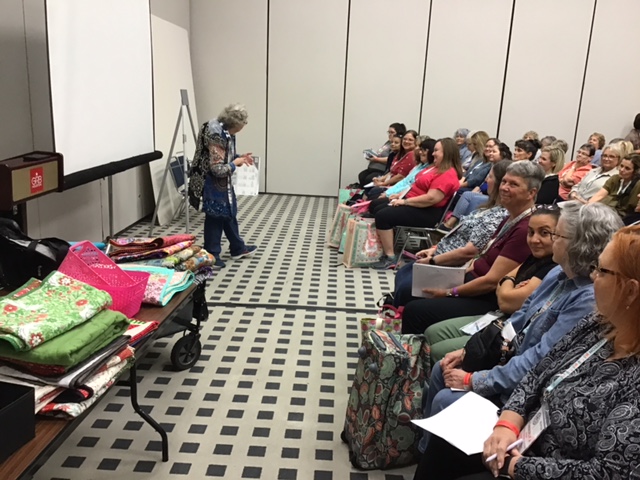
I’m going to share with you the things that inspired me at Market and Festival. I wish I could showcase every single thing I saw because there was sew much eye candy in Houston, but that would make this post into a very long long book, I’m afraid. So I guess I’ll focus on the things that I found interesting, cool, or just plain fun, in no particular order.
Just sit back and enjoy…………
Sew Q Laser
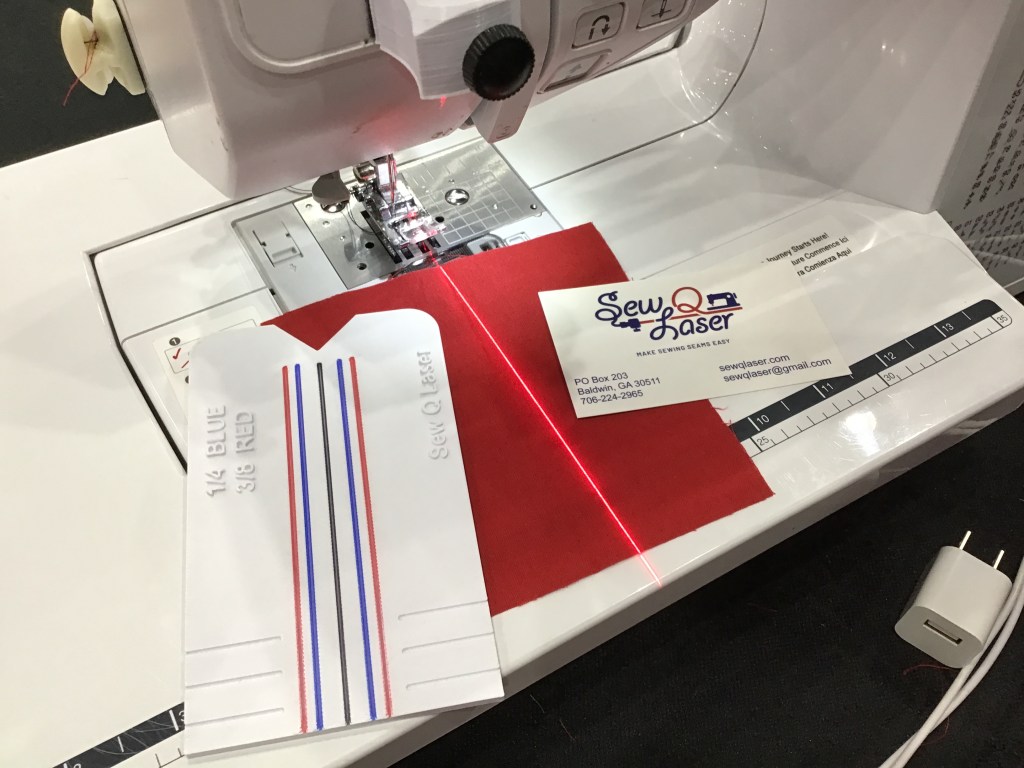
I watched a demo of this cool system in the Sew Q booth. It really was quite fascinating! I’ve been using my trusty 1/4″ seam guide foot for a long time, but I can really see a lot of possibilities with this laser system. You can check out their website HERE.
Thimtec Thimble Tape
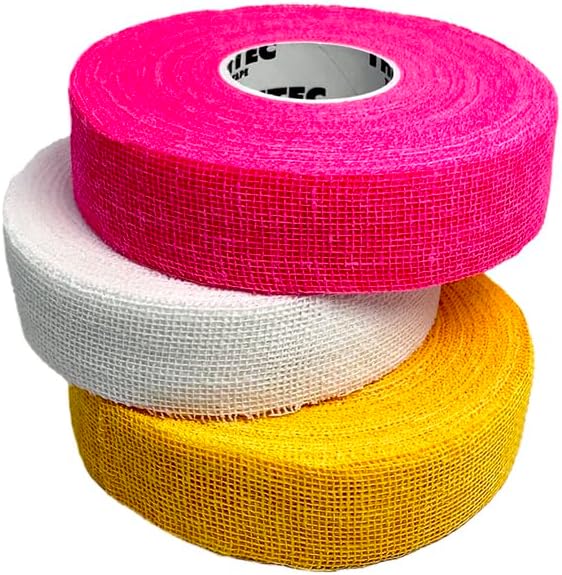
The Thimtec booth was right beside our VRD booth during Market and I had the opportunity to stop by to learn about this new product. Thimtec tape is easy to use, only sticks to itself, and molds to the shape of YOUR finger. It’s reusable and economical, Cool beans!
I took my pink roll to my Friday group and everyone made an individualized thimble to take home and use. After everyone was done creating one, I still had half a roll left!
You can find video demos and more info on their website HERE or find it on Amazon HERE.
Classy American Quilt Design Walls
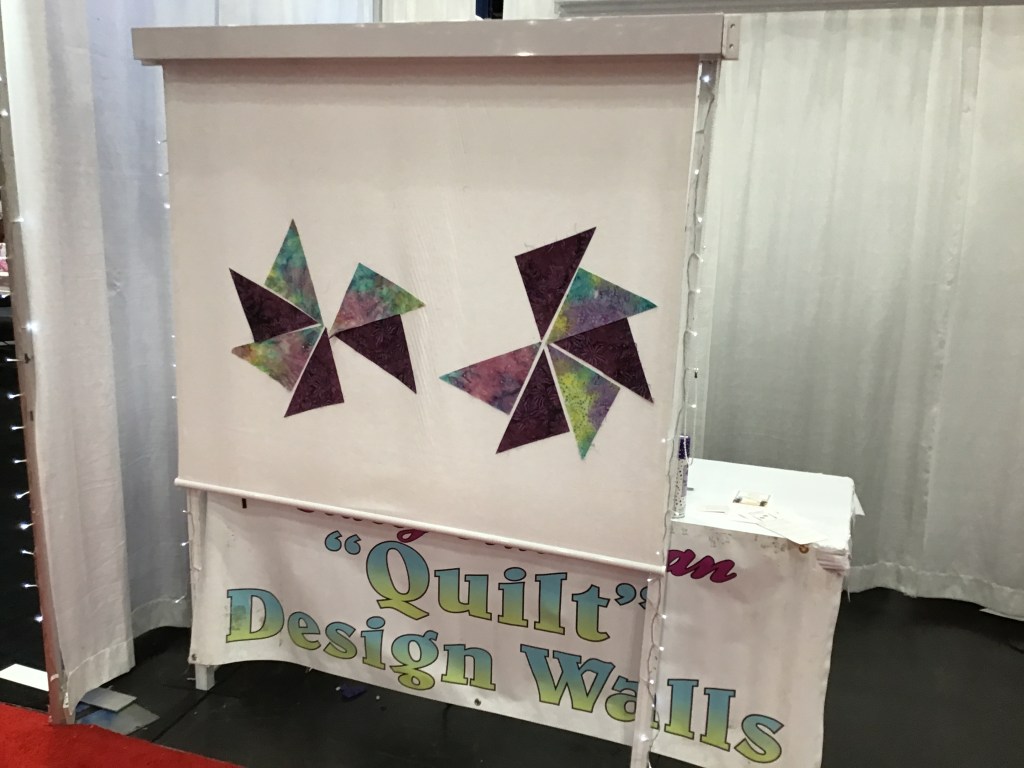
I met the owner, Tony, when he asked if I could watch his booth for a couple minutes. Of course I did and I had the fun opportunity to play with the Quilt Design Walls. I must say that this is now sew totally on my quilter’s wish list! The smaller one (in the photo above) is big enough for a long throw quilt, but my dream is the really big one because — gasp — it has a remote control! AND I LOVE GADGETS! LOL! The small one would be great, too, as it goes up and down easily just like your window blinds. I tested it out, of course, and discovered that if you were careful putting it up and down that your quilt blocks could actually stay stuck to the design wall. Brilliant!
You can see Tony himself introduce his design wall in the video below and you can check out Tony’s website HERE. Just tell him Tricia sent you. Tehehe……..
Patience Griffin Books

I had the pleasure to meet Patience Griffin at Quilt Market. In addition to being the popular author of both the Kilts and Quilts book series and the Sweet Home, Alaska series, Patience is a quilter and also a new fabric designer with Riley Blake Designs. You can see Patience’s collection, A Touch of Celtic, coming to a shop near you in May 2025, HERE.
If you love quilt fiction as much as I do, you can find her books HERE.
Printed Felt Board Story Panels

This one is for all you librarians, teachers, early childhood educators, parents, and grandparents. I mentioned this adorable felt printed panel by Jennifer Long for Riley Blake a couple weeks ago (the Created with Love panel, above, will be available in shops April 2025), but I just had to include it again on my “favorite finds” list.
When I was a children’s librarian, I created my own felt board pieces to go along with the stories, rhymes, songs, and activities I used for my weekly felt board story as part of my library toddler story time. Oh! How these wonderful shapes would have been a fabulous addition to my felt activity repertoire! Although I am no longer a librarian or early childhood educator, I still have very fond memories of engaging the youngest library patrons with fun stories, songs, and rhymes accompanied by my humble pieces.
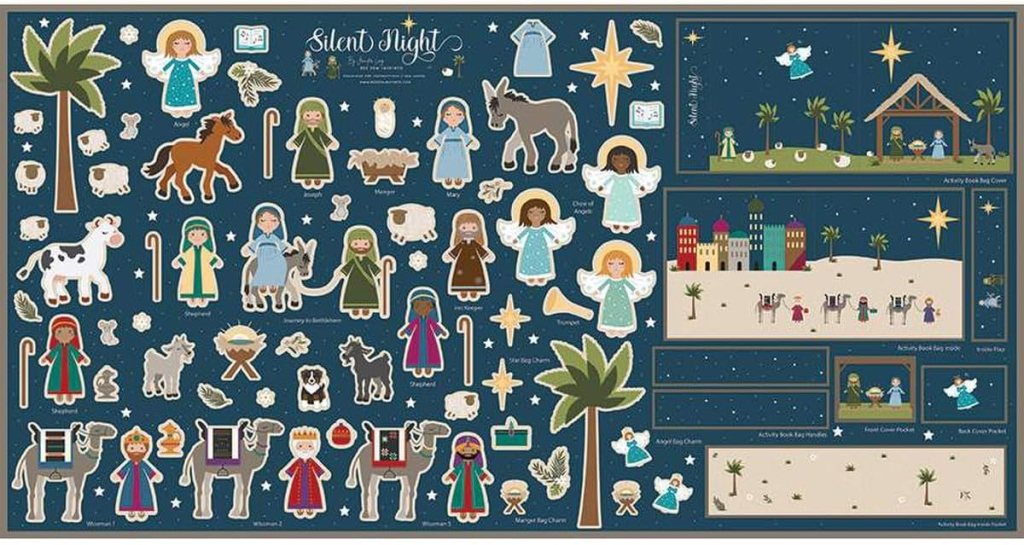
Here’s a Nativity felt panel by Jennifer, which is available right now. You can find it HERE.
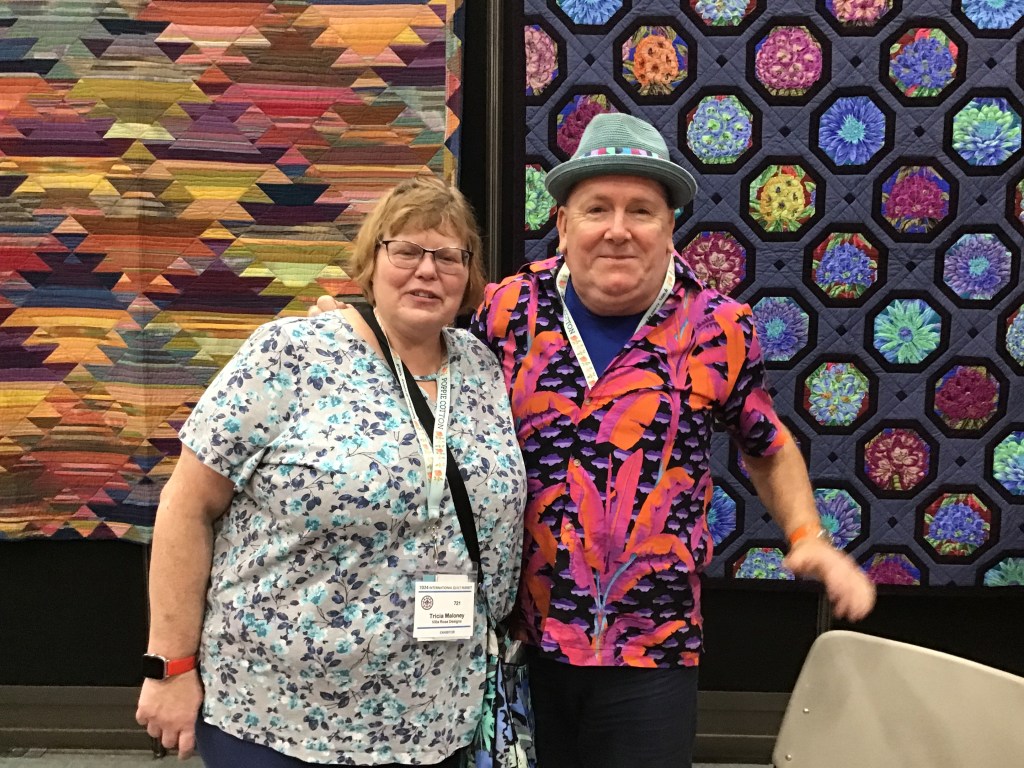
Goldie Lou’s Shirts
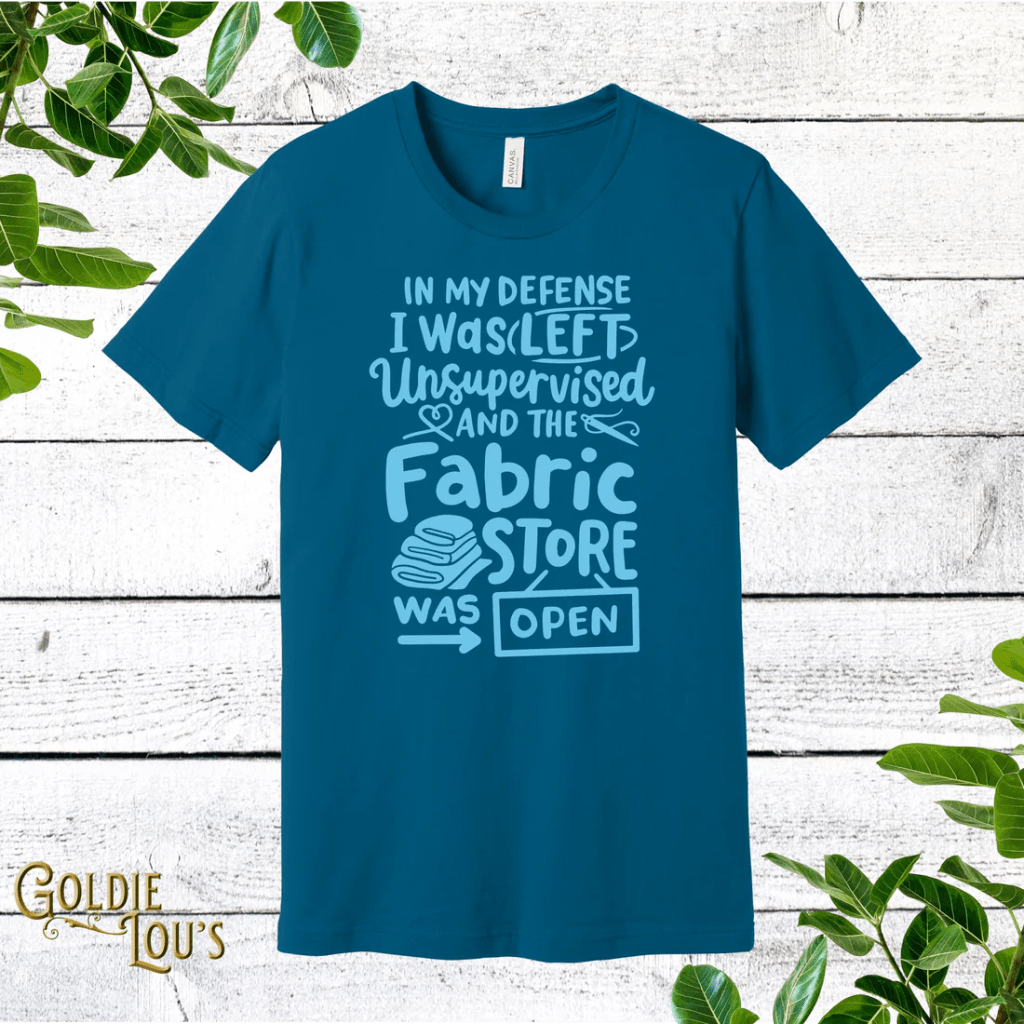
Goldie Lou’s was a new business at Market and Festival this year. They were selling the most fun quilting shirts and sweatshirts with the cutest tongue-in-cheek sayings! Oh sew fun! I bought a couple shirts myself to show off my quirky quilter style, including one of the shirts you see above (it is sew me!). You can find more info about Goldie Lou’s HERE.
Horn of America Deluxe Storage Chest

I am sew sew in love with this cabinet! It has drawers and shelves and cubbies on one side and a flip up extension table on the back where you can even add more shelves! This would be a real dream piece of furniture in anyone’s sewing space! I kept walking past it whenever I went to the food court and dining area — it stopped me every time and I would pause to test out the drawers or just imagine it in my own sewing dungeon, er — studio. I would want the one in the white finish……You can find more info HERE.
Mary Ellen’s Best Press
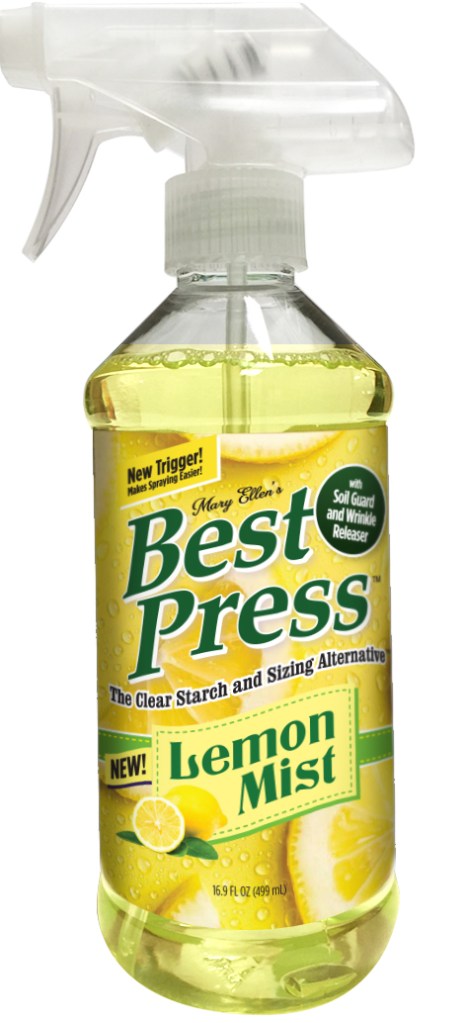
Yippee! Mary Ellen’s Best Press Spray has a new scent — Lemon Mist! I’ve been using the Best Press starch alternative spray for a long time now and I am thrilled that they finally have a lemon scent. I was very excited to have scored a sample at Market so I can test it out, but I already know I am going to love the Lemon Mist scent. It will most likely be my new favorite. You can find it HERE.
Well, folks, I hope my favorite finds will inspire you — they have certainly inspired me! Now I’m adding everything to my quilter’s holiday wish list. Sigh…..do you think that cabinet will fit down the chimney????
That’s it for me this week. Take care and travel safe this coming week if you are heading somewhere to celebrate Thanksgiving. And while football is playing after Thanksgiving dinner, maybe you can sneak away and read all about my recent visit to Ohio Amish country for my Mom’s birthday.
Until then —
Sew. Laugh. Repeat.
Always,
Tricia @ VRD