Hello Quilty Friends!
Happy Thursday to you!
Guess what day it is????? The Thursday after the first Friday of the month. And you all know by now what that means — NEW PATTERNS!
Yay! I really love seeing the new patterns every month, they just make me feel SEW inspired. Do you know what I mean? And without further ado, here they are!

You can get the set of 5 print patterns HERE.
(If you are interested in digital patterns, you will need to purchase each pattern separately)
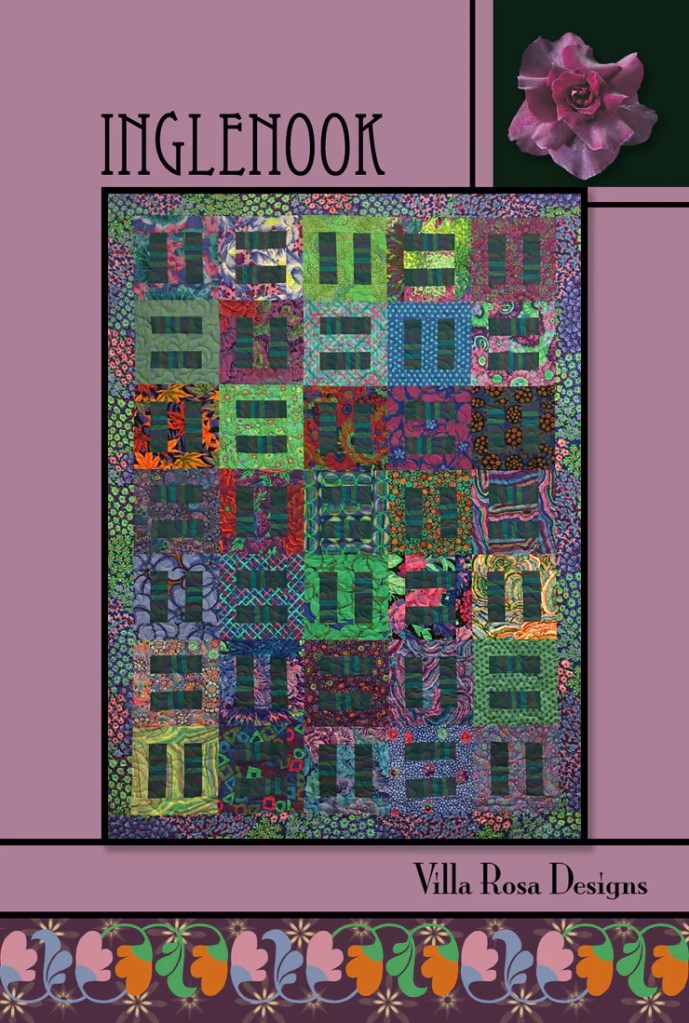
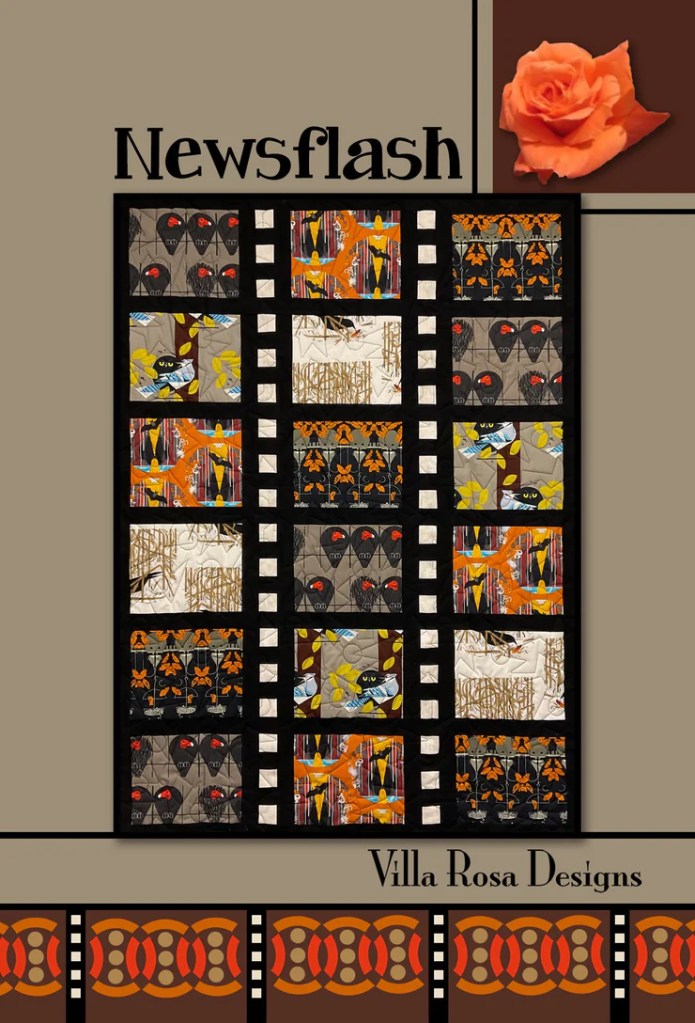
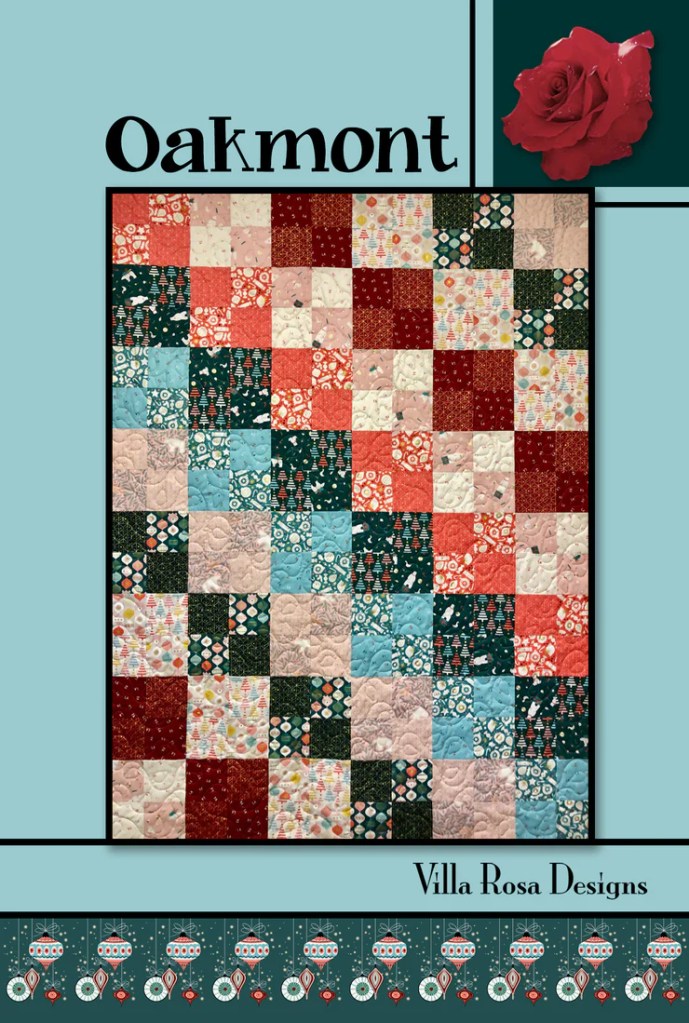
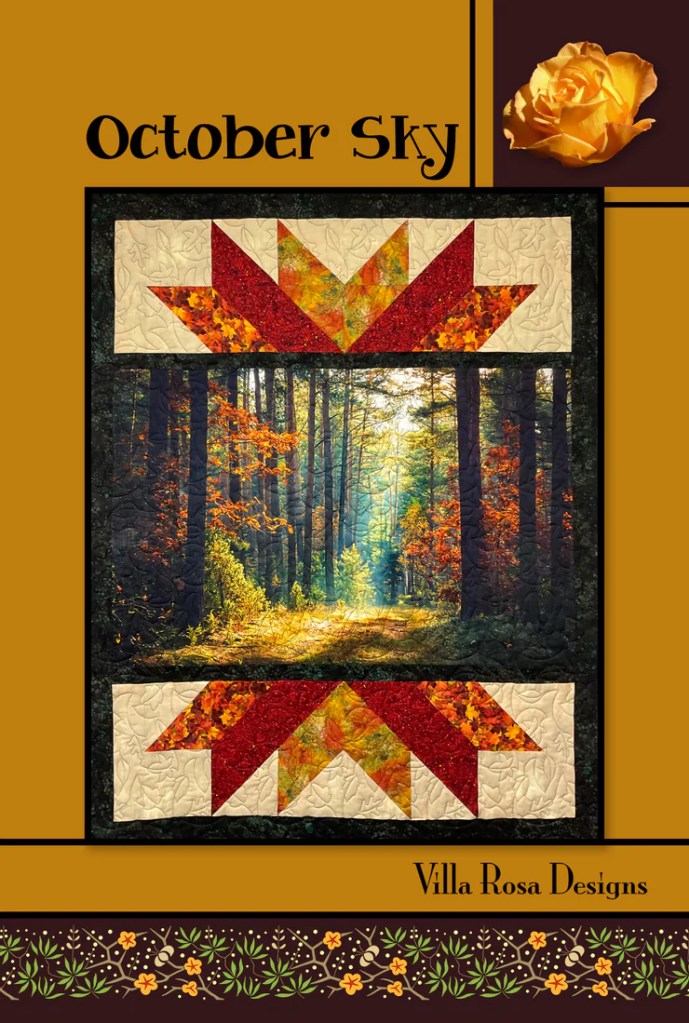
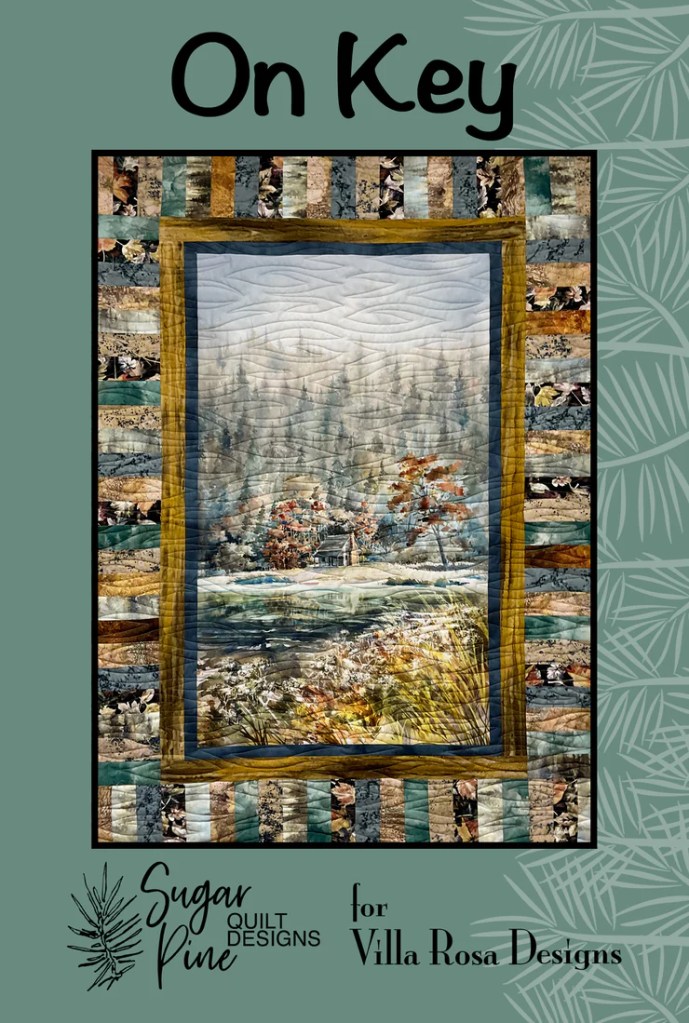
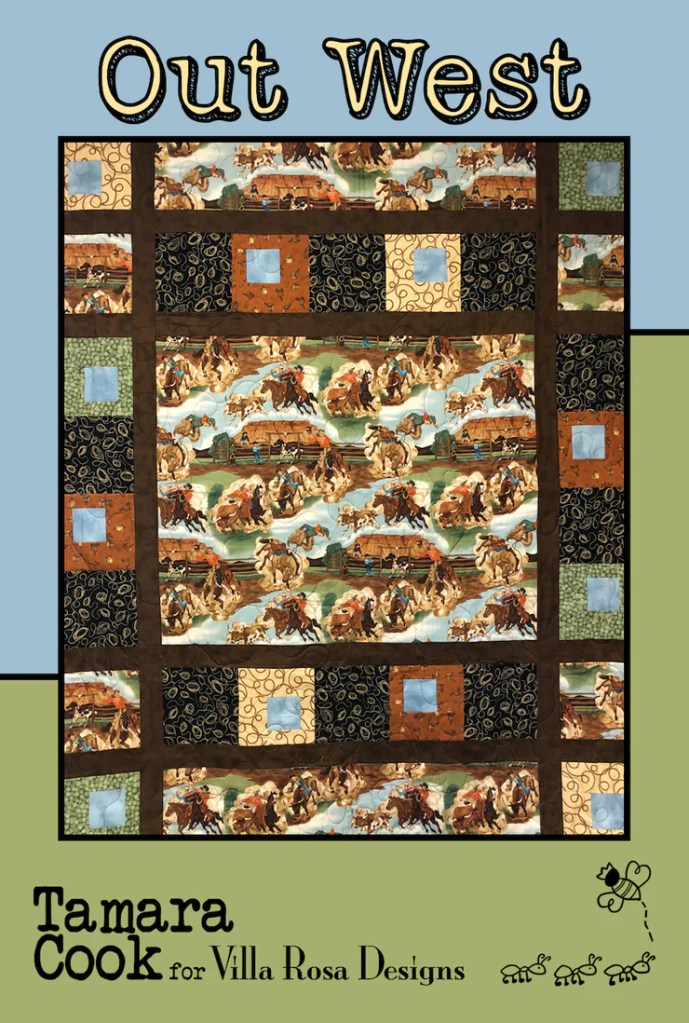
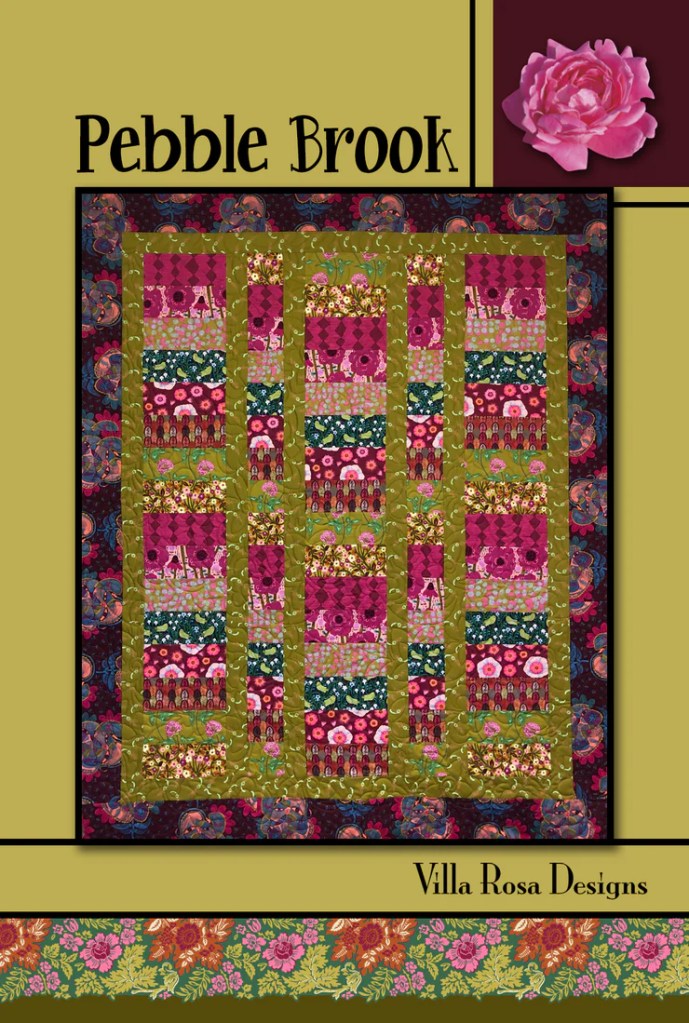
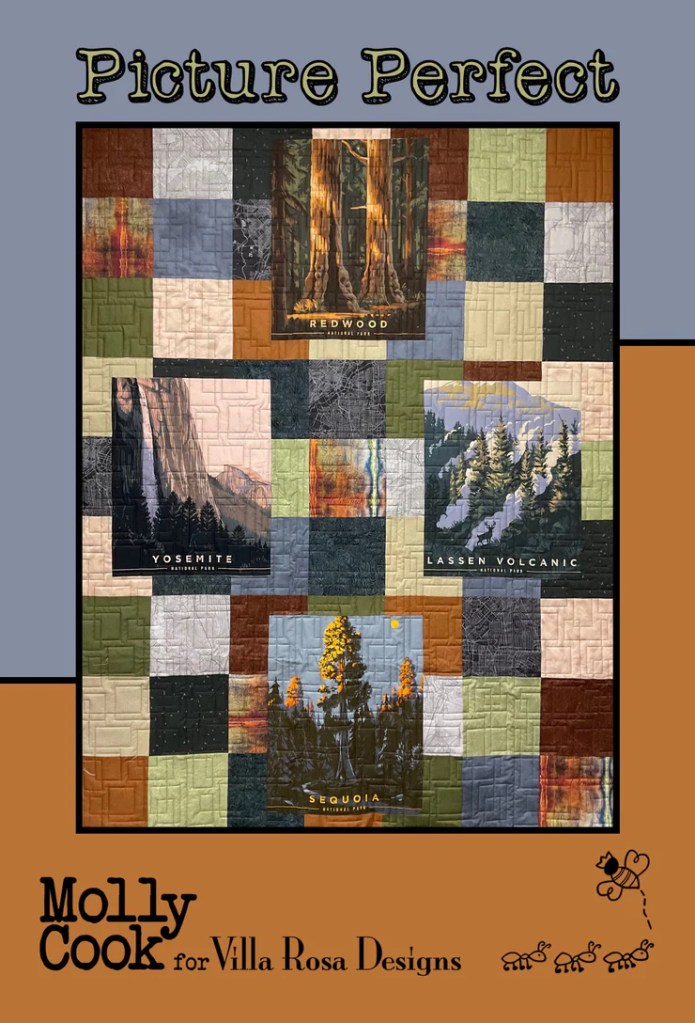
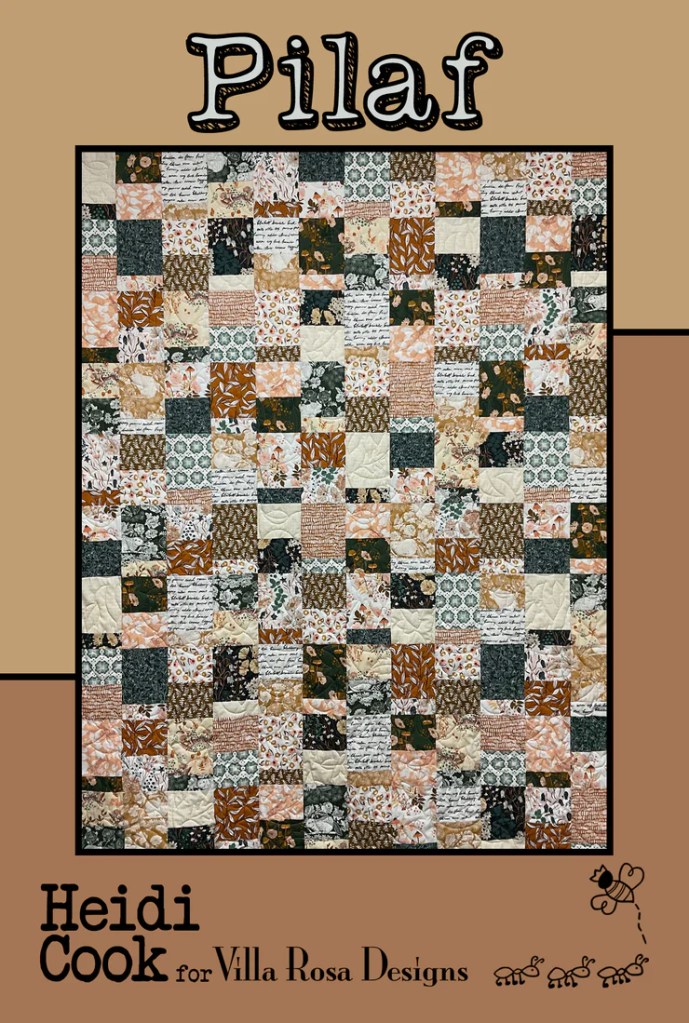
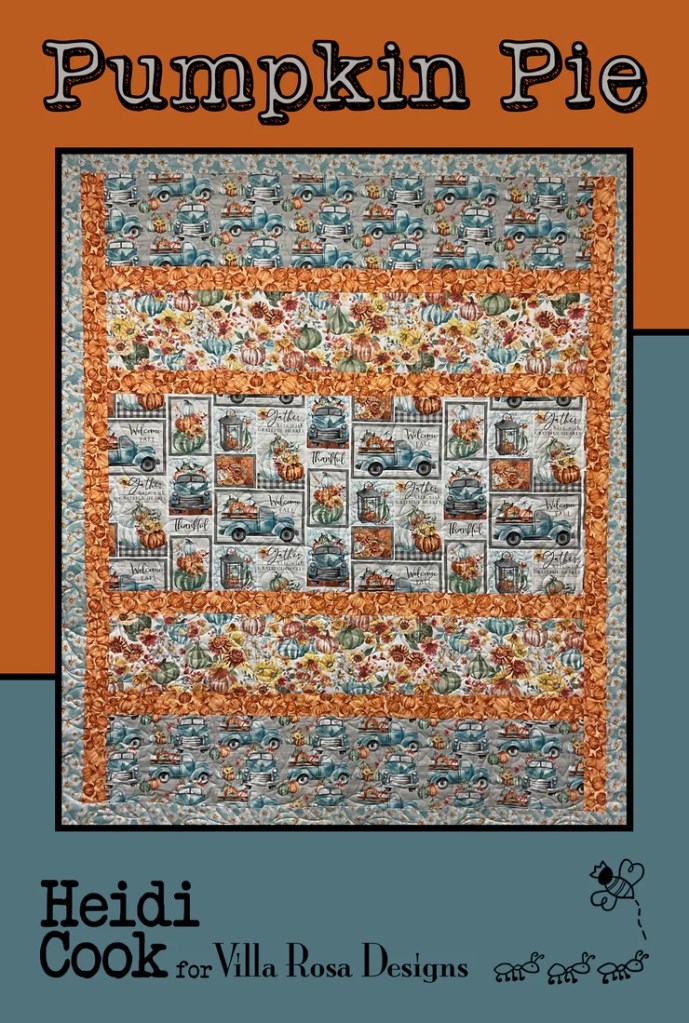
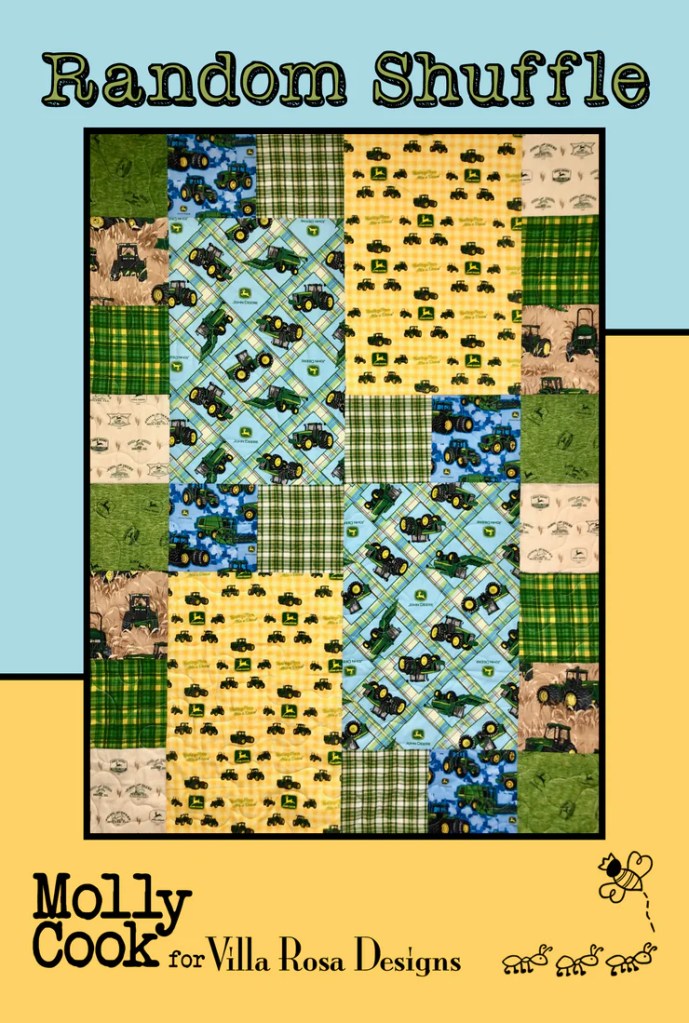
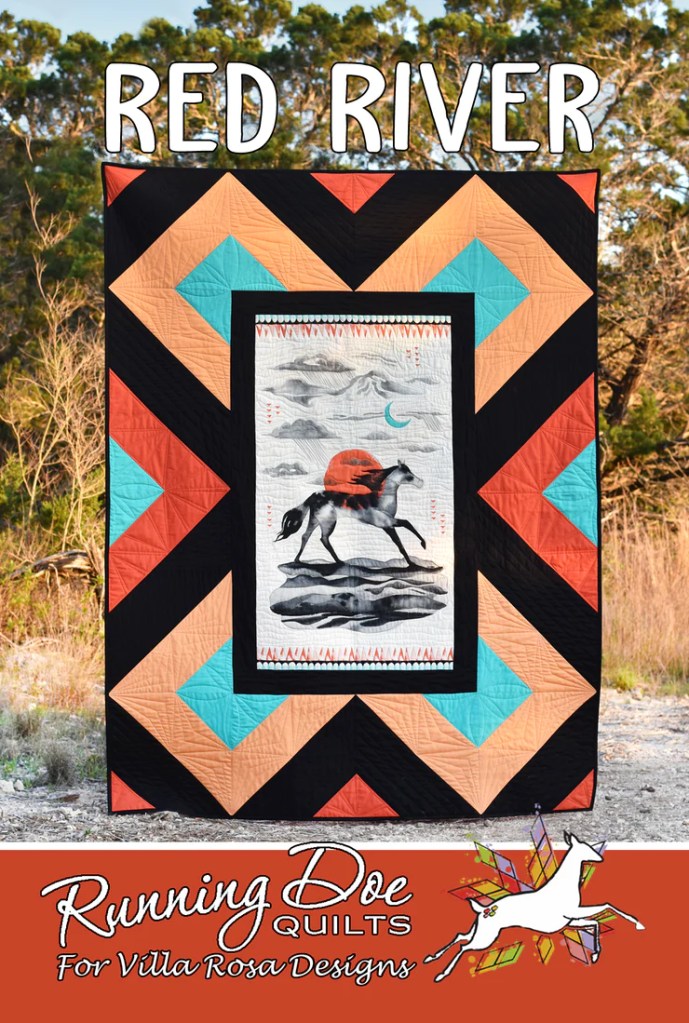
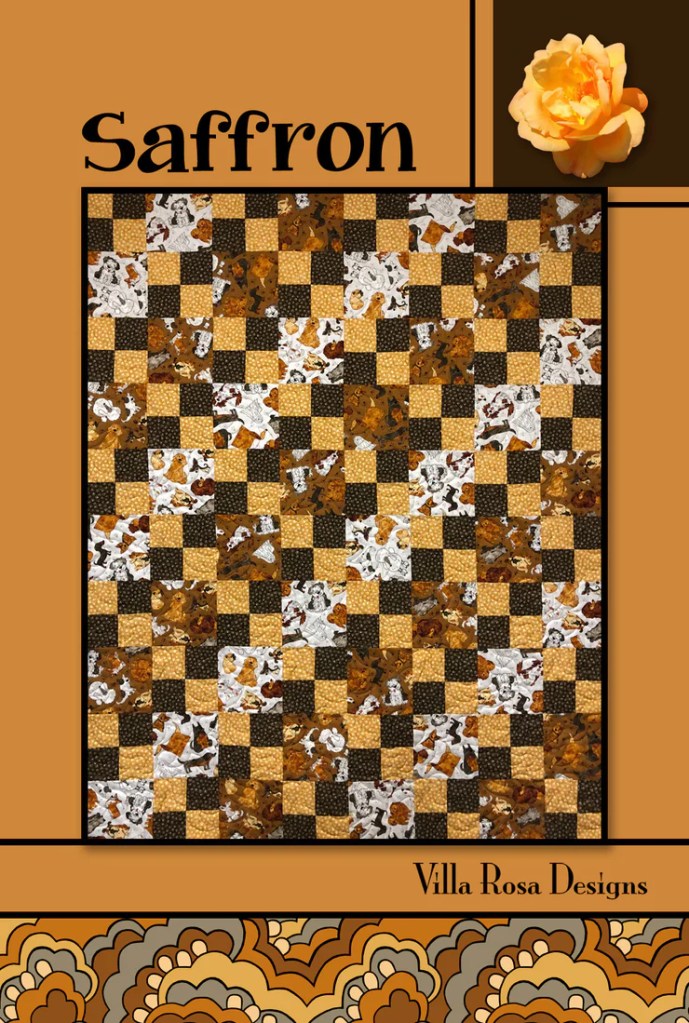
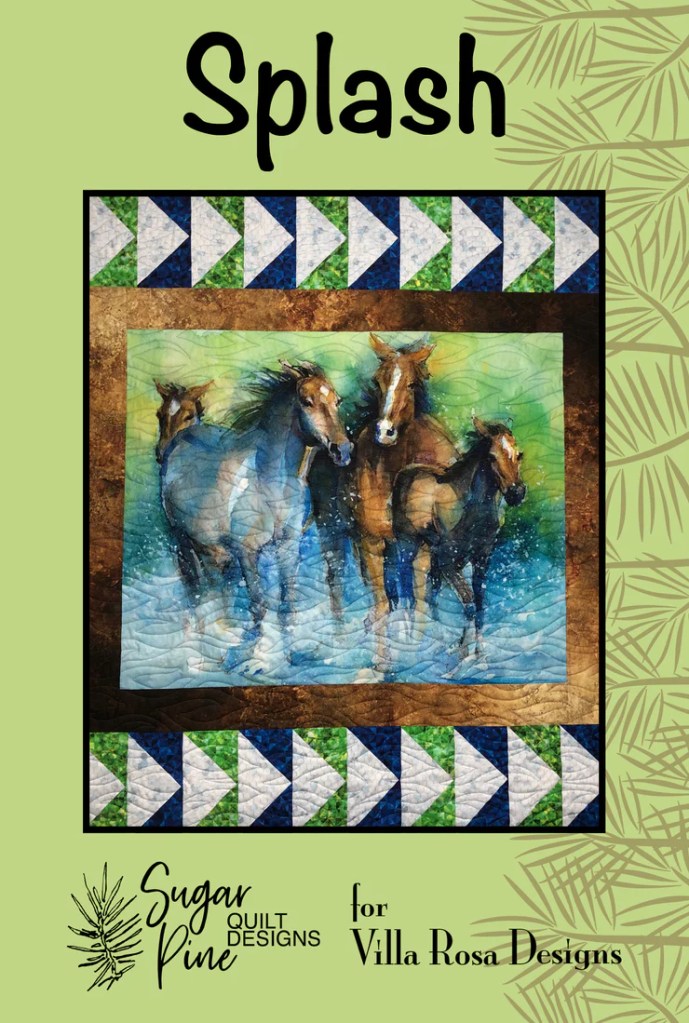
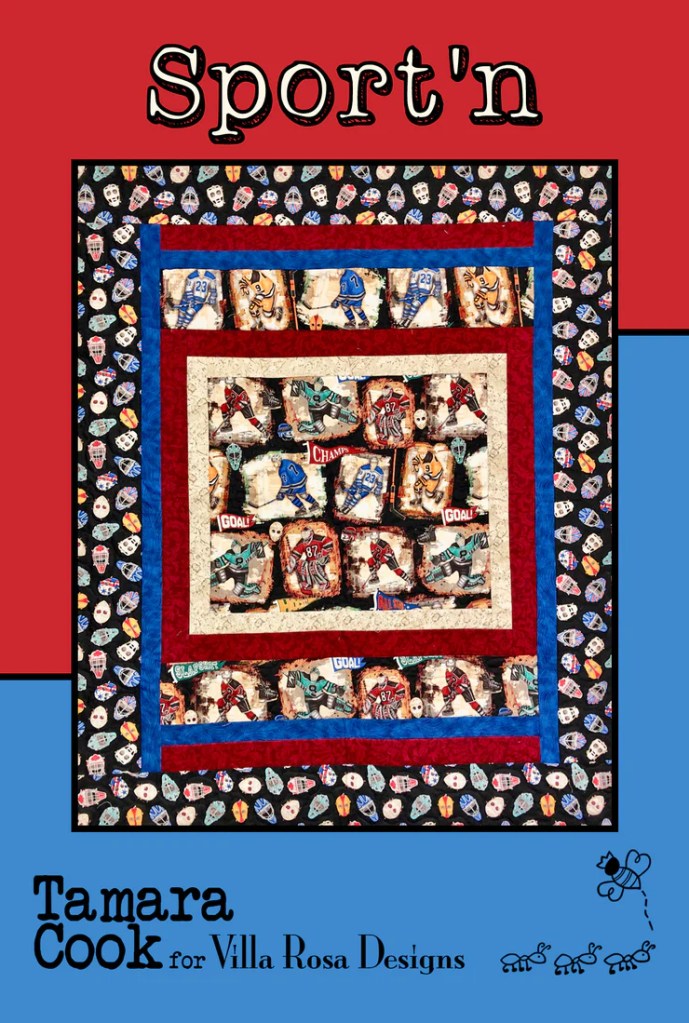
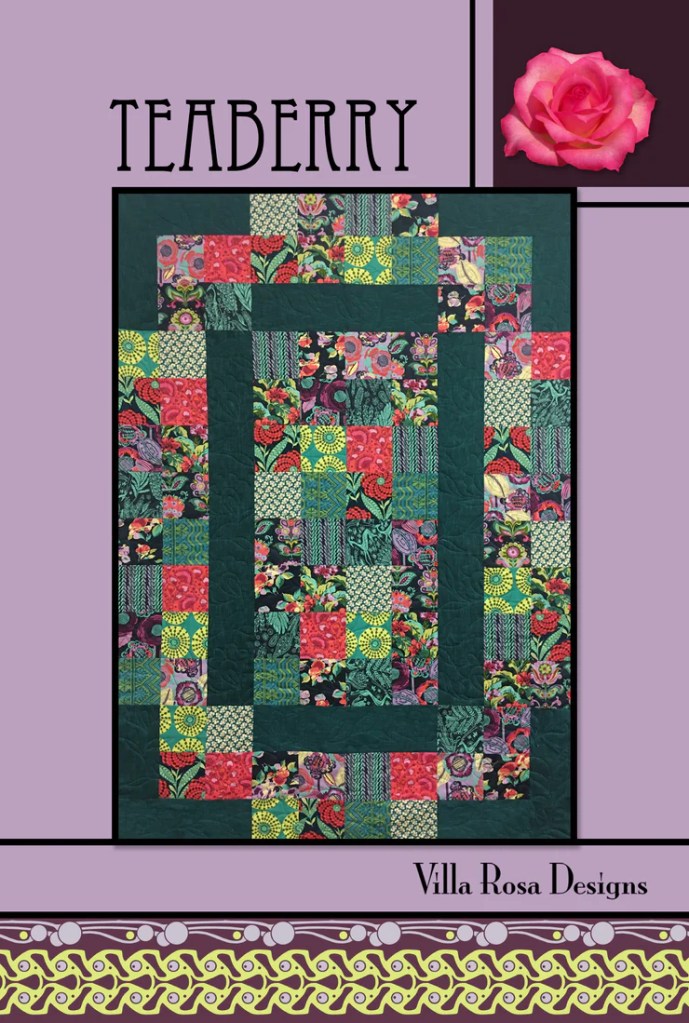
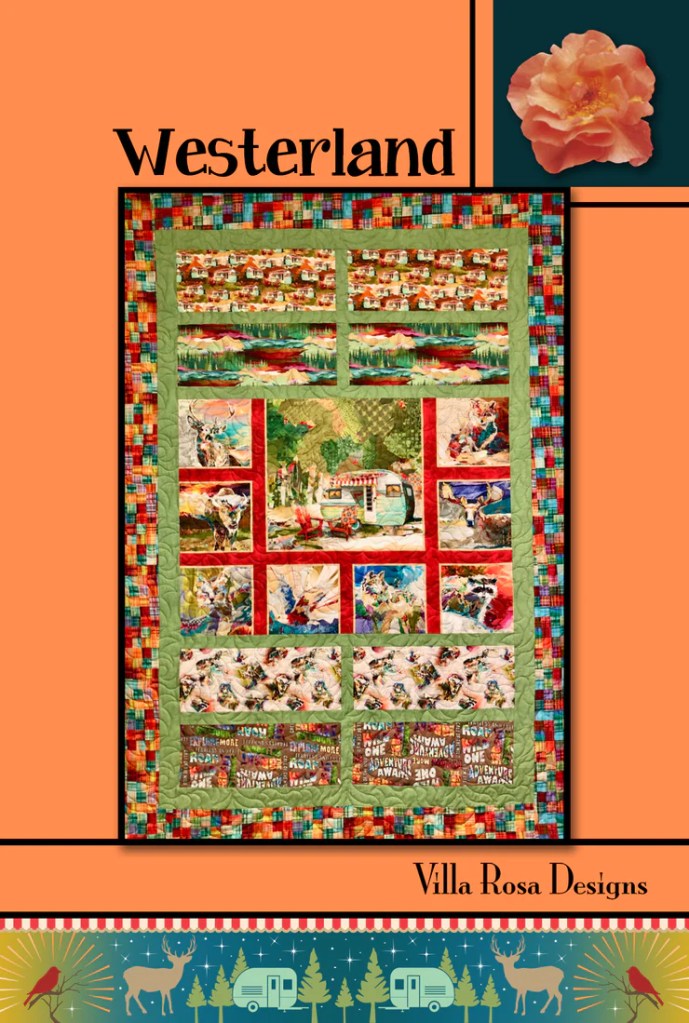
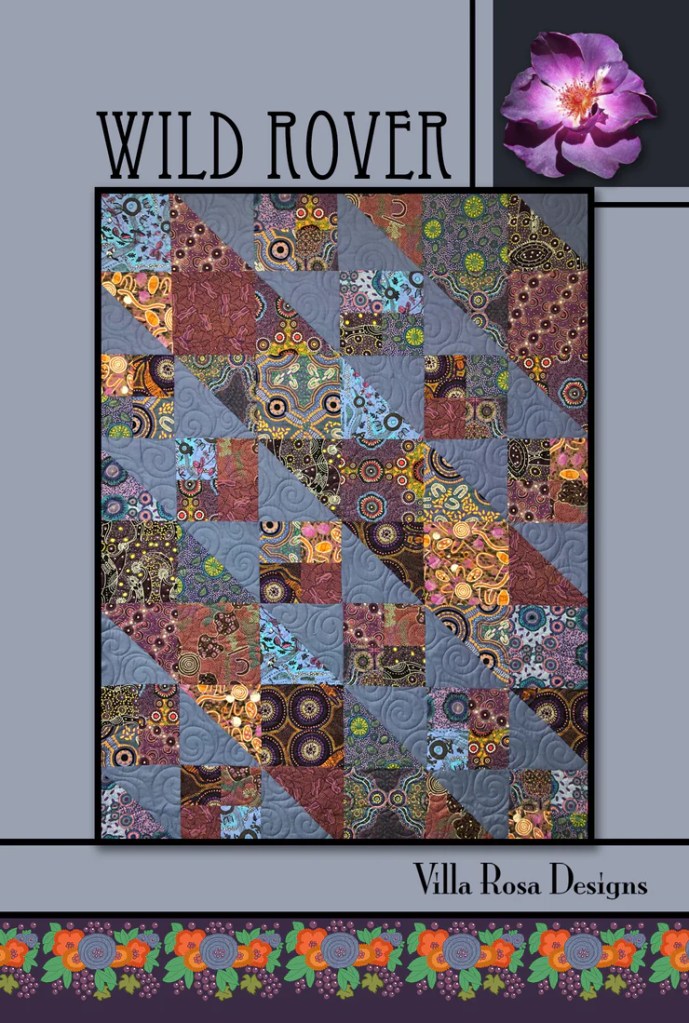
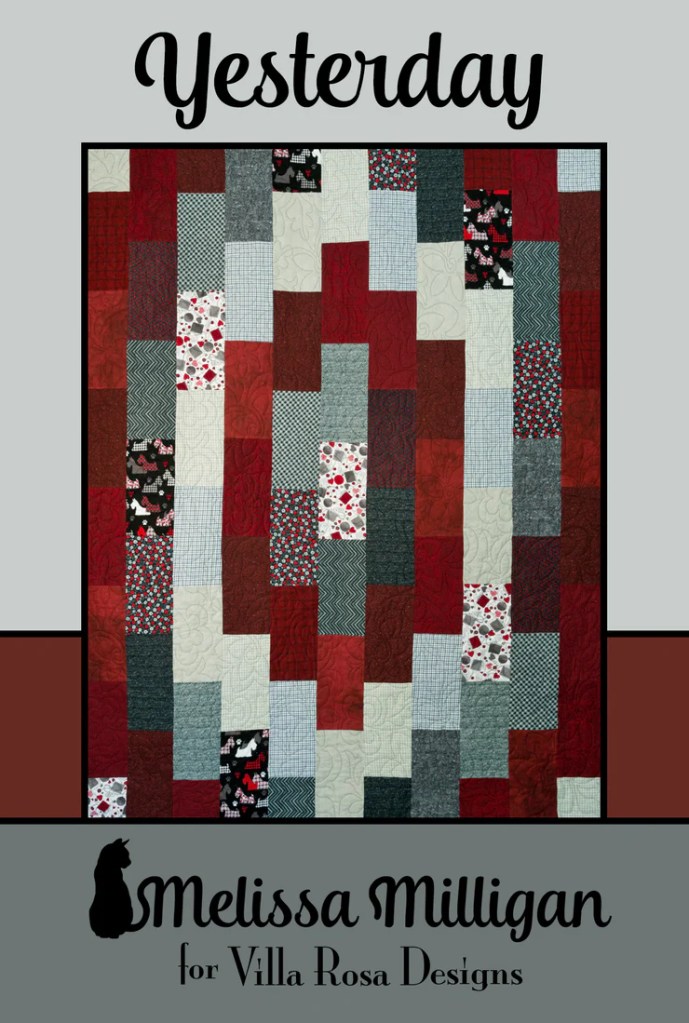
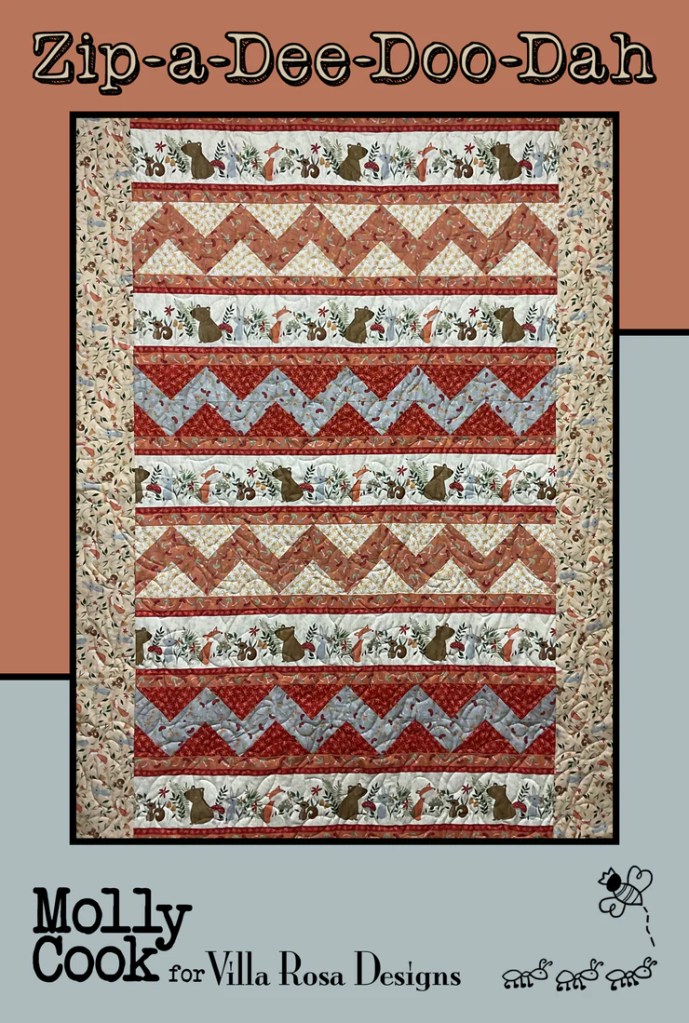
These 5 great patterns are a must-have for your growing Rose Card pattern collection! They include a delightful star quilt (Amelia), 2 panel quilts (Morning Spring and Surf & Turf), and 2 fun modern designs (Changing Lanes and Landina. I know I say this all the time, but the creativity of our VRD designers always amazes me. You rock, designers!
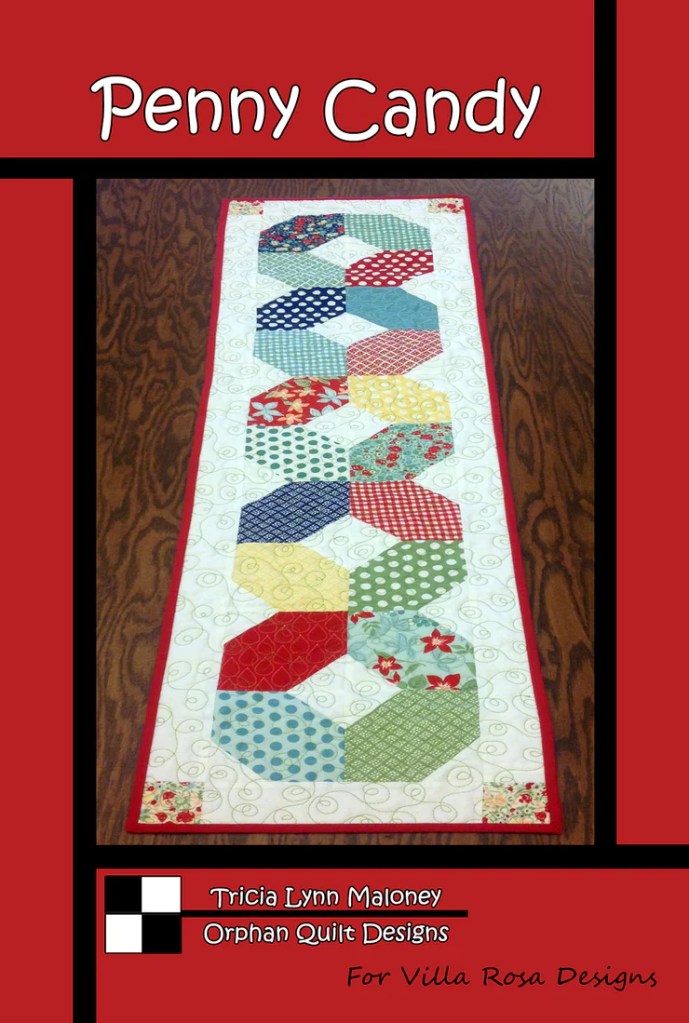
But wait We can’t forget this month’s Table Runner and Snack Mat can we???

Get the print pattern HERE or the digital pattern HERE
I designed the Pumpkin Spice pattern to showcase all those fantastic autumn fabrics out there we never want to chop up into little pieces! And who doesn’t love pumpkins — Log Cabin pumpkins. What a fun twist, huh? Depending on the fabrics you choose for Pumpkin Spice, this runner can decorate your table for both October and November. Just sayin’…..
Get the print pattern HERE or the digital pattern HERE
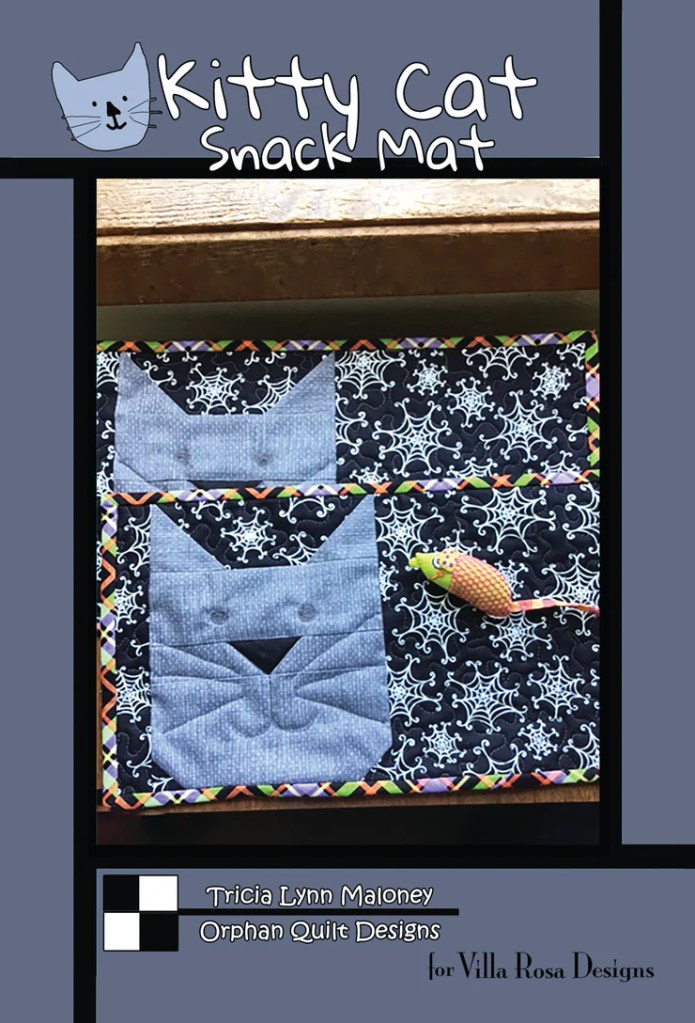
It just isn’t October with a cat or two, is it? My cats had to be grey because I actually have 2 grey cats. Pip is my senior citizen who is a 14 year old silver tabby with a very svelte figure. Griffin (or Griffy as I usually call him) is my 3 year grey tabby who is a real sweetie pie. My 2 year old shih tzu pup, Bailly, rounds out my little furry family.
Of course, you can make your kitties any colors you want — wouldn’t it be fun to make them look like your real cats, if you have any? I chose to use Halloween fabrics for the background and the binding, but you could make Christmas kitties or 4th of July kitties or any kind of kitties you desire.
Which pattern are you going to make first?
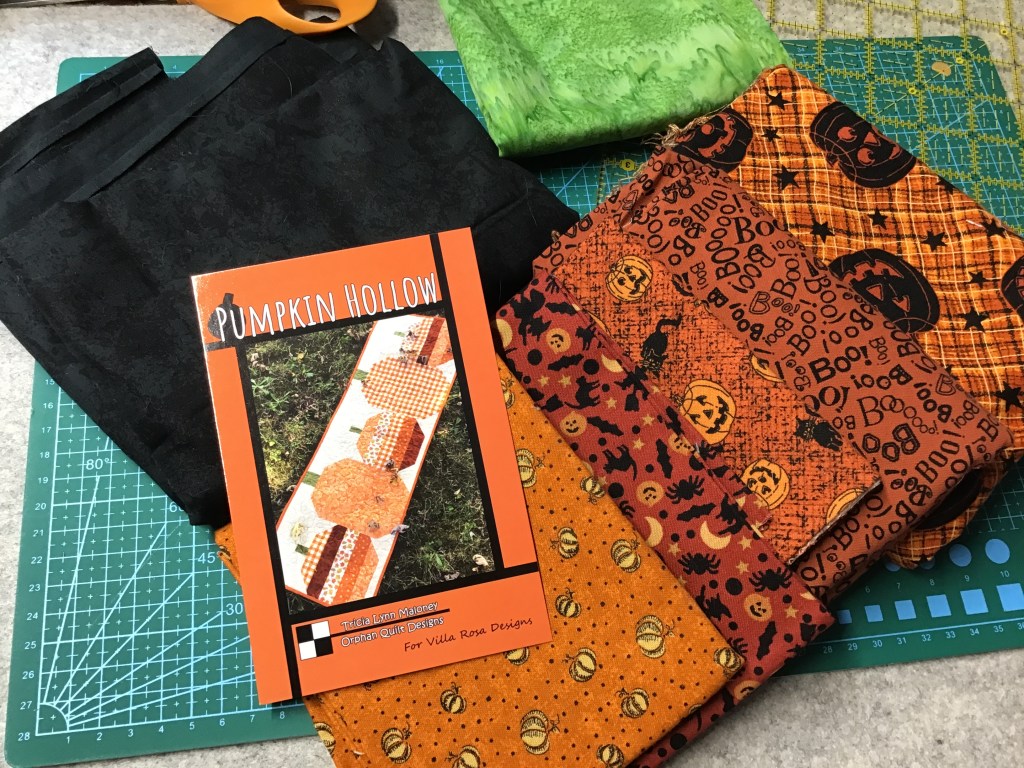
Speaking of fall sewing, I thought it would be fun to do a tutorial for my very first pumpkin runner pattern, Pumpkin Hollow. It’s been a popular pattern. Thank you! I’m thrilled you like it as much as I do. 🙂
Pumpkin Hollow VRD Tutorial
I have really enjoyed seeing all the different Pumpkin Hollow runners folks have been posting on our VRD Facebook page. If you’re looking for inspiration for your Pumpkin Hollow runner, please stop by the Facebook page and I promise you’ll find awesome quilts there. And a lot of friendly helpful quilters.
One of my favorite Pumpkin Hollow runners so far had appliqued vines and leaves added to the pumpkin stems. What a lovely addition to my humble little pumpkin pattern. Just another reason I love our VRD Rose Card patterns — there are plenty of opportunities for you to add your own touches!

Get the print version HERE and the digital pattern HERE
Well, let’s get started on our tutorial!
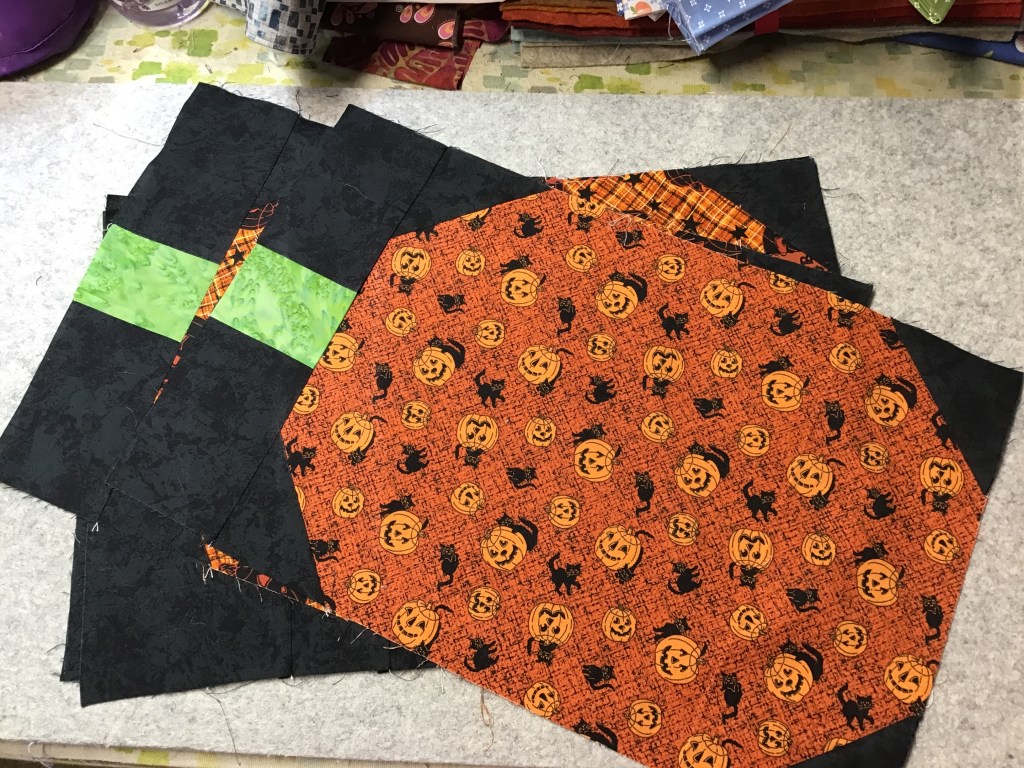
Of course, the first thing we need to do is gather up our fabrics. I pulled out some pumpkin and Halloween fabrics from my stash for today’s tutorial. I must admit that I’m embarrassed to even tell you how long these fabrics have been lurking quietly in my stash (I’m not actually sure, to be truthful), but now it’s finally their time to shine. I bet you don’t have any fabrics like that in your stash, do you? LOL!
I chose a mottled black background to compliment these burnt orange fabrics with black accents. I tried a couple different colors, but black looked the best, so black it is. And the green batik was just hanging out on my cutting table from another project, so that was an easy choice.
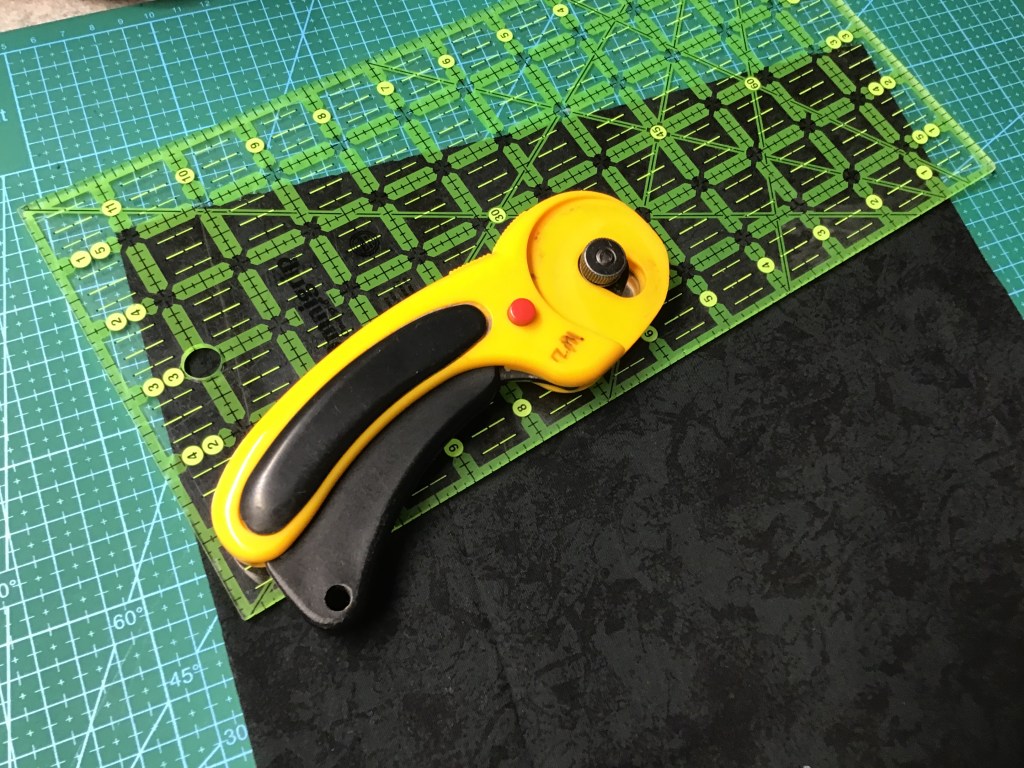
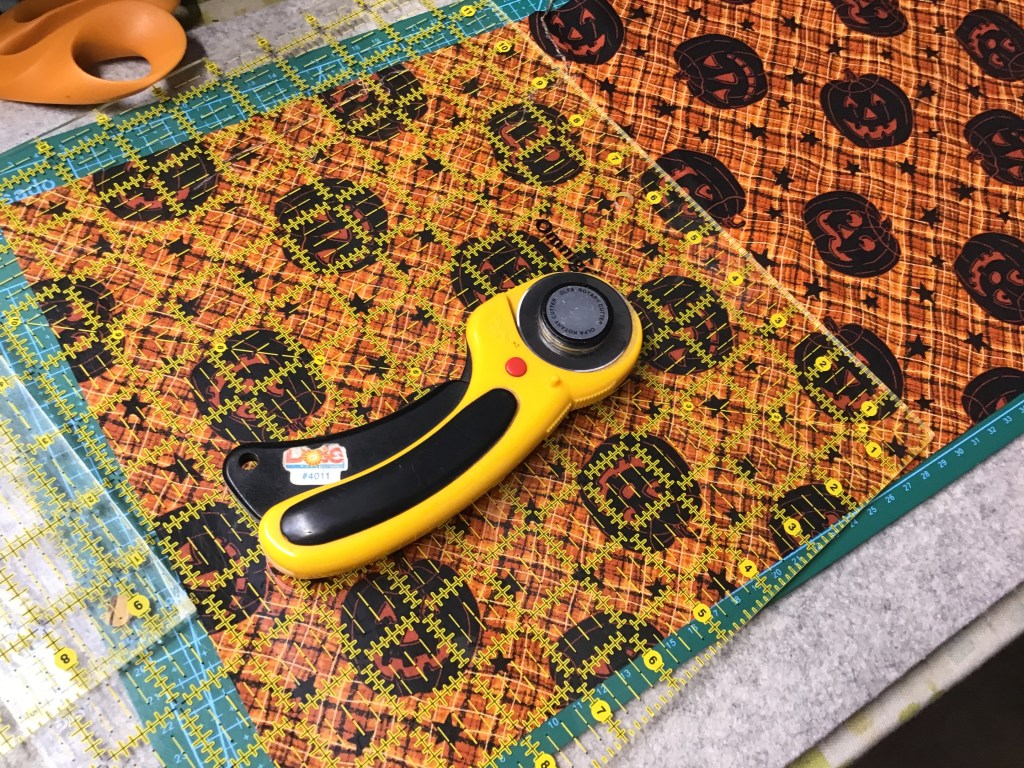
Lime to get started with the cutting.

Now that I’ve cut my fabrics, I’m getting kind of excited to see how this runner will look when it’s finished. It will definitely be different from my original version, which had a light background (the one on the front of the pattern, above).
Let’s sew 5 strips together to make 3 small pumpkins. You can sew the strips for all 3 pumpkins in the same order or mix them up. I like to mix things up (wink, wink).

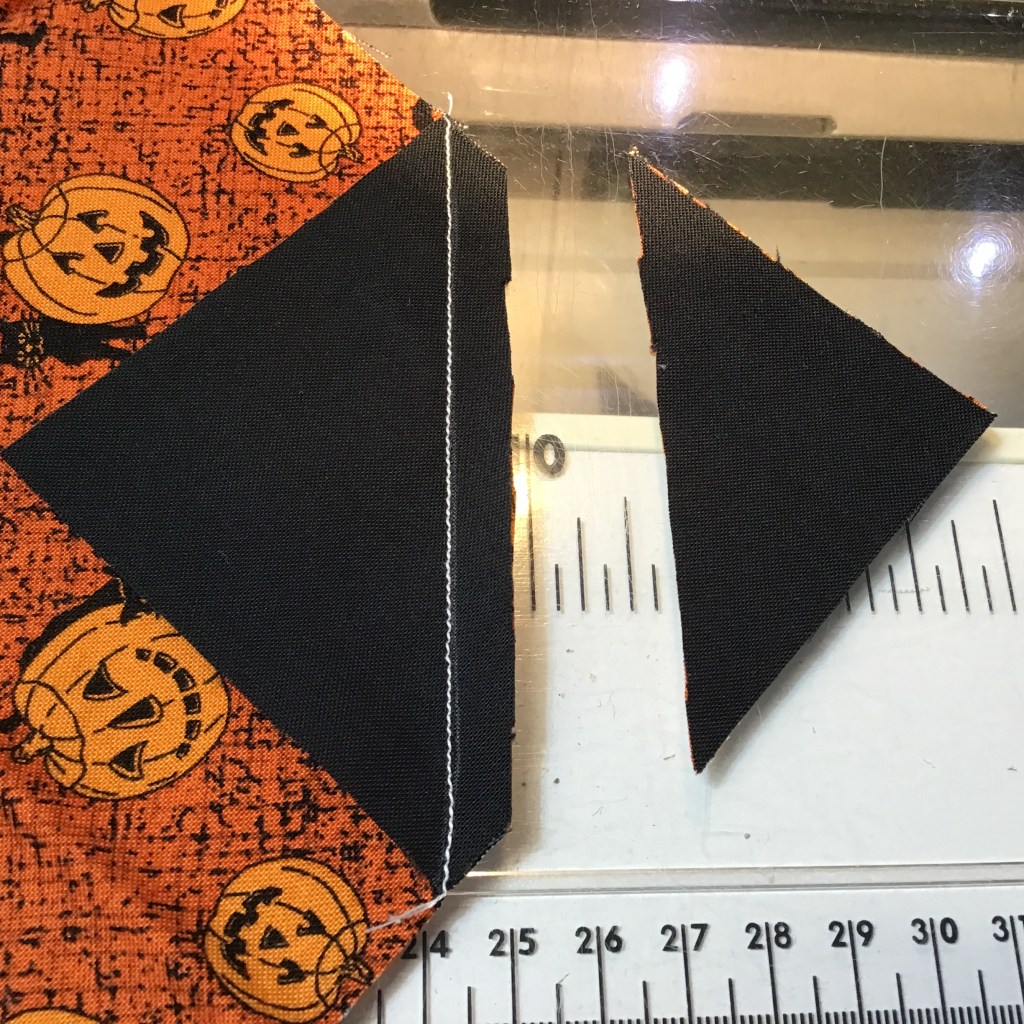
Time to sew some “flippy corners”! Yes, I am using the scientific name for this technique. You may have even noticed that lately I’m using that scientific term on my new patterns.
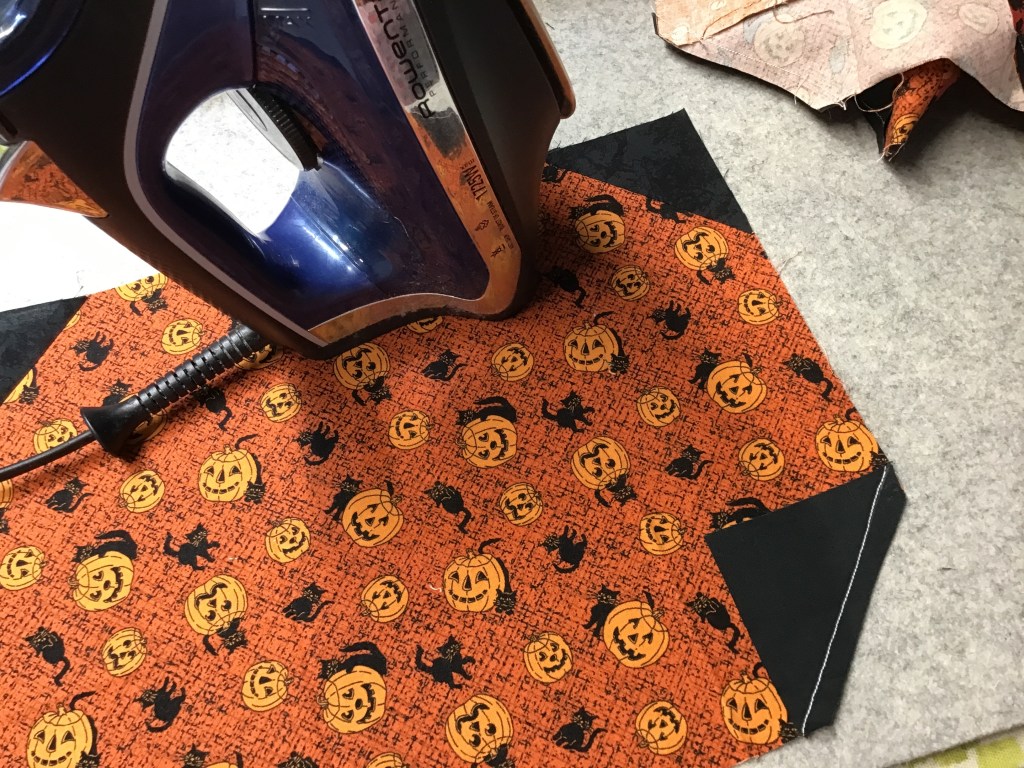
Layer a background square right sides together on the corner of a pumpkin. Draw a diagonal line. Sew on the line. Cut 1/4″ away from the line and press open. Now repeat this for all 5 pumpkins — the 3 strippy ones and the 2 tall single fabric ones.


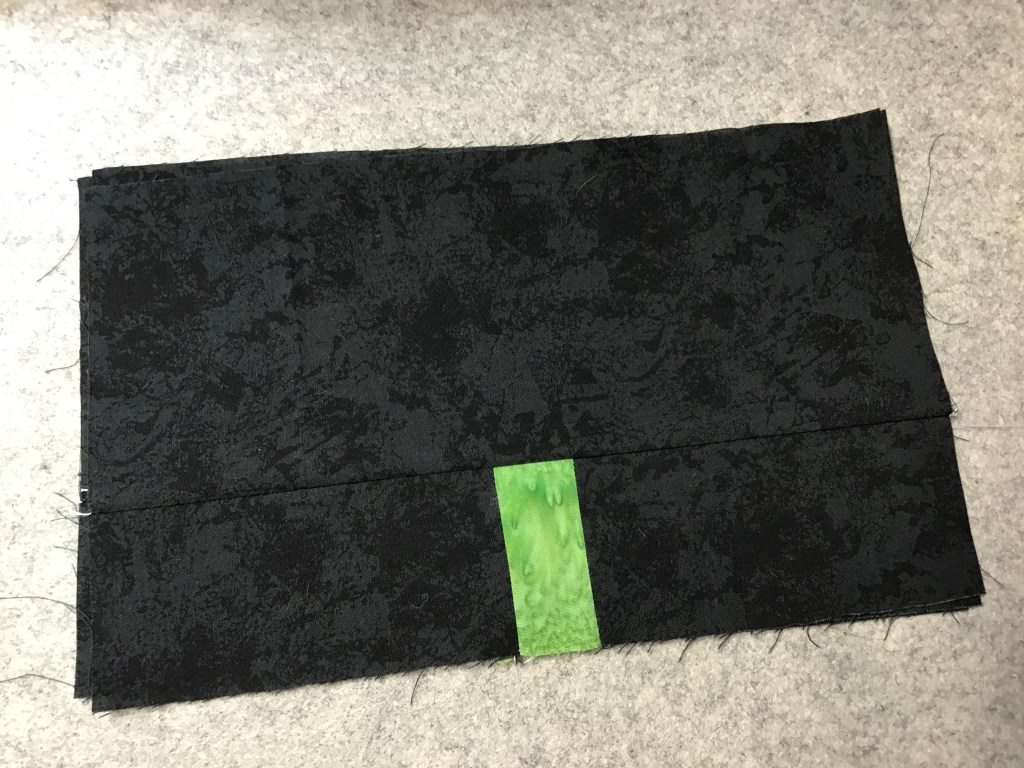
Next we are going to prepare our pumpkins stems. Sew a background strip to each side of the stems. Keep in mind that the smaller pumpkin has a smaller stem, so don’t get the background pieces confused between the 2 sizes of pumpkins.

Wow! This is coming together so quickly.
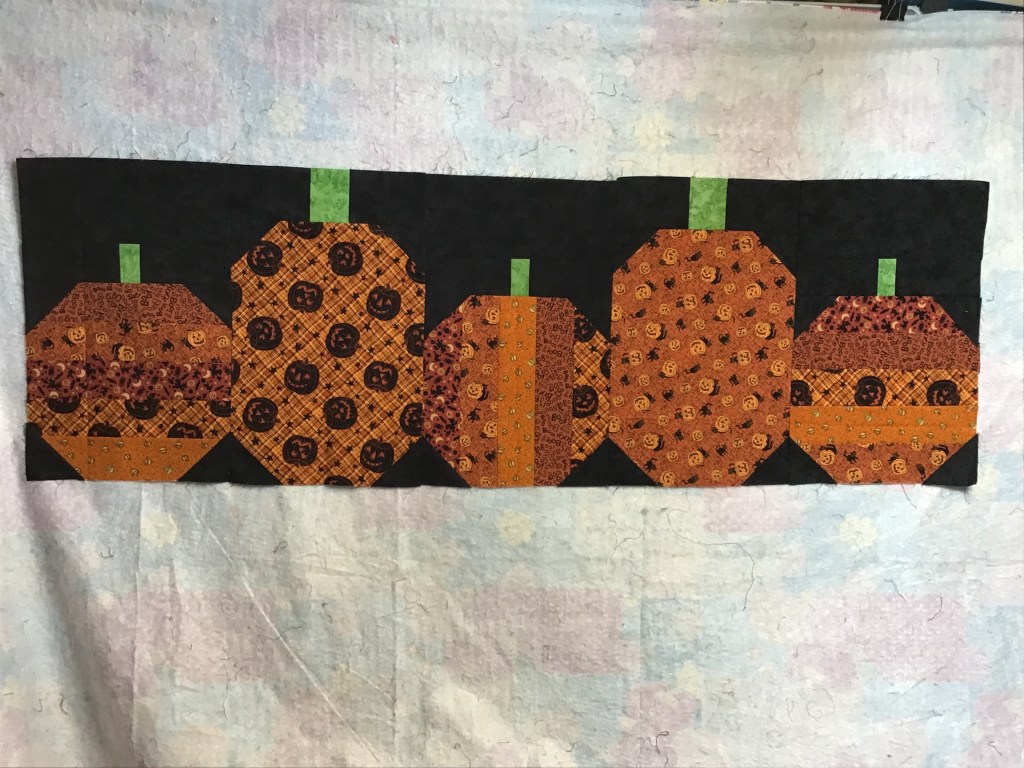
Now add the top background rectangle to the small pumpkin stems.
Let’s sew the stems to the tops of the pumpkins. Sheesh! We’re almost done. Wow! It really does go together super fast.
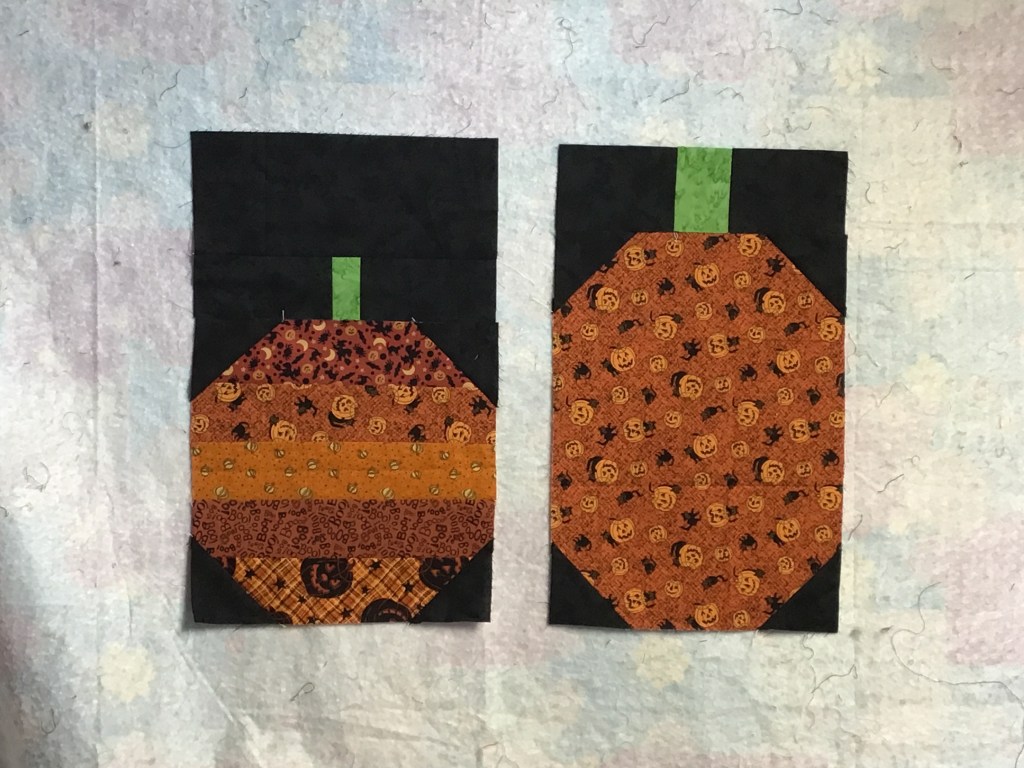
Okay, I’m going to put my pumpkins up on my design wall and arrange them. For fun, I decided to make the strips on the center little pumpkin go up and down instead of side to side.

I like how it looks. Isn’t it fun? I’m going to sew the blocks together.
Easy piezy! Done! Now all that is left to do is layer it with batting and backing, quilt it, bind it, and slap a label on it.
My pal, Robin (BIG Shoutout to Robin!), has already made 2 Pumpkin Hollow runners.

Don’t you just love her teal background in the first one? It’s an awesome unexpected pop of color paired with her mostly lighter florals and leaves.
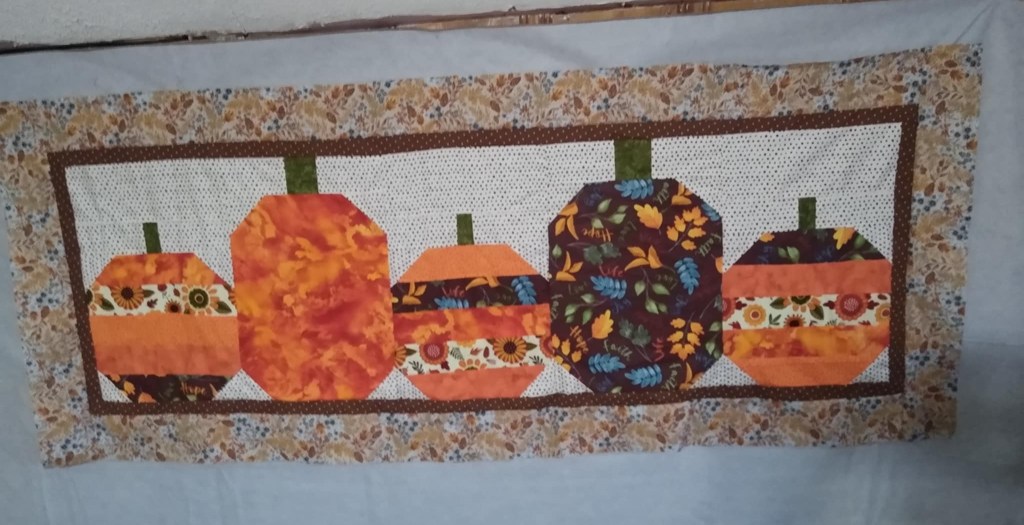
In contrast, her second one is very warm and cozy with traditional browns and oranges. Love the little bit of blue! Robin even added a narrow inner border and a fall outer border to finish things off. Psst! Adding borders makes your quilt larger without having to make more blocks.
Great job! Thank you for sharing your runners with us! For more Pumpkin Hollow inspirations, please visit our VRD Facebook page.
Now you’ll have to excuse me. I’ve got to get back to my super secret projects for Quilt Market. Shhhhhh…….. Hang in there, you’ll see them very soon, I promise!
Take care and happy quilting!
Until next week –
Sew. Laugh. Repeat.
Always,
Tricia @VRD