Hello Quilty Friends!
Happy Thursday to you!
I hope all of you are weathering the winter so far. Here in NW Pennsylvania, Mother Nature is laughing at us this year and is giving us a good old-fashioned Pennsylvania winter with lots of ice and snow. We haven’t had this much snow or cold temperatures for something like 5 years. I guess Mother Nature wanted to remind us what Pennsylvania winters are really like. Sigh…..It’s been a long long winter and I am so looking forward to spring.
We have a lot to cover today, including NEW patterns and we’re going to continue with our Beginners Free Motion Quilting Series. Thank you for your patience while we celebrated Pat’s new fabric collection, Bedazzled!, here on the blog for the last couple weeks with 2 new quilt tutorials.
If you missed the tutorials, you can find them here:
Let’s jump right in. Of course, I’ll be wearing my winter boots, coat, mittens, hat, and a scarf. LOL!
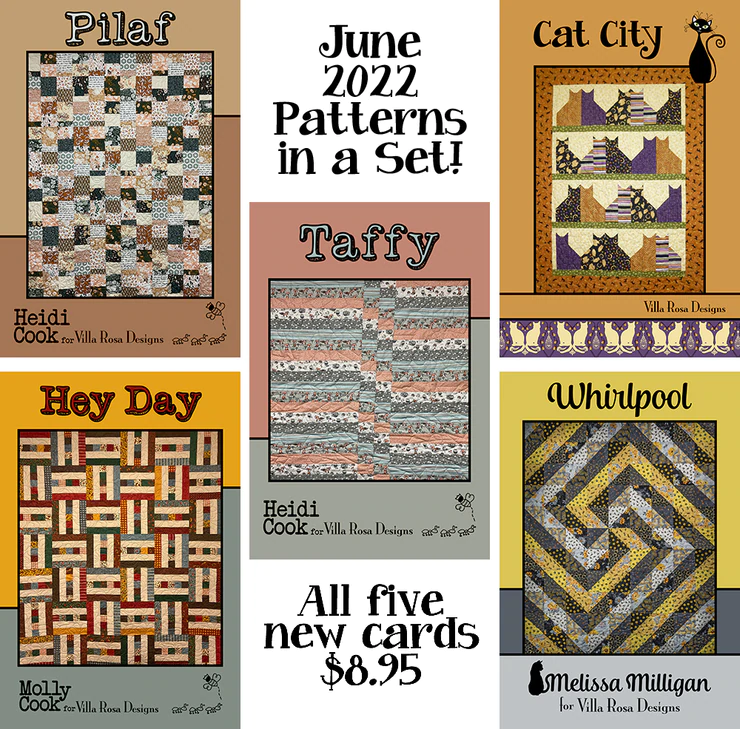
New February Rose Card Quilt Patterns
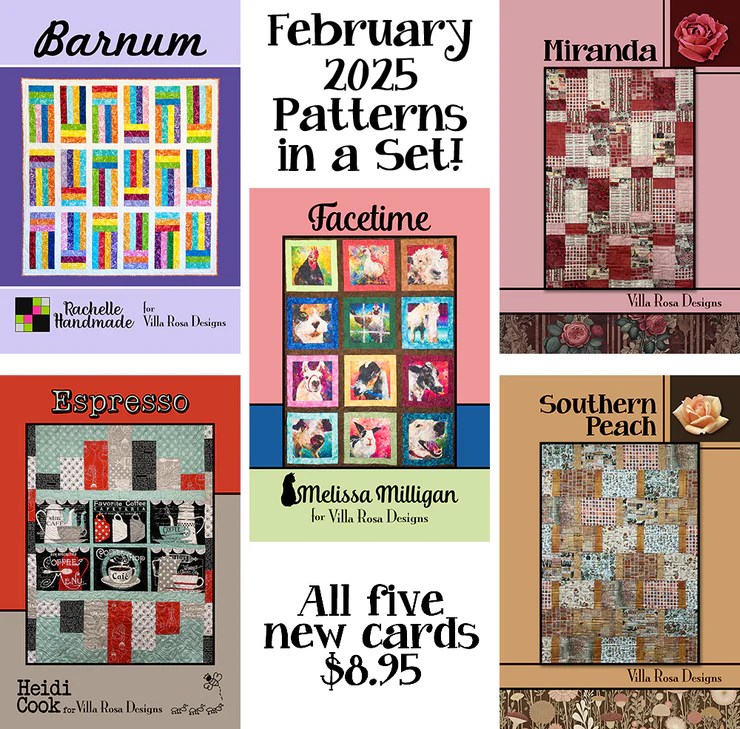
Get the 5 pattern print collection HERE
What a great group of quilts, right? Barnum is Jelly Roll friendly. Miranda and Southern Peach are fat quarter friendly. Espresso features a horizontal panel, which is super because it’s hard to find horizontal panel quilt patterns. Facetime uses panel squares or a focal fabric.
We’ve got kits, too! (PSST! A new quilt project is a great way to beat the winter blues.)
Espresso in Coffee Chalk (the fabrics in the pattern cover quilt)
Facetime in Noble Menagerie (the fabrics in the pattern cover quilt)
Southern Peach in Tim Holtz Palette Orange (the fabrics in the pattern cover quilt)
Southern Peach in Sweater Weather
Miranda in Tim Holtz Palette Red (the fabrics in the pattern cover quilt)
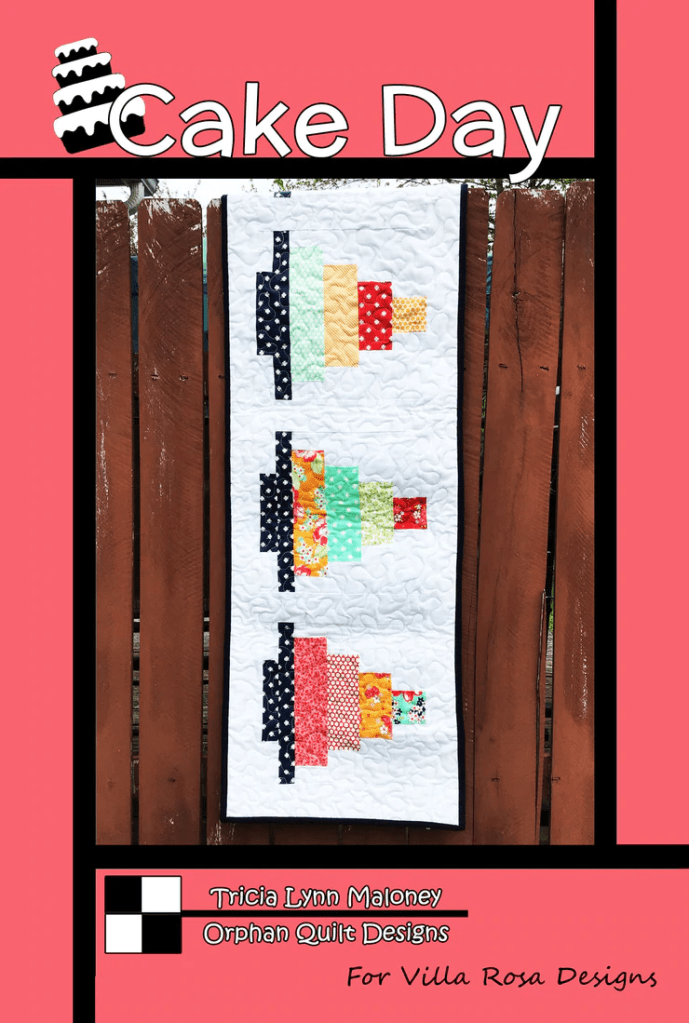
Here’s February’s new table runner pattern, Love Books. I have to admit I’ve been doing a lot of reading lately, so why not a table runner to reflect my bookish nerdiness?
Do you have an embroidery sewing machine? Why not embroider the titles of your favorite books or the books you read in 2025 on the runner? You can make this runner as long as you’d like to, just add more fabric.

Get the digital pattern HERE or the print pattern HERE
And here is our very last snack mat, Dear Heart. This makes me a bit sad because it’s been really fun creating a new snack mat for each month for an entire year, but at the same time, I’m excited about a couple new ideas, so stay tuned.
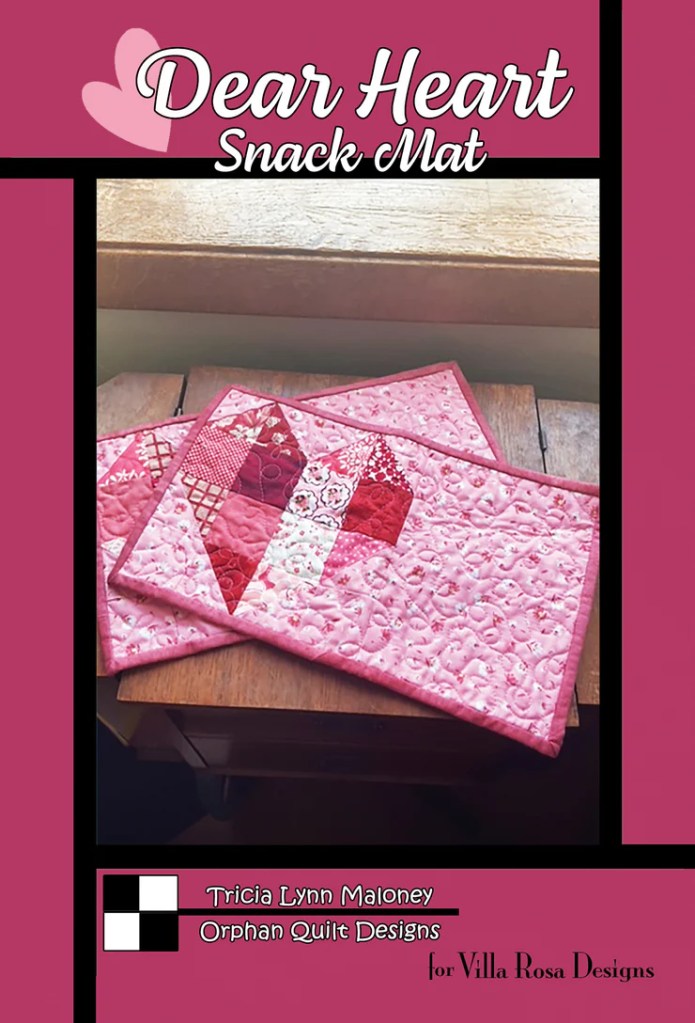
Get the digital pattern HERE or the print pattern HERE
So there you have it — fast and fun new patterns for everyone.
Now let’s get back to our Beginner FMQ series.
Beginner FMQ Series Lesson 3: Practice, Practice, Practice!
Today’s the day! We are finally going to do some actual free motion quilting. Yippee!
First, I’d like to suggest you do a little doodling to warm up before sitting down at your machine. Let’s practice some loops on our white boards. I wouldn’t doodle more than 10-15 minutes, though, this is just a warm up.

Next up, we’re going to put together a practice square.
I usually choose a light tonal or solid colored fat quarter and something from my ugly pile for the back fat quarter. And my usual 80/20 batting.

Next we’re going to go ahead and layer the 2 fat quarters with a piece of batting just like you would layer an actual quilt for machine quilting.
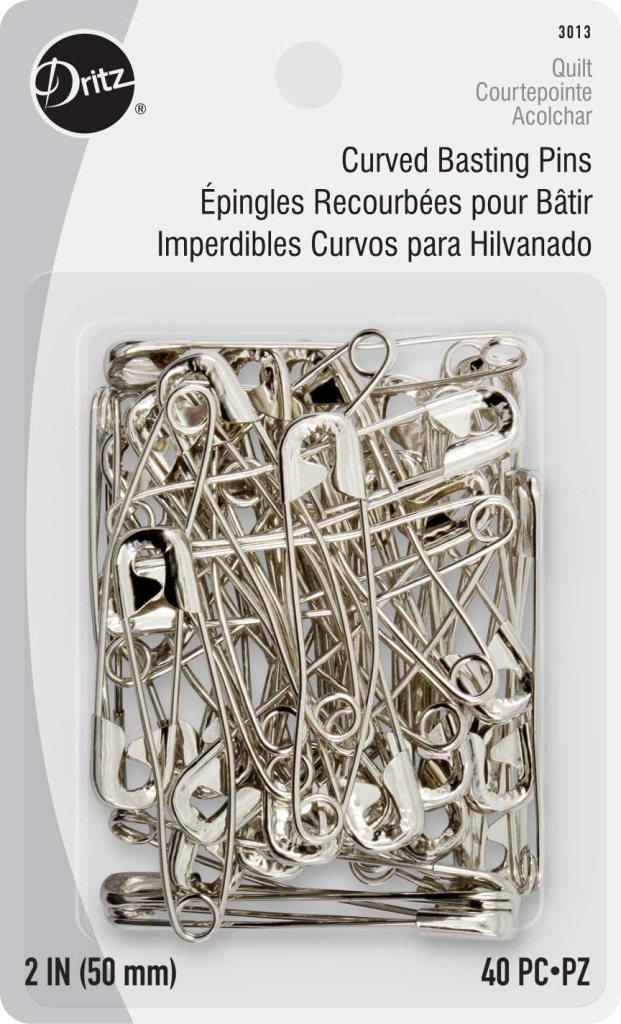
I’m a pinner, so I use curved safety pins, but you use whatever works best for you (pinning, spray basting, etc.). I like to use the size 2 (1.5″) or size 3 (2″) curved safety pins.
Go ahead and get your practice square ready, I’ll wait right here for you.


Did you know that cotton fabric will stick to cotton batting if you press it with your iron? Sometimes, I just press everything really good and I skip the pins.
Okay, now let’s practice!
Here are some important points to remember from the video:
- Don’t forget to put your presser foot down before you start quilting
- Pull the bottom thread up to the top before securing your stitching by stitching in place a couple of times
- Start in the middle of your quilt
- Use your hands as a frame around the needle — keep your fingers away from the needle, please
- Unless you are planning to pop a not into the batting to secure the stitching, cut the threads tails off so after you’ve secured them so they don’t get all tied up in your stitching
- Size your loops/quilting to your project
- Alternate your loops to the left and to the right
- Curve into and out of your loops for a more organic flow
- Don’t crowd your loops, give them room to breathe
- Quilt to an edge and then move around the quilt like you would a clock face
- Move at a comfortable pace, you are not racing the needle
- Aim for consistent regular stitches, not perfection
- Go for beauty, not perfection!
- Stop with your needle down in the quilt, then reposition your hands
- Remove the pins as you go, don’t sew over them
OOPS! I forgot to mention that for your practice squares, make sure to use a contrasting thread so you can see your quilting.
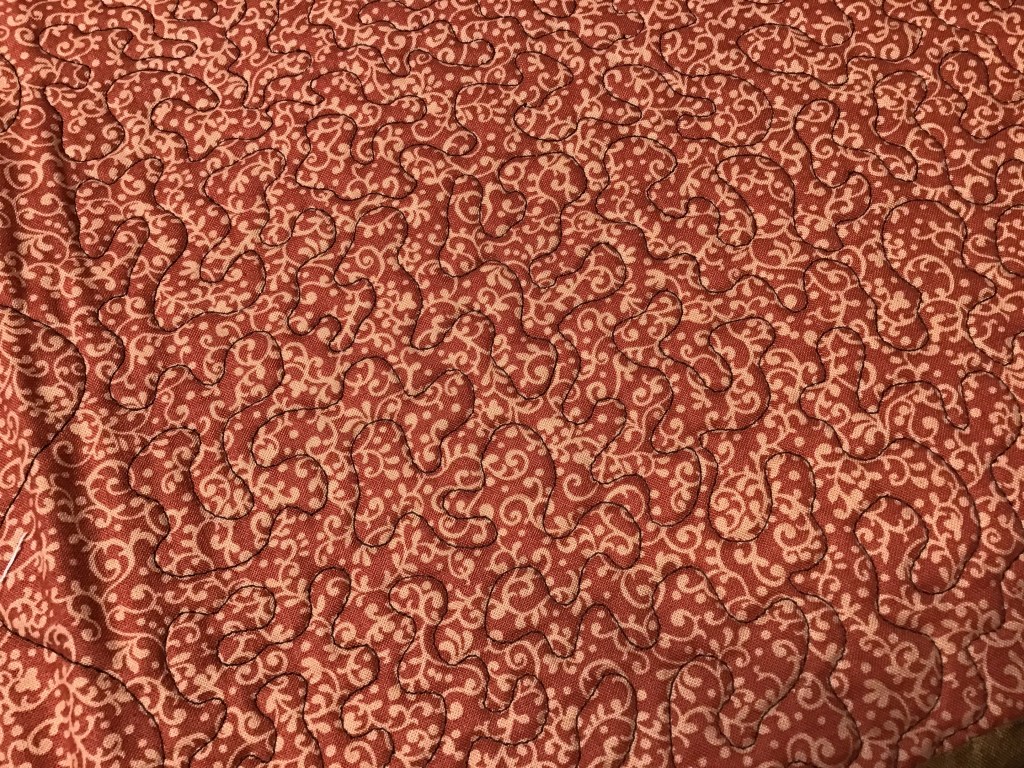
Here is the front and the back of my practice sample:
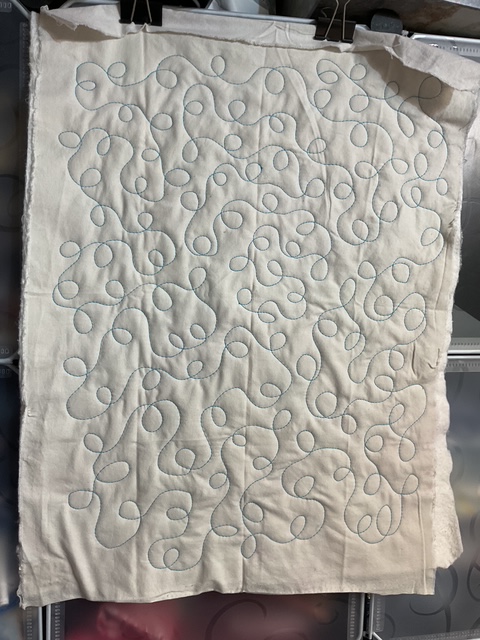

I’m quite pleased with how it turned out. I wish the thread hadn’t broken, but looking at it in the photo, you really don’t see it. See how the printed fabric on the back (my “ugly”) distracts your eye from the stitching. So, one of my best tips is to use a busy fabric on the back of your quilt to help distract the eye from your quilting, especially if you are still learning.
Do you have any questions right now about FMQ? If so, please post them in the comments section so I can respond.
Your mission, should you accept it, is to make more practice squares and practice. Practice, practice, practice makes better, not perfect. So get to it!
See you next week for our FMQ Lesson 4.
Take care and stay warm.
Sew. Laugh. Practice. Repeat.
Always,
Tricia @ VRD