
Hello Quilty Friends!
Happy Thursday to you!
I hope you enjoyed last week’s tutorial, Morning Tea, with Molly. It was wonderful that she could stop by the blog and visit with you. Things have been super busy over there at the VRD shop in Grass Valley, CA, so she just hasn’t had a lot of extra time to hang out with us on the blog. What a great quilt she made, too, huh? Blue and white Australian fabrics – wow! If you missed last week’s Morning Tea tutorial, you can find it HERE.
High British Tea and a Quilt Exhibit/Tour
Last Friday, I was delighted to attend a High British Tea and Quilt Program/Tour at the Gibson House Manor Museum in Jamestown, PA. I was invited by my sister’s aunt-in-law (is this even a word???), Anita, to attend as her guest. Anita is not only a quilter, she also volunteers at the Museum.
The Gibson House Manor has had a very interesting history, indeed. It was built by a local doctor, William Gibson in the 1850’s. It is also known as the Mark Twain house because Mark Twain actually stayed there after the Civil War. He liked the house so much, he even included it in one of his stories! But even more interesting, it was a vital stop on the underground railroad with hidden secret rooms and so much more! You can visit the website HERE for more information.
Here’s the museum – isn’t it gorgeous???

Lucky me – not only was the new quilt exhibit debuting, the curator was giving a tour of the quilts, AND it was the monthly High British Tea day. What fun!
Here’s a few photos of the exhibit, showing some of the quilts on display.


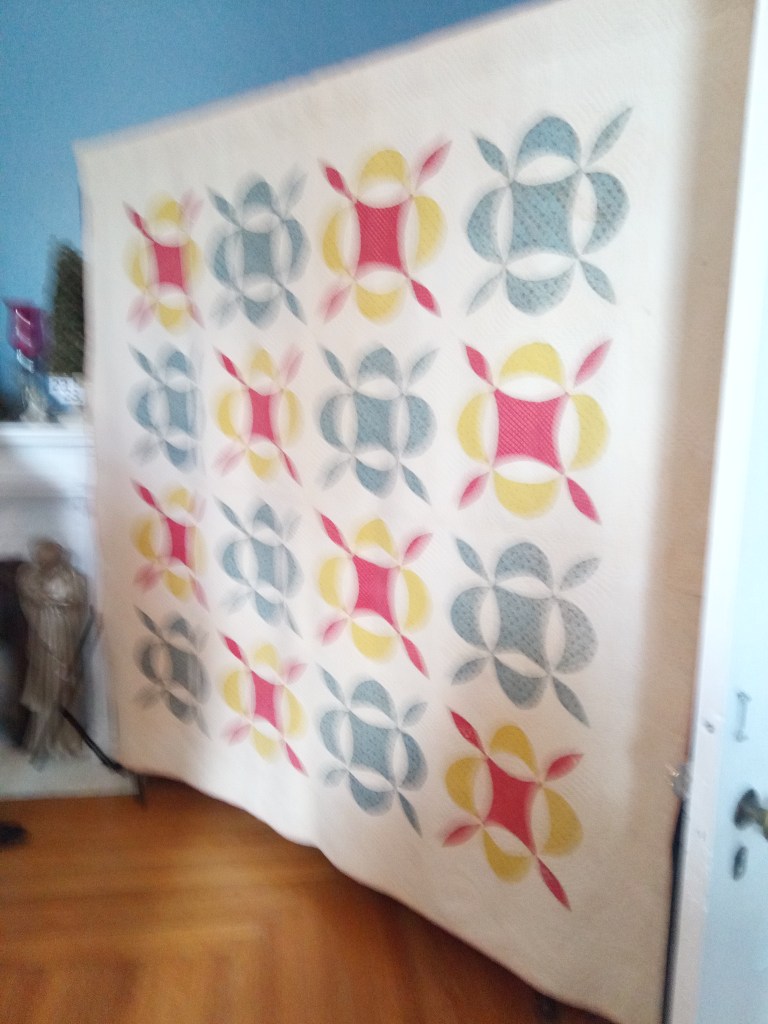

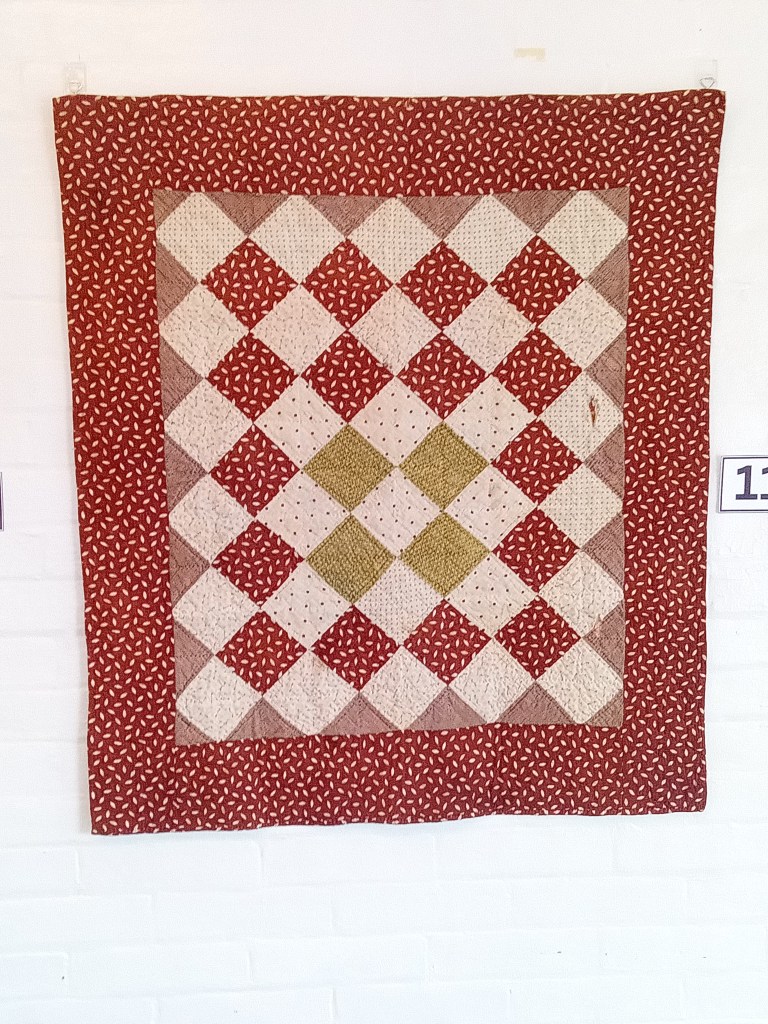

You can see this lovely exhibit (and the museum!) until October. It’s called Quilted Layers: Piecing Together History and it is curated by Jill Mezaros. You can make reservations on the website to see the exhibit. While you’re there, you might want to take the Underground Railroad tour and maybe have High British Tea, which is usually the last Friday of the month. Yum!
Now let’s get started on this week’s quilt tutorial to help you restart your quilting this fall.
VRD Midnight Pathway Quilt Tutorial
Midnight Pathway is another great VRD pattern by our own Molly Cook. It finishes at a big 52″ x 72″ and makes a good-sized throw quilt. Want it bigger? Simply add a border.
To me, this pattern has a more masculine feel to it. It’s very straightforward without any extras. I think you’re going to like it!

Don’t have this pattern yet? Then get your digital pattern HERE or your print pattern HERE.
Today we’re using a rich earthy fabric collection. This collection is called Into the Woods and is a Hoffman Fabrics digital fabric collection with companion batiks.
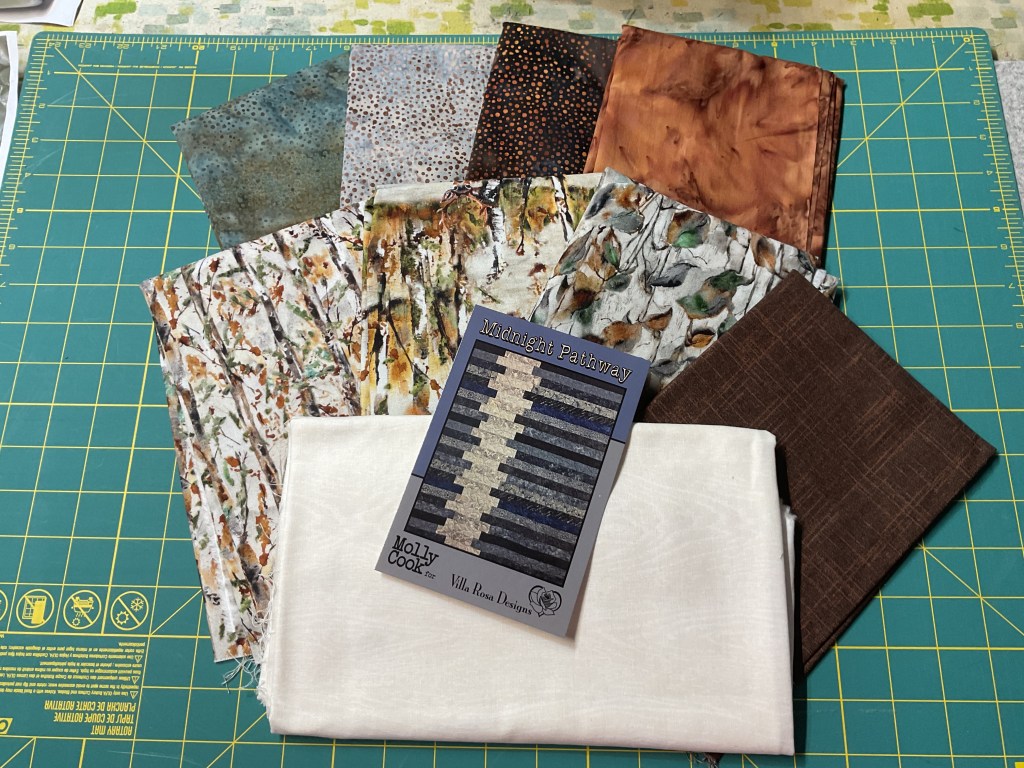
Sadly, this collection is an older one, so you might not be able to find it anymore. This time of year, though, you’re bound to find something with a fabulous autumn woodsy feel that would work equally well like the Jason Yenter collection Falling Leaves or maybe Deb Tucker’s Forest Flora collection.
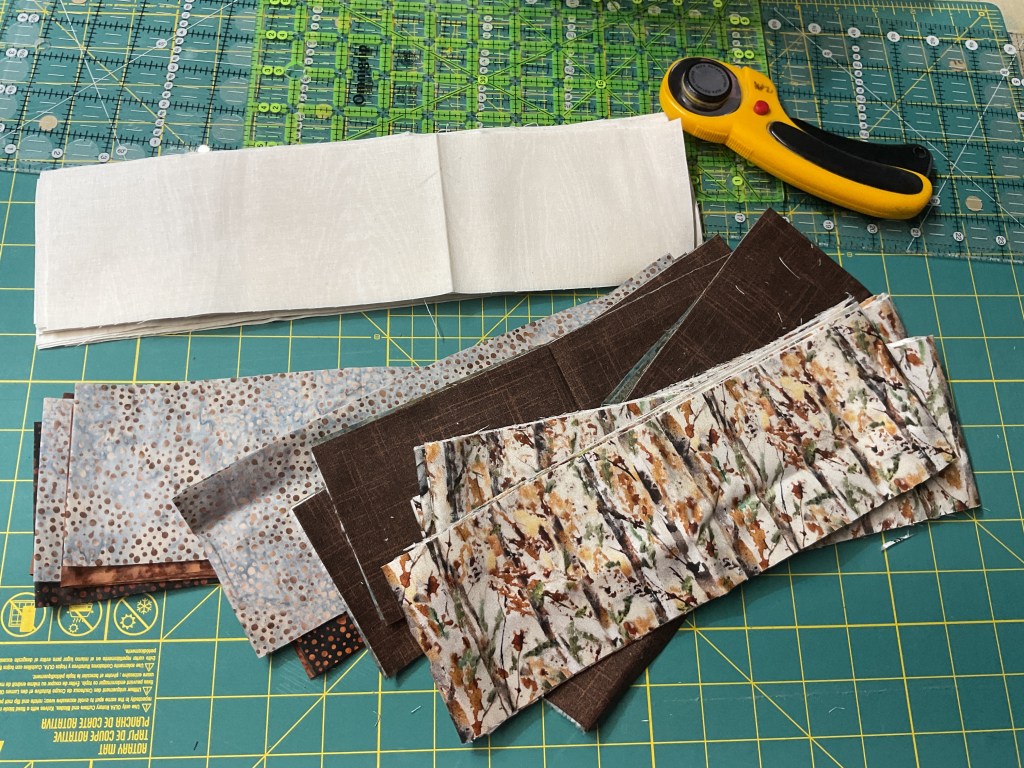
The first thing we’re going to do is to cut a lot of strips from our prints.


Then we’re going to cut more strips from our contrast fabric.

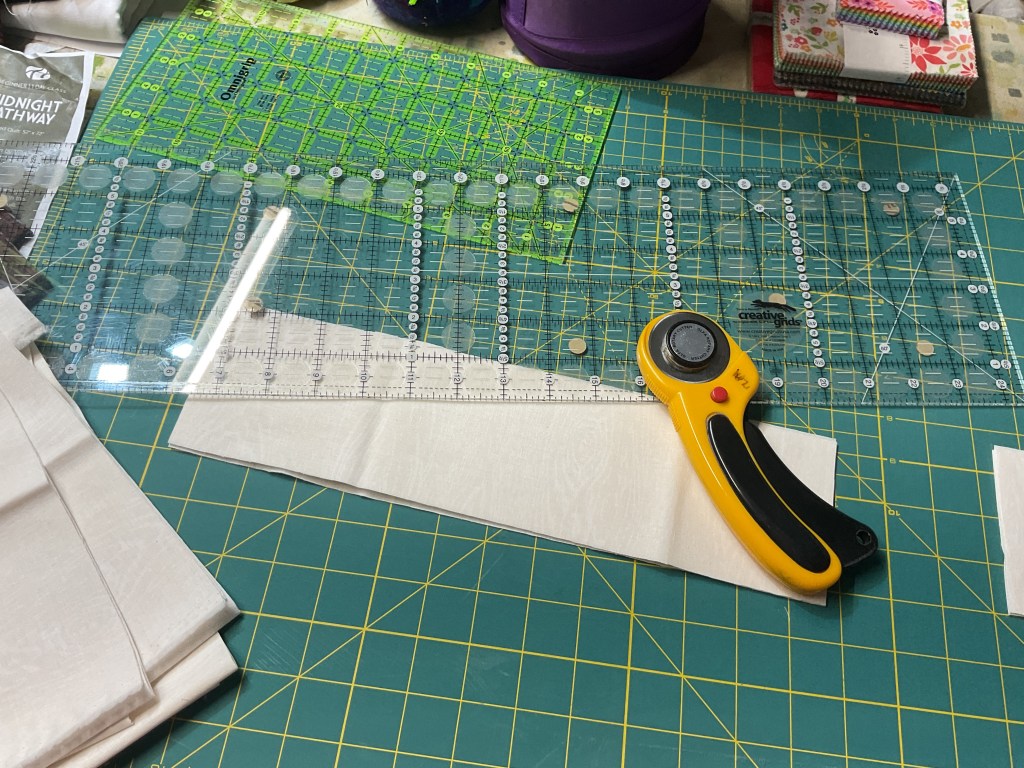
Once we’ve got all of our strips cut, we’re going to cut our strips into different sized pieces. It’s important to keep all the pieces from one strip together. I folded the smaller pieces inside the longer pieces so I wouldn’t lose them.
We’re heading to the sewing machine next so we can add contrast rectangles between the small and larger pieces of the strips. You could mix and match your pieces for a really scrappy look (or even shop out of your stash and scrap bins), but I’m sticking with the pattern and going to keep each original strip together.
As there are three different pieced strips, I’m going to sew the strips together in 3 sections, then I’ll sew all the sections together.


I’m going to pin all the same pieced strips together to stay organized as I work on each group.

Now that all my strips are pieced, the fun can begin! Time to arrange the strips on my flannel board. Because I have my strips already divided into 3 groups, I’m also going to work on sewing the pieced strips together into 3 sections.
You can really have some creative license with this design because you can arrange the strips any way you want! There are so many ways you can put these strips together, so make sure you play a little bit before you commit.
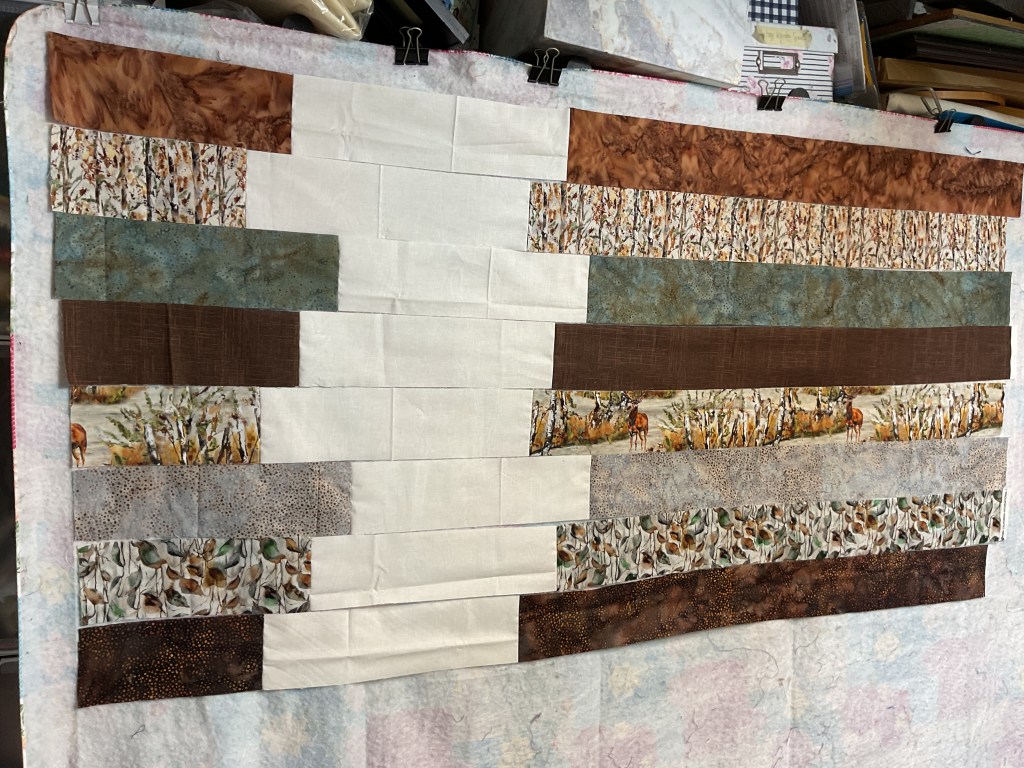
Okay, I’m happy with my first section, so I’m going to sew the pieced strips together – first into pairs, then into quads, then finally sewing the quads together into one section. This helps me to keep from mixing up the strips as I sew.

I added this piece of paper to the top left corner so I wouldn’t flip things all around as I went.

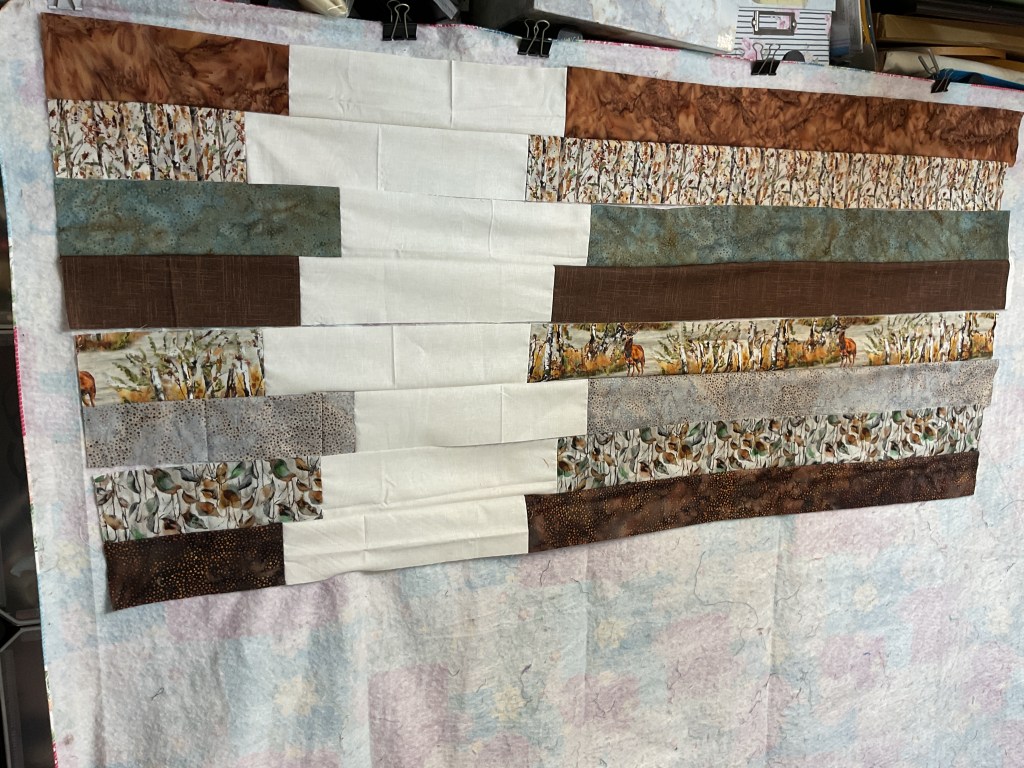
Great! Time to move onto the second group of pieced strips. I’m going to continue using the same technique as I did with the first section (twosies and foursies) after I’ve decided how I want this section arranged.
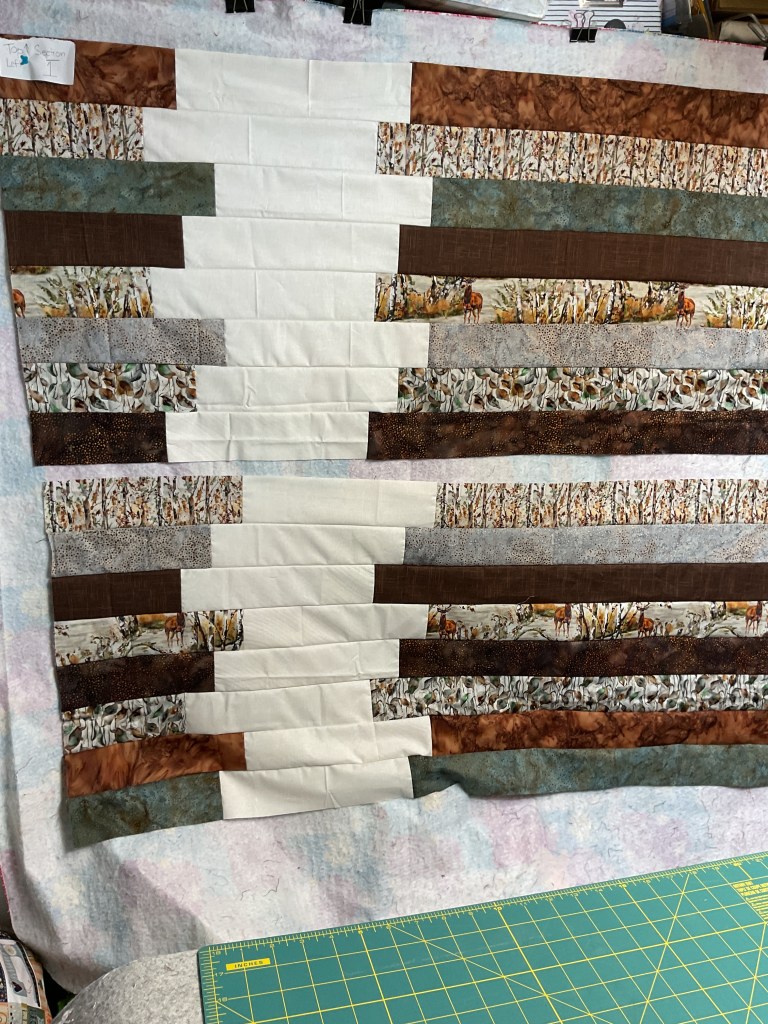

Now onto the last section. Because the quilt top is getting so long, I’m pretty much standing on my head to arrange the last pieced strips. LOL! I can barely show you the entire quilt top now – my pressing counter is in the way and I’m running out of flannel board.


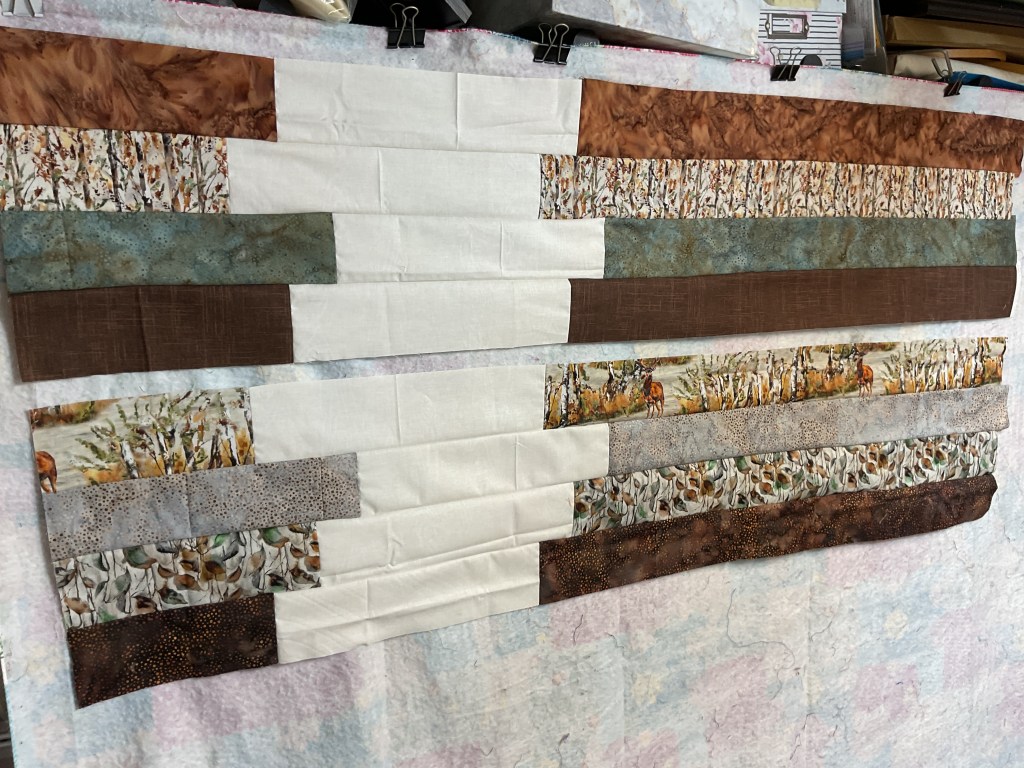
So I’m going to take the top outside for a photo so you can see the whole thing. And here it is! I really like how warm and cozy it looks and how any guy or gal would love it!

Now all I have to do is layer it with batting and backing (or fleece as I plan to do), quilt it, bind it, and put on a label. Ho hum…..I’ll be adding it to my mountain of projects that need finished, I’m afraid. Seriously, I have no idea how many flimsies (quilt tops) and layered quilts I have on my pile – so, what’s one more???
Fingers crossed I’ll get some time this winter to work on them. Of course, the more tutorials I do, the more flimsies I add to my teetering pile. What a delightful conundrum.
Bet you don’t have any WIPs or UFOs (works-in-progress or unfinished objects) in your sewing space, do you???
See you next week for another great tutorial and NEW September patterns!
Until then –
Sew. Laugh. Repeat.
Always,
Tricia @ VRD
