Hello Quilty Friends!
Happy Thursday!
The sun is shining and it’s a beautiful day here in my little corner of Pennsylvania! I hope your day is looking just as bright. Make sure you do something fun!
Today we are wrapping up our foray into the Basics of Quilt Blocks. There are, of course, more quilt block units out there, but the ones we’ve covered are the basic ones — at least in my opinion.
Any discussion of Quilt Block Basics would not be complete without Four Patches and Nine Patches.
Quilt Block Basics — Four Patches and Nine Patches


Four Patch and Nine Patch blocks are probably two of the easiest quilt blocks to make. That’s probably a good reason why these blocks have been some of the most loved quilt blocks in history! From beginners to advanced quilters — these blocks have stood the test of time for centuries.
I don’t know if I’ve mentioned it before, but I collect vintage and antique textiles. I do have antique quilts and tops, but my favorite part of my collection is the piles and piles of orphan quilt blocks (I consider any block not housed in a quilt to be an orphan quilt block).
Speaking of orphan quilt blocks — did you know I wrote a book about putting antique and vintage quilt blocks into new quilts? It was my very first quilt book! LOL!

Get Orphan Block Quilts HERE
Anyway, in my quilt block collection, I have tons of Four Patch and Nine Patch blocks dating from the mid 1800’s all the way to the mid 1900’s. 100 years of quilt blocks — that’s a lot of Four Patch and Nine Patch blocks!
Four Patches and Nine Patches can stand alone as individual quilt blocks, of course, but they are also fantastic quilt block units, too! AND they can act as frames where you can insert other block units into the squares to create even more blocks! The options are endless (OH NO! I hear my EQ8 calling me….again!).
Let’s take a look at some blocks featuring Four Patch and Nine Patch units.
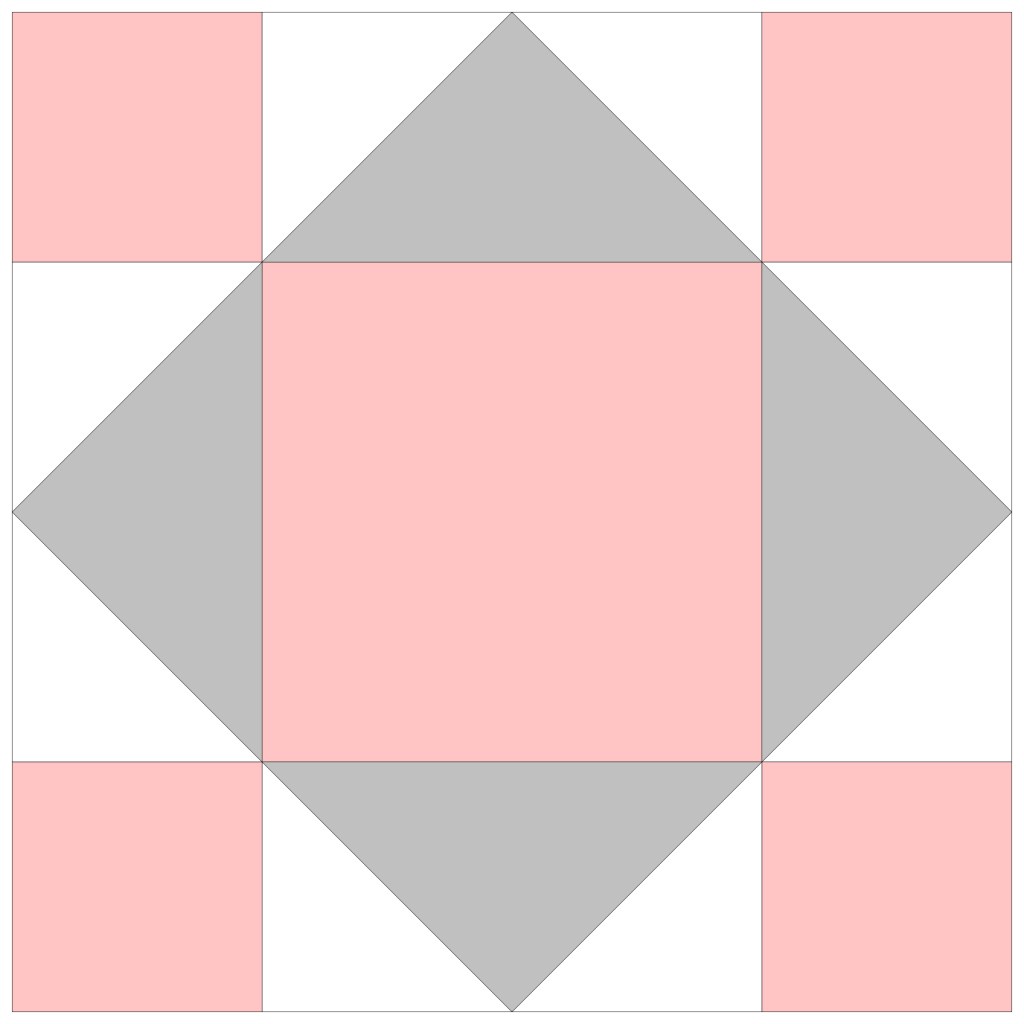
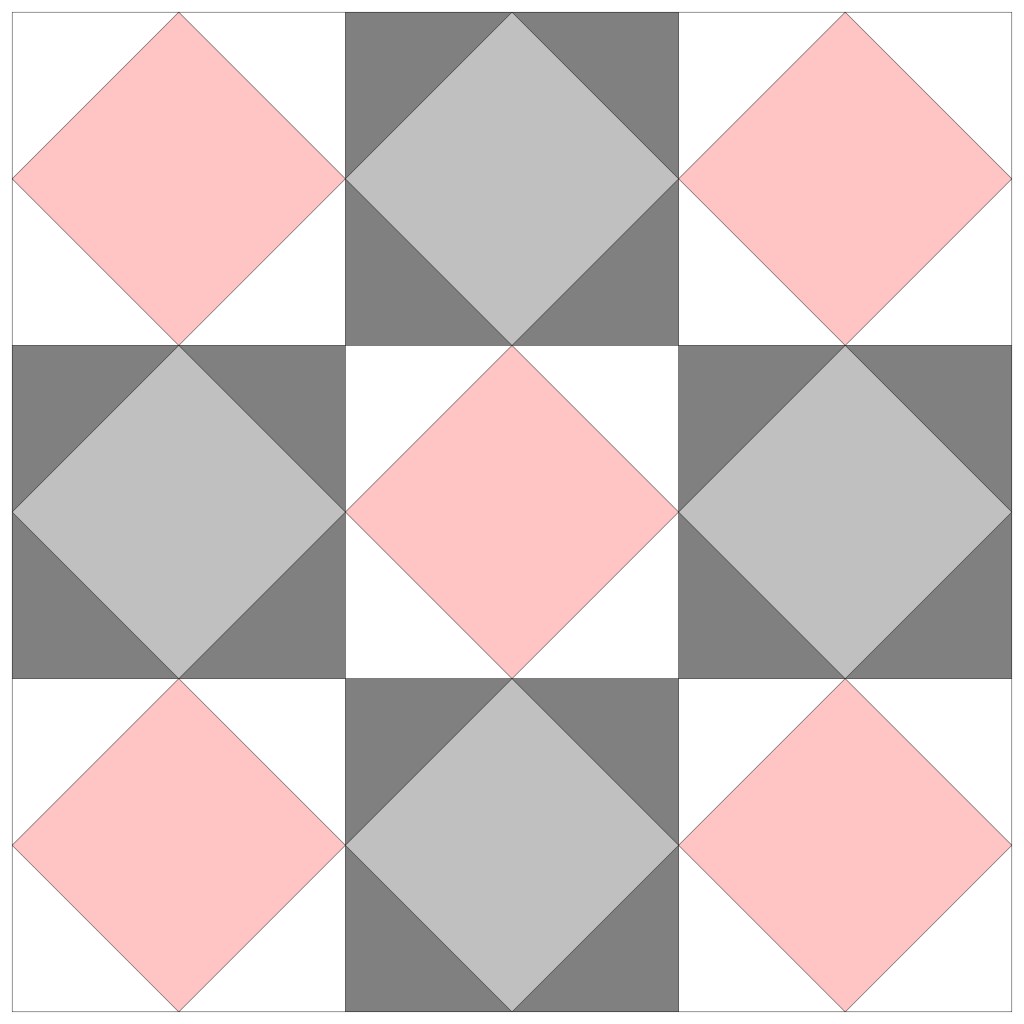
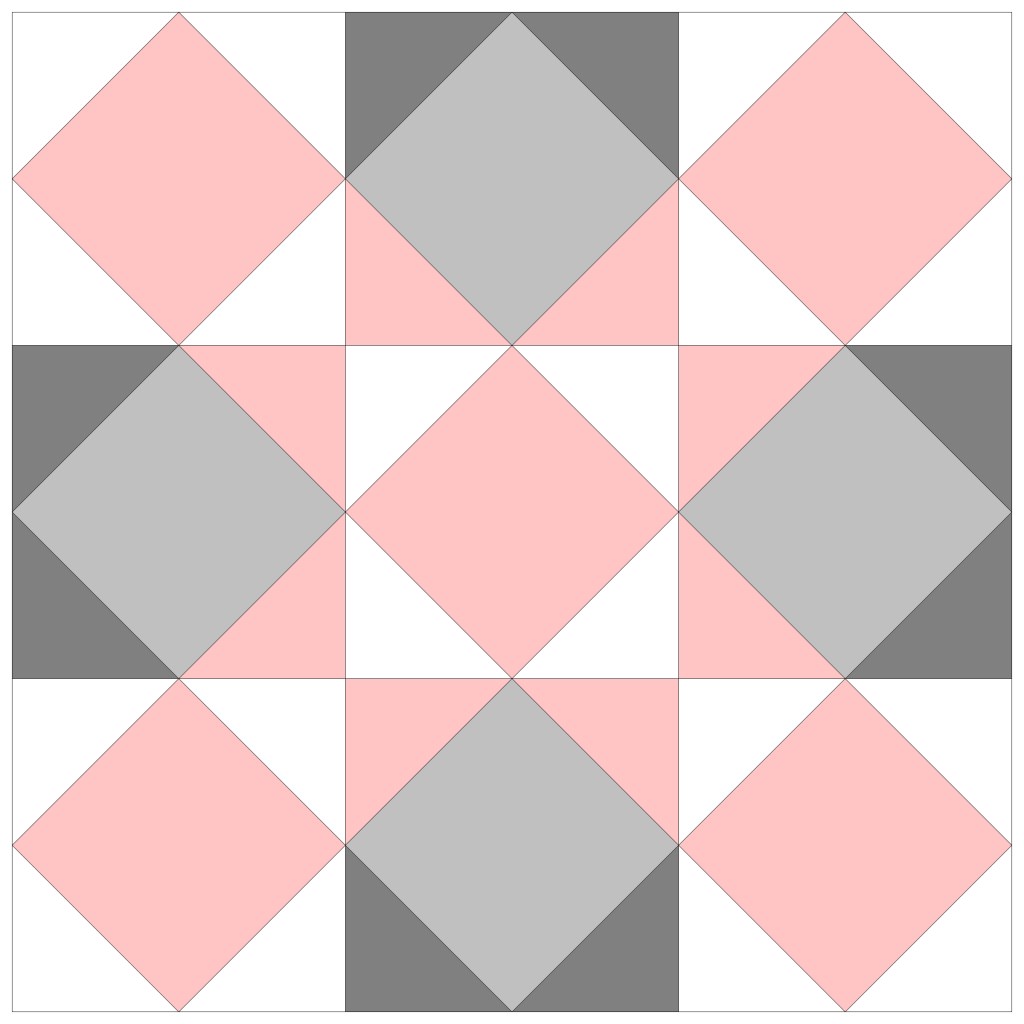
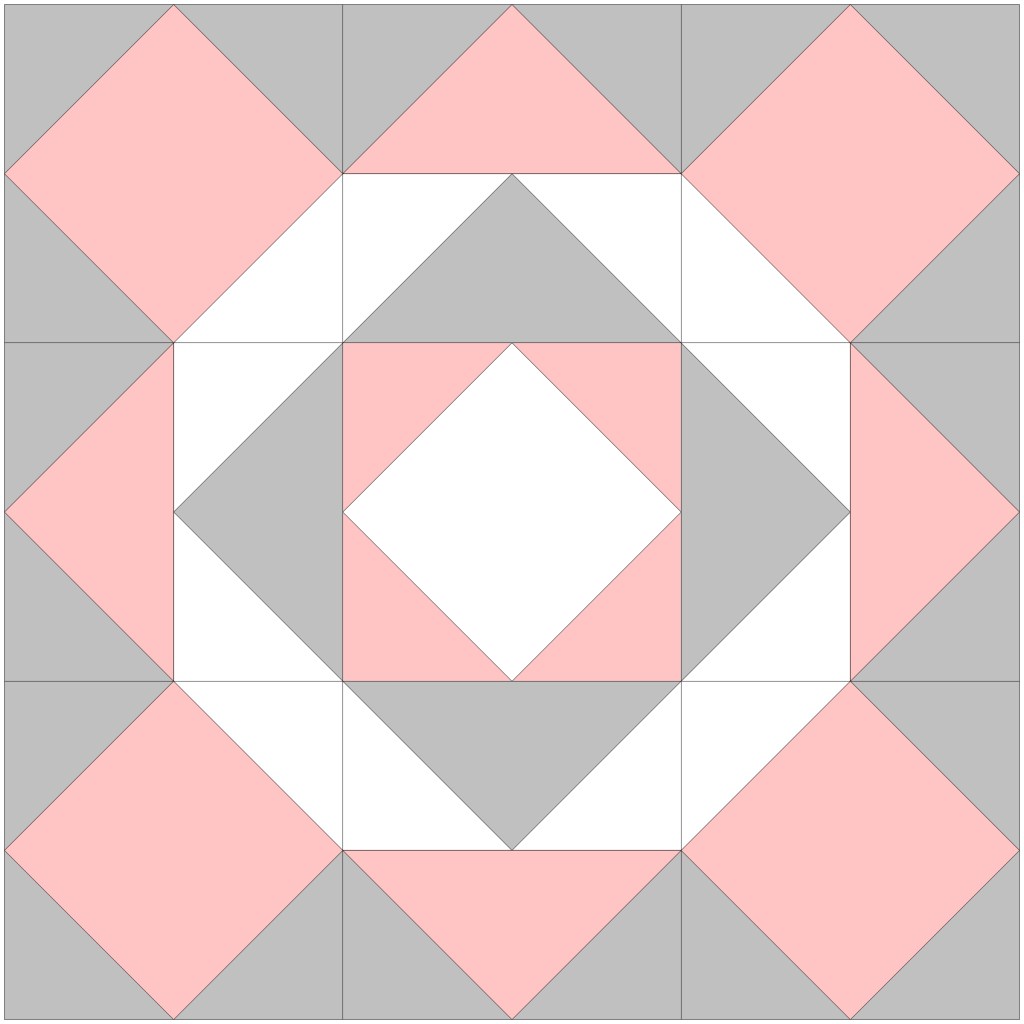
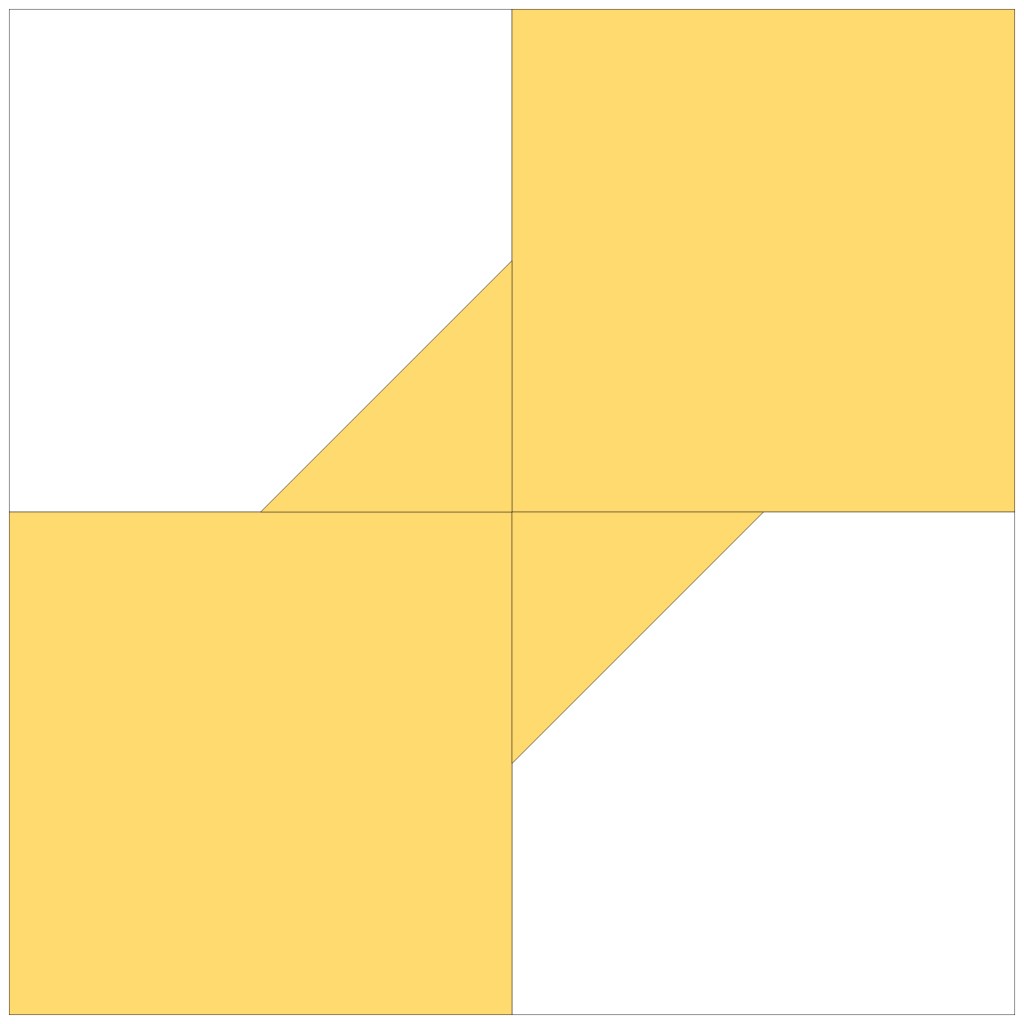
Four Patch Blocks


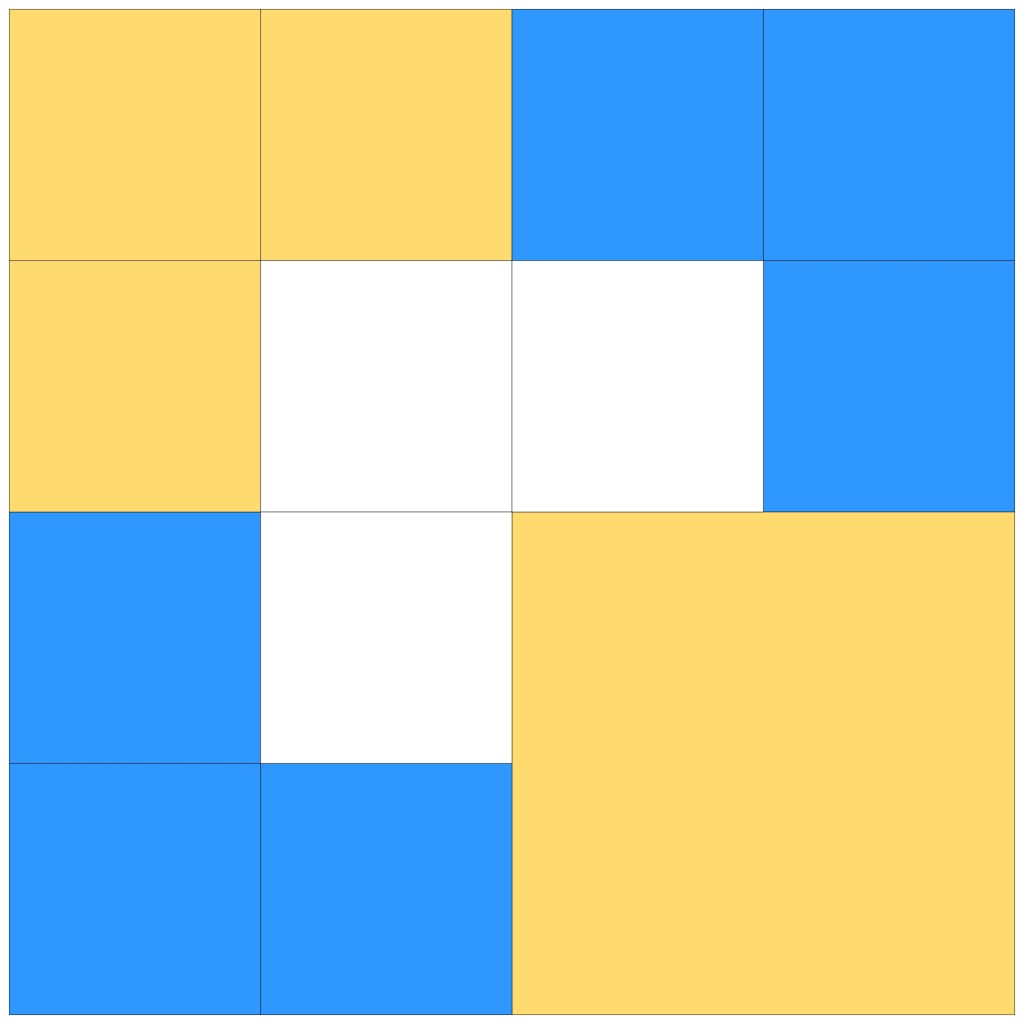

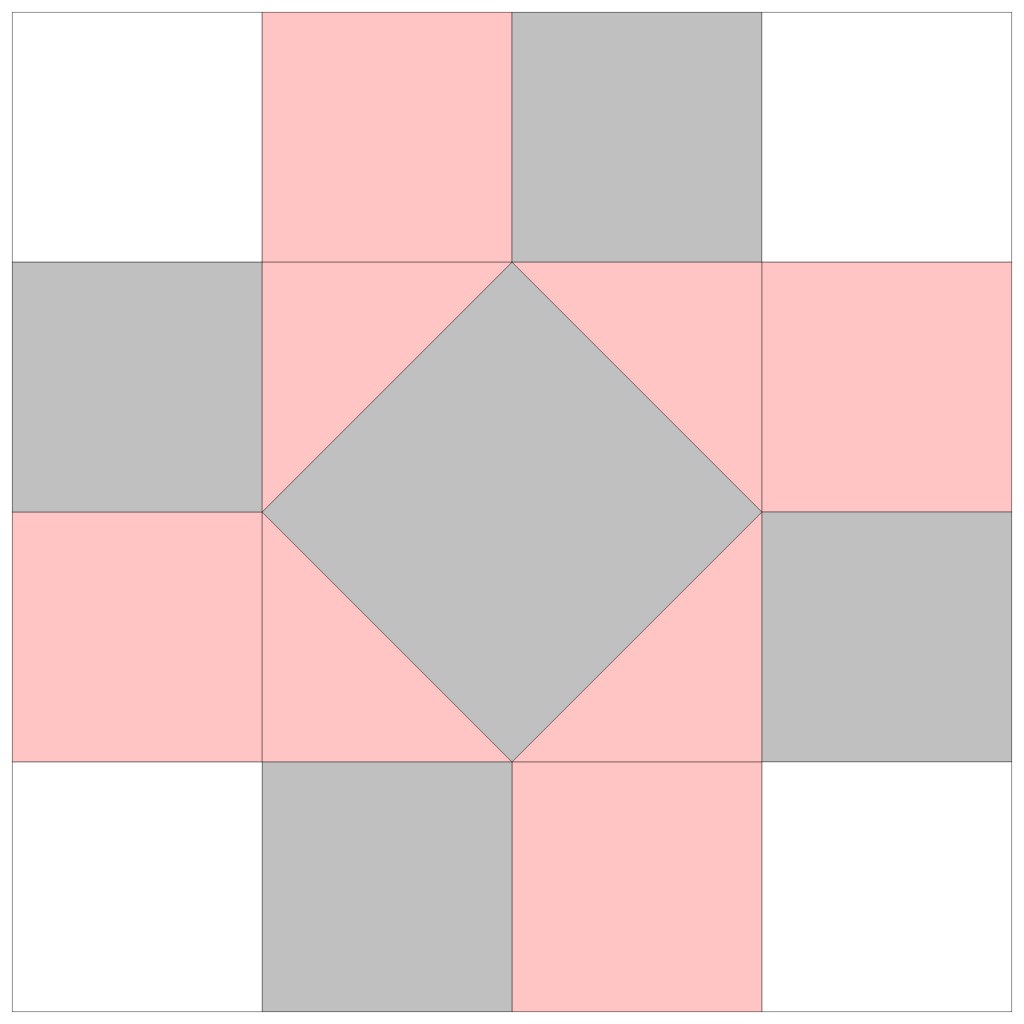
Nine Patch Blocks


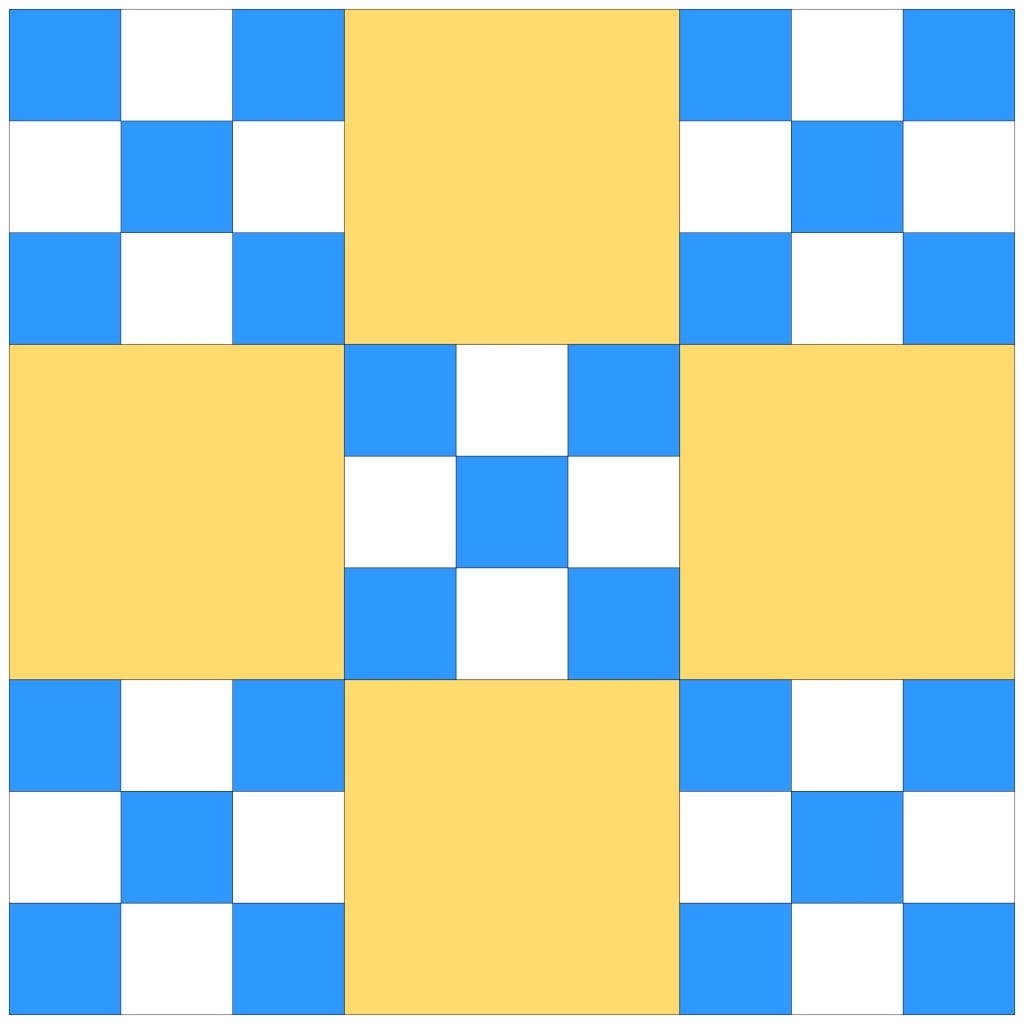


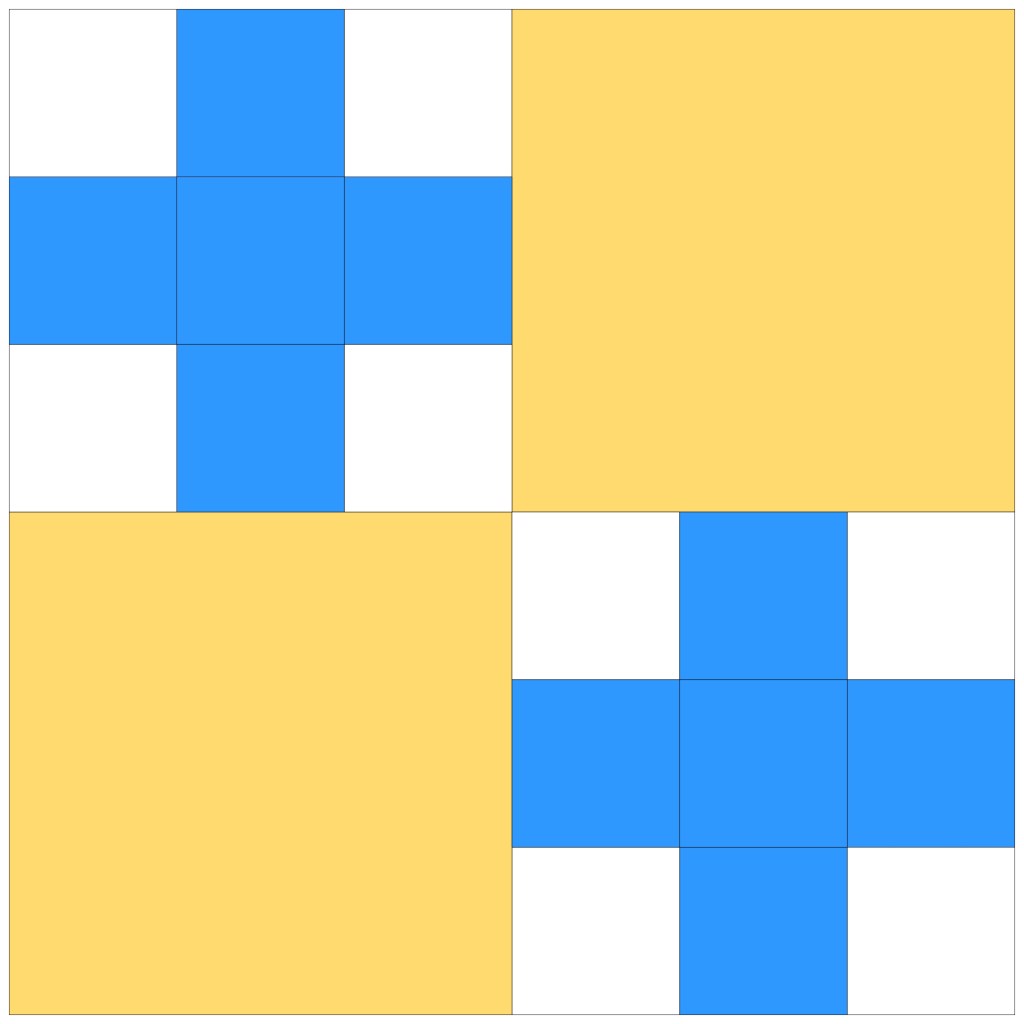
You can also mix Four Patch and Nine Patch units together into blocks!
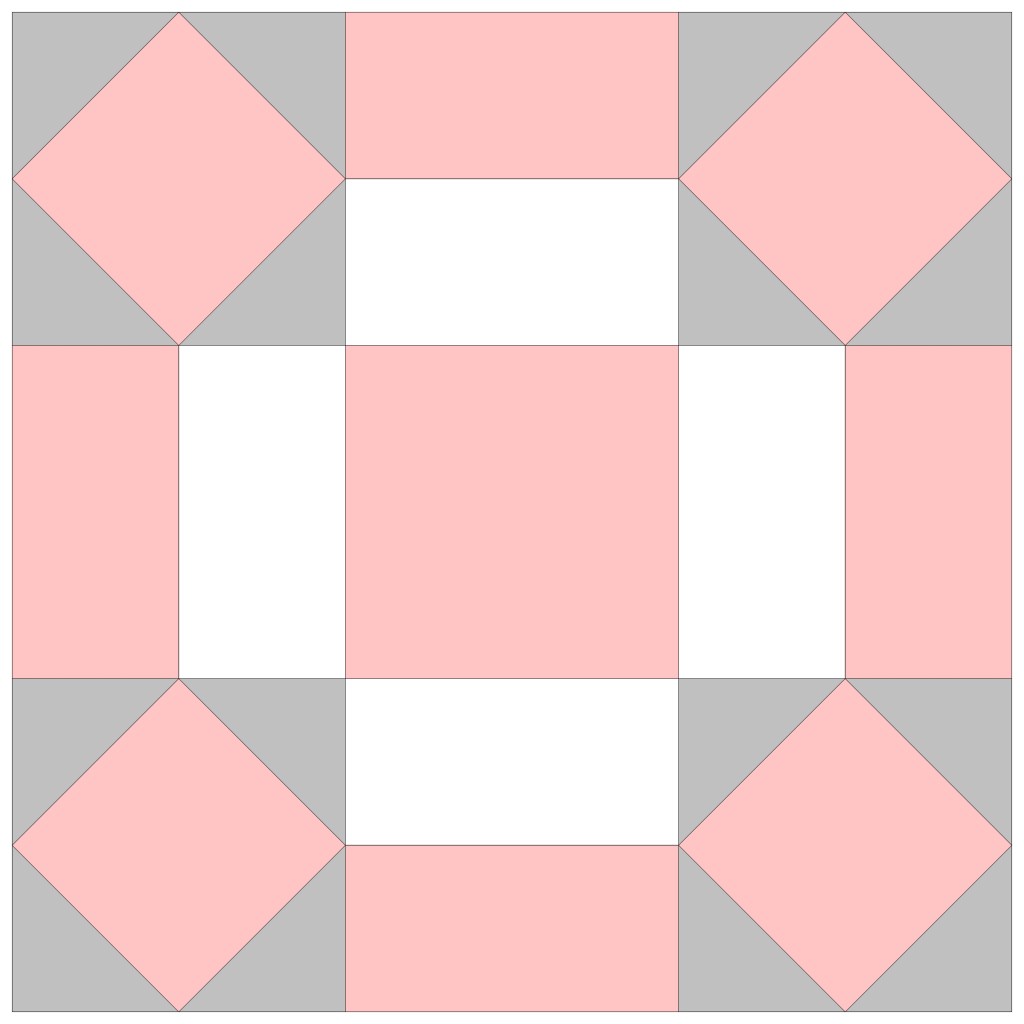
Mixed Blocks


I am not going to reinvent the wheel by doing tutorials for assembling Four Patch and Nine Patch units as there are a lot of them out there on the Internet. Instead, here are some fun quilt designs using a few of the blocks above.
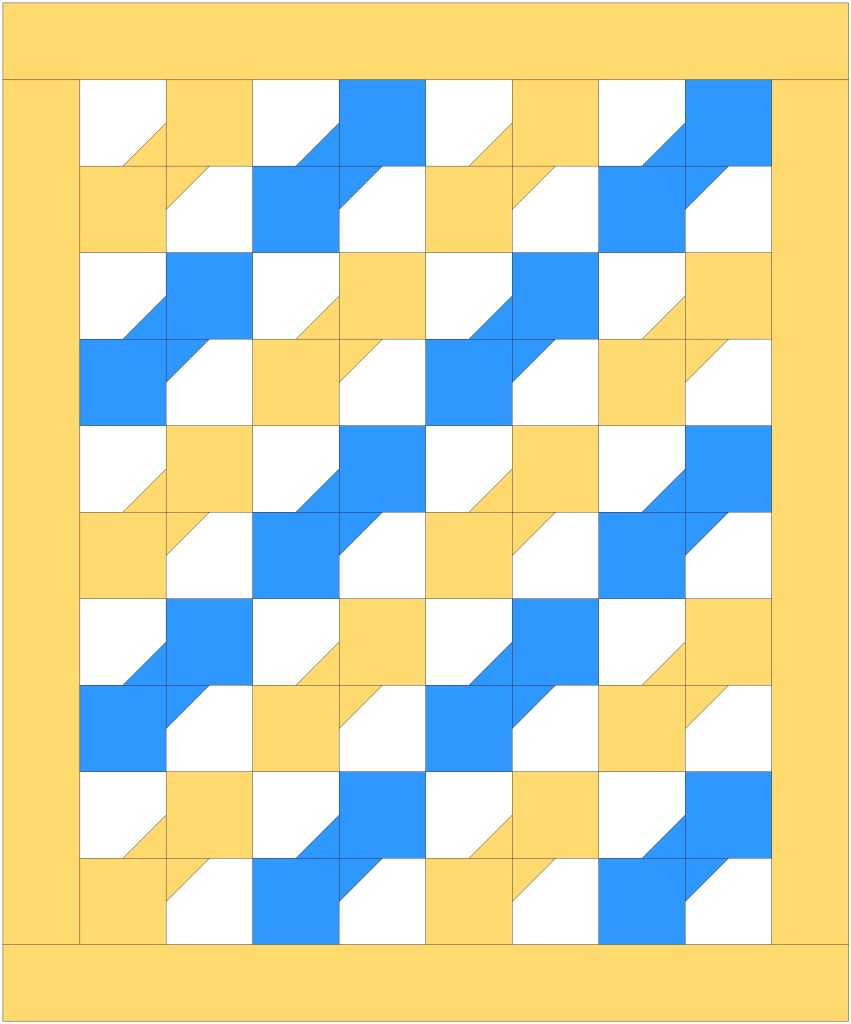
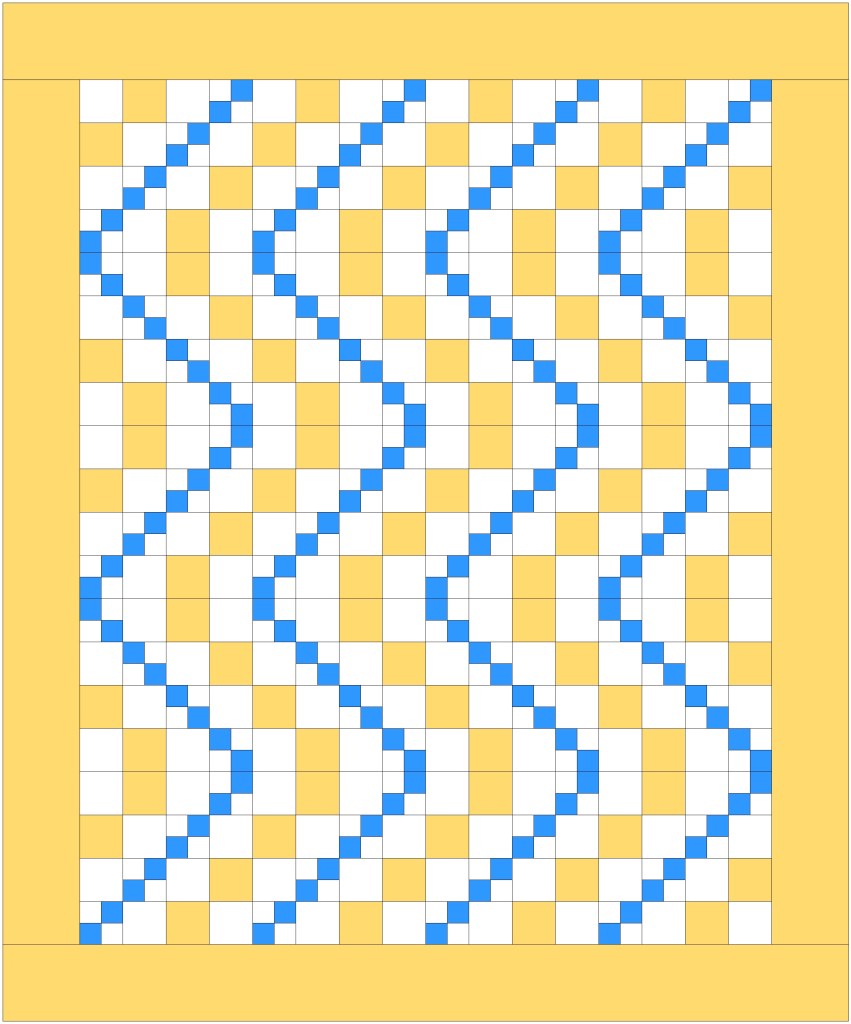
A Few Simple Four and Nine Patch Quilt Ideas for You


Now we’re going to move right into my curated Four and Nine Patch List of Villa Rosa Designs Rose Card Quilt Patterns. I anticipate there will be a lot, so stay with me all the way to the end or you might lost along the way.
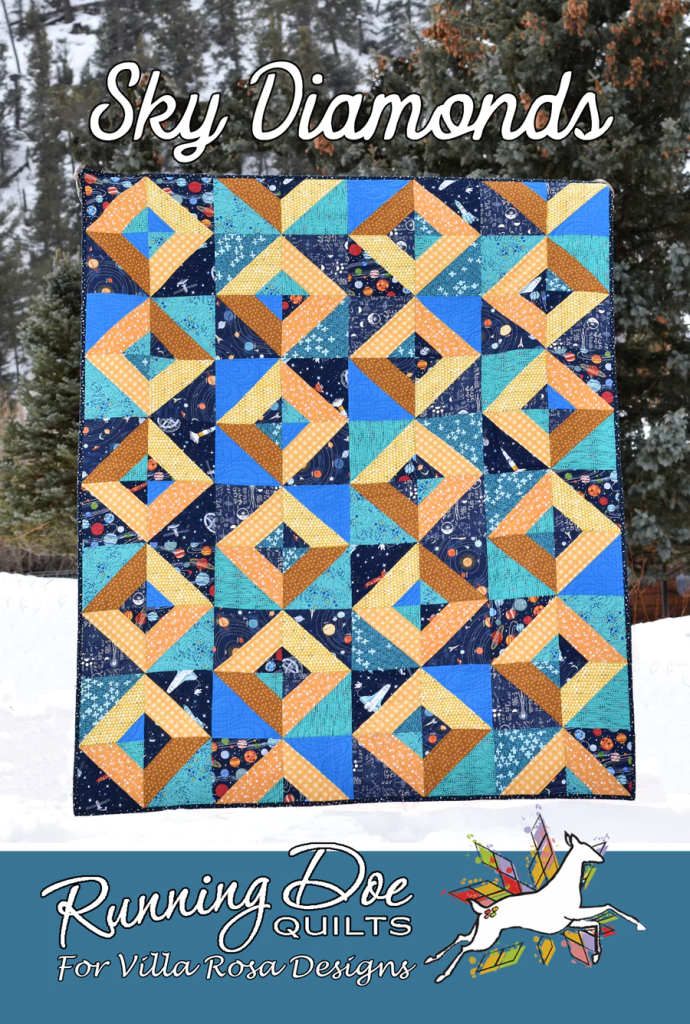
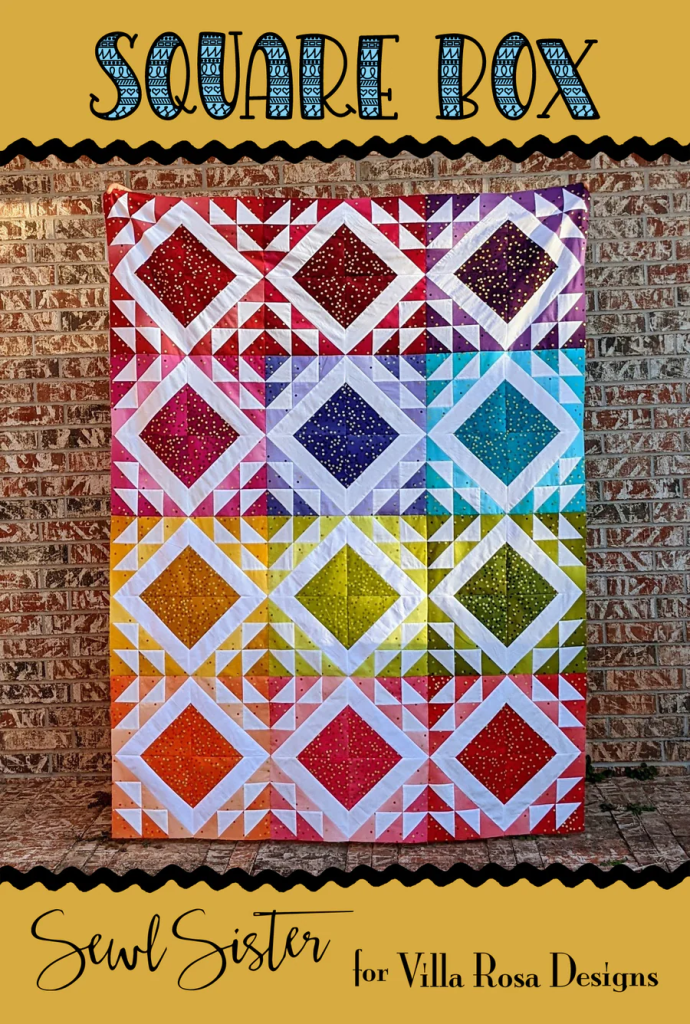
VRD Rose Card Patterns Featuring Four Patches and Nine Patches

Get Akito HERE

Get Antique HERE

Get Bat Dance HERE

Get Be My Baby HERE

Get Beatrice HERE

Get Bee Charming HERE

Get Blizzard HERE

Get Blueberry Cobbler HERE

Get Carefree HERE

Get Carnival Glass HERE
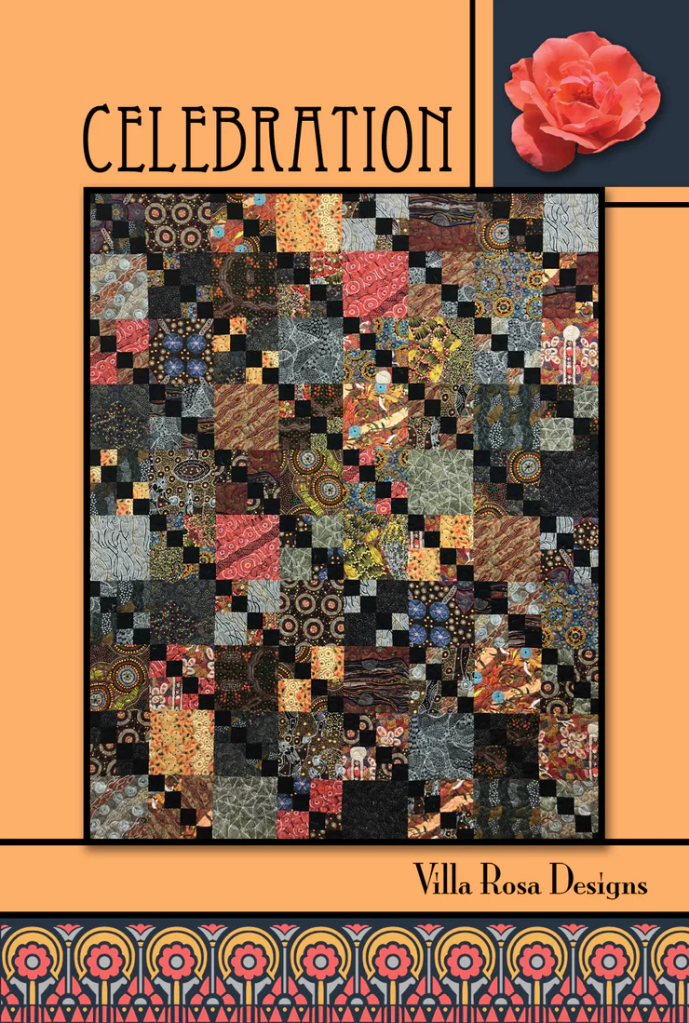
Get Celebration HERE

Get Charismatic HERE
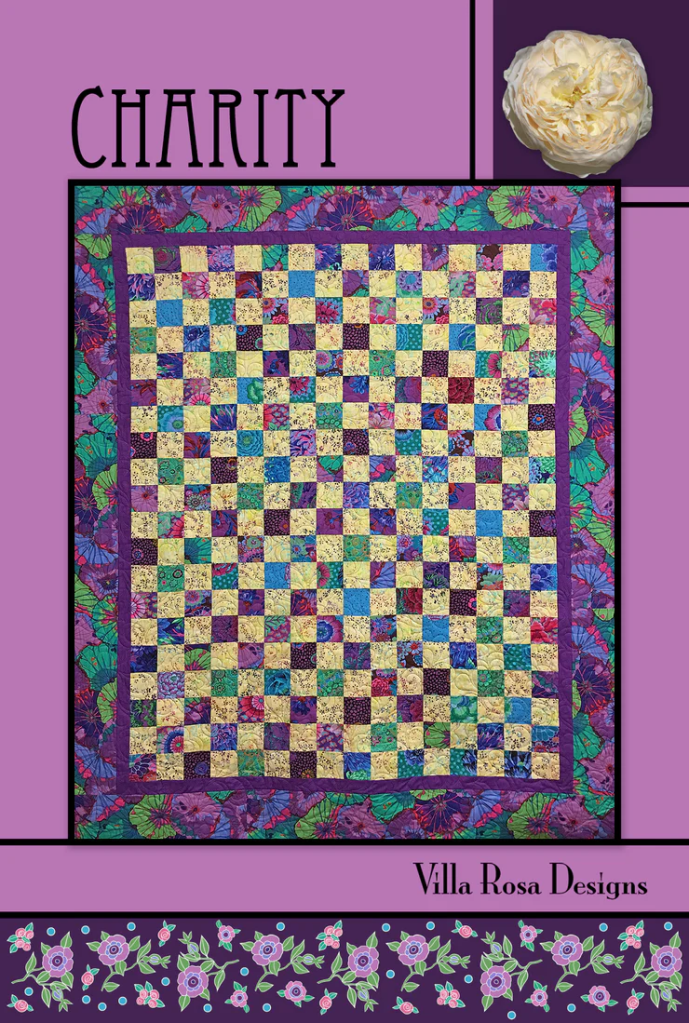
Get Charity HERE

Get Cidermill HERE
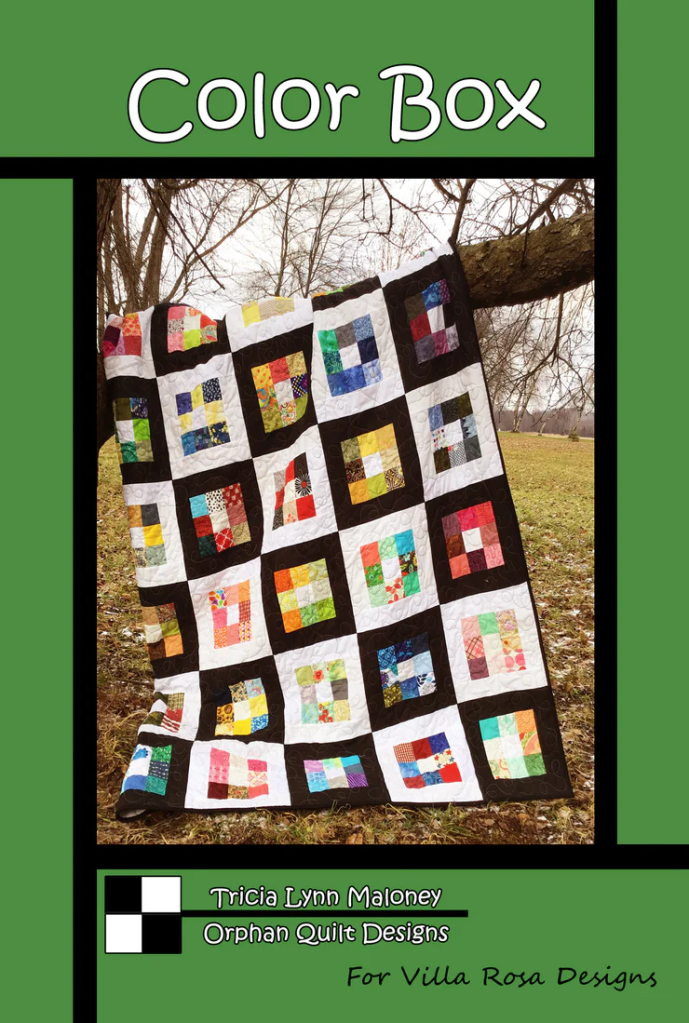
Get Color Box HERE

Get Columbia HERE
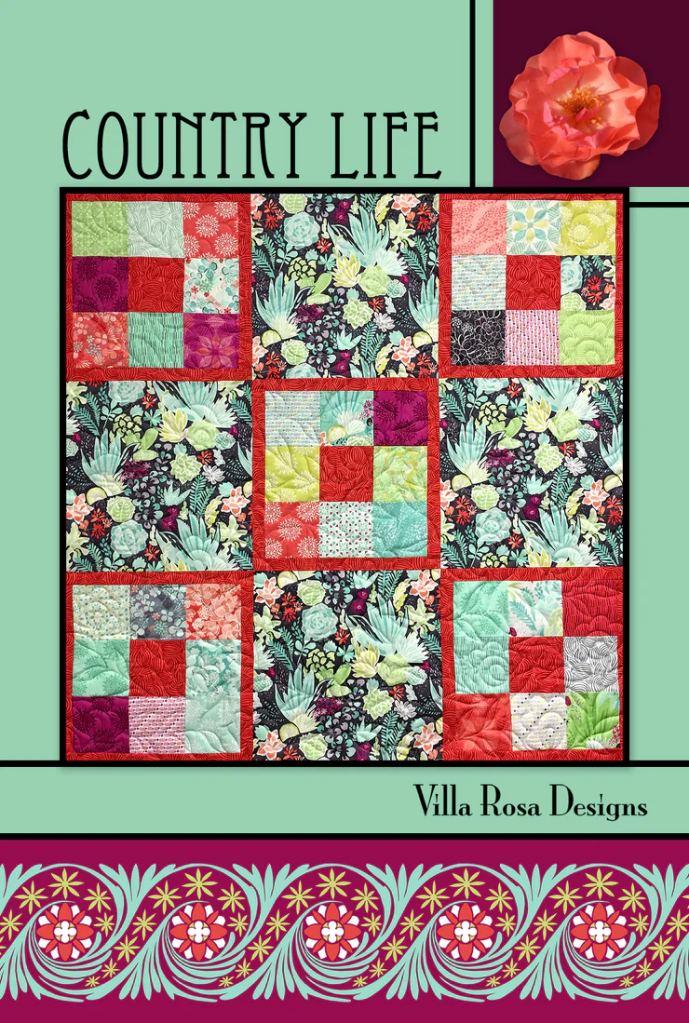
Get Country Life HERE

Get Crackers HERE

Get Daring Spirit HERE

Get Early Dawn HERE
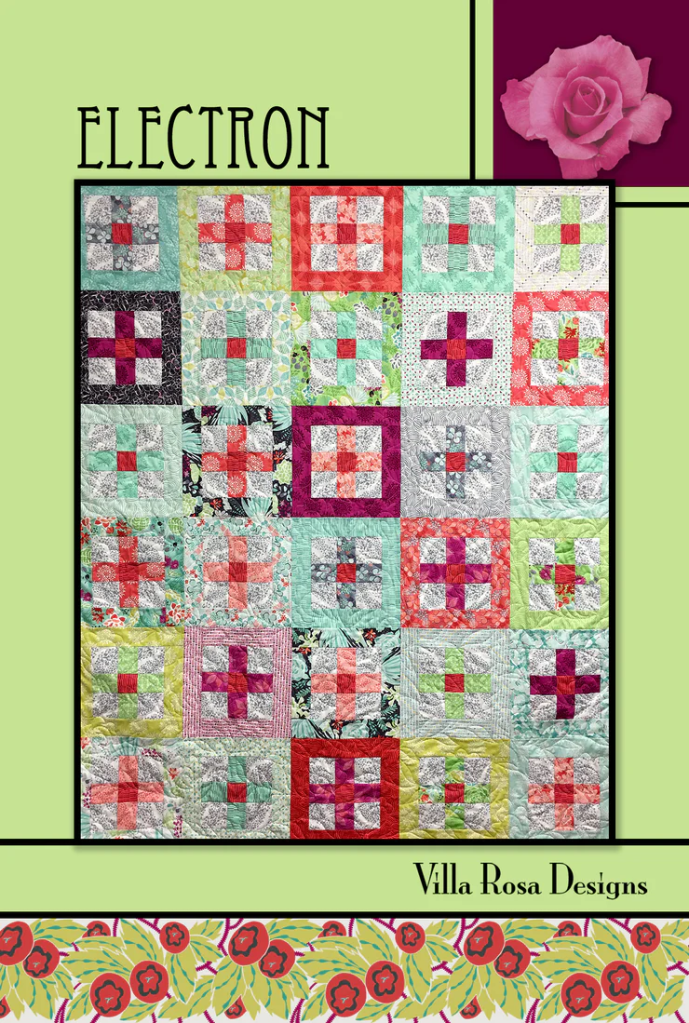
Get Electron HERE

Get Elementary HERE

Get Giggles HERE

Get Gingersnap HERE
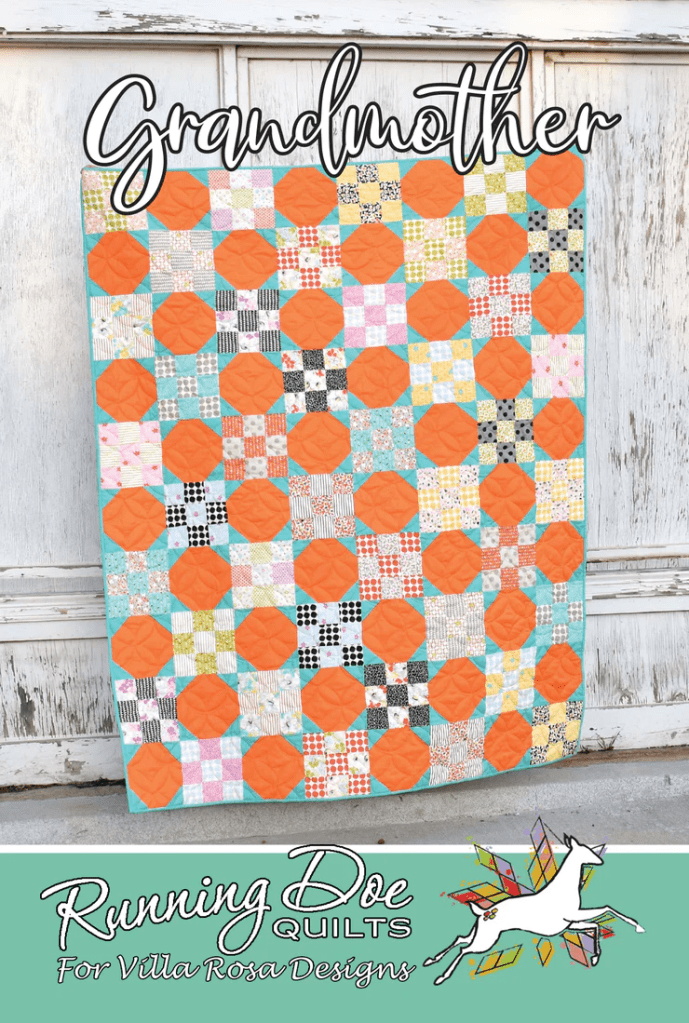
Get Grandmother HERE
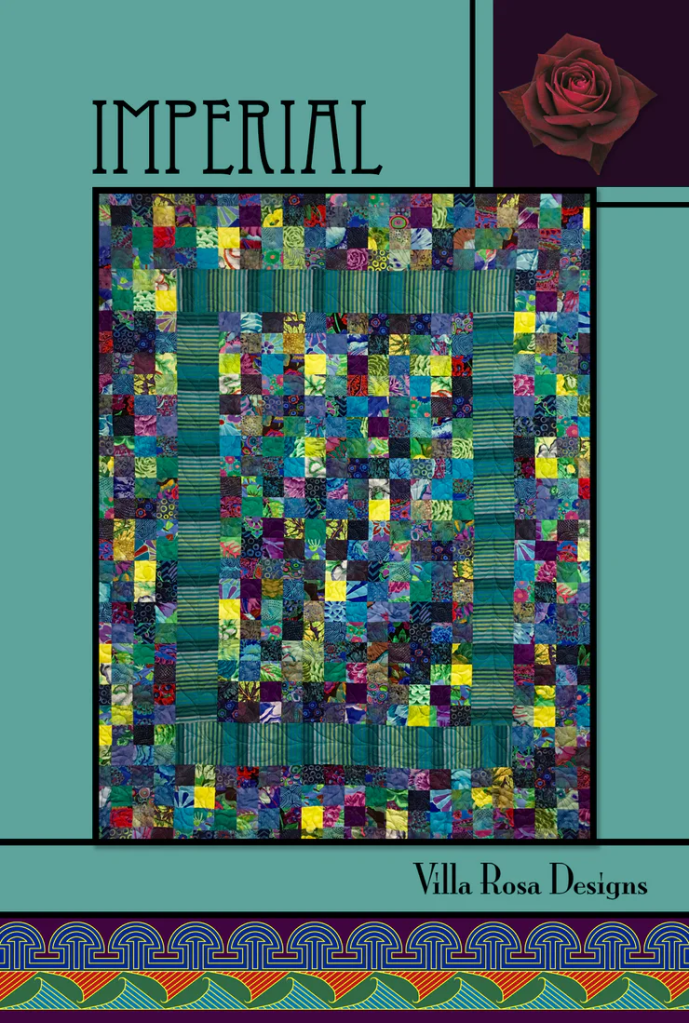
Get Imperial HERE
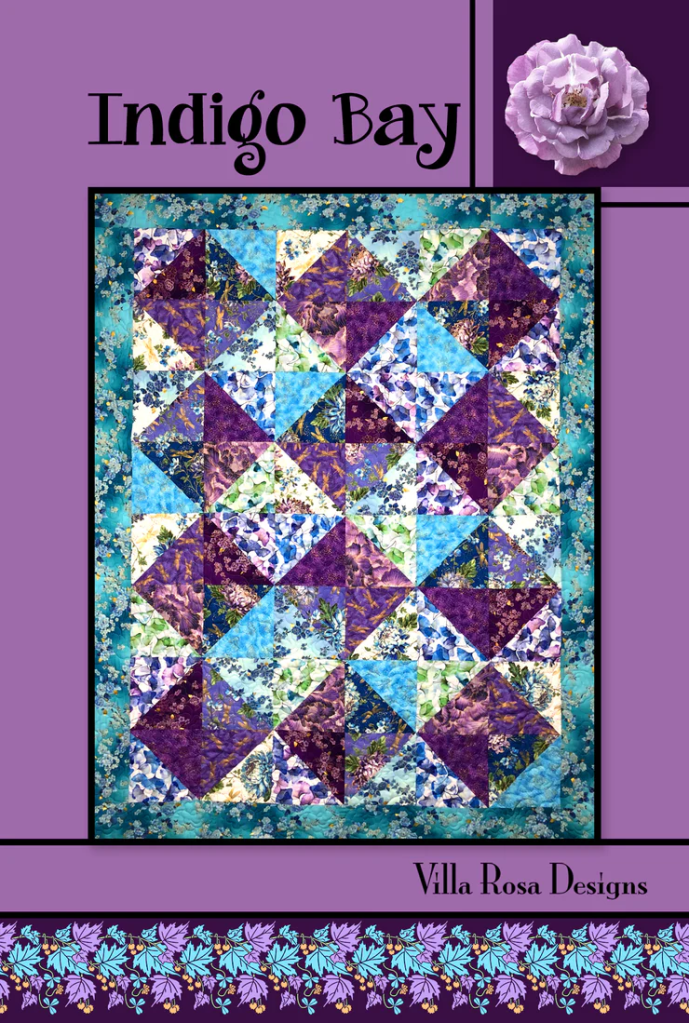
Get Indigo Bay HERE

Get Jardena HERE

Get Kalinda HERE

Get King’s Ransom HERE

Get Kit & Caboodle HERE

Get Klondike HERE

Get Lollipop HERE

Get Love Notes HERE

Get Lovers Lane HERE

Get Macarons HERE

Get Malaysia HERE

Get Monterey HERE
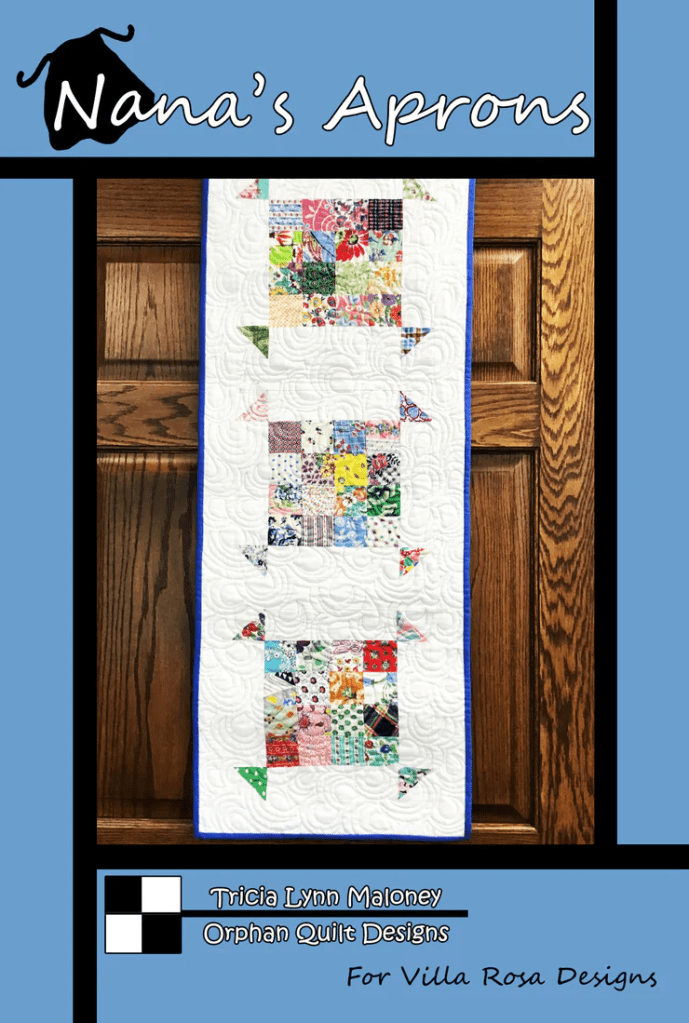
Get Nana’s Aprons HERE

Get Night Light HERE

Get Oakmont HERE

Get Orange Waves HERE

Get Outback HERE

Get Peace HERE

Get Penny Candy HERE

Get Peppermint & Holly HERE
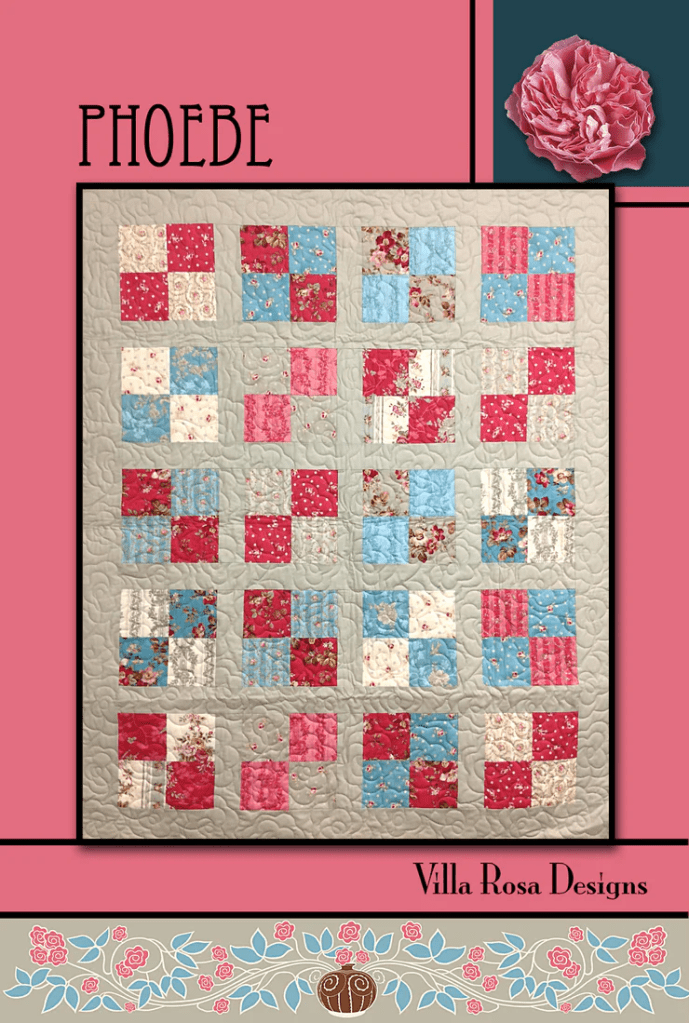
Get Phoebe HERE

Get Pinwheel Picnic HERE

Get Pixelation HERE

Get Polo HERE
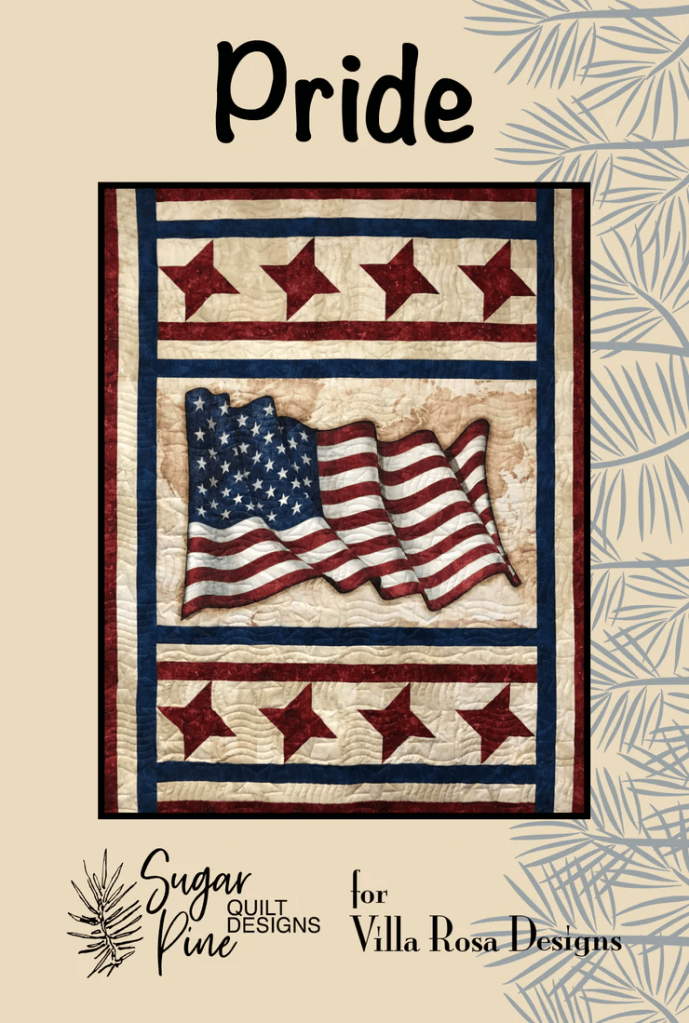
Get Pride HERE

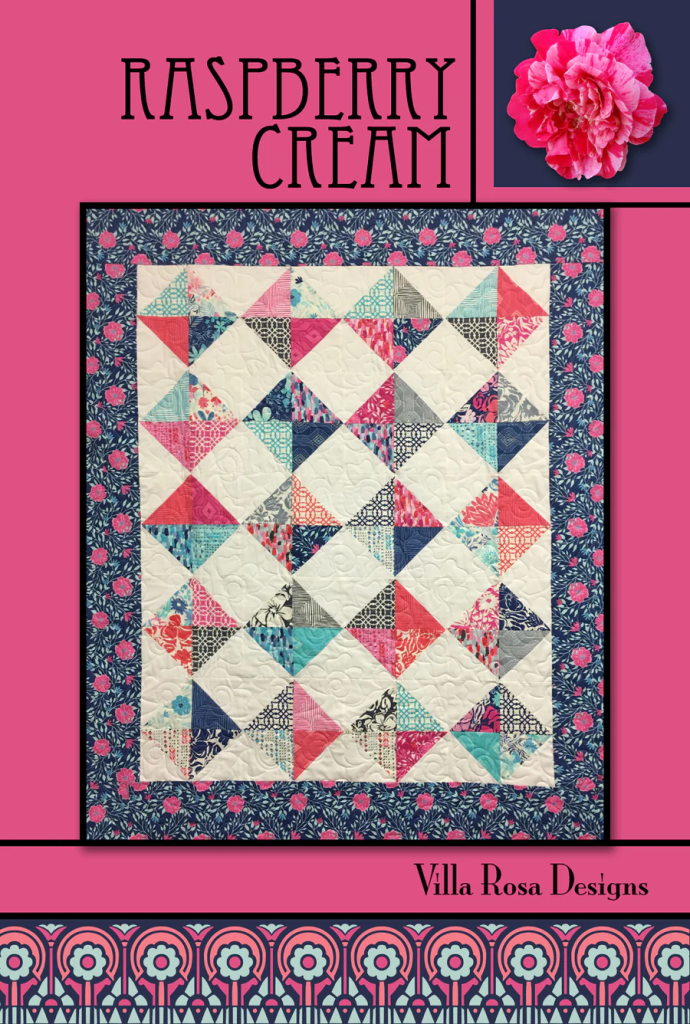
Get Raspberry Cream HERE

Get Ruby Road HERE

Get Saffron HERE
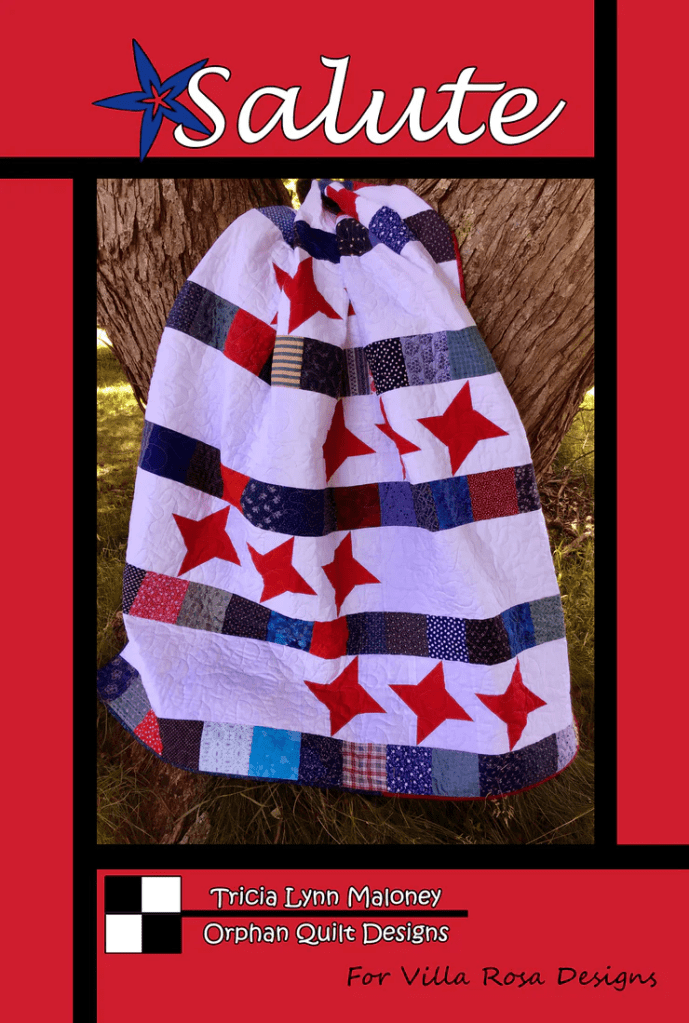
Get Salute HERE

Get Senior Prom HERE

Get Soul Mate HERE

Get Special Event HERE

Get Star Rail HERE

Get Starfire HERE

Get Tic Tac Toad HERE

Get Transcendent HERE

Get Twinkle HERE
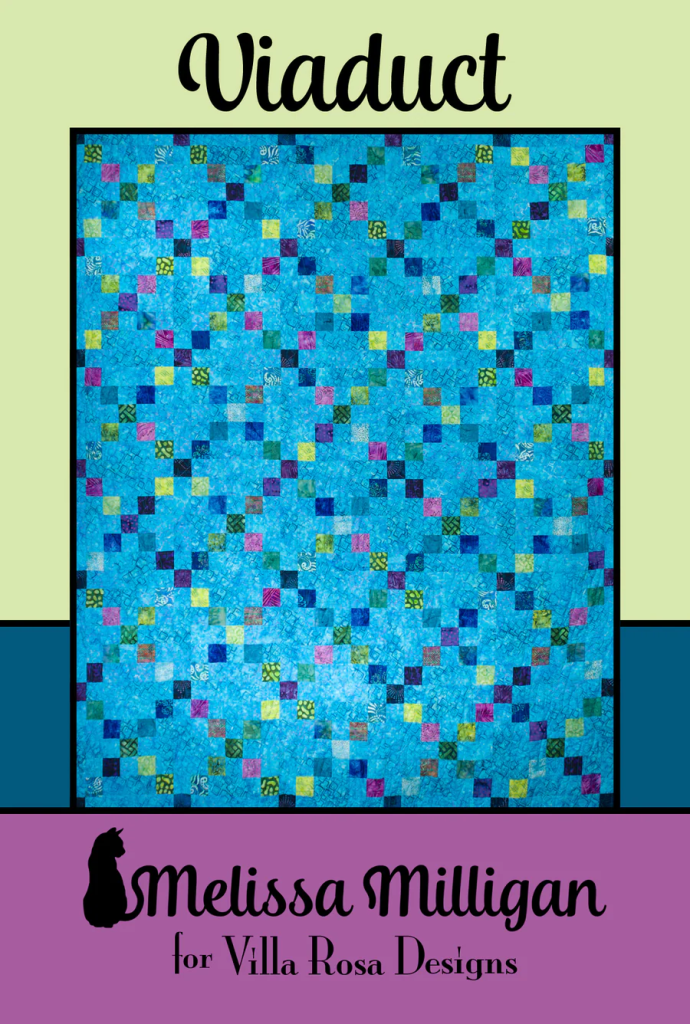
Get Viaduct HERE

Get Waverly HERE

Get Whirlaway HERE
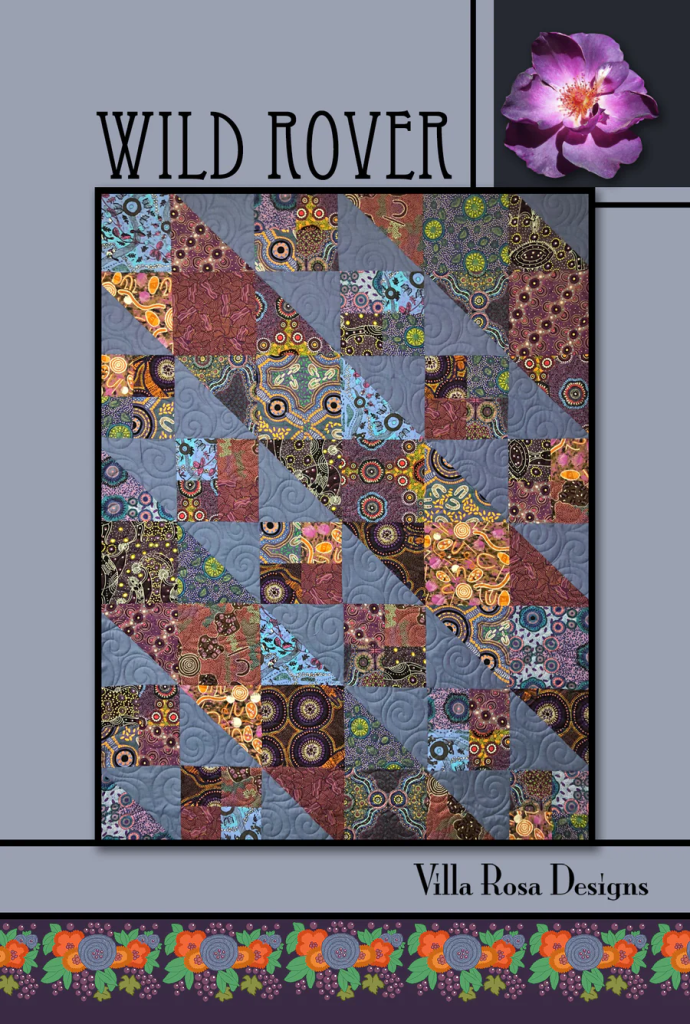
Get Wild Rover HERE

Get Wild Thing HERE

Get Winchester HERE

Get X Ray HERE
WHEW! Did you make it all the way through the whole list? I hope I didn’t lose you somewhere along the way. LOL!
I really hope you found this Quilt Block Basics series to not only be interesting but also helpful and informative. As a designer, when I look at a quilt, I try to isolate the quilt block (or blocks) to identify the pattern if the name doesn’t jump out at me at first. Knowing the different units that make up quilt blocks helps me to do that. It also helps me to take these different units, mix them up, and magically end up with new quilt block designs and variations so that I can keep creating new quilt patterns.
Until next Thursday —
Sew. Laugh. Repeat.
Always,
Tricia @VRD