Hello Quilty Friends!
Happy Thursday!
Before I forget I want to wish all you Moms, Grandmas, Aunties, Cousins, Step Moms, Pet Moms, Dads, Caregivers, Teachers and ANYONE who has touched the life of a child a very special Mother’s Day.

Thank you for everything you do everyday. Although you might not get a thank you or an acknowledgement, those little everyday things mean more than you will ever know.
Quilt Block Basics — Square in a Square
This week we are going to talk about the Square in a Square unit.

You may also know this unit as the Diamond in the Square quilt block.
Often, you will see this unit combined with other quilt block units to create really cool quilt blocks. The unit usually has an unpieced square in the center, but sometimes you will see that center square filled in with a pieced unit or block, which makes Square in a Square not only a unit, but also a frame.
Why am I telling you all this? Just food for thought if and/or when you are designing your own quilt blocks!
Let’s take a look at some Square in a Square blocks.


I find the Square in a Square unit to be a very good tool in my designer’s quilt toolbox because it can really add a lot of POW to a quilt block. Wouldn’t you agree?
Let’s take a couple minutes and play with this unit. Only a couple minutes, mind you, or I might get lost in Electric Quilt 8 all day. Seriously, I’m not kidding….
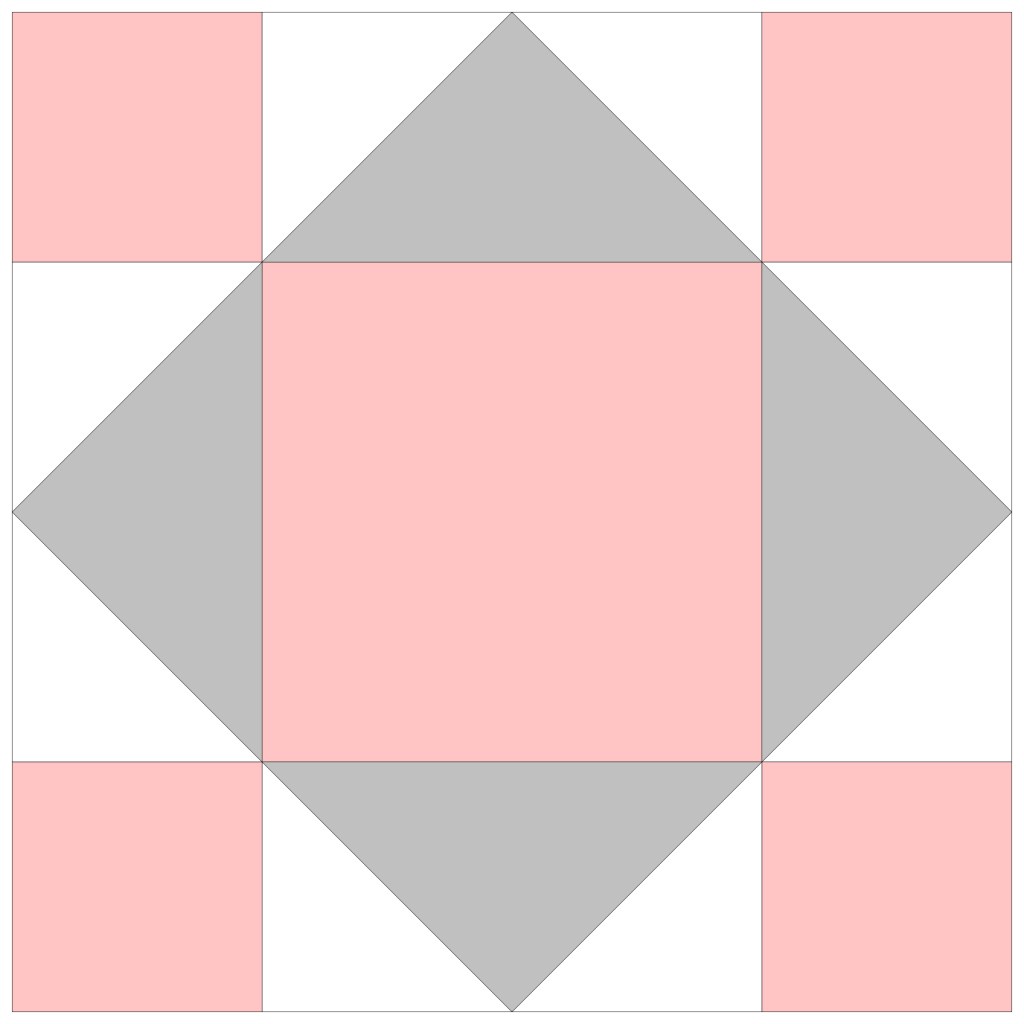
Here is our single unit again:

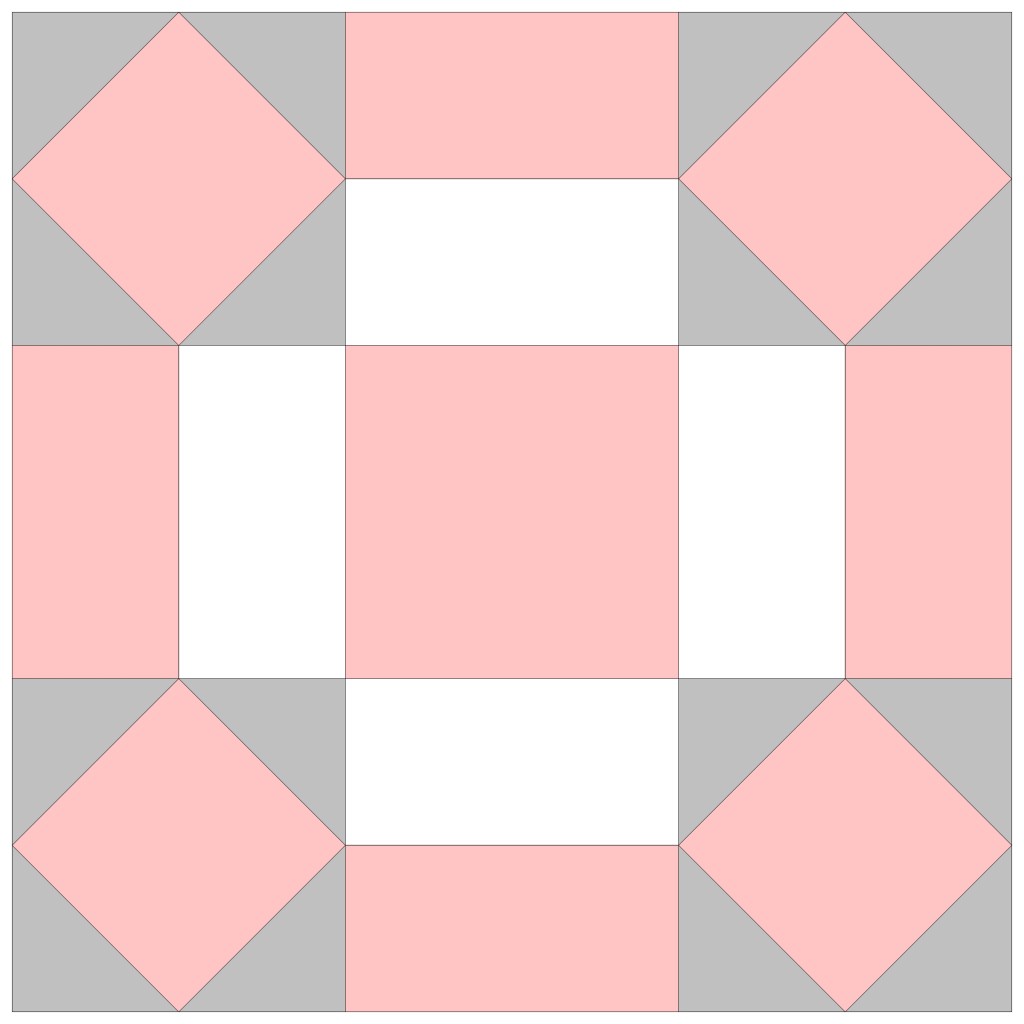
Here are 4 units together in a 4 Patch block:

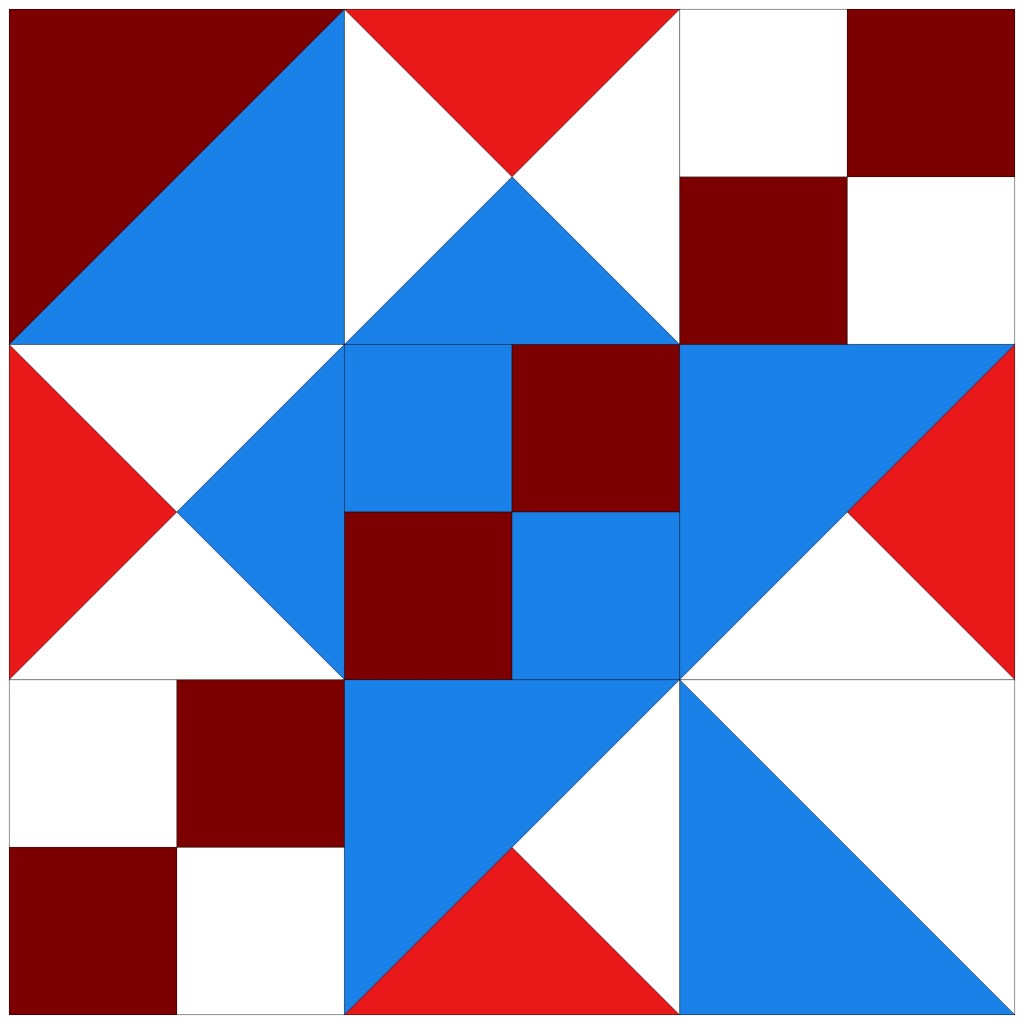
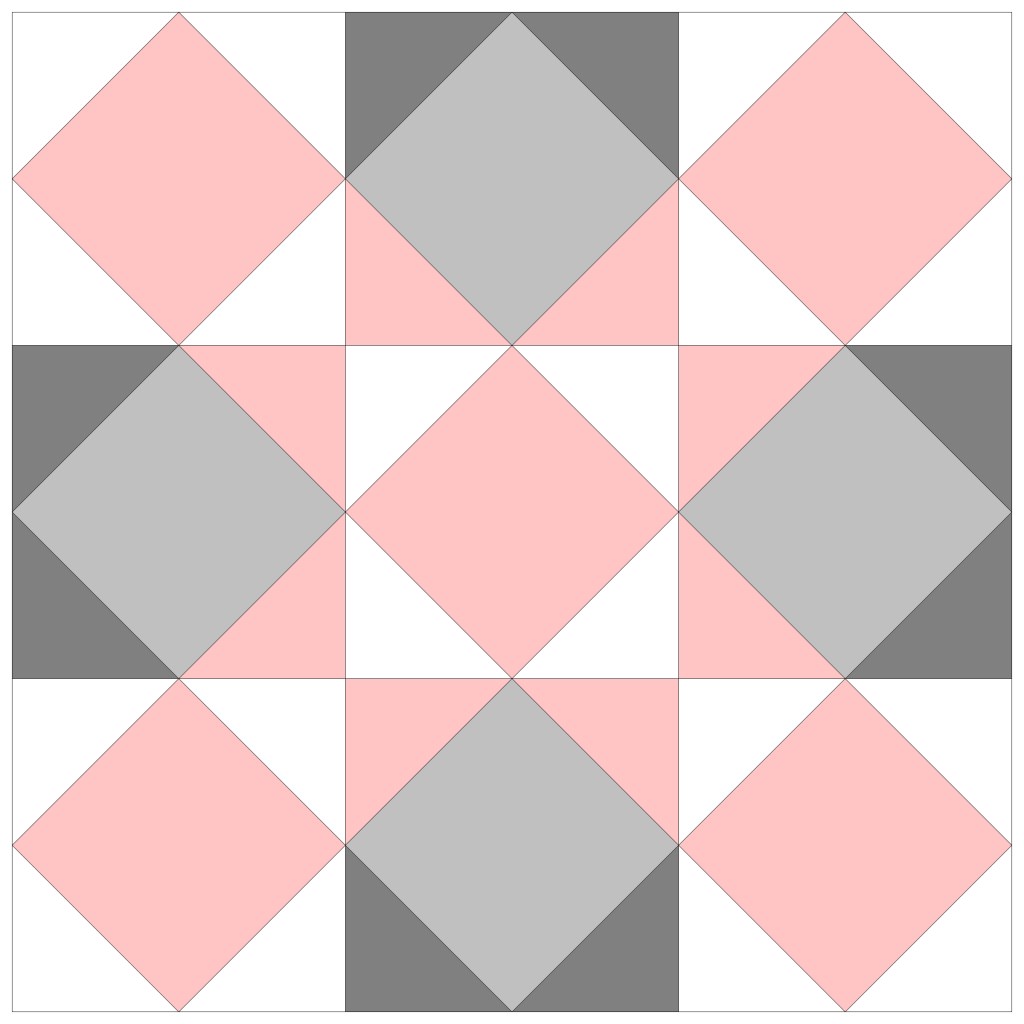
And here are 9 units together in a 9 Patch block:
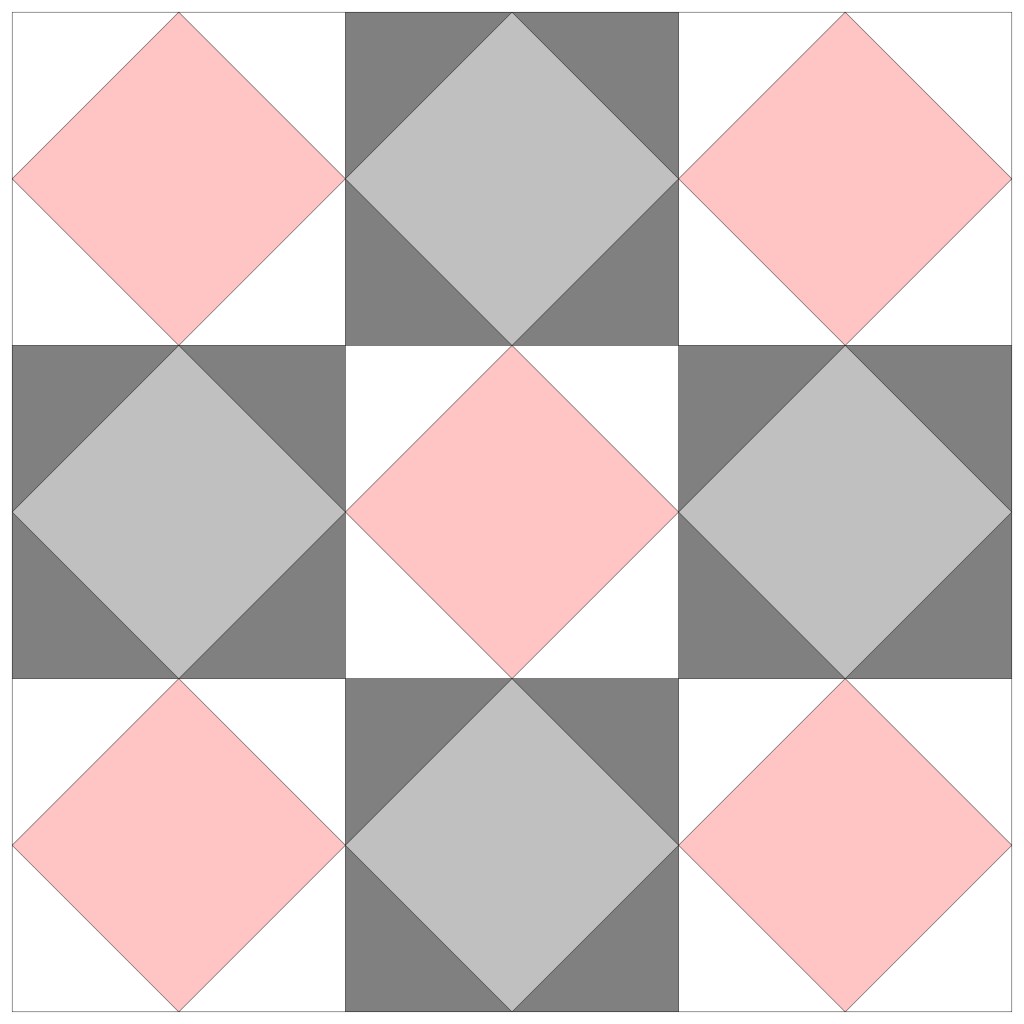
You can see how complex looking the 9 Patch version (our Kansas Star block from above) is, just by repeating the Square in a Square unit. And I added another color just for fun, which can add a whole other dimension. Do you see the star in the middle?
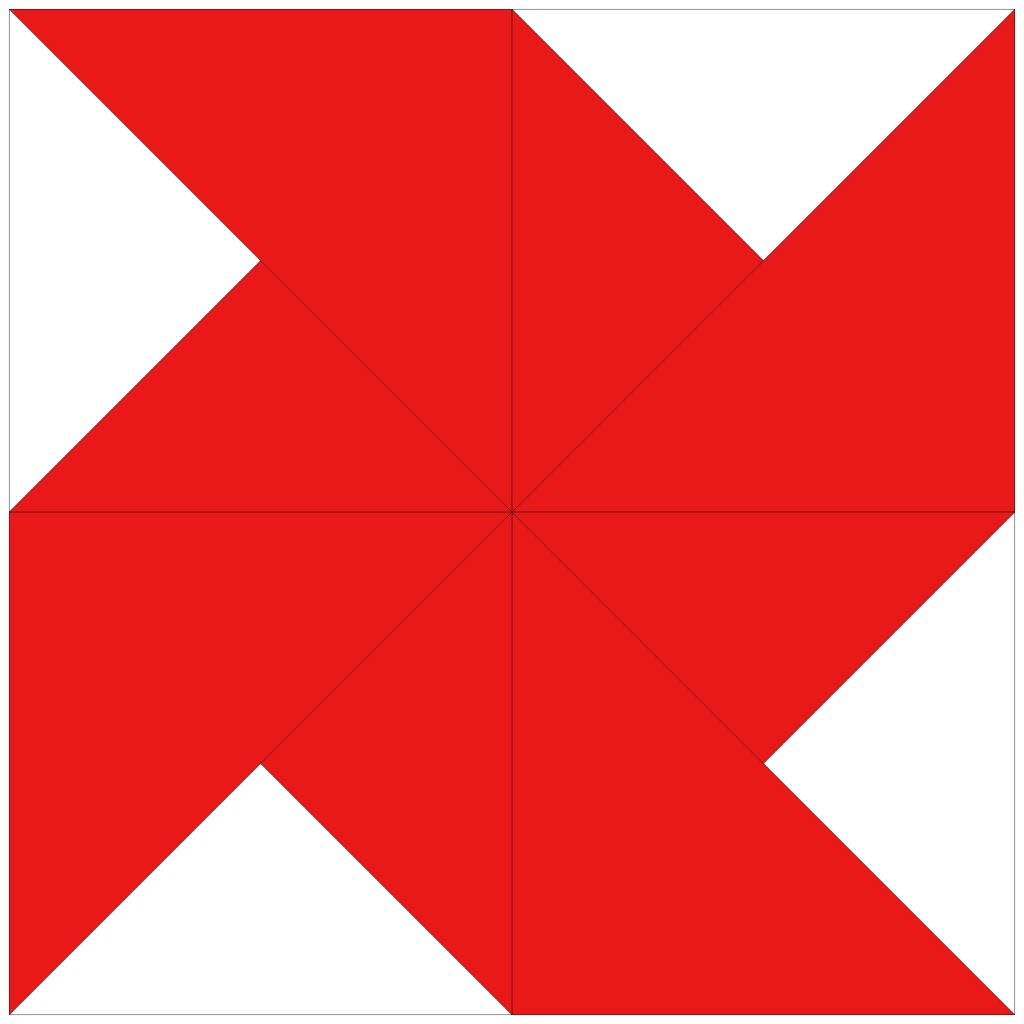
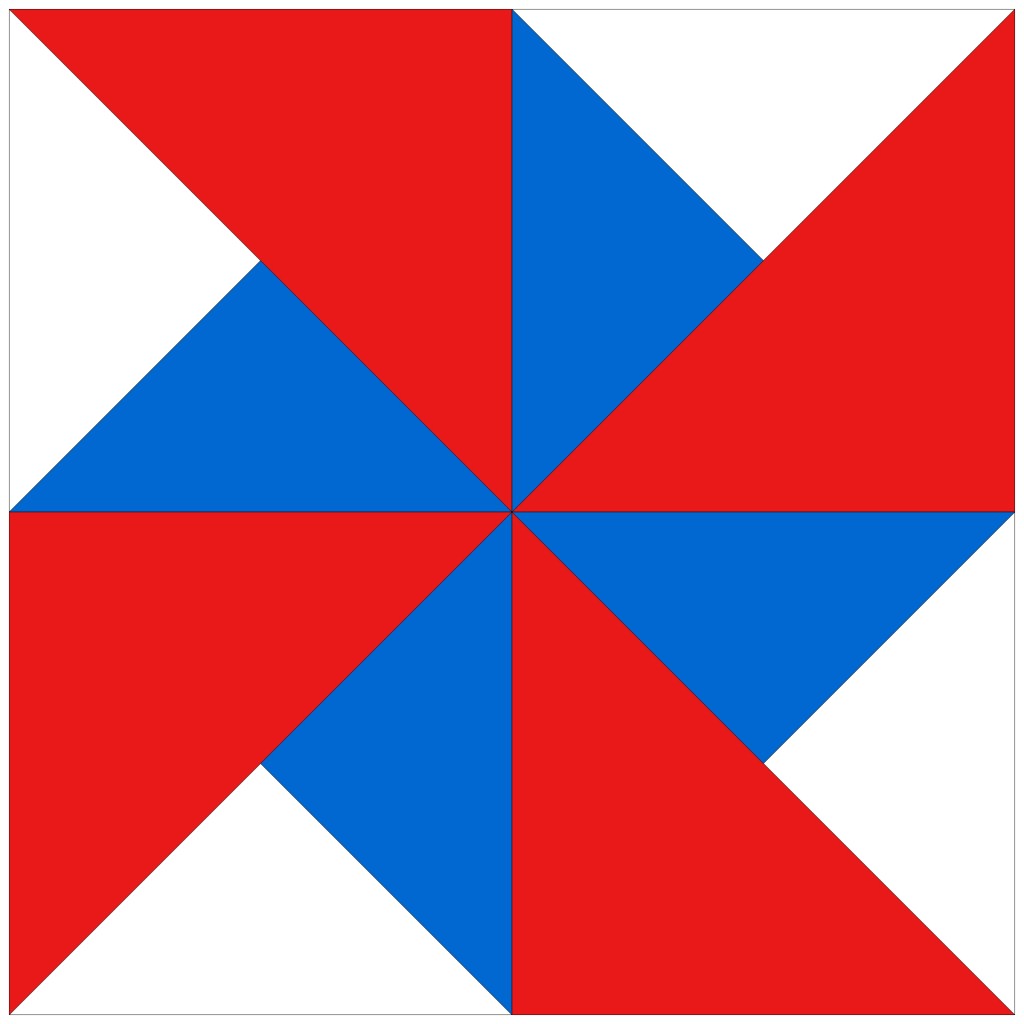
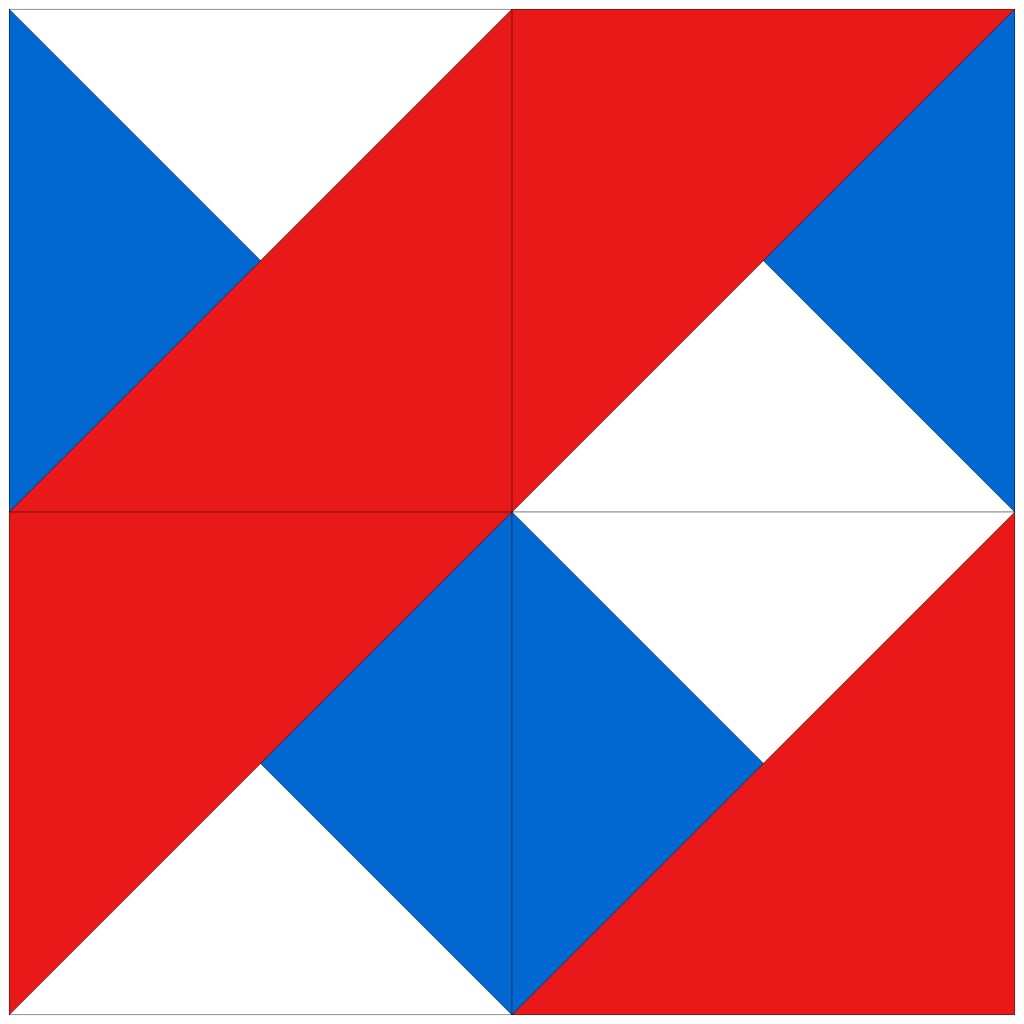
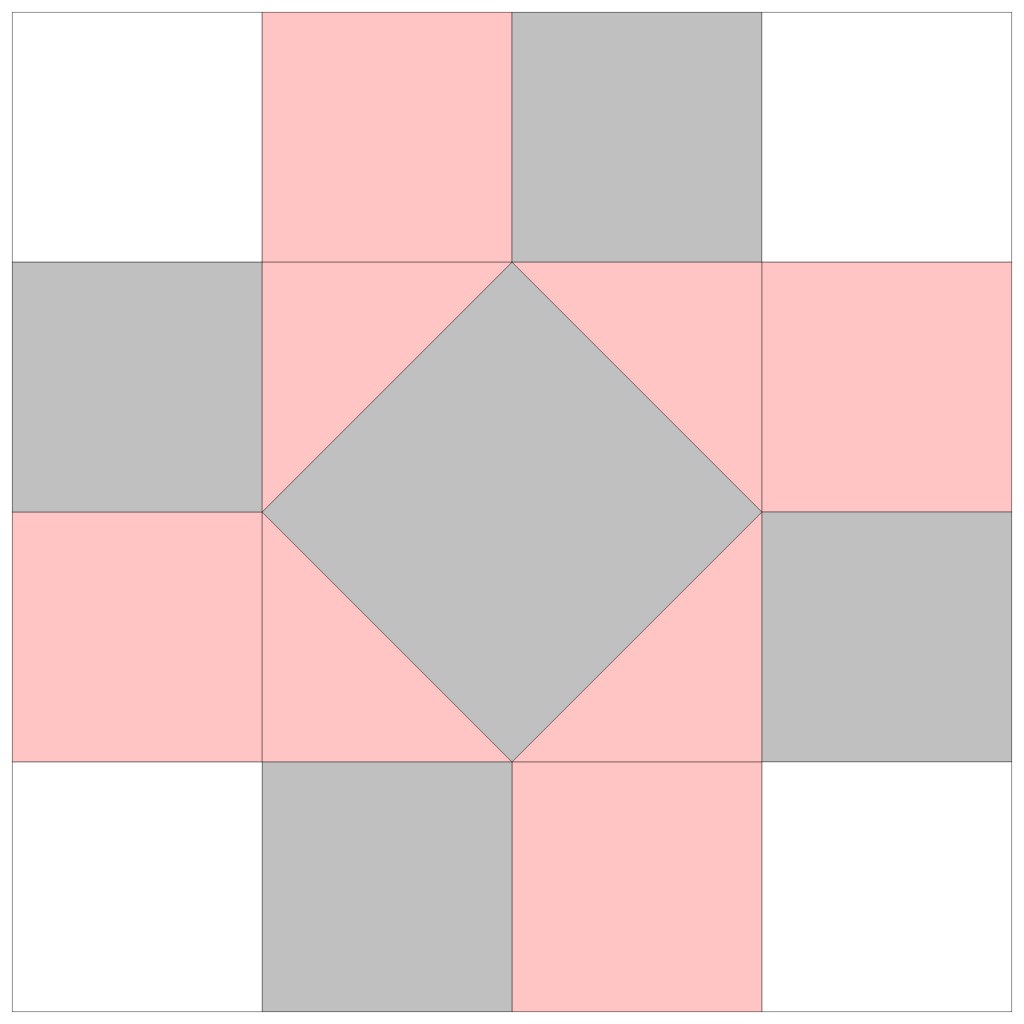
Let’s play with our color placement now. Same block, 3 different ways!


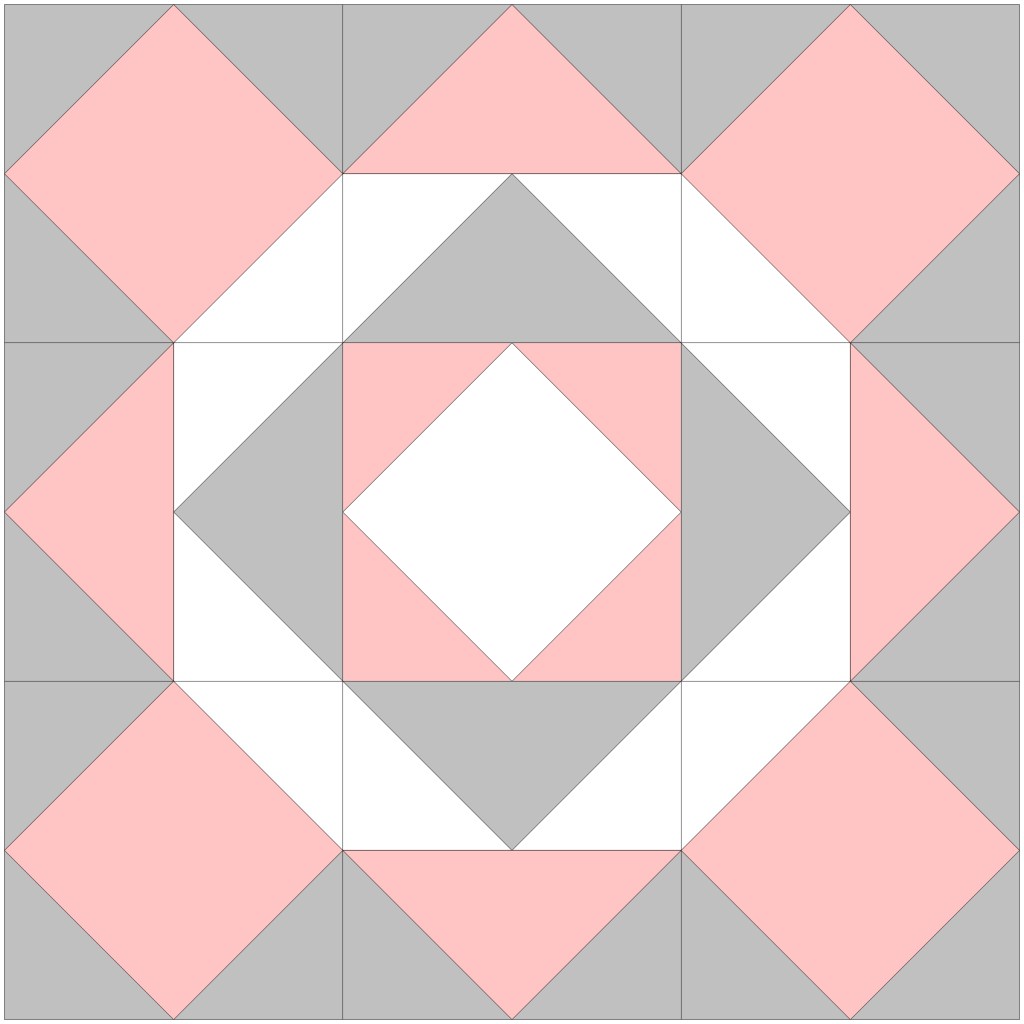
Now let’s go crazy and add a few other Quilt Block units that we’ve already explored — HSTs, Hourglass, and Flying Geese.


MUST. STOP. NOW. Or else I’m going to forget all about writing the rest of this blog post and keep playing in my EQ8 for the rest of the day. LOL!
How to Make a Square in a Square Unit
This unit is a breeze to make.
My favorite method uses a large square and 4 smaller squares, so I don’t have to worry about working with fiddly triangles and stretchy bias edges.
But, how do you know what size squares to cut???
Math…….math…..math, of course! There is a nifty little formula to figure out the sizes of squares needed. You can also find cutting charts too, but what’s the fun in that???
- You need to know your finished size. So let’s say I want a finished size of 6″ for my unit.
- Next you need to add 1/2″ to your finished size and that is the size of your large center square. So, if I want a finished block of 6″, then I need a 6 1/2″ square for the center.
- For the 4 small squares, you will need to divide the size of the finished unit in half (6″ divided by 2 = 3″) and add 1/2″ (3″ + 1/2″ = 3 1/2″). So for a 6″ finished block, I need to cut 4 squares 3 1/2″. Easy Piezy! (Maybe you’re wondering why I add the 1/2″? The 1/2″ is what you add to a finished size to account for your seam allowances. We add 1/4″ for each side which equals 1/2″ in total needed for seam allowances.)
Okay, what about an 8″ finished unit or block? I would need to cut 1 large square 8 1/2″ and 4 small squares 4 1/2″.
What about a 2 1/2″ finished unit? Then I would cut the large center square 3″ and the 4 small squares 1 3/4″.
Cool, huh???? Quilt Math never fails to amaze and amuse me (wink, wink).
So, let’s make the block now:

- Layer a small square right sides together in one corner of a large square. Draw a diagonal line from corner to corner. Sew on the line. Repeat for the opposite corner. Cut 1/4″ away from each sewn line. Press open.
- Repeat with the other 2 opposite corners.
I do want to take a moment to point out that you can get a Square in a Square look by using different units like HSTs, Flying Geese, and more. Just something to think about….
But wait! There’s more….
If you aren’t completely sold on my method, you have other options —
There is a cool Creative Grids ruler, you can find it HERE.
It’s Sew Emma has even created Square in a Square foundation papers in both THREE INCH and FOUR INCH sizes.
Next let’s check out my Square in a Square curated list of patterns!
Square in a Square VRD Rose Card Patterns

Find Downtown HERE

Get Duffy HERE

Get Hidden Gems HERE

Get Indigo Bay HERE

Get Point of View HERE
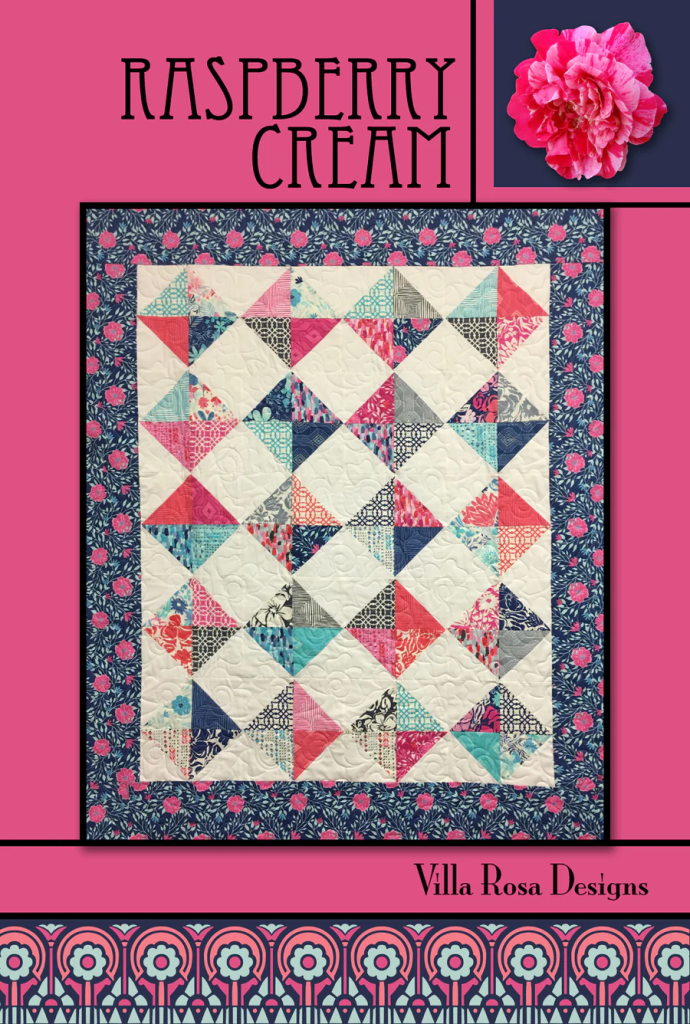
Get Raspberry Cream HERE
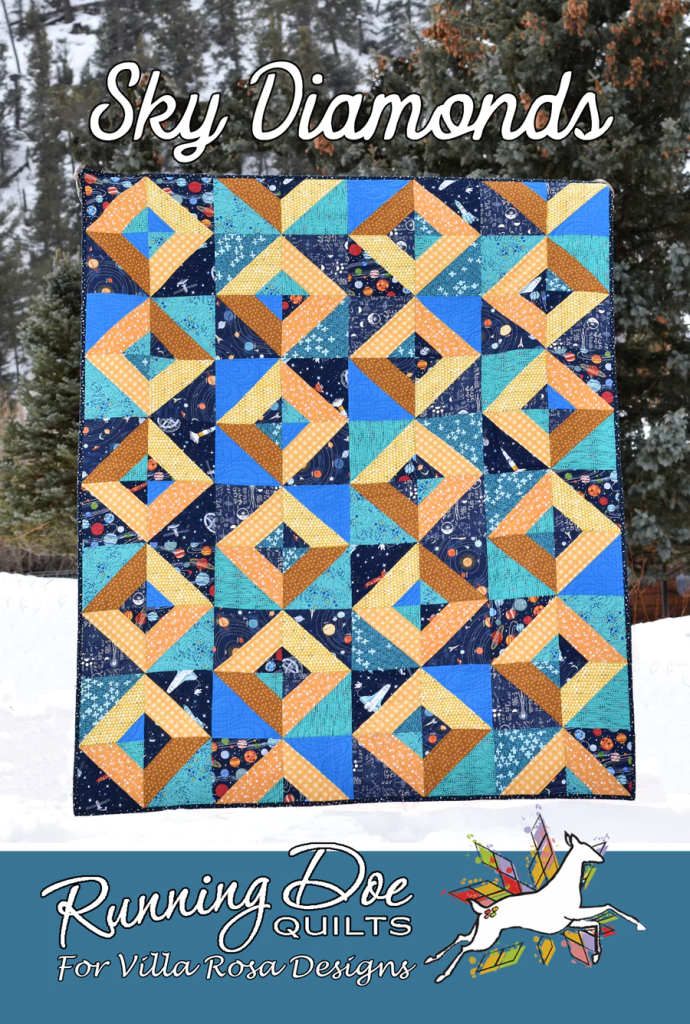
Get Sky Diamonds HERE
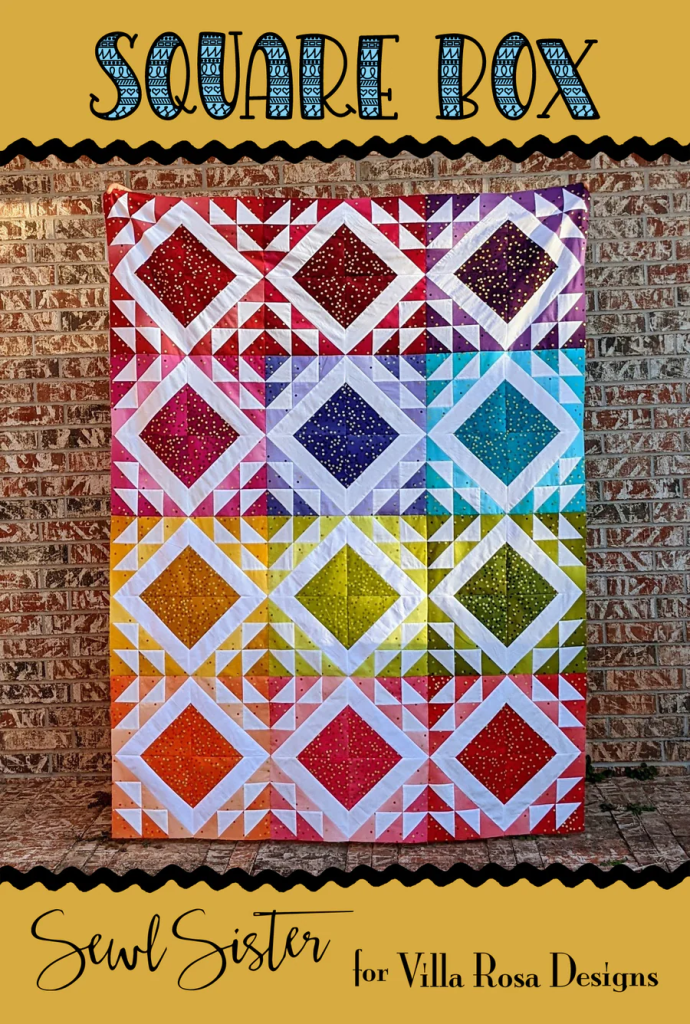
Get Square Box HERE

Get Twisted HERE

Get Underground HERE

Get Whiplash HERE

Get Winchester HERE
A fun list of patterns, isn’t it? Don’t forget that when you order Rose Card patterns on the Villa Rosa website, it’s always free shipping for patterns. Always.
New Villa Rosa Designs Rose Card Patterns for May 2023
Moving on, do you know what day it is????
It’s the first Thursday after the first Friday of the month, which means NEW PATTERNS! YAY!!!
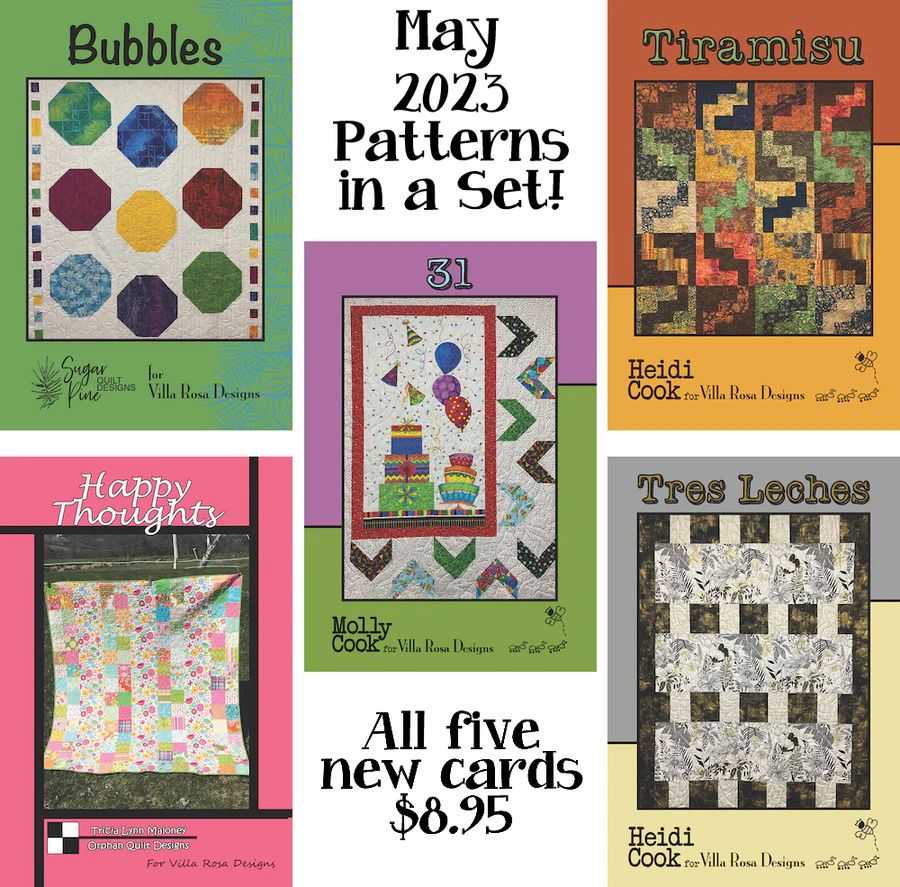
Here are the 5 regular patterns for May. Aren’t they great? Some nice variety in patterns and interesting options, wouldn’t you say?
Bubbles by Sugar Pine Quilts uses a fun bright collection of fat quarters and a background fabric.
31 is a new vertical panel quilt with a fun border. Join me in wishing VRD designer Molly Cook a Happy 31st Birthday this month.
Tiramisu is a very cool quilt featuring either 12 or 20 fat quarters. You get to decide which size of quilt you want with this one.
Happy Thoughts is my latest throw quilt pattern and it uses a focal or theme fabric and coordinating 5″ charm squares.
Tres Leches looks as yummy as its name! This quilt uses yardage.
You can get all 5 patterns HERE for the special price of $8.95. Yep, and the shipping is free.
And here’s my new Table Runner Rose Card Pattern for May called Fly Away.
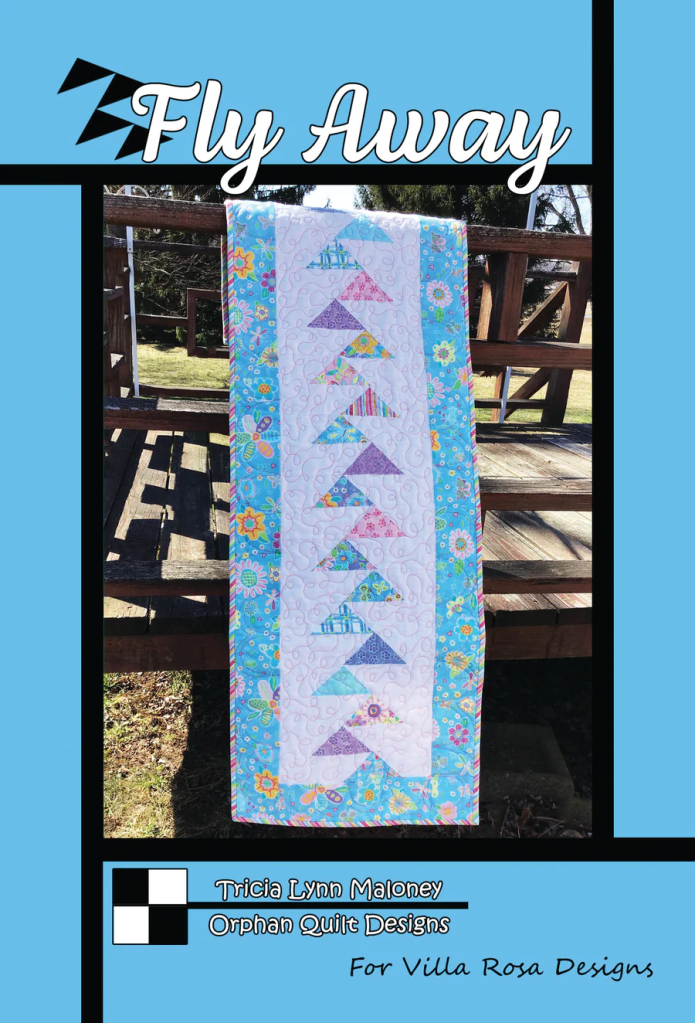
When I was designing and then later making this runner, I kept thinking about the movie, Fly Away Home, so in homage to that great movie, I named my runner Fly Away. By the way, you can find the movie HERE.
Well, I guess that does it for me this week.
Please spend time with the ones you love this week end for Mother’s Day. Wouldn’t a quilt be a nice gift to show your loved one how much you care??? Just sayin’…………..
Until next Thursday —
Sew. Laugh. Repeat.
Always,
Tricia @VRD