Hello Quilty Friends!
Happy Thursday to you!
I’m going to get right to our tutorial today because you are going to LOVE LOVE LOVE today’s quilt! And I can’t wait to show it to you.
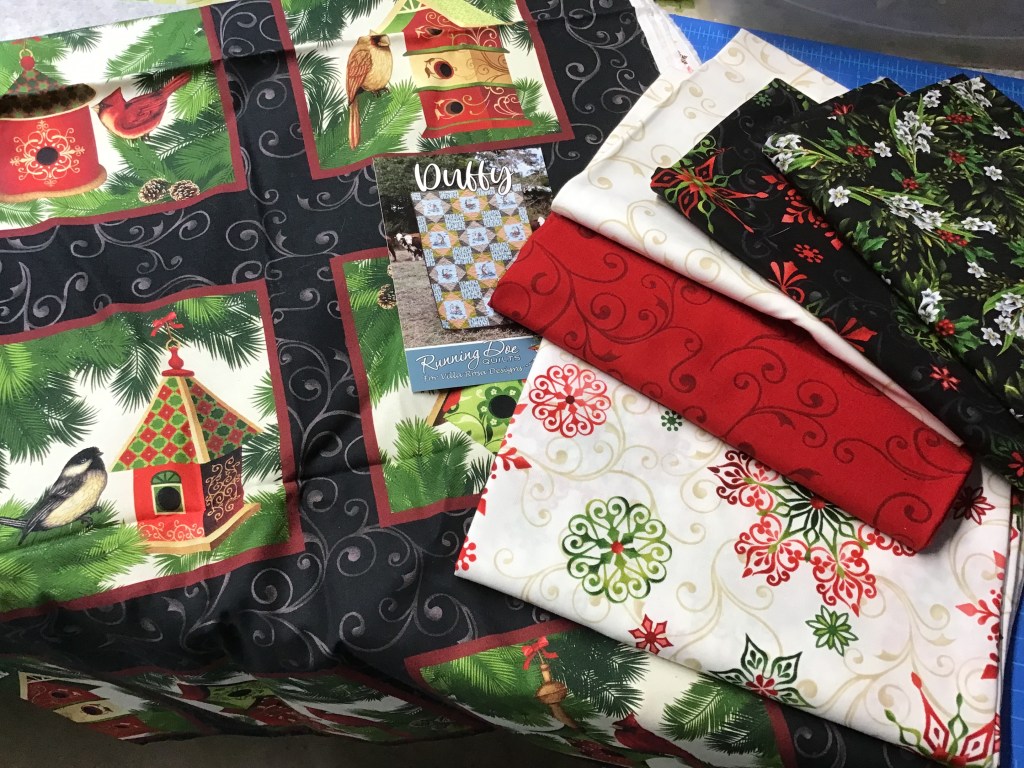
31 is our project du jour. It was designed by Molly Cook. You can go HERE to read an interview I had with Molly last year if you’d like to get to know her a little bit. Occasionally she pops onto the blog, but it’s been a while, so I’ll have to remind her she has an open invitation to hang out with us anytime she wants. Isn’t it fun to get to know your favorite VRD designers? I know, I know — I need to get my tush in gear and get some more interviews with our lovely designers, don’t I?
VRD 31 Quilt Tutorial
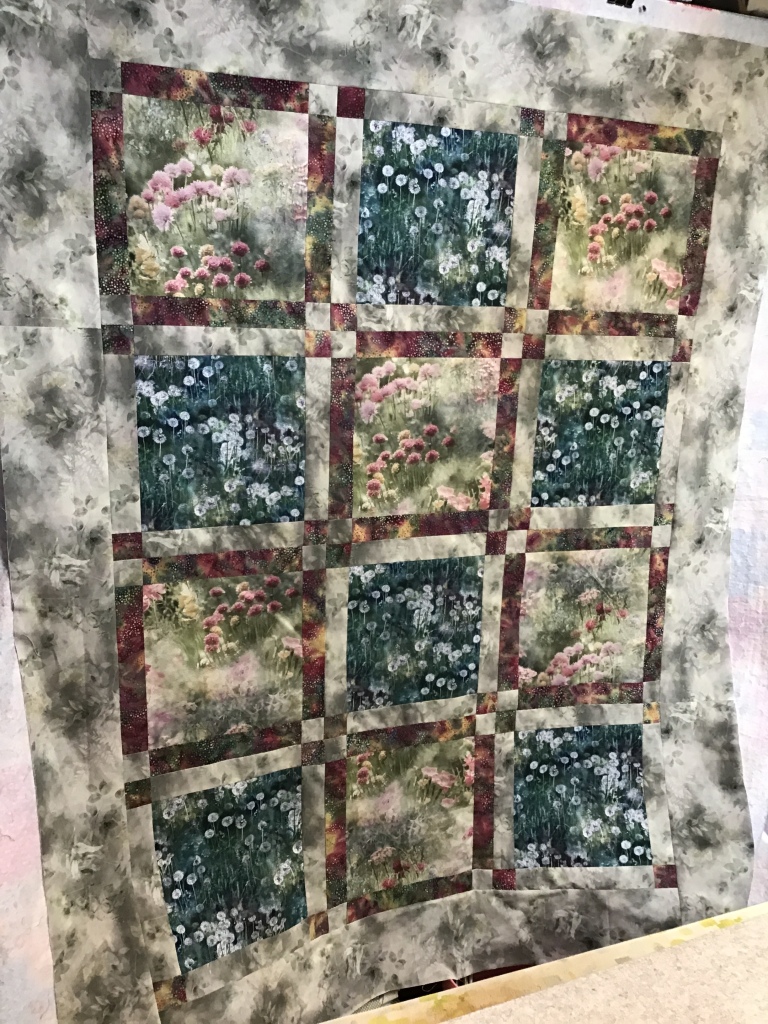
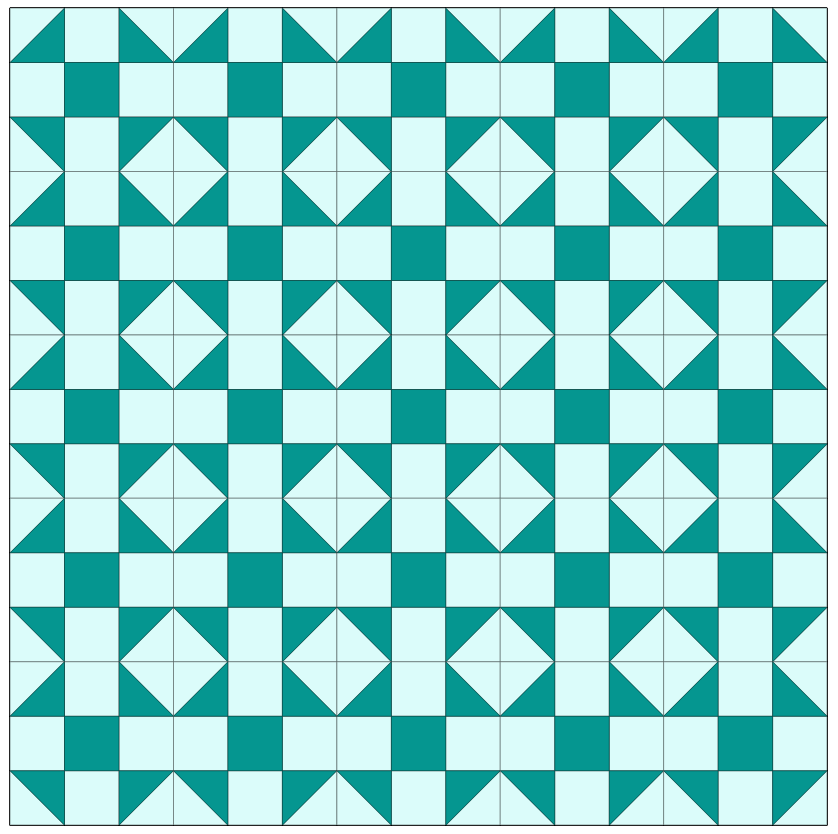
31 is a fabulous asymmetrical panel quilt design and looks great in pretty much any fabric collection!
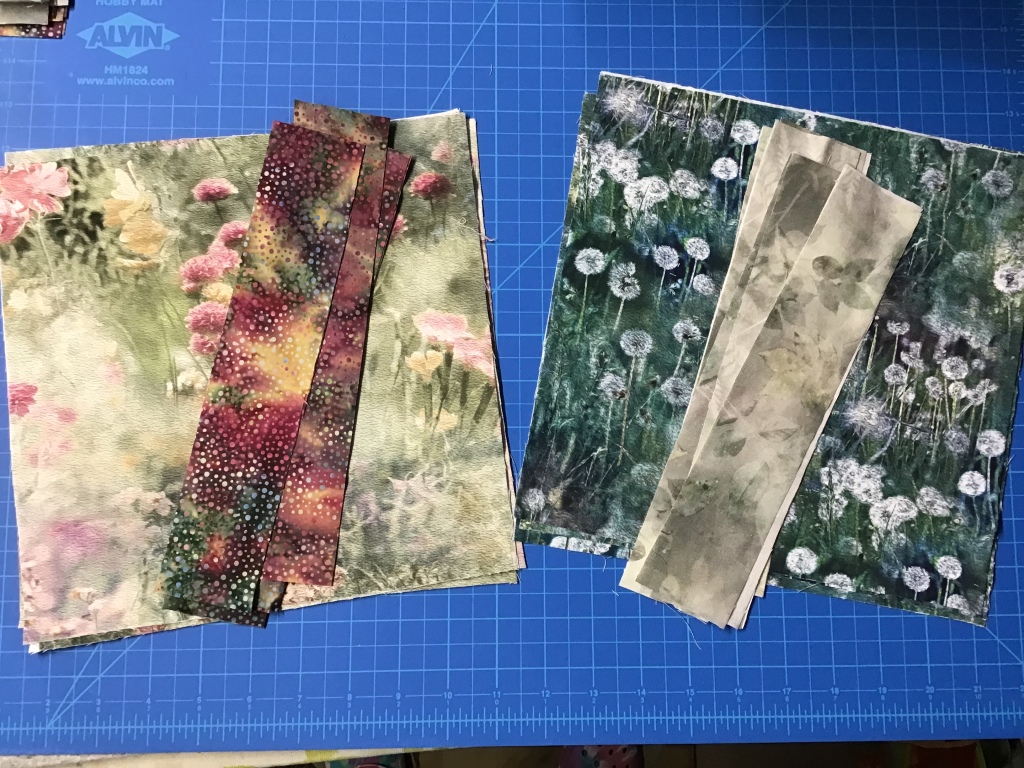
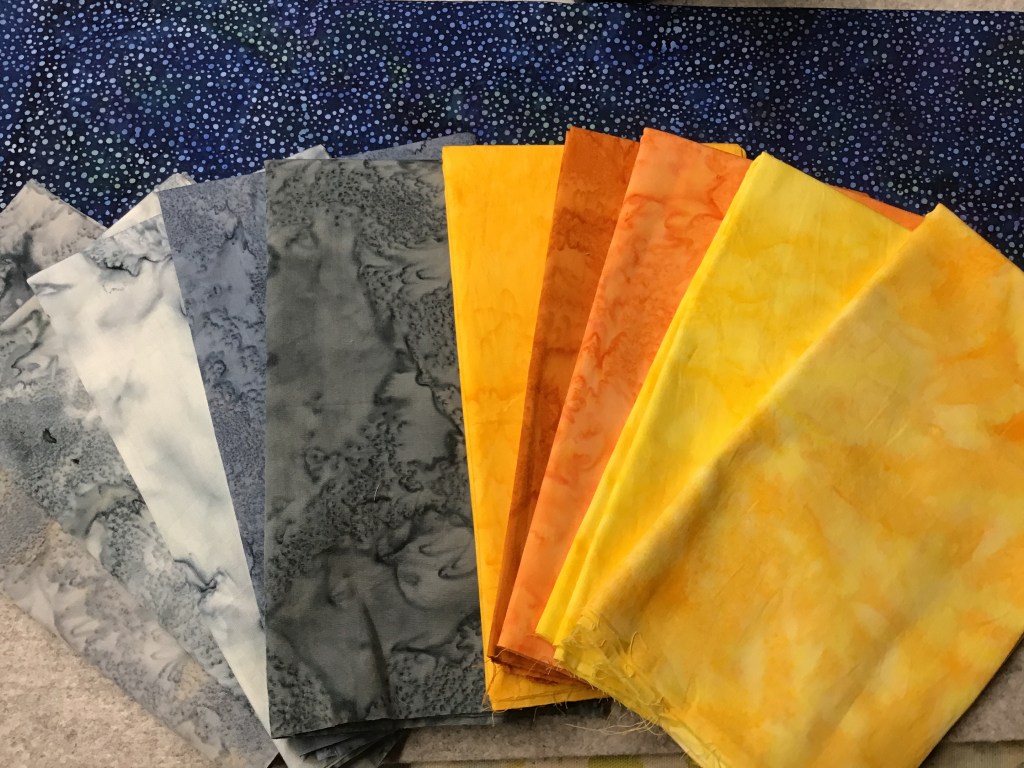
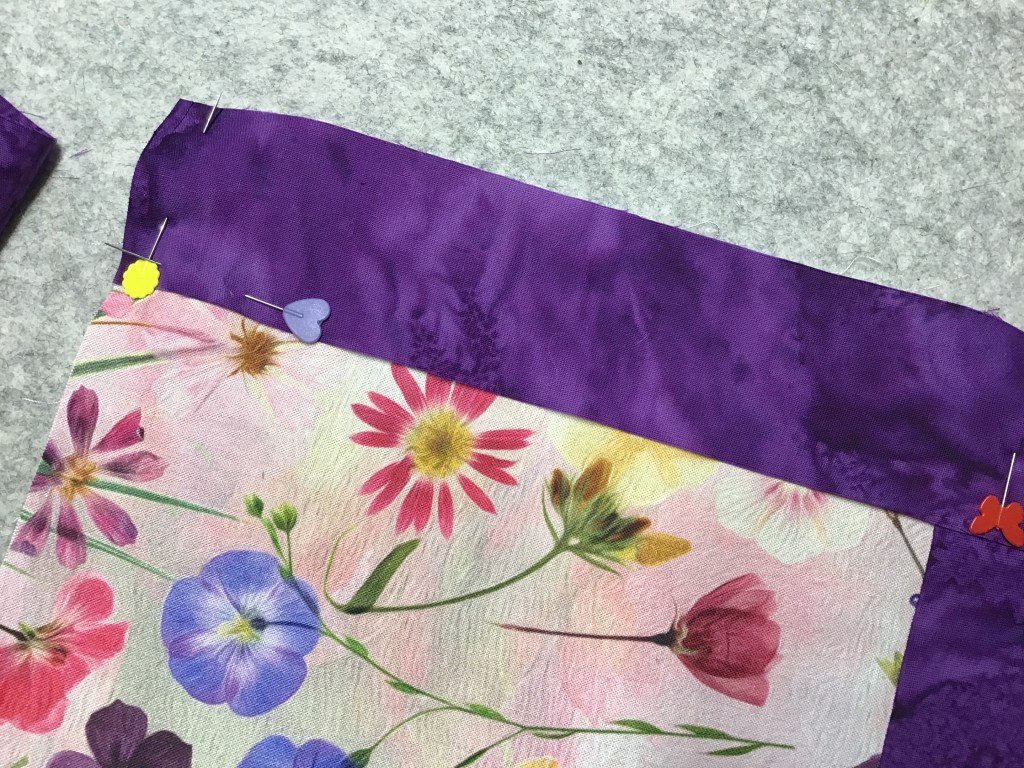
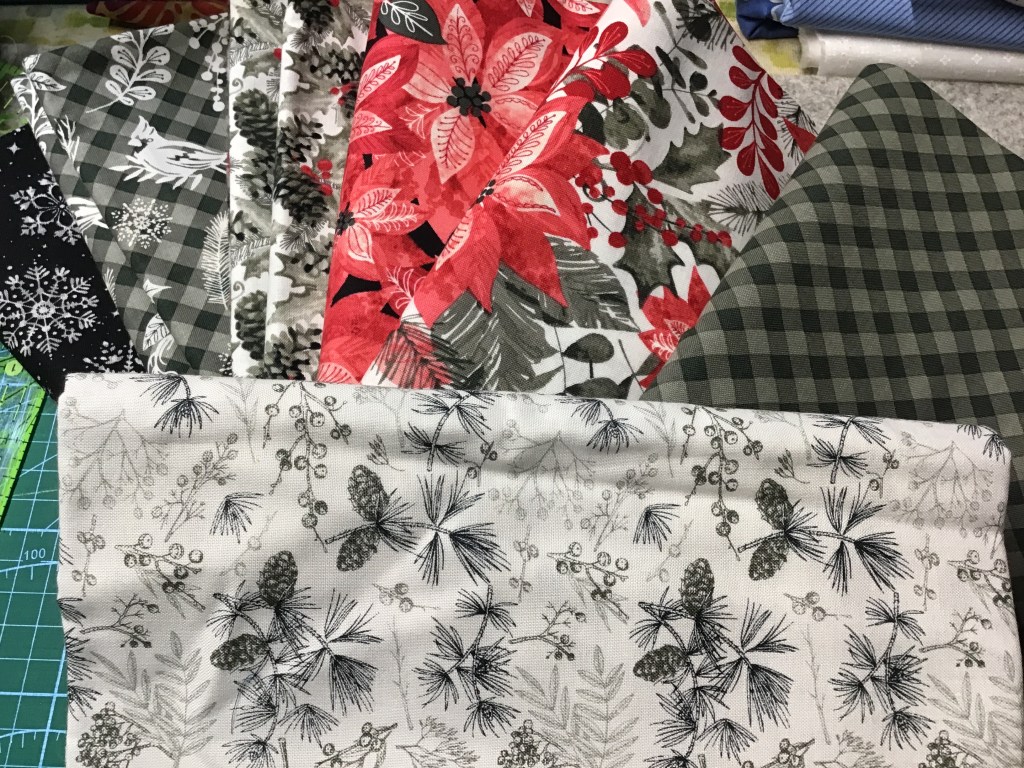
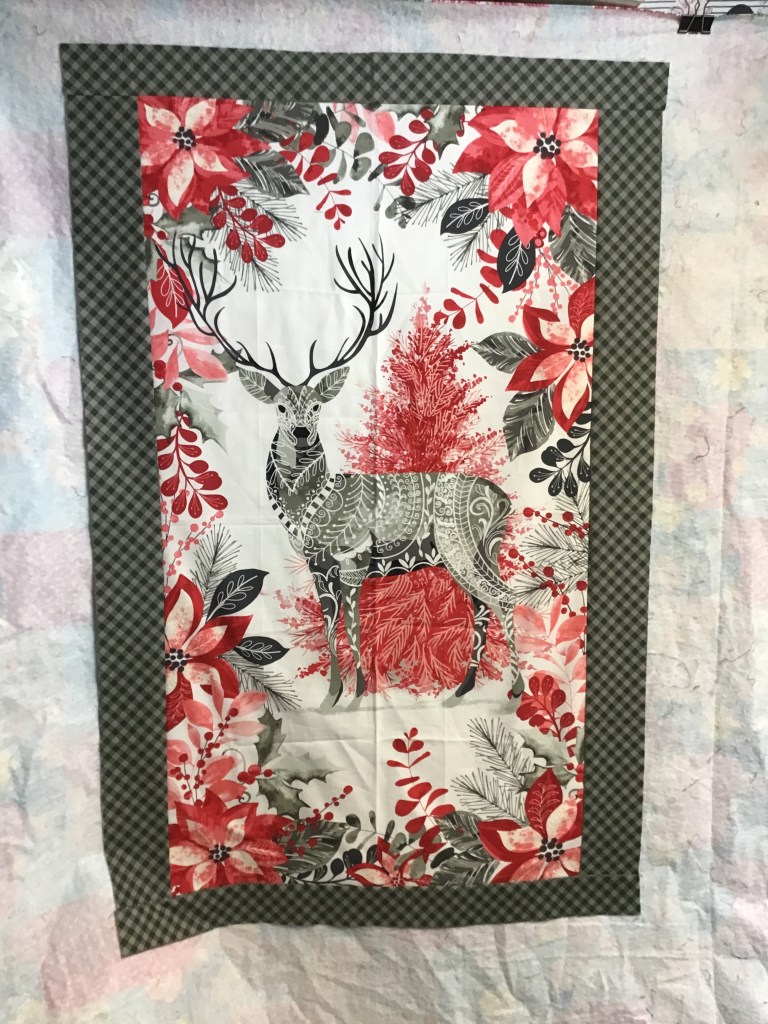
This week I’m continuing my “Christmas in July” theme. For this quilt, I’m using the new Holiday Style collection by Satin Moon for our quilting partner, Blank Quilting (in store now). This gorgeous collection is traditional (poinsettias) and modern at the same time (red, pink, black, white, and grey colorway)! Which is probably why I adore it. I’m not a huge fan of woodsy deer and bears and such, but the deer on the panel is lovely and delicate with a Scandi feel. The artwork is beautiful and invites a second and even a third look at all of the details.

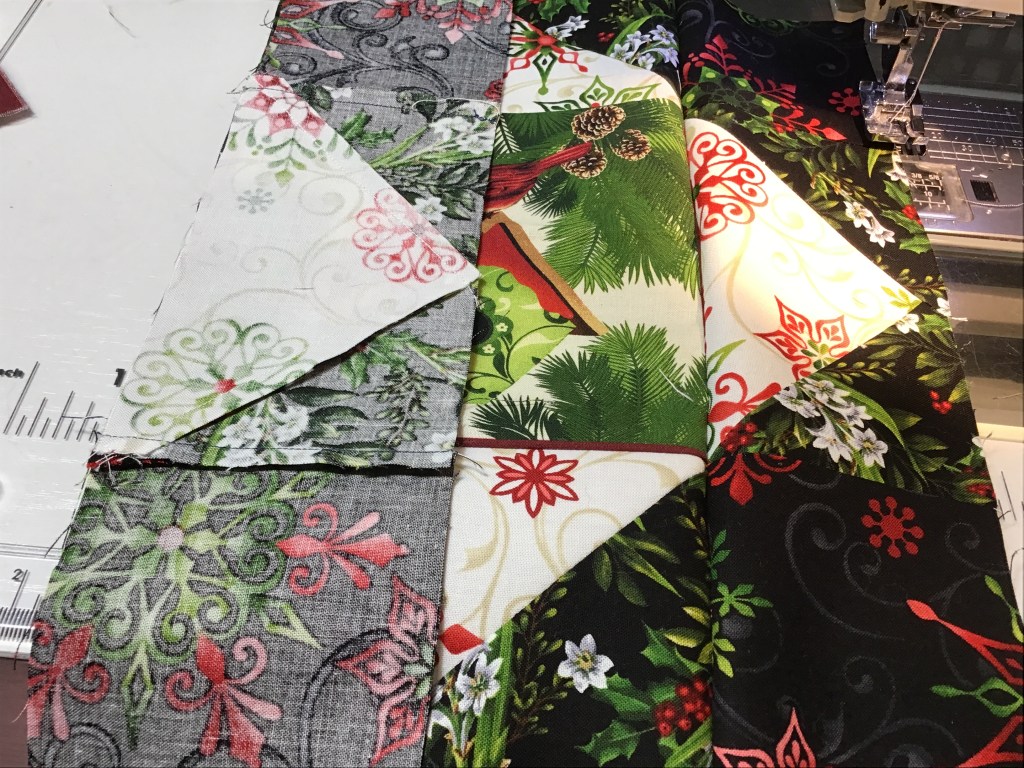
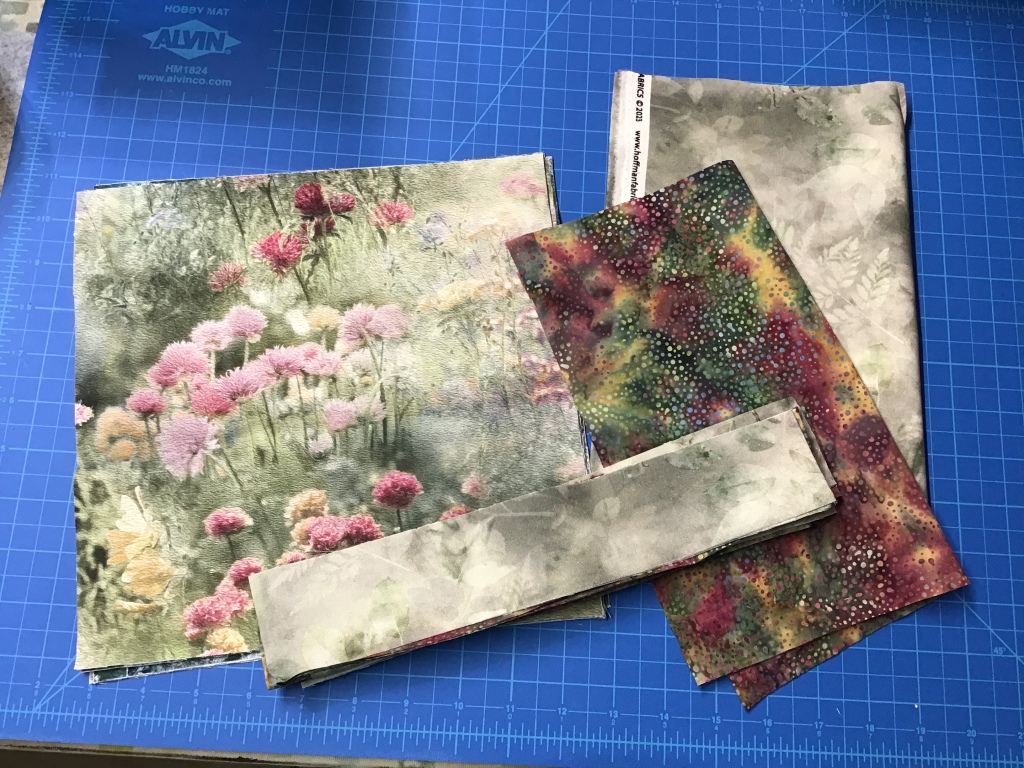
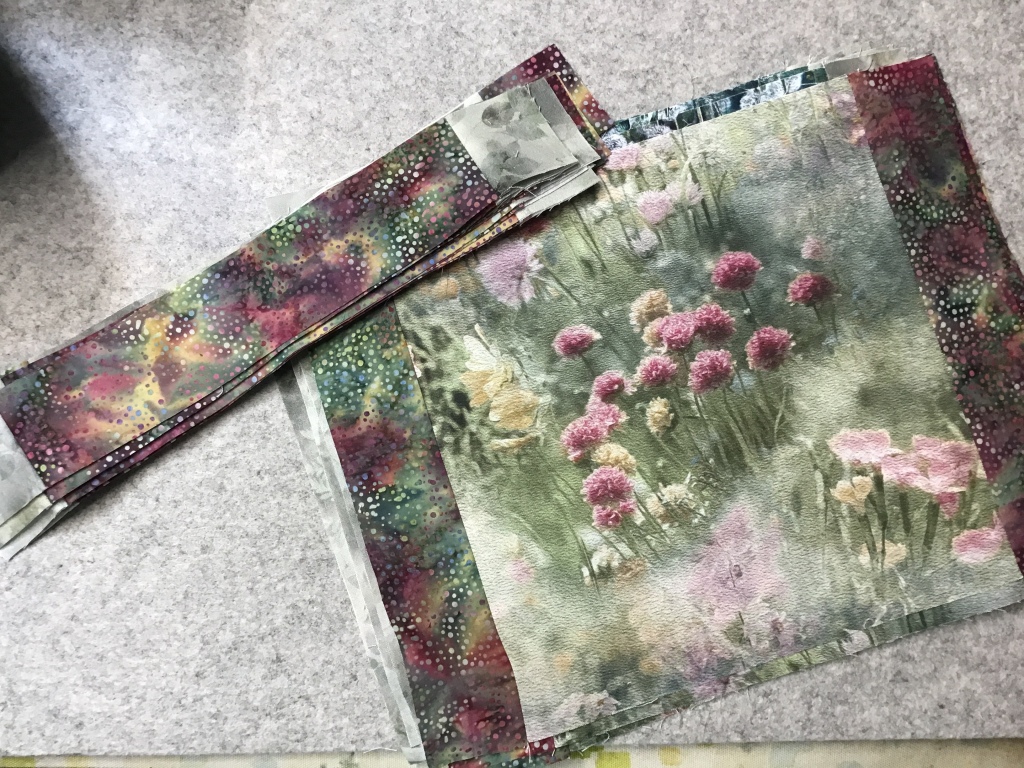
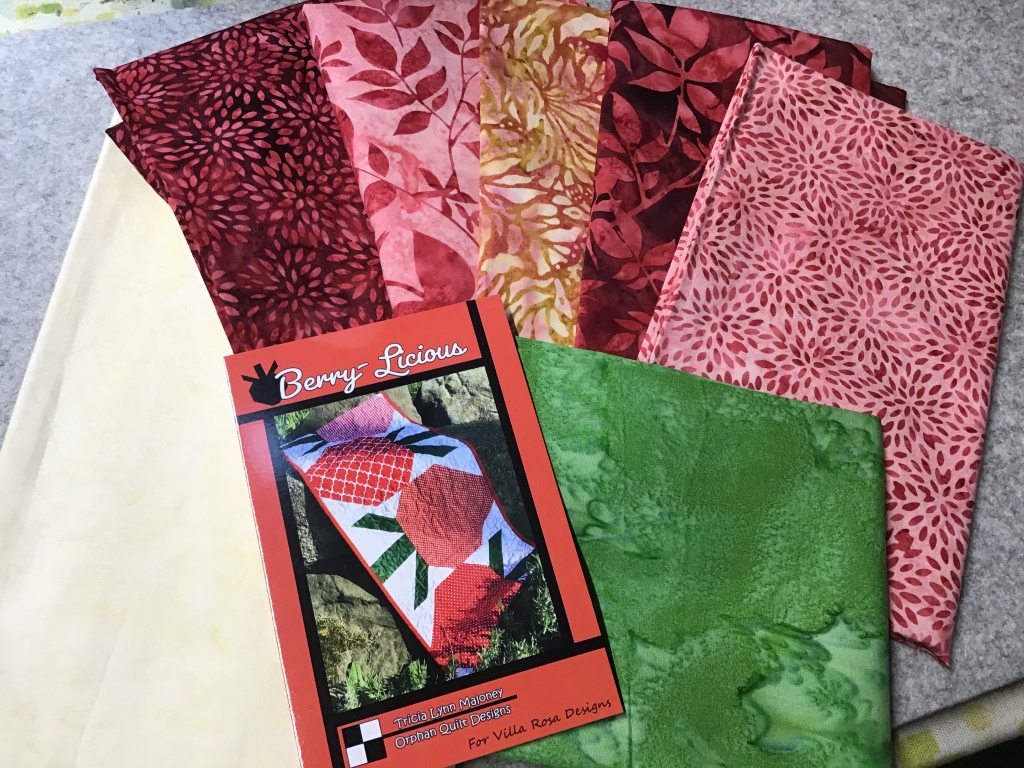
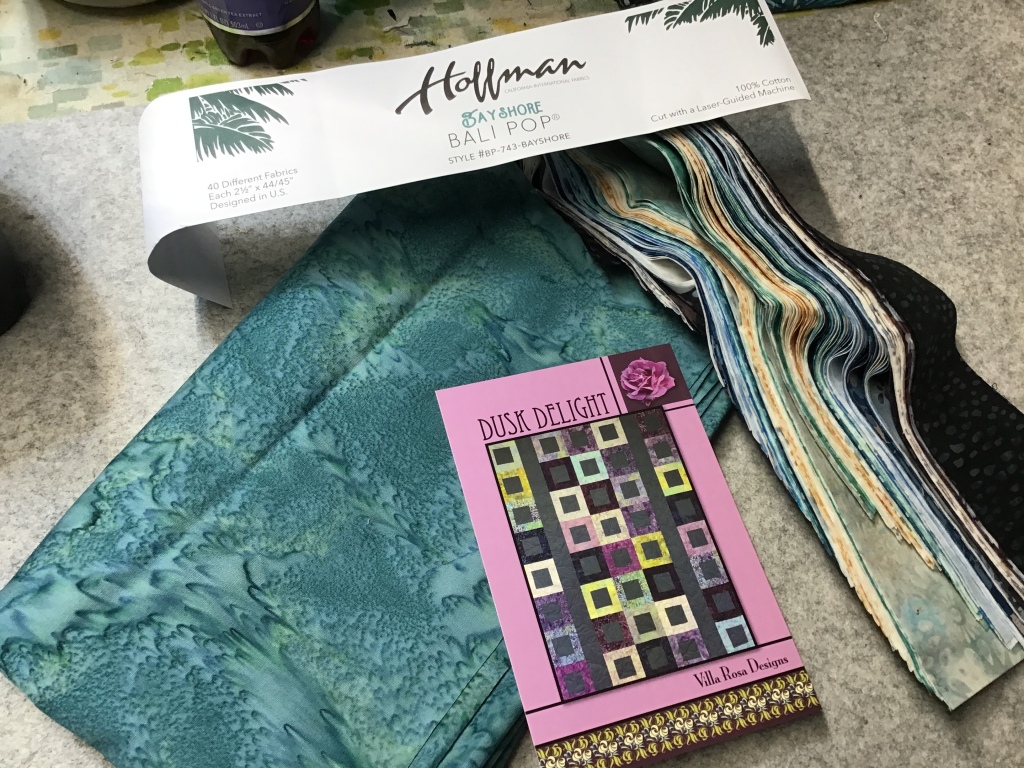
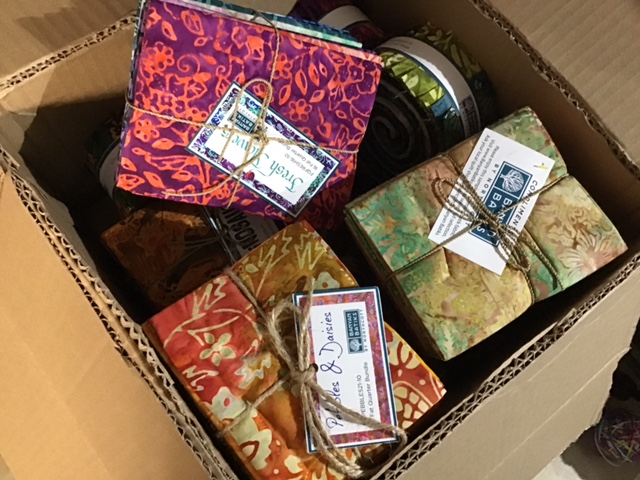
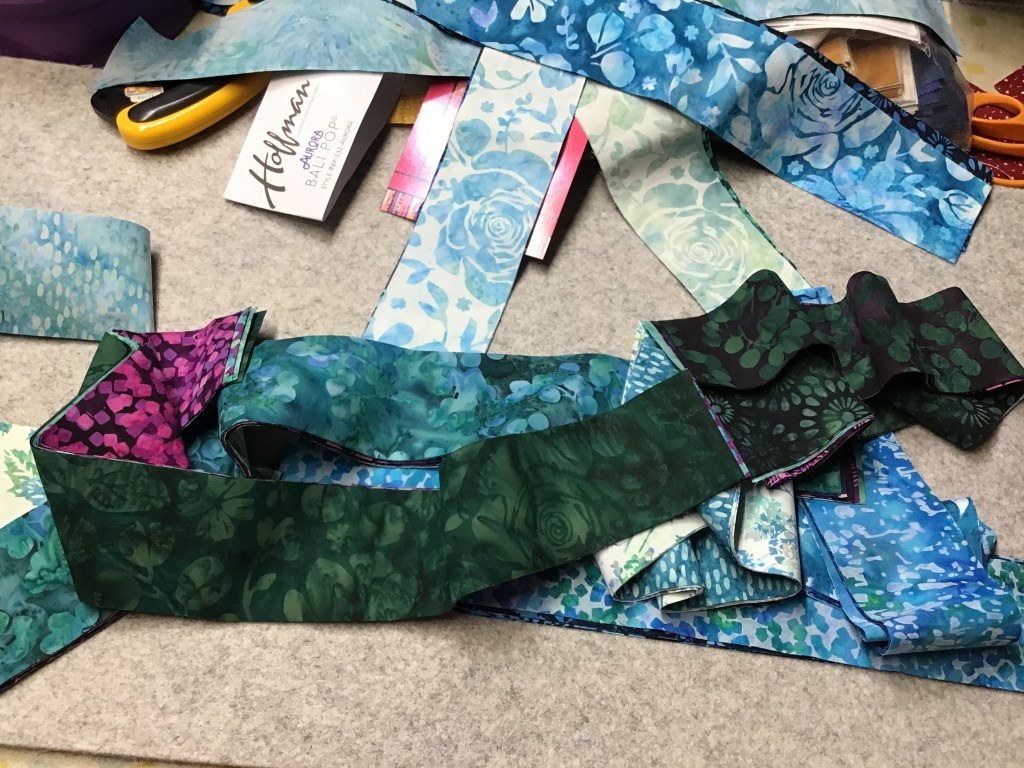
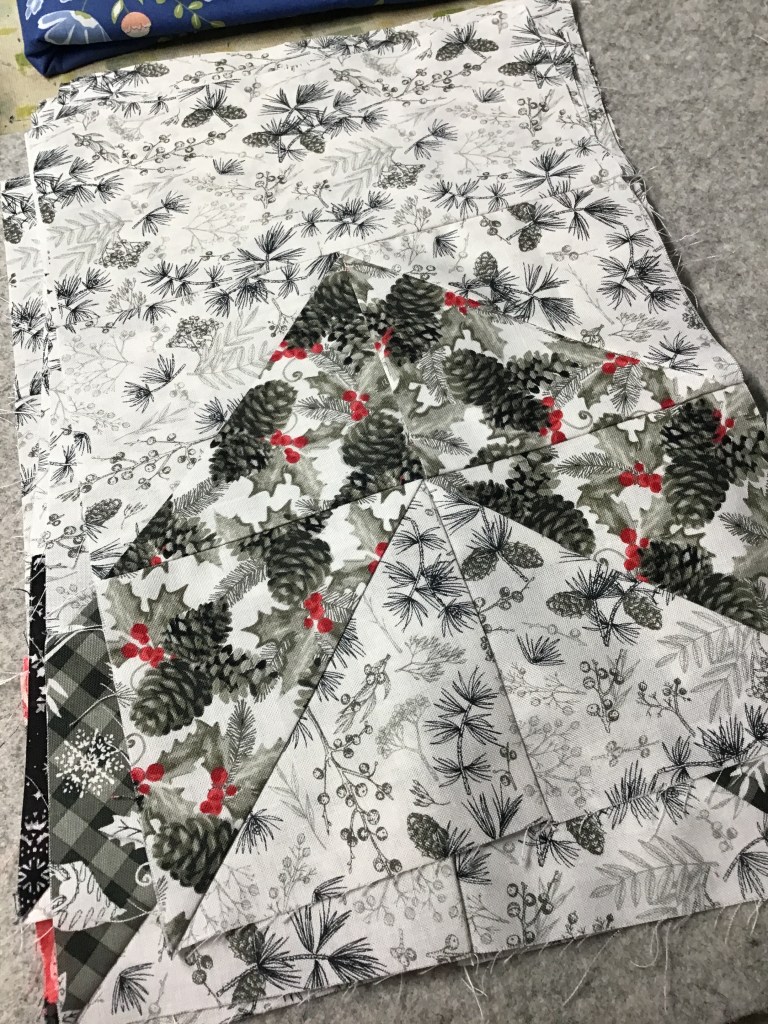
And here are the companion fabrics I’m using for 31.
Let’s get to it!
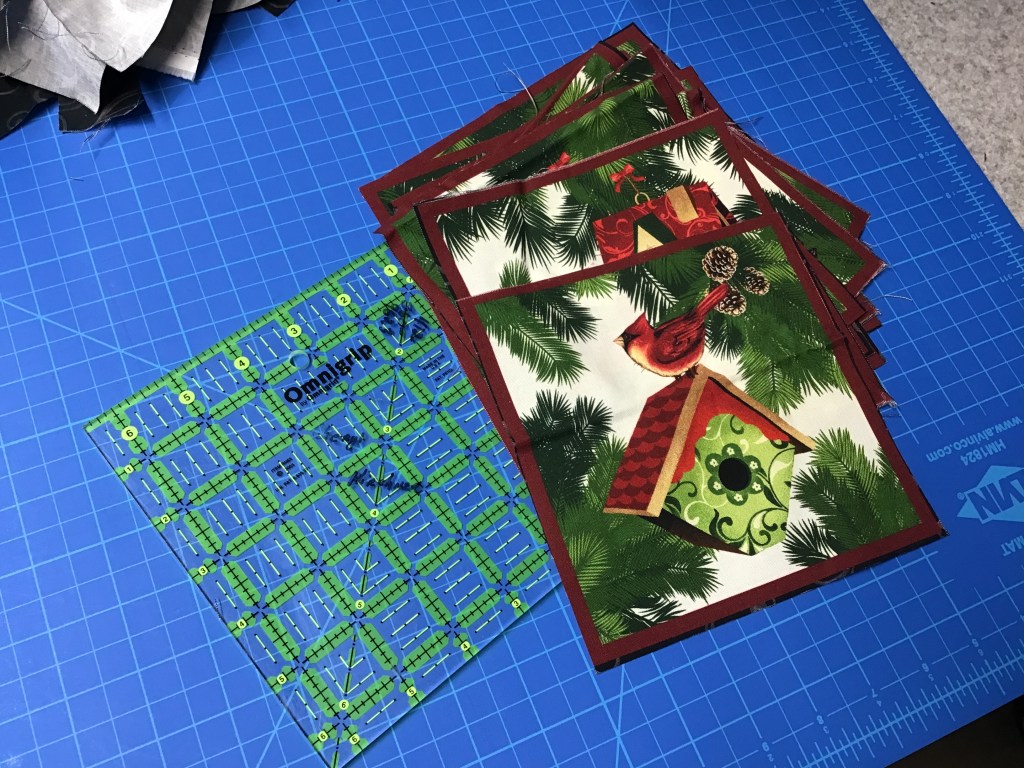
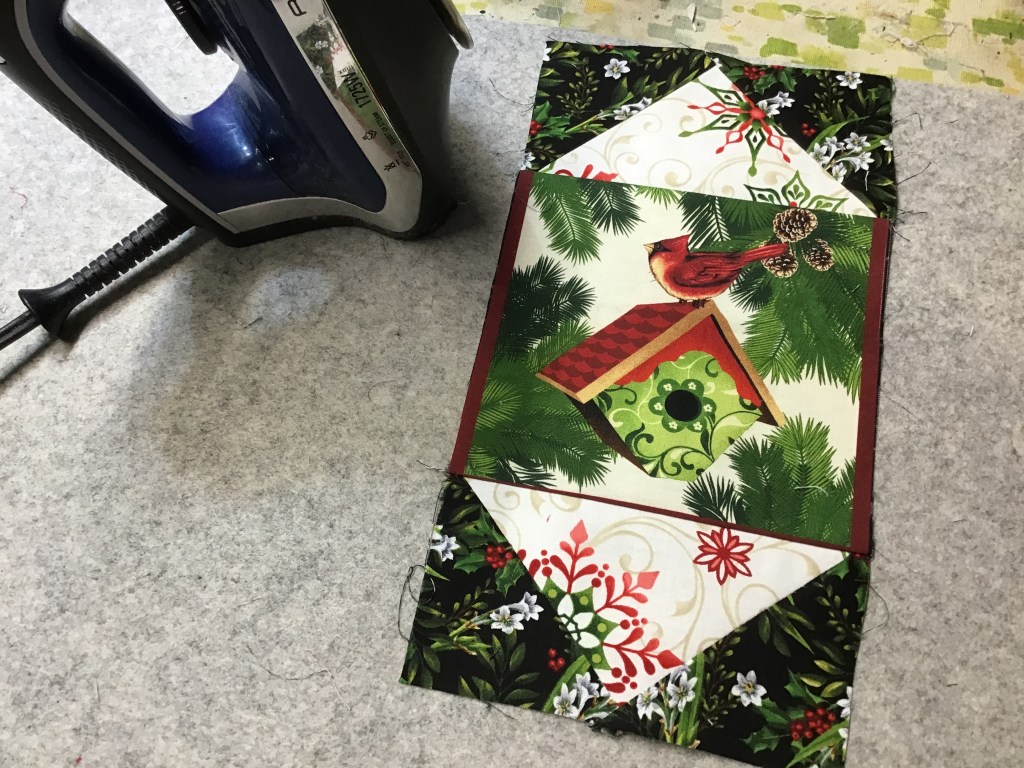
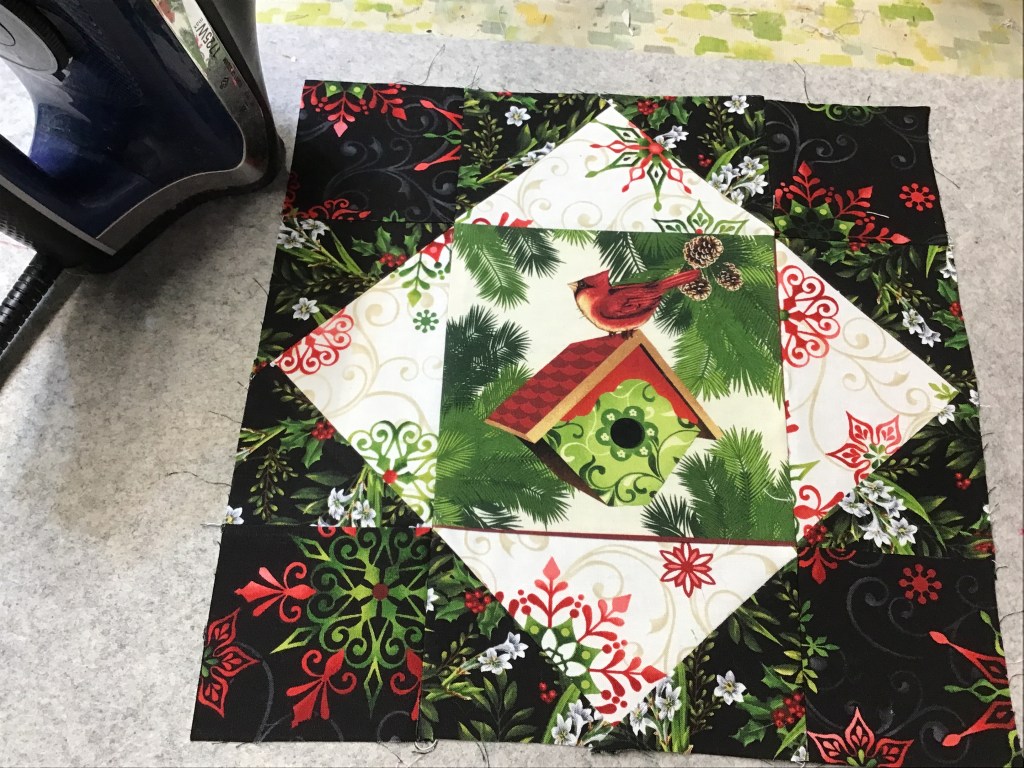
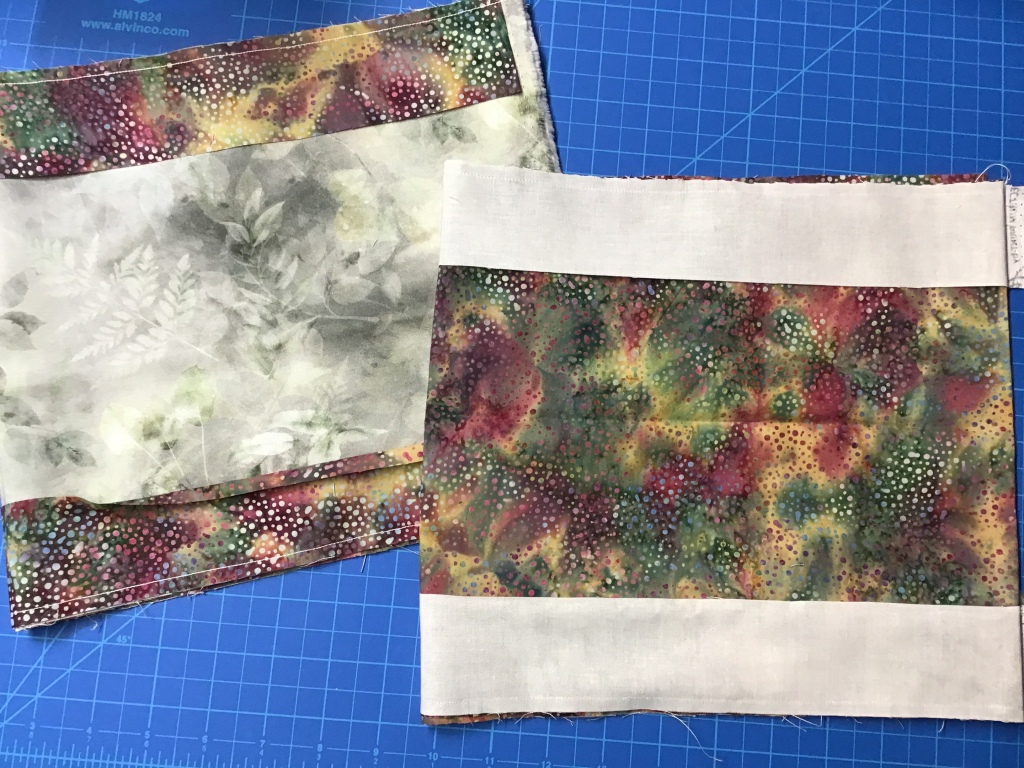
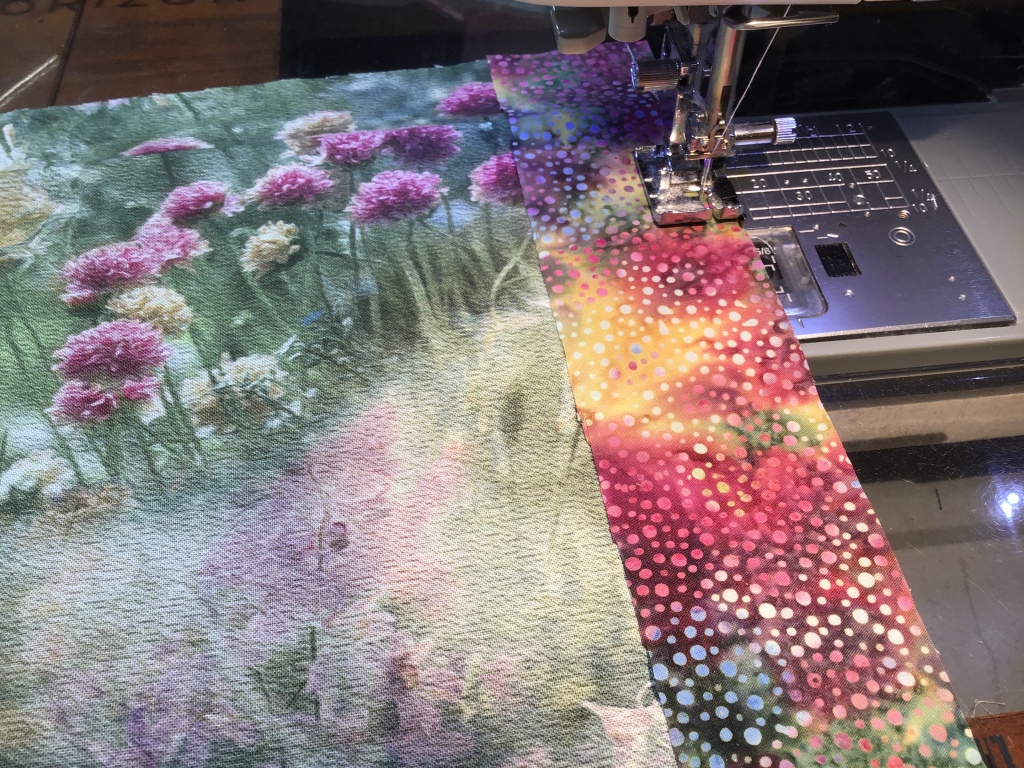
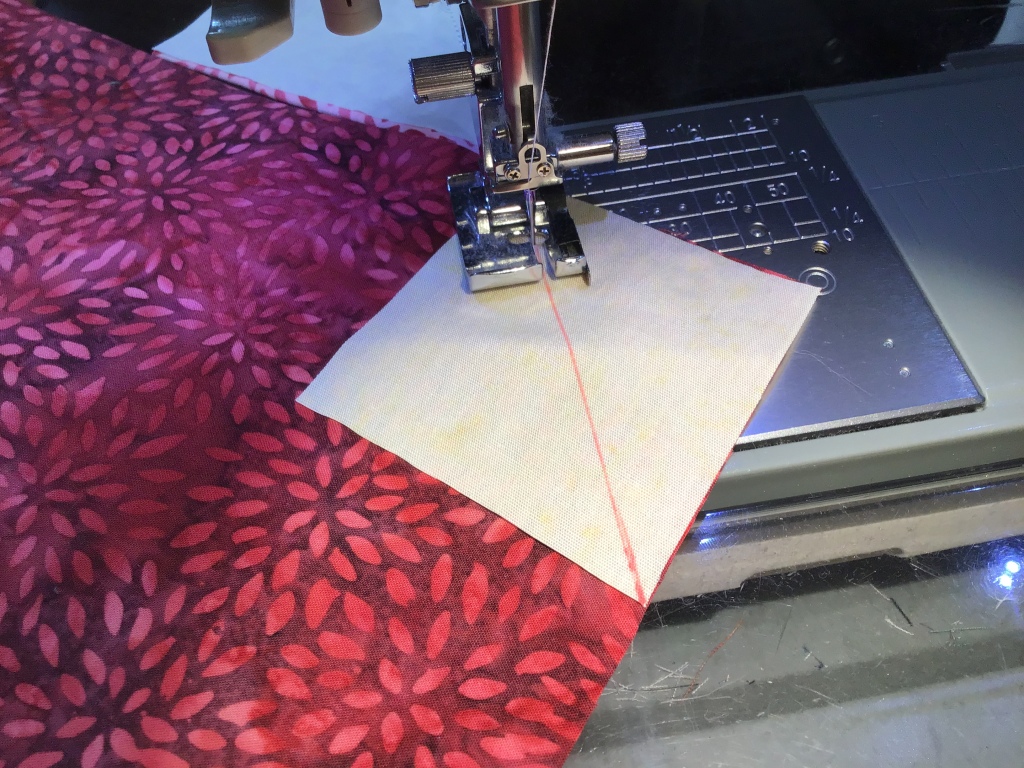
The first thing we need to do is trim the panel to the correct size. I measured my panel and decided to completely remove the printed plaid panel border and start over from scratch. The problem I ran into once I removed the outer part was that my panel ended up a bit small. But never fear — that’s an easy fix we’ll talk about in just a minute.

Now to fix the size issue — I did the math and figured out I needed to add 1/2″ to my side border strips so my panel with the border would end up the correct size. Luckily, the pattern includes the figures to guide you through trimming your panel and adding the panel border. Take your time to make sure your panel with the border will be the right size before moving on.
Please note that if your panel with the border is too small, add another narrow border and then trim it to the correct measurements. Conversely, if your panel with the border is too big, simply trim it to the correct size.
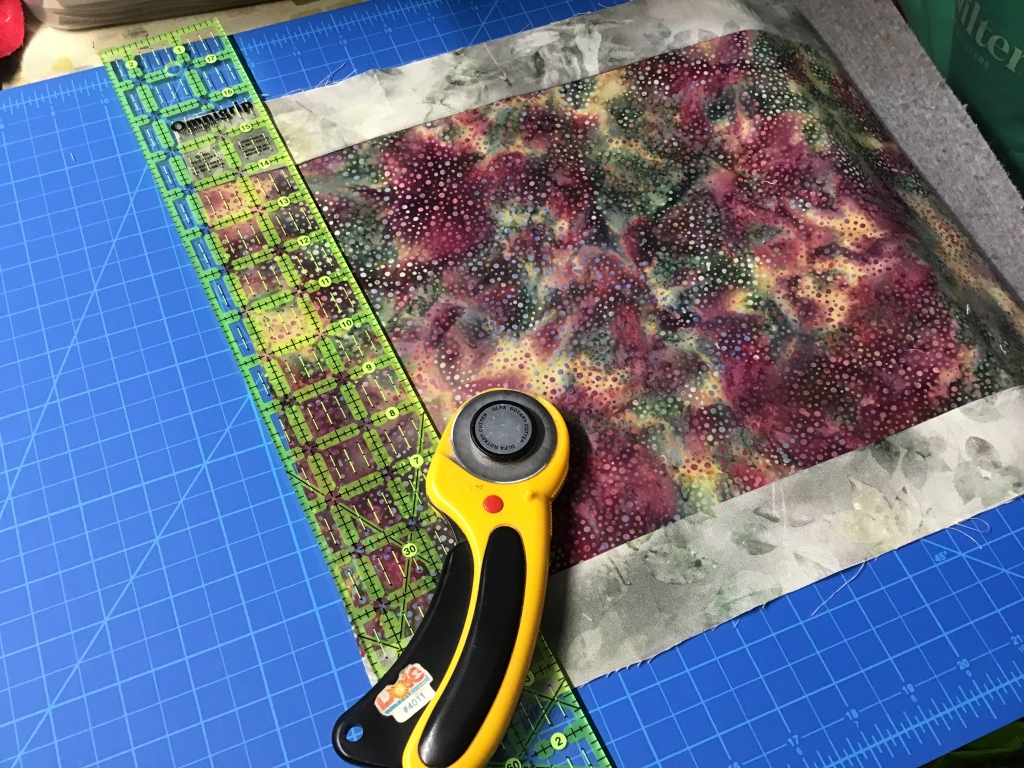
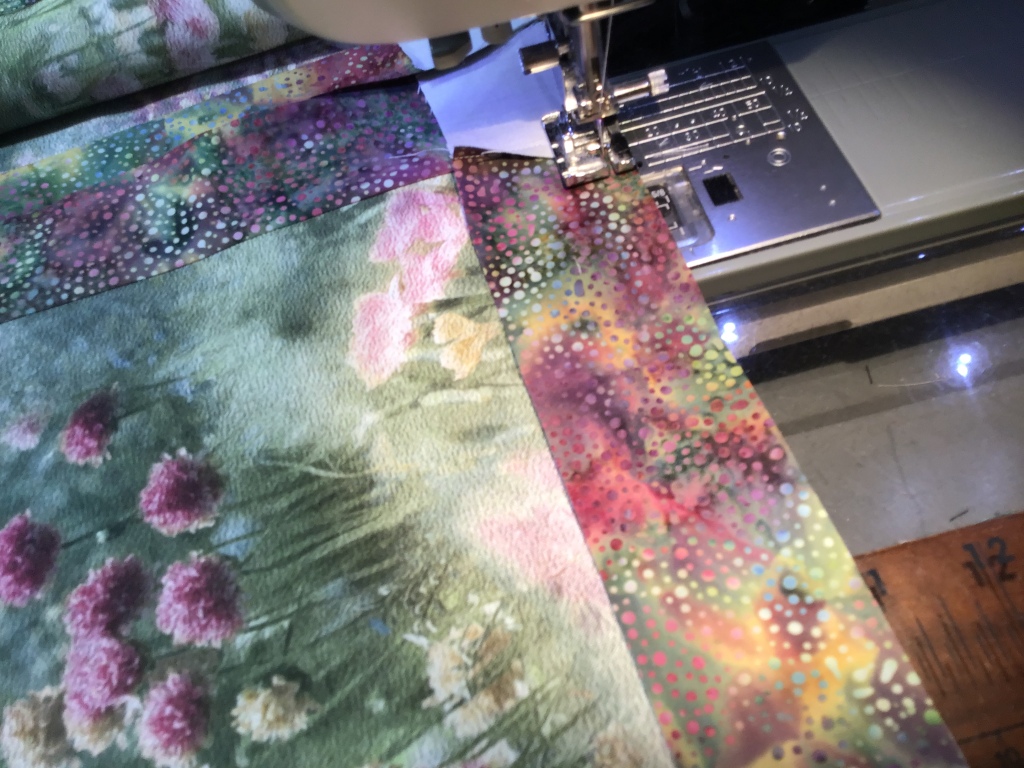
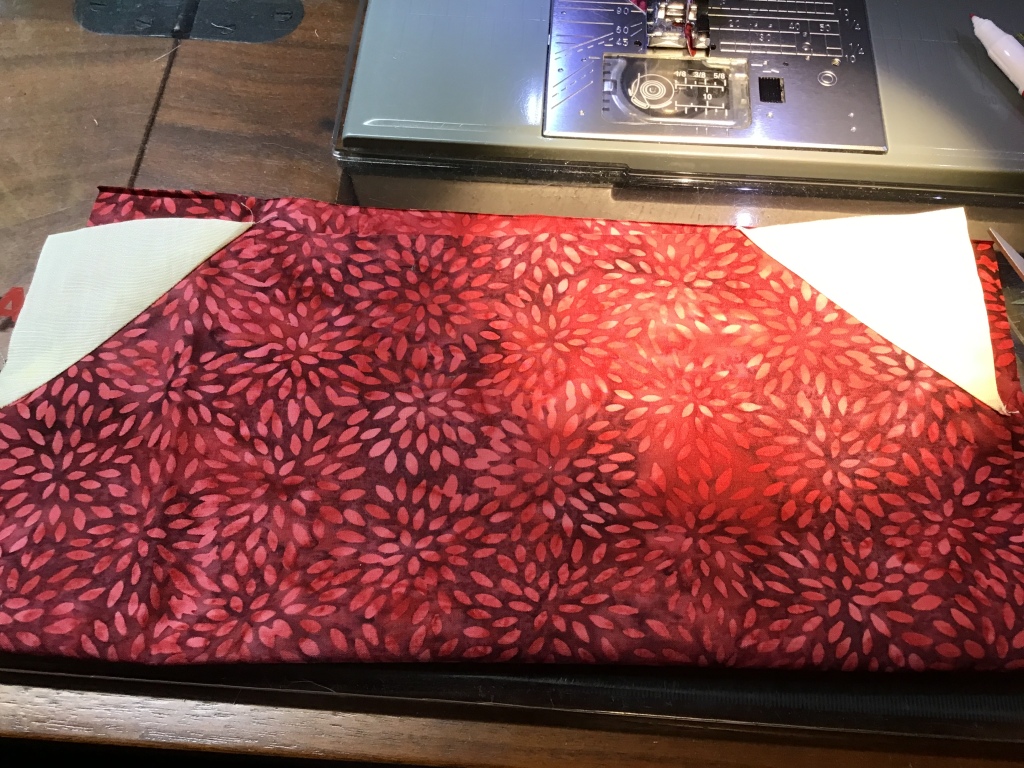
Once I figured out the math for sure, then I cut my borders. I thought it was kind of funny to cut off the grey plaid on the panel only to replace it with a grey plaid border. Silly me, but now the math works out just right.

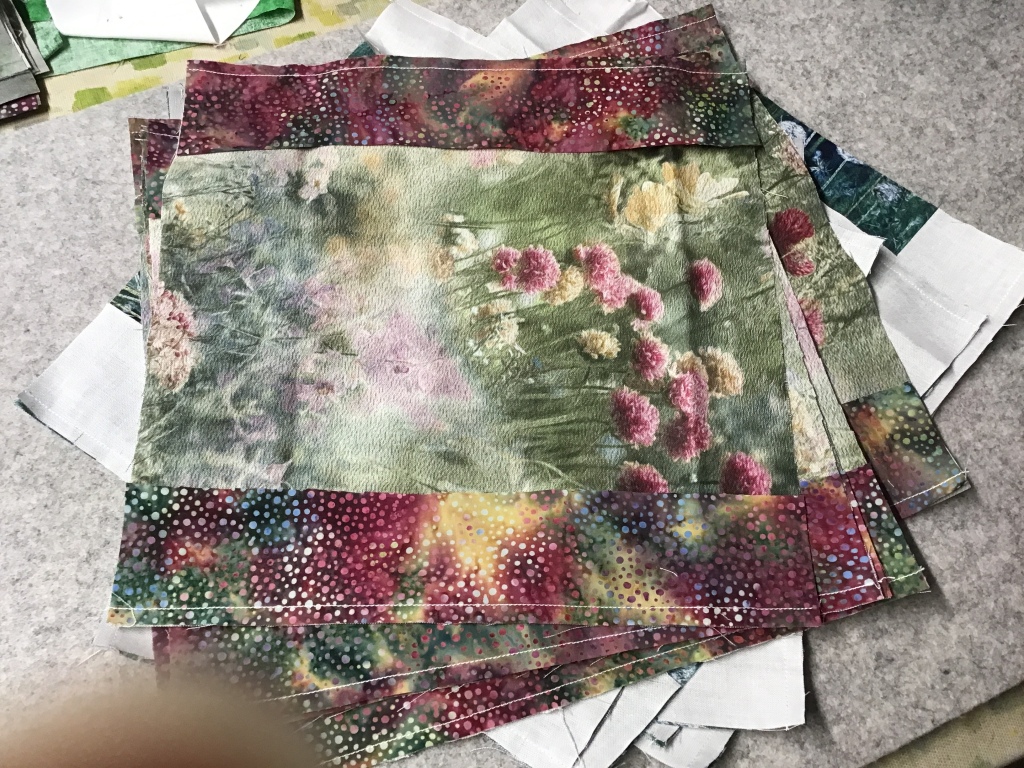
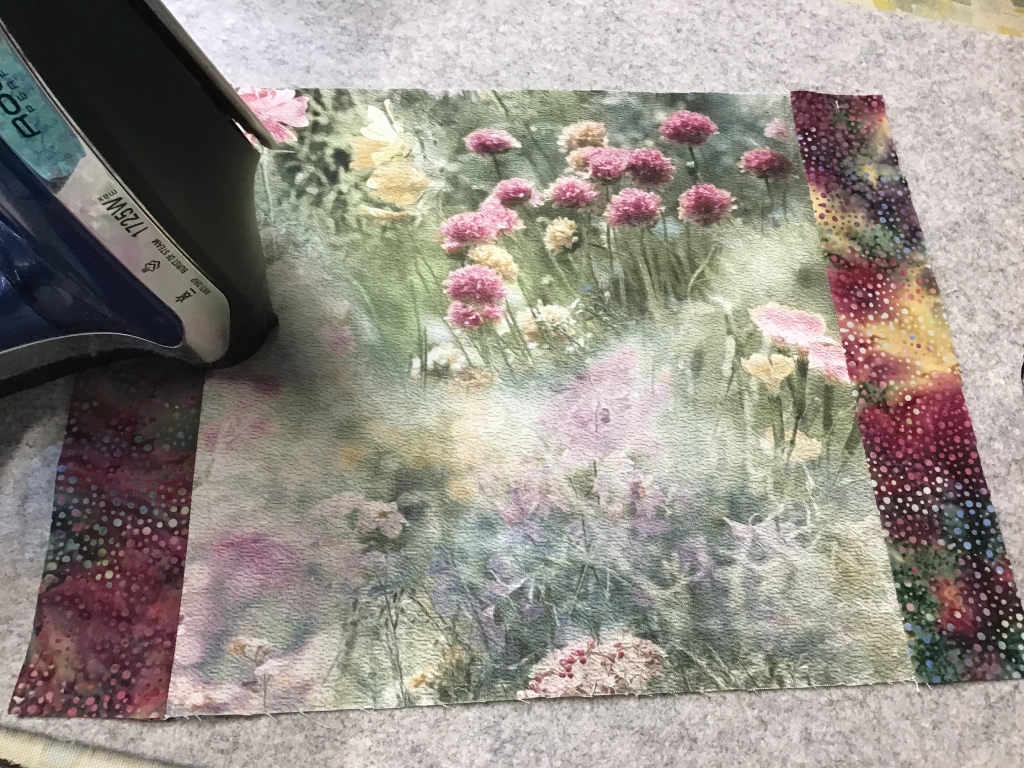
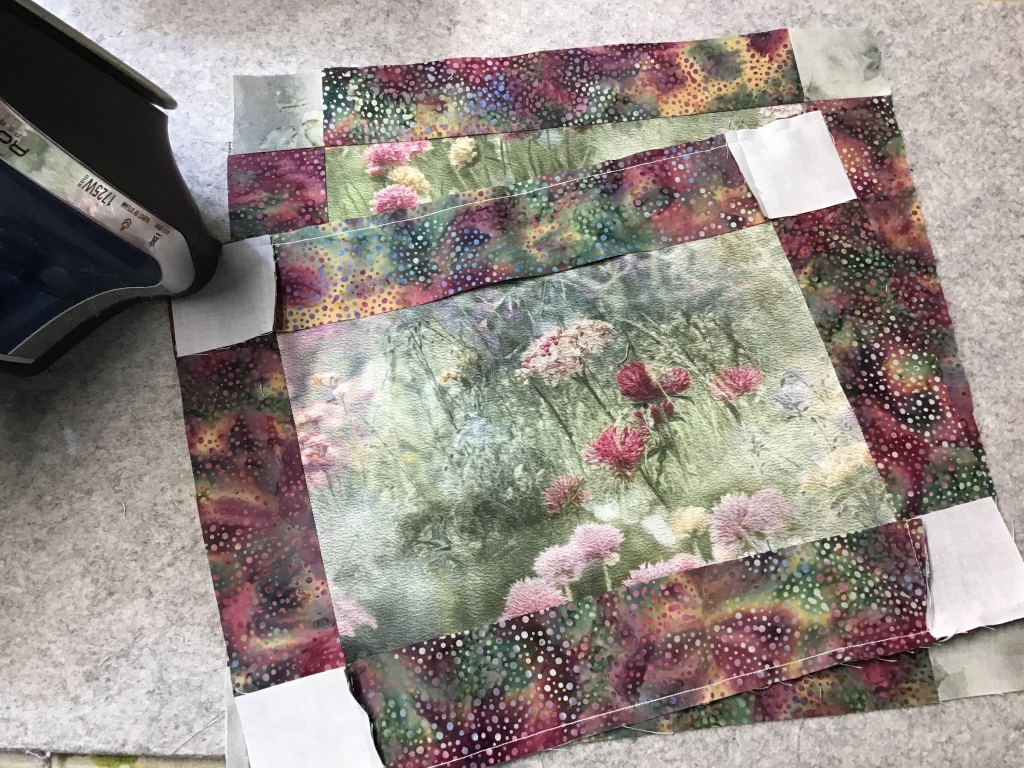
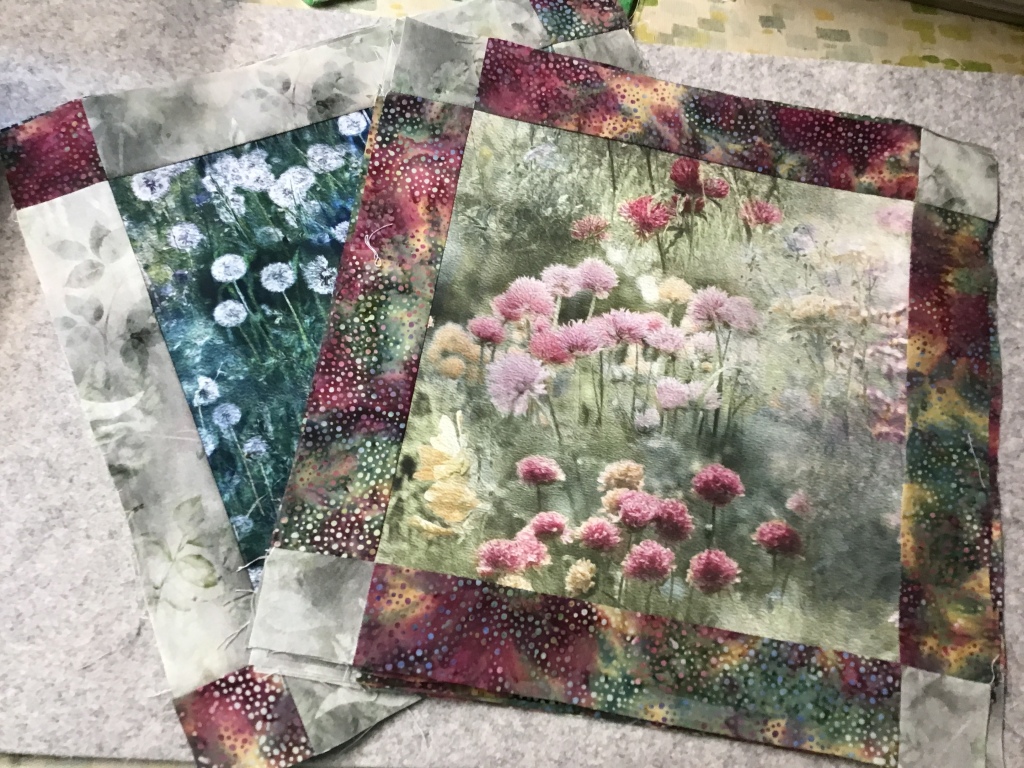
I sewed my side borders on first and then I sewed my top and bottom borders to the panel after that. And PRESTO! My framed panel was exactly the right measurement because I took the time to figure it out before I cut and sewed. Yay me!

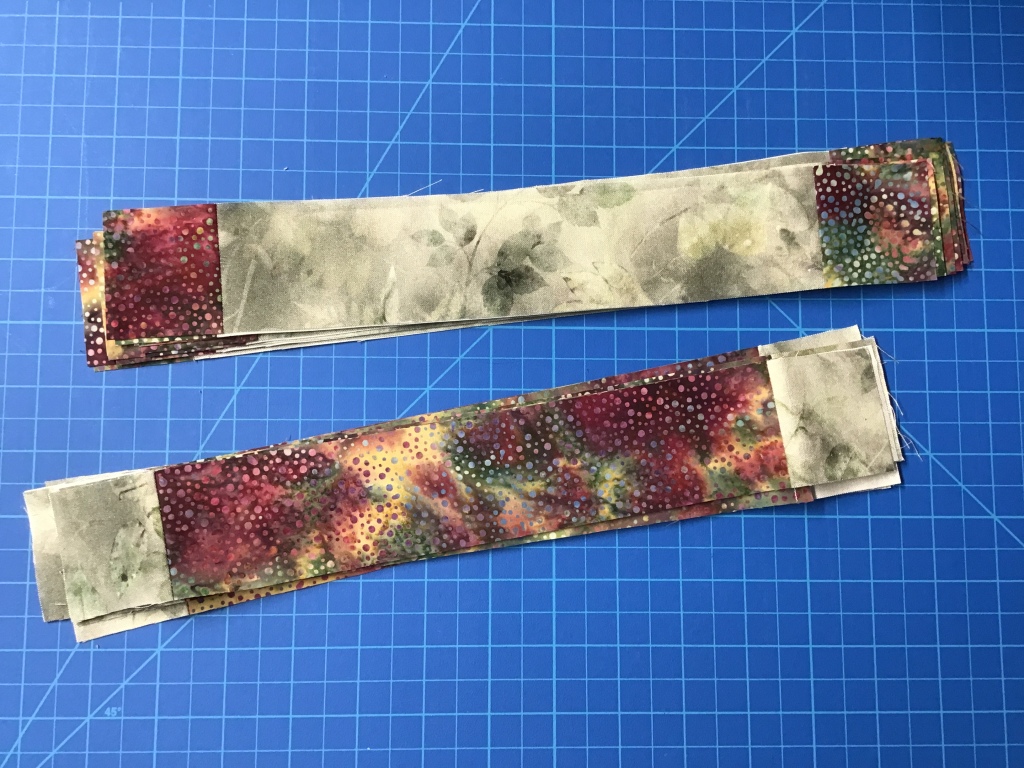
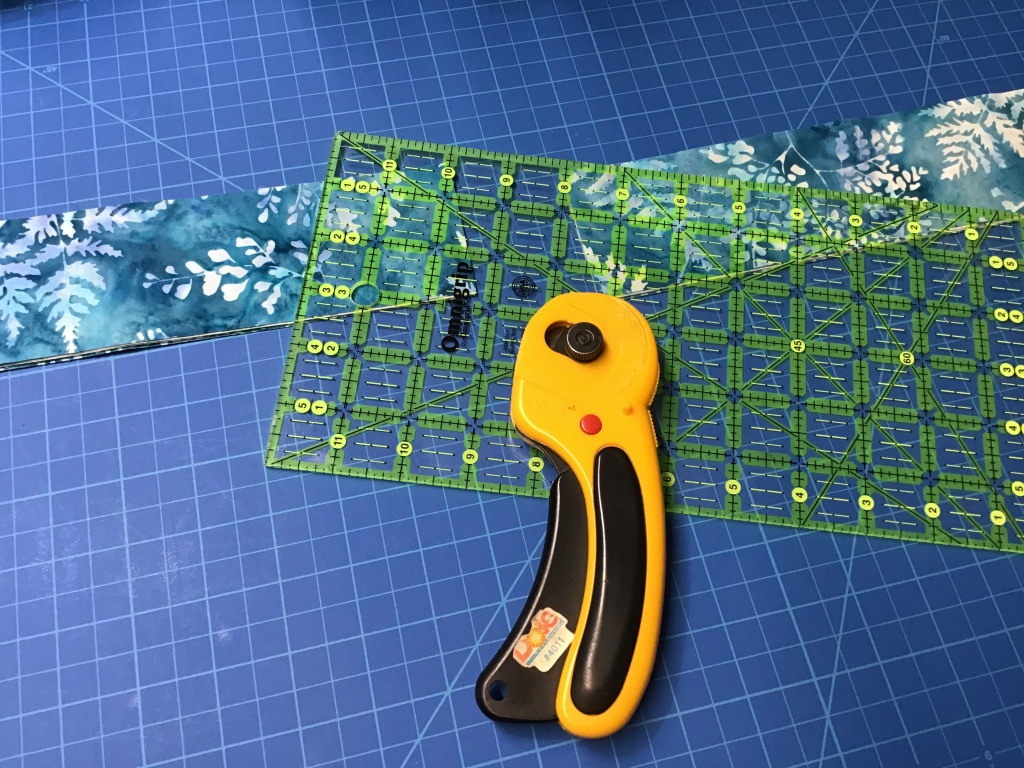
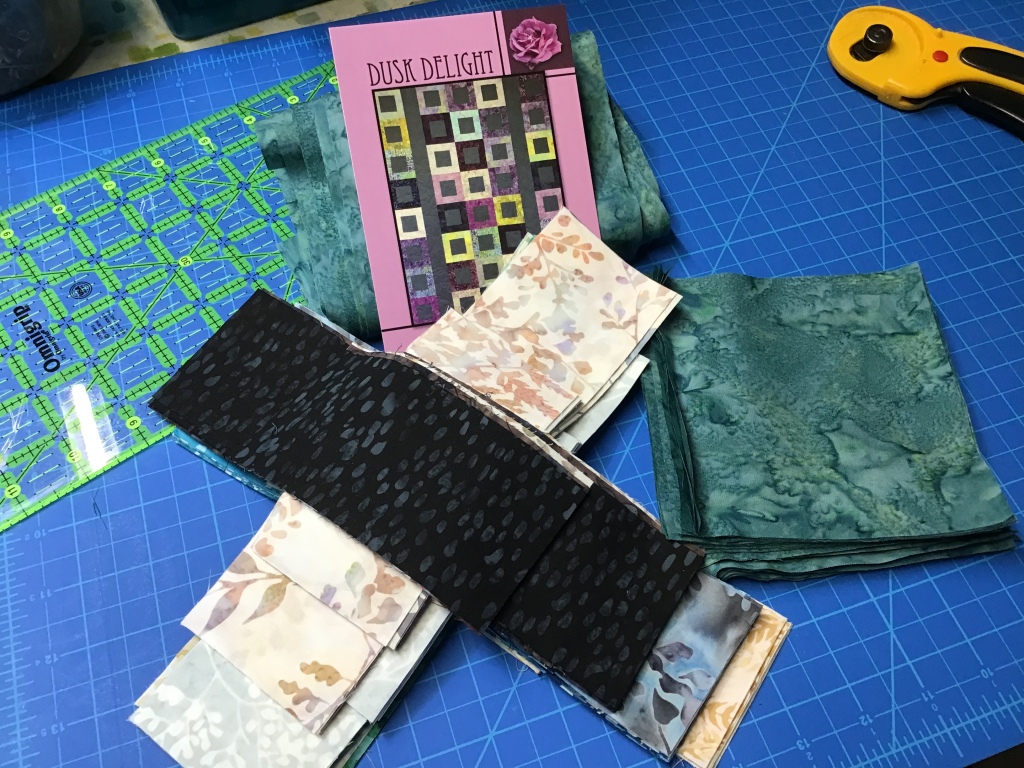
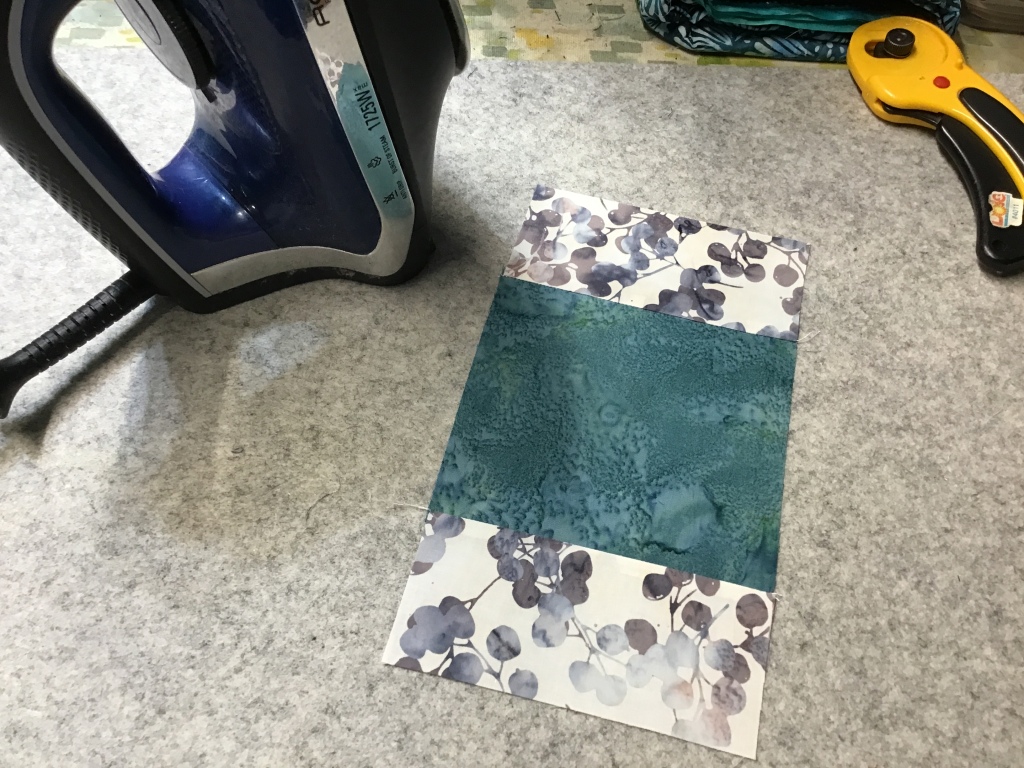
Now let’s cut the rest of the fabric for the quilt.
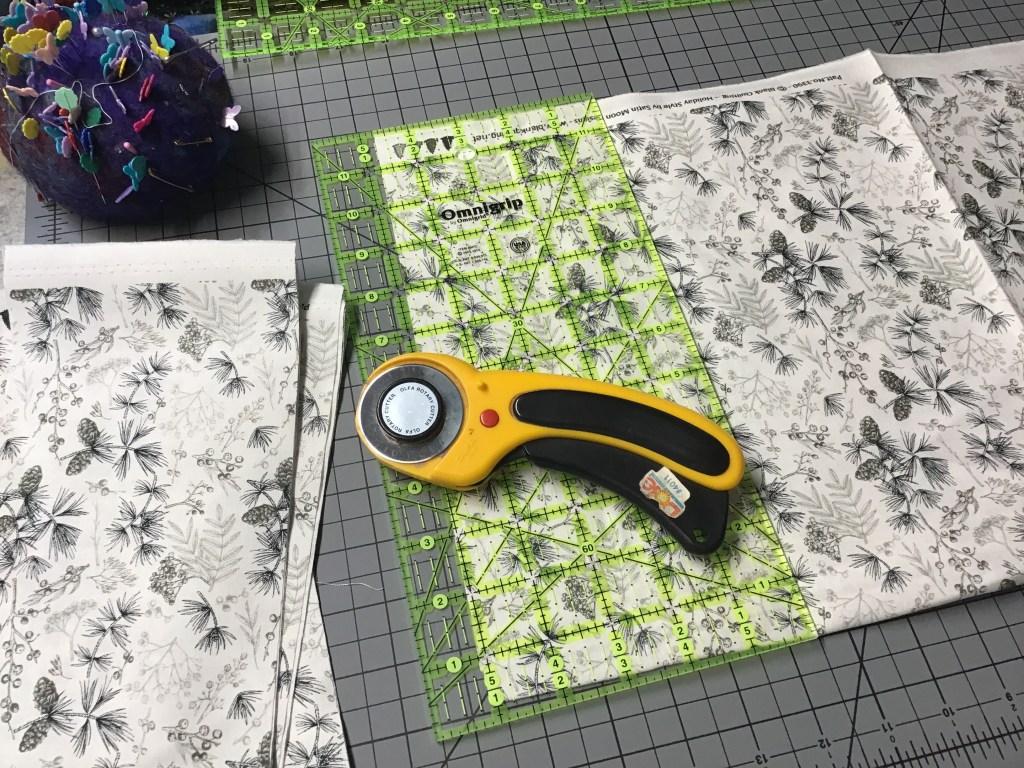
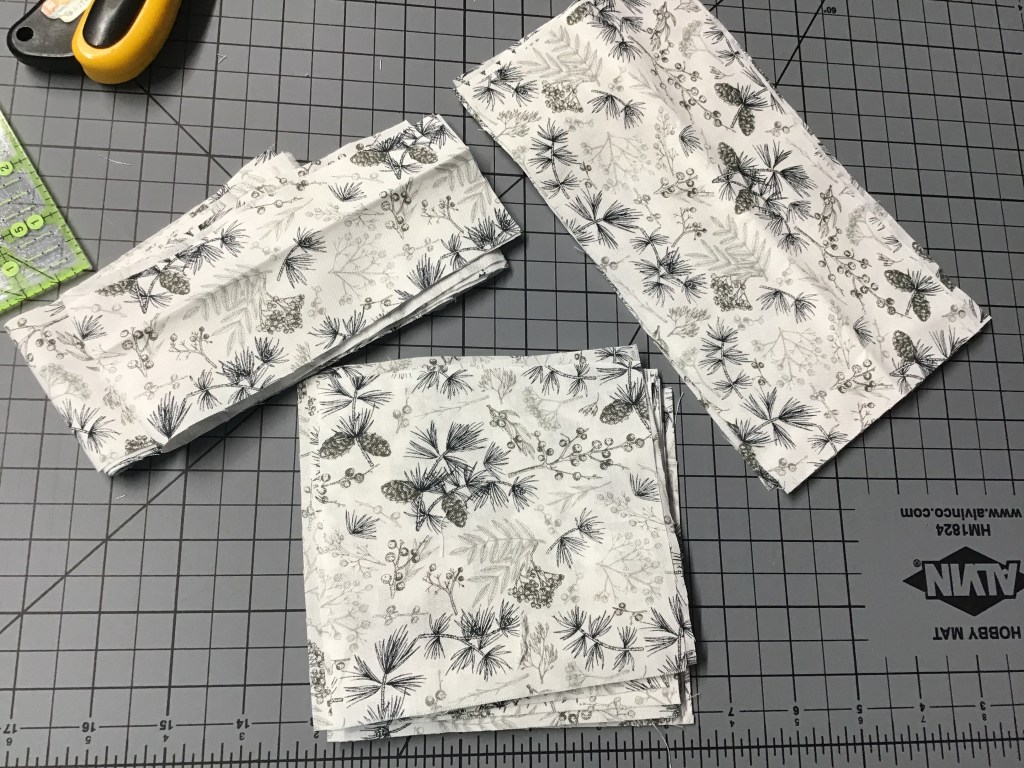


All set! Background and prints are cut and we’re ready to move on.
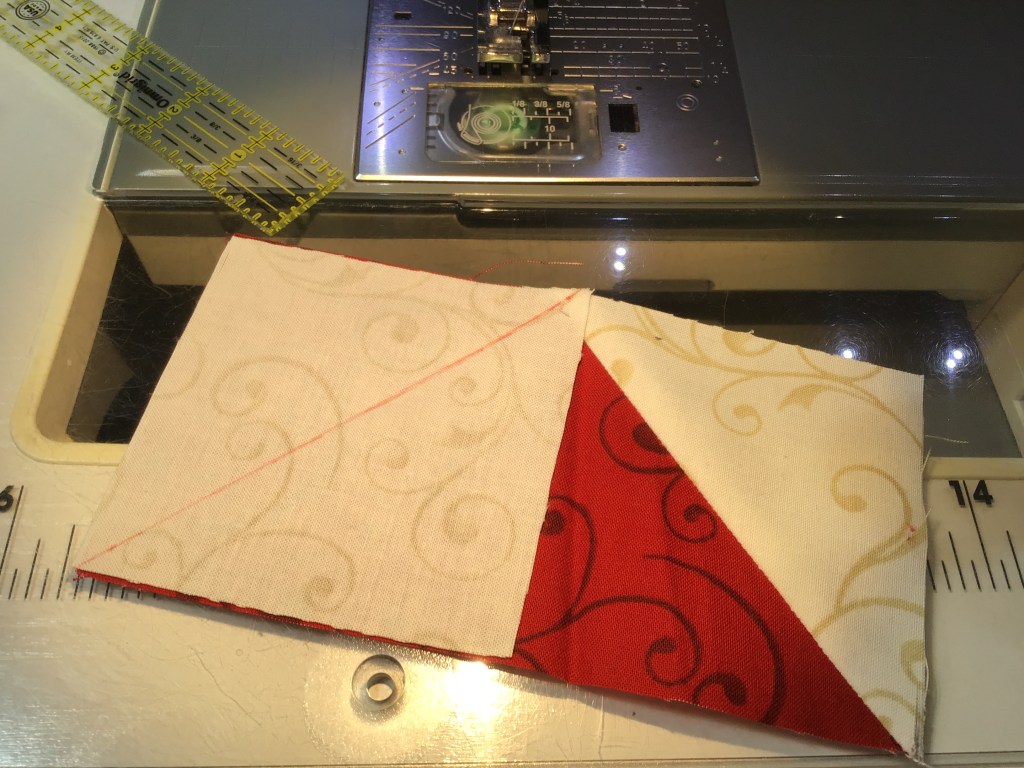
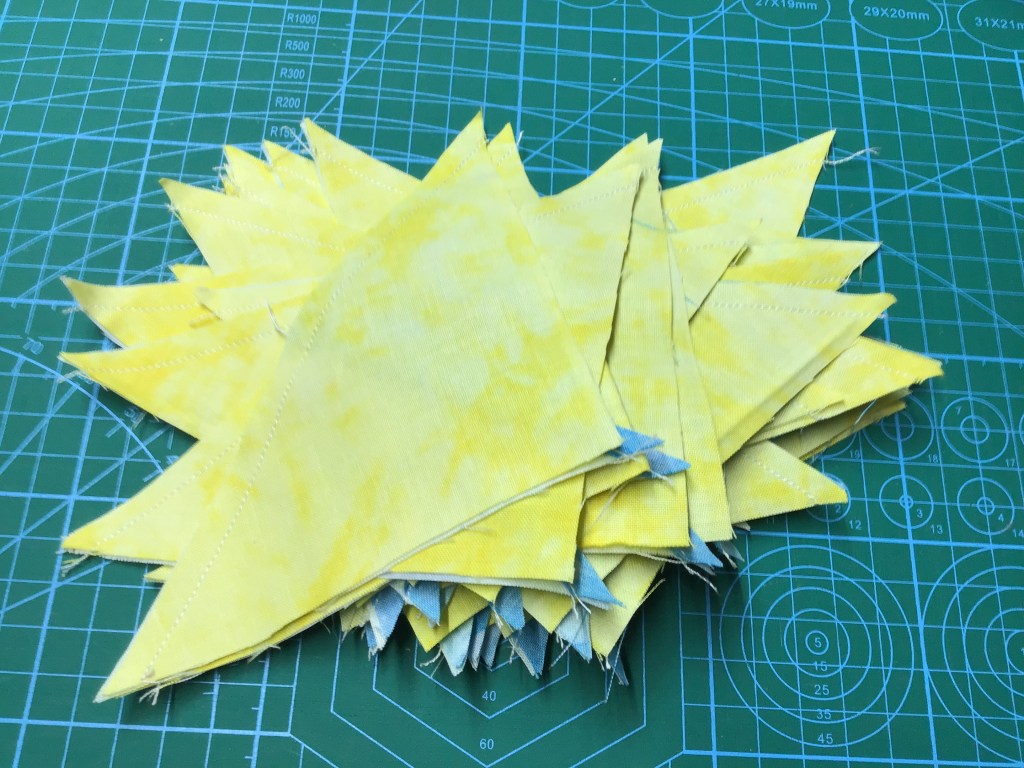
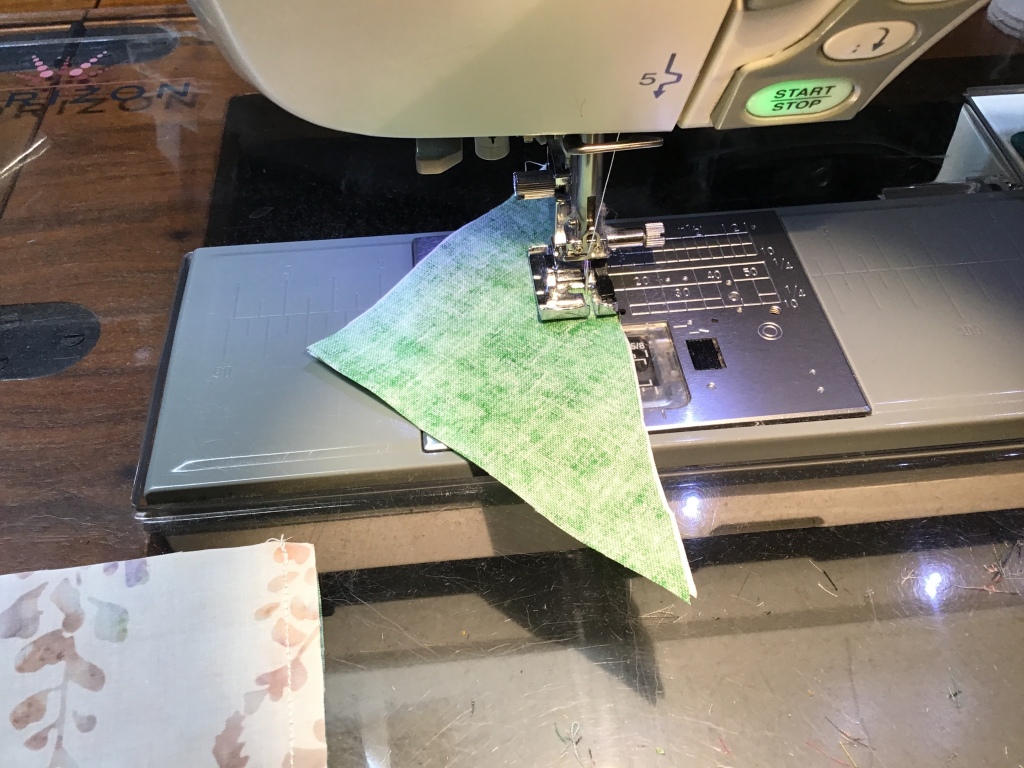
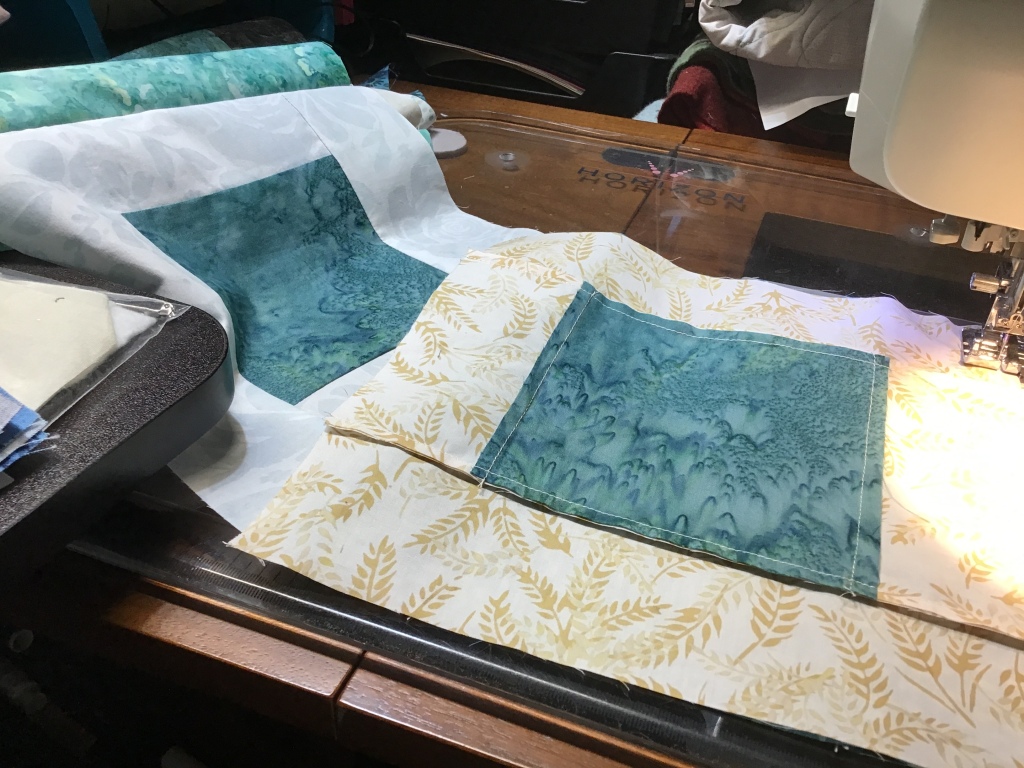
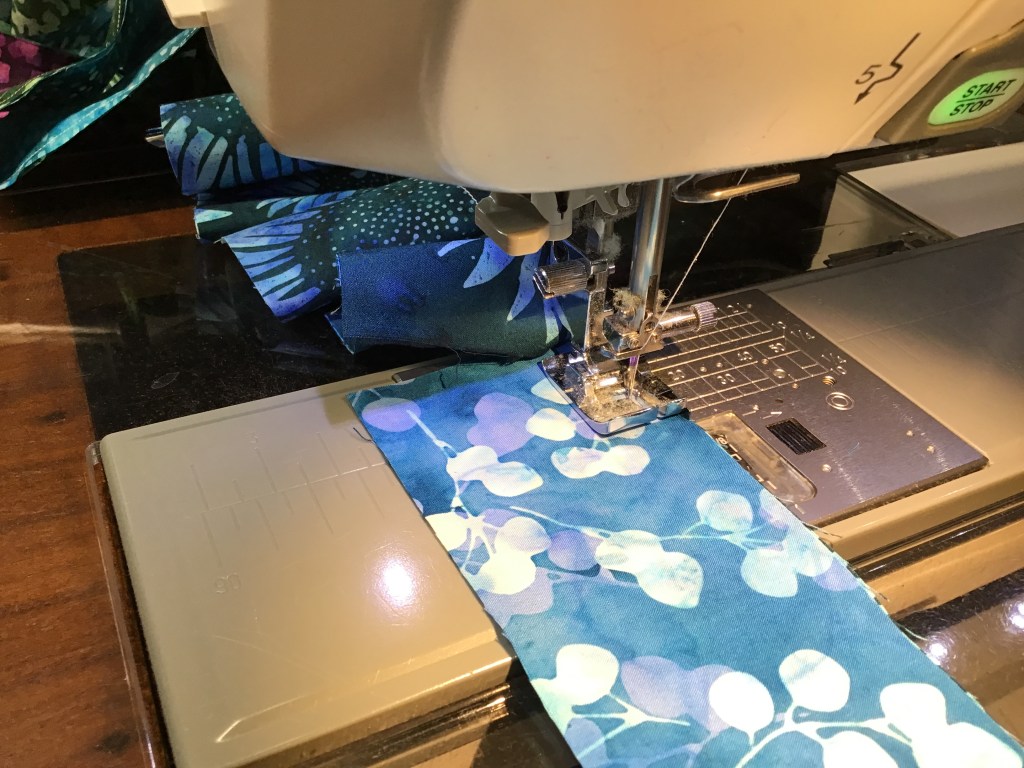
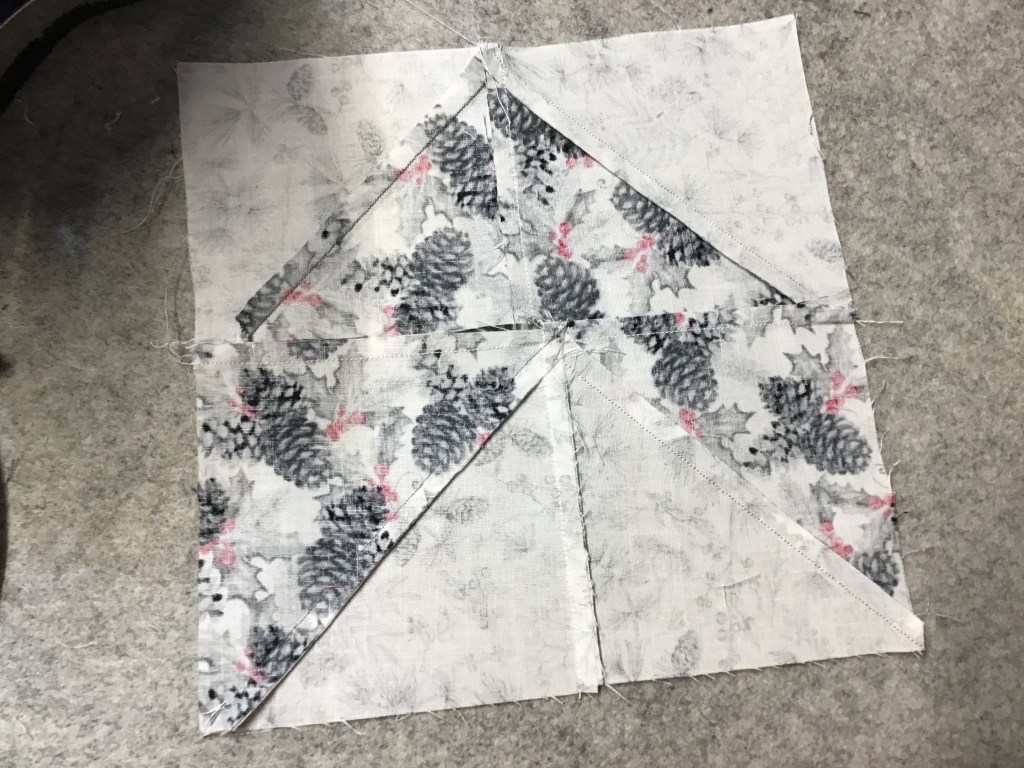
Time to make some Half Square Triangles (HSTs)! Believe it or not, but I really like making HSTs — probably because they are building blocks for so many different quilt block patterns.
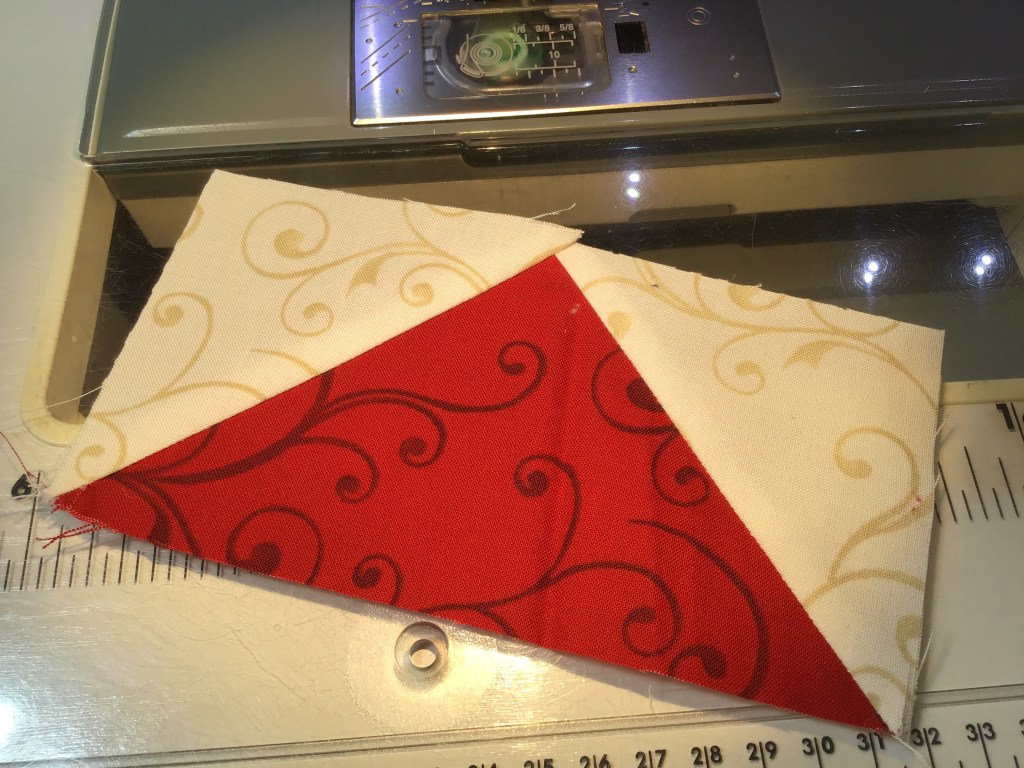
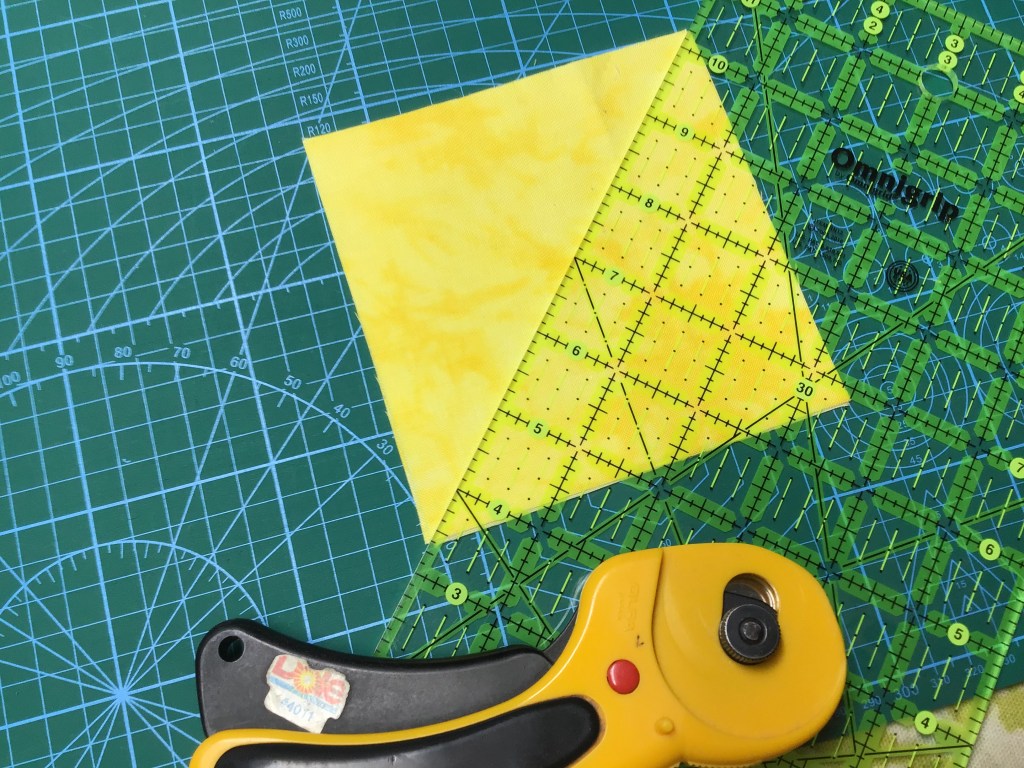
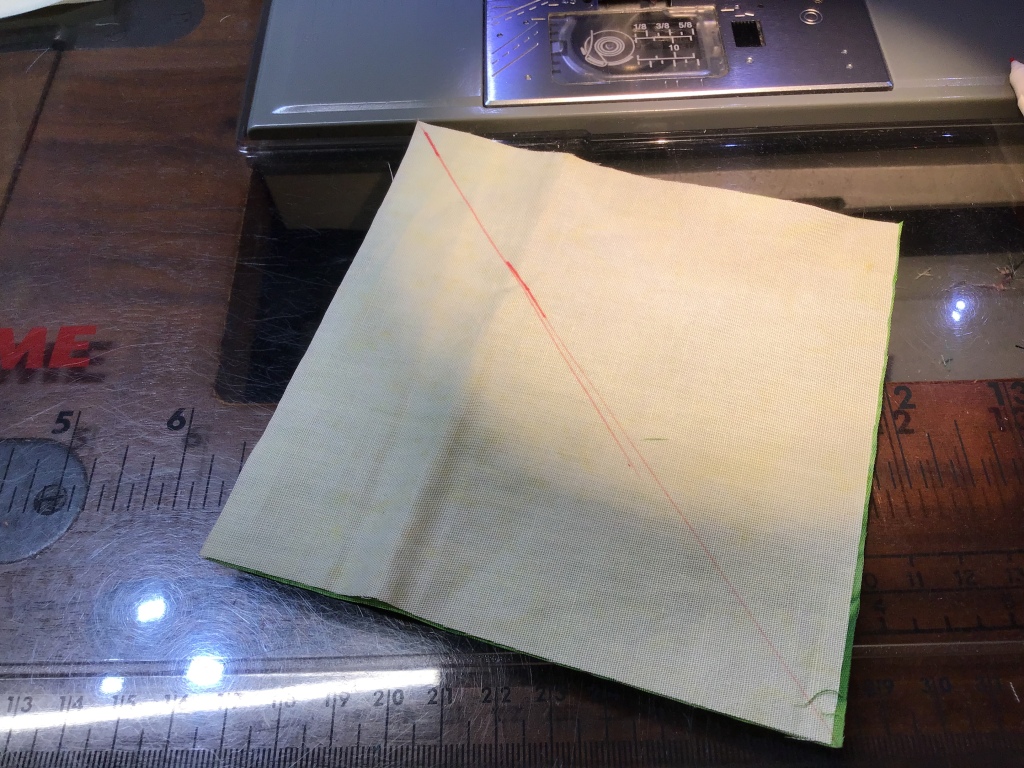
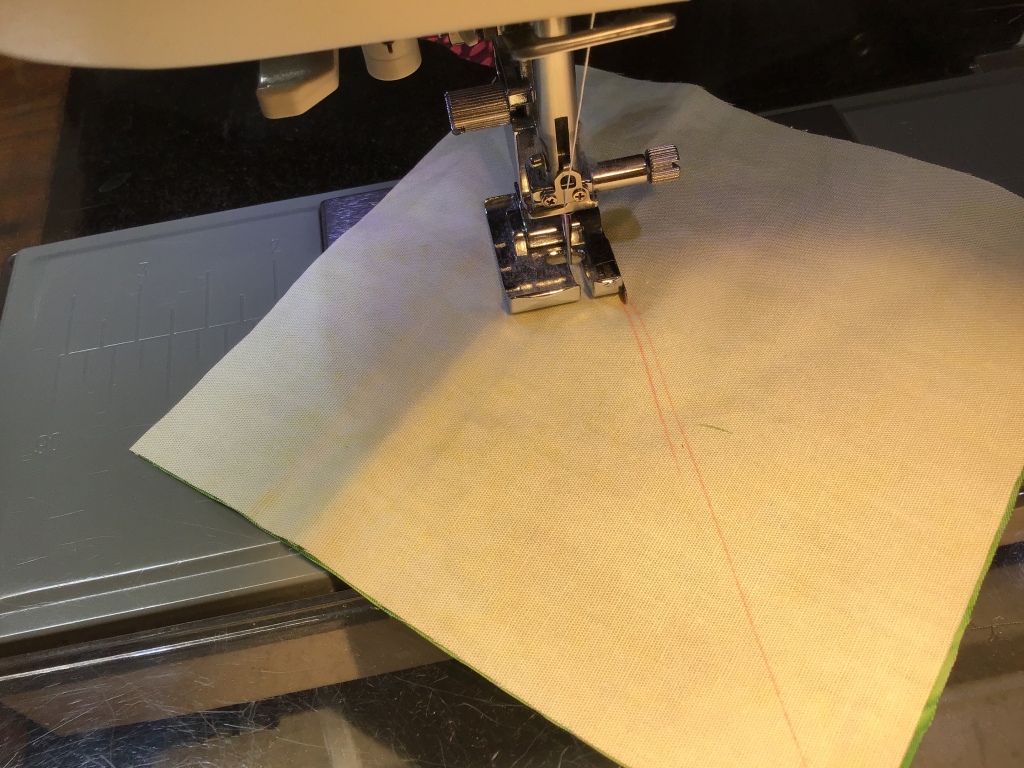
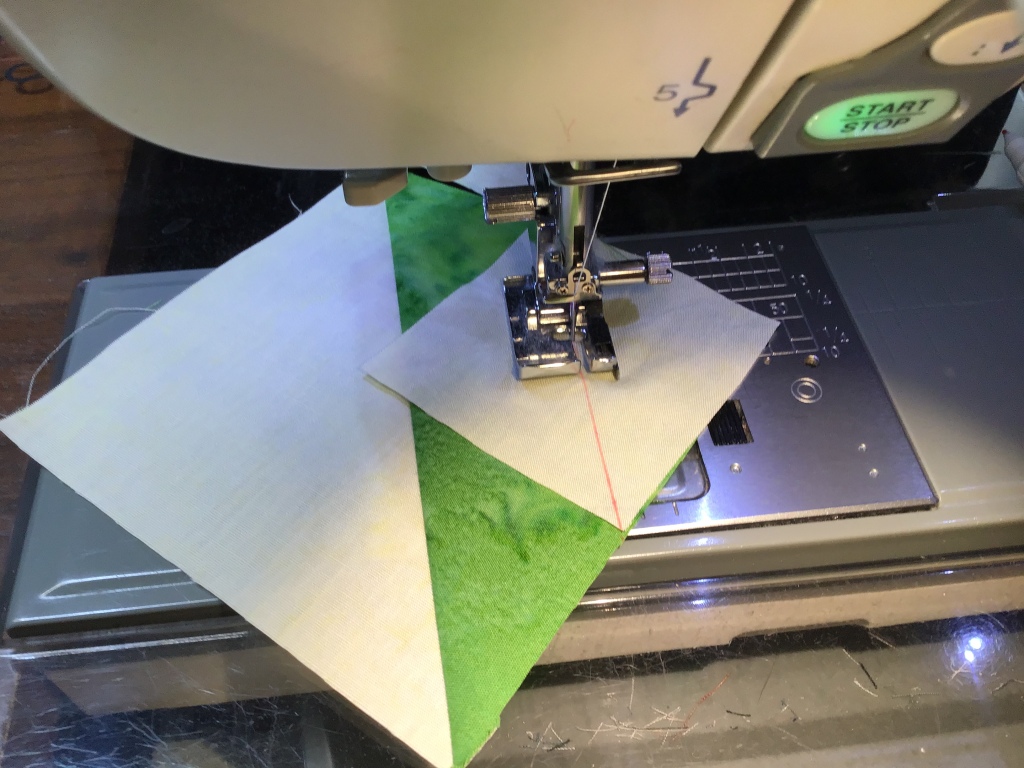
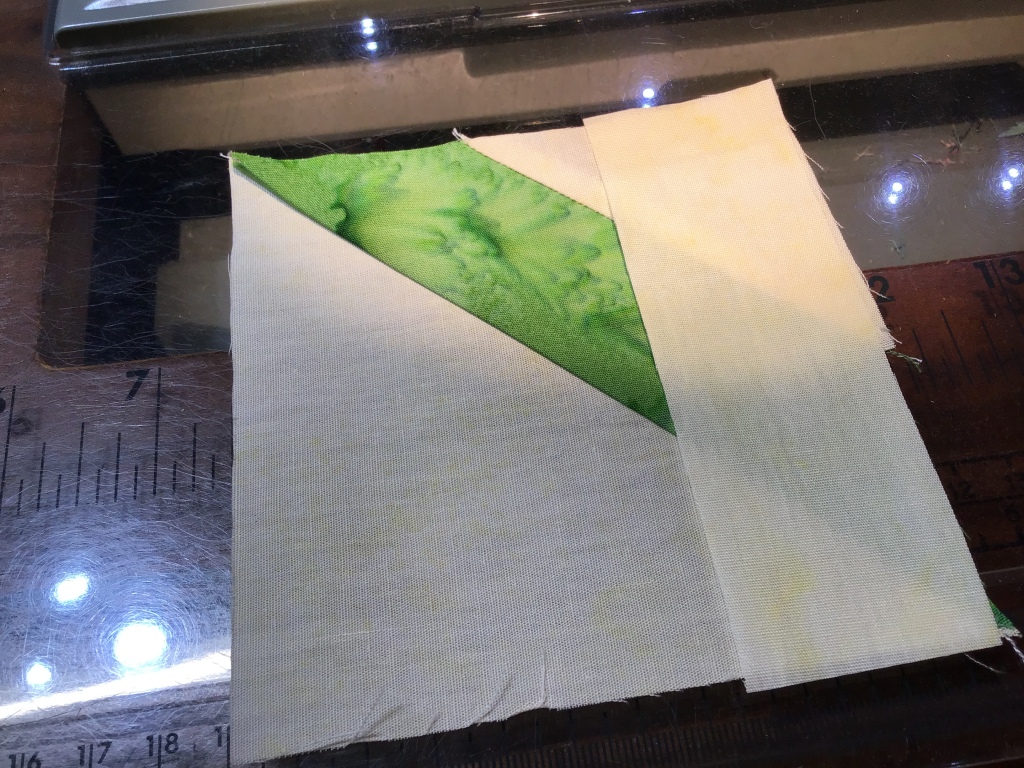
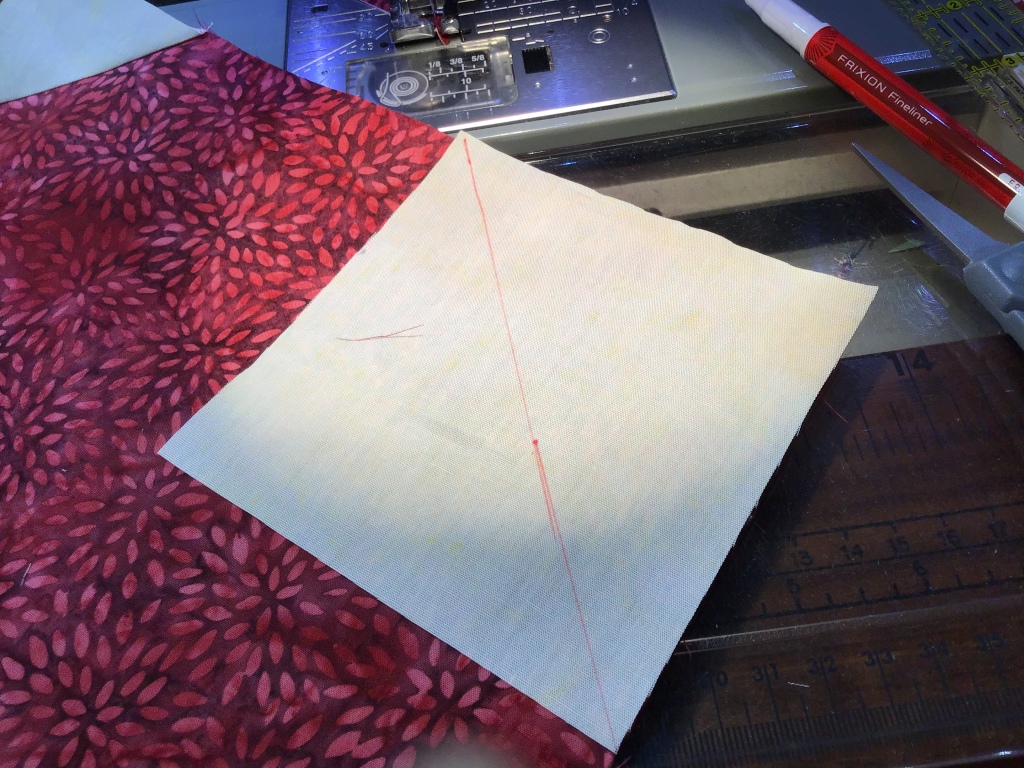
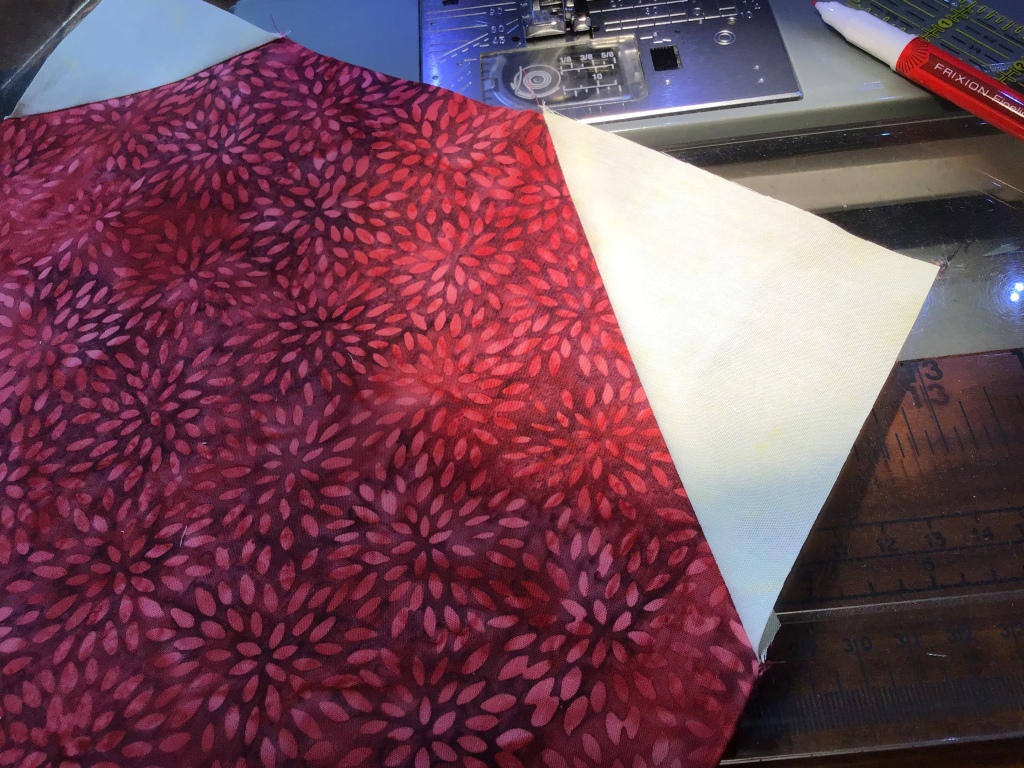
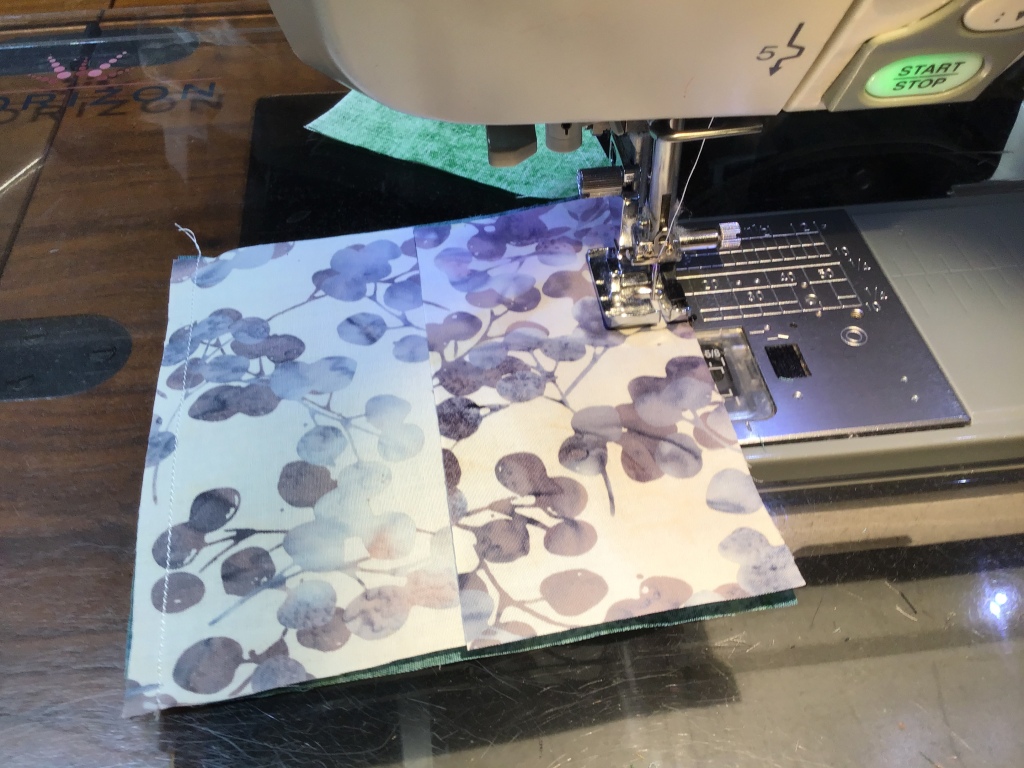
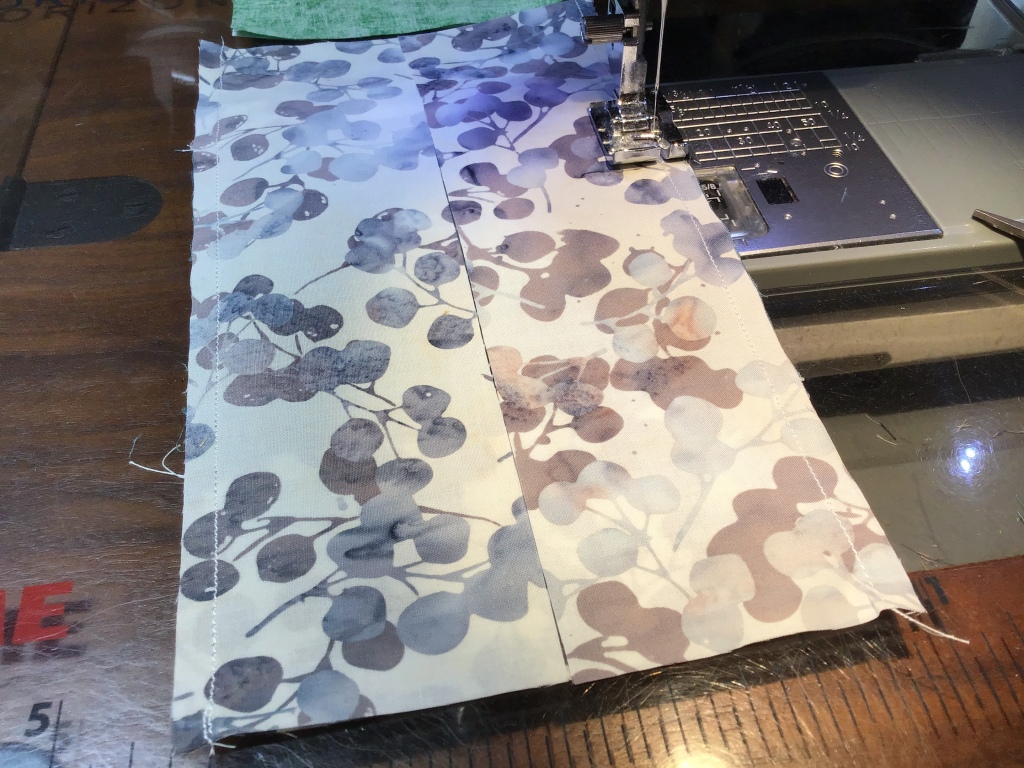
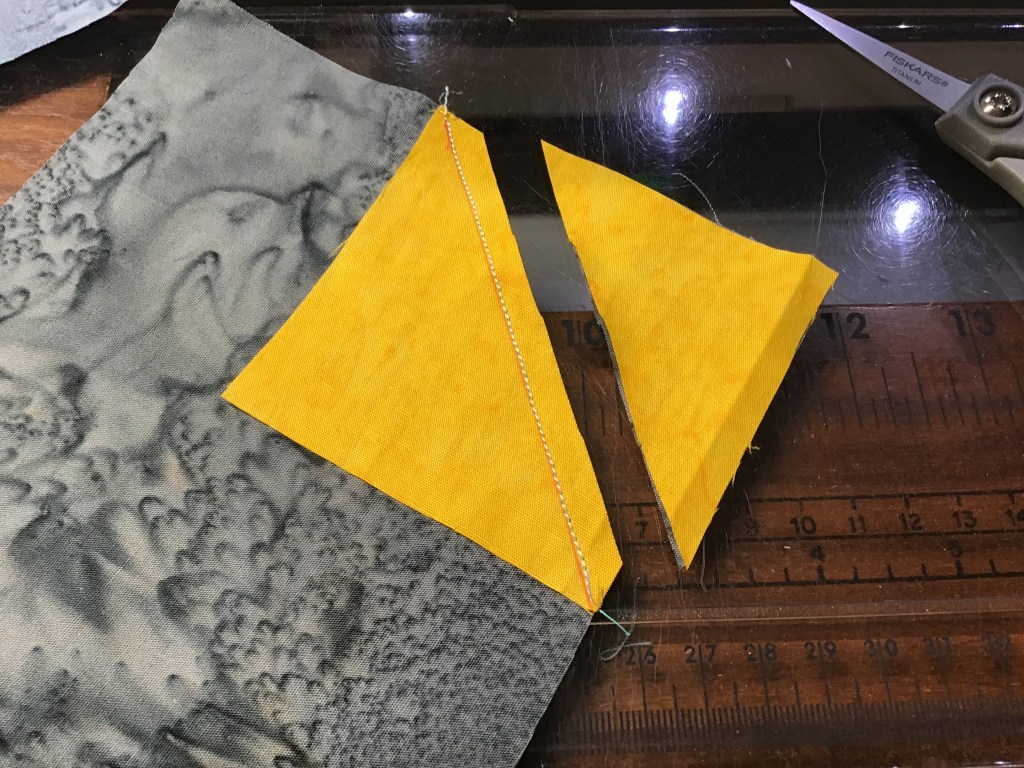
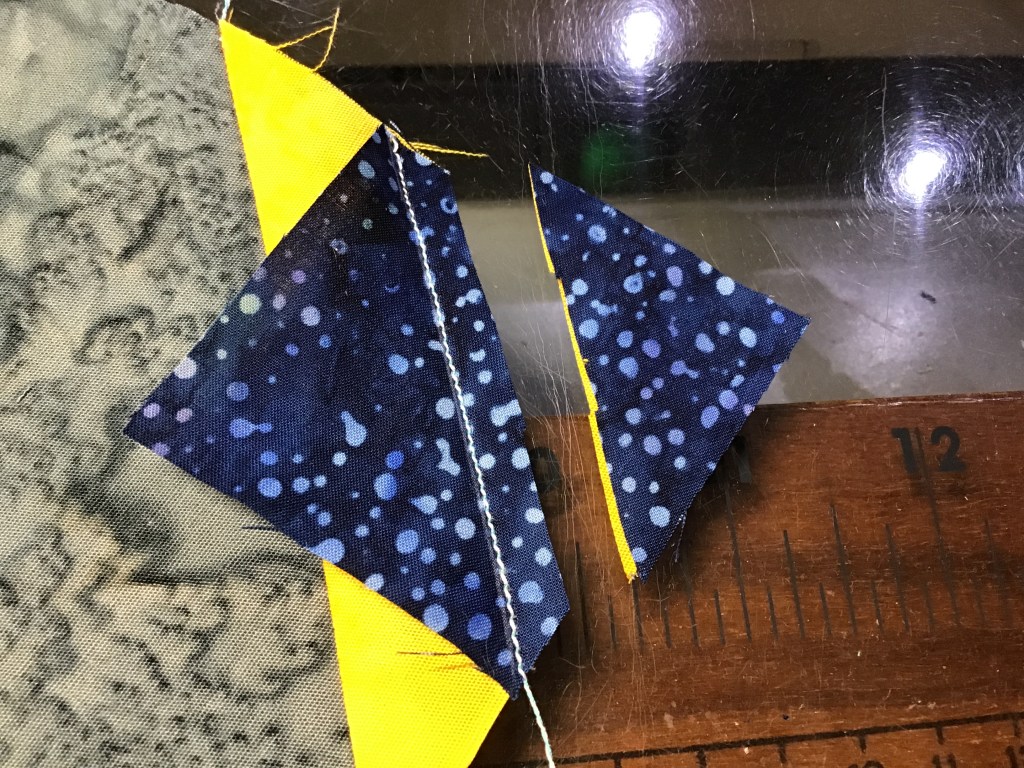
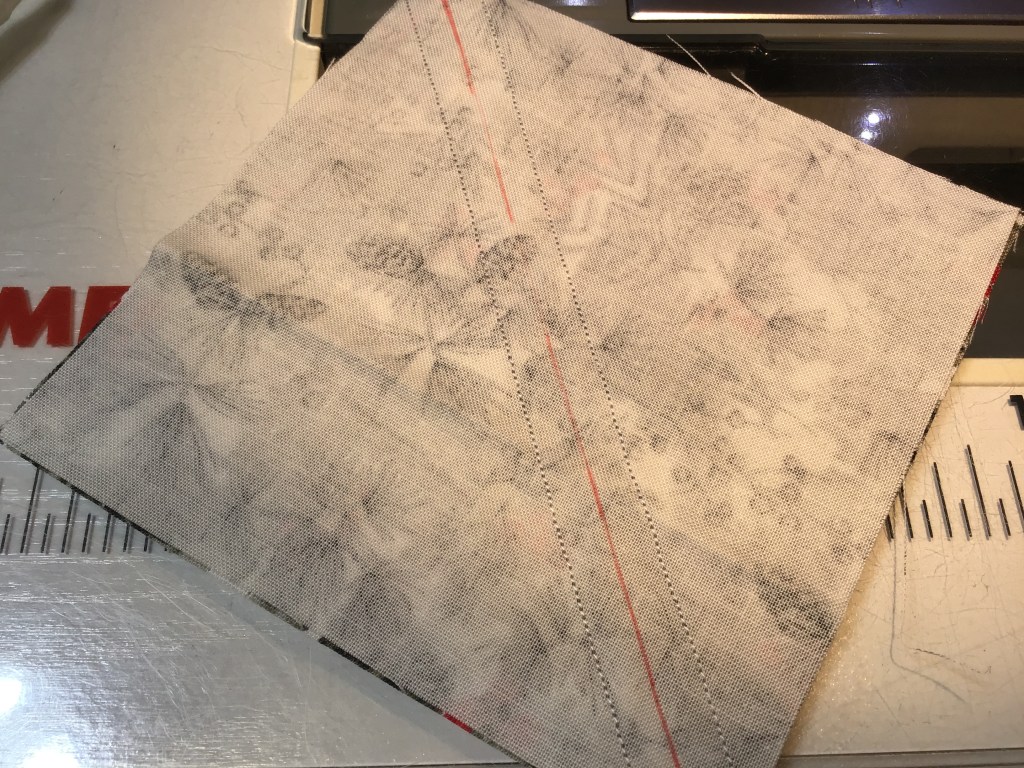
Layer a background and a print square right sides together (RST) and draw a diagonal line from corner to opposite corner. Using your 1/4″ seam, sew on both sides of the line. Then cut on the line to make 2 HSTs. Easy piezy!


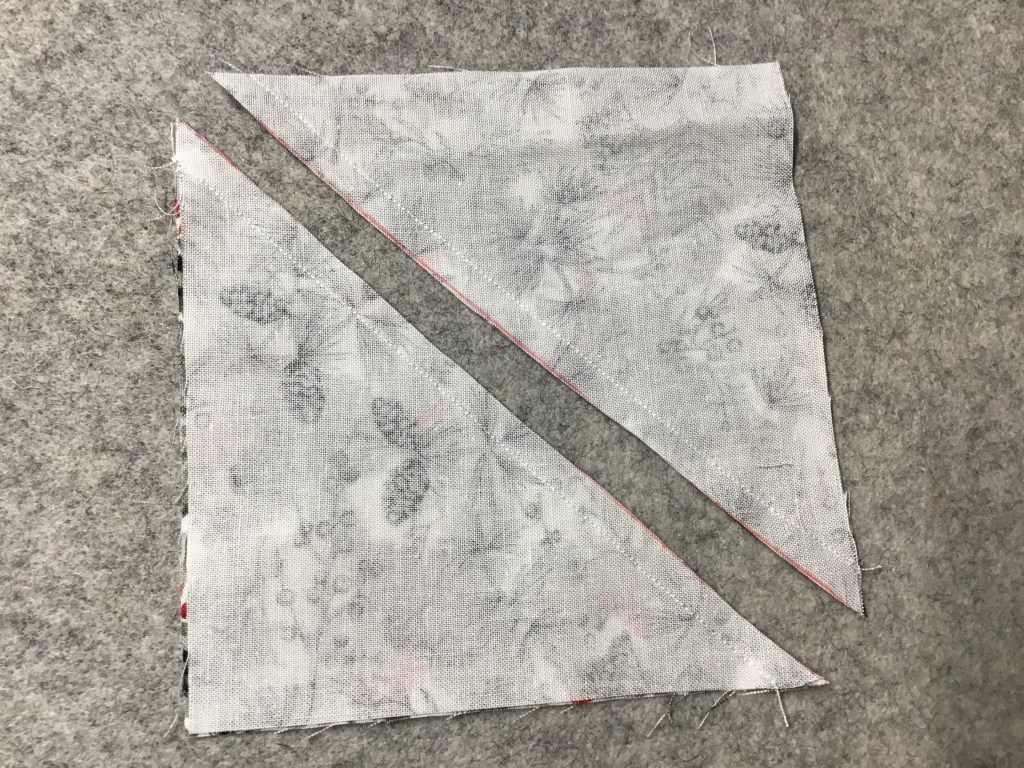
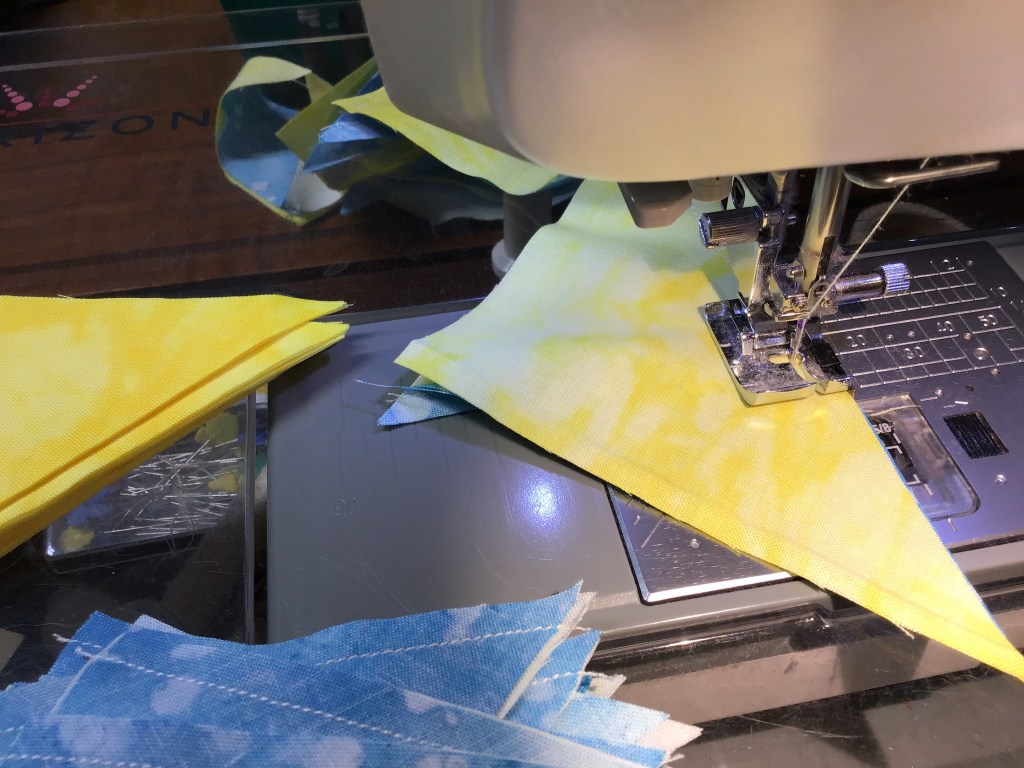
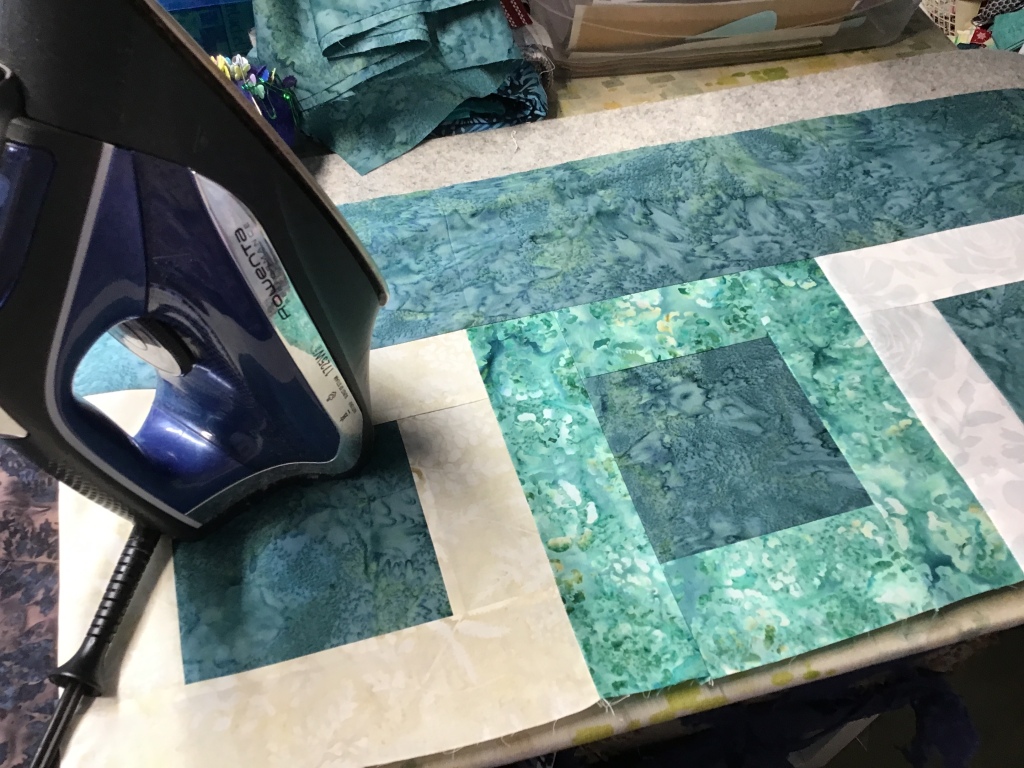
I like to chain piece all my HSTs before I head to my iron to press them. If you are able, press half of each print/background combination seams towards the background and the other half towards the print. This way your HSTs will nestle together, snug as a bug.
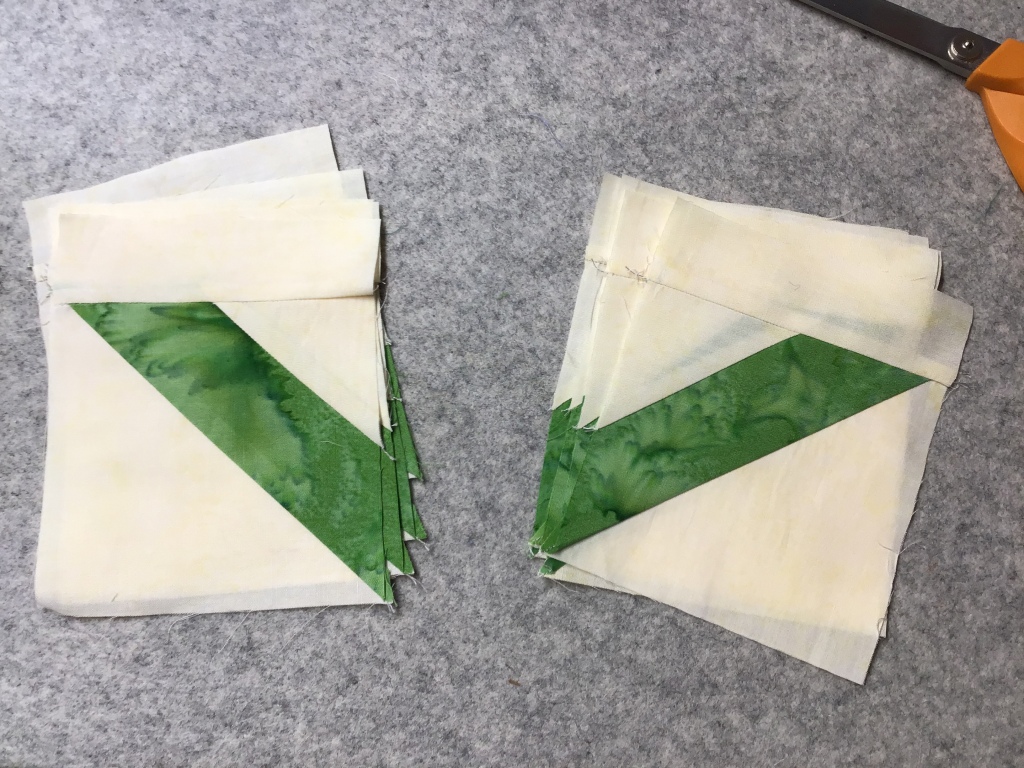
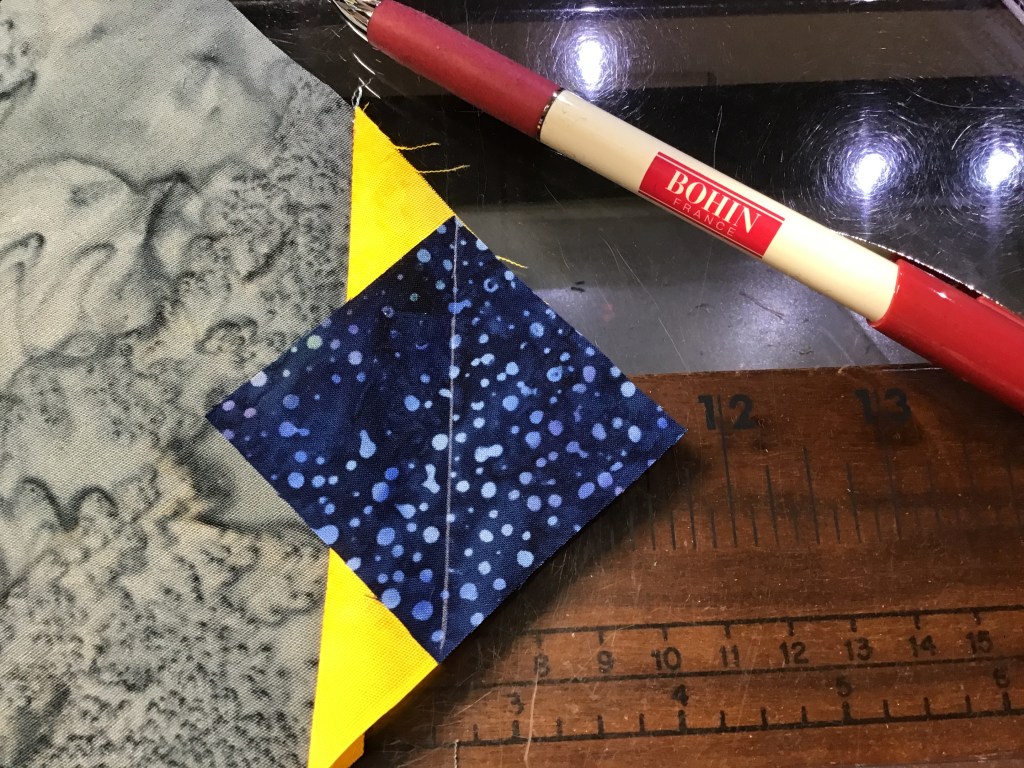
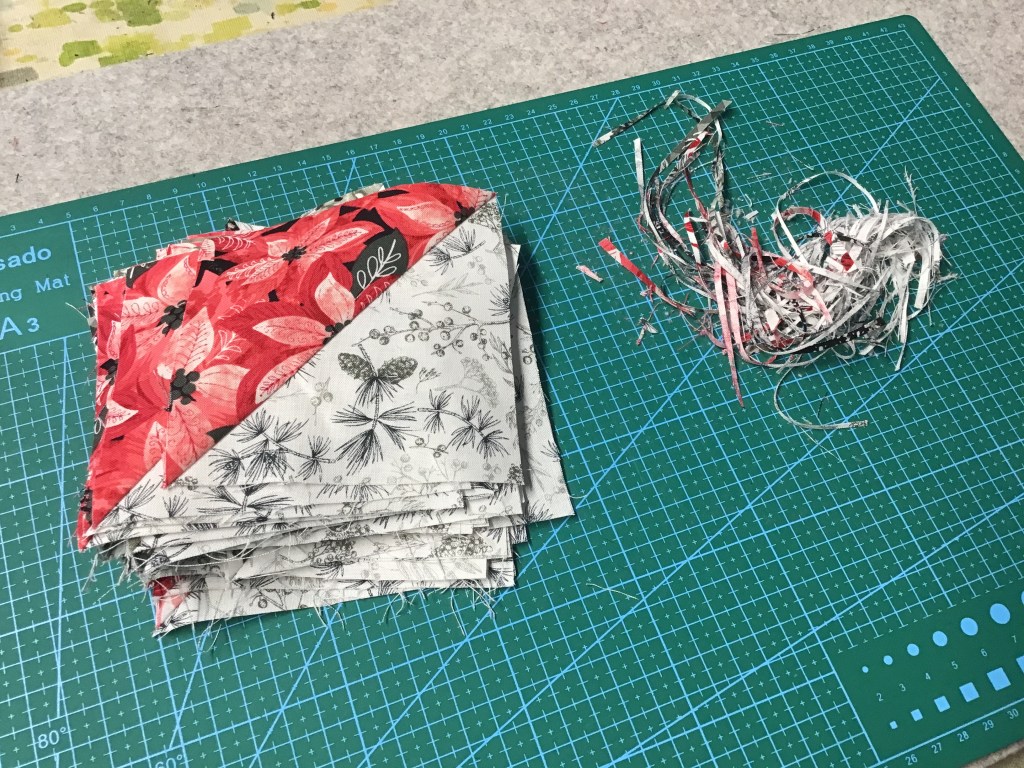
After you’ve pressed all of the HSTs, it’s time to square them up and cut off the little dog ears, if needed. I literally just trimmed off slivers to get them to the right size.
Have you ever tried a Bloc Loc ruler for squaring up/trimming your HSTs — there is a little diagonal channel that sits over your seam and keeps everything from moving or sliding around. Very clever ruler that does one thing and does it very well. Of course, there are lots of different square rulers on the market for squaring up HSTs and other blocks. What are your favorites?


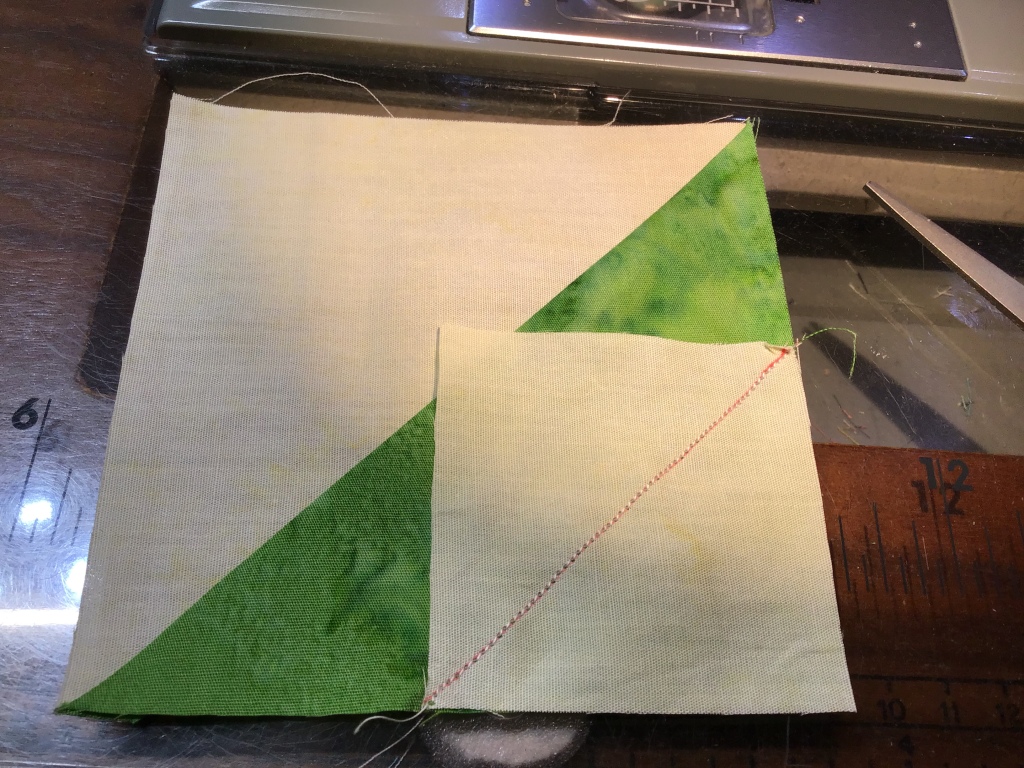
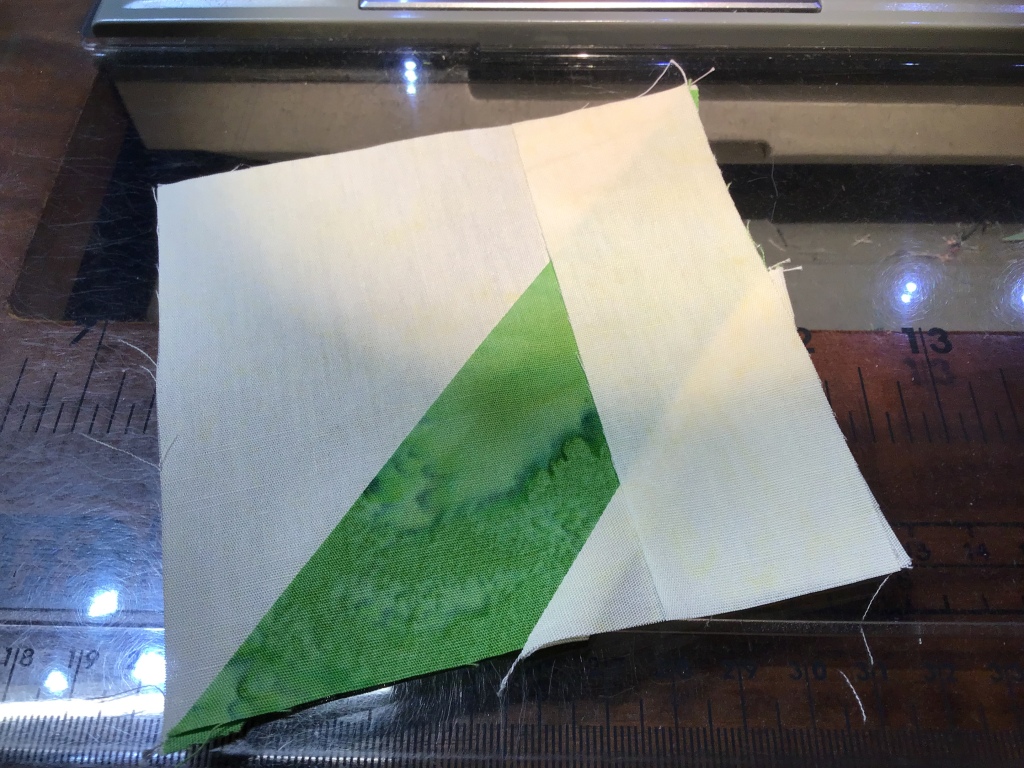
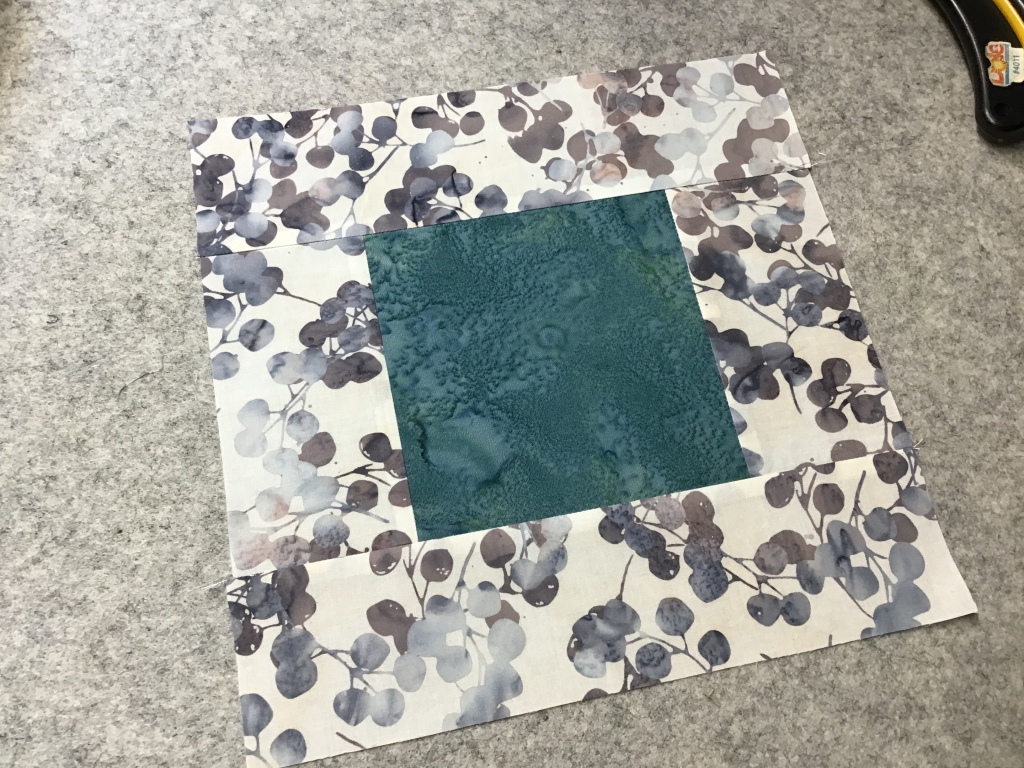
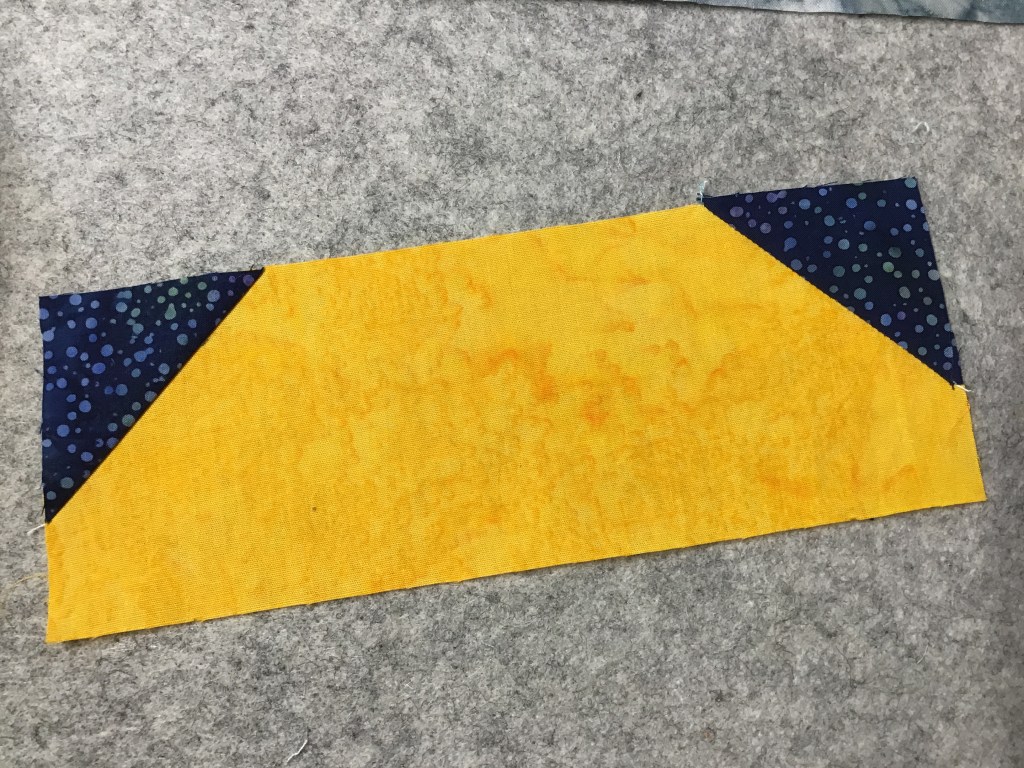
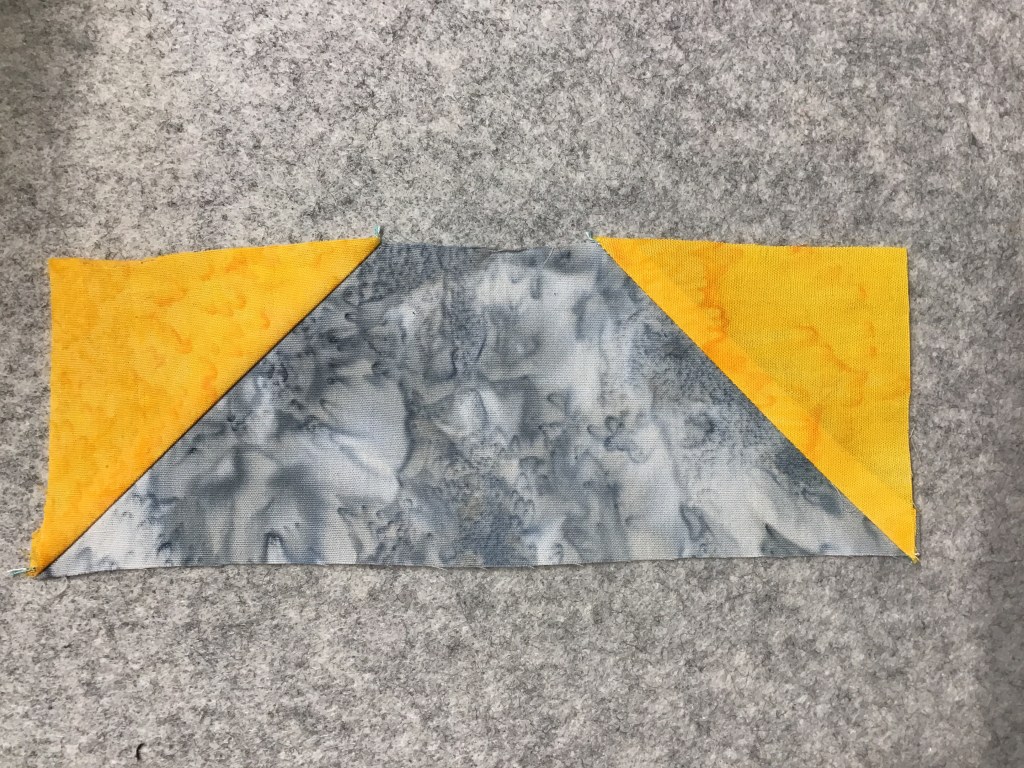
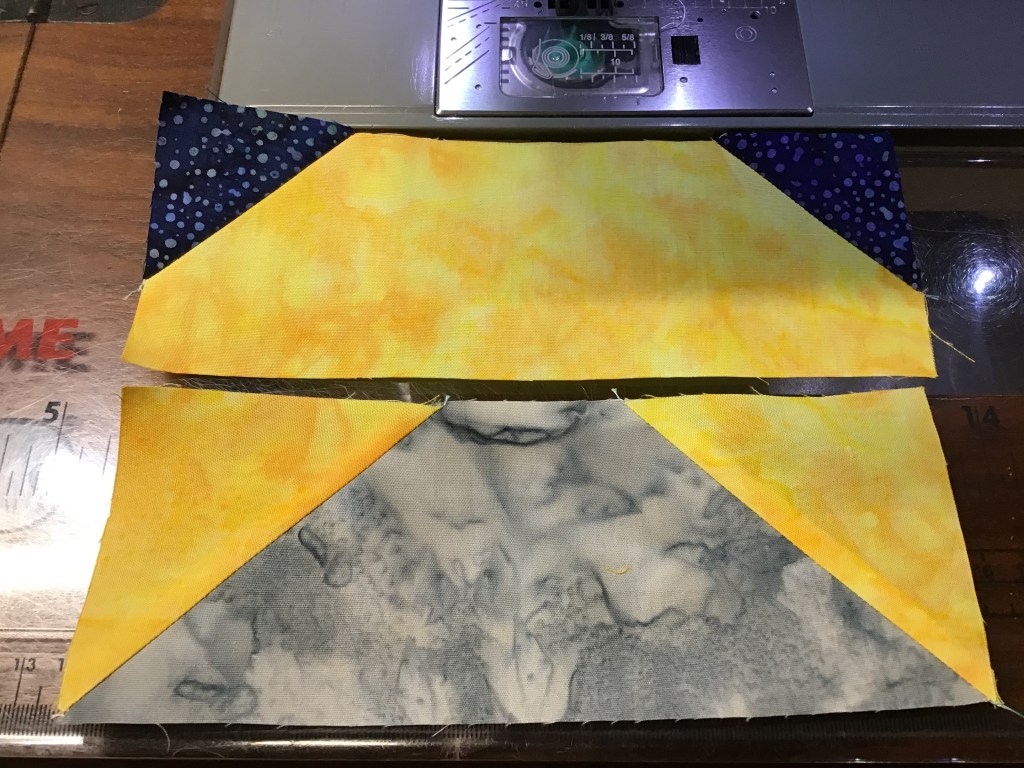
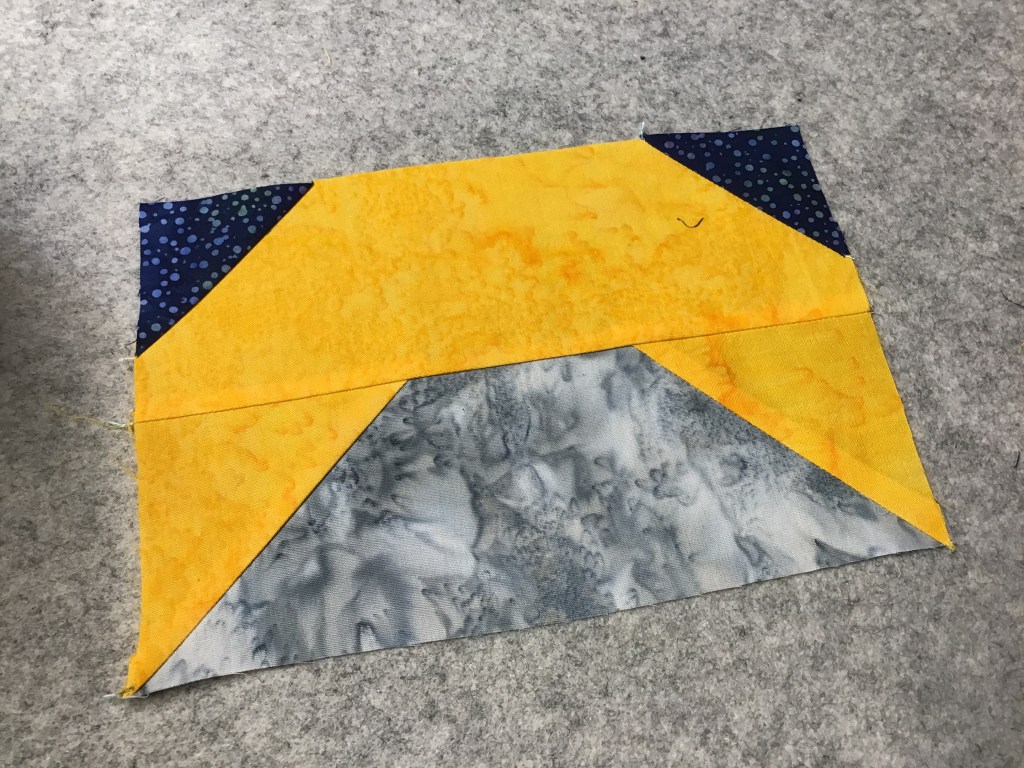
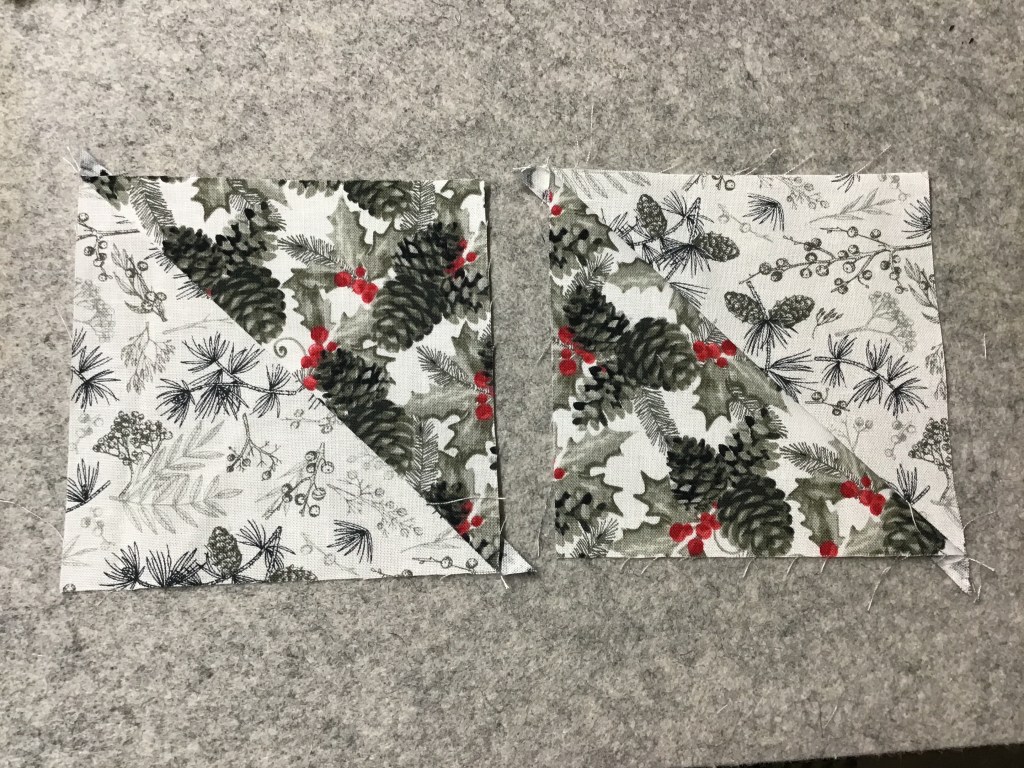
Yippee! Now let’s sew our HST’s into Arrow (or Chevron) blocks. Sew 4 matching HSTs together into a Four Patch block, turning the HSTs as shown. This is where having 2 HST seams towards the background and 2 towards the print really comes in handy so that your seams nestle together and help you to have nicer points with less bulk.

Repeat to make all the Arrow blocks for the quilt. Then head over to the iron to give them a good press.


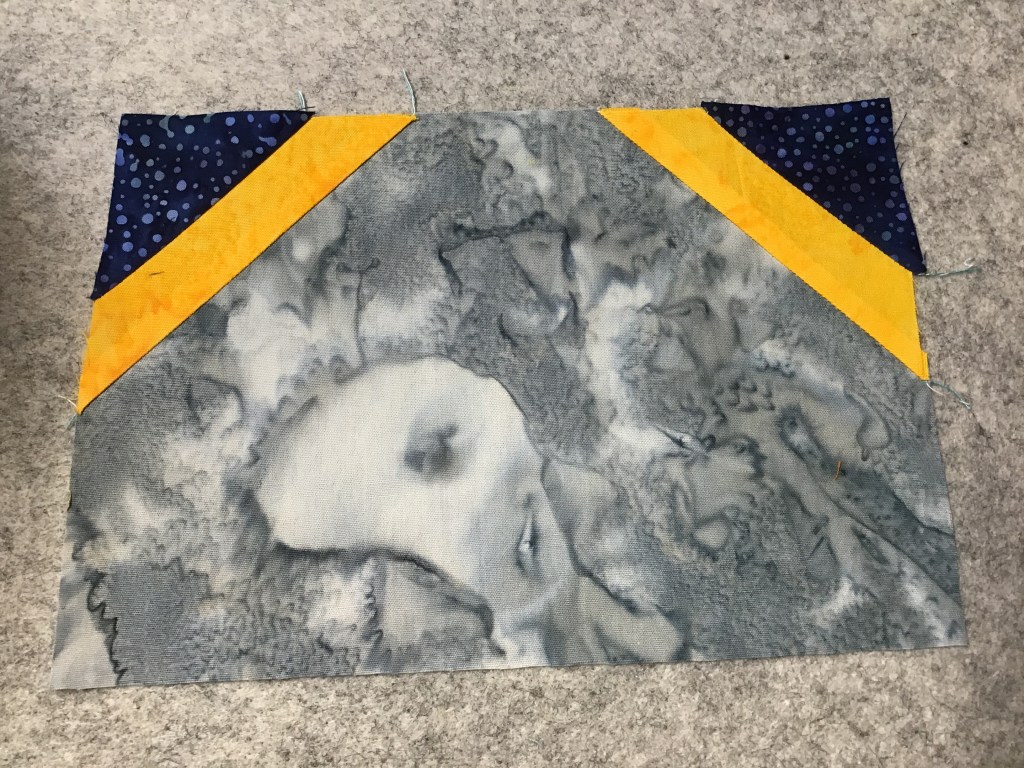
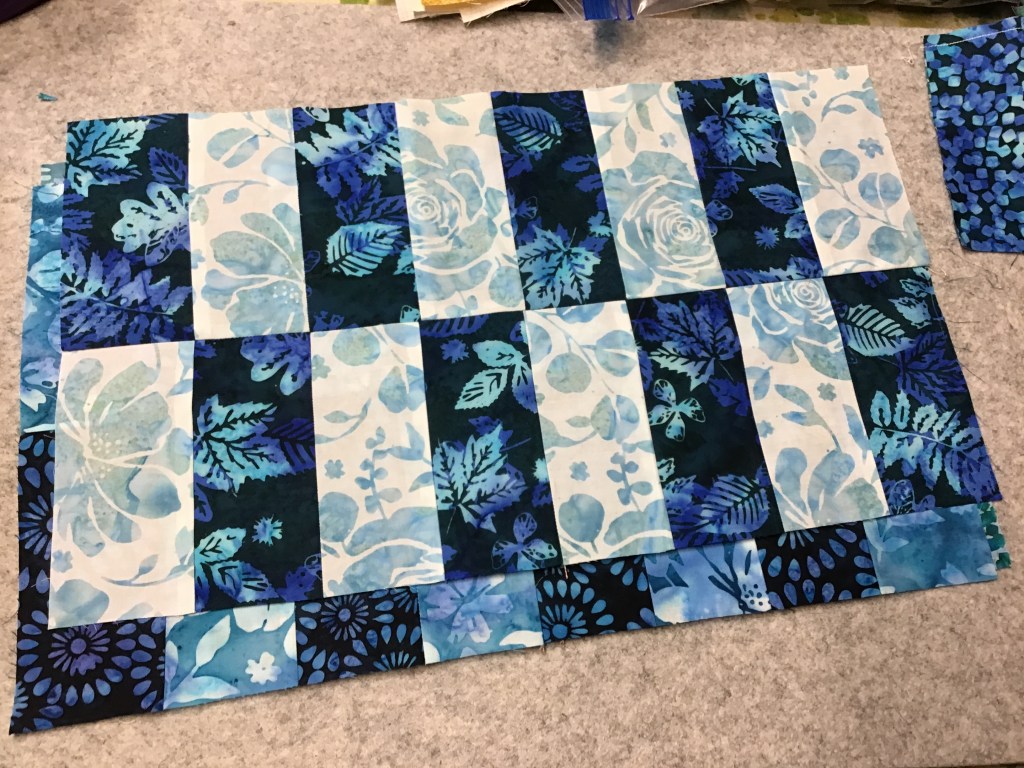
Now sew background rectangles to the top of the Arrow blocks.
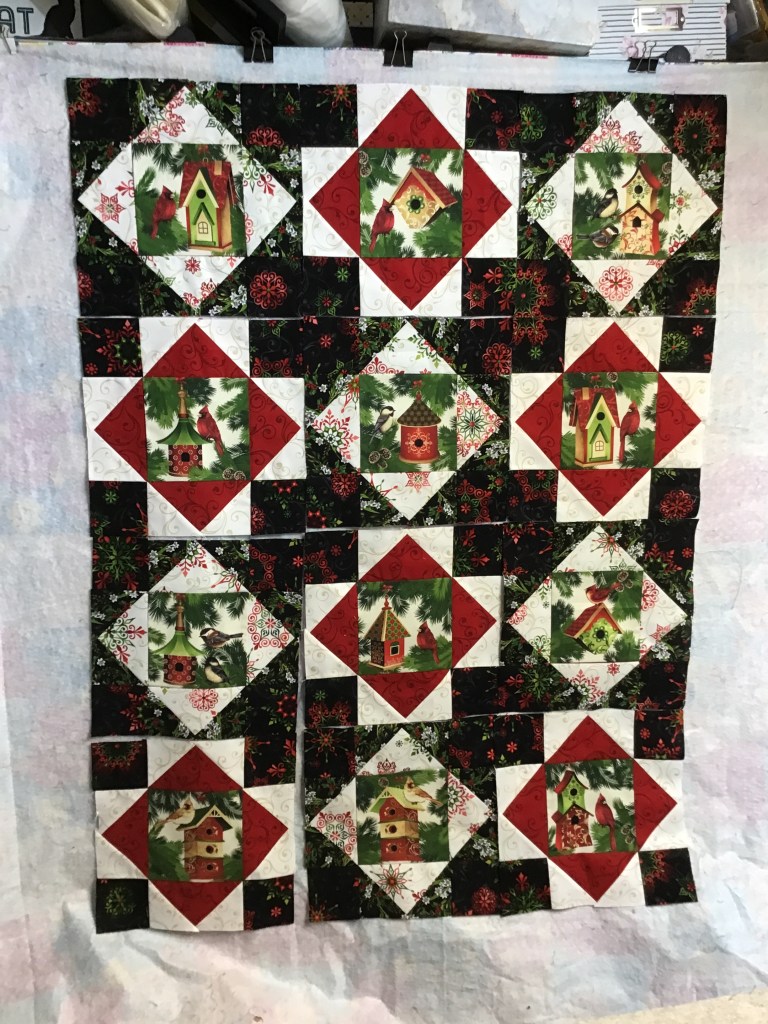
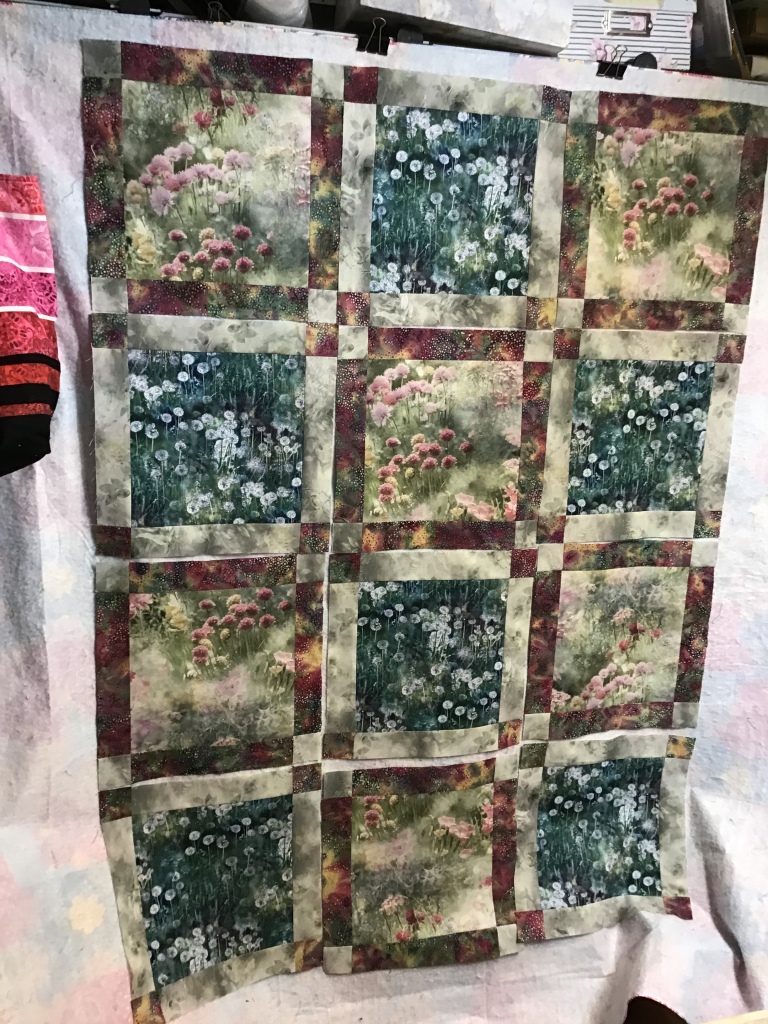
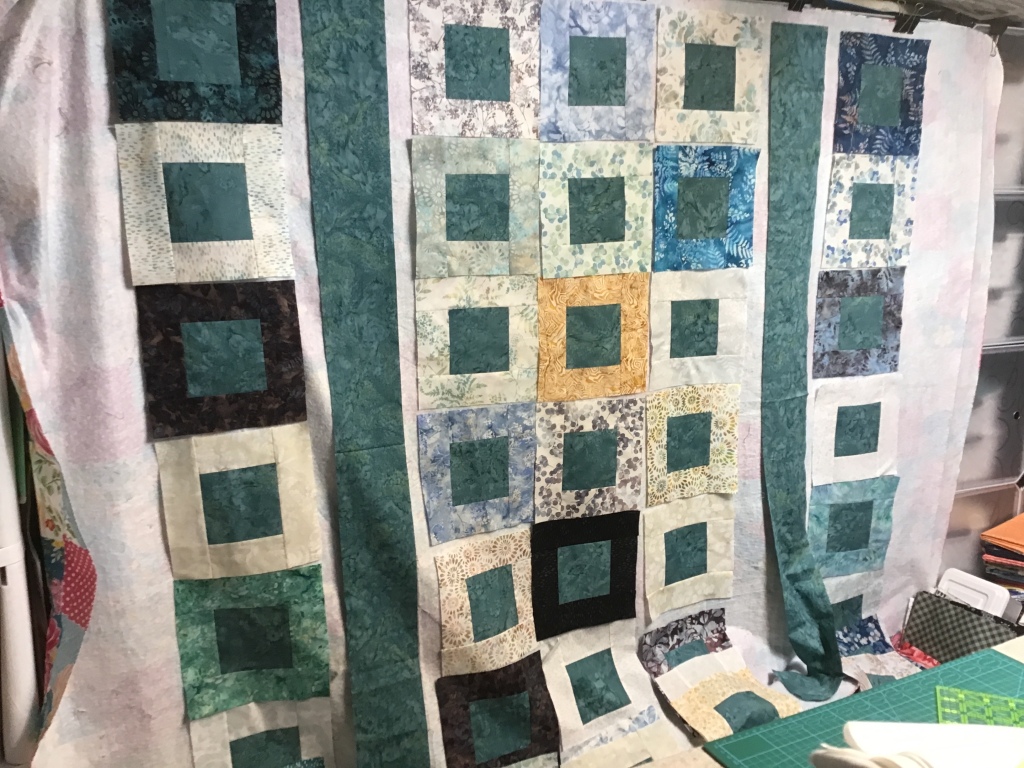
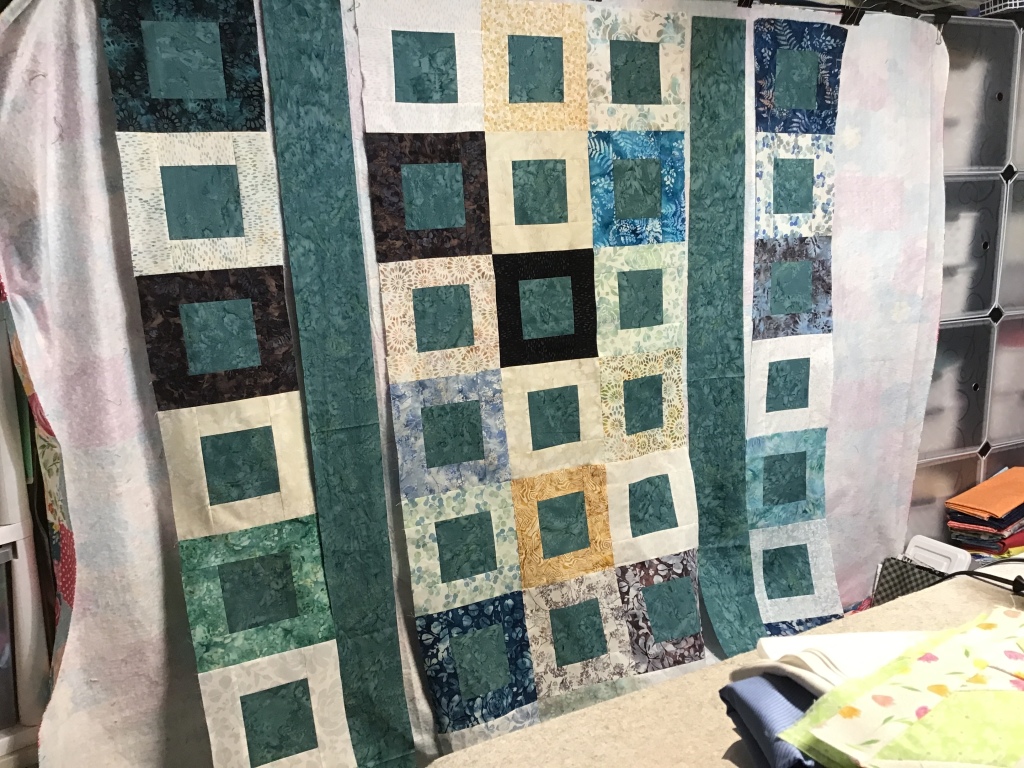
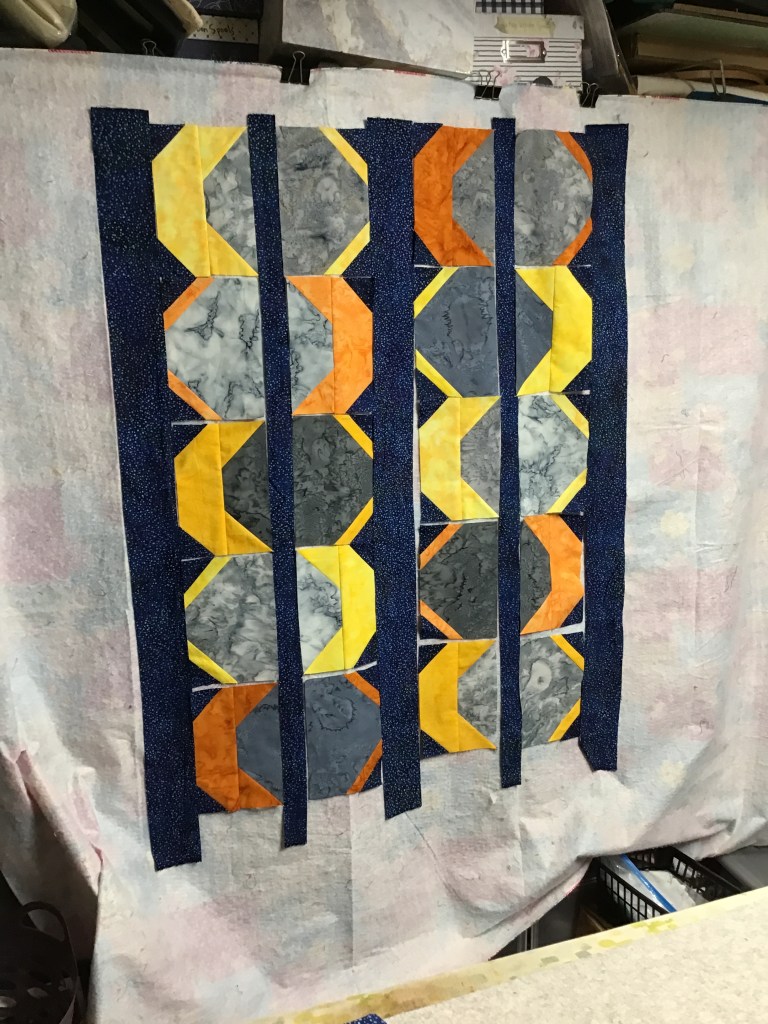
Yay! On to one of my favorite parts (sometimes anyway….LOL!) — laying out and arranging the blocks. Now that I use a flannel-backed table cloth hung up in front of my fabric storage cubes, it’s a lot easier than it used to be when I laid my quilts out on a bed. Ugh! When I was a novice quilter (and a lot younger than I am now), I used to lay them out on the floor. Not anymore, thank you!
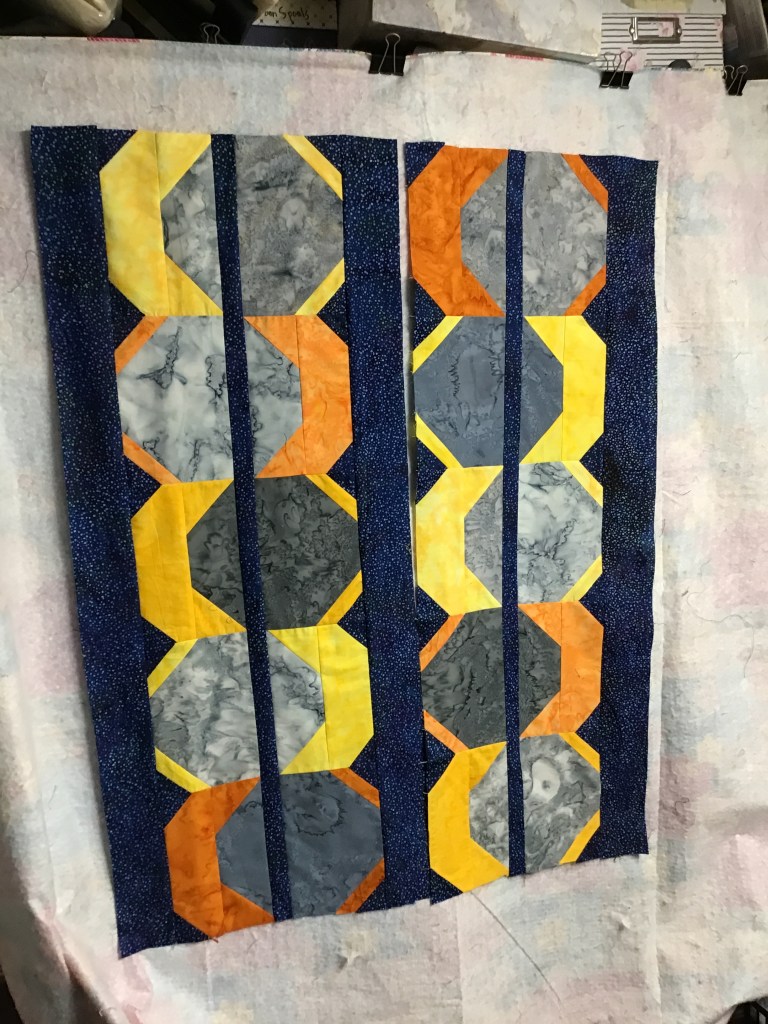
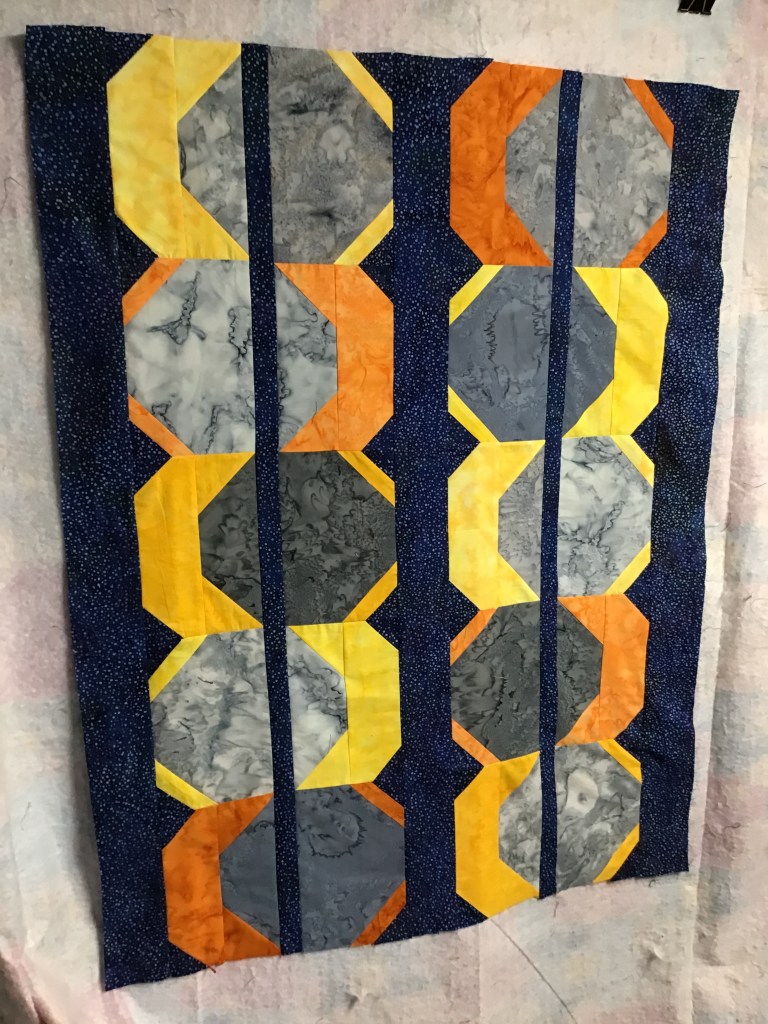
Lay out the quilt according to the pattern diagram, flipping the Arrow blocks as shown. I played around with my color placement and decided I liked the arrangement in the second photo the best.

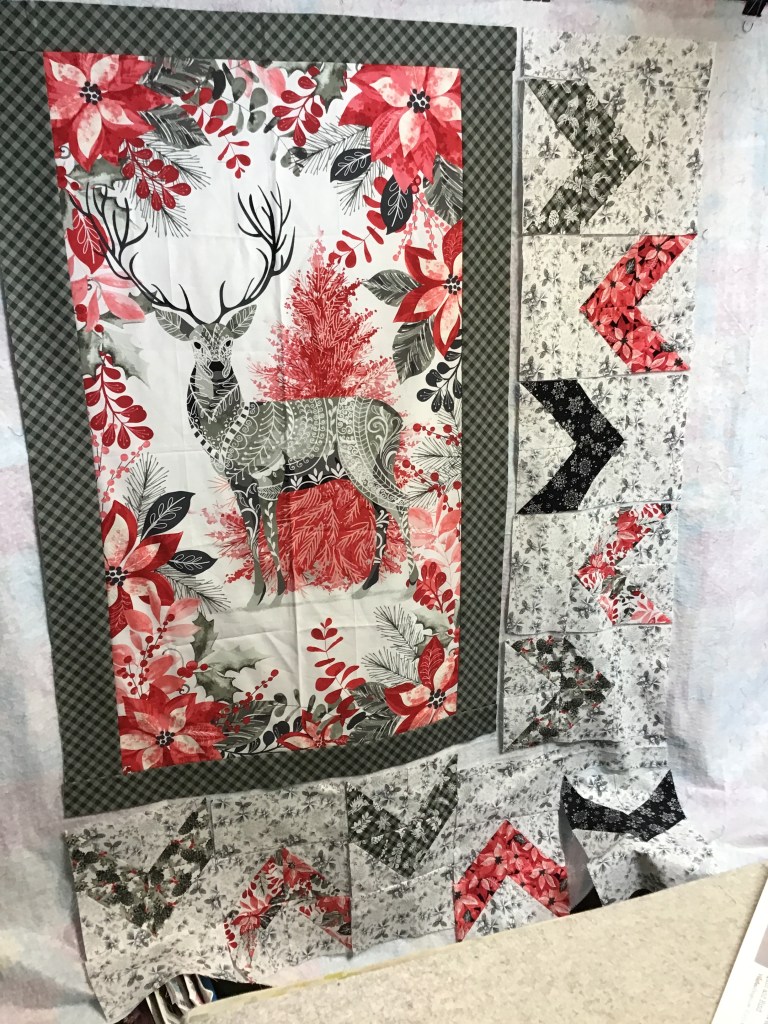
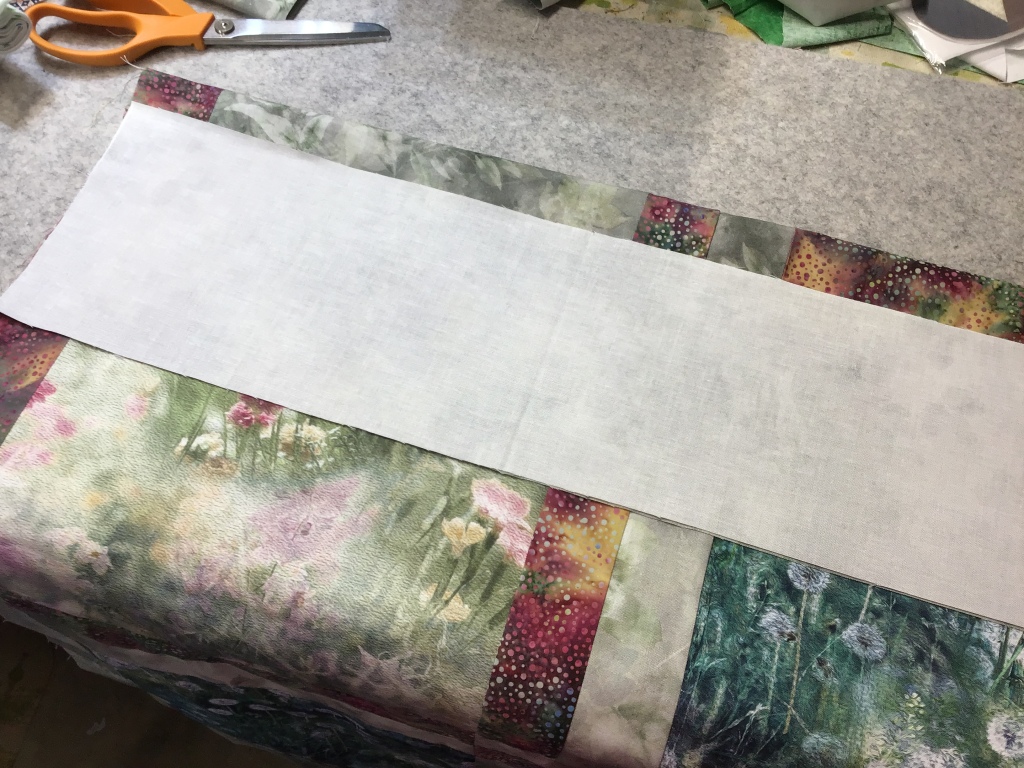
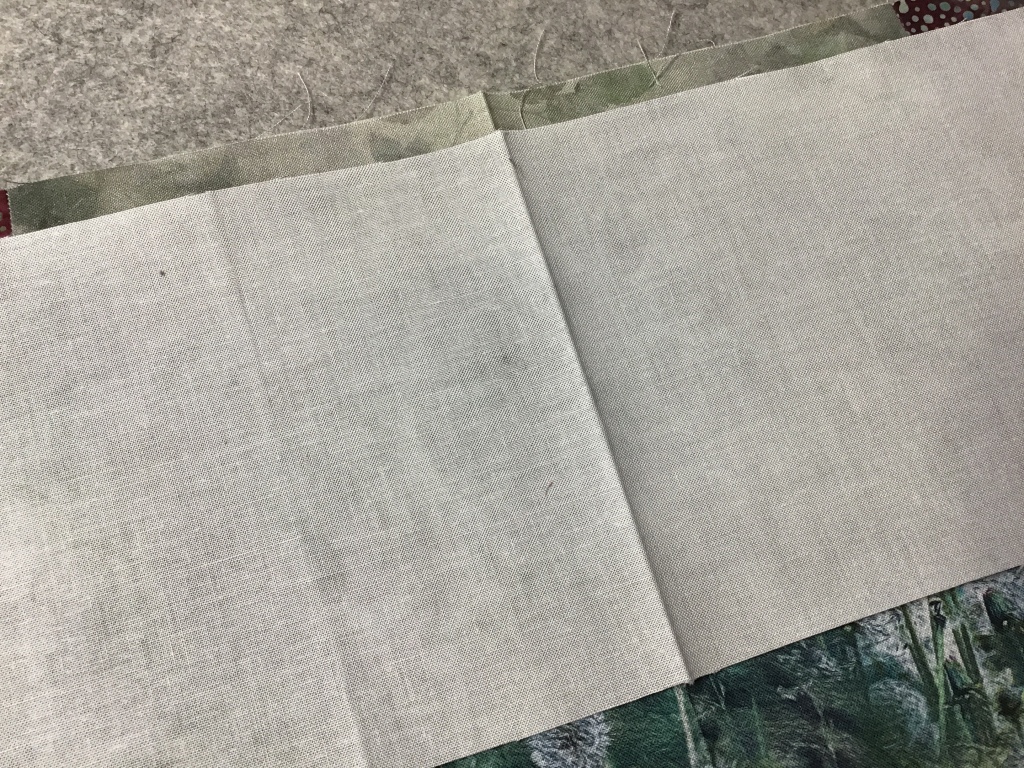
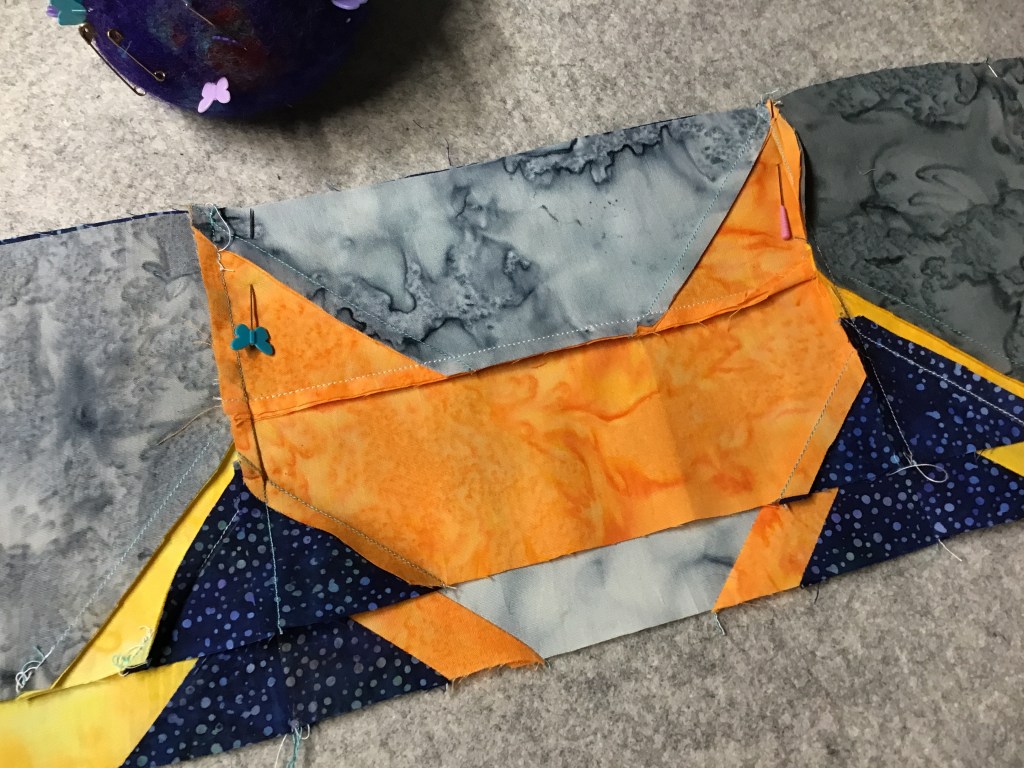
Next, let’s sew the blocks together on the right side of the panel. Please note you will need to add a background strip to the top and bottom of the section so that it will fit.

Okay, let’s sew the bottom row of blocks together and then sew the section to the bottom of the panel. Yes, the borders are added in a clockwise fashion instead of adding opposite sides at the same time.

Looking good! Let’s sew a background border strip to the left side next.
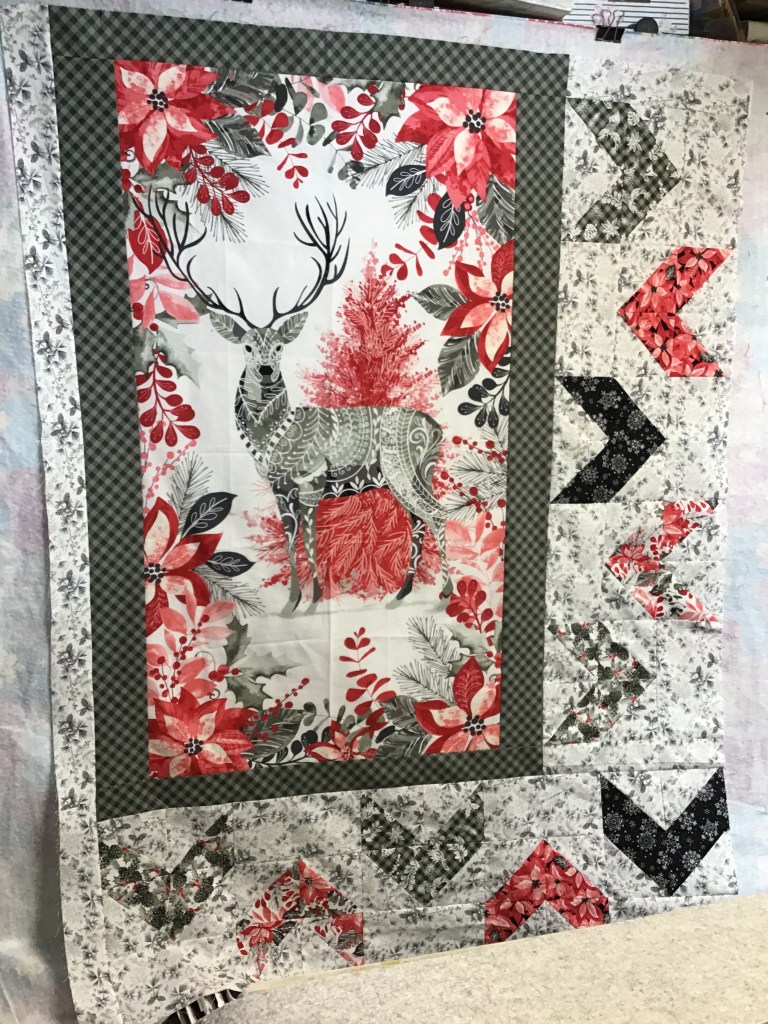
The top background border strip is last.
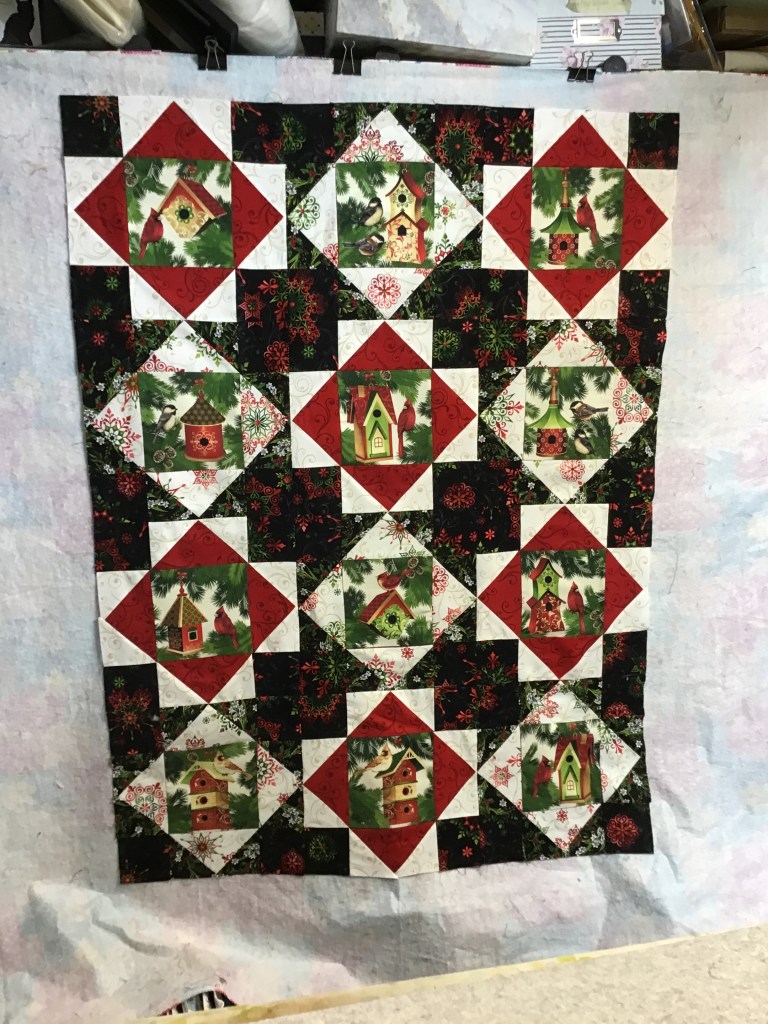
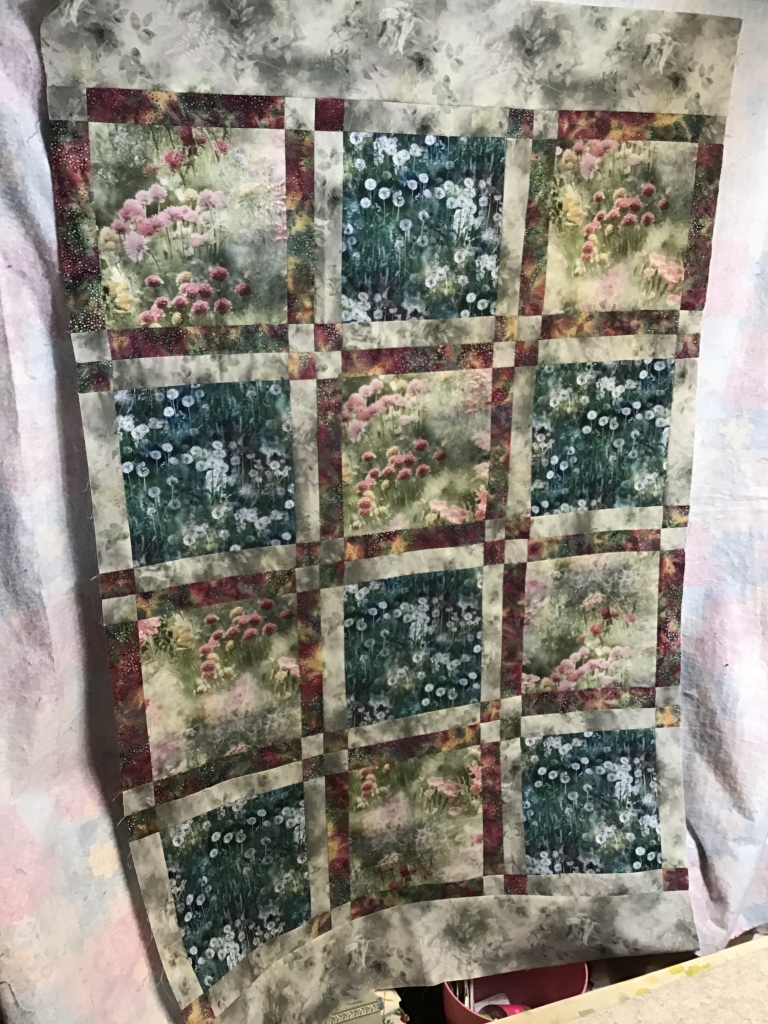
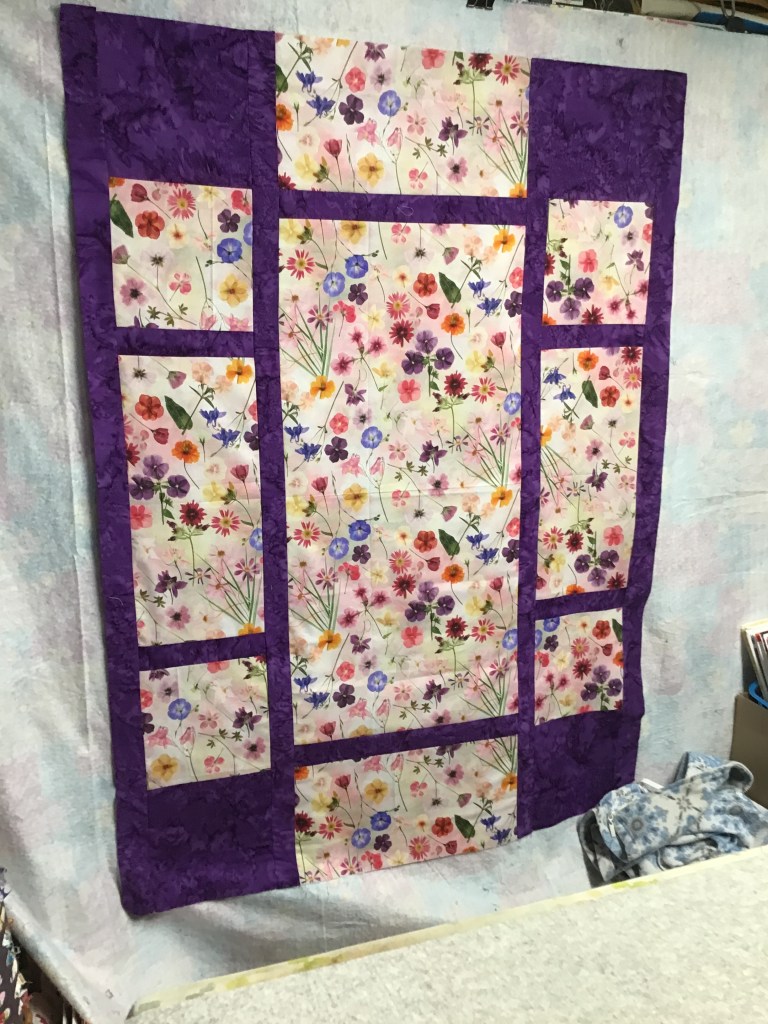
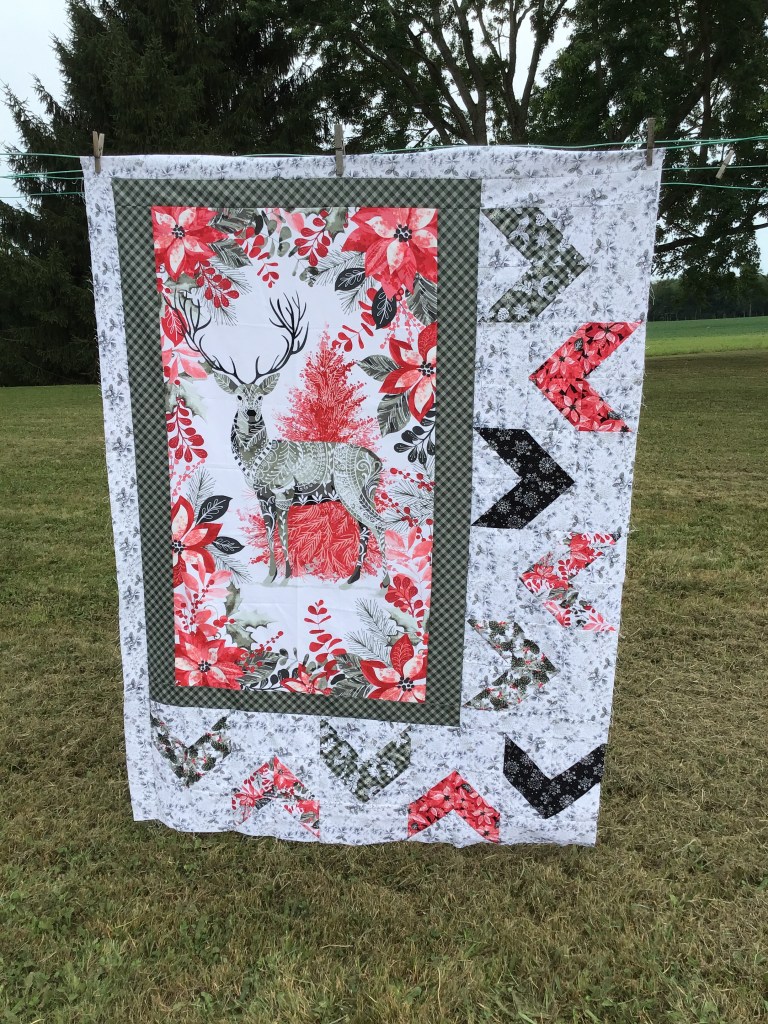
And here it! 31 is done! Isn’t it lovely??? The colors just glow, don’t they???
I am thinking about adding an outer border to make it a bigger throw quilt size, but haven’t quite decided yet. What do you think — should I add another border or finish it as is?
As I am writing this post, I have my 31 quilt top up on my flannel wall so I can just enjoy looking it at. It will stay there until I start my next summer tutorial.
That’s it for me this week.
Happy Summer and Happy Quilting!
Until next Thursday —
Sew. Laugh. Repeat.
Always,
Tricia @ VRD