Hello Quilty Friends!
Happy Thursday to you!
Hey there! I hope you all had a great Memorial Day weekend!
My big plans were having a multi-generational family garage sale on Friday and Saturday. I haven’t had a garage sale since before the Pandemic, so I really had no idea what to expect. We ended up with a very interesting assortment of items from the regular household stuff and clothing to antiques and collectibles to automotive items to vintage toys to beautiful collectible glassware and pottery and everything in between (except for quilting stuff, as I’m saving that for a later fabric yard sale). The comment I said frequently during the sale was “We have a little bit of a lot of different stuff.” And, boy, was that true!
While I was at the garage sale, I was thinking about what to write for the blog this week and I was inspired to come up with a fun list of ideas to make the most of your summer quilting because I know how difficult it is to fit quilting in during all the hustle and bustle of summer.
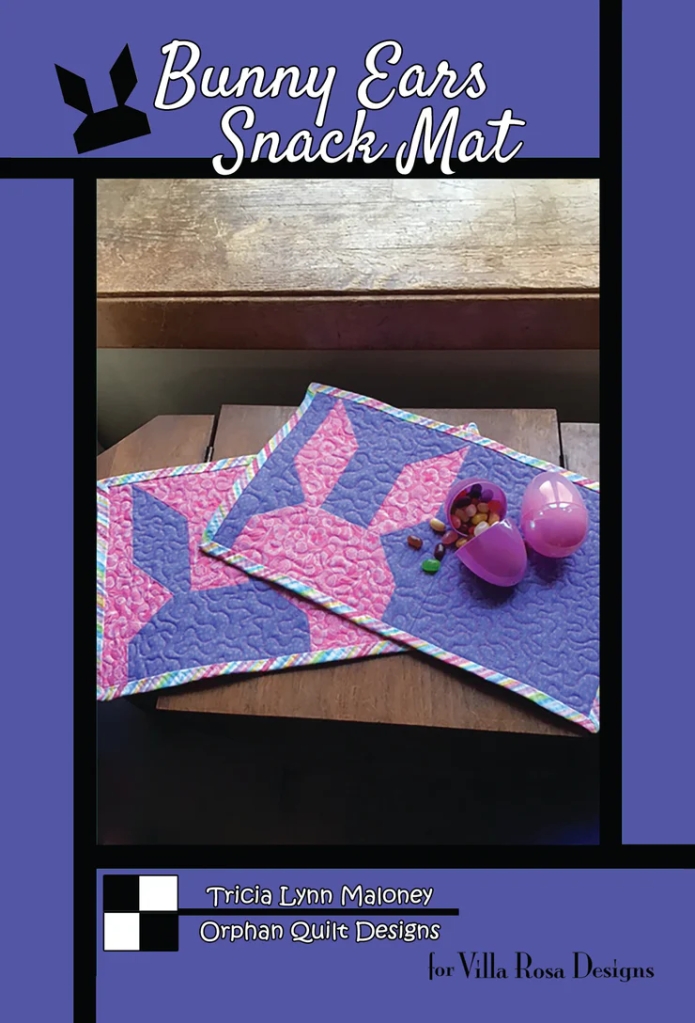
While I was at the garage sale and taking money, I was also working sewing down some binding which was something I could pick up and put down easily. By the way, I bound 3 out of the 4 snack mats I took with me to the sale. Not too shabby.
14 Ways to Get the Most Out of Your Summer Quilting
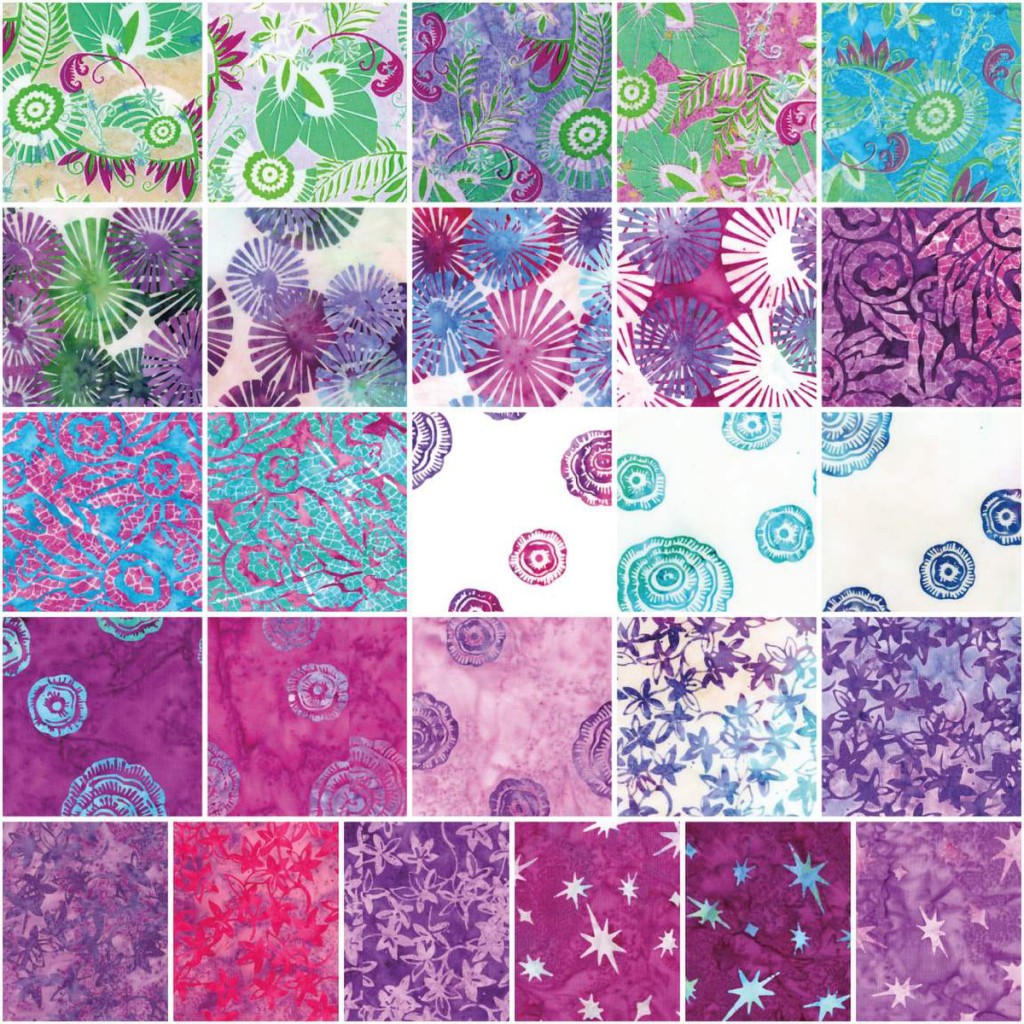
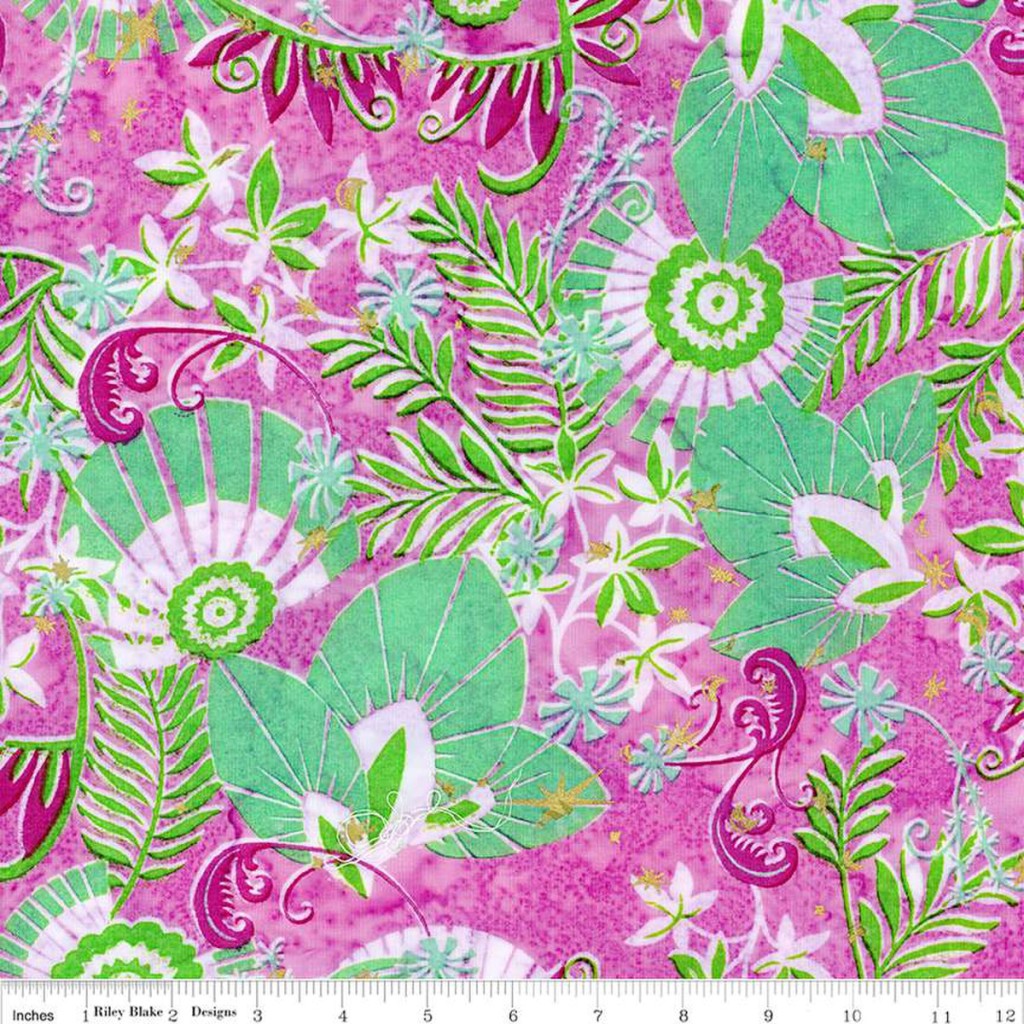
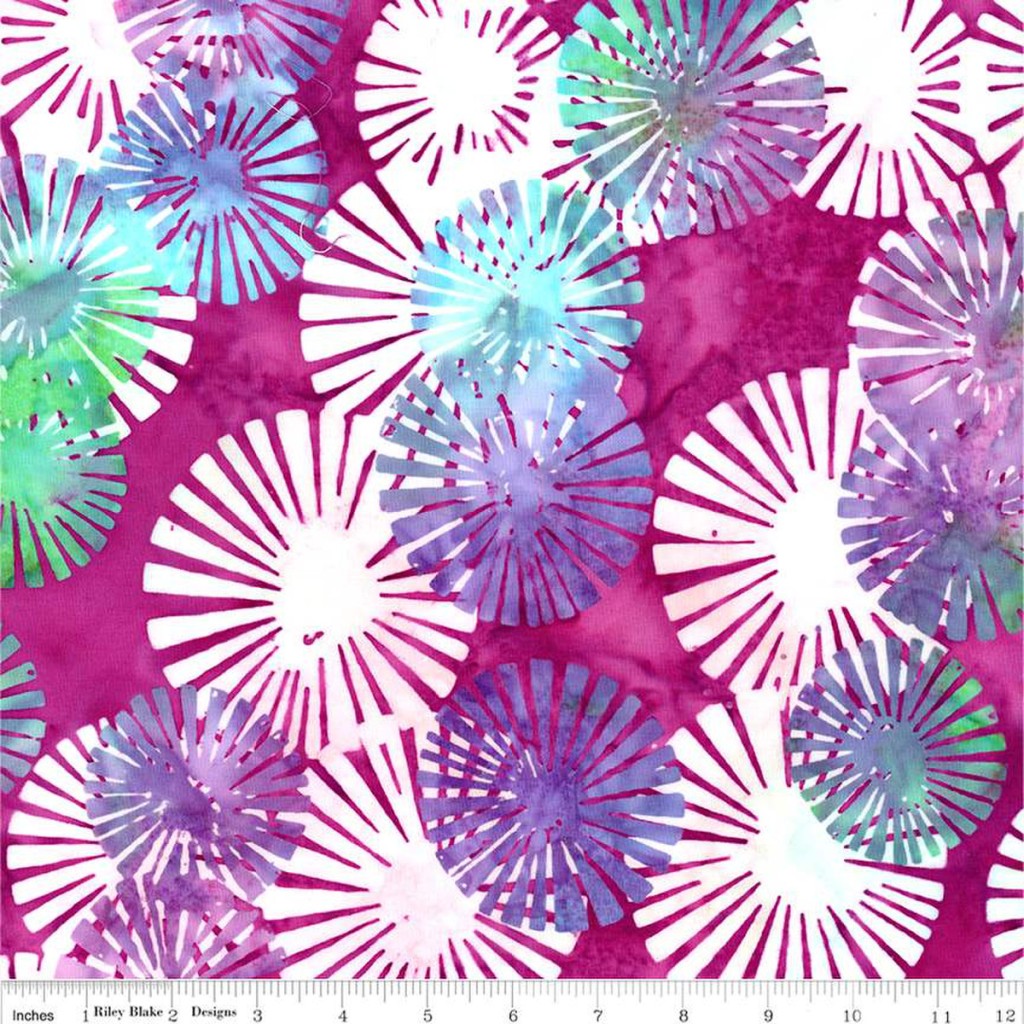
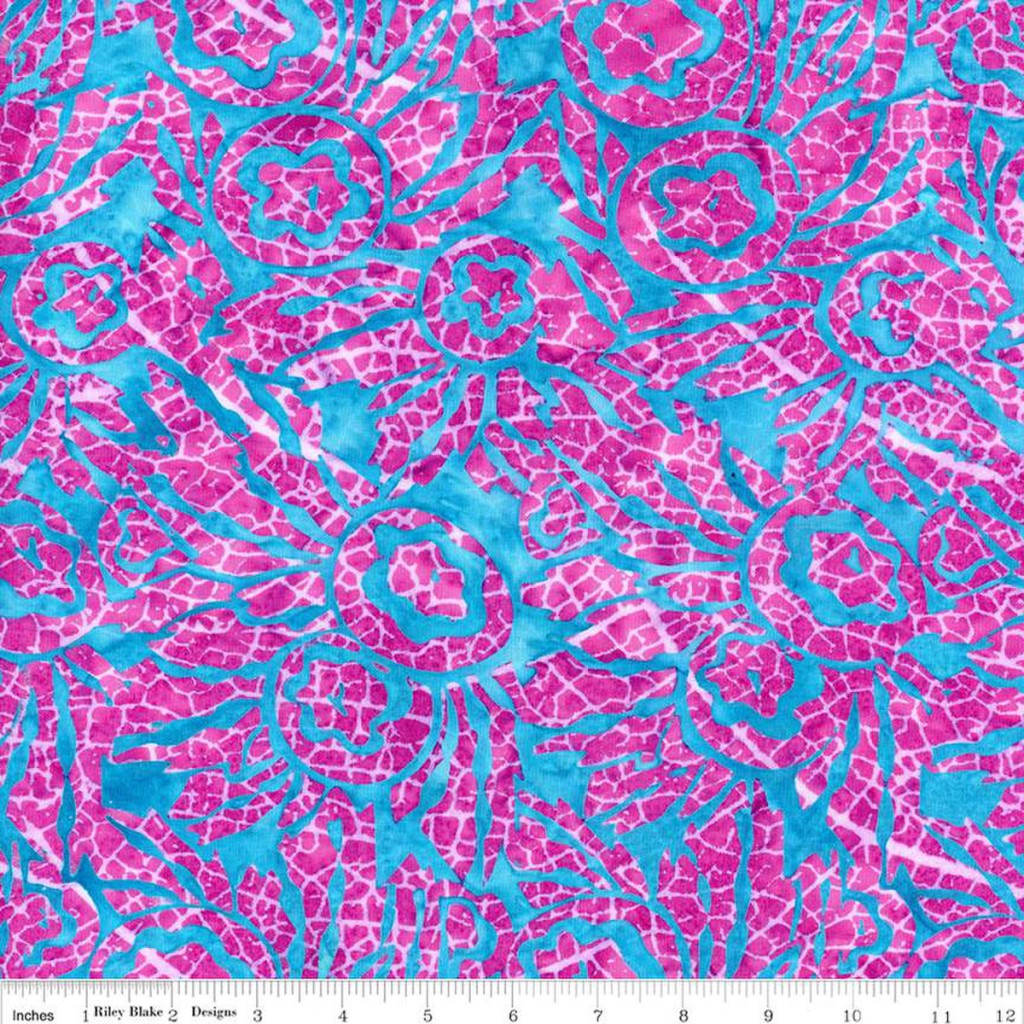
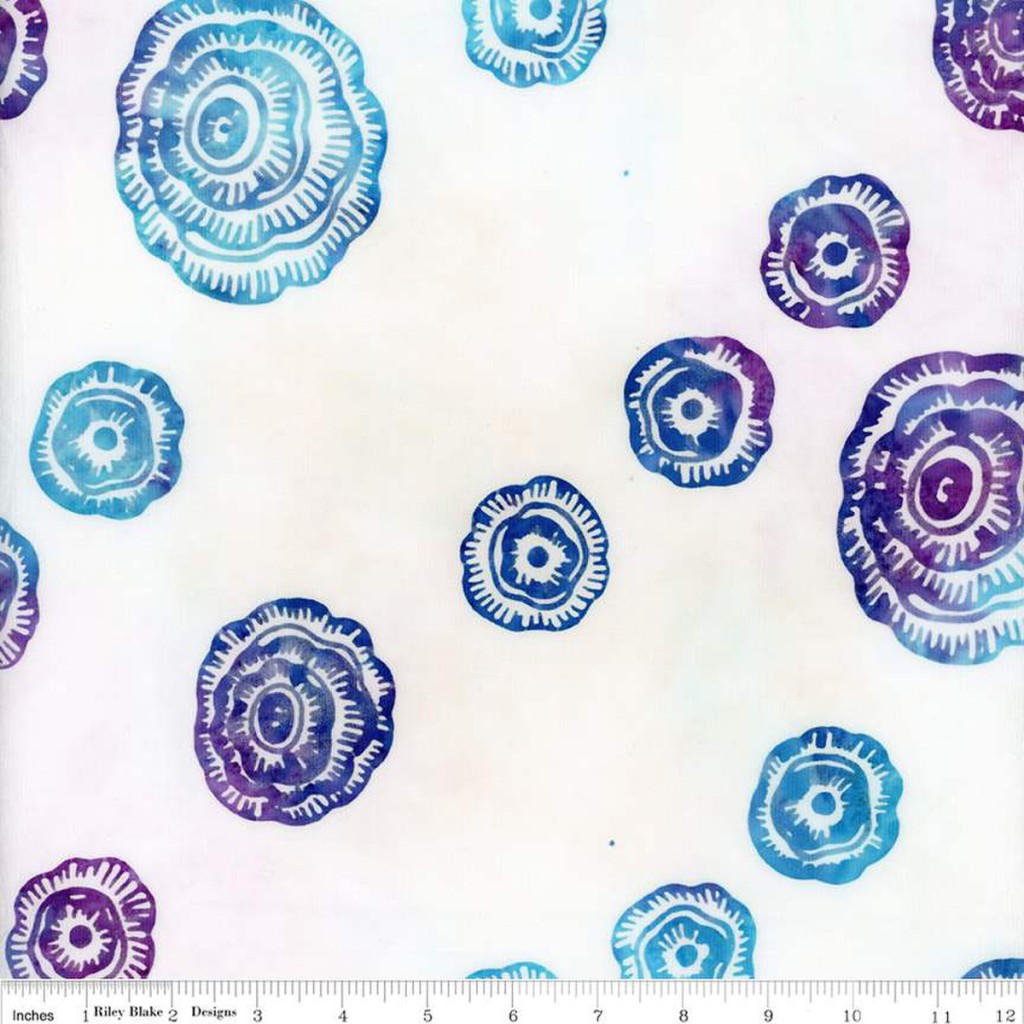
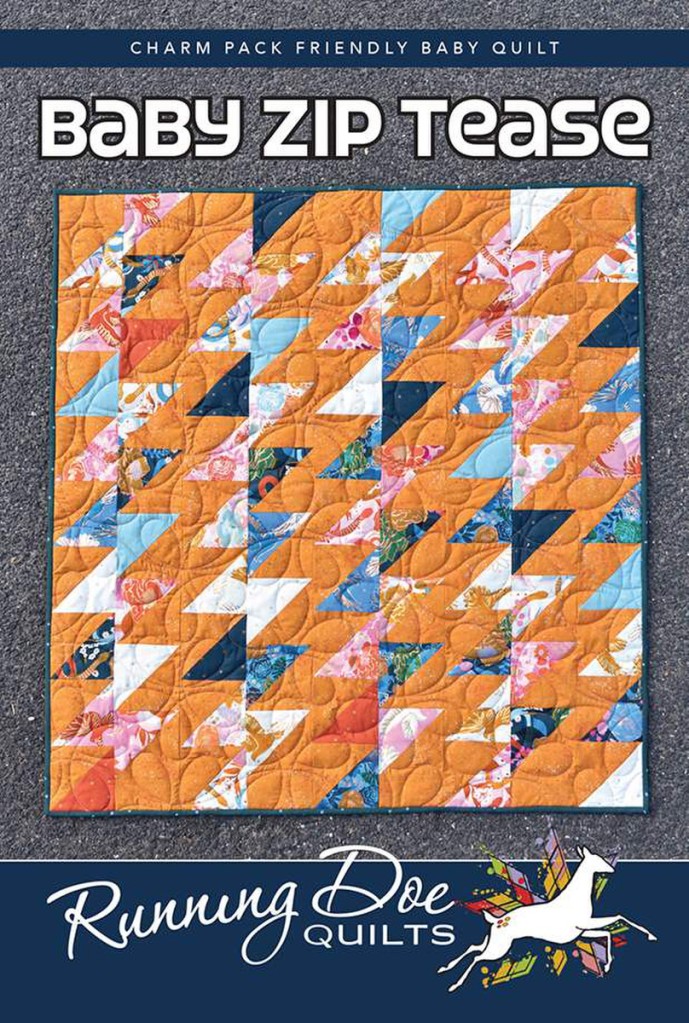
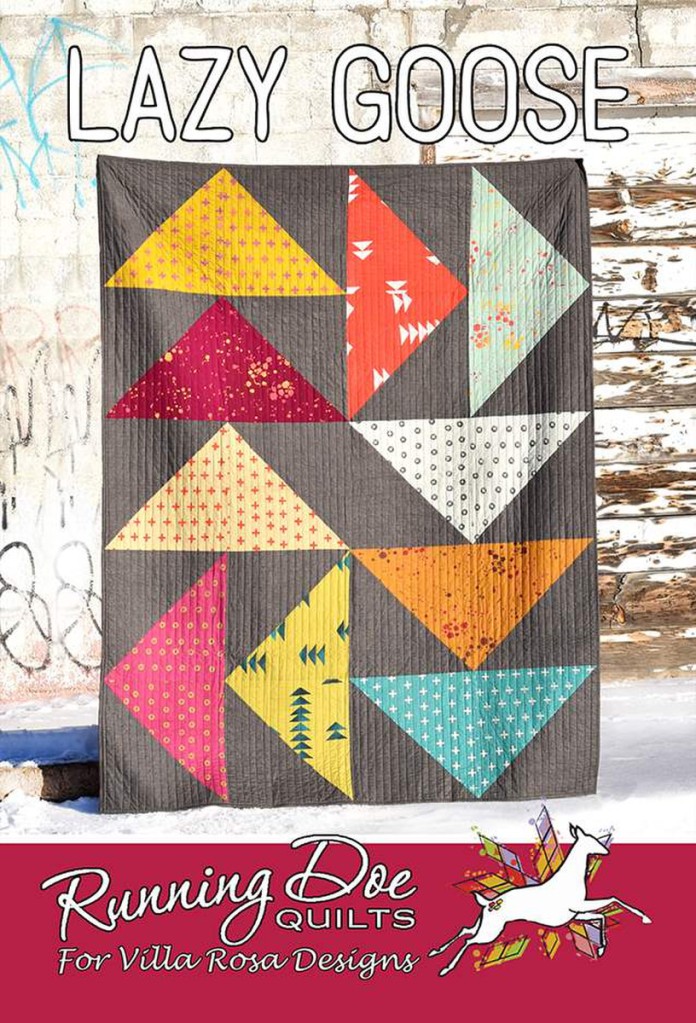
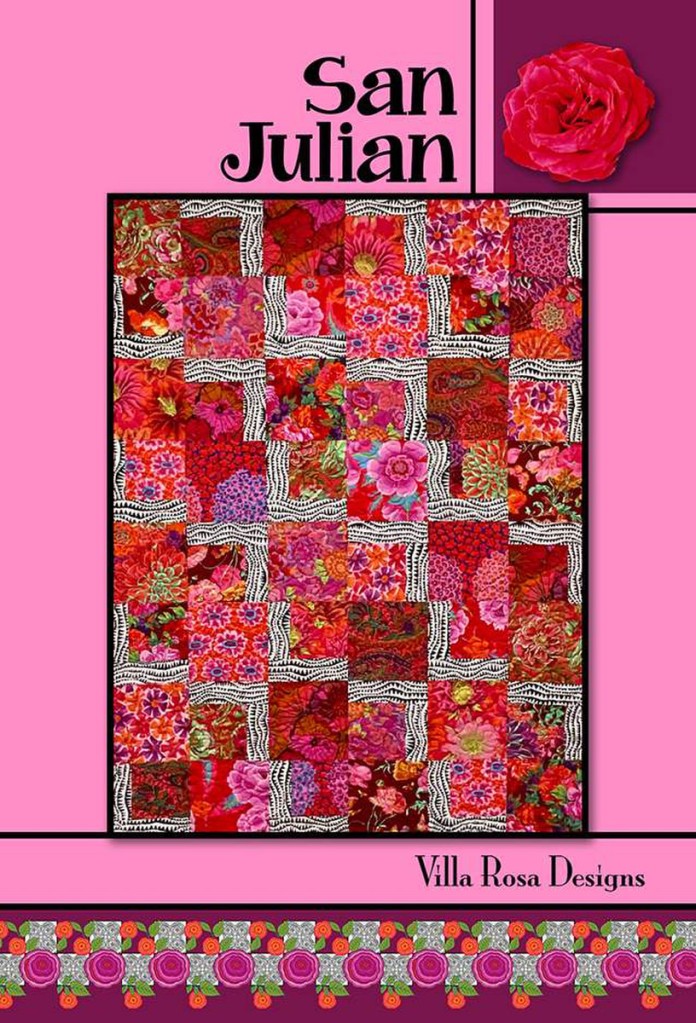
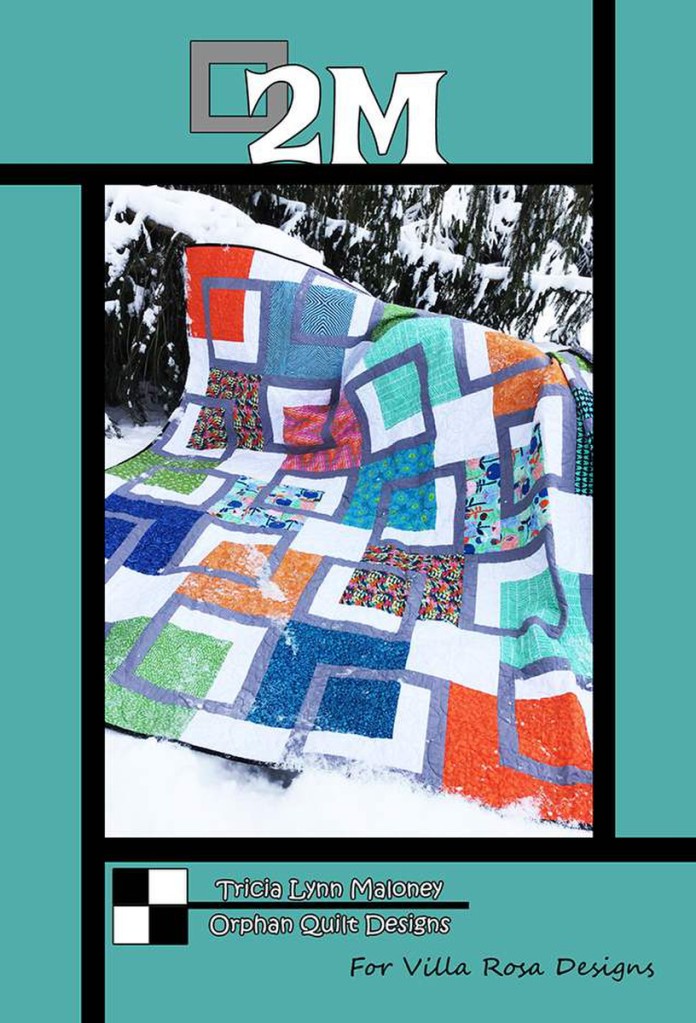
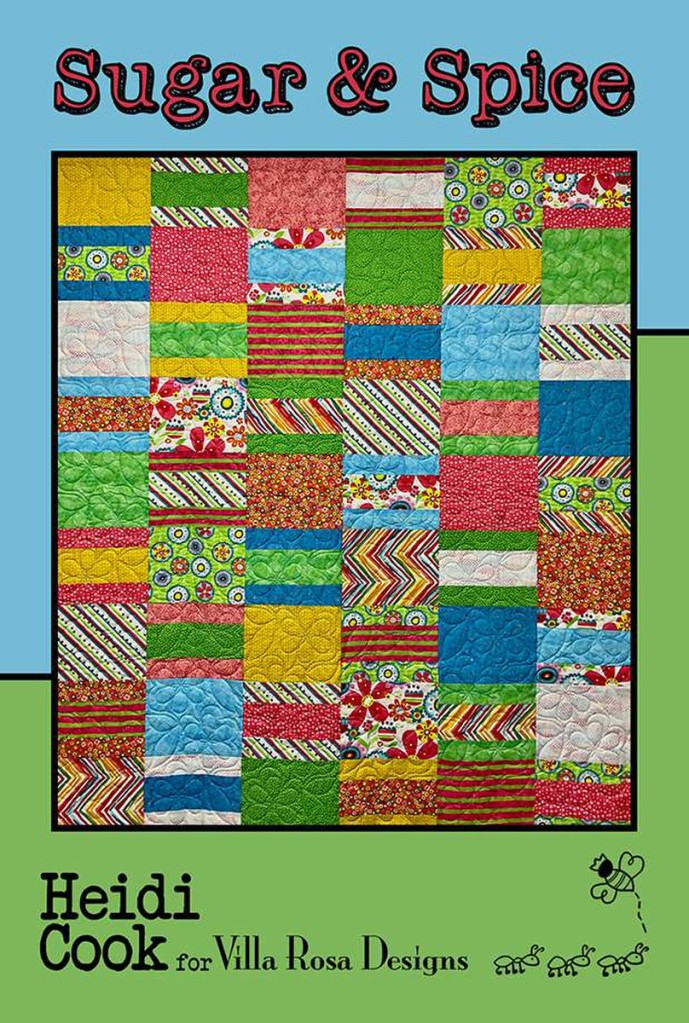
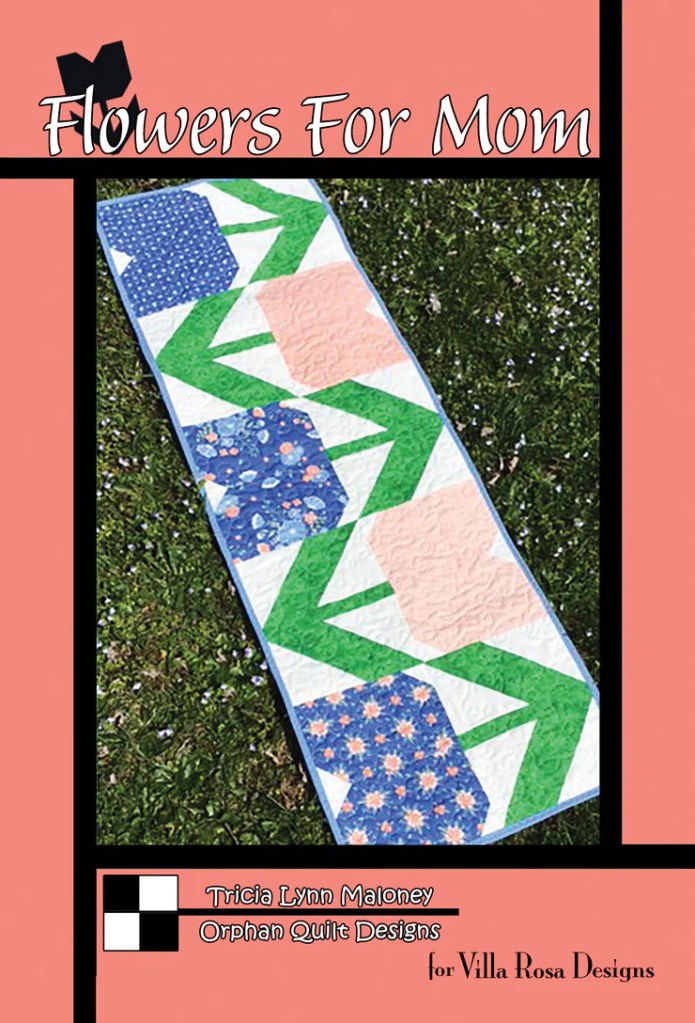
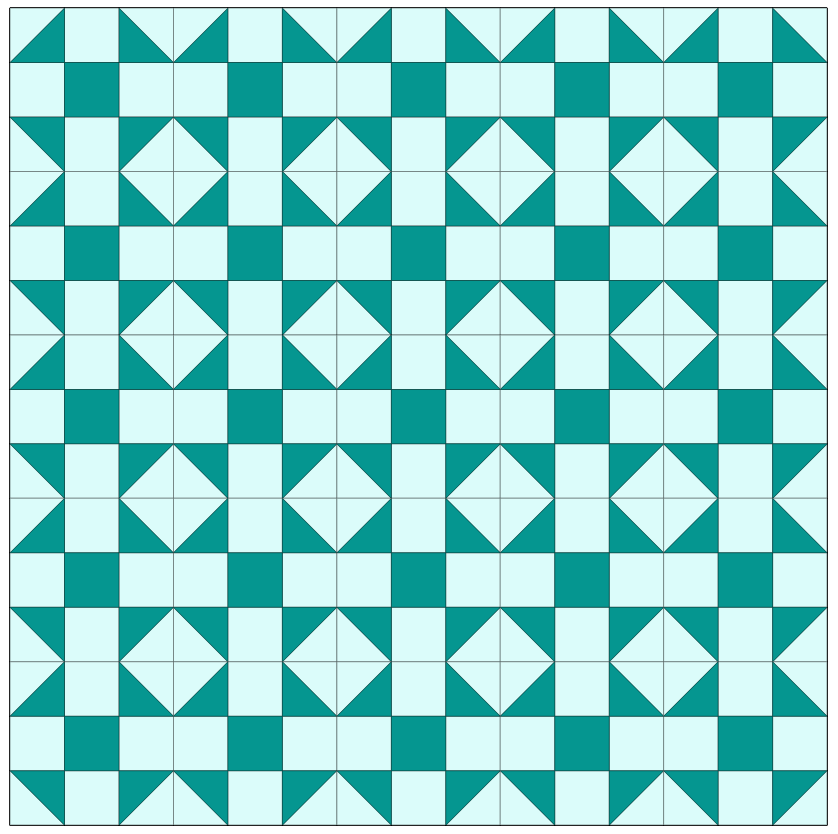
Villa Rosa Designs Rose Card Patterns

OF COURSE, I had to have our VRD Rose Card patterns on the top of the list! As you probably already know, we have around 700 current patterns with new patterns coming out every month from our very talented group of designers. If Villa Rosa Designs was an entry in a dictionary, you know the definition would be FAST & FUN! With patterns for accessories, table runners, baby quilts, small quilts, throw quilts, and even large bed quilts — we really DO have a pattern for everyone for whatever purpose or occasion they need to make a quilt for! You can find our entire catalog of physical Rose Card patterns HERE or our digital Rose Card patterns HERE.
Kits, Kits, and More Kits

Kits are a real time saver because the fabrics and the pattern are packaged together. Did you know Villa Rosa has kits galore both in the physical quilt shop in California and in our online shop? You can find our current kit offerings HERE.
Precuts

Grab your favorite 2 1/2″ strip set, 5″ charm squares, 10″ squares, or fat quarter bundle………. VRD has a pattern for that! LOL! Using precuts is a HUGE time saver because some of the cutting is already done for you. AND you can pair your precuts with a great VRD Rose Card pattern.
Small Projects

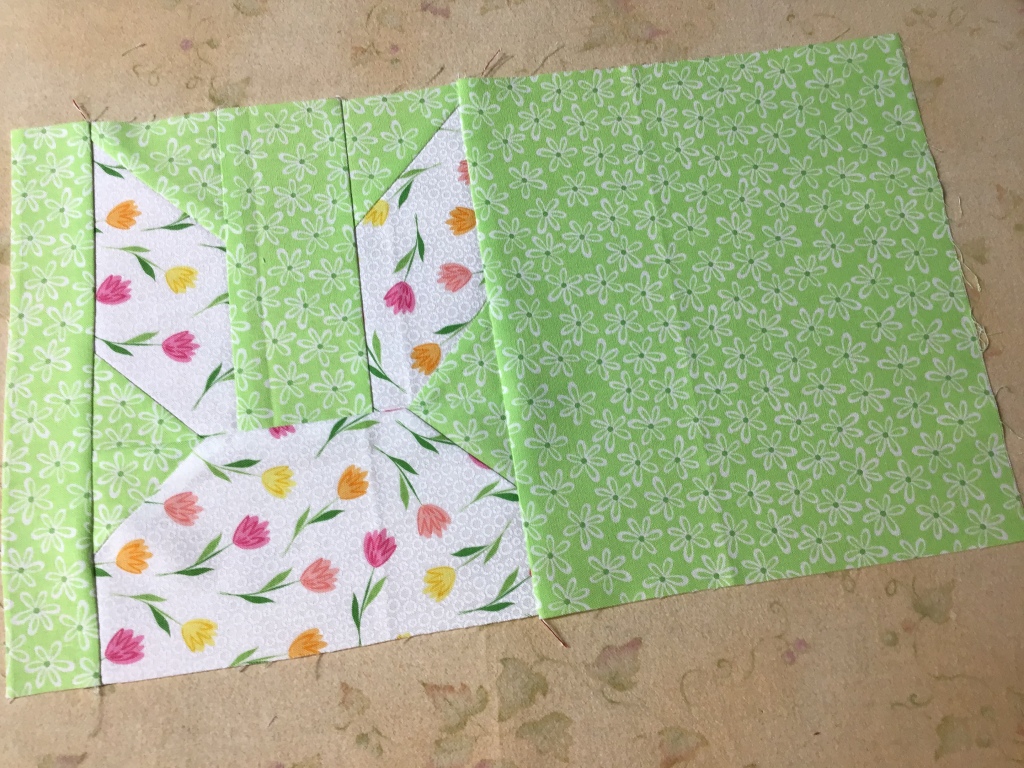
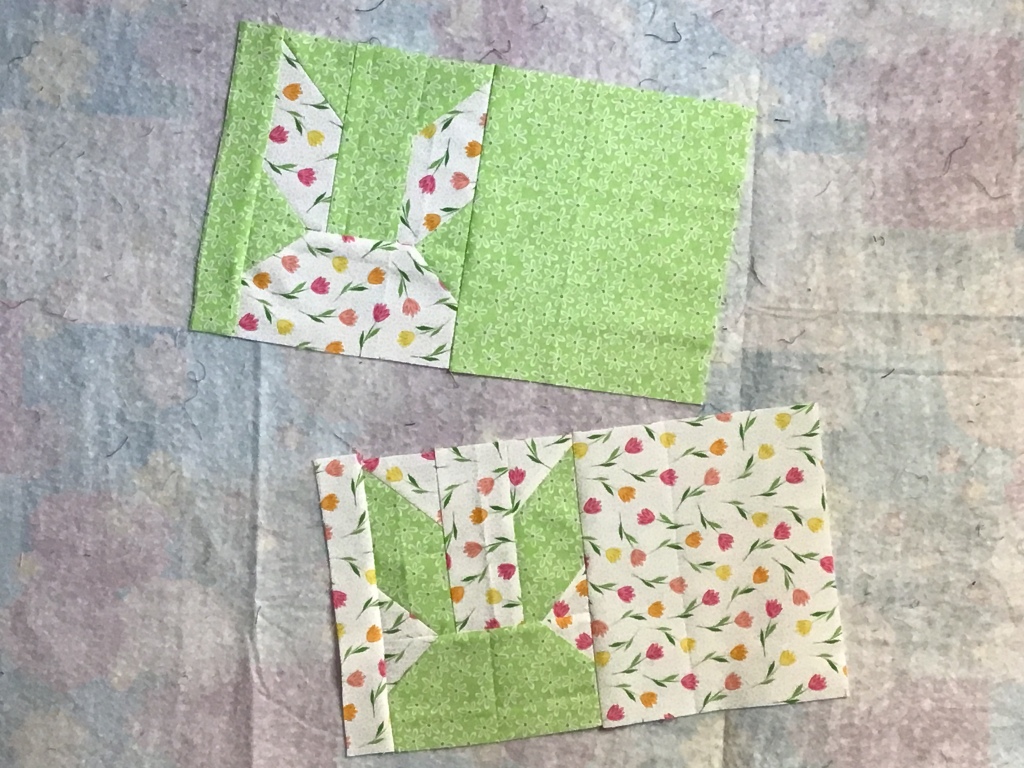
Think small in the summertime — place mats, snack mats, mug rugs, small accessory patterns, throw pillows, wall quilts, and table runners are all great options for summer quilting. I personally find that summer is a great time to start working on small fun Christmas gifty items that can be whipped up in little pockets of time.
Easy Piezy Projects

My advice is to save that complicated Double Wedding Ring Quilt for Fall and Winter and focus on Fast & Fun projects for the summer. Selecting easier projects that only take a couple days or even a couple hours to make will keep you moving right along instead of feeling stuck with a single more complex project for the whole summer. Check out my Go-to list for Fast & Fun Rose Card patterns that go together in a snap HERE.
Try a Take-Along Project

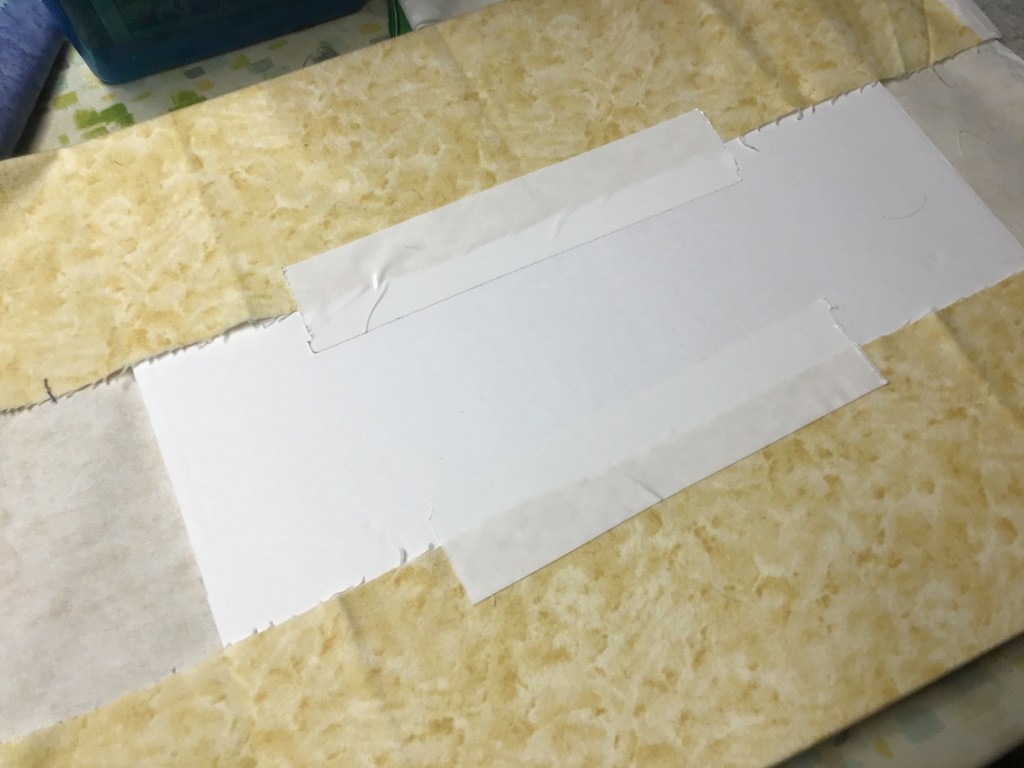
Prepare a take along project (hand piecing, applique, embroidery, whatever you like) and have it ready to go for summer trips, picnics, vacations, appointments, kids’ events, etc. You might even want to prepare several small projects for on the go, so you can just grab one on your way out the door. You will be amazed at how those little pockets of time will give you additional quilting time. Maybe it’s time to try a little English Paper Piecing with Hexies. Just Sayin’….
Projects in Different Stages of Completion

Not everyone will agree with me on this one and it might not work for everyone, but this is how I roll. If you have a quilt or 2 cut and ready to piece, another couple that you are quilting (either hand or machine), several that need the binding sewn on or tacked down, along with your take along project (or projects!) — you will never be bored and you can work on whatever project that fits into your current time/space.
On the go? Grab the quilt that needs the binding done (I’m thinking smaller projects here, not big bed quilts) or one of your take along projects — like maybe a hand applique pillow front.
Have an hour or two? Start piecing that quilt you cut out or maybe you can machine quilt a table runner.
Need a project in the evening while hanging out with the kiddos or friends? Maybe one that needs binding fits the bill or perhaps an ongoing project you already started hand-quilting?
Bored with one project? Then work on another one.
Use your time wisely by choosing the project that fits into specific pockets of time.
Try to Keep Your Sewing Space Organized

You will notice I said “try”? I know how hard it is to keep your space uncluttered and organized from my personal struggles in my own space (which, by the way, looks like a quilt shop exploded). If you can find what you are looking for when you need it, that itself will save you time. Then you can get quilting faster and you may even have a little bit more time to work on your project in between swim practice and dinner if you’re not hunting for your scissors or thread or a new machine needle because you broke one.
Use Your Leaders and Enders to Maximize Your Sewing Time


This is a great idea I borrowed from Bonnie K. Hunter. In fact, Bonnie has written 2 books about this idea — Adventures with Leaders & Enders: Make More Quilts in Less Time! and More Adventures with Leaders and Enders: Make Even More Quilts in Less Time! The concept is that you cut out an entire quilt (Bonnie is all about Scrap Quilting) and then you sew the pieces together for one quilt as the Leaders and Enders while piecing a second quilt. You will be amazed at how many more quilts you will be able to put together with this technique.
What are Leaders and Enders, you might be wondering. Scraps of fabric to begin and end your chain-piecing so that your machine doesn’t “eat” your fabric at the beginning of your first unit (bet you know what I mean by this!). Bonnie’s idea is all about making simple scrappy blocks by using the pieces of one quilt as the Leaders and Enders for a second quilt — literally a two-fer! You go, Bonnie!
Schedule Sewing Days with Your Pals

Sewing with friends is always a great idea — not only are you quilting, but you’re getting social time with your pals, too. Go ahead and actually schedule time on your calendar to quilt with your posse. Bring a project to work on and something for a pot luck. Why not make it a theme night — Taco Tuesday, Wacky Wednesday, or maybe Fast & Fun Friday? By combining social time with quilting time, you get the best of both worlds at the same time!
Take a Quilt Class

Learn something new or brush up on your skills. You are prioritizing quilting by scheduling it into your busy summer. Make that class even more fun by taking along your best quilting bud.
Join a Quilt Guild

Yup, join a Quilt Guild where all the quilters hang out once or twice a month. Again, you are combining social time with quilting time as well as making quilting a priority. You can even tote a take along project with you to meetings. You’ll enjoy the camaraderie of like-minded folks and you might learn a thing or three from other members.
Maybe you don’t have a guild near where you live? You could join an online guild. Or maybe start a guild in your area!
Teach Someone to Quilt

Have you ever heard the quote: “Tell me and I forget. Teach me and I remember. Involve me and I learn.”? Do you know who said these important words? If you said Ben Franklin, then kudos to you!
So, teach someone to quilt!
Kids or grands need something to occupy their time besides video games and their cell phones? Teach them to make a simple quilt! Know someone who always wanted to make a quilt, but doesn’t know how? Teach them! Or maybe you know an expectant parent or grandparent who wants to make a baby quilt for that special little bundle? Don’t hesitate, teach them! You can even make the same project that you are teaching, so not only are you getting in some much-needed quilting time, you are also sharing your love of quilting with someone else.
Quilting Road Trip

Yay! Get your motors running! Head on out on the highway — er, on a Quilting Road Trip or FART (Fabric Acquisition Road Trip). Whether you’re going on a quilt retreat, to a quilt show, or hopping from shop to shop, enjoy some quilting R&R with your fav quilty pals. Don’t forget your take along project for the road….
I hope these fun ideas help you to squeeze a little more quilting time into your busy summer. If you have any additional ones to add, please leave a comment to share. Thanks!
Just keep quilting……just keep quilting…..just keep quilting………………………………….
Until next week —
Sew. Laugh. Repeat.
Always,
Tricia @VRD