Hello Quilty Friends!
It’s hard to believe it’s Week 4 of our 6 Quilts in 6 Weeks Challenge already, isn’t it? How many of you have been following our VRD Project Finishers on our VRD Facebook page? I know I have! I really love how supportive everyone is on the VRD FB page, too, it’s a great place to hang out if you’ve never visited before.
I’m really hoping this “finish 1 project a week” concept will stick with me and I’ll continue after the Challenge is over because I literally have STACKS of flimsies (quilt tops) waiting impatiently to get quilted, bound, and finished. I think it would be a great accomplishment for me (or any of you) to shrink those stacks of unfinished projects before the end of the year.
Wouldn’t it be awesome to jump into 2026 with a plethora of new project ideas without the guilt of that sad stack of unfinished projects sitting there, judging us? Besides, finishing projects will make more room in our quilting spaces for new projects!
Okay, how about our Week 3 Challenge winner now (selected using a random number generator)?
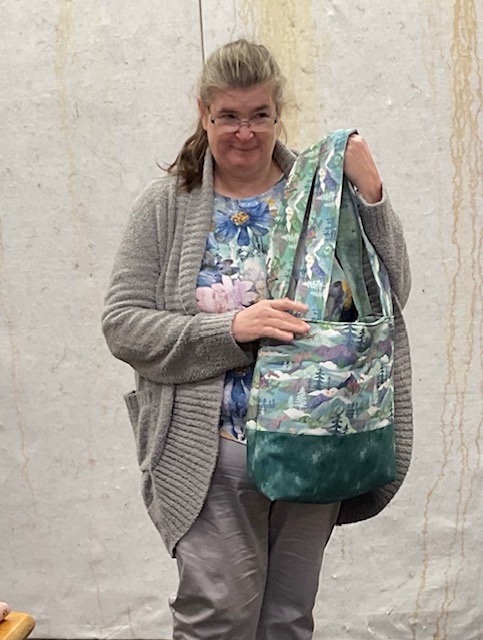
Congrats to Robin M!
Prizes for our Weeks 1-3 winners will be in the mail shortly, so enjoy your quilty surprises sponsored by our good friends over at QT Fabrics. Thank you, QT!
Now we’re ready to jump into our Week 4 Challenge!
6 Quilts in 6 Weeks Challenge Week 4
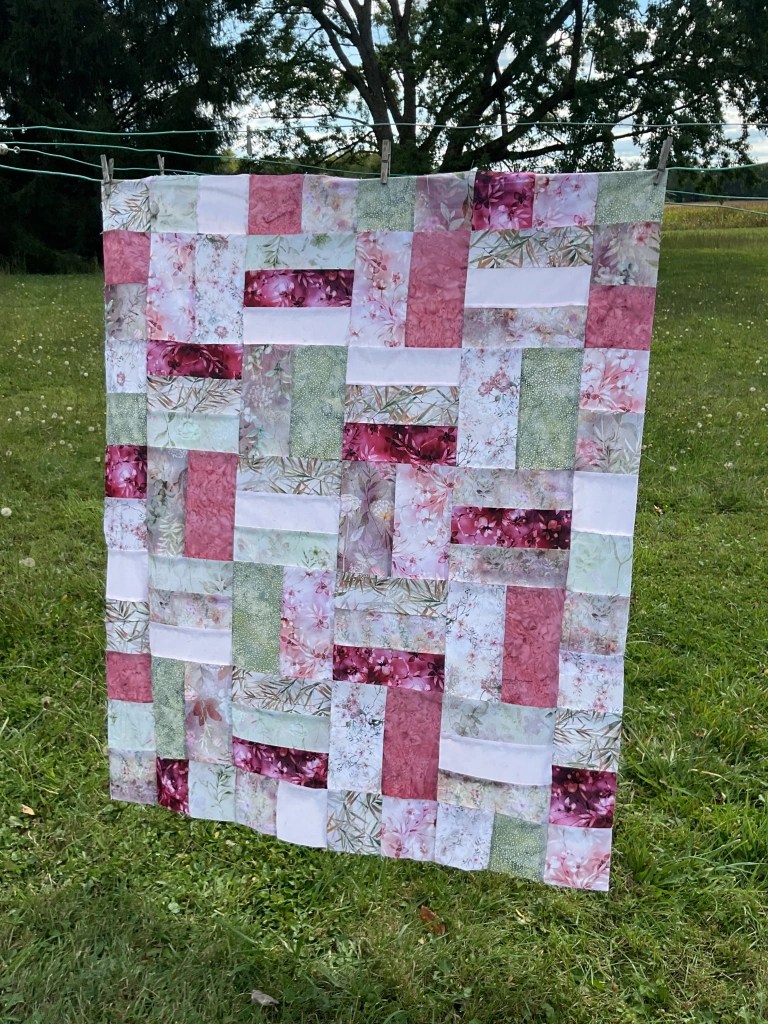
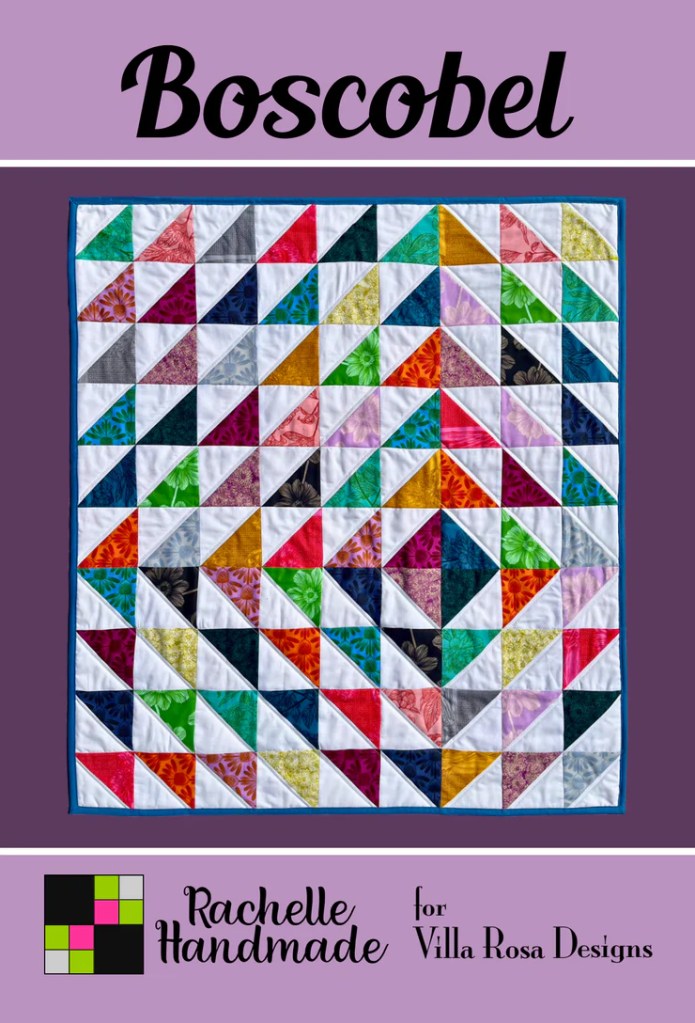
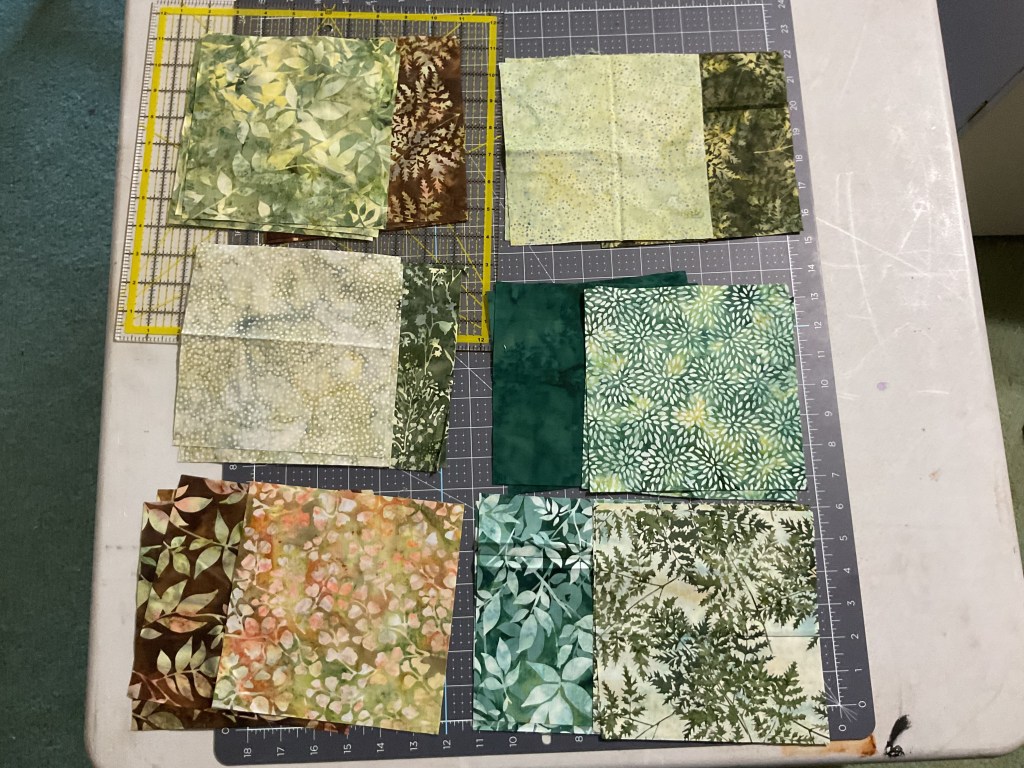
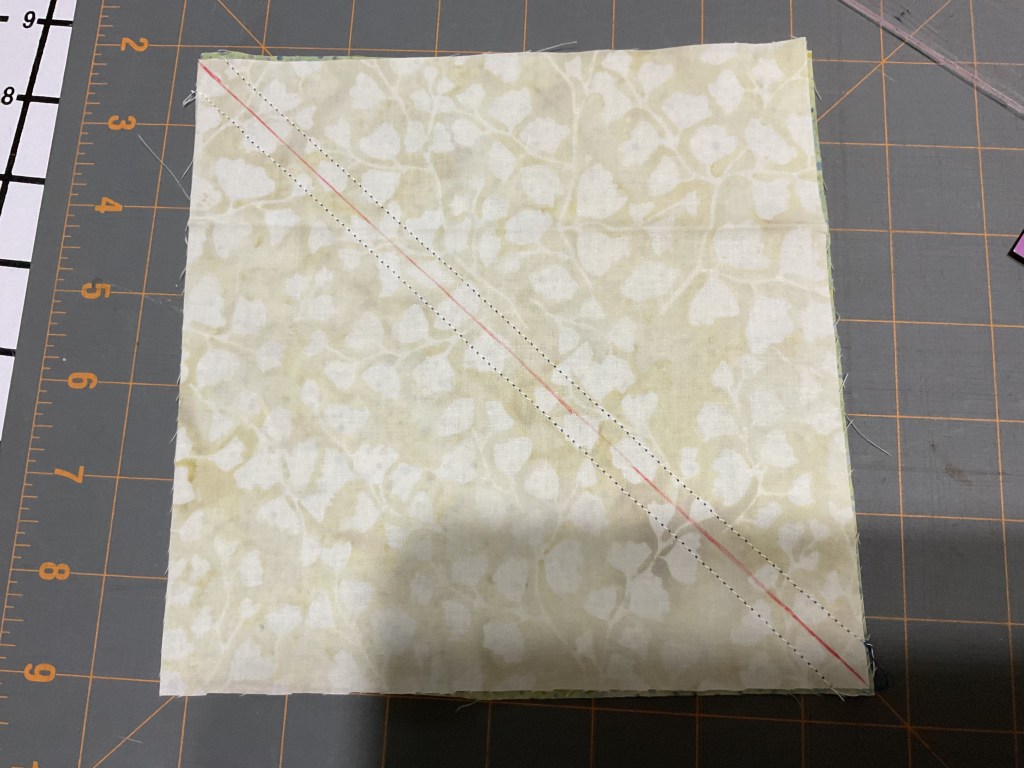
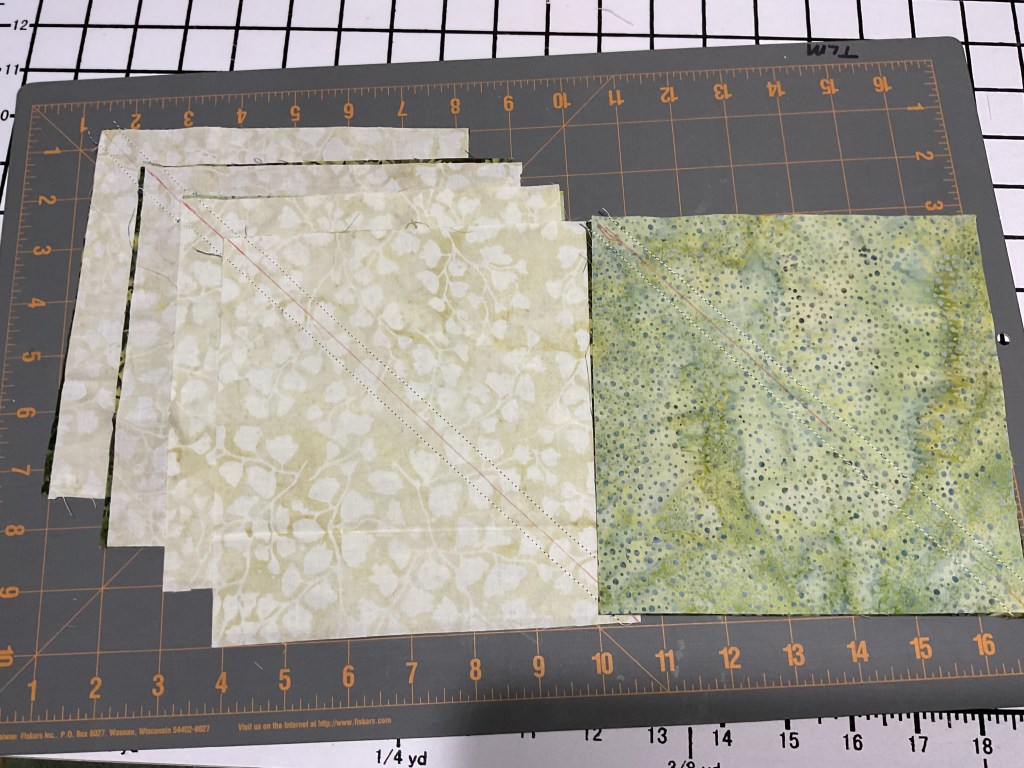
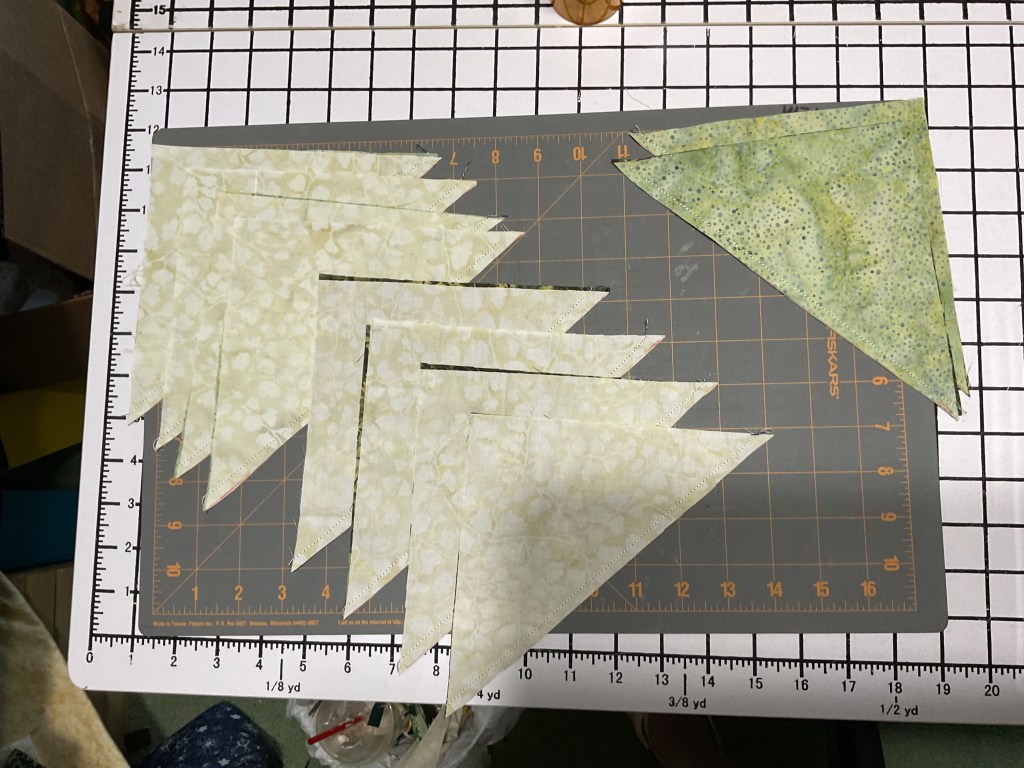
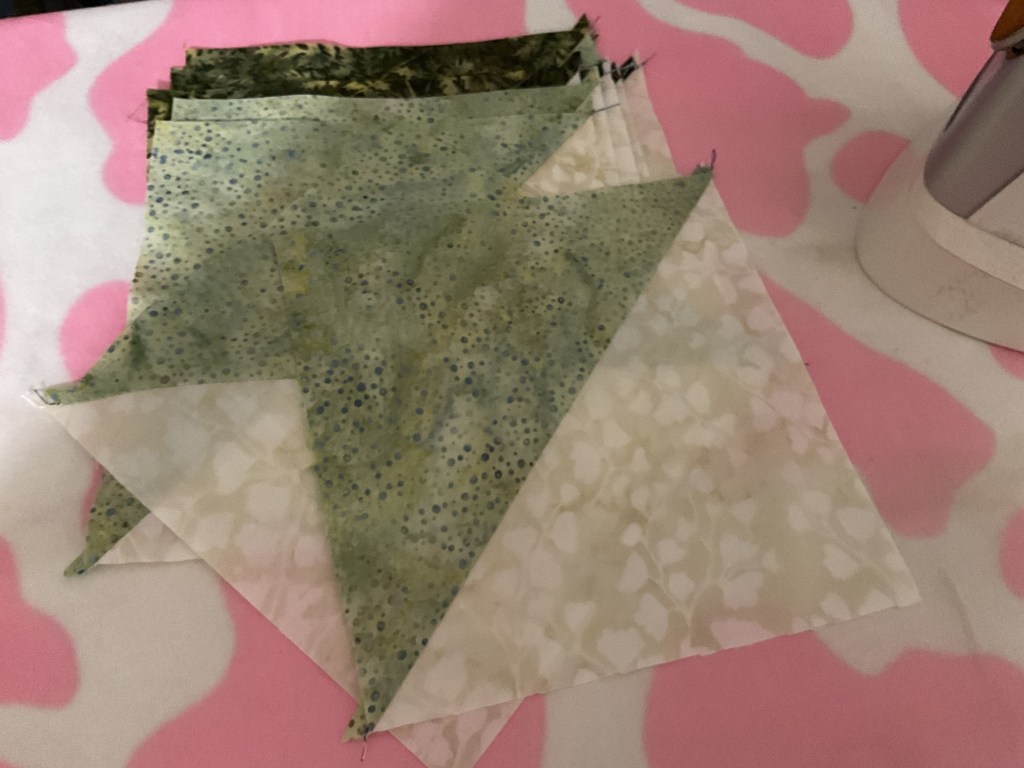
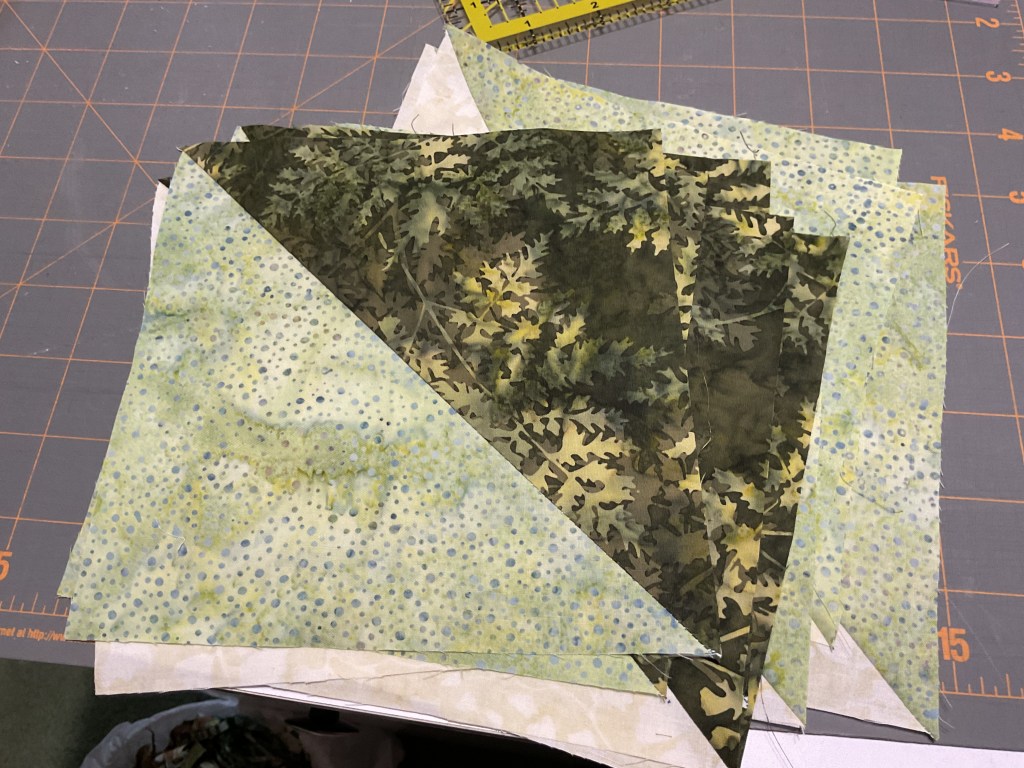
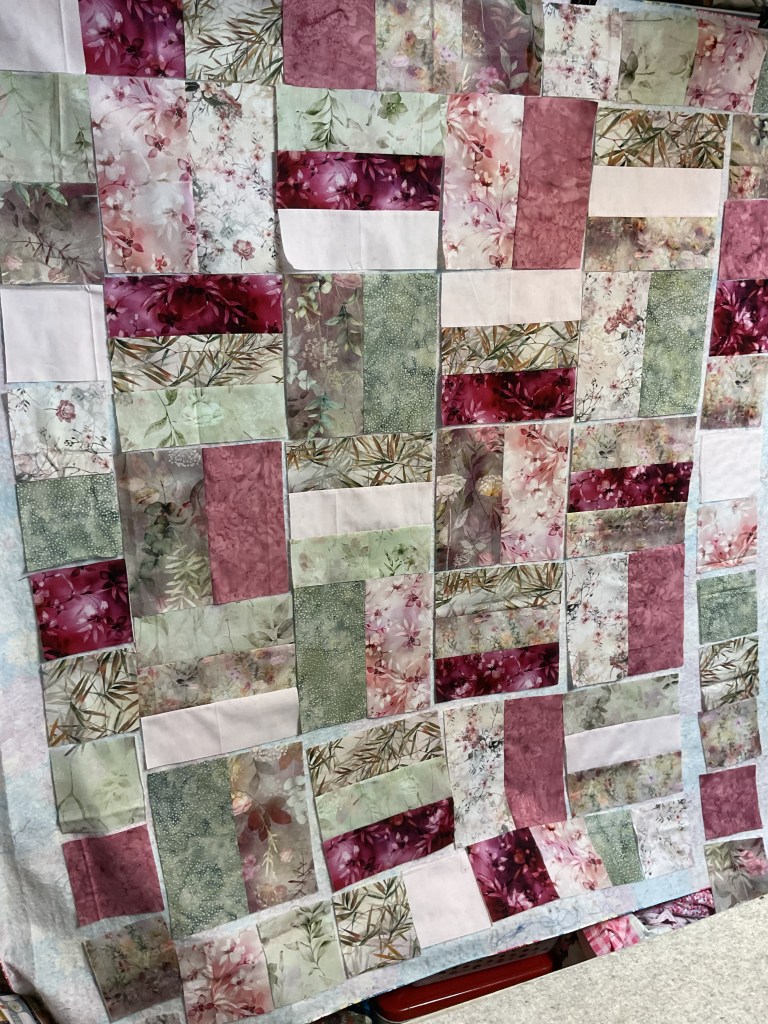
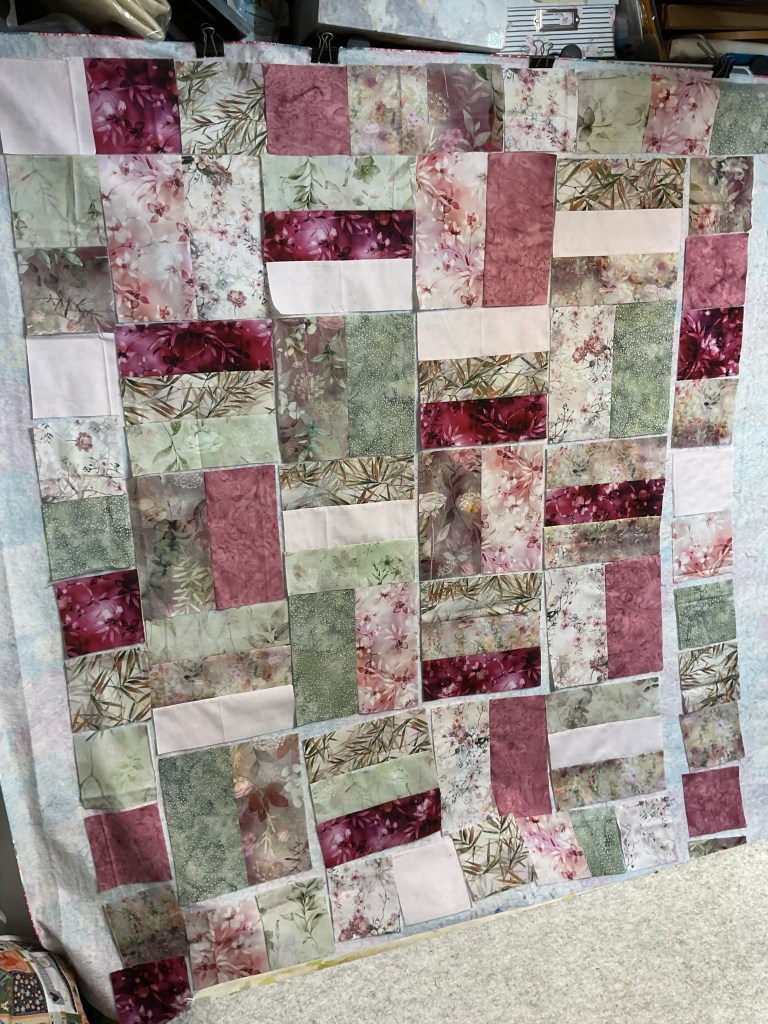
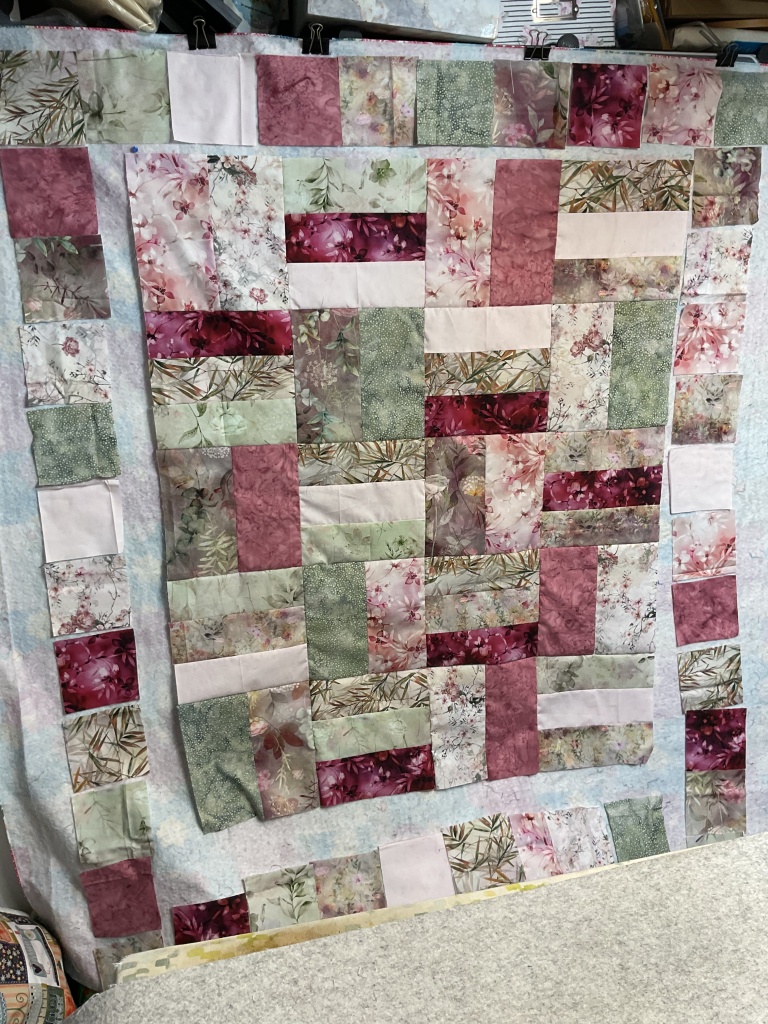
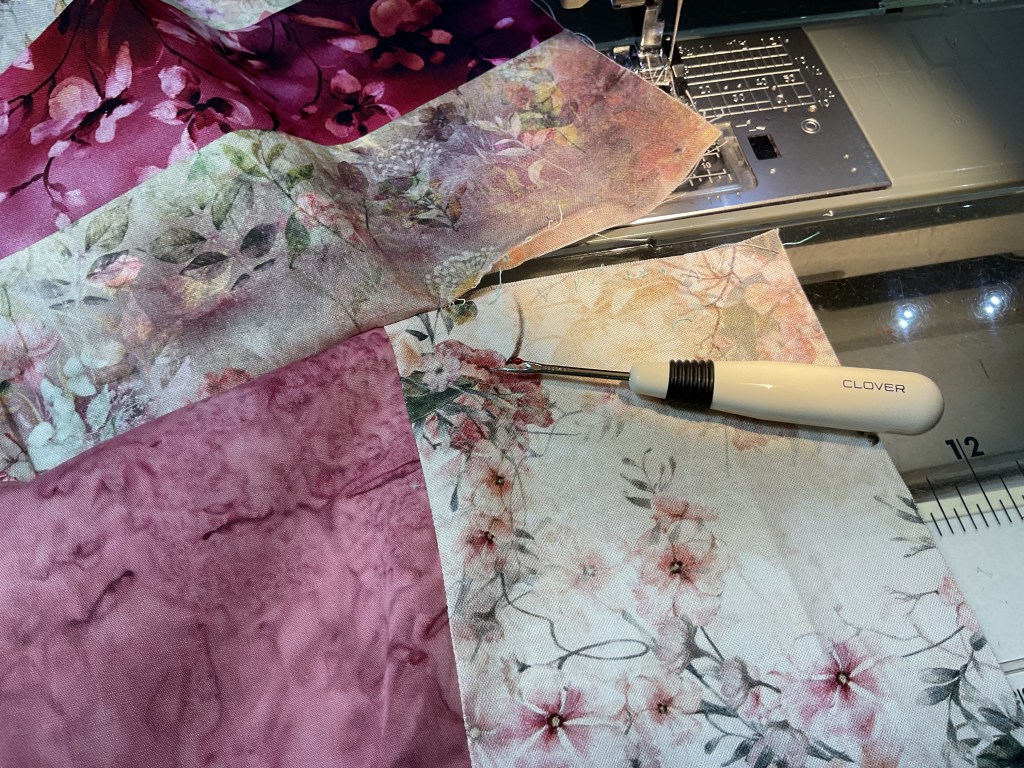
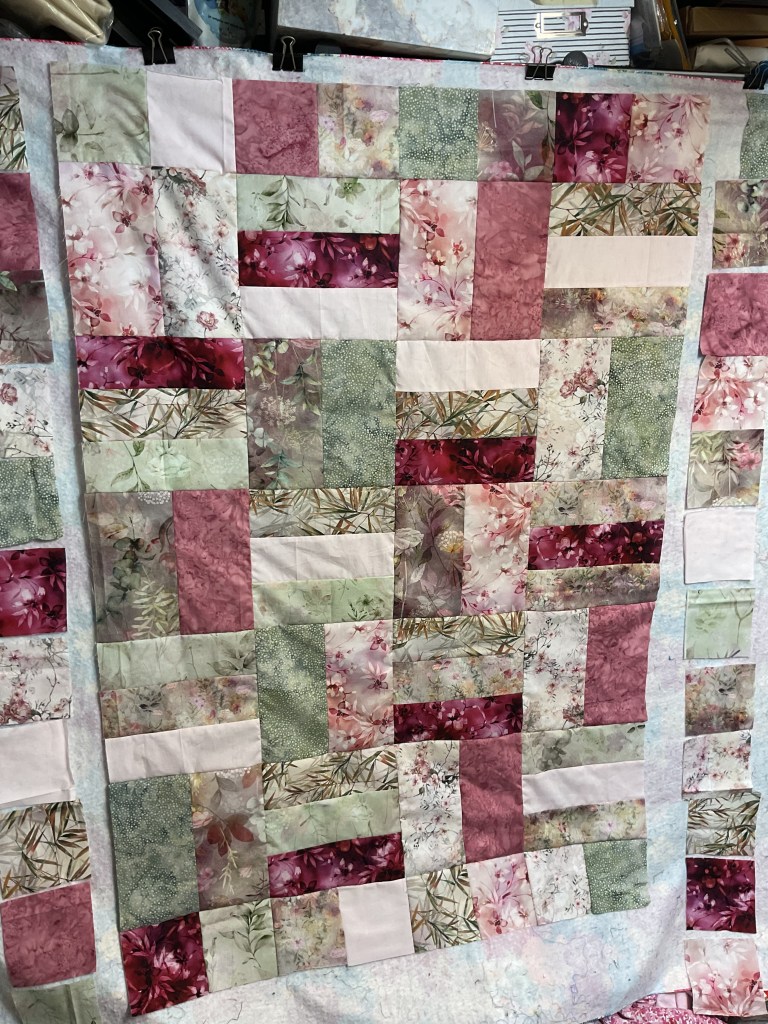
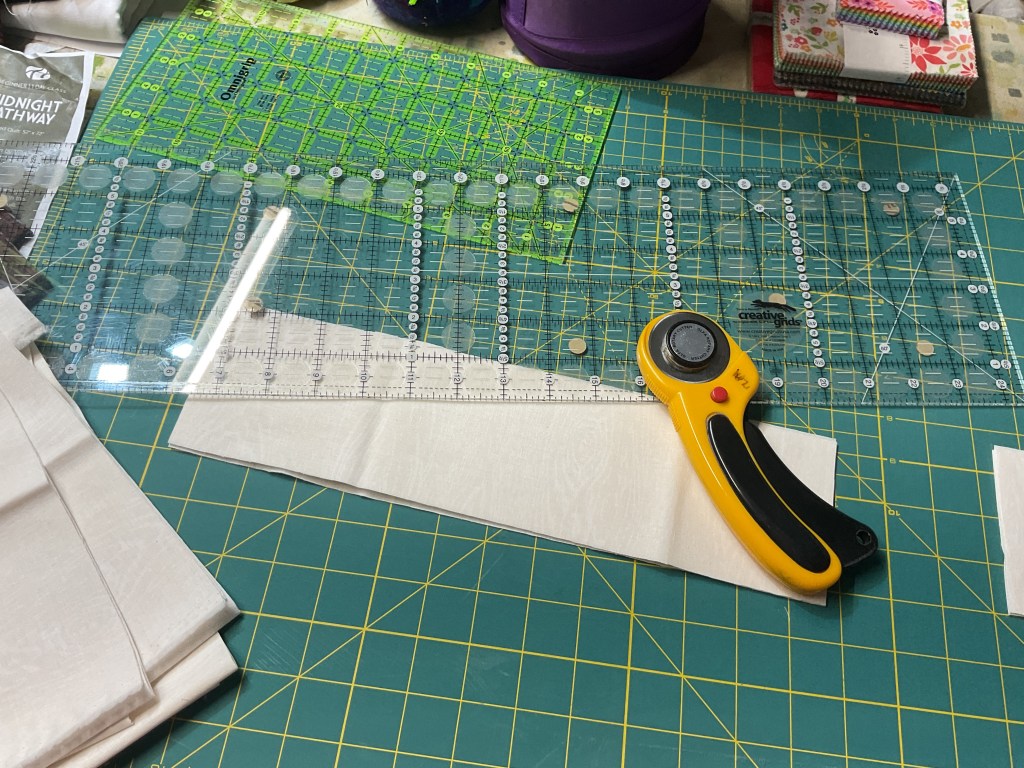
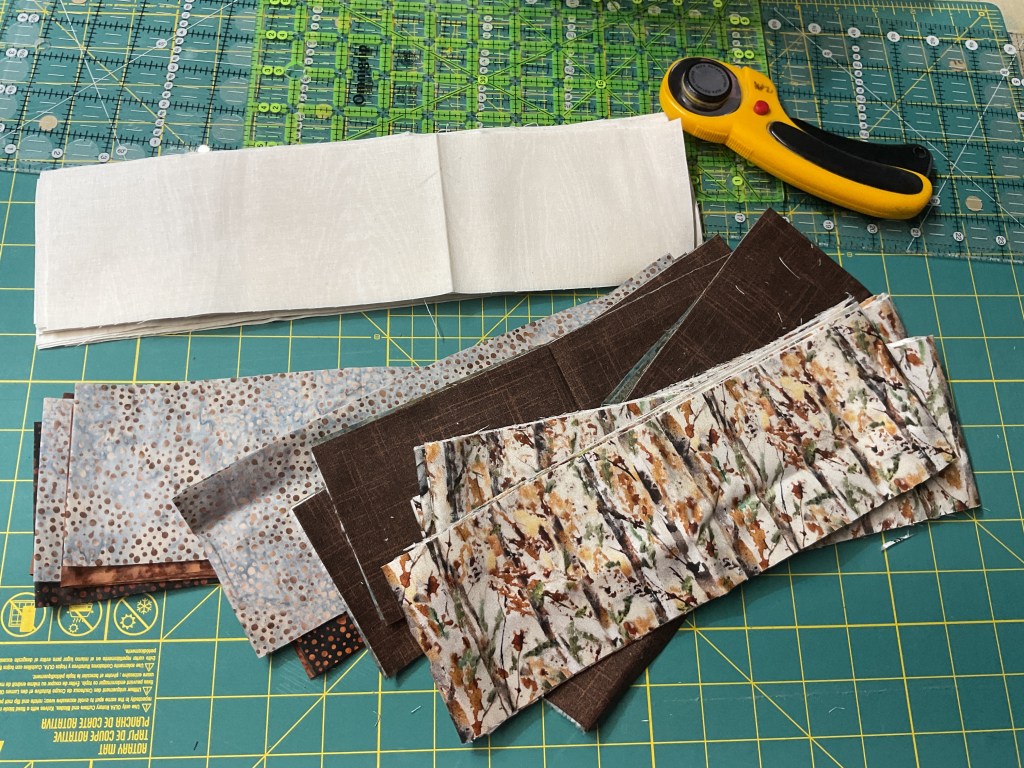
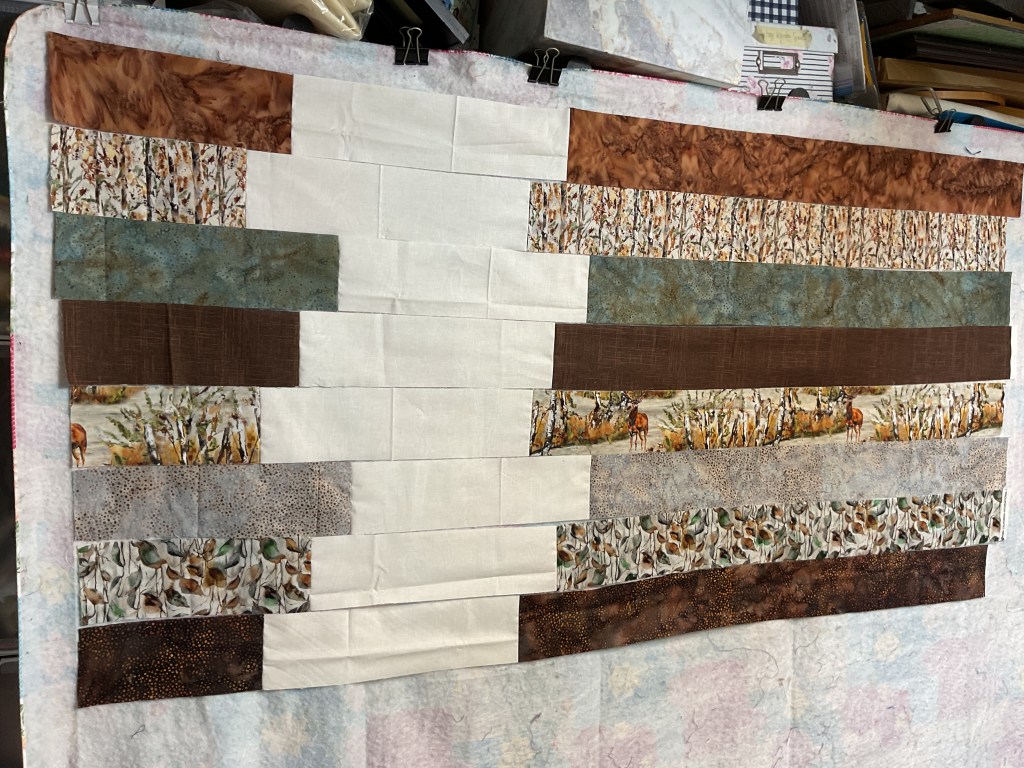
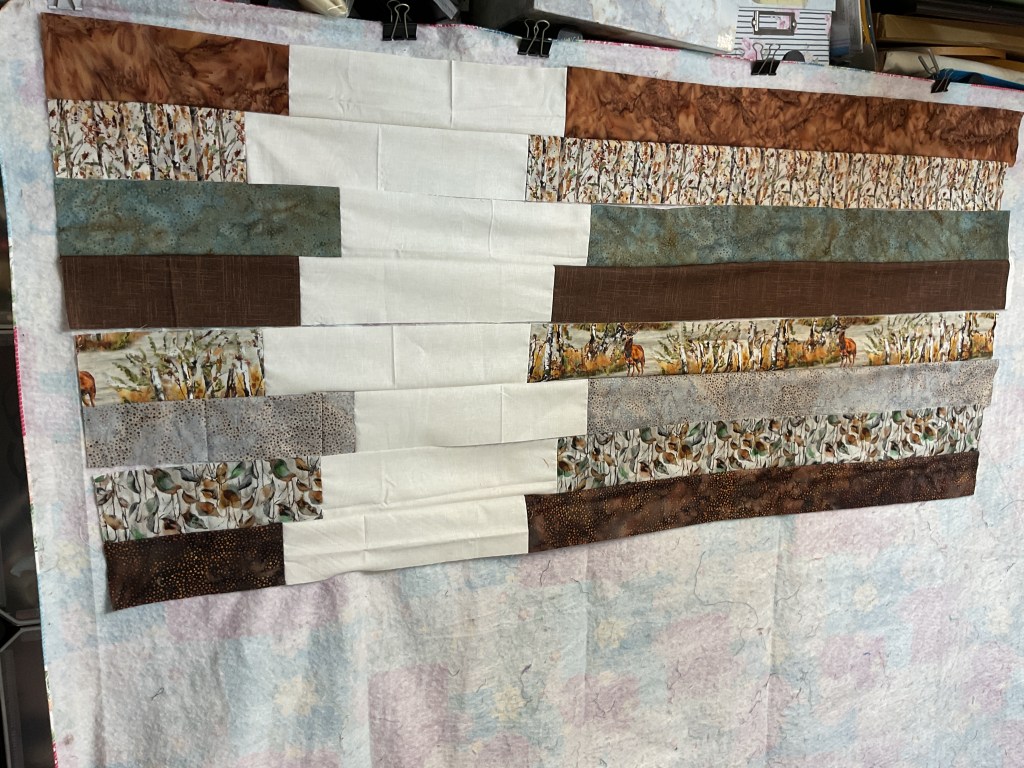
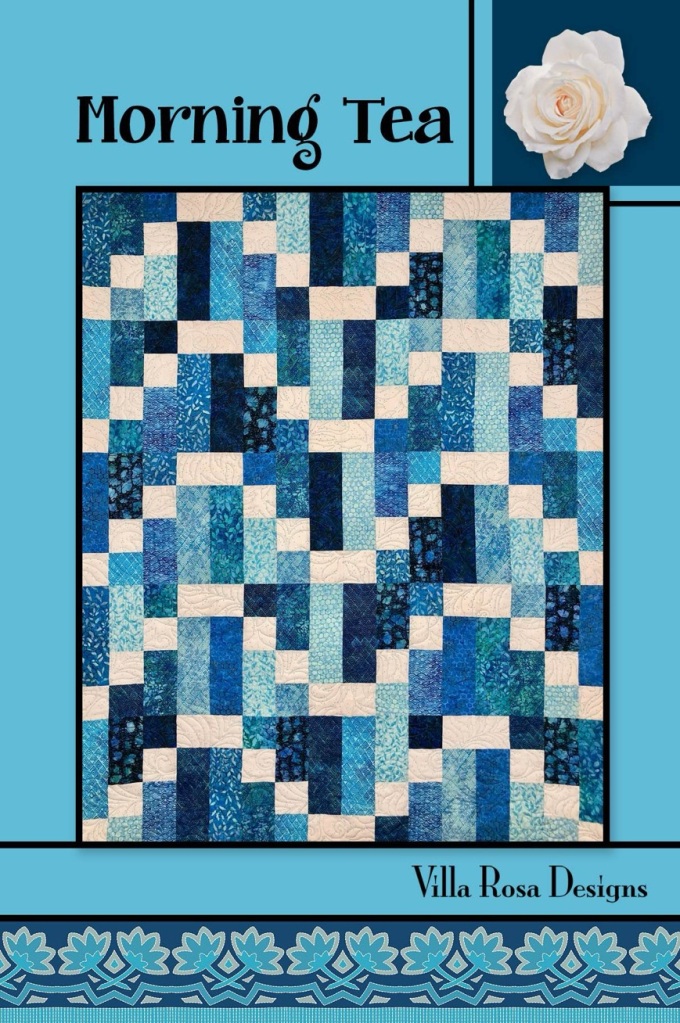
My finish this week was a really fun one – Helix by our talented VRD designer, Molly Cook. Have you ever tried this pattern before? Helix is fat quarter friendly and finishes at a nice 50″ x 66″. You could add a border all around to make it larger if you wanted to.
It is definitely a more challenging project – I would consider it more intermediate/advanced. There’s a lot of matching points and seam intersections in this one. The finished quilt is gorgeous, though, with its eye-catching geometry. A very cool quilt.

Get your digital pattern HERE or your print pattern HERE
When I searched for this tutorial on the blog, I discovered – gasp! – it was from 2023! Huh. How time flies! You can find the Helix tutorial HERE.
If you’ve never made this one before, I really do suggest you check out the tutorial because all those intersecting points can be a challenge if you’ve never done them before.
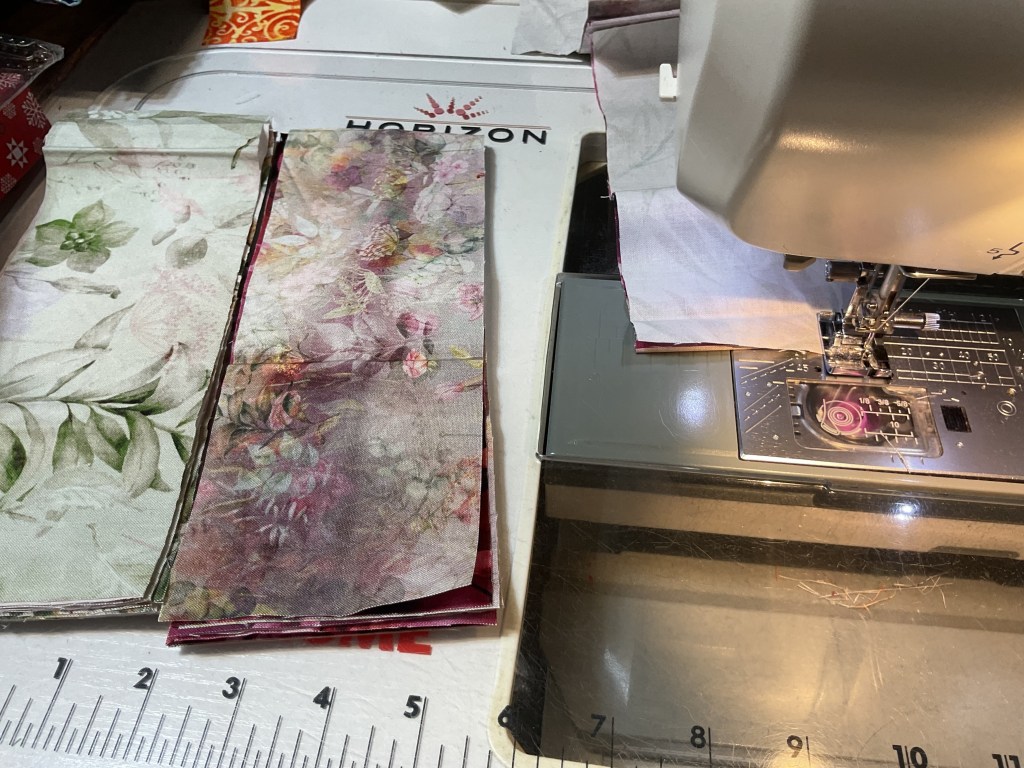
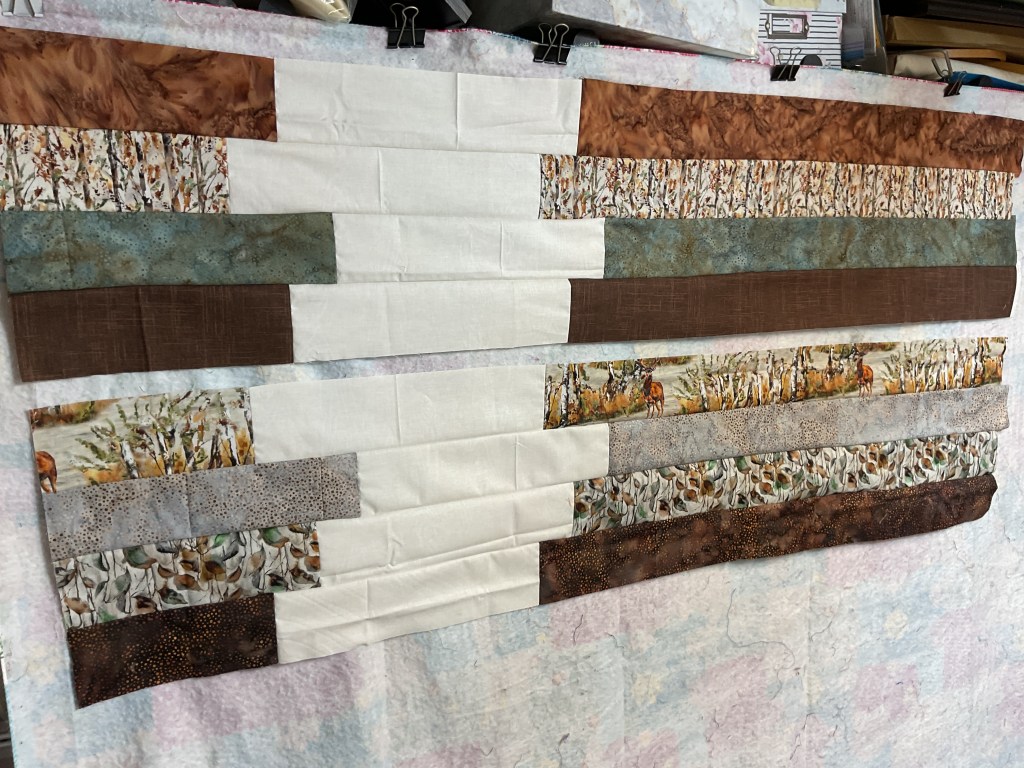
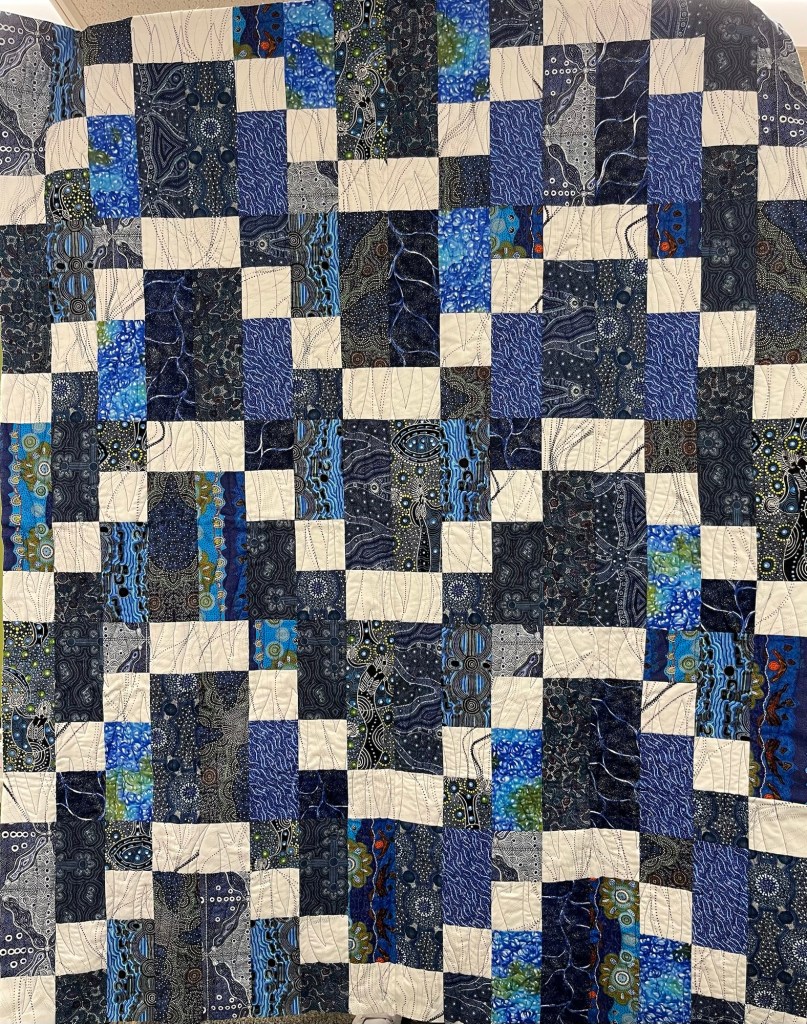
Here’s my BEFORE photo:
Apparently when I took the photo back in 2023, it was a really windy day!
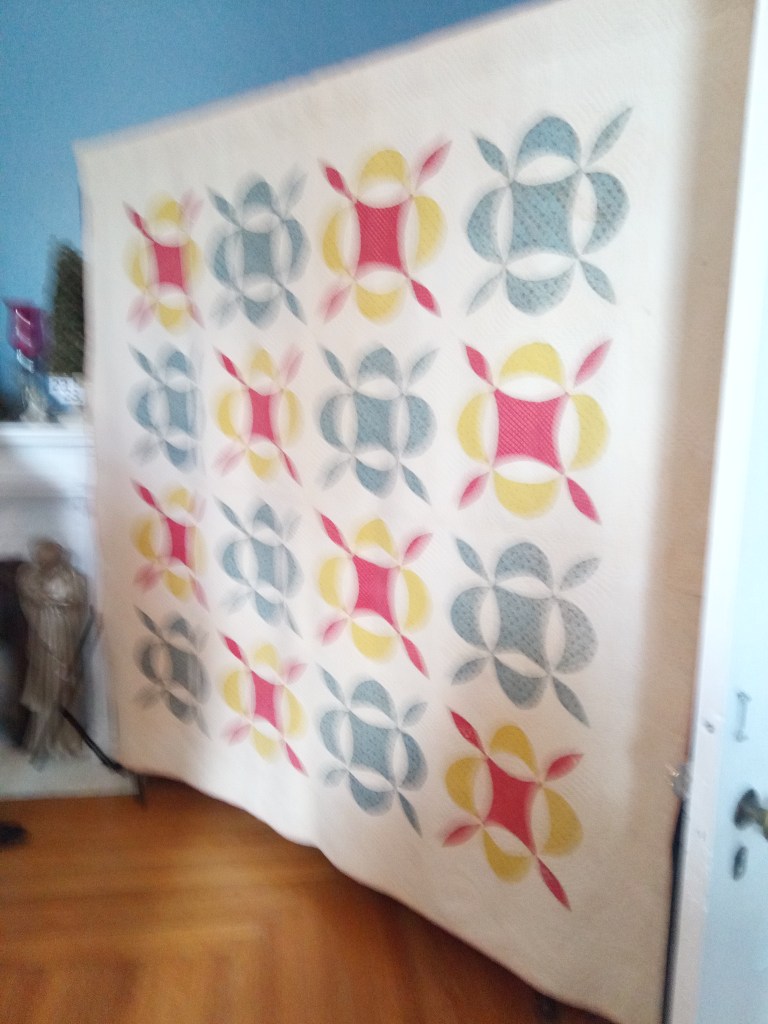
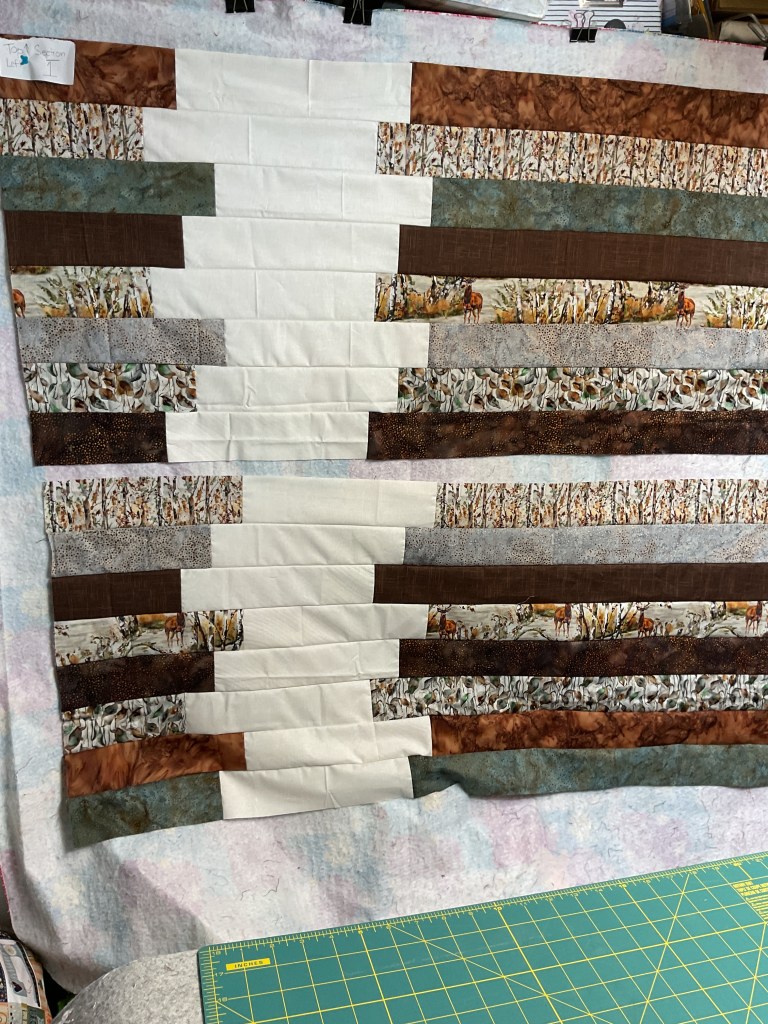
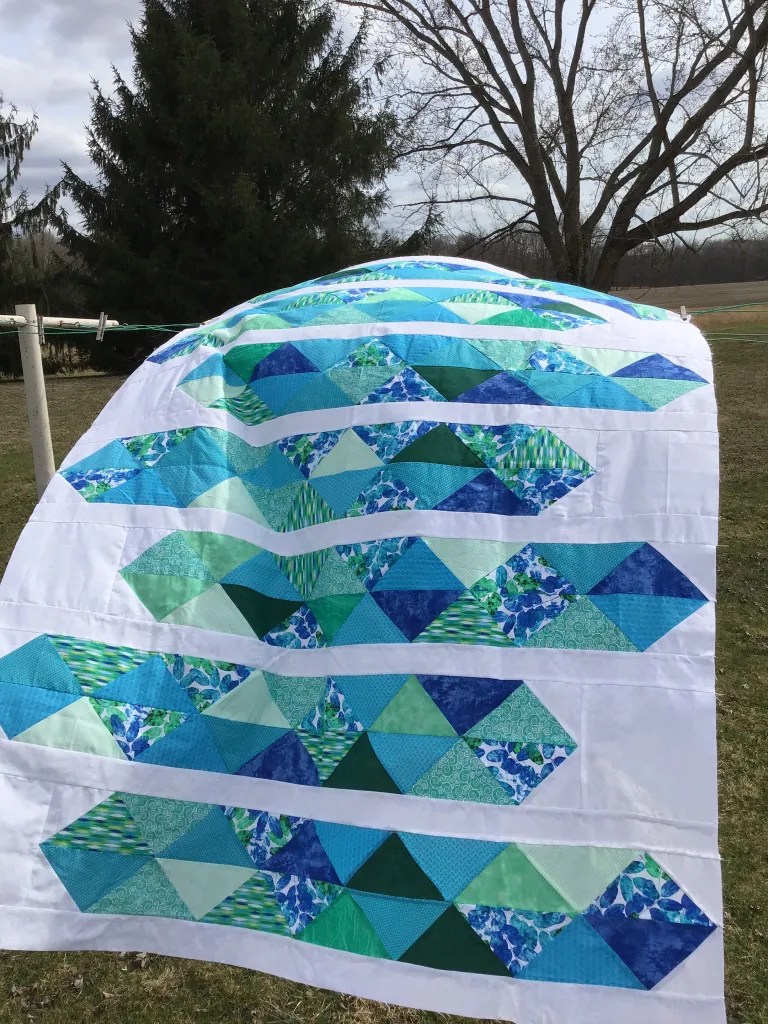
And here is my AFTER photo:

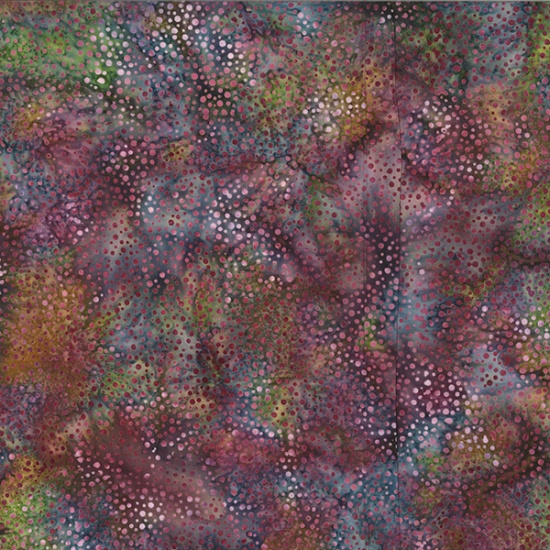
See the interesting plaid markings showing through the quilt (the sun was behind the quilt when I snapped the photo)? That is courtesy of the fun blue/teal plaid fleece on the back. Yep, another fleece-backed throw with no batting – just the way I like ’em! Fleece-backed throws are perfect all year around as they are lightweight yet cozy and soft.
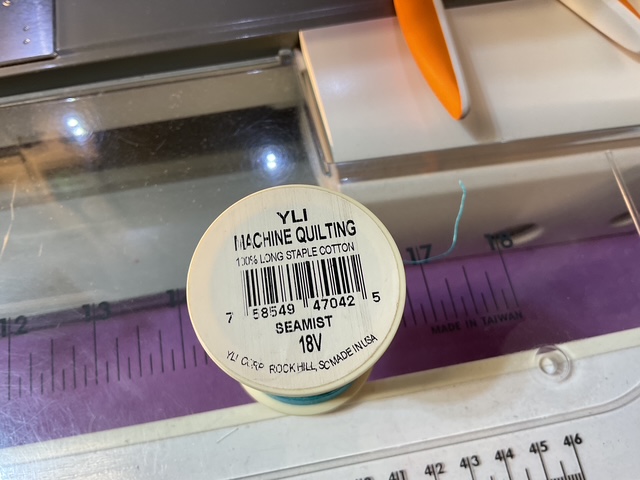
I’m really pleased with how this quilt turned out. The crisp white background was the perfect companion to set off all of the blues, greens, teals, and turquoises. I quilted it with my usual allover meander, but this time I used a very subtle variegated thread, Seamist by YLI. I thought, why not? My Helix has a lot of white space so I thought the variegated thread in blues and teals (I swear there’s a bit of green and lavender, too) would really compliment the quilt. I love how it turned out, but the thread color variations were very very subtle.


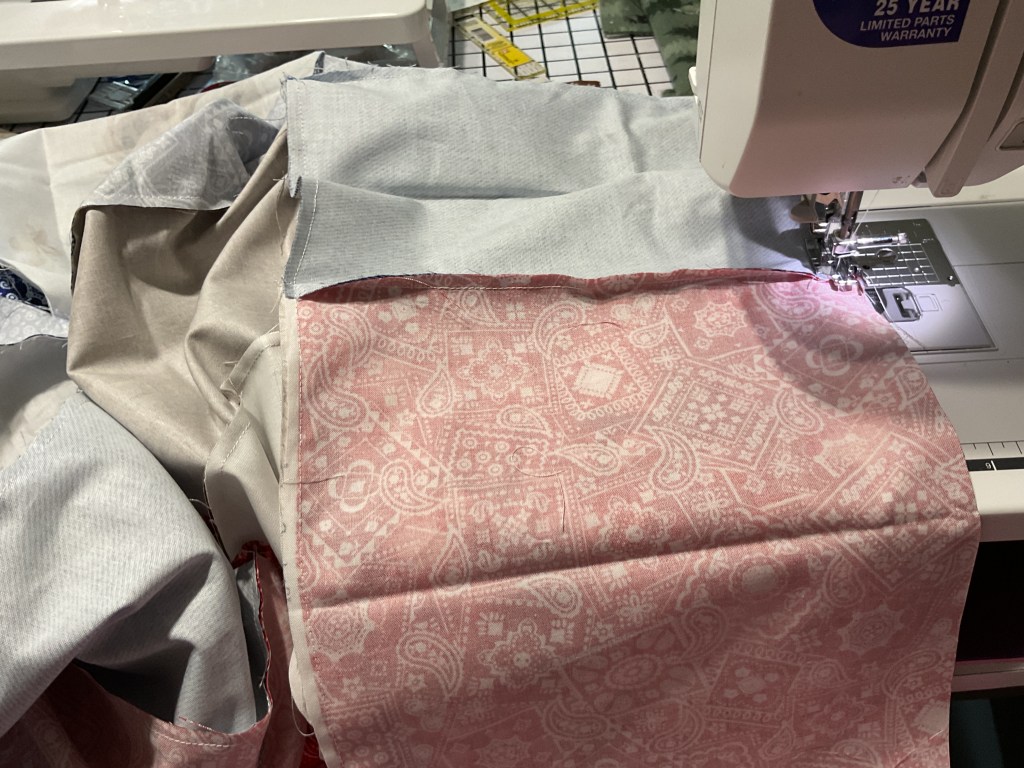
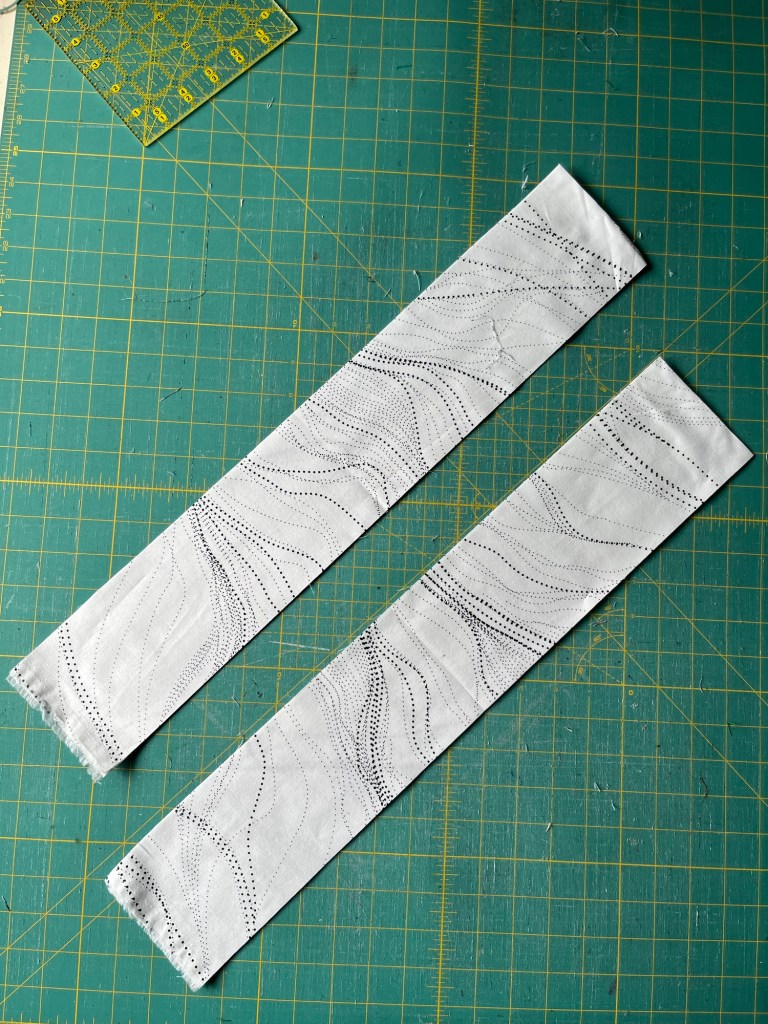
I found a blue fabric in my stash that had narrow white lines to give it a subtle plaid look for the binding. I machine stitched the binding on to save time and it definitely went better than last week – my corners were much neater on this one. And of course, I added my label dated 2025, even though I started the quilt in 2023. It’s the end that counts, not the beginning.
Yay! Another finish from my towering stack of UFOs. Hmmm. Which one will I finish next?
Quilting Cats
I’m going to change the subject in honor of National Cat Day (October 29th).
How many of you have a kitty partner in crime when quilting (or knitting, crocheting, garment sewing, crafting, etc.)?
Right now as I type this post, my furry buddy, Griffin (age 4), is sprawled across my desk. Only recently has he started doing that again. I love it, but sometimes we end up playing tug o’ war over my mouse pad area. LOL! He really really likes to stretch out pretty much across my whole desk top. Sometimes when I’m trying to use my mouse (which I do A LOT), Griffy will claim my mouse pad and mouse (and sometimes my hand) as his. Silly boy. Of course, as he sprawls over my desk, he knows I just can’t resist scratching him in his favorite spots. Smart boy!
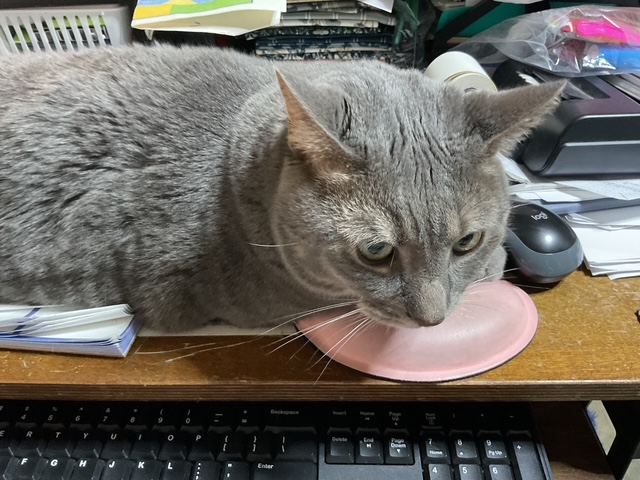
Here’s my handsome Griffy. You can see that he has control of the mouse pad in the photo. ARGH! We take turns winning our game of tug o’ war. LOL!
I have another cat, Pip, but at 15, she doesn’t come downstairs to my studio dungeon anymore. She is our upstairs diva. Then there’s Bailly, my 3 year old Shih Tzu. She’s a heartful, but also a handful. And she thinks she’s a cat.
So Happy National Cat Day to you and your furry feline companions. Maybe they’ll help you (or hinder you, depending on their mood) get your project finished for next week’s Week 5 of our 6 Quilts in 6 Weeks Challenge.
See you right here next week for more VRD fun and Week 5 of our 6 Quilts in 6 Weeks Challenge.
Until then –
Sew. Laugh. Finish. Repeat.
Always,
Tricia @ VRD