Hello Quilty Friends!
Happy Thursday to you!
After our super fun Let’s Design a Quilt series (if you missed it, please check out the right side bar on the blog to find all of the links for the series) wrapped up last week, I promised a new group of tutorials to jump-start your autumn quilting.
You know how this time of the year is filled with local fairs and such right before the kiddos go back to school? Well, this week we’re off to the rodeo! Yippee!
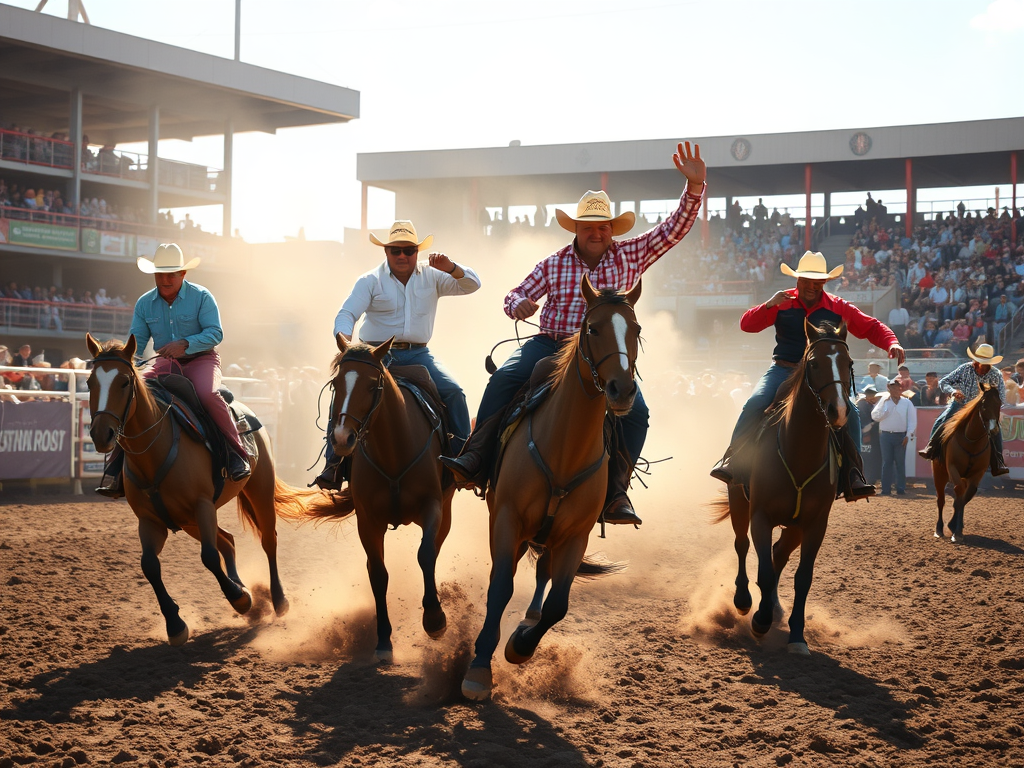
Have you ever been to a rodeo? I have a vague memory of going when I was a kid. My Grandma (my Dad’s mom) was always crazy about horses and always had at least a couple on the farm (my Grandpa always had his cows). I spent a lot of time on the farm as a kid as my grandparents’ farm was just down the road from our house. I have lots of good memories on the farm from when I was a kid. Baby animals were probably my favorite. Of course, running through the fields at midnight in the summer chasing down stray cows or horses was always fun, too. Good times.
Let’s slap our cowgirl (or cowboy) hats on our heads, put on our boots, and get started!
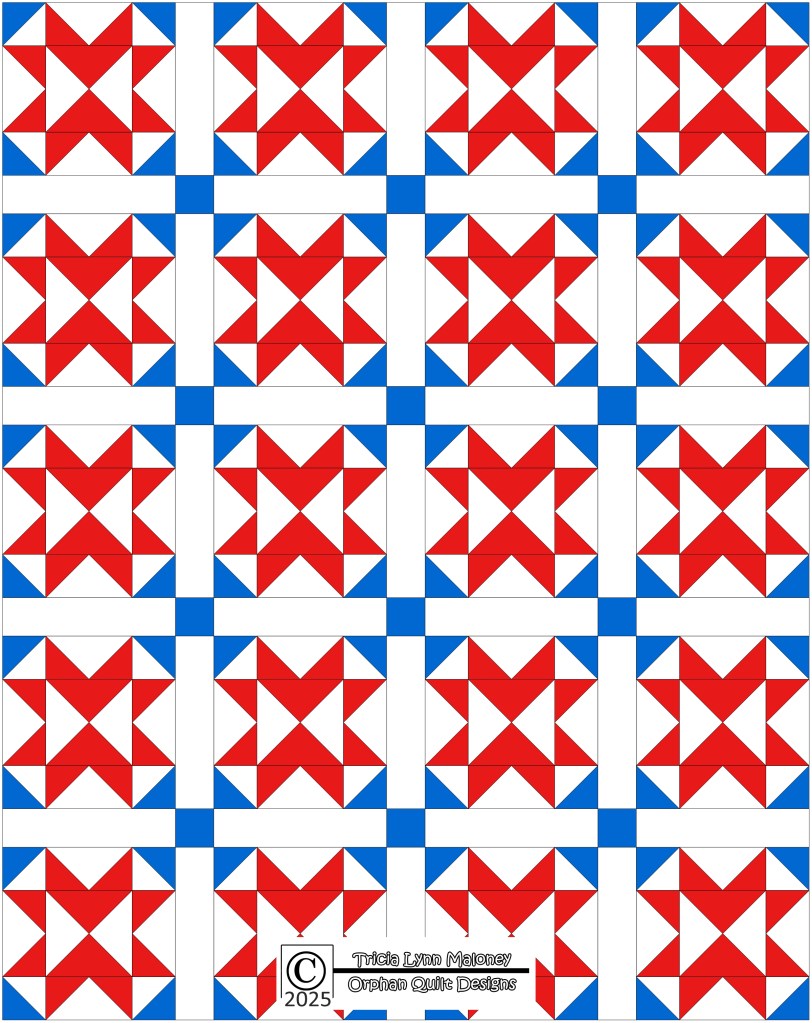
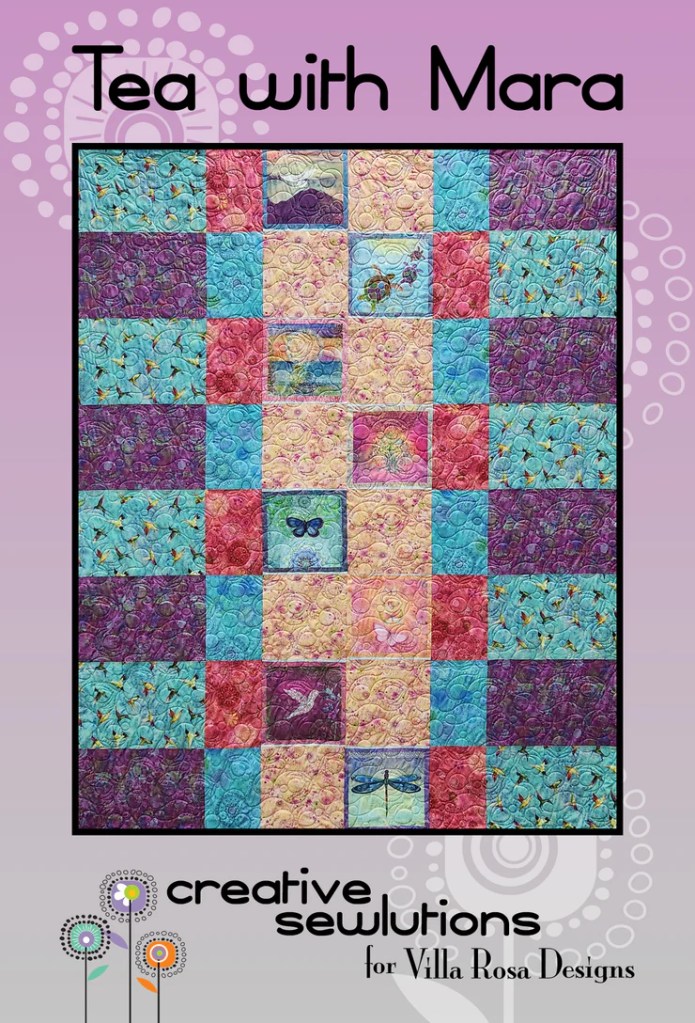
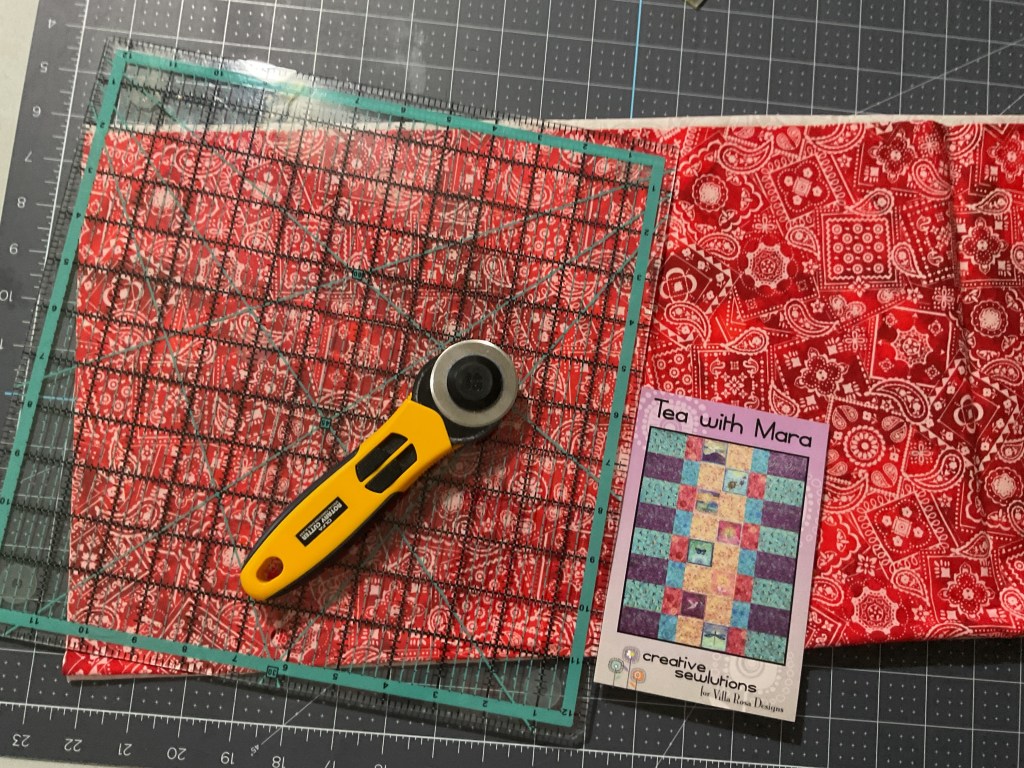
VRD Tea With Mara Quilt Tutorial
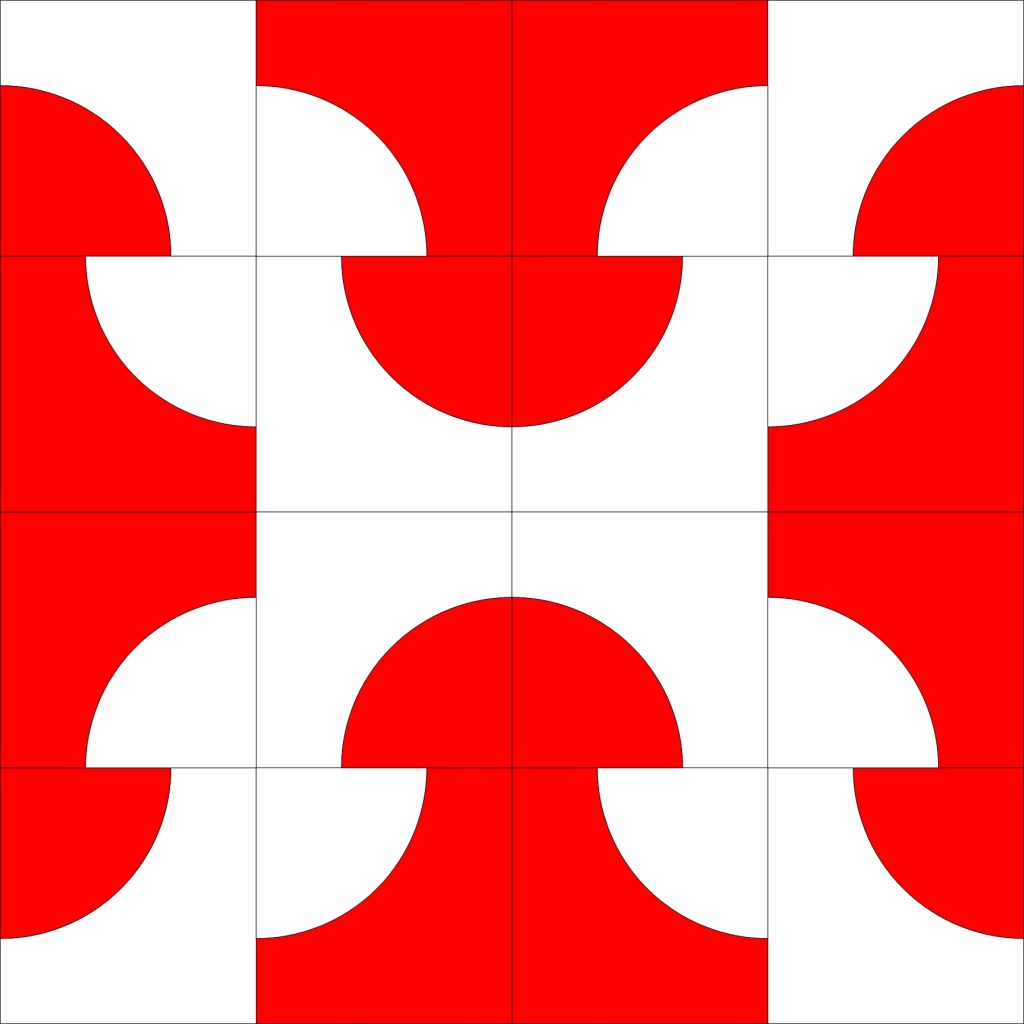
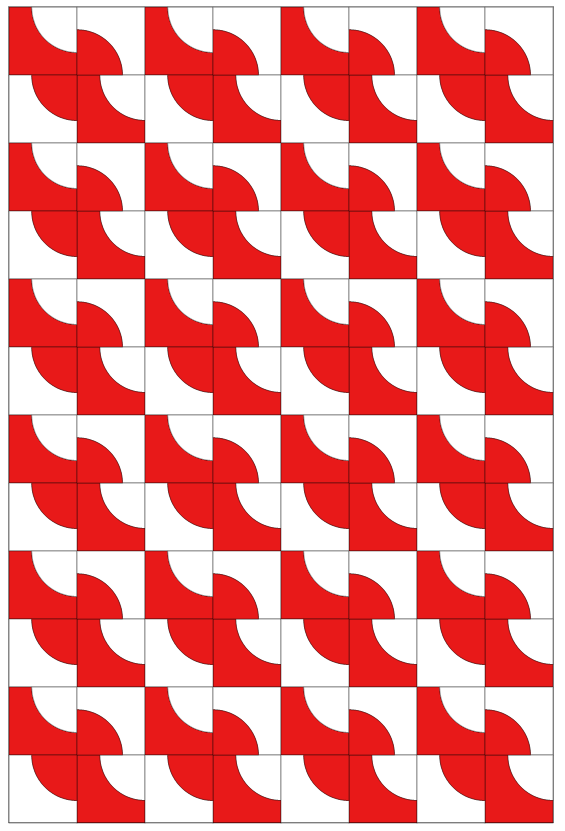
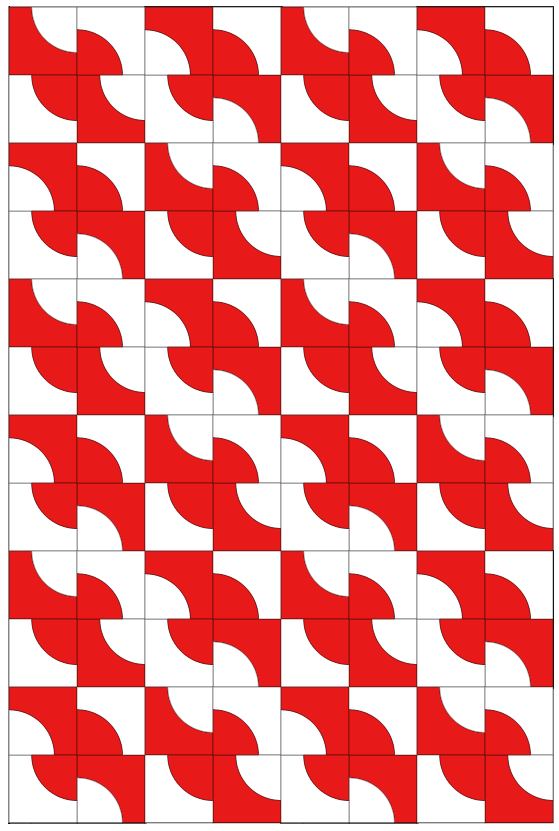
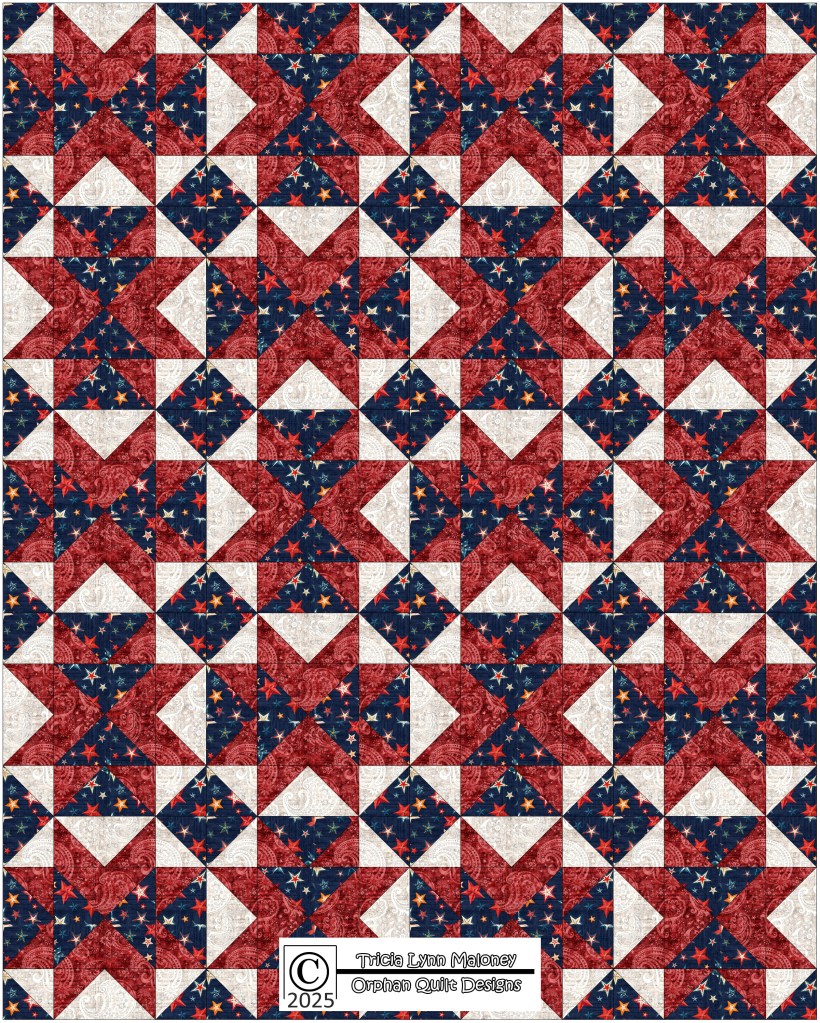
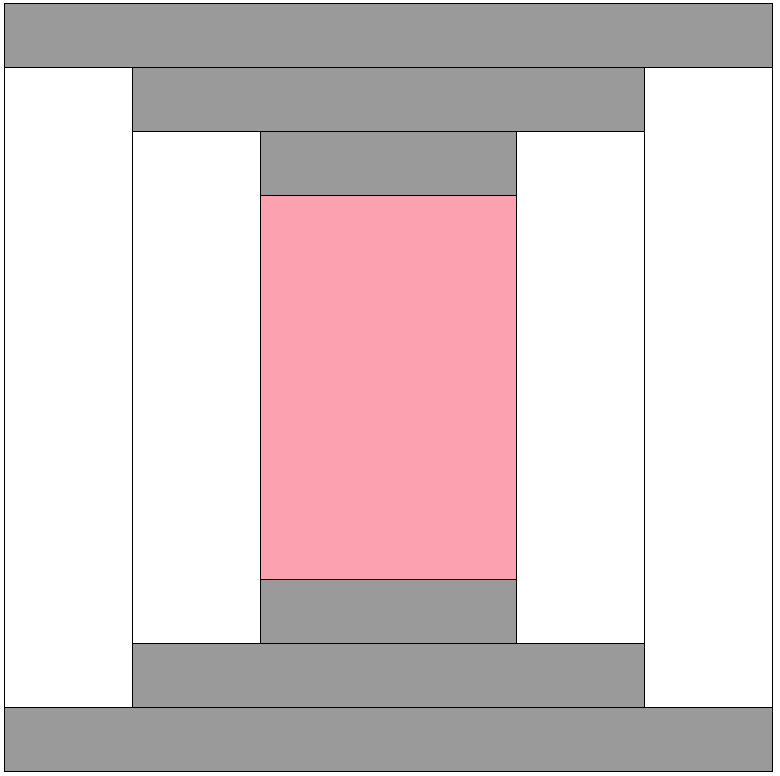
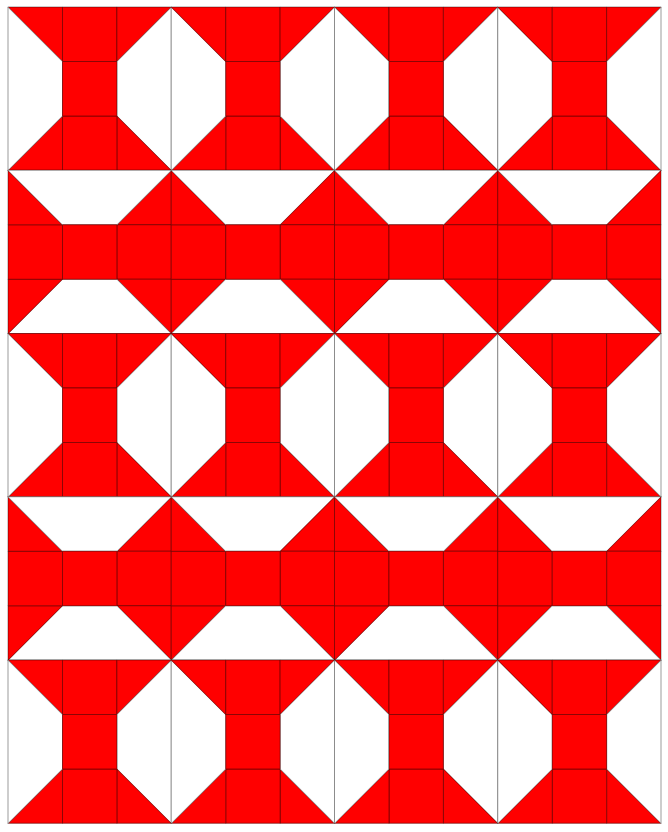
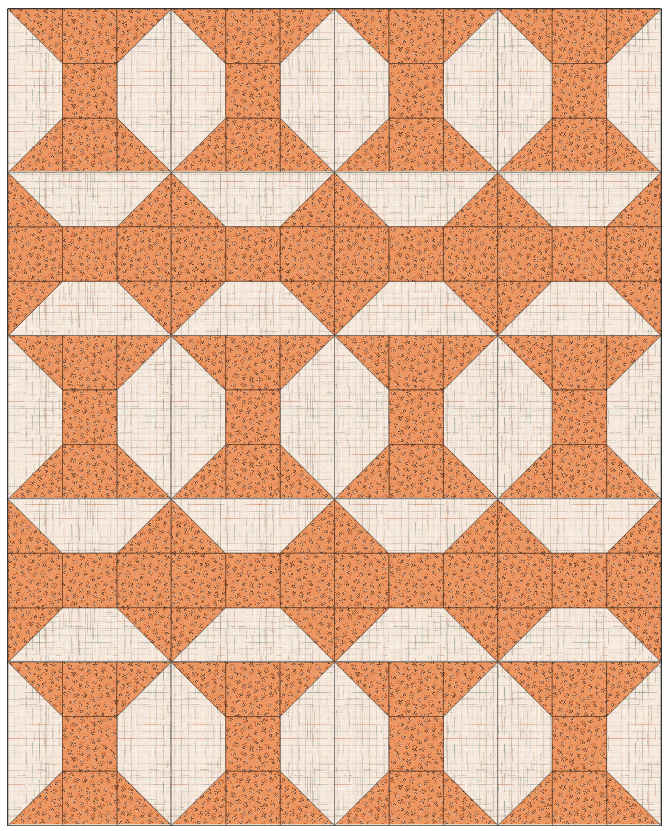
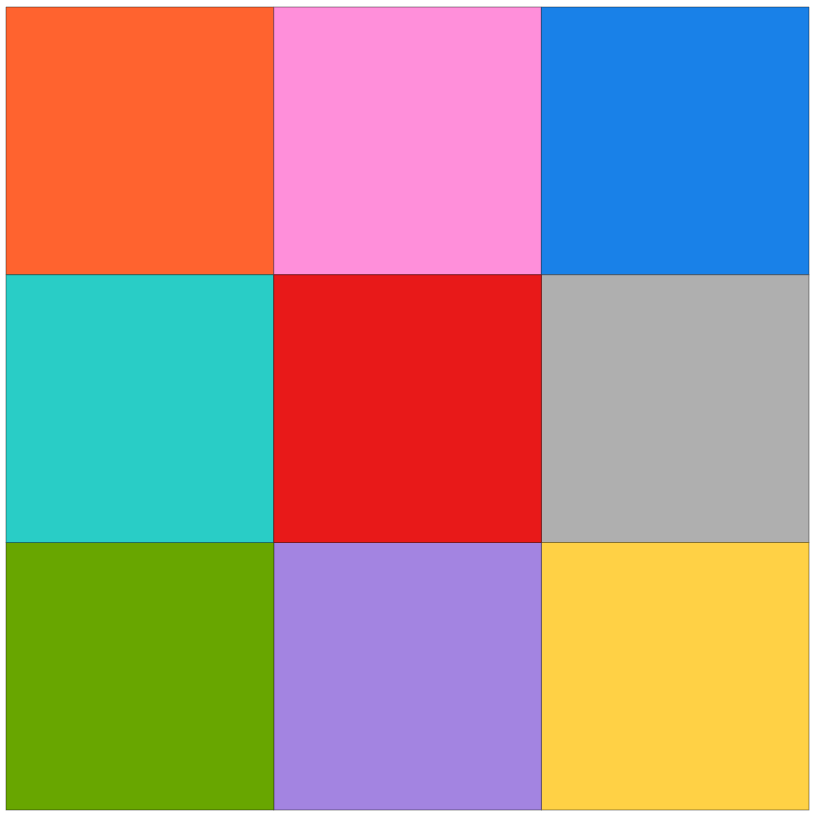
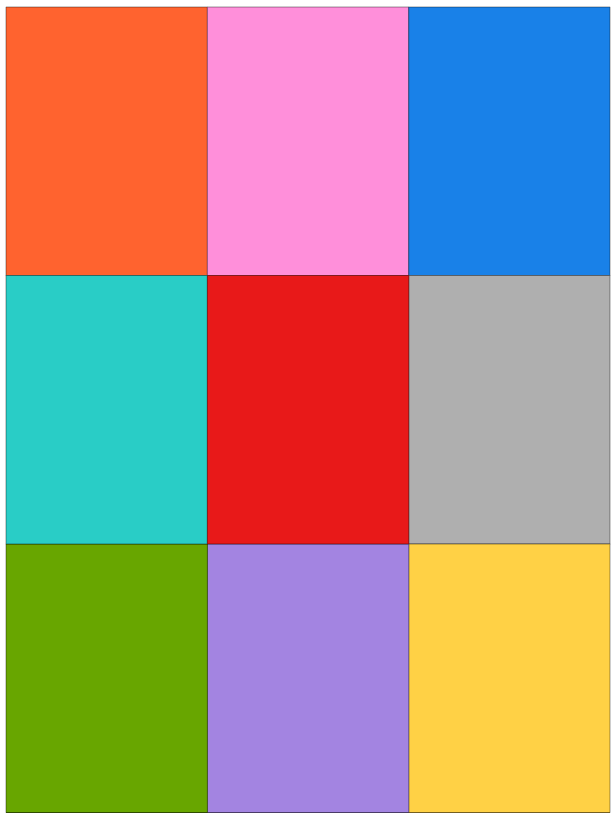
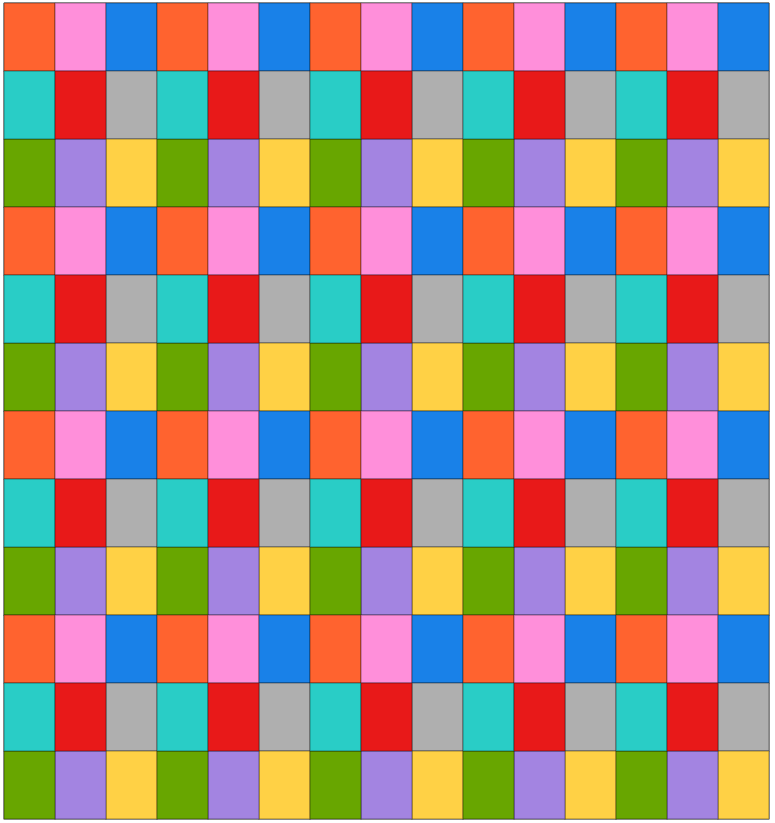
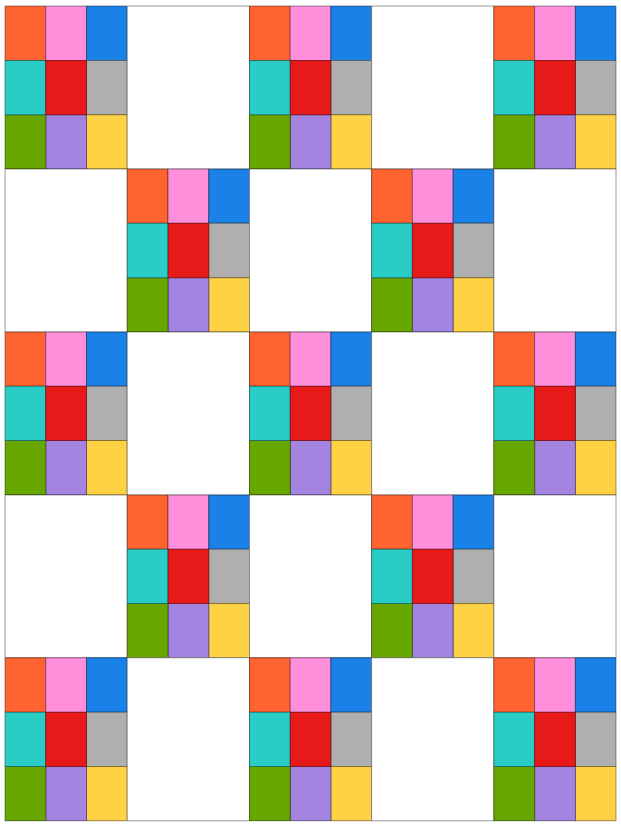
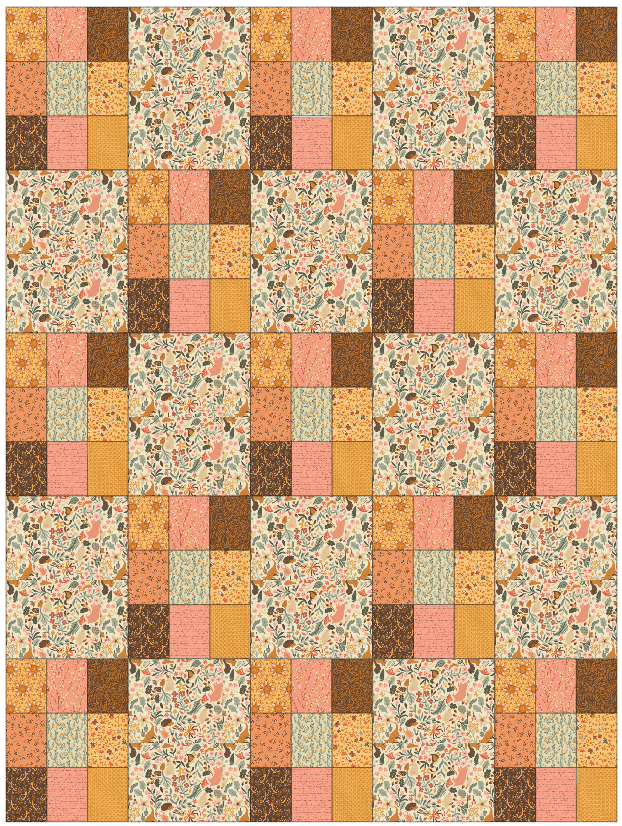
Tea With Mara is designed by Deanne of Creative Sewlutions, one of our talented VRD designers. This quilt finishes at a generous 58″ x 72″ and it can handle those large prints we are so loathe to chop up. Use printed panel squares……or not down the center. Sew many options……..sew little time!
Get your digital pattern HERE or your print pattern HERE
PSST! Don’t forget, patterns always ship free, so grab a few more while you’re perusing the VRD patterns at the online shop.
For today’s tutorial, I’m using fabric from our friends over at Hoffman. It’s a digital-printed collection called Rodeo Dreams. When I saw this collection, I loved it! Maybe because it brought back fun memories from my childhood? So I’m letting you know right now that you’ll be seeing a couple more tutorials featuring Rodeo Dreams.
Just a quick word of caution when using digitally-printed fabrics – start with a brand new needle because if your needle is dull, you run the risk of damaging the fabric and we certainly don’t want to do that.

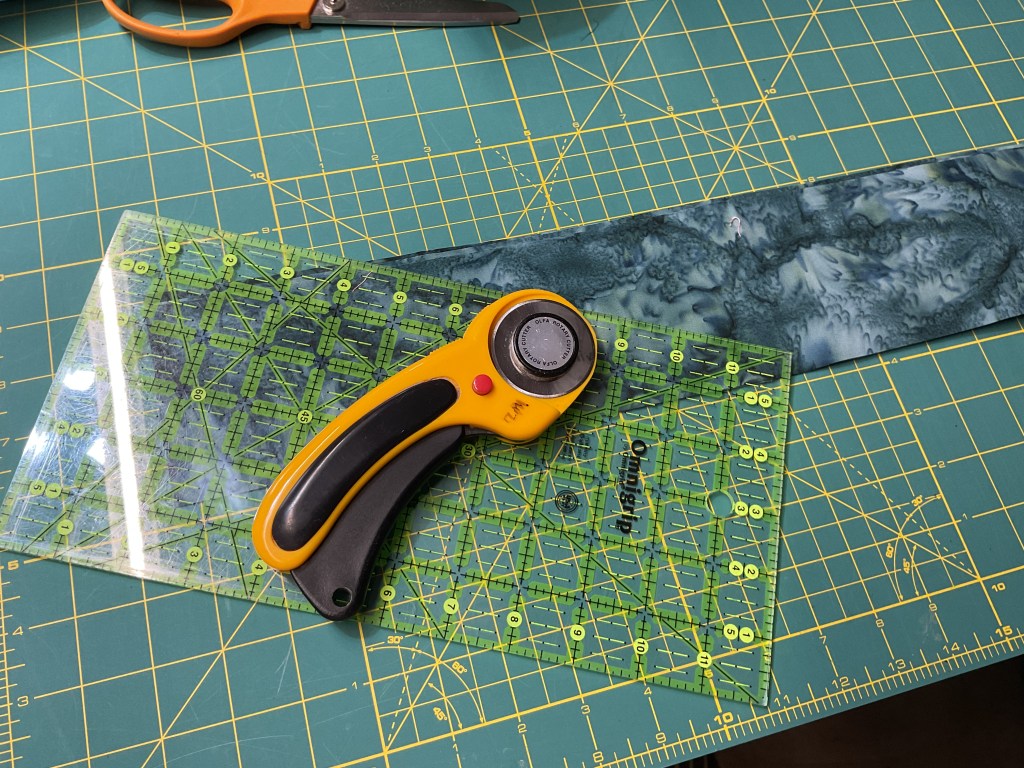
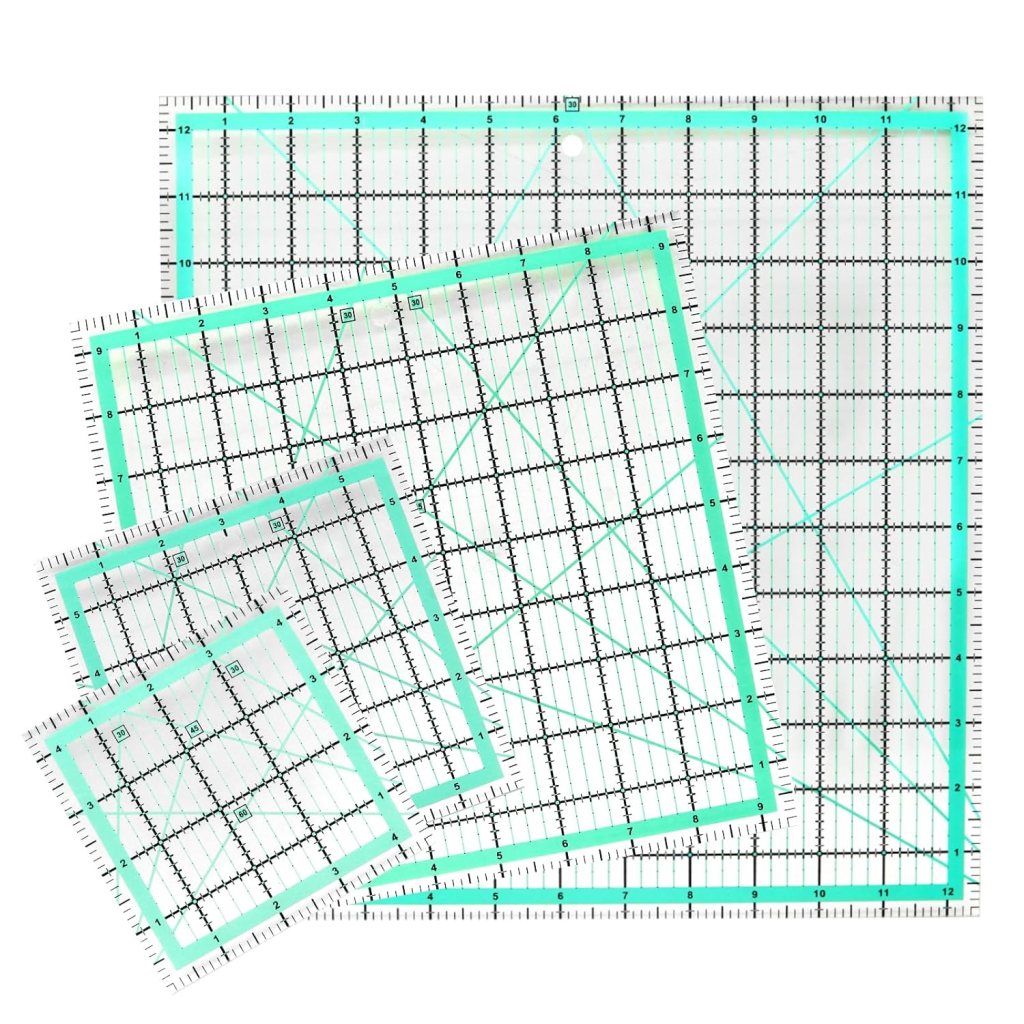
The first fabric I’m going to cut is the running yardage of the rodeo vignettes. I’m very glad I have a ruler the same size as the required block size in the pattern so I can fussy cut the squares easily and accurately.

Having the right sized ruler makes it a lot easier to fussy cut these vignettes than trying to cut strips and then cutting the strips into squares. This type of fabric makes strips and squares kind of tricky because the vignettes aren’t all the same size nor do they line up in a perfect grid.
Love quilting rulers! Boy, they do make quilting so much easier, faster, and more accurate.
Mostly, I rely on my 6×24 and 6×12 rulers for cutting, but it’s always a great idea to have a collection of square rulers in the most common sizes, which are not only good for fussy cutting, but also for squaring up blocks.
The only problem with fussy cutting is that your fabric will look like Swiss cheese when you get all done! LOL! Check mine out below. I can still fussy cut more pieces out of the fabric, but there is definitely more waste doing it this way than cutting strips into squares. Just something to think about if you’ve never fussy cut before.

Now I’m finished making Swiss cheese, it’s time to cut the rest of my fabrics. Loving this red bandana print – it looks like the real thing (digitally printed, of course)!
Here are all my fabrics cut and ready to sew.

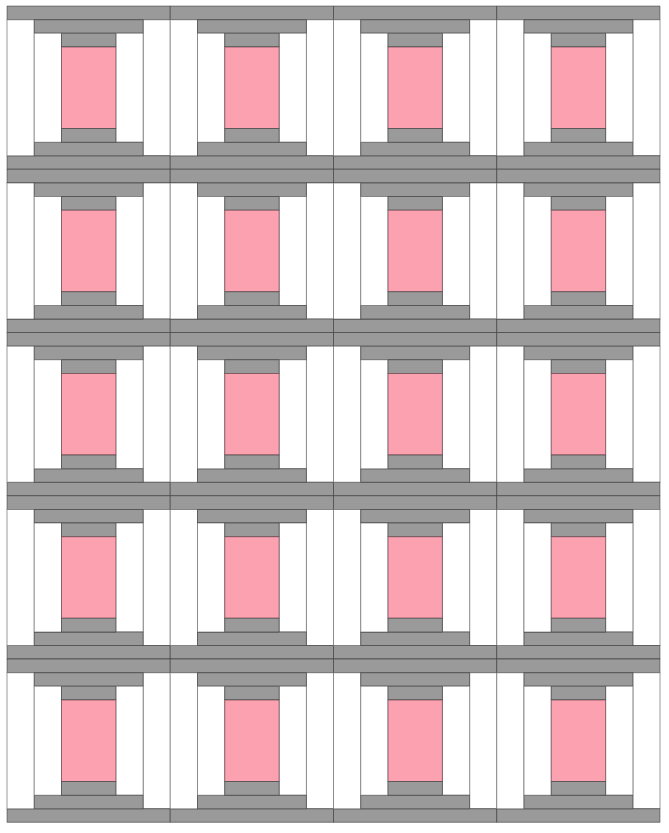
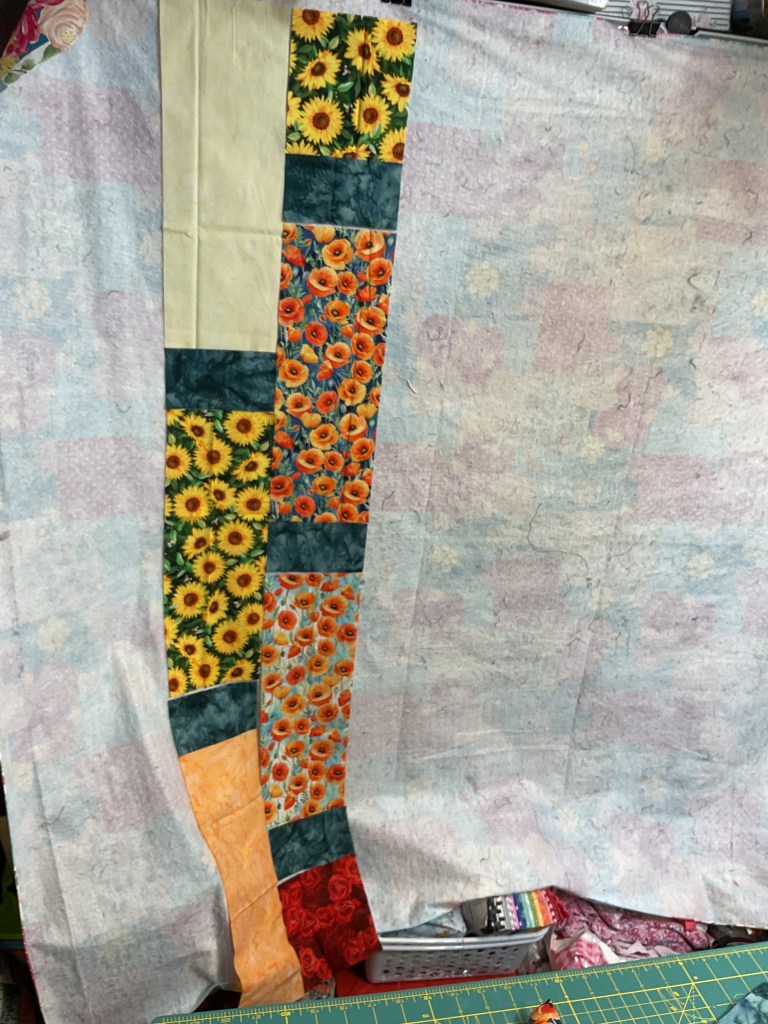
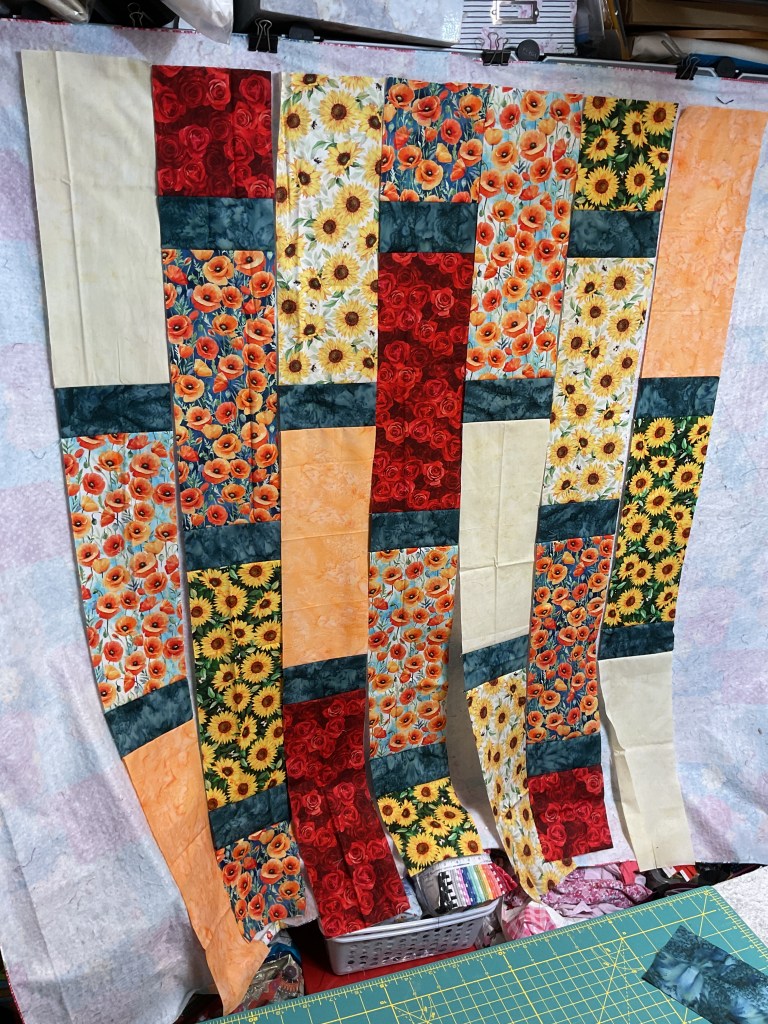
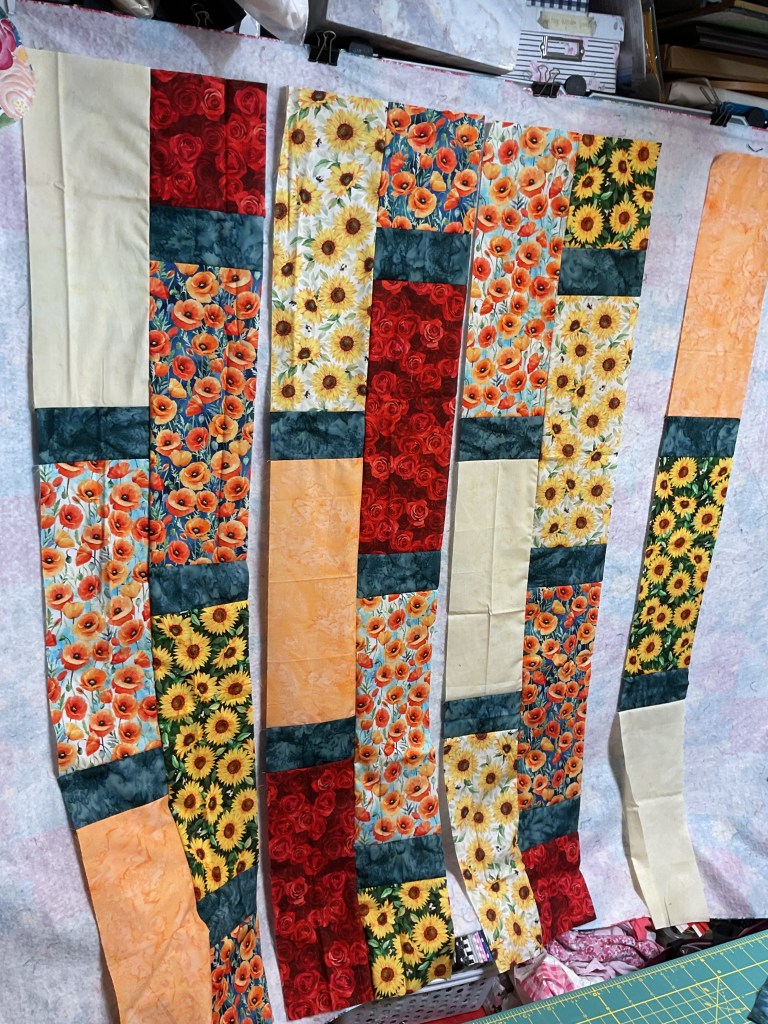
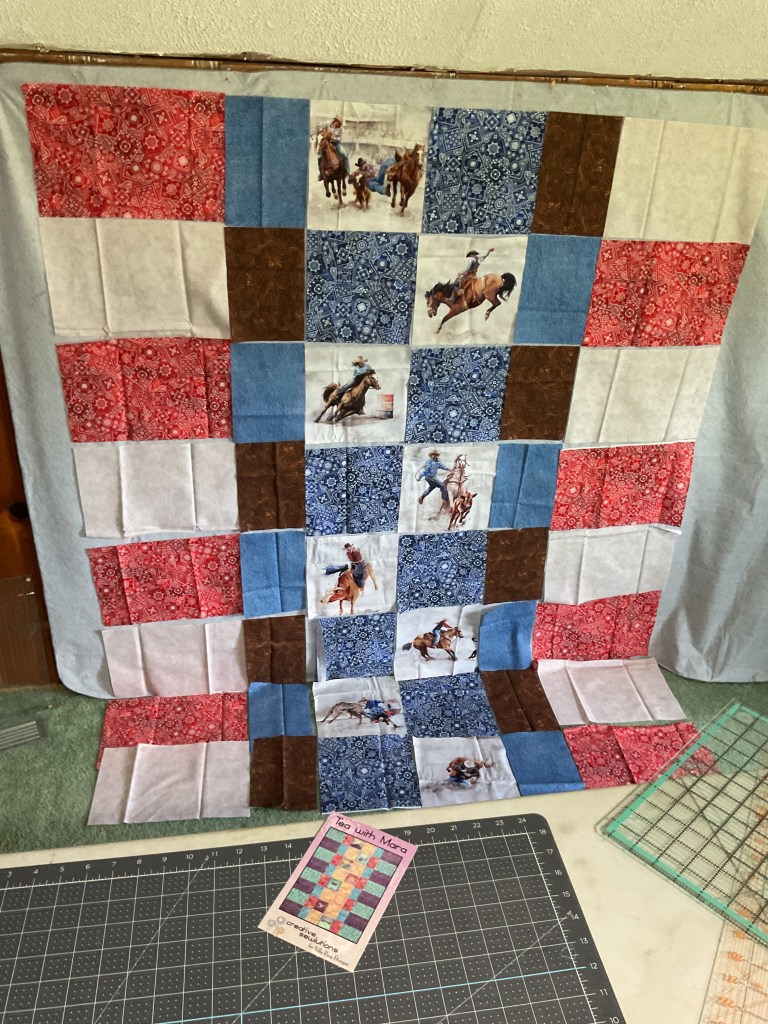
But before I start sewing, I’m going to lay out all of the pieces on my flannel wall. I want to make sure I like the placement of the rodeo vignettes before I commit to their positions permanently.

I really like the nice big pieces in this quilt, even if I have to layer pieces on the floor because the quilt is going to be longer than my flannel wall. It’s going together surprisingly fast, though.
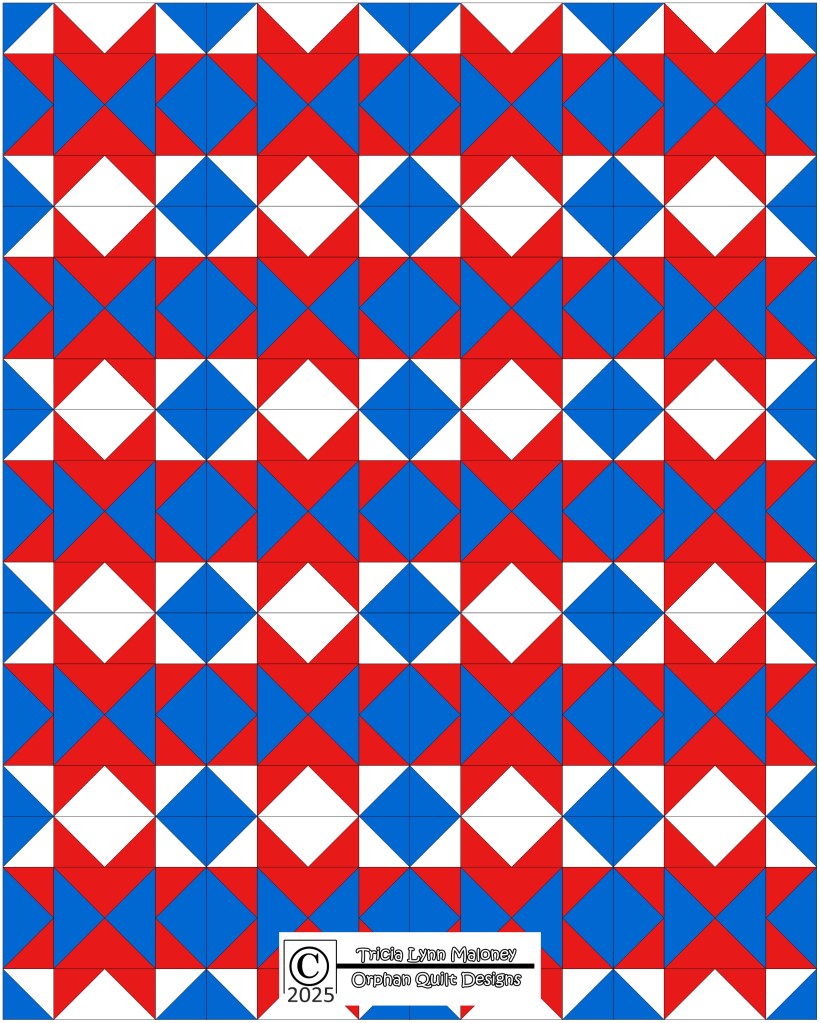
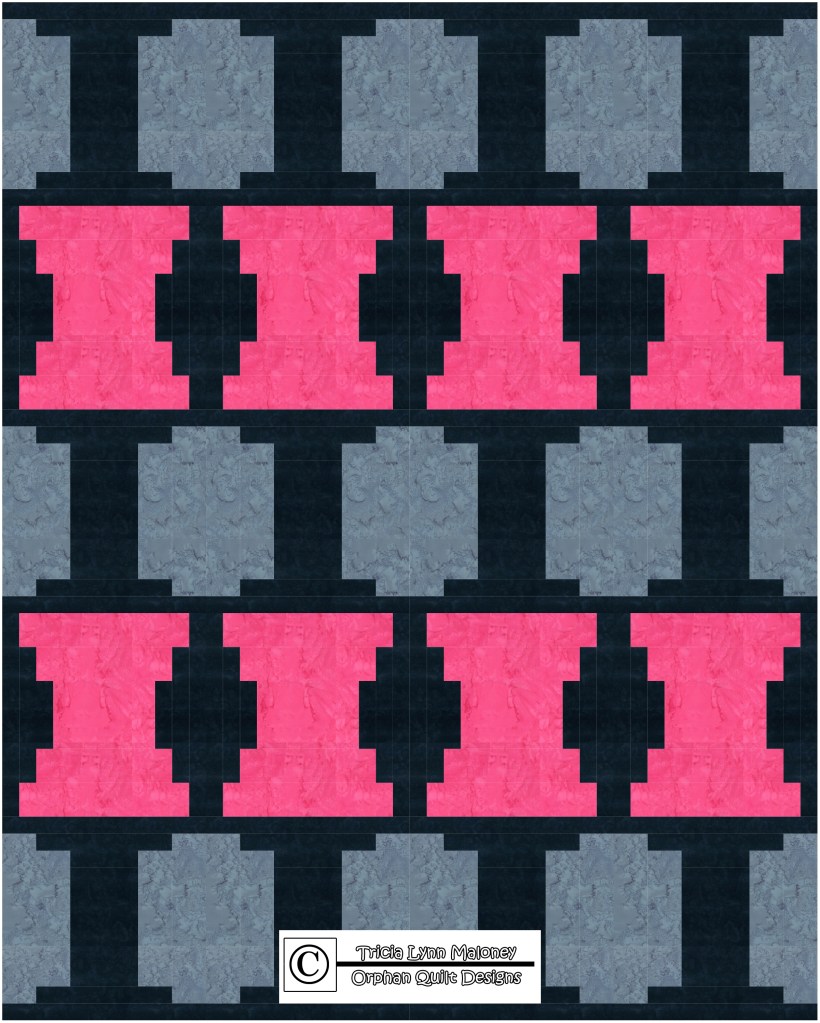
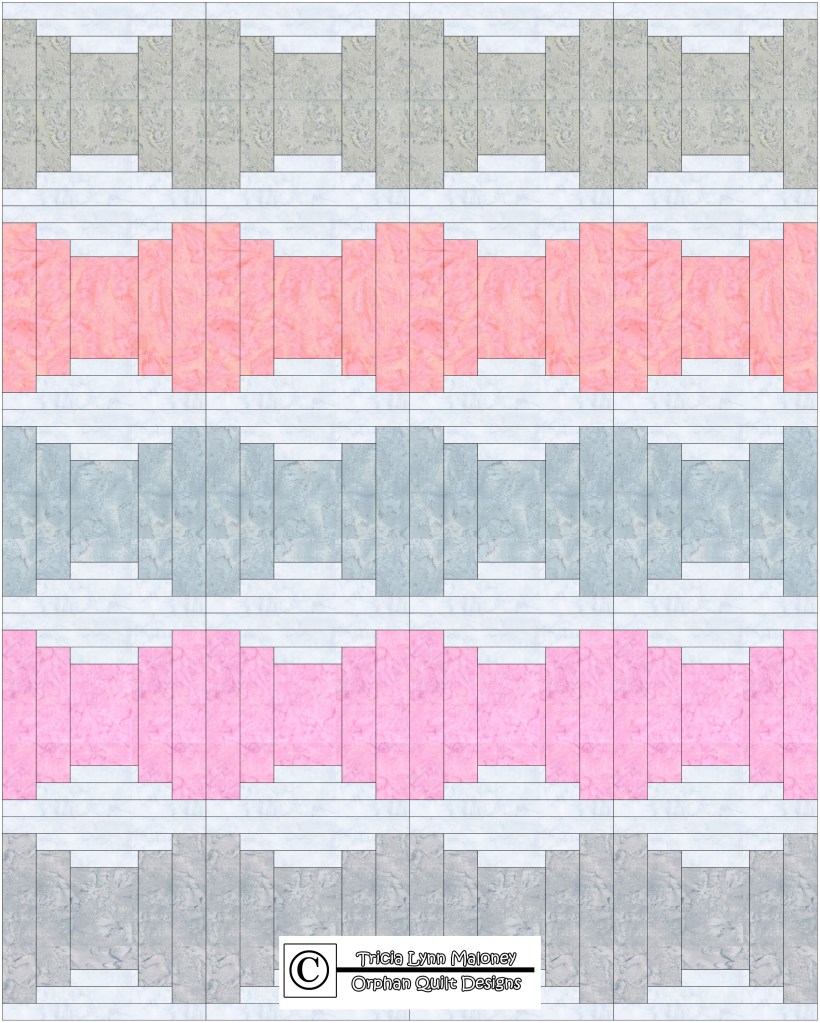
Of course, you don’t have to fussy cut your fabrics like I did – you could use any fabric you wanted for the center squares. Or you could even scrap this quilt up and use some of your stash. Such a versatile pattern – I could totally picture this quilt in a great collection of fall or harvest fabrics! Hmmmmmmmm….
You could even add a 6″ finished border, which would make the quilt a big 70″ x 84″!
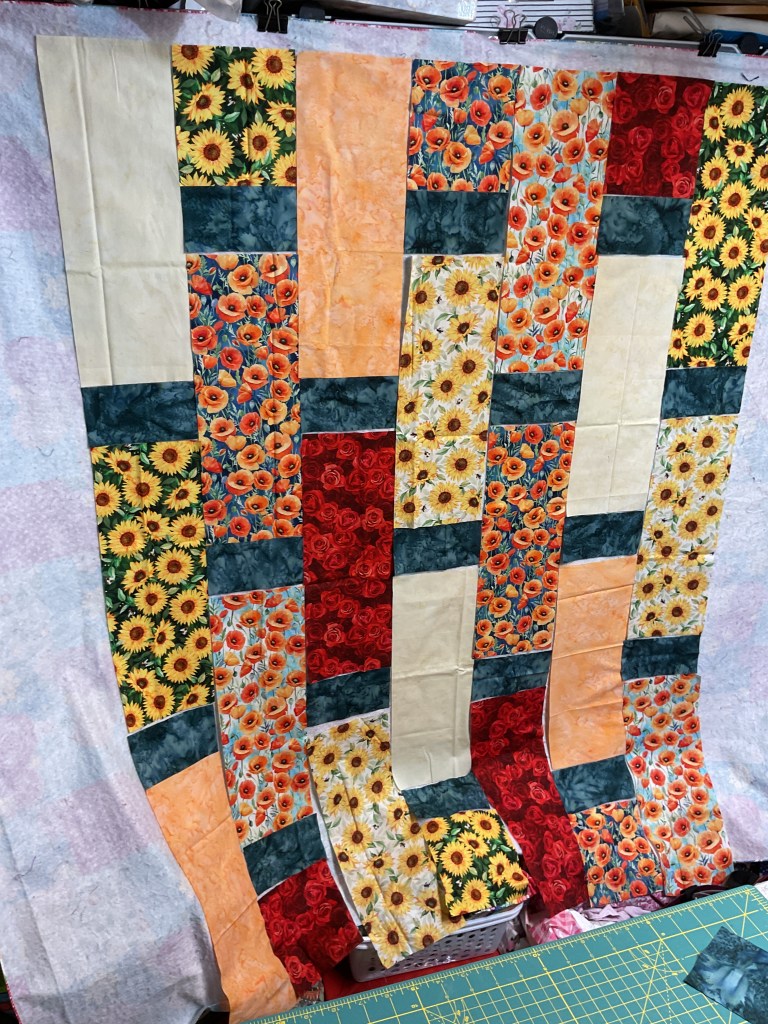
Now I’ve got all my pieces up on the flannel wall. I switched a couple of the rodeo vignettes around, but other than that, I think it’s ready to sew. I like how it looks.
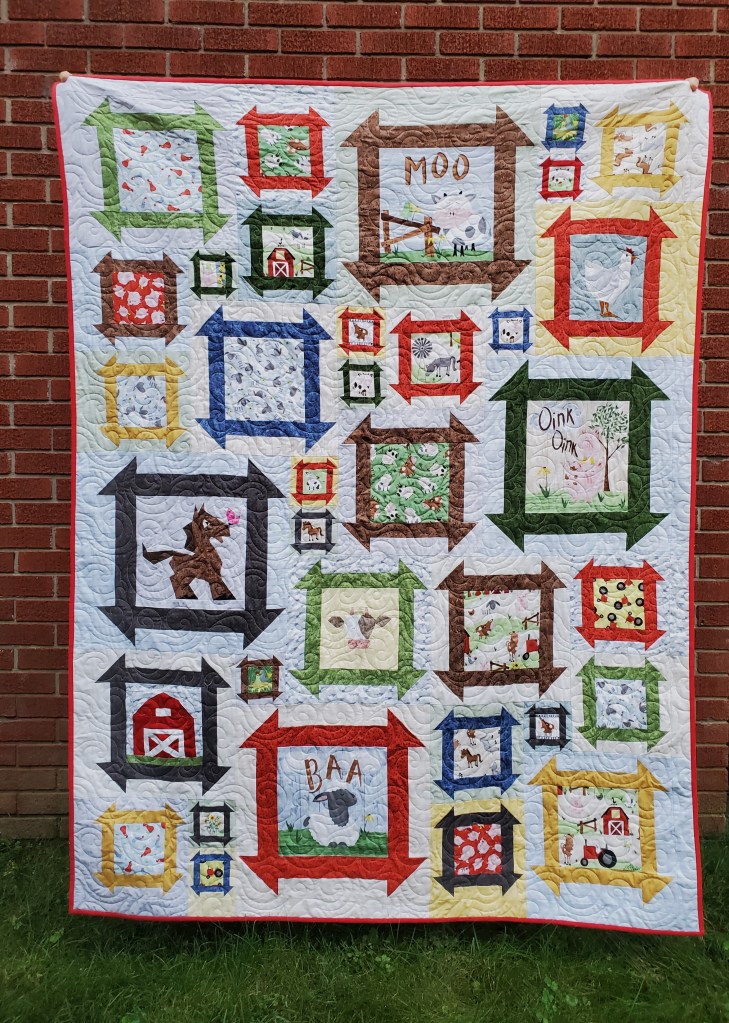
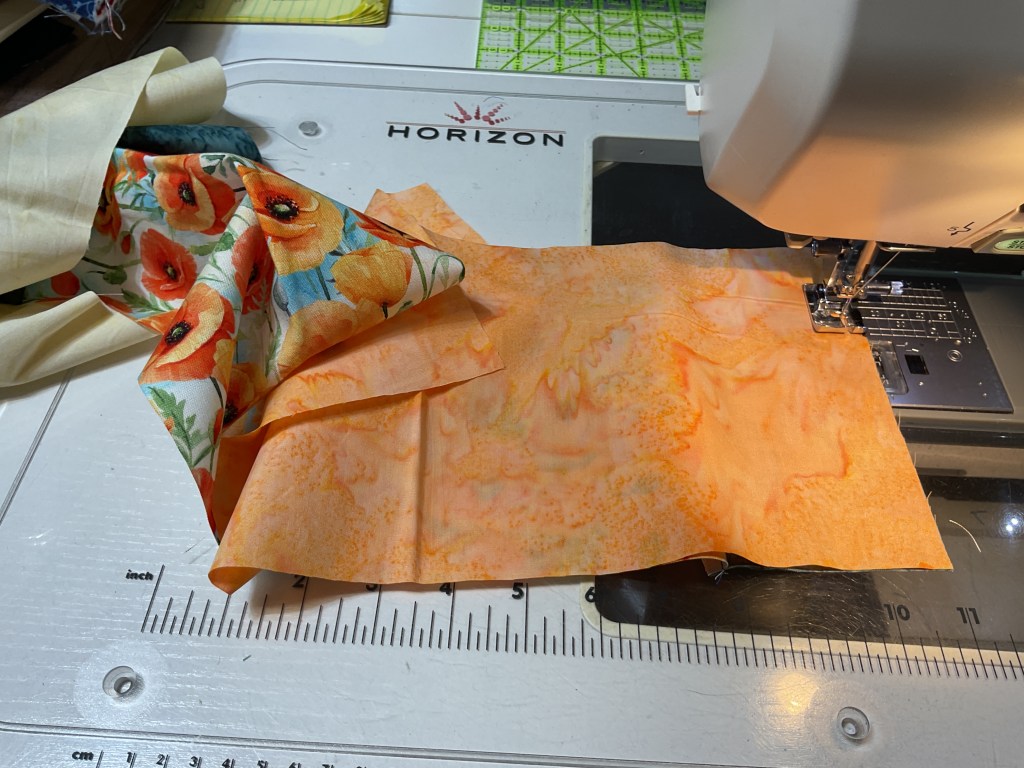
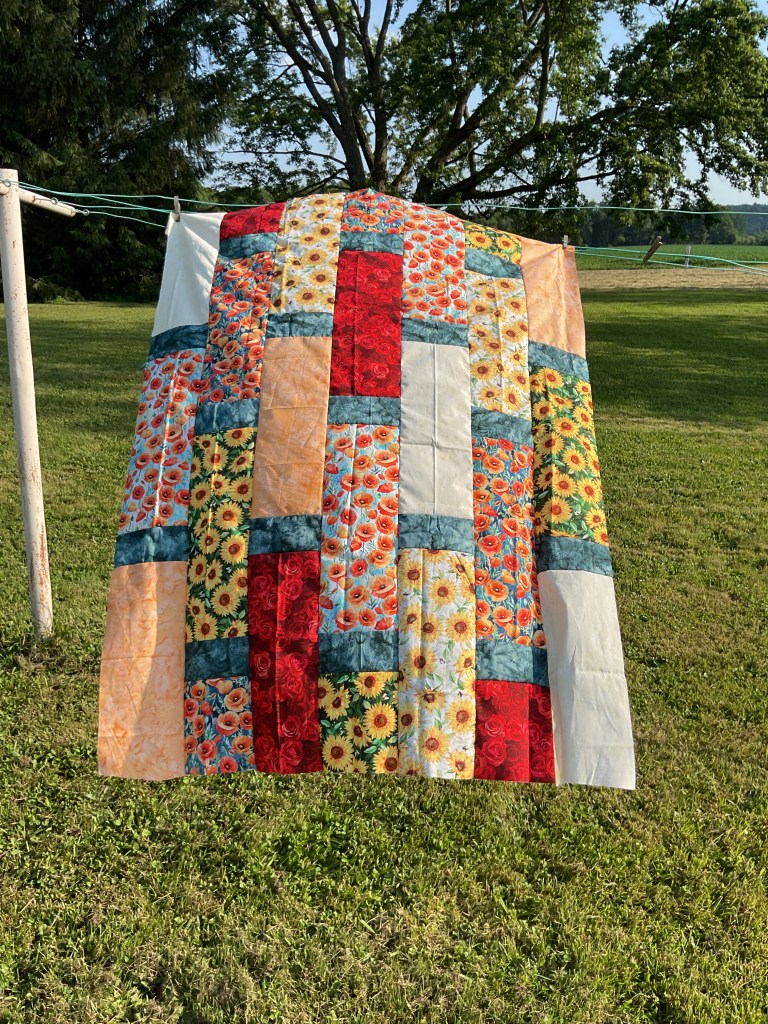
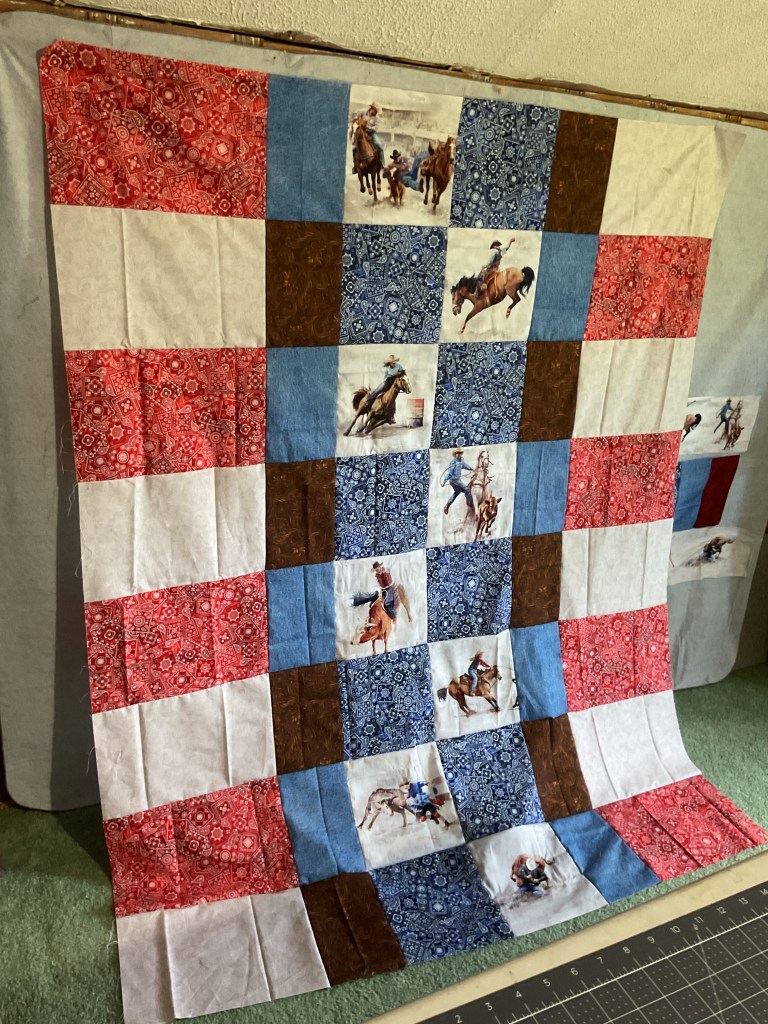
Yippee-ki-yi-yay! Let’s sew this little dogie together! I really like how the fabrics alternate in placement from side to side – it definitely helps to keep your eyes moving around the quilt. The red and blue bandana fabrics really make this quilt in addition to the rodeo vignette squares. LOVE IT!
And here it is outside on the clothesline. All I need is a horse or 2 grazing in the backyard, right? I’ll be binding this quilt with the dark blue batik you see in the fabric and pattern photo way up at the beginning of this tutorial. I think it will frame the quilt nicely.

Now to get this quilt top layered, quilted, bound, and labeled…….some day, anyway. Right now I’m going to add it to my teetering pile of flimsies and UFOs. I’m hoping to make a good-sized dent in that pile this fall and winter. It’s just been way too hot this summer to machine quilt and do binding.
Here’s to autumn with its warm days and cool nights. And the brilliant colors of the season…. I can’t wait!
See you next week for another great tutorial!
Until then –
Sew. Laugh. Repeat.
Always,
Tricia @ VRD