Hello Quilty Friends!
Happy Thursday to you!
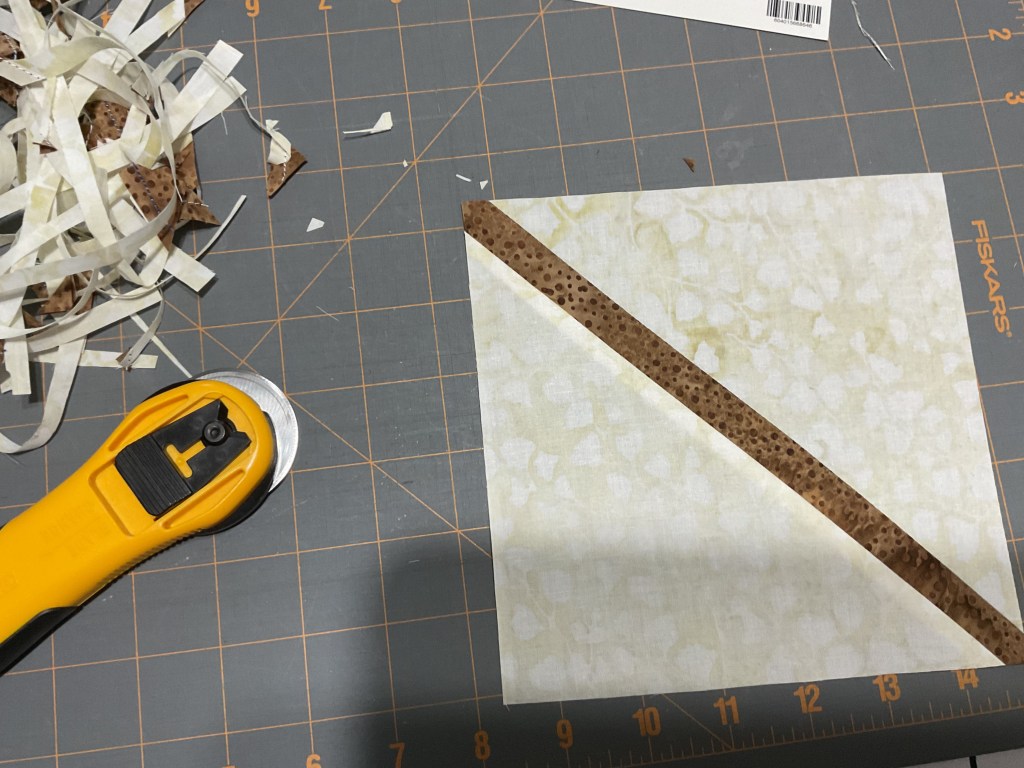
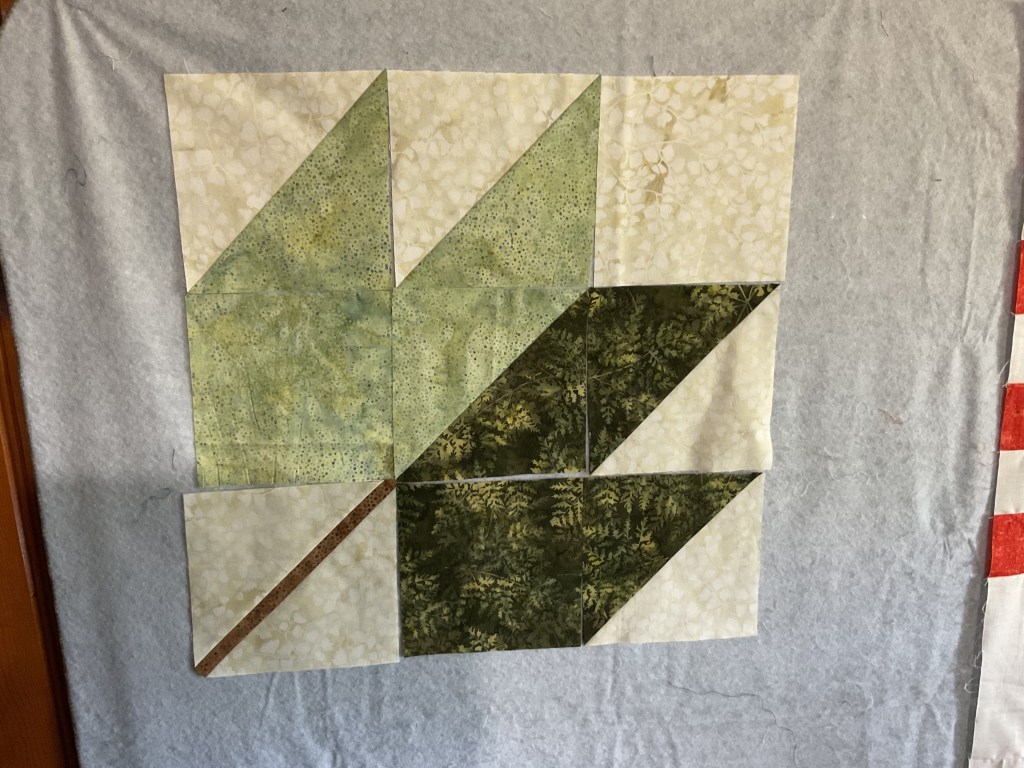
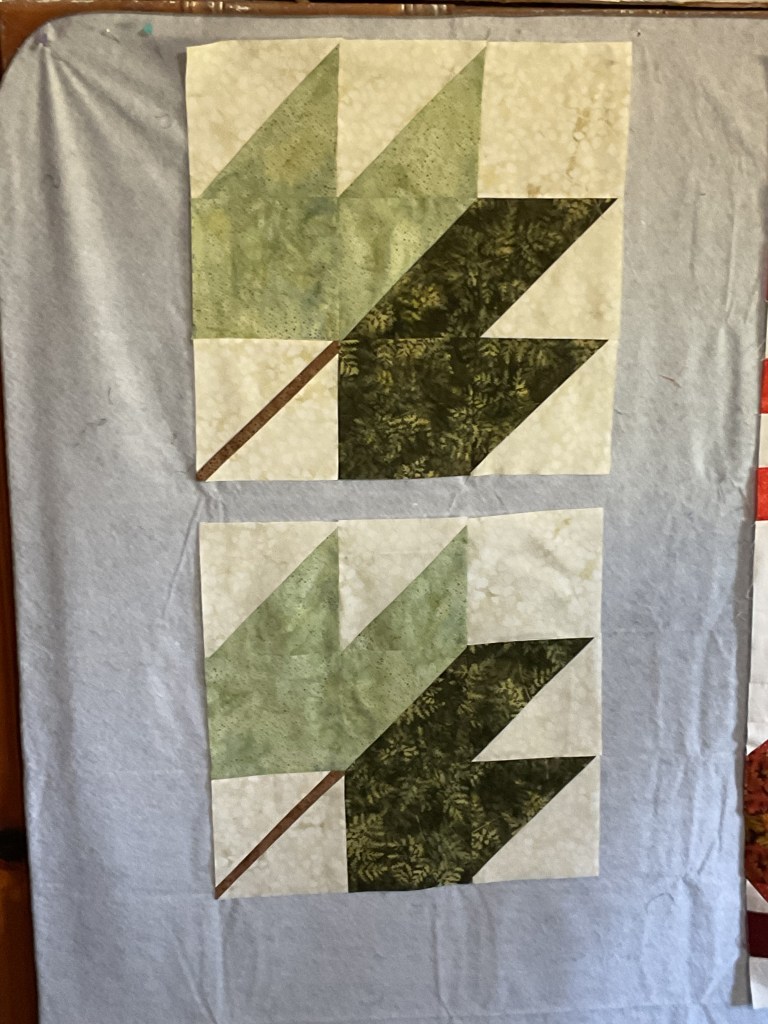
I trust you are surviving this weird and wacky winter. Hopefully, your quilting space has become your happy place and you’ve gotten extra sewing in while the weather did whatever it wanted to outside.
After shocking temperatures as low as -15 degrees F – that’s without the windchill – we’re having a little warm up this week here in good ol’ PA. Tuesday was actually around 50 degrees. And SUN! I felt like throwing on my swimsuit and frolicking through the sprinkler. Sigh….I resisted the urge – too much snow and I didn’t relish freezing my toes (or anything else). Wednesday was a balmy 29 degrees. We even have some bare patches in the yard now, and yes – there really is grass under all that snow. I was beginning to wonder.
Did you know??? Today is the Thursday after the first Friday of February. You know what that means don’t you? NEW PATTERNS!
Woohoo!
Where’s the marching band? Huh. Maybe they found the sprinkler?
Oh well, we’ll just have to make do with the confetti and balloons.

NEW February VRD Rose Card Quilt Patterns
Here’s the set of 5 patterns for February!
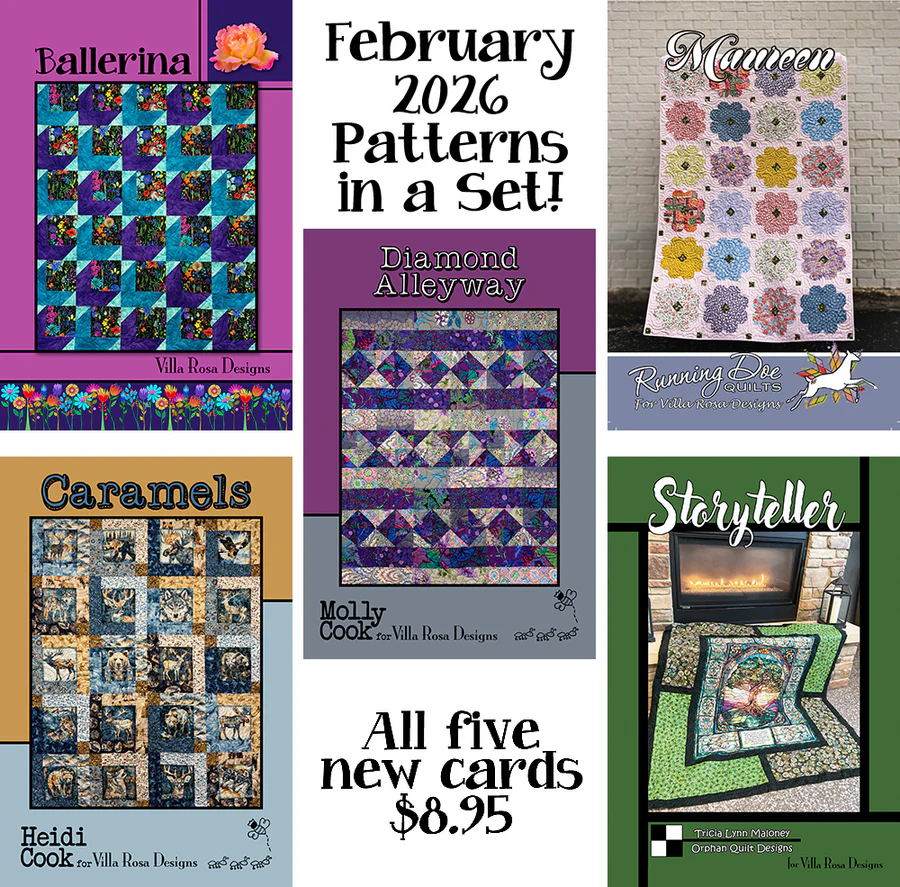
Get your print pattern set HERE.
Ballerina is Pat’s latest pattern. It’s a great pattern for your favorite theme fabric along with a few coordinates. It finishes at 45″ x 54″.
Diamond Alleyway is Molly’s new design for February. It is fat quarter friendly and finishes at 42″ x 53″. You can find a kit for Diamond Alleyway in Kaffe (the same as the pattern front) HERE or in Robert Kaufman Songbird HERE.
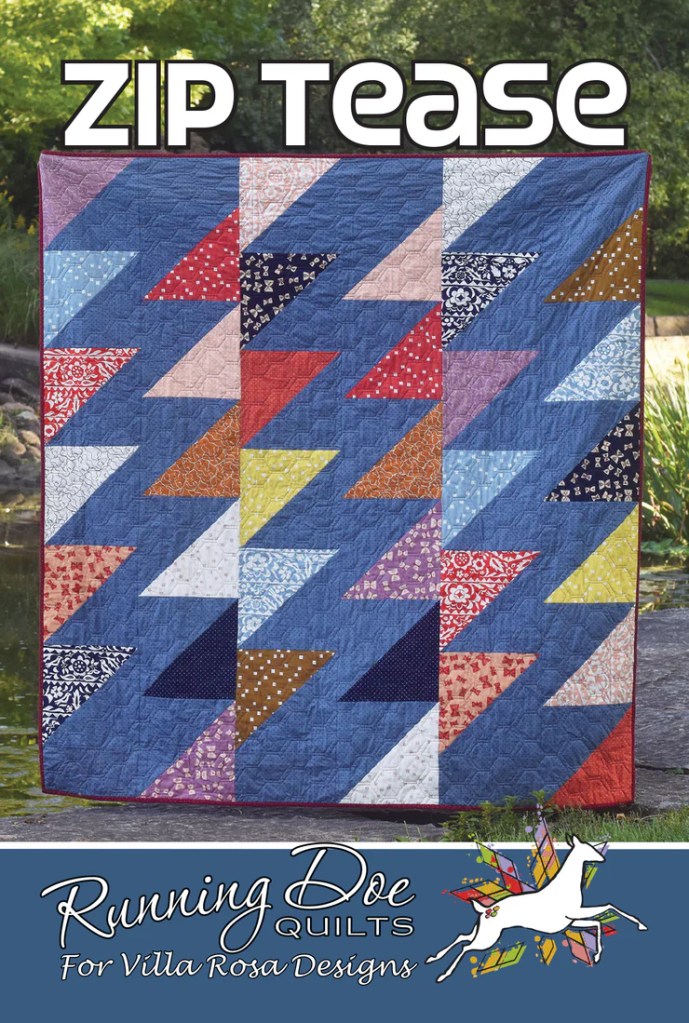
Maureen is Running Doe’s newest pattern. It’s also fat quarter friendly and finishes at a generous 56″ x 84″. You can find a kit for Maureen featuring the same fat quarters as the sample quilt HERE.
Caramels is Heidi’s latest design for February. It uses a novelty fabric or panel squares along with some coordinates and finishes at 48″ x 60″. You can find a kit for Caramels with the Mountain Splendor fabrics (the same fabrics you see on the pattern front) HERE.
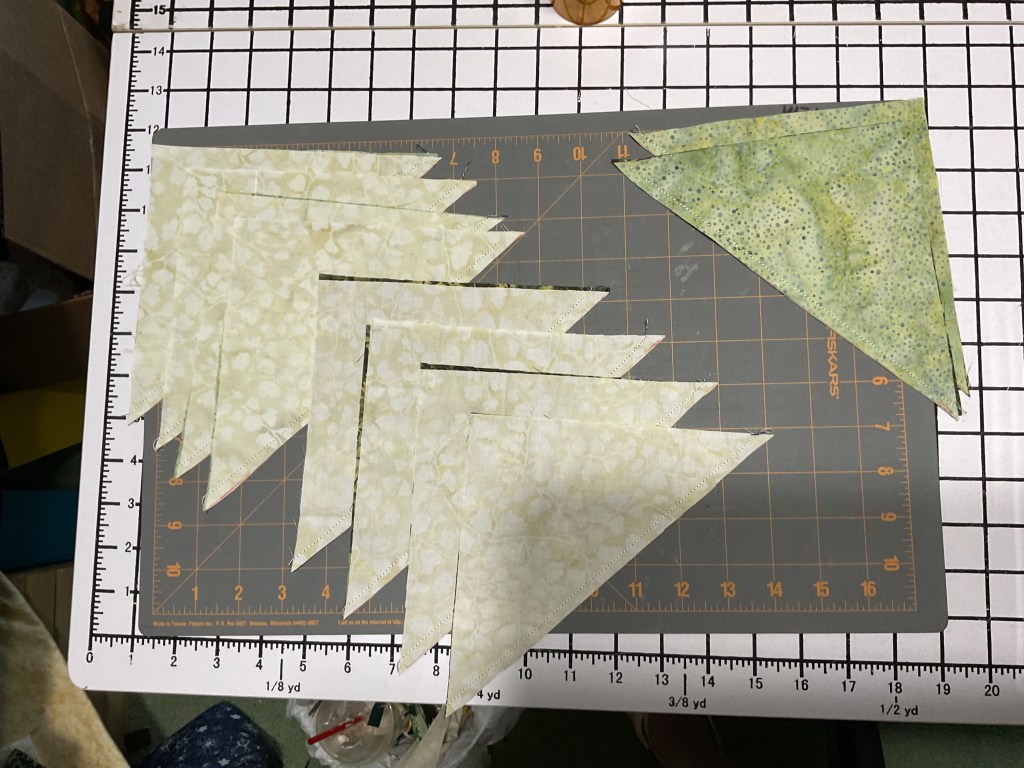
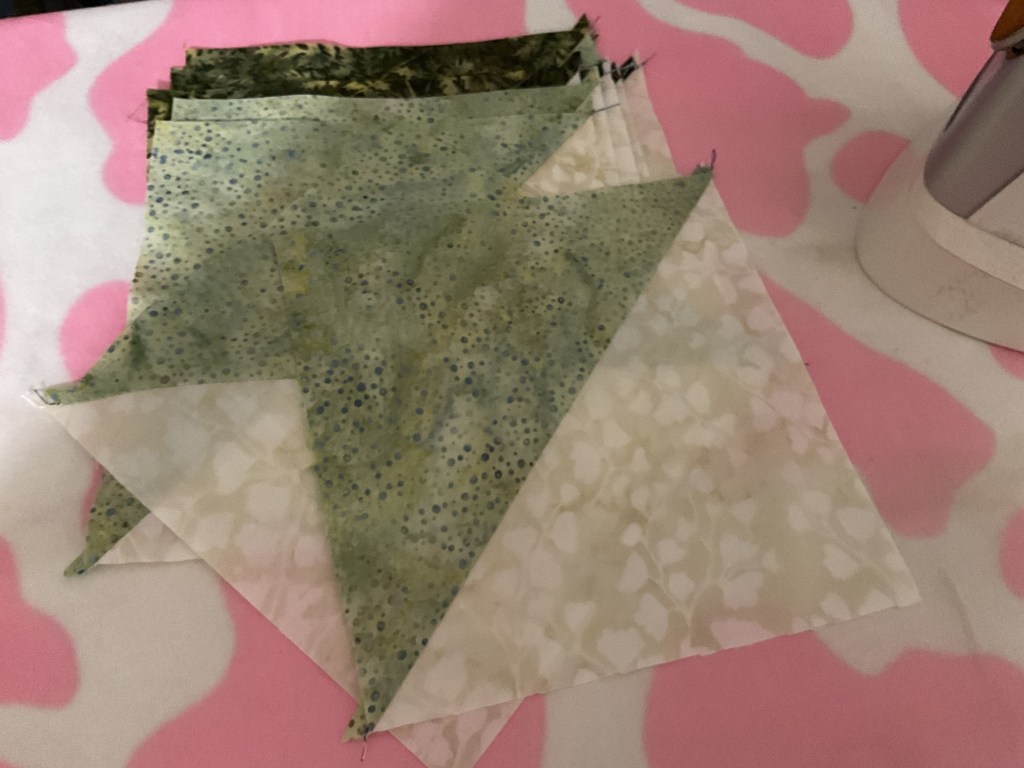
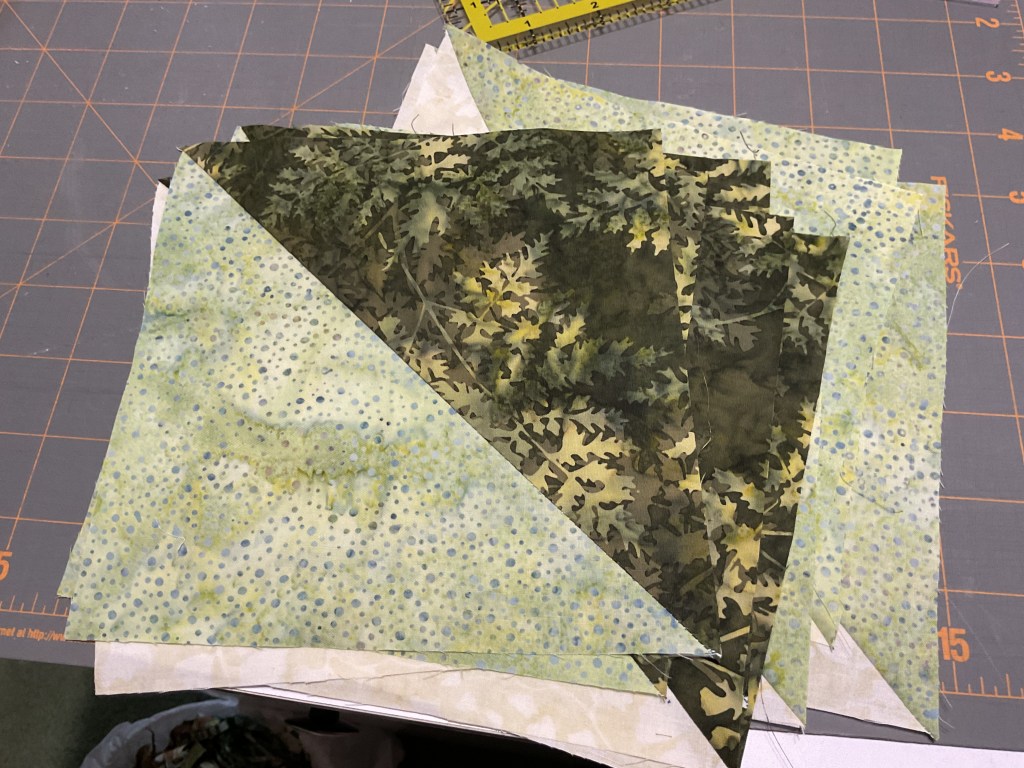
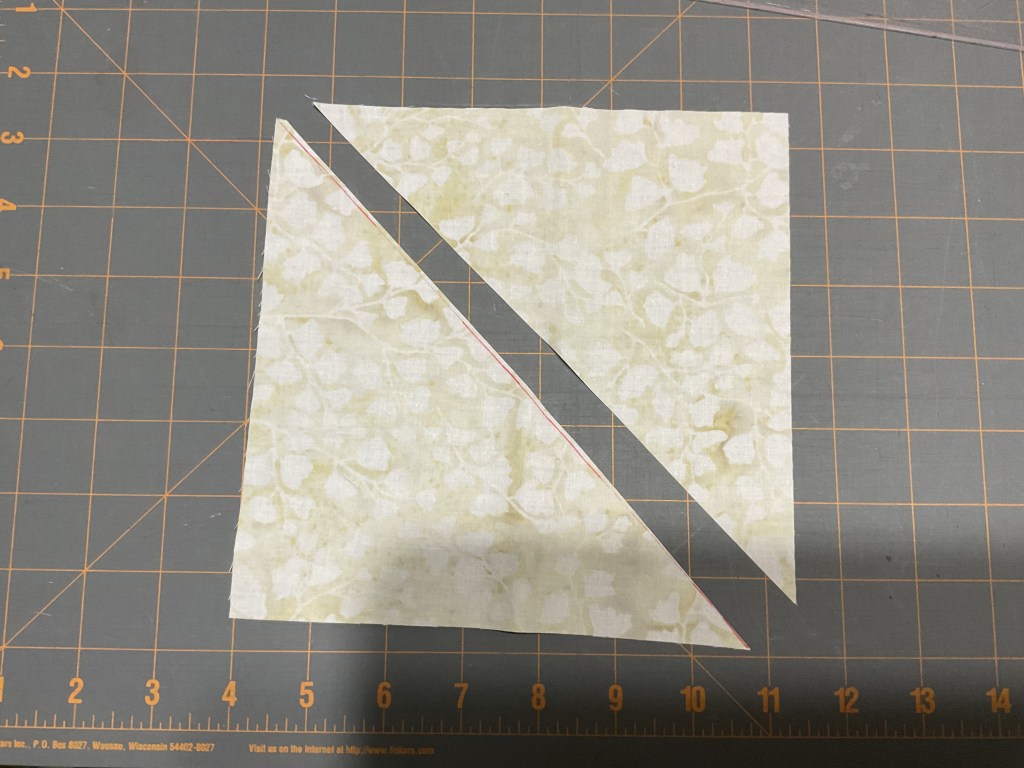
Storyteller is a new 36″ panel pattern by yours truly. It finishes at 59″ x 66″ or 67″ x 74″ with the addition of an outer border. You can find a kit for Storyteller featuring Charlie Harper Montevede Habitat HERE.
But wait……….we’re not done yet!
Here is February’s new table runner pattern, Heart Strings, by yours truly. Heart Strings uses fat eighths and finishes at 16″ x 60″.
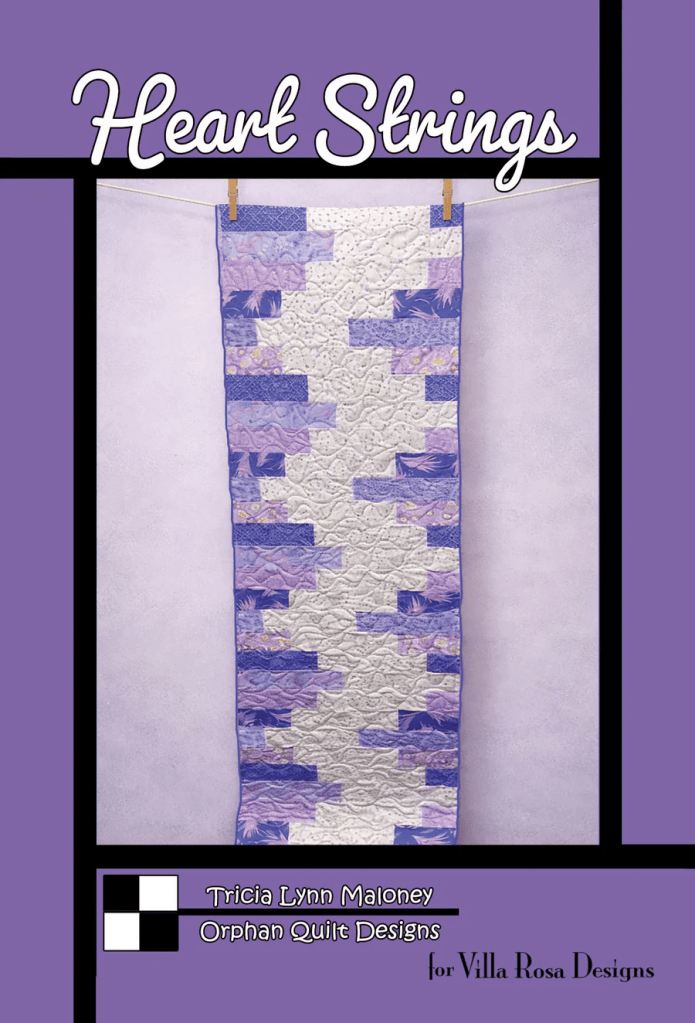
Get your digital pattern HERE or print pattern HERE
And this is Good Luck, my second pattern in this year’s new Seasonal Pillow series. It finishes at 18″ x 18″.

Get your digital pattern HERE or print pattern HERE.
I’m really excited about this new seasonal series because pillows are an easy way to add a little seasonal quilt touch to your space each and every month. At the end of 2026, you could have an entire year of fun quilted patchwork pillows to enjoy for years to come.
What a super fun idea! 3 Aunts Quilt Shop (Molly and Heidi) are offering Pillow kits each month as a BOM. You can find kit options for Happy Hearts (January’s pillow pattern) HERE and kit options for Good Luck HERE.
What are you waiting for? The ice to freeze? (PSST – can you name the movie this quote is from?)
Time to get quilting. YEAH!
How about some quilty fun now?
Quilt Jokes…Just for You
I was trying to think up something to add to today’s post with the new patterns and decided on some quilty humor. One of our VRD blog readers, Susan, inspired me to share some rib-tickling quilty jokes with you. These are for you, Susan!
Please enjoy this selection of jokes, puns, tongue twisters, and more. Get your giggle on!
Why did the quilter bring a ladder to the sewing room?
Because her stash was getting out of hand and she needed to take it to the next level
_______________________________________________________
I’m measured in quarters, yet I’m not a coin.
I’m bundled and tempting, a fabric siren.
“I’ll take just one,” is what you’ll say…
Then I bring friends home anyway.
What am I?
_______________________________________________________
Knock, knock.
Who’s there?
Bobbin.
Bobbin who?
Bobbin along, minding my own business, until I ran out of thread mid seam.
______________________________________________________
Six sleek scrappy stars slant slightly sideways.
______________________________________________________
I’m having a sew-cial moment.
______________________________________________________
Why don’t quilters ever get lost?
Because they always follow the pattern. Unless they don’t. Then it’s improv.
______________________________________________________
I’m a block with a name that sounds like a bird,
Yet feathers aren’t needed, and that’s not absurd.
I travel in flocks, pointy and neat,
But one flipped triangle ruins the beat.
What am I?
______________________________________________________
Why did the sewing machine go to therapy?
It had too much tension.
______________________________________________________
A quilter walked into a quilt shop.
The shop owner said, “Looking for anything in particular?”
She replied, “No.”
That’s when things got expensive.
_______________________________________________________
What do you call a quilt made entirely of white fabric?
A snowflake… because no two excuses for buying fabric are ever the same.
_______________________________________________________
Precise pink patchwork pieces perfectly placed (say this 3x really fast)
_______________________________________________________
I’m a pattern you can’t always see,
But I make the quilt feel extra “me.”
Loops or lines, I’m stitched with care,
Across the top and everywhere.
What am I?
_______________________________________________________
How do you know a quilter is truly prepared for winter?
She/he owns enough fabric to insulate a small village and calls it “just a few projects.”
_______________________________________________________
You had me at fat quarter.
_______________________________________________________
A quilter walked into a bar.
The bartender said, “What’ll it be?”
She replied, “Just something light. I’m trying to cut back.”
The bartender nodded and handed her a charm pack.
_______________________________________________________
Sassy seamstresses sew six sleek straight seams (say this 3x really fast)
_______________________________________________________
Knock, knock.
Who’s there?
Sew.
Sew who?
Sew glad I bought that fabric before it sold out.
_______________________________________________________
A quilter walked into a fabric store and gasped, “I have nothing to match this at home.”
Somewhere in her stash, 47 perfectly coordinating prints fainted.
_______________________________________________________
Knock, knock.
Who’s there?
Snow.
Snow who?
Snow way I’m leaving the house when I can quilt instead.
_______________________________________________________
Scrappy squares stitched swiftly, slightly skewed (say this 3x really fast)
_______________________________________________________
Why did the quilter refuse to shovel the driveway?
She said, “I’m already snowed under with UFOs.”
_______________________________________________________
Don’t be a sew and sew.
_______________________________________________________
A quilter walked into a quilt shop and picked up a bundle.
“This is perfect,” she said.
“For what?” asked the clerk.
“For someday.”
_______________________________________________________
This is un-seam-ly behavior.
_______________________________________________________
I’m a friend with numbers and lines,
Quilters trust me all the time.
I help make seams straight and true,
But don’t get too close when the blade comes through.
What am I?
_______________________________________________________
Turquoise triangles twirl through tidy tops (say this 3x really fast)
_______________________________________________________
Knock, knock.
Who’s there?
Thread.
Thread who?
Thread carefully. I just cleaned my sewing room.
________________________________________________________
A quilter walked into a quilt shop “just to browse.”
She emerged three hours later with a pattern, six coordinating prints, and a new life plan.
________________________________________________________
Fat quarters flutter from fabric filled folders (say this 3x really fast)
________________________________________________________
Life is short. Buy the fabric.
________________________________________________________
(PSST…..In case you’re wondering, these jokes and sillies were created by me with the assistance of AI.)
Well, that’s it for me today. I don’t want to miss a moment of the Milan Cortina Olympics.
Stay tuned next week for an Olympics-inspired post…or maybe 2.
Take care and get your quilting on!
Sew. Laugh. Repeat.
Always,
Tricia @ VRD