Hello Quilty Friends!
Welcome to another Thursday — the first Thursday in June. Summertime, right? The kids are out of school or will be soon. Life will get crazy. Fun. And more crazy.
Are you kidding? I thought it was still March.
At least, it should still be March, don’t you think?
Que sera, sera.
OH! Did you see the new Rose Cards for June yet???? As always, our VRD designers didn’t let you down.
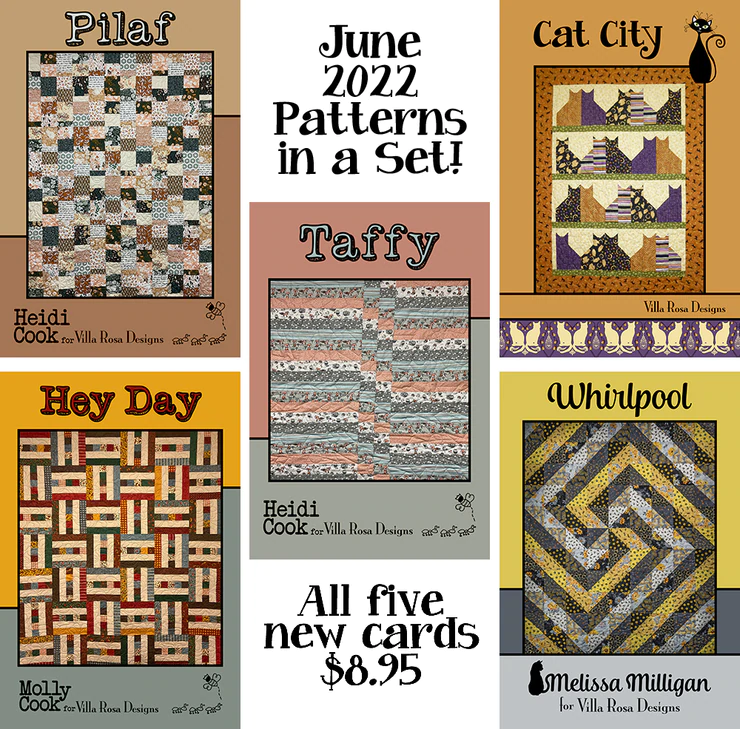
You can order all 5 cards HERE.
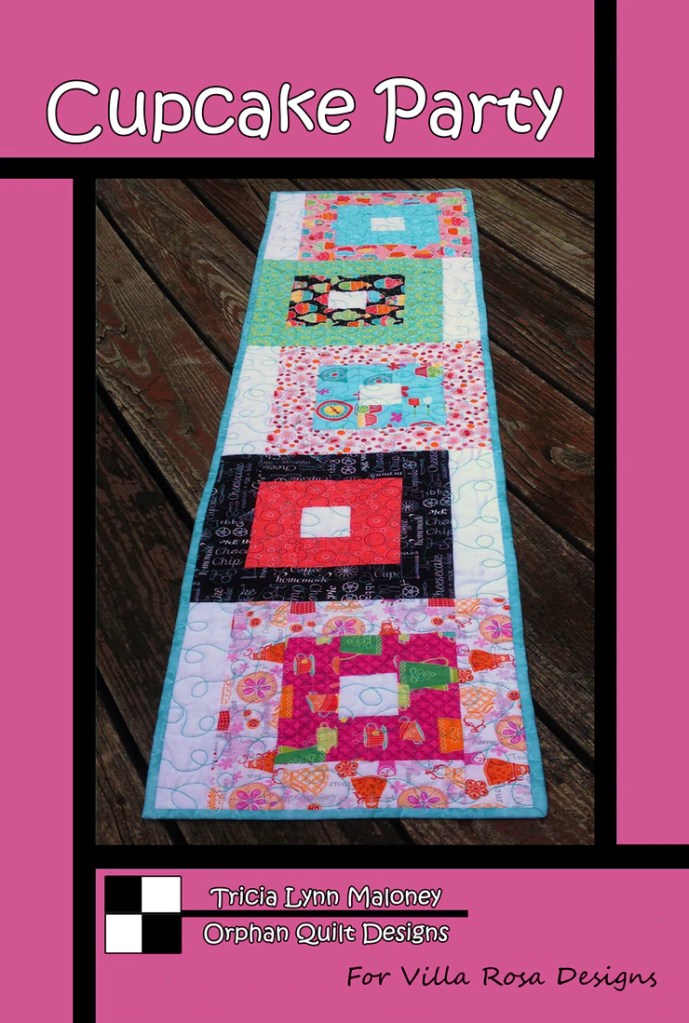
And here is June’s NEW Table Runner, Cake Day. Cute, huh?
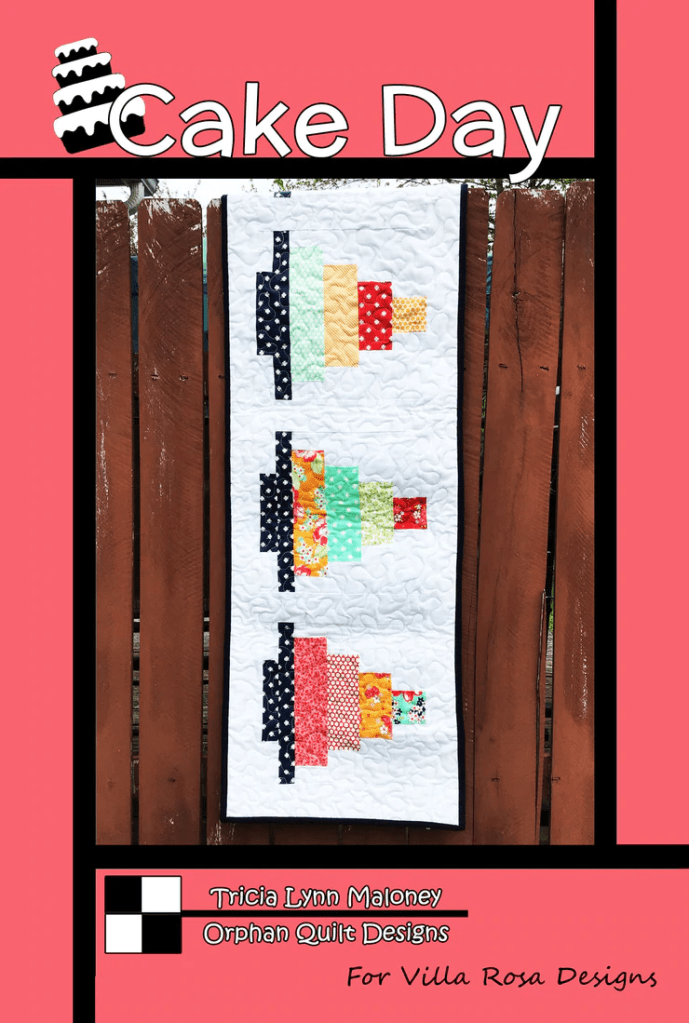
You can purchase the Cake Day pattern HERE.
Did you know you can actually join the Rose Card Pattern Club and get the new monthly Rose Cards delivered right to your mailbox every month without you having to do a thing????
If you live out of the USA, you can sign up for the digital Rose Cards, which will be delivered to your inbox without you having to do a single thing.
There are even several different Pattern Club options to consider. Cool, huh?
You can sign up for the Pattern Clubs HERE .
Another really AWESOME thing about Villa Rosa is that we create a lot of kits using our Rose Card patterns. You can find kits for this month’s new patterns AND you can find kits for lots of other favorites, too. You can visit the website HERE to see what our selection of kits are. Please remember that we add new kits all the time, with all kinds of different fabric, so make sure you stop in often to see what’s new.
A Little Bit of Free Motion Quilting and a Video Demo
How many of you are a little bit afraid of free motion quilting on your own domestic sewing machine?
Be honest!
Okay, that’s better, I see a lot of hands raised and heads nodding out there.
Well, I’m here to tell you that you don’t have to be afraid anymore. I’ve been teaching free motion quilting (FMQ) for more than 10 years and I haven’t lost anyone yet!
Here’s my TOP 12 TIPS for FMQ:
1. Find a teacher at your local quilt shop to show you how and to guide you so you feel safe. Don’t try to teach yourself by using YouTube videos.
2. Start out small — the smaller the project the better for beginners. Potholders, table runners, place mats, wall quilts, or other small projects.
3. Start with a beginner-friendly design like wavy lines or loops. Meandering and stippling are NOT beginner-friendly.
4. Try to relax. The more tense you are, the worse your quilting will be.
5. Play music while you quilt, something with a beat. A beat will help you find your rhythm for FMQ on your own machine.
6. Keep practicing, every day if you can, even if it’s only for 10 minutes. The more you practice, the more comfortable you will feel, and the better your quilting will get.
7. Practice machine quilting with a friend. You can encourage each other and laugh together.
8. Try machine quilting gloves. There are a lot of different types of gloves out there, so you might have to try different kinds to find the ones that work for you. Machine quilting gloves will help you get a good grip on the fabric so you can move the quilt more easily when you are quilting.
9. Doodle. Doodle a lot. Practice drawing the designs before you quilt them — this builds some muscle memory between your hands and you brain.
10. Practice…….practice……..practice…….
11. Practice……practice…..practice……. (I can’t stress this one enough)
12. HAVE FUN!
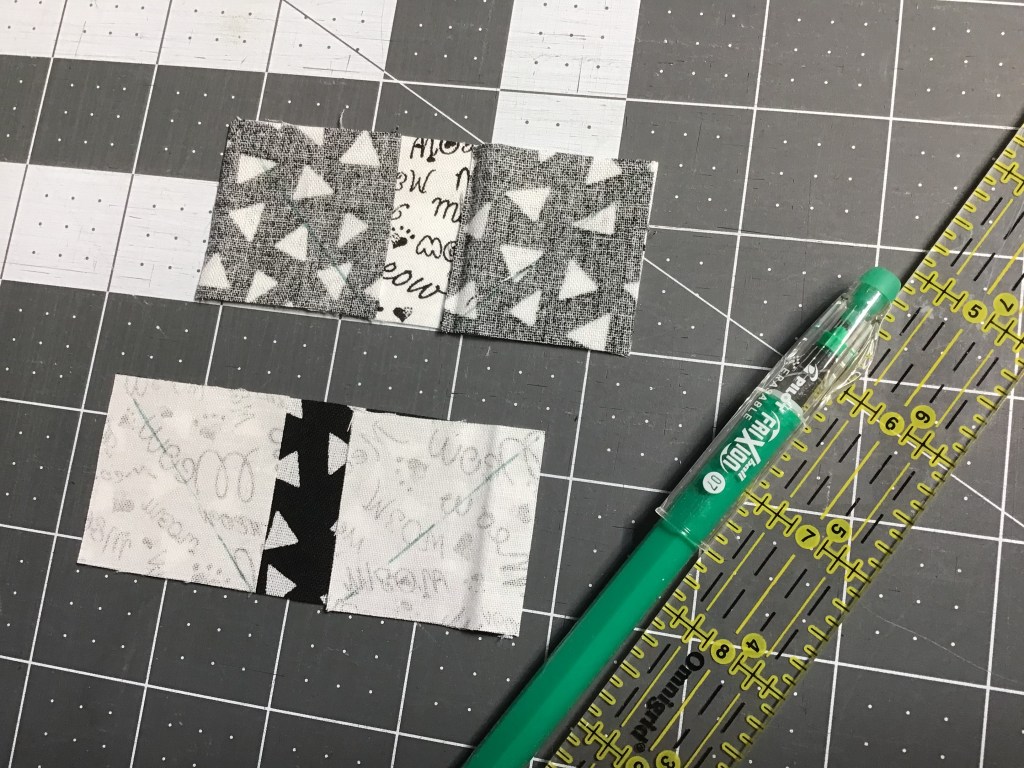
Here’s a little video I put together demonstrating how to free motion quilt wiggly lines on last week’s Ying Yang Cats. Enjoy!
I hope this video inspires you to try free motion quilting some wiggly lines on your own little project.
Until next Thursday —
Sew. Laugh. Repeat.
Always,
Tricia @VRD