Hello Quilty Friends!
Happy Thursday to you!
Have you been following the recent geomagnetic storms and the resulting Northern Lights displays which have been seen even in the Caribbean? I am thrilled to say I saw the Northern Lights both Monday and Tuesday night right from my living room window, which looks north (here in northwestern Pennsylvania). With my naked eye, all I could really see was green and pink, but boy – the colors flowed across the sky like waves on a beach. It was almost mesmerizing.
Every time I am blessed enough to see the Northern Lights, it always reminds me of the first time I saw them. I was sixteen or seventeen years old and spending the night at my cousin (and bestie), Karen’s house. We sat on her front porch and our eyes were glued to the northern horizon. I remember that the colors were bright rippling ribbons in the sky and they were simply breath-taking! I will never forget that moment.

I’ve tried taking nighttime photos before with my iPad, but I’ve never been very successful. I wish I’d have been prepared the other night so I could have taken photos, but I wasn’t. So this morning I downloaded a nighttime photo app called NightCap. With a little luck, Tuesday night we might still be able to see them. I’ve got my fingers crossed that perhaps I’ll snag a photo or 2. If I manage to actually get any photos, I’ll upload later, but looking at the NOAA Space Weather Prediction Center, it’s not looking too good for tonight. Sigh, it figures. A day late and a dollar short – that’s me.
PSST! Here’s a link on FB showing the Northern Lights over Stonehenge – simply awe-inspiring! And here’s a video of Northern Lights over the Colosseum – WOW! Just scroll through FB and explore all of the gorgeous Northern Lights content.
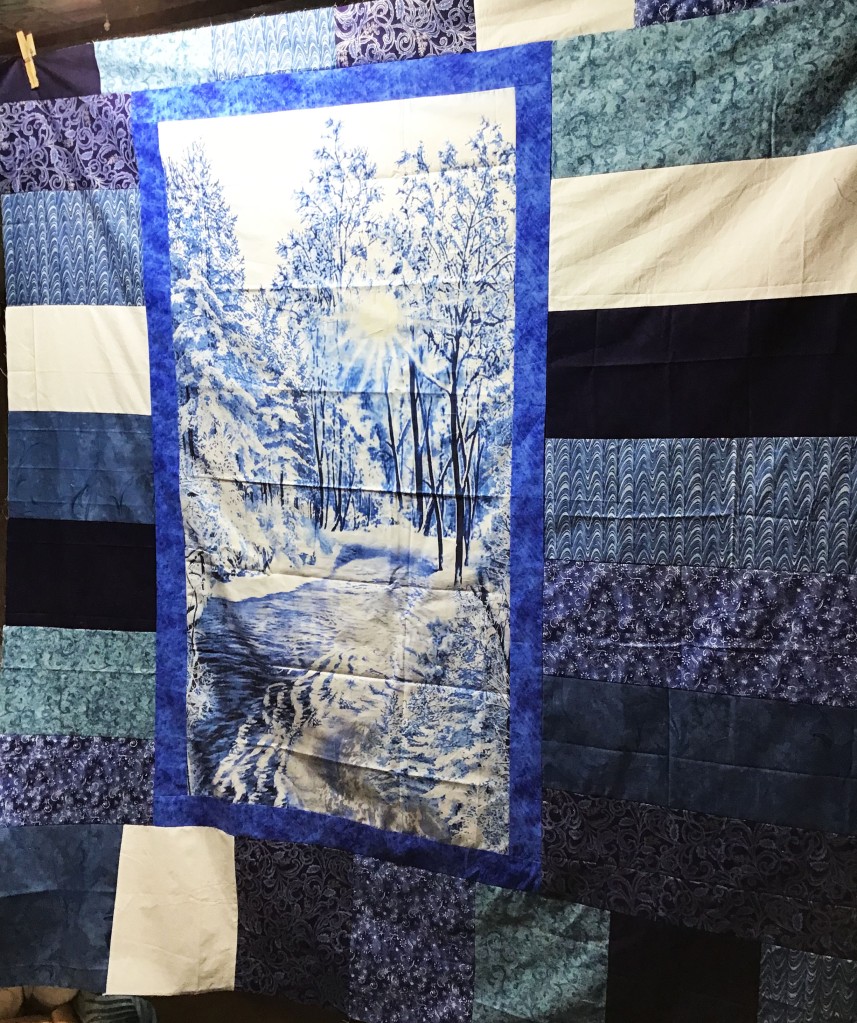
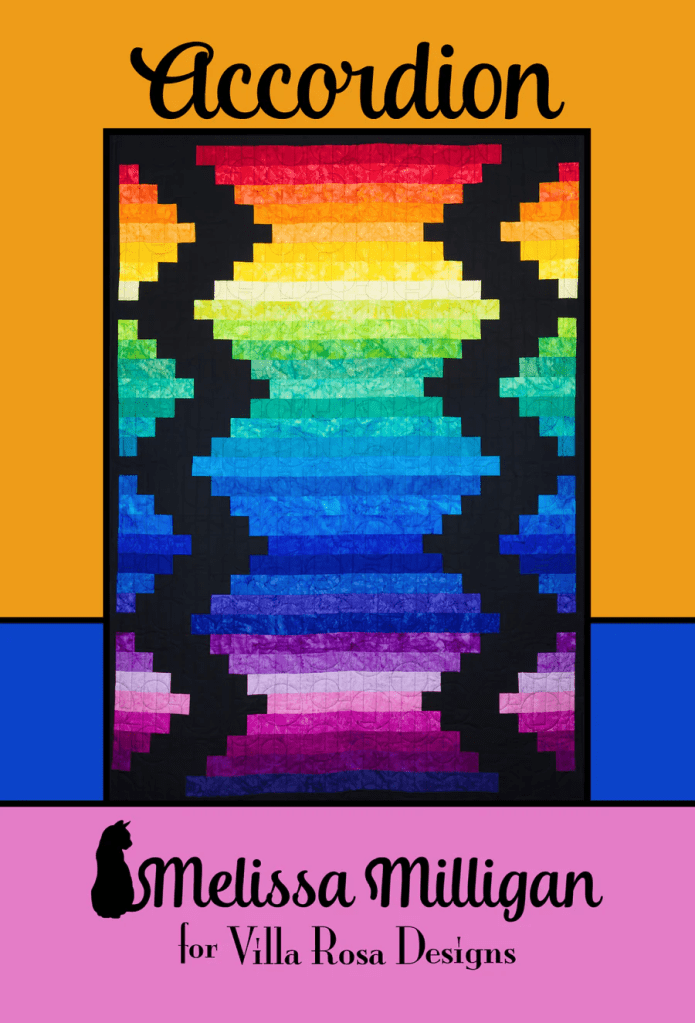
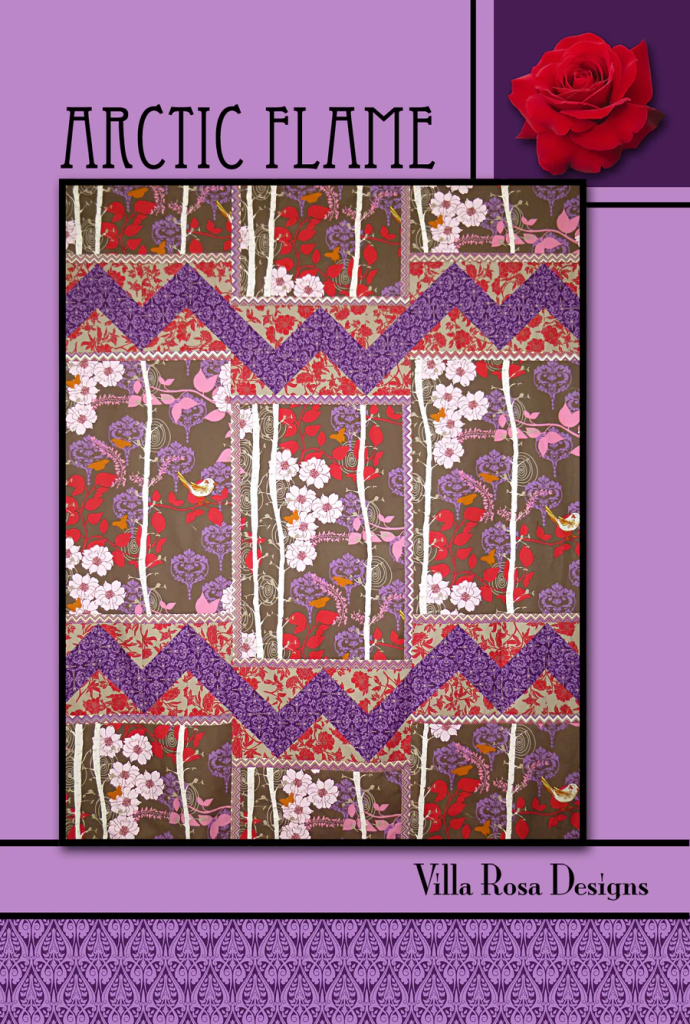
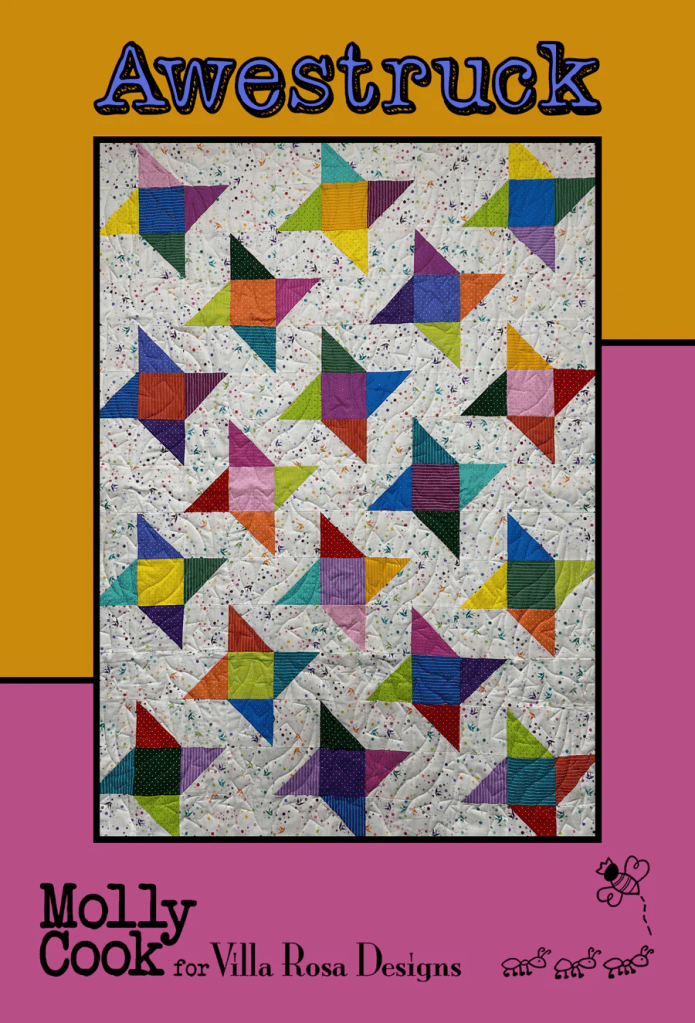
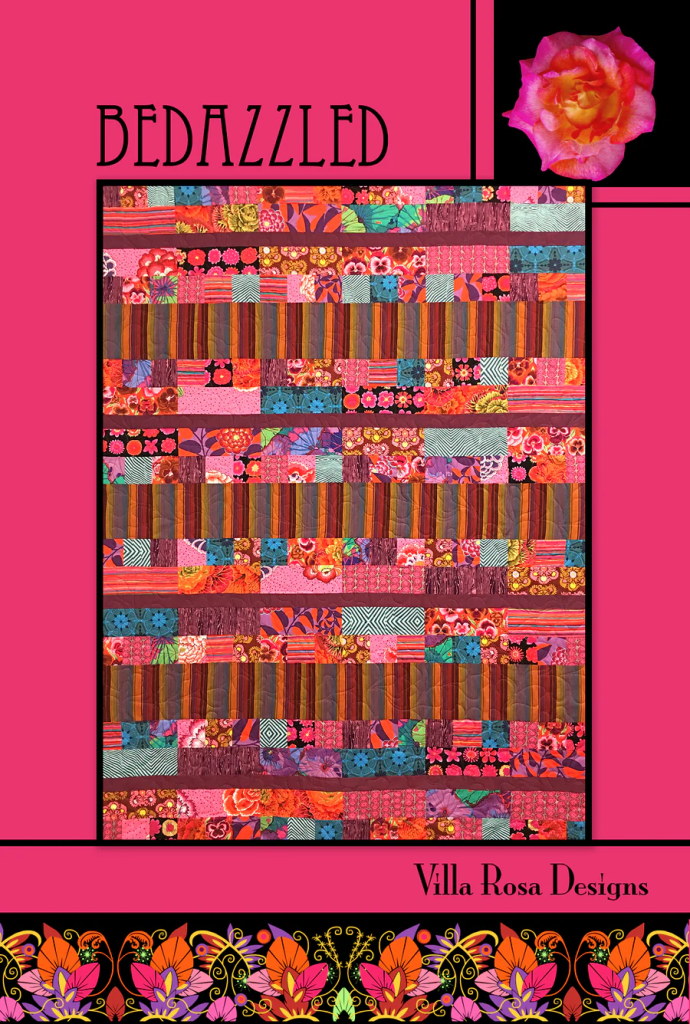
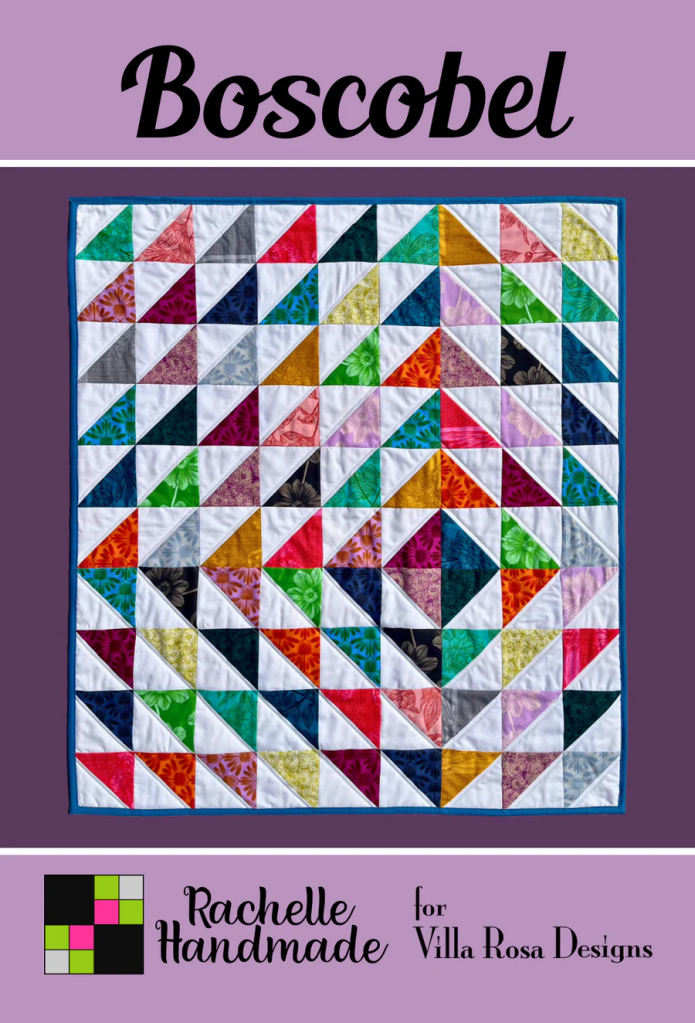
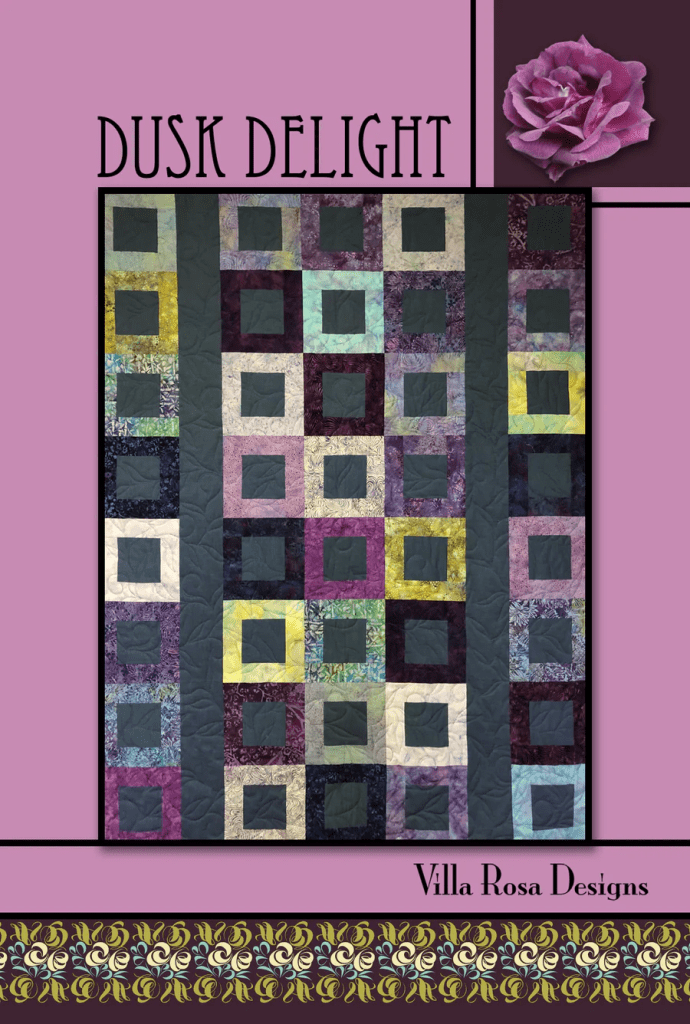
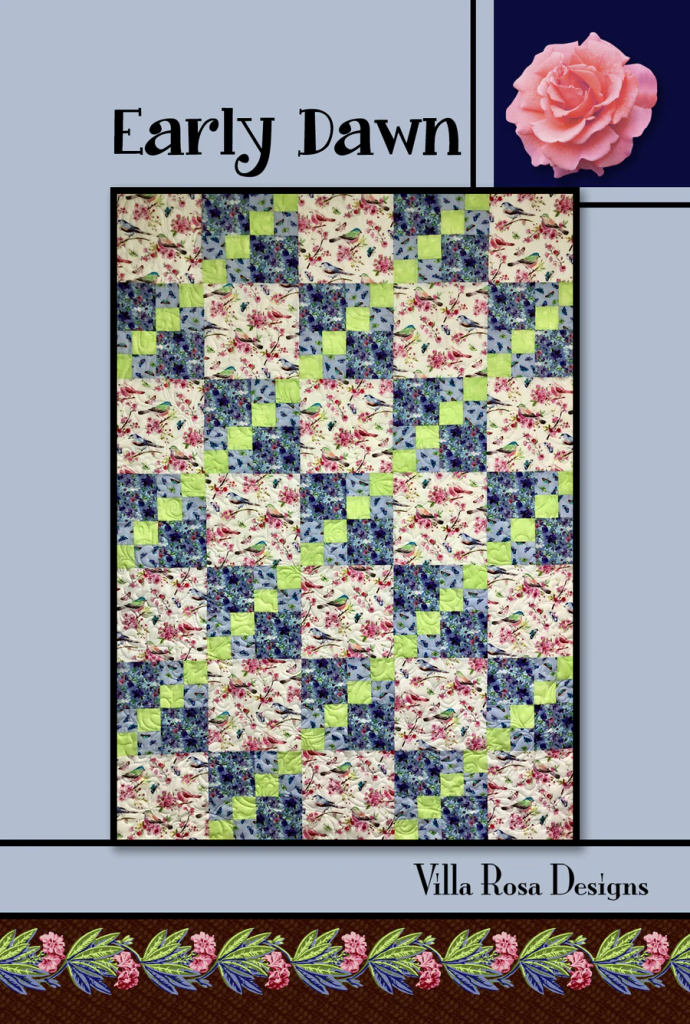
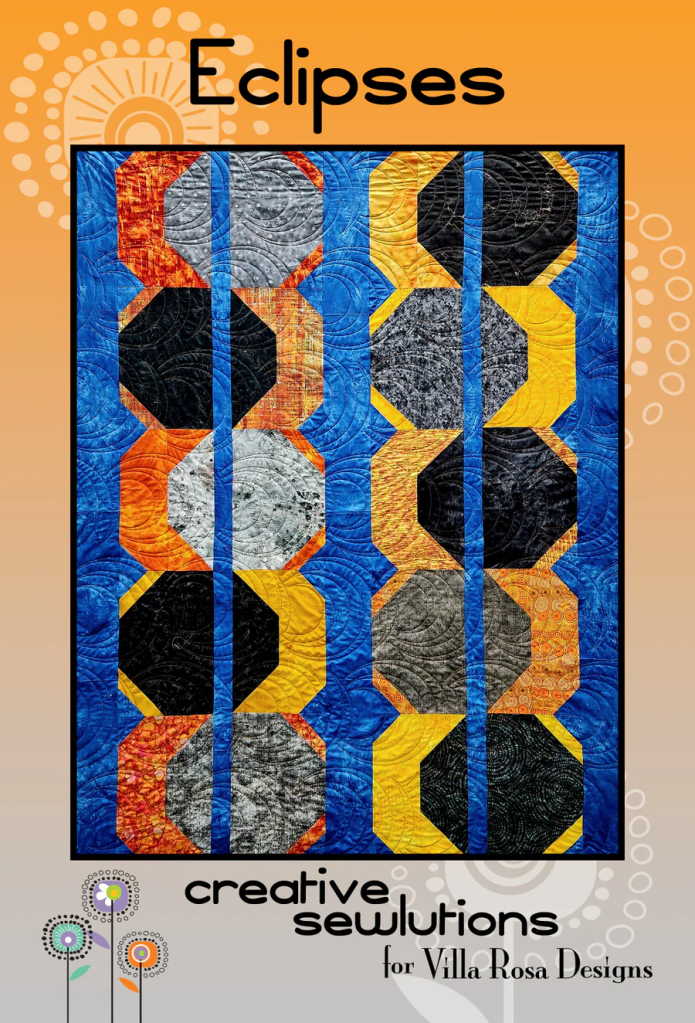
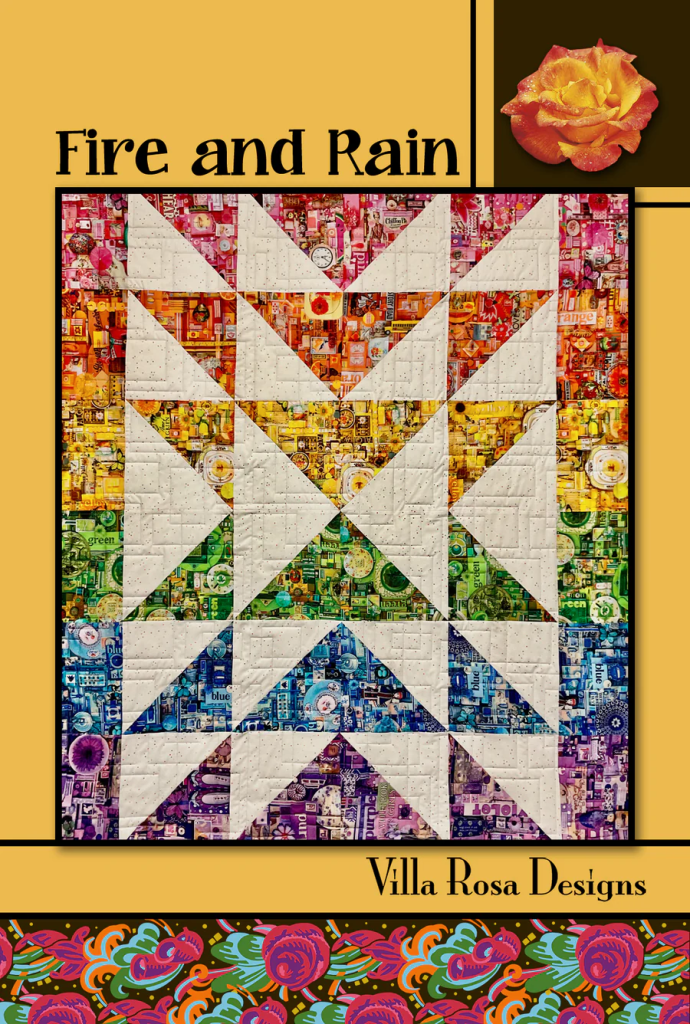
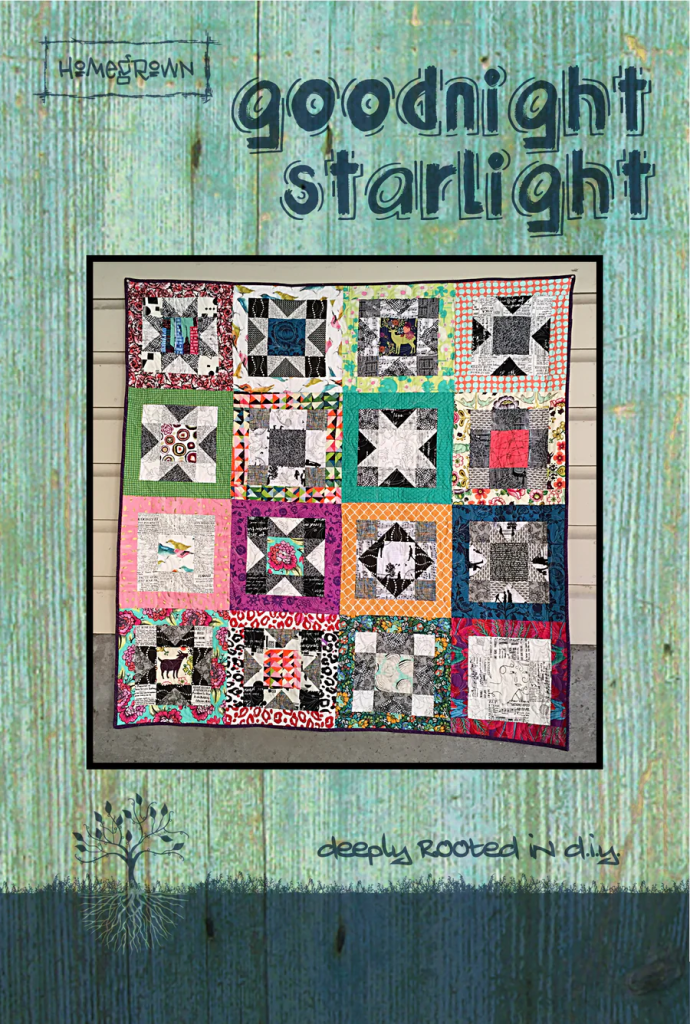
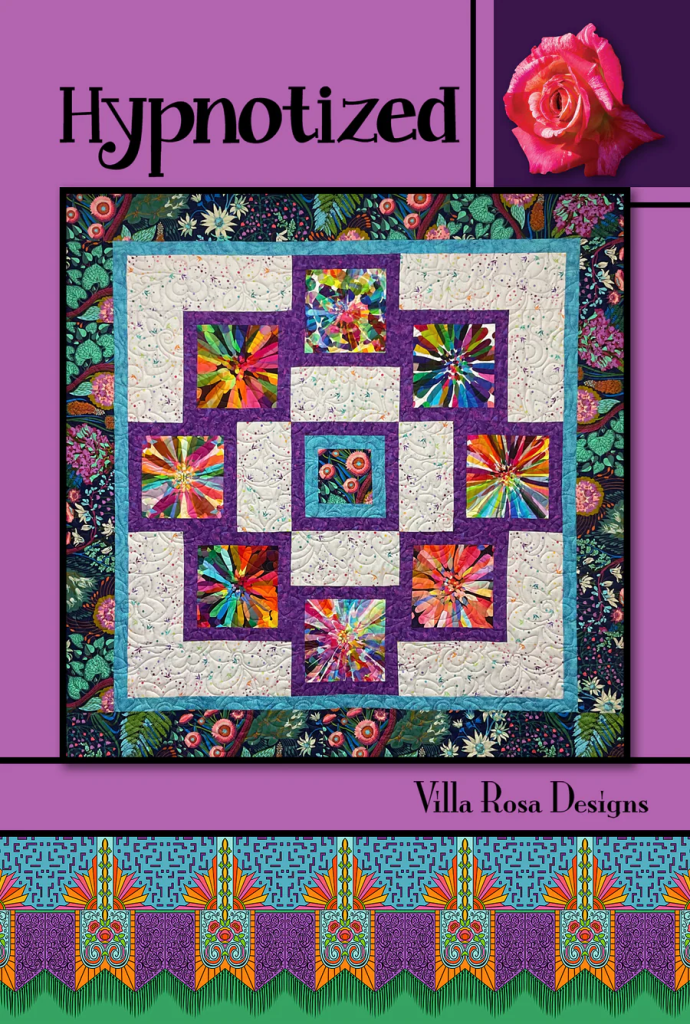
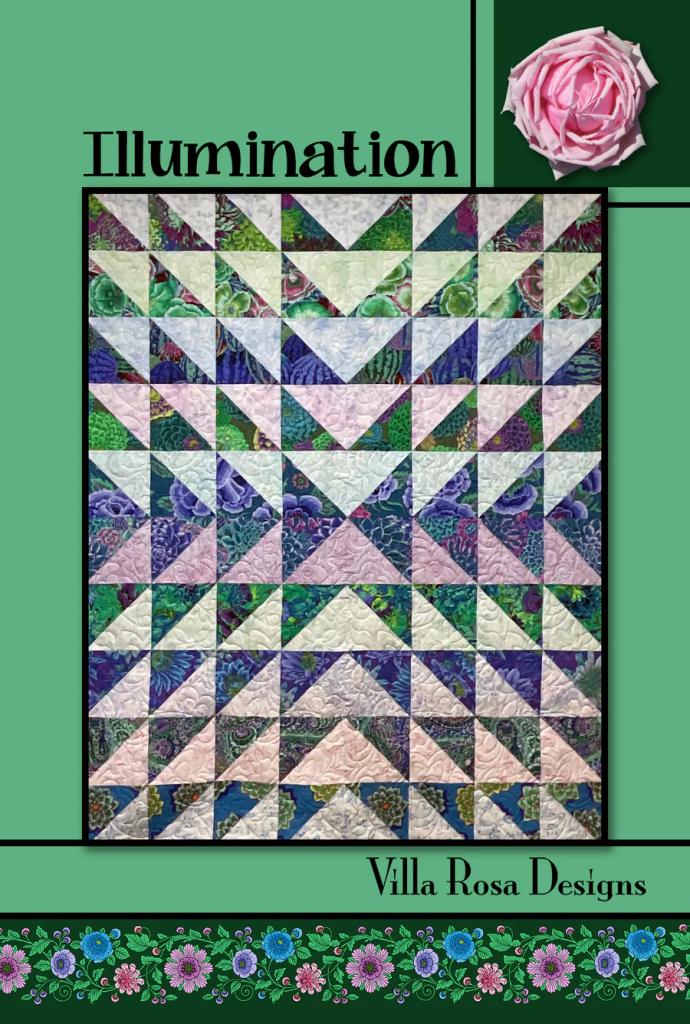
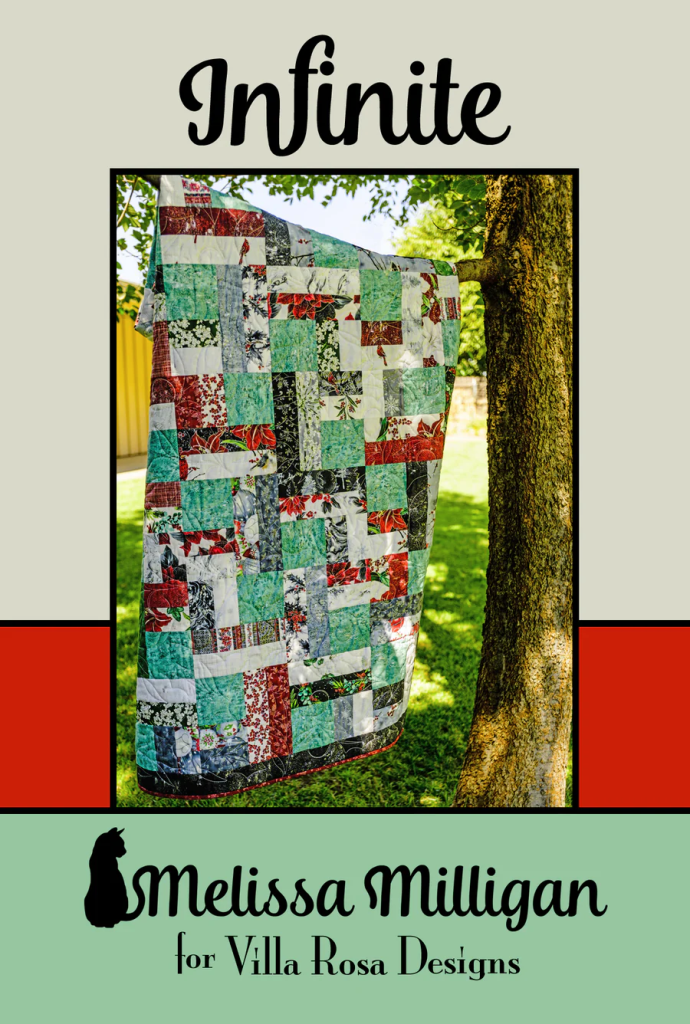
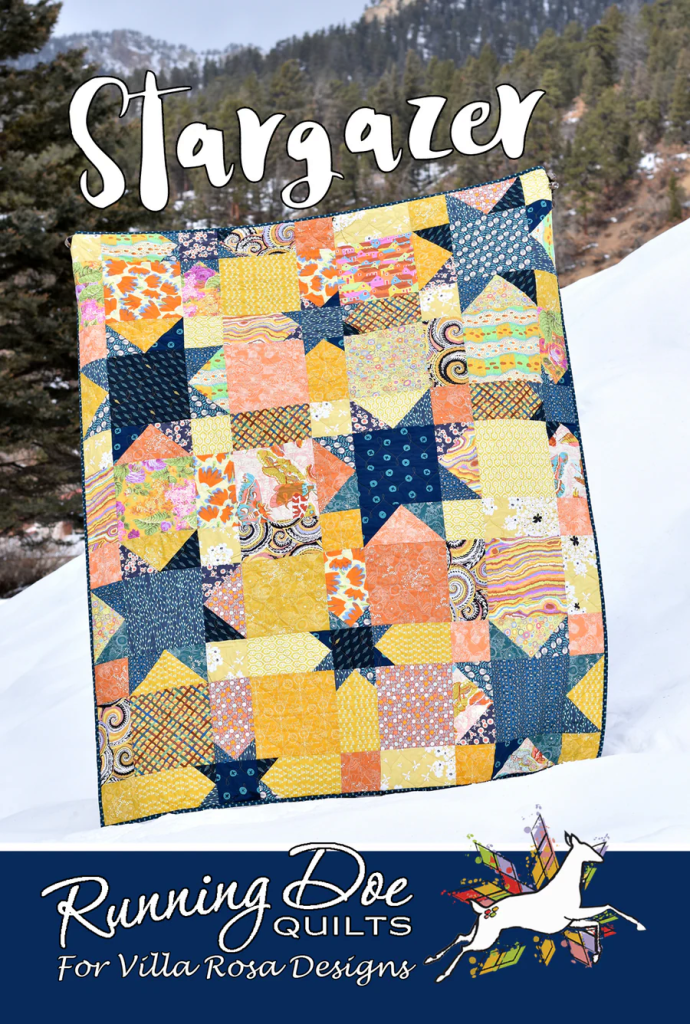
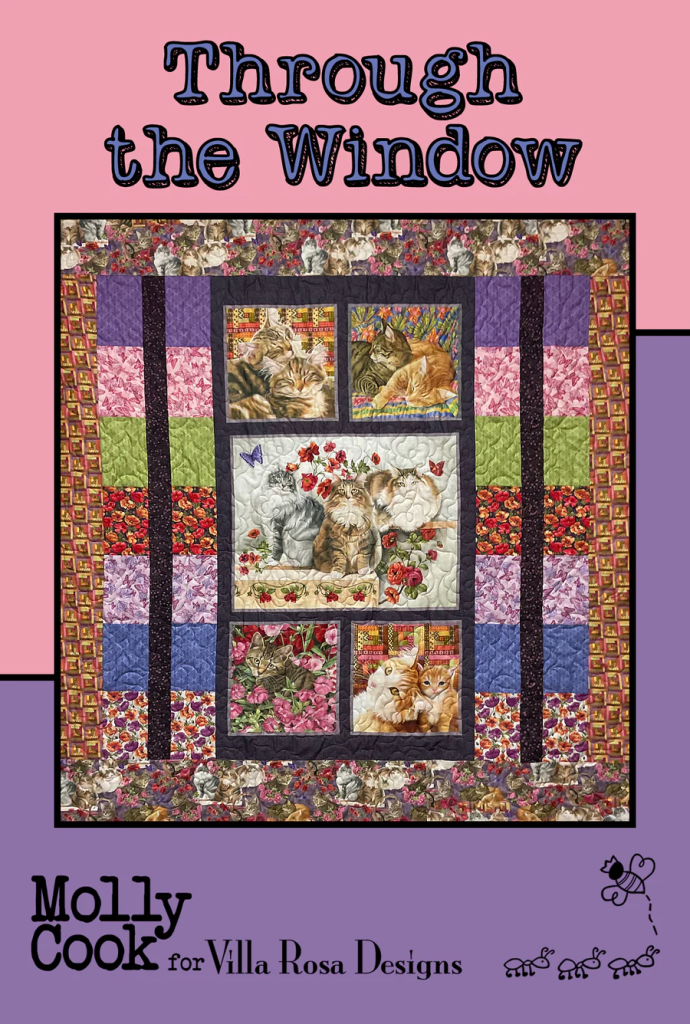
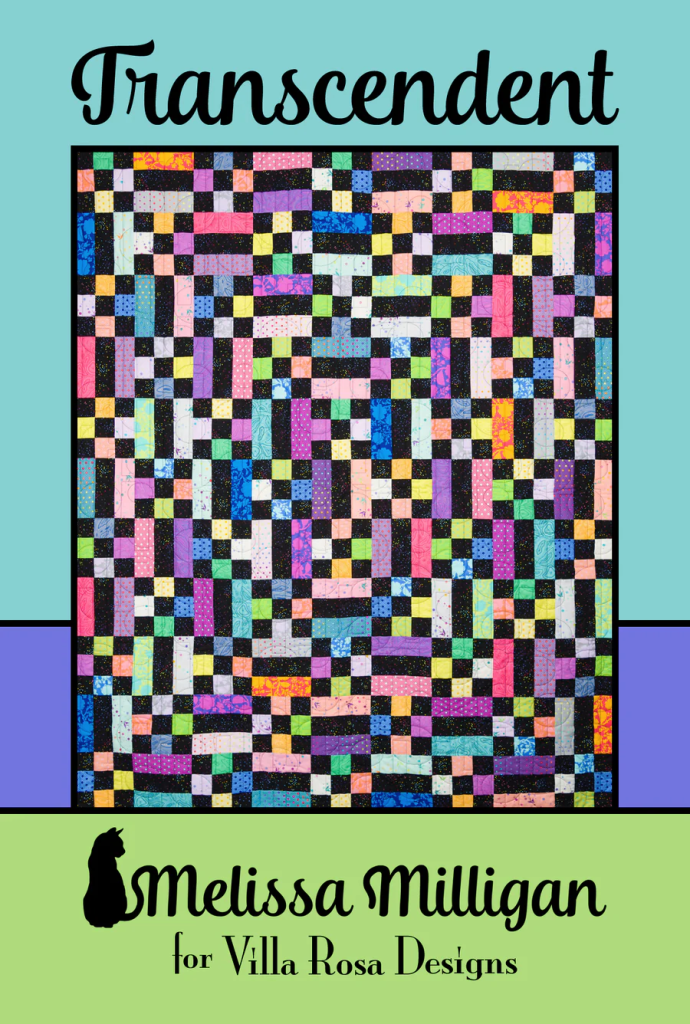
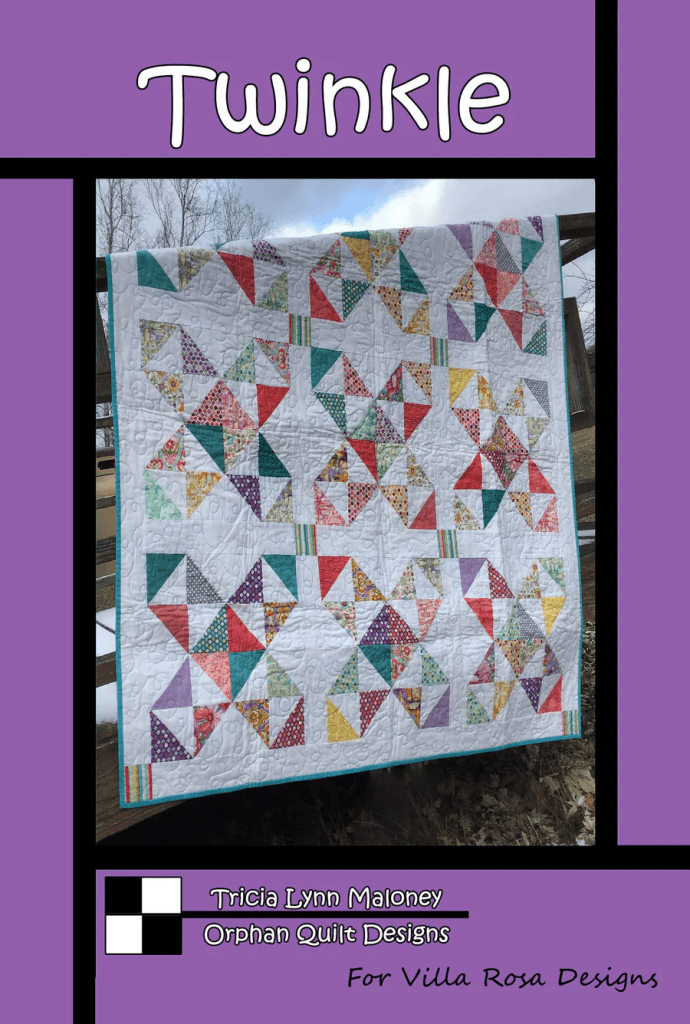
When I was thinking about a topic for today’s blog post, I wanted to somehow connect to the Northern Lights because it’s a pretty special thing to see and then I had the idea to curate a new VRD Rose Card pattern list with a nod to the Northern Lights.
I hope you’ll enjoy this latest curated list. Maybe you’ll be inspired to make a new-to-you pattern.
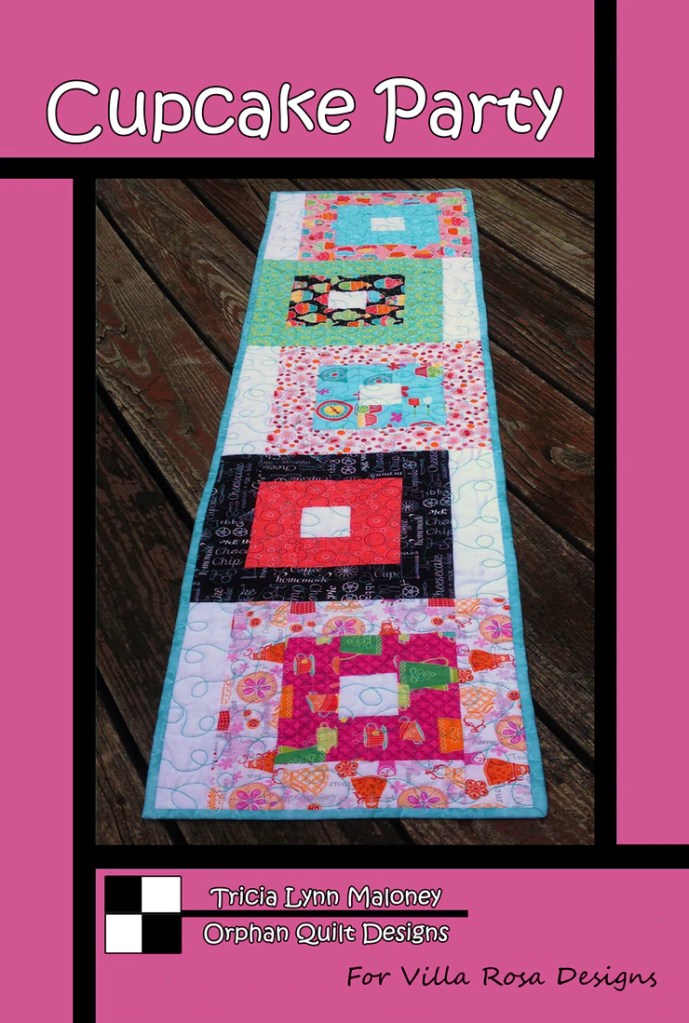
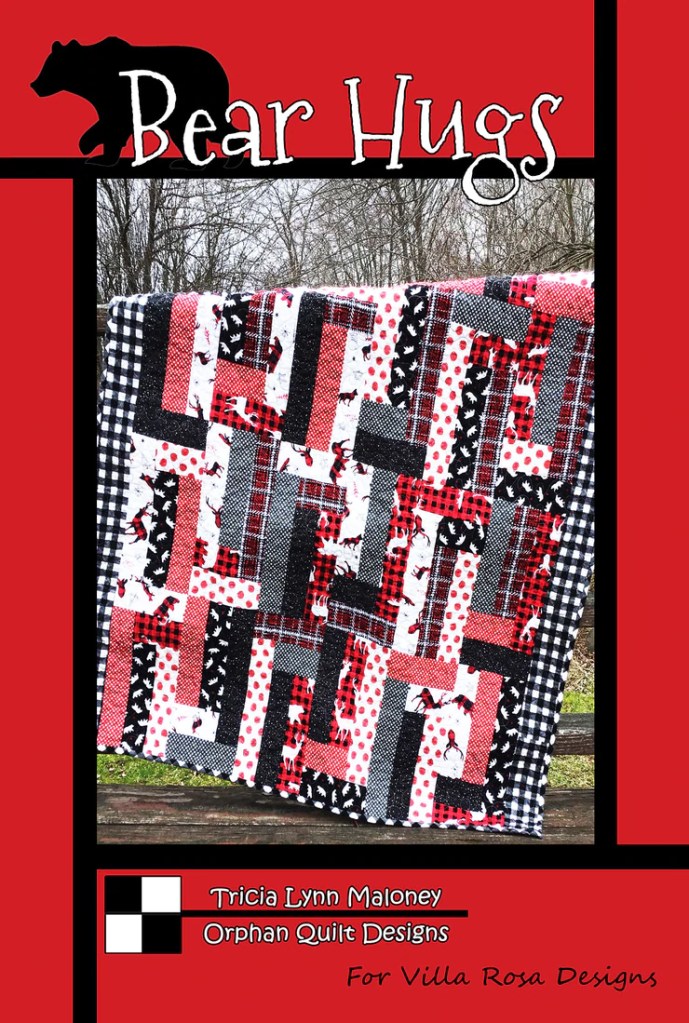
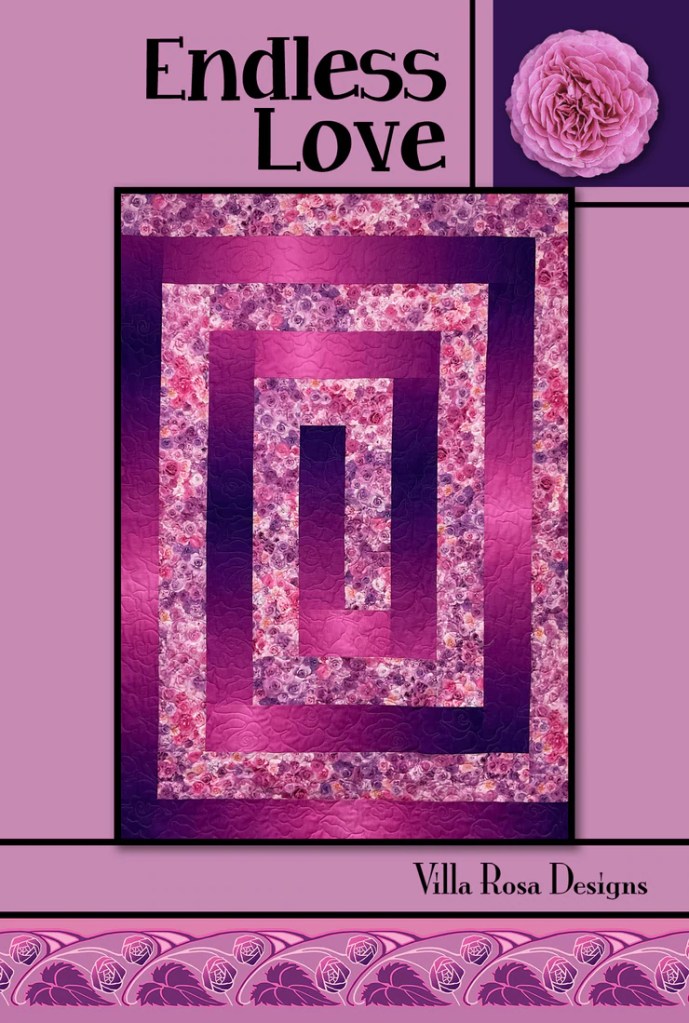
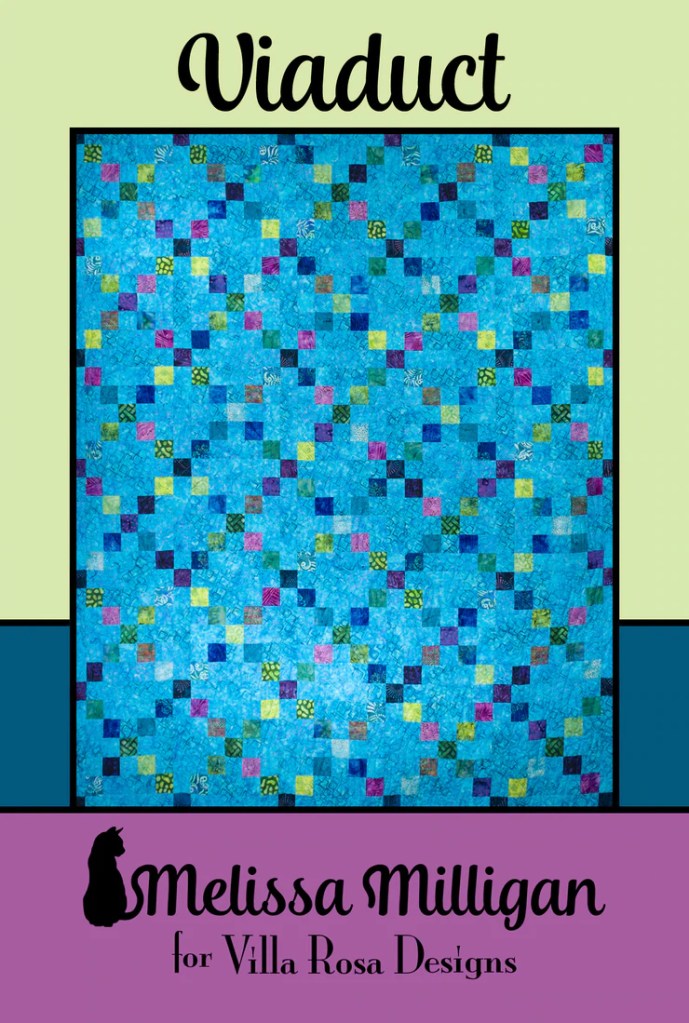
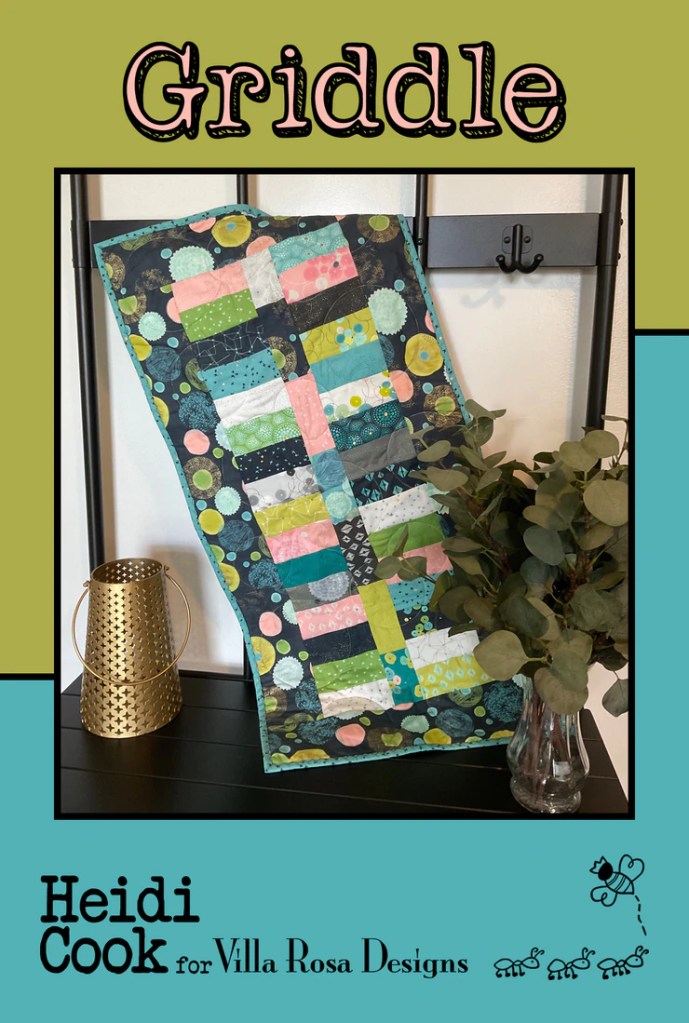
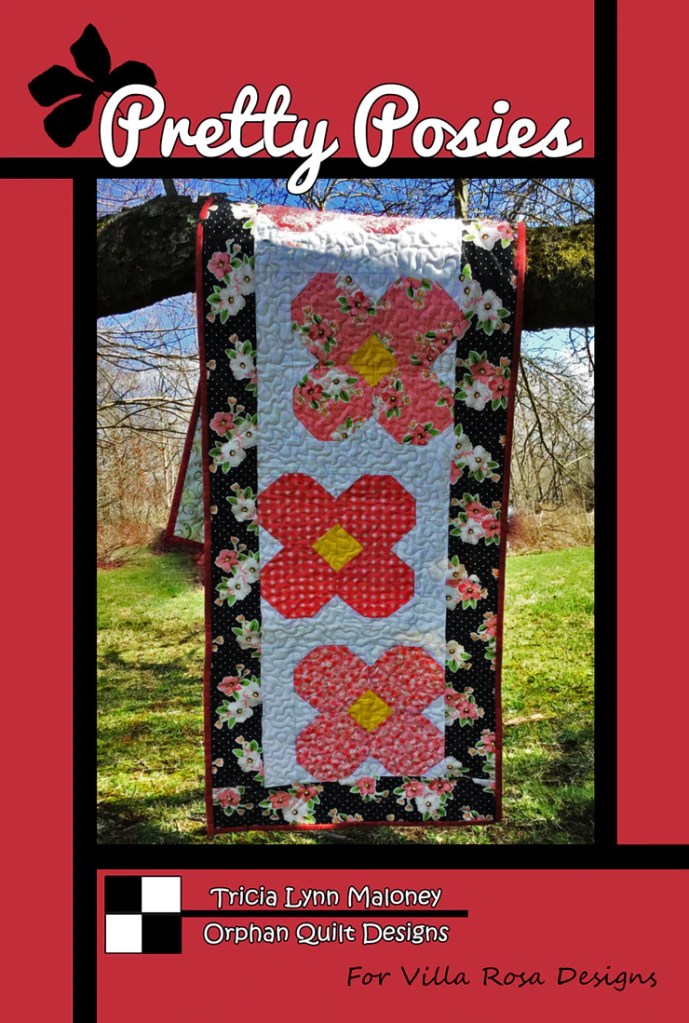
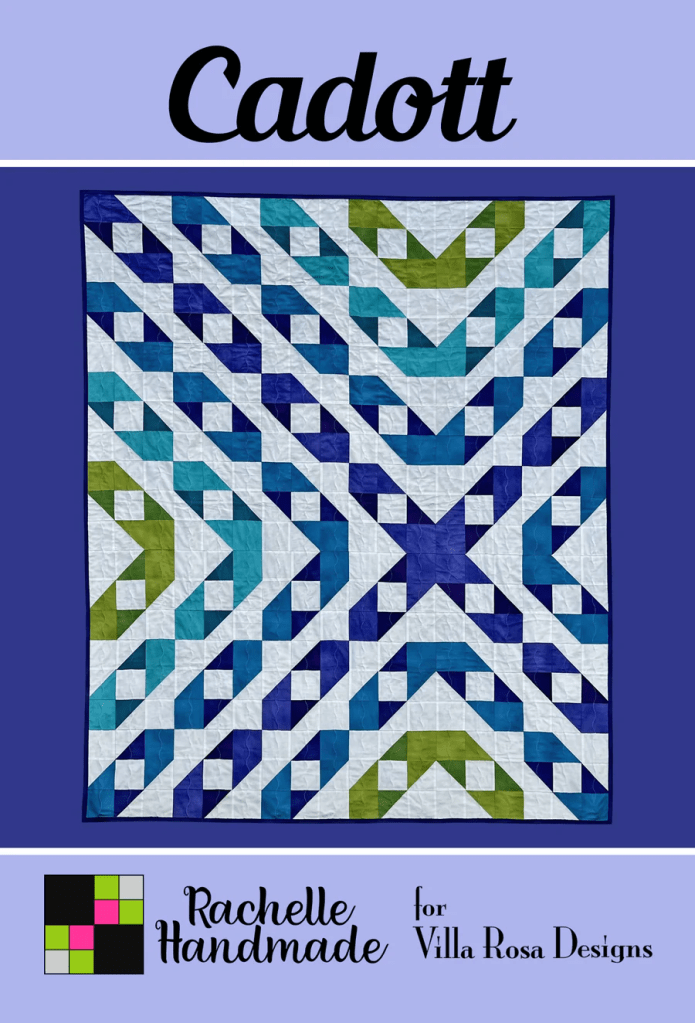
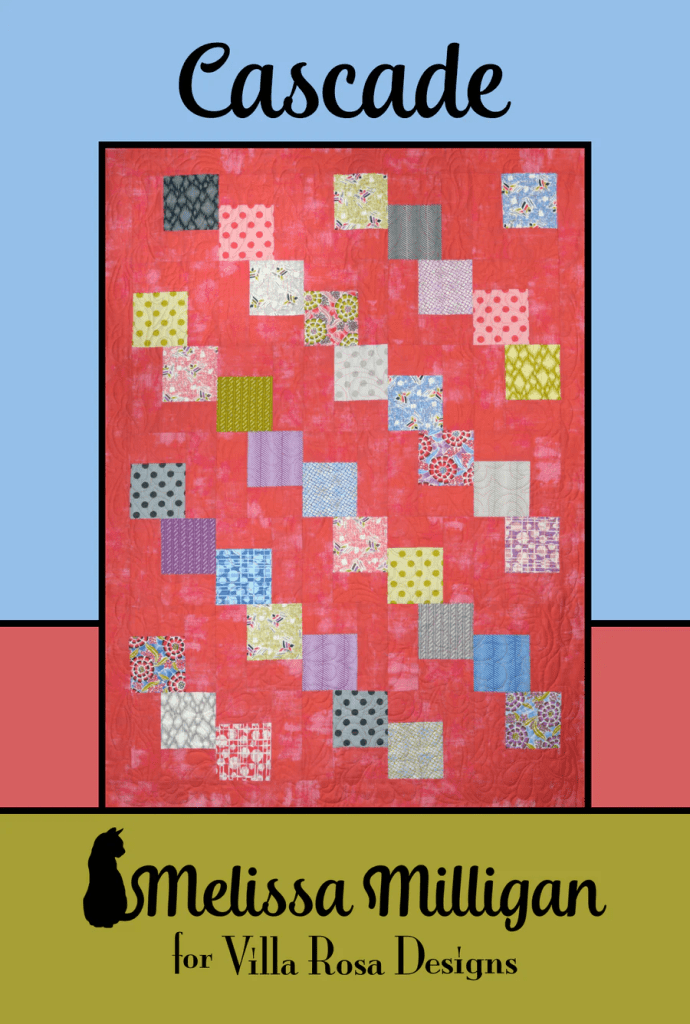
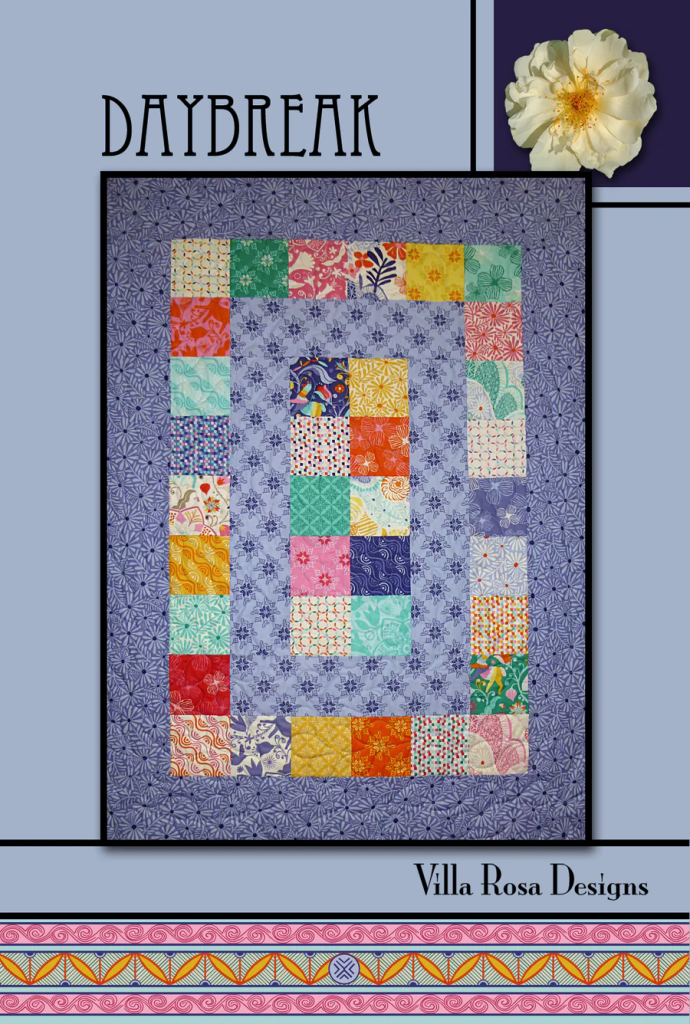
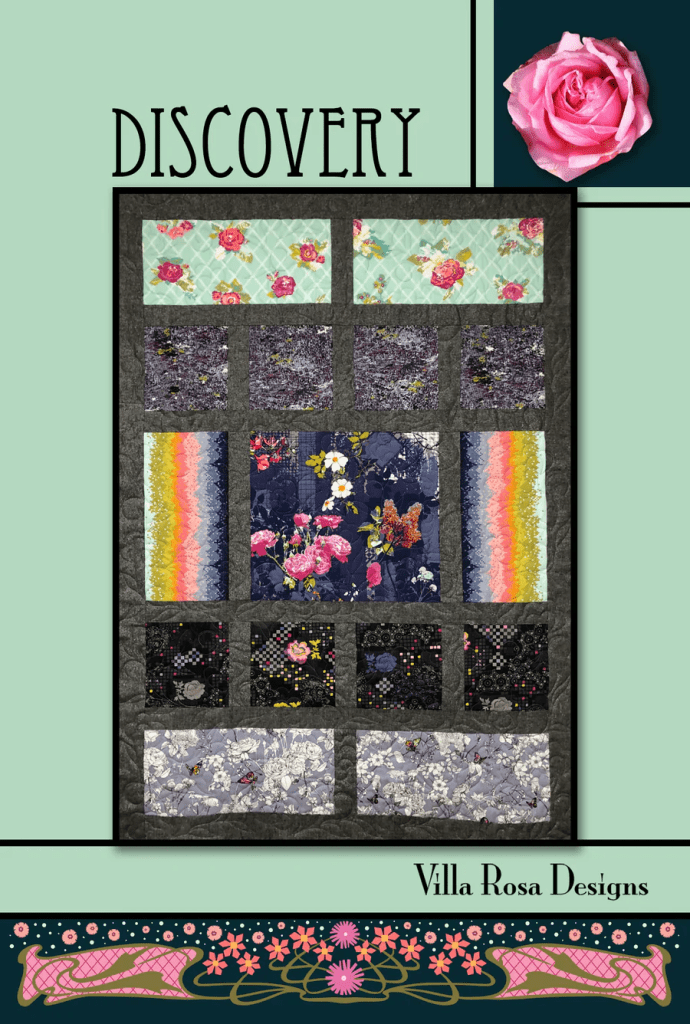
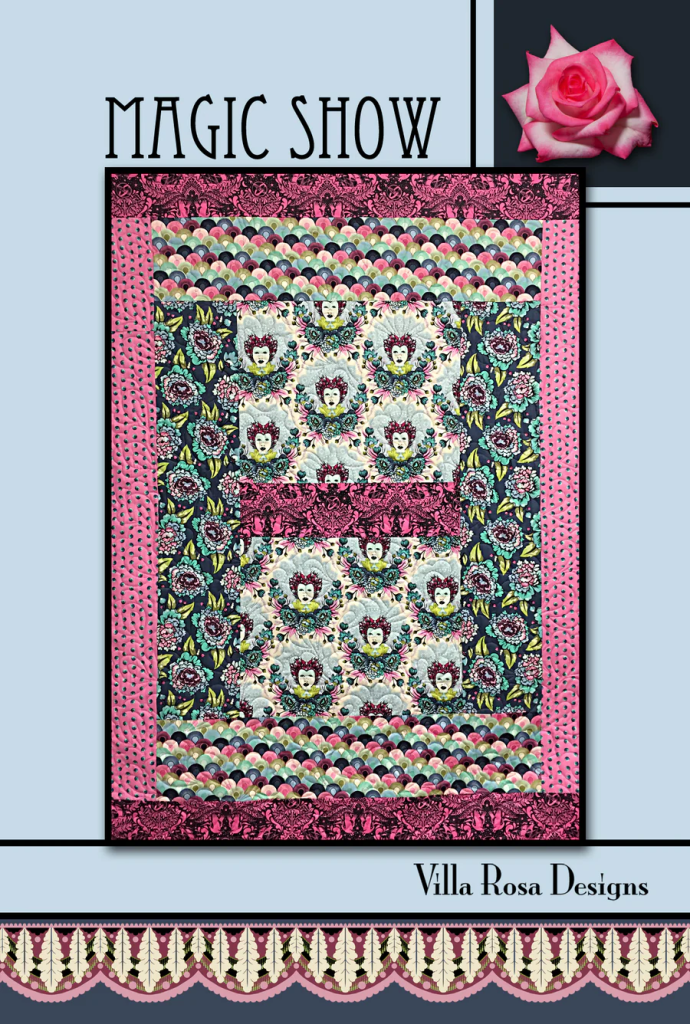
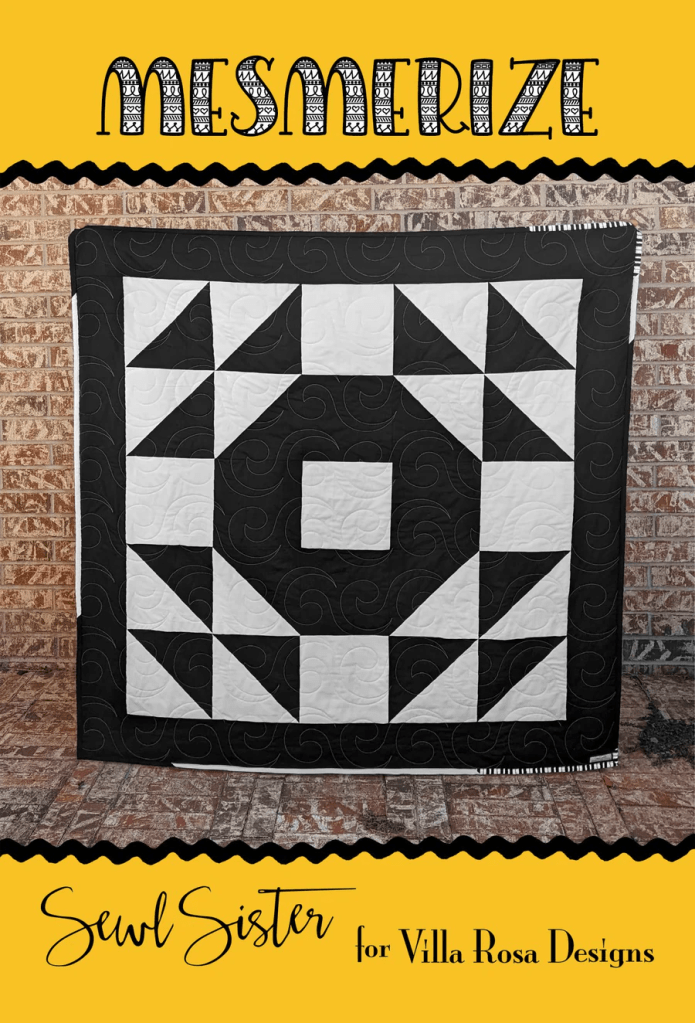
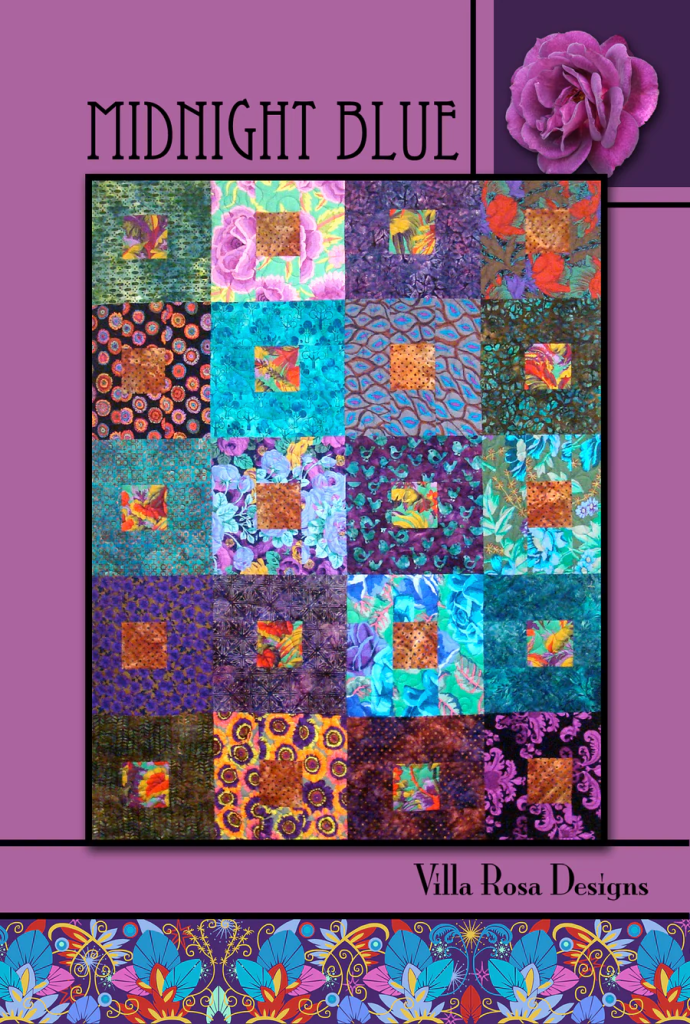
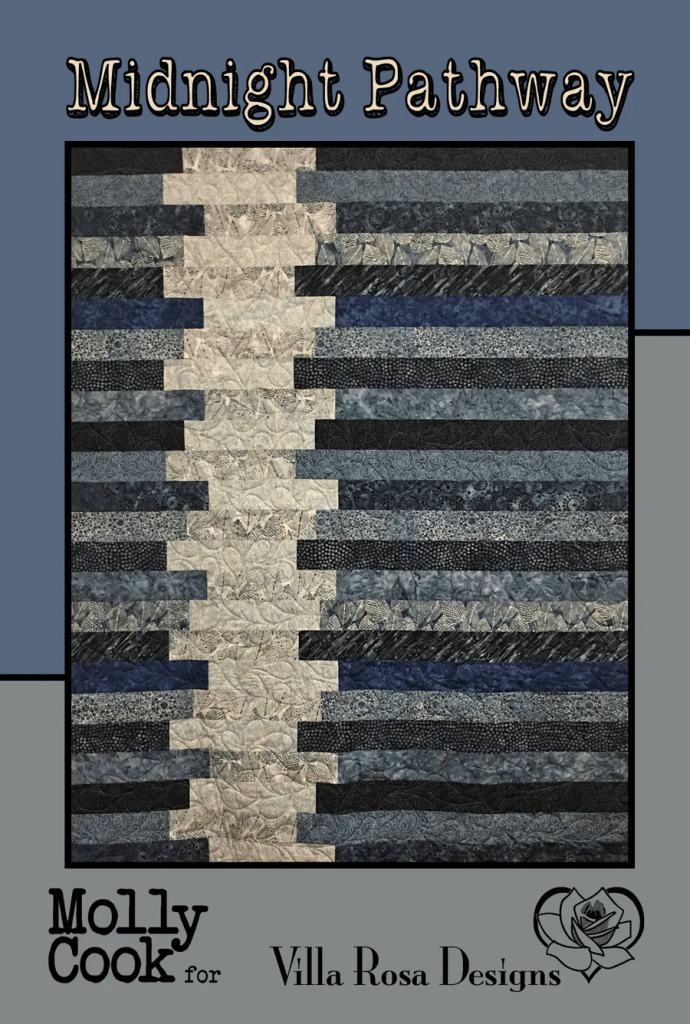
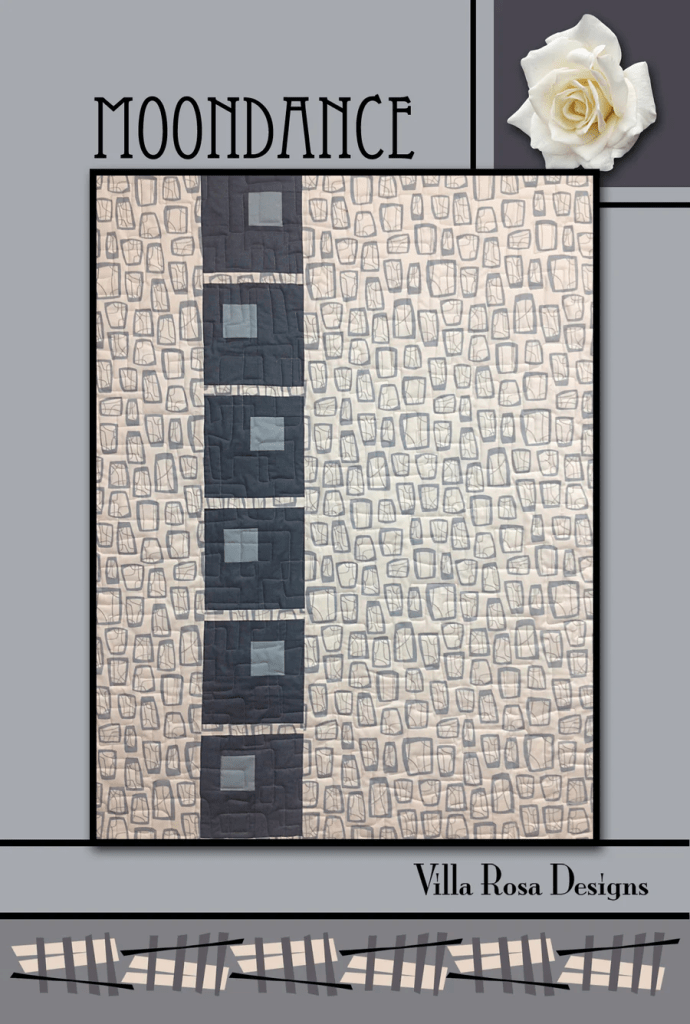
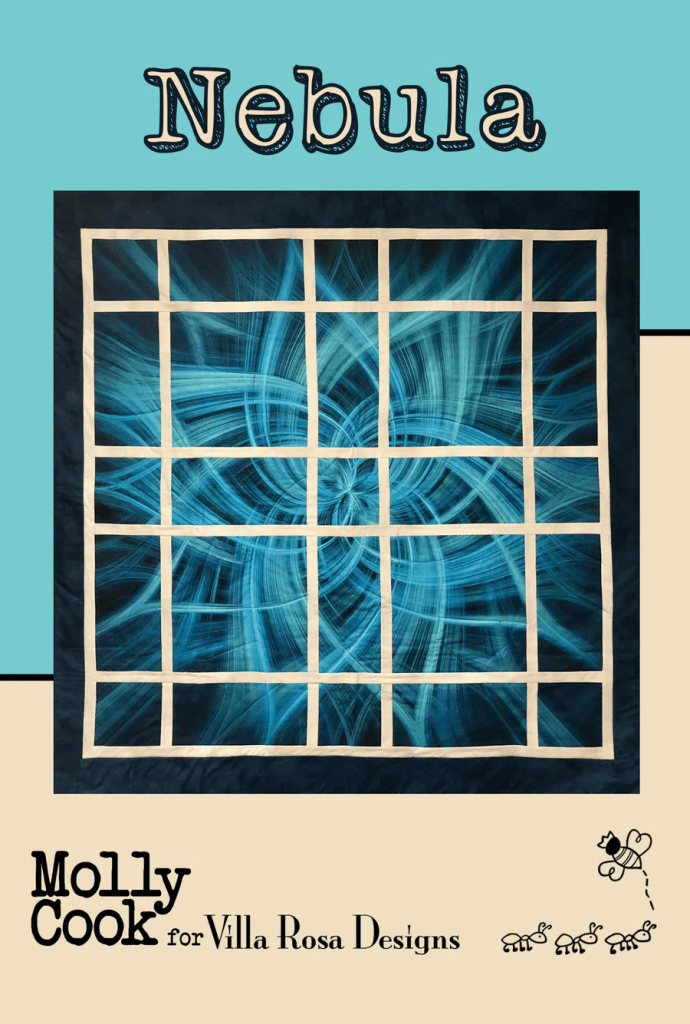
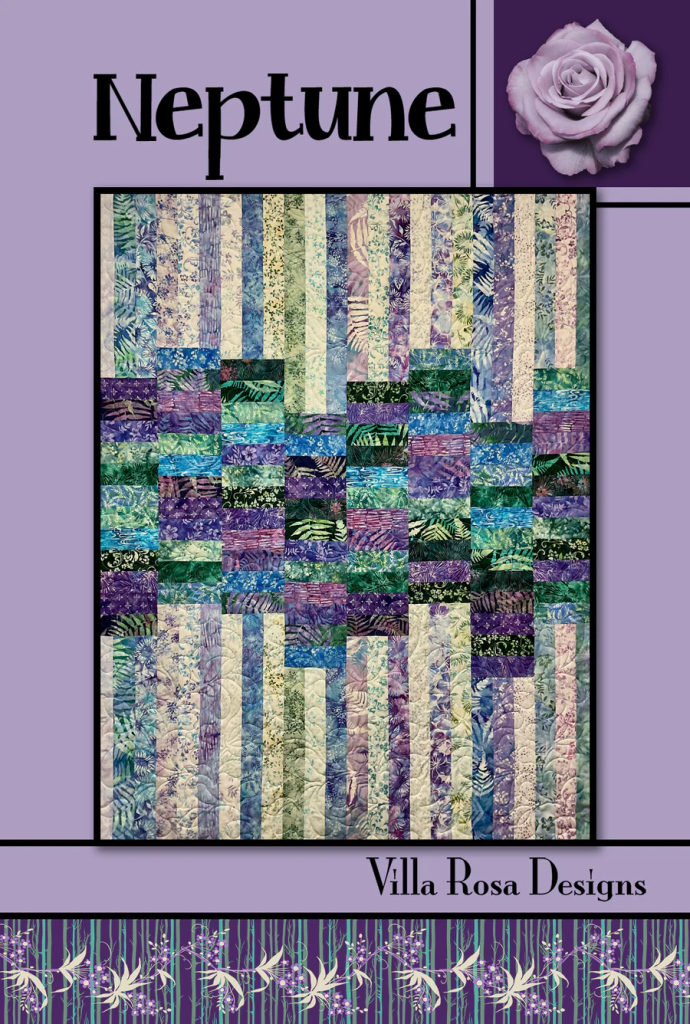
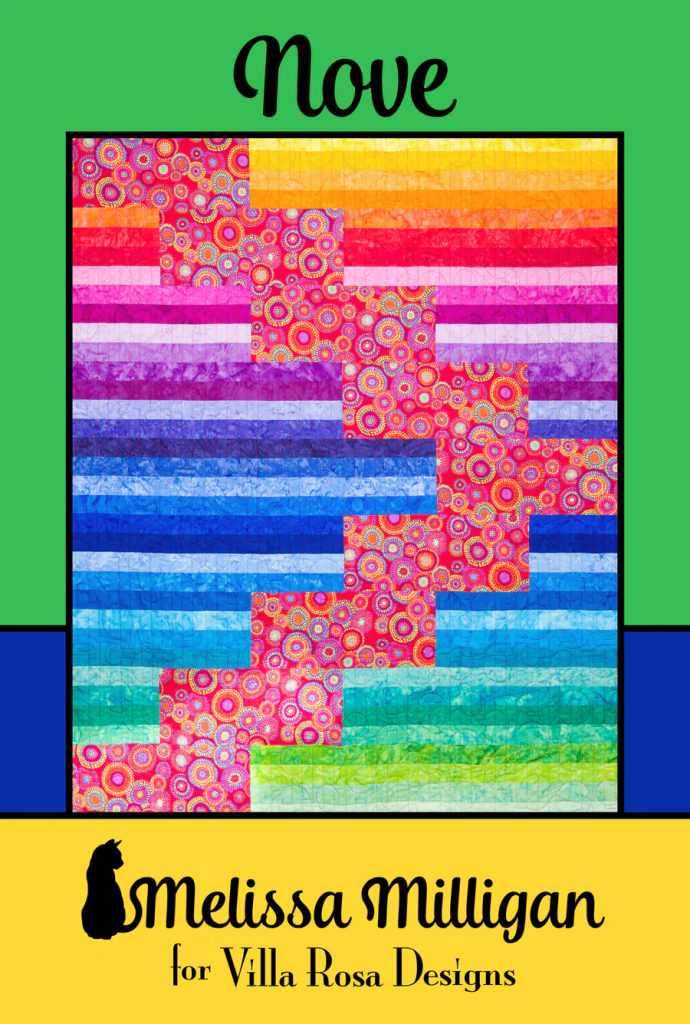
Curated List of VRD Rose Card Patterns
Well, let’s get to it. 🙂
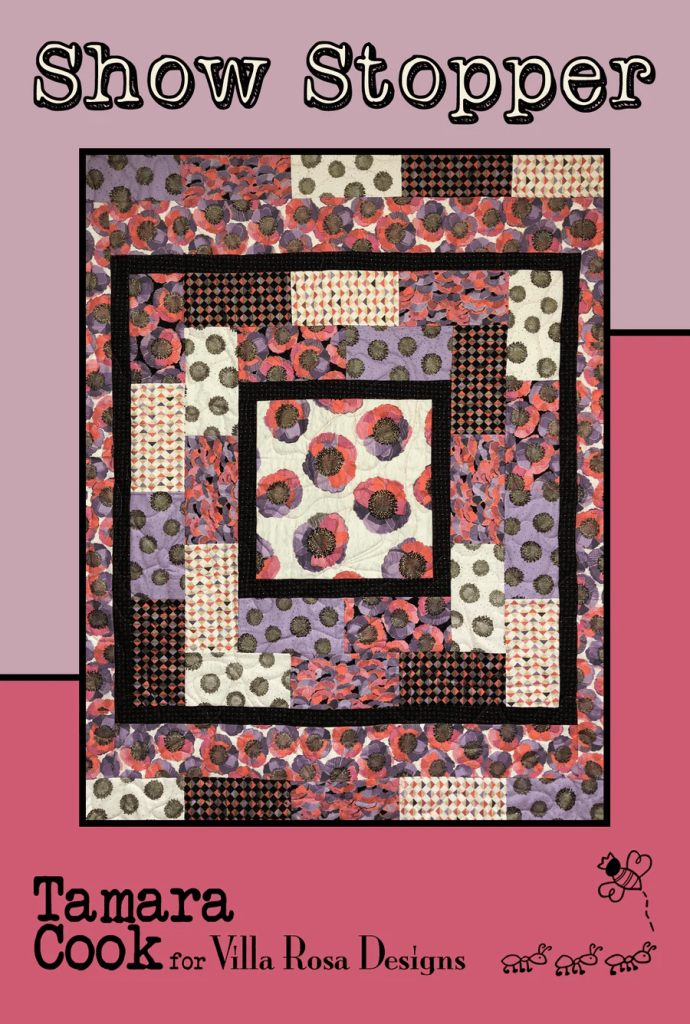
Digital pattern HERE or Print pattern HERE
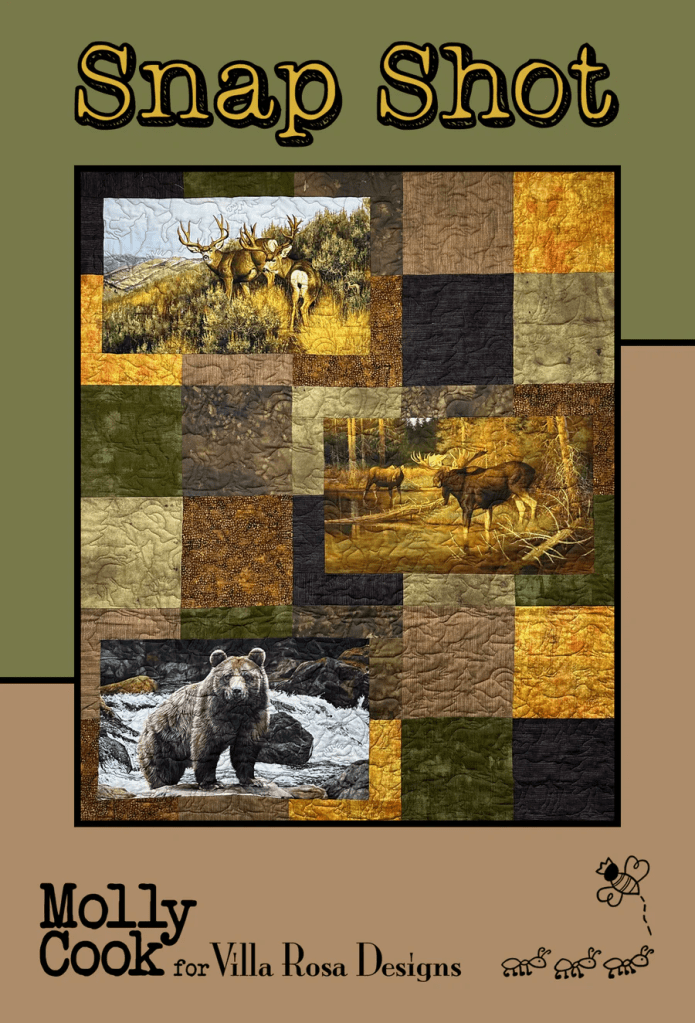
Digital pattern HERE or Print pattern HERE
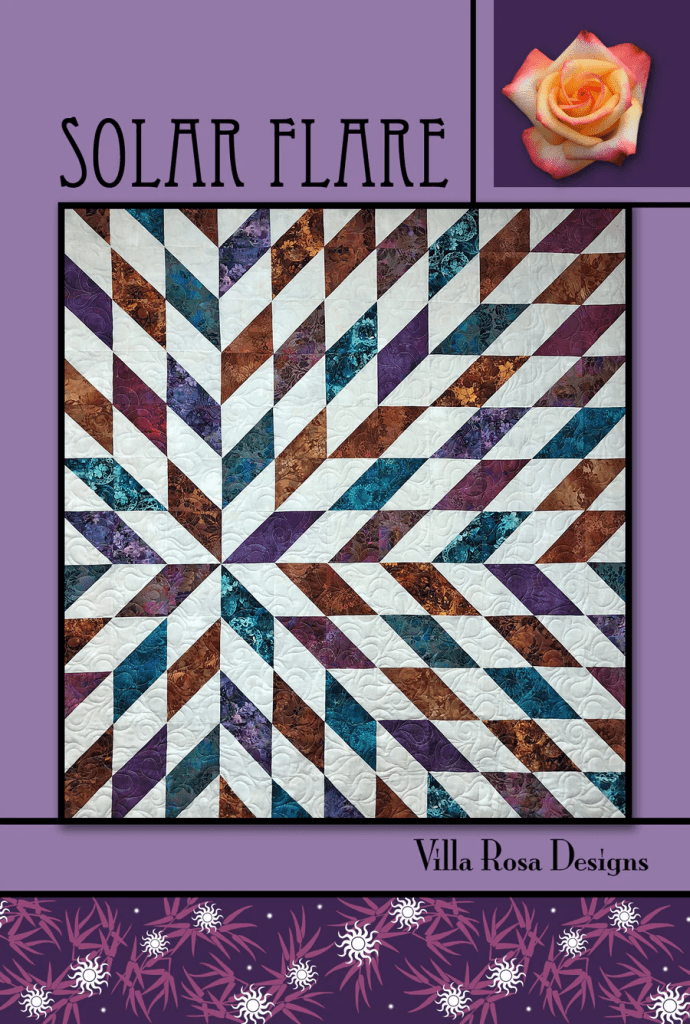
Digital pattern HERE or Print pattern HERE
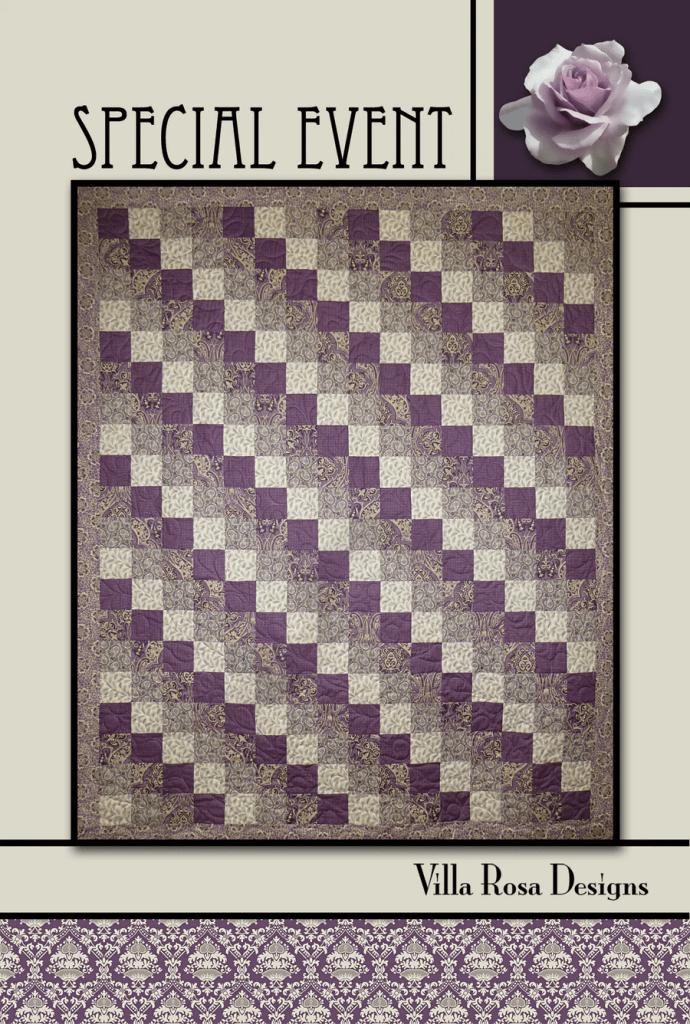
Digital pattern HERE or Print pattern HERE
Digital pattern HERE or Print pattern HERE
Digital pattern HERE or Print pattern HERE
Digital pattern HERE or Print pattern HERE
Digital pattern HERE or Print pattern HERE
Digital pattern HERE or Print pattern HERE
Digital pattern HERE or Print pattern HERE
Digital pattern HERE or Print pattern HERE
Digital pattern HERE or Print pattern HERE
Digital pattern HERE or Print pattern HERE

Digital pattern HERE or Print pattern HERE
Digital pattern HERE or Print pattern HERE
Digital pattern HERE or Print pattern HERE
Digital pattern HERE or Print pattern HERE
Digital pattern HERE or Print pattern HERE
Digital pattern HERE or Print pattern HERE
Digital pattern HERE or Print pattern HERE
Digital pattern HERE or Print pattern HERE
Digital pattern HERE or Print pattern HERE
Digital pattern HERE or Print pattern HERE
Digital pattern HERE or Print pattern HERE
Digital pattern HERE or Print pattern HERE

Digital pattern HERE or Print pattern HERE
Digital pattern HERE or Print pattern HERE
Digital pattern HERE or Print pattern HERE

Digital pattern HERE or Print pattern HERE
Digital pattern HERE or Print pattern HERE
Digital pattern HERE or Print pattern HERE
Digital pattern HERE or Print pattern HERE
Digital pattern HERE or Print pattern HERE
Digital pattern HERE or Print pattern HERE
Digital pattern HERE or Print pattern HERE
Digital pattern HERE or Print pattern HERE
Digital pattern HERE or Print pattern HERE

Digital pattern HERE or Print pattern HERE
Digital pattern HERE or Print pattern HERE
Digital pattern HERE or Print pattern HERE
Digital pattern HERE or Print pattern HERE
Digital pattern HERE or Print pattern HERE
Digital pattern HERE or Print pattern HERE
Digital pattern HERE or Print pattern HERE
Digital pattern HERE or Print pattern HERE
Digital pattern HERE or Print pattern HERE
Well, that’s it for me today. Take a little time to marvel at the night sky this week. Then go inside where it’s warm, make a cup of tea, and plan your next quilt project.
See you right here next time.
Sew. Laugh. Repeat.
Always,
Tricia @ VRD