Hello Quilty Friends!
Happy Thursday to you!
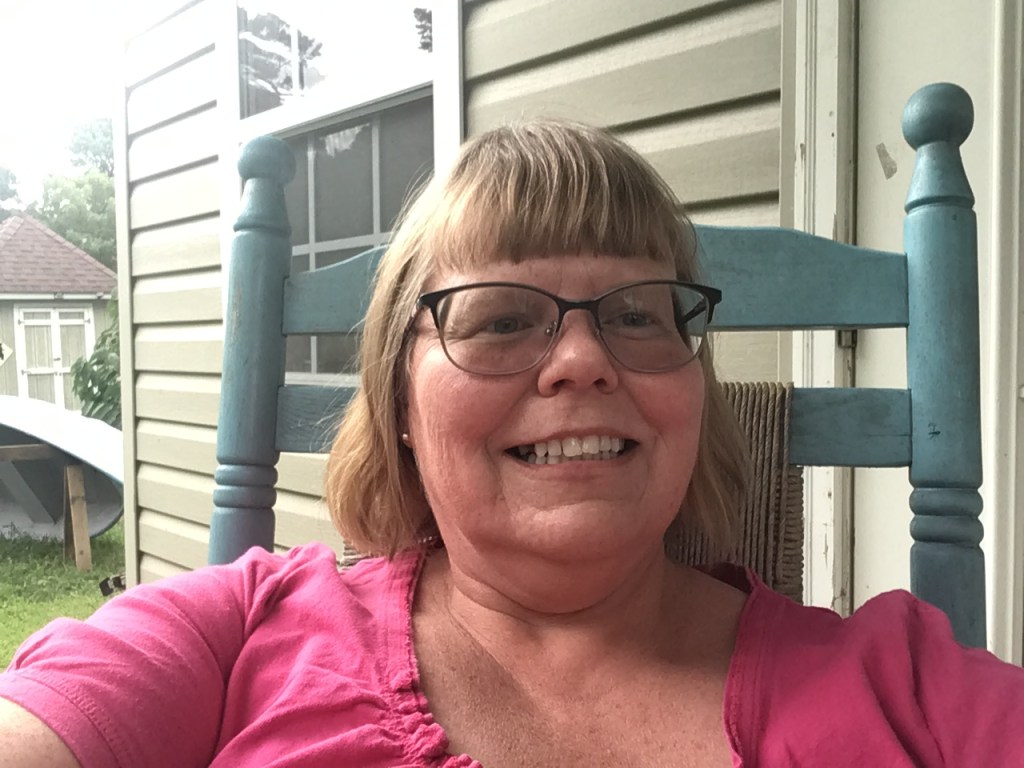
As I write this post, I am still in Colton’s Point, Maryland with 2 of my (I want to say oldest here, but I don’t mean ages, I mean the number of years we’ve known each other) quilty pals, Leslie and Cathey.
I must confess that I am having a wonderful time here! Colton’s Point is a very special hidden treasure right on the Potomac River, it’s about 1.5 hours from Washington D.C. and a couple hours from Baltimore. Of course, we’re not here during any festivals or events, so it’s been quiet and peaceful — 2 things I’ve been craving for quite a while now. Too bad Leslie and I are only visiting Cathey and her husband, Bryon for 4 days — 4 days is barely enough time to unzip my suitcase, let alone unwind completely. Then again, not sure I could ever truly unwind completely, even if I tried — I don’t think it’s in my nature. LOL!
It was about a 7 hour drive to get to Colton’s Point from northwestern PA. Of course, Leslie and I do not live in the same area anymore, so we met about halfway in between. My sister, Tracy, kindly drove me to meet Leslie and then we were on our way! I rode shotgun and Leslie drove. I totally could not believe her car was getting 48.3 miles per gallon on average! Wowzer!
Here is Cathey and Bryon’s adorable cottage (it’s bigger than it looks as it is quite deep). It has a wonderful beachy vibe and is very welcoming.
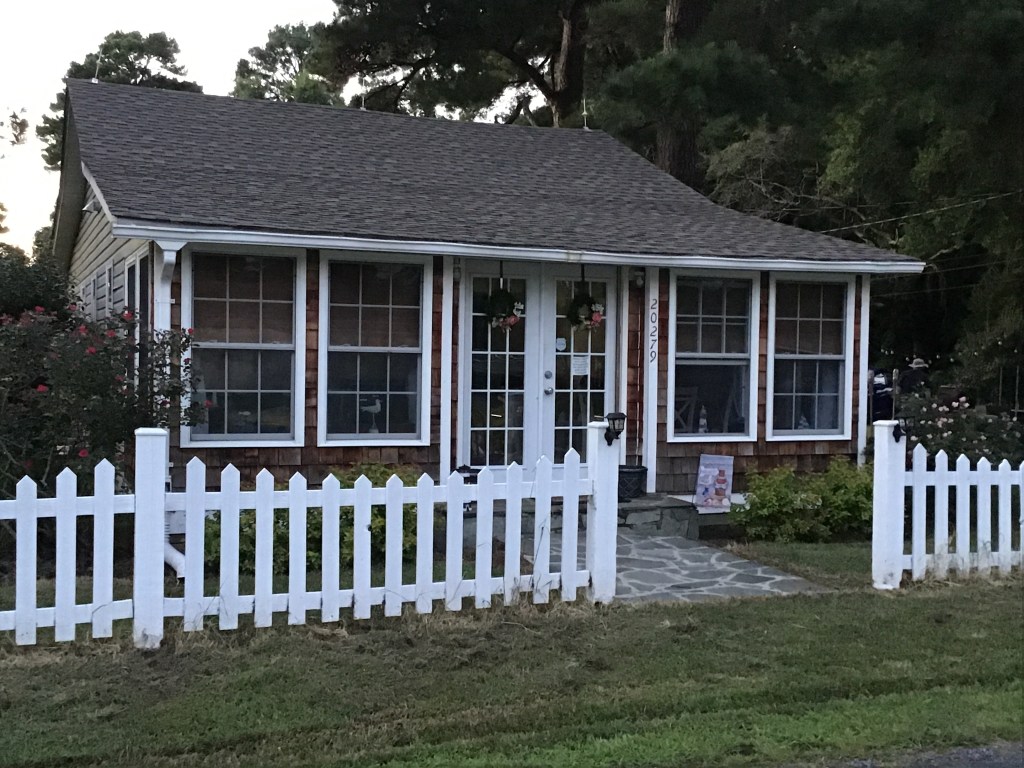
One of the coolest things about their home is that mere steps away from their cottage is Cathey’s lovely quilt studio. This is, of course, where we definitely will be spending A LOT of our time together on our little “quilt retreat.”

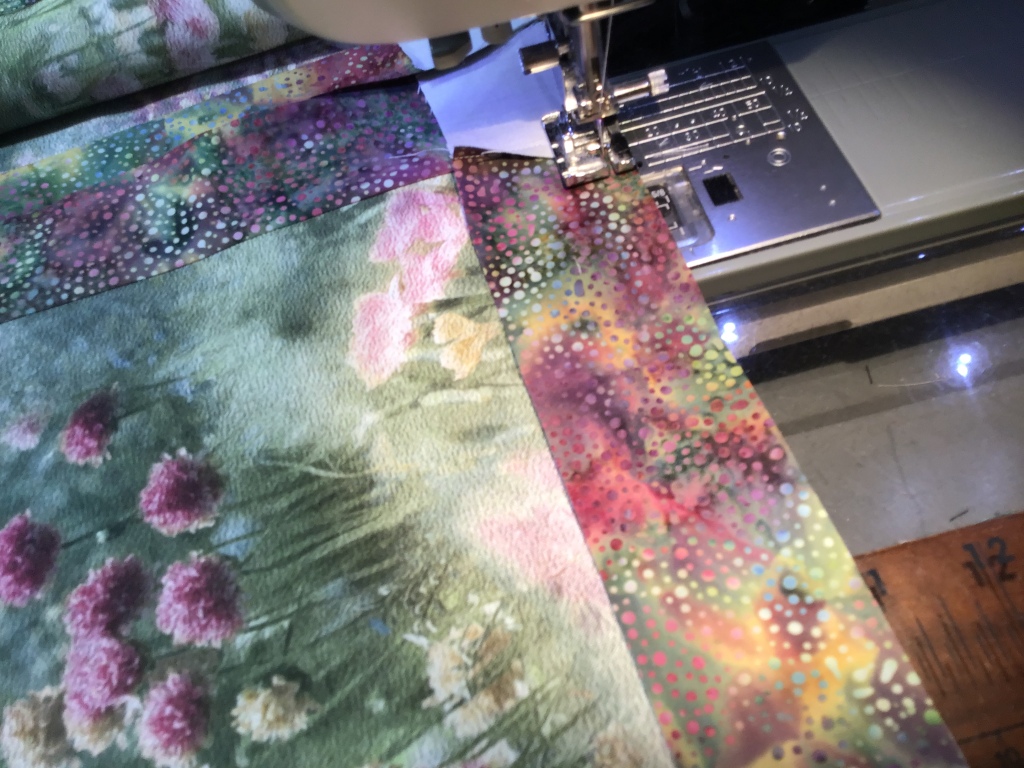
It didn’t take the 3 of us long to settle back into sewing together, although it’s been simply ages since our last quilt retreat experience. We certainly had a lot of catching up to do!
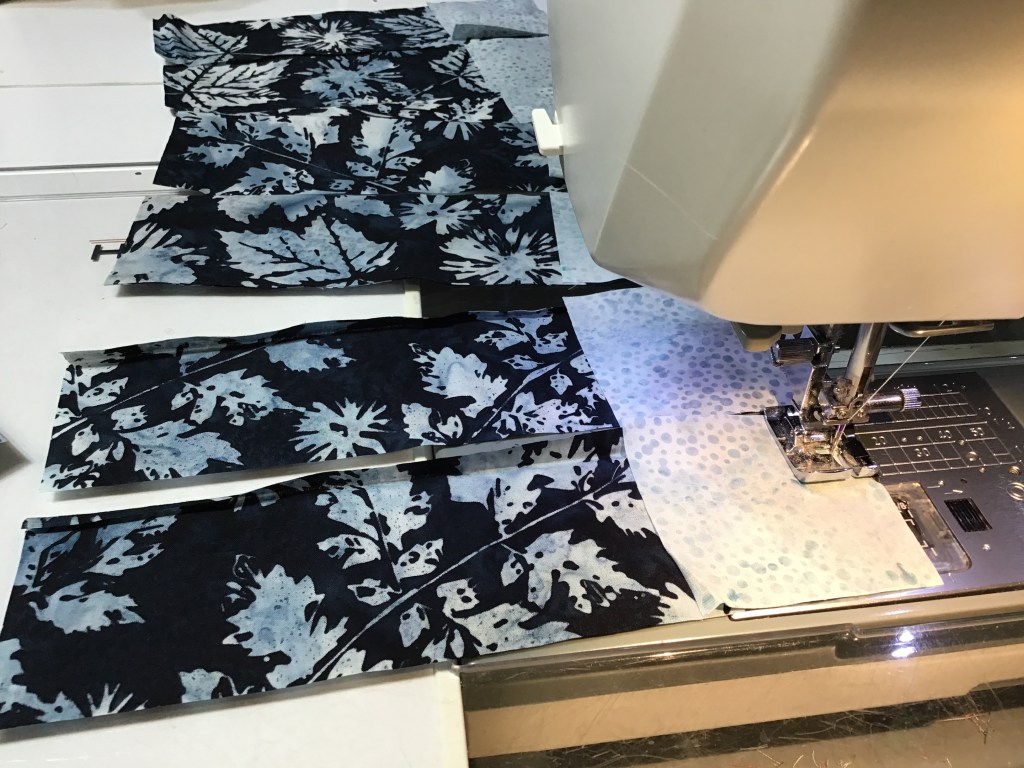
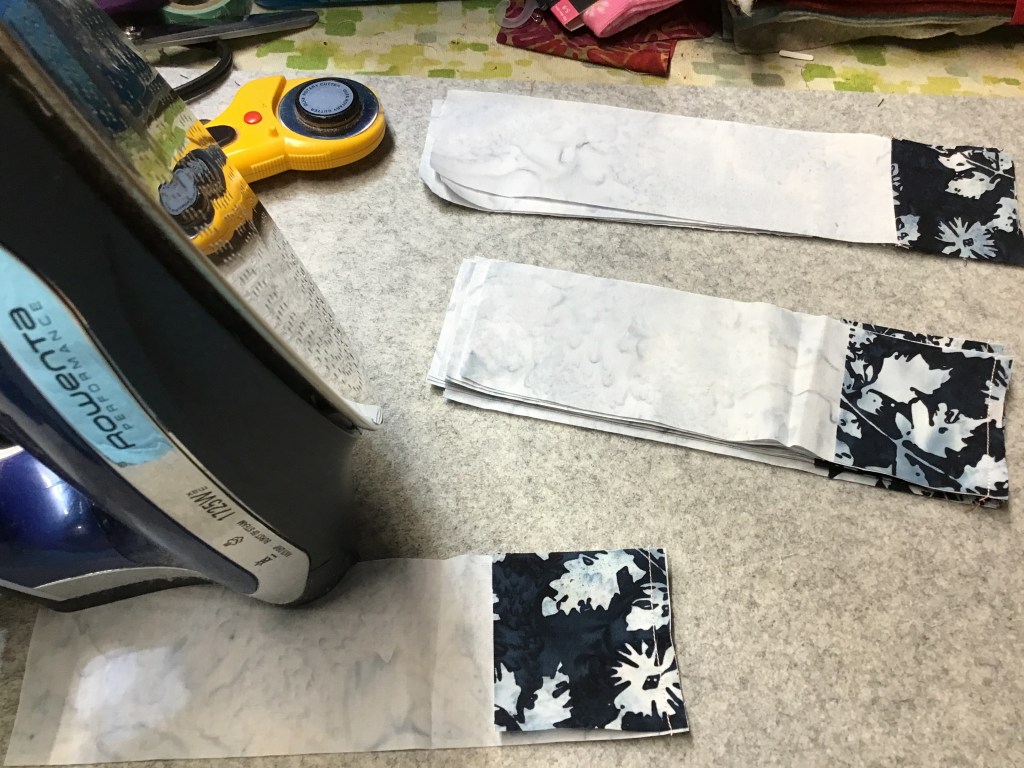
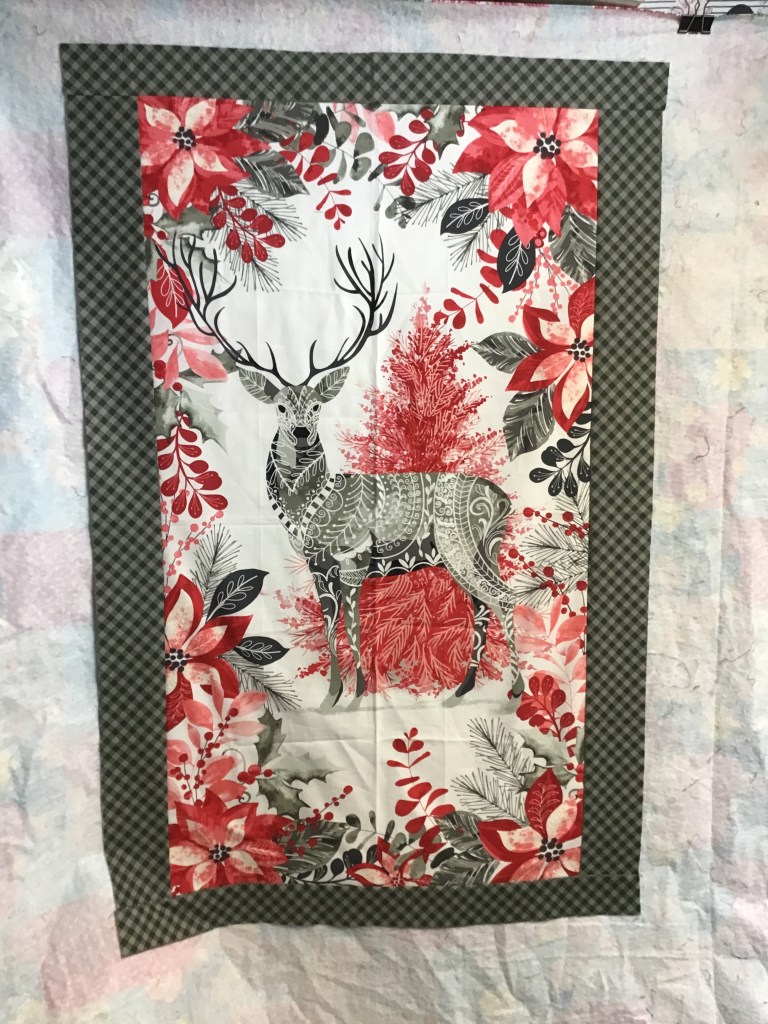
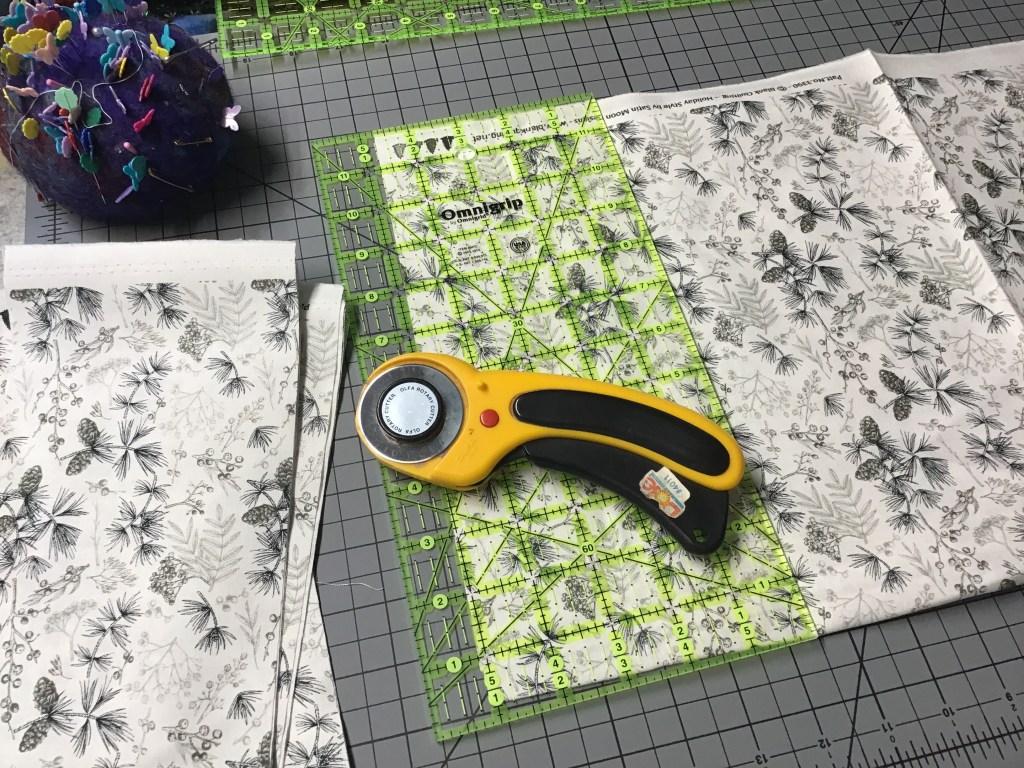
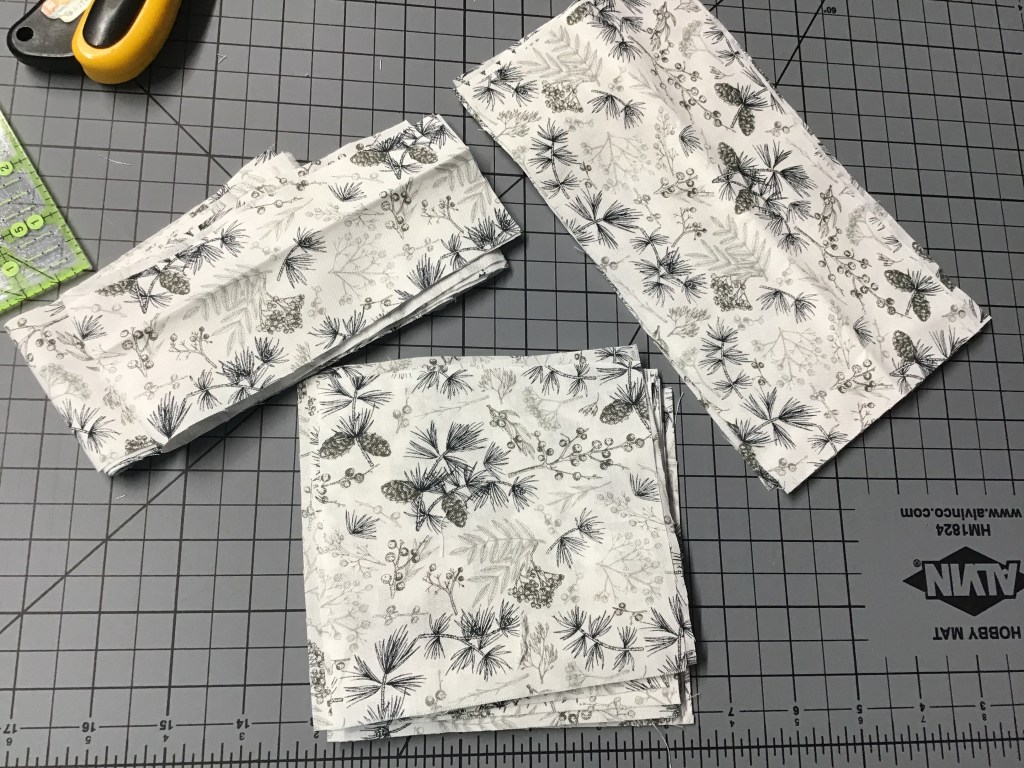
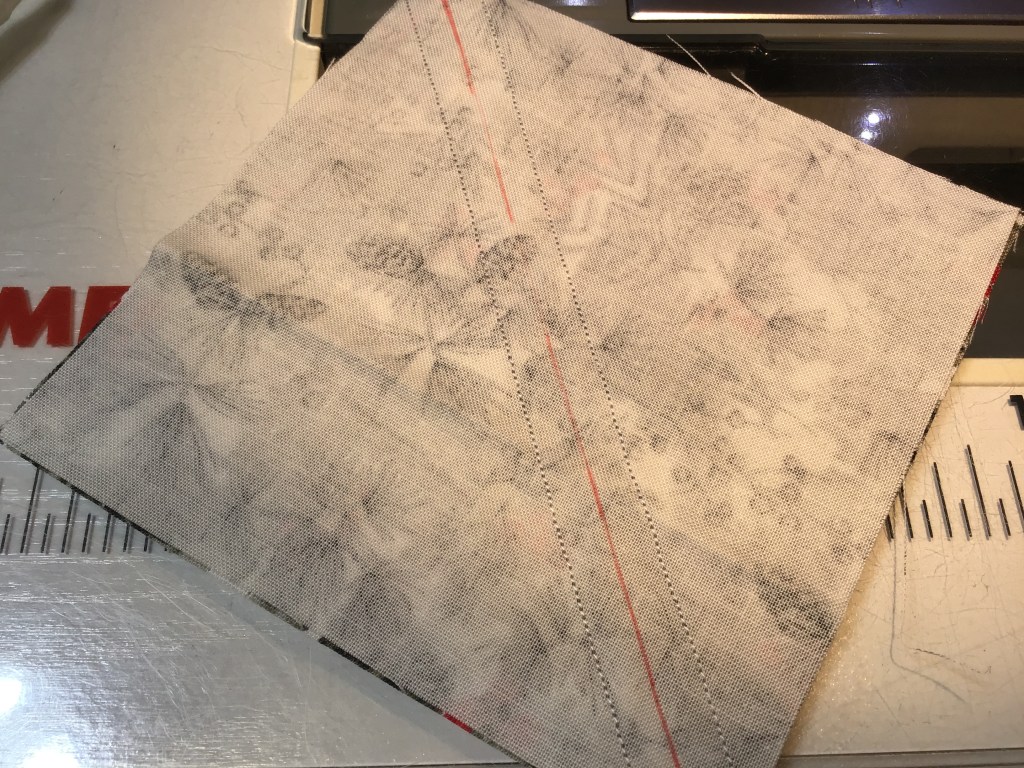
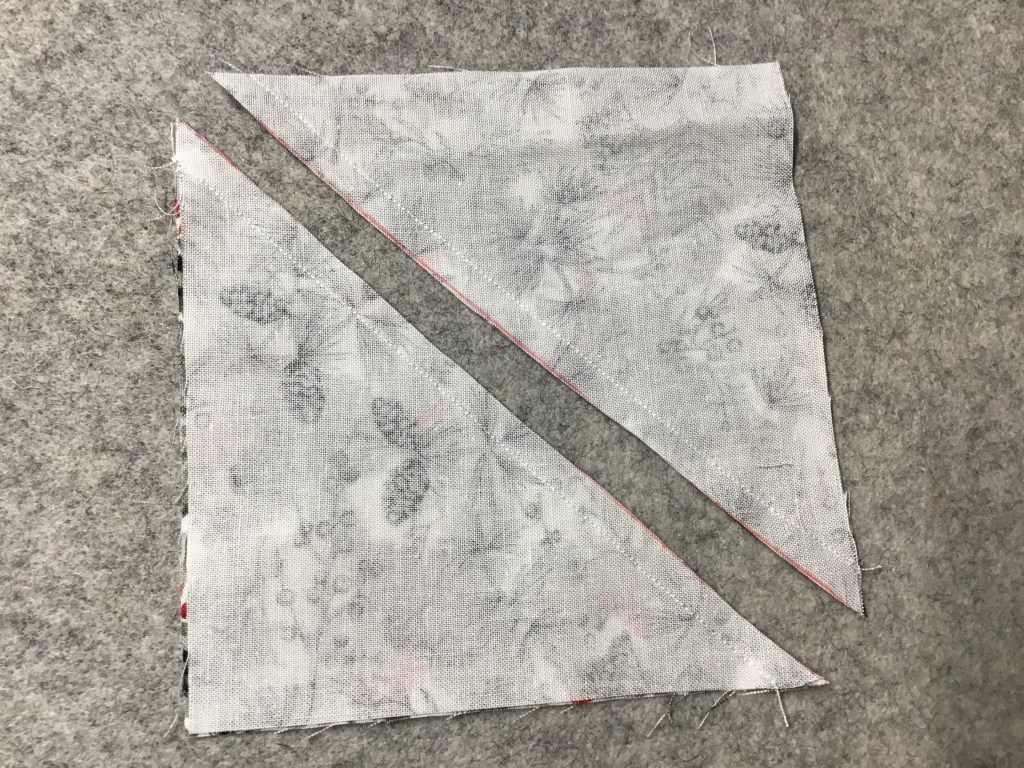
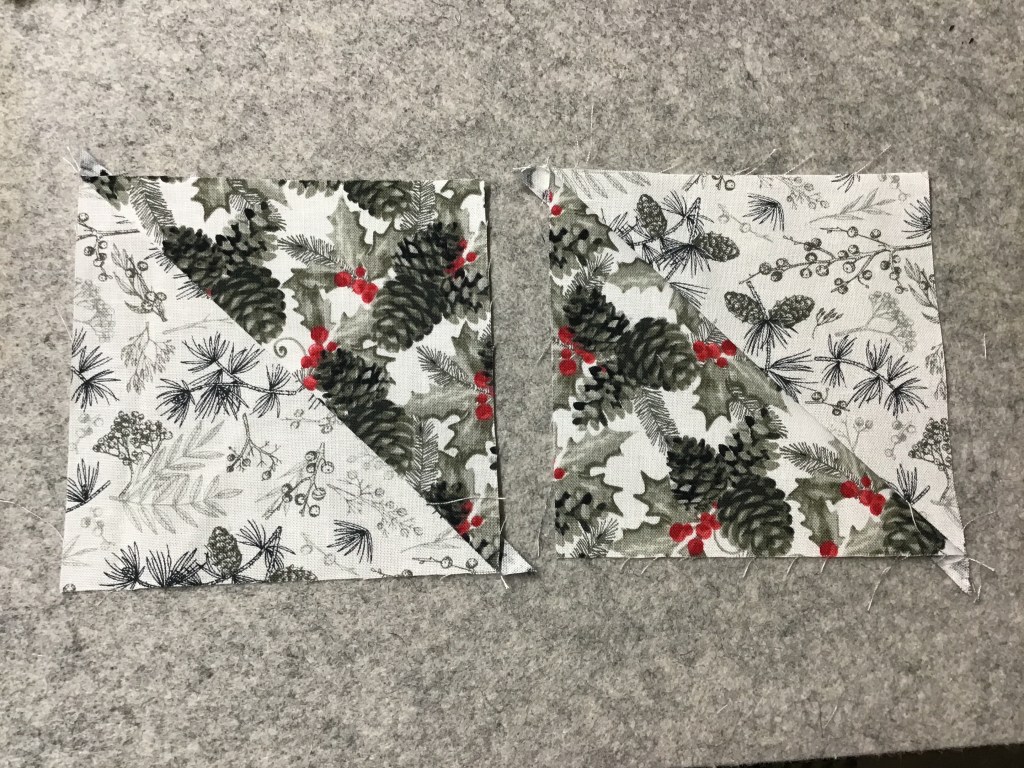
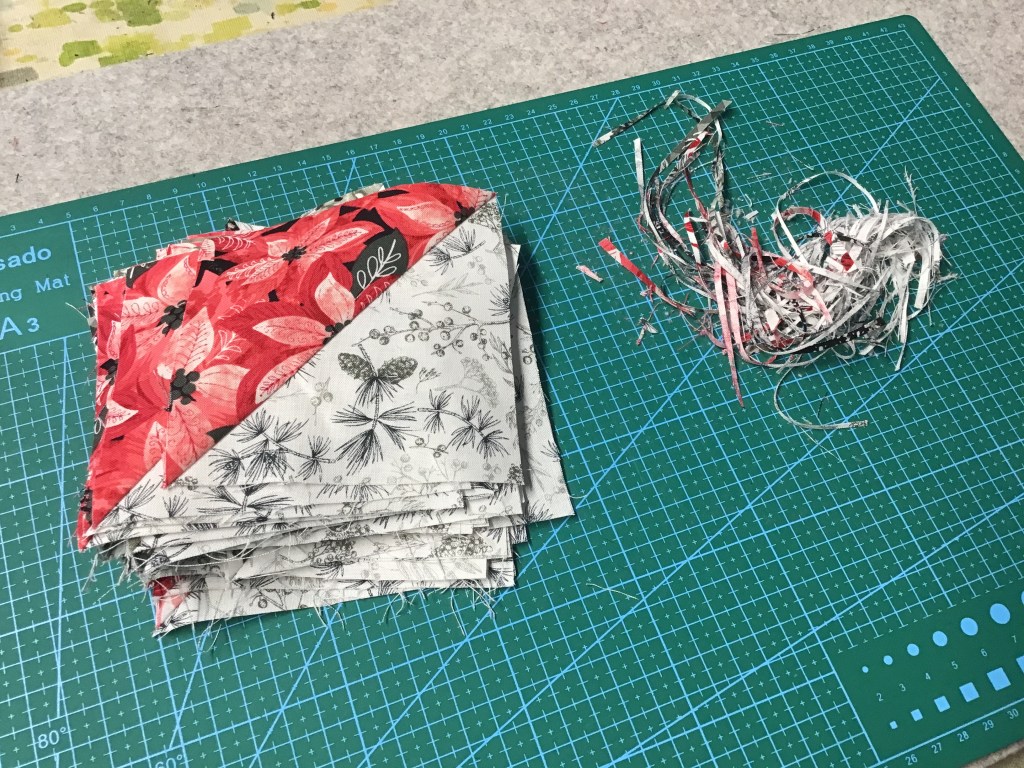
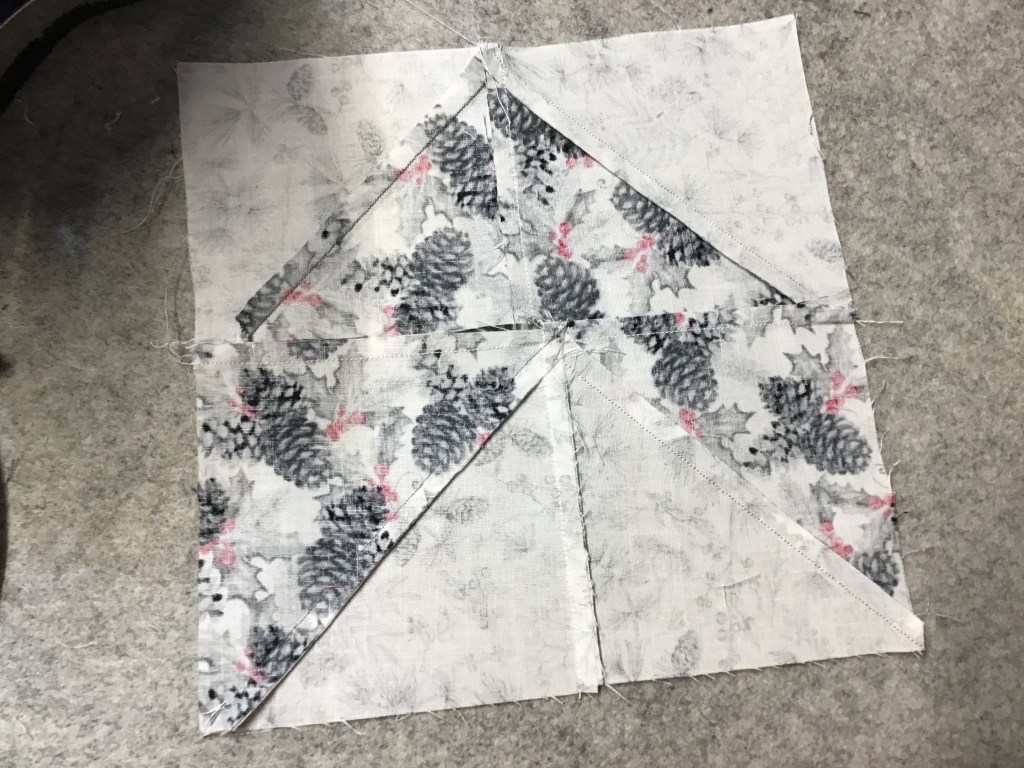
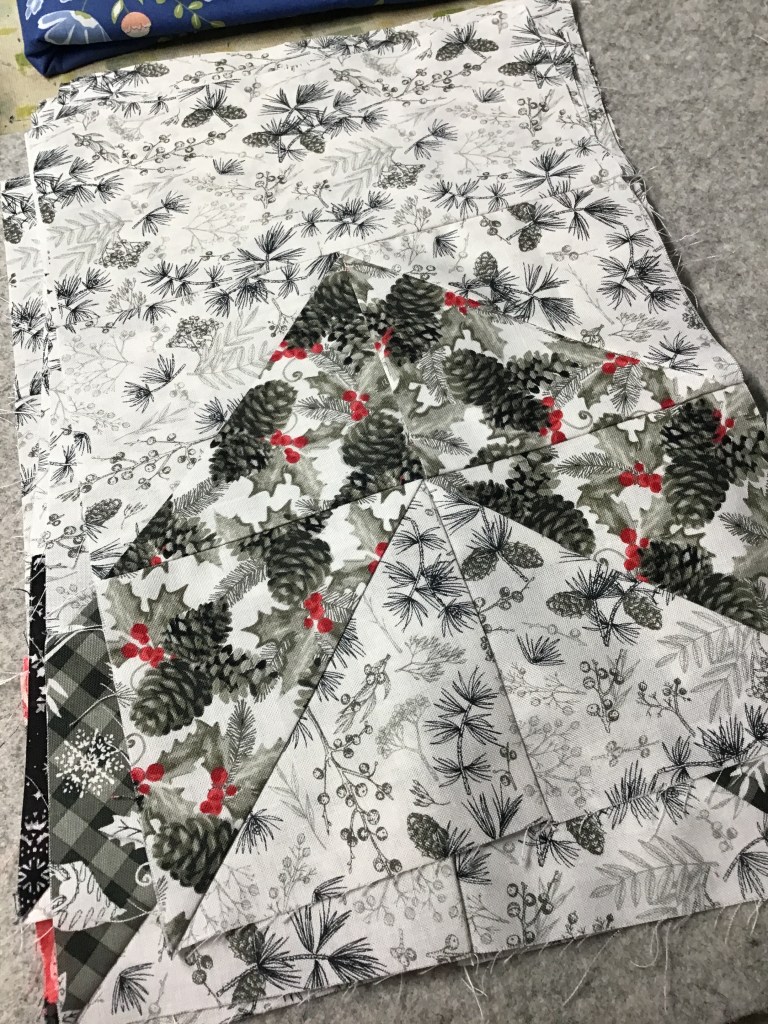
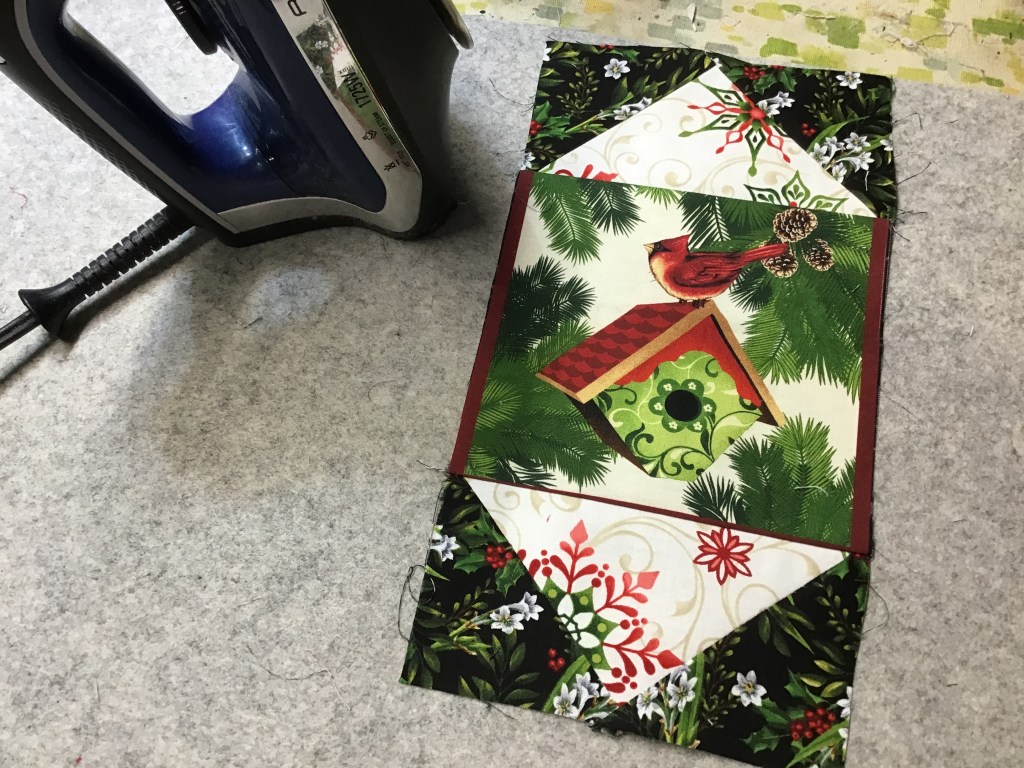
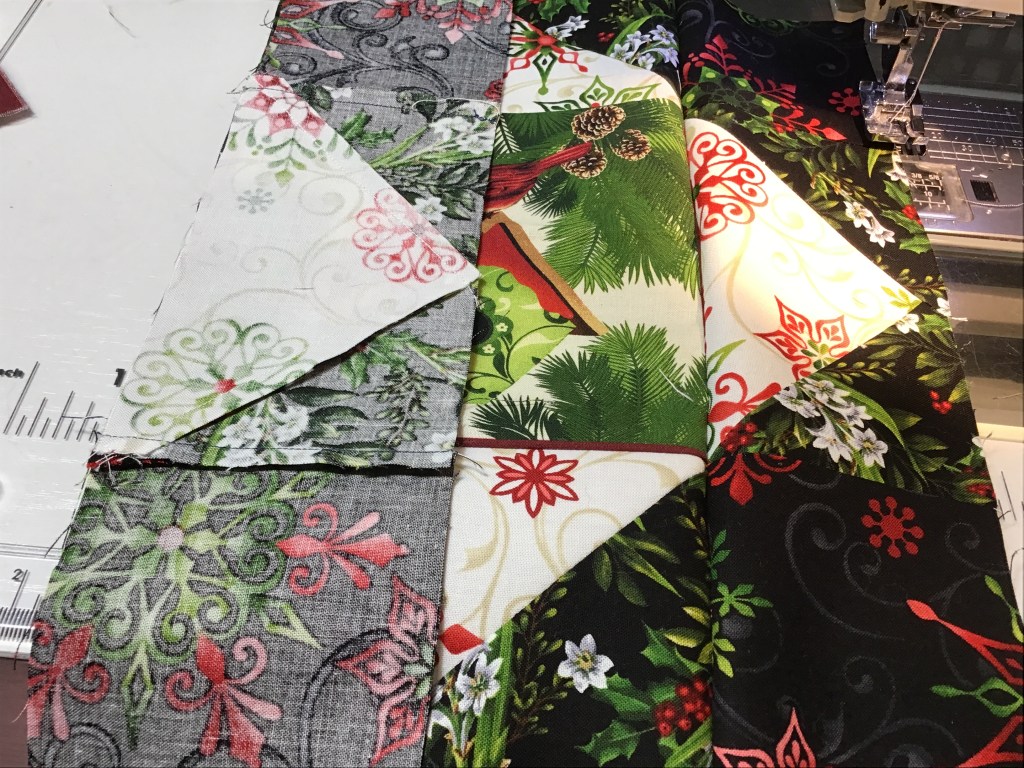
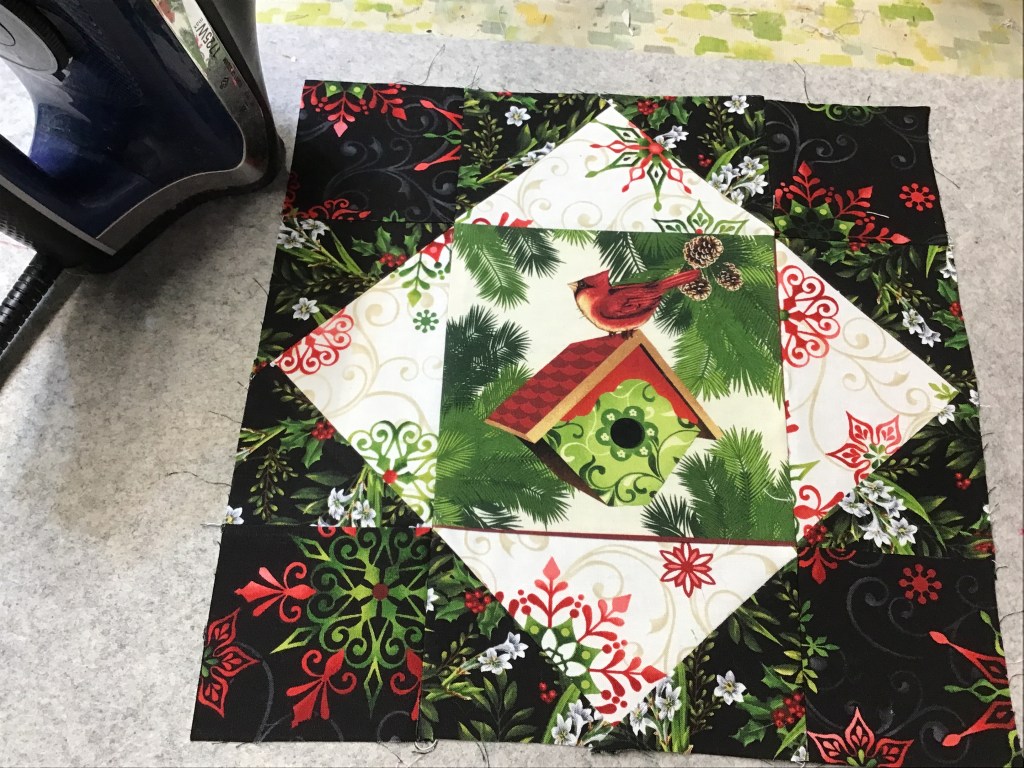
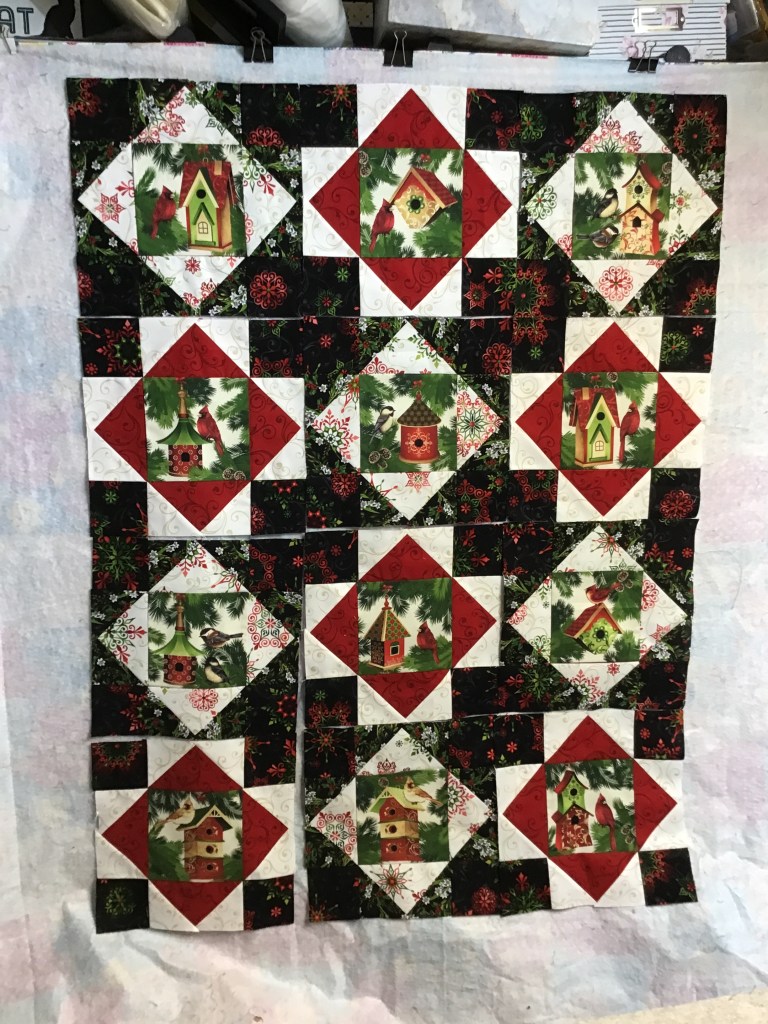
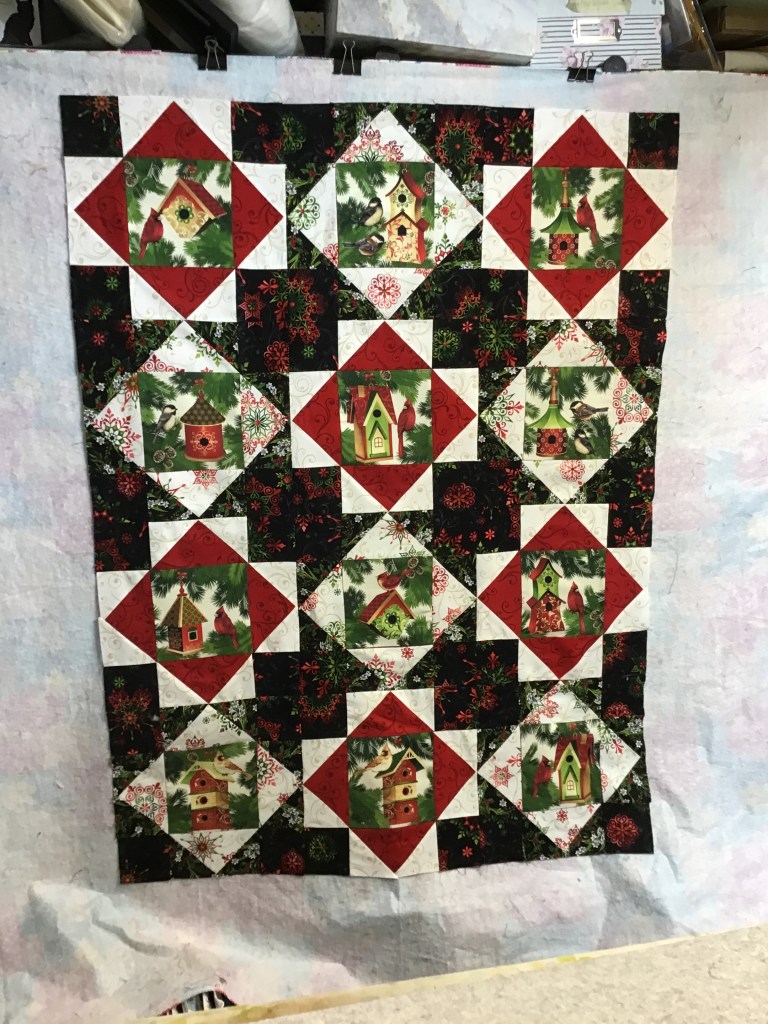
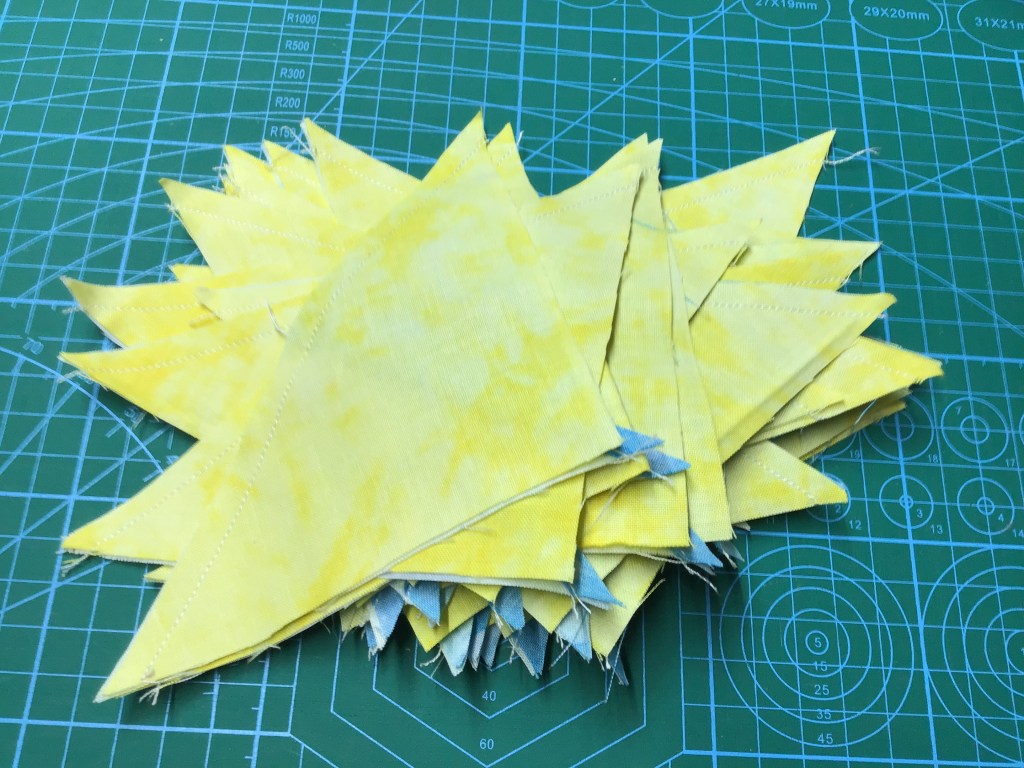
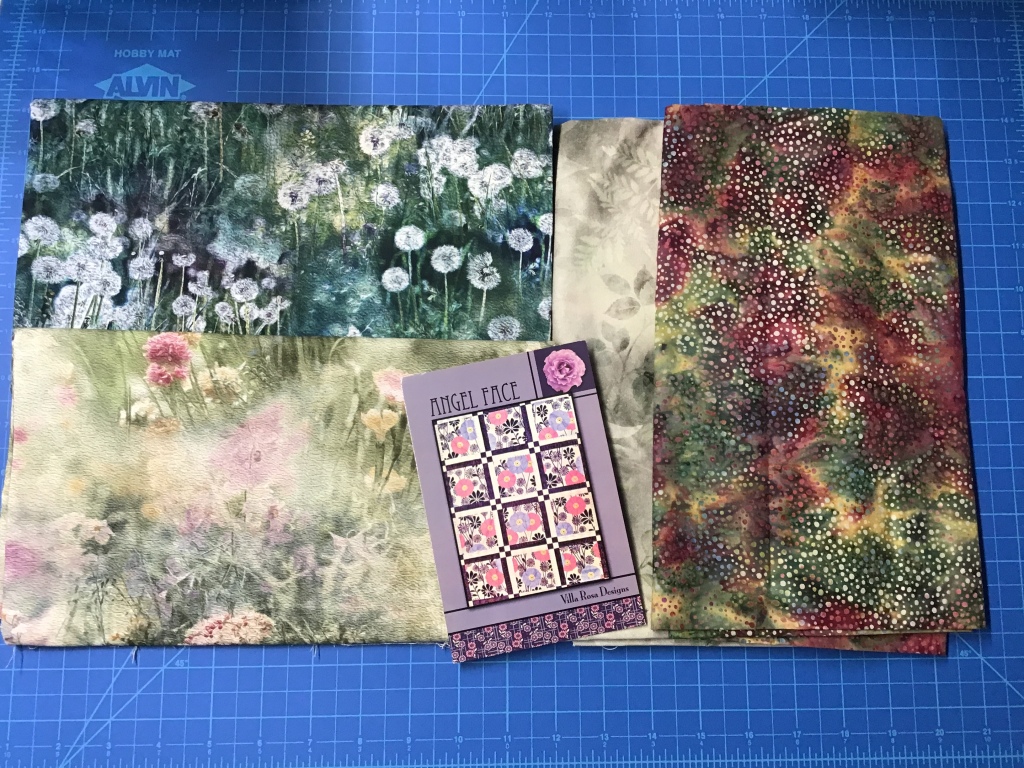
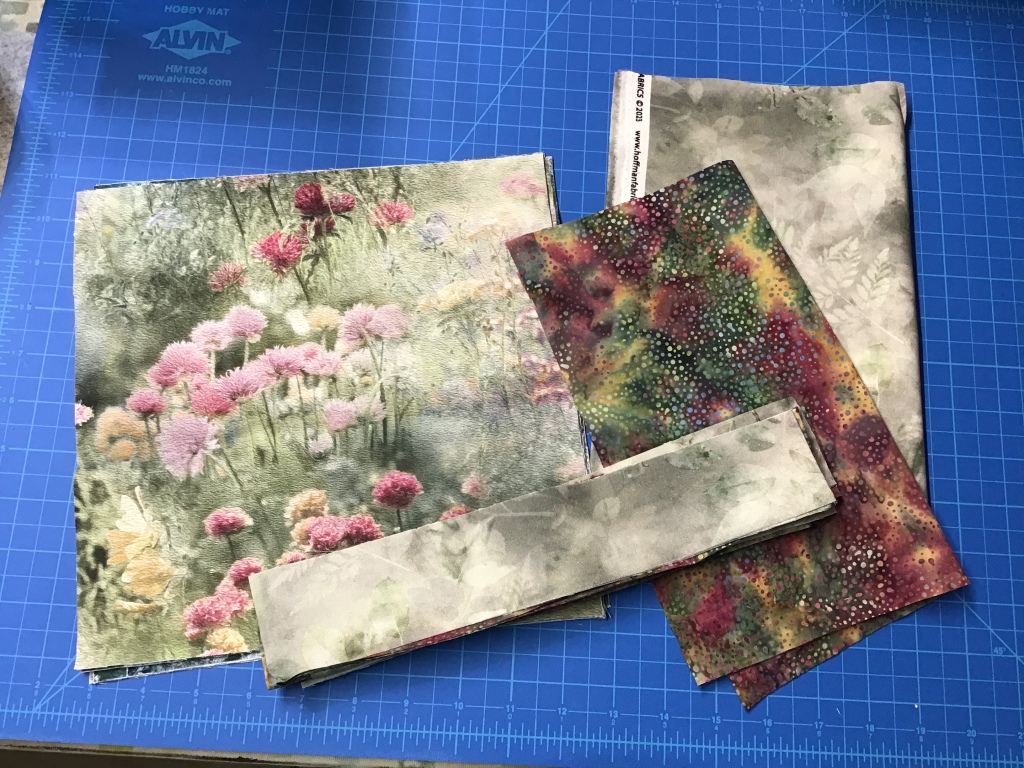
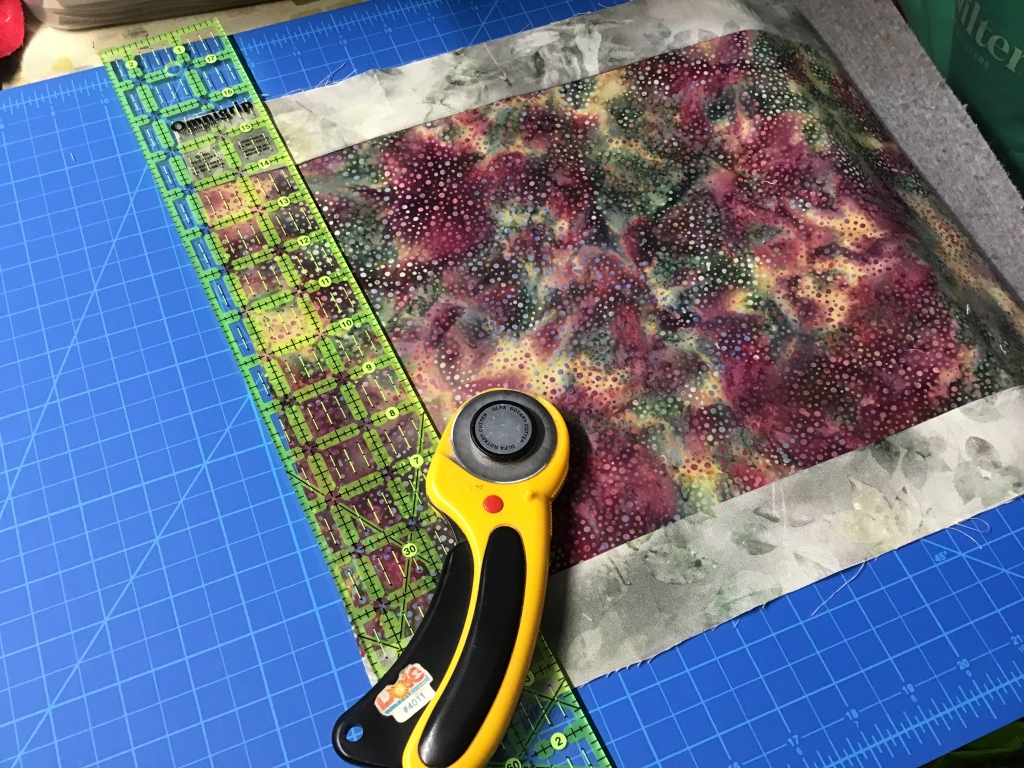
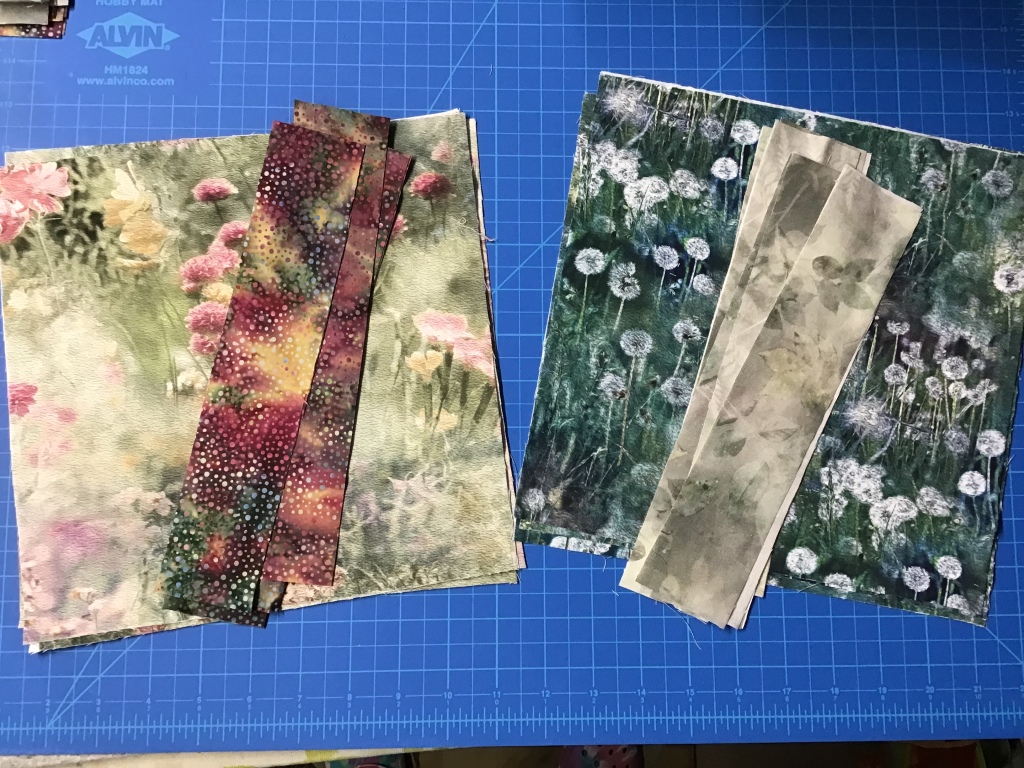
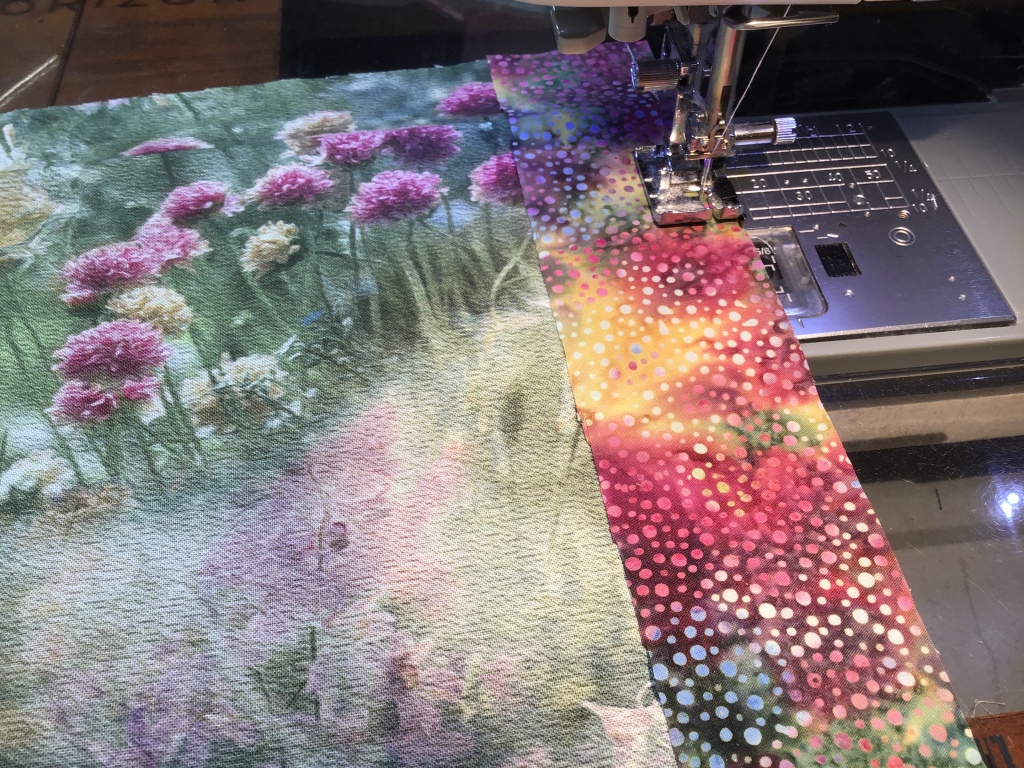
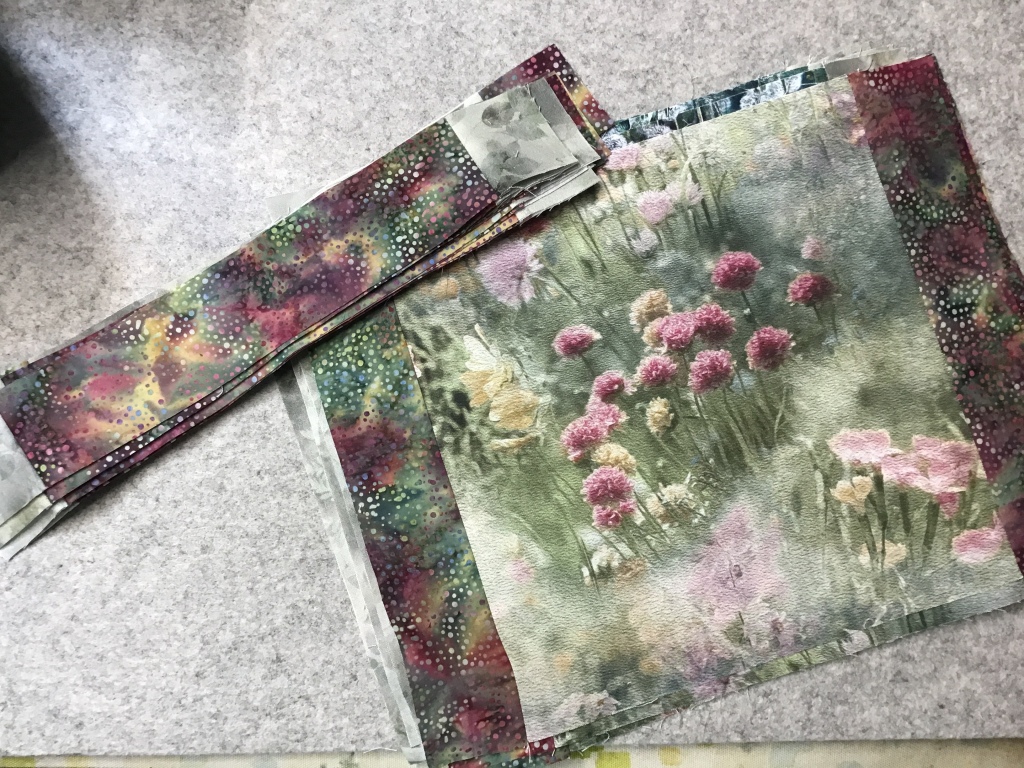
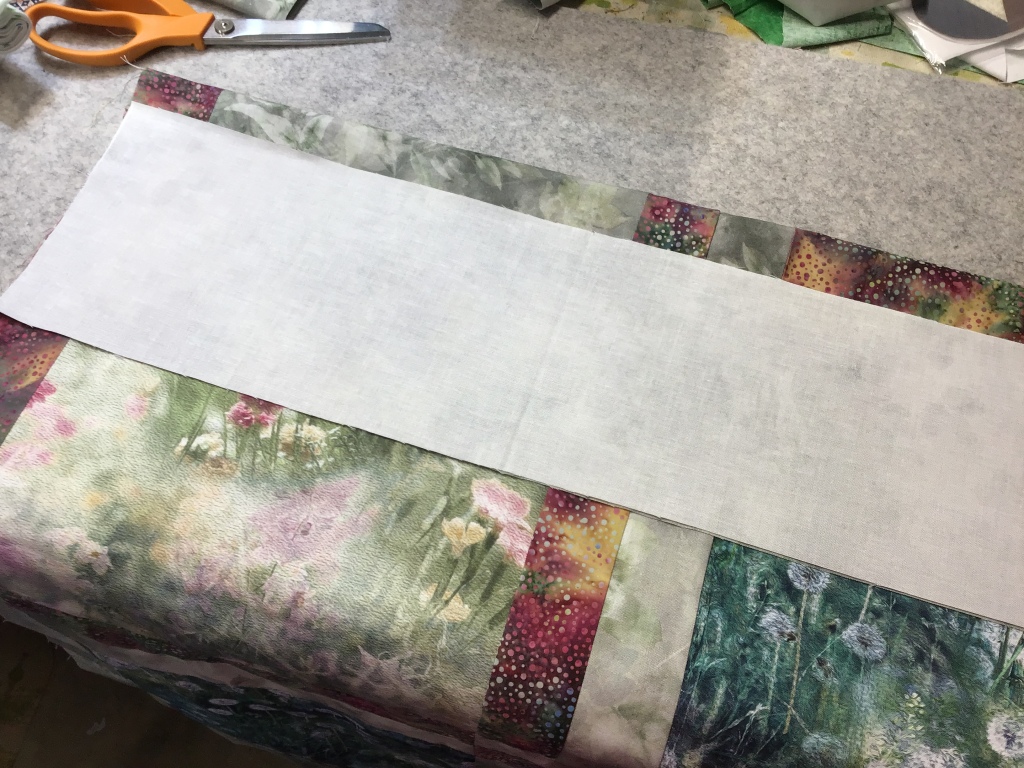
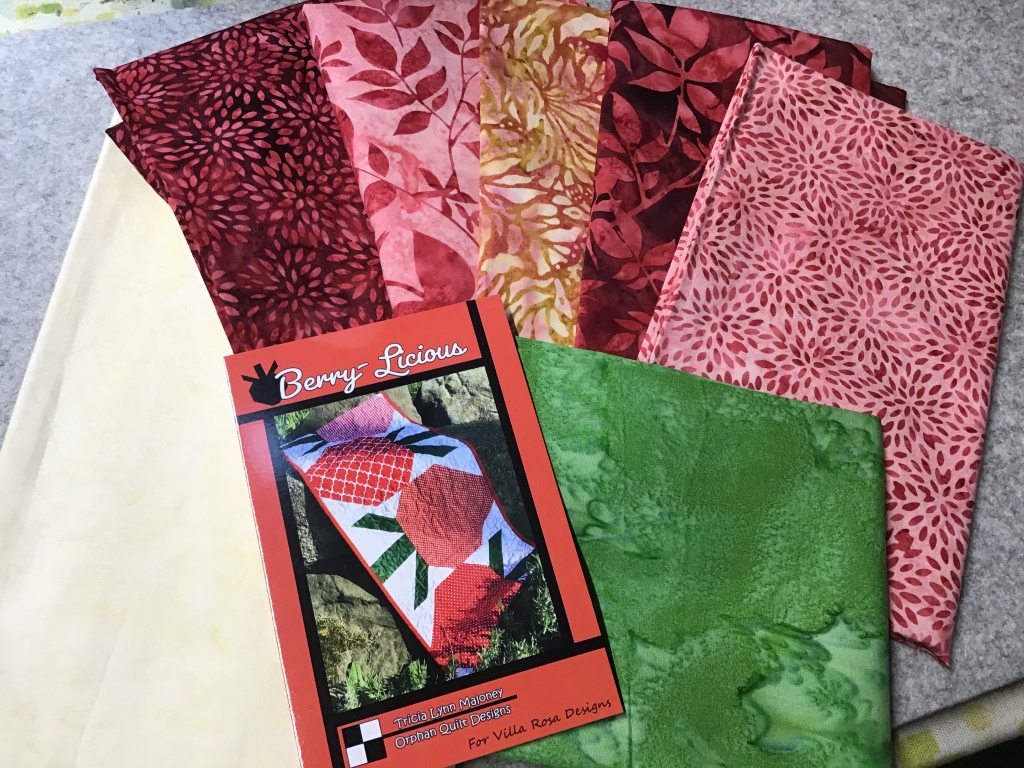
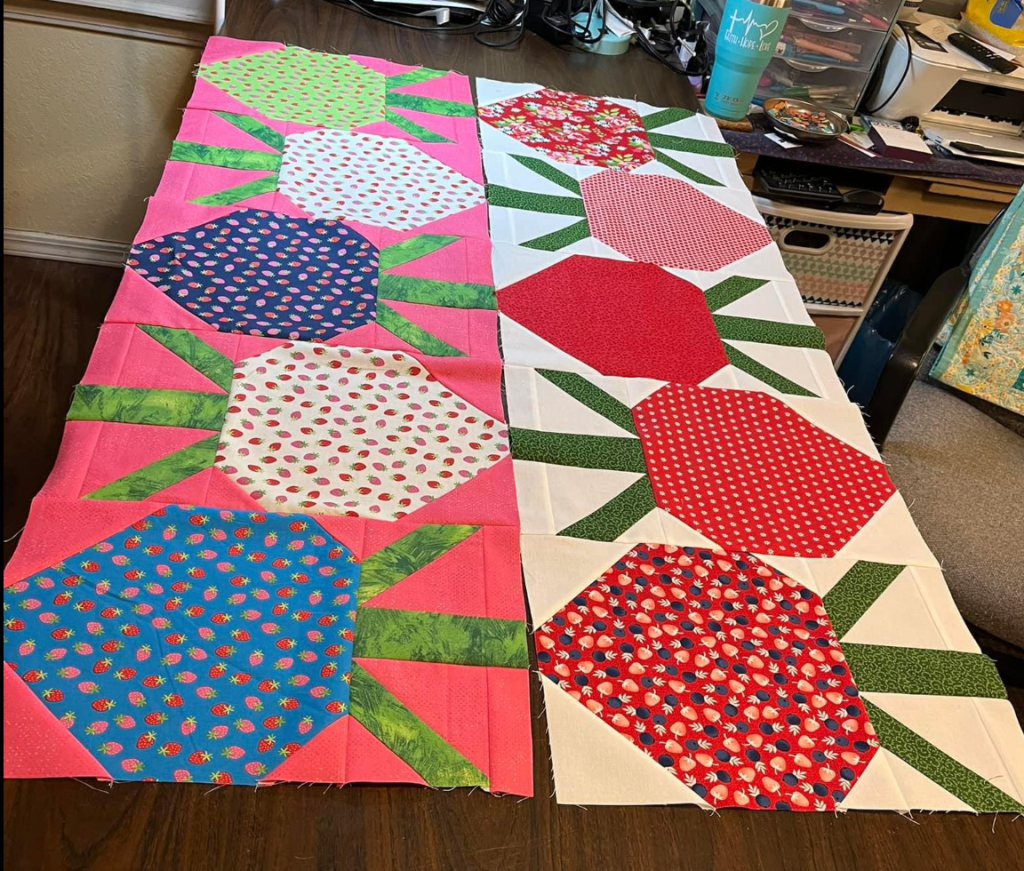
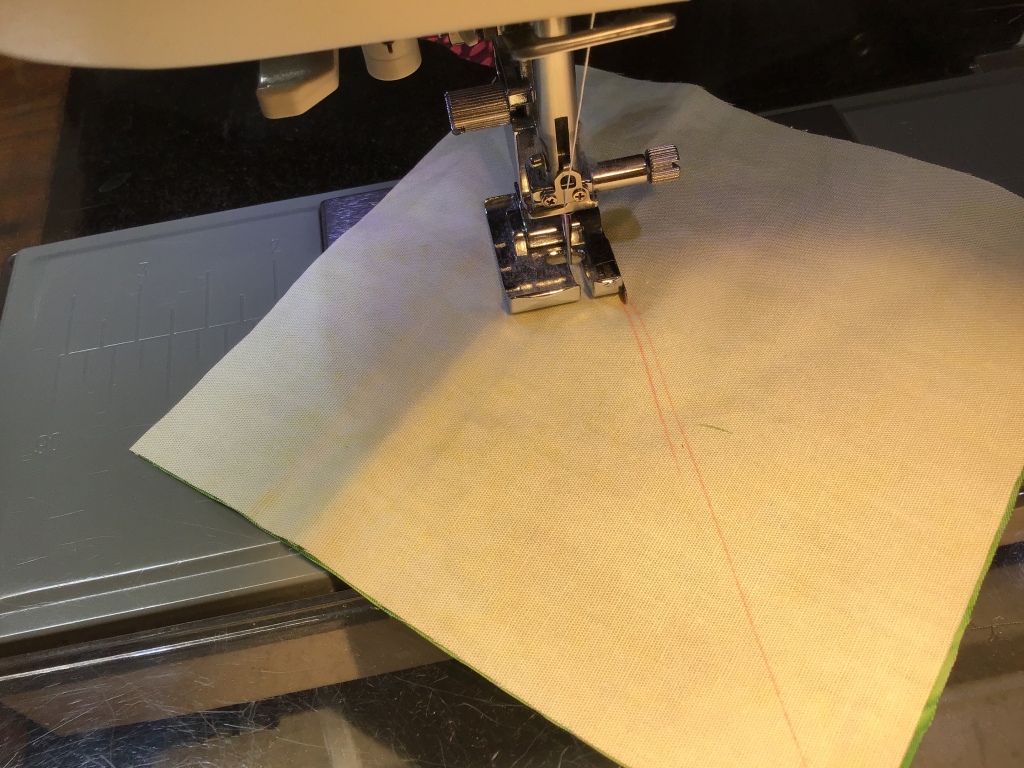
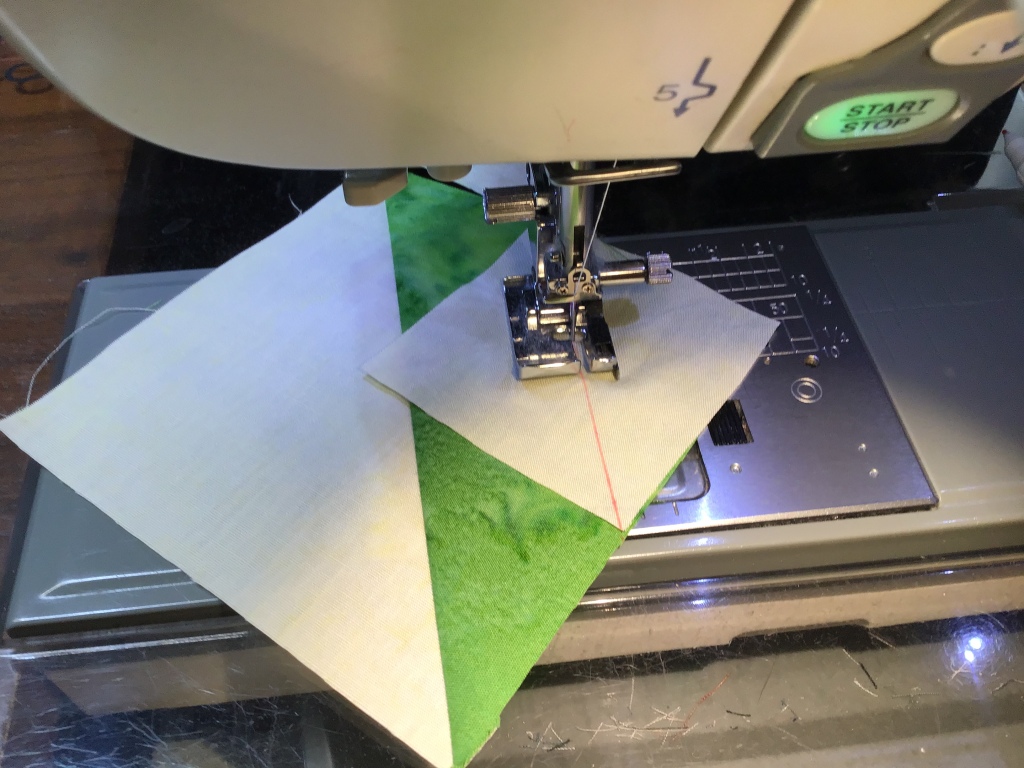
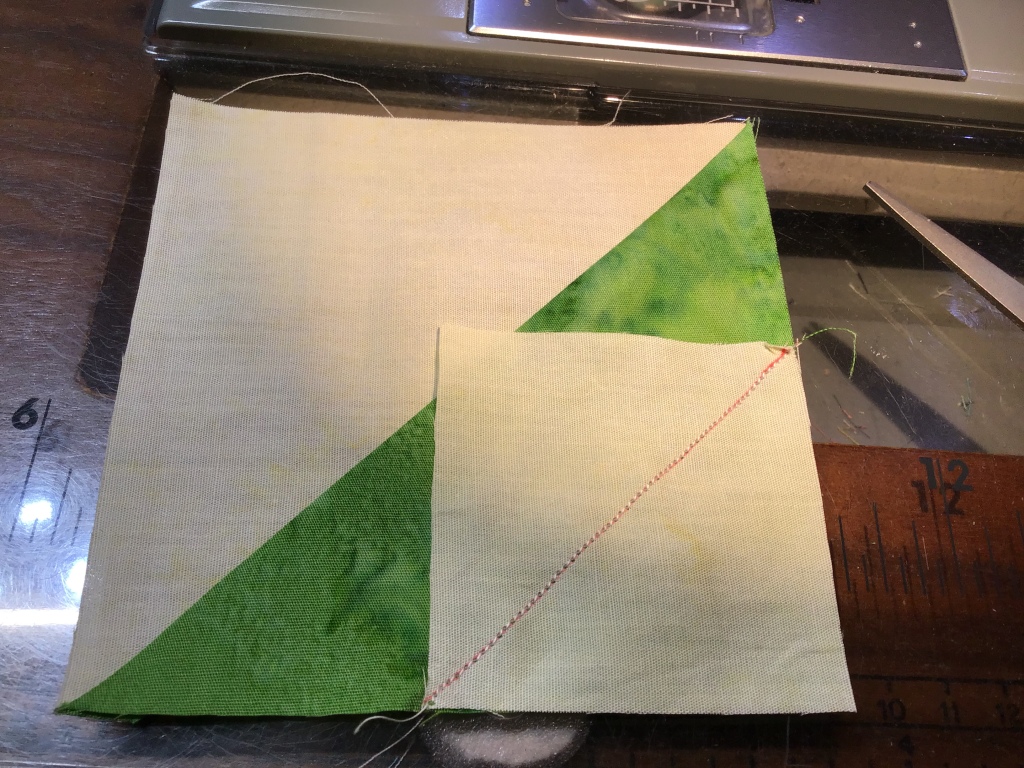
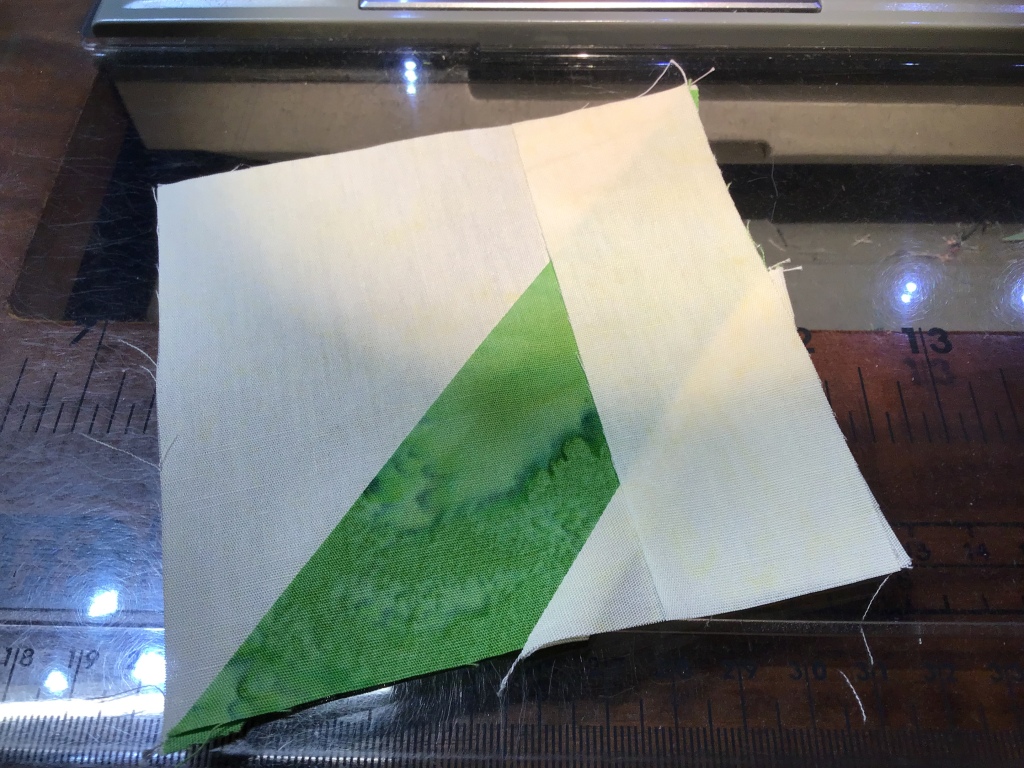
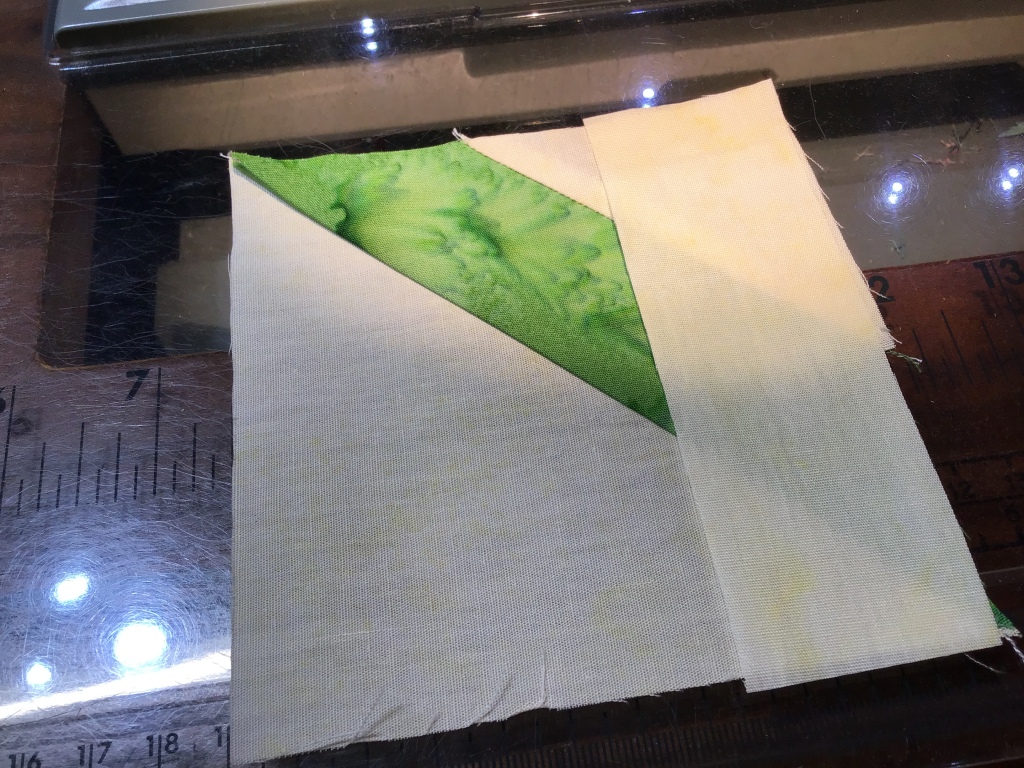
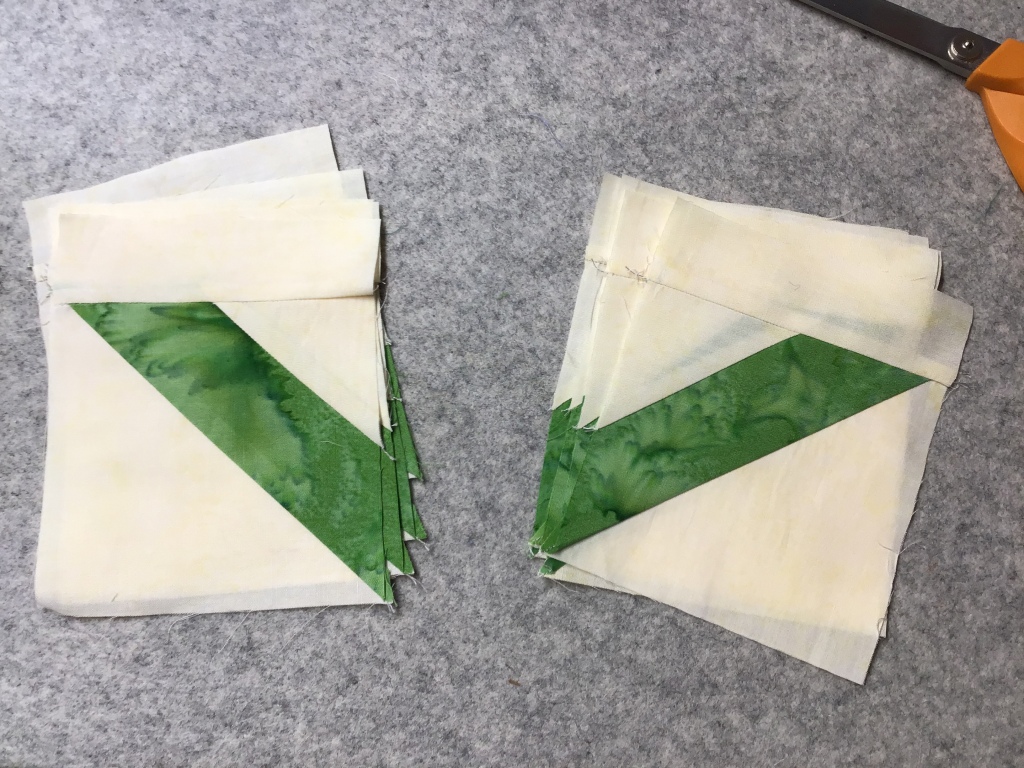
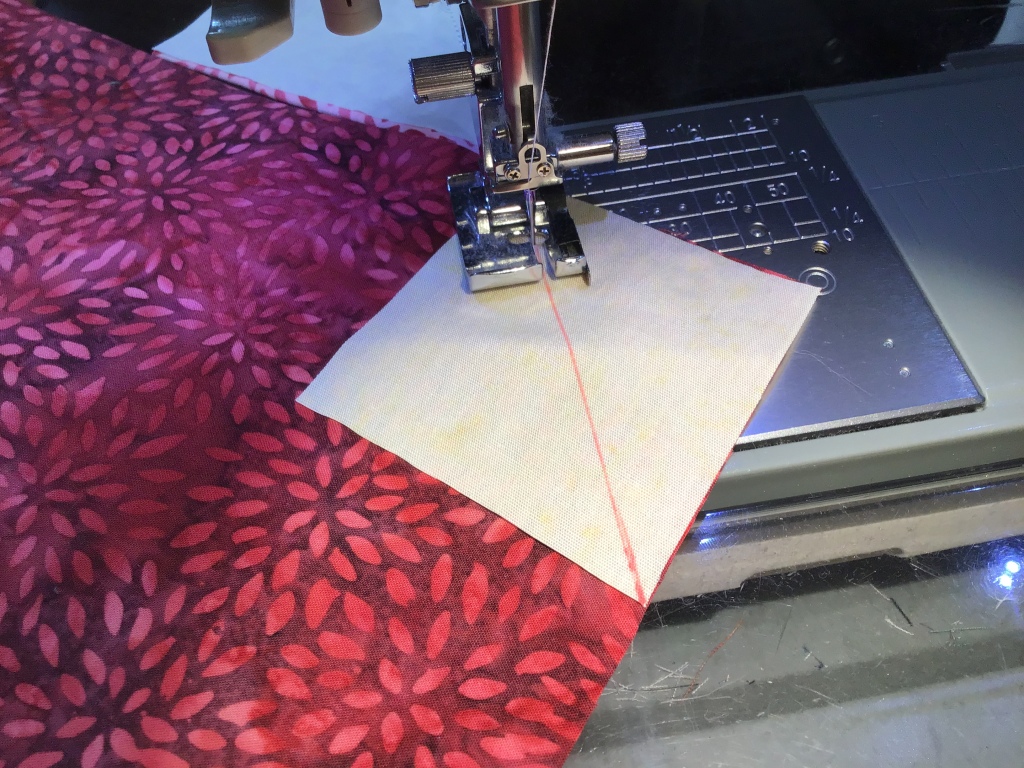
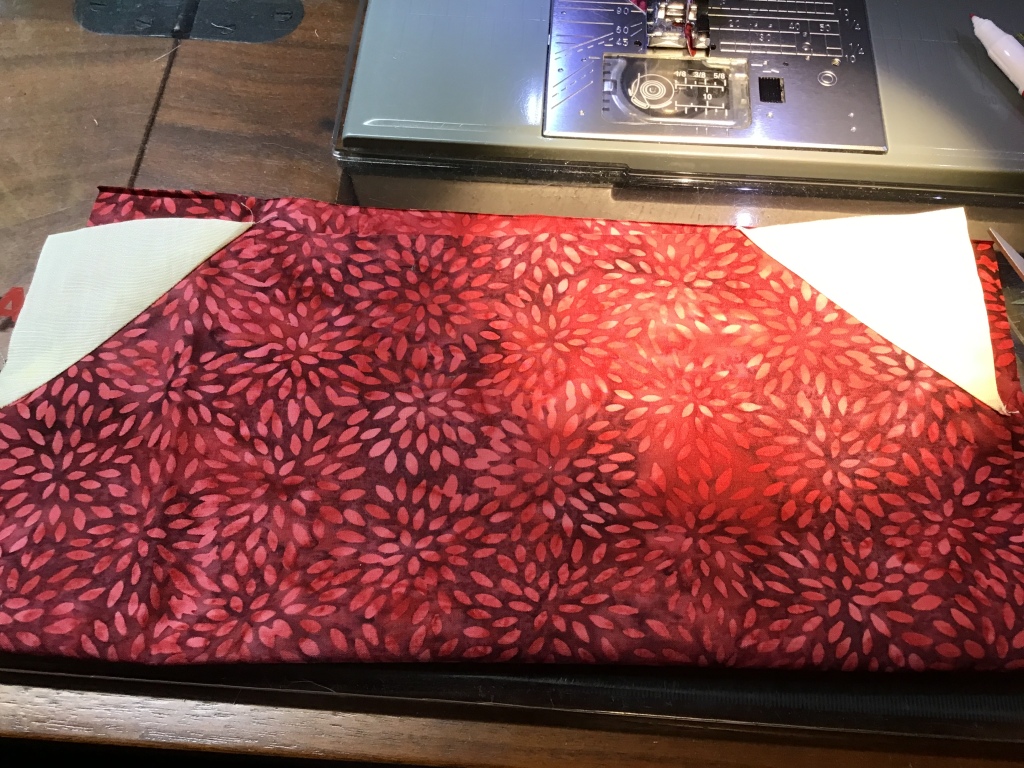
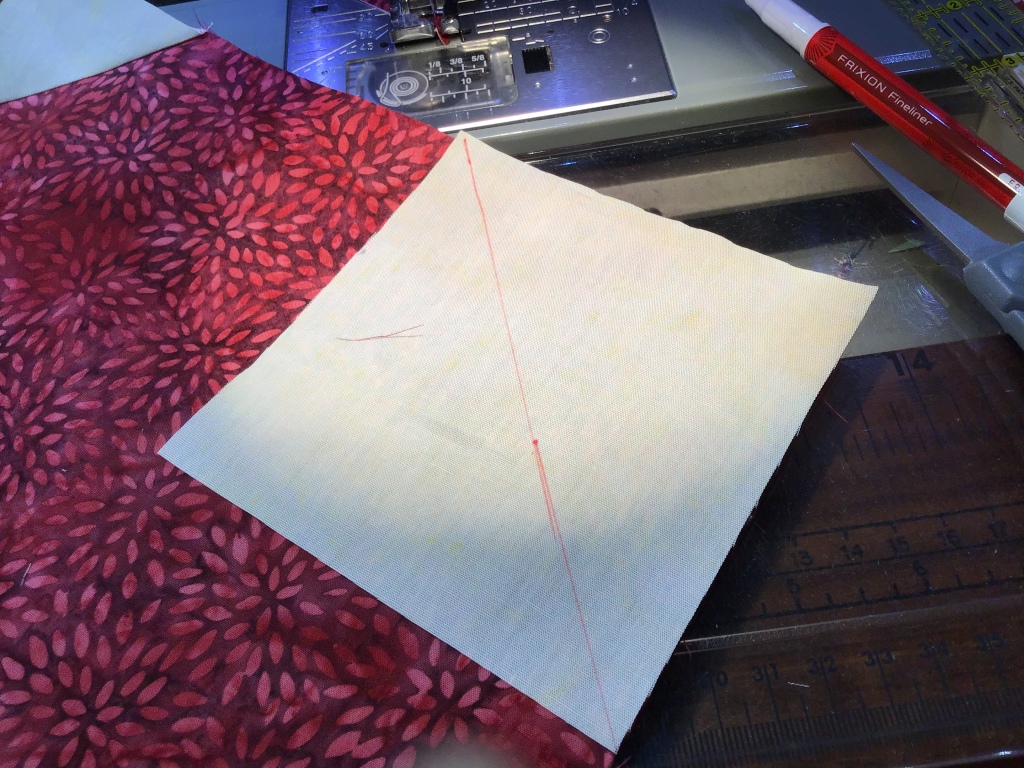
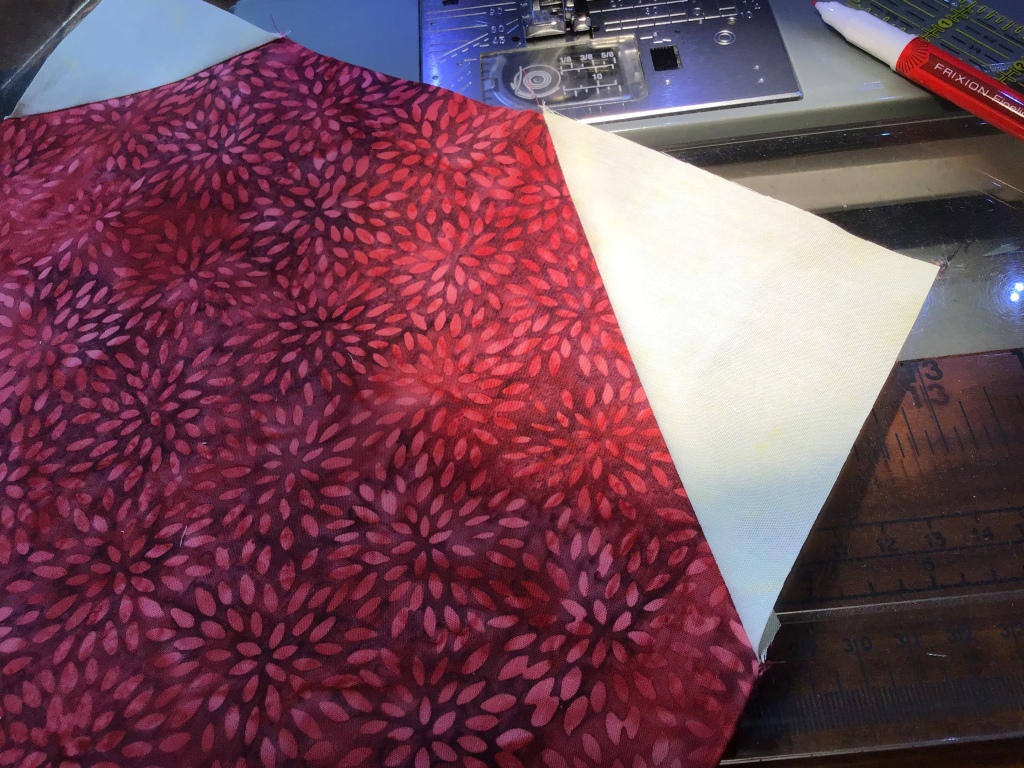
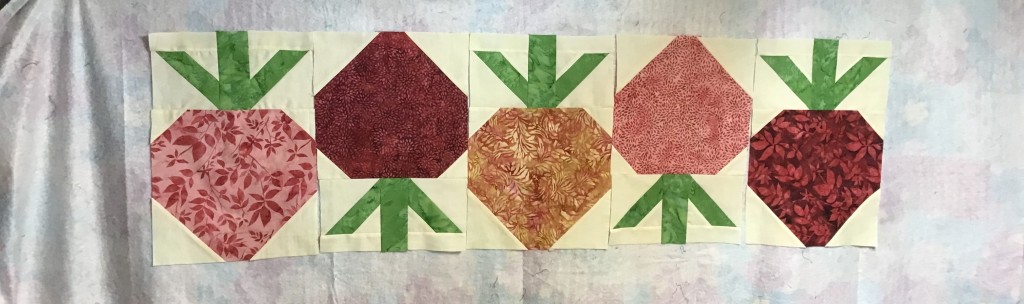
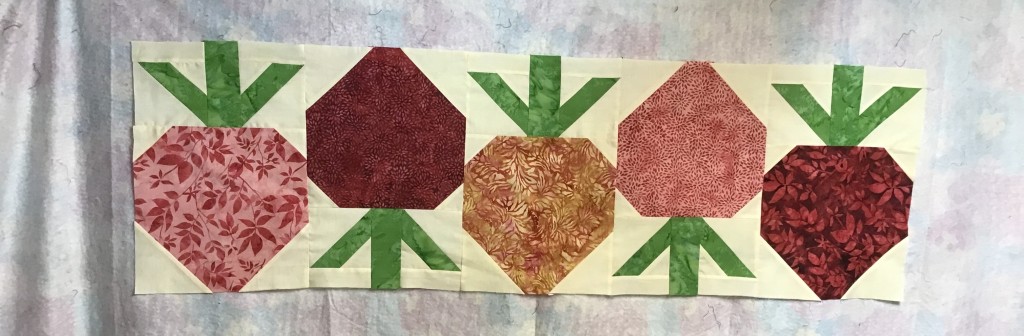
I know I packed too many projects to bring with me, but I wanted to be prepared. And I really wanted to do some free motion quilting — I have way too many unfinished tops, or flimsies, right now — so I brought along 3 table runners and my Whirly Bird top from last week’s summer tutorial to machine quilt. If you missed the Whirly Bird tutorial, you can find it HERE. I also brought a challenge project for the 3 of us — I think I’ll talk more about this project in next week’s post, though — I also brought several quilt kits in case I had time to do any cutting and piecing.
Luckily, Cathey has the same model of machine as I do — a Janome 8900 — so quilting on her machine felt a lot like quilting on my machine, although no 2 machines ever feel quite the same. In fact, Cathey is the person who got me into Janome machines, when she bought her first Janome 6260, it was such a nice machine, I had to get one too. Later she upgraded to a 8900, and so did I.


I think I’ve mentioned before that Cathey is a quilter/designer and is the owner of Cathey Marie Designs.
And after a long hiatus from quilting when life happened, Leslie is getting back into quilting once again.
And you all know little ol’ me. LOL!
Cathey, Leslie, and I have all designed quilts for magazines, too.
We’ve been trying to figure out when we first met and Leslie thinks it was 2007. Both Leslie and Cathey were relatively new quilters when we met on a bus trip to Chautauqua Institution in New York for Quilting Around Chautauqua. Cathey and I had met in the summer when I was seated behind her on the bus for our local Shop Hop. It was both our first Shop Hop. Those meetings led to many Shop Hops and quilting road trips, along with some quilting retreats (and staying in a cottage at Chautauqua for Quilting Around Chautauqua with our quilty pal, Mary Lee — HEY MARY LEE!) sprinkled in for good measure. But as things happen, life got in the ways and over time we didn’t spend as much time together. How wonderful to spend 4 days together quilting, sewing, catching up, and eating (yep, who can forget eating??).
The Potomac River….and Quilts!
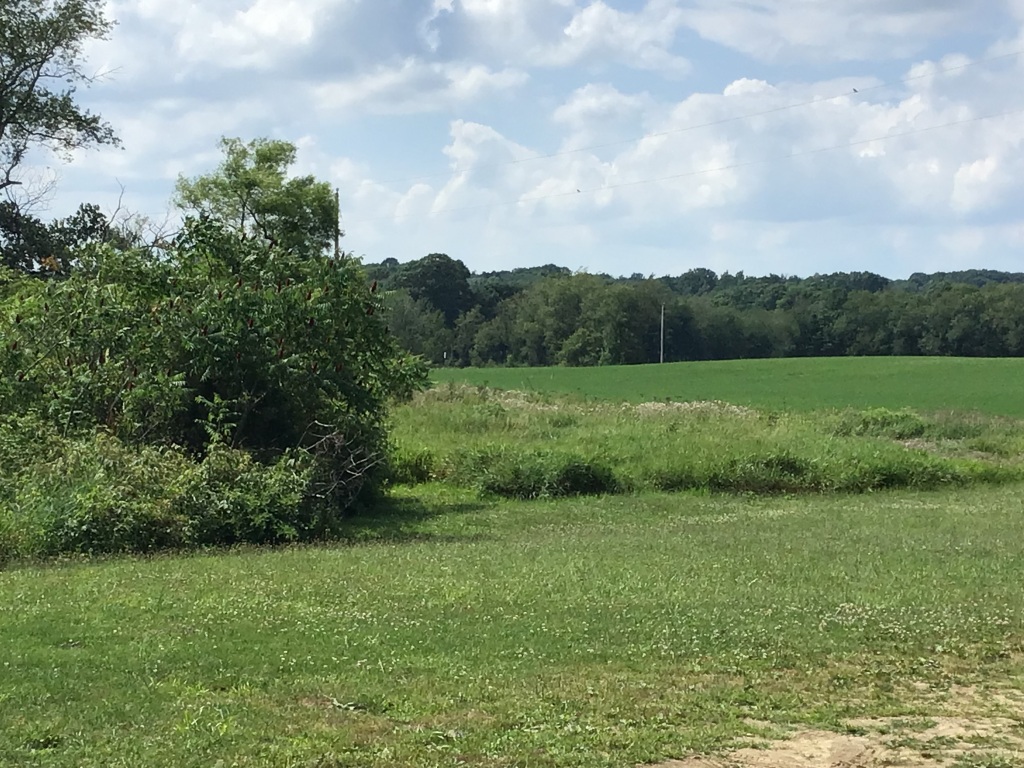
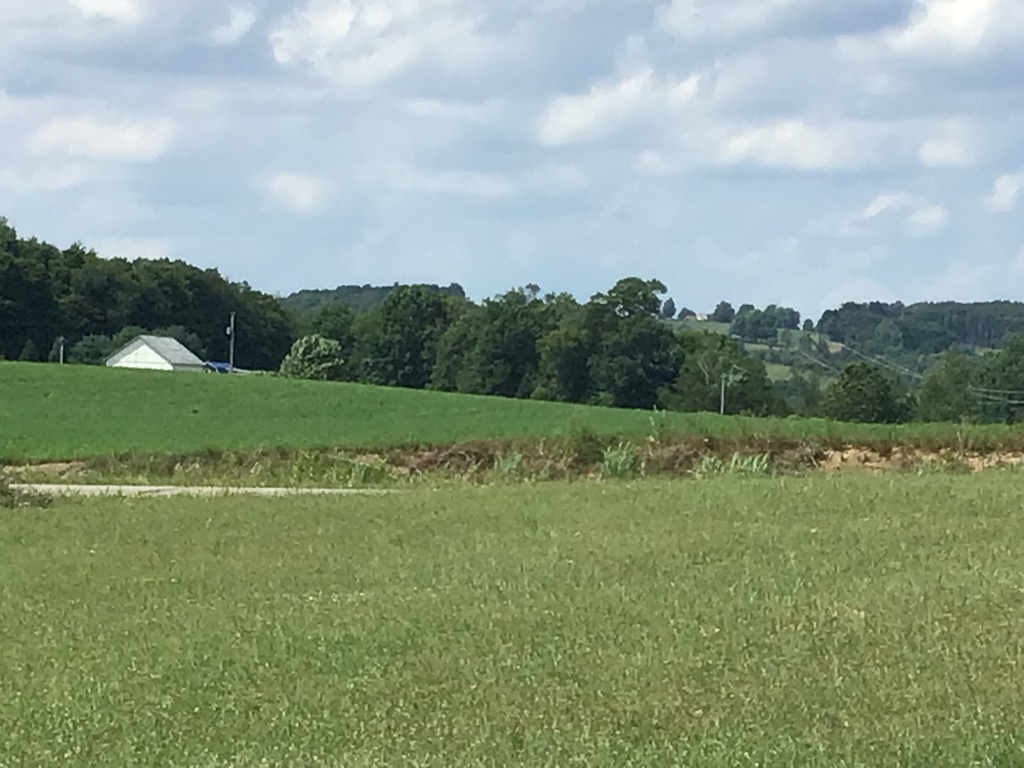
We walked down to the river just to take it in, but we didn’t have a lot of time to soak it all in, as thunder started to rumble in the distance and before we arrived back at the cottage, it had started to rain.
What really amazed me was how wide the Potomac is right here at Colton’s Point! I could barely see the land on the other side of the river (which just so happened to be Virginia). I tried to find out how wide the Potomac was at Colton’s Point but could only find that the widest section was around 11 miles across and that was farther down towards Chesapeake Bay.

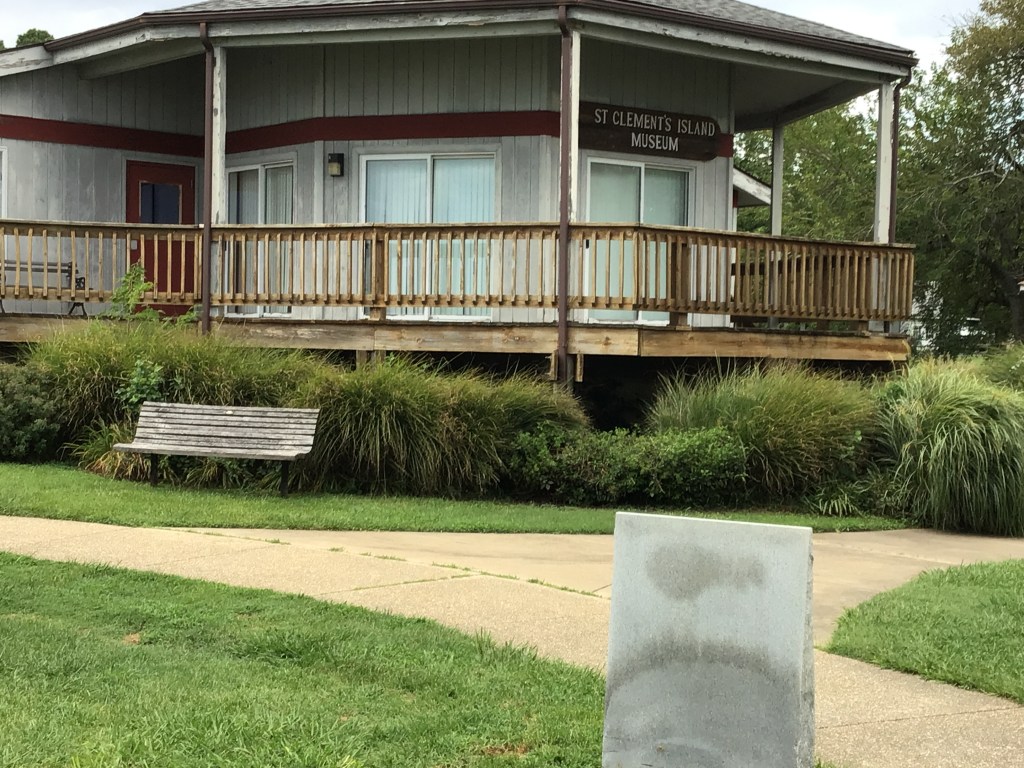
Do you see the little island there on the right beyond the pier? That is St. Clements Island, which is where the first settlers to Maryland landed in the 1600’s. Of course, back then the island was something like 10 times larger!
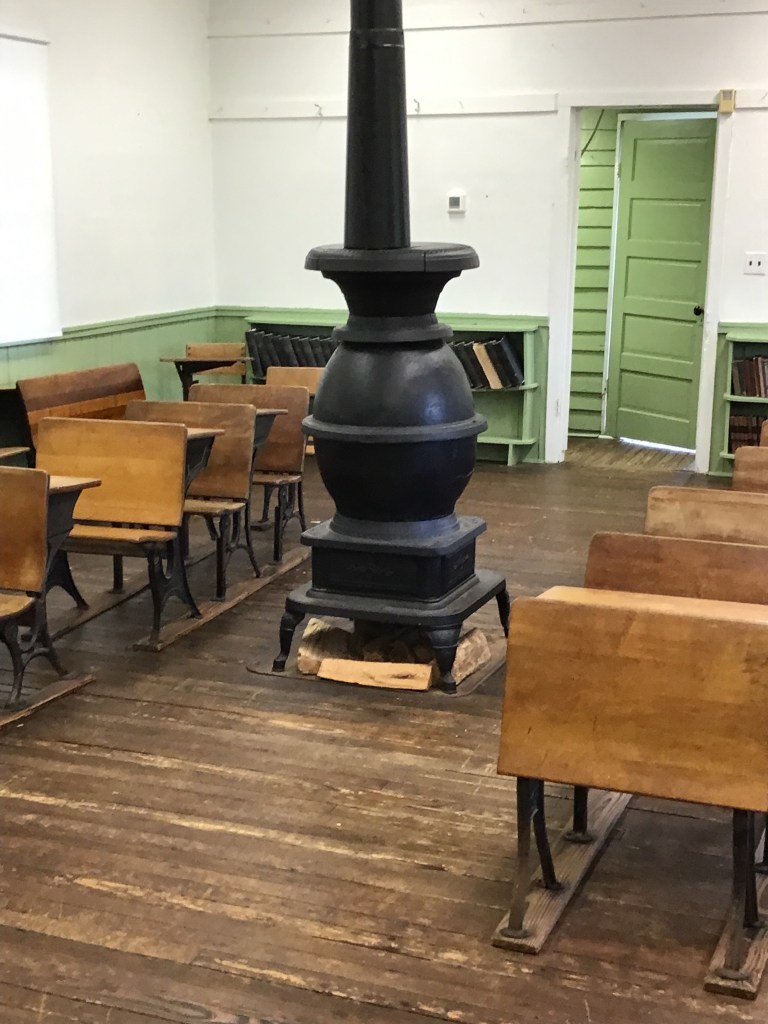
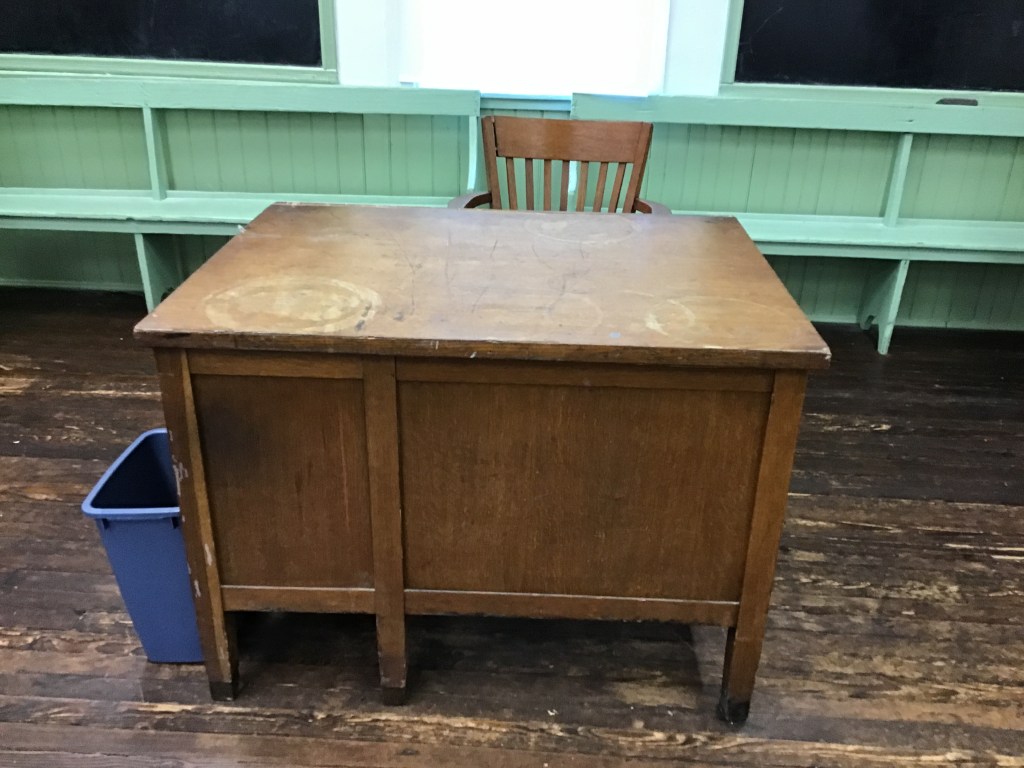
You can find the St. Clement’s Island Museum Campus down near the river. And on the museum grounds is a lovely Little Red Schoolhouse, built in 1820. We were able to go right into the schoolhouse, which is used for school field trips and events. It was like stepping back in time to Little House on the Prairie……
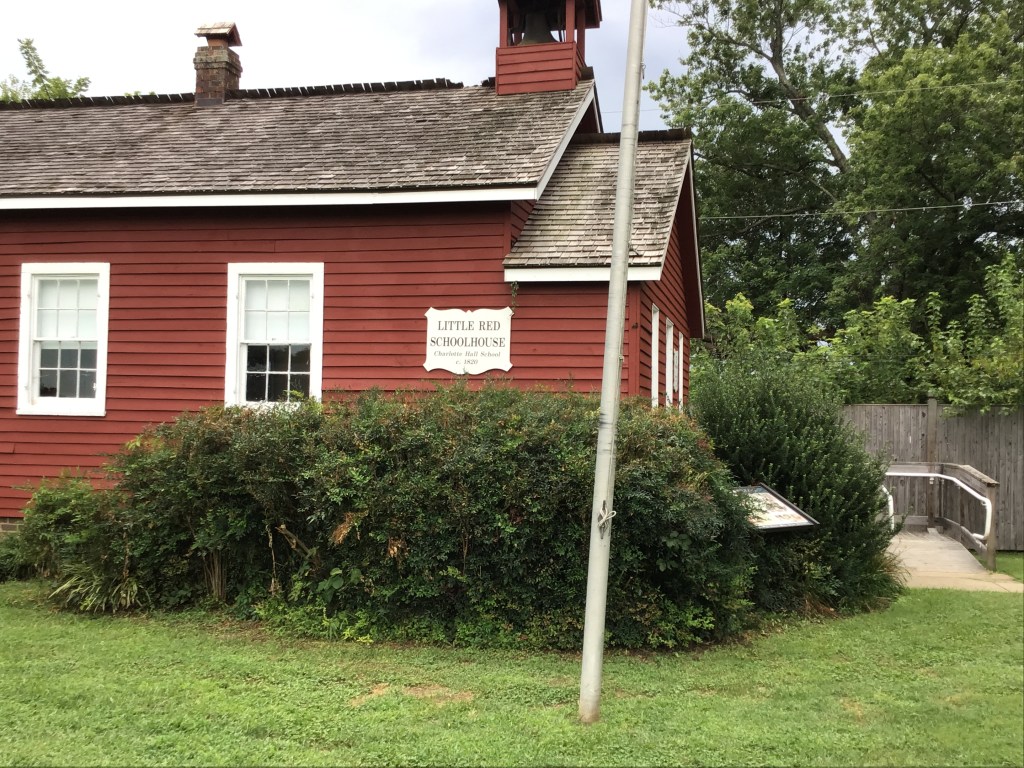

As a former children’s librarian, I was thrilled to see a Little Free Library right outside the Little Red Schoolhouse!

The next day, Bryon kindly shepherded Leslie and I back to the river, this time out on a pier, to witness the sunset. I was a little apprehensive walking out on the boardwalk to the pier, but I really wanted to have a front row seat for the sunset. Mother Nature did not disappoint! Not at all! My, what a sight! We also went to see the sunset again Wednesday night.
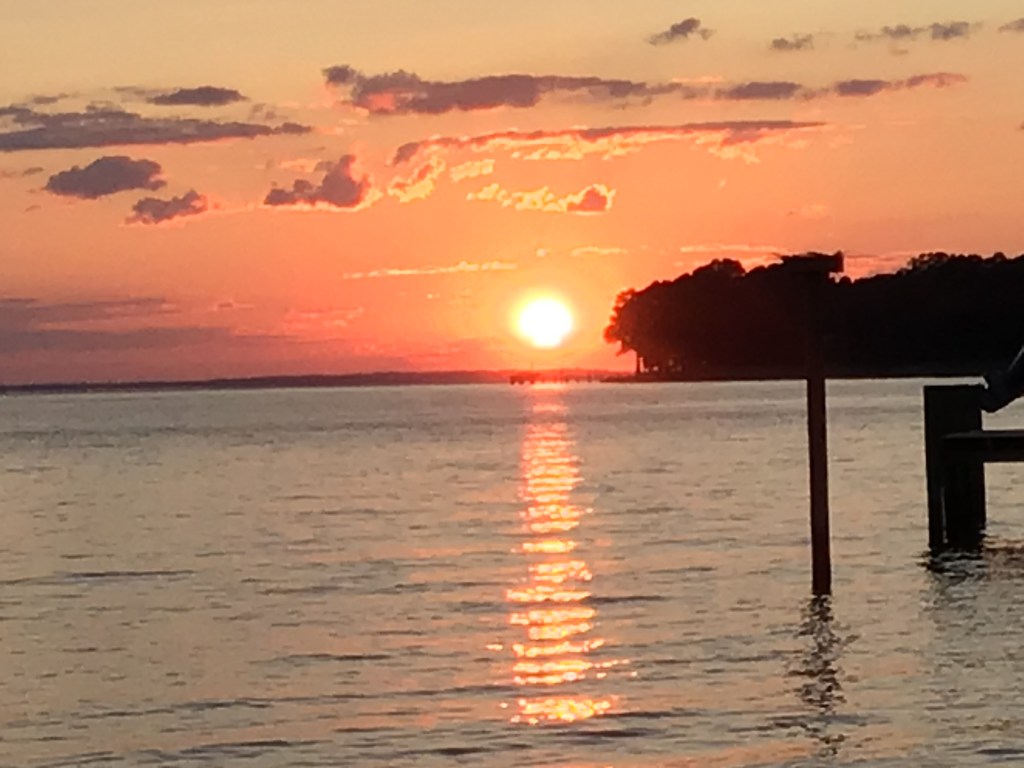
Tuesday night’s sunset.

Wednesday night’s sunset.
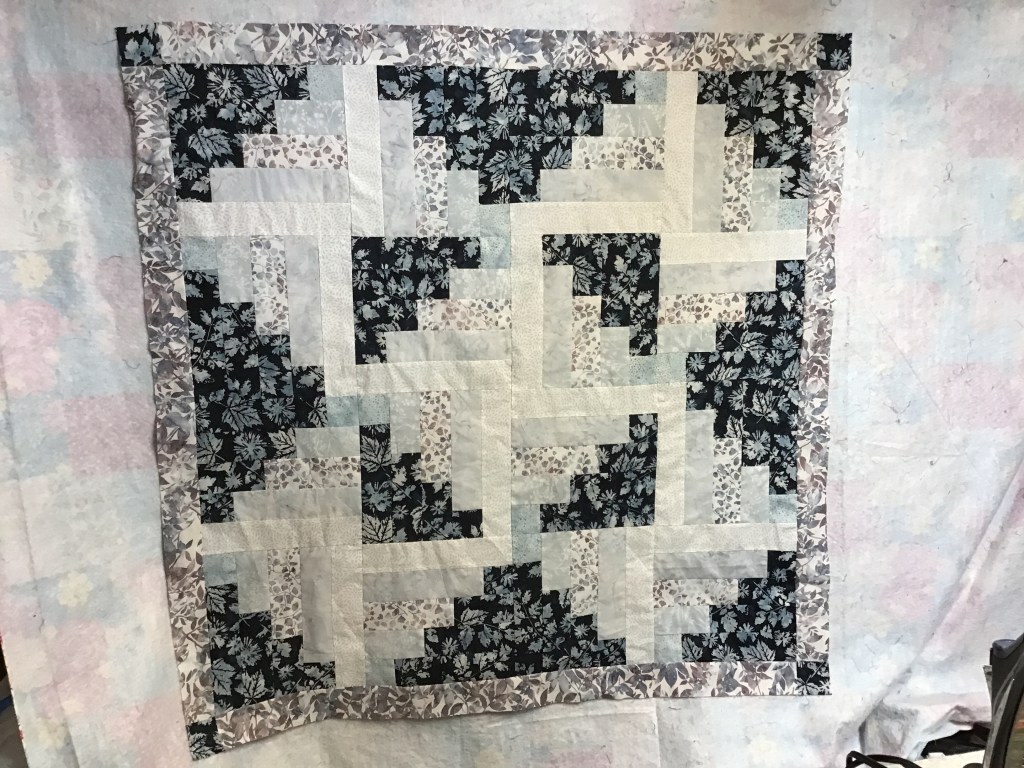
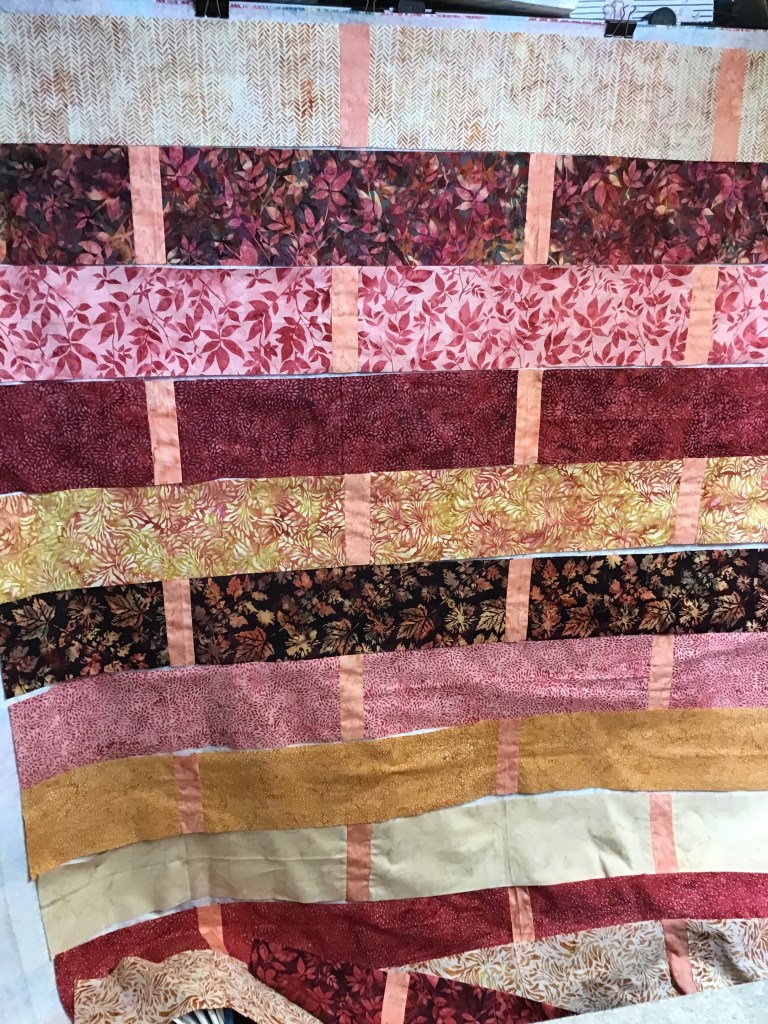
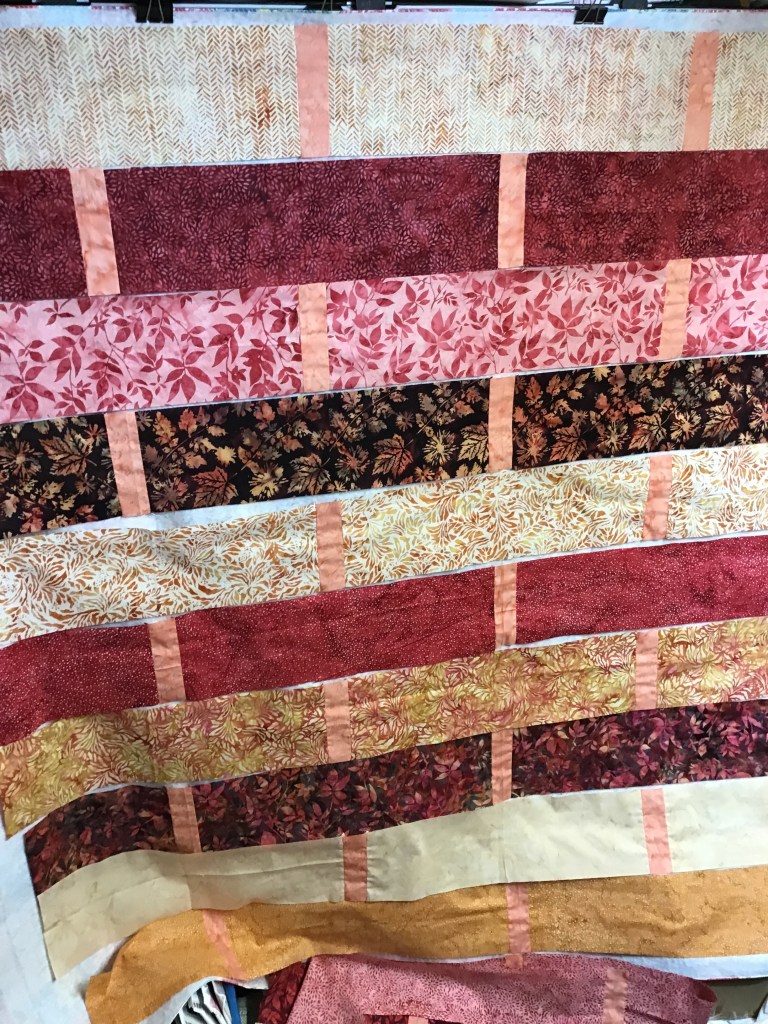
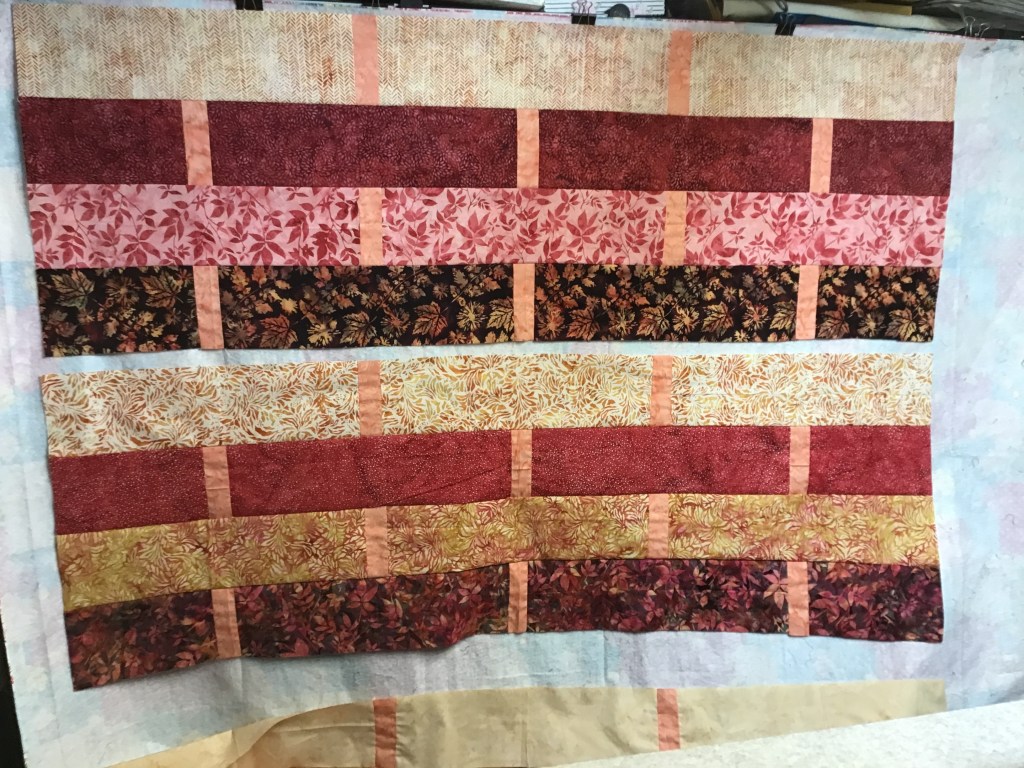
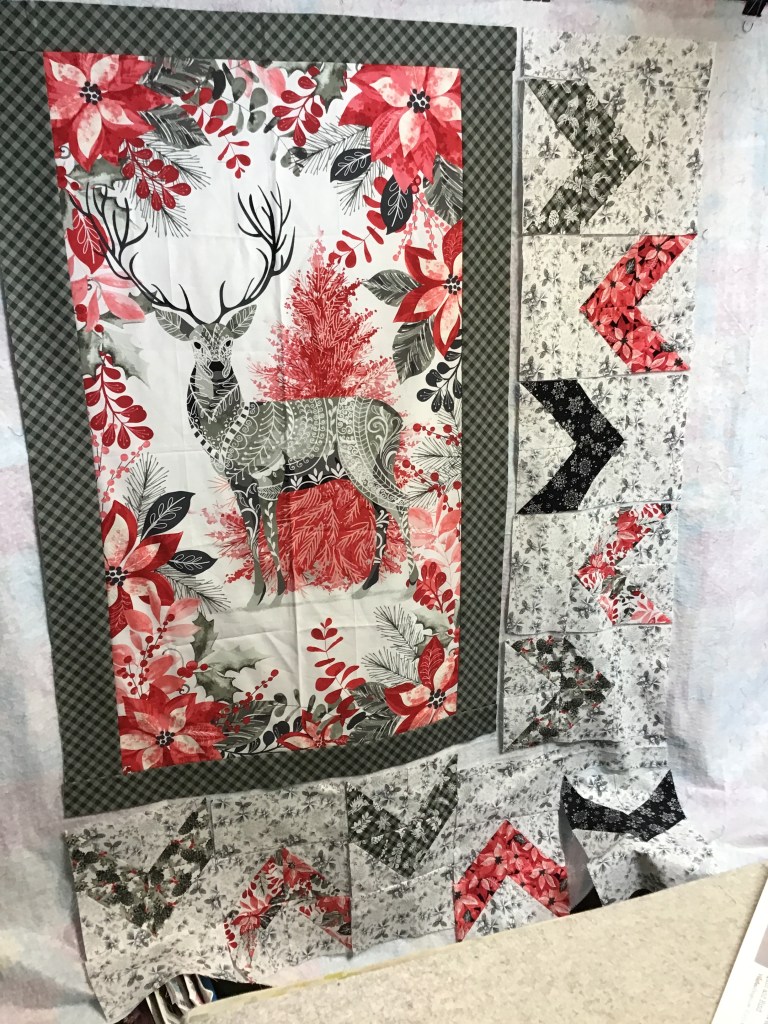
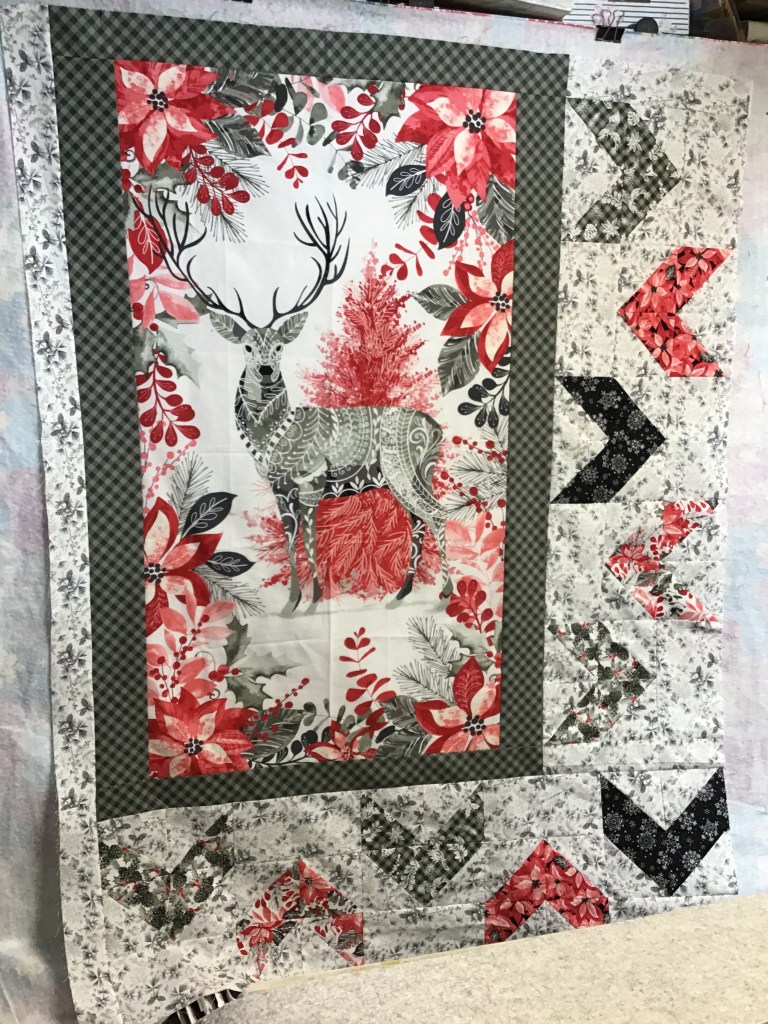
And on Wednesday afternoon, I wandered back down to the pier for more photos, taking the 2 runners I quilted, Whirly Bird, and the Discovery top I had just completed (stay tuned for a Discovery tutorial next week).


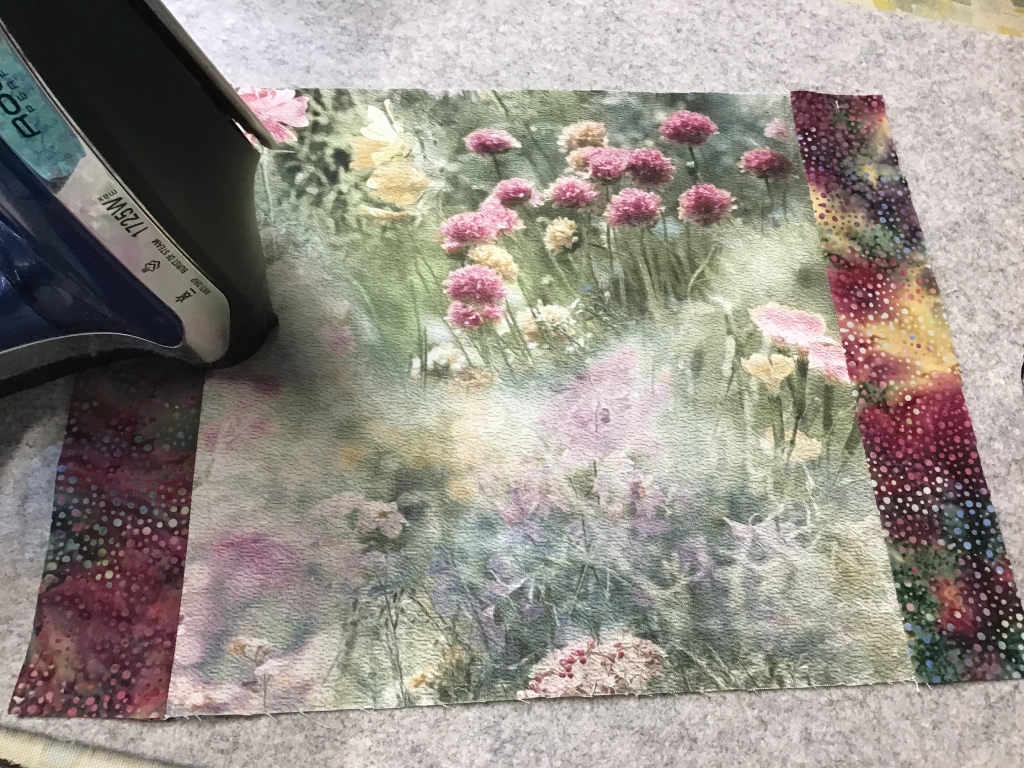
Here is my Whirly Bird quilt from last week’s tutorial! I haven’t added the binding yet, but it still looks beautiful. Being down at the river was really peaceful — I felt like I was the only person in the world for a little while, which really was priceless. I felt like I could really breathe here.
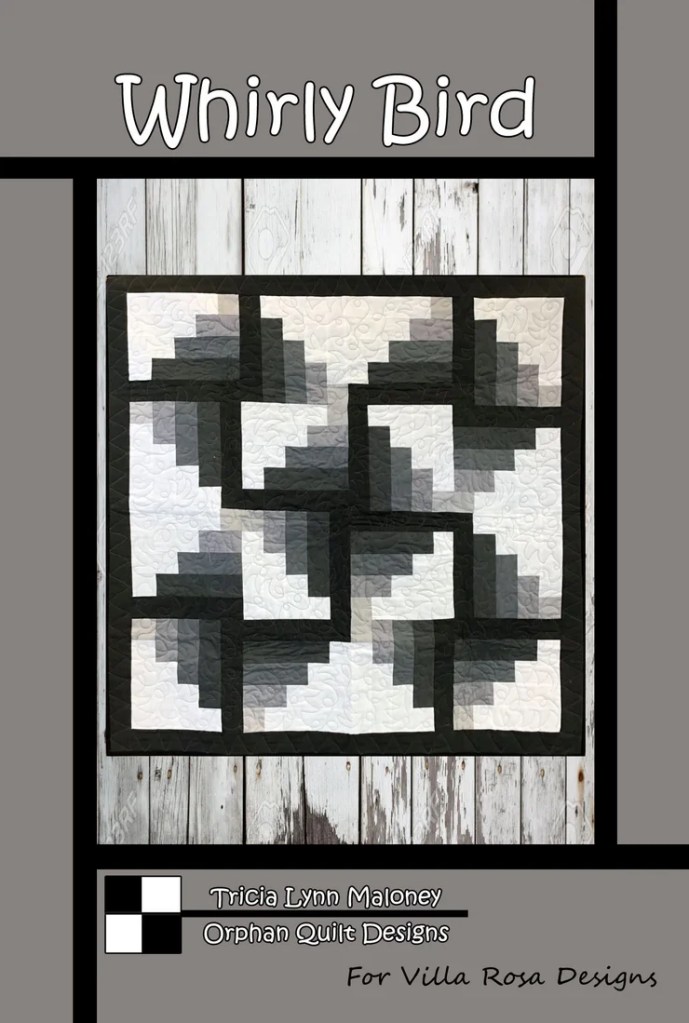
Get your own print Whirly Bird HERE or digital Whirly Bird HERE.

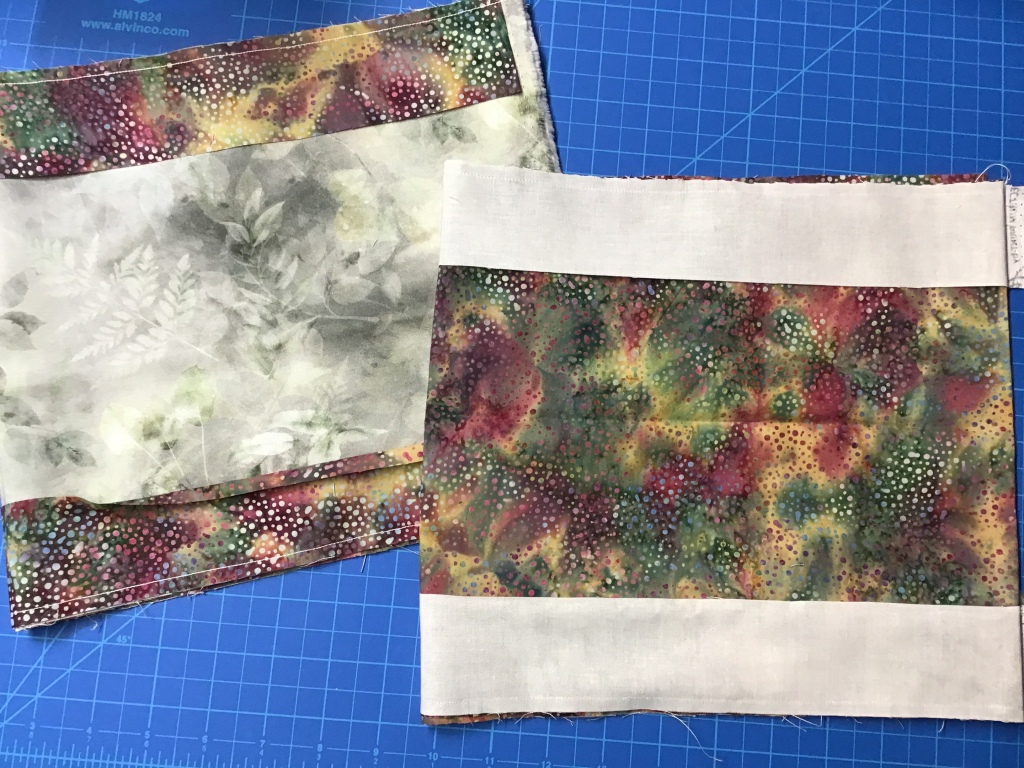
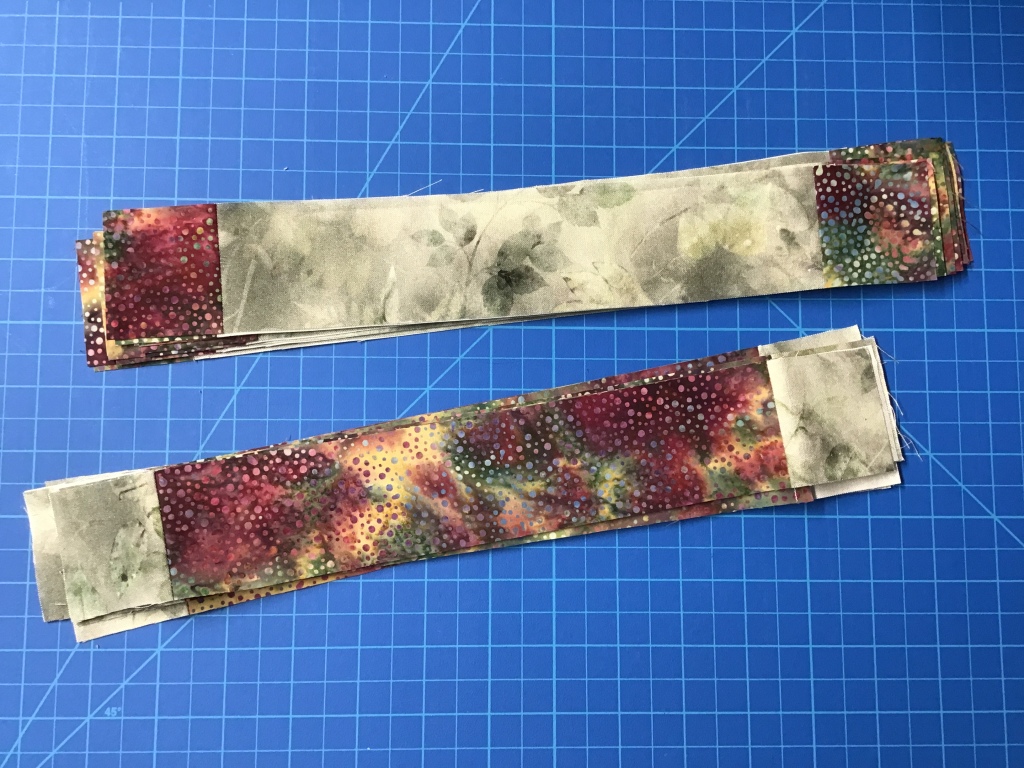
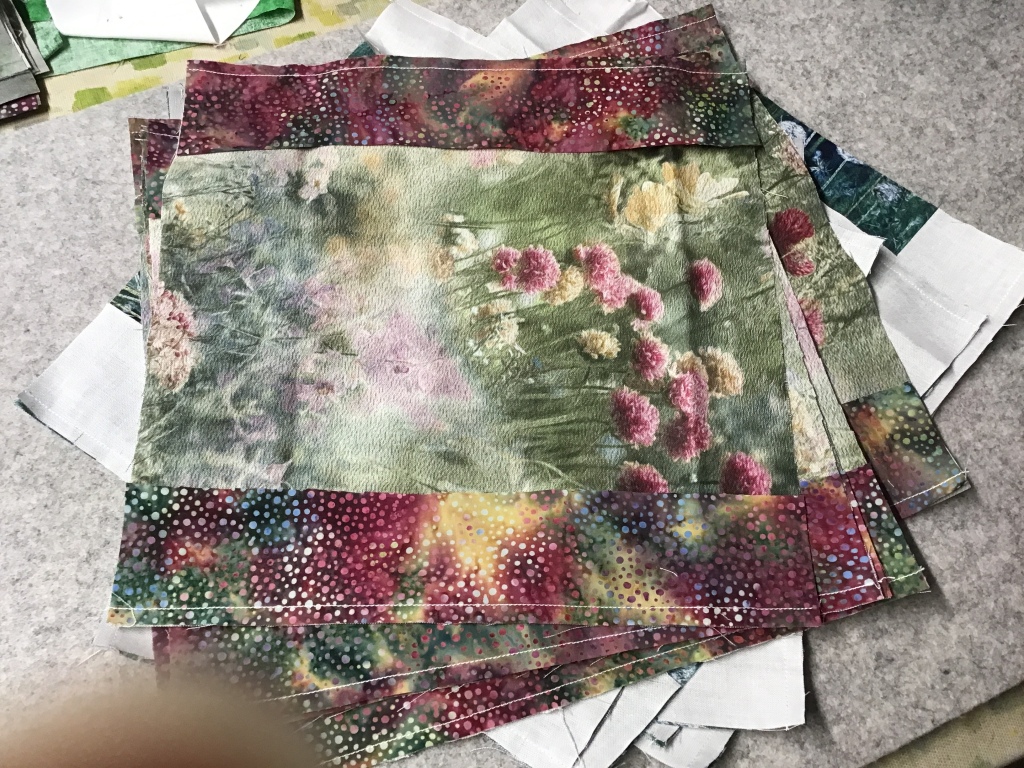
Here are 2 of the 3 table runners I brought with me to machine quilt. The one on the right is Molly’s Amen runner and the runner on the left is a variation of Amen.

You can get your own print Amen HERE or digital Amen HERE.
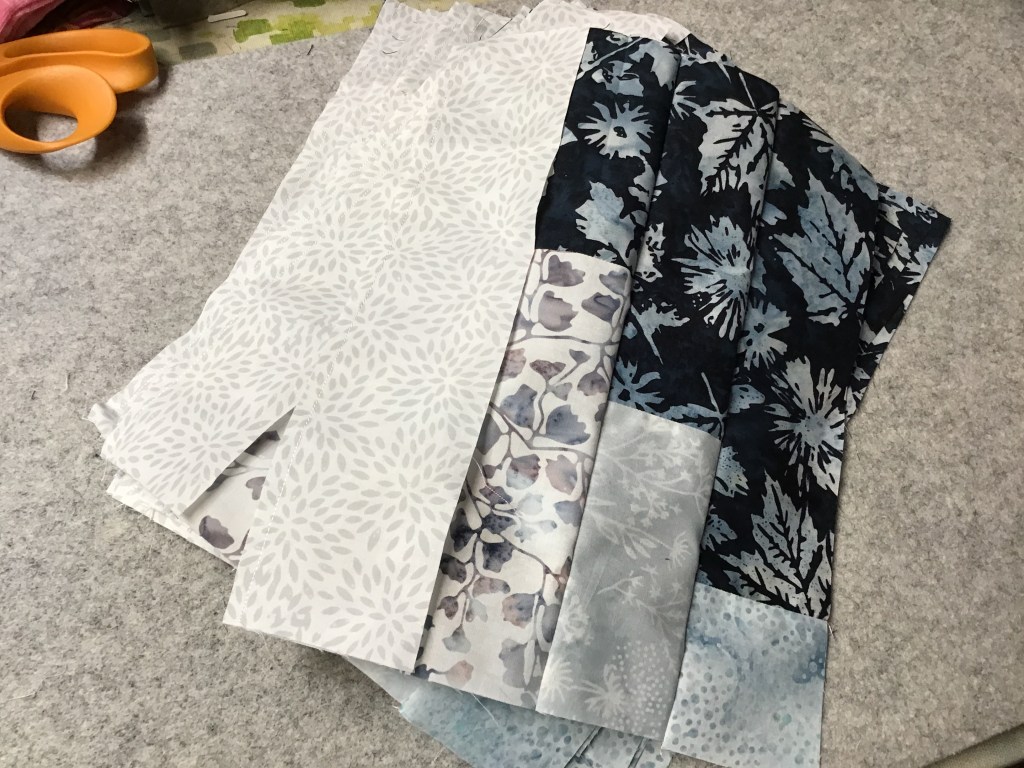
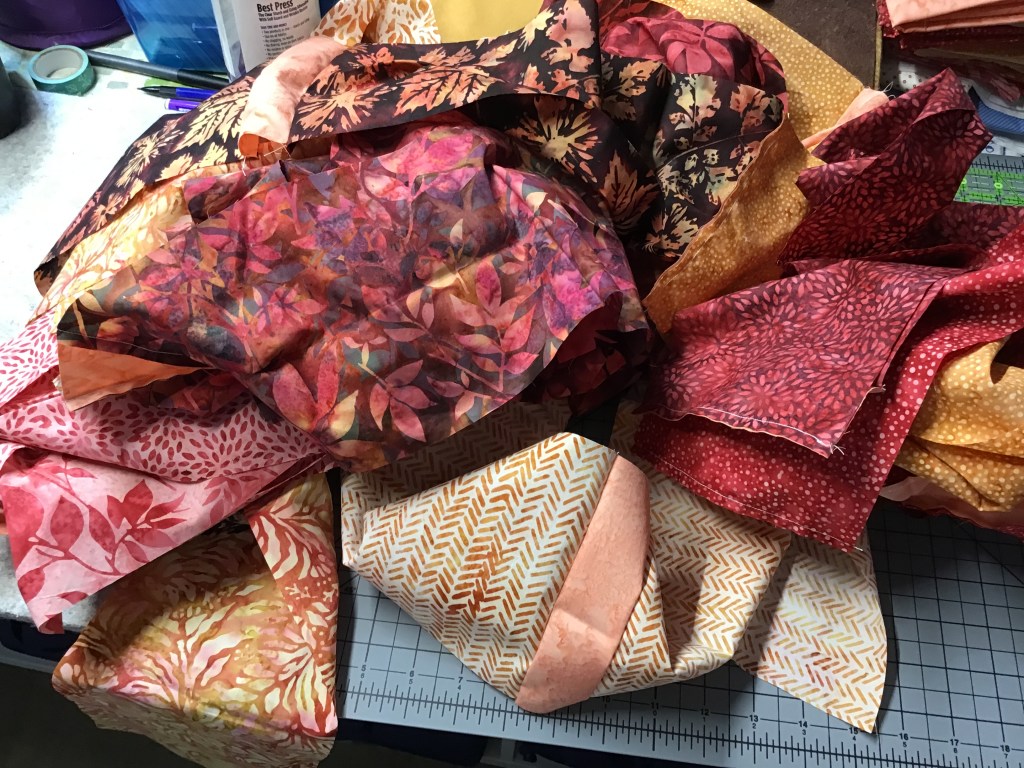
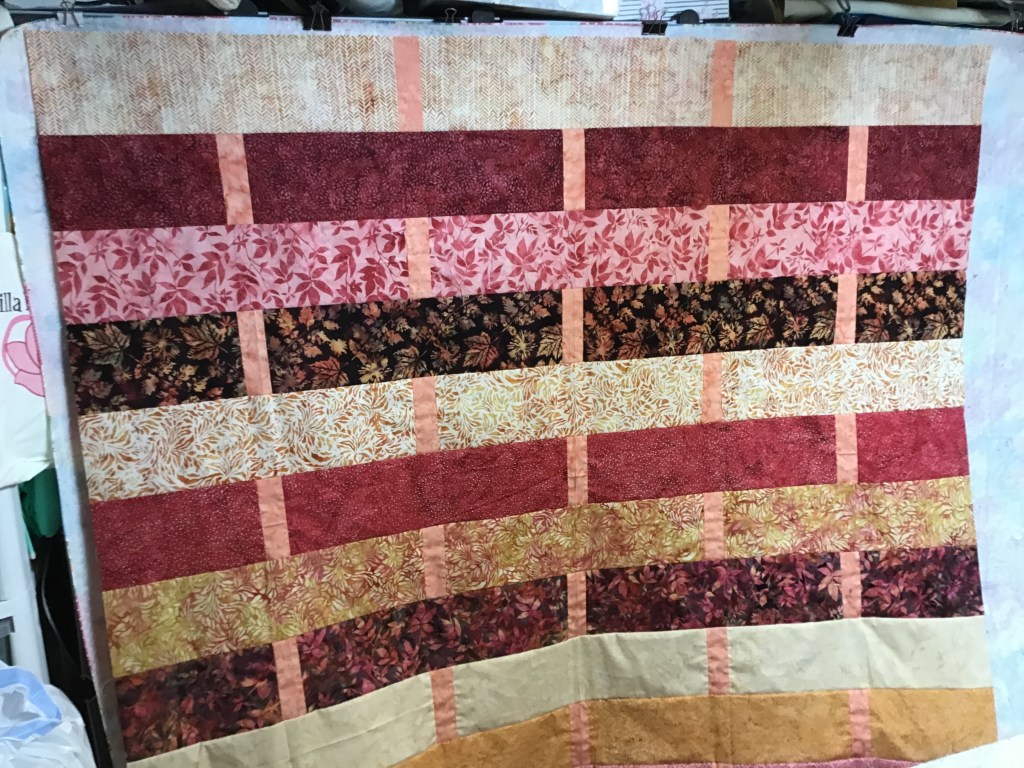
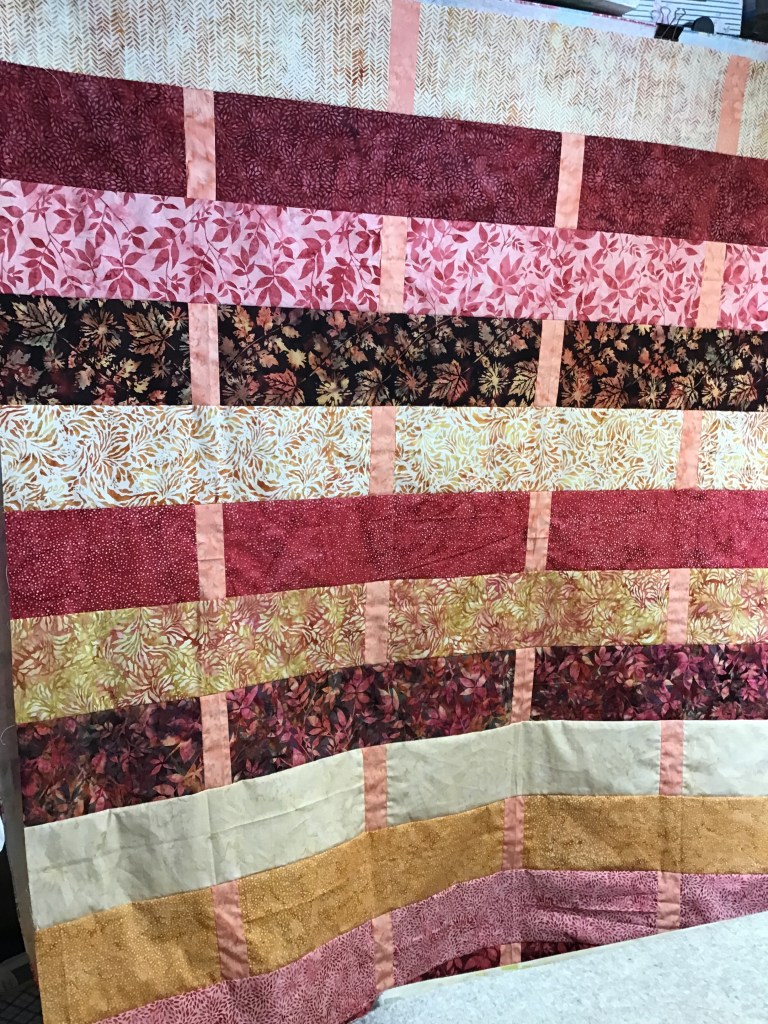
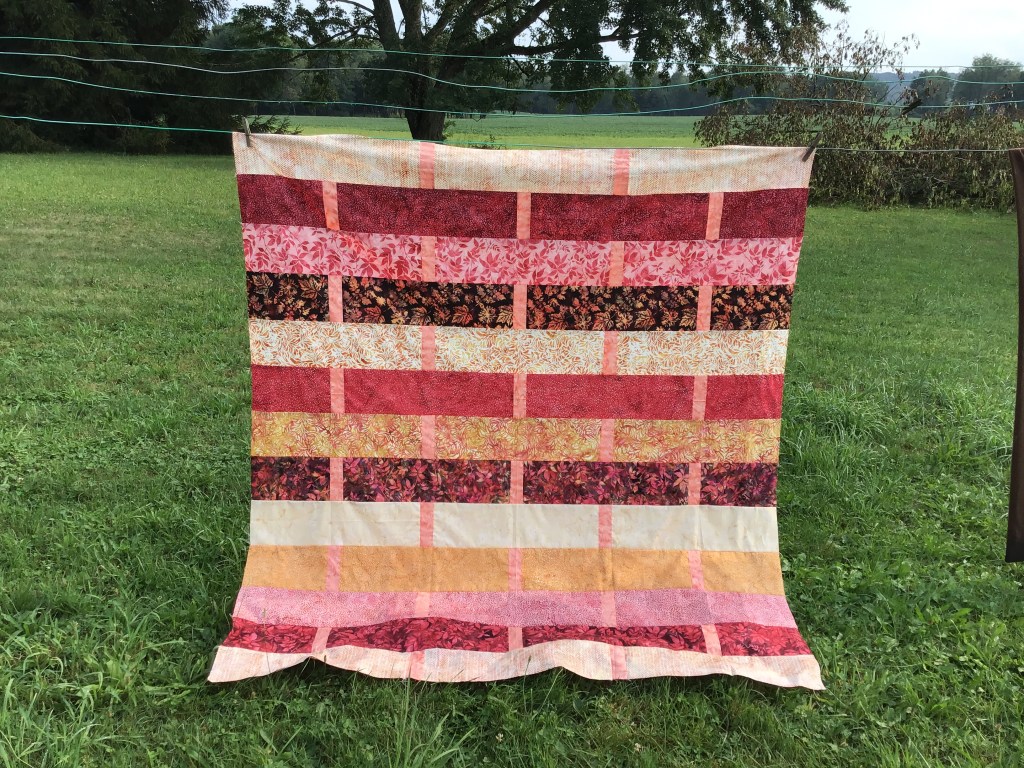
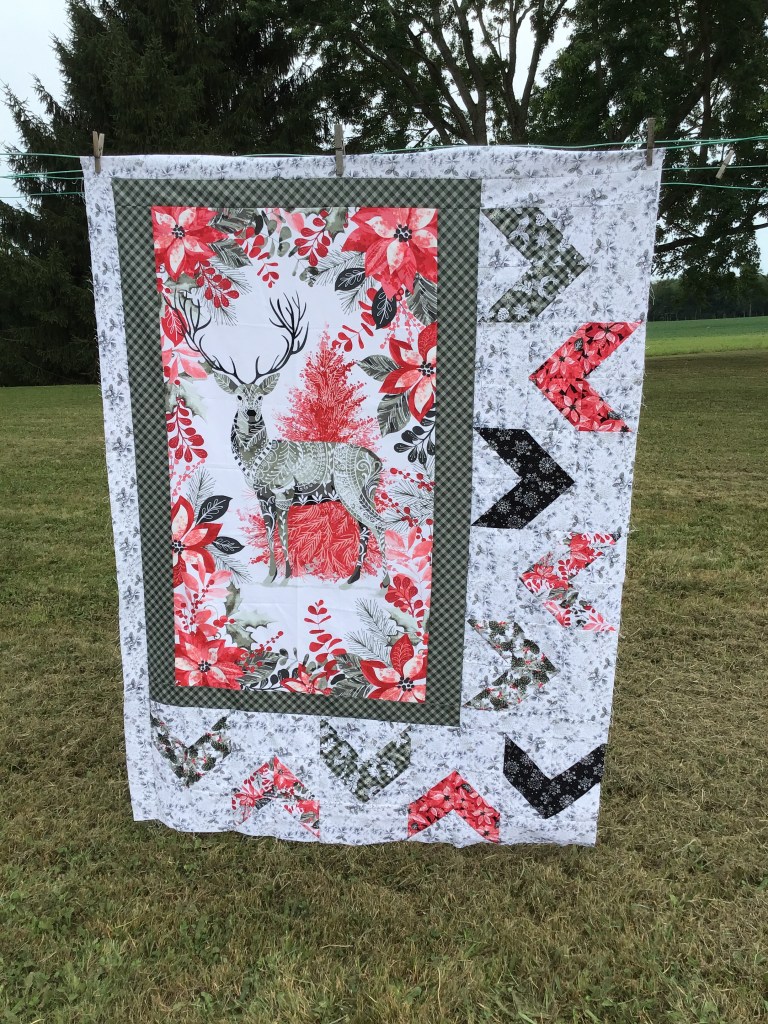
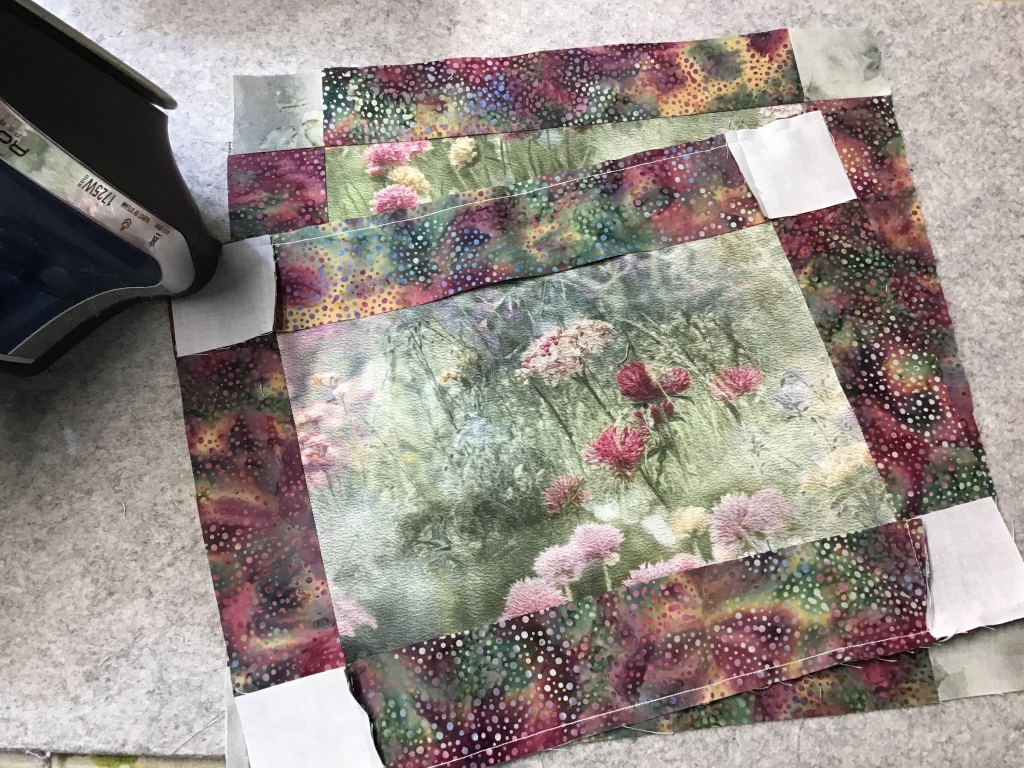
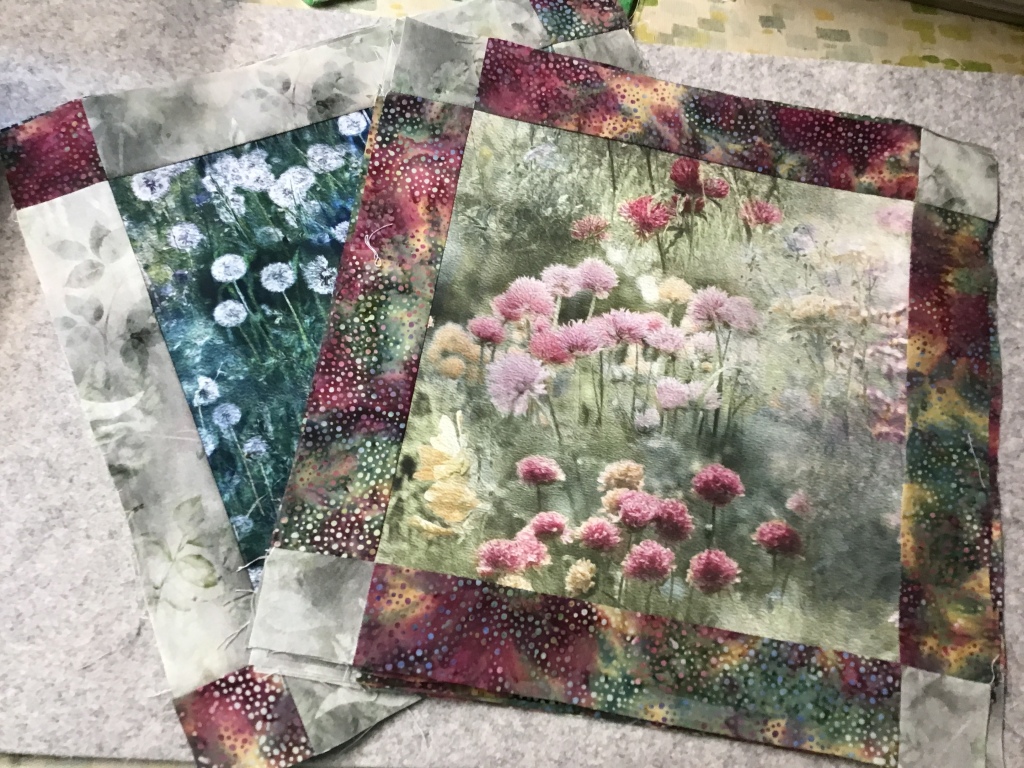
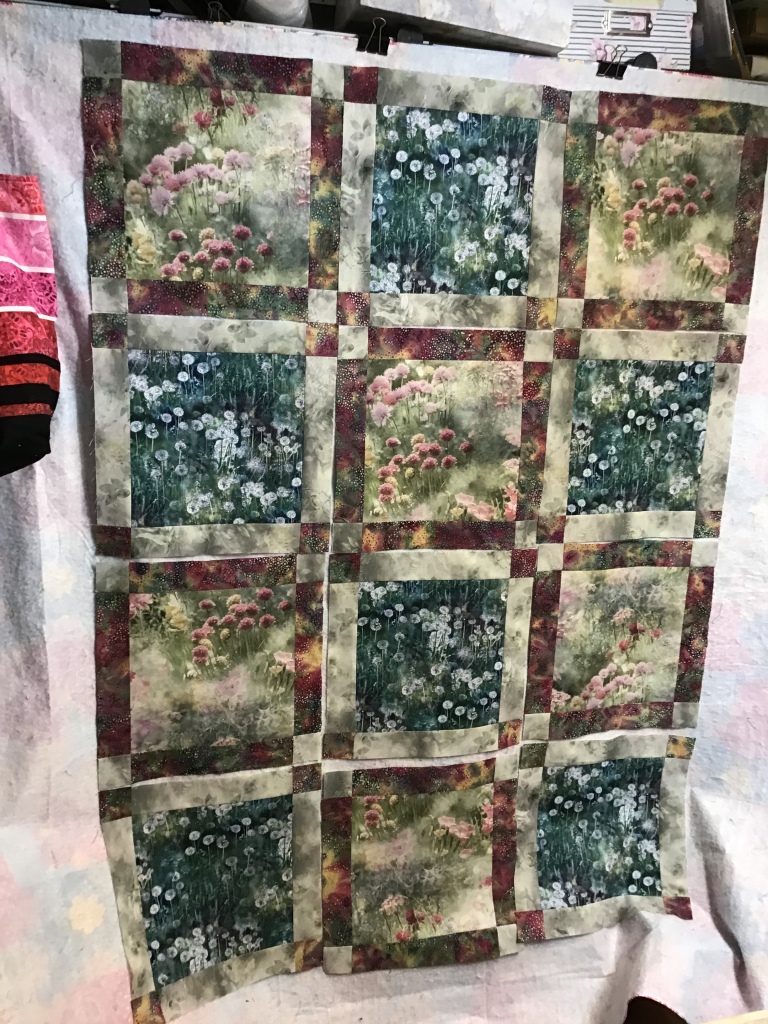
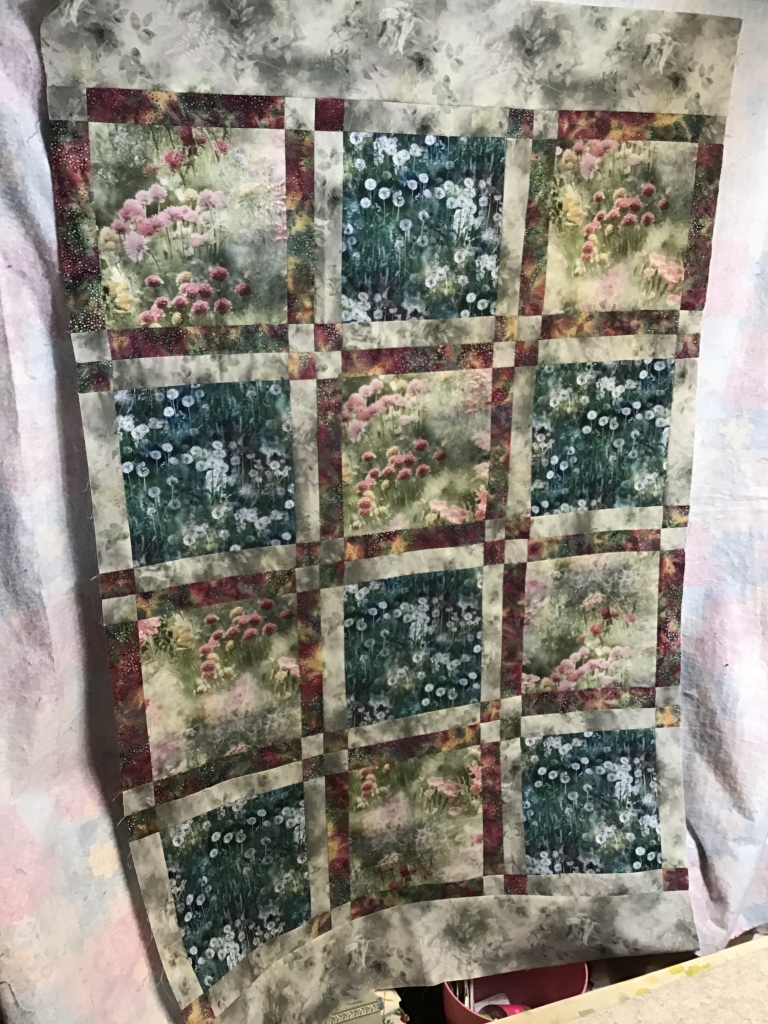
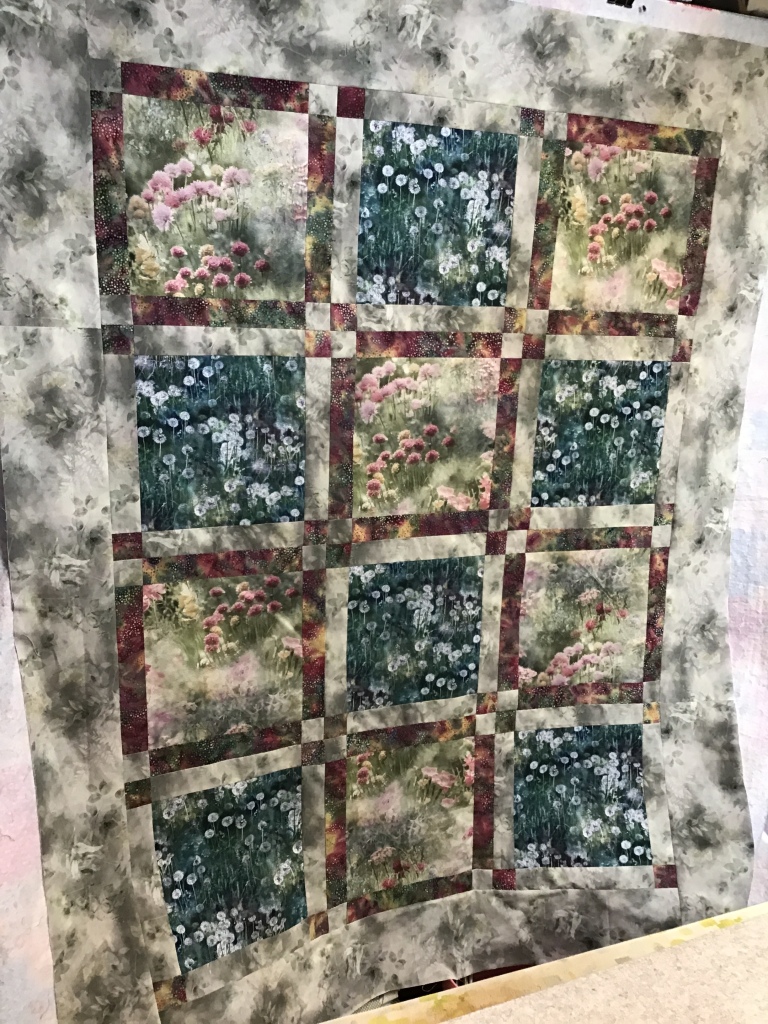
And here is my Discovery quilt top. I did a couple photos down at the river, but I think the autumn colors looked better on the picket fence in front of Cathey’s cottage.
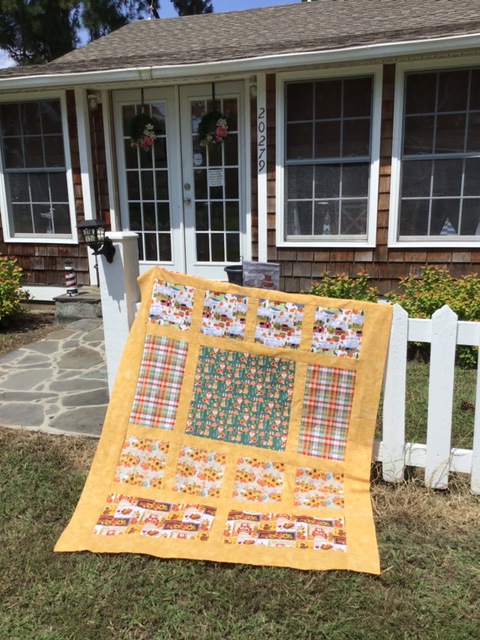

Get your print discovery HERE or your digital Discovery HERE.
Sadly, Leslie and I are heading home in the morning, but we will be back. Soon.
Just one more photo…………

Well, that’s it for me this week! Stop back next week for a final Summer Tutorial.
Until then —
Sew. Laugh. Road Trip. Repeat.
Always,
Tricia @VRD