Hello Quilty Friends!
Happy Thursday to you!
I hope you are all getting some sewing and quilting tucked in around your busy fall schedule. I don’t know about you, but if I don’t get regular access to my sewing machine, I get — well, grumpy. I am not kidding. I have found over the years that if I don’t get time to devote to my creative endeavors, I become out of sorts — you can ask my family. LOL! So when I get short-tempered, the best cure is sewing and quilting, even if it’s only a half hour here or twenty minutes there, I absolutely have to have time to be creative.
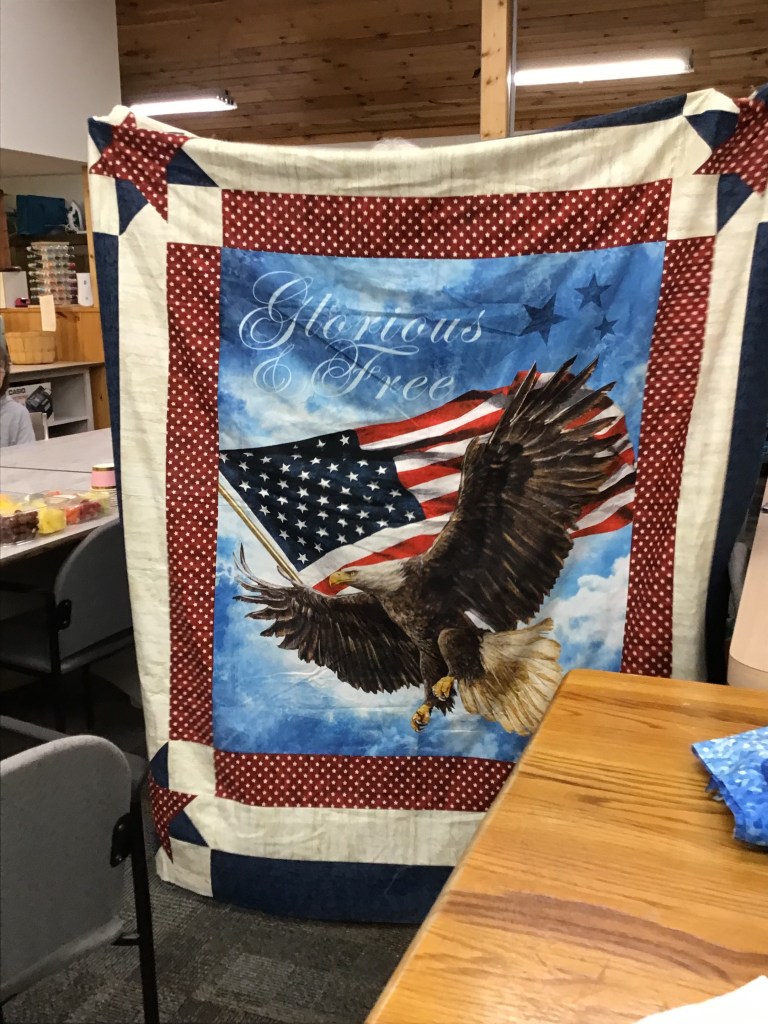
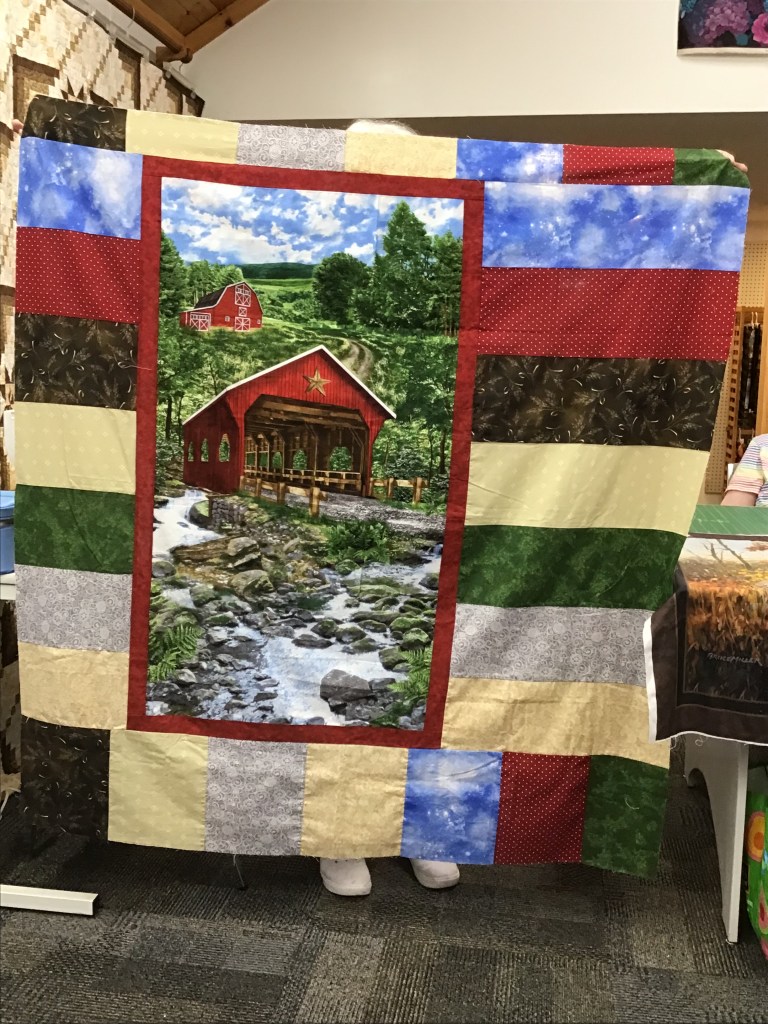
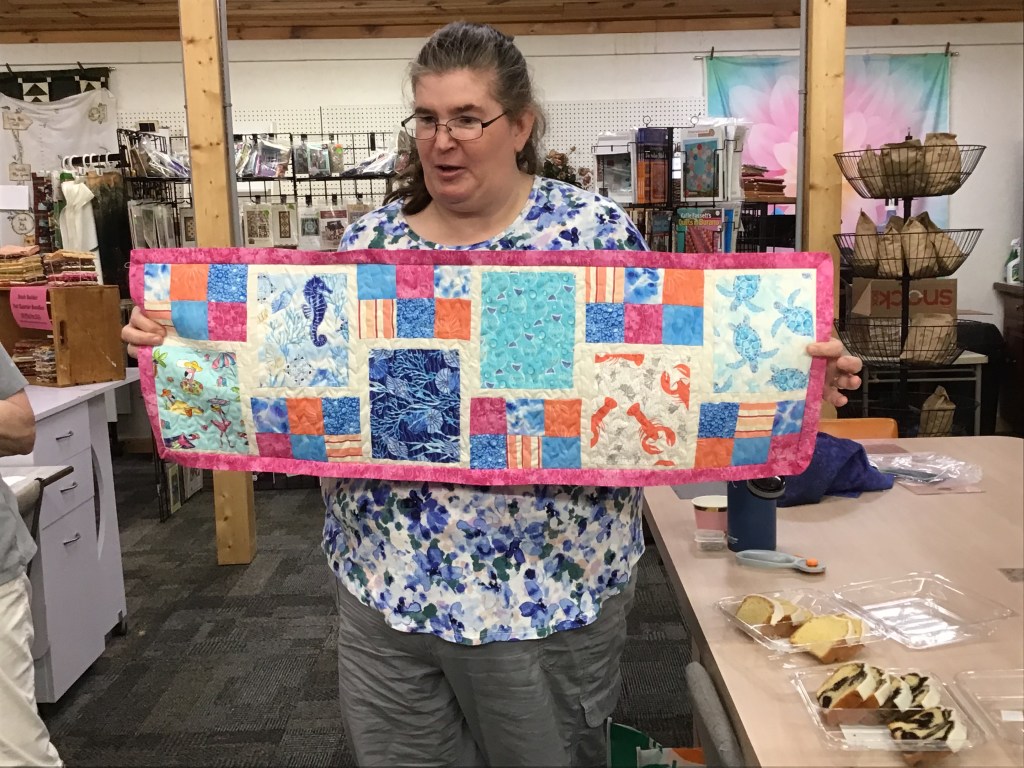
So I must say that using the excuse of creating a series of fall quilt tutorials with all these glorious Hoffman batik fabric collections, I am feeding my creative soul AND at the same time, I have rekindled my interest in getting back into quilting after basically taking the summer off. Of course, the next part of my making a quilt top or two a week, is to actually get them layered, quilted, bound, labeled — FINISHED. I have started this process by going to my local quilt shop, Homespun Treasures, to pin three of the recent quilts, and now they are ready for machine quilting. I use the tables in the classroom to layer my quilts and maybe I check out the new fabrics while I’m there….
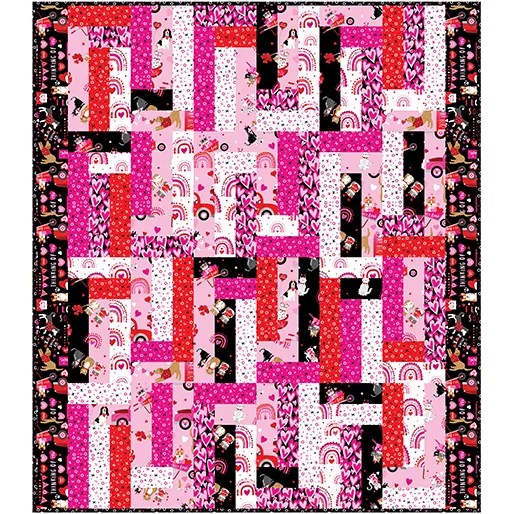
But first, I have another Villa Rosa Designs Rose Card quilt tutorial, Beatrice, for you!
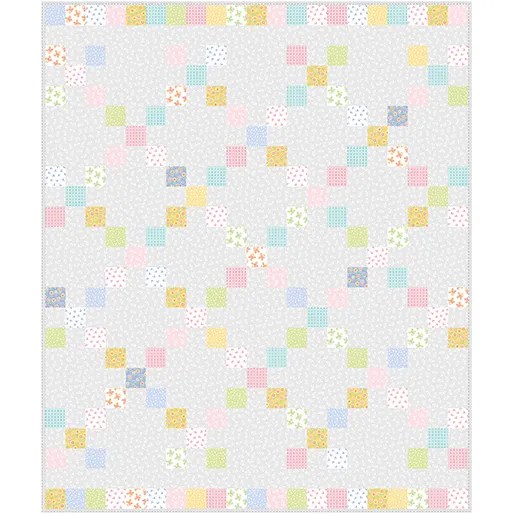
VRD Beatrice Quilt Tutorial
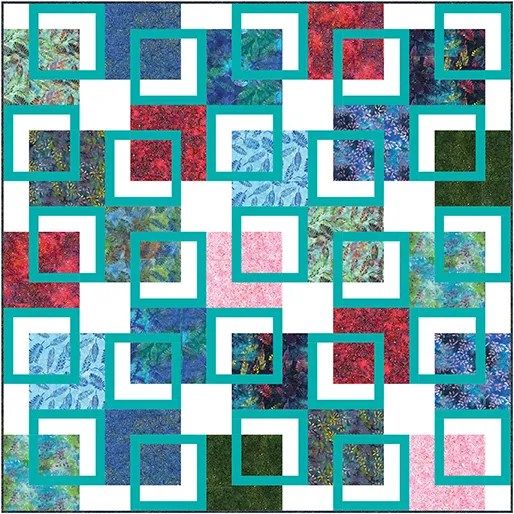
Ever since Beatrice came out earlier this year, I’ve been eager to make it. I love that it pairs two classic blocks — a Rail Fence and a Friendship Star (which is really a Nine Patch block in disguise) — together. You can check out our Rail Fence post and Nine Patch post, which are part of our Quilt Block Basics series, for more block fun and inspiration.
I also love how the Friendship Star blocks are arranged in diagonal rows cascading through woven Rail Fence blocks in a less-than-typical arrangement. Beatrice finishes at a generous 54″ x 72,” which is a very nice-sized throw quilt.
I hope you’ll give this one a try!

Get Beatrice HERE
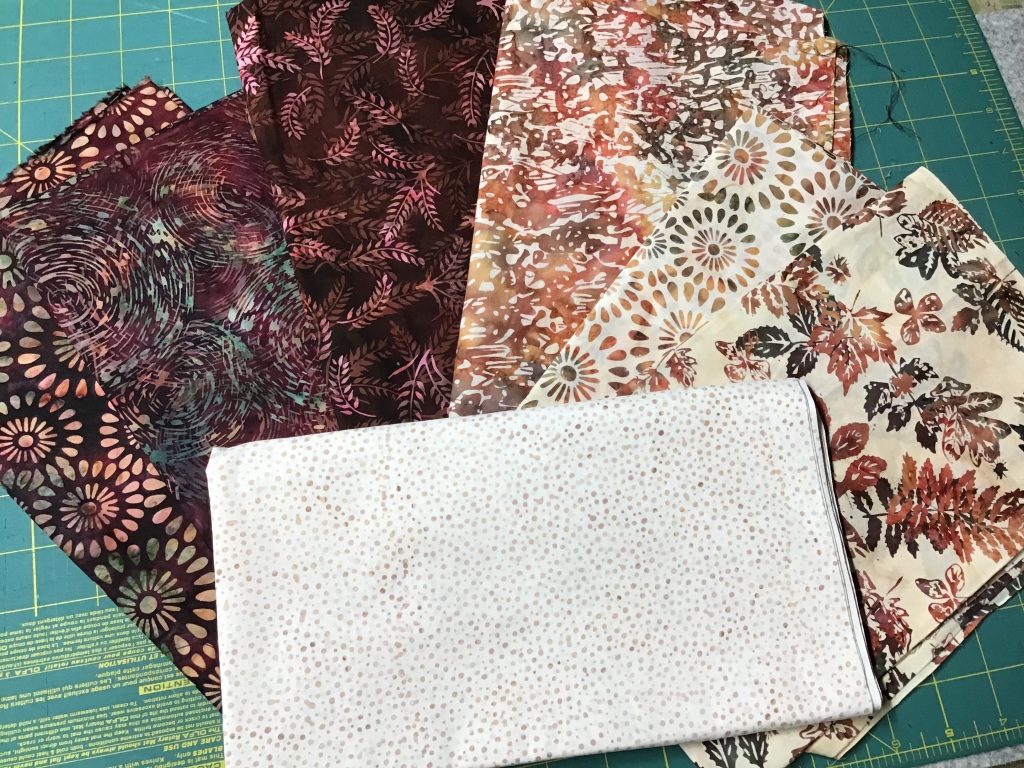
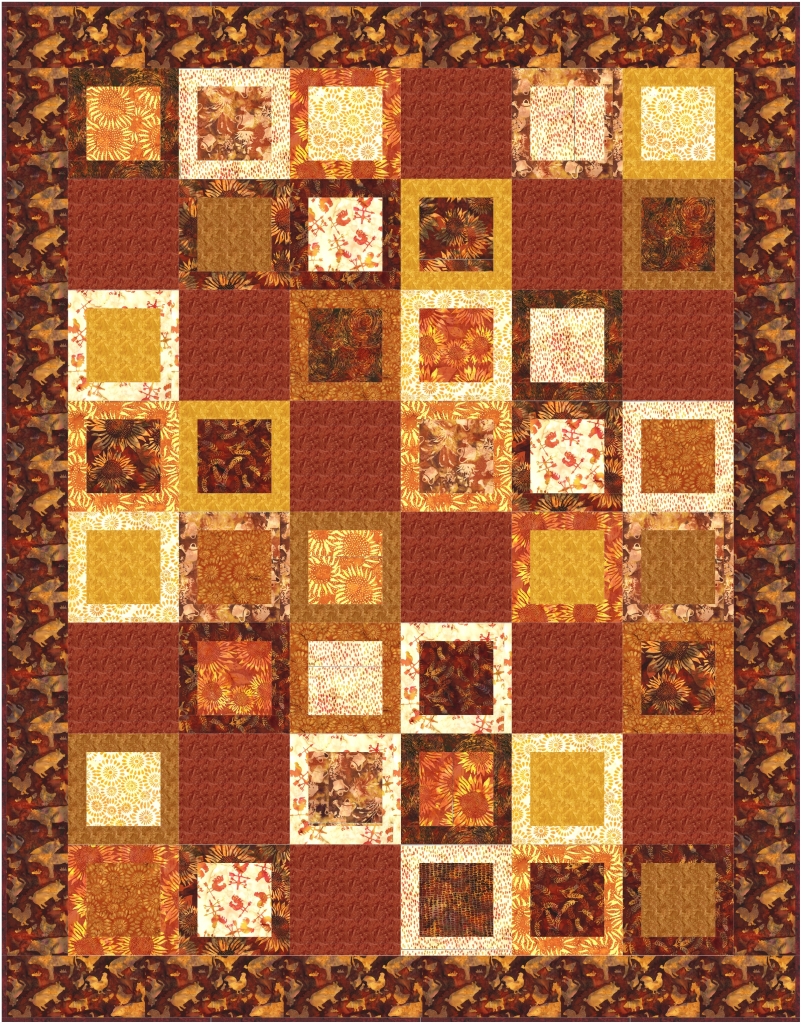
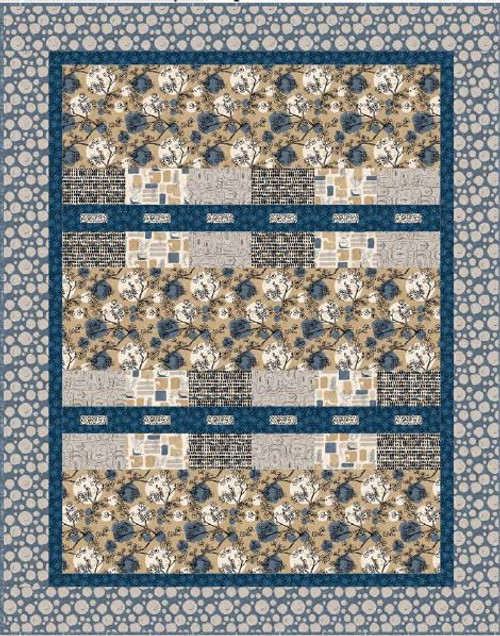
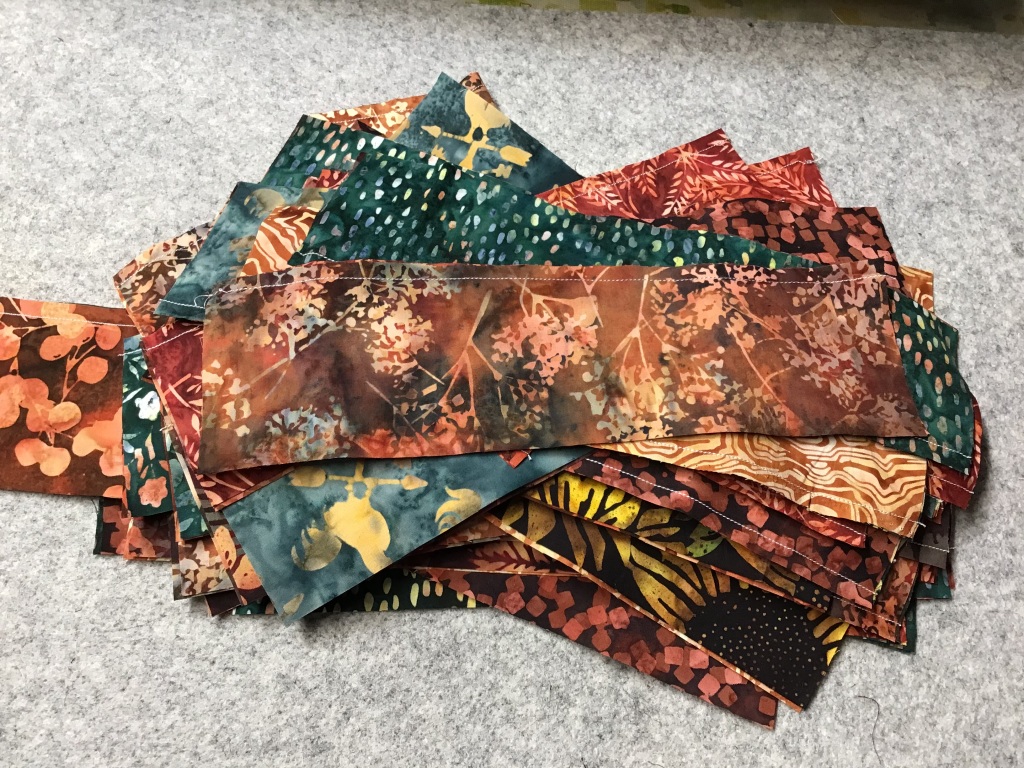
Let’s take a look at the gorgeous Hoffman Bali Batik collection, Homestead, I am using for my Beatrice quilt. Ask for it at your favorite quilt shop or online retailer!

Isn’t this collection delicious? I added an 1895 Watercolor batik as my star fabric — can you find it?? (Hint: it’s the lightest fabric….)
Ready? Set. Go! Let’s get started on Beatrice!
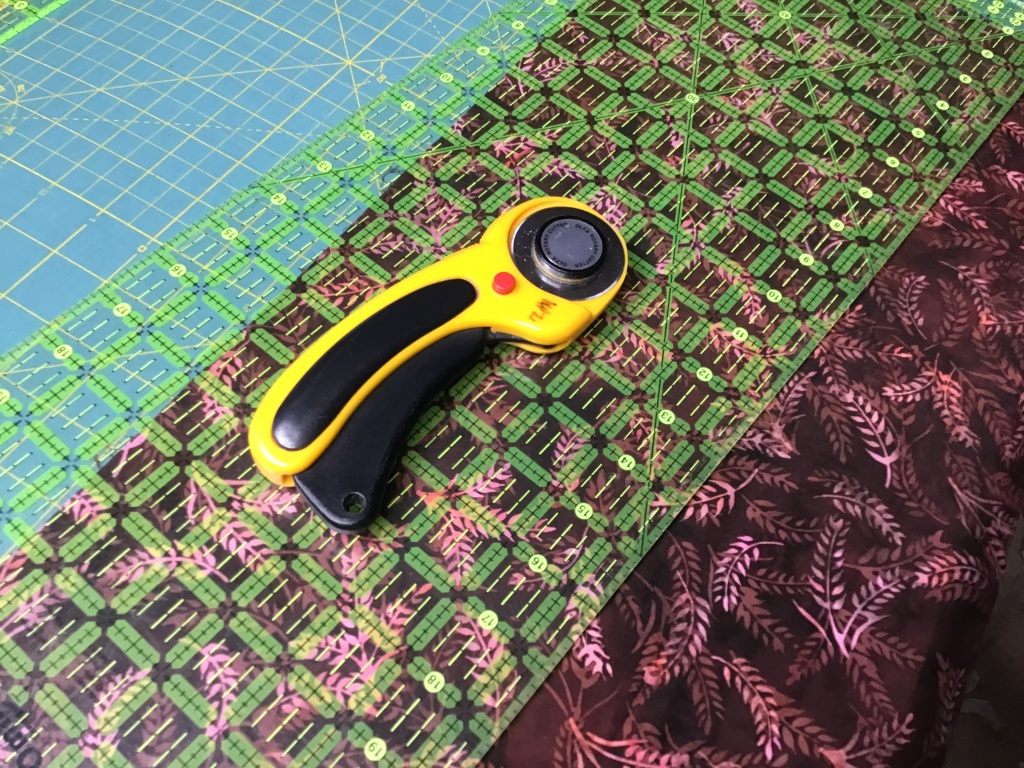
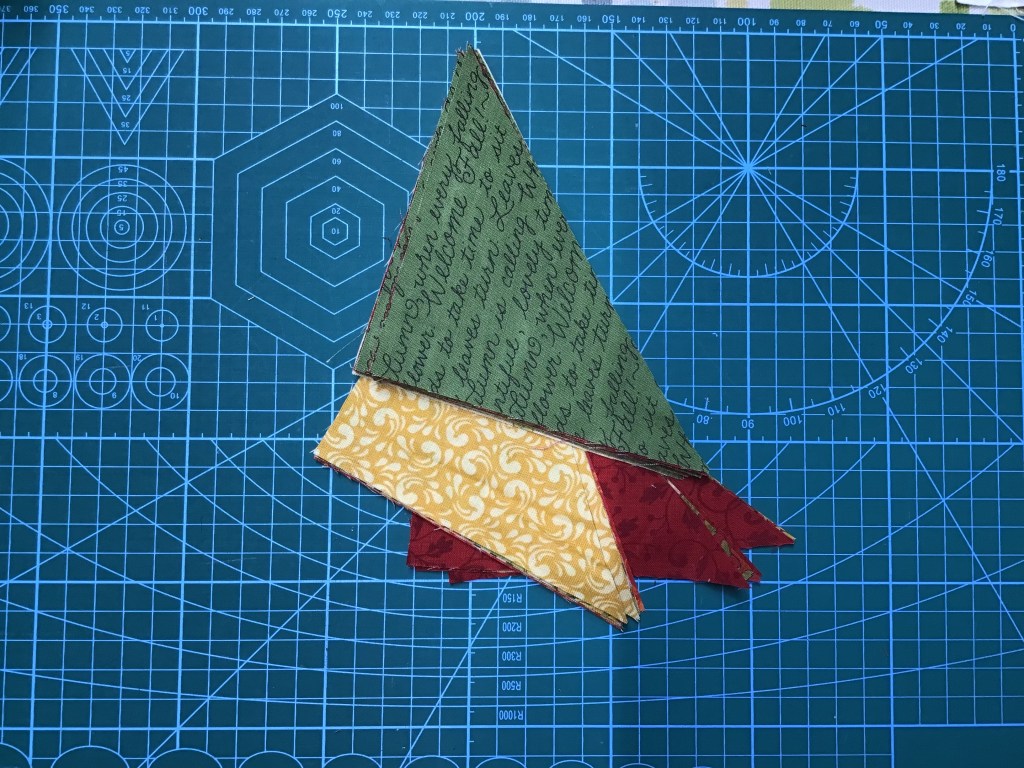
1. We’re going to cut all of our fabrics before we start to sew. Do you do that or do you cut your pieces out as you sew? Or do you make a sample block before you cut everything out? For my VRD quilts, I feel totally comfortable just jumping in — no need to make a sample block to make sure everything fits together properly because I know that everything will fit together perfectly. Just another thing I love about our Rose Card patterns.


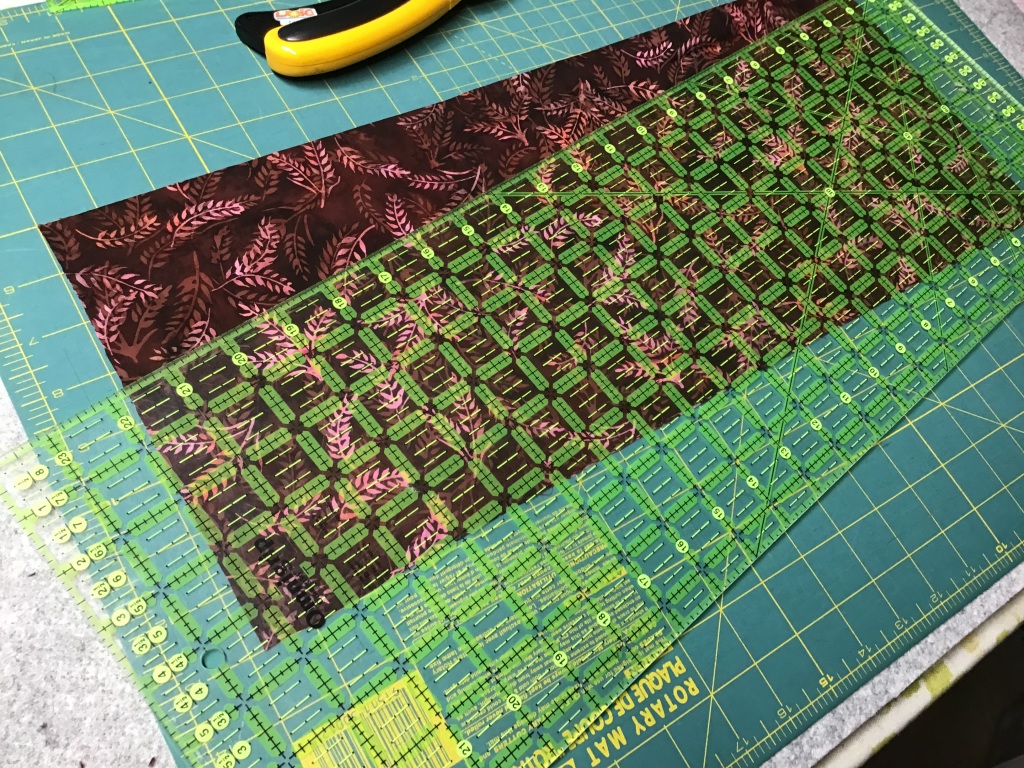
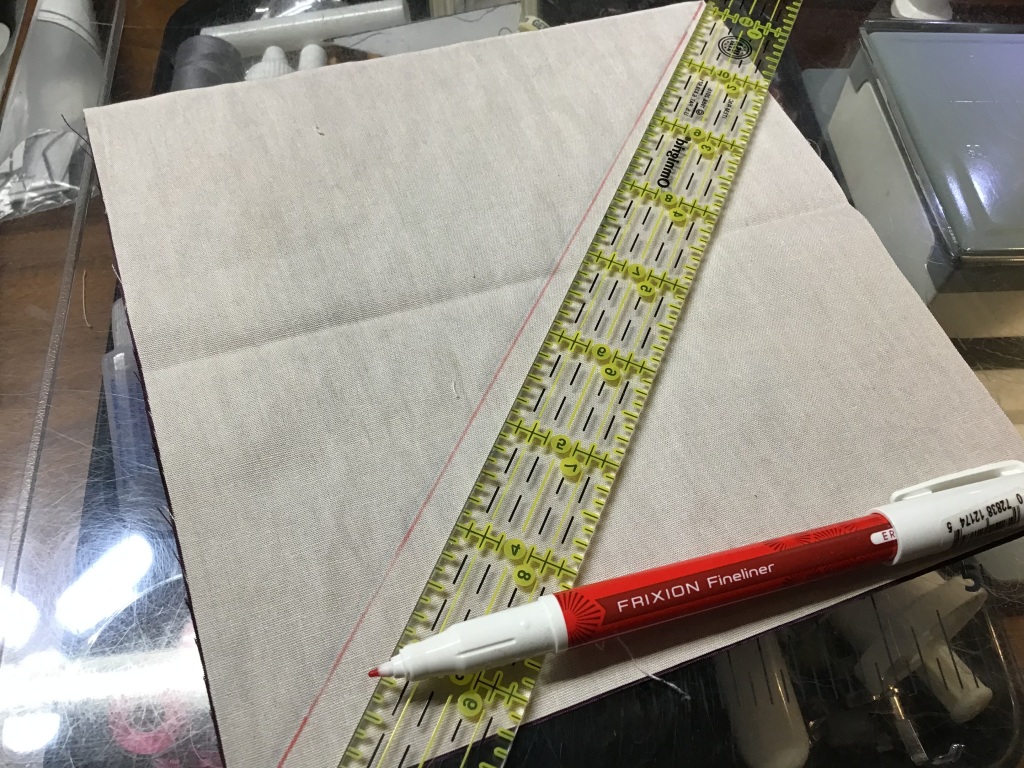
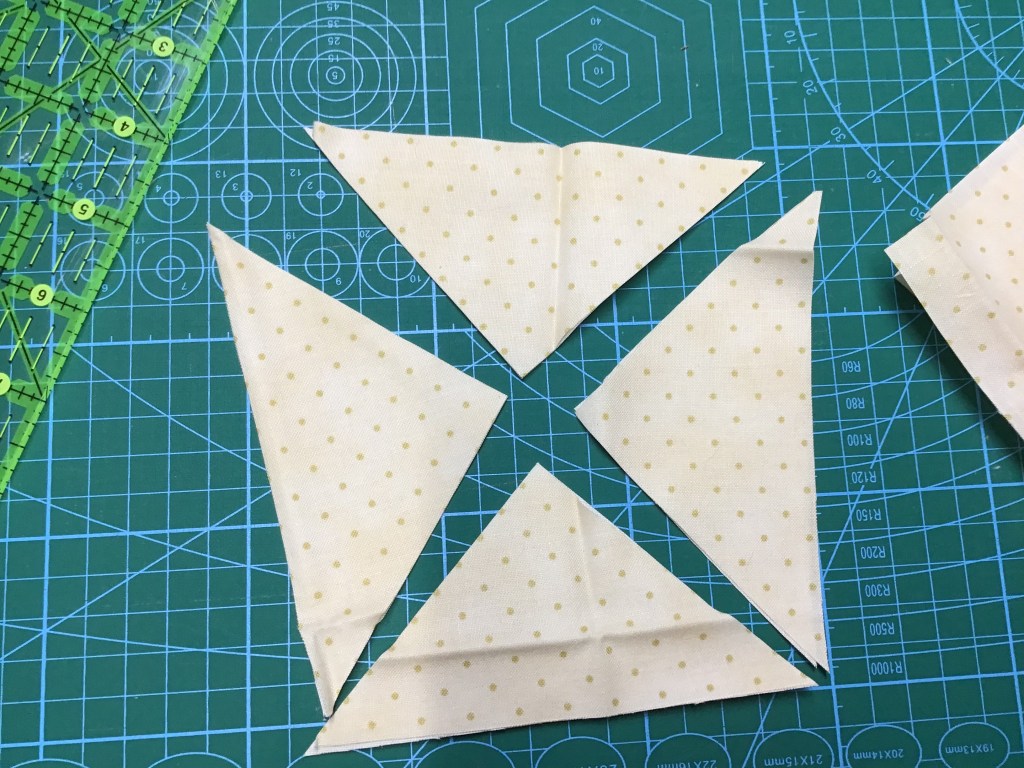
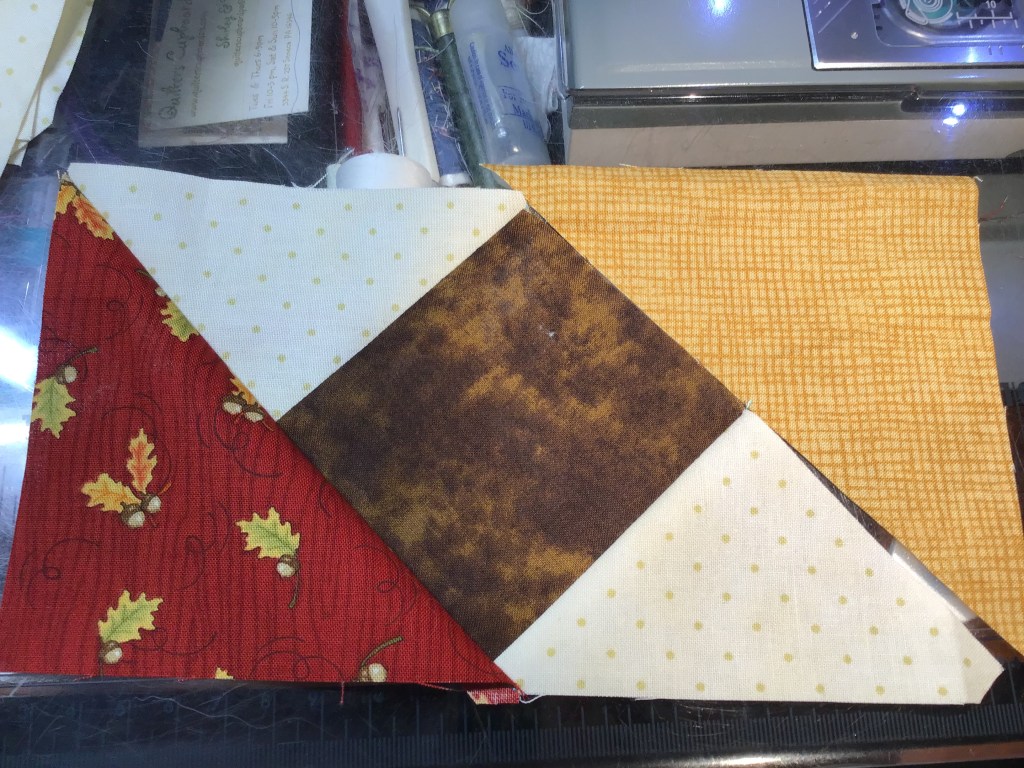
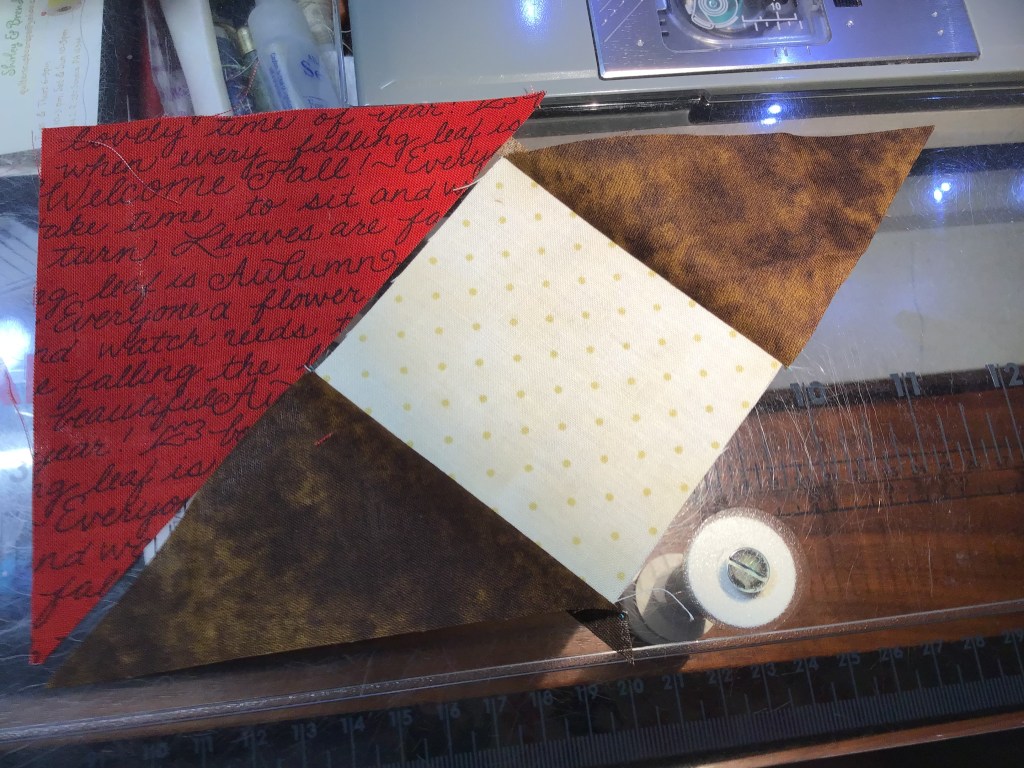
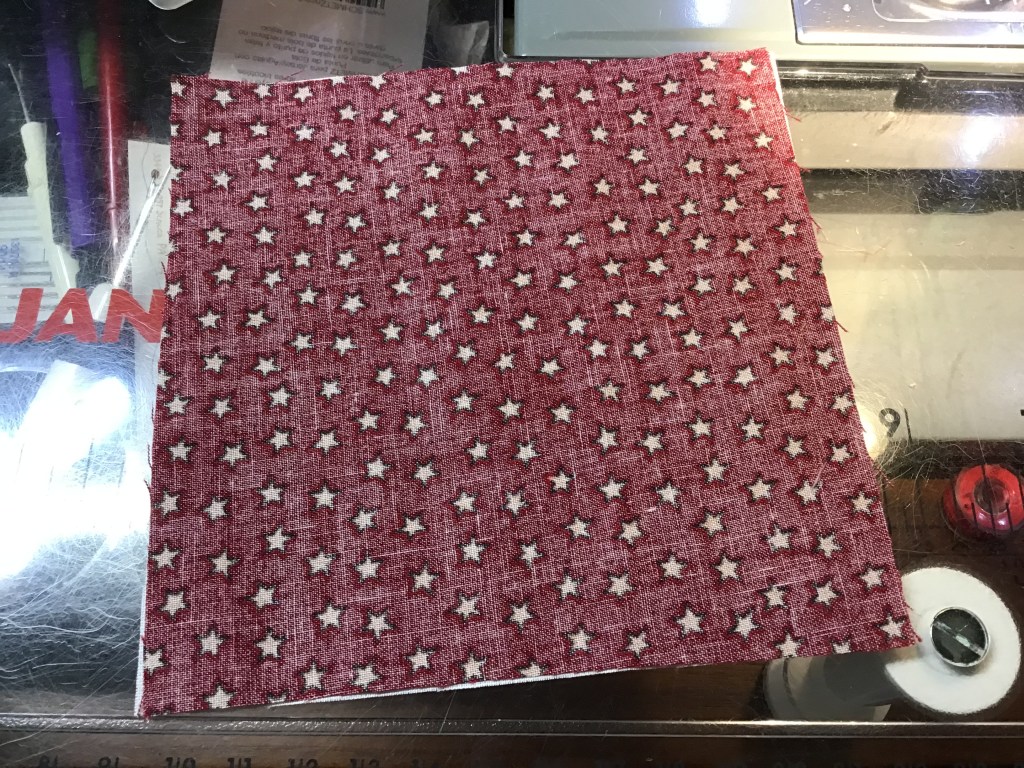
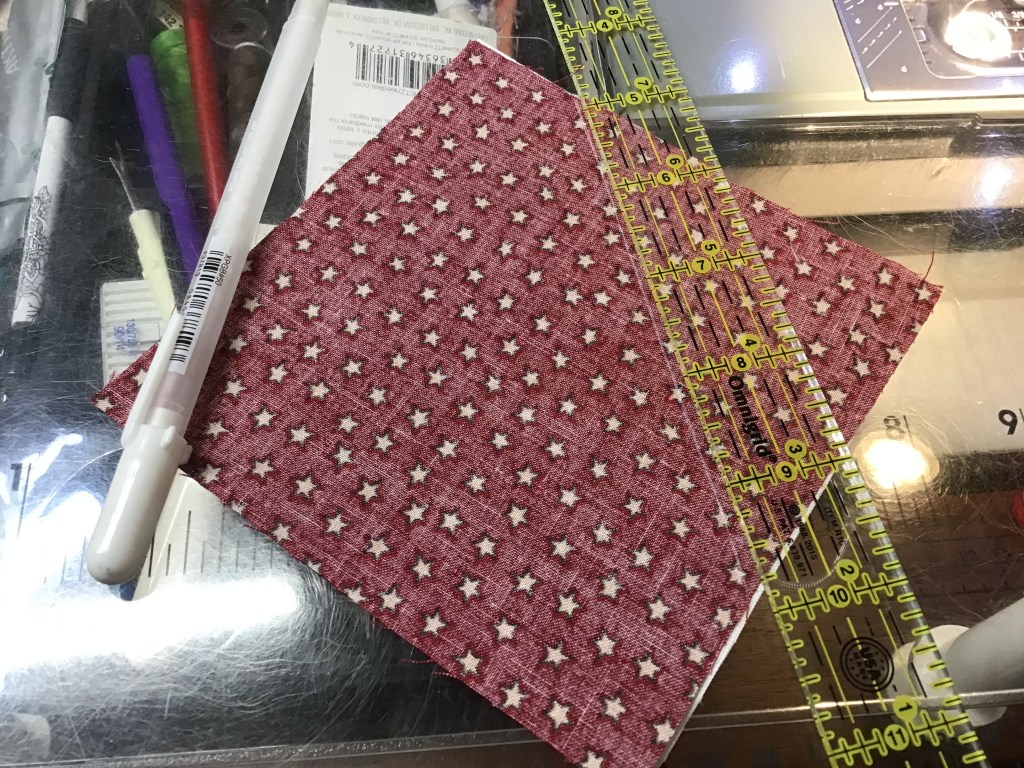
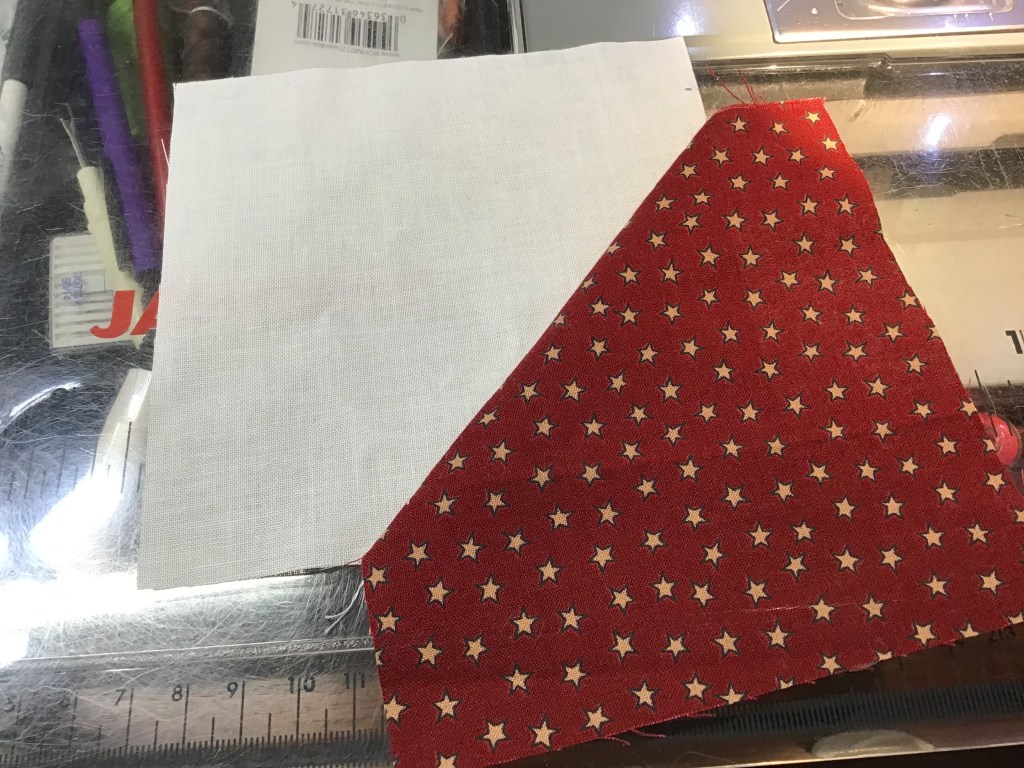
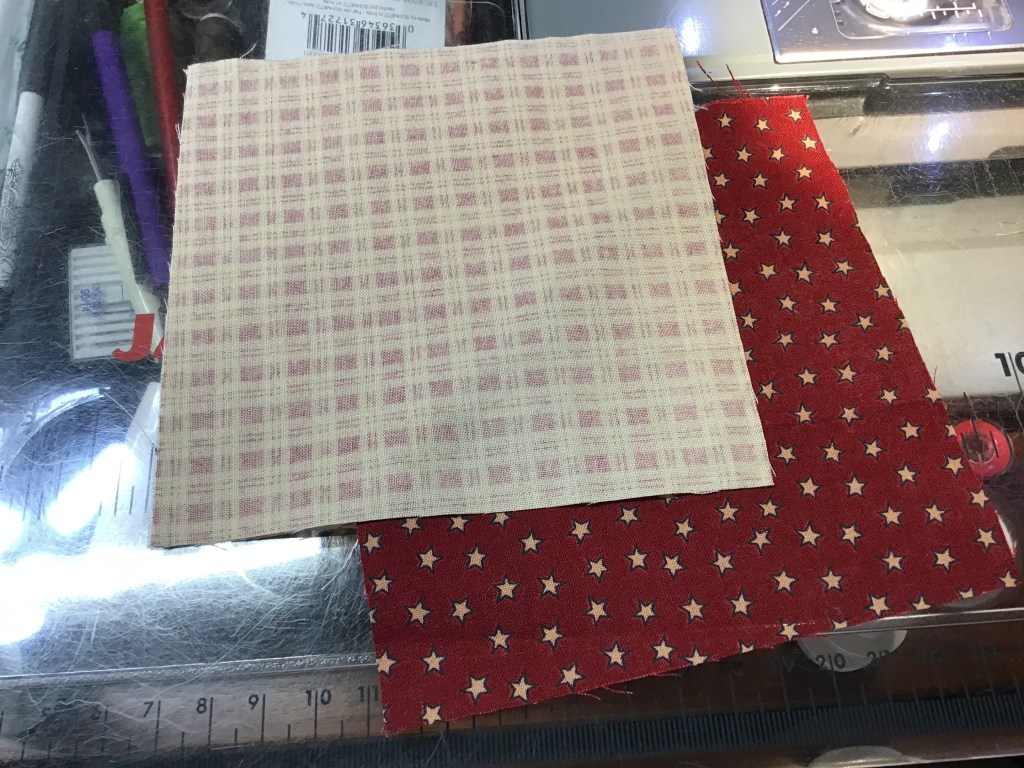
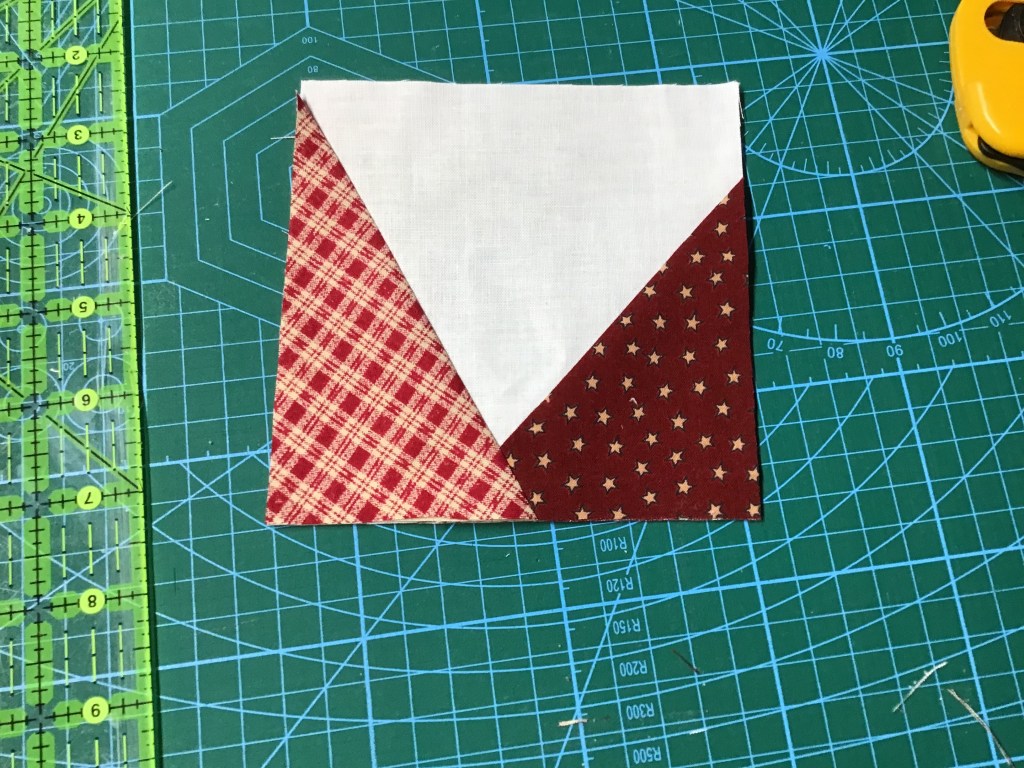
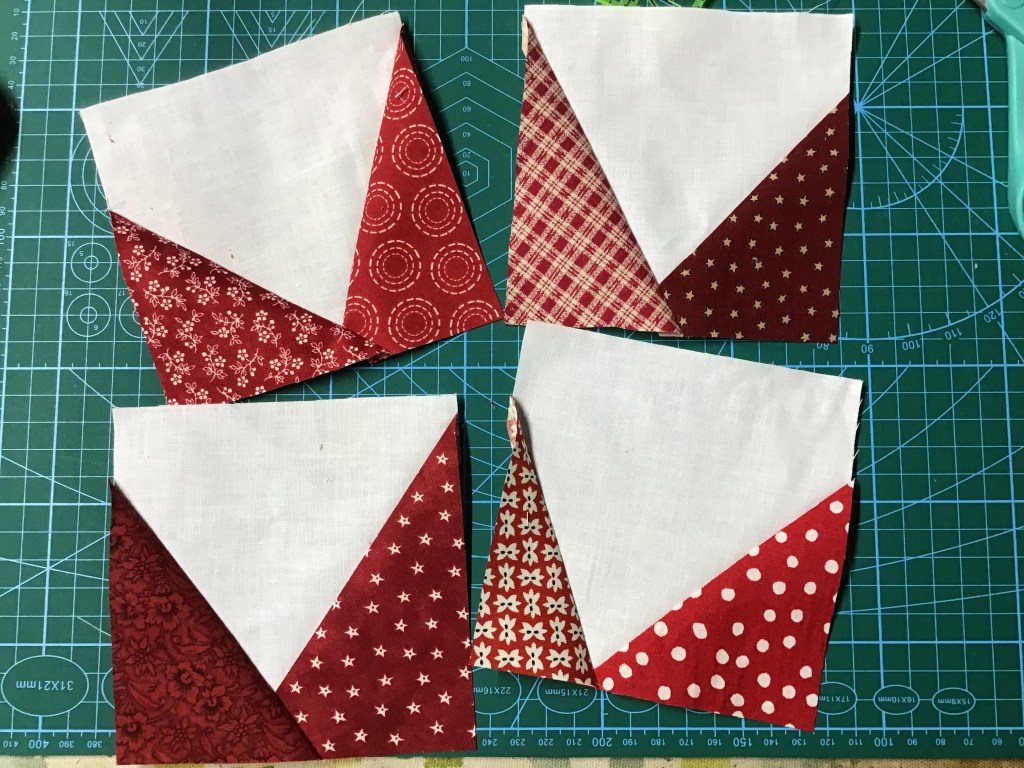
2. Now let’s sew some Friendship Star blocks! The first thing we need to do is make some Half Square Triangles (HSTs) for the star points. When I first started quilting, I did not enjoy making HSTs, but the more I made them (so many quilt patterns use HSTs!), the more I found I actually liked them. Of course, the more I made them, the more accurate my HSTs became, too.
Layer your squares right sides together (RST). Draw a diagonal line from corner to corner. Sew 1/4″ away from both sides of your drawn line. Cut on the drawn line to make 2 HSTs. Press the blocks open. And don’t forget to trim off your little dog ears at the corners (this will help the accuracy of your piecing — trust me).

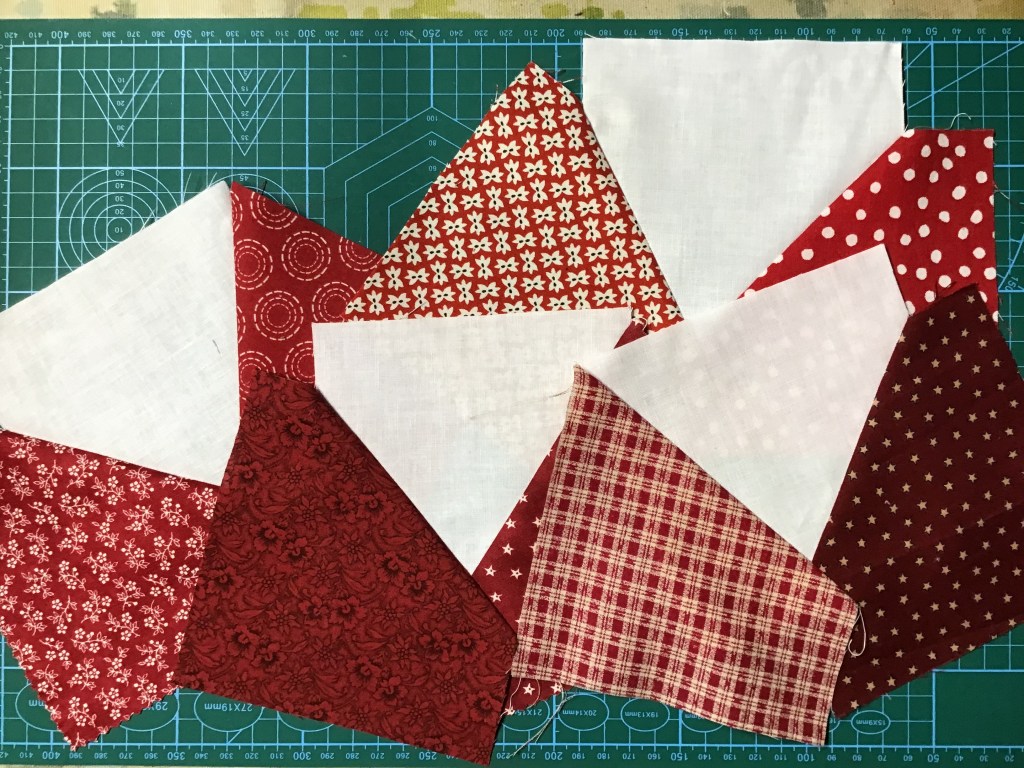
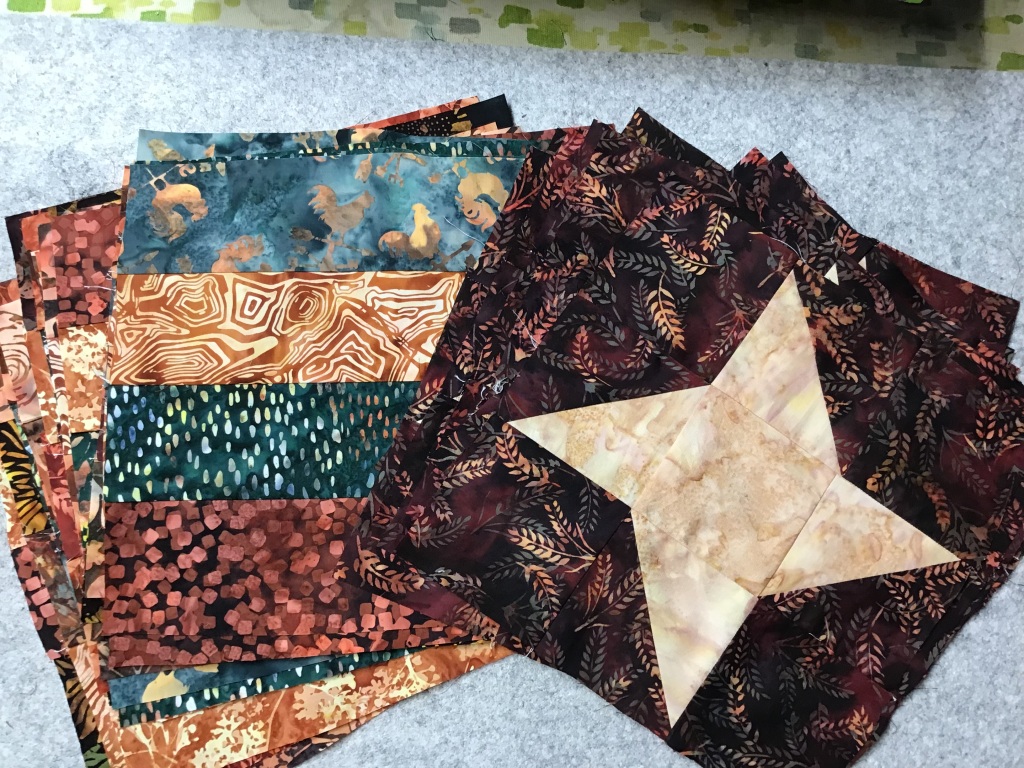
3. Next we’re going to lay out a Friendship Star block, which is a Nine Patch block with HSTs. That way, we know how the block should look. With Friendship Star blocks, it’s easy to turn the HSTs the wrong way, which makes for some wonky stars. I actually kept this block layout up on my flannel wall so I could use it as my reference as I sewed the blocks together.
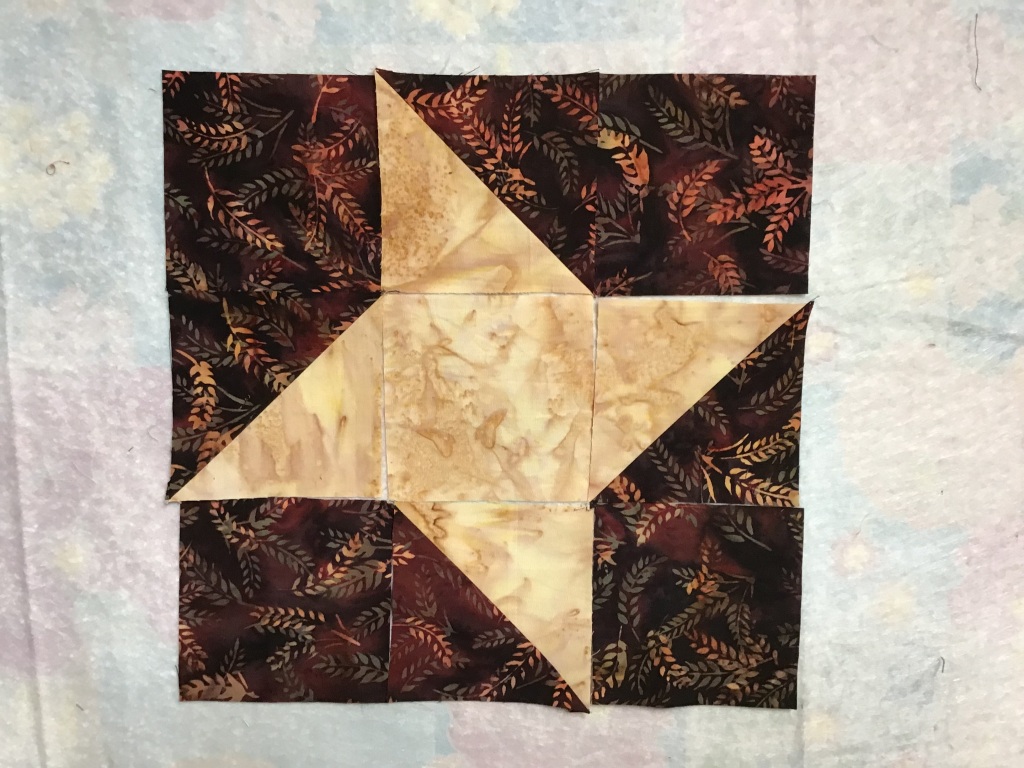
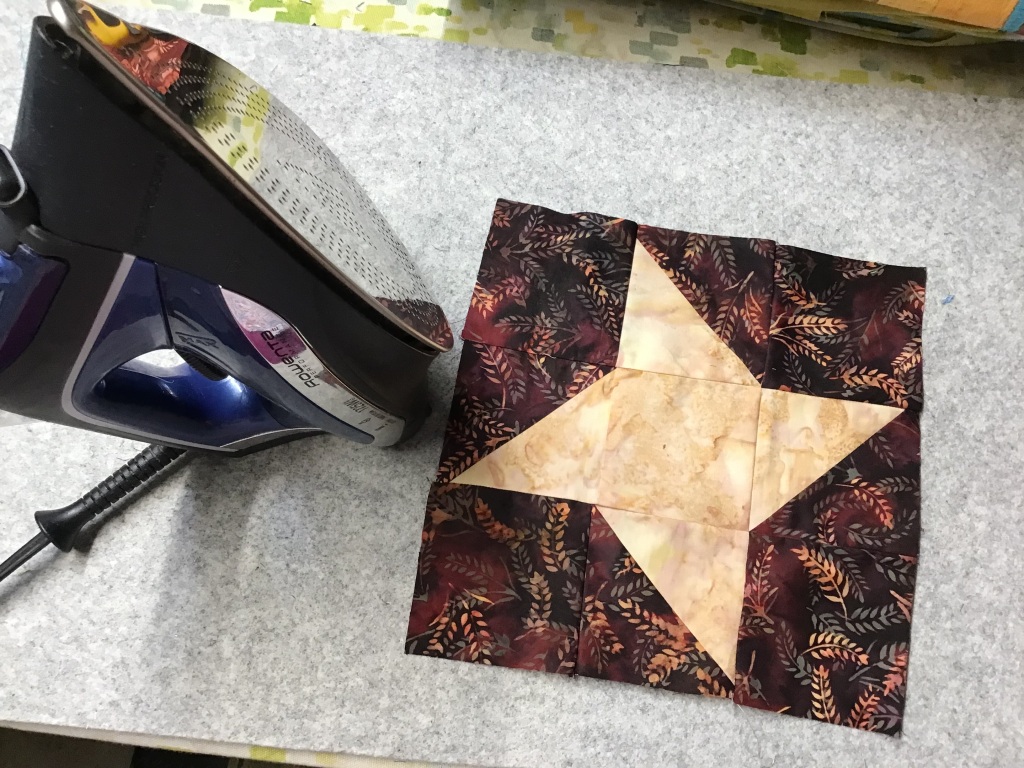
4. Time to sew the blocks together. I am happy to say, I only stitched one block wrong, which of course meant that I had to unsew it and then sew it back together the right way. Mea culpa. Press your blocks. Stars done — yay!


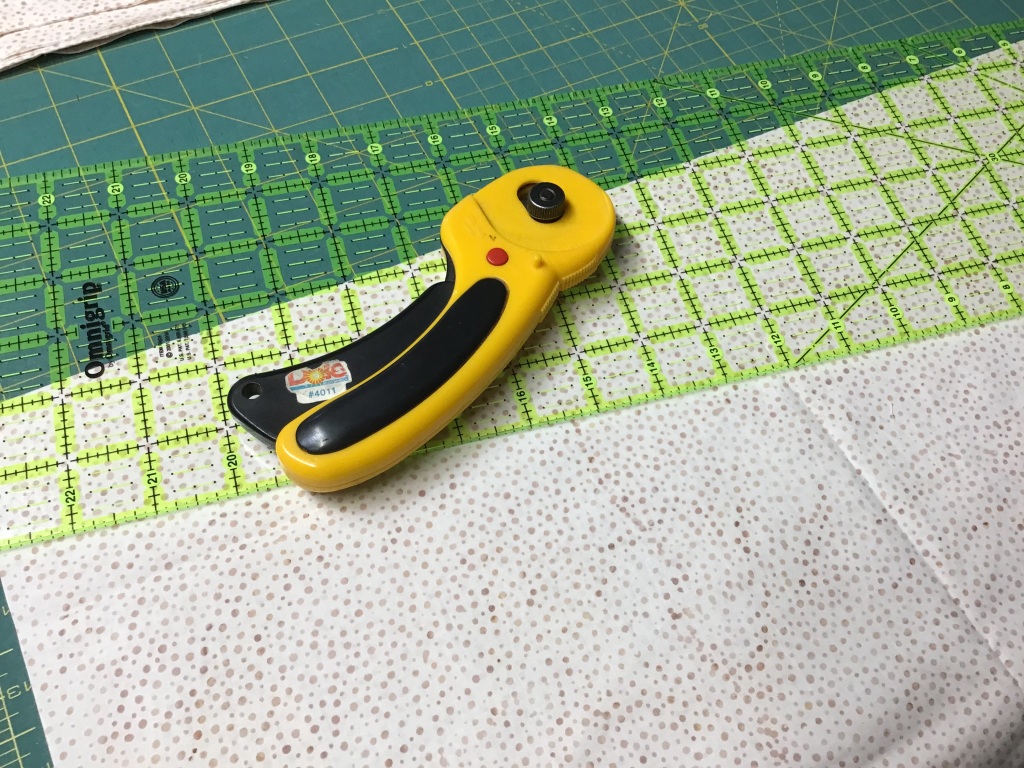
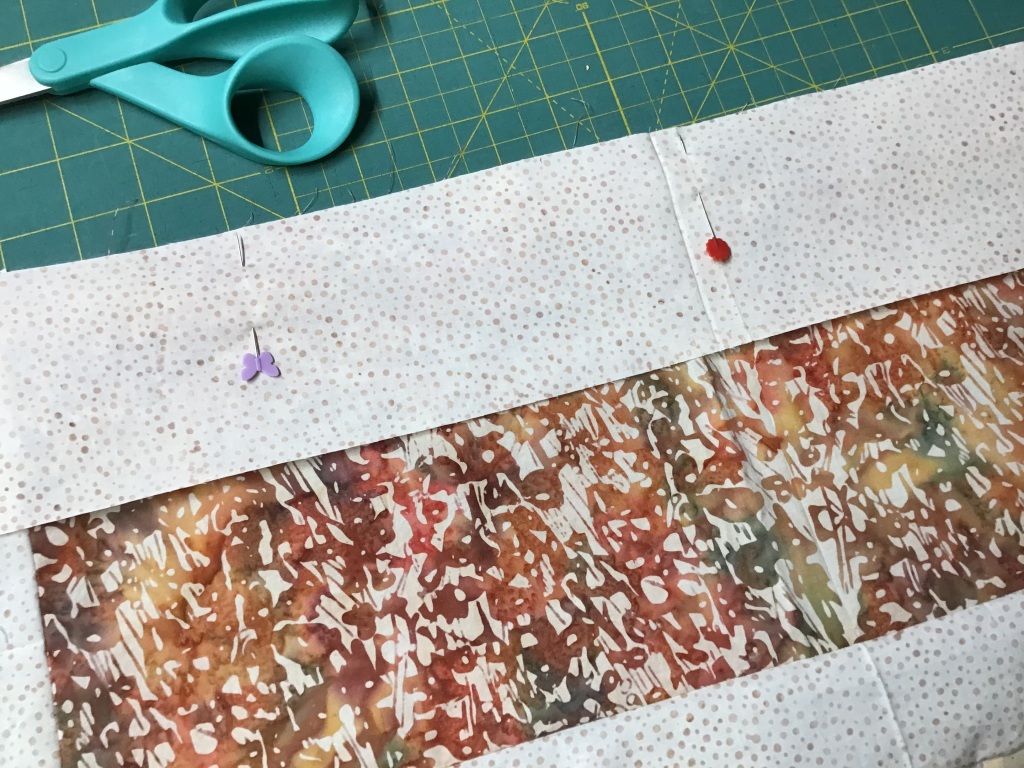
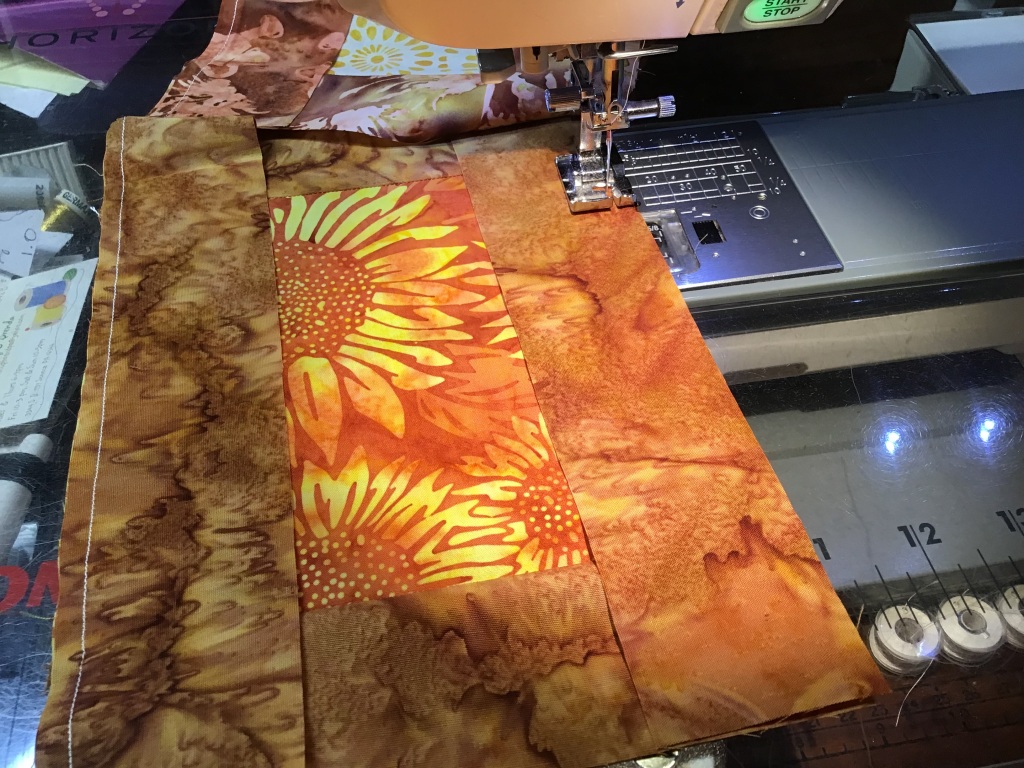
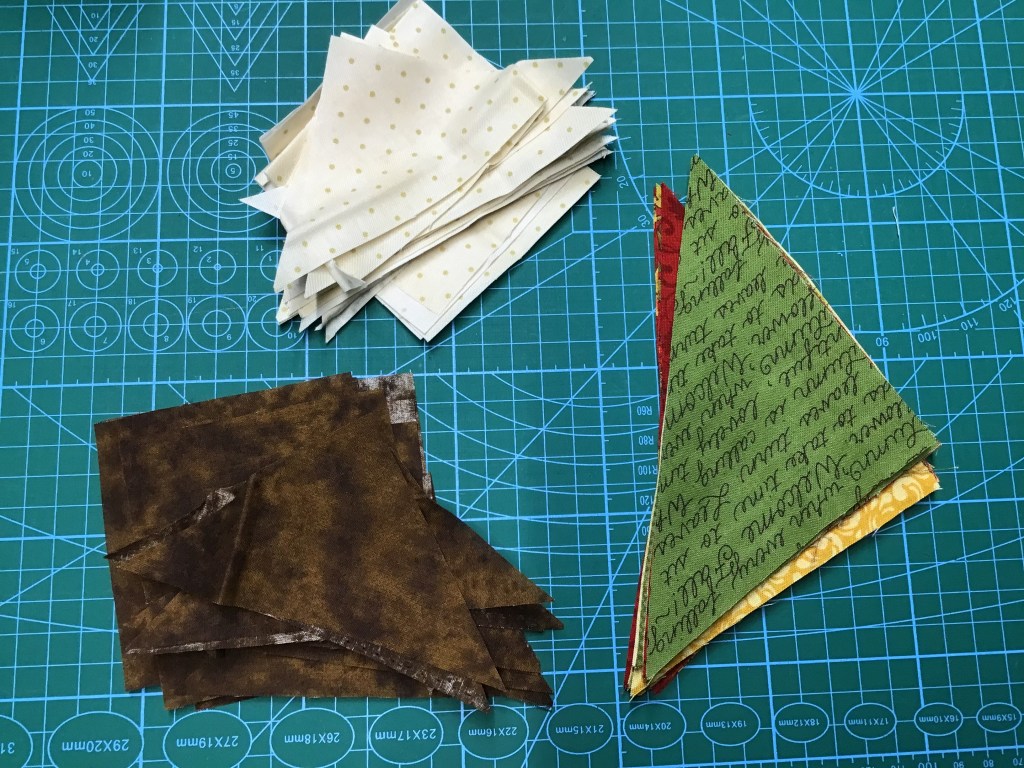
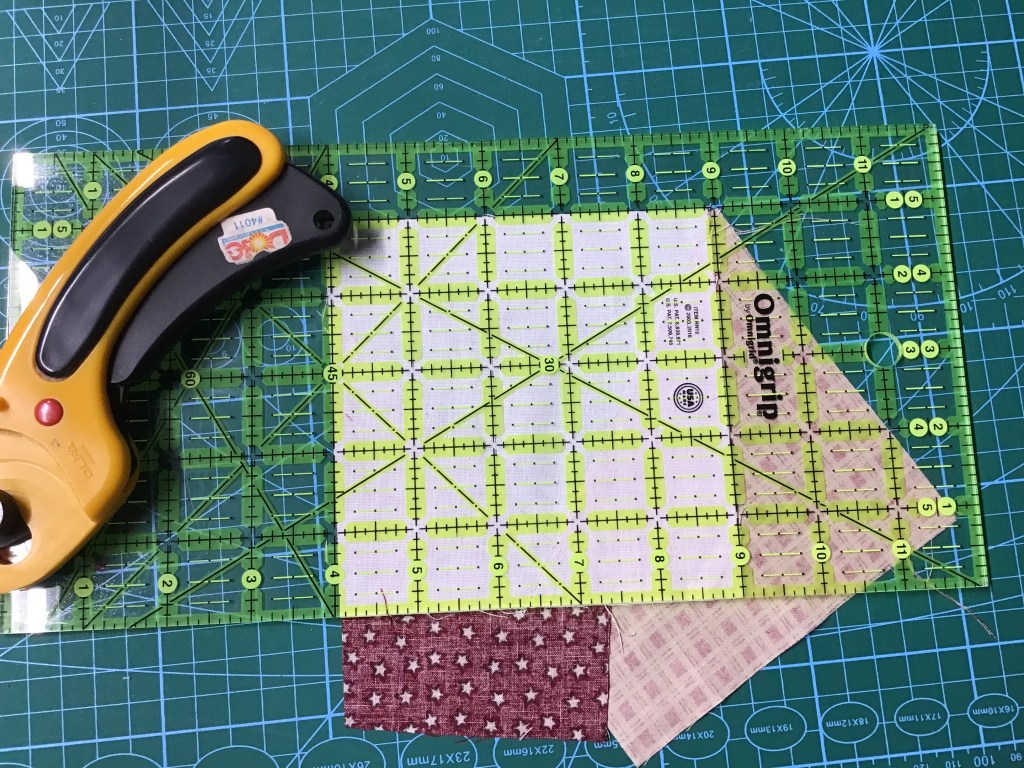
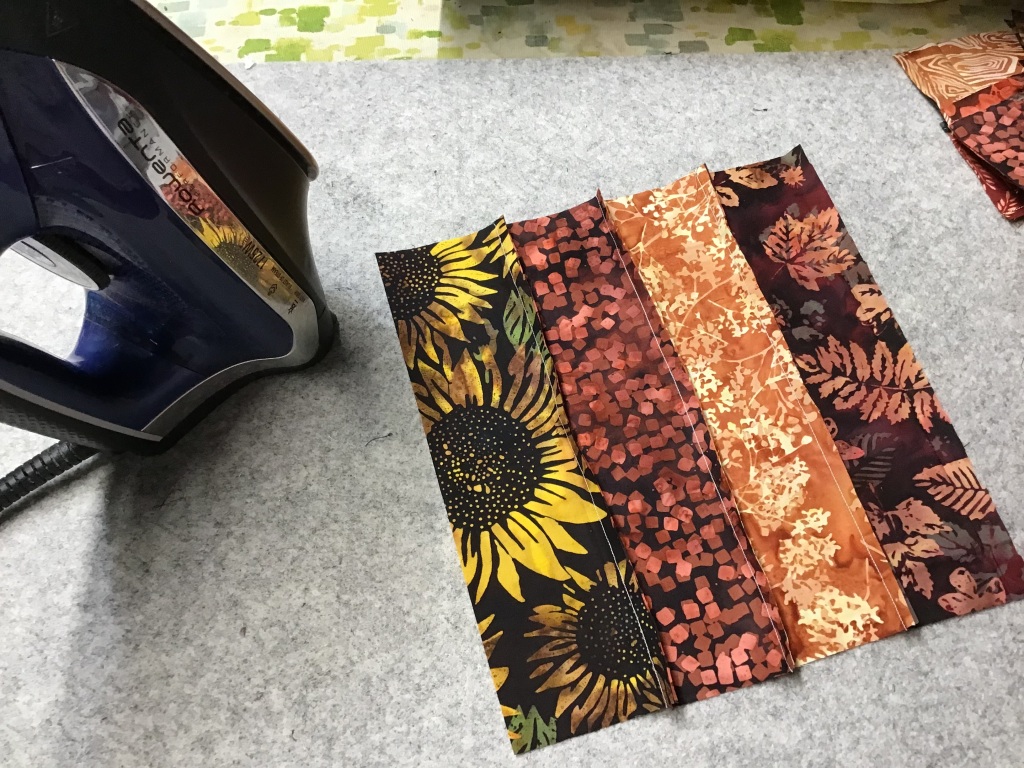
5. Moving right along — let’s make some Rail Fence blocks. Now, the pattern walks you through sewing strip sets together and then sub-cutting the strip sets into the units for the Rail Fence blocks.
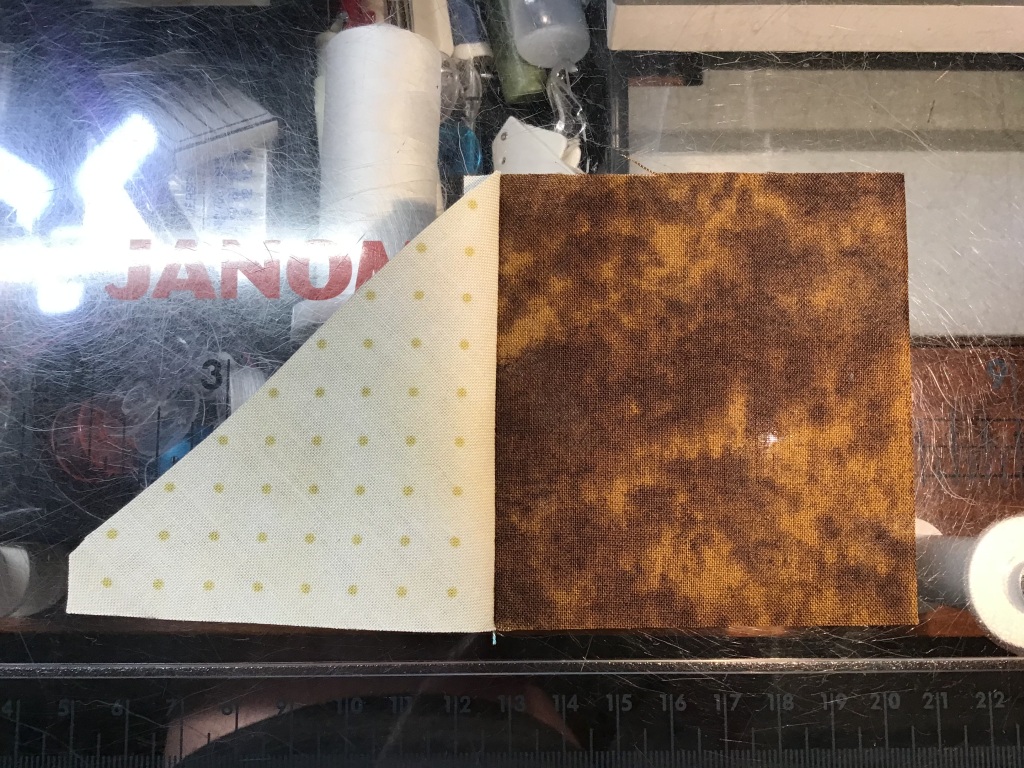
I prefer cutting my fabrics before sewing them together. I used to do the strip set method, but I always had a problem keeping my strips straight — mine would bow like a rainbow. This, of course, affected the accuracy of my piecing. This frustration is what led me to determining what the (unfinished) length of the unit would be and then cutting all my pieces before sewing the units. The easiest way to figure out the length is to look at the size of the unit you’re cutting out of the strip sets — usually that measurement is what you need.
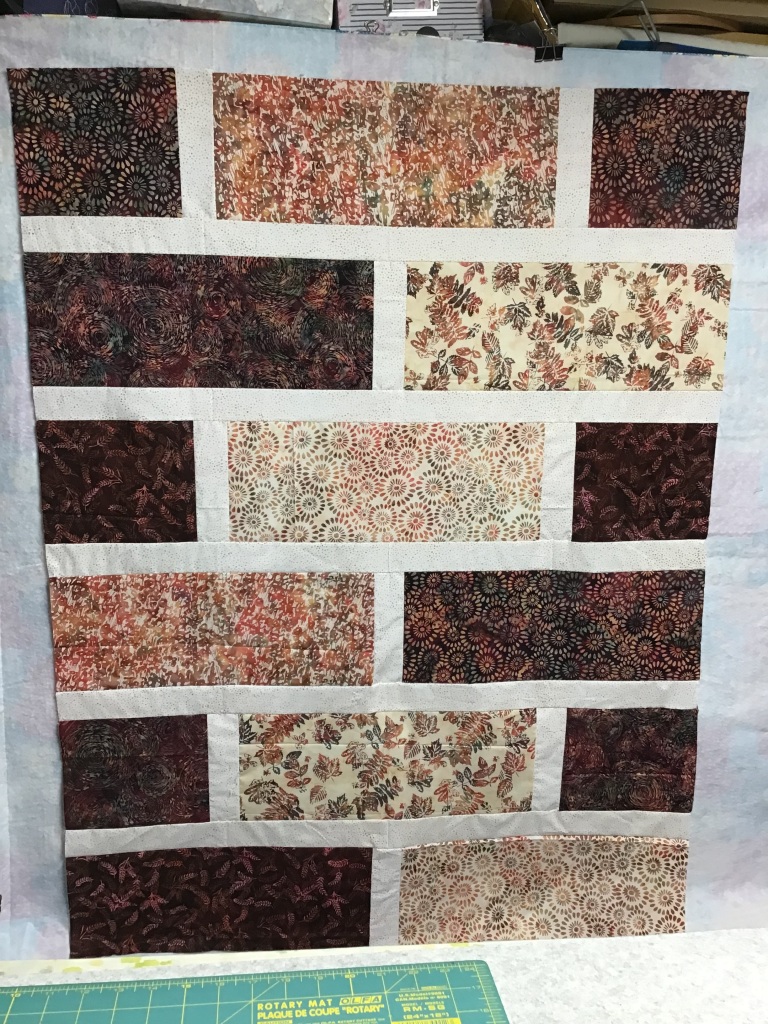
Here are my rectangles ready to sew together into Rail Fence blocks.

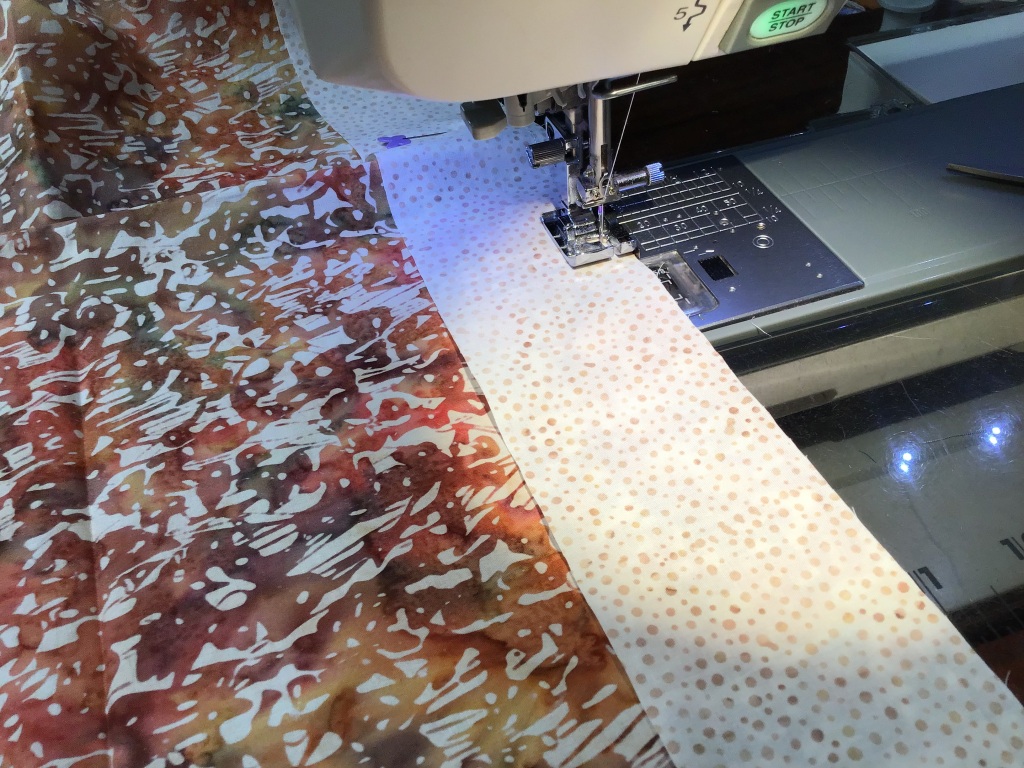
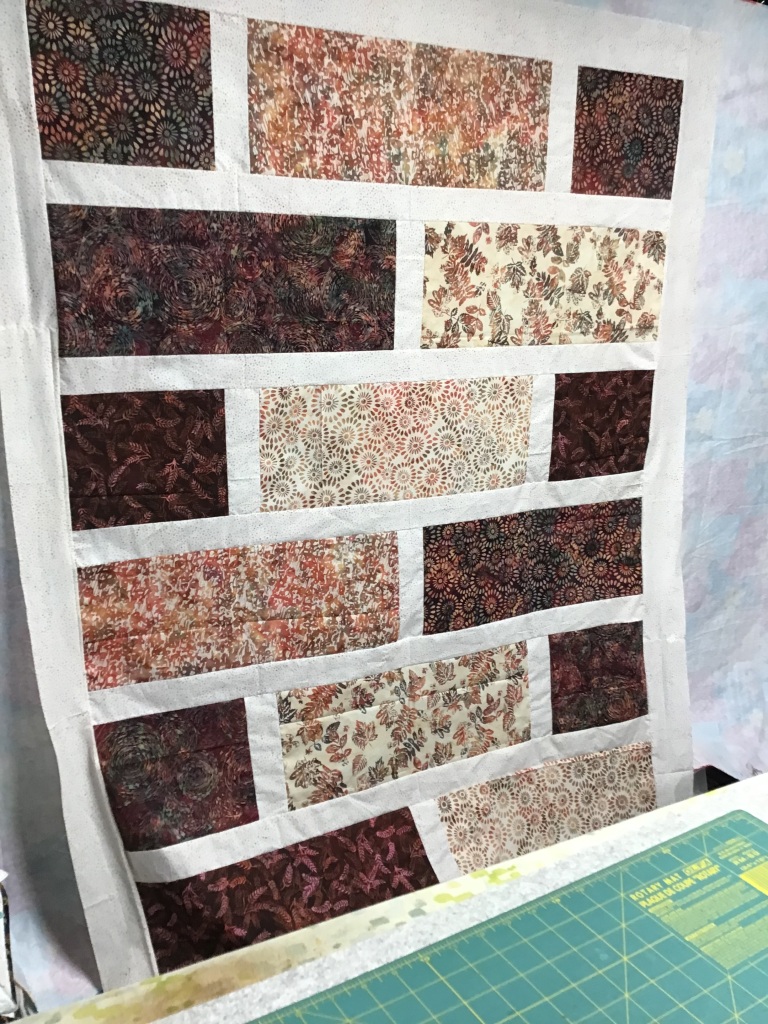
6. Time to sew the Rail Fence blocks together. First, I sew the rectangles into pairs, then I sew the pairs into quads. Another thing I like better about sewing the rectangles together versus strip piecing is that I get a lot more variety in my blocks. After all the blocks are pieced, go ahead and press them. Rail Fence blocks done. Yippee!


7. All the blocks are finished!
8. Boy, am I glad that I have my handy dandy flannel backed table cloth already clipped up on my fabric storage cubes because the next step is to lay out the blocks according to the diagram on the pattern. Whoever discovered that fabric sticks to flannel was a genius! Thank you, thank you!
This quilt is big and I can’t get the entire thing arranged on my flannel wall so I will have to divide the quilt into sections and then sew the sections together. While the blocks are up in the first larger section, I moved a few things around so that the fabrics are well-distributed throughout and not concentrated in any one area.
I will say that these fabrics from the Homestead collection definitely make a gorgeous quilt! It just looks so warm and inviting, like a cup of hot apple cider. Where’s my doughnut??? Boston creme, if you please….
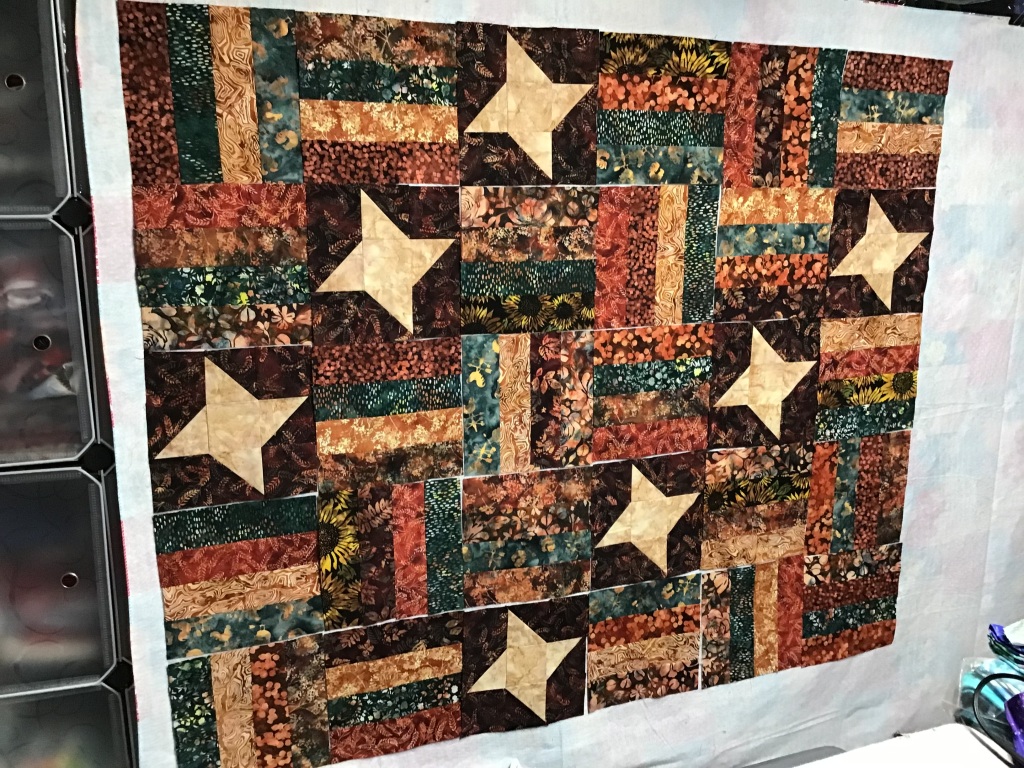
9. I sewed the blocks into rows and then I sewed the rows together into the top section of the quilt.


10. I folded the top section in half and moved it to the top of my flannel wall to make room at the bottom the last rows. That way, I will still be able to move blocks around in the bottom rows if needed. Next I sewed the blocks into rows and the rows into the bottom section. Finally I sewed the bottom section to the top section.

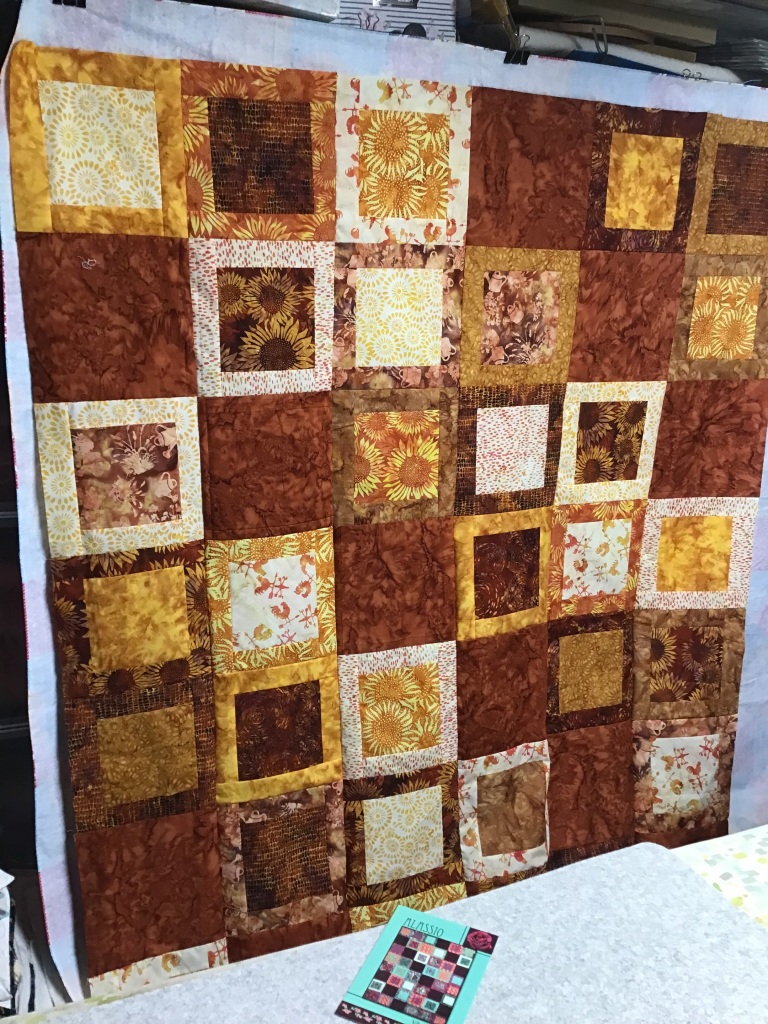
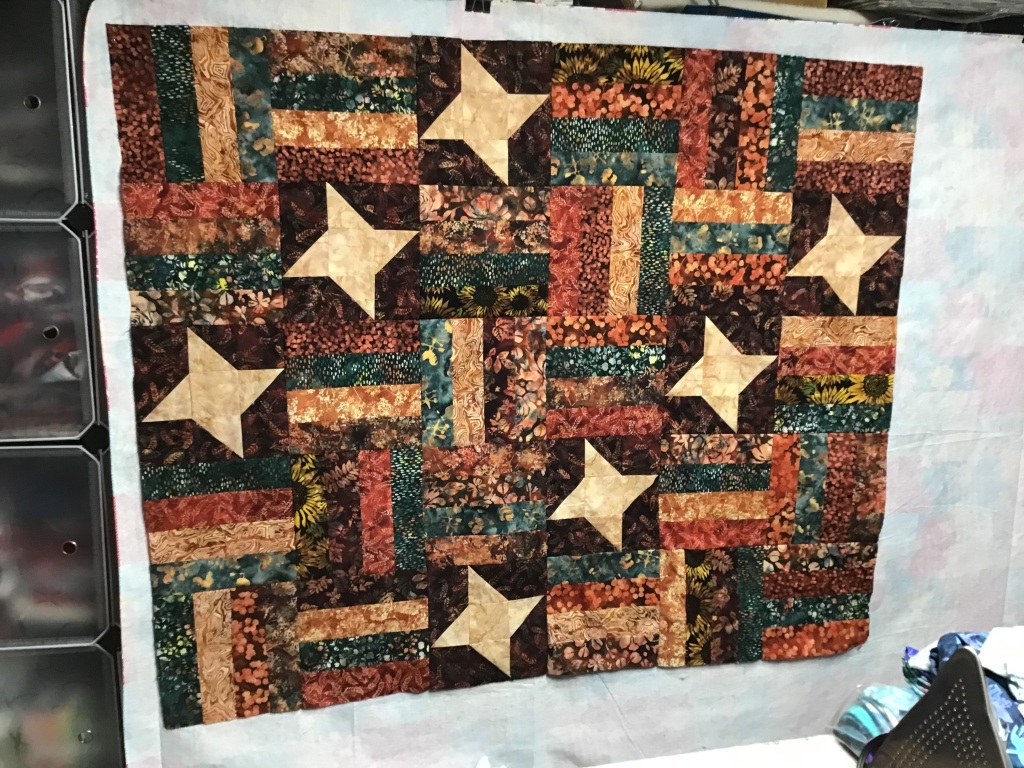
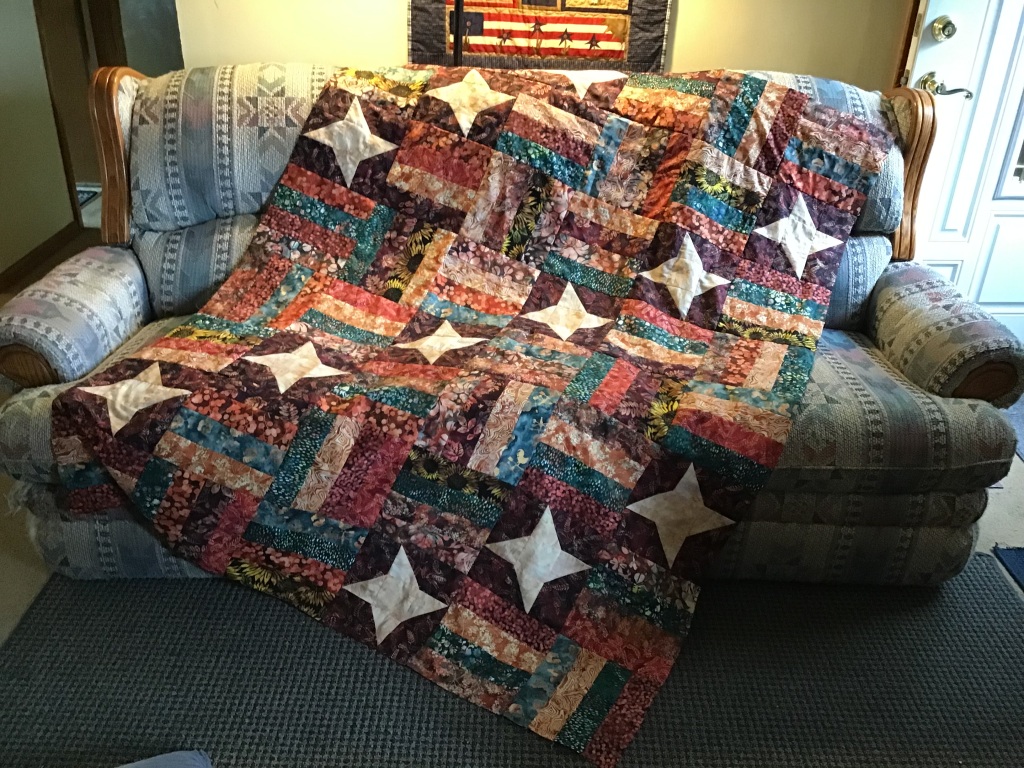
11. Here is my Beatrice quilt top, or flimsy. Yay! I am very happy with how it turned out. It is simply beautiful!
While I was sewing Beatrice together, I kept wondering how it would look in patriotic colors (the quilt diagram on the back of the pattern is done in red, white, and blue). But for this quilt to be large enough to be a Quilts of Valor quilt, you would have to add a border or another column of blocks because it’s not quite wide enough.
Adding a 4″ finished border all the way around would make the quilt 62″ x 80″ which is a wonderful size for a QOF quilt as well as a twin-sized quilt. You would need about 1 1/4 yards fabric for the border (cut strips 4 1/2″ wide) and a total of 5/8 yard for the binding for this larger size.

Who knows, maybe Beatrice will be my next QOF quilt project to make and donate. You’ll have to check back later to see if it is. LOL!
I look forward to seeing your Beatrice quilts! You can post them on our VRD Facebook page. Hope to see you there!
Speaking of Hoffman Fabrics, the new Fall 2024 catalogs have just come out. Check out the Project Book, filled with loads of inspiration and Villa Rosa Design Rose Card patterns featuring the latest Hoffman collections. Truly, a feast for the eyes. Ask at your favorite quilt shop or online retailer for the patterns, fabrics, or maybe even kits. ENJOY!
What quilt will you make first?
Until next Thursday —
Sew. Laugh. Repeat.
Always,
Tricia @ VRD