Hello Quilty Friends!
Happy Thursday to you!
I just got back from the grocery store – yikes, I cringe every time I go! Don’t you? The prices on everything just keep going up and up. And the more we quilters spend on groceries and such, the less we have to spend on our quilting passion. The good news is that we quilters have A LOT of different options available to help us for creating quilts. So, I thought, today would be a great day to talk about ways to get more bang for our buck when it comes to quilting.
Here’s you’ll find a useful list of ideas and inspirations to explore that go easy on your pocket, giving you a little bit more for a little bit less.
Buckle up! And let’s get started!
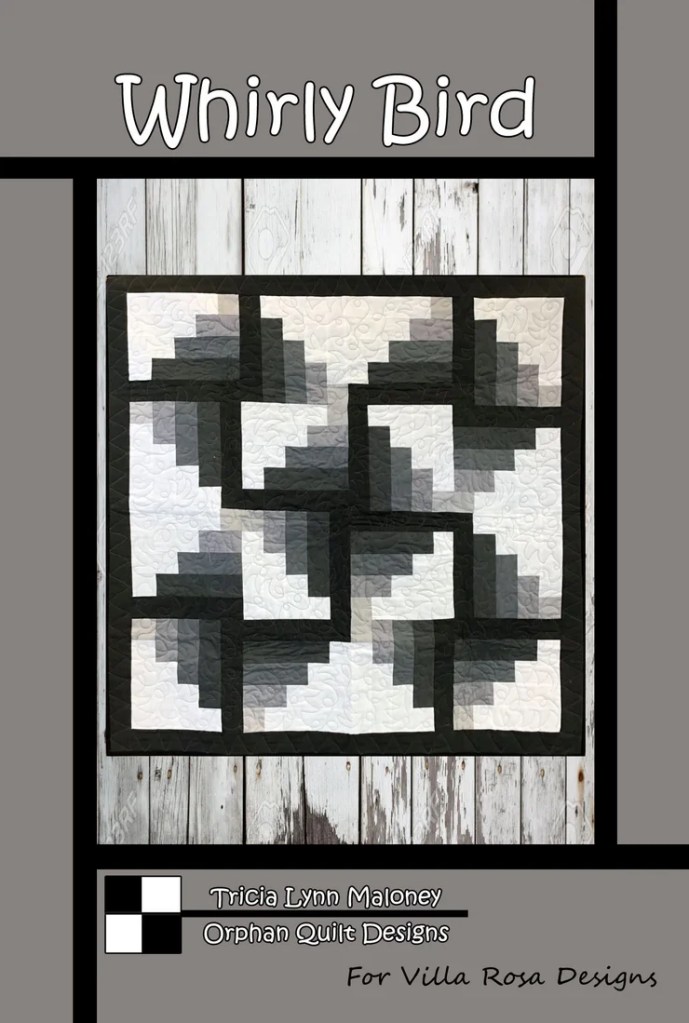
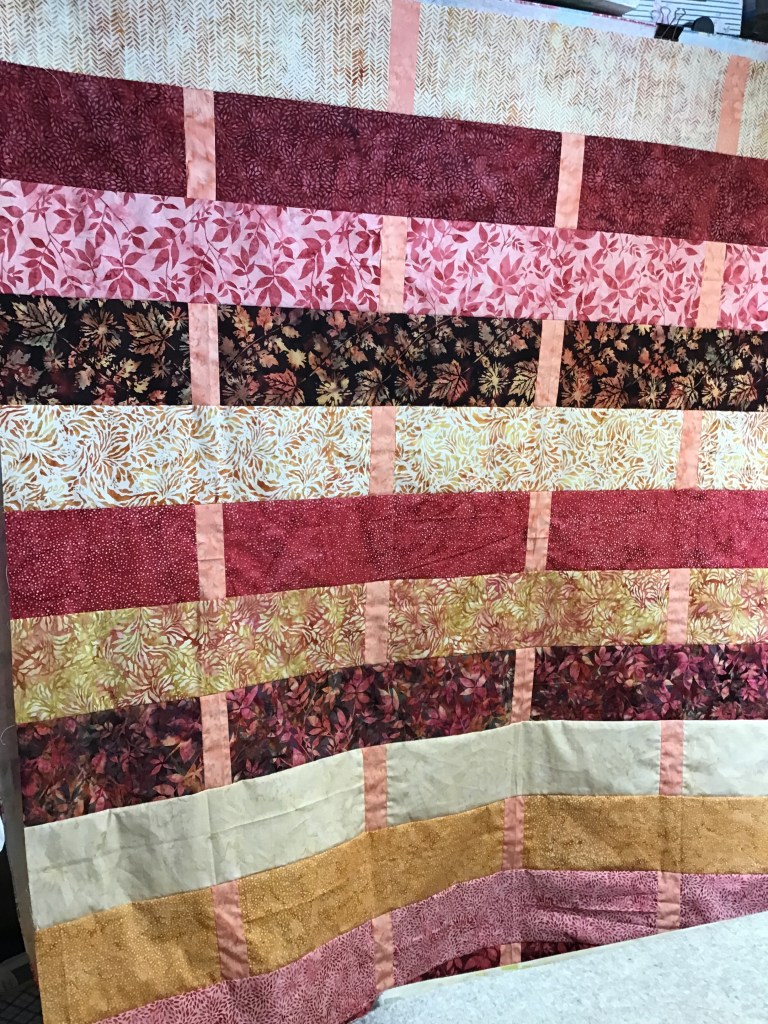
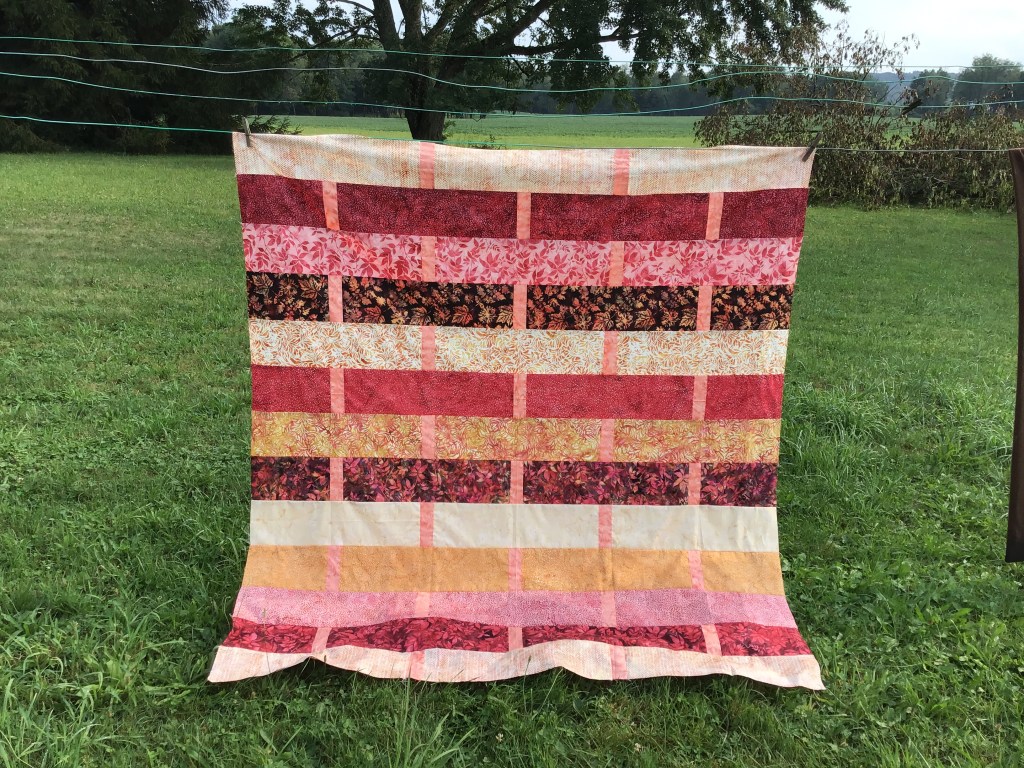
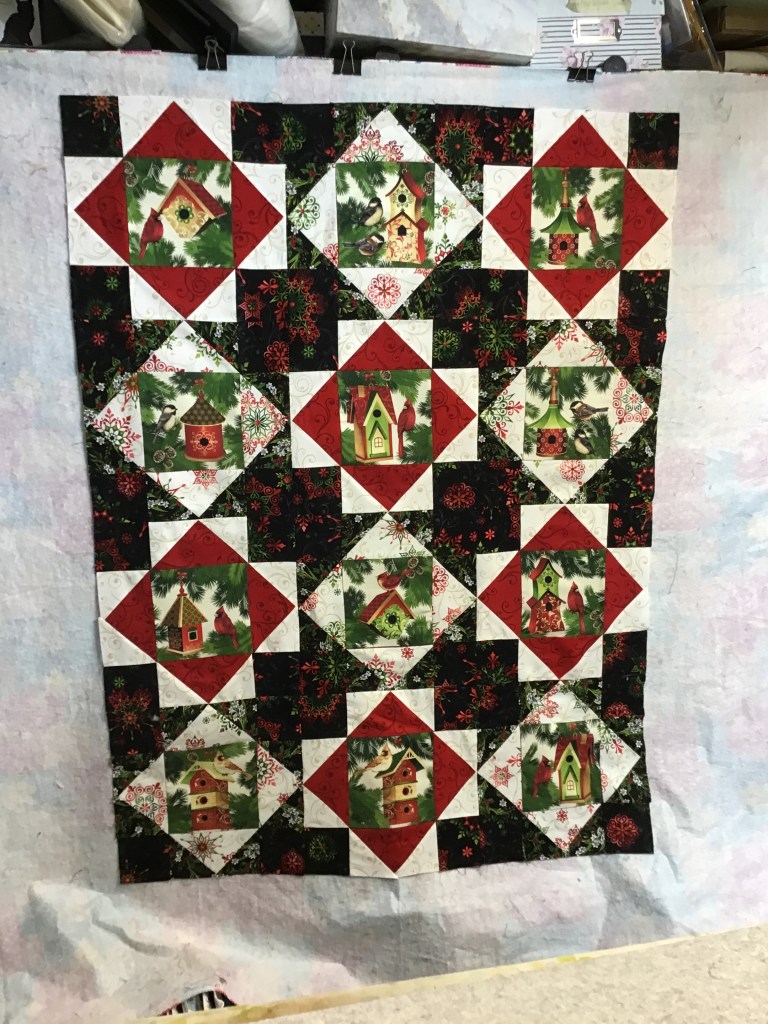
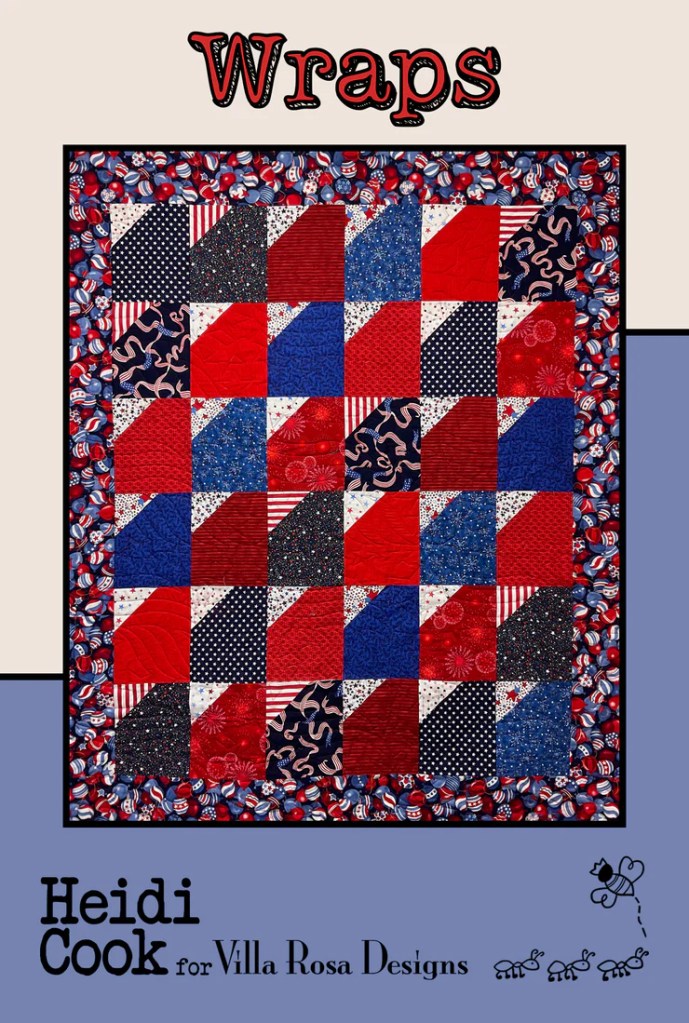
Villa Rosa Rose Card Patterns

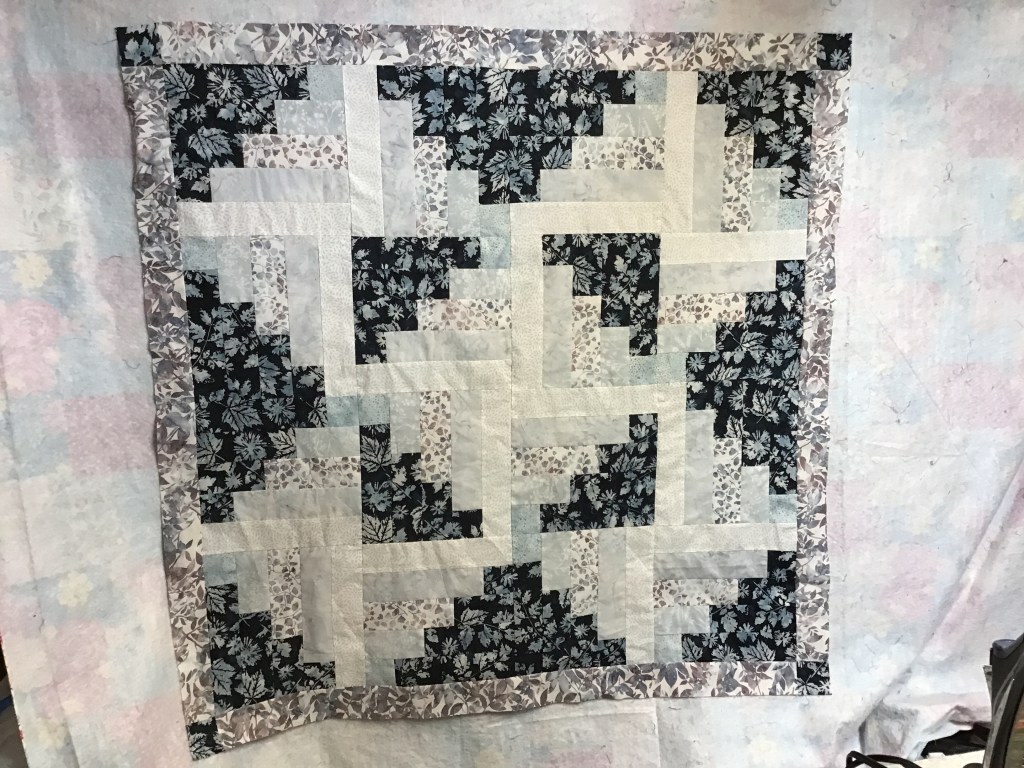
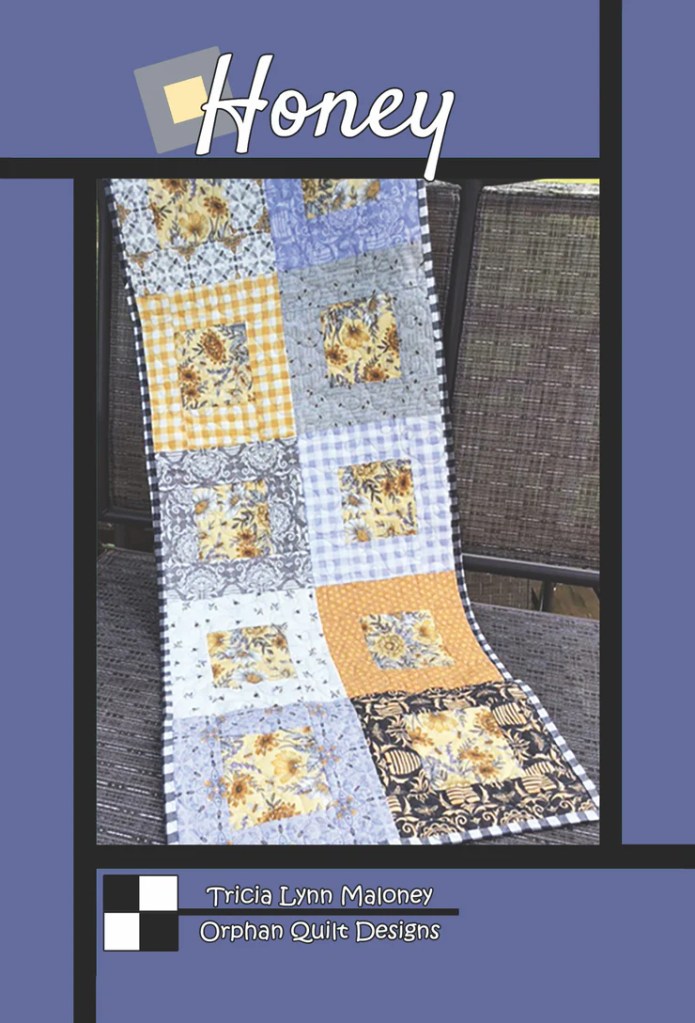
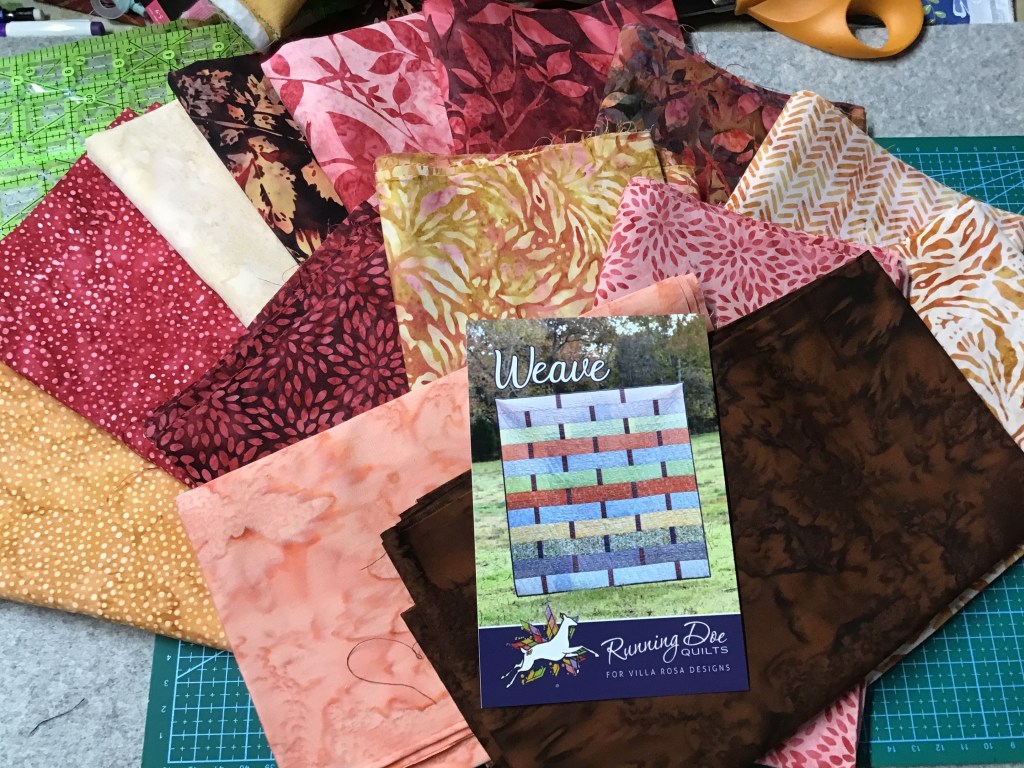
Ha! You knew I was going to start off with this one, didn’t you? Of course, I am a huge fan and advocate of Villa Rosa patterns! They are inexpensive in price but big on style and quality! We have a wonderfully talented group of designers creating new patterns for you every month! That’s more than 60 new patterns a year. Nobody else in the world does that. Why do we do it? We do it for YOU! We’re quilters and fabric lovers, too, and we love to share our style and vision with you. From traditional to modern, from small projects to big bed quilts, we’ve got it all.
If you’re new to Villa Rosa, you can find our catalog of over 650 print patterns HERE or our digital pattern catalog HERE. We also offer tons of kits, fabrics, bundles, and more on our website, Villa Rosa Designs. Sign up for our newsletter and be the first to know what’s up with Villa Rosa, including our new patterns every month as well as markdowns on kits and fabric, and much much more. You can sign up for the Villa Rosa newsletter HERE.
Let us help stretch your dollar with $2 Rose Card patterns, sale kits and fabrics, AND free shipping on all orders in the US!
Embrace a Frugal Quilter Mindset – Why Budget-Friendly Quilting Rocks

Let’s face it, quilting can be a pricey hobby, but that doesn’t mean we can’t create stunning quilts without breaking the bank. Being a frugal quilter isn’t about cutting corners — it’s about getting creative and being resourceful!
Here are some GREAT reasons why budget-friendly quilting totally rocks:
- More quilts, less guilt – When you spend less on materials, you can make more quilts without feeling guilty about the cost. It’s a win-win!
- Upcycling magic – You can turn old clothes, bedsheets, or curtains into quilt masterpieces. It’s eco-friendly and gives new life to forgotten fabrics.
- Scrappy happiness – You can embrace the charm of scrappy quilts. Use up those fabric bits and pieces and create unique, colorful designs.
- Thrift store treasures – Let’s head out to scavenge secondhand shops for fabric finds. You never know what gems you’ll discover at bargain prices.
- DIY tools – Think outside the box and make your own quilting tools. From DIY design walls to homemade templates, save cash and flex your creative muscles.
- Skill-building focus – When we’re not splurging on fancy materials, we can concentrate on honing our quilting techniques. It’s all about the craftsmanship, not the price tag!
- Community swaps – Go ahead and join local quilting groups or online communities for fabric swaps. Trade your extras for new-to-you fabrics and make new quilting buddies in the process.
- Sales savvy – You can become a pro at spotting deals. Sign up for newsletters, follow quilting shops on social media, and pounce on those clearance sales like the quilt boss you are!
- Piecing perfection – Challenge yourself to create intricate designs using simple shapes. It’s about the design, not how much you spent.
- Stash-busting satisfaction – Use what you have before buying more. You might just be surprised – beautiful quilts can emerge from your existing fabric stash.
Treasure Hunting: Where to Find Inexpensive Fabrics and Supplies

Some of the best places to score inexpensive fabrics are at estate sales, garage sales, flea markets and the like. You never know what you will find. Keep in mind that the hunt can be just as rewarding and as fun as the actual find. Just be prepared to dig through boxes in search of those fabric treasures!
Don’t forget about remnant bins at the big box stores. These are usually filled with odd-sized pieces of fabric at rock-bottom prices. Perfect for smaller projects.
Another hidden gem is Facebook Marketplace. Lots of people sell their unused fabric stashes there, often in bulk and for a fraction of the original cost. Just be sure to ask about any pet or smoke odors before buying.
For quilting supplies, keep an eye out for going-out-of-business sales at local craft stores. It’s sad to see shops close, but you can snag some amazing deals on everything from rotary cutters to batting.
Lastly, don’t underestimate the power of coupons and loyalty programs at major craft retailers. Stack those discounts and you could walk away with a cart full of fabric for pennies on the dollar!
If you’re into upcycling, thrift stores can be a goldmine for inexpensive fabric options. Look for oversized clothing, curtains, or bedsheets that can be repurposed. You might find some unique patterns or high-quality materials for a fraction of the cost.
Check out online fabric warehouses. These sites often have clearance sections with deeply discounted fabrics. Just be sure to factor in shipping costs when comparing prices.
For those who don’t mind waiting, seasonal sales can offer huge savings. Many fabric stores have end-of-season clearances where you can stock up on holiday prints or summer cottons at bargain prices.
If you’re feeling adventurous, maybe you want to check out online auctions like eBay and/or in-person live auctions in your local area. Remember to practice buyer beware and ask questions, examine contents and/or photos closely, and read descriptions carefully before bidding.
What about joining a local sewing or quilting group? Members often swap fabrics or sell their excess stash at meetings. My guild has a free table. I’ve fund some wonderful goodies on that table over the years. Just sayin’……….
Upcycled Fabric Ideas: Turn Trash into Quilting Treasure

Got some old clothes lying around? Don’t toss ’em just yet! Let’s explore some awesome ways to breathe new life into those forgotten fabrics.
Denim jackets and jeans make killer quilt squares – those pockets are perfect for hiding little surprises. And how about those vintage printed tees? Add some interfacing, slice ’em up, and piece them together into a cozy memory quilt that’ll have you reliving the good ol’ days. But why stop there? Raid your closet for silk scarves, funky ties, or even those ugly Christmas sweaters. Don’t be afraid to mix and match textures for a quilt that’s as unique as you are. As an added tip – cotton bedsheets can make great quilt backings.
It’s all about getting creative and having fun. So grab those scissors, fire up that sewing machine, and turn your fabric graveyard into a quilting paradise. Who knows? Your next masterpiece might be hiding in that pile of clothes you were about to get rid of!
You can also add some pizzazz to your quilts with embellishments. Those spare buttons you’ve been hoarding? Perfect for adding texture and sparkle. And don’t forget about zippers – they can create cool, interactive elements on your quilt. Got some old jewelry lying around? Stitch on some beads or sequins for extra bling. Speaking of stitching (hand or machine), why not experiment with different patterns? Try some funky zigzags or swirls to really make your quilt pop. And if you’re feeling extra adventurous, throw in some applique. Cut out shapes from contrasting fabrics and layer them on top for a cool 3D effect.
Don’t stress if it’s not perfect. The beauty of upcycling is in the imperfections. Each wonky stitch tells a story, so go ahead – celebrate the quirks and let your personality shine through.
DIY Quilting Tools: Make Your Own and Save Big
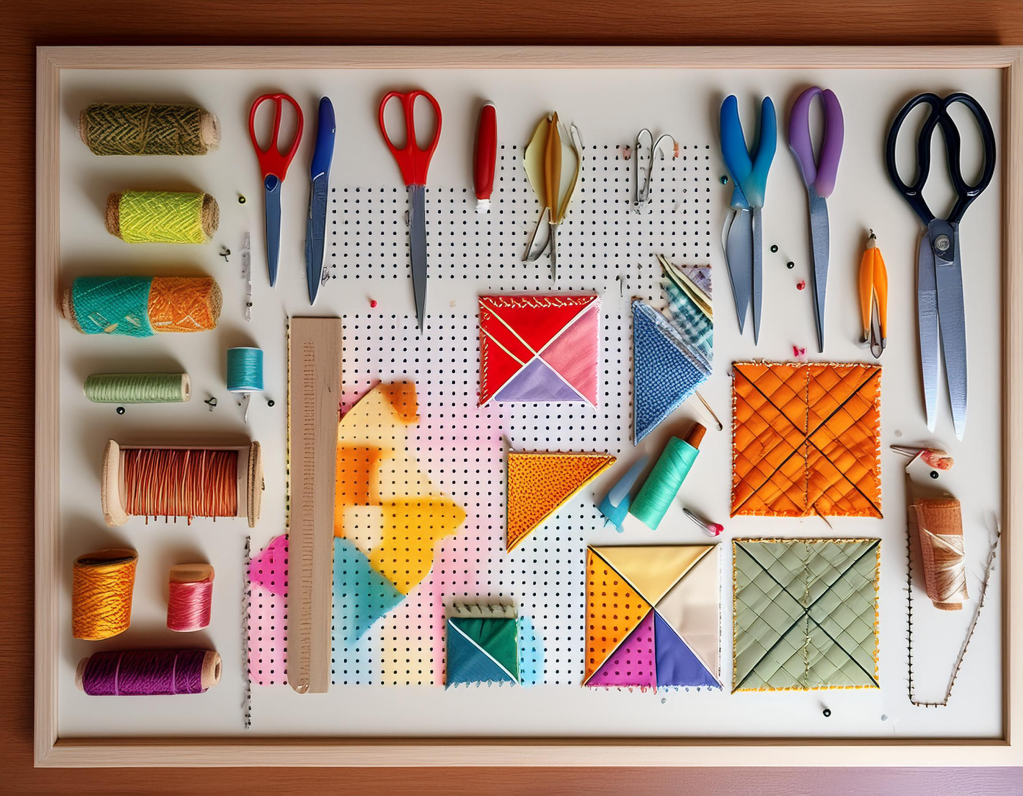
Get ready to unleash your inner crafty genius and save some serious cash with these awesome DIY quilting tools! Who says you need to break the bank for fancy equipment? Here’s the lowdown on creating your own quilting supplies that’ll make your wallet happy and your projects pop.
Want a portable design wall? No problem! Slap some flannel onto a foam board, and you’re good to go. Or how about my favorite – a big flannel-backed table cloth hung on the wall?
Maybe some nifty fabric weights made from washers and pretty fabric scraps?
Or a homemade spray baste using simple ingredients you probably have on hand plus a little rubbing alcohol (or vodka if you prefer).
Next on our DIY list is a genius trick for making your own quilting clips. Just grab some binder clips and hot glue some felt to the edges – voila! You’ve got gentle, fabric-friendly clips that won’t break the bank.
What about the magic of a homemade seam pressing stick? A dowel rod, some batting, and muslin are all you need to create this handy tool for pressing those tricky seams.
These DIY solutions are not only easy on the wallet but also give you the satisfaction of making something useful and unique. So, roll up your sleeves, channel your inner MacGyver, and get ready to revolutionize your quilting corner. Who knew being frugal could be so much fun?
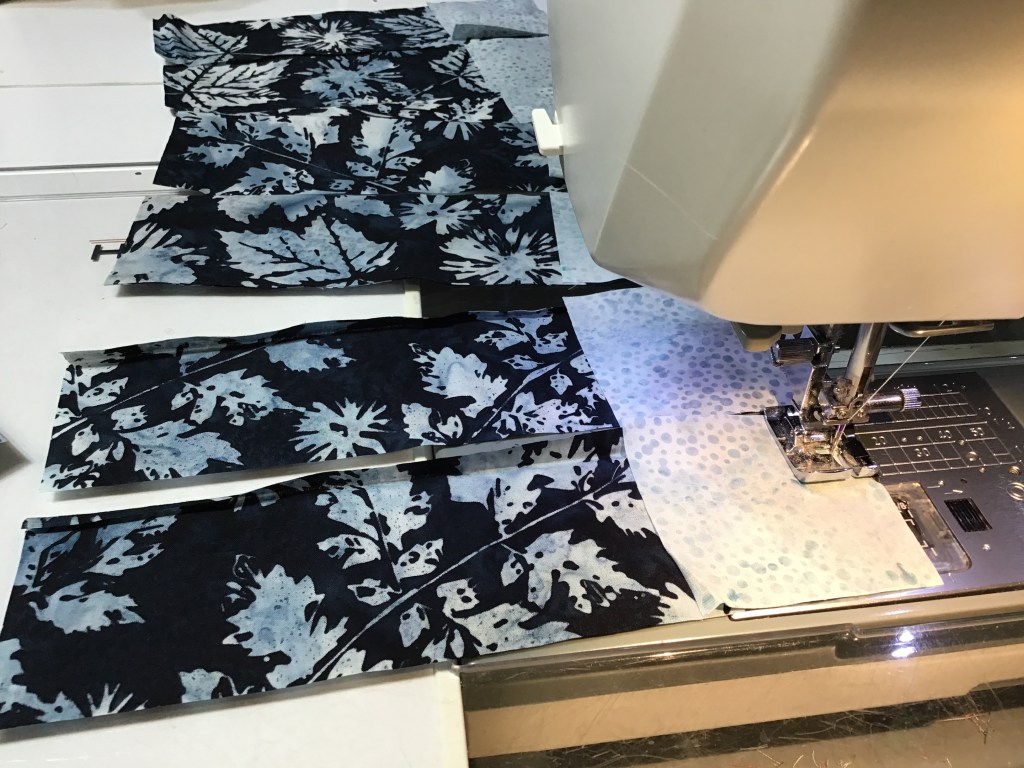
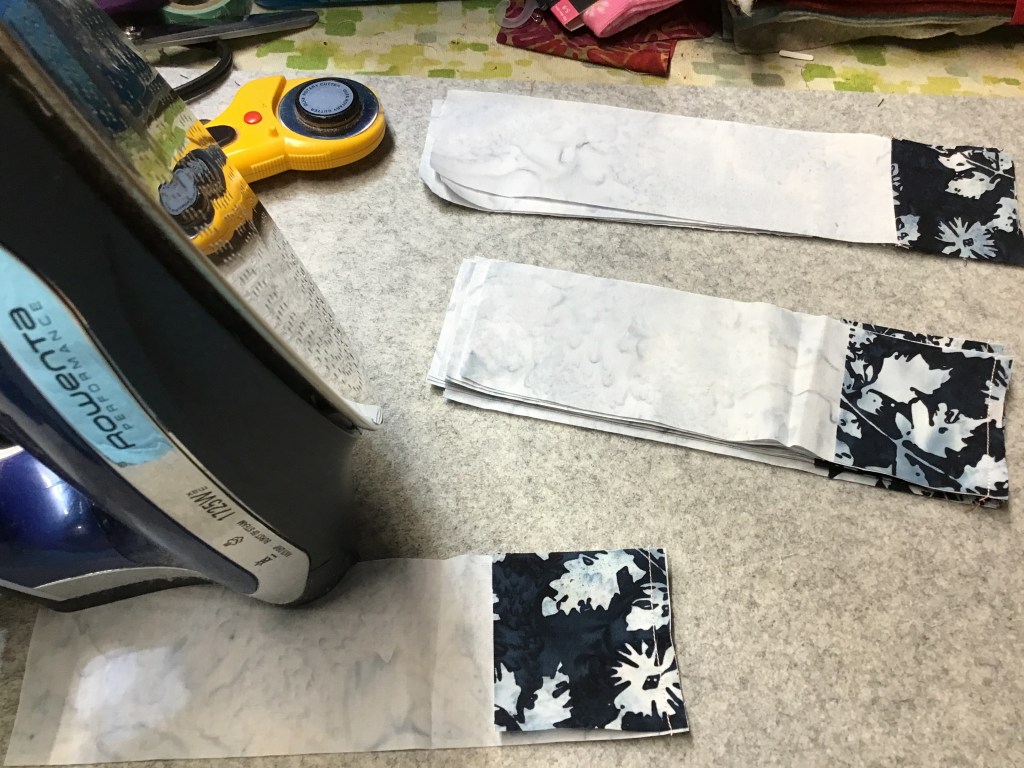
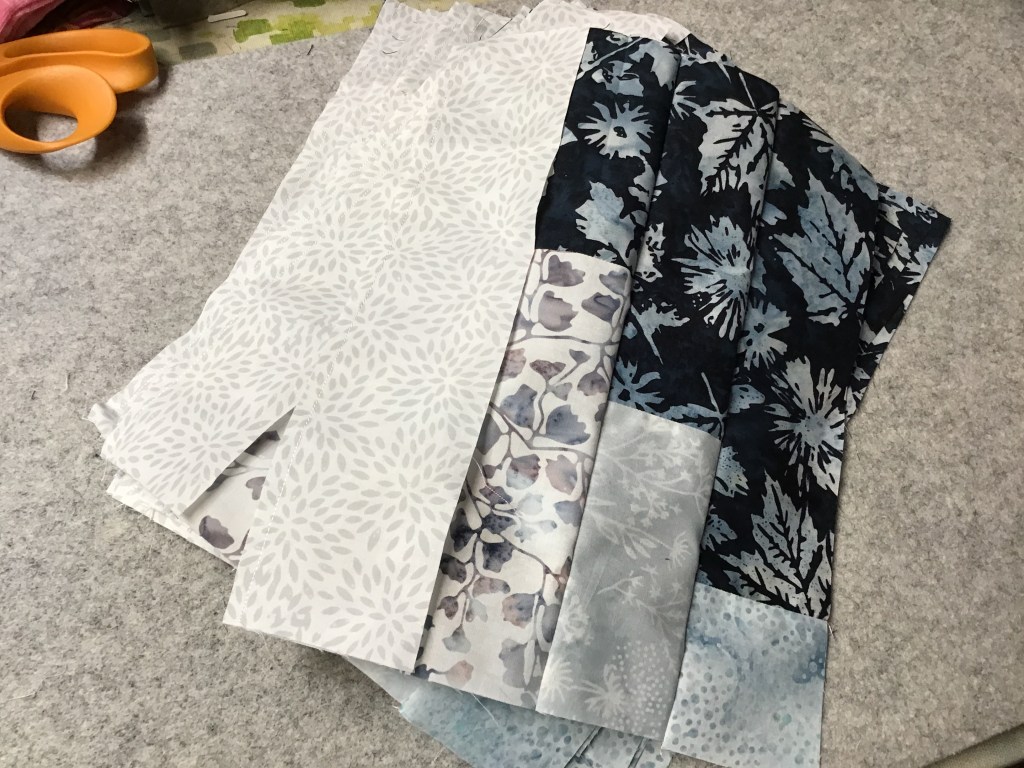
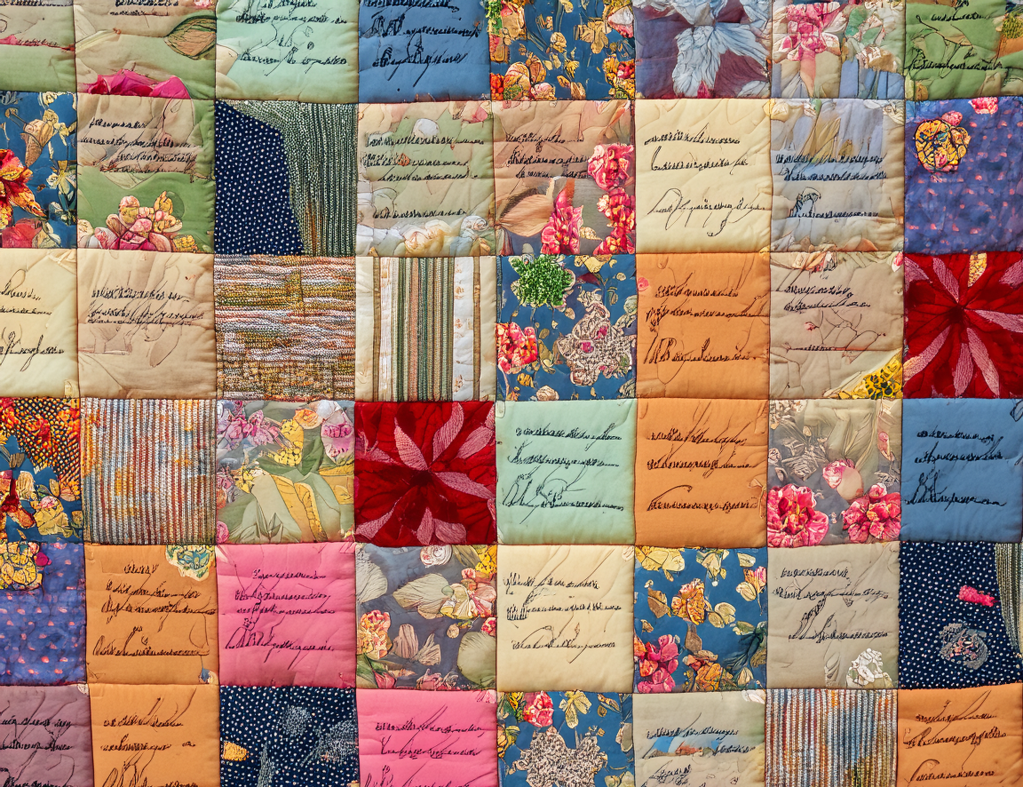
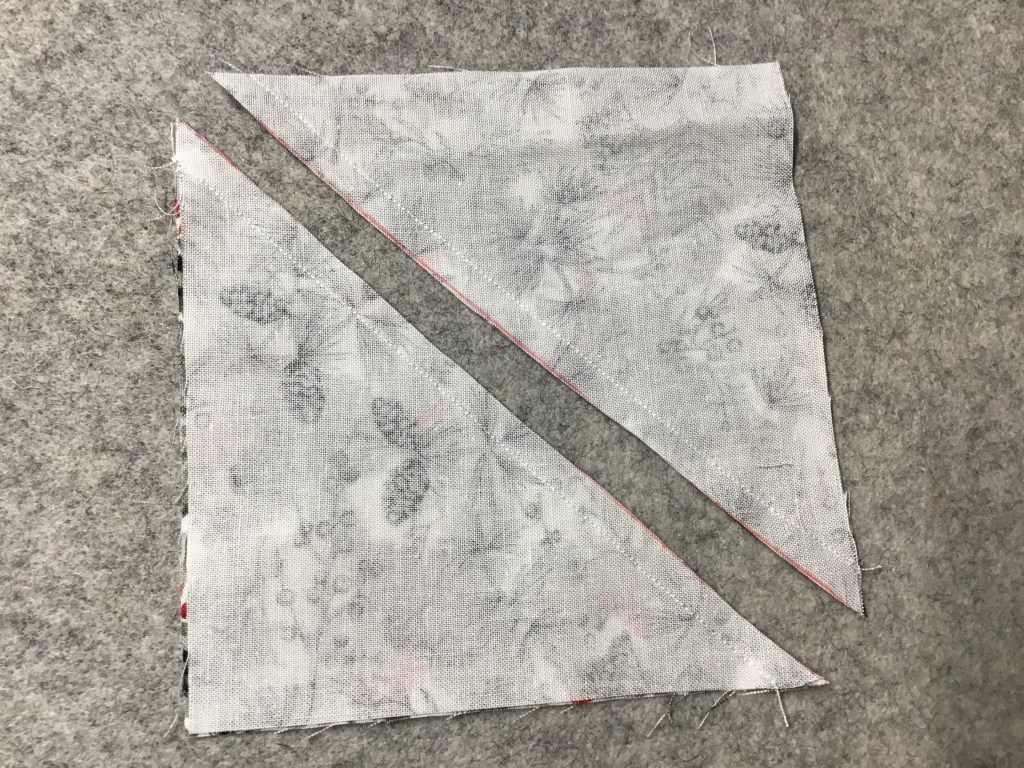
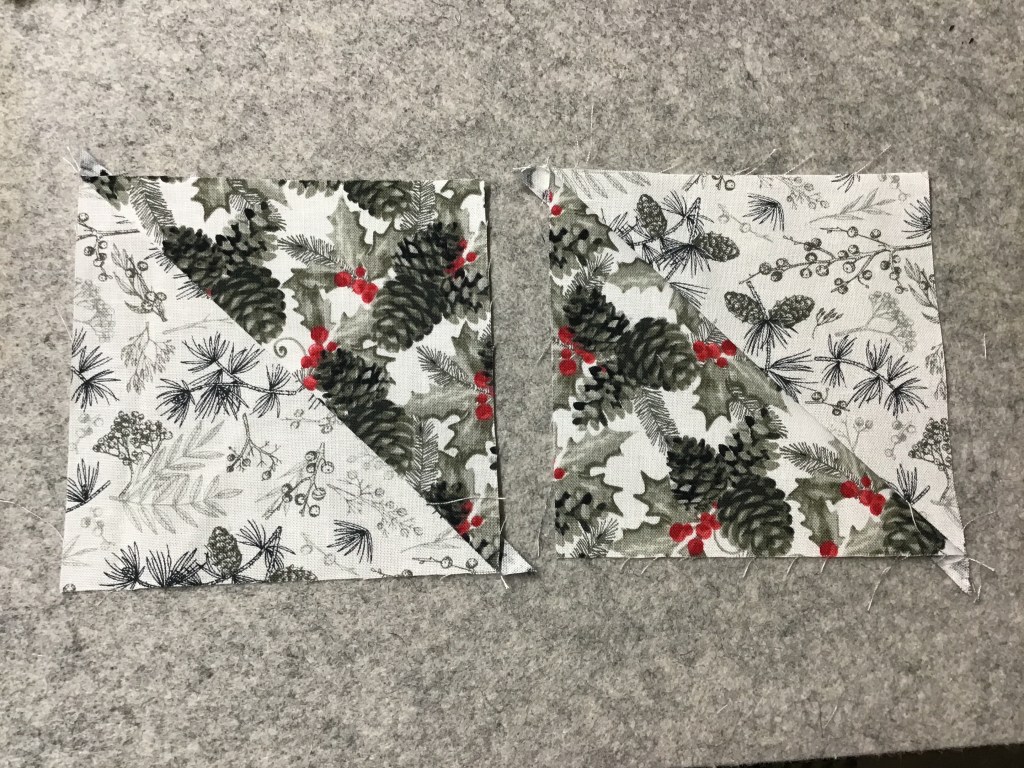
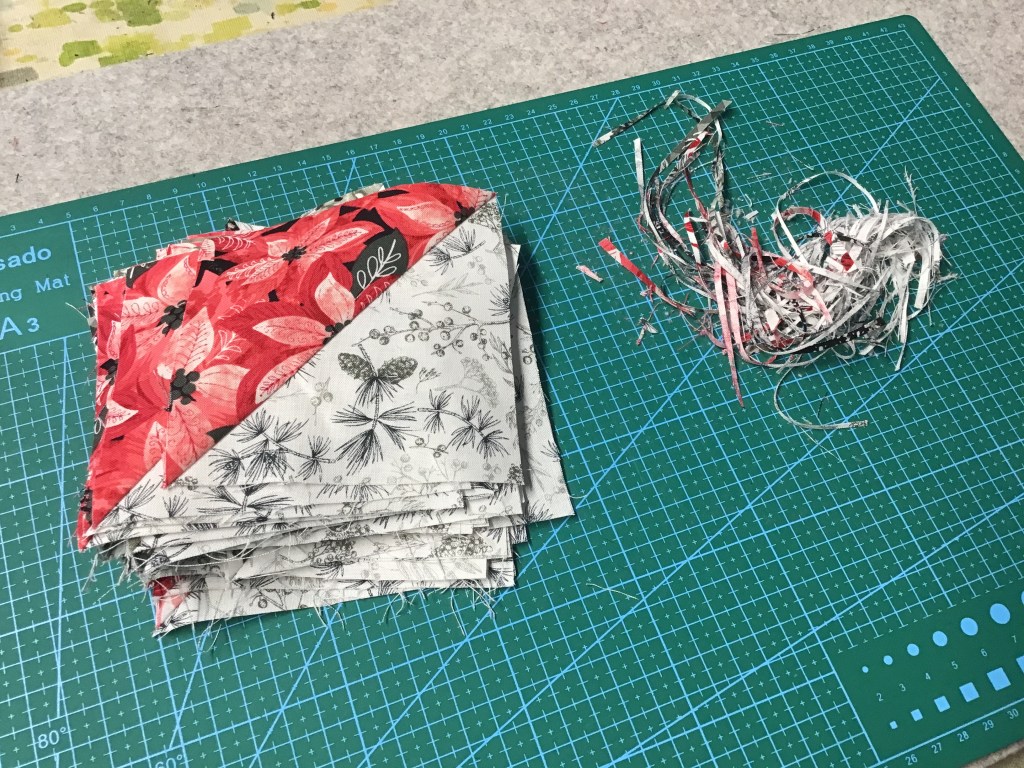
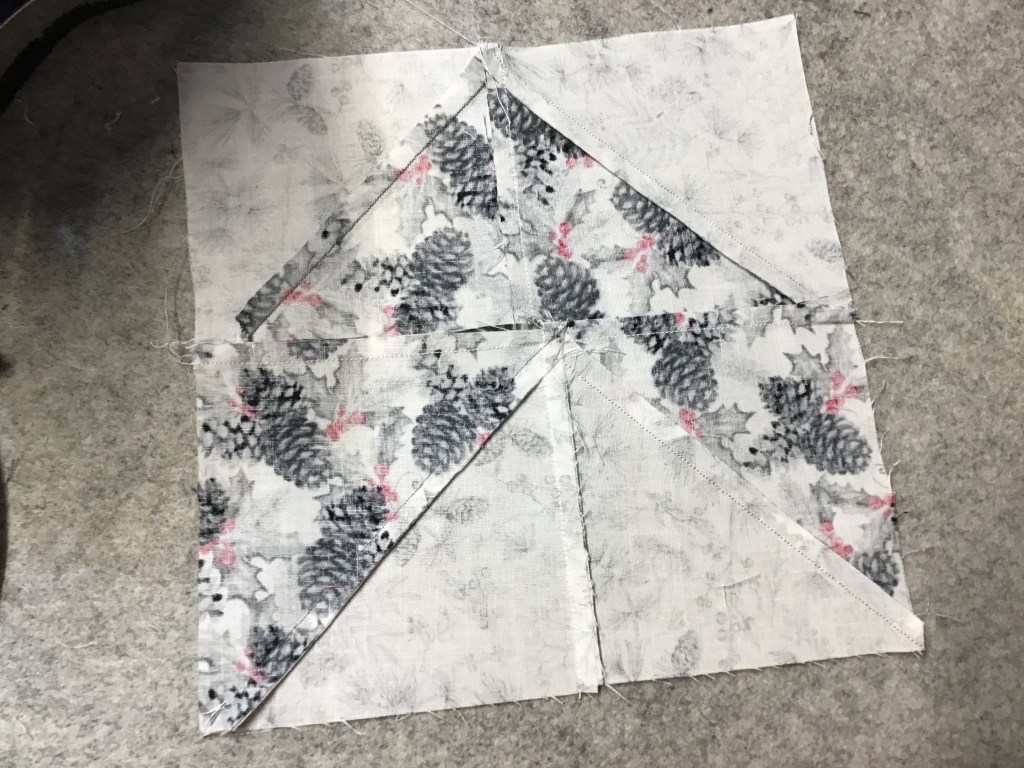
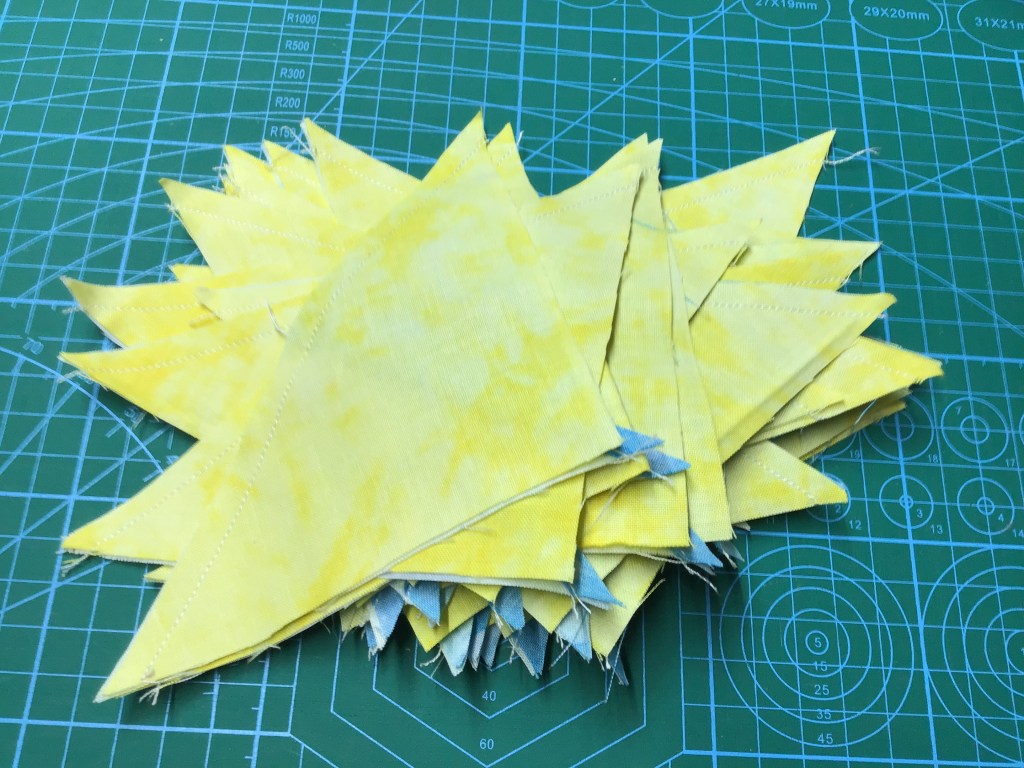
Scrap-tastic: Maximizing Your Fabric Scraps for Stunning Quilts
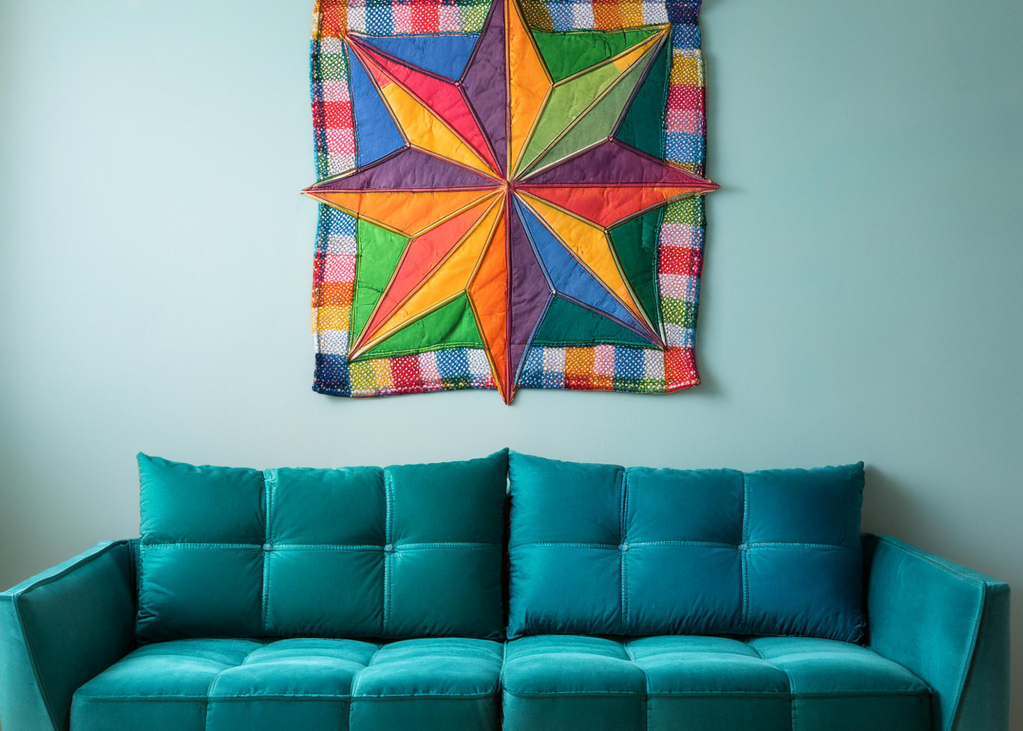
Let’s check out the world of scrap-tastic quilting! Who needs to buy new fabric every time you start every new project when you’ve got a treasure trove of scraps just waiting to be transformed? Sort those scraps by color and size first – trust me, it’ll save you tons of time later. Got leftover binding strips? Perfect for creating a scrappy binding that’ll give your quilt a fun, eclectic edge. Why not try your hand at improv piecing? It’s like jazz for quilters – no rules, just vibes! For larger scraps, consider whipping up some foundation paper piecing blocks. It’s a great way to use up odd shapes and create intricate designs without losing your mind. What about string quilts – they’re like the ultimate scrap-busting project? Grab your long, skinny strips and go to town!
But wait, there’s definitely more to scrap magic than just quilts. Turn those fabric bits into cute accessories like scrunchies, headbands, or even a patchwork tote bag. Your scraps will thank you, and your wallet will do a happy dance. Grab that overflowing scrap bin and get creative!
Don’t forget about those teeny-tiny leftover scraps either. They’re perfect for stuffing pet beds (no thread or needles/pins, please) or making eco-friendly confetti for your next party.
If you’re really drowning in scraps, maybe you should host a swap with your quilty friends. One quilter’s trash is another’s treasure, after all!
The key to successful scrap quilting is embracing the chaos. Mix patterns, colors, and textures with wild abandon – that’s where the magic happens! And if you’re feeling really adventurous, why not challenge yourself to a scrappy quilt-along? It’s a great way to connect with other fabric hoarders, ahem, quilters, and get inspired by their creations.
Speaking of treasures, keep an eye out for vintage fabrics at thrift stores or yard sales. They can add a unique and special touch to your scrap projects and give new life to forgotten textiles. And hey, if all else fails, you can always use your scraps to practice your free-motion quilting. Who cares if it’s not perfect? It’s all about the journey, right?
Quilting on a Shoestring – Your Wallet and Creativity Will Thank You!
Alright, people, we’ve reached the end of our thrifty quilting journey so you can unbuckle your seat belts now!
Who knew you could create such stunning masterpieces without breaking the bank? By now, you’re probably itching to dive into your stash of fabric scraps and start piecing together your next budget-friendly quilt.
Quilting on a shoestring isn’t just about saving money – it’s about unleashing your creativity and making the most of what you’ve got. So, enjoy those wrinkled mismatched fabrics, repurpose those old clothes, and let your imagination run wild! Whether you’re a seasoned quilter or just starting out, these money-saving tips and tricks will help you keep your hobby alive without emptying your wallet. And hey, think of all the extra cash you’ll have for, I don’t know, more fabric? Uh huh…….
Don’t forget that thrifty quilting is also eco-friendly quilting. By repurposing fabrics and using what you have, you’re reducing waste and giving new life to materials that might otherwise end up in landfills. Pat yourself on the back for being both budget-conscious and environmentally savvy!
Lastly, don’t be afraid to experiment with unconventional materials. That old curtain with an interesting pattern? Perfect for backing! Those worn-out jeans? They’ll make a sturdy, unique quilt top. The possibilities are endless when you look at the world through a quilter’s thrifty lens.
So go ahead, raid Grandma’s closet, hit up those yard sales, and get ready to stitch up a storm. Your wallet – and your creativity – will thank you for it.
Please feel free to comment with your own frugal and thrifty quilting tips!
That’s it for me this week. I’m off to play with my own fabric scraps to see what I an create.
Until next week –
Sew. Laugh. Be Frugal. Repeat.
Always,
Tricia @VRD