
Hello Quilty Friends!
Happy Thursday to you!
I hope you were as inspired as I was after seeing my curated Spring VRD Rose Card pattern list last week. If you missed the post, you can find it HERE. I was SEW inspired, that I used a new blog quilt tutorial as an excuse to make a pretty new quilt top. (Nah, you’re right — I didn’t really need an excuse. LOL!)
But, first, let’s talk a little bit about our upcoming VRD Blog Hop!
VRD Blog Hop March 14-21
Oh my gosh! The Hop is only weeks away. I hope I’m ready in time. Of course, I’ll be ready on time.
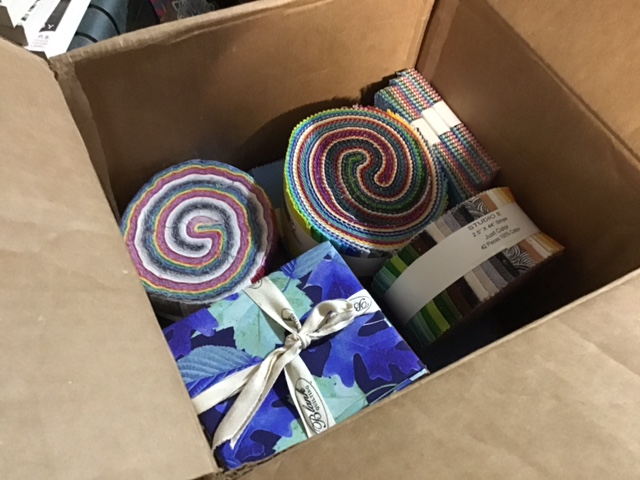
I thought I’d tell you a little bit about some of prizes that are coming in for the Hop from our awesome event Sponsors.
Here’s a glimpse of the goodies that have arrived so far! I can’t wait to send them off to the winners. Maybe you’ll be a winner this year. All you have to do is visit all of the blog posts each day to register for prizes! Lucky you! Yippee!

I am also happy to share that our International friends will have a lot more variety this year for prizes as several of our Sponsors are able to ship directly to you. I’m getting really excited about the Hop. I hope that you are too. Don’t forget to tell a friend…..or two about it (or everyone you know!) so they can Hop right along with you.

Be right here on March 14th for the kickoff to our week-long Blog Hop in celebration of Villa Rosa Designs and all of our bloggers and sponsors. Be here or be square (yeah, you knew I was going to say that.).
Okay, now let’s make a quilt!
VRD Duet Quilt Tutorial
After last week’s post, I just kept telling myself I had to do a new quilt tutorial for the blog. So I dove into my big magic crate of project kits and pulled out a Bali Pop to make Duet.
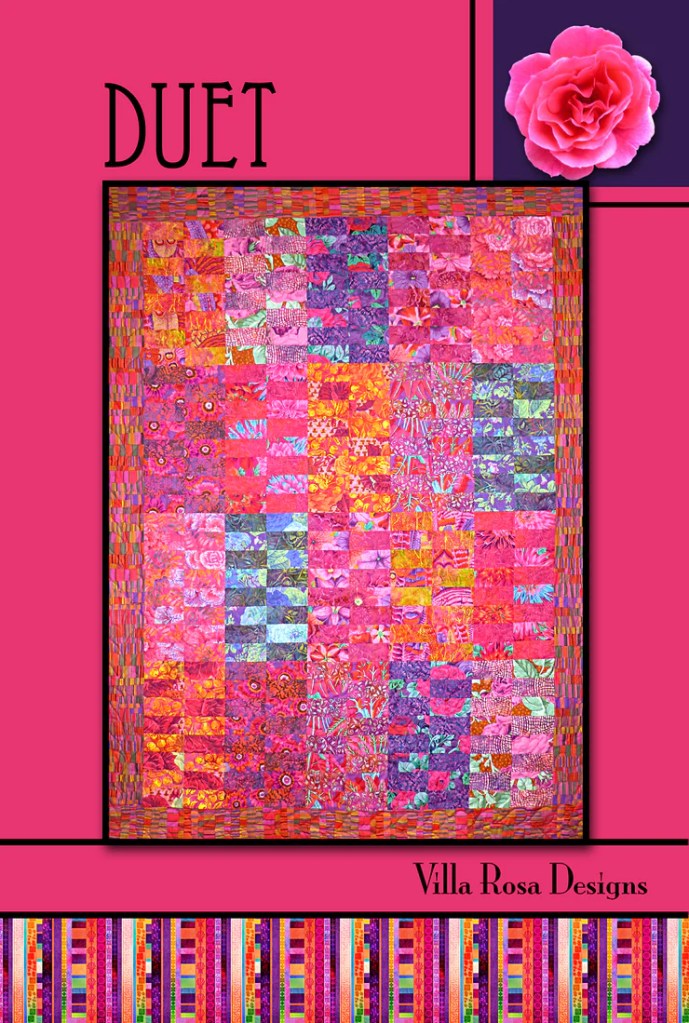
You can get your own physical Duet pattern HERE or a digital pattern HERE.
I’m really loving this Aurora Bali Pop for Duet. Isn’t it just so yummy with blue, green, teal, purple and all the shades in between. Special thanks to Hoffman for providing the fabric for this project.
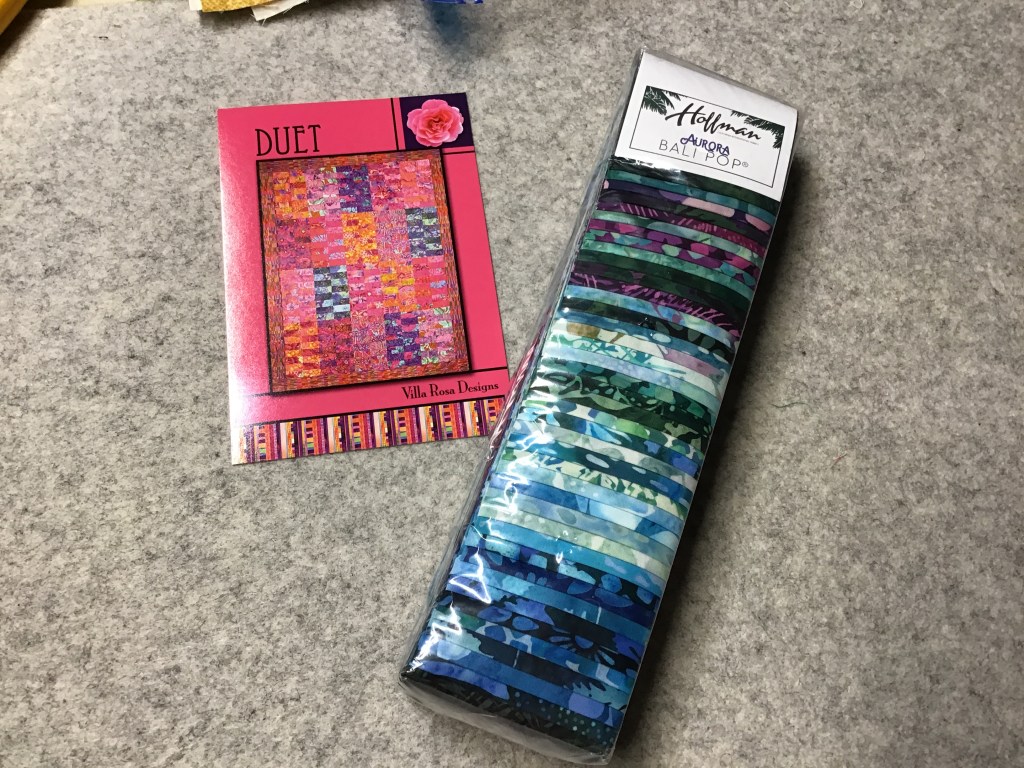

Sadly, we don’t have the Aurora Bali Pop in stock at the VRD online shop, but we do have other great options you can use to make this quilt. You can check out our 2 1/2″ strip sets HERE.
Let’s get started!
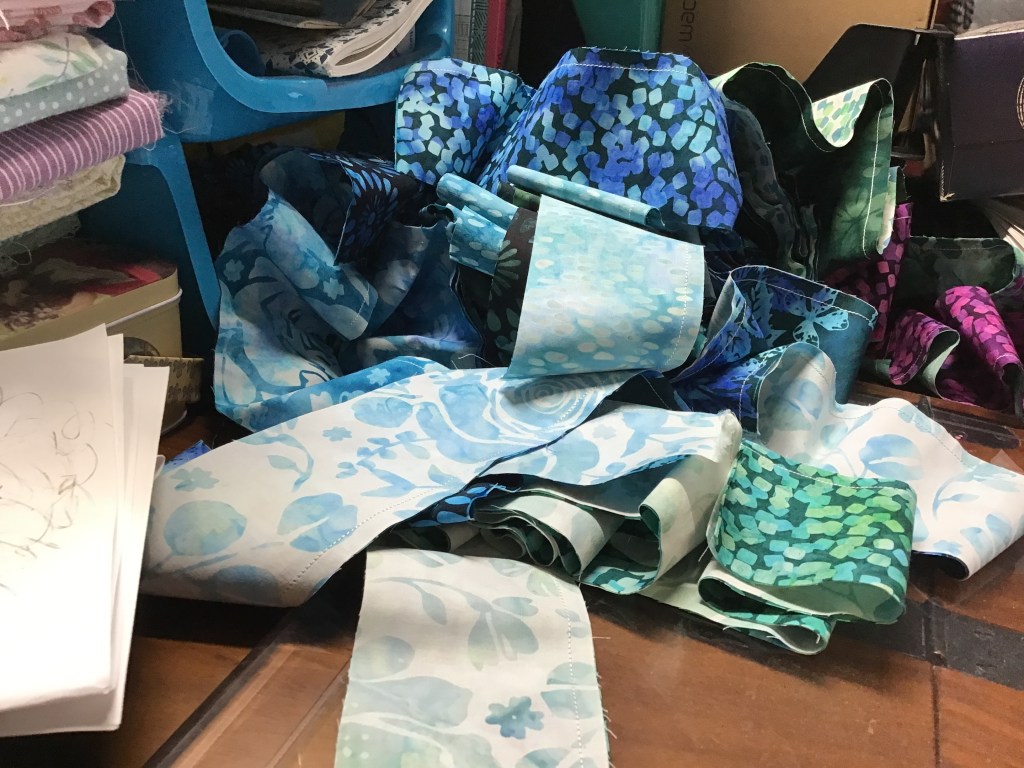
The first thing I did was pair up my strips. You’d think it would be easy to do this — pair a dark with a light — but most strip sets do not have an equal number of each. So that meant I had to use the mediums as either a light paired with a dark or as a dark paired with a light. Here you can see my tangle of strips as I pair them up. And you can see my unique way of keeping my pairs together by stacking them at different angles. Sometimes I don’t know where my ideas come from. And I don’t really care as long as they work.
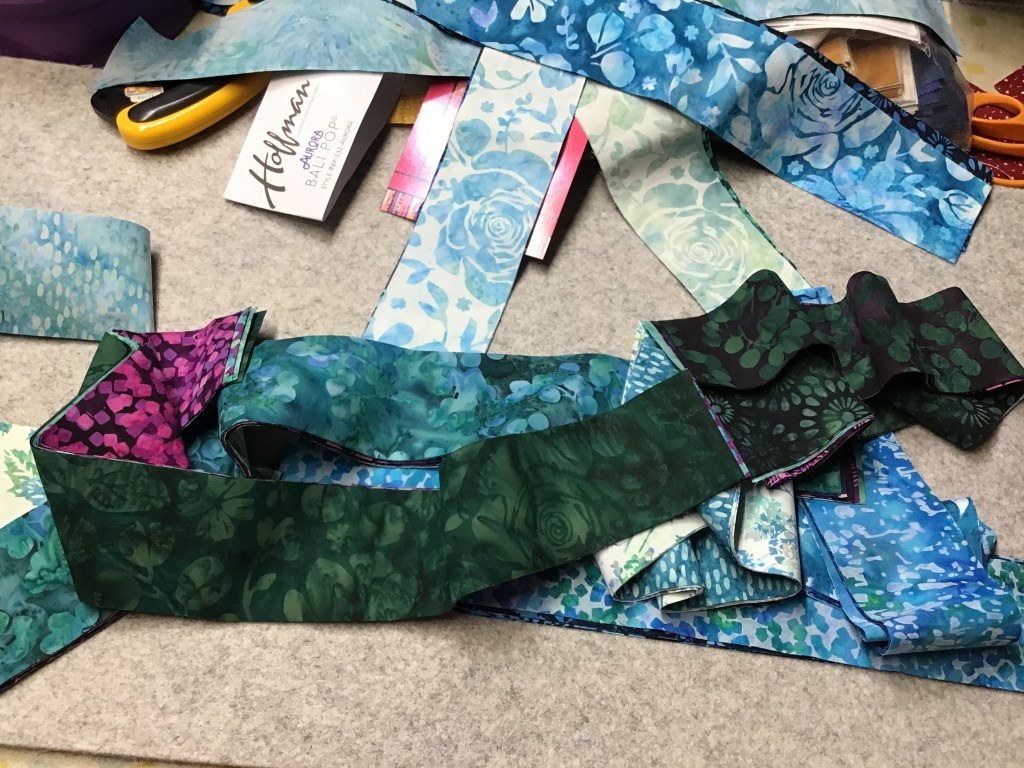

Happily, this strange stack did actually work and I took it to my sewing machine to sew my paired strips together. At the machine, right before I stitched each pair, I cut the strips in half. Or you could cut them in half after you sew them together. I chose to do it first because I really don’t enjoy sewing long strips together. Then I sewed and sewed using the assembly line approach until I had all the pairs sewn together. Check out my tangle of sewn strips in the second photo. Yikes!
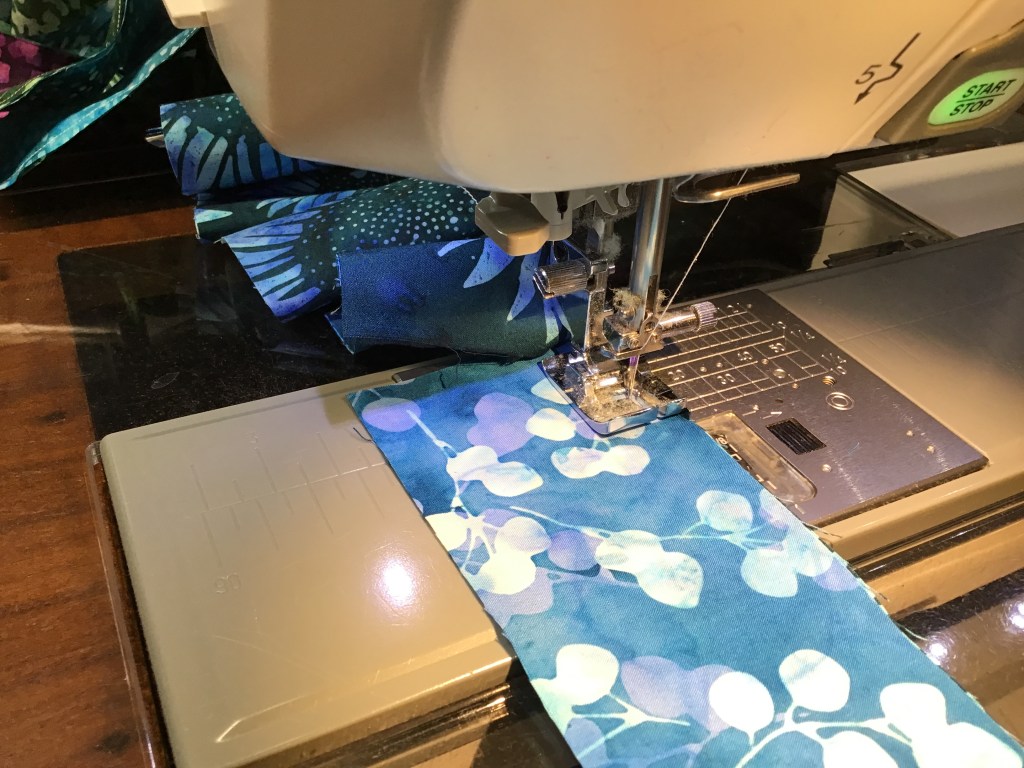
Now that my strip pairs are all sewn together, it’s time to sew the 2 matching strip sets into a quartet. No, they really weren’t tied up in knots. I just started at one end and kept working my way through the assembly line, sewing one quartet together after another. Surprisingly, it was a pretty speedy process.

Woohoo! All those quartets are sewn and now I’m going to press the seams on each strip set going in the same direction. This will actually save me some time in a couple of steps.
I really love sewing with batiks. Now.
HOnestly, I’ve come late to the batik party, but I’m here now and that’s what counts. For a long time, my friends Mary Lee and Leslie, were always ooh-ing and awe-ing over the latest batiks while I was always like — okay, pretty fabric.
I’ve learned since then that batiks truly are a joy to sew with. They are smooth and supple, even crisp. And the colors — oh my goodness!
I have found that I do need a brand new needle when I’m sewing a batik project (yes, I know I should start every project with a brand new needle……). Batiks have a much tighter weave and a higher thread count than regular cottons. I have found that a used needle pokes holes in the fabric and may even break threads whereas a sharp needle kind of glides between the fibers. Food for thought……..
Let’s press!

Now all of my quartets are pressed, it’s time to cut the units. Do you stack your pieced strip units for cutting? I do, and here’s a technique I learned a long time ago — stagger the strips when you layer then so that seams are not sitting on top of each other. Cutting is a lot easier and more accurate when you are not trying to cut through a big lump of seams.

I stacked 4 quartets on top of each other when I cut the units. Then I just picked up the units from each quartet and stacked them together. It was kind of like dealing playing cards, in a way. Then I stacked up the units, keeping each quartet together. Easy piezy! Now back to the machine for more sewing!


Next I’m going to take 2 matching units and sew them end to end, making sure that the alternating fabrics are consistent. Then I will sew the second set of units exactly the same way as the first one.
Because I pressed all my seams in each quartet the same direction, sewing the units together is really easy as the seams matched up and nestled together (awwww! They’re so sweet!) when I layered them right sides together.
Quick! Sew, sew, sew!


Yay! Time to finish the blocks! I am going to sew the 2 units from the same quartet together side by side, flipping a unit so the 2 fabrics alternate completely throughout the block. 19 more to go….

Blocks all done! I’m going to press them one more time and then it’s time to do the block shuffle on my flannel board.
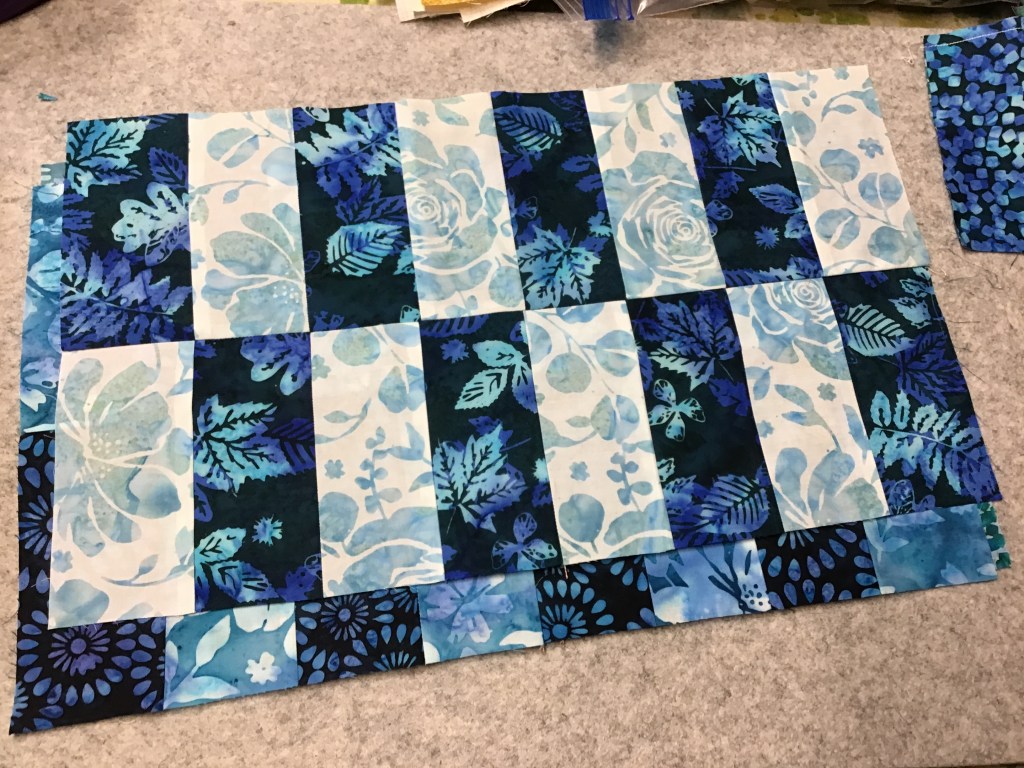
Okay, here’s my final block arrangement. The purples and the lights were a challenge to find a way to lay them out so everyone was happy. What do you think?

Back to the sewing machine to sew the blocks into rows and the rows together to make the quilt top.

I’m very pleased with how Duet turned out. I’m considering about adding a border to make it larger. Hmm, methinks I need to think about this a while longer….
Like a lot of our VRD patterns, Duet worked up quickly and I would say it’s probably a one day project to make the quilt top. It’s great to have some one day projects tucked away in your back pocket to pull out when you need a quilt in a hurry. I hope Duet will be one of them for you.
Well, that’s it for me today. One marathon quilt in a day is enough for me for now.
See you next Thursday, same time, same place.
Until then —
Sew. Laugh. Repeat.
Always,
Tricia @ VRD

I thought your quilt colors turned out great. The duet pattern is a great one.
LikeLike
Thanks, Kathy! It was a fun quilt to make.
LikeLike
I am looking forward to the Hop! My quilt is almost ready! I like your quilt top, too – I may need that pattern – it would help me finish a longstanding UFO!
LikeLike
Glad you’re getting excited about the Hop, too! Duet is a super great pattern and would look great in just about any collection.
LikeLiked by 1 person
Wow I really enjoyed your batik quilt. I will have to look up my batiks. You are right about the needle size with sewing on batiks. I was really impressed with how all your points matched up on the quilt! You know quilters always look at that! I’m looking forward to the Blog hop!
LikeLike
Gaynel, it looks even better in person! Thanks for noticing how my seams aligned. I didn’t pin, but pressing seams in opposite directions really helped them line up.
LikeLike
Hi there, that sounds very interesting, is it necessary to have a blog ? Or can I participate as a „normal sewer“? Like at SAHRR ?
LikeLike
Hi Eva, you can participate by hopping along to all the blog posts for each day of the Hop. That is where you can register for prizes. The Hop is from March 14-21.
LikeLike