
Hello Quilty Friends!
Happy Thursday to you!
PSST!
Hey, it’s me, Molly!
Long time no see! I’m stealing the blog from Tricia this week – it’s been a while since I snuck in here and did a tutorial. Sorry it’s been so long, but things have been awfully busy at the VRD shop and I’ve been working hard to create new patterns for you, too.
I heard Tricia’s doing a bunch of tutorials to help everybody get back into quilting this fall, so I thought I’d add one to the mix – Morning Tea. Yup, another Tea quilt. LOL!
Anyway, let’s get back to today’s tutorial, Morning Tea.
VRD Morning Tea Quilt Tutorial
Here’s Morning Tea, designed by our very own VRD Rose Queen, Pat. It’s a fat quarter (18″ x 21″) friendly pattern plus you need to add a background fabric. And of course, it’s fast and fun!
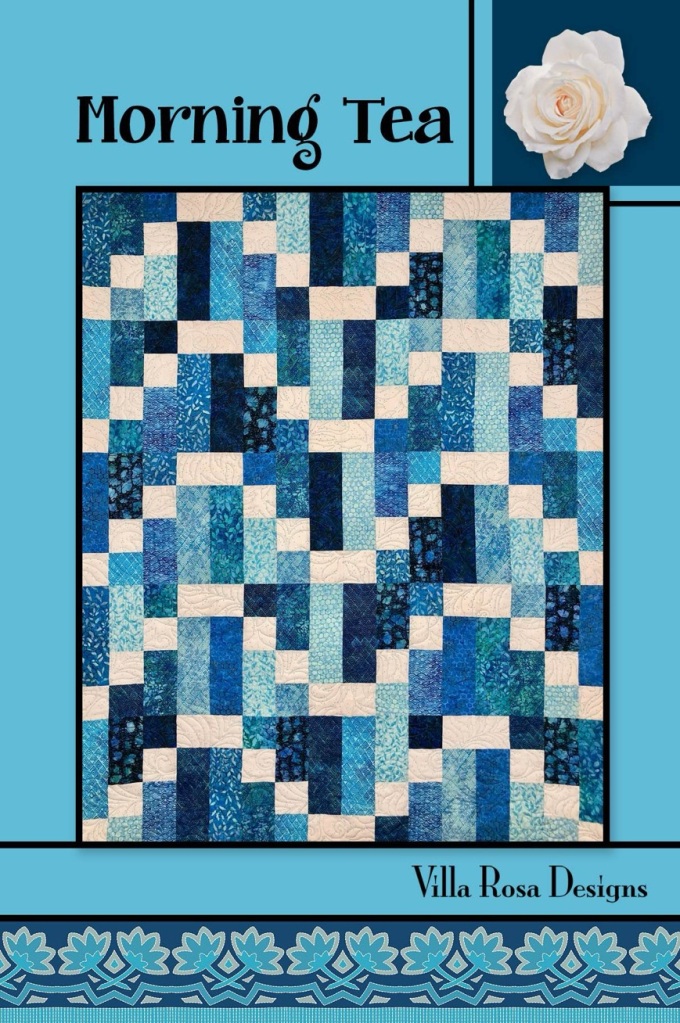
If you don’t have the pattern yet, you can get your print copy HERE or digital copy HERE
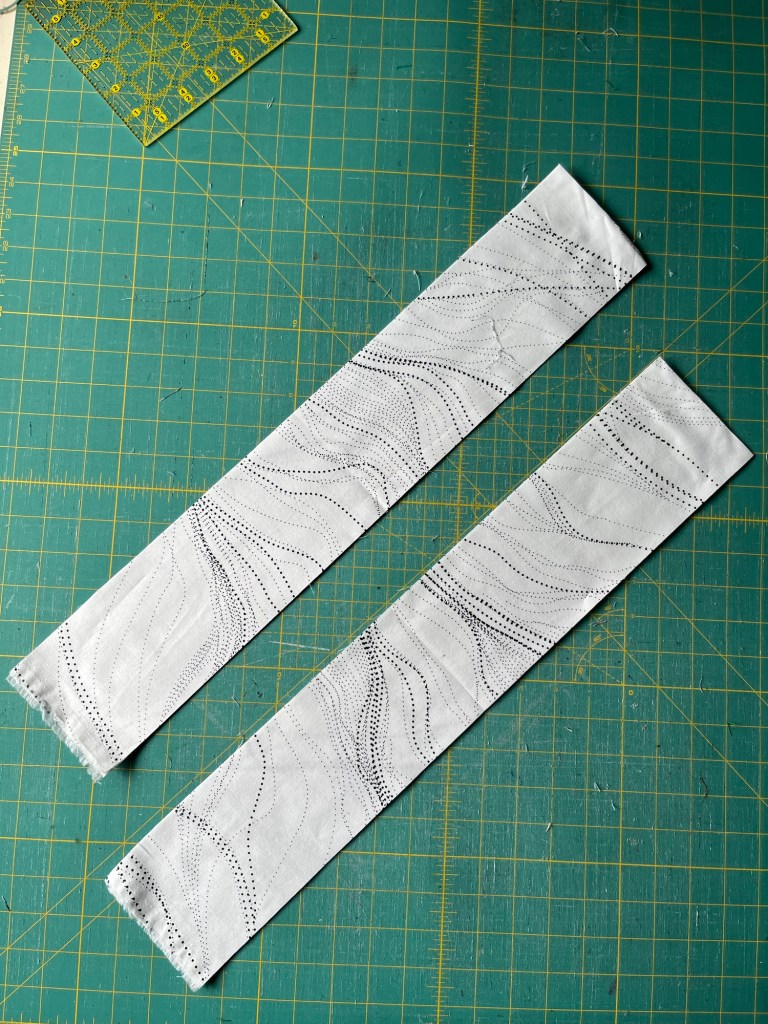
I wanted to play around with some of our Aboriginal fabrics in the VRD shop again and decided on this range of blues. Fun, huh? The squiggly light fabric towards the bottom of the photo is my background and the one in front if it is my binding.

Lucky you! We even have some kits left, and you can get yours HERE. Your kit comes with the fat quarters (FQs), background fabric, binding, and the pattern. I do have to say some of the fabrics have been discontinued but we did add some great replacements and they work perfectly too.
Let’s rock this quilt!
- First step is to divide your fat quarters into 2 piles. From the first group, we’re going to cut them into 2 different widths.

2. From the remaining smaller group of FQs, you’ll cut the strips all the same width.

3. The background strips are all cut the same size by the width of the fabric, then we’re going to cut the long strips in half so our strips are the same length as our fat quarter strips. Genius!
4. Sew a background strip to each of the largest FQ strips. Next cut each of those strip sets into segments. I’m going to name these Unit A so we can keep everything straight as we go along.


5. Sew the remaining background strips between the small and the medium FQ strips. Subcut them into segments. These strip sets, I’m naming Unit B.


6. Are you following along? Because now we are going to sew our A and B units into blocks. Taking 2 of unit A and 2 of unit B, sew together with As on the outside and Bs in the middle. You’ll need to flip the last 2 units.


7. You will now make a reversed block with 2 more of each A & B units, turning the last 2 units as shown.


8. You should now have the same number of each block. Time to play! You can lay your quilt out just like the pattern or you can play around with the layout and create some fun variations.
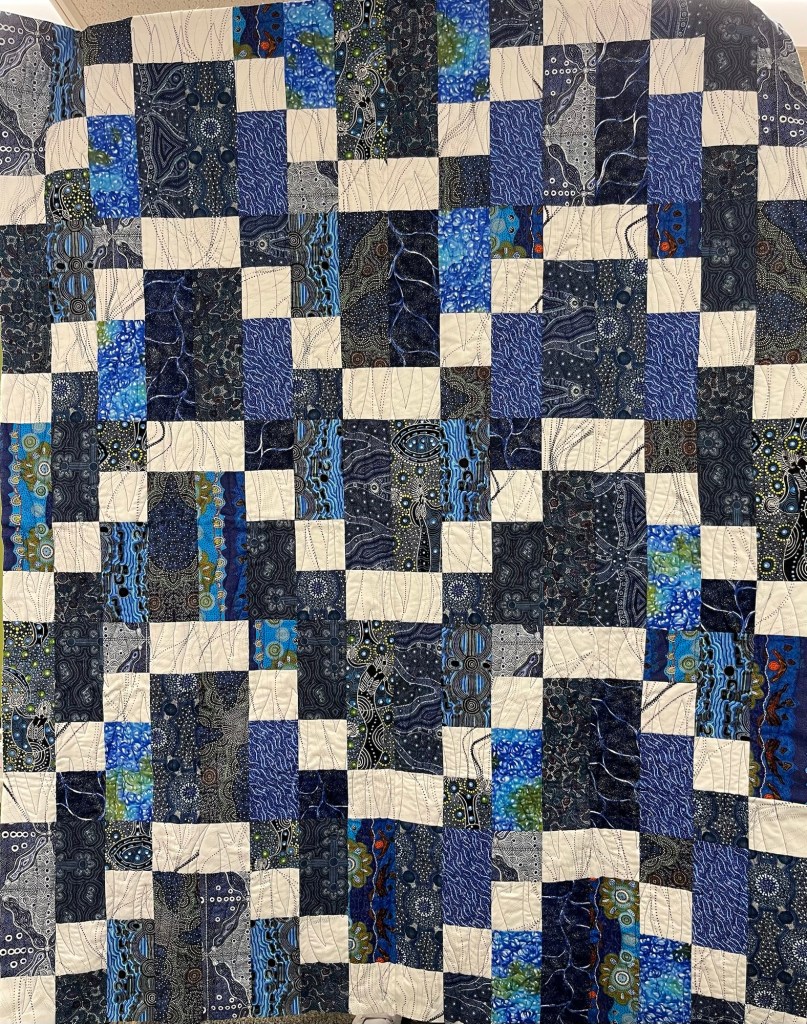
Here’s the original layout.

And here’s some cool variations to try out.


I bet you can even come up with your own block arrangement, so have fun!
9. When you’ve decided how you want to arrange your blocks, it’s time to sew the blocks into rows and then sew the rows together into the quilt top.
For my Morning Tea quilt, I’m going to stick with the original layout. Totally loving how it turned out!
10. Next up – layer, quilt, bind, and label your quilt.
Don’t forget to post your quilts on our VRD Facebook page or tag us on Instagram, #villarosadesigns. We love seeing your creations!
Thanks for stopping by and sewing with me!
Next week, Tricia will be back with another great tutorial for you.
That’s it for me.
Until next time —
Sew. Laugh. Repeat.
Later,
Molly

I need help with my Morning Spring pattern. Do you have a tutorial for that pattern? Thank you.
LikeLike
Hey there Cindy, sadly, we haven’t done Morning Spring as a tutorial yet, but I will see what I can do.
LikeLike
This turned out lovely! Thank you for the tutorial!
LikeLike
Thanks, Lee! Molly’s choice of fabrics was terrific, wasn’t it? Morning Tea is another one of those patterns that looks great in a plethora of fabric styles. Have you made a Morning Tea quilt yet? If not, bet you’re inspired…..
LikeLike
Oh yes! This has me inspired!!
LikeLike