Just Quilty Stuff · villa rosa designs

14 Ways to Motivate Yourself Out of Your Quilting Slump

Hello Quilty Friends!

Happy Thursday!

I’m sitting here thinking that I’m long overdue for some quality time with my sewing machine. Of course, my recent knee replacement has put a lot of things on hold for the last 7 weeks, but every day I’m doing more and more. Just last week, I gingerly tackled the 13 steps from the first floor of the house to the basement, where my dungeon quilting studio lives. Piece of cake! Now I feel like I can take on the world!

Sewing and quilting — here I come! I even fired up my machine for a little sewing R&R. How about that? I’ve got SO many things I want to make, but now I’m wondering where to start??? In a way, you could say I’ve been in a kind of sewing slump. Maybe you can relate?

So, I started thinking about things that would motivate me back into quilting and sewing. And I thought I’d share my list with you. Please note that I added lots of fun links in this post.

1. Get Your Sewing Machine Serviced

This may seem like a no-brainer, but I bet a lot of you haven’t done this for a long time. There’s nothing like getting your machine back and it”s bright and shiny just like when you first bought it. You really should get your machine serviced at least every couple years, but if you are a heavy sewist/quilter, every year is better. Have you ever seen how much fuzz thread makes when you sew? Where do you think it goes — right down into your machine. This fuzz can harm your machine if it isn’t removed regularly.

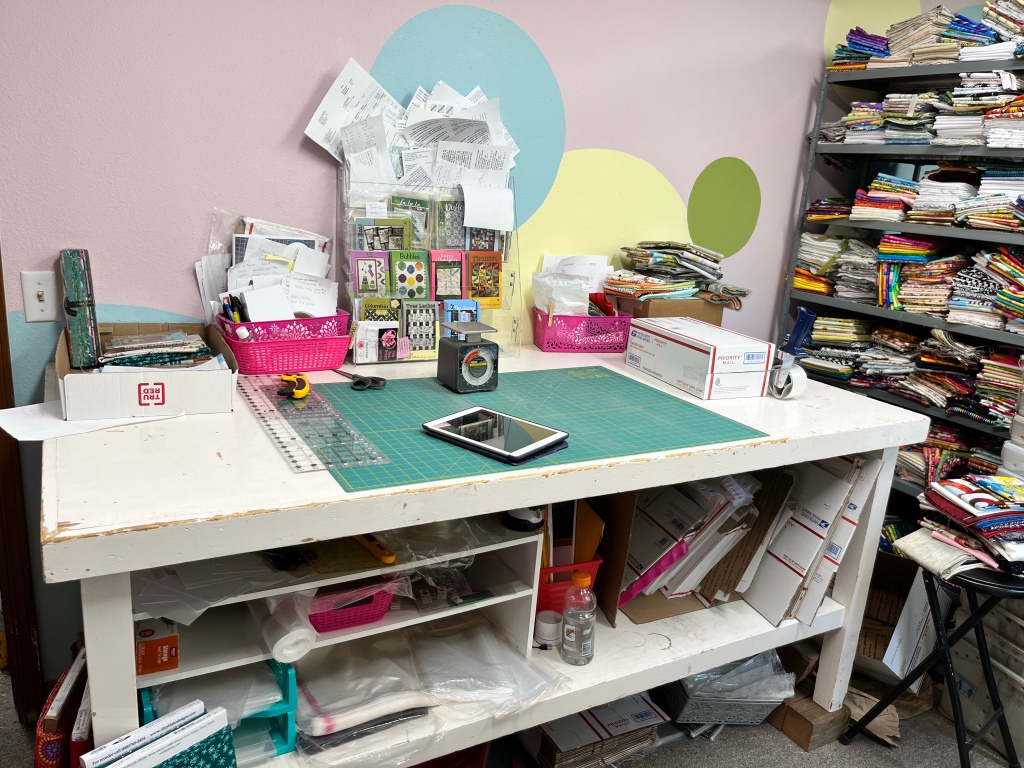
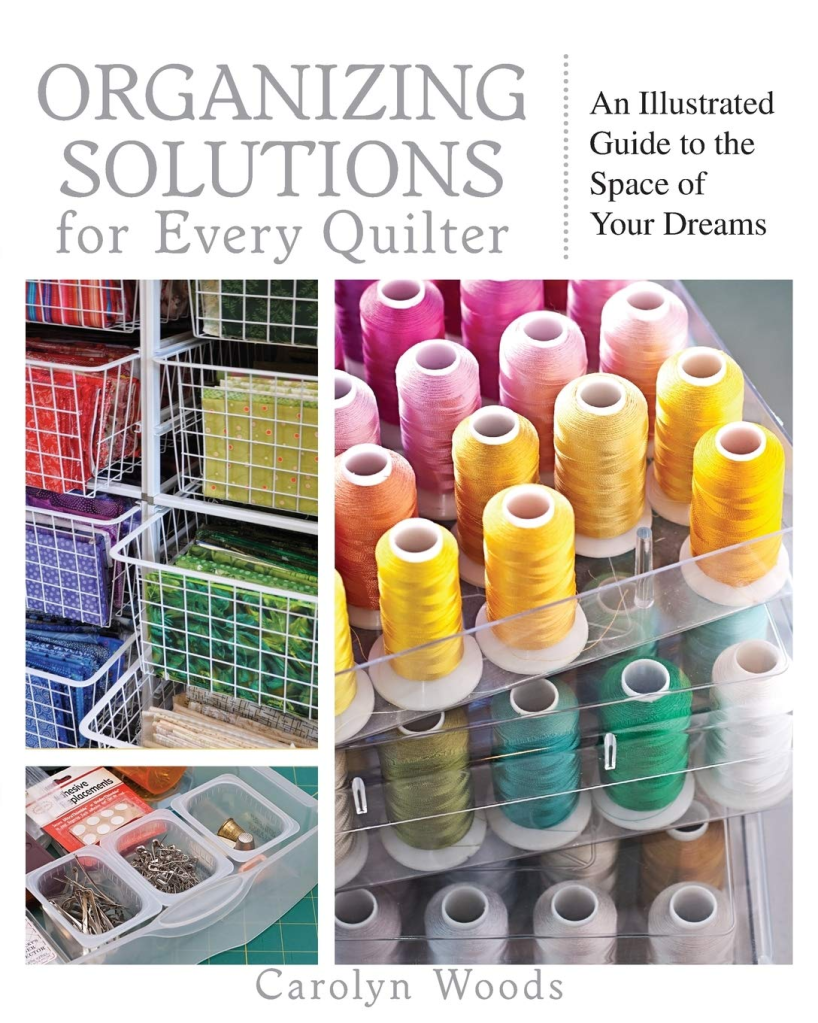
2. Organize, Clean, and Purge Your Sewing Space

Put things away. Donate what you don’t want. Dust. Clean. Fold your fabrics neatly. Purge your stuff and only keep what you need and really want. Channel your own inner Marie Kondo….

Get the book that started it all!

Or maybe this one’s more your style:

Get Organizing Solutions…..

3. Rearrange Your Sewing Space

After you’re done organizing, cleaning, and purging your sewing area, try rearranging it to give it a fresh look and maybe make it function more efficiently for your needs. You might need to recruit helpers to move large or heavy items around.

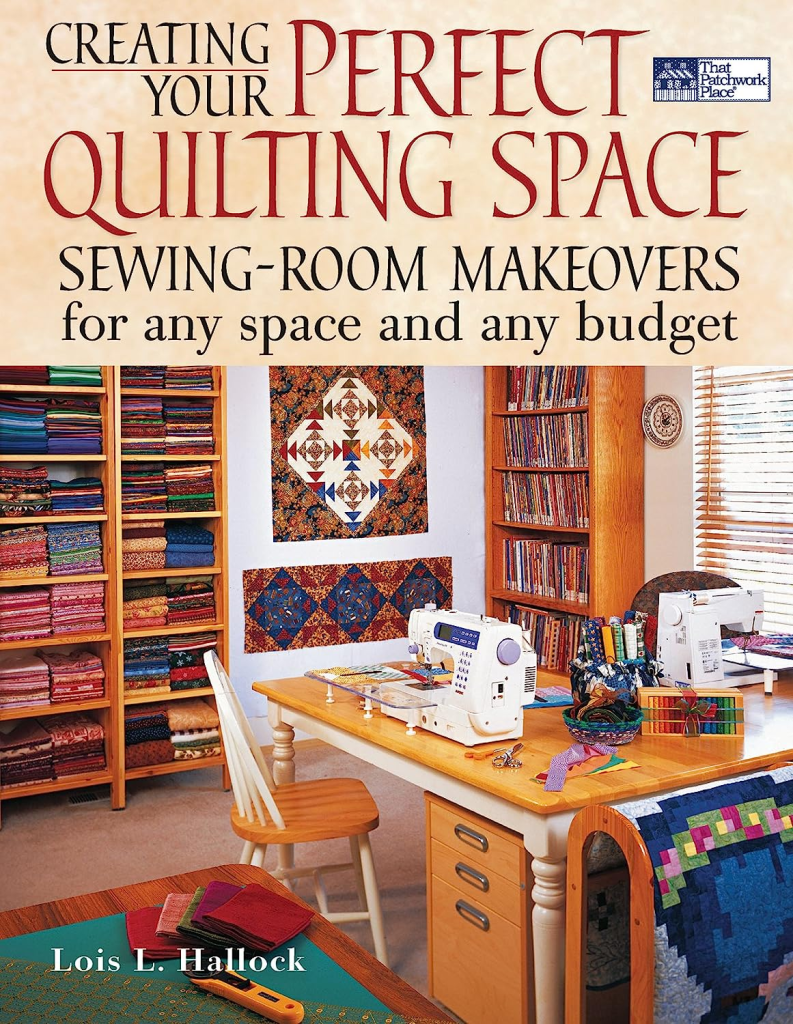
A great book to help you make your dream space into a reality!

4. Upgrade your Sewing Space

Maybe some new paint, flooring, a new rug? Or a really amazing sewing table. What would really motivate you to spend more time in your space?

Look at this cool country rug I found! It looks like a quilt!

Check it out!

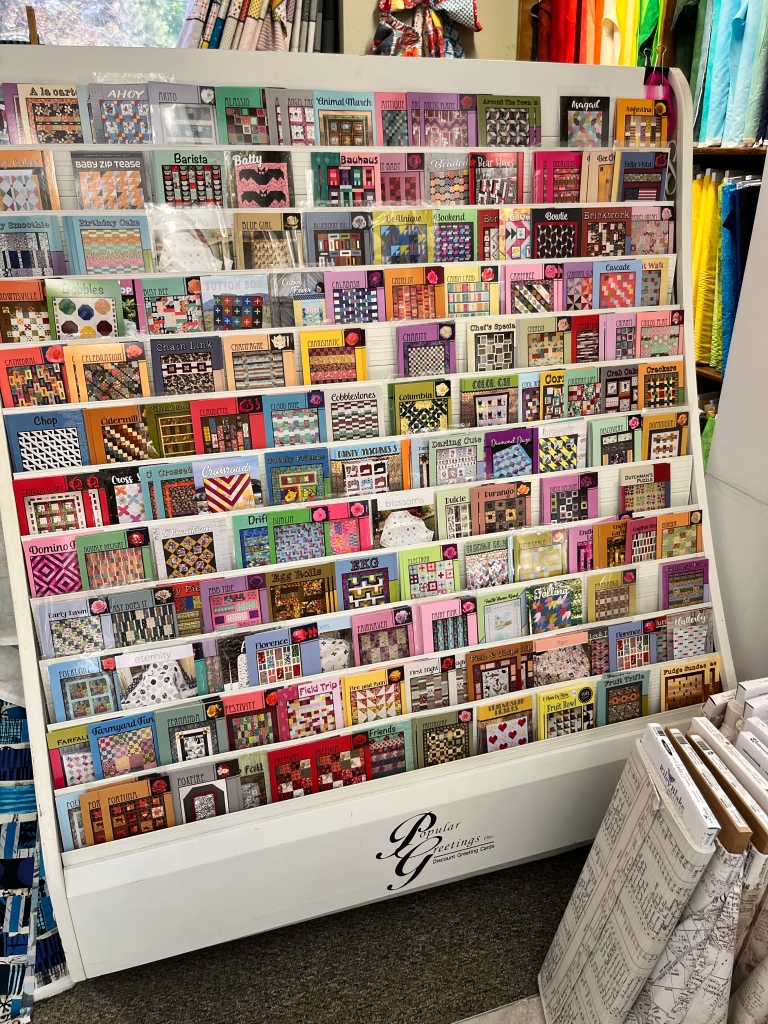
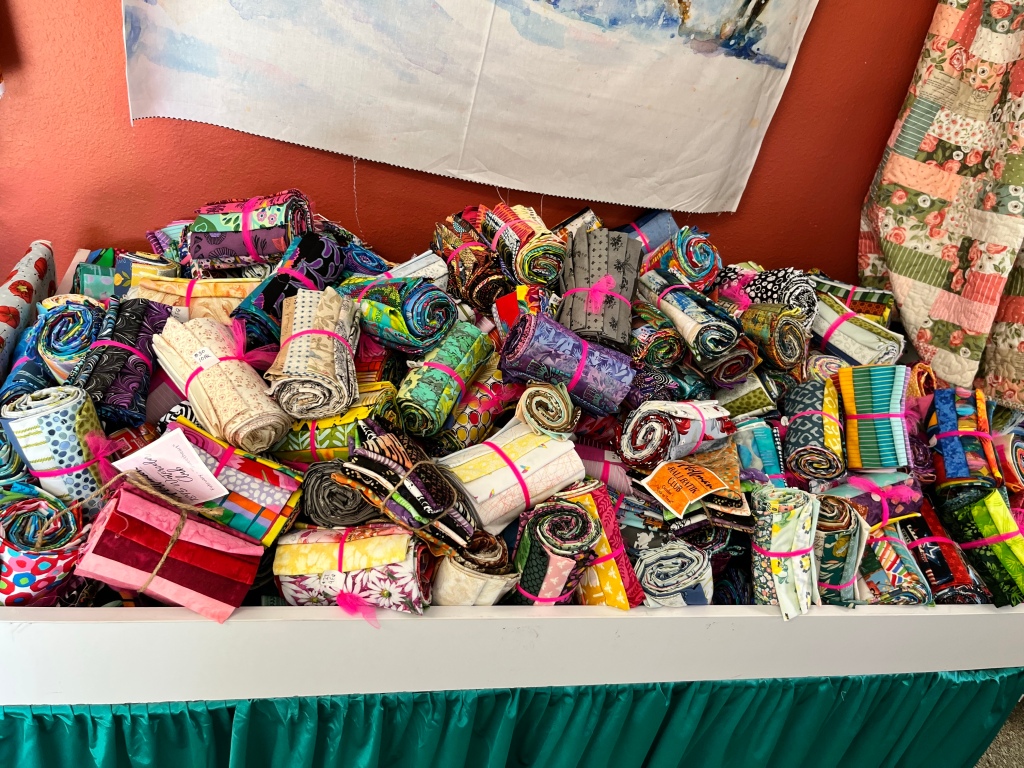
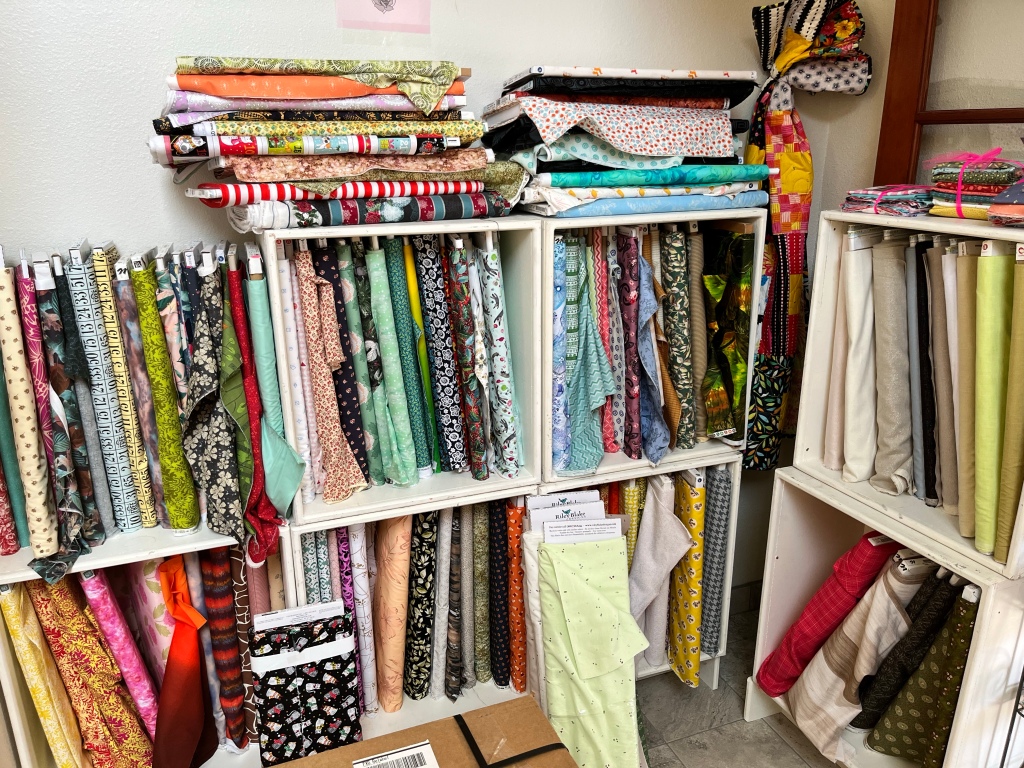
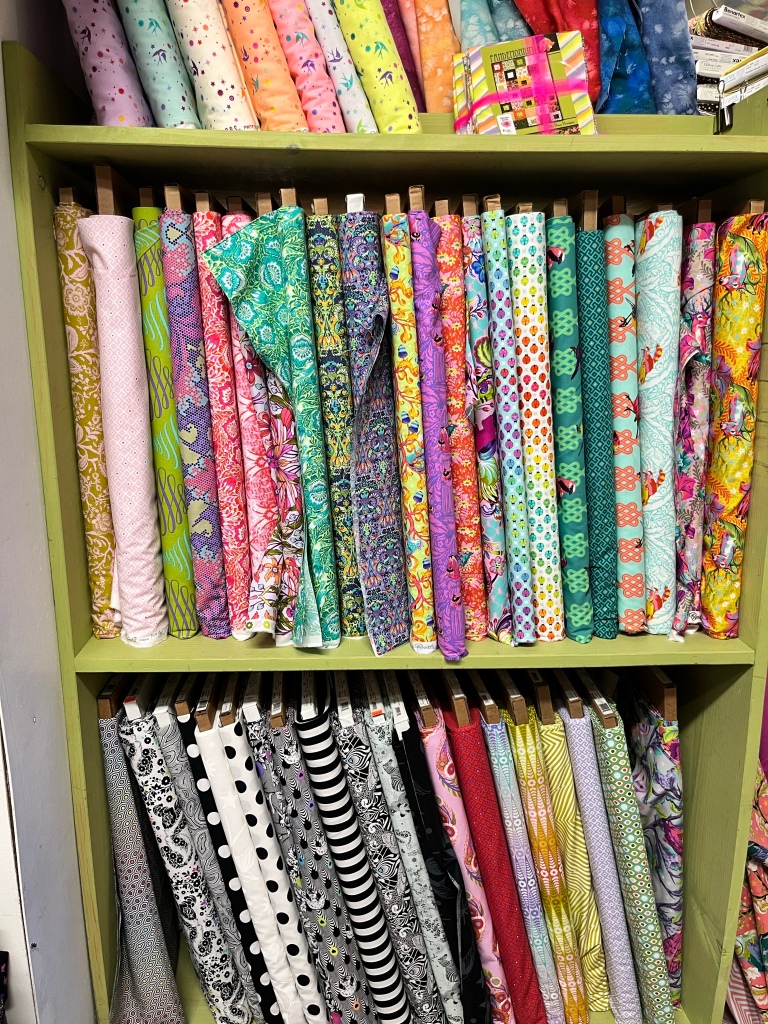
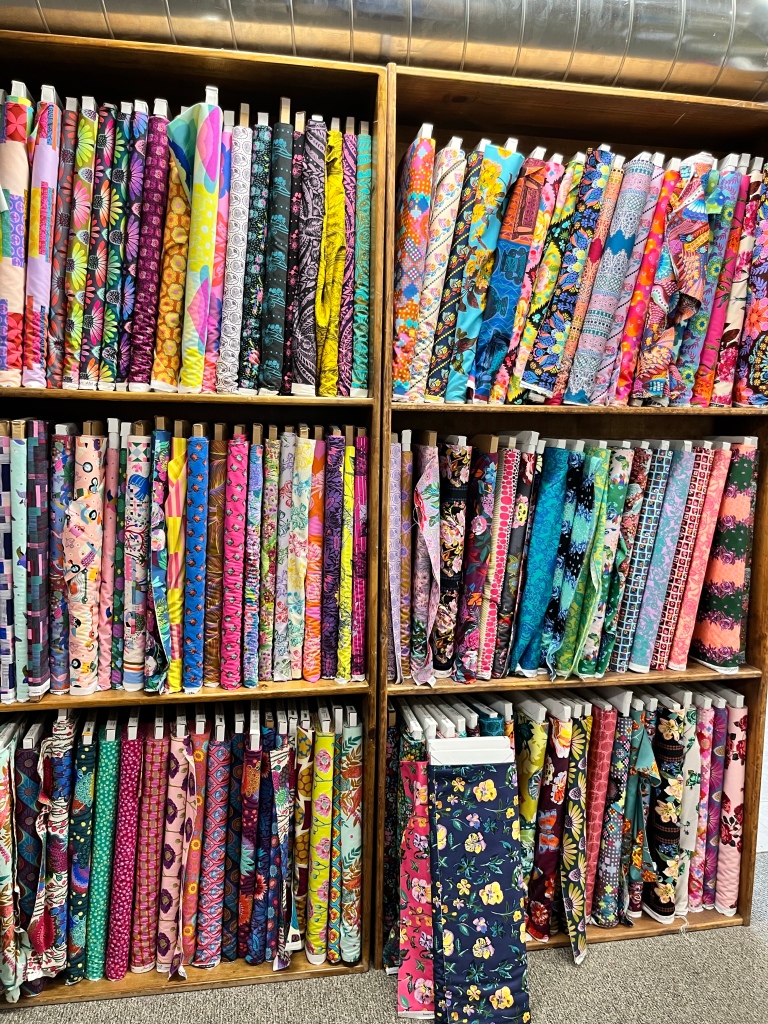
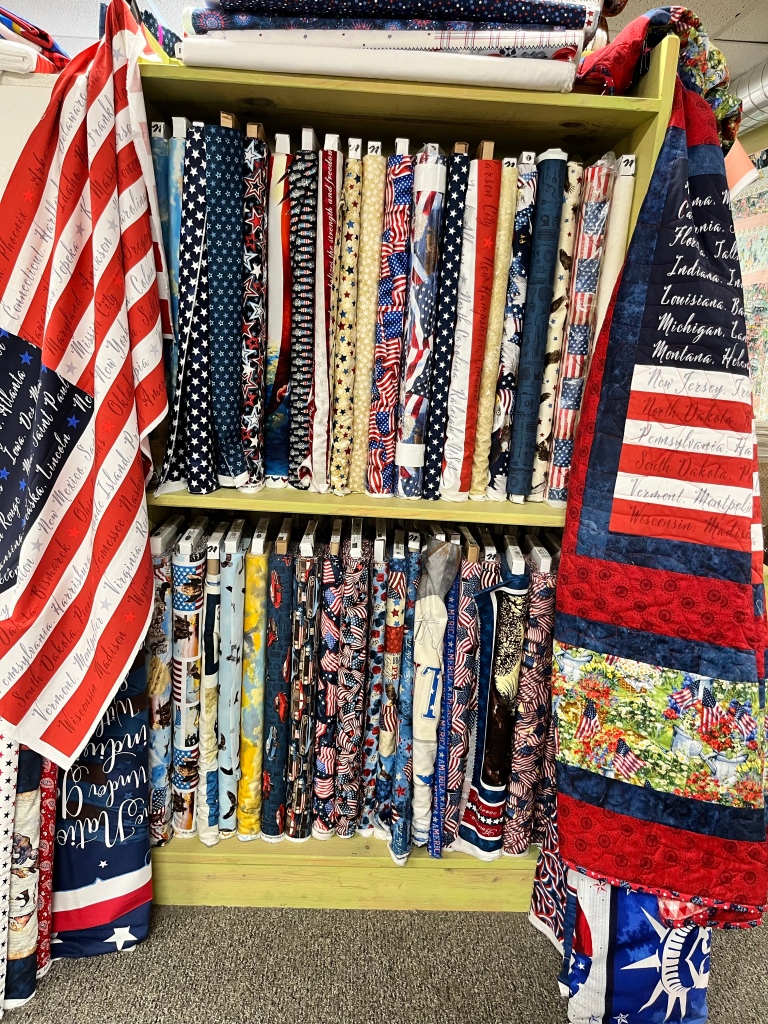
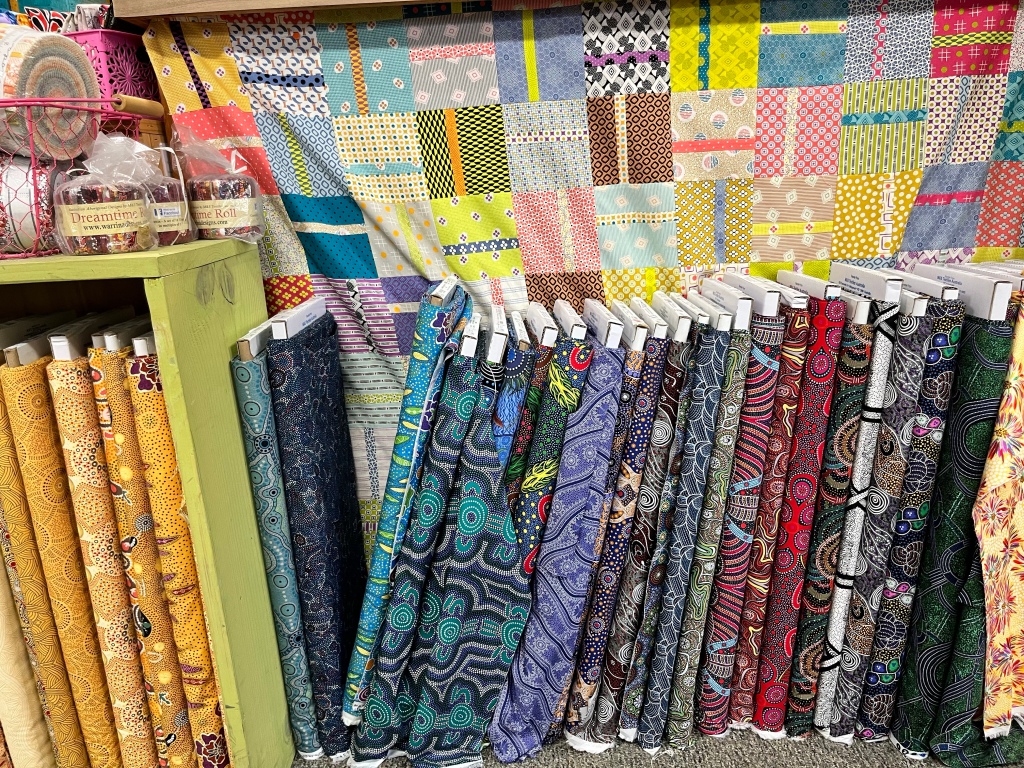
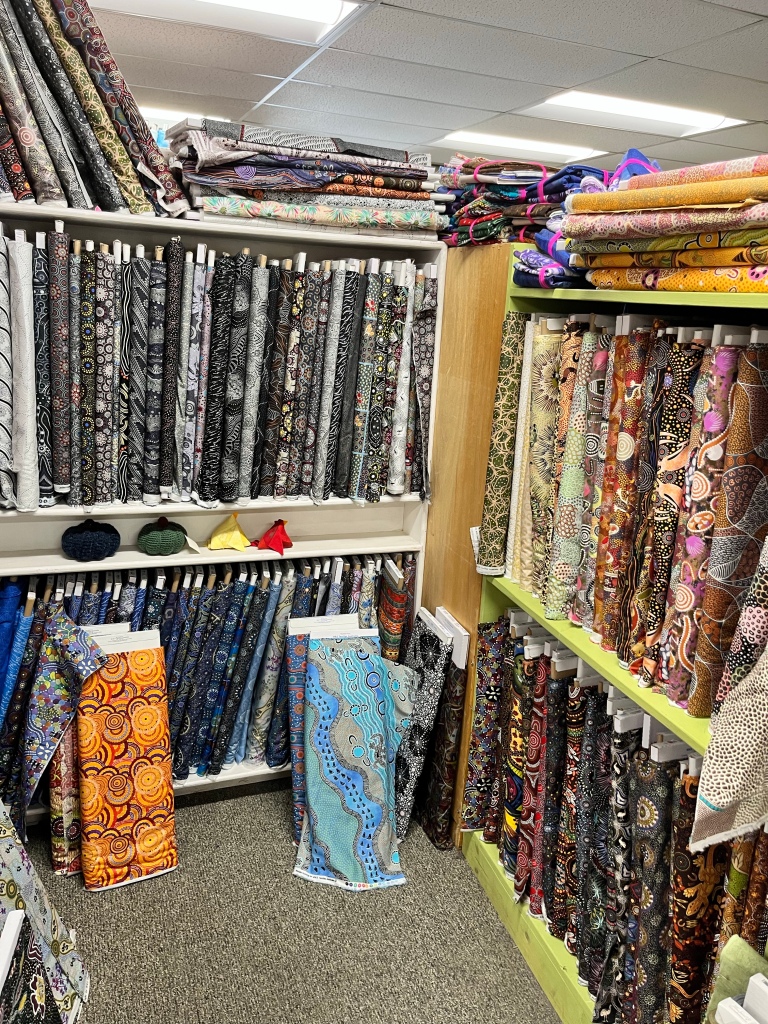
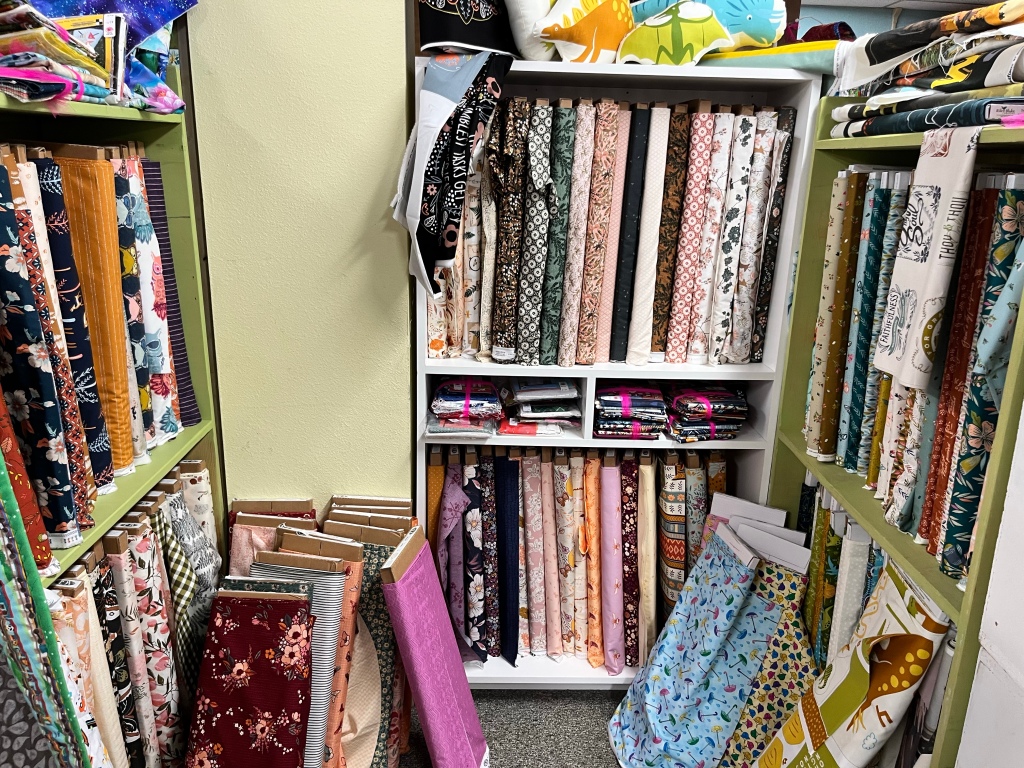
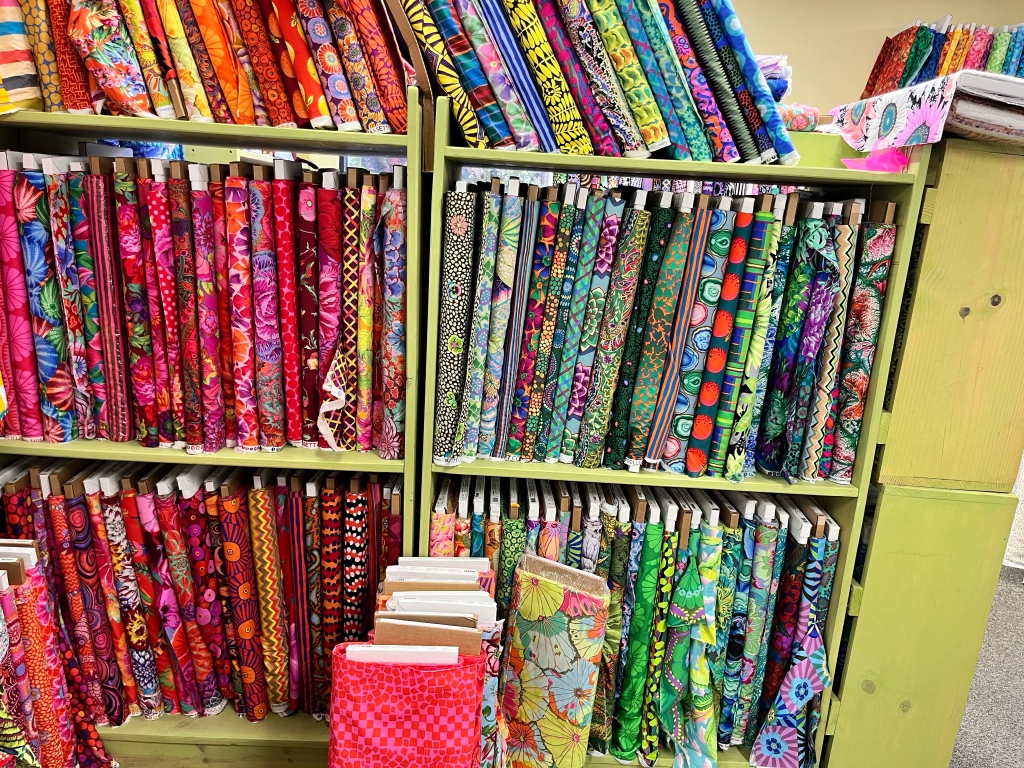
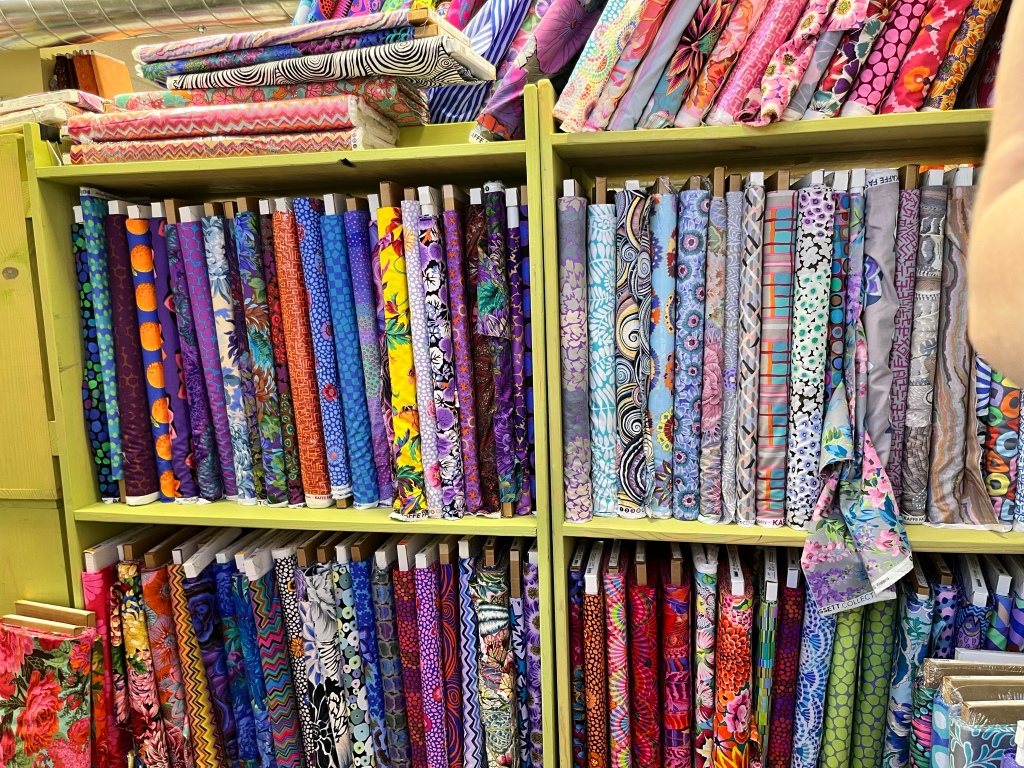
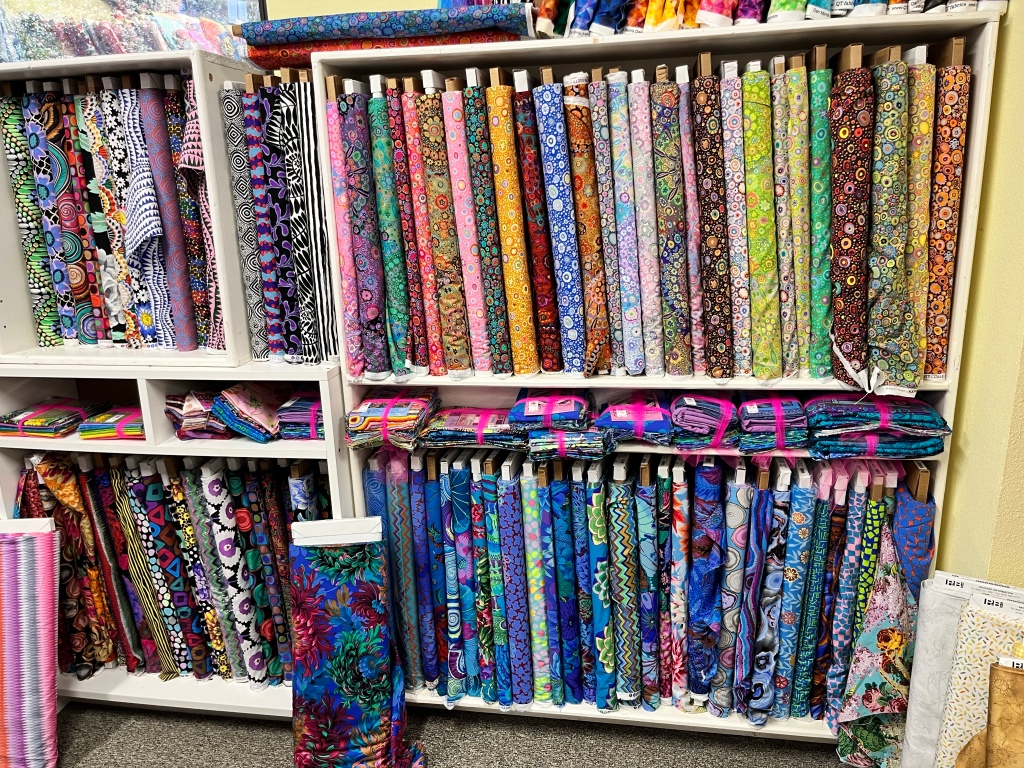
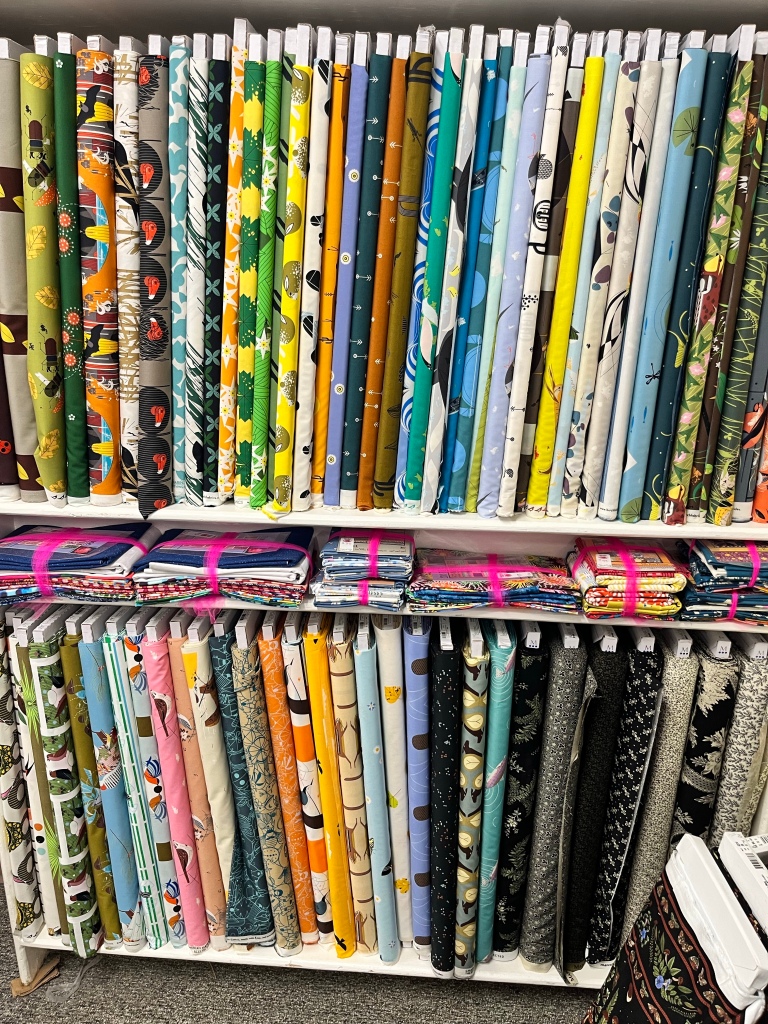
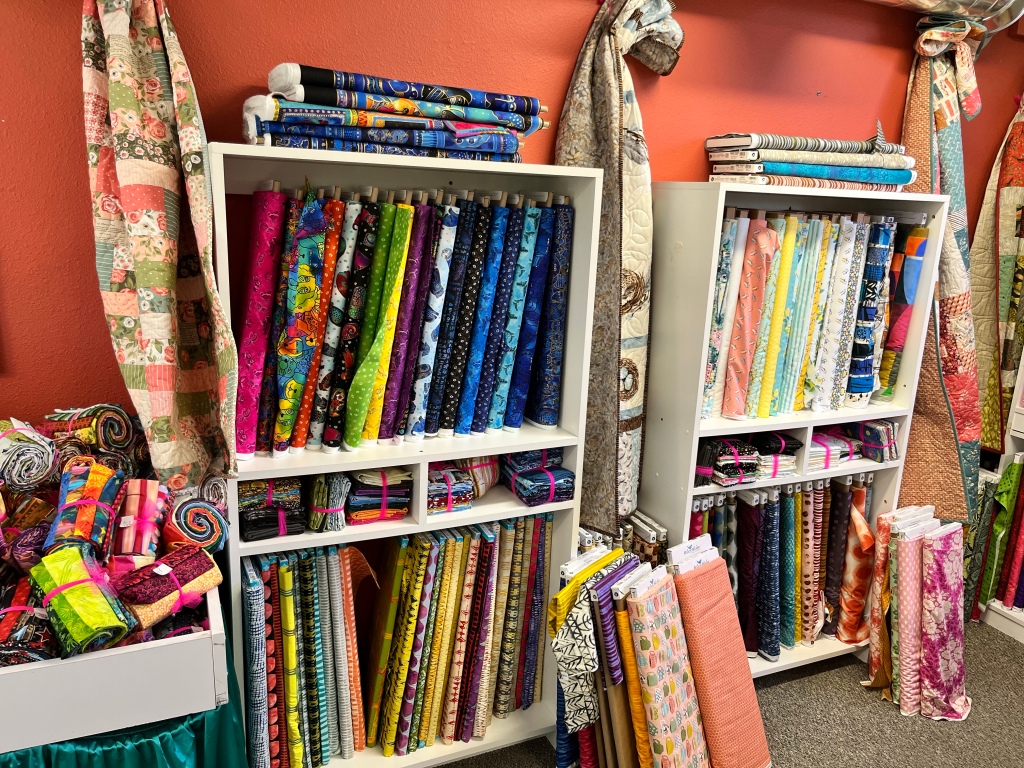
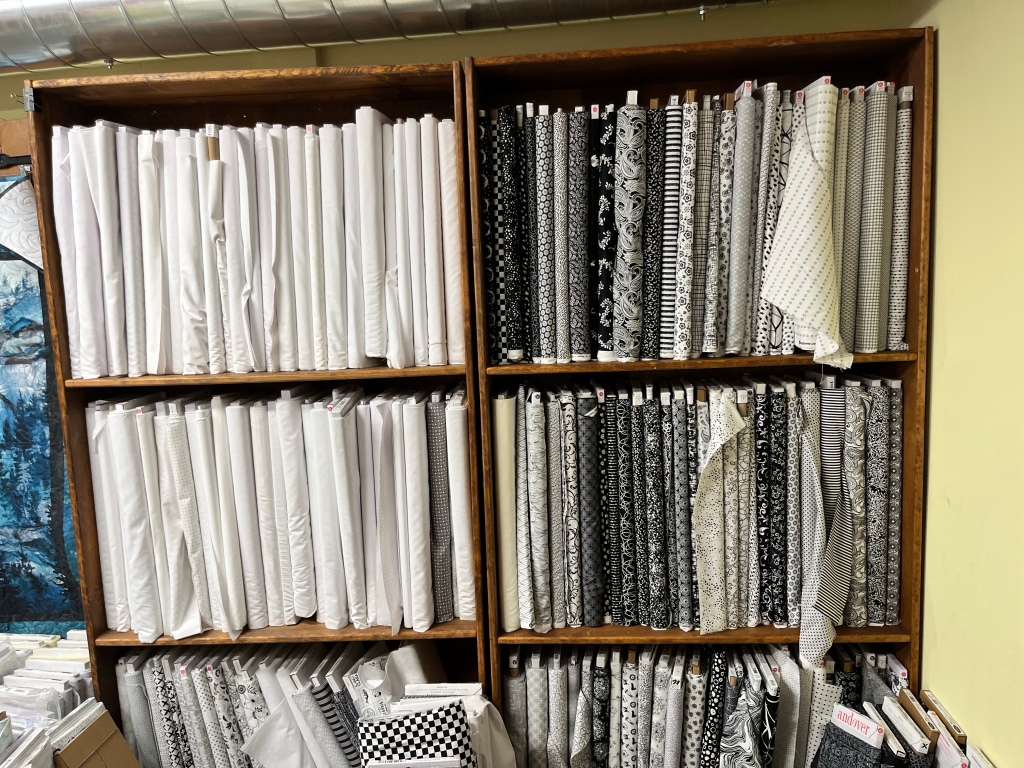
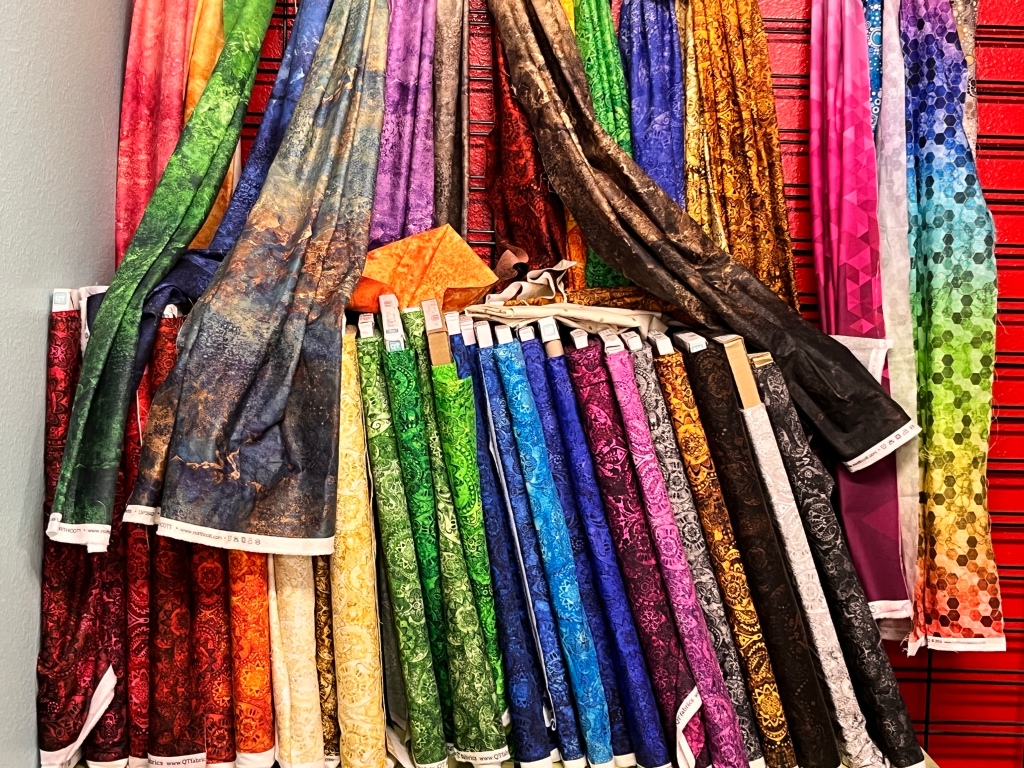
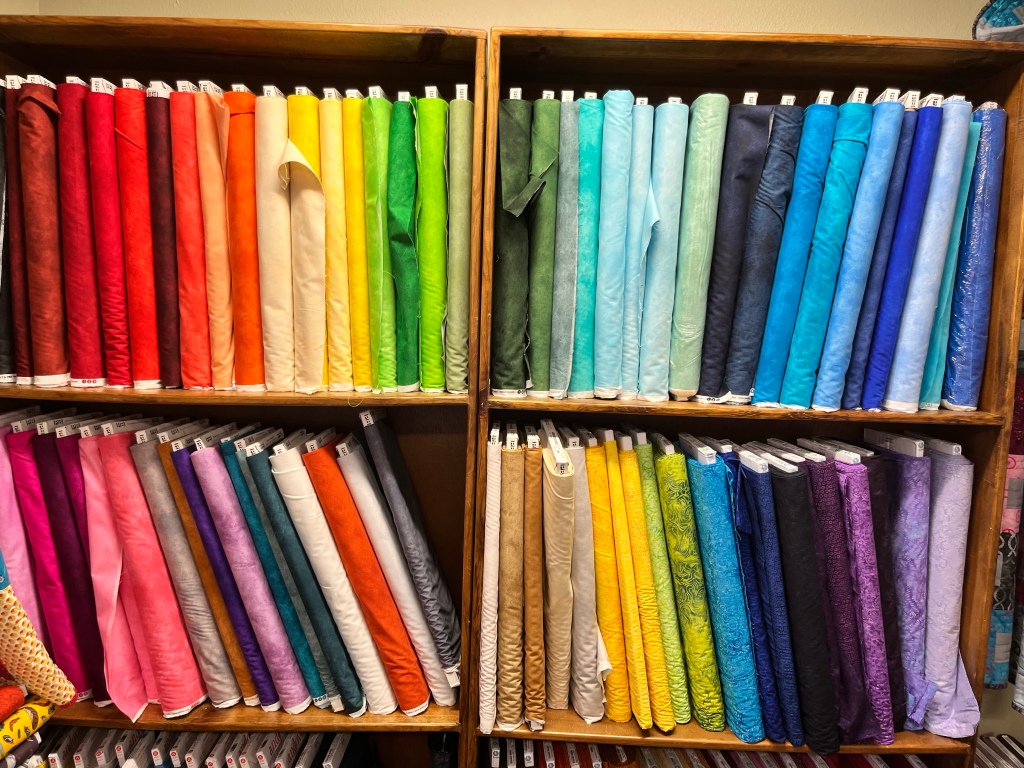
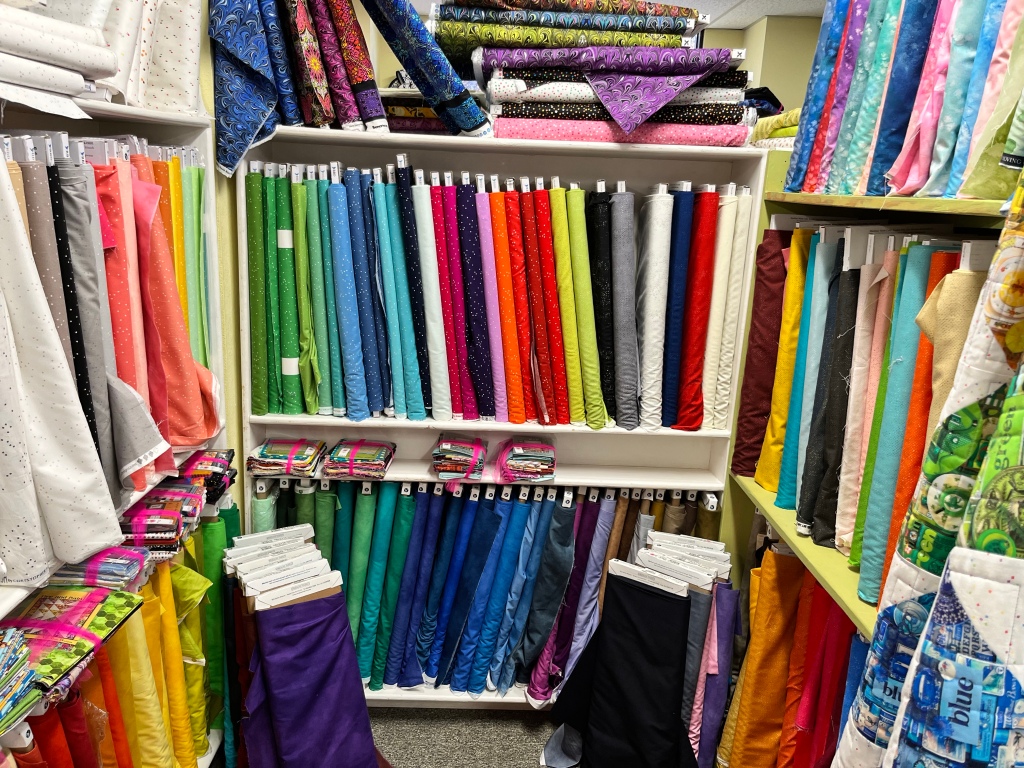
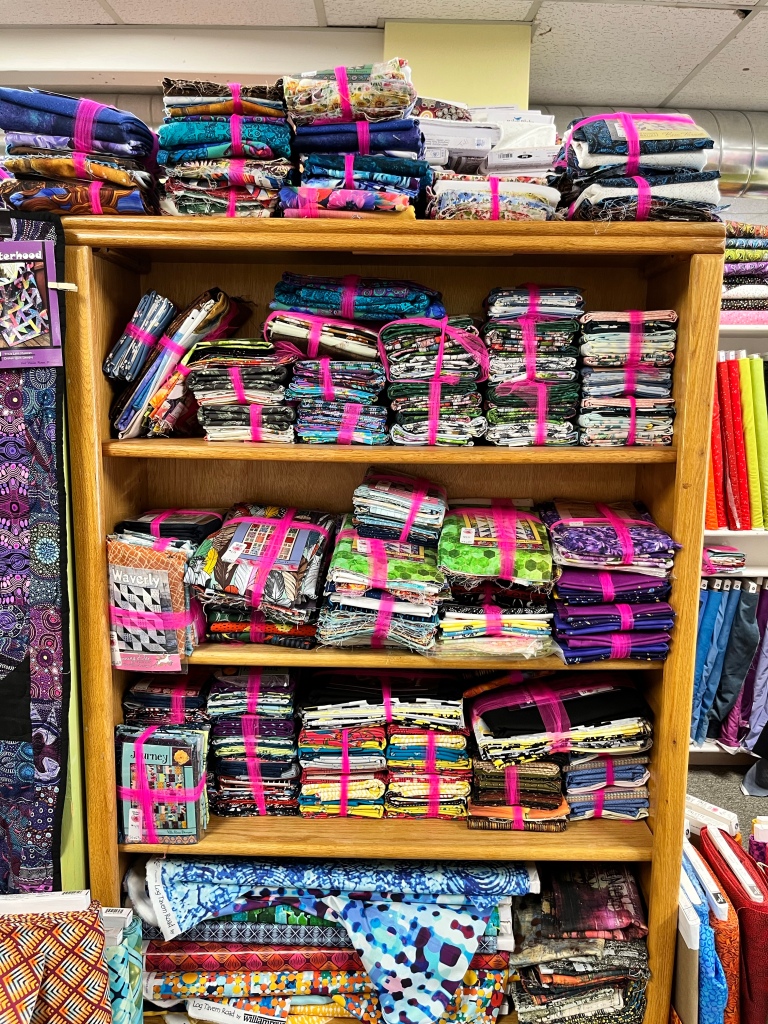
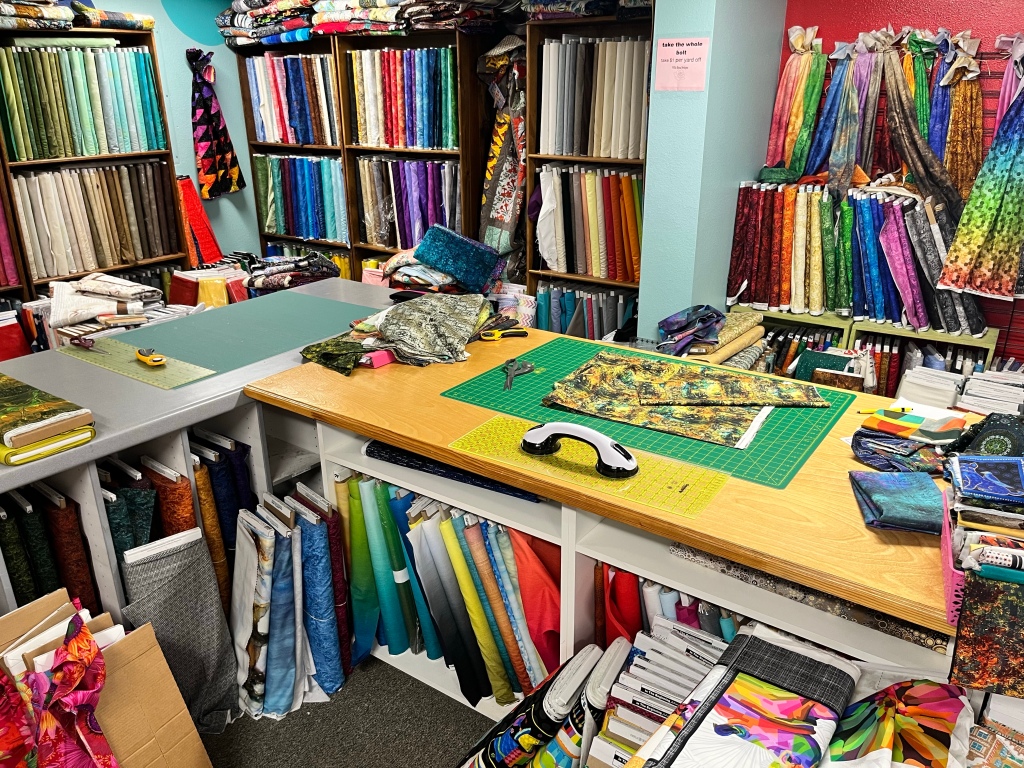
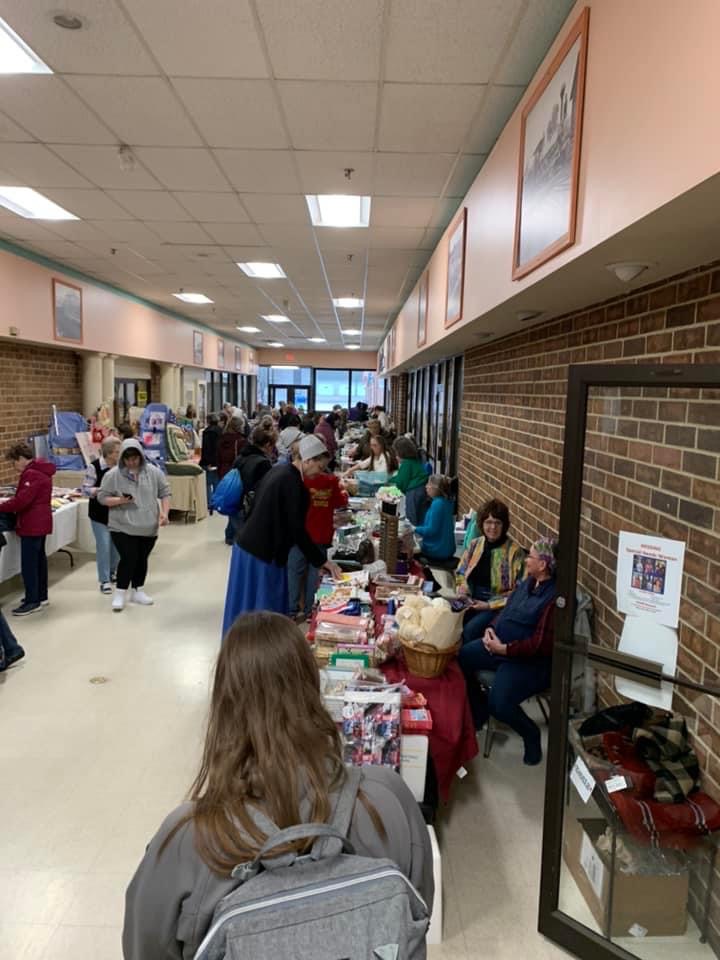
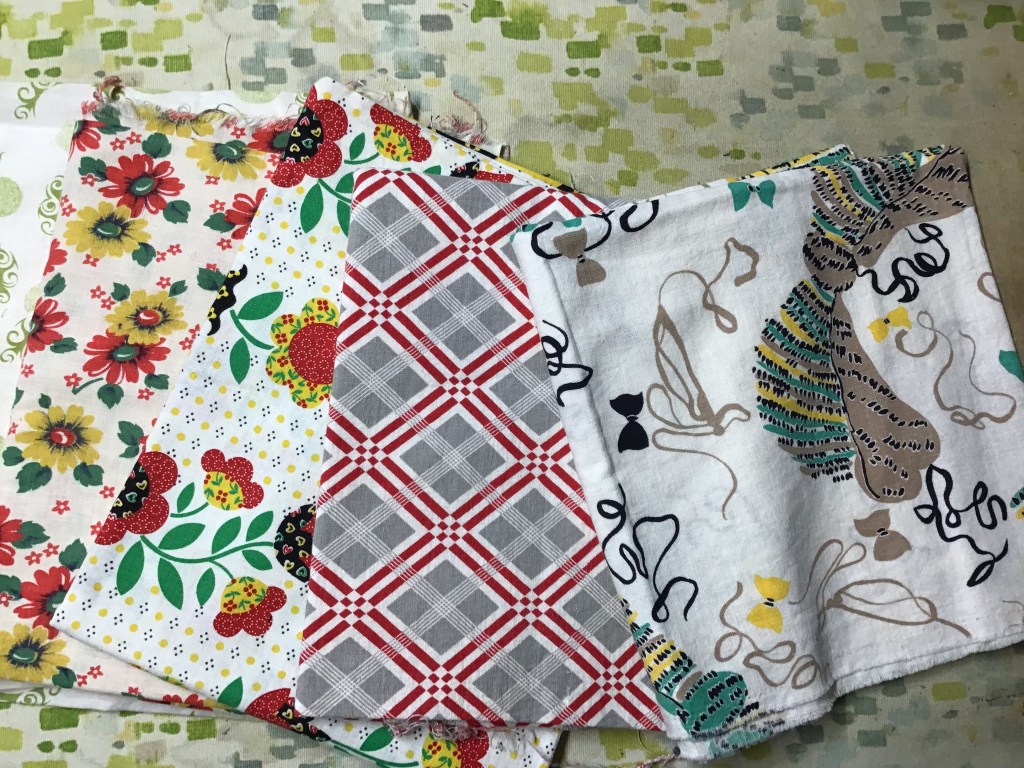
5. Visit Your Local Quilt Shops or Go on a Shop Hop

Sometimes finding a new fabric or fat quarter bundle or set of Charm Squares can inspire you to get back to sewing and quilting. I also just find walking in the door of my 2 local shops to be inspiring! All the colors, fabrics, samples, precuts, and chaos really speaks to me.

Have you ever tried a Shop Hop? If you’re not sure what a Shop Hop is, let me tell you about it. A Shop Hop is a group of quilt shops usually in one area (but it could also be an online shop hop with shops all over). The participating shops choose a time frame. You may need to get a special Shop Hop passport to participate. There are usually special sales, snacks, and prizes! A Shop Hop is also a great way to do something really fun with your best quilting friends, which is inspiring all by itself.

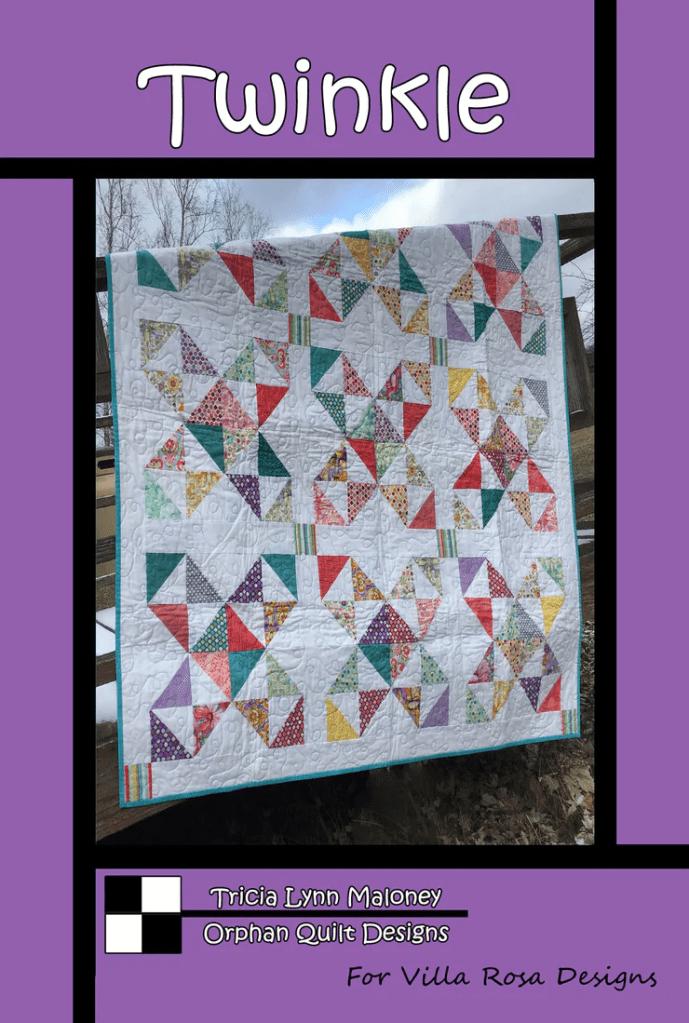
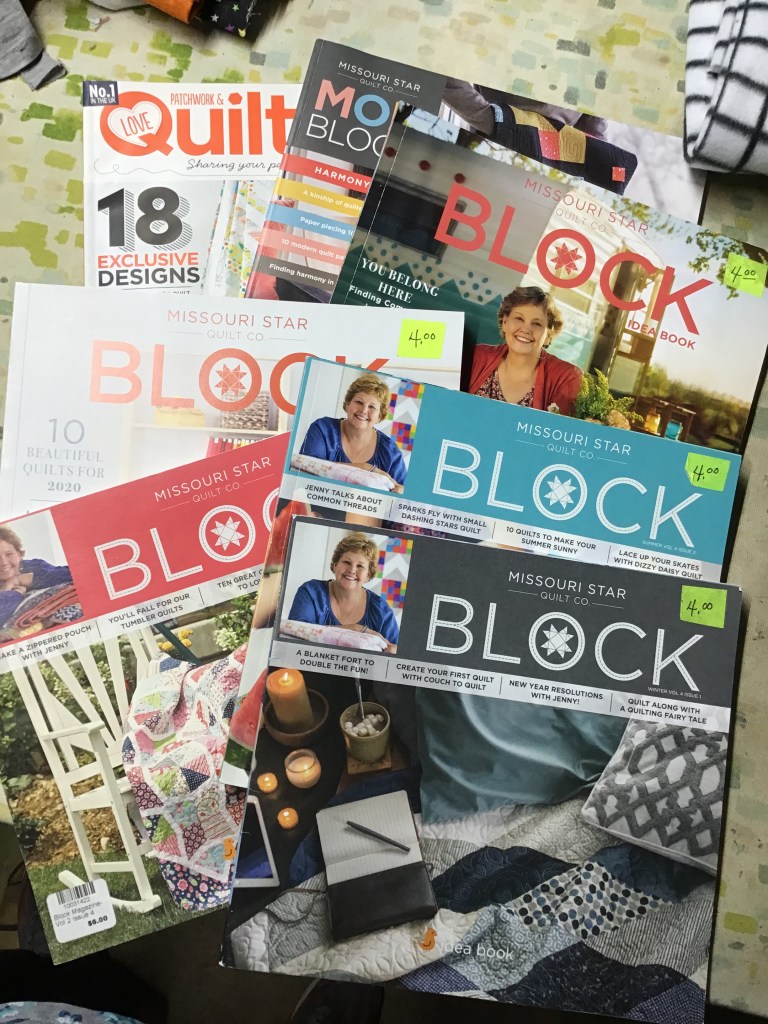
6. Buy a New Book or Pattern

While you’re at the quilt shop, pick up a new book or pattern that you find exciting and inspiring. Maybe something that just came out and you’ve never seen before….

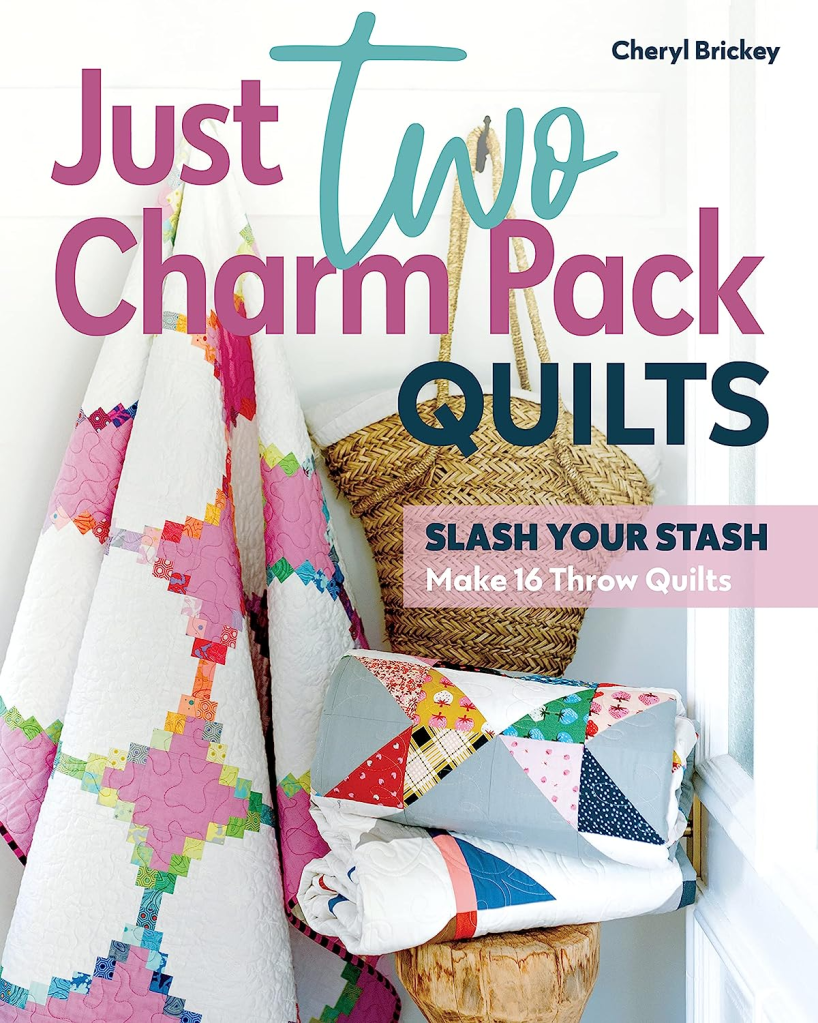
I bought this one right when it came out. It’s got some great projects AND you can even use your stash. Get the book HERE.

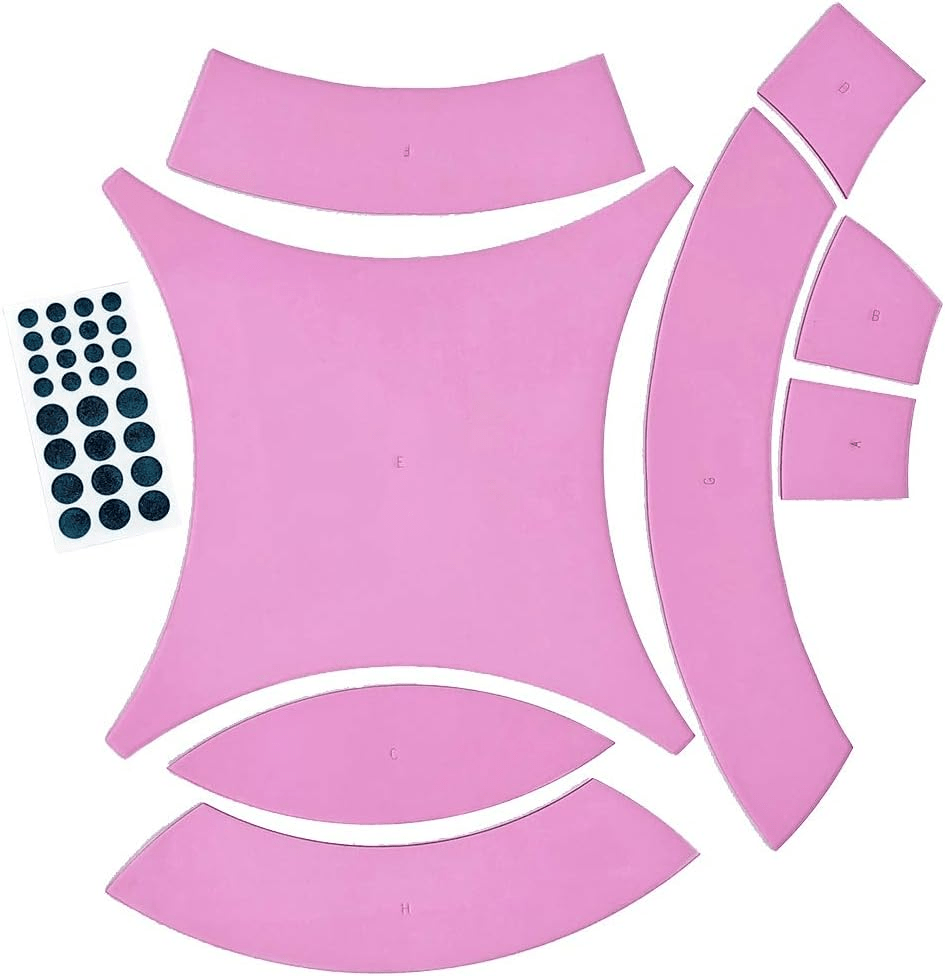
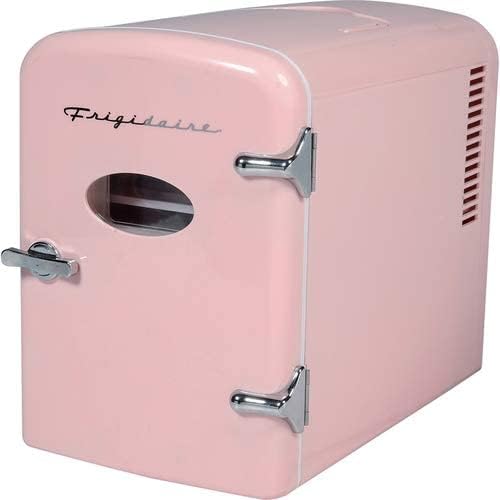
7. Buy Yourself a New Gadget, Ruler, Notion, or Even Something Silly

This is similar to buying a new book or pattern, but a bit different too. Maybe making a Double Wedding Ring quilt is on your bucket list. What are you waiting for? It’s time to buy a set of templates and just get started. Maybe you can sign up to take a class at your local shop?

Double Wedding Ring Templates

Or maybe you’re dying to get one of those adorable little retro PINK drink fridges on Amazon for your sewing space so you don’t have to keep running to the kitchen? Go for it!

Retro Mini Drink Fridge

8. Fill in Your VRD Rose Card Collection

You know you want to…..how many Rose Cards do you have? How many do you need to complete your collection? WAHOO! Villa Rosa just hit the over 600 Rose Cards in print (or digital of you prefer), so you’d better get cracking.

You can order physical Rose Cards HERE or digital download Rose Cards HERE.

9. Organize Your Rose Cards

I know we’ll talked about storing and organizing your Rose Cards before. If you haven’t done that yet, let me tell you that it is a very satisfying process. I LOVE seeing my Rose Cards all happily nestled in their plastic storage boxes (like recipe boxes) in perfect order alphabetical order. Things are starting to get a little tight in my 3 boxes, so I’m thinking it’s time to add a 4th box and spread them out a little bit.My boxes are all clear, but now they come in fun colors!

Get yours HERE.

Haven’t organized your cards yet? Then feel free to check out these posts for ideas:

Squeezing in More Quilting Time and Rose Card Storage

My Go-To VRD Rose Card Quilt Patterns and My VRD Rose Card Storage Update

10. Schedule Sewing Time with Your Bestie

I really like the peace and quiet of working by myself, but there is nothing as awesome as having a sewing day (or even a week end) with your quilting buds. You could all work on your own projects, or for a lot more fun — choose a project that you all can make, using your own fabrics. You’ll be amazed at how different your projects look when they are finished, even though you all used the same pattern.

11. Go on a Quilting Retreat

A quilting retreat is a lot like sewing with your bestie, only on a bigger scale. I used to love going on week end retreats, but I found I didn’t sleep well in a different bed. So, these days, daytime retreats would be more my style so I can sleep nights in my own bed.

12. Host a Fabric and/or a UFO Exchange

Looking to freshen up your stash without breaking the bank? Why don’t you organize a UFO or fabric exchange with a group of friends or even your quilt guild. It takes a little organizing and some simple rules — for example, you must take home as many items as you bring. But what fun everyone will have!

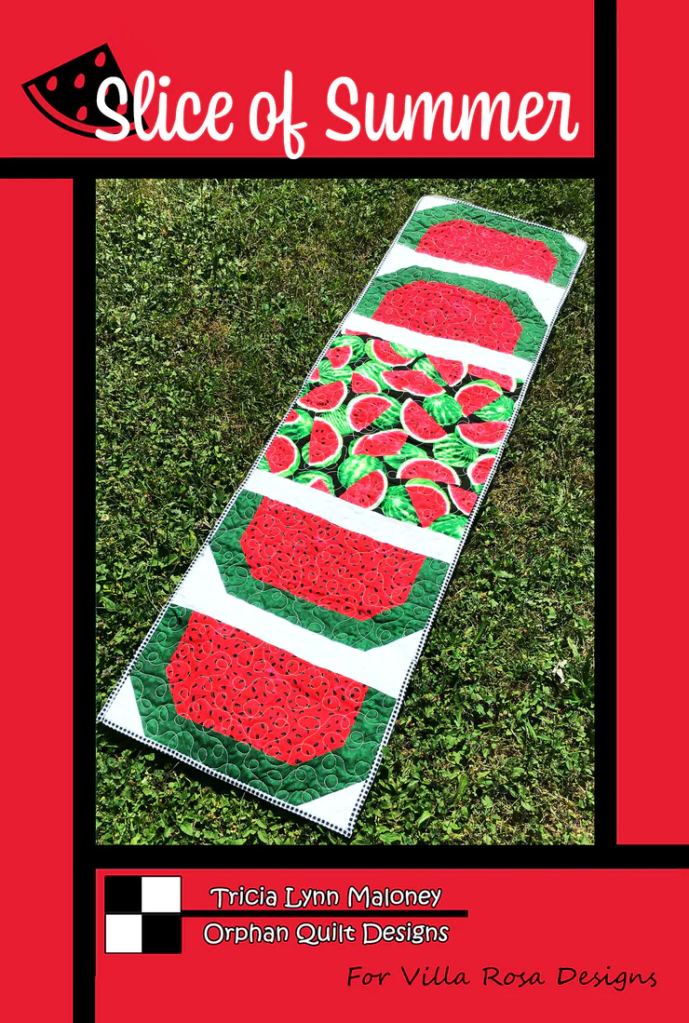
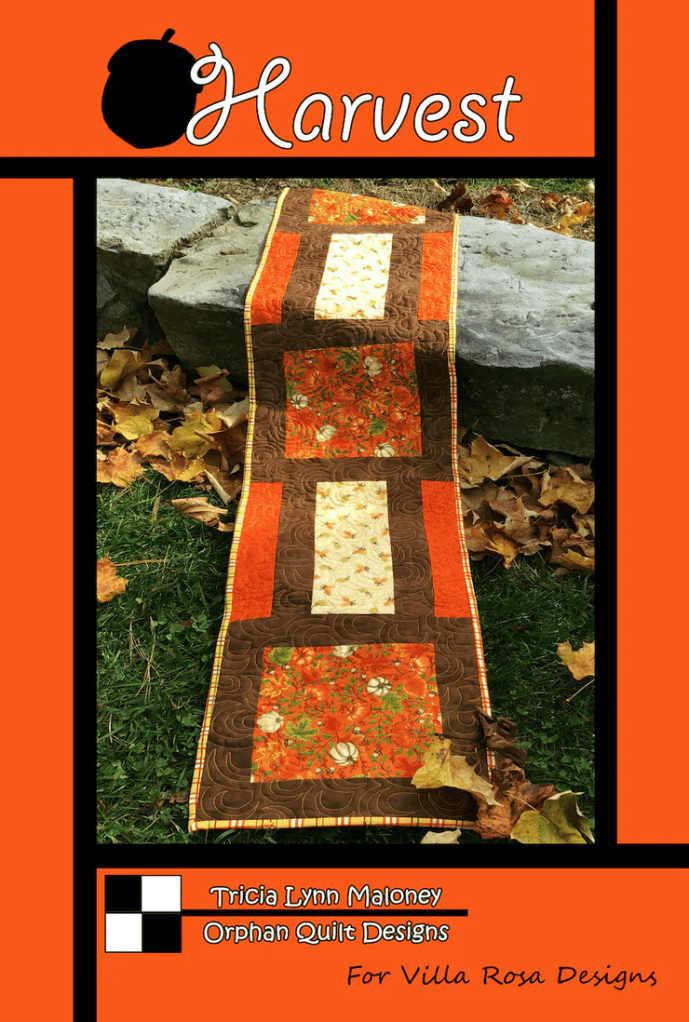
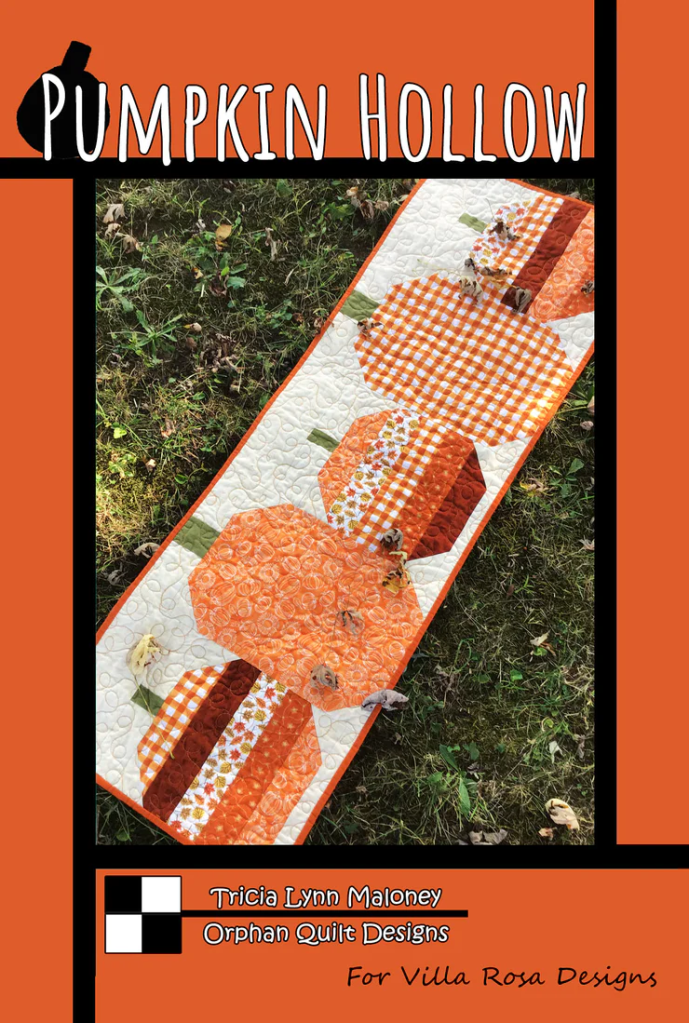
13. Start With a Small Project — Pillow, Doll Quilt, Wall Quilt, Table Runner, Place Mats, Etc.

Most folks don’t want to jump into a big project when they’ve taken a bit of a hiatus from quilting. Try something small!. We have great table runner patterns and really fun accessory patterns, too. You might be wondering what accessories are because it’s kind of an ambiguous word. Well, our VRD accessory patterns include aprons, pillows, bags, scarves, purse essentials and more.

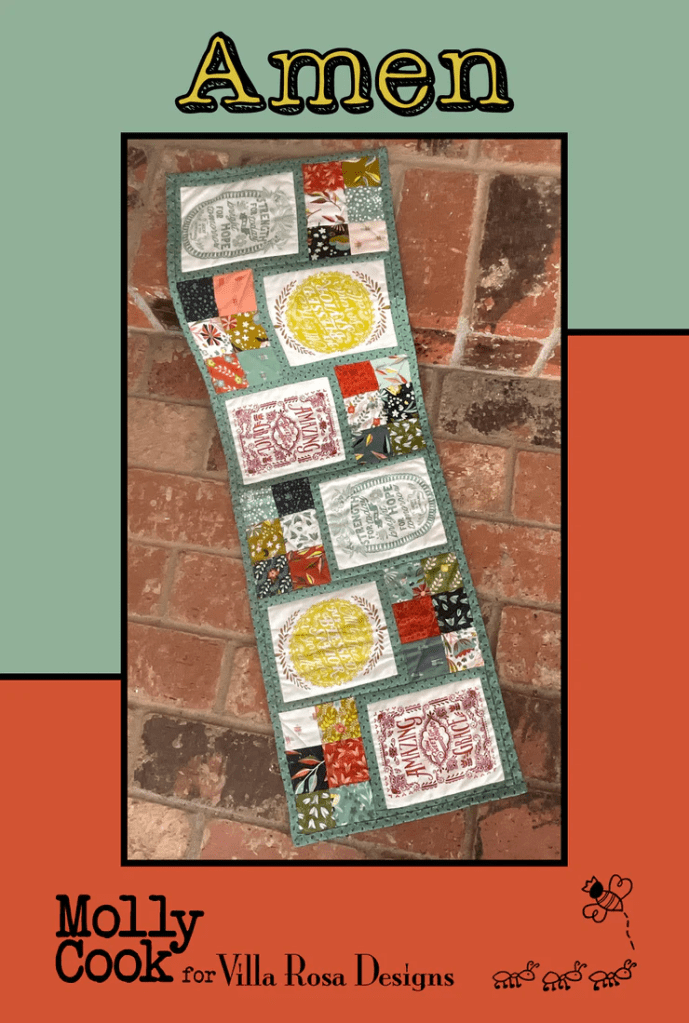
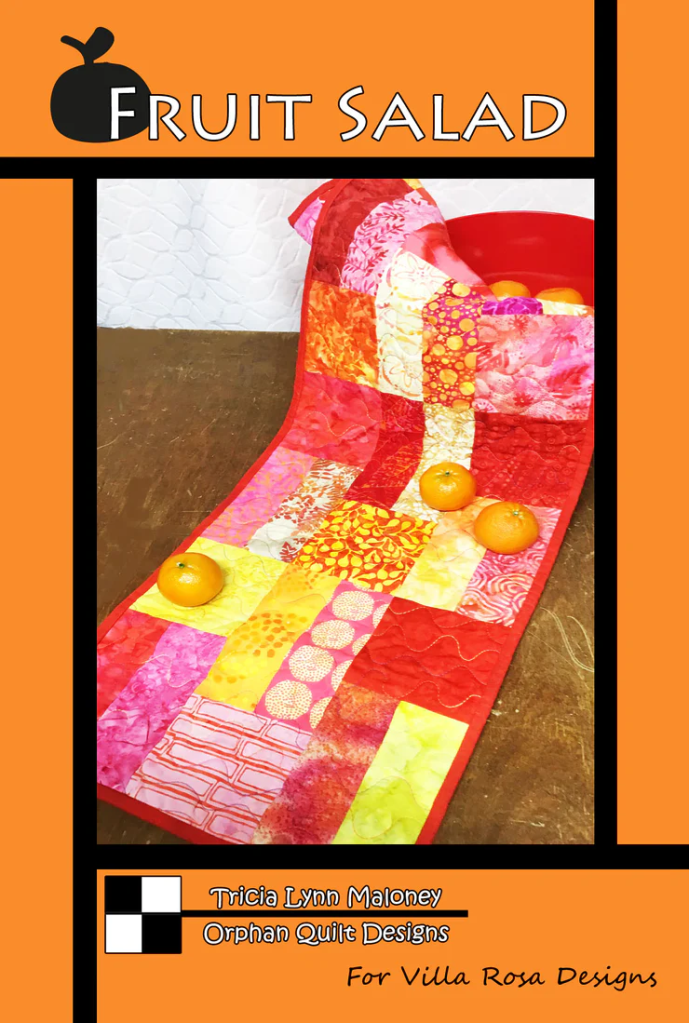
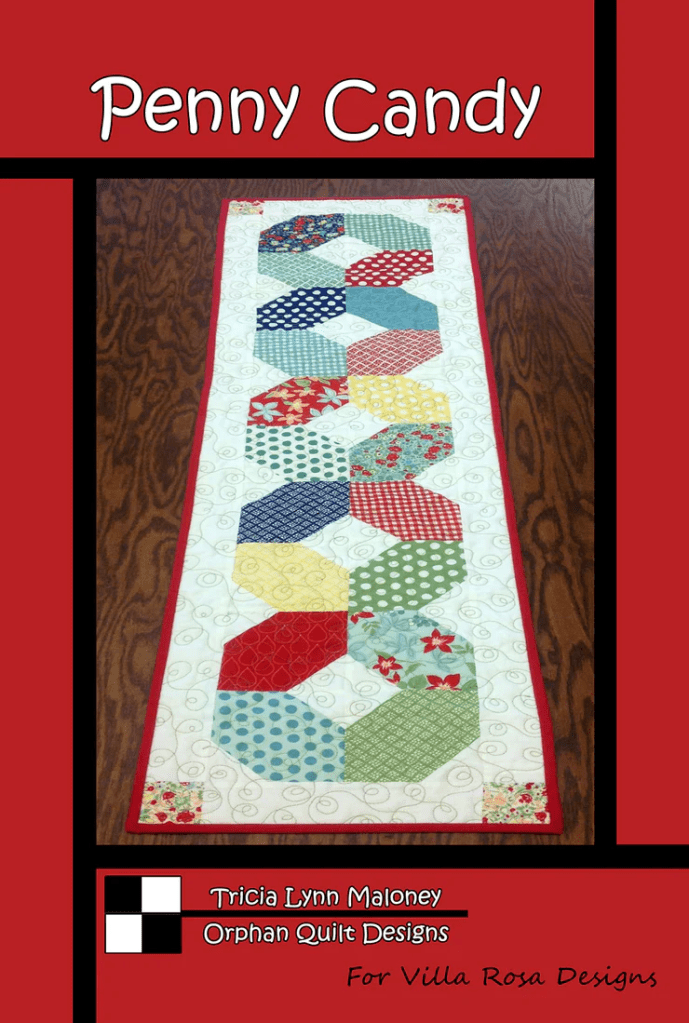
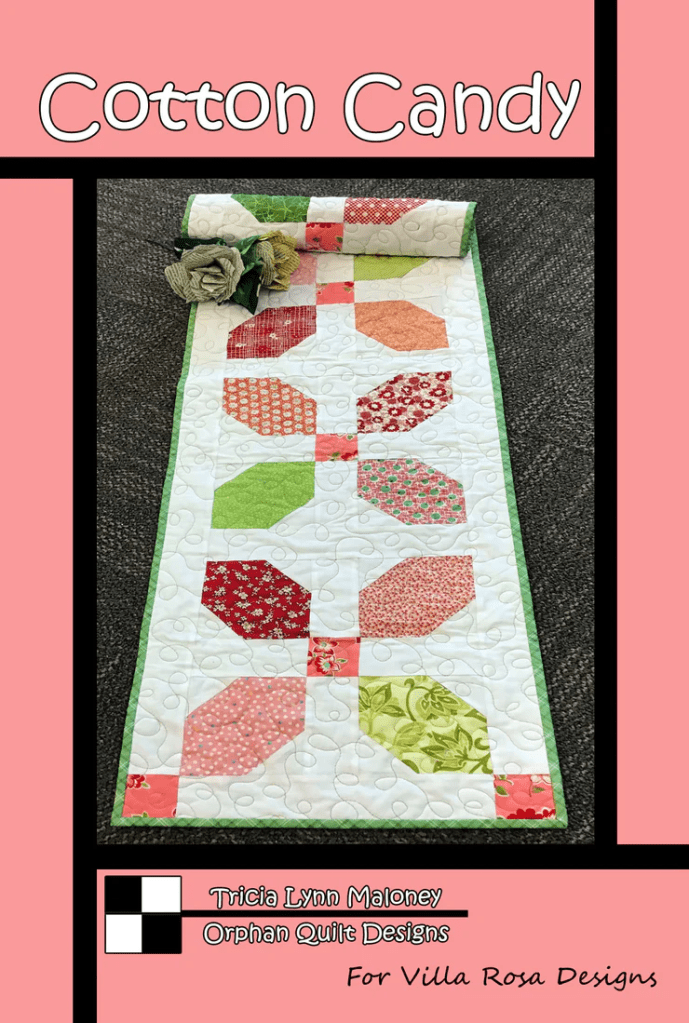
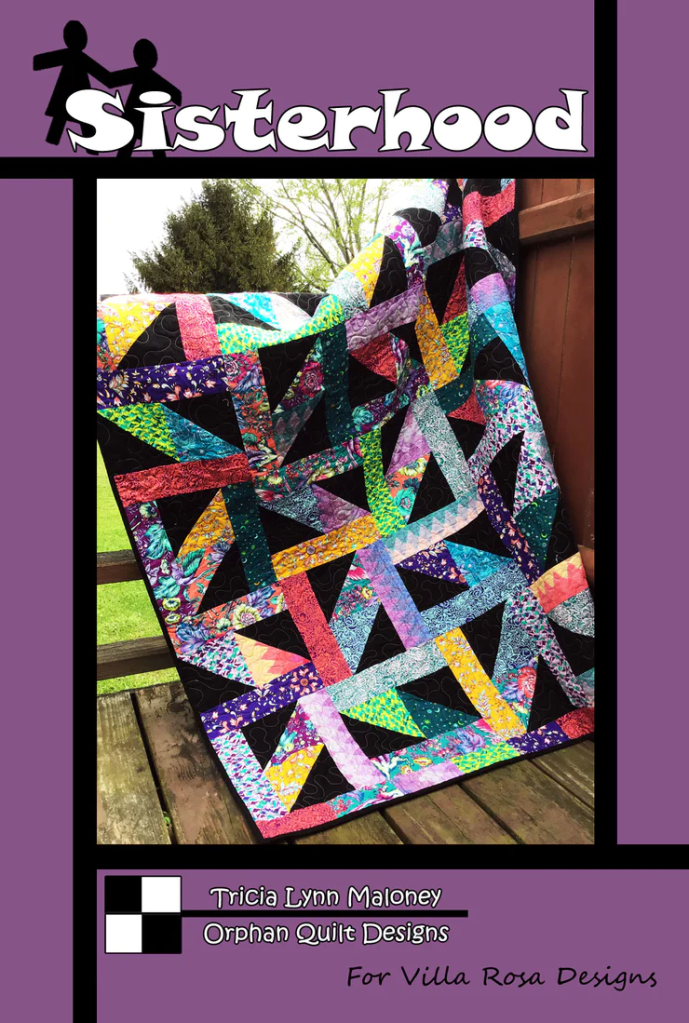
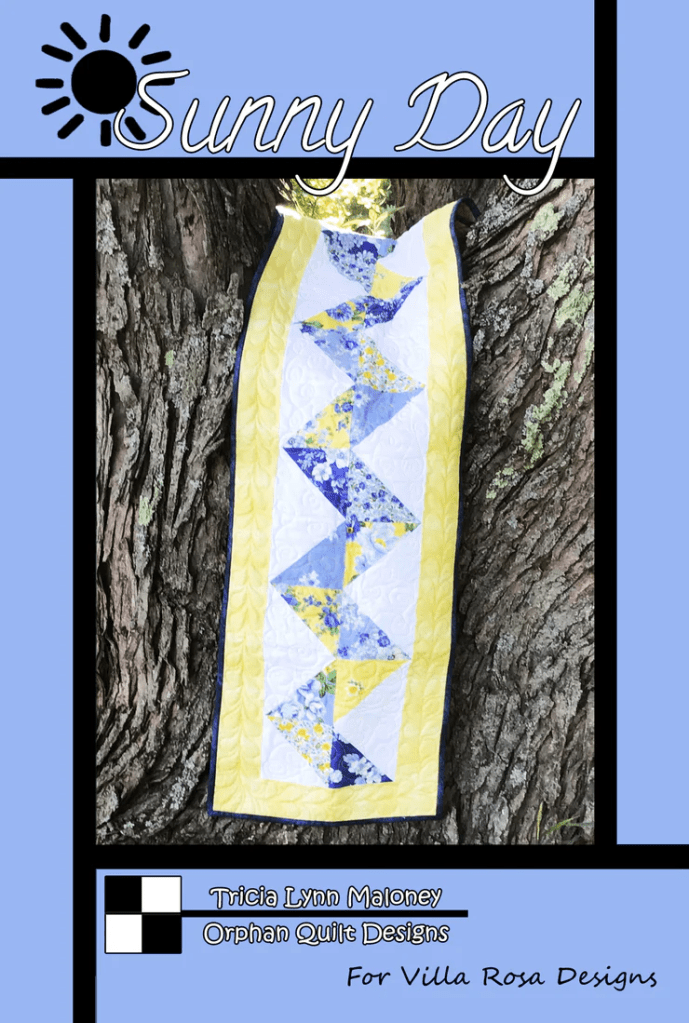
Find all our table runners HERE

Find all our accessory patterns HERE.

14. Make Something for Someone Else

Sometimes, you just need to make something for someone else to find your quilting groove again. You could make a quilt for a loved one or a friend or even a favorite pet. You could also put your quilting skills (and maybe quilt stash) to work to help a charitable organization. There are literally tons of organizations who would be delighted to receive a quilt from you that they can gift to someone or perhaps raffle off to raise funds for a specific project.

Here is a list of charities to get you started. I know there are a lot more, so if you don’t see your favorite organization, please give us the information by leaving a comment on this post. Thank you.

Quilts of Valor Foundation

Quilts of Honor

Project Linus

Quilts for Kids

Wrap Them in Love

Quilts Beyond Borders

Ronald McDonald Charities

Victoria’s Quilts

The Giving Quilt, Inc.

Operation Shower

Wrap a Smile Quilts

Binky Patrol

My Very Own Blanket

Sleep in Heavenly Peace

AZ Blankets for Kids

Quilts of Compassion

Well, that’s it for me today. I’m going to try to sneak off to my quilting studio and spend some quality time with my sewing machine….

Until next week —

Sew. Laugh. Repeat.

Always,

Tricia

Just Quilty Stuff · Rose Cards · villa rosa designs

Villa Rosa Designs Rose Card Patterns — Table Runners All Through the Year

Hello Quilty Friends!

Happy Thursday!

Here we are at the end of June with Independence Day sneaking up on us. I just realized that I need to start thinking about Christmas projects if I’m going to give any handmade gifts or quilts for the holidays this year. One of my favorite gifts to give are table runners.

I seem to remember a blog comment one time asking for a blog post about table runners. So I thought I’d share with you a rundown of our VRD Table Runner Rose Card Patterns arranged all through the year.

Wouldn’t it be fun to start a tradition of gifting a series of table runners to a special loved one or friend (or maybe even yourself!?!)? Maybe you’d only do one for each season. Or maybe you’d do the full 12 months. Whether you’d gift one every holiday, every month, every Christmas, or just because –imagine the delight of the recipient!

Isn’t that one of the biggest joys of quilt-making — the giving?

Let’s take a tour through the year with Villa Rosa Table Runners.

January

Get Blizzard HERE

Get Ice Jam HERE

Get Snow Goose HERE

Get Winter Branches HERE

February

Get Love Notes HERE

Get Smitten HERE

March

Get Clover HERE

Get Lucky (the pattern) HERE

April

Get After the Rain HERE

Get Amen HERE

Get Fly Away HERE

Get Lil’ Umbrellas HERE

May

Get Bloom HERE

Get Flora HERE

Get Macarons HERE

Get Nana’s Aprons HERE

Get Pretty Posies HERE

June

Get Berry-Licious HERE

Get Blissful HERE

Get Blueberry Cobbler HERE

Get Fruit Salad HERE

Get Goody Goody Gumdrops HERE

Get Penny Candy HERE

Get Pinwheel Picnic HERE

July

Get Cotton Candy HERE

Get Firecracker HERE

Get Sew Charmed HERE

Get Unfurled HERE

August

Get Cabana HERE

Get Slice of Summer HERE

Get Sunny Day HERE

September

Get Coffee Break HERE

Get Housewarming HERE

Get Leaf HERE

MAPLE GROVE

Get Maple Grove HERE

Get Mod Tiles HERE

October

Get Bat Dance HERE

Get Cake Day HERE

(I included Cake Day for October since my birthday is in October! LOL!)

Get Harvest HERE

Get Pumpkin Hollow HERE

November

Get Baskets HERE

Get Griddle HERE

Get Let’s Eat! HERE

December

Get Blessings HERE

Get Gift Wrapped HERE

Get Merry Trees HERE

Get Peppermint & Holly HERE

Get Season’s Greetings HERE

Get Sugarplum HERE

I hope you enjoyed this curated selection of VRD Table Runners arranged by months of the year. Maybe these runners will inspire you like they’ve inspired me. I’m thinking “Table Runners Through the Year” would be a really fun trunk show or guild program. What do you think? Something to add to my to-do list?

Well, that’s it for me this week.

Until next Thursday —

Sew. Laugh. Repeat.

Always,

Tricia @VRD

Guest Bloggers · Just Quilty Stuff · villa rosa designs

VRD Designer and Guest Blogger Molly Cook

Hello Quilty Friends!

Happy Thursday!

Hi everyone! Molly popping on to show you around the shop. Hold on tight, this might turn into a roller coaster ride!

Our quilt shop got started in a spacious 2 story building, just outside town near the air park, in 2019.

Remember when I said it was spacious? 4 years later and we are bursting at the seams — (no) pun intended.

Where should we start our tour of the shop? How about the front door? Here we have all our VRD Rose Card patterns on 4 large racks — with well over 500 patterns, those racks are bursting!

Want to see our whole pattern catalog? Go HERE.

Nearby, we have a “dump” table where we toss FQ bundles that give you a taste of the fabric collections in the shop. Some of the bundles are also last chance bundles.

Grab some bundles of fun HERE.

Look at these lovely rolled bundles!

Just to the left of the door is a whole room dedicated to the fabric bolts that are on sale — the “sale room”.

You can visit our online Sale Room HERE.

You still with me? Now we are moving into the main room in the shop where the fabric collections are mostly divided by designer: Tula Pink, Anna Marie Horner, Charley Harper, Art Gallery, Australian, Kaffe, 4th of July, Black & Whites, ombrés and of course our basics — Grunge, Palette, Canvas, Blossom, Spotted….

Check out our current fabric collections HERE.

And scattered around the store on various shelves are VRD Rose Card kits to make the quilts we have on display!

Load up on VRD kits HERE.

And to keep up with the “demand of cutting” we have 3 cutting boards— 2 are in the main room and 1 is in the side room. The side room area is mostly used for all your online order preperations.

Let’s head up the stairs and take a peek at our “employees only” area — Bonnie calls it “the scary place”. LOL! Upstairs has the same space as downstairs but that’s where the similarity ends. There are 2 long arms to quilt the many samples along with back stock and — of course — the area for the Facebook Live Sale on Friday nights.

Do you know about our Facebook Live events???

You can shop our quilt shop from the comfort of your home every Fry-day afternoon at 4 PM Pacific Time (7 PM Eastern Time). We’ll show you the latest patterns, kits, bundles, and collections as well as our latest markdowns. You can find more information about our Facebook Live Sales HERE.

Thanks everyone for joining me for the tour. Hope to see you at the shop soon — tell ‘em Molly sent you!

Until next Thursday —

Sew. Laugh. Repeat.

Your Guest Blogger,

Molly @ VRD

Designer Spotlights · Just Quilty Stuff · Quilt Stories · Rose Cards · villa rosa designs

VRD Designer Spotlight Interview with Molly Cook

Hello Quilty Friends!

Happy Thursday to you!

I am sew excited to be interviewing Molly Cook, who is not only a VRD designer, but also works at the Villa Rosa Designs quilt shop in Grass Valley, California. Molly is actually part of a designing trio called the Cook Family, which is made up of Molly, sister Heidi, and Mom Tamara.

Molly Cook, standing in front of a version of her Vineyard VRD Rose Card pattern.

Tricia: Hey Molly! Thanks for taking some time to chat on the blog today.

Molly: Hello!

Tricia: Ready?

Molly: Sure, let’s get to it.

Tricia: How did you meet Pat Fryer, the owner and “Rose Queen” of Villa Rosa Designs, or how did you become part of the VRD family of designers?

Molly: I met her at a guild meeting and she saw my show and tell that I designed by myself.

Tricia: How did you discover quilting?  How long have you been quilting?

Molly: My Grandma started teaching her grandkids to sew around the age of 10, so I’ve been sewing for 11 years.

Tricia: What’s your favorite quilt block(s)?

Molly: Any block that’s simple! LOL!

Tricia: I hear you — I love easy blocks, too. How did you make the leap from being a quilter to becoming a quilt designer?

Molly: I’ve been sewing for community service for years. Working with what I had, I ended up improvising on patterns.

Tricia: That’s really cool, Molly! Can you tell us a little bit about your design process?

Molly: I just gather fabric and lay it out and see how things fit together.

Tricia: What is your favorite/least favorite part of the quilt-making process?

Molly: My favorite is designing patterns and sewing them together. My least favorite thing is binding.

Tricia: I totally agree with you. Binding is definitely my least favorite part of the quilt making process, too. What are your top 3 favorite quilting tools? 

Molly: My top 3 quilting tools are my rotary cutter, my rulers, and my scissors.

Tricia: I’m not sure I can pick just three favorite tools! LOL! What are you working on now?  Any new patterns in the works?  Can you give us a sneak peek?

Molly: I have a couple of new patterns in the works. I’m working on writing them up and making them easy to understand.

Tricia: Here are Molly’s VRD Rose Card patterns to date. You can find them HERE.

Tricia: Wow, Molly! You are one prolific designer! And there’s lots of variety in your patterns. Do you have a favorite pattern that you’ve designed?

Molly: My favorite pattern would be Lickety Split, but Brickwork almost ties with it.

Tricia: What’s your favorite book? 

Molly: I love Ted Dekker and Frank Peretti books.

Tricia: Type of music/musician? 

Molly: Christian music.

Tricia: Movies and TV?

Molly: Lord of the Rings movies and I’m a Marvel Superhero girl!

Tricia: That’s so cool! What do you do when you’re not quilting/designing?

Molly: When I’m not quilting, you can find me reading a book, babysitting, or crocheting.

Tricia: You stay busy, don’t you? Do you have any advice to quilters who want to become quilt designers? 

Molly: Just dive in. Find fabrics you like and go for it. Don’t start with a complex pattern — you won’t enjoy quilting if it’s got a lot of pieces or is hard to follow with all it’s instructions.

Tricia: That’s super advice, Molly! It’s been great chatting with you. Thanks sew much! We all look forward to seeing those new patterns you’re working on really soon.

Molly: Thank you for having me on the blog!

There you have it, Quilty Friends!

How cool is it to get to know the quilt designers behind your favorite VRD Rose Card patterns?

Awesome Applesauce! Molly is going to be our guest blogger next week while I take a few weeks to get my knee replaced and begin the recuperation process.

Well, that’s it for this week. Be sure to tune in next week to see what Molly has in store for you!

Until next Thursday —

Sew. Laugh. Repeat.

Always,

Tricia @VRD

Just Quilty Stuff · Quilt Block Basics · Quilt Play · Rose Cards · Tips and Tricks · Tutorials · villa rosa designs

Quilt Block Basics — Half Square Triangles (HSTs)

Hello Quilty Friends!

Happy Thursday to you!

Before I dive right into HSTs, I want to show off my completed Helix quilt top. Yes, I finished it! I really like the finished top, although I wish my points had turned out better. What do you think?

I didn’t have enough background left to add side strips, but that was okay, it will be fine as long as I’m careful when I sew the binding on because I don’t want to cut off the triangle points.

Quilt Block Basics

Lately I’ve been feeling very creative — maybe the change in the weather? I’ve been churning out new quilt designs on my EQ8 (Electric Quilt) software and I will never have enough time to make them all, I’m afraid. While I was working on all these new designs, I started thinking about the smaller units that make up quilt blocks and I thought — AHA!!! That’s a great topic for the blog!

So, welcome to a new VRQ mini-series, all about the smaller units that make up our favorite quilt blocks.

The first unit I want to talk about is the Half Square Triangle.

Half Square Triangles (HSTs)

Half Square Triangles or HSTs are one of the most common building blocks for a pieced quilt block. Sometimes you see HSTs called Triangle Squares or Half Square Triangle squares or blocks. I like to keep things simple when I write instructions and I consistently use Half Square Triangles or HSTs.

You can find HSTs in simple blocks such as:

Or in more complex blocks like:

One of my most favorite things is playing around with the parts of my blocks to create new block designs when I’m designing. I like to change colors, switch lights and darks, and change the orientation of the units within a block in order to create something new and different. EQ8 makes this sew easy to do.

To show you what I mean, let’s play with the Mosaic # 17 block, which is all HSTs and gives us lots of room to play!

Let’s change the orientation of the HSTs:

Now let’s add another color in the mix:

Let’s try change the orientation, too:

Okay, okay, I’d better stop here or I’m going to lose my writing focus and create another stack of quilt designs I will never have time to make! LOL!

I think you can see how much fun it is to play with HSTs. Imagine what happens when you add other building block units with the HSTs………but that is a post for another day.

Half Square Triangle Assembly

There are many different ways to make HSTs — just check on YouTube, Pinterest, or your favorite quilting magazine.

I am going to show you my favorite method here — this is the method I use in my quilt instructions.

  1. Layer 2 squares together, right sides together (RST).
  2. Draw a diagonal line from 1 corner to the opposite corner.
  3. Sew 1/4″ away from both sides of the drawn line.
  4. Cut the HSTs apart on the drawn line. Open to make 2 HSTs.

I bet you noticed I didn’t use any dimensions for my fabric squares. That was intentional. As I’ve said many times, quilting is all about math (check out my ode to quilting and math HERE).

HSTs are no different! You can use this construction method to make any size HST. You just have to know a teeny tiny magical math secret!

To figure out how big to cut your squares, you need to add 7/8″ to your finished dimensions! Really, that’s all you need to remember. You don’t need to refer to a cutting chart, you just need to remember 7/8″. (Please note that 7/8″ may not work for all HST methods.)

Here are some examples:

I want my HST’s to finish at 3″, so I need to cut my squares 3 7/8″.

5″ finished? Cut 5 7/8″ squares.

12″ finished HSTs……….cut 12 7/8″ squares.

Easy peasy! YAY MATH! Thank you, Mrs. Hank (my high school math teacher)!

HST VRD Rose Card Patterns

We have a wonderful collection of HST pattern sin our VRD catalog. It’s a L O N G list, so hang in there until the end of the post.

Here’s my curated HST list:

Get the April Showers pattern HERE

Get the Baby Zip Ties pattern HERE

Get the Bat Dance pattern HERE

Get the Be Unique pattern HERE

Get the Beatrice pattern HERE

Get the Blizzard pattern HERE

Get the Carnival Glass pattern HERE

Get the Chop pattern HERE

Get the Columbia pattern HERE

Get the Crossed Paths pattern HERE

Get the Diamonds pattern HERE

Get the Domino Five pattern HERE

Get the Drayton Hall pattern HERE

Get the Elementary pattern HERE

Get the Estrella pattern HERE

Get the Fa La La pattern HERE

Get the Falling pattern HERE

Get the Fernanda pattern HERE

Get the Friendship Hearts pattern HERE

Get the Giggles pattern HERE

Get the Hanover pattern HERE

Get the Hidden Gems pattern HERE

Get the Hole in One pattern HERE

Get the Illumination pattern HERE

Get the Indigo Bay pattern HERE

Get the Jardena pattern HERE

Get the Malaysia pattern HERE

Get the Maple Grove pattern HERE

Get the Mountains pattern HERE

Get the Movie Star pattern HERE

Get the Nana’s Aprons pattern HERE

Get the Notches pattern HERE

Get the October Sky pattern HERE

Get the Optic pattern HERE

Get the Orange Waves pattern HERE

Get the Painted Moon pattern HERE

Get the Party Girl pattern HERE

Get the Party Girl Remix pattern HERE

Get the Peppermint & Holly pattern HERE

Get the Pinwheel Picnic pattern HERE

Get the Pride pattern HERE

Get the Rainbow Road pattern HERE

Get the Raspberry Cream pattern HERE

Get the Rebound pattern HERE

Get the Remember Me pattern HERE

Get the Salt ‘n’ Pepper pattern HERE

Get the Salute pattern HERE

Get the Serengeti pattern HERE

Get the Silver Star pattern HERE

Get the Sisterhood pattern HERE

Get the Smidge pattern HERE

Get the Smudge pattern HERE

Get the Snow Goose pattern HERE

Get the Solar Flare pattern HERE

Get the Spaceman pattern HERE

Get the Spiritualized pattern HERE

Get the Square Box pattern HERE

Get the Star Rail pattern HERE

Get the Starfire pattern HERE

Get the Stars N Stripes pattern HERE

Get the Sunny Day pattern HERE

Get the Tower Bridge pattern HERE

Get the Twinkle pattern HERE

Get the Underground pattern HERE

Get the Waverly pattern HERE

Get the Whiplash pattern HERE

Get the Whirlpool pattern HERE

Get the Wild Rover pattern HERE

Get the Winchester pattern HERE

Get the Winter Sun pattern HERE

Get the X Ray pattern HERE

Get the Zig Zag pattern HERE

Get the Zip Tease pattern HERE

Get the Zipper pattern HERE

I hope you enjoyed this VERY extensive list of HST Rose Card patterns. Thanks for suffering through the whole list (wink, wink).

As I was gathering them from the VRD catalog, I was struck with the enormous amount of creativity and innovation shown by our VRD designers.

Kudos to all of the VRD designers! You rock!

Well, that’s it for me for this week.

Take care until next Thursday —

Sew. Laugh. Repeat.

Always,

Tricia @VRD

Just Quilty Stuff

Spring Cleaning the Quilter Way; Or, A Fabric Yard Sale!

Hello Quilty Friends!

Happy Thursday to you!

Spring has sprung! Happy Spring to you!

Now that it’s officially spring, I am starting to feel that old familiar seasonal “spring cleaning” itch. I definitely feel more motivated right now to actually do a little purging and clutter control in my home and, naturally, in my studio, too. Maybe the longer daylight hours are helping too.

One of my local quilt shops, Fox’s Sew and Vac (BIG SHOUT OUT to all my Foxy friends!), provides a wonderful reason to clean out my constantly expanding stash. Every year, Fox’s sponsors a “Fabric Yard Sale,” usually in February or March. Of course, we missed a couple years due to the Pandemic, but this year’s sale was the biggest I’ve ever participated in!

So, what exactly is a “Fabric Yard Sale”?

Fox’s Sew and Vac is located in one of our shopping malls and they are able to reserve the hallway outside their shop entrance to host their “Fabric Yard Sale.” Due to space limitations, they only have a certain number of vendor spaces, but this year they were able to accommodate 20 vendors! I was lucky to be one of the last vendors before spaces were gone. They charged a very reasonable fee for a space and another small fee for a table. You can bring your own tables, which I have done in the past, but it is so much easier these days to just pay the extra fee and have a table there waiting for me as well as a chair or two.

Once I signed up this year — which was later than I normally would due to a time conflict that was cancelled in the end — I got to work sorting through my fabrics, precuts, notions, patterns, books, and whatever else I had hanging around. I measured my yardage, rolled and wrapped it with a rubber band and added a piece of masking tape with the fabric amount and the price (hey, I used what I had on hand). I went through my fat quarters and organized them into baskets. I even readied a basket of vintage feed sack quarters to take along in case anyone was looking for vintage fabrics. I also gathered a selection of books and patterns.

Here’s a photo of some of my stuff headed to the sale.
My style is Early Flea Market, of course. LOL!

My friend Mary Lee (Hey Mary Lee!) shared my space with me. Her stash management program is very different from my “it looks like a flea market threw up” chaos — when she finds a pattern that she likes, she makes her own quilt kits by gathering up all the fabrics for the pattern along with the pattern itself. Then she puts everything in the same bag. This way, when she’s ready to make something new, Mary Lee just has to grab a “kit” and start cutting and sewing. Anyway, Mary Lee weeded her kit collection out and parted with a group of kits she decided she wasn’t ever going to make.

All too soon, set up day for the sale arrived. We were able to set up on Thursday and the sale ran both Friday and Saturday. After we carted everything inside and started laying out our table, we discovered that an 8 foot table wasn’t big enough to lay everything out in an orderly fashion. Things were a little jumbled on our table, but that was okay. Sorry, but I never even thought of taking photos….

Late Friday morning, the sale was swamped! Really! Every table had people crowded around. Then it thinned out and we all started shopping each other’s stuff. Sigh…..occupational hazard.

Here’s my list of info for you if you are planning to participate in a Fabric Yard Sale:

  1. The more vendors, the less $$ you will make.
  2. As you sell, so shall you buy…..
  3. You need to price your items competitively or you will be taking home what you brought (plus whatever you bought)
  4. Bring some kind of table covering — even if your table looks like Early Flea Market (like mine did), a table covering under your items just makes it look nicer. Use quilts if you can as they are, naturally, attention-grabbers.
  5. Bring lots of small bills ($1s and $5s, mostly) for change and be prepared to change a $20 when someone wants a fat quarter for $1.
  6. Bring plastic shopping bags to put purchases in.
  7. It’s best to have another person with you, but if you have to do your sale alone, make sure someone stops to give you a lunch break. Of course, the folks at Fox’s were happy to watch our tables so we could dash to the bathroom (and maybe grab a yard of fabric we spied across the hallway).
  8. Packing your fabrics, patterns, books, and other items in plastic bins, baskets, and crates makes moving things in and out and keeping your table organized a lot easier than having yardage and fat quarters spilling all over the place.
  9. Bring something to do when things aren’t busy. I always bring a couple magazines, a book, a quilt with binding to be hand-stitched, or even my EPP hexies. Of course, you’re bound to make some new friends and rediscover some old pals, so expect lots of chatting and laughing going on.
  10. Bring something to drink and a snack or two — chocolate is always a good choice.

I am guilty of #2 on my list above…….but not as guilty as some, I will say. Here are my awesome finds:

Mostly I stuck to fat quarters, but I did buy a couple larger pieces. I also got a great deal on a stack of Block magazines. And, believe it or not, but one of the other vendors had whole vintage feed sacks for sale. I bought 5. Shhhhh……don’t tell anyone my deep dark secrets.

I can definitely see my studio looking a little better without all the stuff I pulled out and had piled and stacked anywhere I could find a little space until the sale. When the Fabric Yard Sale was over, I sorted my stuff and decided to donate about half of what I brought home to my local Humane Society secondhand shop. Now to find somewhere to store the stuff I decided to keep (at least for now) as well as the new stuff I brought home. Again — occupational hazard.

Fabric Yard Sales are just an excuse for quilters to gather, share ideas, catch up, make new friends, laugh and gossip. Oh, yes — they also keep quilting fabrics and supplies in circulation.

Well, that’s it for me today. Good luck with your own Spring Cleaning.

Until next Thursday —

Sew. Laugh. Clean. Repeat.

Always,

Tricia @VRD