Hello Quilty Friends!
Happy Thursday to you!
We have lots to cover this week, so let’s jump right in with both feet! Elf shoes are optional.
First up I’m going to share with you awesome, fast, and fun VRD Rose Card patterns you can whip up as last minute Holiday gifts. And after that I’ll share our NEW VRD Rose Card quilt patterns with you.
Fast and Fun Holiday Gifts to Make in a Hurry
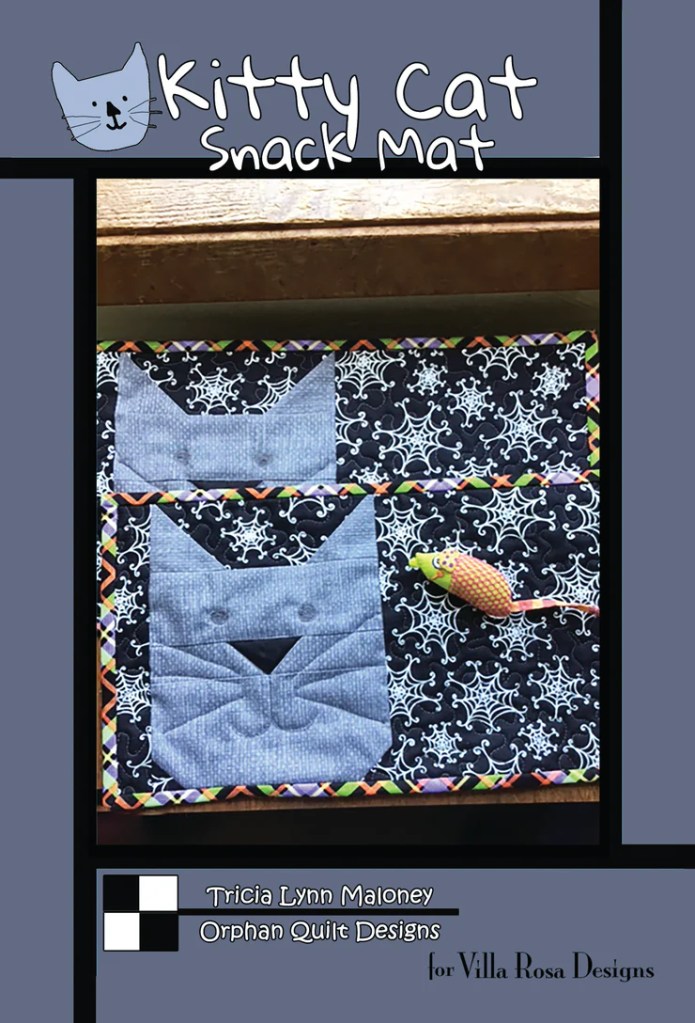
Snack Mats
Snack Mats make great gifts all through the year! They are about 8″ x 14″ and are in between a place mat and a mug rug. We have 10 different designs right now, so you have lots of choices! You can make Snack Mats up in a wink x 2 because each pattern makes 2 mats at a time.

You can find all of our Snack Mat Patterns (digital and print) HERE.
Scarves
Did you know we have Rose Card patterns for super fun and fast quilty scarves??? Your pals will be truly amazed at both your creativity and your savvy gifting skills.
Here is Savannah Jane. It uses a collection of your favorite 5″ squares, so every scarf you make can be totally different, depending on the charm squares you choose. Hey! You can even raid your stash and make scrappy scarves — very economical. Or try some cozy flannel…..
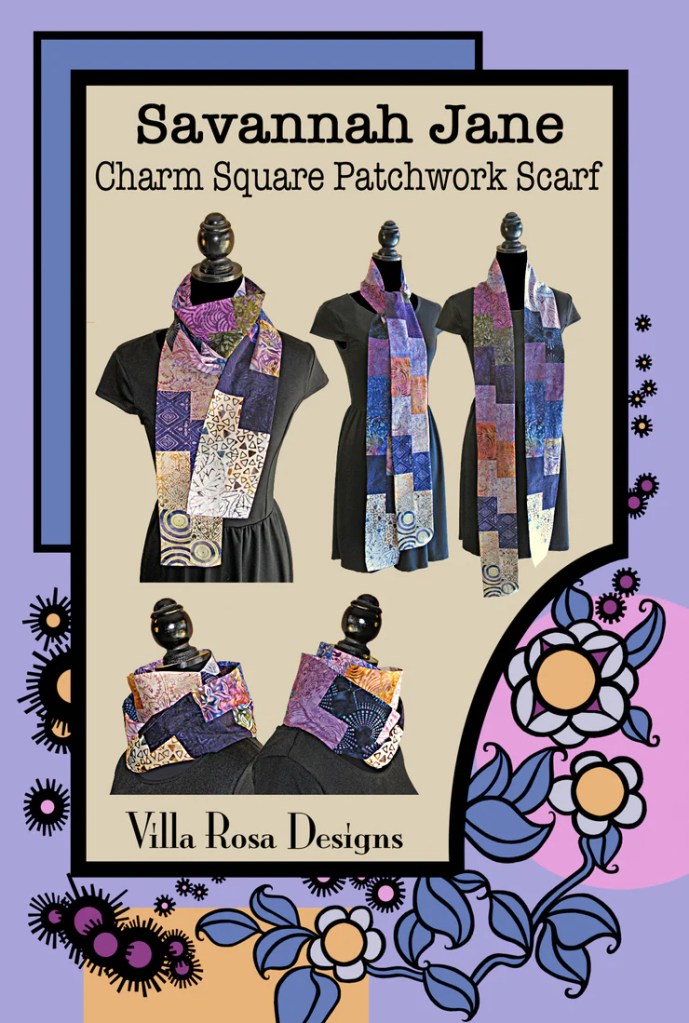
Get your Savannah Jane Rose Card print pattern HERE.
You can find my tutorial for Savannah Jane HERE.
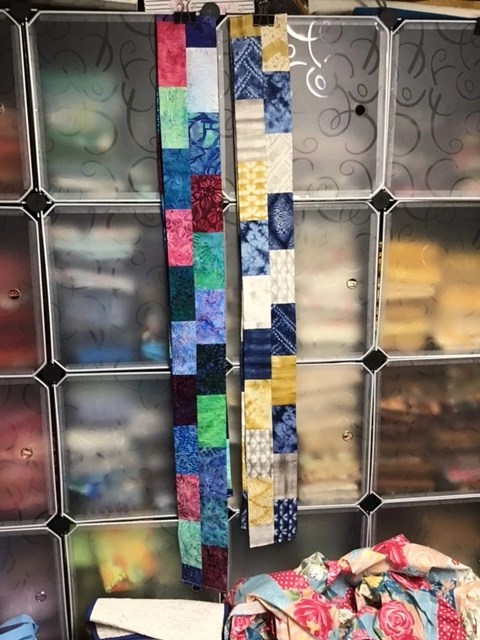
LOVE this pattern! I’ve made several Savannah Jane scarves and they go together in a jiffy. Last year I even gifted the scarves, below, to my 2 nieces, Meg and Morgan.
BUT WAIT! THERE’S MORE!!
We have another scarf pattern just for you! Check out Inessa Jane, a fun and super fast Infinity scarf. You only need 1 yard of your favorite fabric! Easy peasy and done in a flash! While you’re making them as last-minute gifts, make one for yourself, too.

Get your Inessa Jane print pattern HERE.
Place Mats
Place mats are a great way to make a statement on your table or on someone else’s. They go together quickly and you can get them wrapped and gifted in the nick of time for the Holidays.
Dinner Party is our newest place mat pattern — it’s part of our new 12 Quilts of Christmas pattern collection. 4 fat quarters make 4 coordinated place mats. Done before you can sing your favorite Christmas carol.

Get your Dinner Party digital pattern HERE or print pattern HERE.
Let’s Eat! uses panel squares and coordinates, but you can use whatever fabrics your li’l ol’ heart desires! Wouldn’t these be adorable with Christmas fabric? Or Hanukkah fabric? Or Kwanza fabric? Maybe a set for winter with blue and white and lots of snowflakes? Anything goes with Let’s Eat!
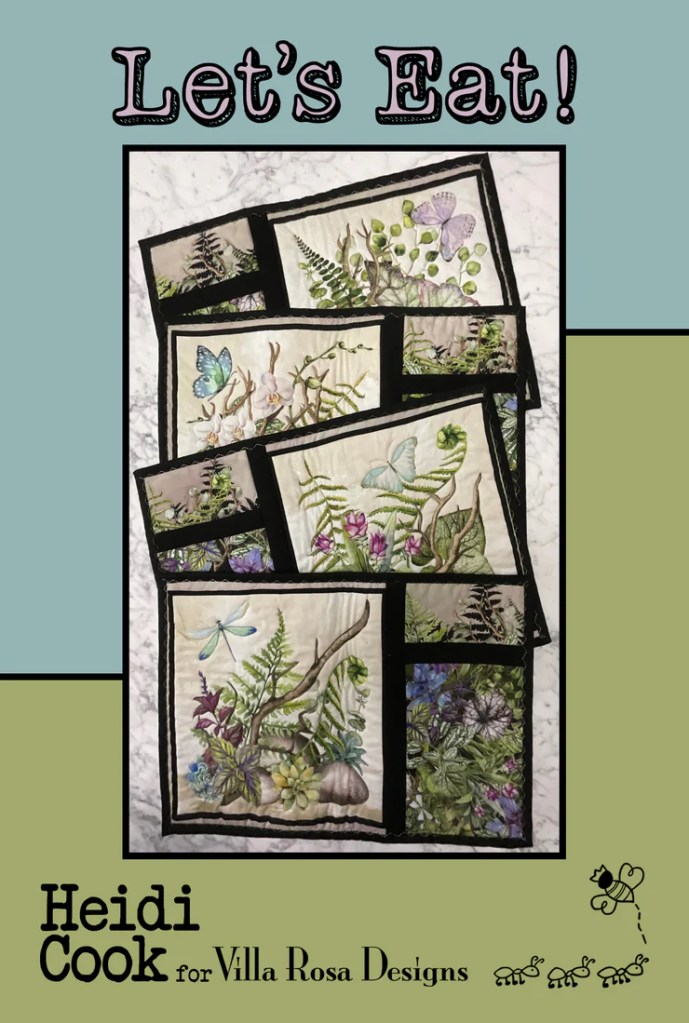
Get your Let’s Eat digital pattern HERE or your print pattern HERE.
Petula Jane is a great place mat for friends and family who eat at their desks at work. This great easy-to-make portable place mat rolls up and secures with a tab and even has pockets for a napkin and silverware. This place mat will elevate your desk lunch and make you smile.

Get your Petula Jane print pattern HERE.
You can find a tutorial for Petula Jane HERE.
Tote Bags
Surprised??? Yep, we’ve got Tote Bag patterns, too. Here at VRD, we’ve really got something for everyone when it comes to our Rose Card patterns. Totes make great gifts for just about anyone and it is fun to tailor the fabric choices to the person who will receive the bag. Did I mention they go together in a flash?
Here’s Tabitha Jane. All you need is 6 fat quarters! I bet you’ve got some of those yummy 6 fat quarter bundles tucked away in your stash — I know I do!

Get your Tabitha Jane print pattern HERE.
Here’s another great bag pattern, Olivia Jane. Grab your favorite charm squares and a couple coordinates. Cut a little. Sew a little. Done.
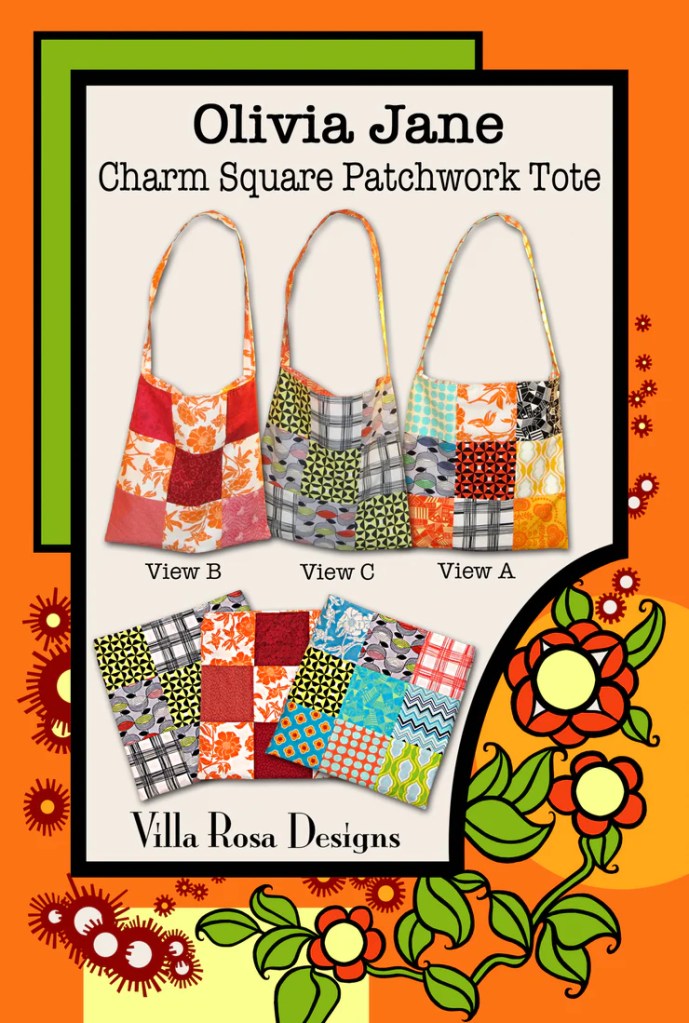
Get your Olivia Jane print pattern HERE.
Check out the Olivia Jane Tutorial HERE.
Below you can see my Olivia Jane tote. I had some happy blue and yellow charm squares and added a few coordinates. Didn’t it turn out cute?

Accessory Patterns
In addition to the scarves and tote bags, above, we have many other great small project VRD patterns. These patterns are great to have around when you need a quick little gift for someone.
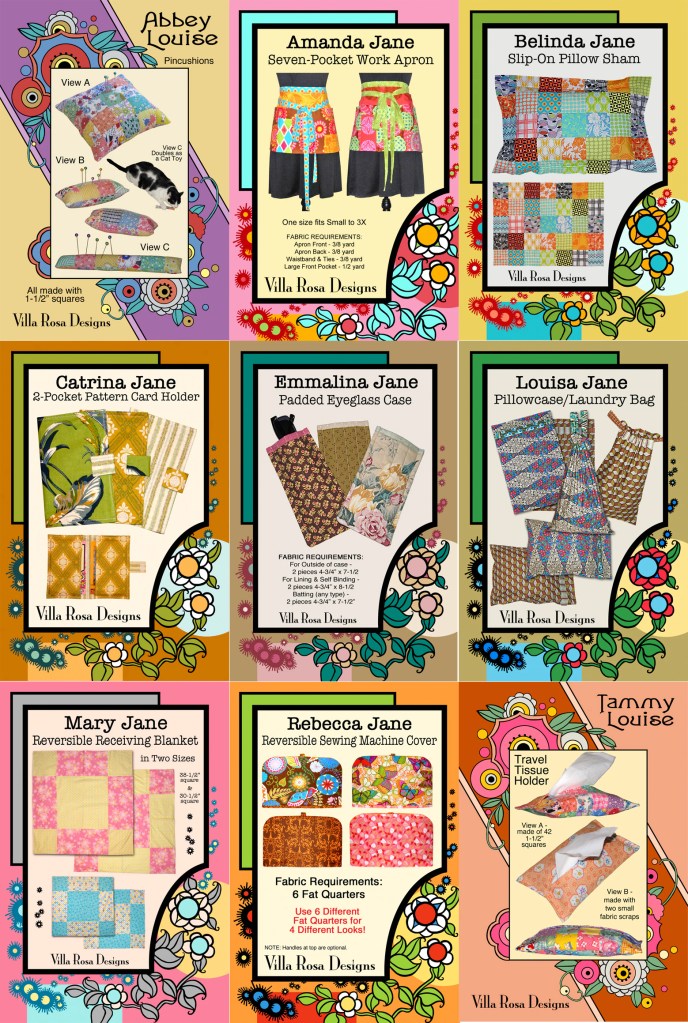
You can find all of our VRD Accessory Rose Card print patterns HERE.
Table Runners
Table Runners are always a great gift to give and we have runner patterns that go together faster than you can whip up a batch of microwave fudge (okay, maybe not quite that fast, but still really quick). Okay, now that I’ve piqued your interest in fudge, here’s one of my favorite Easy Fudge recipes – 2 Ingredient Fudge.
You can find ALL of our table runner patterns HERE, but I’m going to showcase a few runners that you can make up in no time flat.
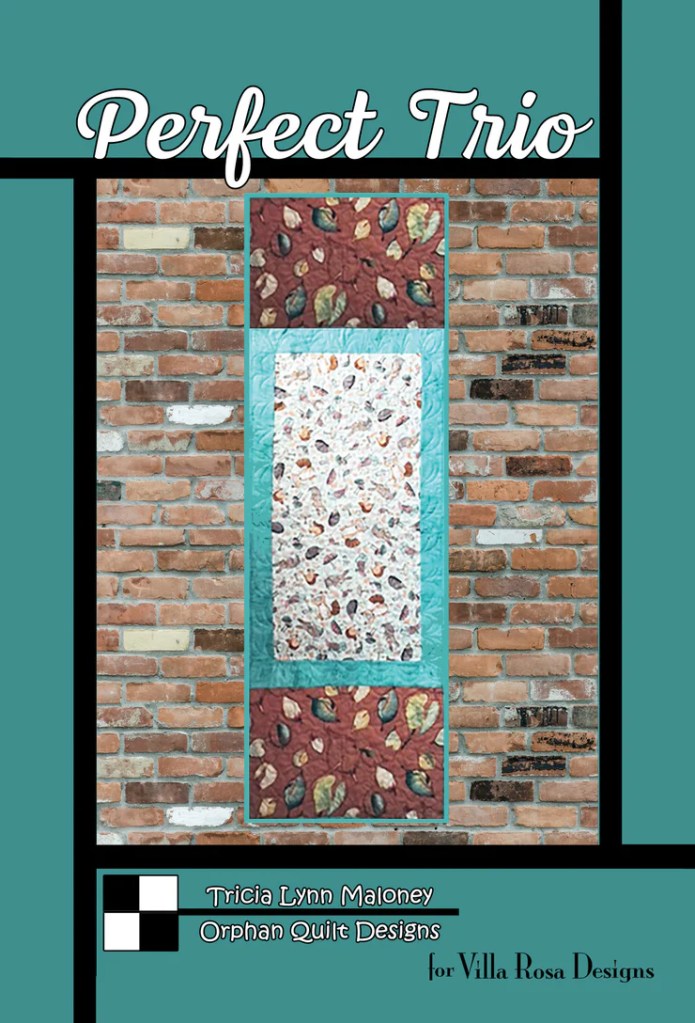
Get your Perfect Trio digital pattern HERE or print pattern HERE
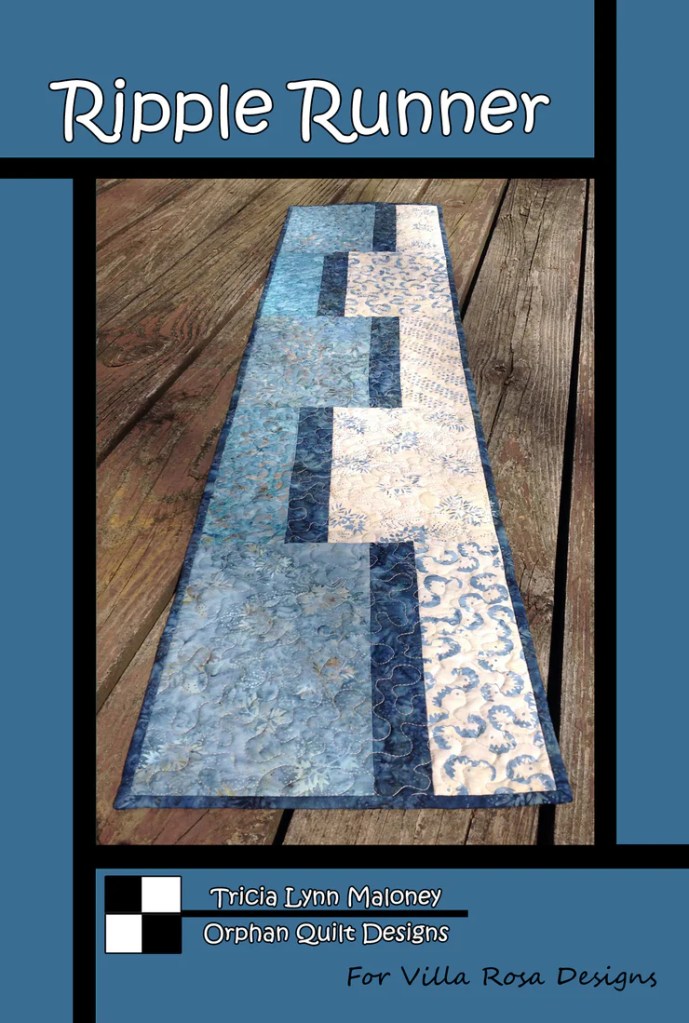
Get your Ripple Runner digital pattern HERE or print pattern HERE.

Get your Season’s Greetings digital pattern HERE or print pattern HERE.
12 Quilts of Christmas
I wanted to include our new 12 Quilts of Christmas collection because the set of 12 patterns is a gift in itself — one that will provide the receiver with hours and hours of quilty pleasure. Or maybe you want to select some of these great projects to make and give as gifts. They are fast and fun, of course!
If you can’t get a project made in time for a quilty friend, why not gift her with the whole 12 Quilts of Christmas collection? You could even add the fabric ingredients for one of the projects as an extra something something. Just remember to get a set for yourself, too.
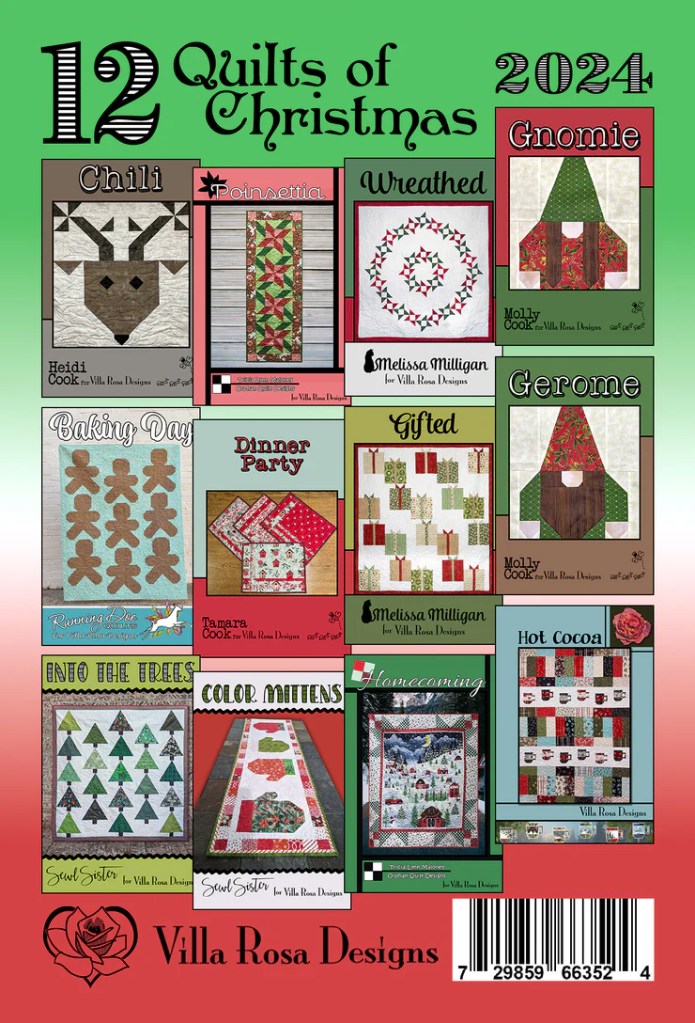
Get your 12 Quilts of Christmas print pattern collection HERE.
Now let’s take a look at our exciting NEW December patterns because new VRD patterns every month is like getting presents each and every month of the year from VRD!
NEW December Villa Rosa Designs Rose Card Patterns
Woohoo! Check out this month’s NEW Rose Card Patterns!
Exhibit and Sugar Cookies can handle printed panel squares or large prints with ease. Grab your fat eighths and fat quarters for Sorrento and Neenah. And Whiskers gives you a great pieced frame for those large 36″ panels.
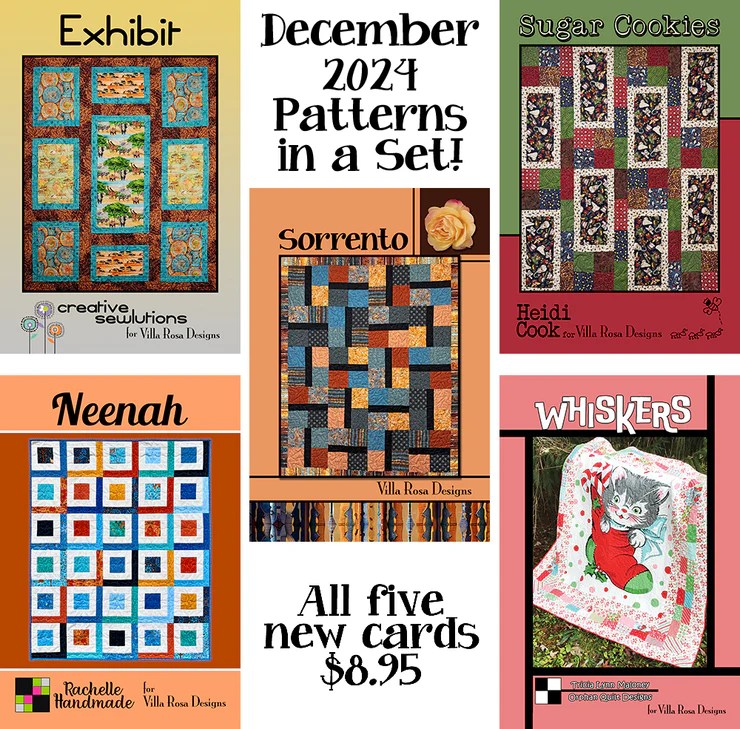
Get all 5 print patterns HERE.
Sorry, no table runner this month, but here’s our fun and seasonal December Snack Mat, Holiday Bauble. Just add your favorite holiday fabrics!

Get your Holiday Bauble digital pattern HERE or print pattern HERE.
Which of the new patterns will you make first?
Well, that’s it for me this week.
Here’s hoping your holiday preparations go smoothly and you find a little time to make some special holiday gifts for those folks on your nice list.
Sew. Laugh. Jingle. Repeat.
Always,
Tricia @ VRD